While digging the hole for the first energy module today, we noticed that there were splashes of oil on the digger’s tracks and the ground nearby. It looks like we have sprung a leak somewhere in the hydraulic system!
After lunch whilst Shaun was removing the excess sand from the bottom of the hole, Stephen started investigated the source of the leak.
The oil was coming from a hole under the right rear of the machine and after removing a couple of body plates you could see some pipes covered in oil. After cleaning them the digger was started and operated for a short while and the pipes were inspected again and there was no new oil! Further investigation revealed one of the pipes was the overflow from the hydraulic oil tank (which we has topped up a week ago). So we think the oil drips were just the tank being filled too much and overflowing!
Month: May 2016
-
Digger drips oil
-
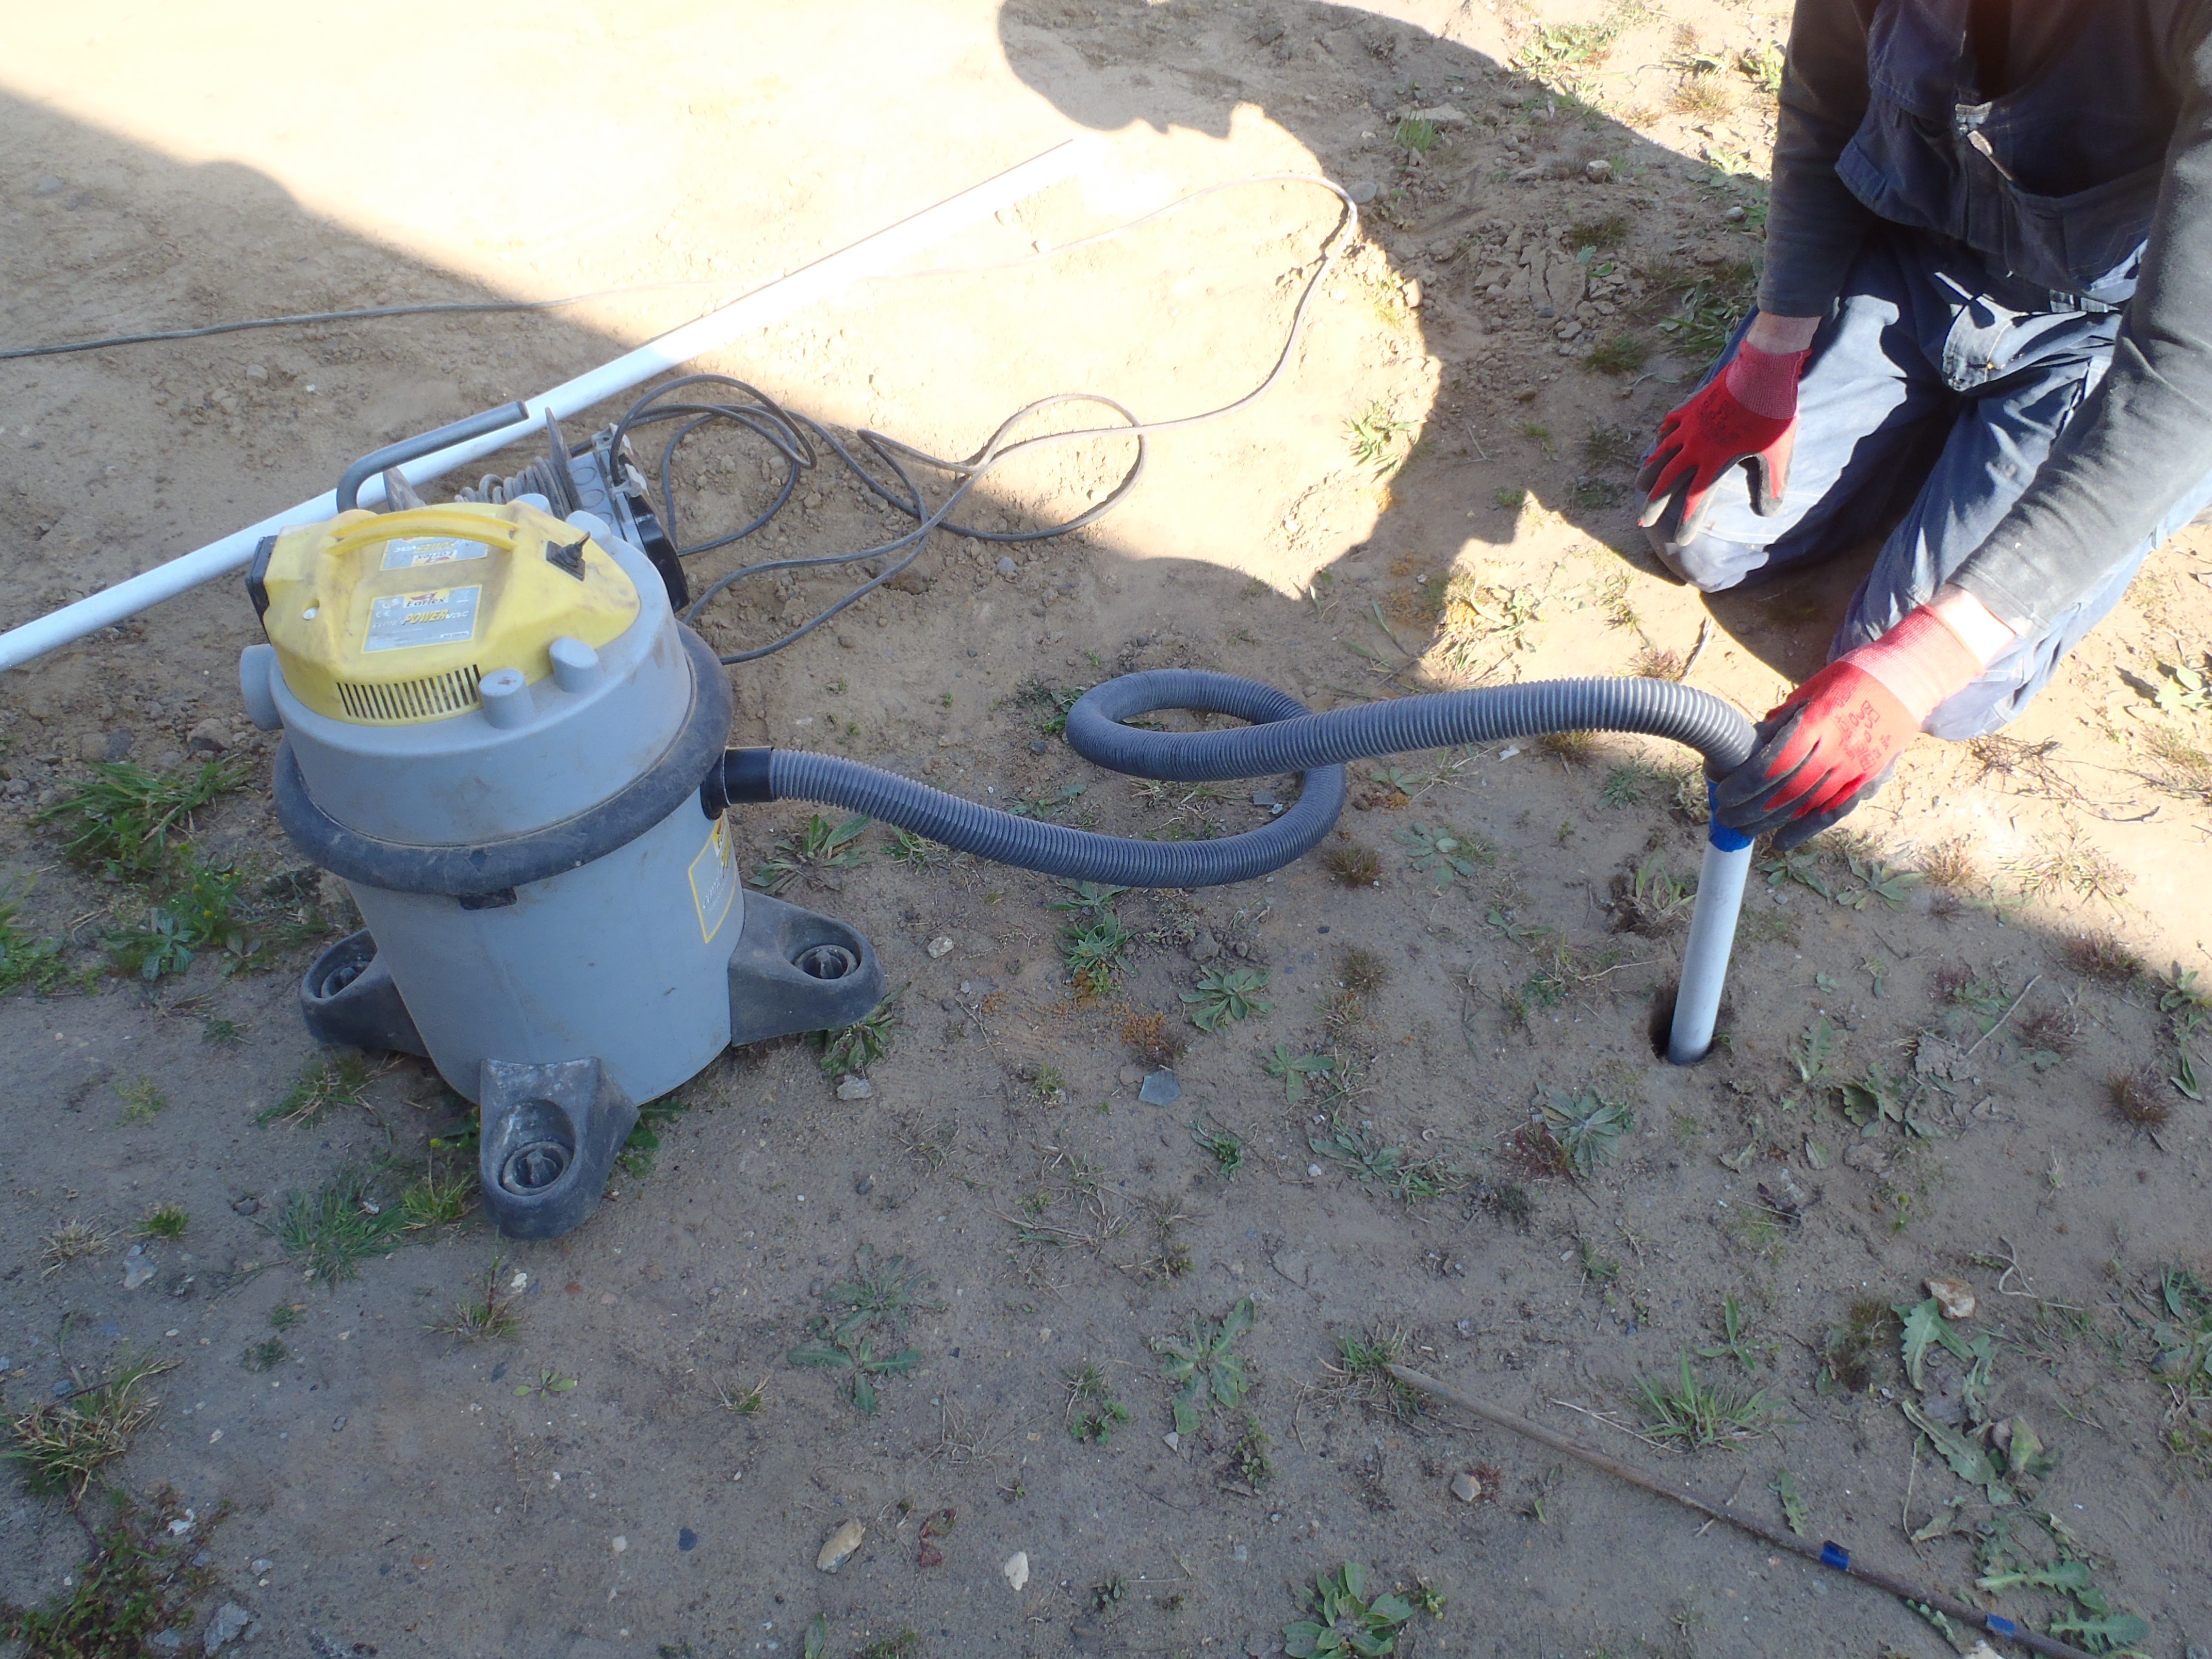
A new Boring Tool made
This afternoon, we researched and designed a simple boring tool for making
holes into the soil where we need to insert temperature sensors in and
around the Energy Modules.We used a 32mm diameter plastic pipe, a metre long, and took 4 6-inch nails
and fixed them to the end, with about an inch sticking proud out the end.
Then the plastic tube was connected to our powerful vacuum cleaner and
managed to “drill” down into the sandy soil!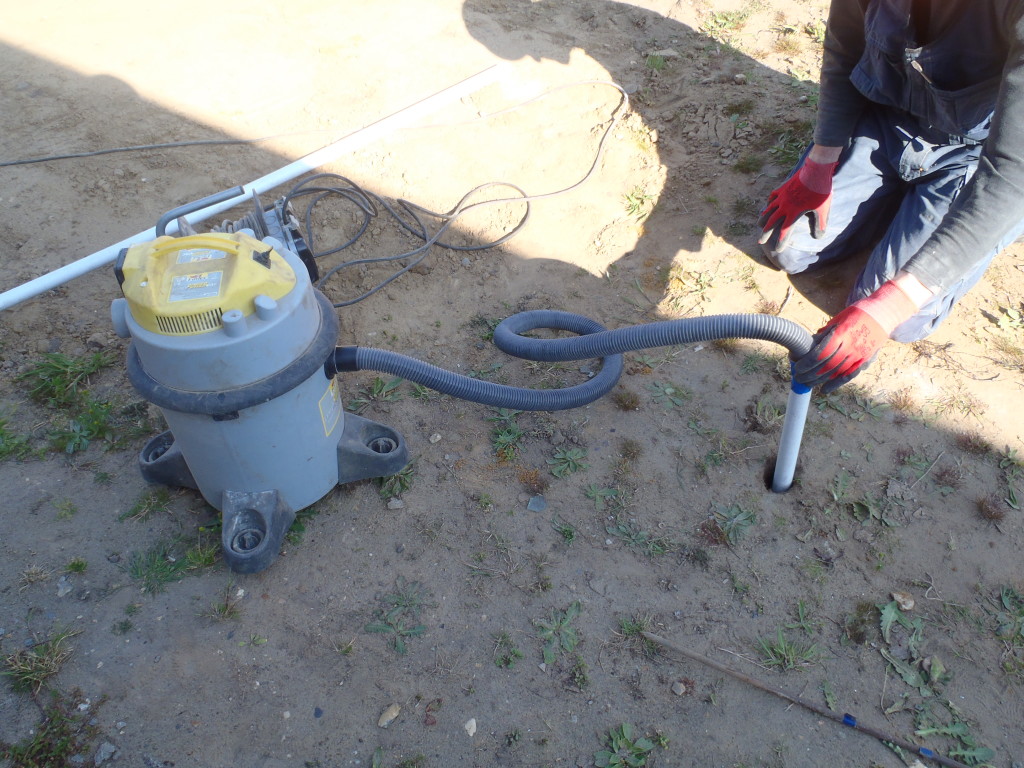
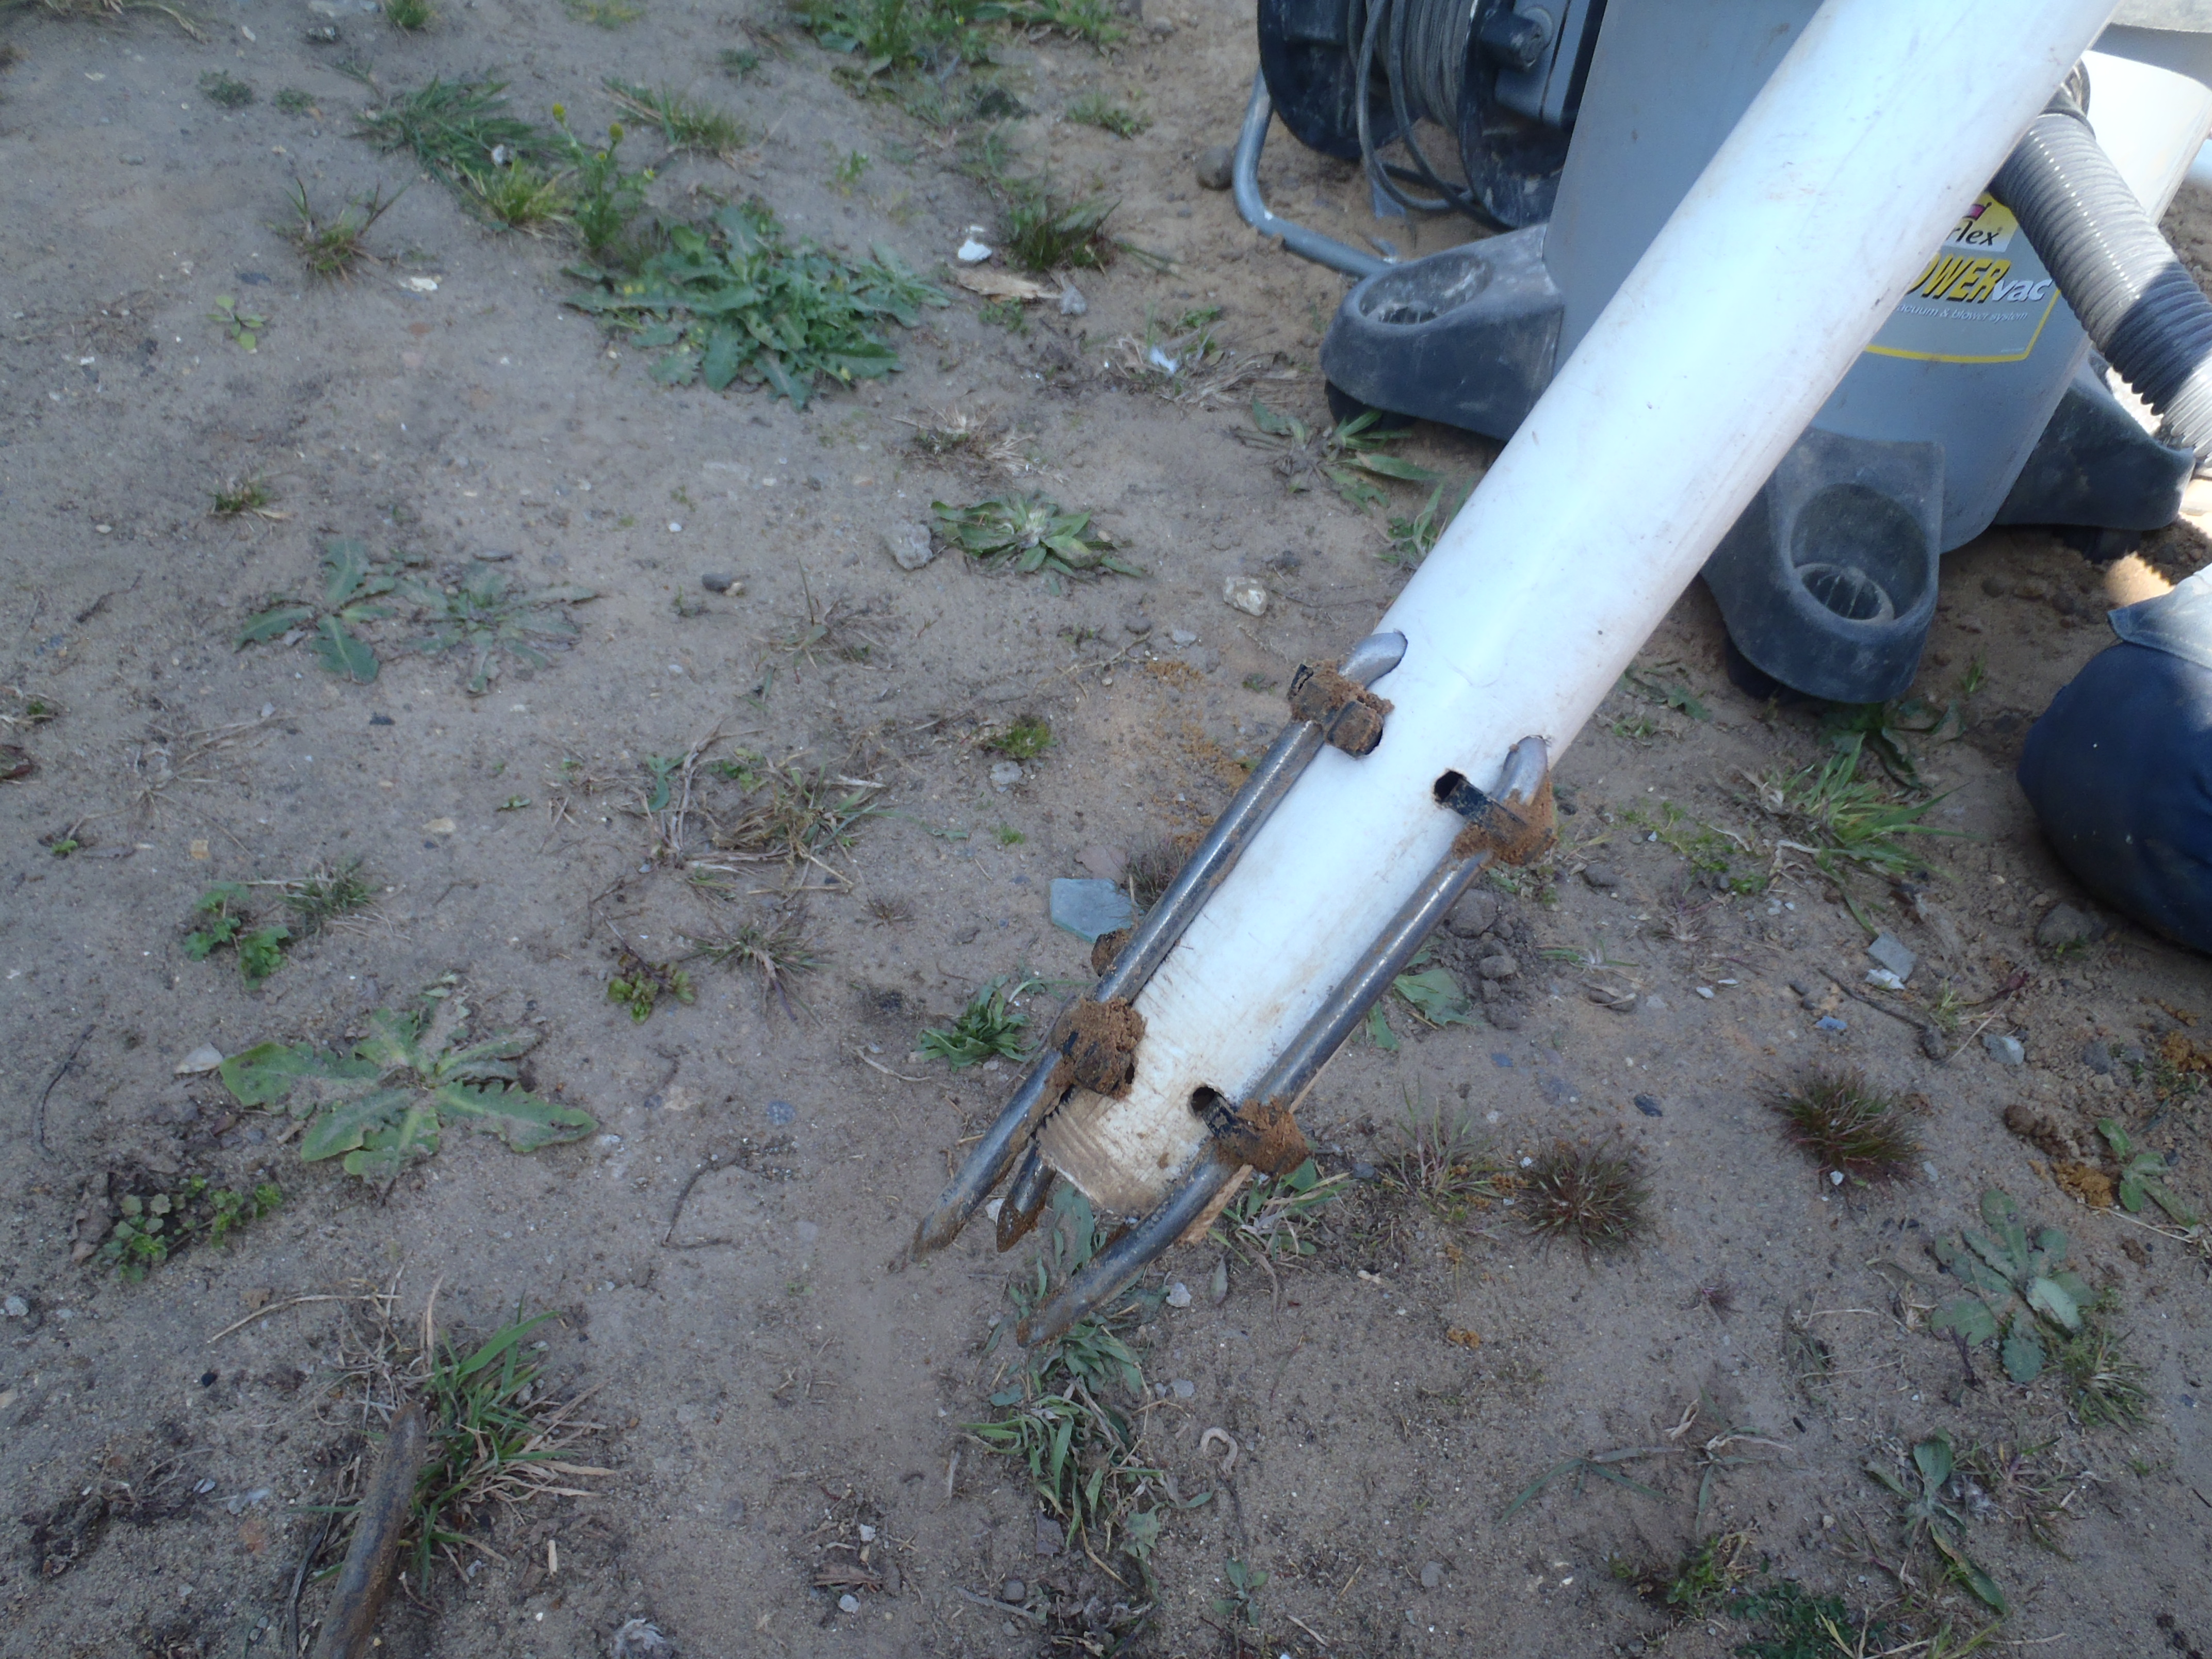
Hole-borer-1
Hole-borer-3

Hole-borer-2
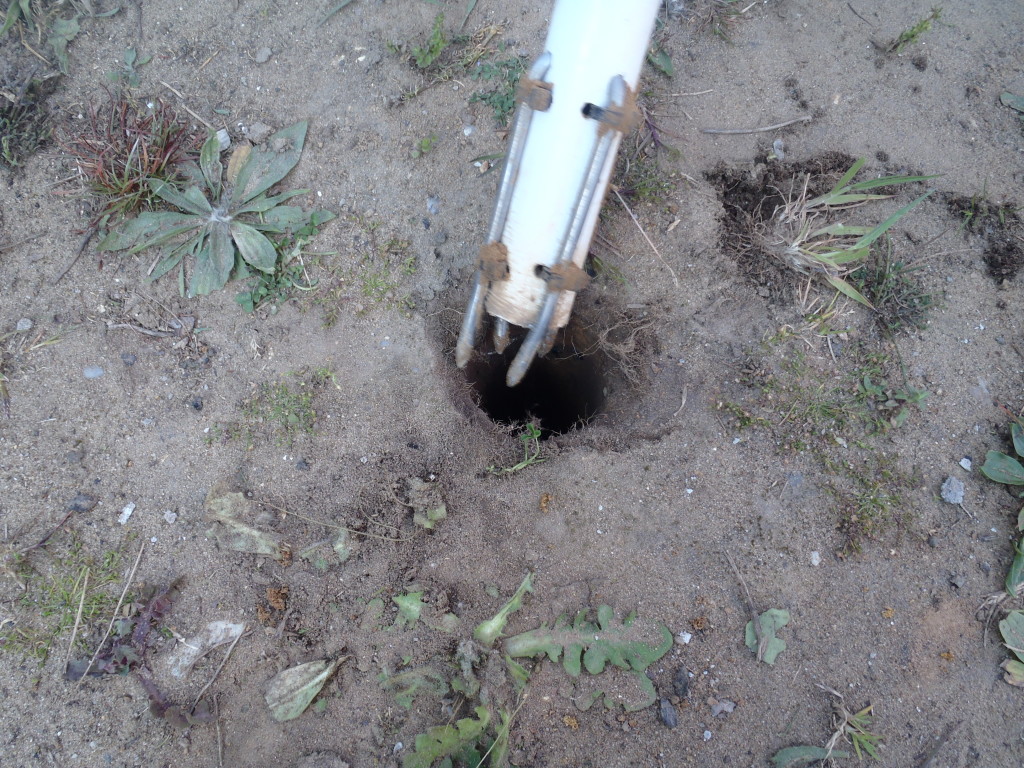
We did hit the gravel interface which was hard to get pass, but we did
managed to get down 1 metre.But the pipe did clog up with the damp sand so we will have to clean it out
regularly, but fortunately, we have only 35 holes to drill!! -
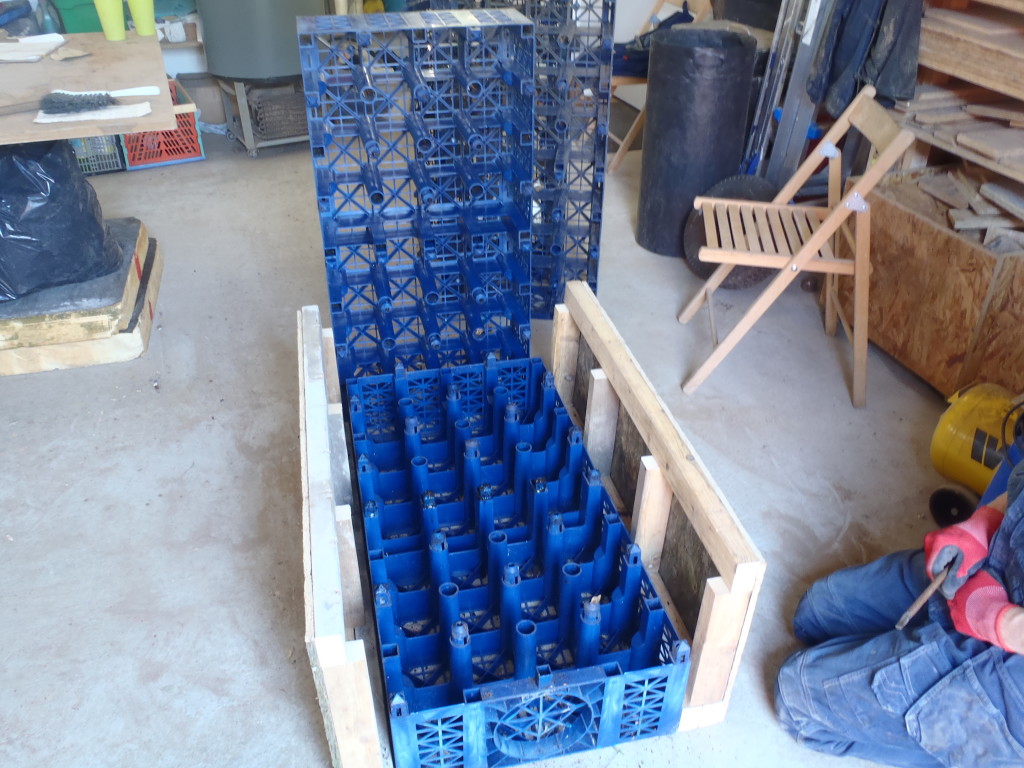
First Twenty Crates Washed!
This morning, we got the first 20 Aquacell crates opened up, blasted with
jets of water and reassembled back together again!We made a small dent in the pile of our Aquacell mountain ..
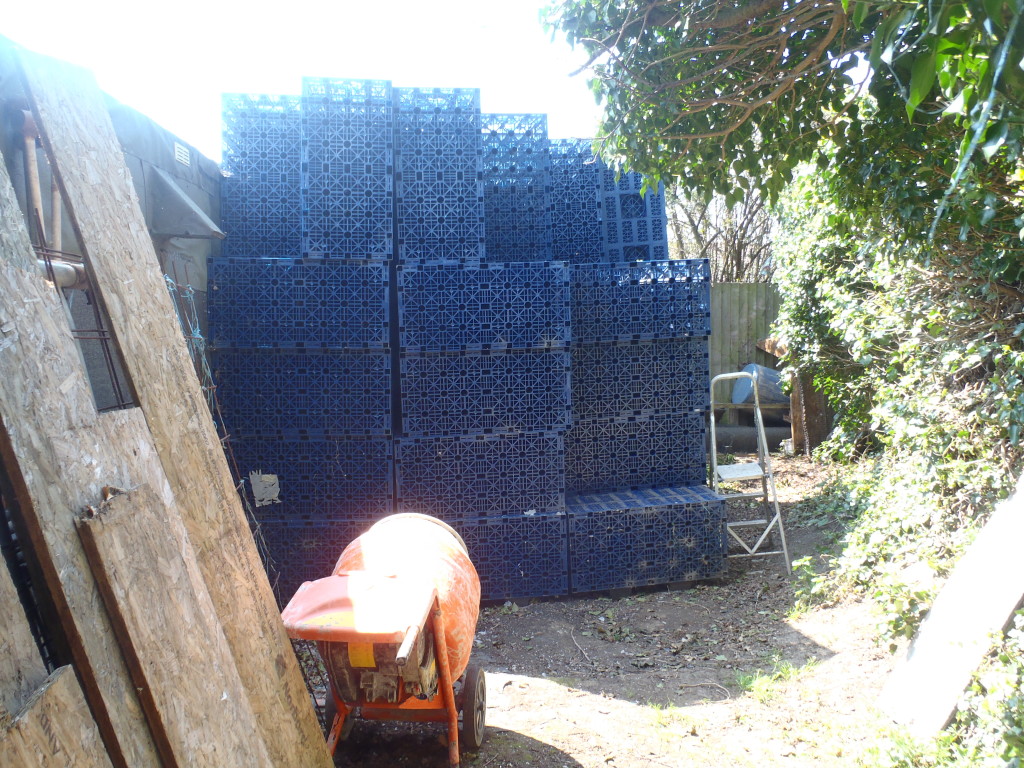
Stack-of-Aquacells
Only another 180 crates to go!!
We used our crate splitter tool, then used the pressure washer to spray
water into all the crevices and then loaded our trolley with the sparkling
clean plastic crates afterwards.
Washing-Area
A very wet job it is too!
-
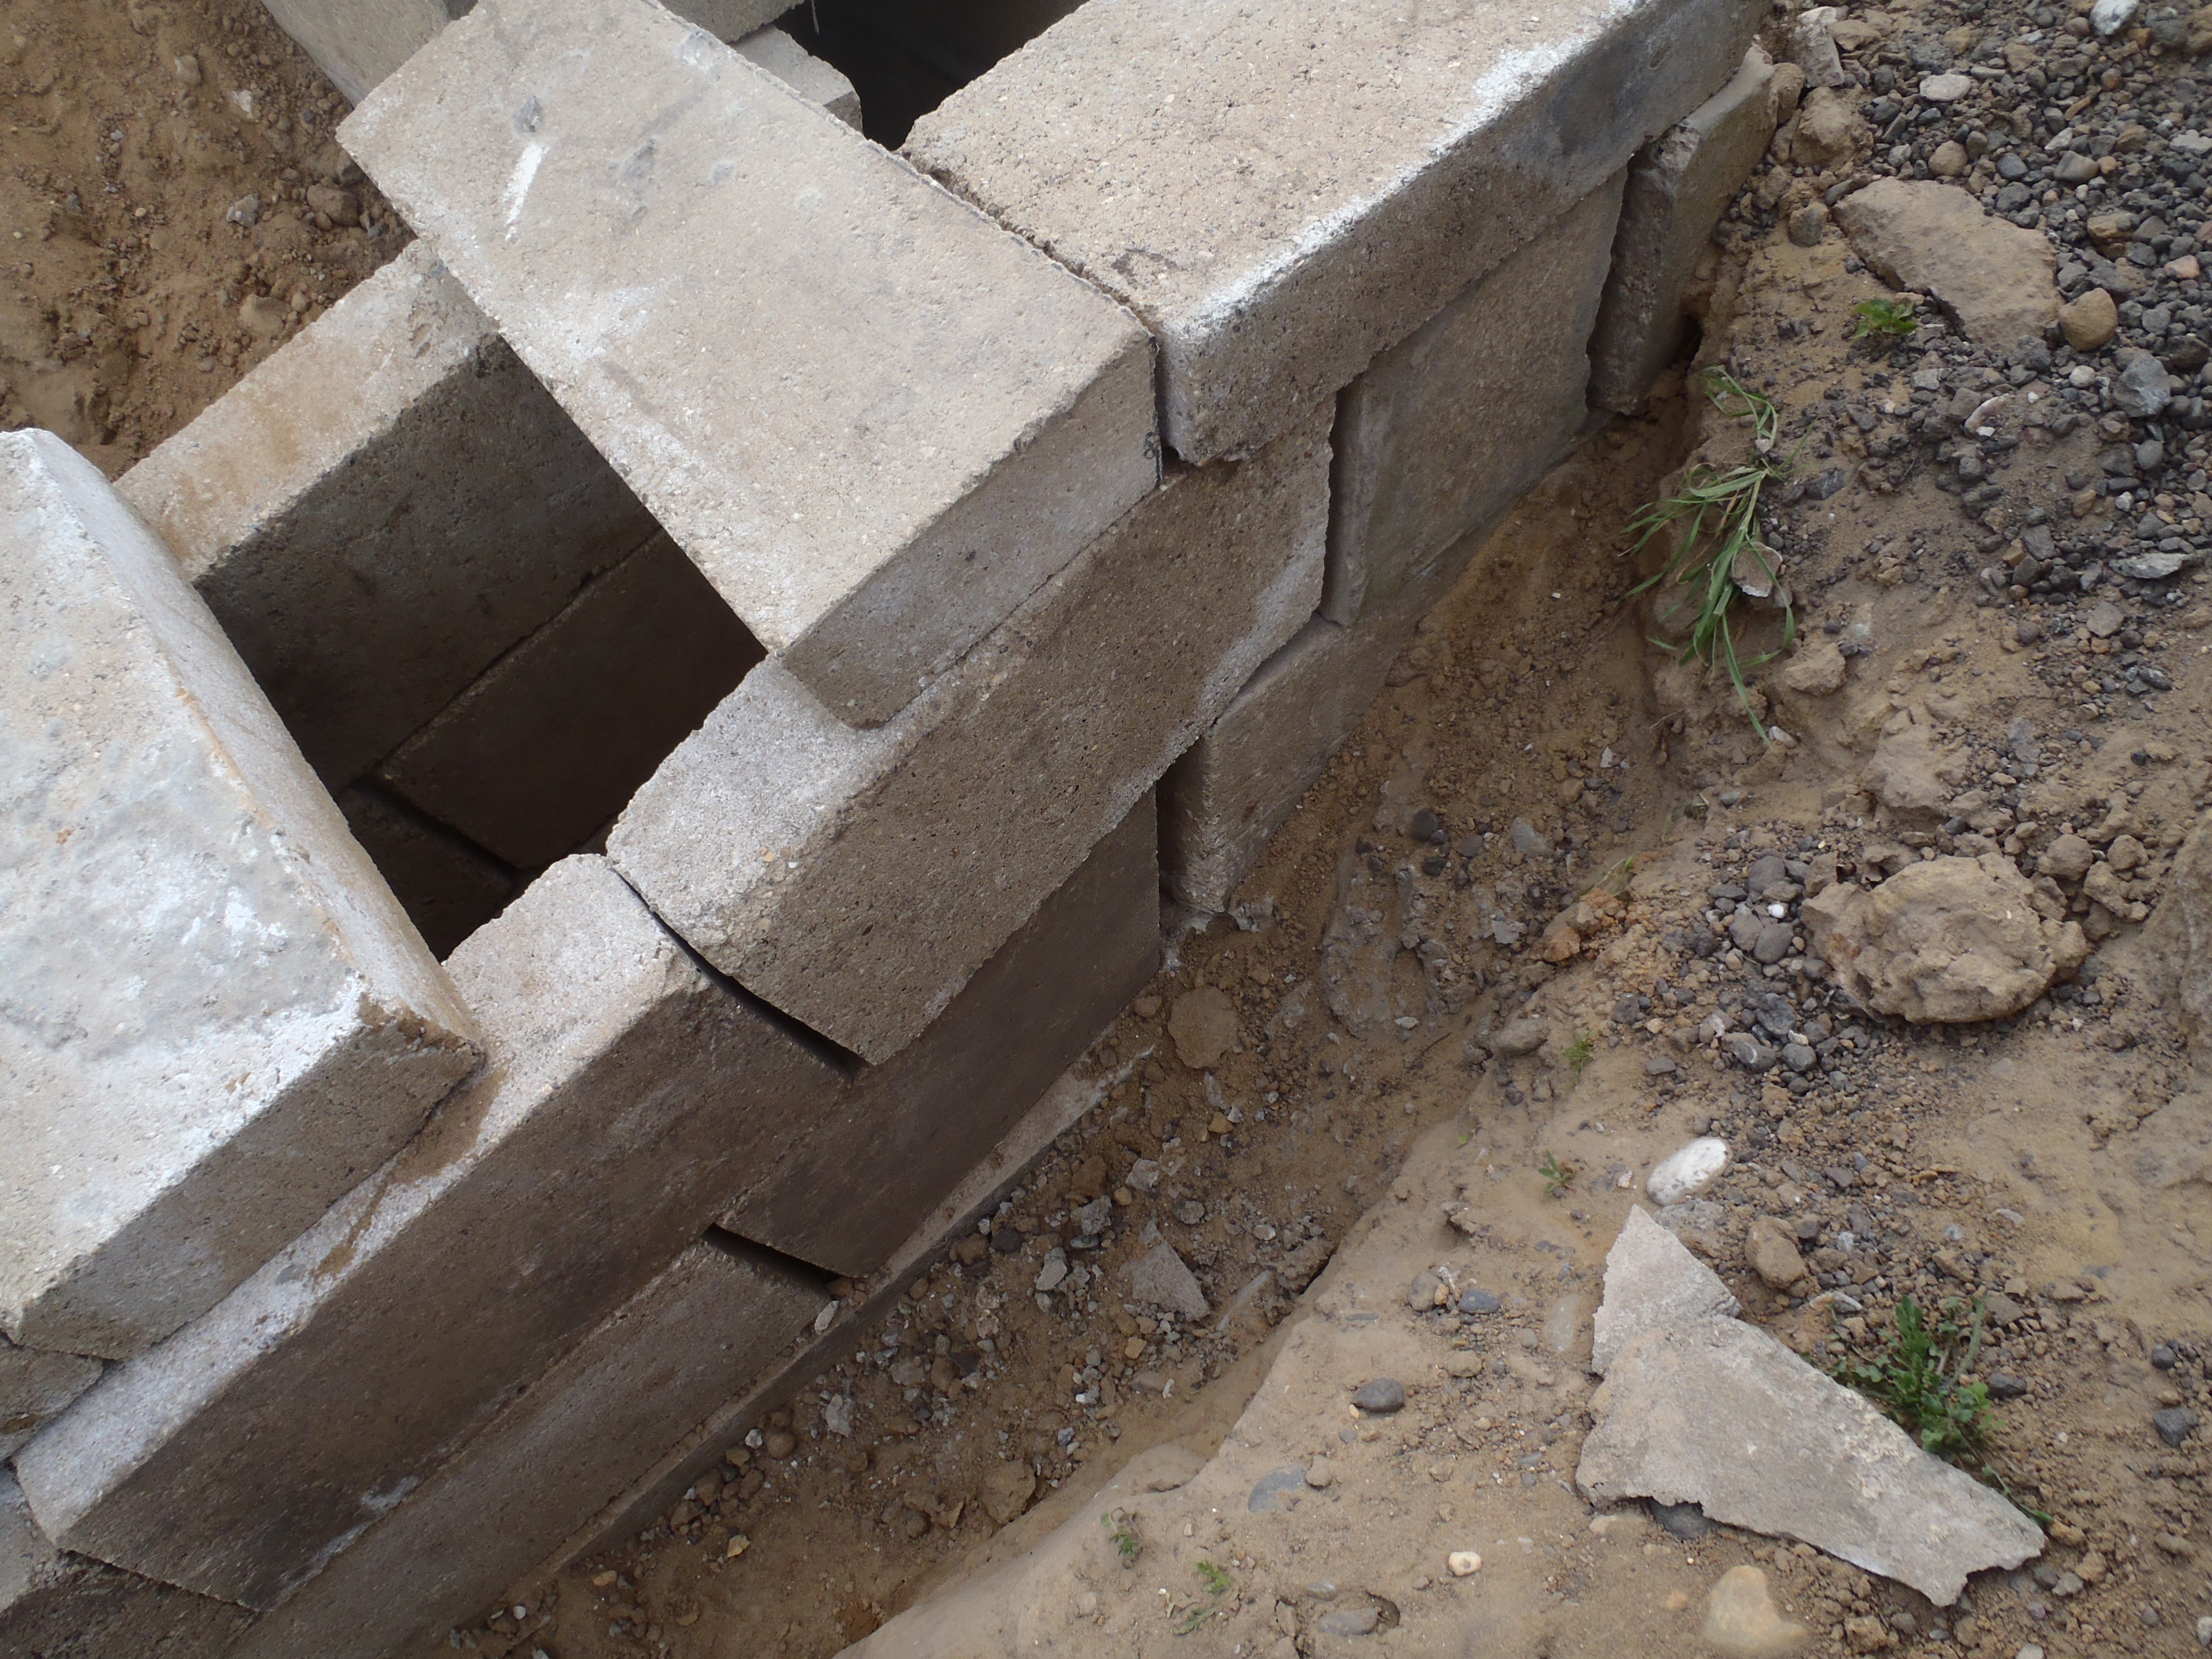
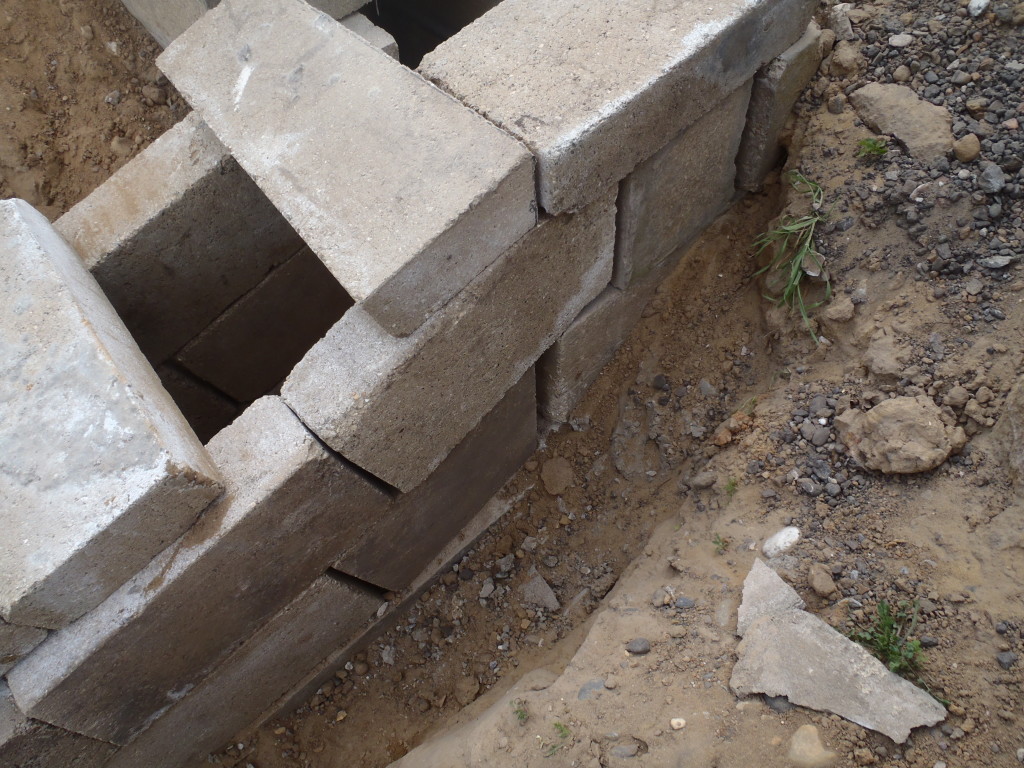
Jigsaw Air Tunnel all Mortared Together!
During a long session, starting this morning at 10am, we assembled and
mortared all the pieces of the air tunnel together and finished about 2:30pm
with the lids going on!We needed to mix two loads of mortar as we just ran out at the point of
having done the two rows of the walls. So all the remaining mortar, after
finished cementing down the concrete blocks on as lids, we spread it out all over the
whole Earth Tube Mixing Chamber and down the slope of the air tunnel to seal
and cover up the joints.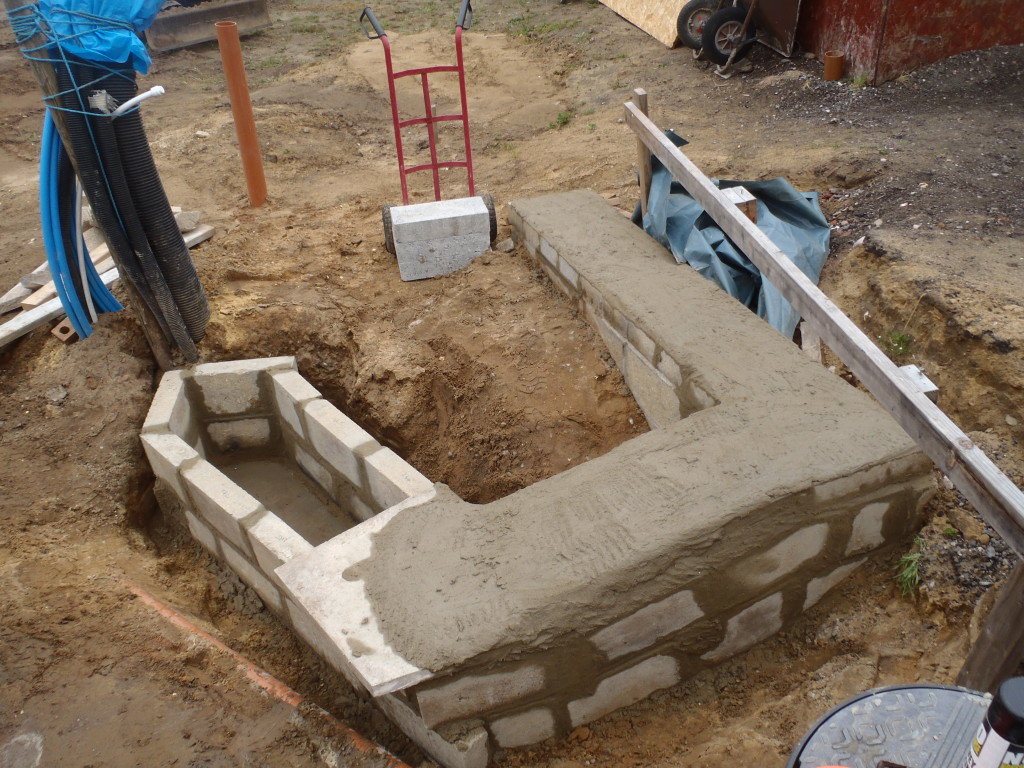
Earth-Tube-Tunell-Mortered-Together-2
Earth-Tube-Tunell-Mortered-Together-1
We will now let that all set for a couple of days to harden, then start
chucking in all the remaining hardcore and sandy soil around the area to
build up the levels again, ready for the foundation!In the meantime, we start doing the Energy Modules!!
-
Air Tunnel ‘Jigsaw’ Pieces Cut!
Today, it was the day of slicing many concrete blocks to create the air
tunnel from the Earth Tubes Mixing Chamber to the house! The jigsaw puzzle
was very complex with a three dimensional aspect to it, both sloping
downwards, curving around and also widening out too!!There was at least 17 cuts made, using a 9inch diamond disc in a high
powered angle grinder machine.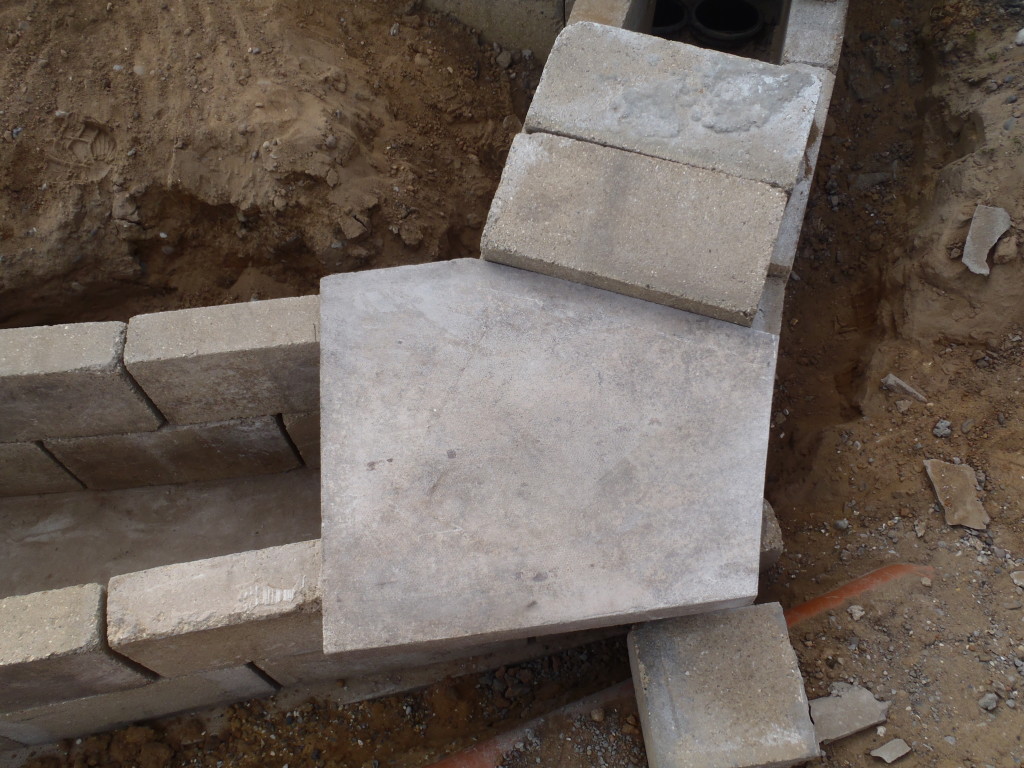
Erth-tube-tunnel-blocks-cut-to-fit-1
Erth-tube-tunnel-blocks-cut-to-fit-2
Erth-tube-tunnel-blocks-cut-to-fit-3
We need to go and buy two more concrete blocks to complete the “lid” to the
tunnel. That’s tomorrow’s job along with mortaring all the pieces together
into one smooth solid unit! -
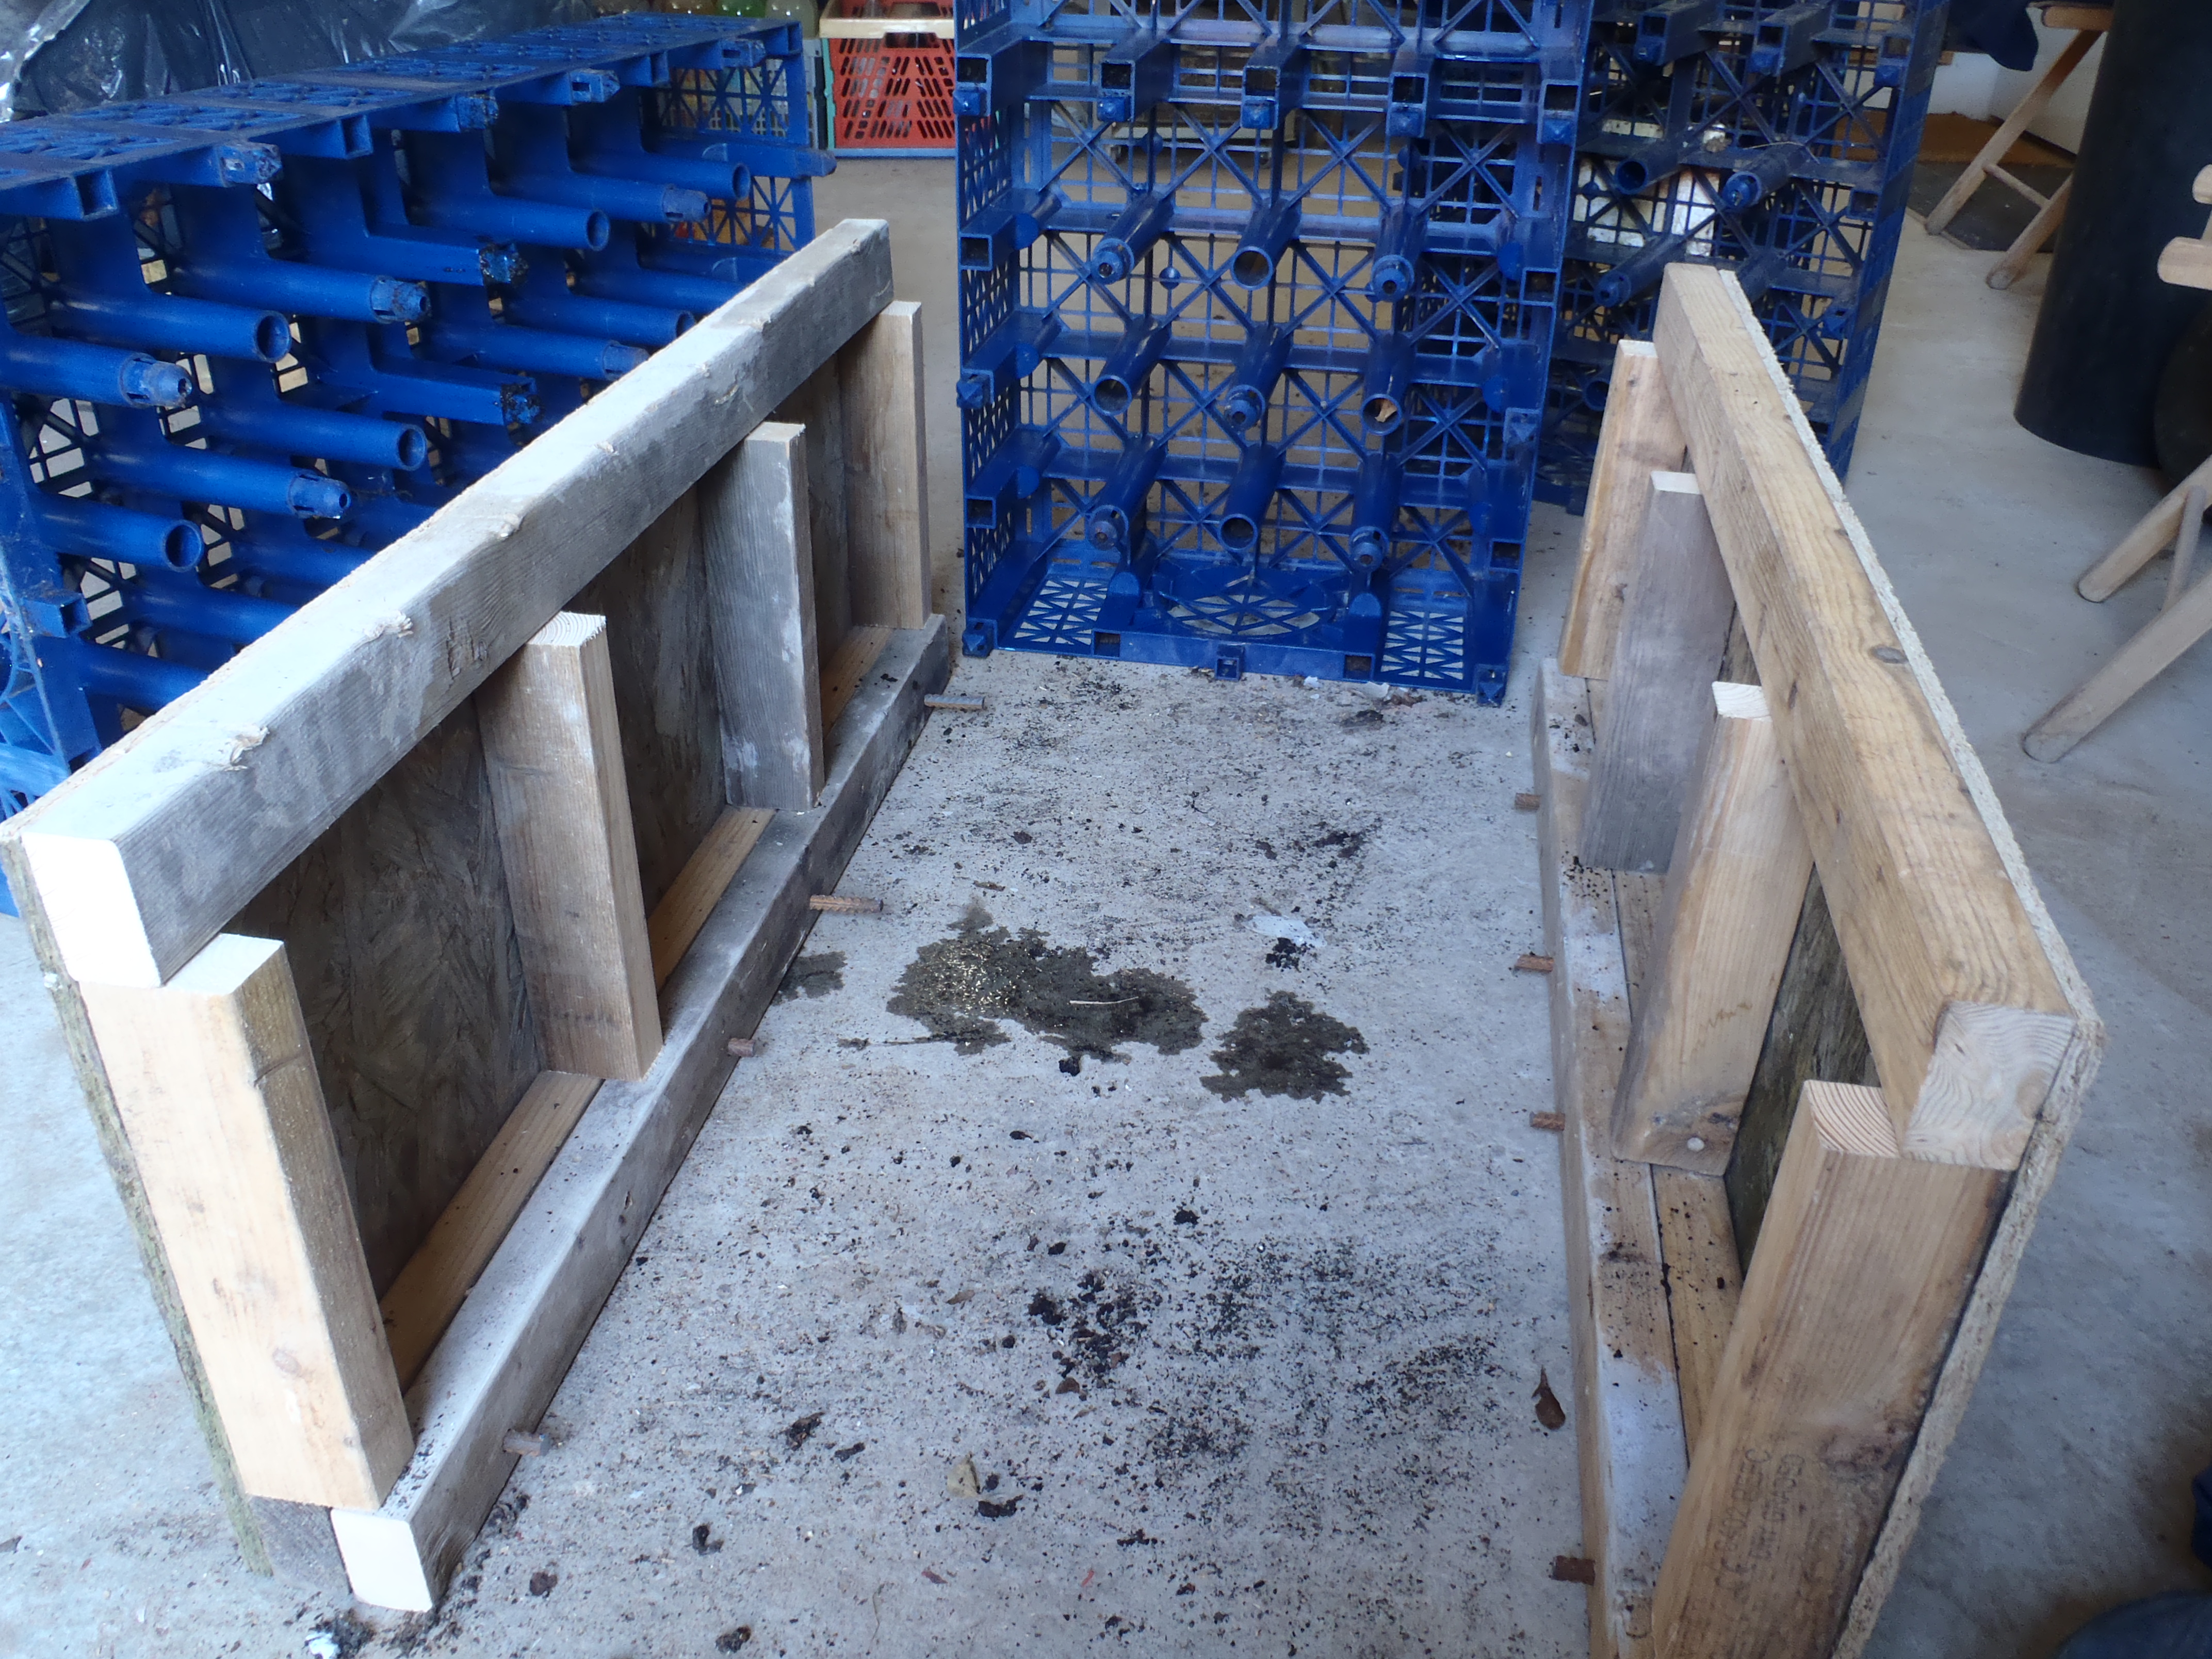
New Tool to Split apart the Aquacell Crates
This afternoon, while we waited for the black metal paint to dry on the wheel
hub, we made a new tool to help us take apart the plastic holey crates, so
we can clean them out!! You might ask why we are having to do this task?
Well, several years ago, we took advantage of the cheaper oil prices and
hence the prices of these plastic crates called Aquacell. We bought 200 of
them and stored them around and behind our temporary living quarters. The
problem has been caused by overgrowing ivy and other trailing plants from
the neighbour’s garden, plus also we might find lots of slugs and snails
living inside these dark spacious rectangular boxes (each measures 1000mm
long by 500mm wide and just about 400mm high) and generally have dust and
dirt blown into them over the years!!So we design this new tool to lever apart the two layers of the crate.

Aquacell-Disassembly-Bottom-holding-studs
Fortunately, they are just held together by friction and so we just
constructed two vertical walls with metal rods sticking out at the bottom
for the Aquacell to hook onto and then, in tandem, using steel rods, to hook
into holes at the top of the crate and lever them apart. Quite easy as it
turned out – thank goodness!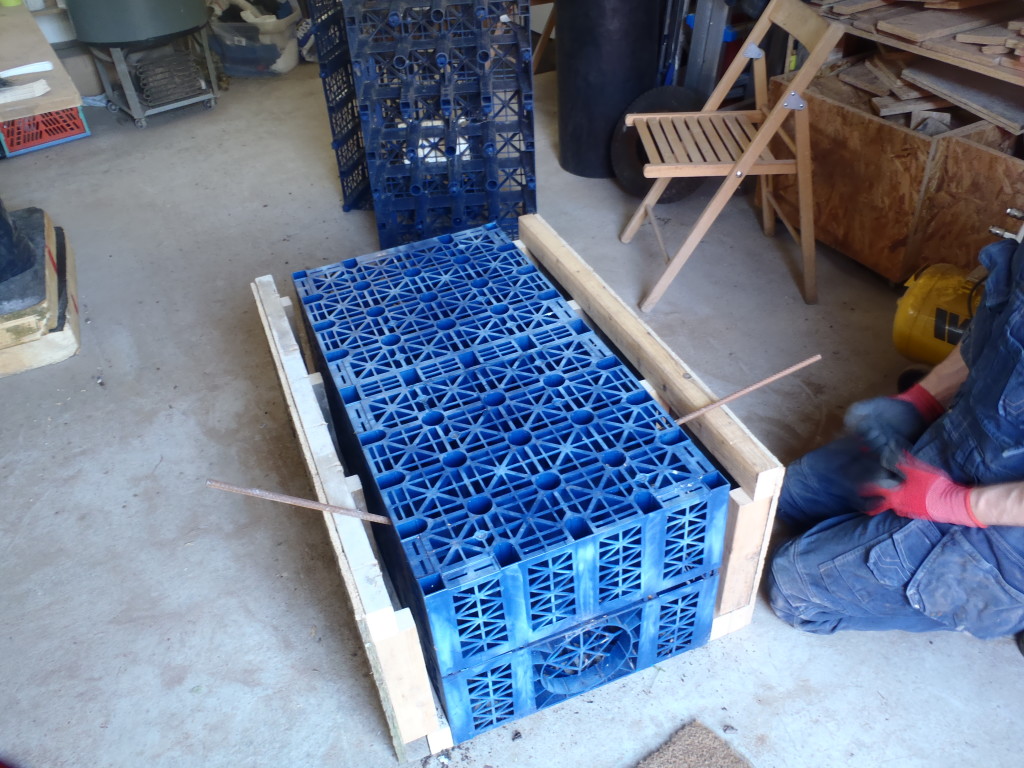
Aquacell-Disassembly-Insert-Levers-and-lift
Aquacell-Disassembly-Separated
We will get our pressure washer out and blast the interior clean of the dust
and dirt, as well as the ivy and slugs too!! -
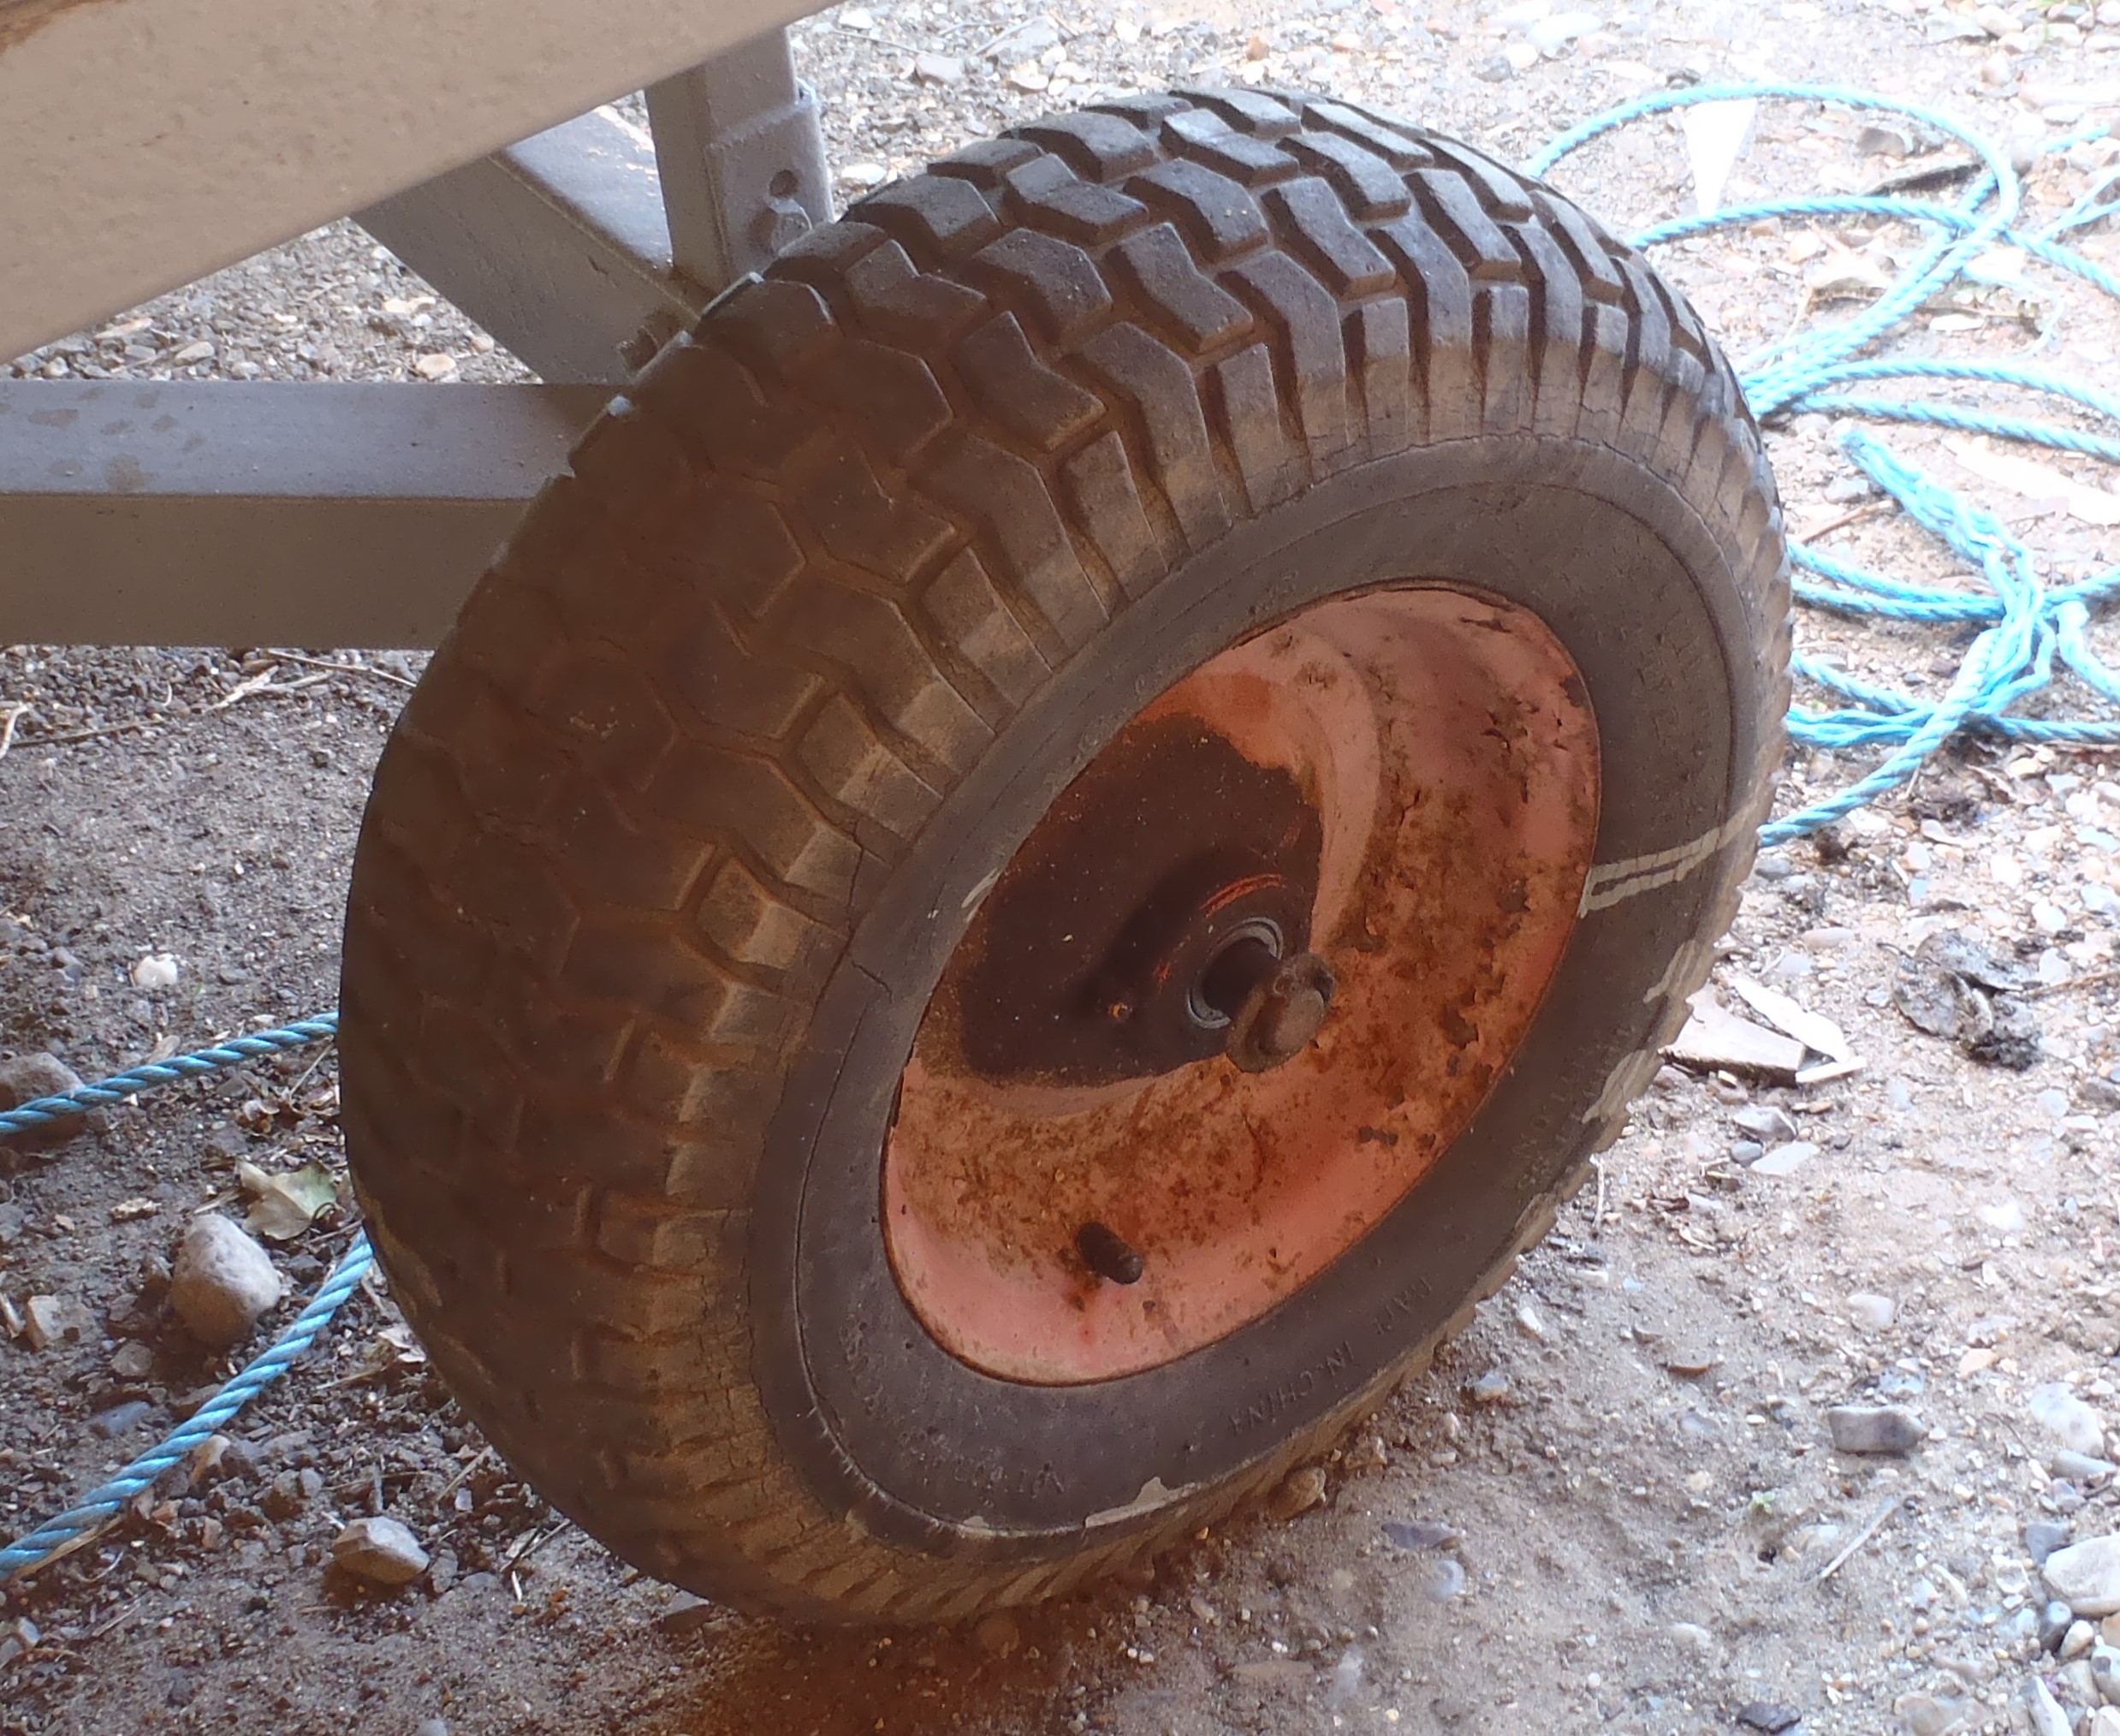
Wheel on Trolley Fixed and Resprayed!
This morning, on this lovely Sunday morning, we did some maintenance tasks,
like for example, repair the puncture we got in one of the tyres of the
large flatbed trolley.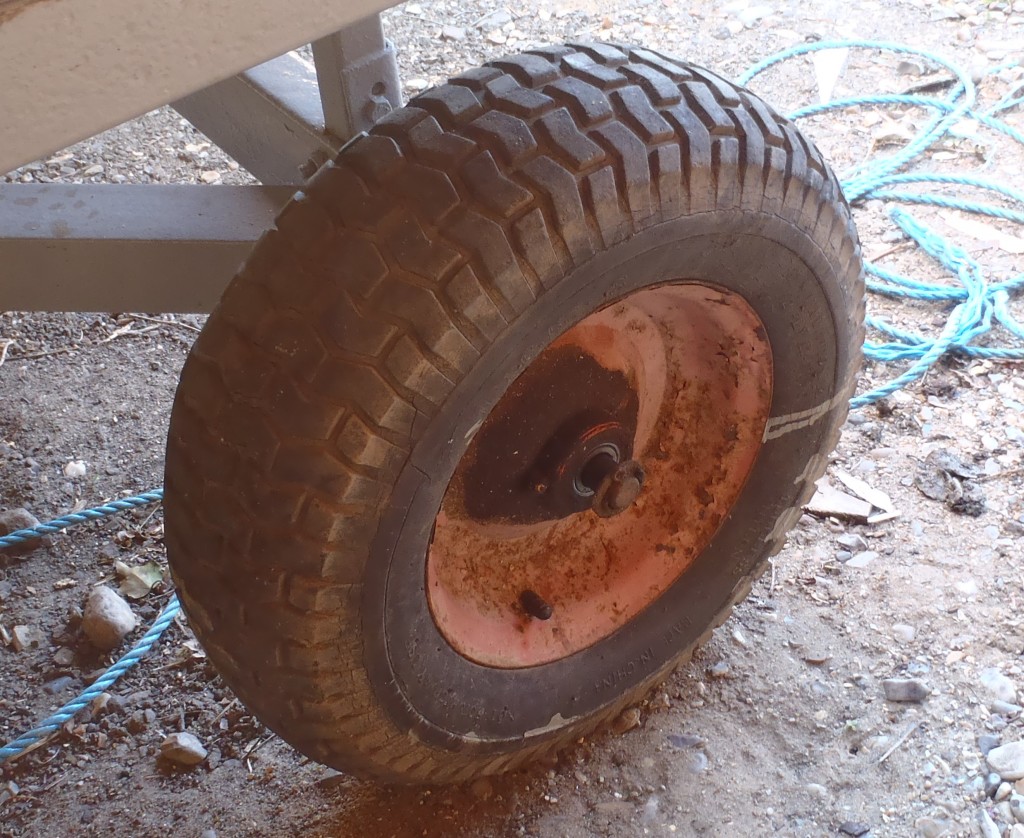
Large-Trolley-Old-Tyre
It was a devil to get the tyre off the metal wheel rim, but after surfing
the net, we wiggled and heaved and levered the tyre off and pulled out the
inner tube. The little hole in the inner tube was located and patched up.
The tyre itself was thrown away as the rubber has cracked under the pressure
of heavy loads we had on the trolley over the years, and this was what
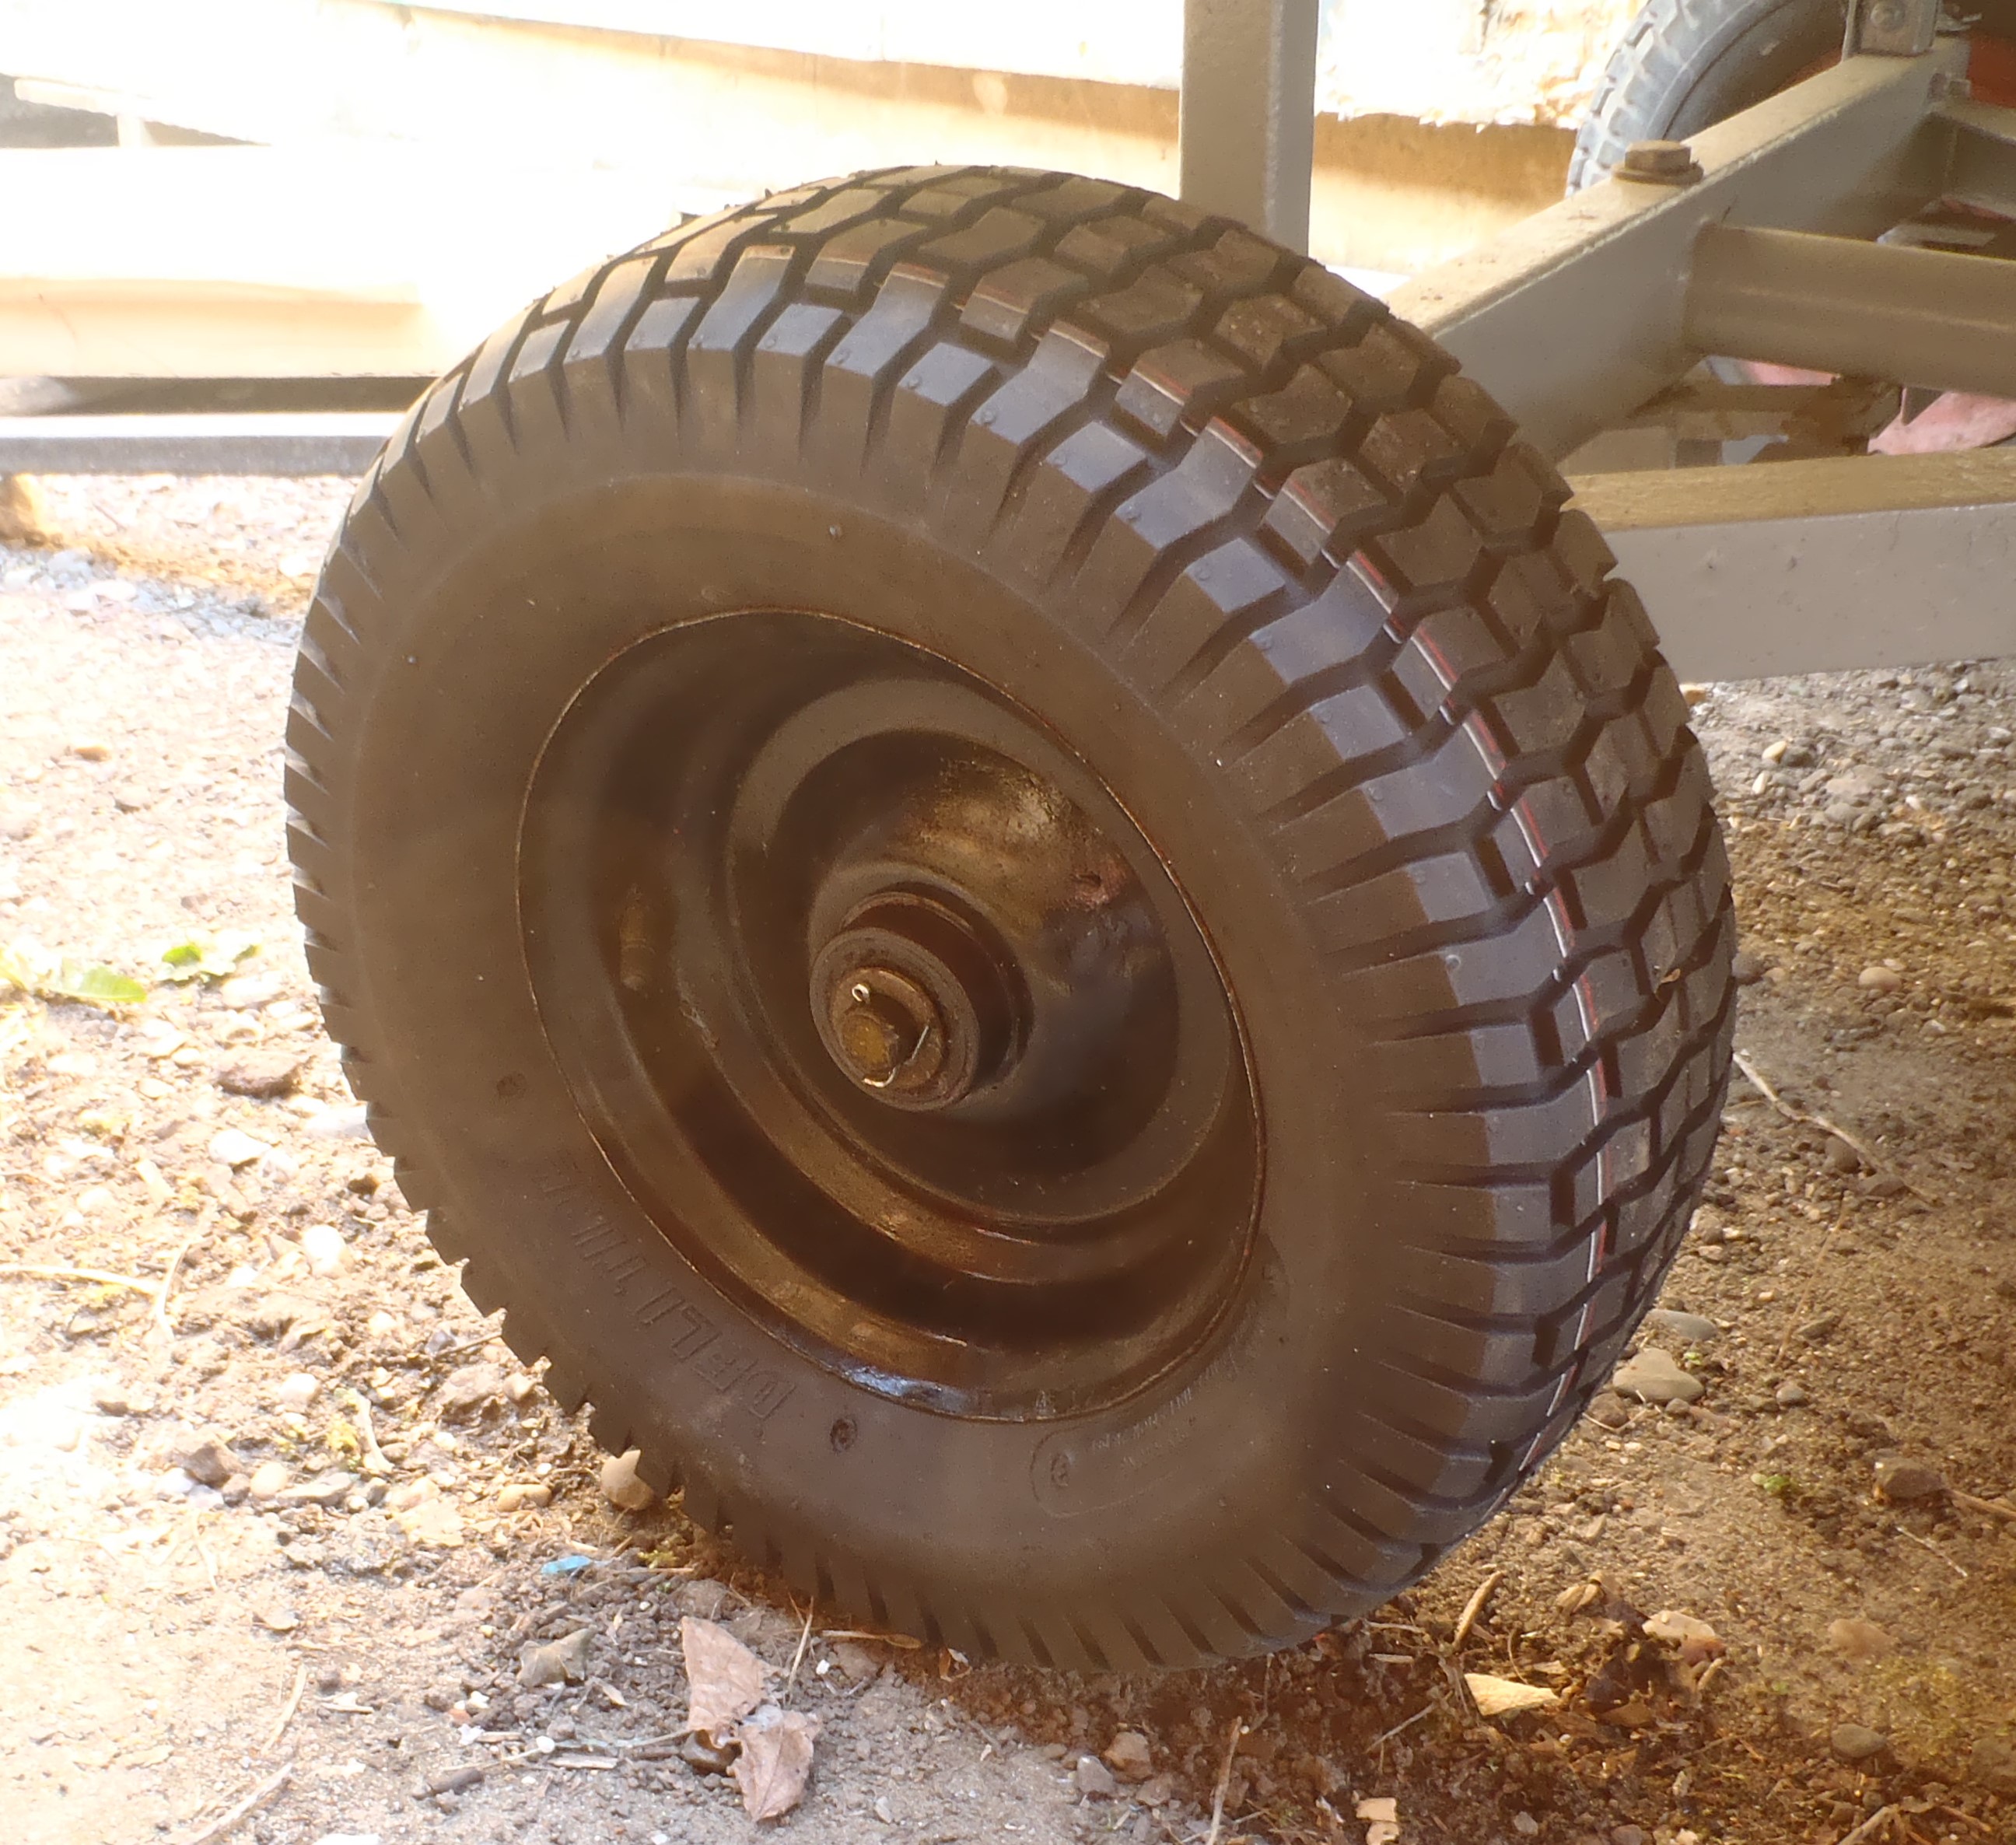
caused the puncture where the inner tube was “bursting” out!!We also gave the whole metal wheel a thorough rub with an angle grinder with
the wire brush attachment and now is drying in the lovely sunshine with a
fresh coat of black metal paint!!
Large-Trolley-New-Tyre
One done and three to go! But first, we will order some spare inner tubes,
just in case we mess one up trying to get the tyre off etc. -
The End of the Loke is now Clear of rubble and Gravel!
As part of our commitment, with our neighbours, to keep the Loke neat and
tidy, we scooped up the remaining hardcore and ballast gravel and sharp sand
mixture and moved them off the end of the Loke and down into our building
area. We scraped and levelled the surface and compacted it all over to make
it nice and neat.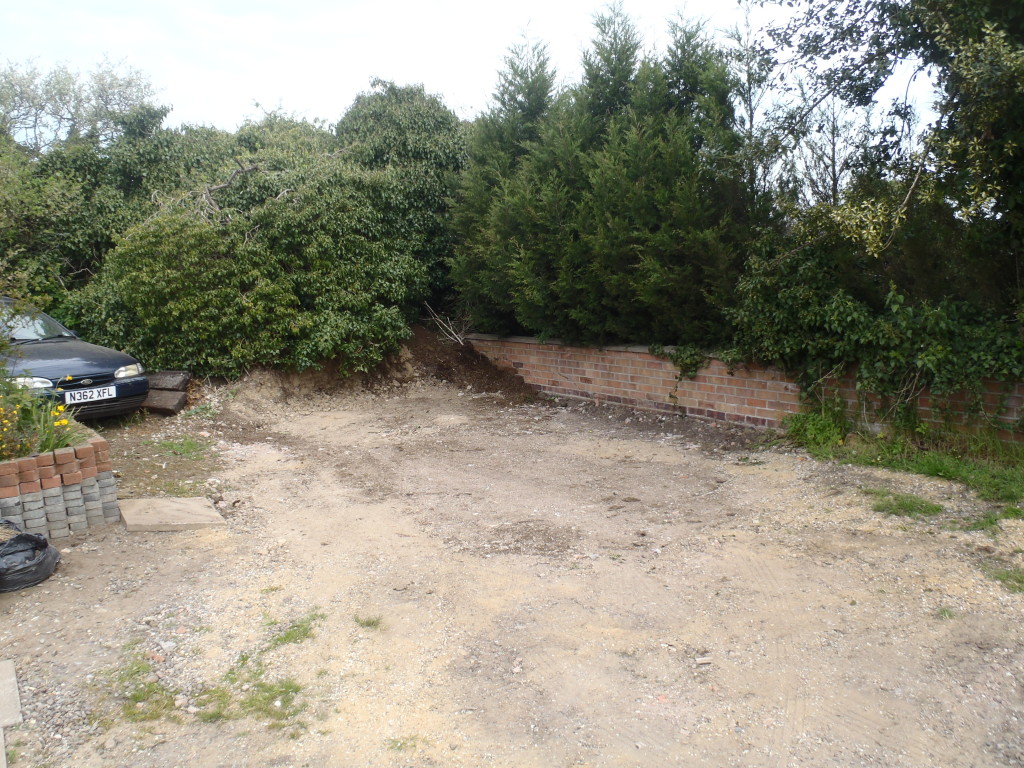
End-of-loke-cleared
We can at last get our old car out again!!
-
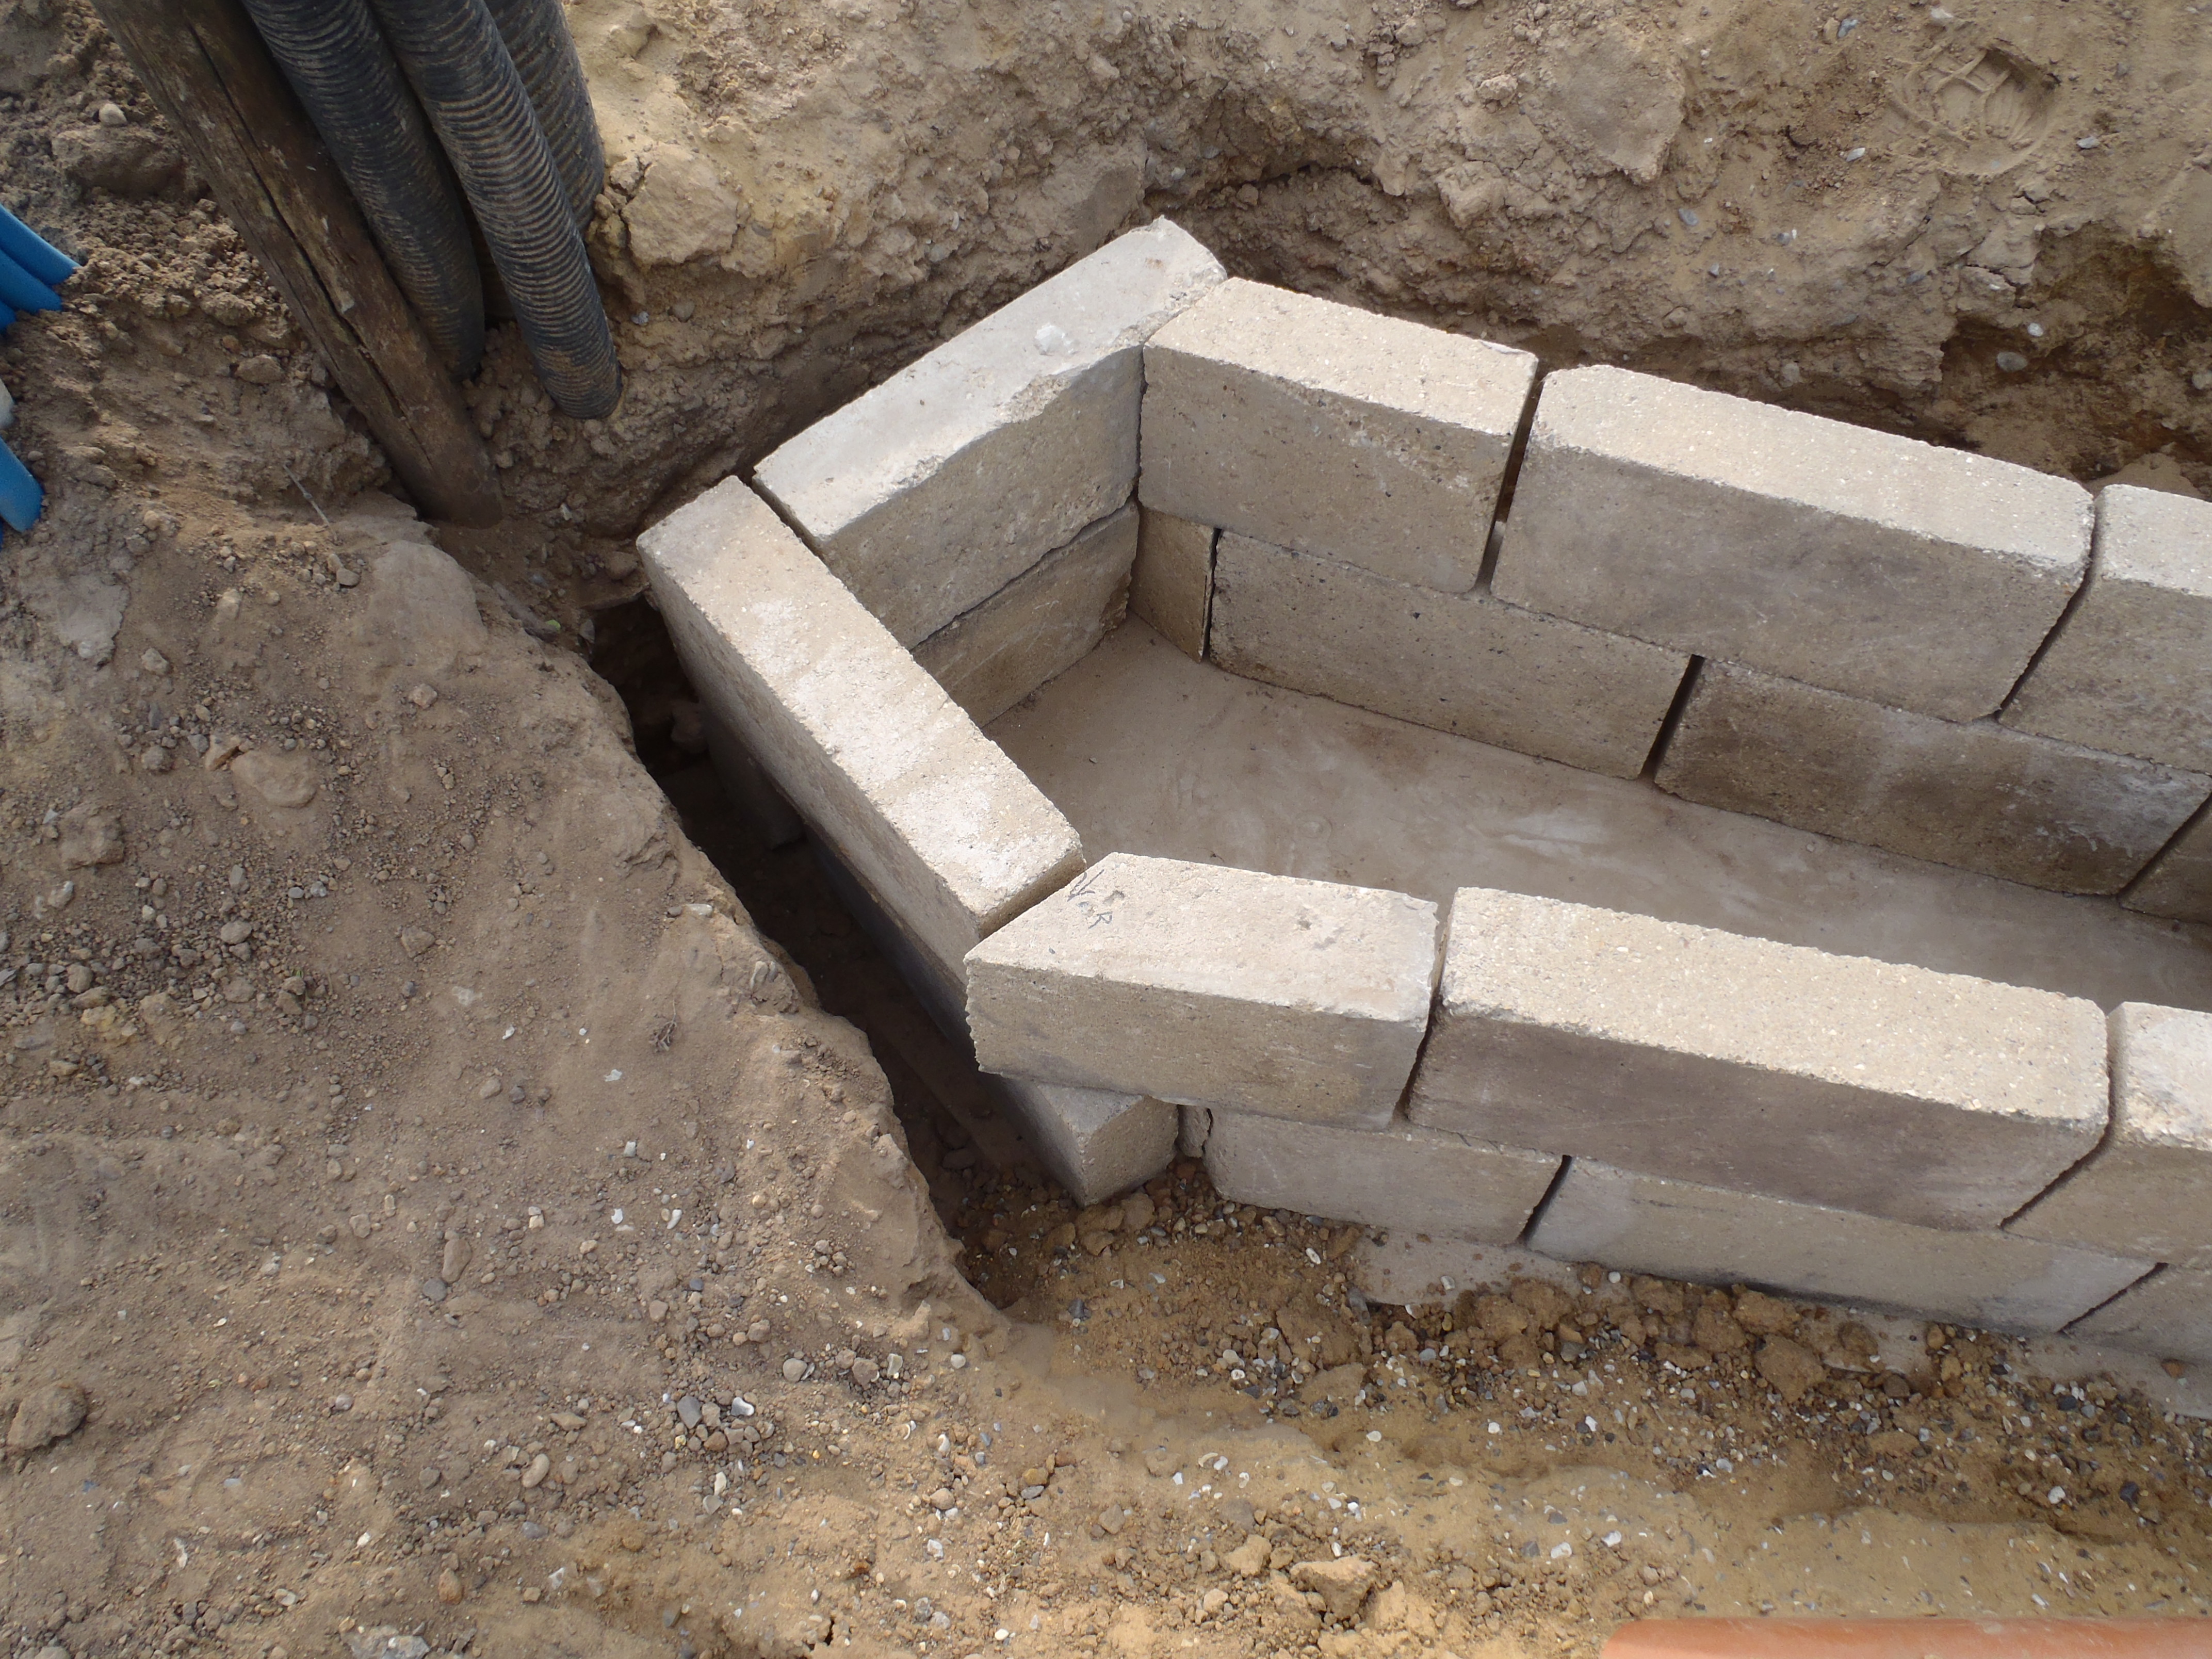
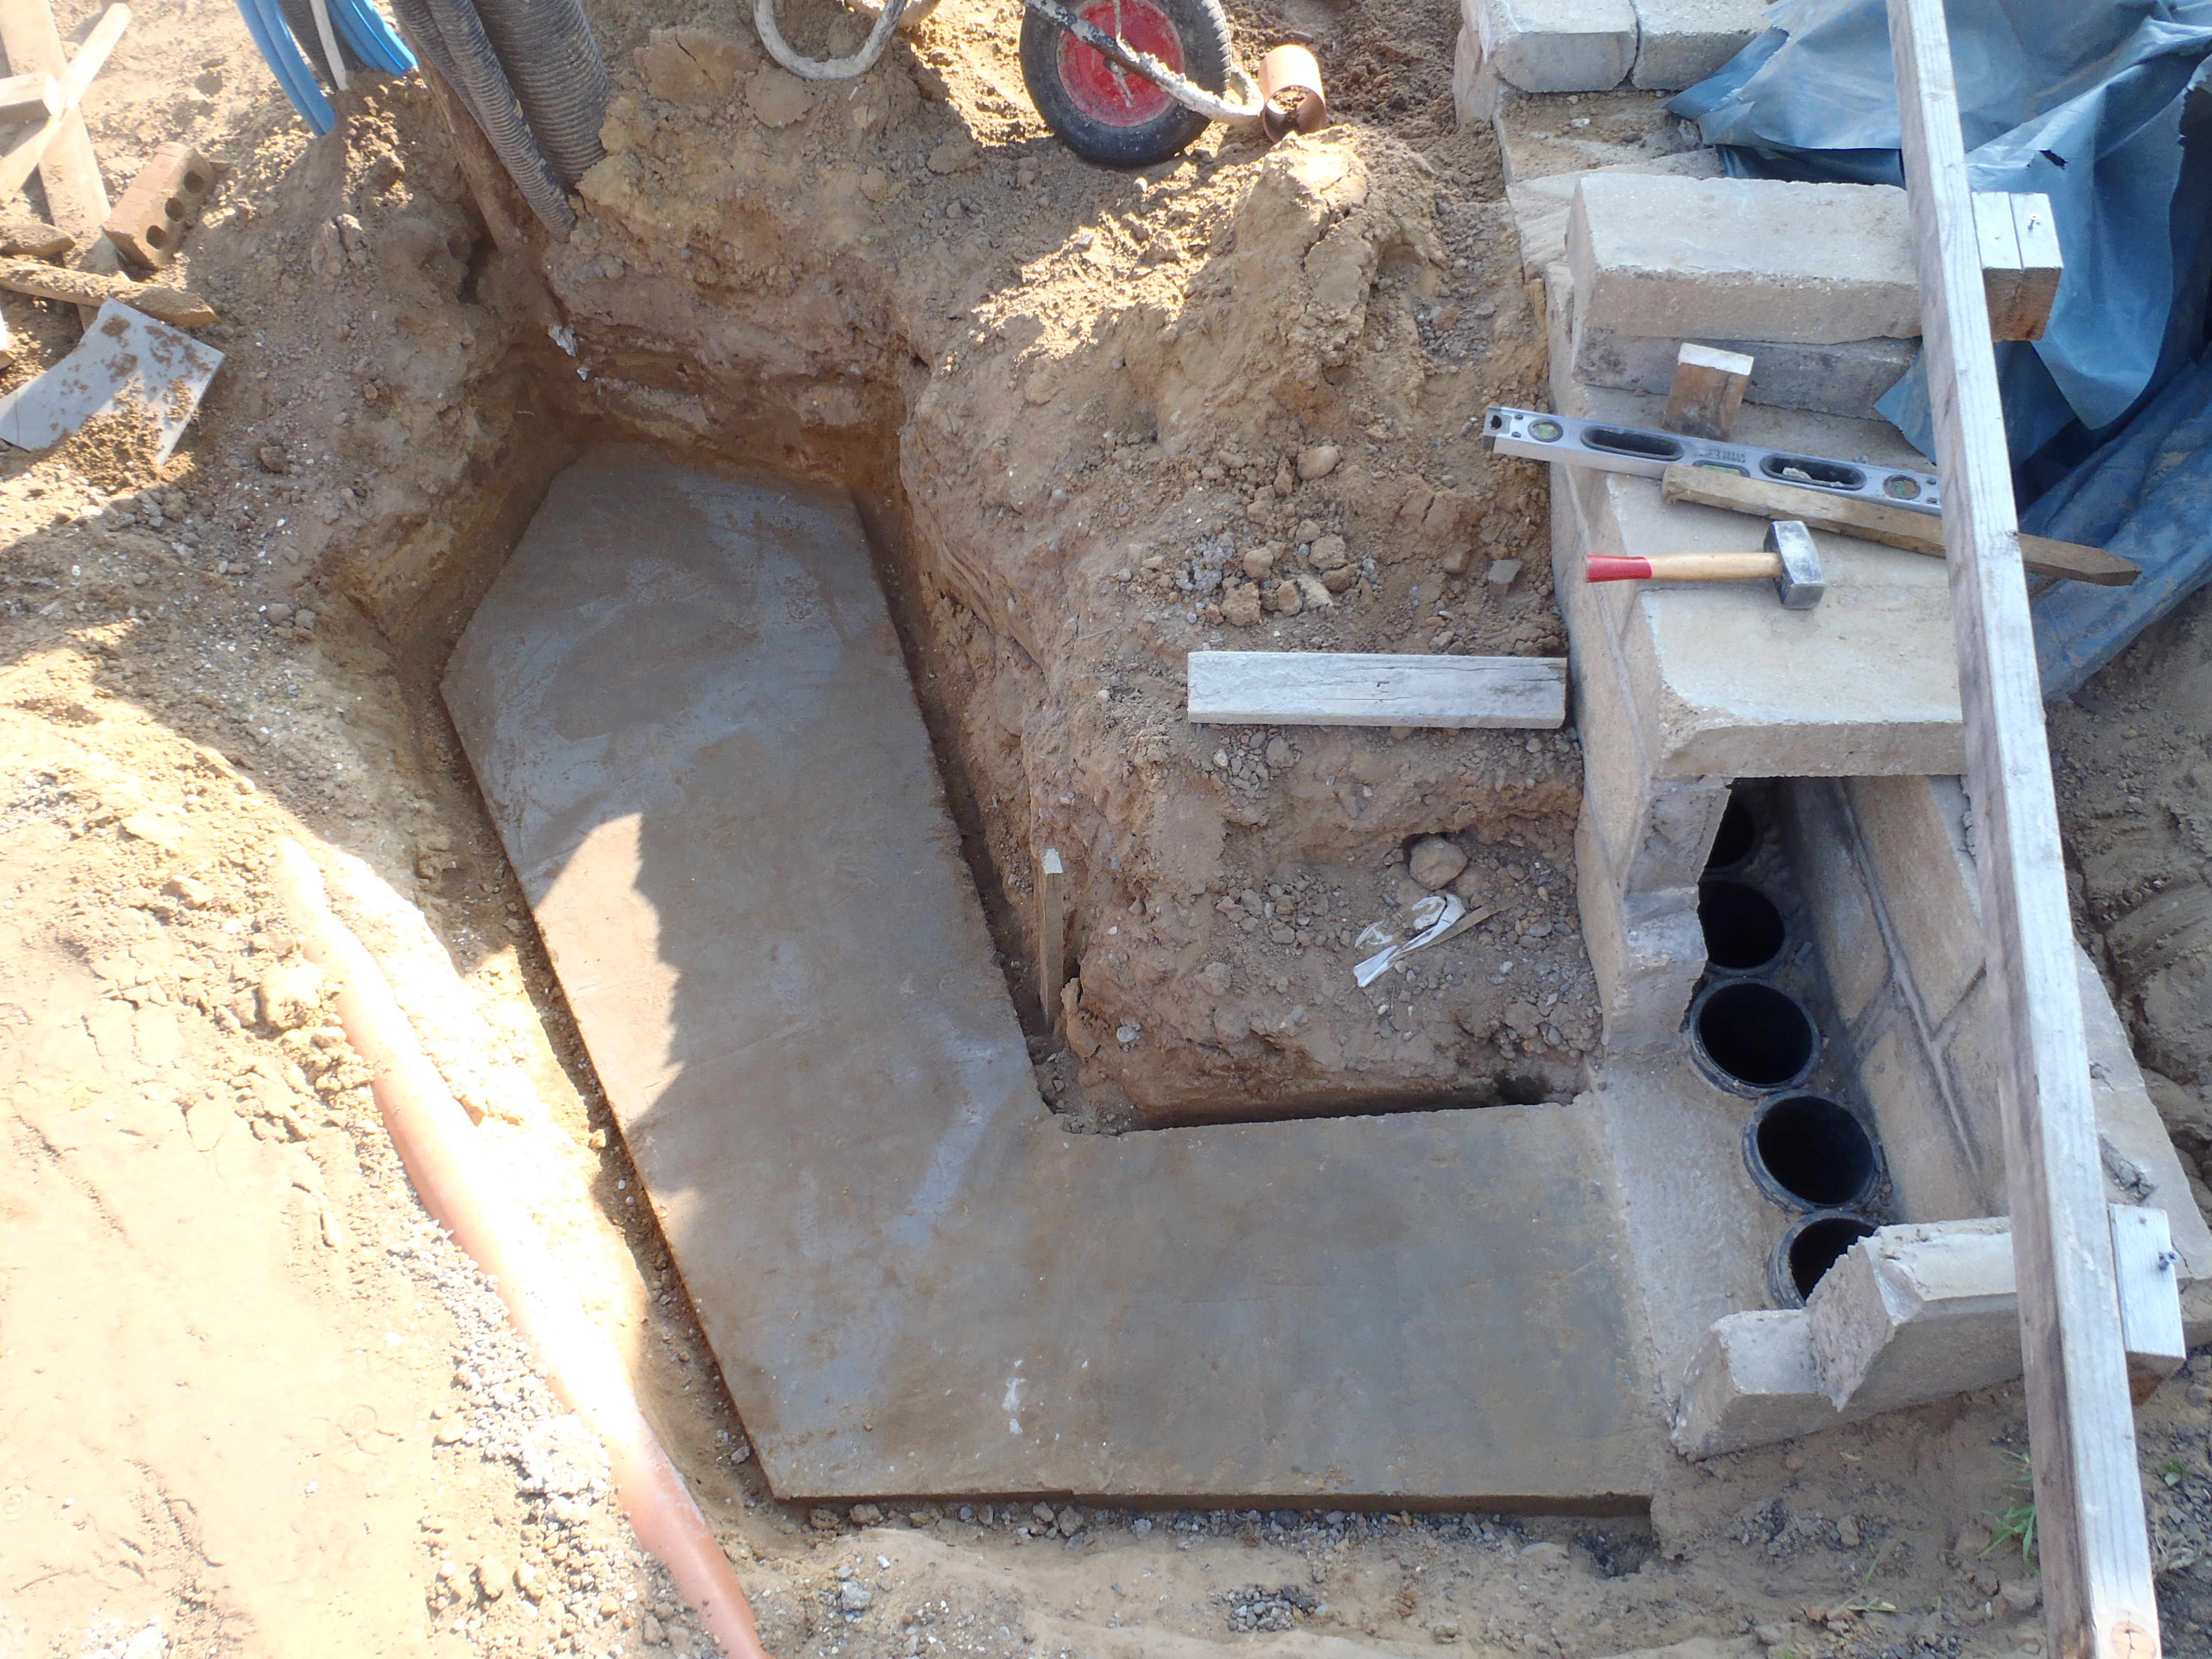
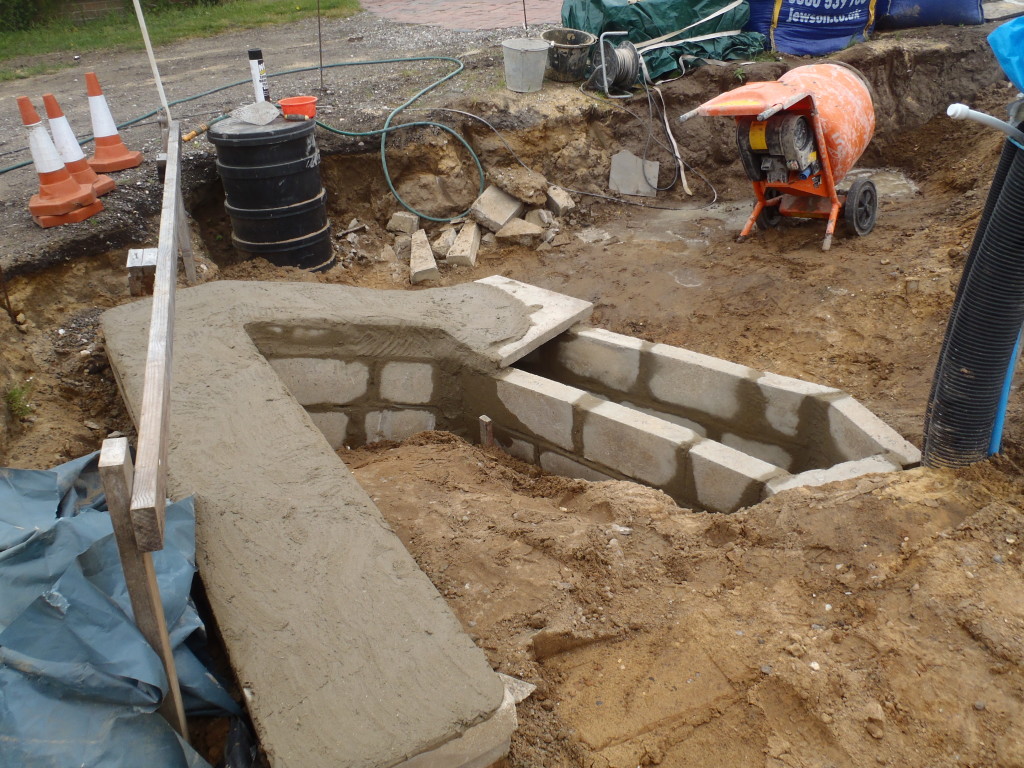
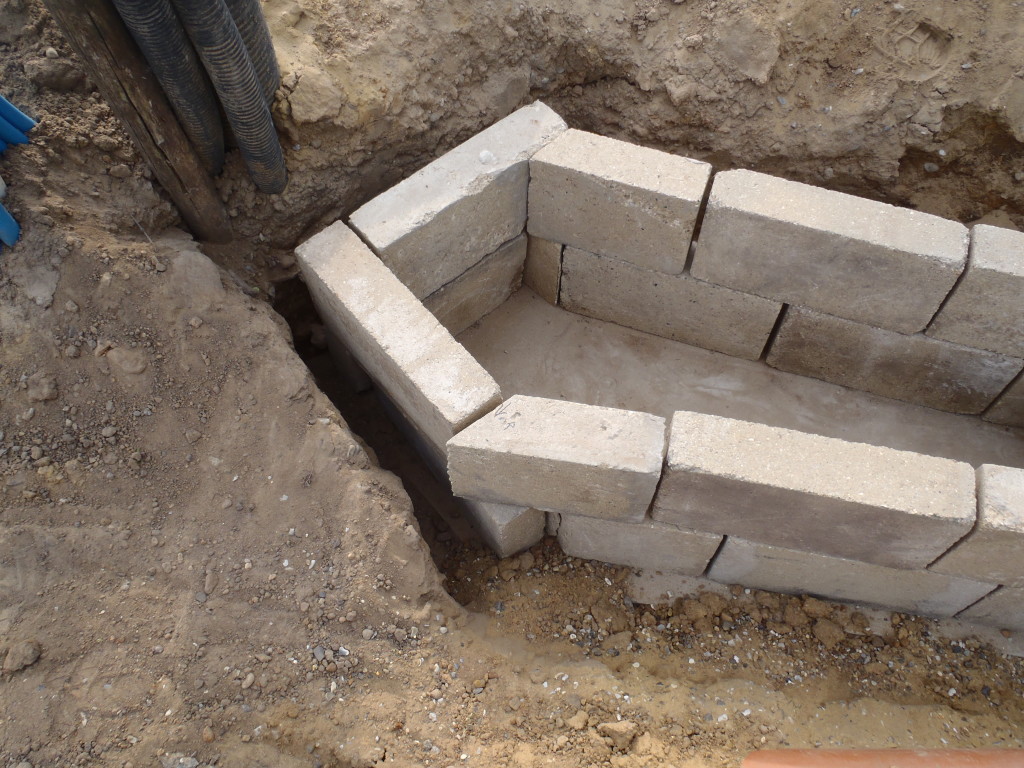
Air Tunnel Construction Started!
After we have finished the sewage pipes (the filling in of their trenches),
we started with the adjustment to the Earth Tube Mixing Chamber and the Air
Supply Tunnel construction.The foundation slab is all set and very nicely done!
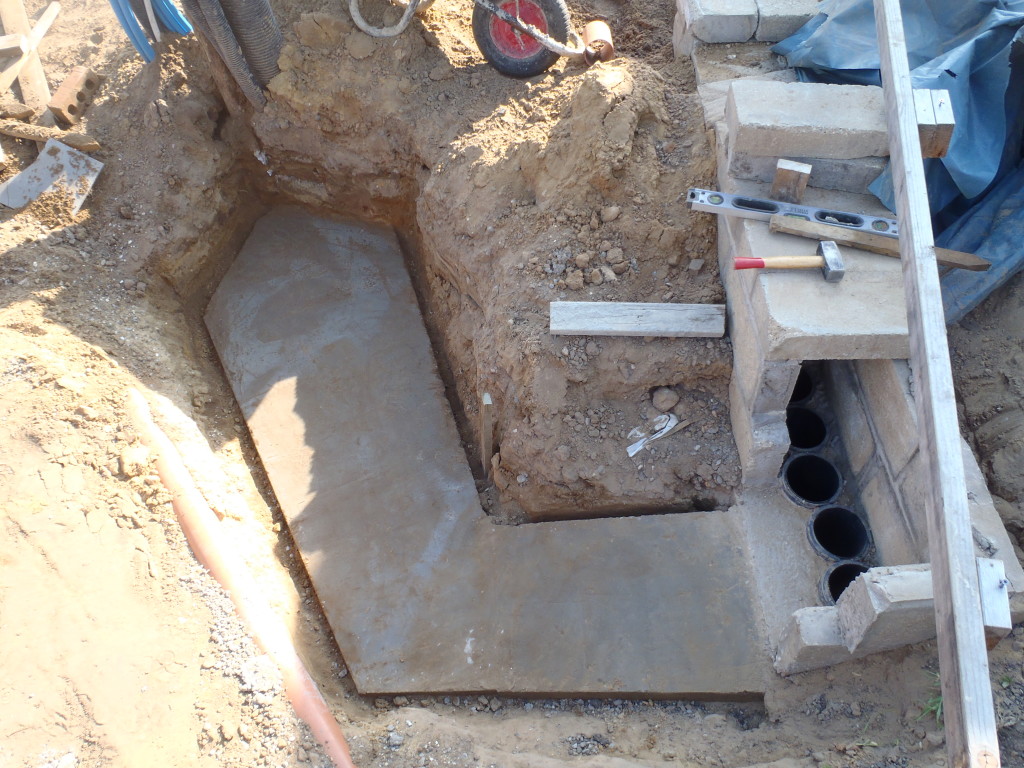
Earth-tube-Concrete-finished
We managed to get the end segment off the chamber with only having to
destroy one of the concrete blocks. Now we are planning the procedure of
what blocks to go where and what angles to slice certain blocks to form the
downward slope of the tunnel exiting from the mixing chamber etc. etc.On Monday, we will resume and finish this task and then fill in all the soil
and the remaining hardcore material back in around the chamber and tunnel
and compact it all to build it up to the required level for the main house’s
foundation etc. -
All Trenches Filled!
Today, again with marvellous weather, we finished filling in the trenches
that has the sewage pipelines in. The trench cutting across the driveway and
footpath was carefully layered with regular compacting with our now fully
working vibrator machine.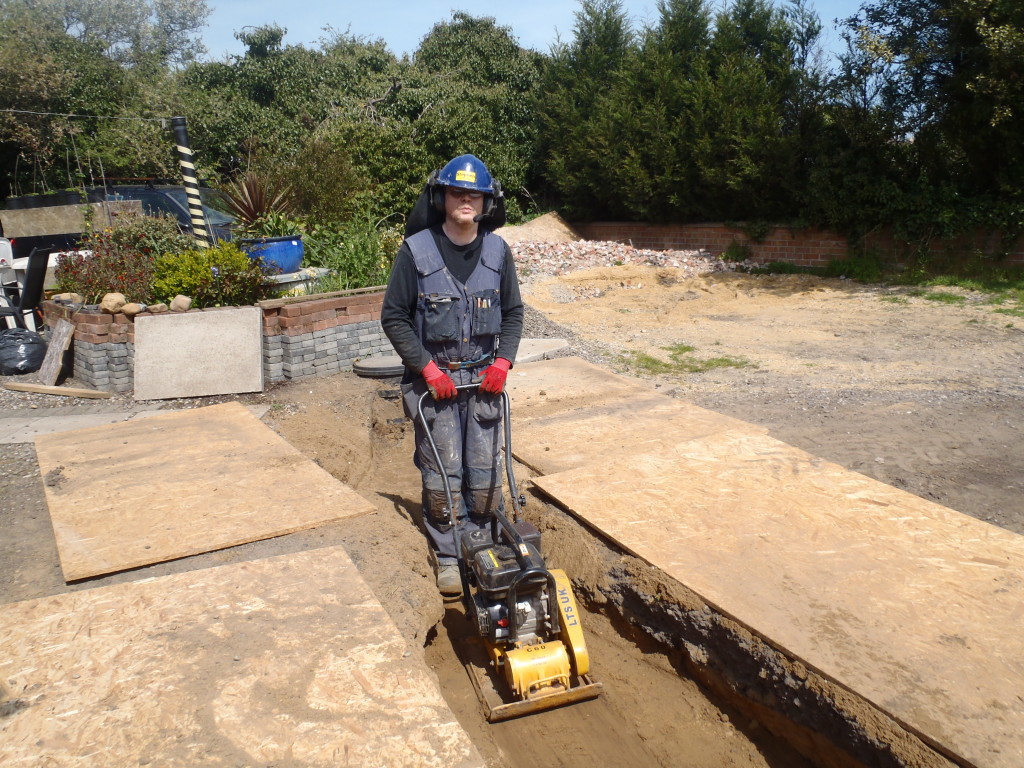
Stephen-Compacting-Trench-1
We used some of the left-over hardcore material on the last 8 inches and
finally topped with two to three inches of the recycled asphalt material.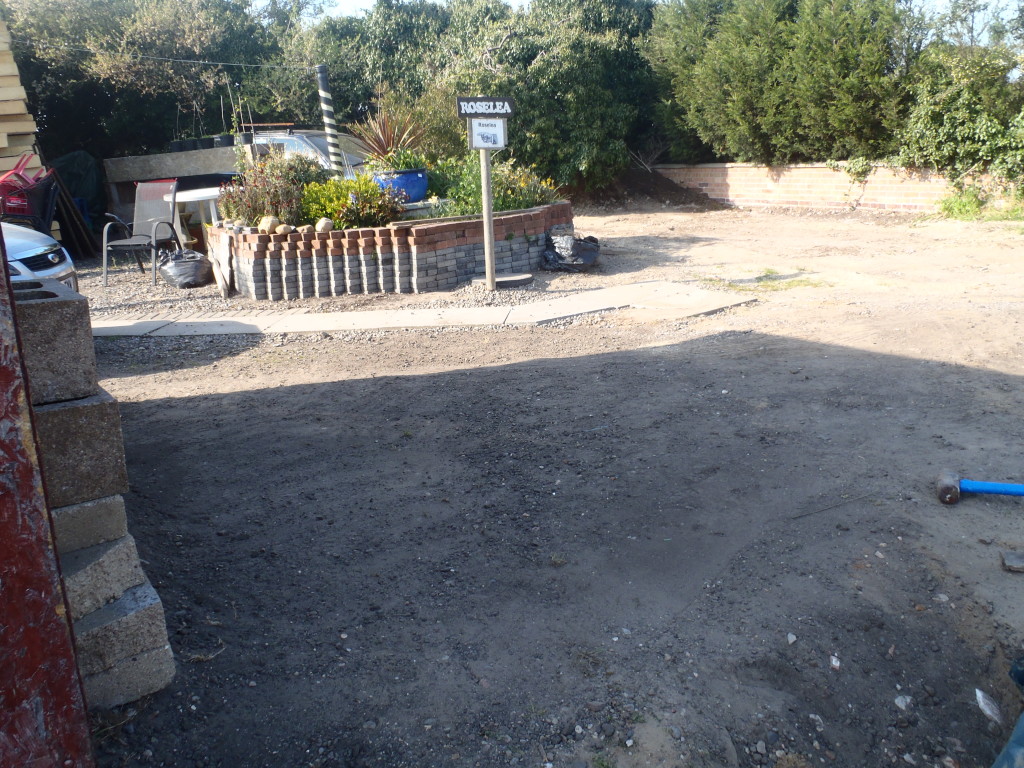
Driveway-restored
The driveway and footpath now looks as good as new again!
The rest of the trenches were filled with the dugout sandy soil and
compacted in layers as before, the only exception to this process, is the
kitchen pipeline because it runs outside the footprint of the house and it
can settle down over the year by itself!!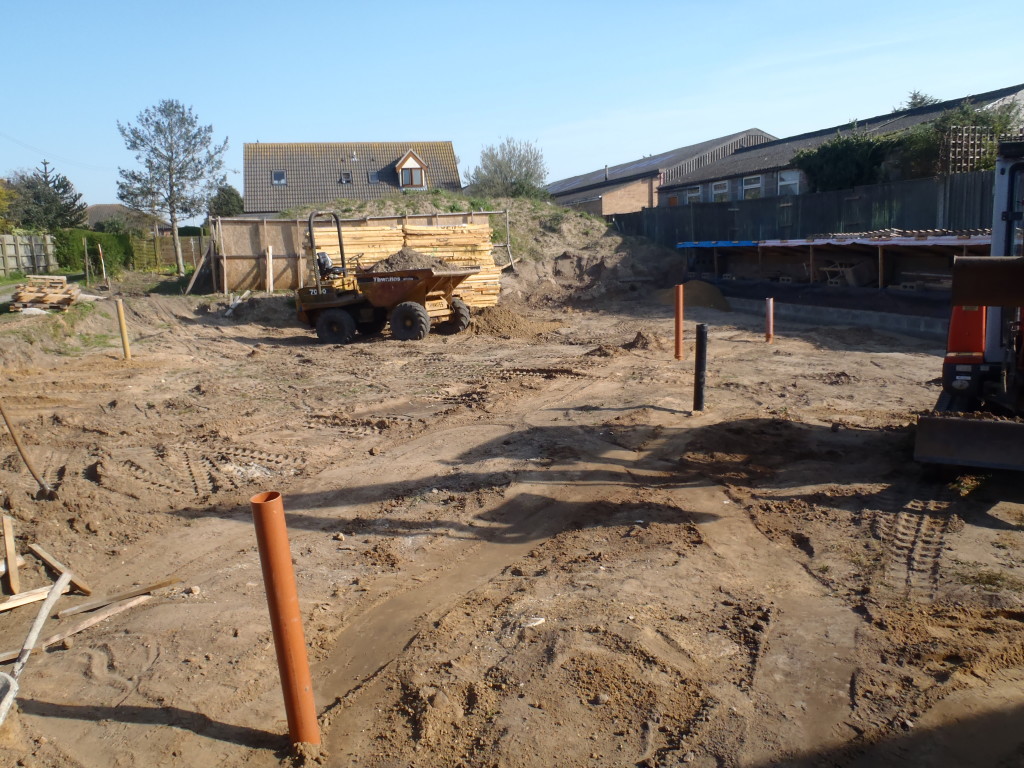
Pipe-trenches-filled
All there is to show for this hidden vital groundwork, is the forest of 5
sticking up sewage pipes!!