Category: Building Control

  • Visit from Building Control to Inspect What We Have Done

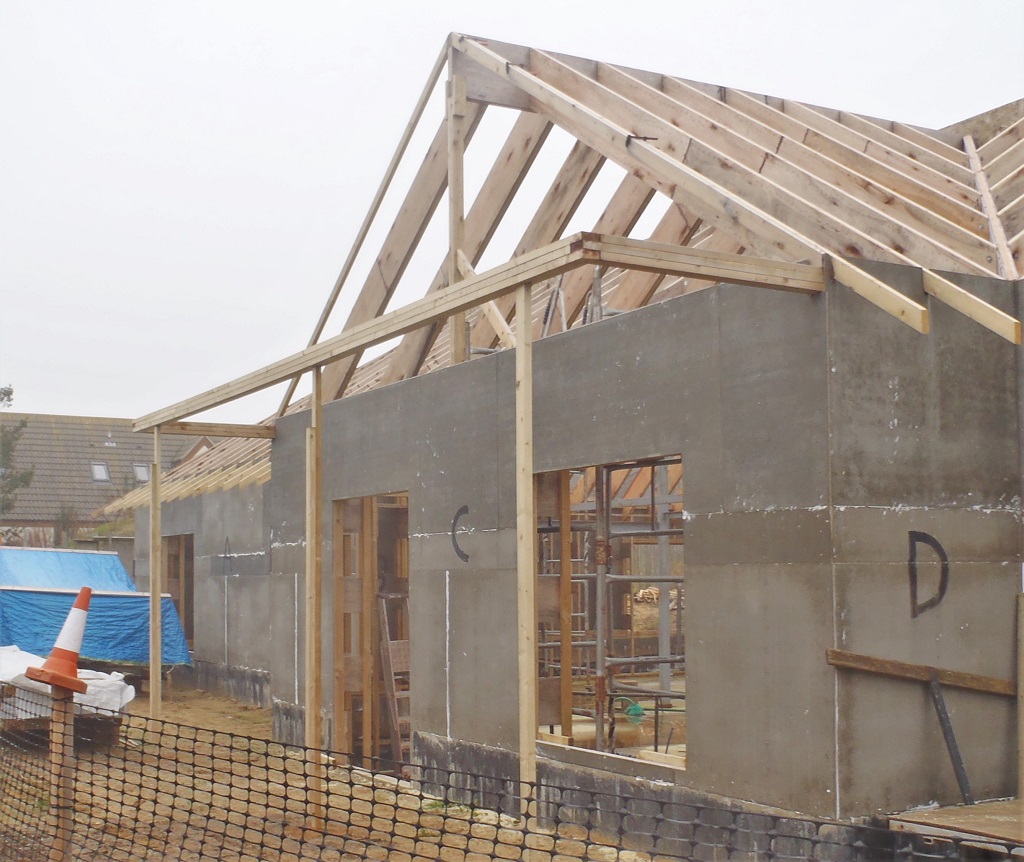
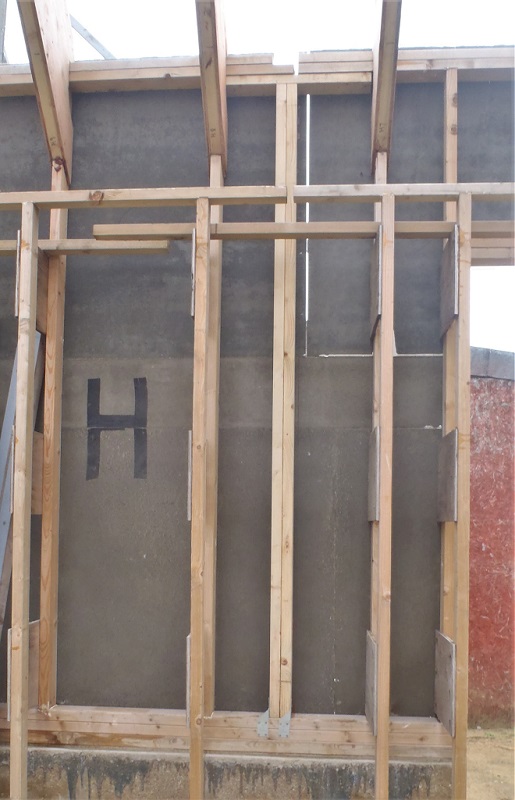
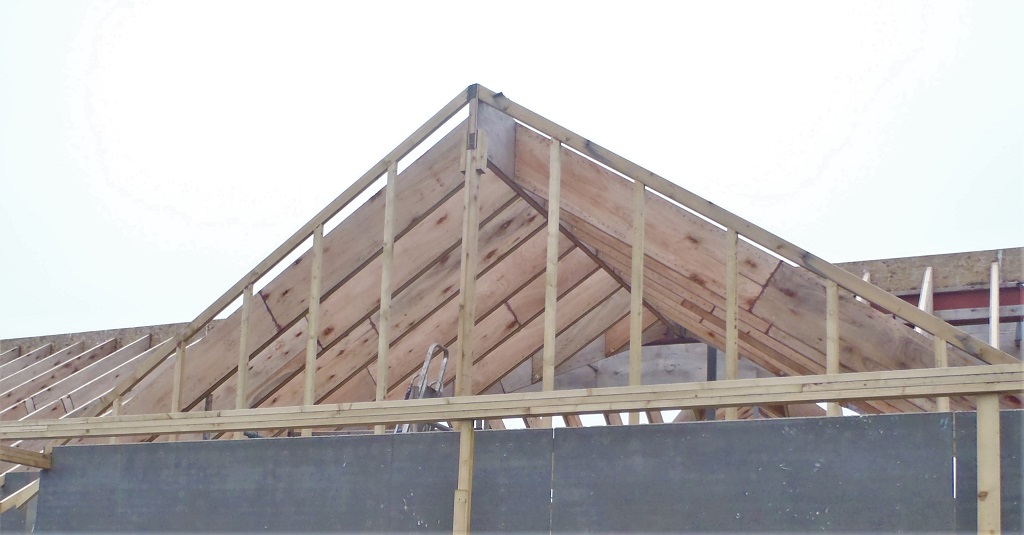
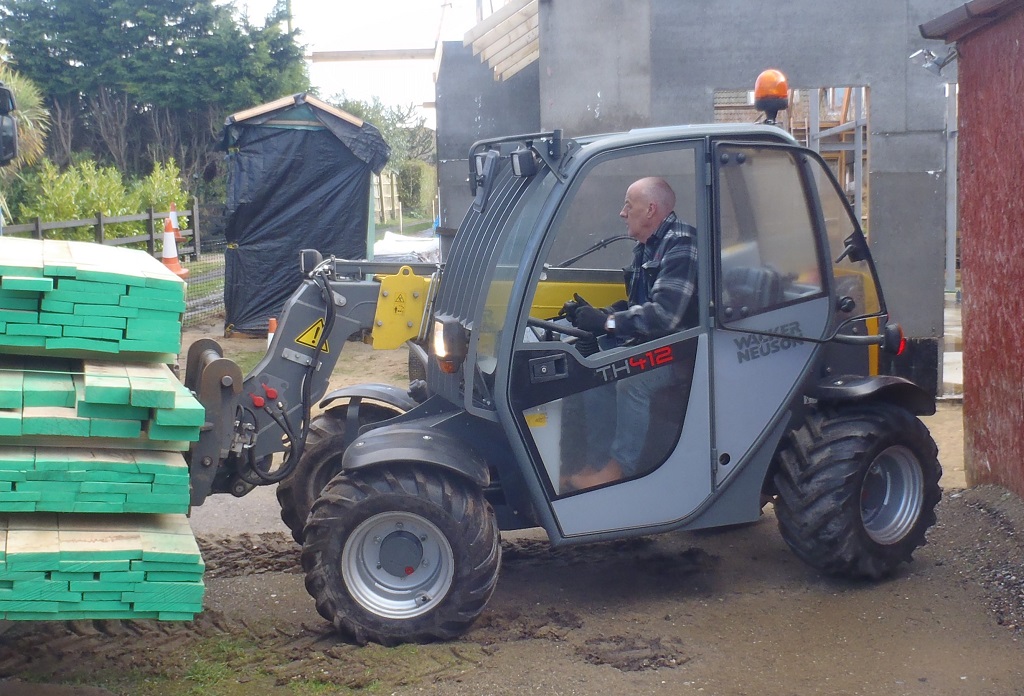
    We had a letter in the post a couple of days ago, asking whether we had completed our build yet. It had been several years since we had an inspection so we arranged to have visit and bring Building Control up to date.
    The inspector arrived this morning and had a look around the outside and inside our house.
    They took some photos as the walked around, They only thing they wanted a confirmation of the fire suppression treatment that we had applied to our Larch timber that covers all the walls nearest our boundary. We sent the photos and blog report that shows the certificate.
    They were happy to what we have done and we only need to call them out again when we require them to “sign” off our project, for both the house and garage together.
  • We Had An Inspection Today!

    Today, this afternoon, we had our building control officer come along to give us a once over, see what we have done, showing him the rafters in our roof, and other parts of the building.
    He is happy and we can continue!!
    The next visit will be at the point when we are just about to lay down our slate tiles so he can see the support timber framework etc.

  • Front Porch Top-Plate Complete Plus Gable Wall Framework Done Too

    In a chilly windy climate (prelude before the icy weather arrives), we hoisted up the long 7.6 metre horizontal Beam and connected it to the two arms coming out of the walls.

    Porch-support-frame-installed

    Porch-support-frame-installed


    We cleaned off as much of the brown splats from when we glued the three layers together, using our electric planer and then man-handled it up on two ladders to slide the “sockets” into the “plugs” of the arms, all glued and double screwed together.
    Then, we chopped up some CLS timber to provide temporary legs to support this over-hanging structure of the porch while we construct the roof and guttering, we have delayed the construction of the final Oak pillars to prevent them being damaged during construction.
    After lunch, we took out our reinforcing internal leg and the short horizontal piece to glue and screw into place on the inside of the wall where the new “arm” for the Side Porch will go.
    Support-post-for-Side-porch-

    Support-post-for-Side-porch-


    We also nailed on two metal brackets at the bottom to help join the vertical leg element to the solid bottom plate running horizontally and provide an anchor against any lifting motion if the arm tries to bend outwards.
    After that, we measured the heights and distances of the gable wall of the Front Extension so we can cut a series of vertical posts to “fill” in the two triangle sections to provide the support framework to hold up the cement boards later on.
    C-Wall-gable-framing-completed

    C-Wall-gable-framing-completed


    We estimate that we will need about 5 sheets of our 10mm cement boards to cover this particular gable end and we have only about four boards plus a half dozen part pieces. We will need to find a supplier to buy another six more sheets to finish off the gable ends inside the Side Porch and also the Conservatory too.
    Tomorrow, we will install the Side Porch horizontal Beam and new arm too and then start on making the diagonal rafters to form the sloping nature of the roof over these porches, but only if the icy weather doesn’t stop us first!! Growl and Brrr!

  • “N” Rafter Installed and Measurements taken for “N” and “O” secitons

    This afternoon, while we had some nice weather, even though it was quite chilly, we went and got our odd “N” rafter (the middle one, which is number 6) up and installed. We had to plane the end a fair bit as it was a complex shaped ends and we had wondered whether we had removed enough in the workshop. So it was a case of removing more until it fitted nice and tight.
    We then measured the next subset of rafters on either side, these being the triangular sections going up to the steel I-Beam and down to the outside corner. These are now in our spreadsheet!
    We did also the same for the “O” section and took measurements for the similar shaped triangular sections for the 45 degree sloping roof too.
    We now have finally collected this data and we now have the means to continue working in the workshop while the weather is bad outside and try not to lose too much more time due to the weather!
    We hope!
    Grin!

  • Oak Timber Arrives!

    This afternoon, in the middle of our lunch hour (about 1:30pm), the Oak Timber arrived!! There were ten packs in total, in four stacks  on the back of the lorry. Also, on the back of the lorry, was a fork-lift truck which came down two steep ramps off the end! We were lucky that the driver was confident to reverse the lorry back down our Loke and avoided causing major traffic hold-ups on the A143 Beccles Road !

    Oak Timber Arrives!

    Oak-Deilvery-First-Pallet-Unloading-

    Oak Timber Arrives!

    Oak-Deilvery-The-Forklift


    The forklift the moved the packs to the cleared area by the Storage hut.

    Oak Timber Arrives!

    Oak-Deilvery-All-Delivered


    The pallets were quite neatly organised, each one having the timber of similar dimensions so we could check off against what we ordered. The initial spot check seems to show that we have got a lot larger volume of Oak than stated on the delivery note. This doesn’t means that we got more planks of Oak, just more volume. And in fact, after processing three pallets, measuring every single one and moving them to our sheltered storage area, it seems that most planks are thicker than advertised!
    Oak Timber Arrives!

    Oak-Deilvery-First-3-packs-onto-rack


    We had a cordless keyboard and a cordless speaker sitting outside on one of the shelves on the storage rack (connected to one of our desktop computers inside), and as each plank was measured using a digital calipers and steel rule, the data was typed into a spreadsheet and then moved and sorted on separate sections on the rack.
    We will resume on Friday with the sorting out the other seven pallets and get all the data into the database so we can cross reference any piece and mark it as being used and record what left-over there is, to be used somewhere else in other parts of the house.

  • Bevels Cut On Latest Rafters

    This morning, while we wait for the delivery of our Oak Timber, we got on with the task of cutting angled bevelled ends on the latest batch of rafters we made yesterday.
    These have quite a sharp angle, very deep, at 53° and almost 100mm deep. Our slicing Saw machine performed very well! And this second version which has a new electric motor on board, is a better quality unit and doesn’t get hot at all, only the gearbox! It is also much better at cutting the wood without burning the material as we are able to turn down the speed of the saw blade and that helps considerable in controlling this burning effect.
    So we have now a growing pile of ready-to-install rafters to go up, all the remaining P rafters and one N rafter. We are just waiting for a day of no falling wetness, whether it is snow or rain! Phew!

  • Created Four Rafters

    Today and yesterday, we resumed our factory production line to produce the remaining rafters for completing the “P” section of the roof, as well as the first one of the “N” section.
    It was amusing to see us racking our brains for all the steps of the procedure of making rafters, getting all the tools, equipment and glues out and get ready.
    We finished today at about 4pm and it is snowing outside so that’s the end of our work for the moment!
    We will see when we can get them up, weather permitting but also our Oak Timber is scheduled to arrive tomorrow too!

  • Six “P” Rafters Go Up!

    Before the rain arrived (about 3pm ) we got out there to get up and installed the six rafters we had made way back before Christmas, into the “P” section of the roof.

    Six

    Rafters-P5-to-P10


    These rafters were simple straight ones coming down from the O Ridge beam to the “P” wall, four of them had full eves sticking out and the last two didn’t.
    Then after tidying up all our tools, under the steady patter of rain, we went and measured the last P4 rafter position so we can update the spreadsheet and then have the sizes for the last 4 rafters (P1 through to P4) to finish off the whole “P” section of the roof’s framework, covering the Great Room and alongside the conservatory.
    We also measured on the other side for the middle rafter in the “N” section coming down from the O Ridge to the corner of the N and M walls. This particular rafter the only straight one in this group of rafters and it is situated in the metal bracket on the O Ridge so once that one is made and installed, we can measure alongside this rafter, on both sides, and get more measurements for the spreadsheet and we then can calculate what we would need to make the “N” rafters.
    Finally, we returned back into the dry workshop and drilled bolt holes and sanded little slopes on the webbing so they can slide onto the leg and spread out the glue better. That concludes the work for today and the rain can do it worse. Hopefully, we can see dry weather tomorrow or else, we will be in the workshop and start preparing for those final P rafters!

  • Bevel Ends Were Cut on P Rafters

    This morning, a slight change of plan as the weather has come over wet again, so we got on with the job of cutting the bevel ends on the rafters going into the near corner of the Great Room near the front of the house. There were six in all, 5 were the full size rafters and the last one was just the top flange piece.
    We dusted off the Slicing Saw Machine and got the template out of the shed and proceeded to slice the angled ends on these rafters.
    And that is it for the day as the weather is now hailing frozen blobs of water so we will have an afternoon off and resume in the morning when we can start to put up these rafters and the others into place at last .. .. weather permitting!!!

  • New Lifting Mechanism Created and Finally The DE LVL Rafter is Up and In Place!

    We finished creating the new Lifting Support Framework for the winch, with some more welding of reinforcing struts at the top and handles at the bottom to allow us twisting control and something to pull on when we need to take down the arm.

    Strong-new-winch-bracket

    Strong-new-winch-bracket


    We took out our new support arm to the tower, mounted the motor to it and heaved it up and plugged it into the corner of the tower. We then hooked up this rafter (the DE valley Rafter) with both winches and started winding it up again. this time, it went all well and we managed to get the rafter fully into place correctly – at last! This was only a test run as we needed to get the DE leg in place too and glue it all together!
    We trimmed this corner leg to exactly 2385 mm long and smoothed it off with the belt sander until it just fitted nice and smoothly. We then did another dry run with our rafter to make sure it fitted in, this time with the leg there too. Yes is the answer and phew!
    So we went ahead to glued all the joints at the bottom of the rafter, and the top too and all the internal surfaces of the vertical leg. The rafter then came back and slid into place, even easier this time with the lubricant of the glue there to help us.
    Strong-new-winch-bracket-in-use

    Strong-new-winch-bracket-in-use

    DE-Lvl-rafter-in-place

    DE-Lvl-rafter-in-place


    We then fixed a couple of nails into the bracket at the top and screws into the wooden leg and rafter at the bottom to keep it held in place while the glue sets.
    This concludes the very long saga of getting this one rafter into place and thanks goodness at last, it is there – Grin!
    On Monday, we can move over to do the second rafter we have ready, this one being the AB LVL valley rafter on the other side of the C Ridge beam and it will go so much faster after all what we have learnt these last few days! We Hope So! Grin!