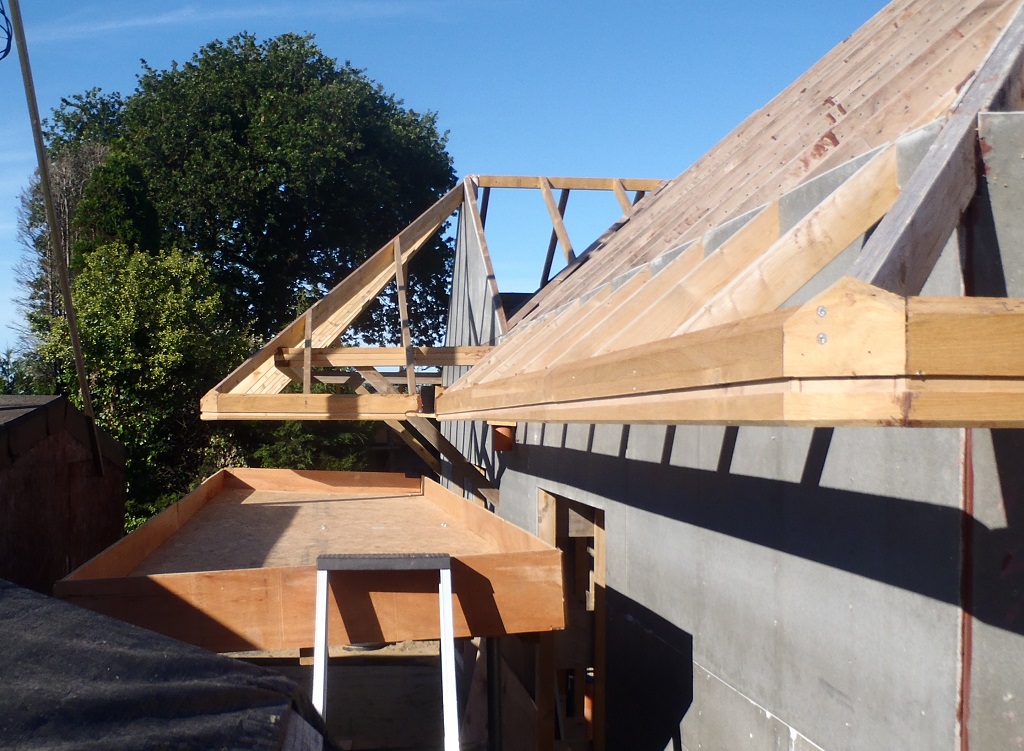
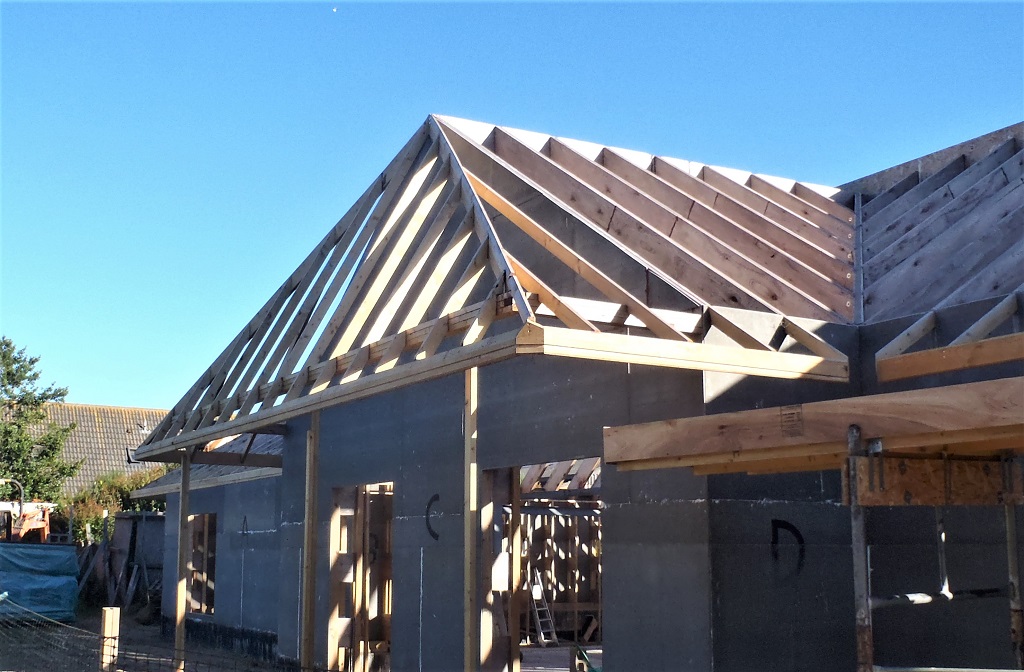
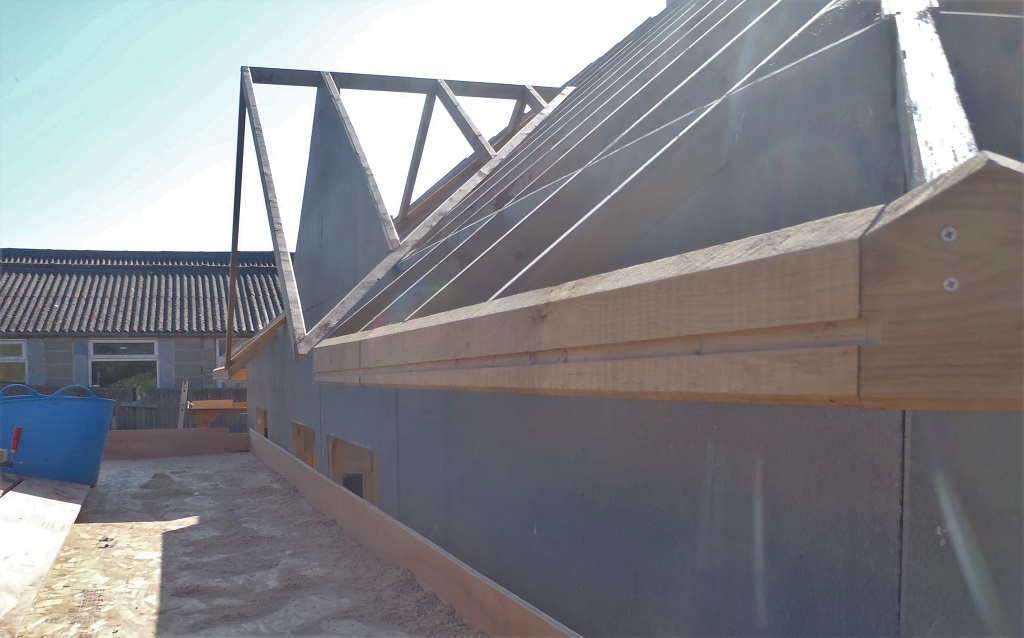
Saturday and today (Monday), we carried on doing the roof and completed the little bit left to do on the “B” where the very top narrow row was filled in and then the diagonal join point with the “C” was trimmed, ready for the “C”.

Roof-boarding-Day-4-AB-Complete-
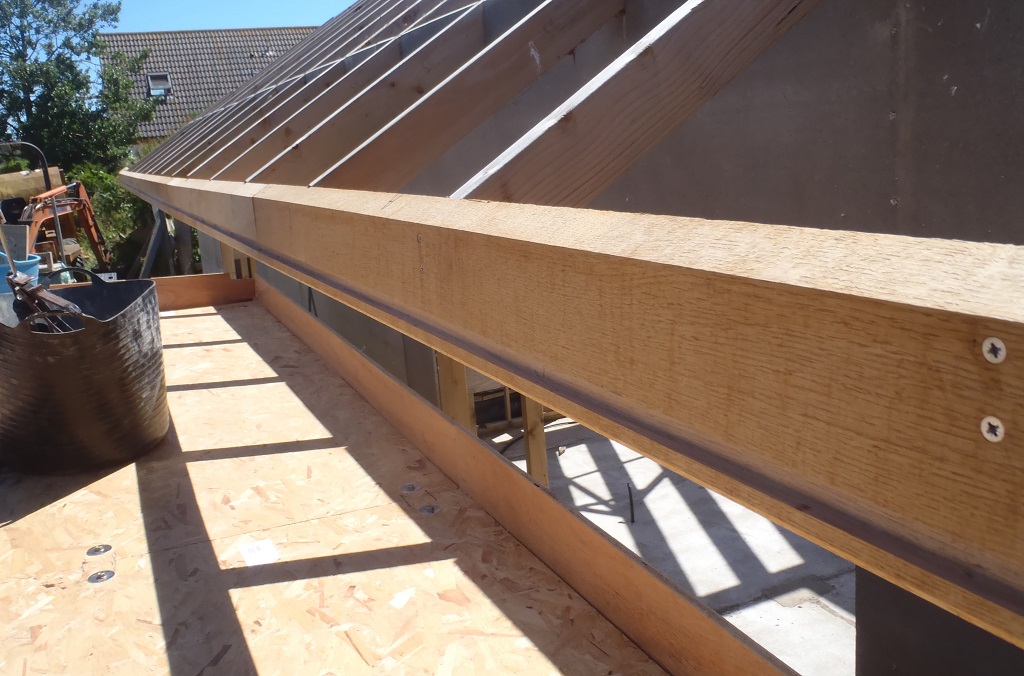
Then we moved the mobile platform out and along the front to allow us to start work on the “C” Front Porch section of the roof. We managed to get just about half of it done by the end of Saturday.

Roof-boarding-Day-4-Started-on-C
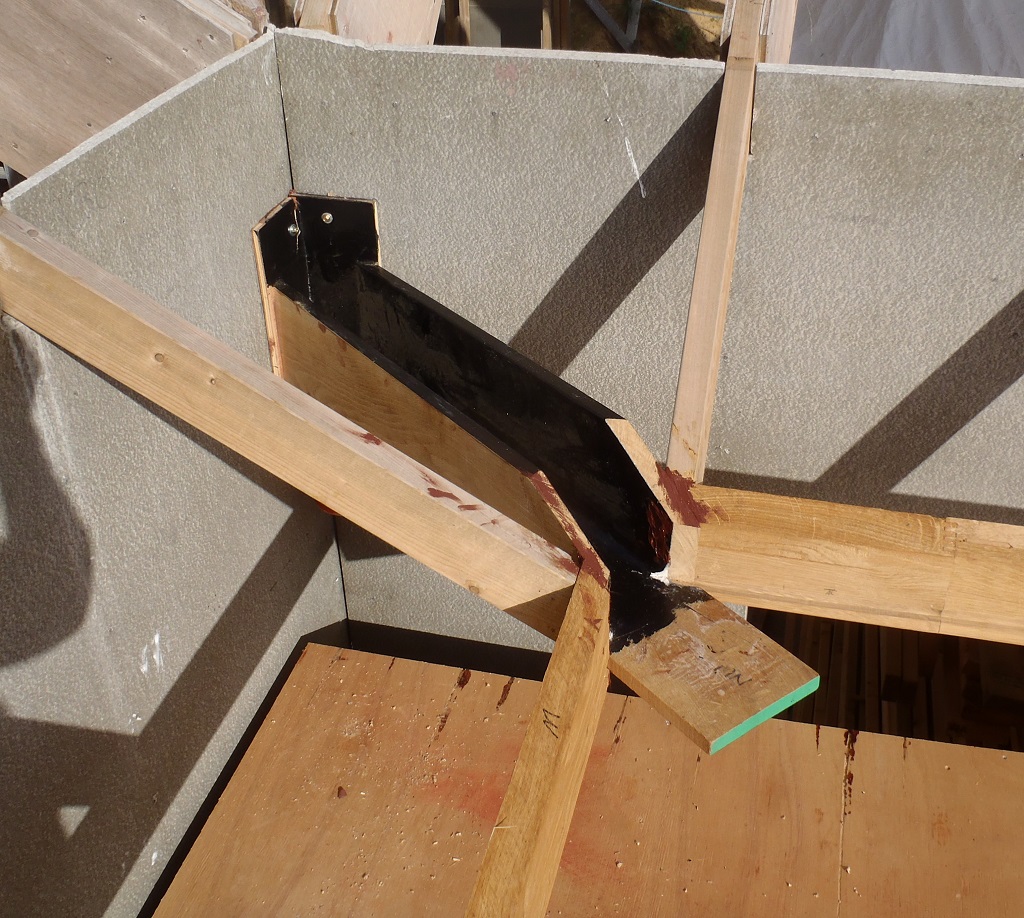
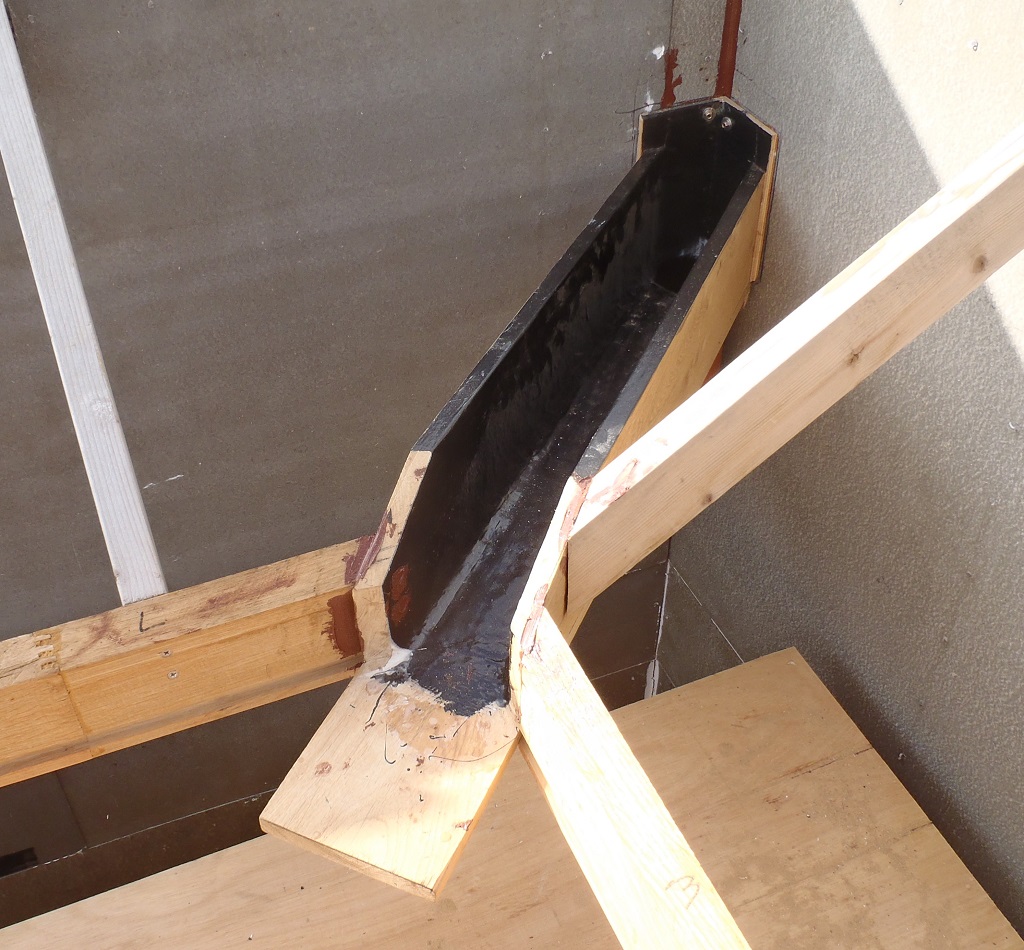
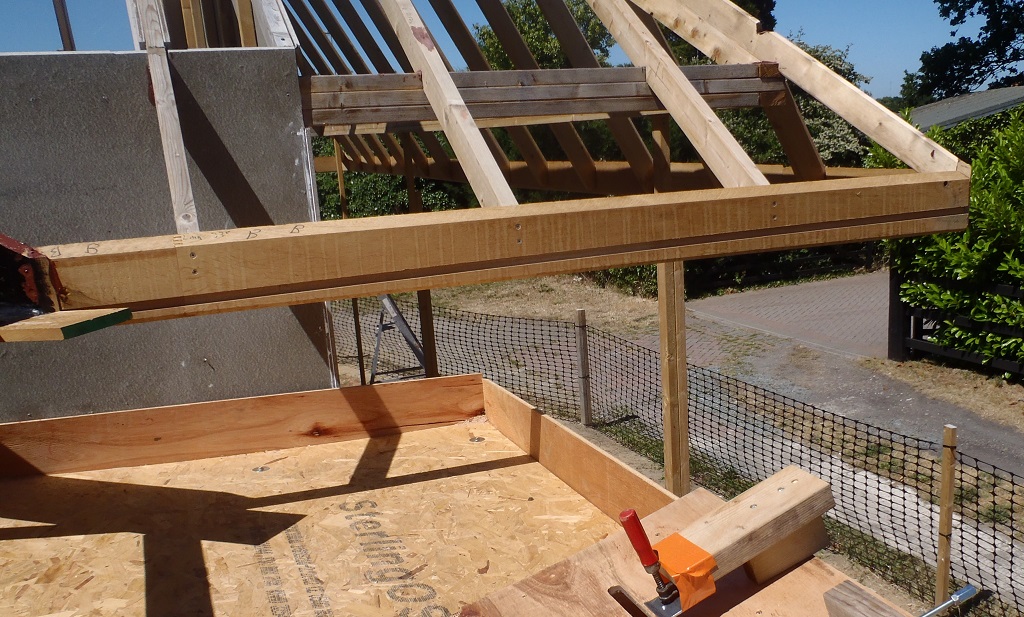
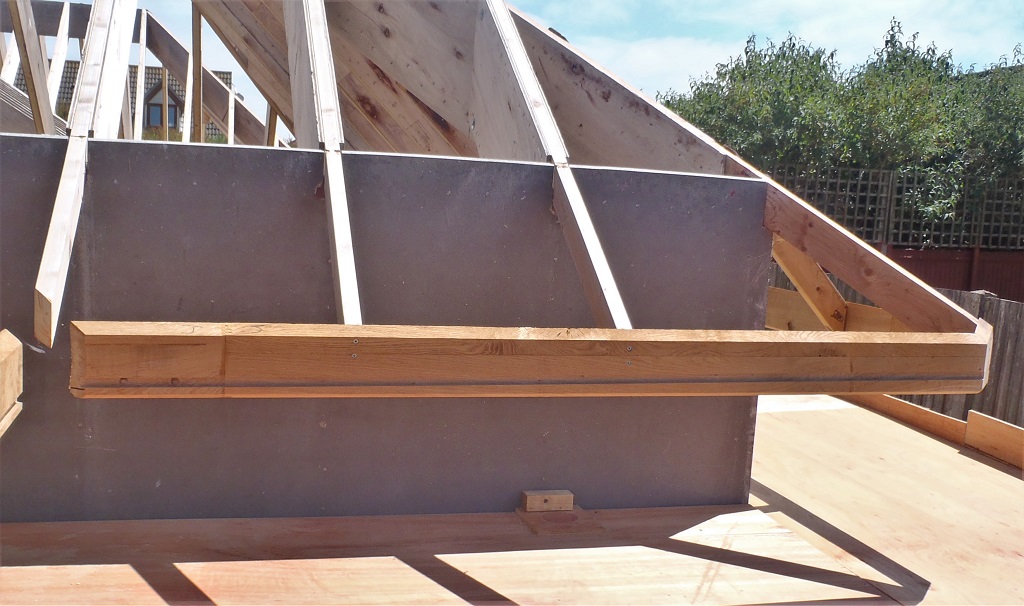
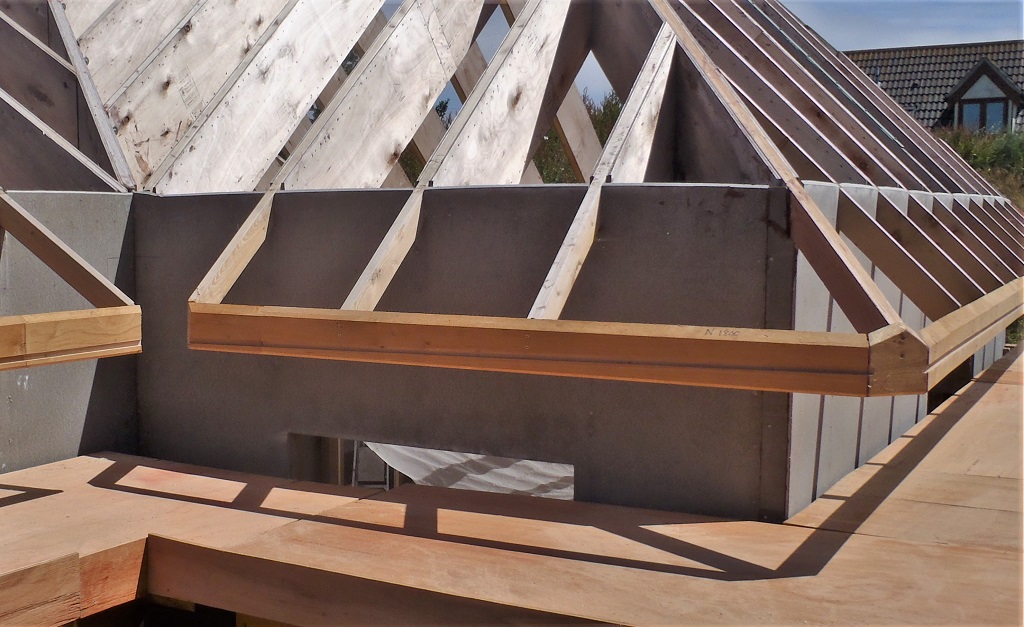
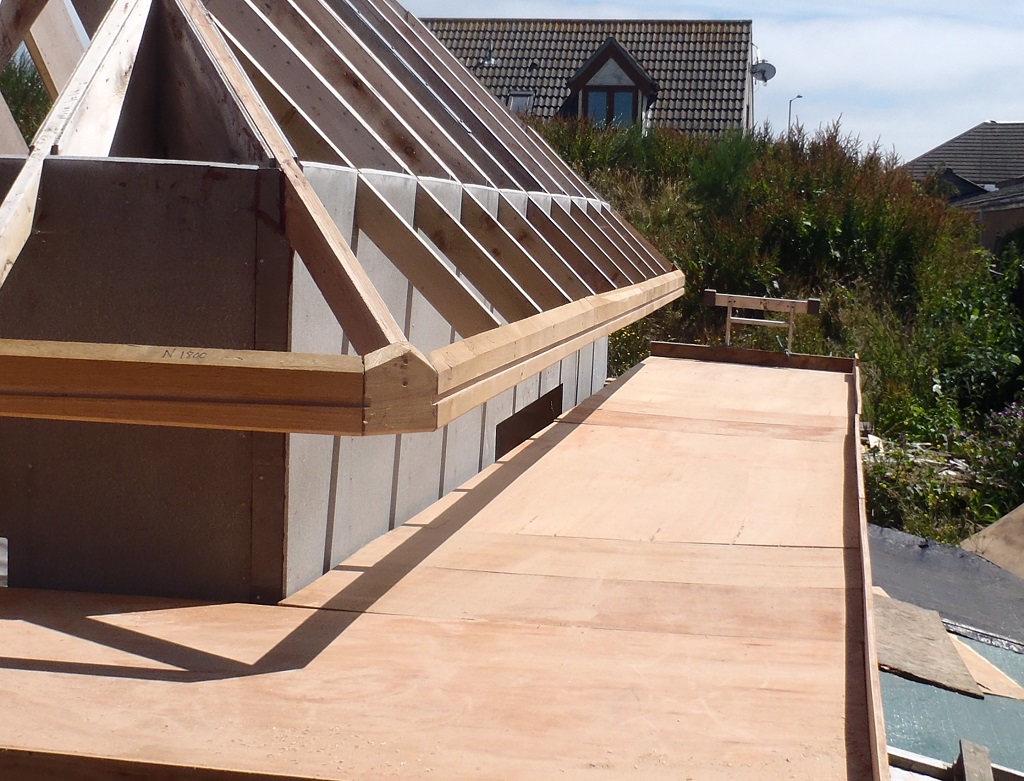
Today, we finished off the “C” section, it took us longer to deal with this piece of roof as we had to cope with a miss-aligned hip diagonal rafter and it’s very steep but we got there in the end.

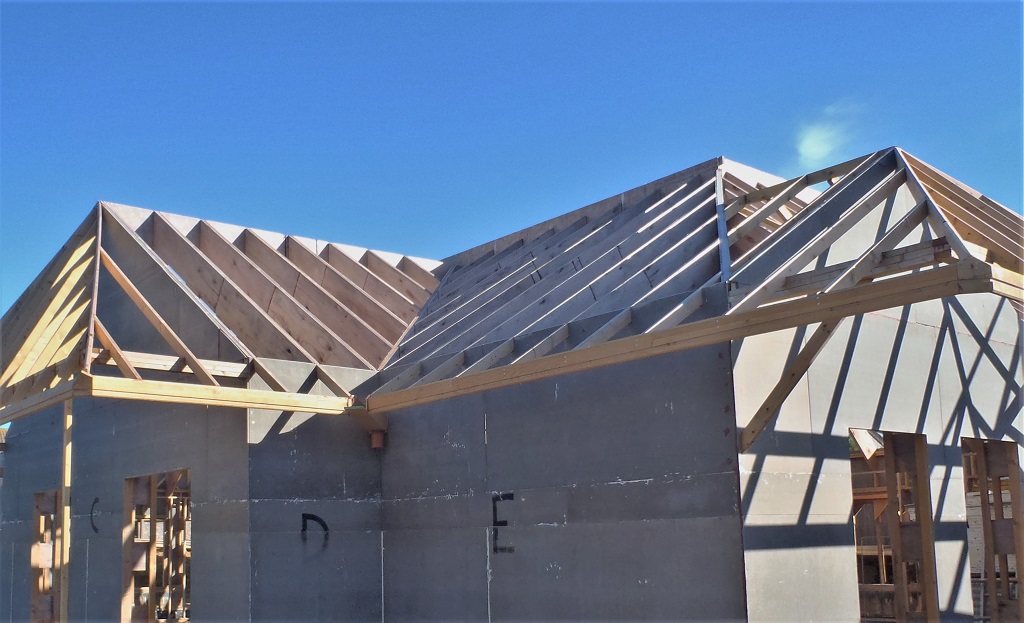
Roof-C-Boarded

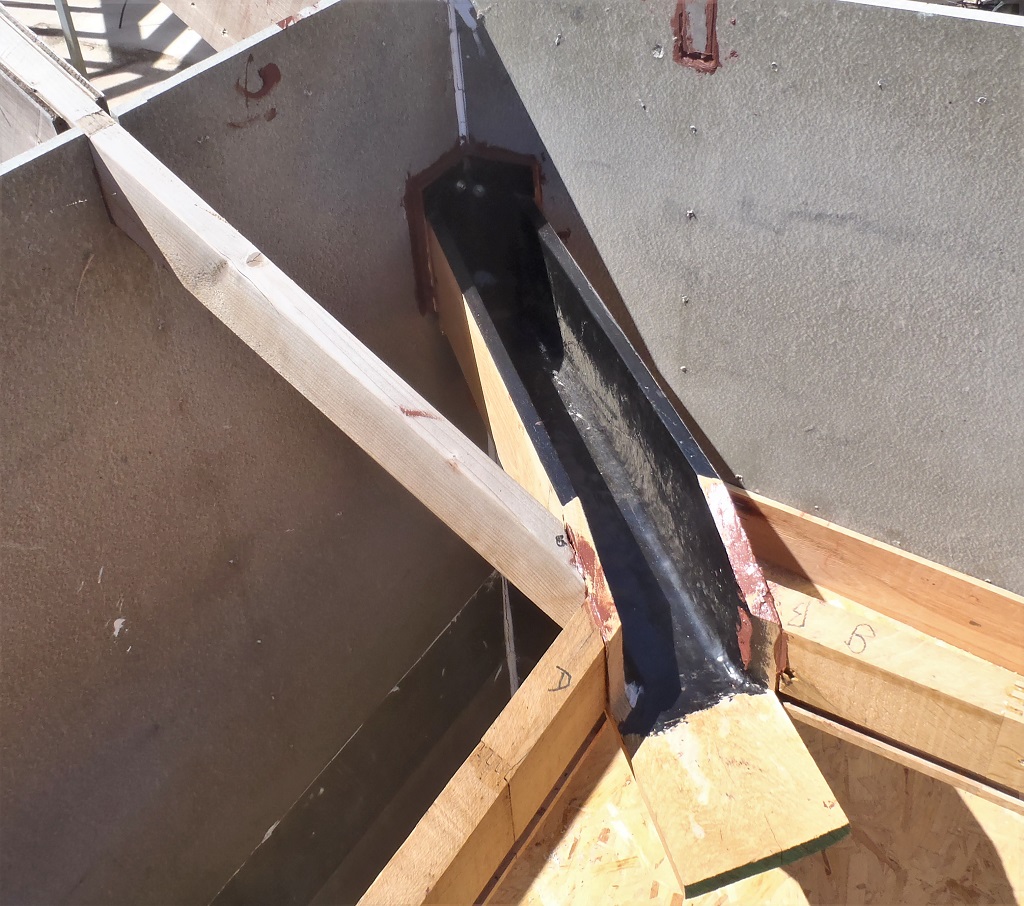
Inside-of-C
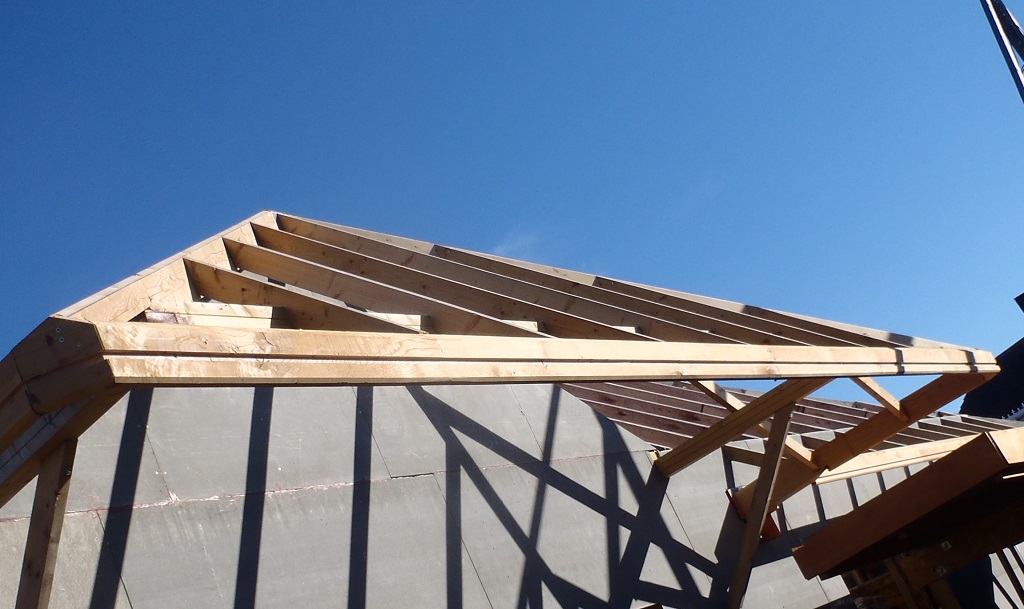
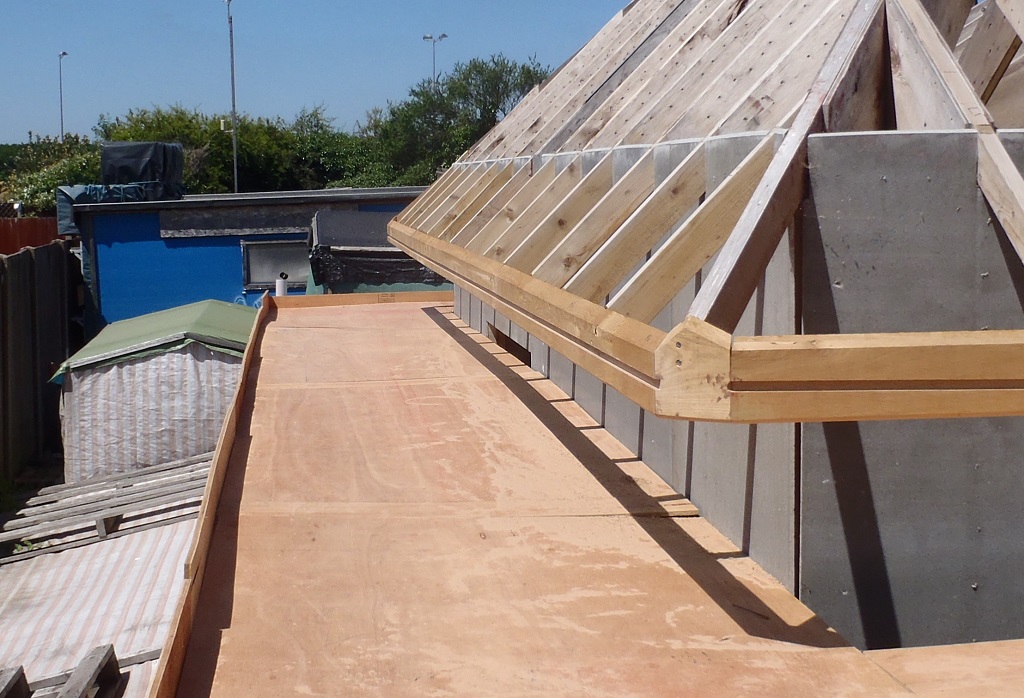
Now the mobile platform was moved along and sideways to tuck under the “D” Fascia and parallel with the “E” to allow us to work on the whole area of both sections and that should see more done when we get going tomorrow.
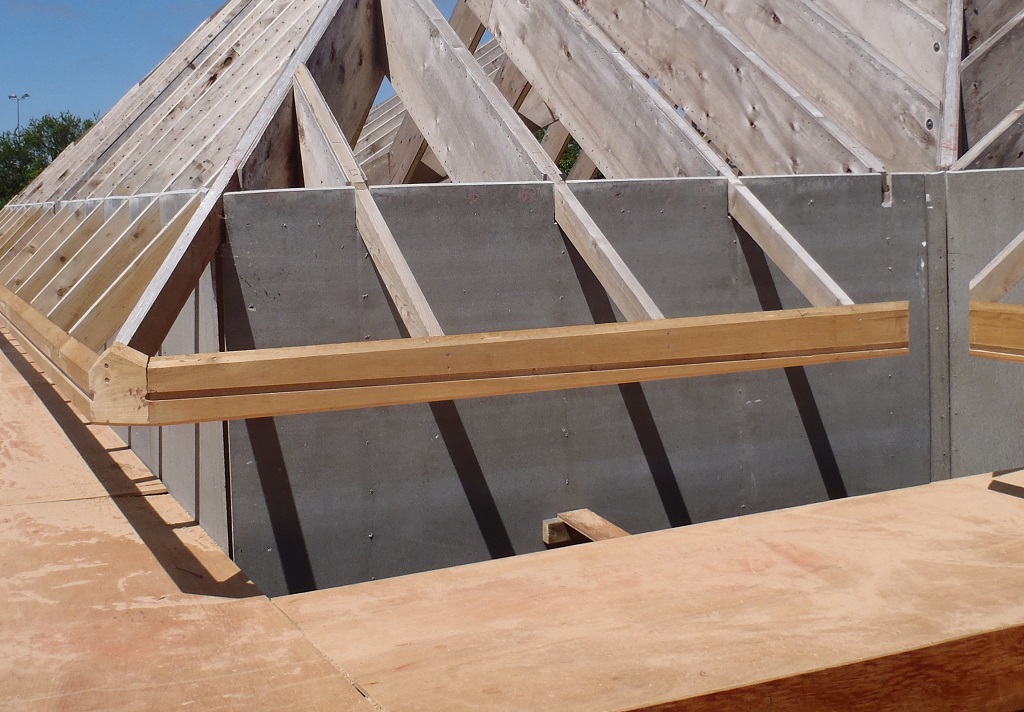
We just managed to get one posh plywood sheet up to start the first row of the “D” before the day came to an end!
Tomorrow, we will resume on D and E and should see them both covered and done – we hope!!