Category: Fire Suppression

either the use of water and sprayed out of nozzles mounted in the ceiling,
or the use of Halon Gas to suppress the oxygen in the room, without damaging the equipment

  • First Level of Testing Great room Fire Suppression – Passes with Flying Colours

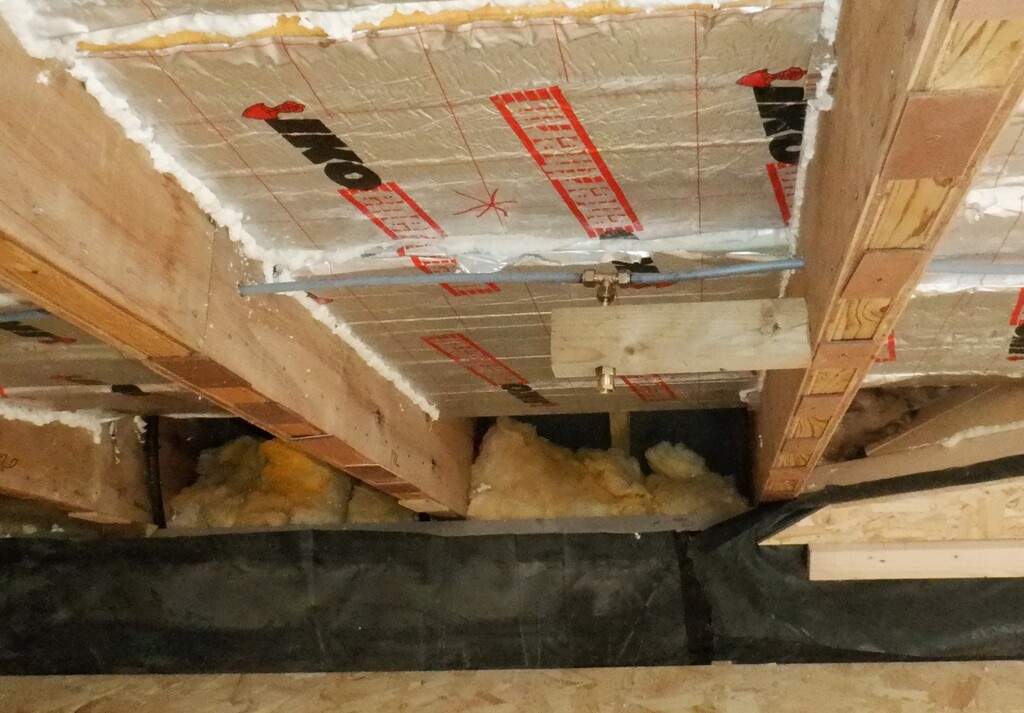
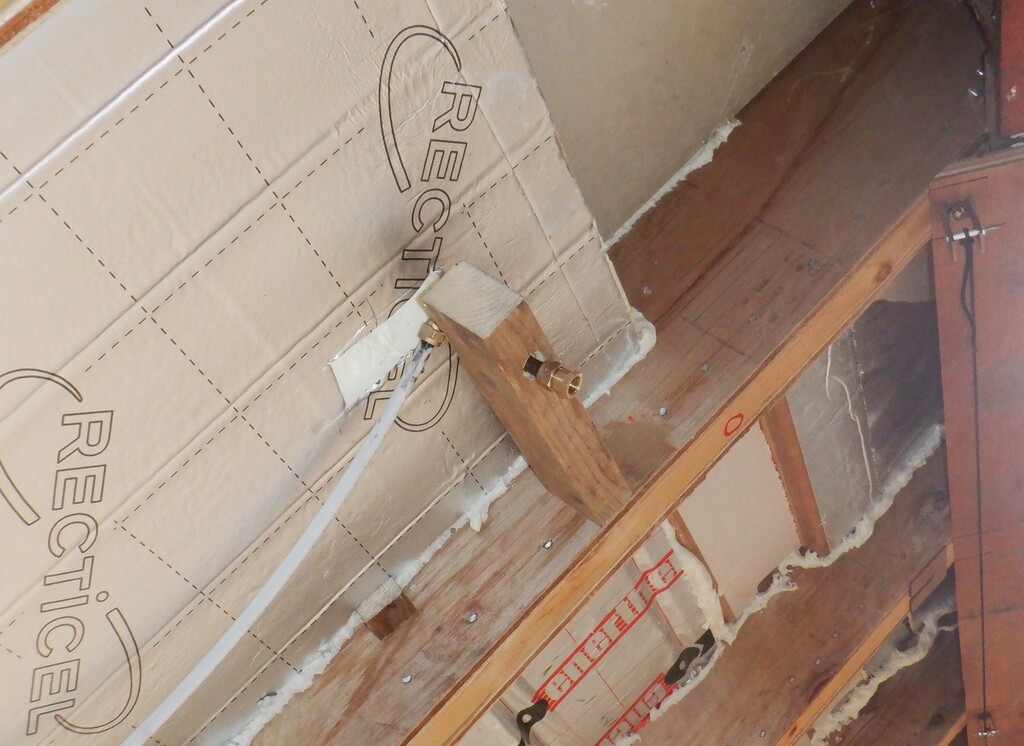
    We spent this morning giving our newly installed Fire Suppression system a check over against any leaks, by connecting up our compressed air supply, on each half of the Great Room’s pipework and nozzles. We mounted a pressure gauge on as well, and put in 7bars of compressed air into the system. We waited a few minutes, watching the gauge. We noticed that it was going down after a few minutes so we went around with a bottle of soapy water, to dab on every single joint and see if any bubbles grew. One of our nozzles was not tight enough so we tweaked it just a fraction with a pair of spanners and got it tight so no more bubbles came out. Two or three of the T-junctions had tiny little leaks so they got the same little tweaks too. After this process was done, the pipes was pressurised again and we then waited a good half an hour without any loss.
    We repeated the same test cycle on the other half.
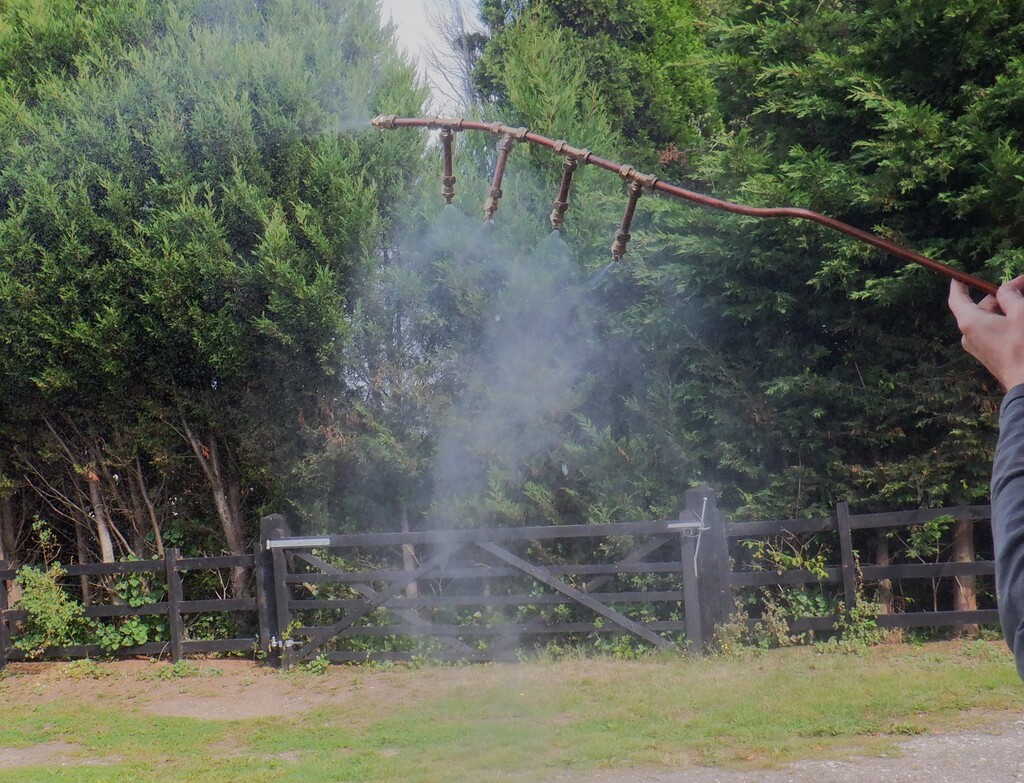
    We now have two circuits of microbore pipes with nineteen nozzles, all sealed and this first level of testing coming up good. We will do a second level of tests, by using “live” water next time, but after we have installed the actual spray heads themselves and we will record the results and report back soon.
  • Installed Water Microbore Pipes and Nineteen Nozzles – Part 2

    Over the last couple of days, we installed water pipes inside the roof of the Great Room, drilling 15mm holes through each rafters, located about a metre up the slope from the walls and threading the 10mm diameter microbore plastic pipes. We have two separate runs both start downstairs underneath the floor at the end of the Hall as it enters into the Great Room. One pipe goes off towards the back of the building, inside the wall that separates Bedroom One and the Great Room and then goes up until it meets the roof rafters where it is threaded through the holes in each rafter going half way around the Great Room. The other pipe goes off in the opposite direction, through the Kitchen / Great Room wall and then goes up to meet the roof rafters and also threaded through the roof rafters as well. We have decided to locate eleven spray nozzles on the first run of water pipe and a further eight nozzles on the second run.
    Nozzles all connected (1)

    Nozzles all connected (1)

    Nozzles all connected (2)

    Nozzles all connected (2)

    Nozzles all connected (3)

    Nozzles all connected (3)

    Nozzles all connected (4)

    Nozzles all connected (4)


    Each location then has a T-junction adapter and short lengths of 10mm copper pipe that has an quarter-inch female adapter on the end so that we can screw in a spray nozzles at the final stage after we have decorated the ceiling surfaces etc.
    A Low nozzles

    A Low nozzles

    A High nozzle

    A High nozzle


    There will be two more nozzles located right up to the under side of the Skylight so we can spray a mist of water directly over the Gallery as well. These will be installed later on when we have built the bottom part of the Skylight ceiling modules. We have also discovered another high pressure pump, this time it is a battery powered pistol shaped water pressure washer kit but it turned out to offer even higher pressure and faster flow rates. This handy neat little machine can generate over two megapascals of water pressure (this is about 20 bars or 300psi!) and this would be ideal to drive many more nozzles like we have here in the Great Room plus also produce a finer spray of water droplets and reach even further around the room. Connecting to it will be a bit convoluted but overall a very neat piece of kit!

    One of the final things that will do, is to perform a pressure check with compressed air first and then with water, and make sure all our joints and nozzles are good and tight. Once we are happy with that, we then can proceed to finishing off filling in the roof rafters with glass wool and sealing the roof with vapour barrier and 11mm OSB wooden sheets etc.

  • Research in Different Kinds of Water Nozzles for a Fire Suppression System – Part 1

    We have been researching into what we would need to incorporate a fire suppression system, using spray nozzles to produce a fine mist of water droplets. We have found that if we use micro-bore 10mm water pipes, we can lay in a network of a water pipe running around inside the roof rafters, and now and again, have a “T” junction to a spray nozzle outlet. We have been testing various different sizes of nozzles, connected to a high pressure water pump and seeing what amount of spray is produced.
    Our first attempt of a nozzle was to drill a tiny little hole into a brass end-cap, measuring just 0.3mm diameter, we also made two more end-caps with slightly larger holes, 0.4mm and 0.6mm. We tested all three and all three produced a very fine single jet of water going straight out of the nozzle without breaking up into a spray of droplets at all! We realised that there is more to the method of producing a spray so we bought a set of spray nozzles off the web, a bag of 30 nozzles with two sizes, 0.3mm and 0.4mm holes. The only slight problem is that these new nozzles had a American inch threads, labelled “10/24” (which is 0.196″@24 thread per inch). We took our brass end-caps and drilled a 3.7mm hole and then tapped a thread using a 3/16inch (0.187″@24 TPI) tap. It was compatible enough to allow us to screw in our new nozzles. So we tried the 0.3mm hole, producing a very fine misty like cloud which wouldn’t go very far and had a low thermal mass, which may not suppress a fire very well.
    We then drilled out their little hole with various sizes, from 0.6mm, 0.9mm, 1.1mm to a 1.5mm holes and each progressively produced heavier droplets in the cloud of spray. We felt that the largest hole was a bit too heavy and the “cloud” was much smaller. It looks as if the 0.6mm hole size was vigorous enough to generate a large cloud and quite a lot of thermal mass, to cool down a fire and reduce the smoke levels.
    The test results were all for a single nozzle and the pump was generating pressures of approximately 8bars of pressure (800kilo-pascals)so we knew that we had to make sure that multiple nozzles would work as well, so towards this aim, we made up four more nozzles, each with a 0.6mm hole size and then joined all 5 together and re-run the test and we still generated a huge cloud of spray and the output pressure from the pump only fell down to 6bar.
    Mist nozzles test

    Mist nozzles test


    This means that the method and choice of pipework is ok and gives us a solution and we can order a whole bunch more of these 10mm T junction pieces, along with more inserts for the plastic coil of 10mm pipe we already got.
    They will come in a few days time.
    This will allow us to install about fifteen nozzles in total for the whole of the Great Room, running around in the lower part of the sloping ceiling and up around the Skylight as well.