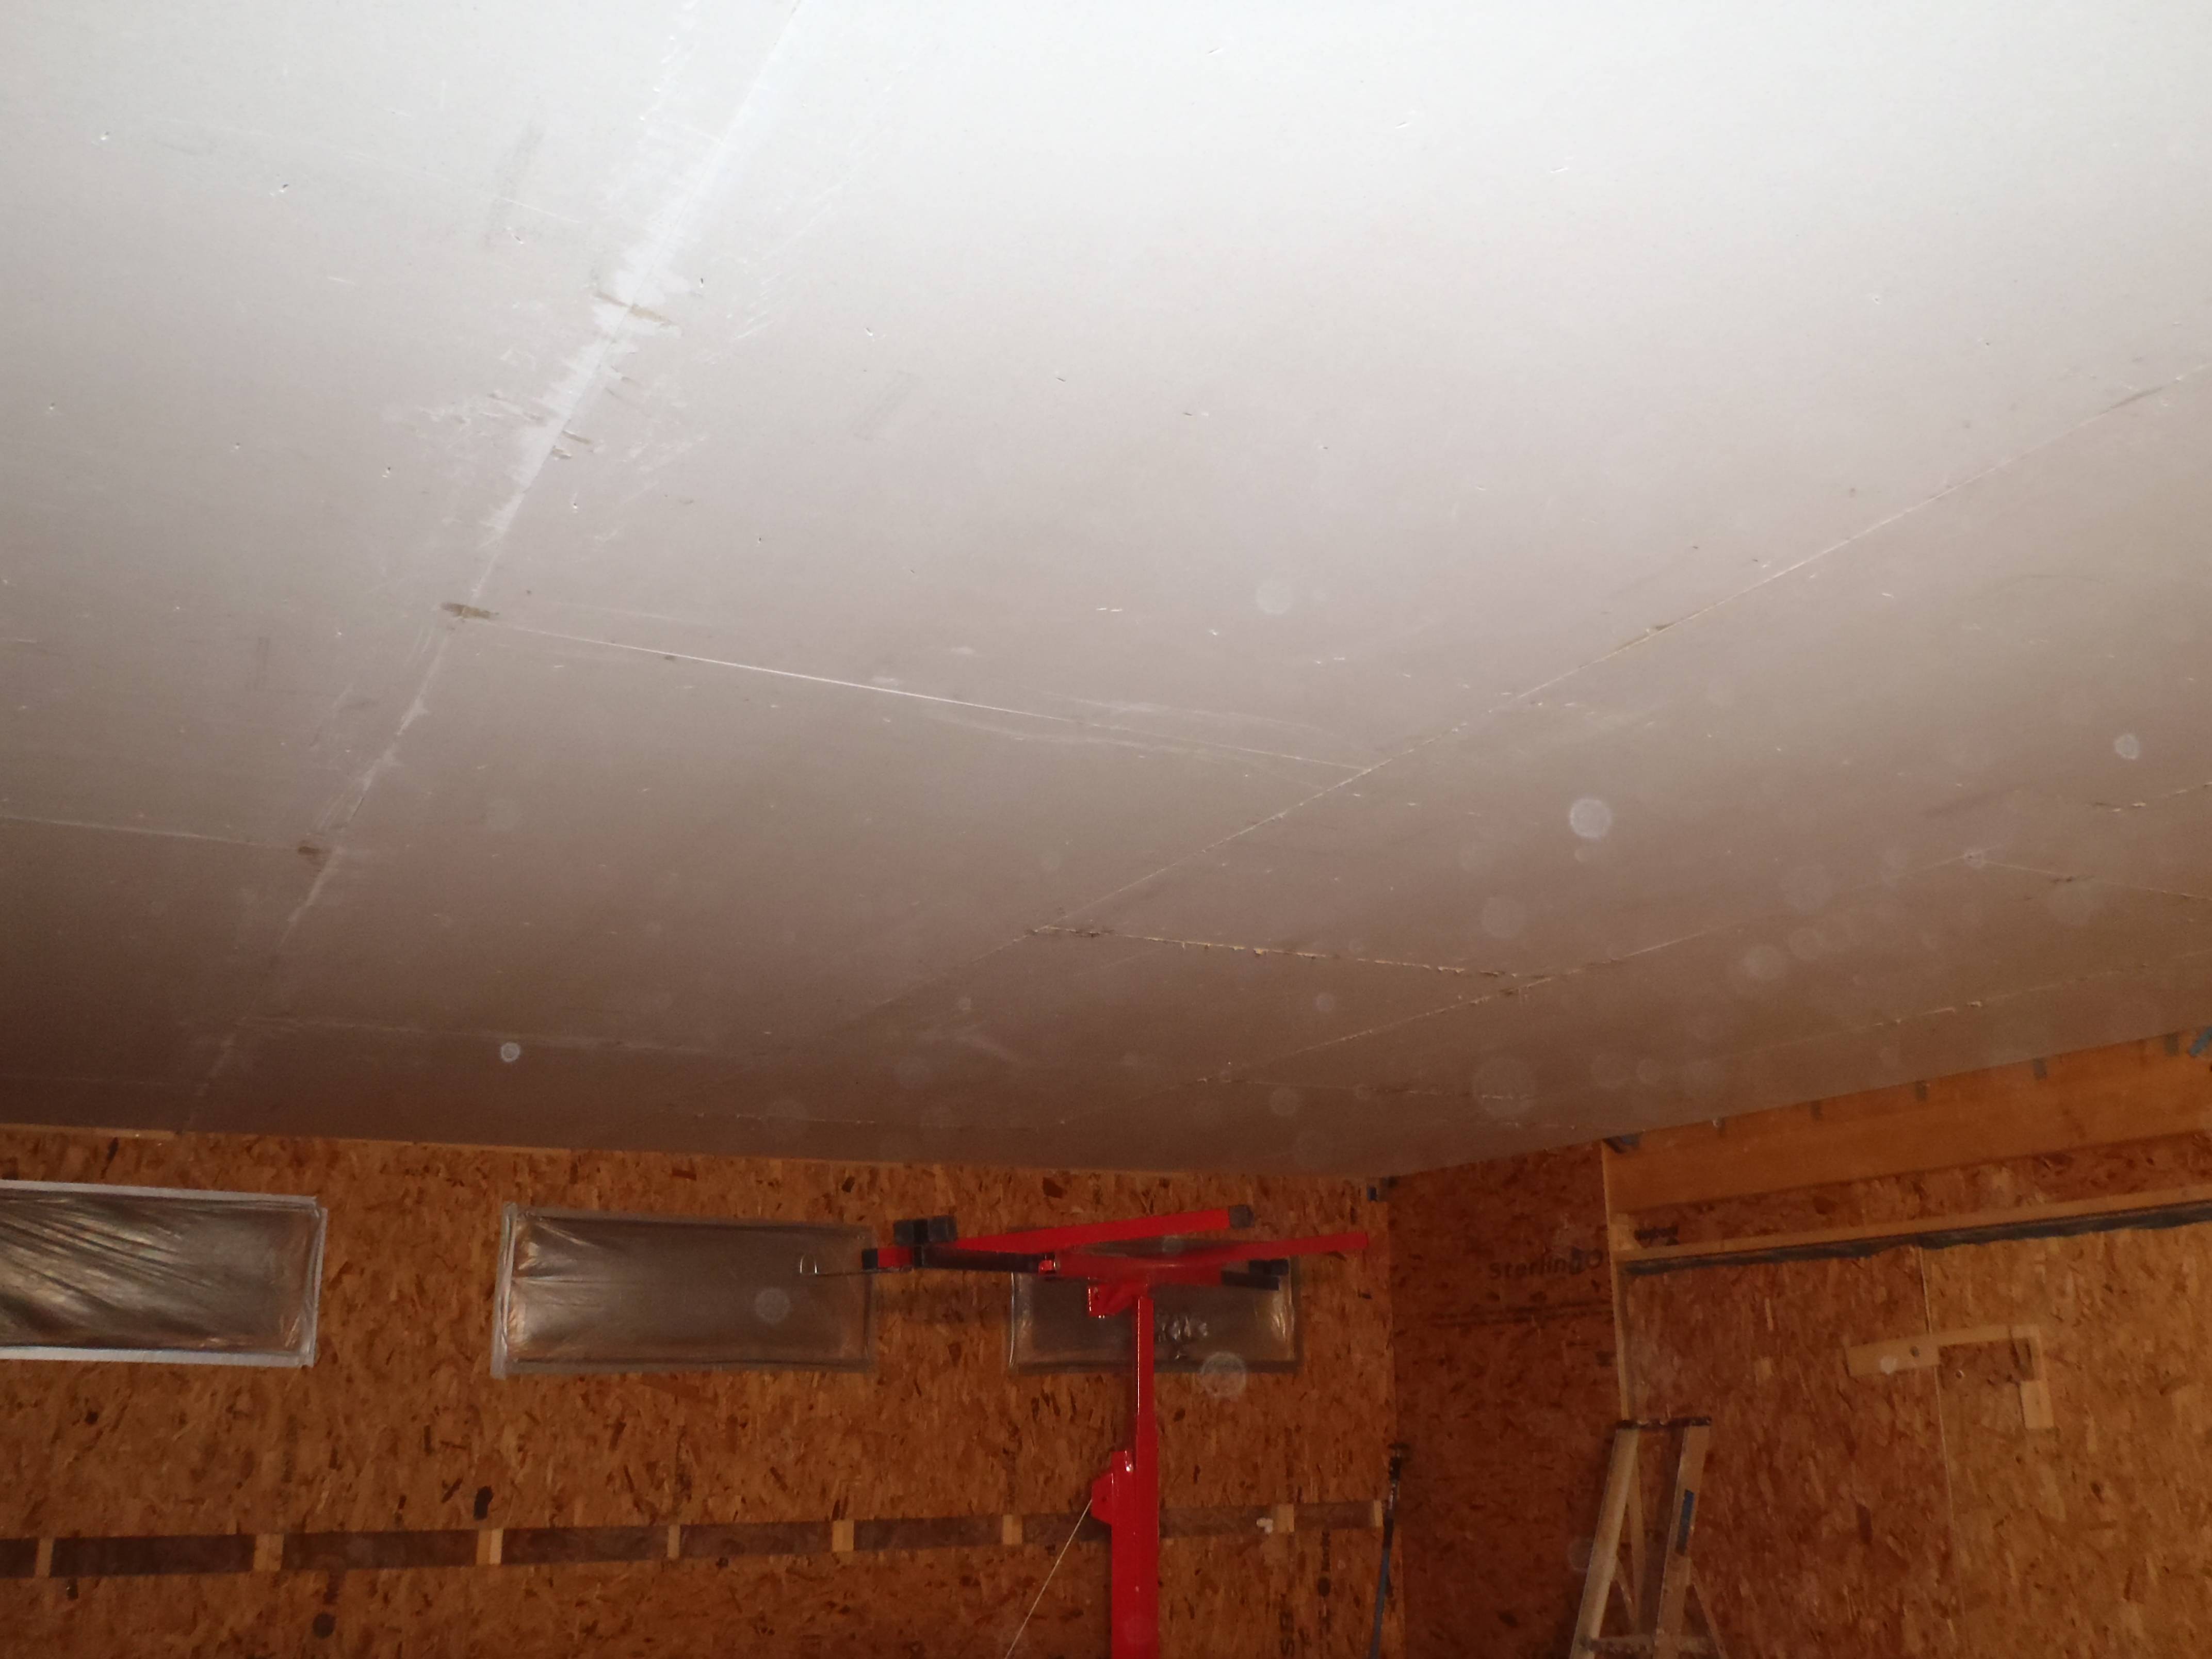
At last! All the Fermacell boards are now up on the ceiling in the front half of the garage! It was a long day and we didn’t finished until just before 8pm!!
Garage Ceiling Day 2

Garage Ceiling Day 2
Thank goodness for the lifter!
At last! All the Fermacell boards are now up on the ceiling in the front half of the garage! It was a long day and we didn’t finished until just before 8pm!!
Garage Ceiling Day 2
Garage Ceiling Day 2
Thank goodness for the lifter!
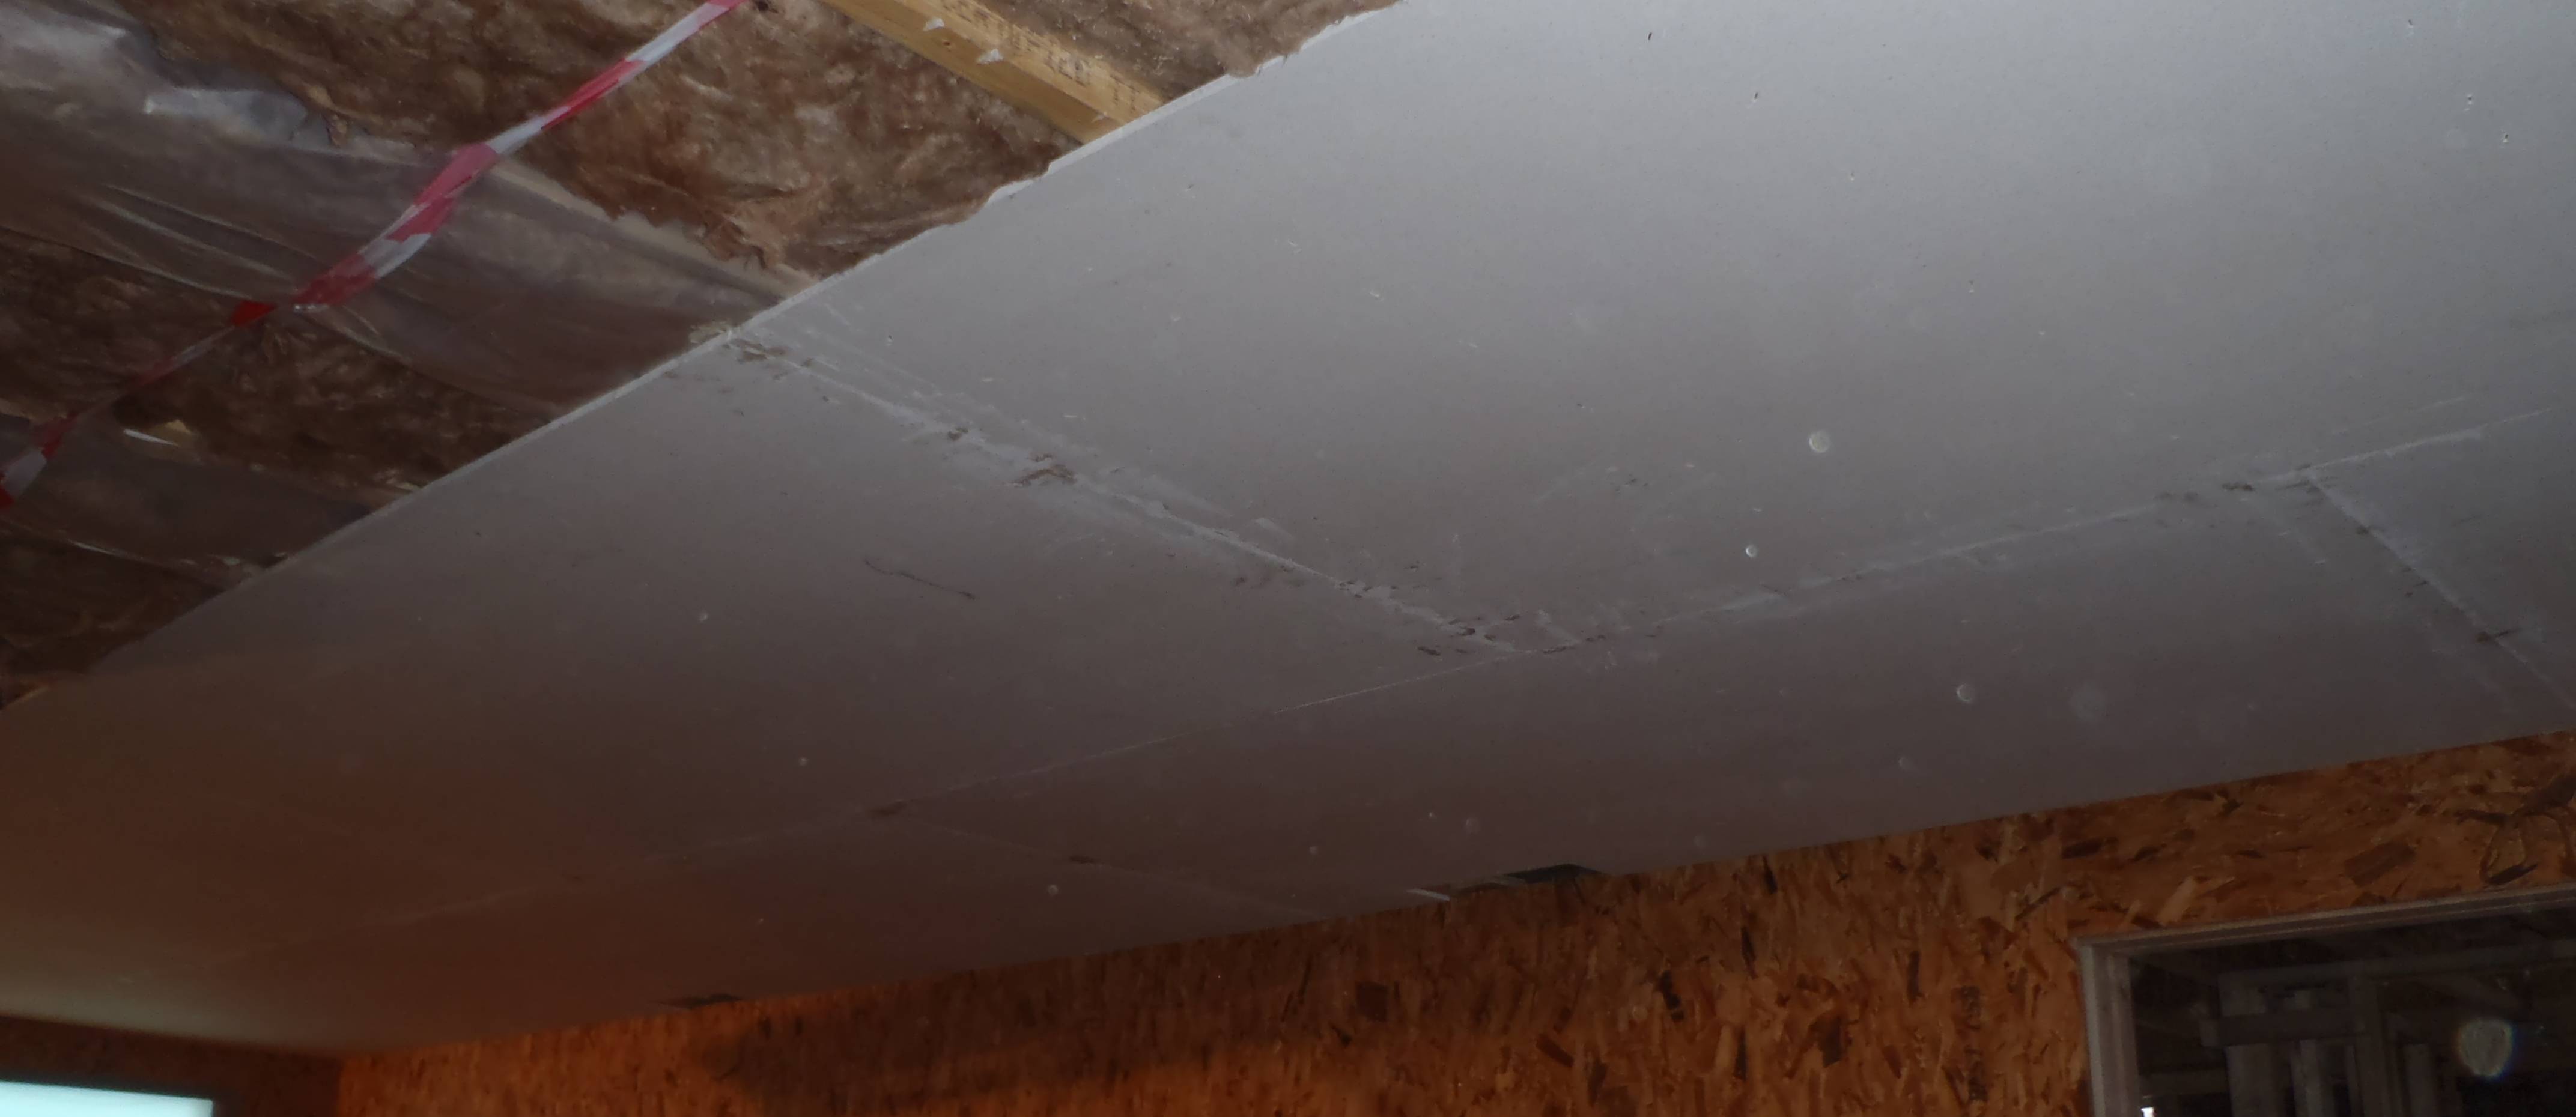
We have started the task of sticking up the Fermacell sheets on to the ceiling of the garage. It is quite hard, working above one’s head and each Fermacell sheet weighs over 35kg! fortunately we have a “lifter” specially designed to lift sheets up and allow us to position the sheet in the correct place.
We have completed 2 rows out of the 5. We are speeding up as we learn techniques and developing a procedure so we should get the final 3 rows finished tomorrow.
Garage Ceiling Day 1
Garage Ceiling Day 1
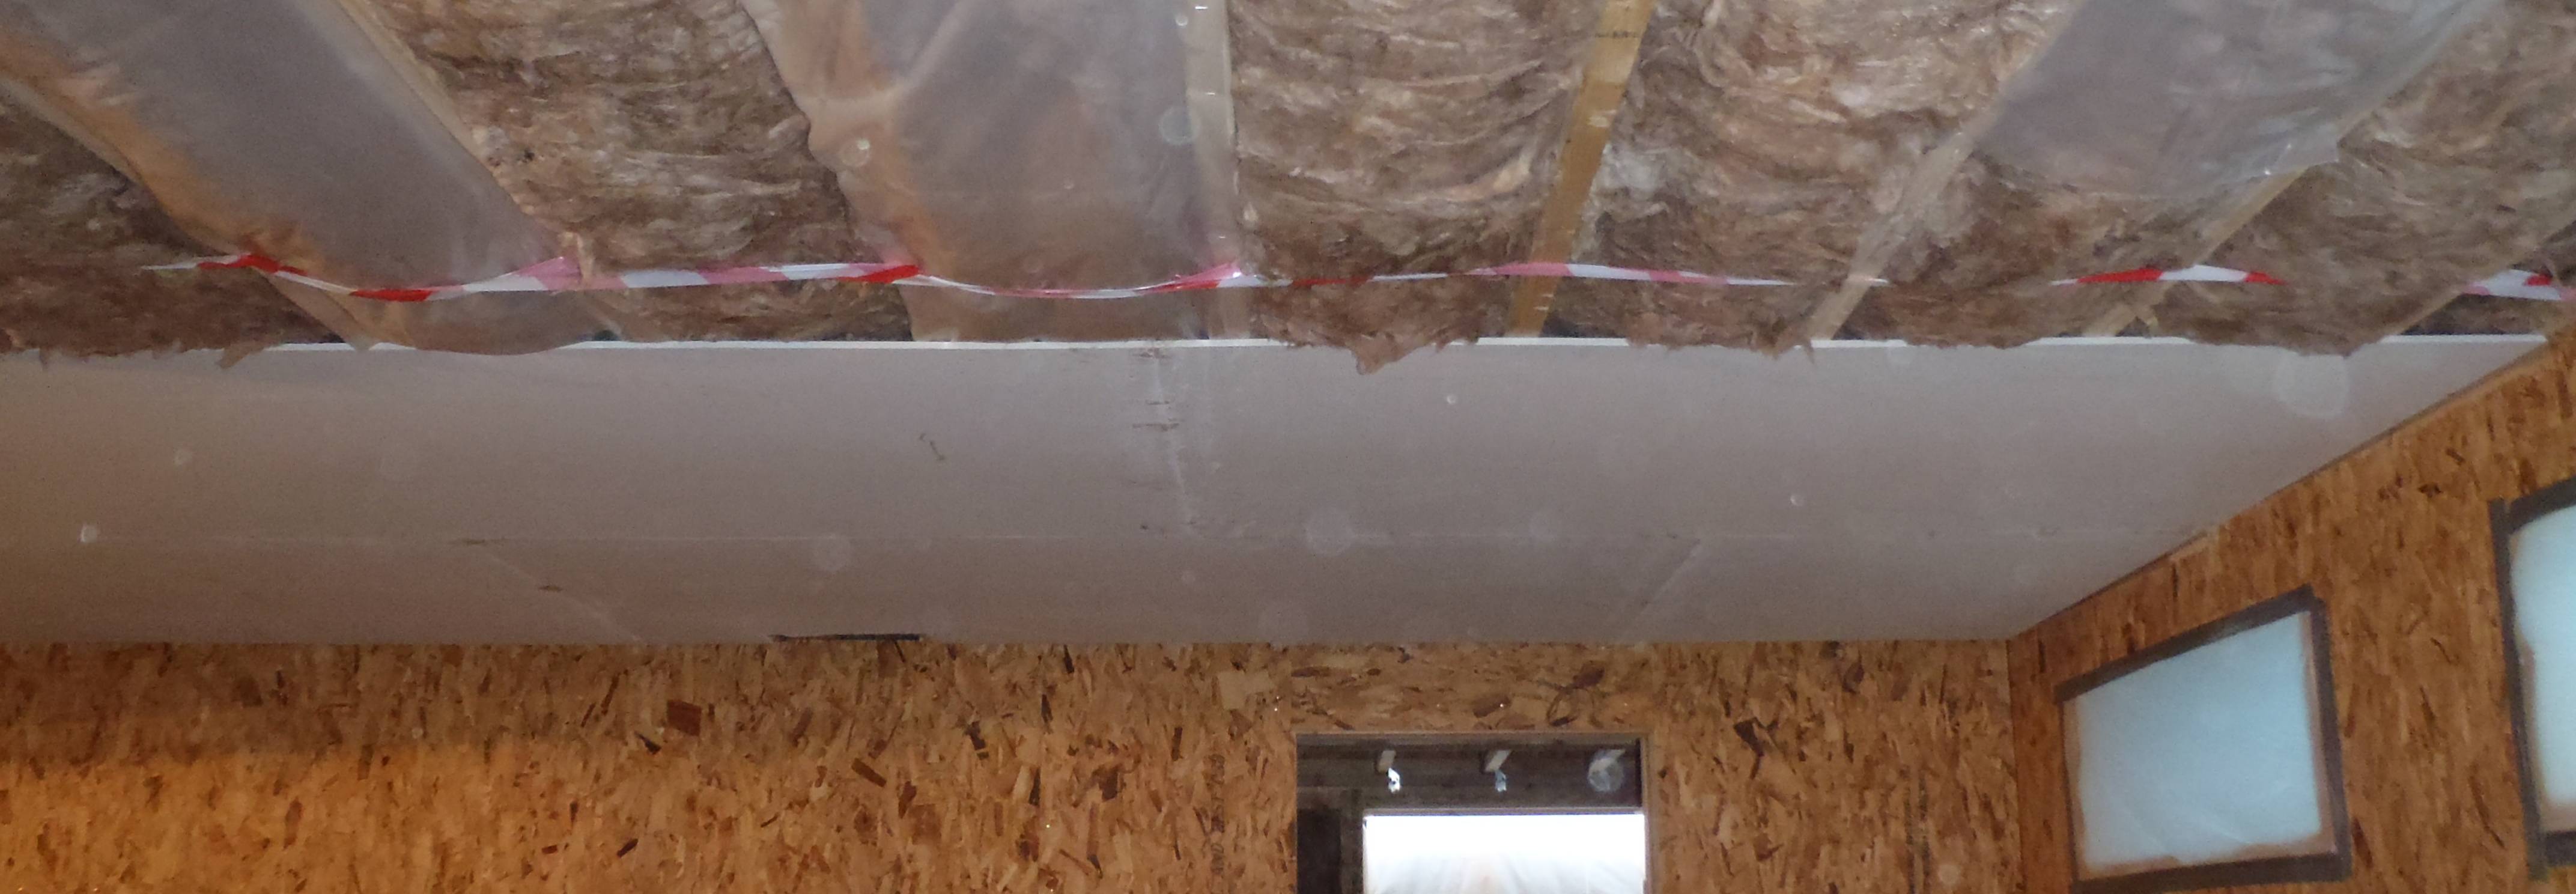
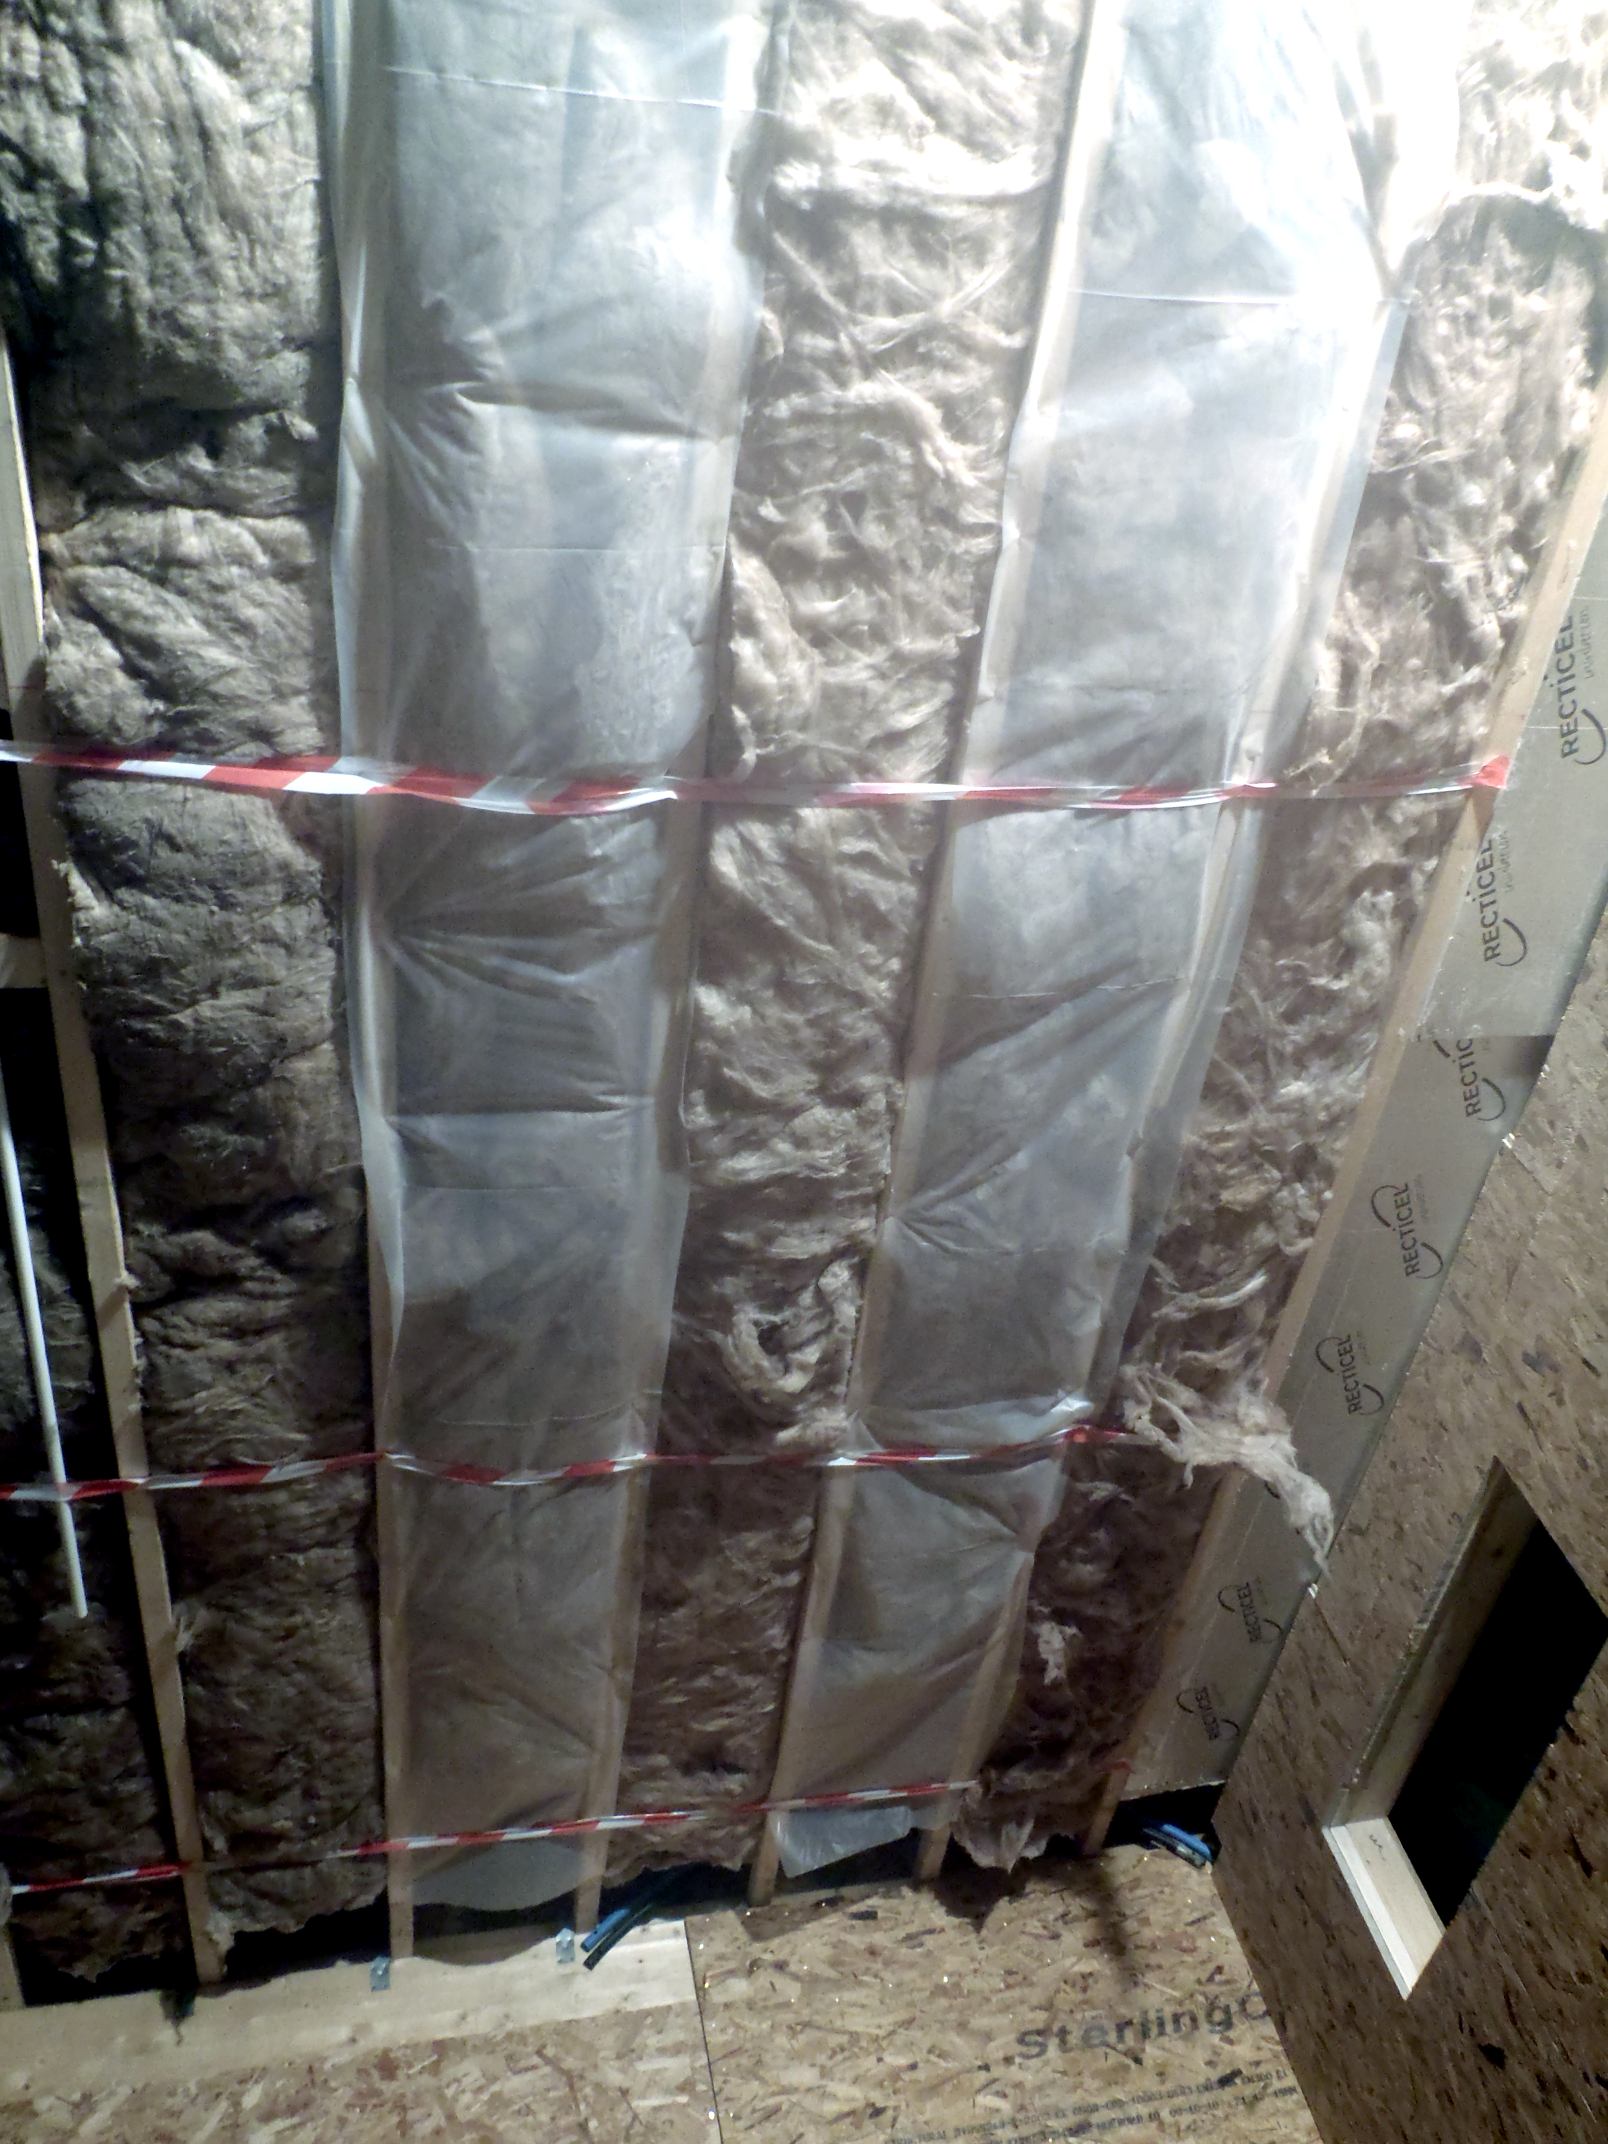
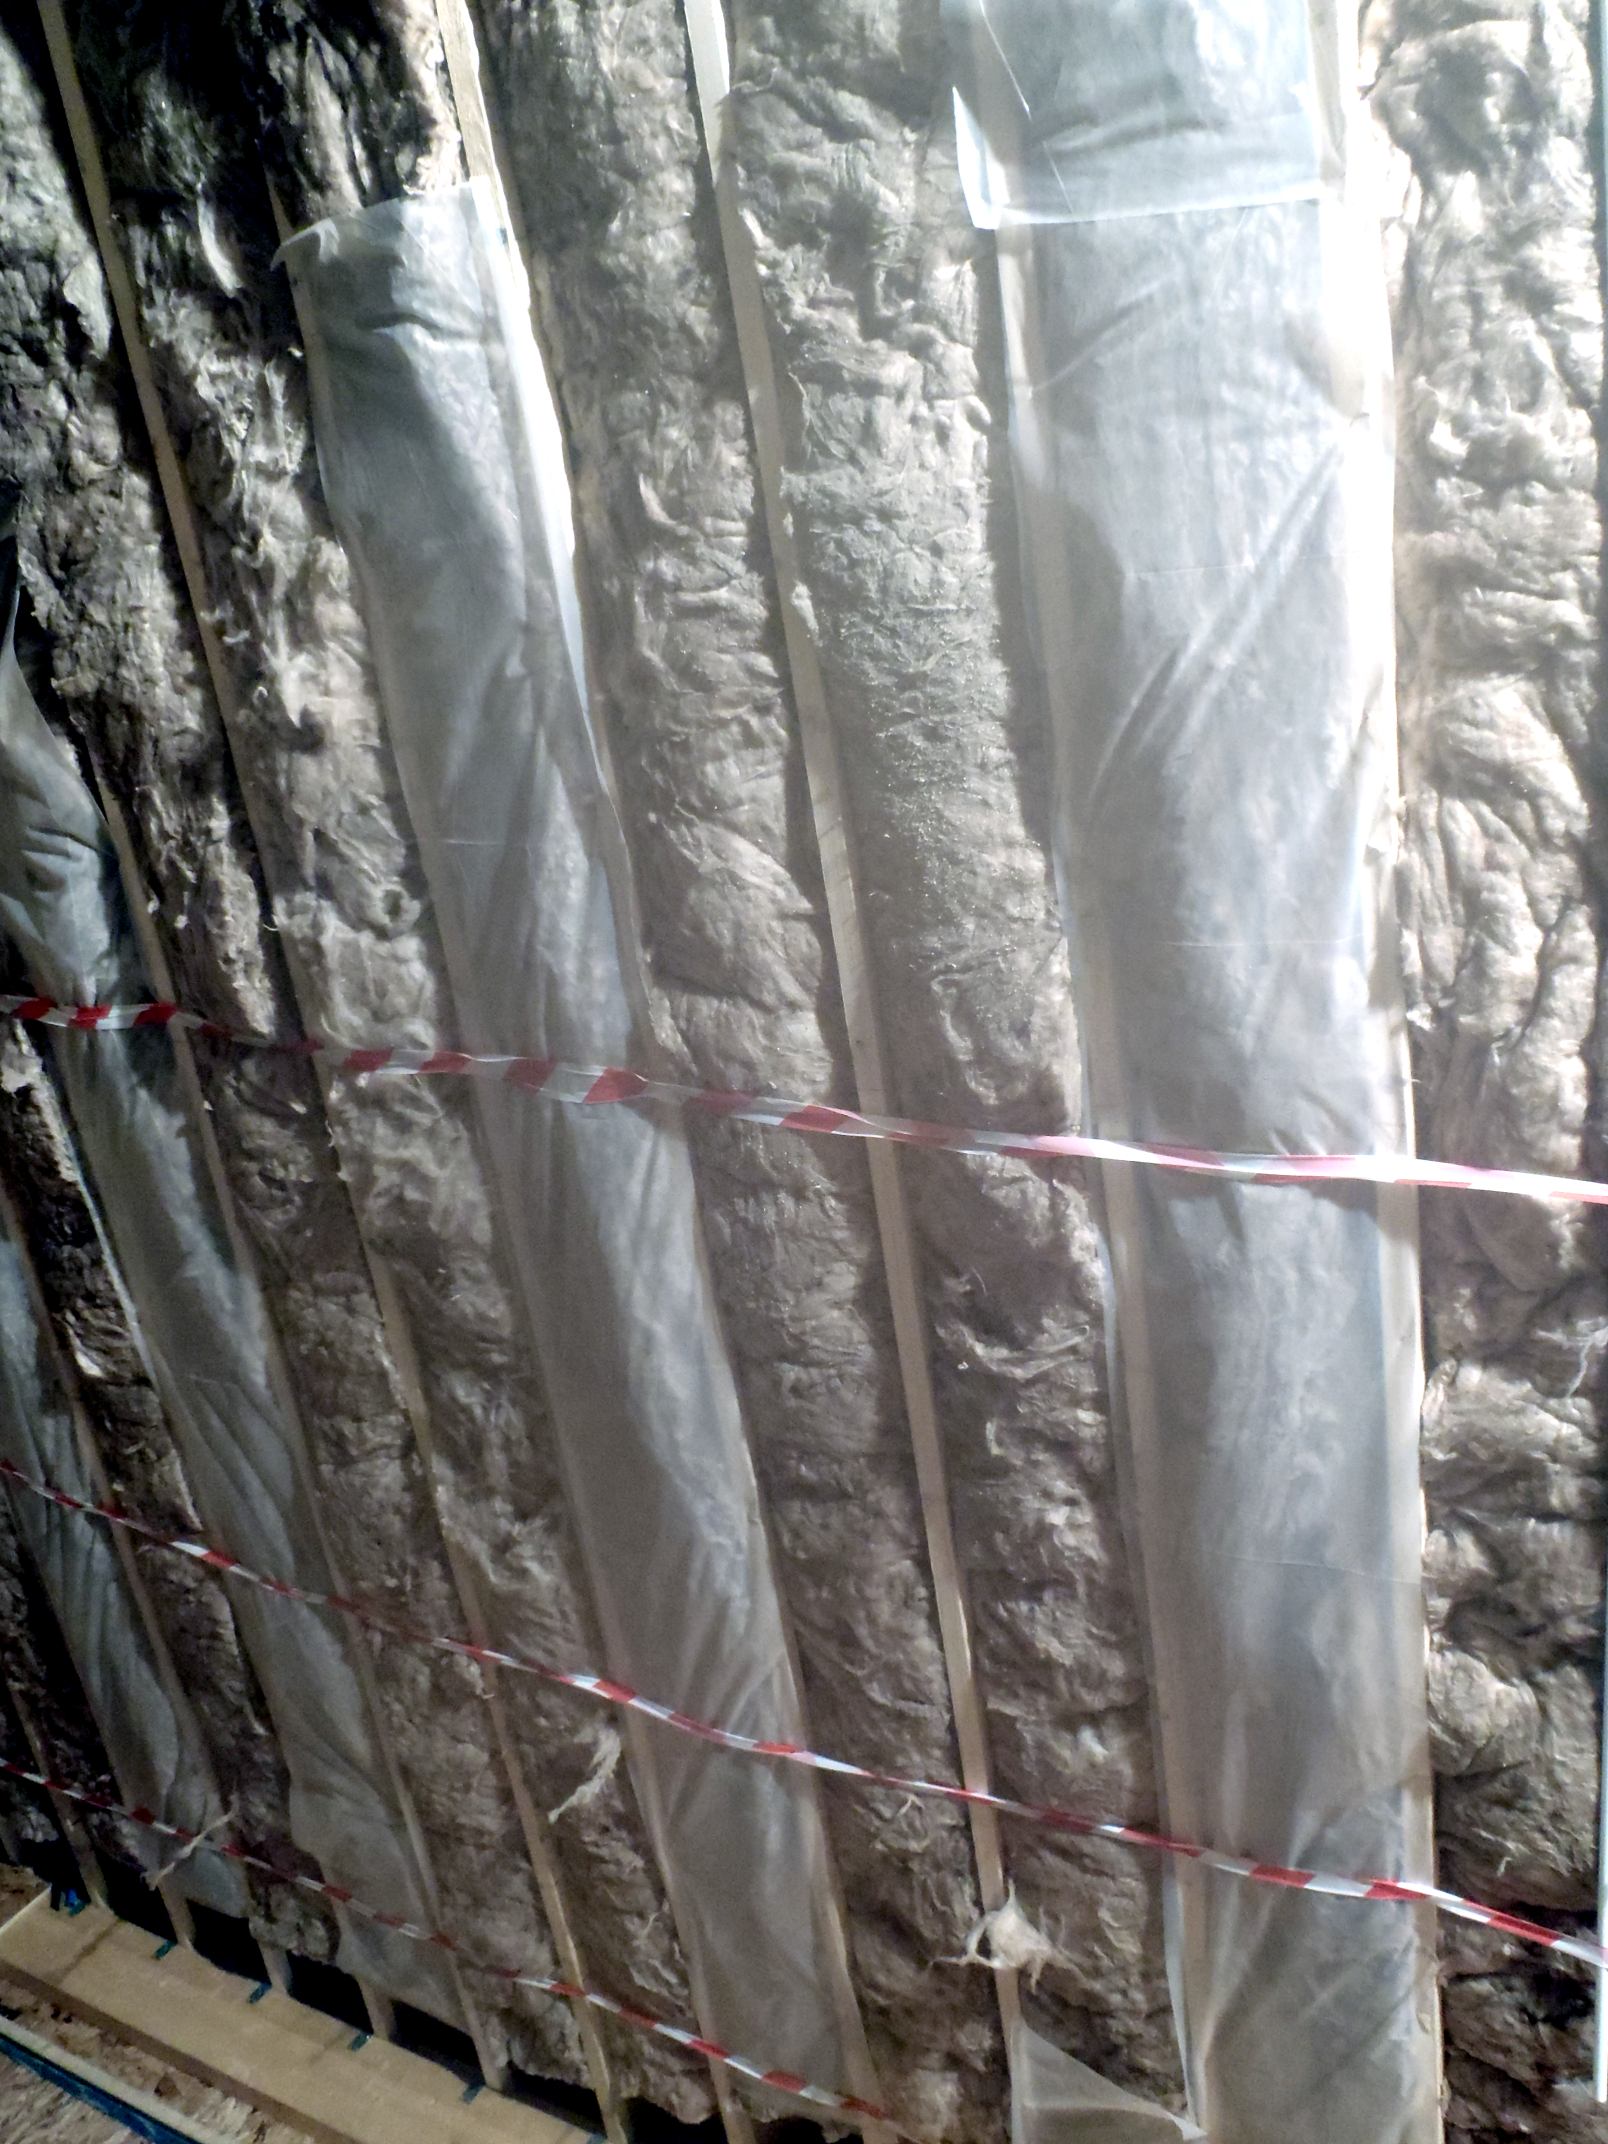
O boy! The Glass Wool is up, up and away in the roof space! The 170mm thick wool is nasty stuff and we wore our one piece dust suits and dust masks!
The rolls split into three segments at their pre-cut points and mostly they fitted ok except for the middle segment where there was another pre-cut point on the original roll with caused the wool strips to start falling apart! We had to resort to stapling up strips of plastic sheets to hold up these awkward pieces!
Insulation in garage celing
Insulation in garage celing
We finally, for extra insurance against any strip falling out, we criss crossed the ceiling a hazard white and red tape we had lying around!
We are glad that it is all done, very tiring working above your head! Tomorrow it is the Fermacell turn to be put up! O boy!
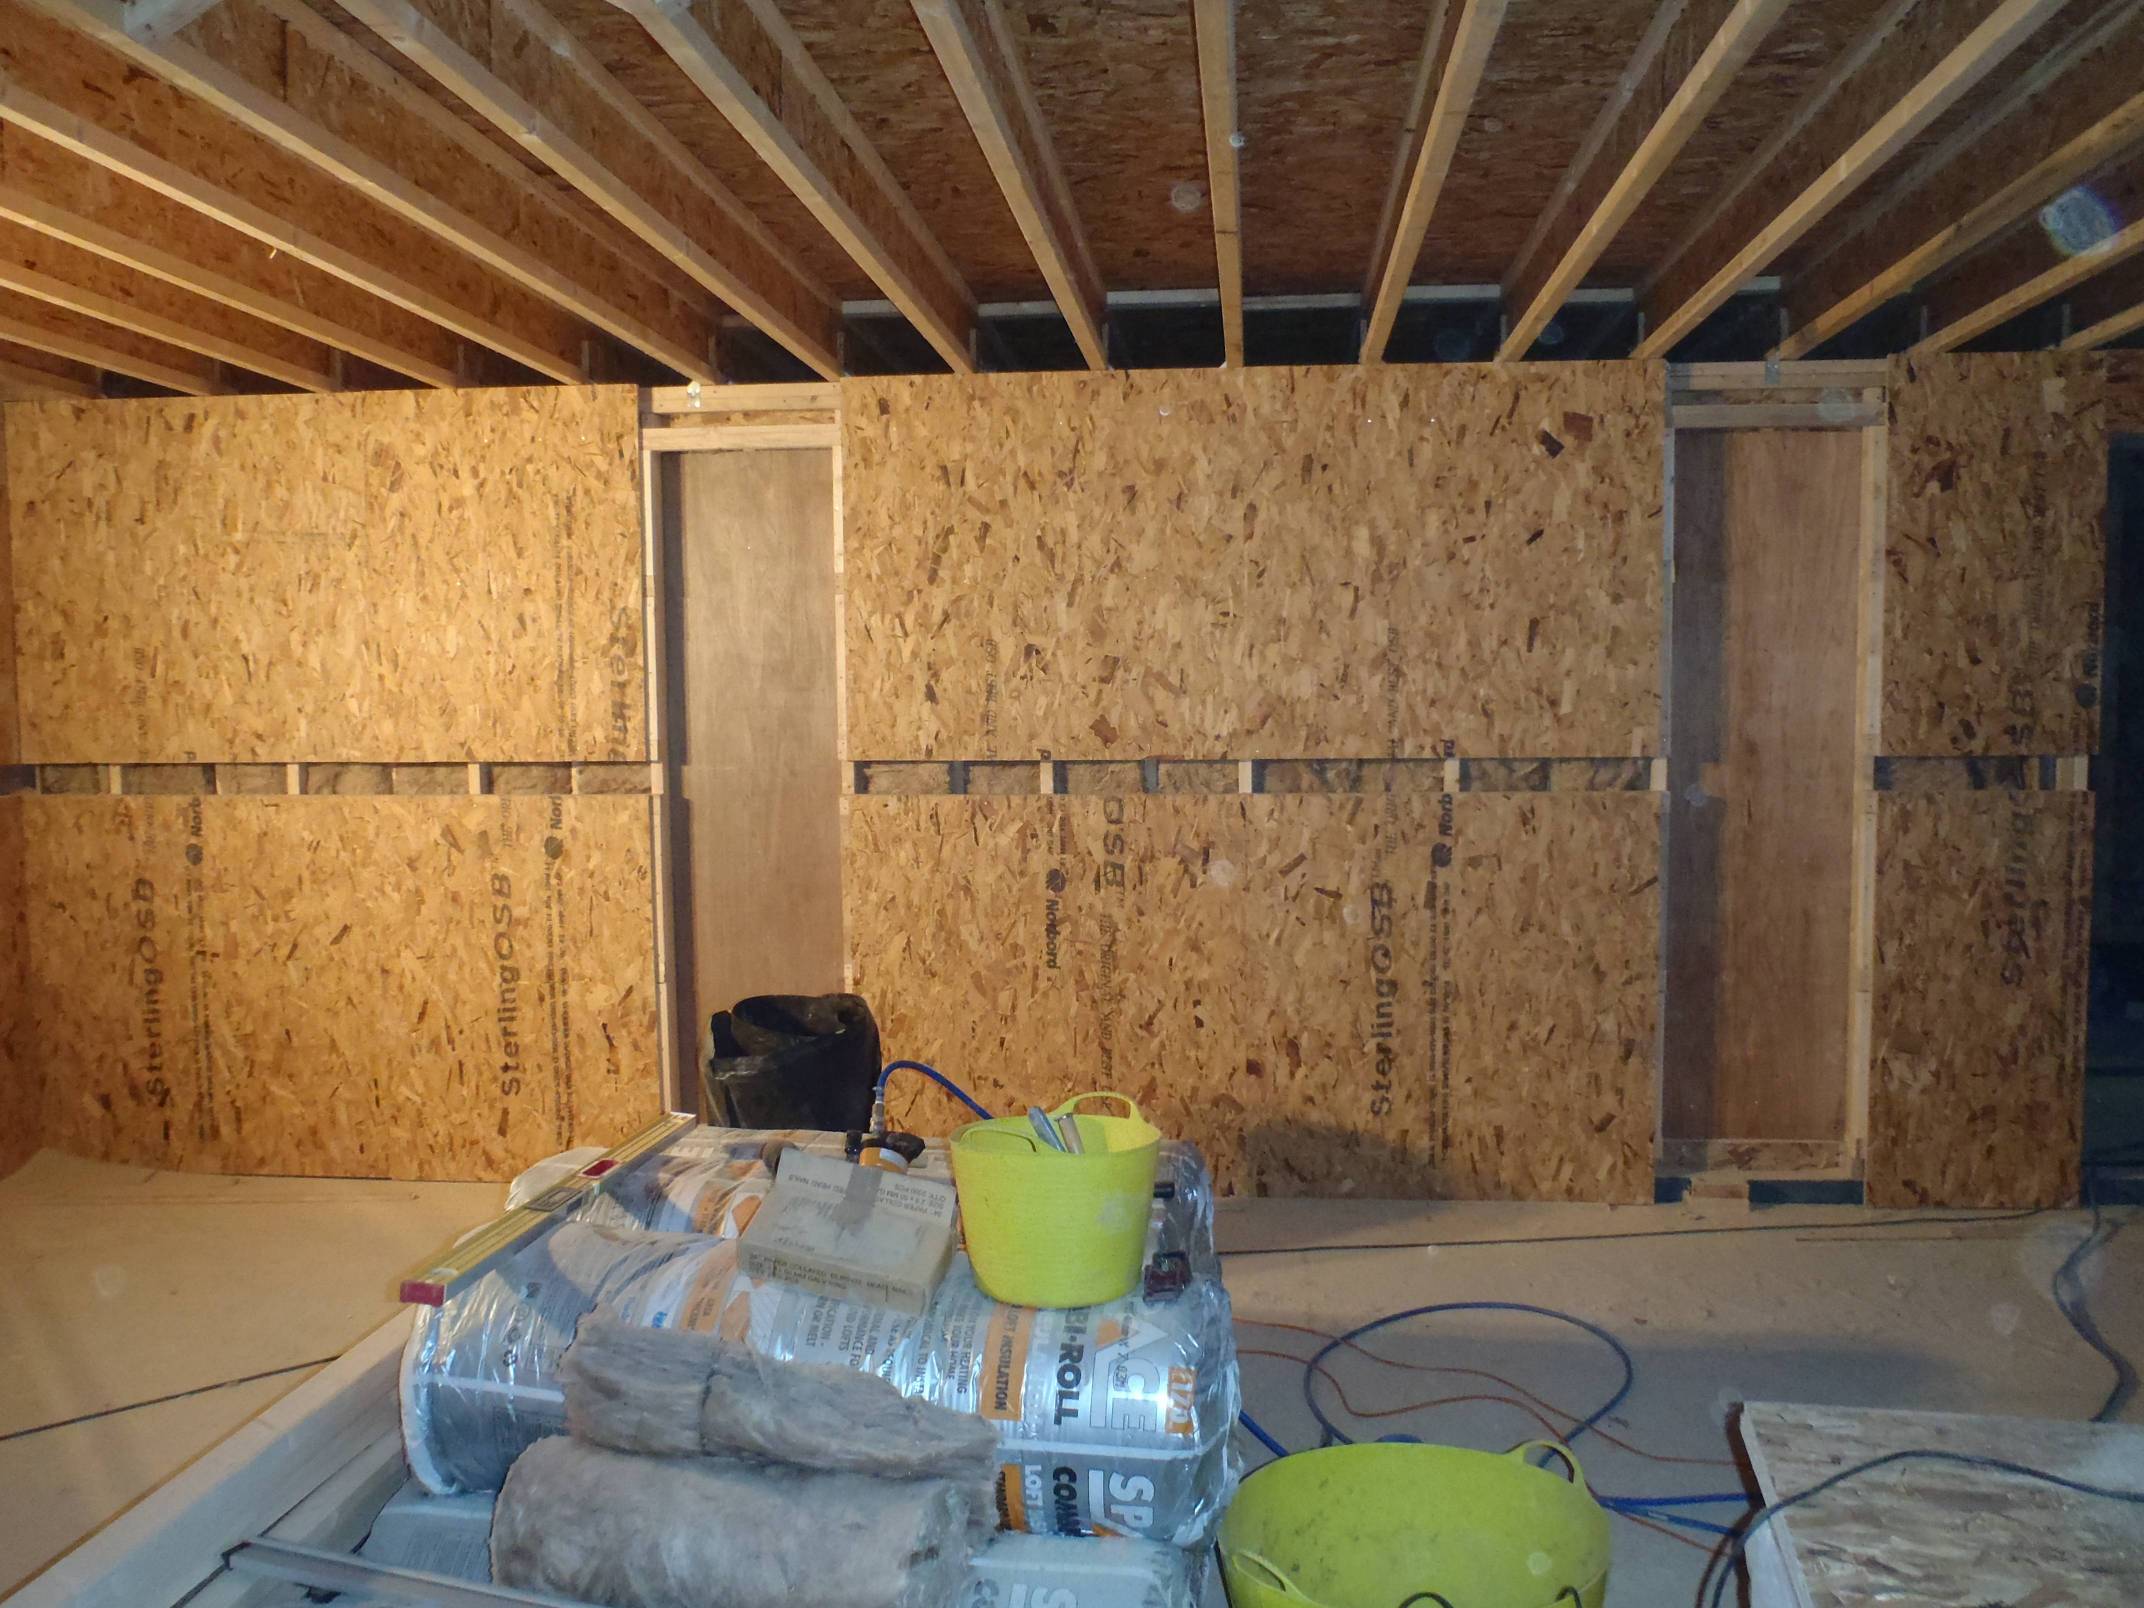
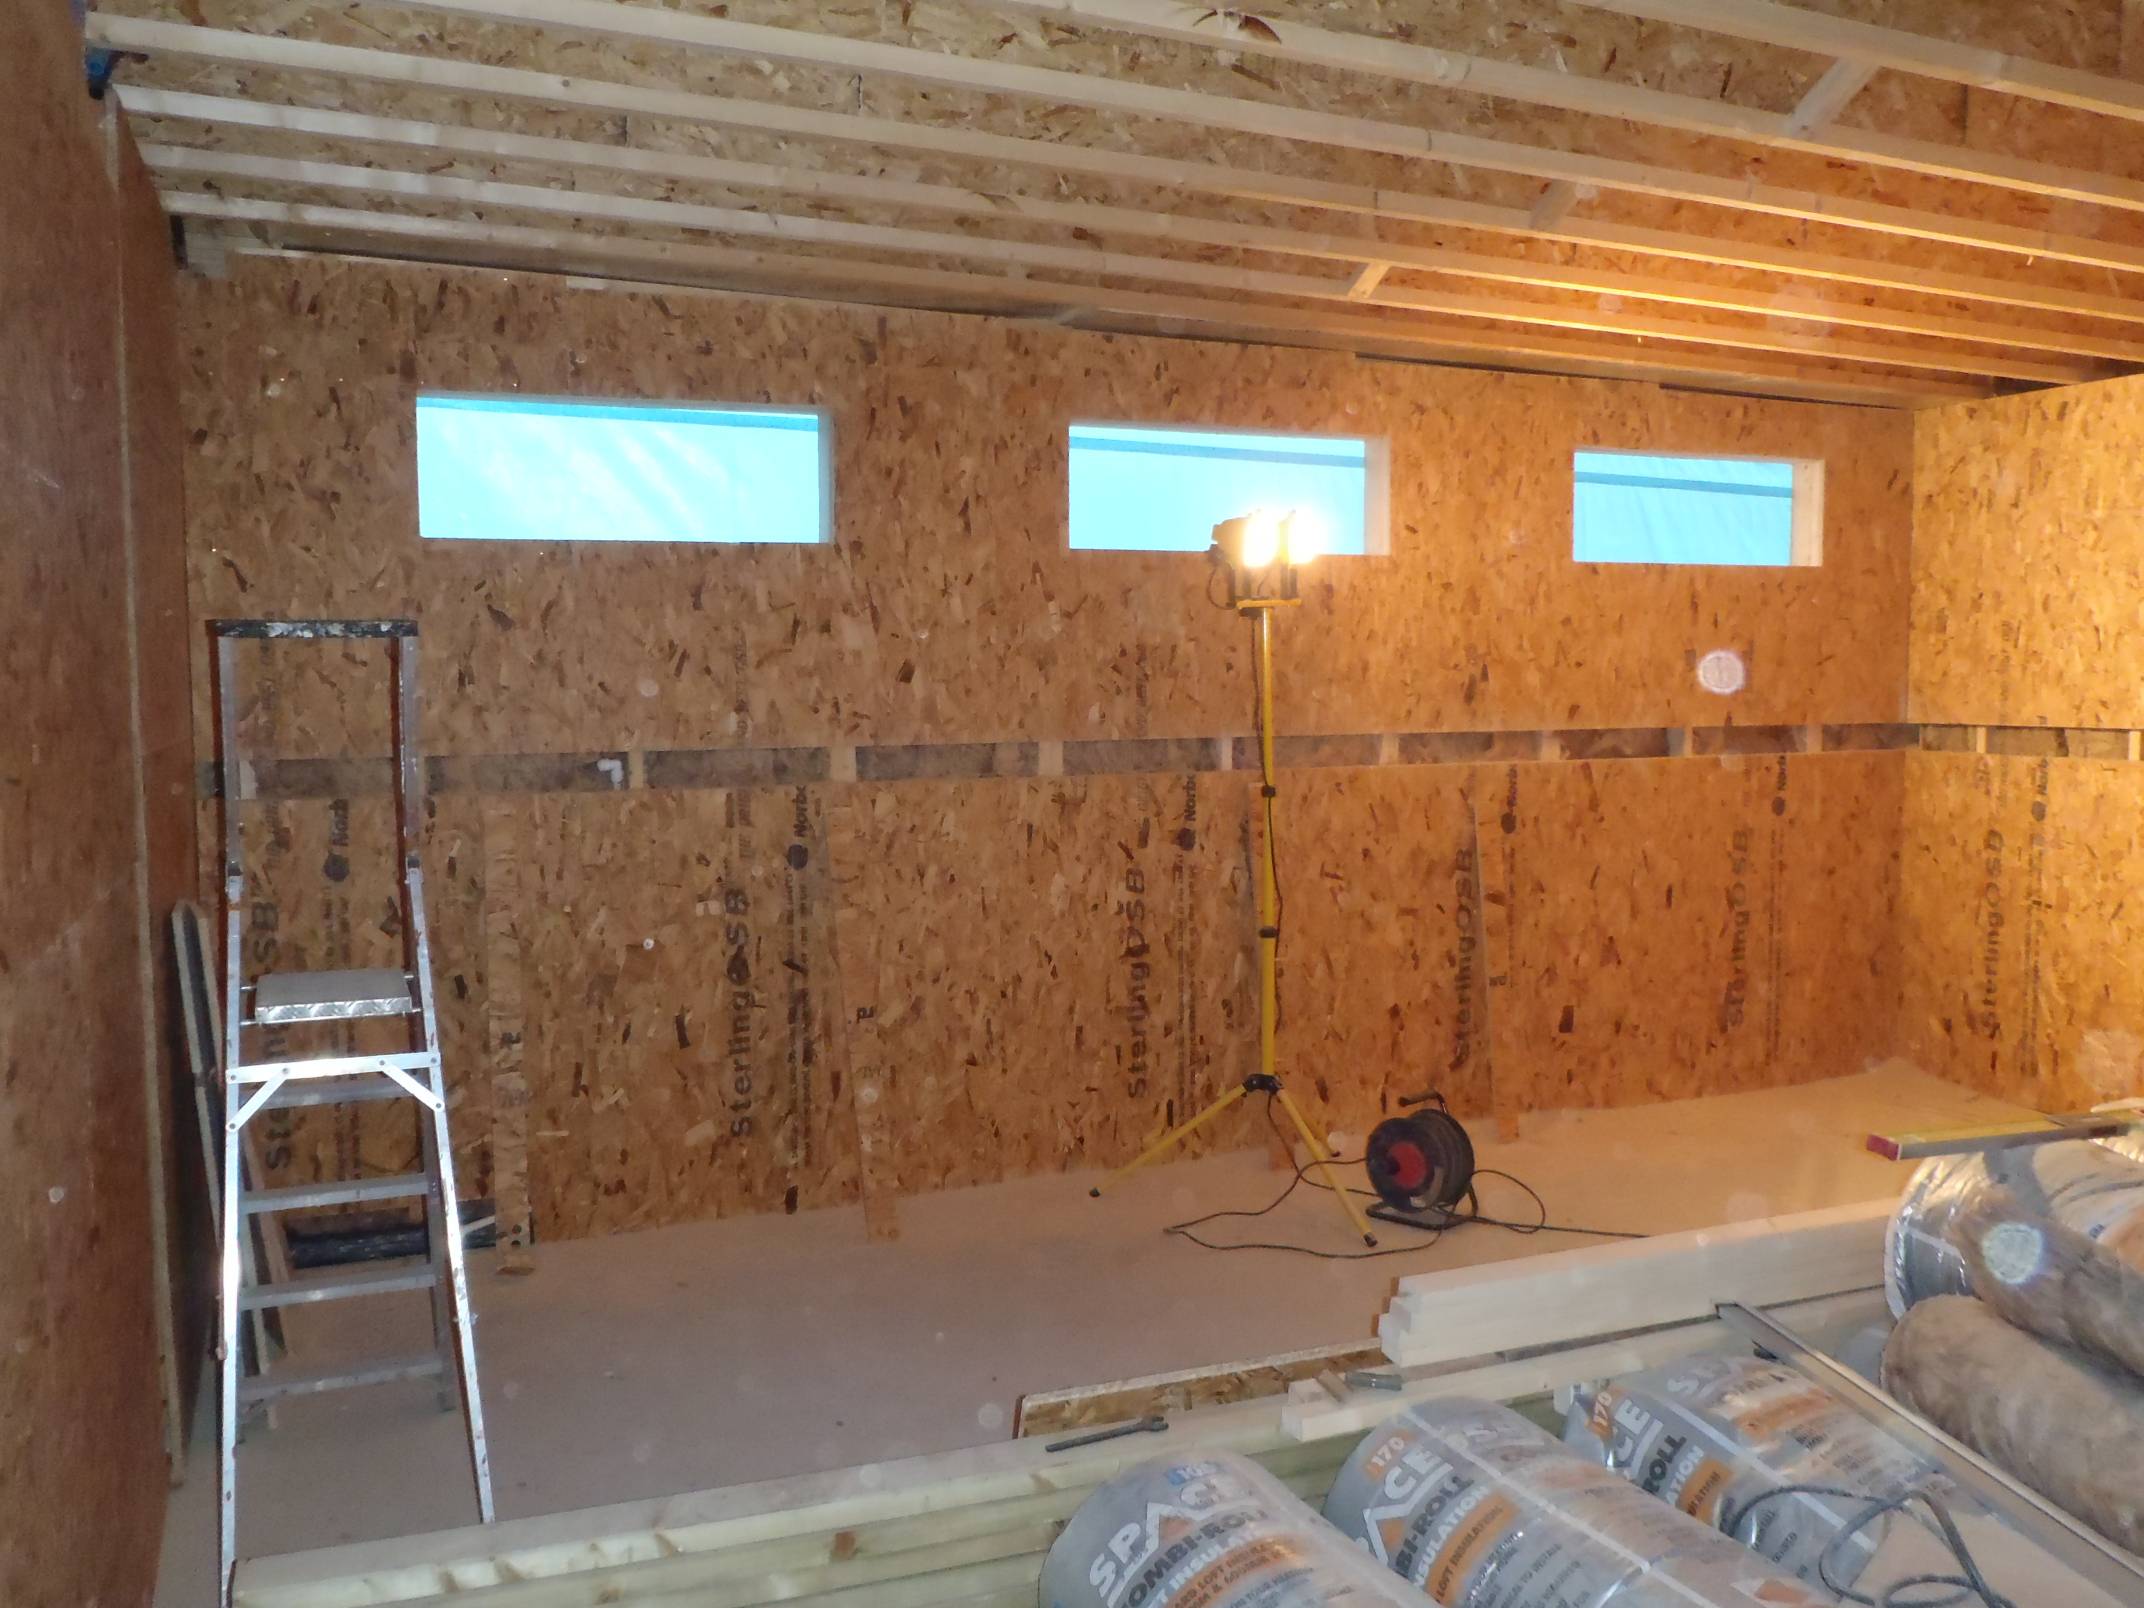
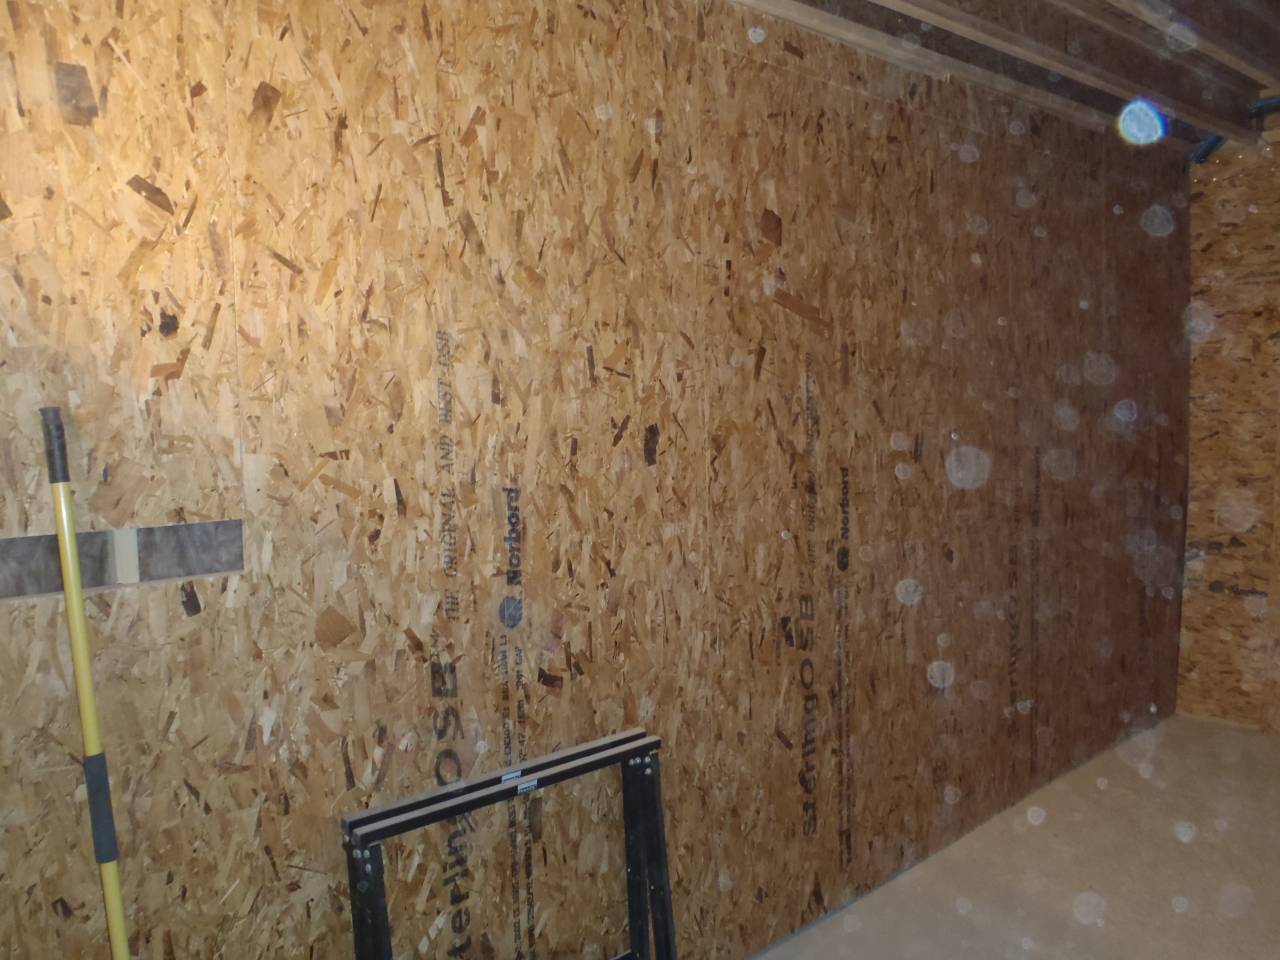
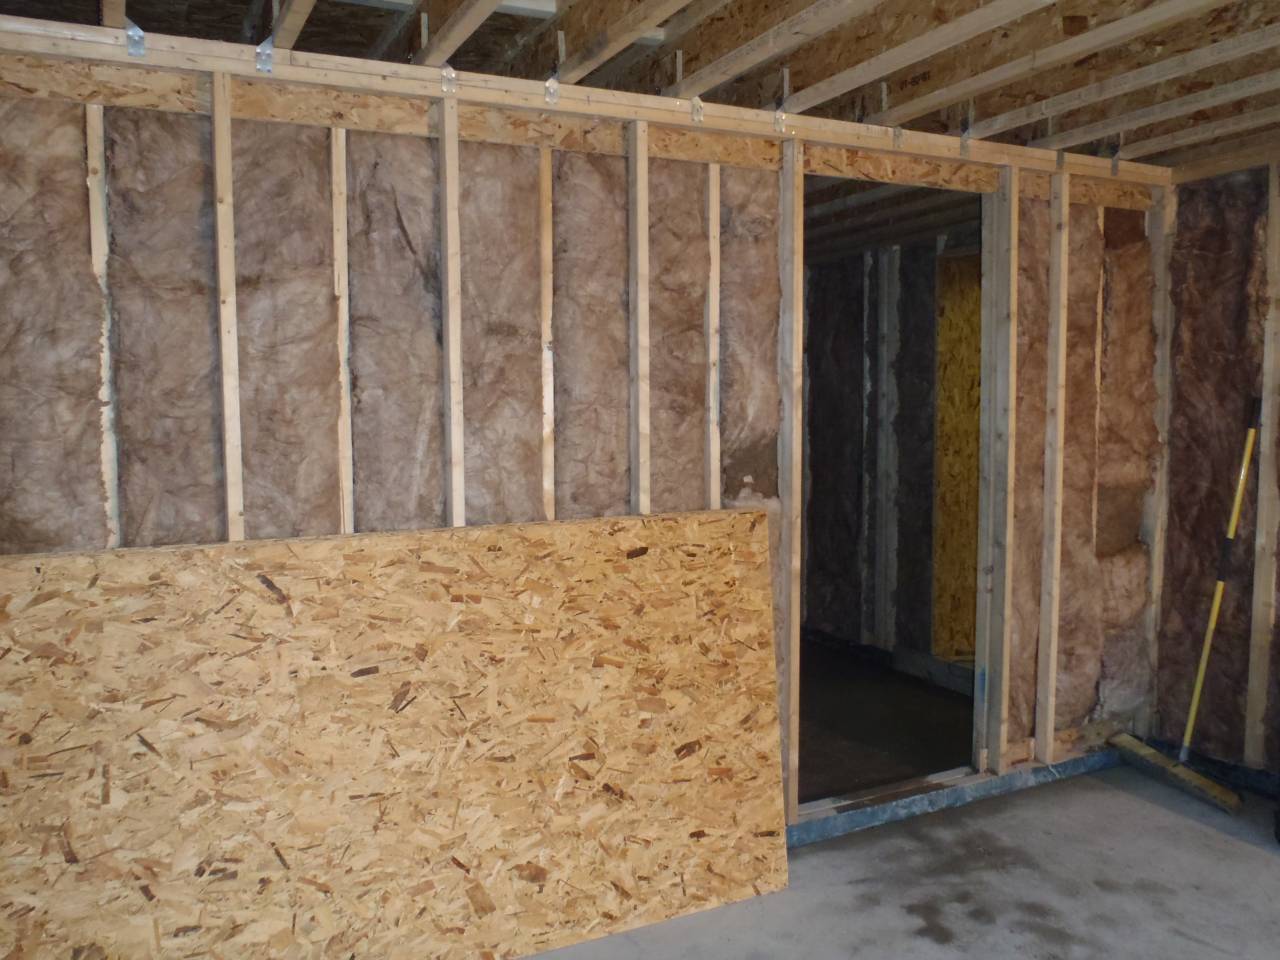
The first stage of the interior assembly of the walls is completed, well at least the front part of the garage is!
OSB Lining complete

OSB Lining complete

OSB Lining complete
OSB Lining complete
As you can see, there is a slot half way up the wall, called the The Utility Rail, open and ready for the electrical cables etc. It is a 100mm (4inches) high cavity all the way around the garage. This will allow us to have sockets anywhere we want as well as compressed air outlets, data network connections, vacuum ports and anything else we might think of in years to come!
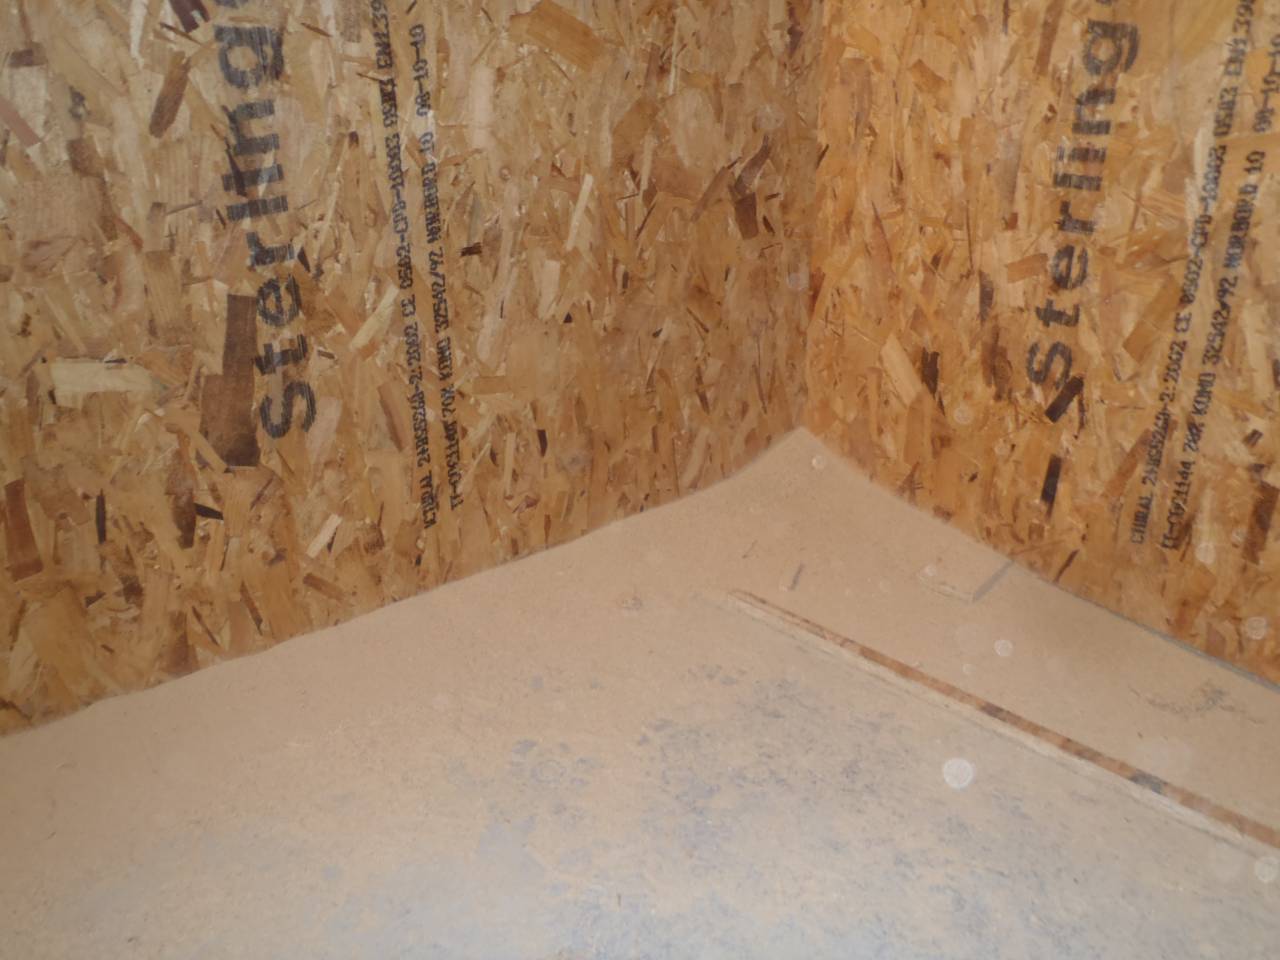
Drift of sawdust
It was a pretty dusty environment we were working in but we had dust masks and thank goodness we had especially when we were sweeping the sawdust up!
The Fermacell will go up on the ceiling first tomorrow and then on the walls themselves in a few days time. This will create almost the final finishing surface! Just nice brilliant white emulsion paint as the finishing touch!
P.S. The light splotches on the photos are air born dust reflecting the flash.
In the garage, the front part, we have been putting up the first layer of wall boards. This layer is made of sheets of 18mm OSB with the edges cut to form tongues and grooves interlocking structures to make a very strong joints without the need to keep aligning the sheet’s edges onto the horizontal battens.
We have done the left and right hand side of the garage and have started on the middle wall.
OSB lining on outside walls

OSB lining on outside walls
Once we finished the middle wall, we will then insert the glass wool insulation into the roof space and cover it all up with our new Fermacell. Then go around to place more Fermacell on the walls too! That would make the front part of the garage pretty much finished, apart from the lights, utility rail and electrical cables!
Our 120sheets of Fermacell has arrived! The lorry couldn’t fit down the Loke so they got their fork lift truck (they bought it with them!) and offloaded, separately, the two pallets, up on the main Beccles Road and drove down the Loke! They even managed to drive into our garage to dump the second pallet inside!
The Fermacell sheets are 10mm thick and the usual 2400mm by 1200mm metric size! Fermacell is very flat and very constant in thickness. It is fibre reinforced gypsum and compressed to form a level surface, ready to be covered (wallpaper or paint) straight away. Fermacell do not have that paper finish, all edges are square and sharp! Just butt the boards together with a thin line of glue specially formulated to form strong joints.
They supply a “surface” treatment paste (we bought a tub) which you can apply to the board and scrape off using the metal spatula to form a very smooth finish, ready for painting directly. The original surface has very tiny pits as a result of the manufacturing process and even here you can paint the surface using rollers to get that matt finish!
The Fermacell is very strong compared with the old fashioned plasterboards, one screw, once in the board, can hold 20kg all by itself! Even more for thicker boards!
No more need for that highly skilled chore of plastering the walls! So time and money is saved at this point which of course is taken up by the higher cost of the Fermacell in the first place, but they are ideal for us!
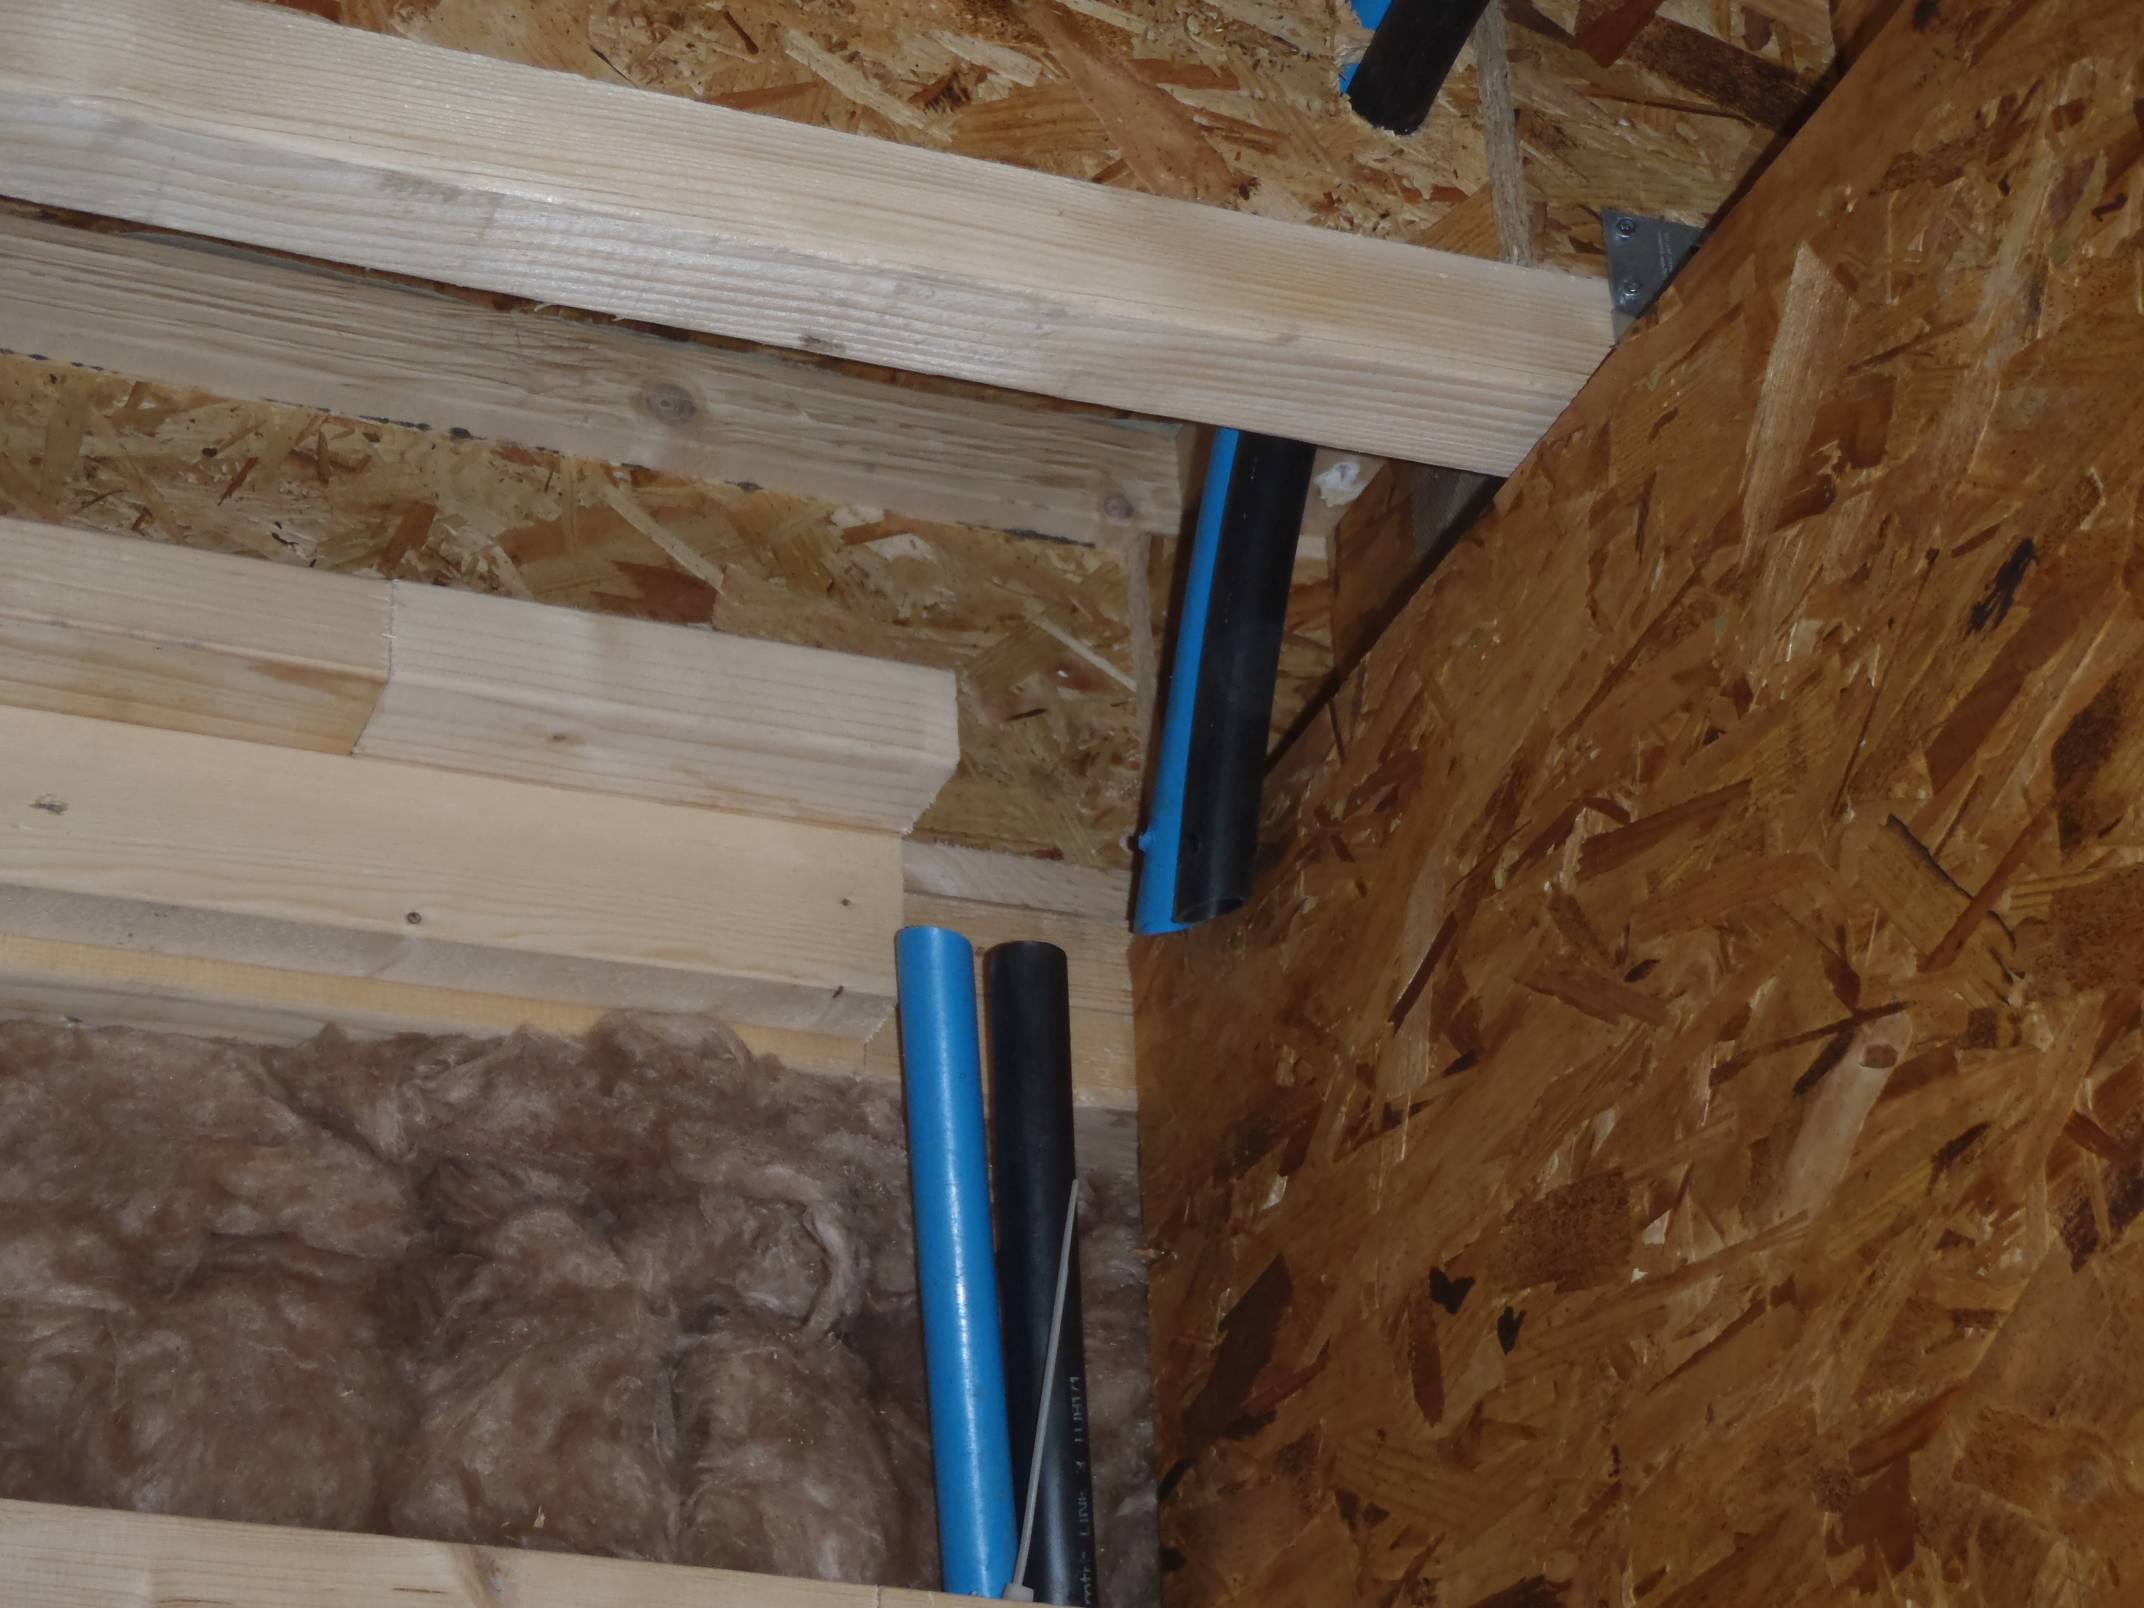
We have been inserting the conduits in the walls and other pipework! The electrics data and along with other pipes like compressed air, vacuum and water & waste.
It is a fiddly work, routing the various lengths of plastic conduits up into the ceiling space for lighting circuits, smaller conduits for data cables and connecting compressed air to both sides of the garage and into the garden room too!
but all this has to be done first before we can put up the base 18mm OSB boards.
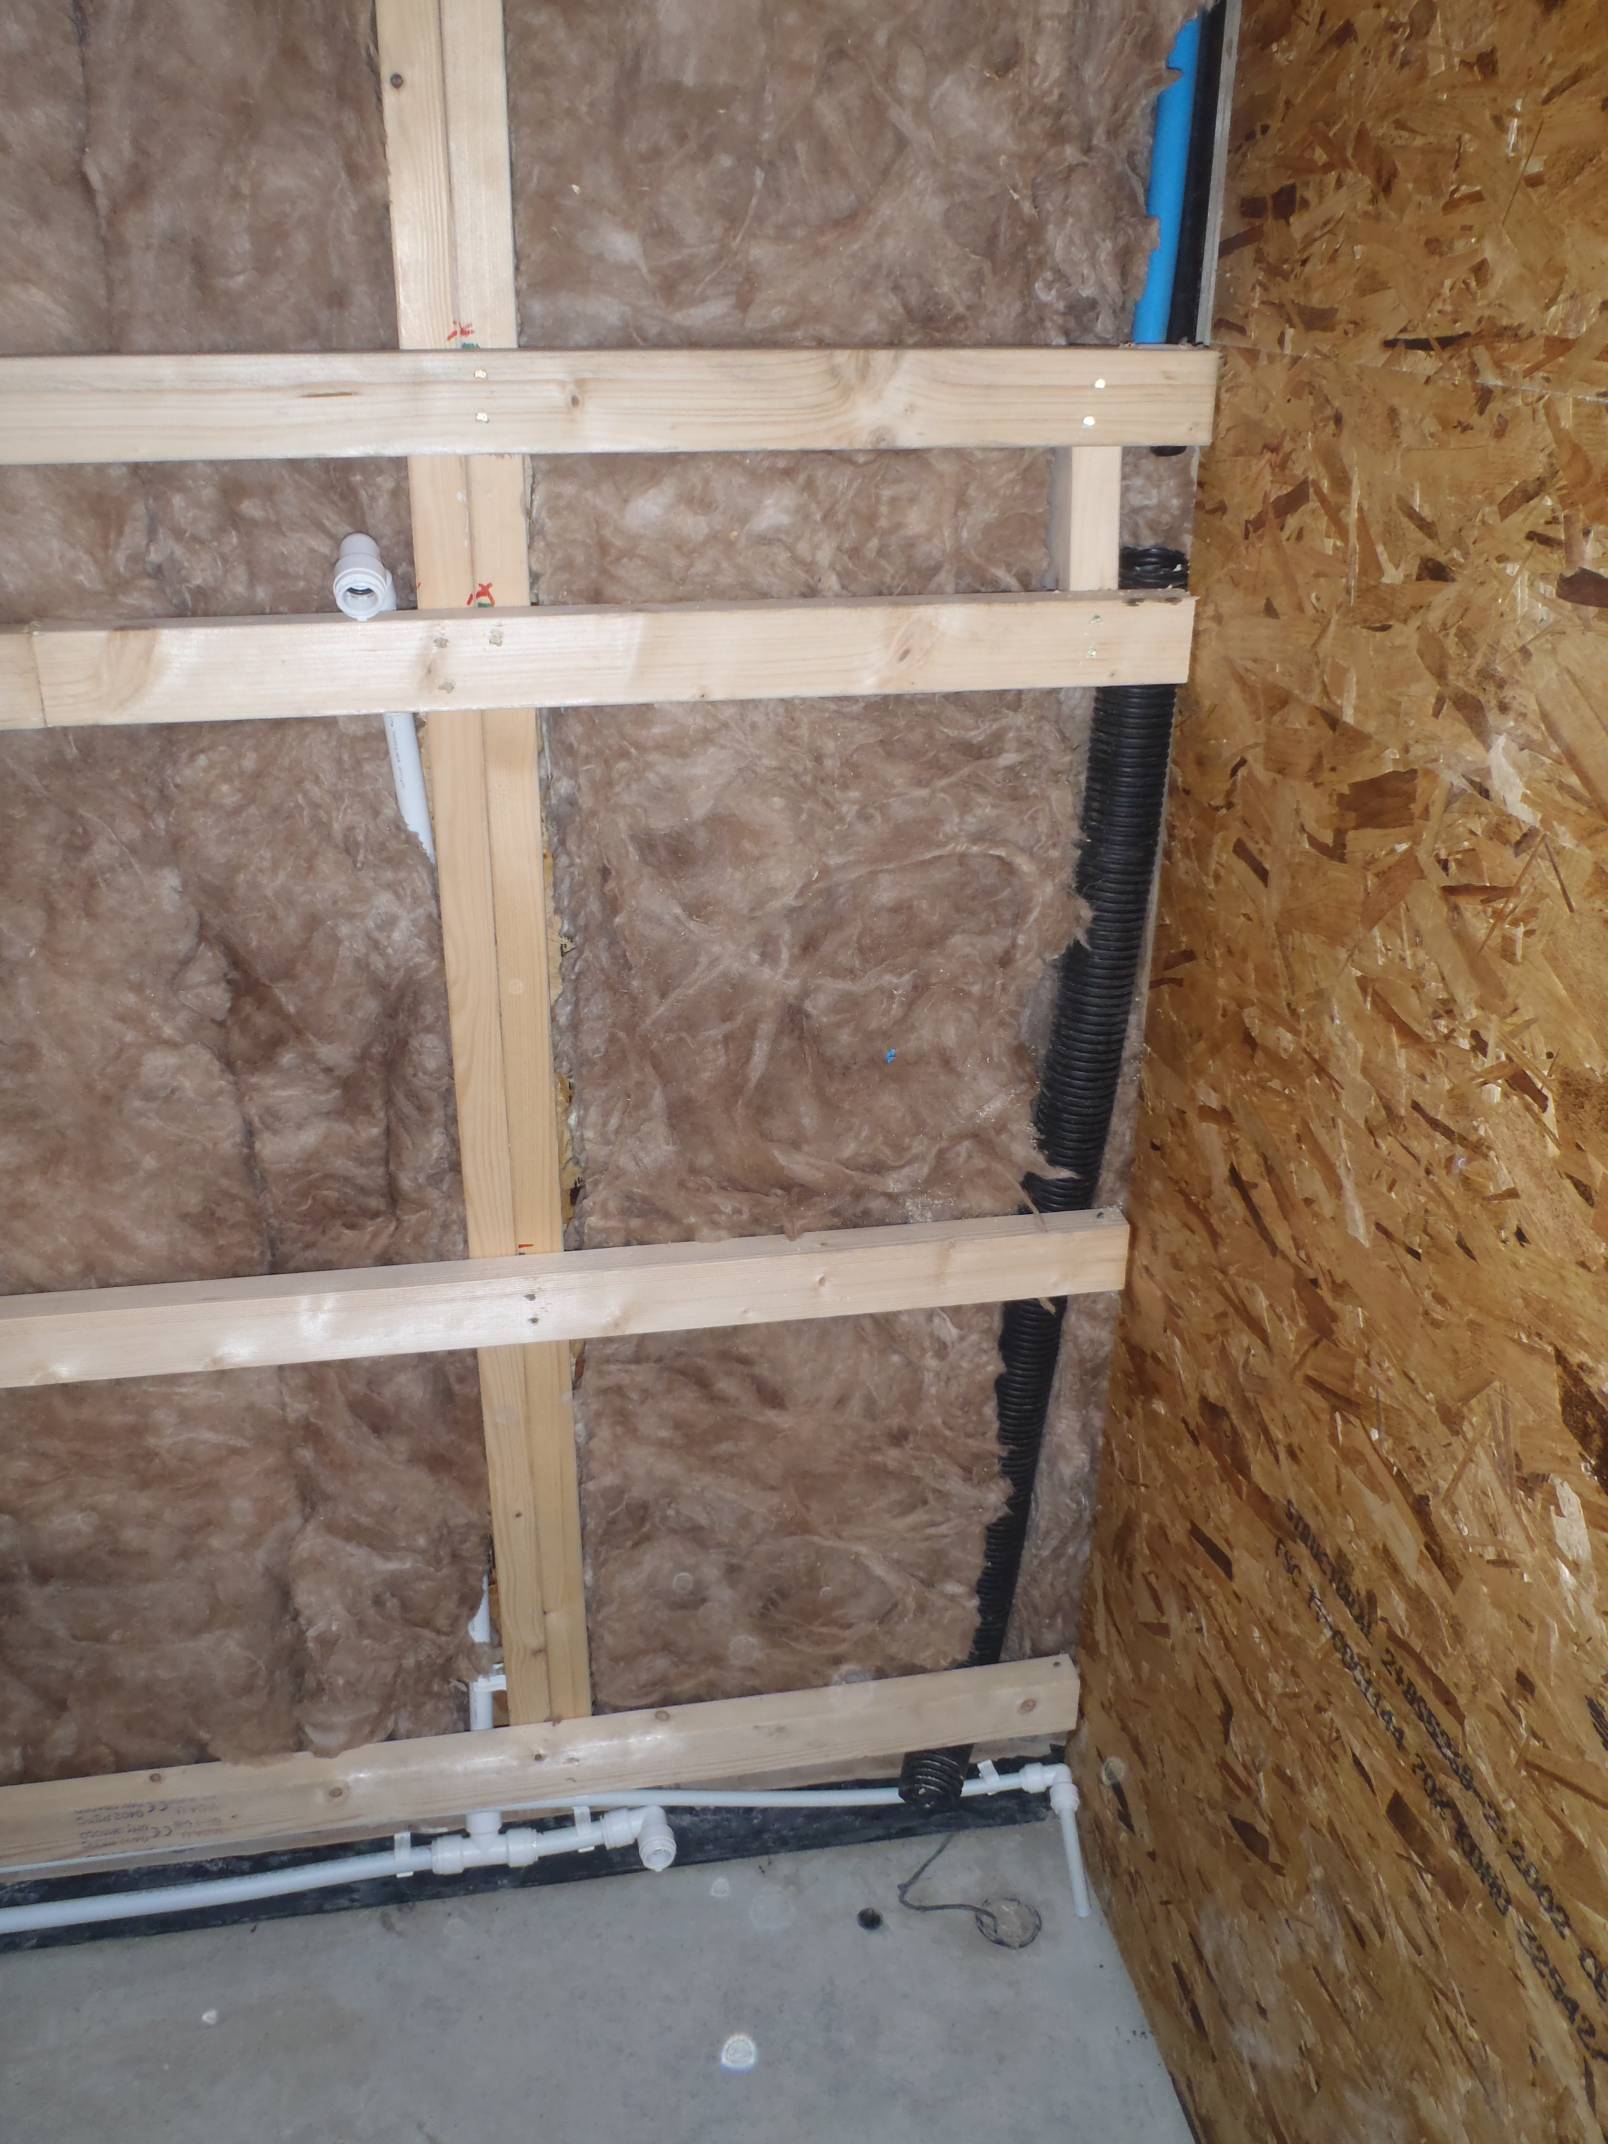
Garage Wall ducts
Garage Wall ducts

Garage Wall ducts

Garage Wall ducts
Garage Wall ducts
We framed out the WC for the garage which will have just a loo and basin in it. Spent some time getting it square all round! Then we finished off the wall battens.
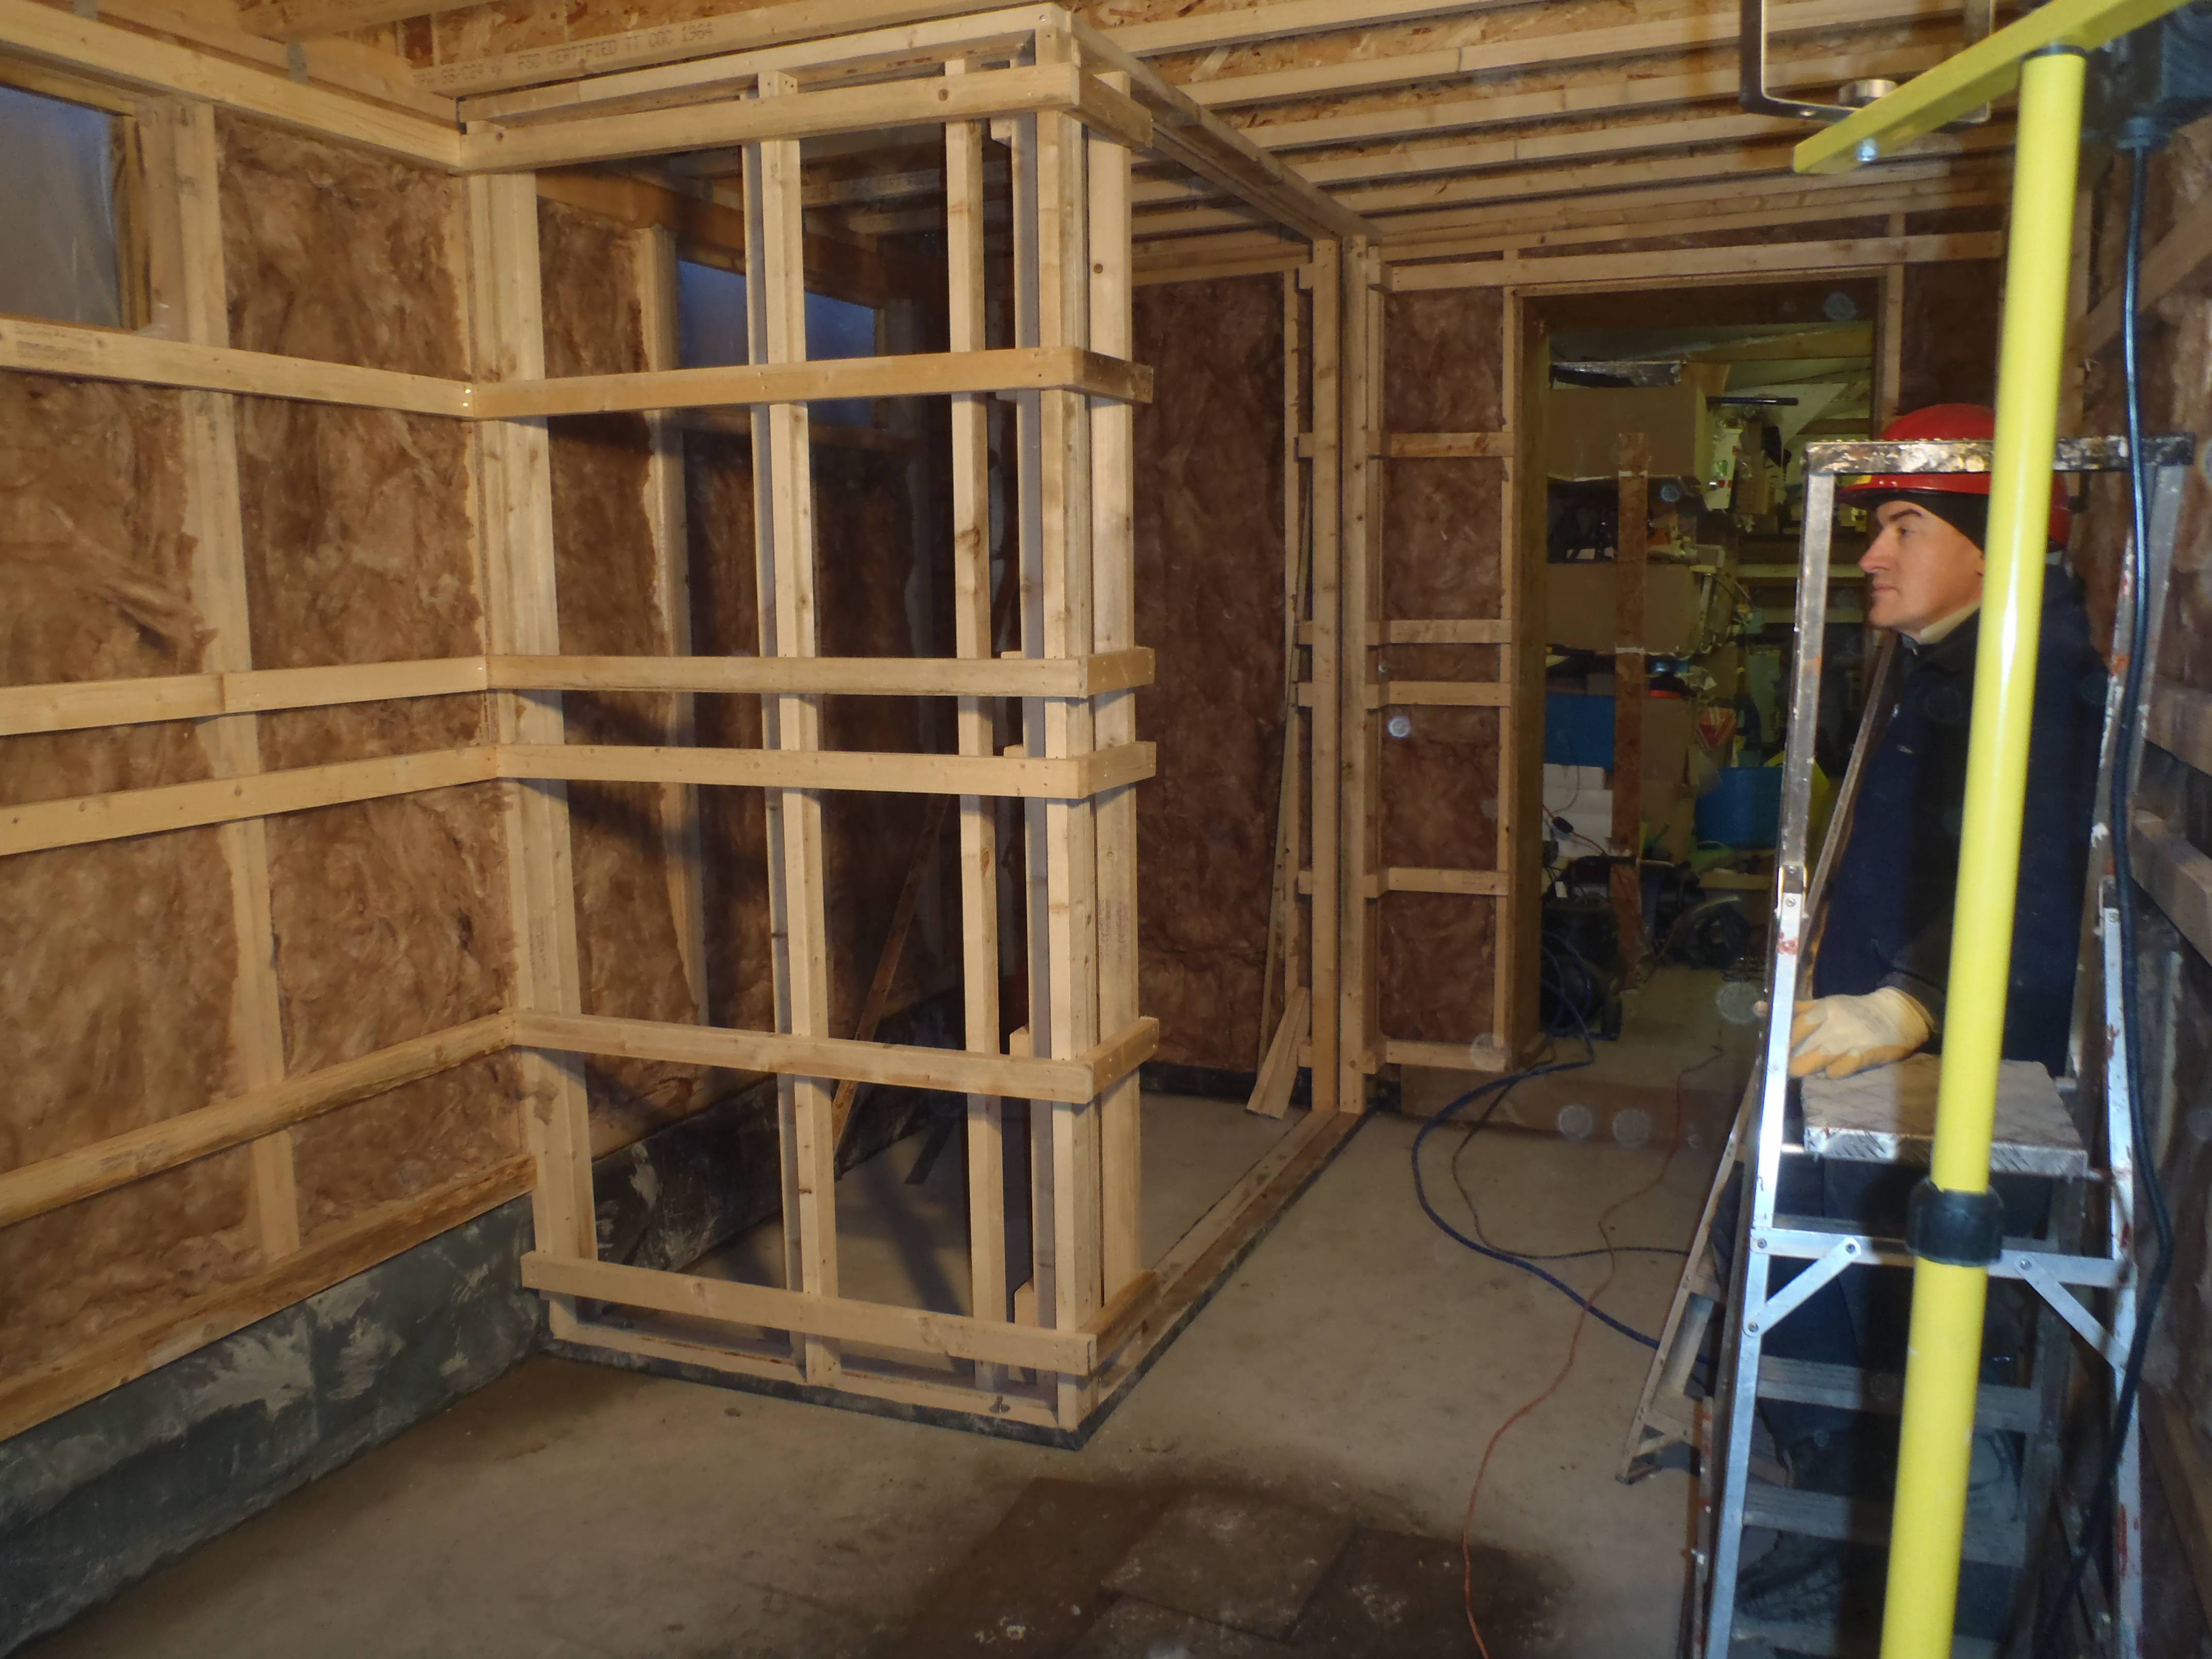
WC Framing

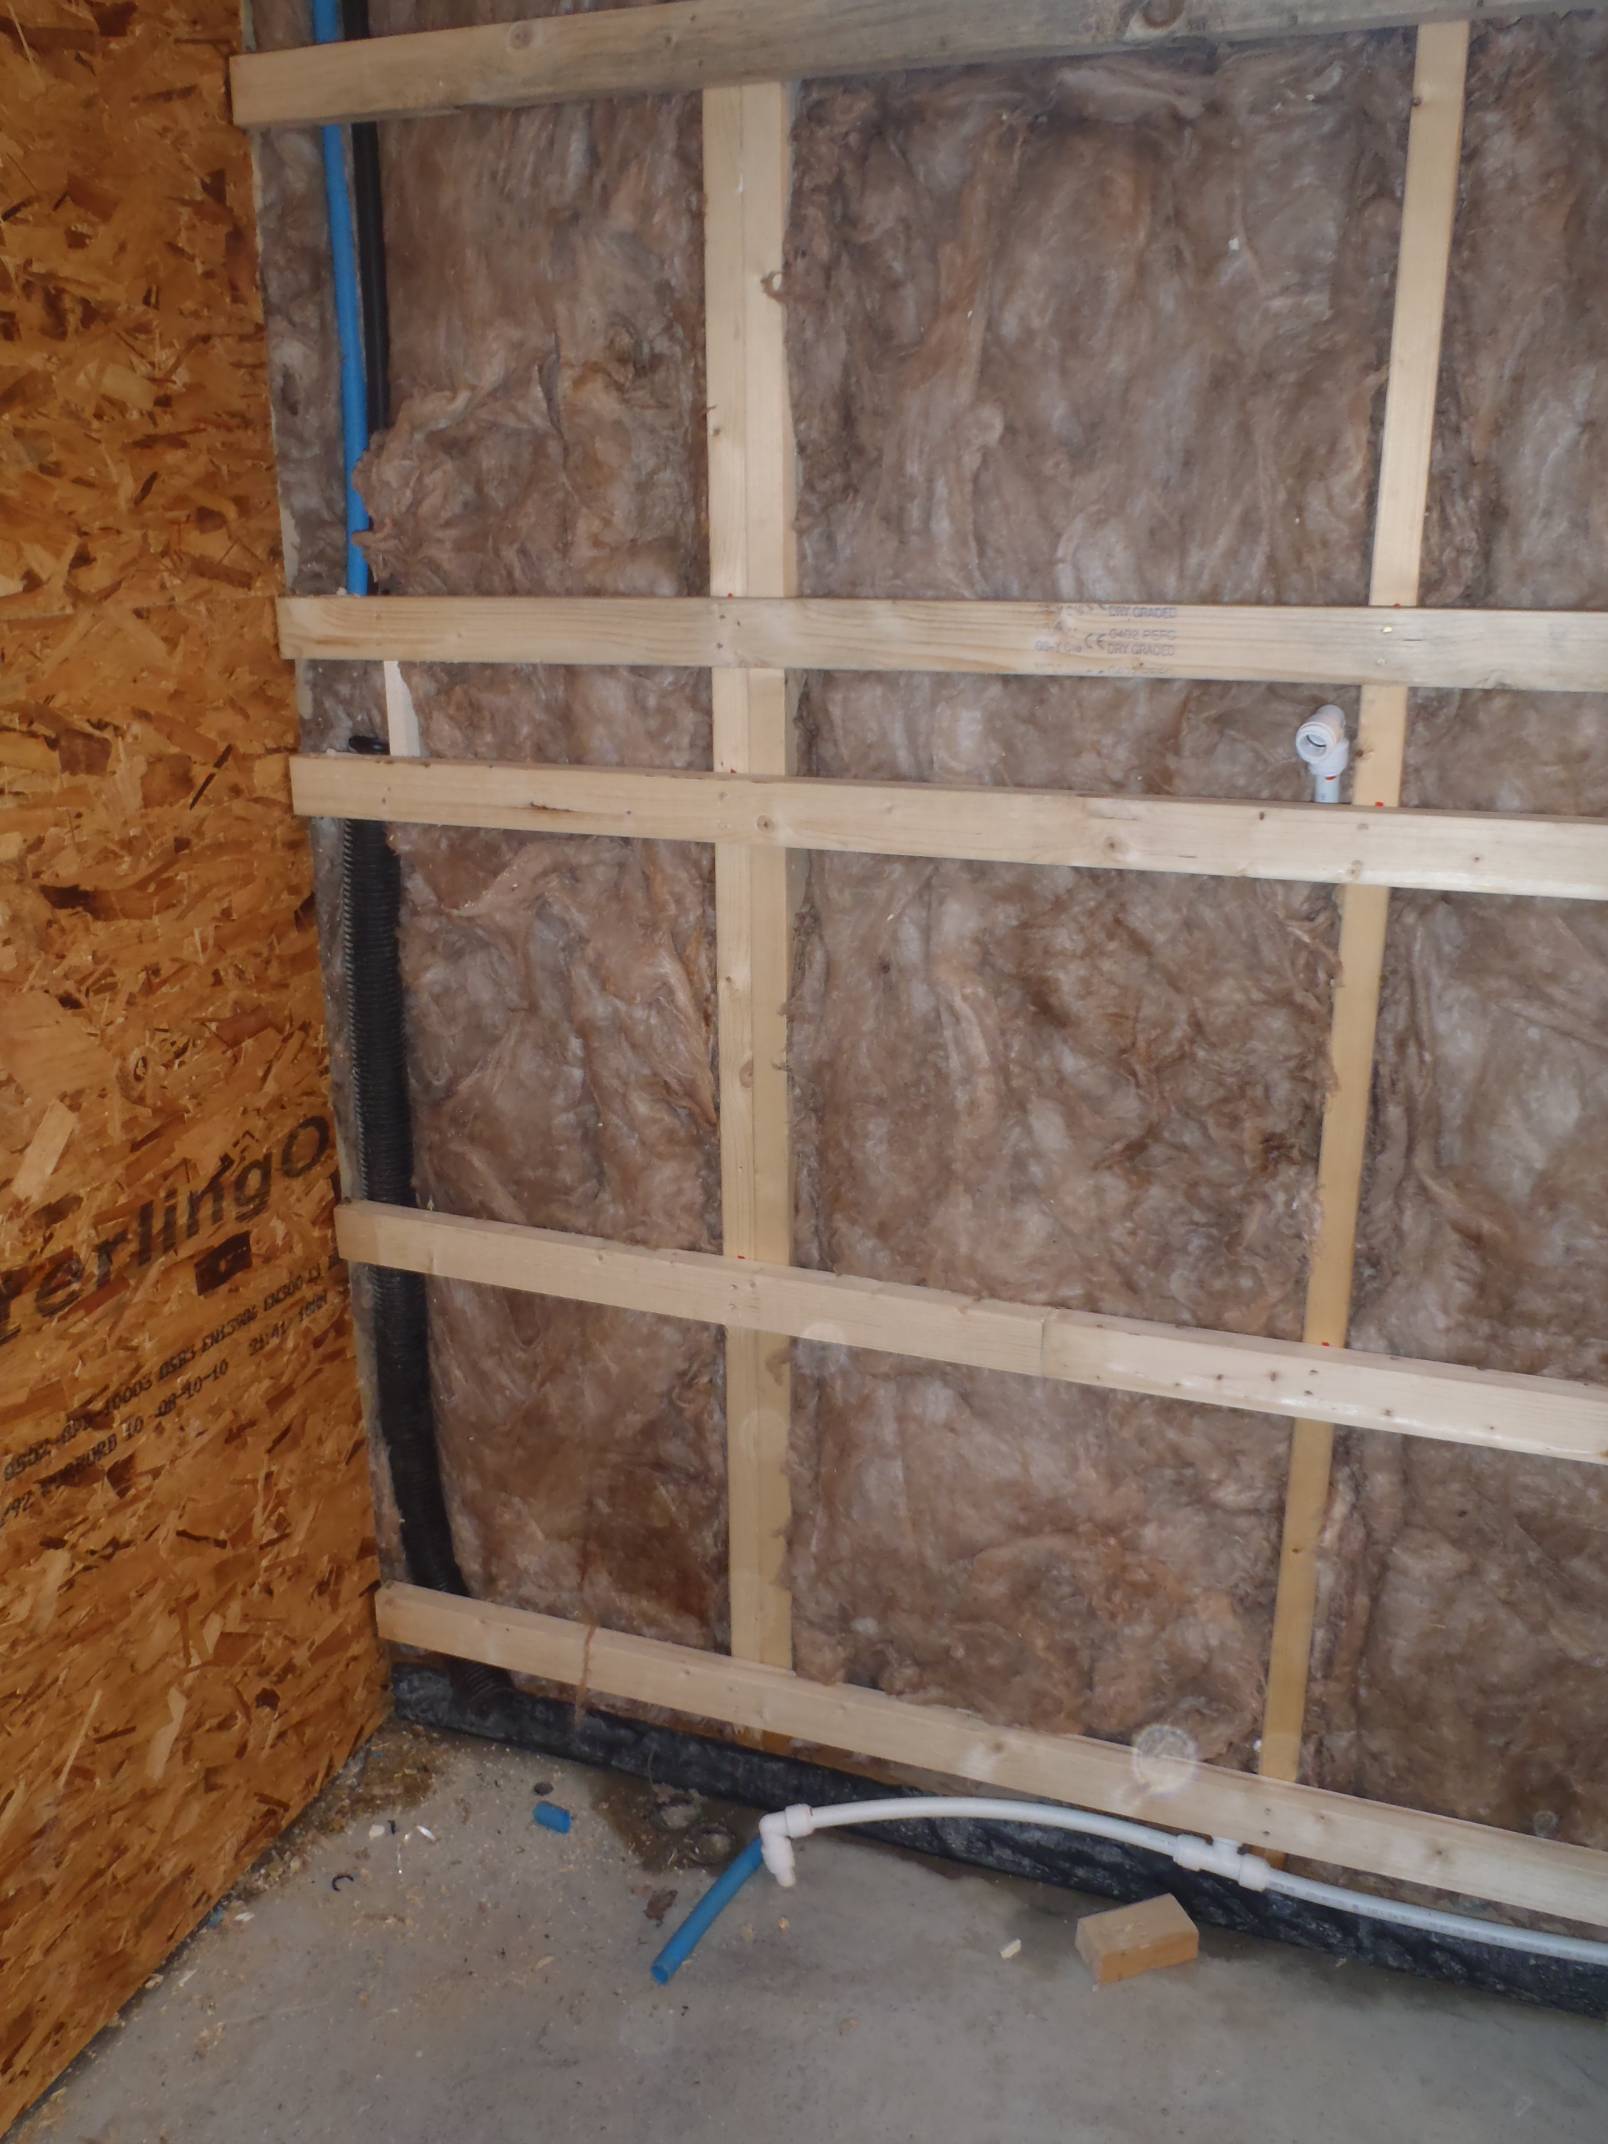
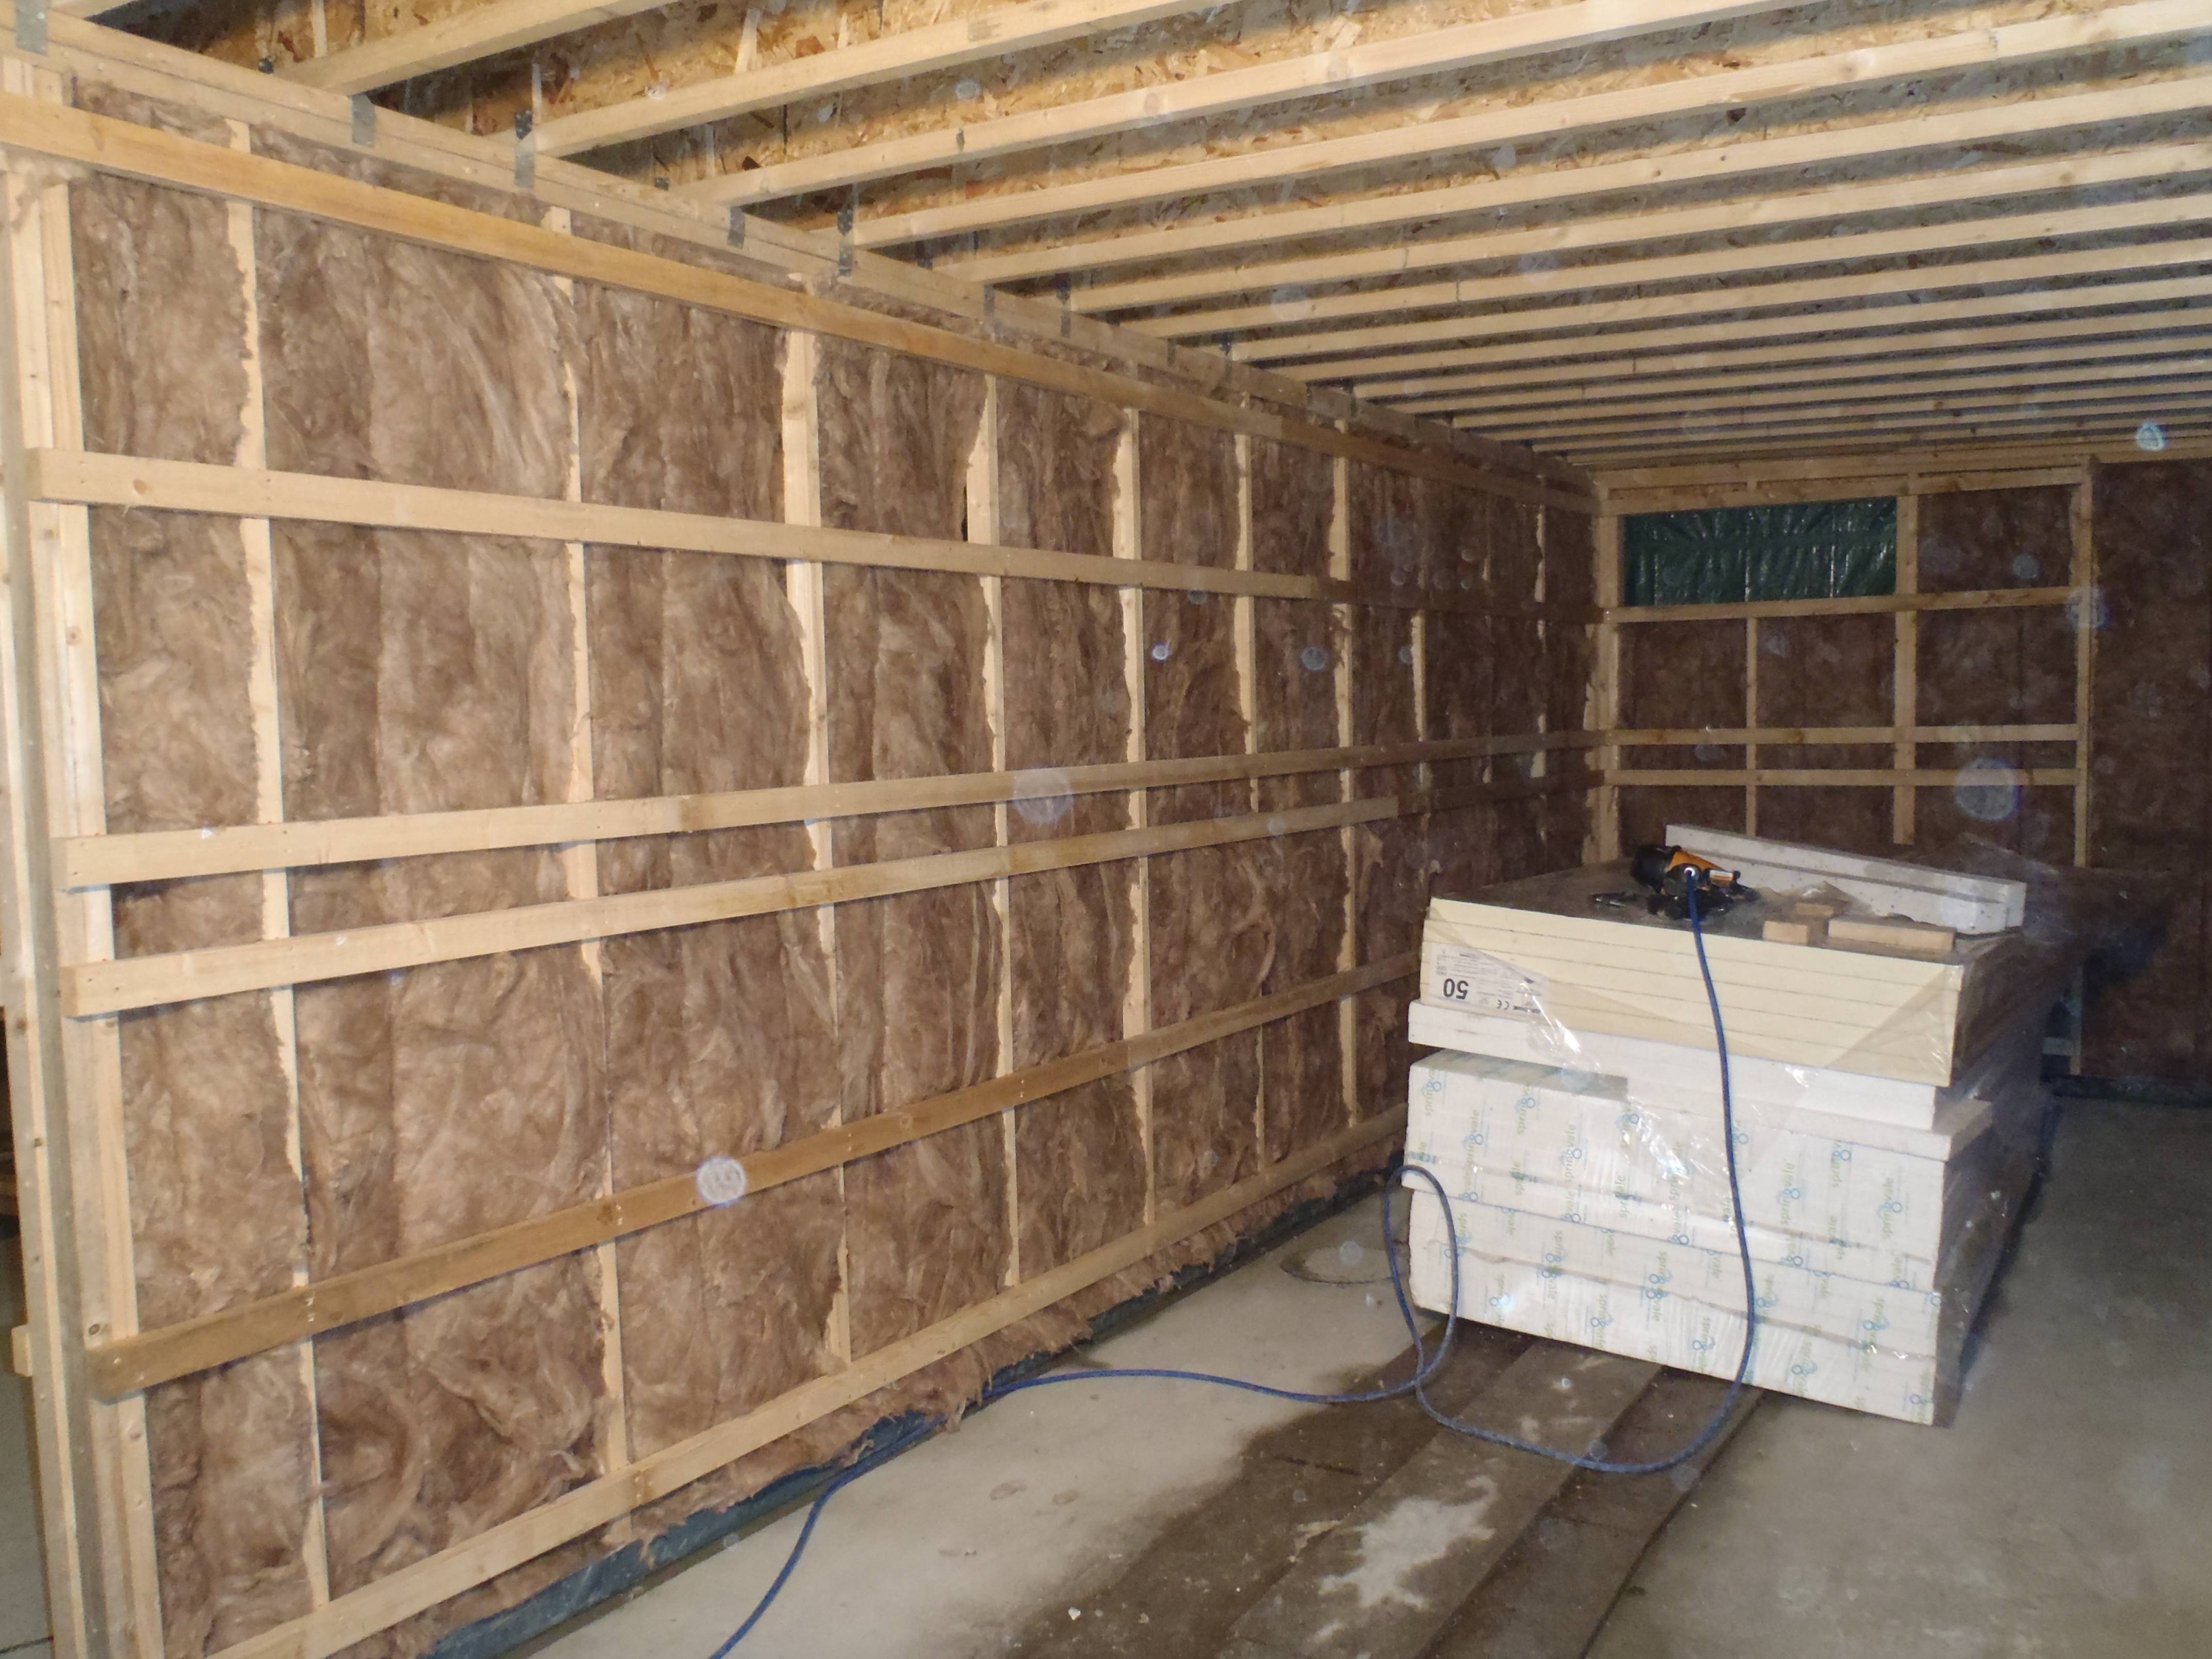
We have fixed up the 38mm x 63mm battens on most of the walls, these are to provide a services area behind the wall surfaces. The gap between the close together battens will be the ‘utility rail’ where sockets and switches will go.
Horizontal rails fitted
Horizontal rails fitted

Horizontal rails fitted
Horizontal rails fitted
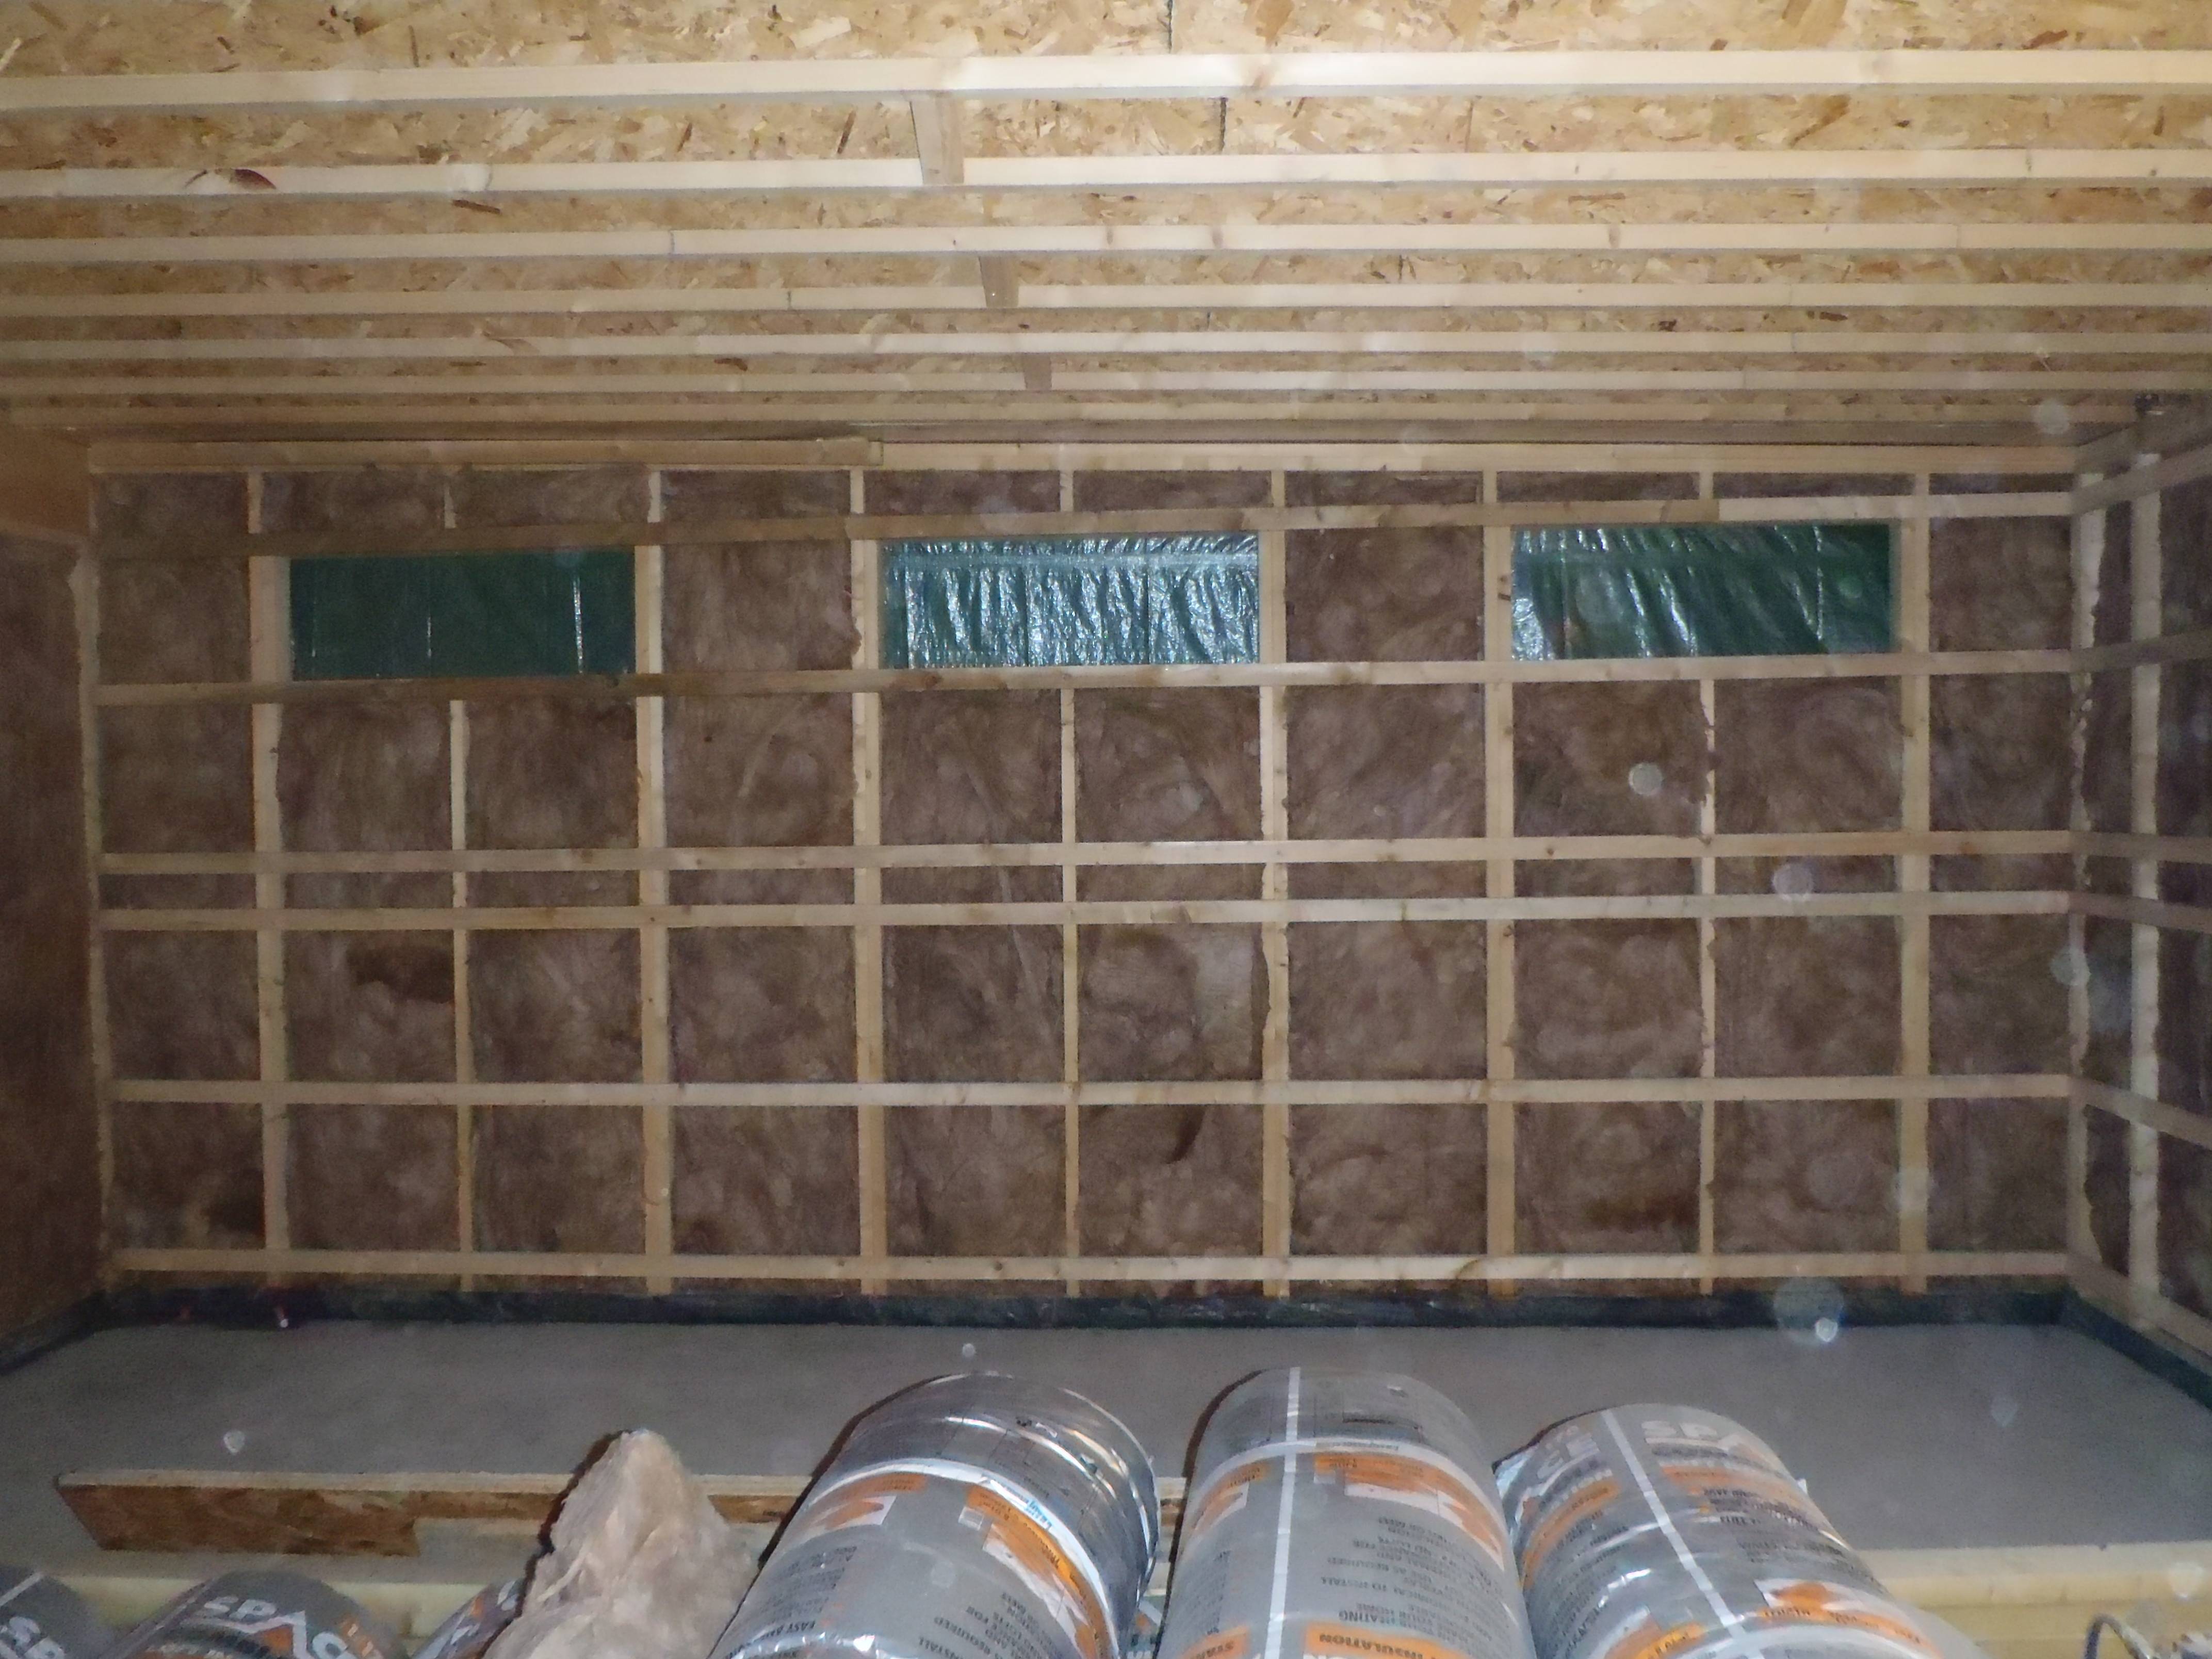
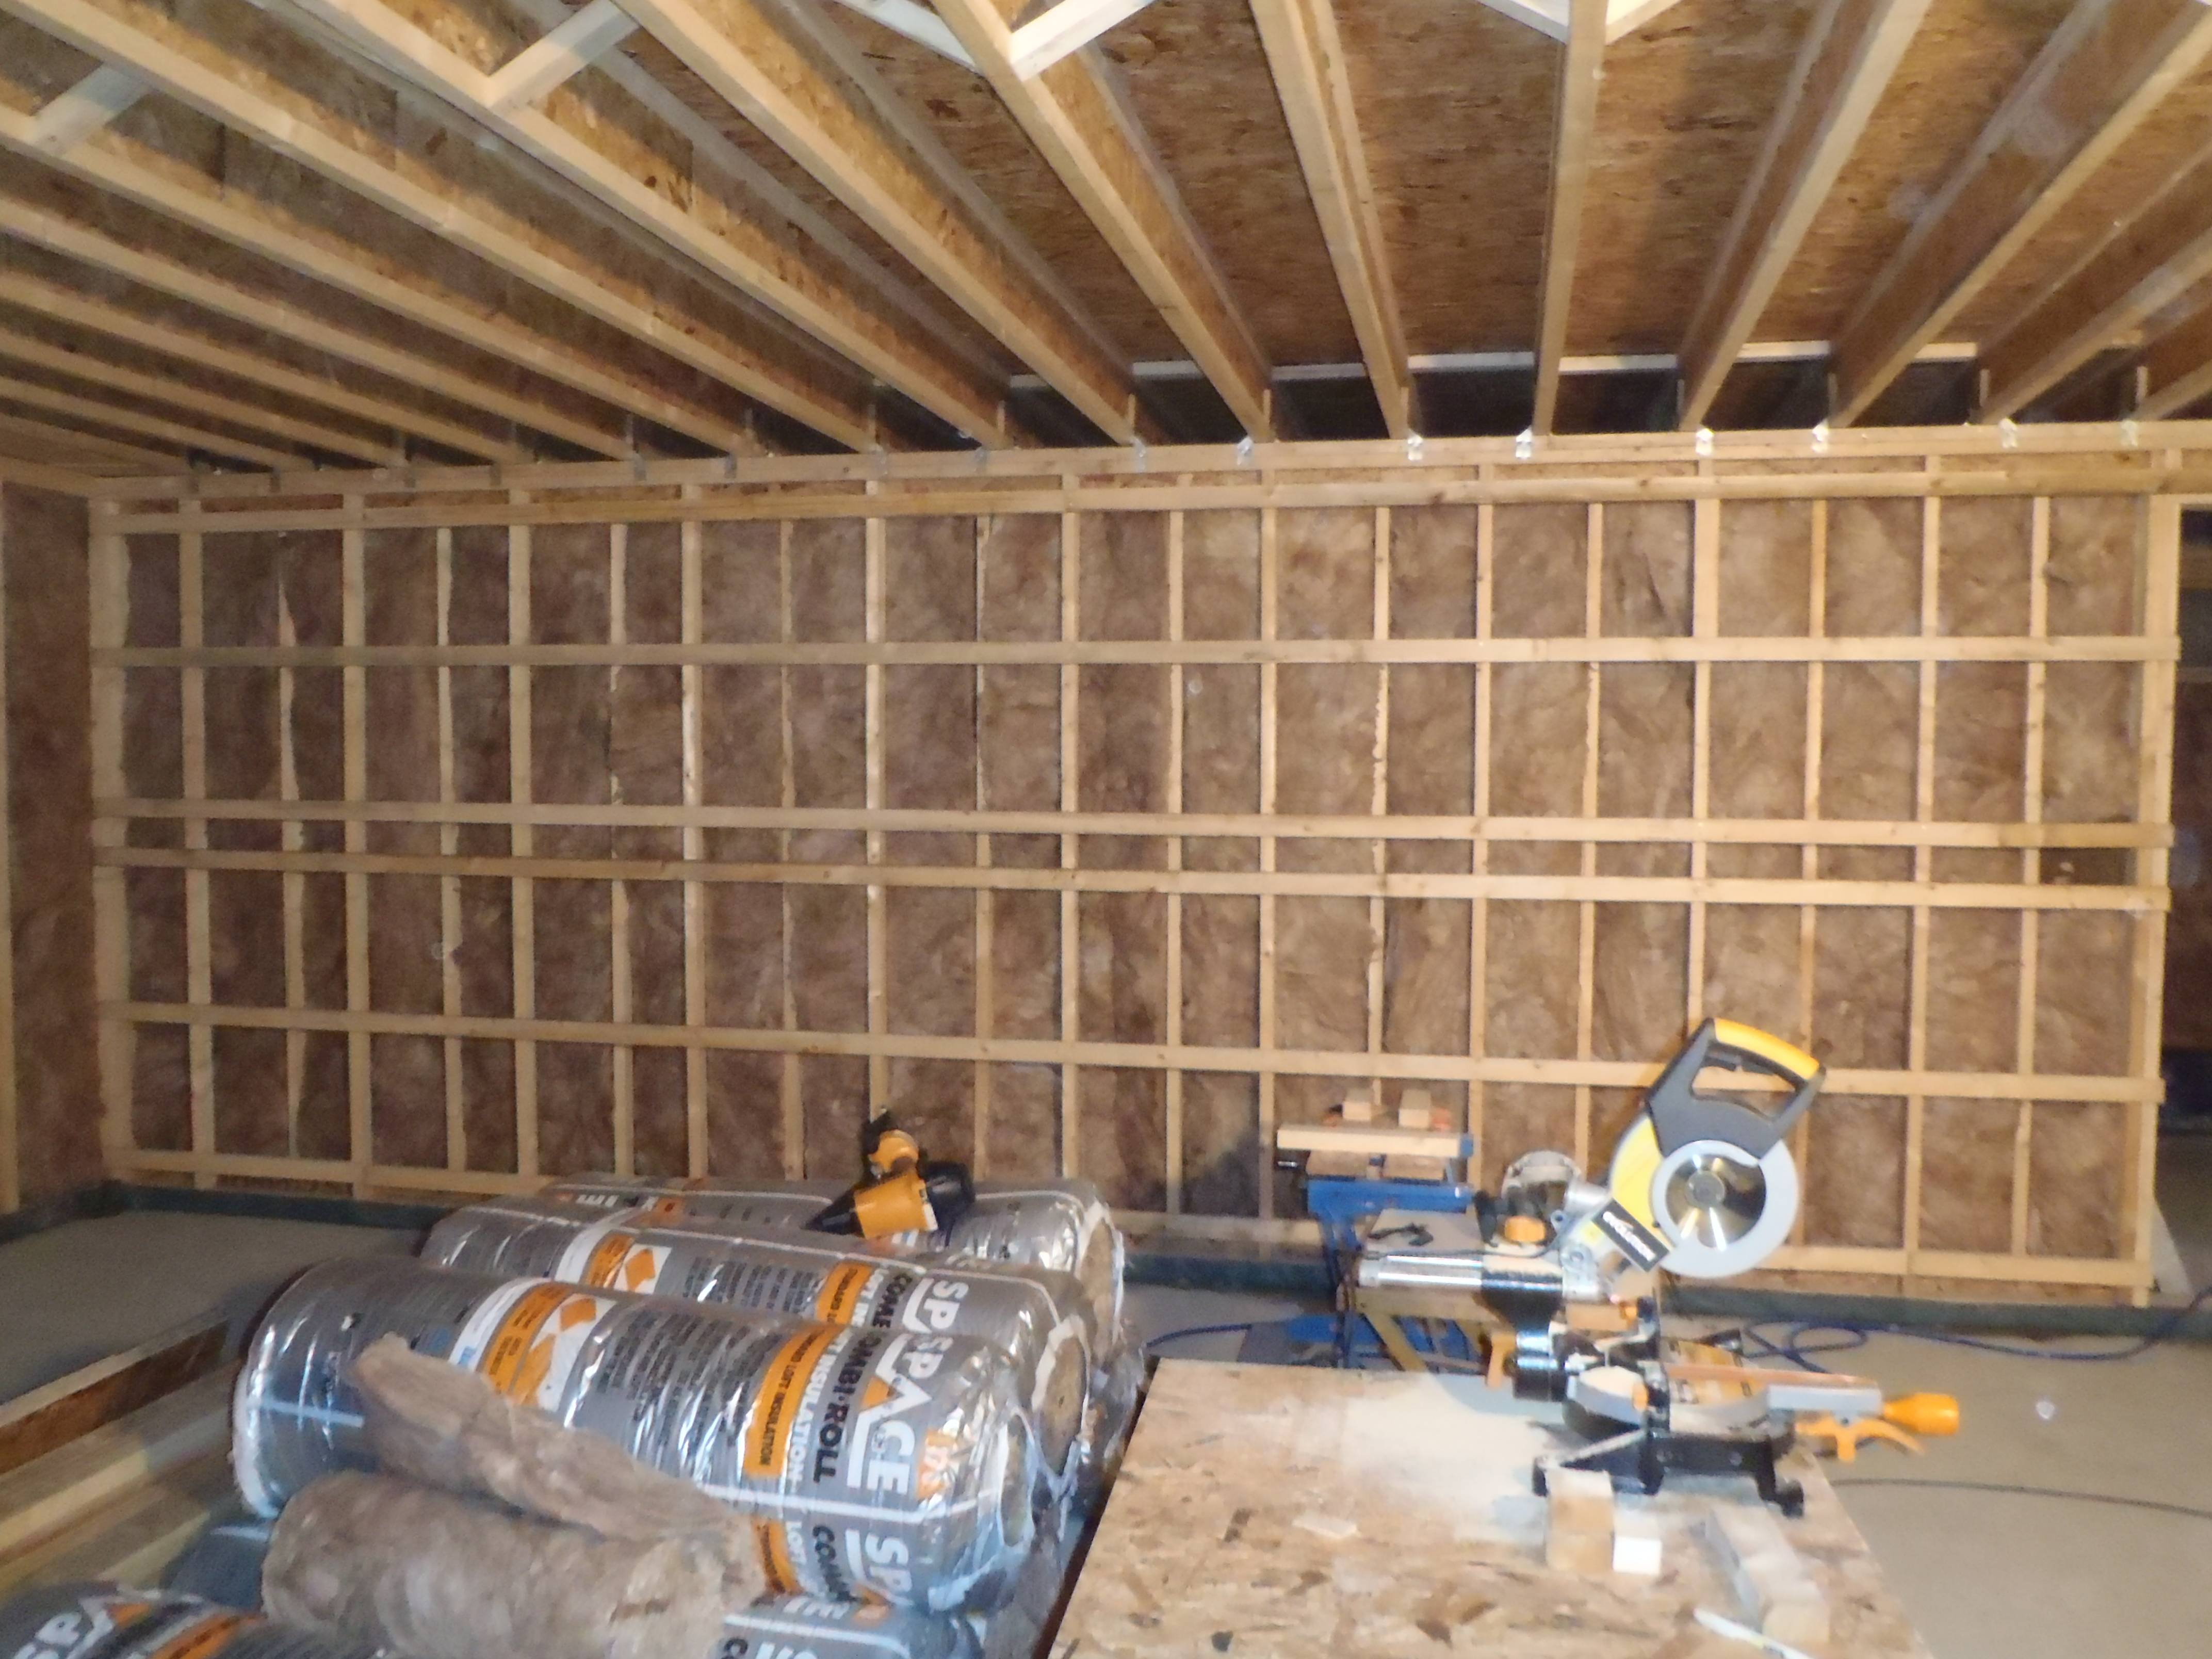
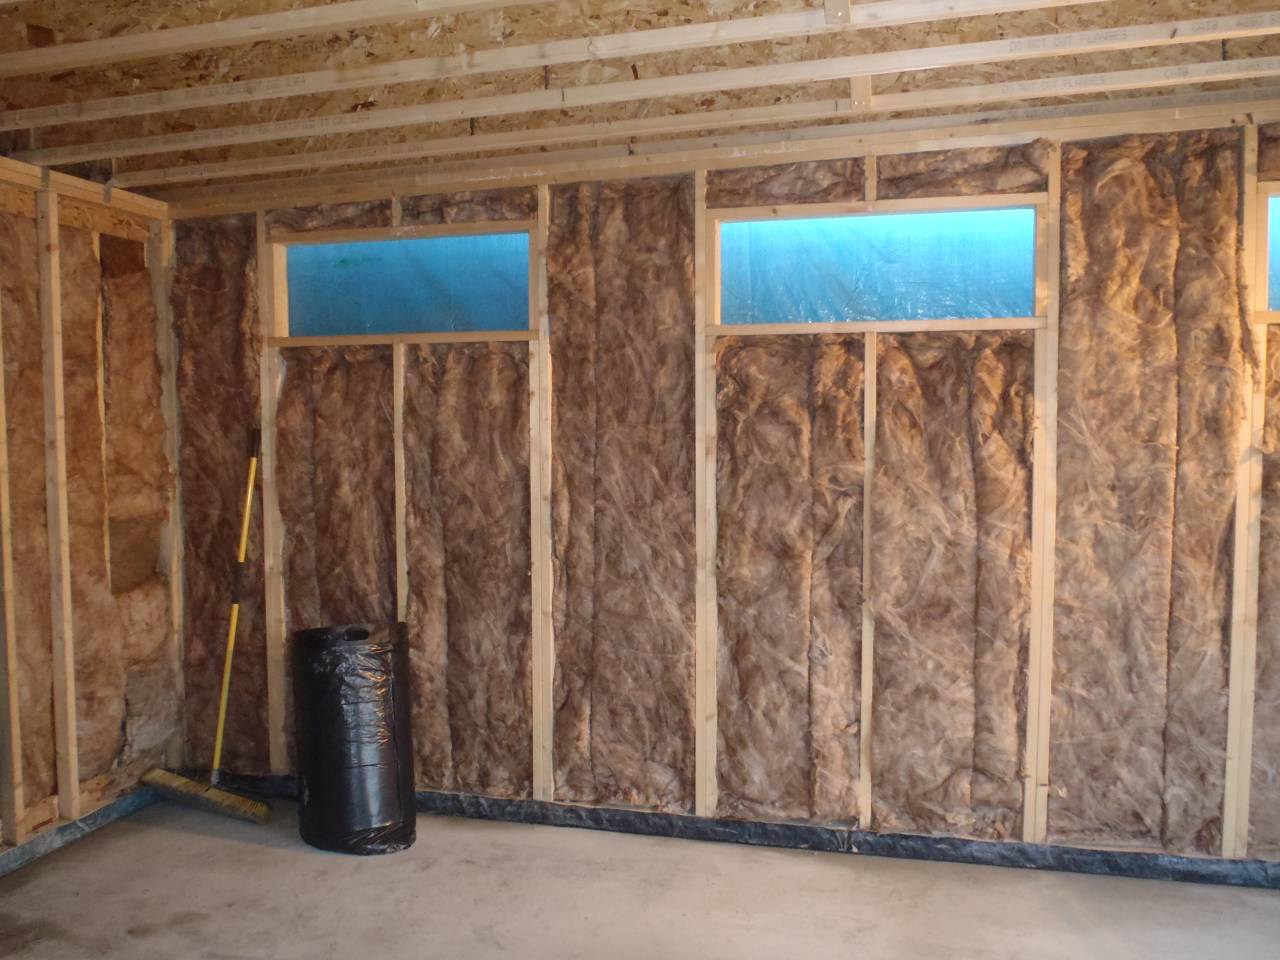
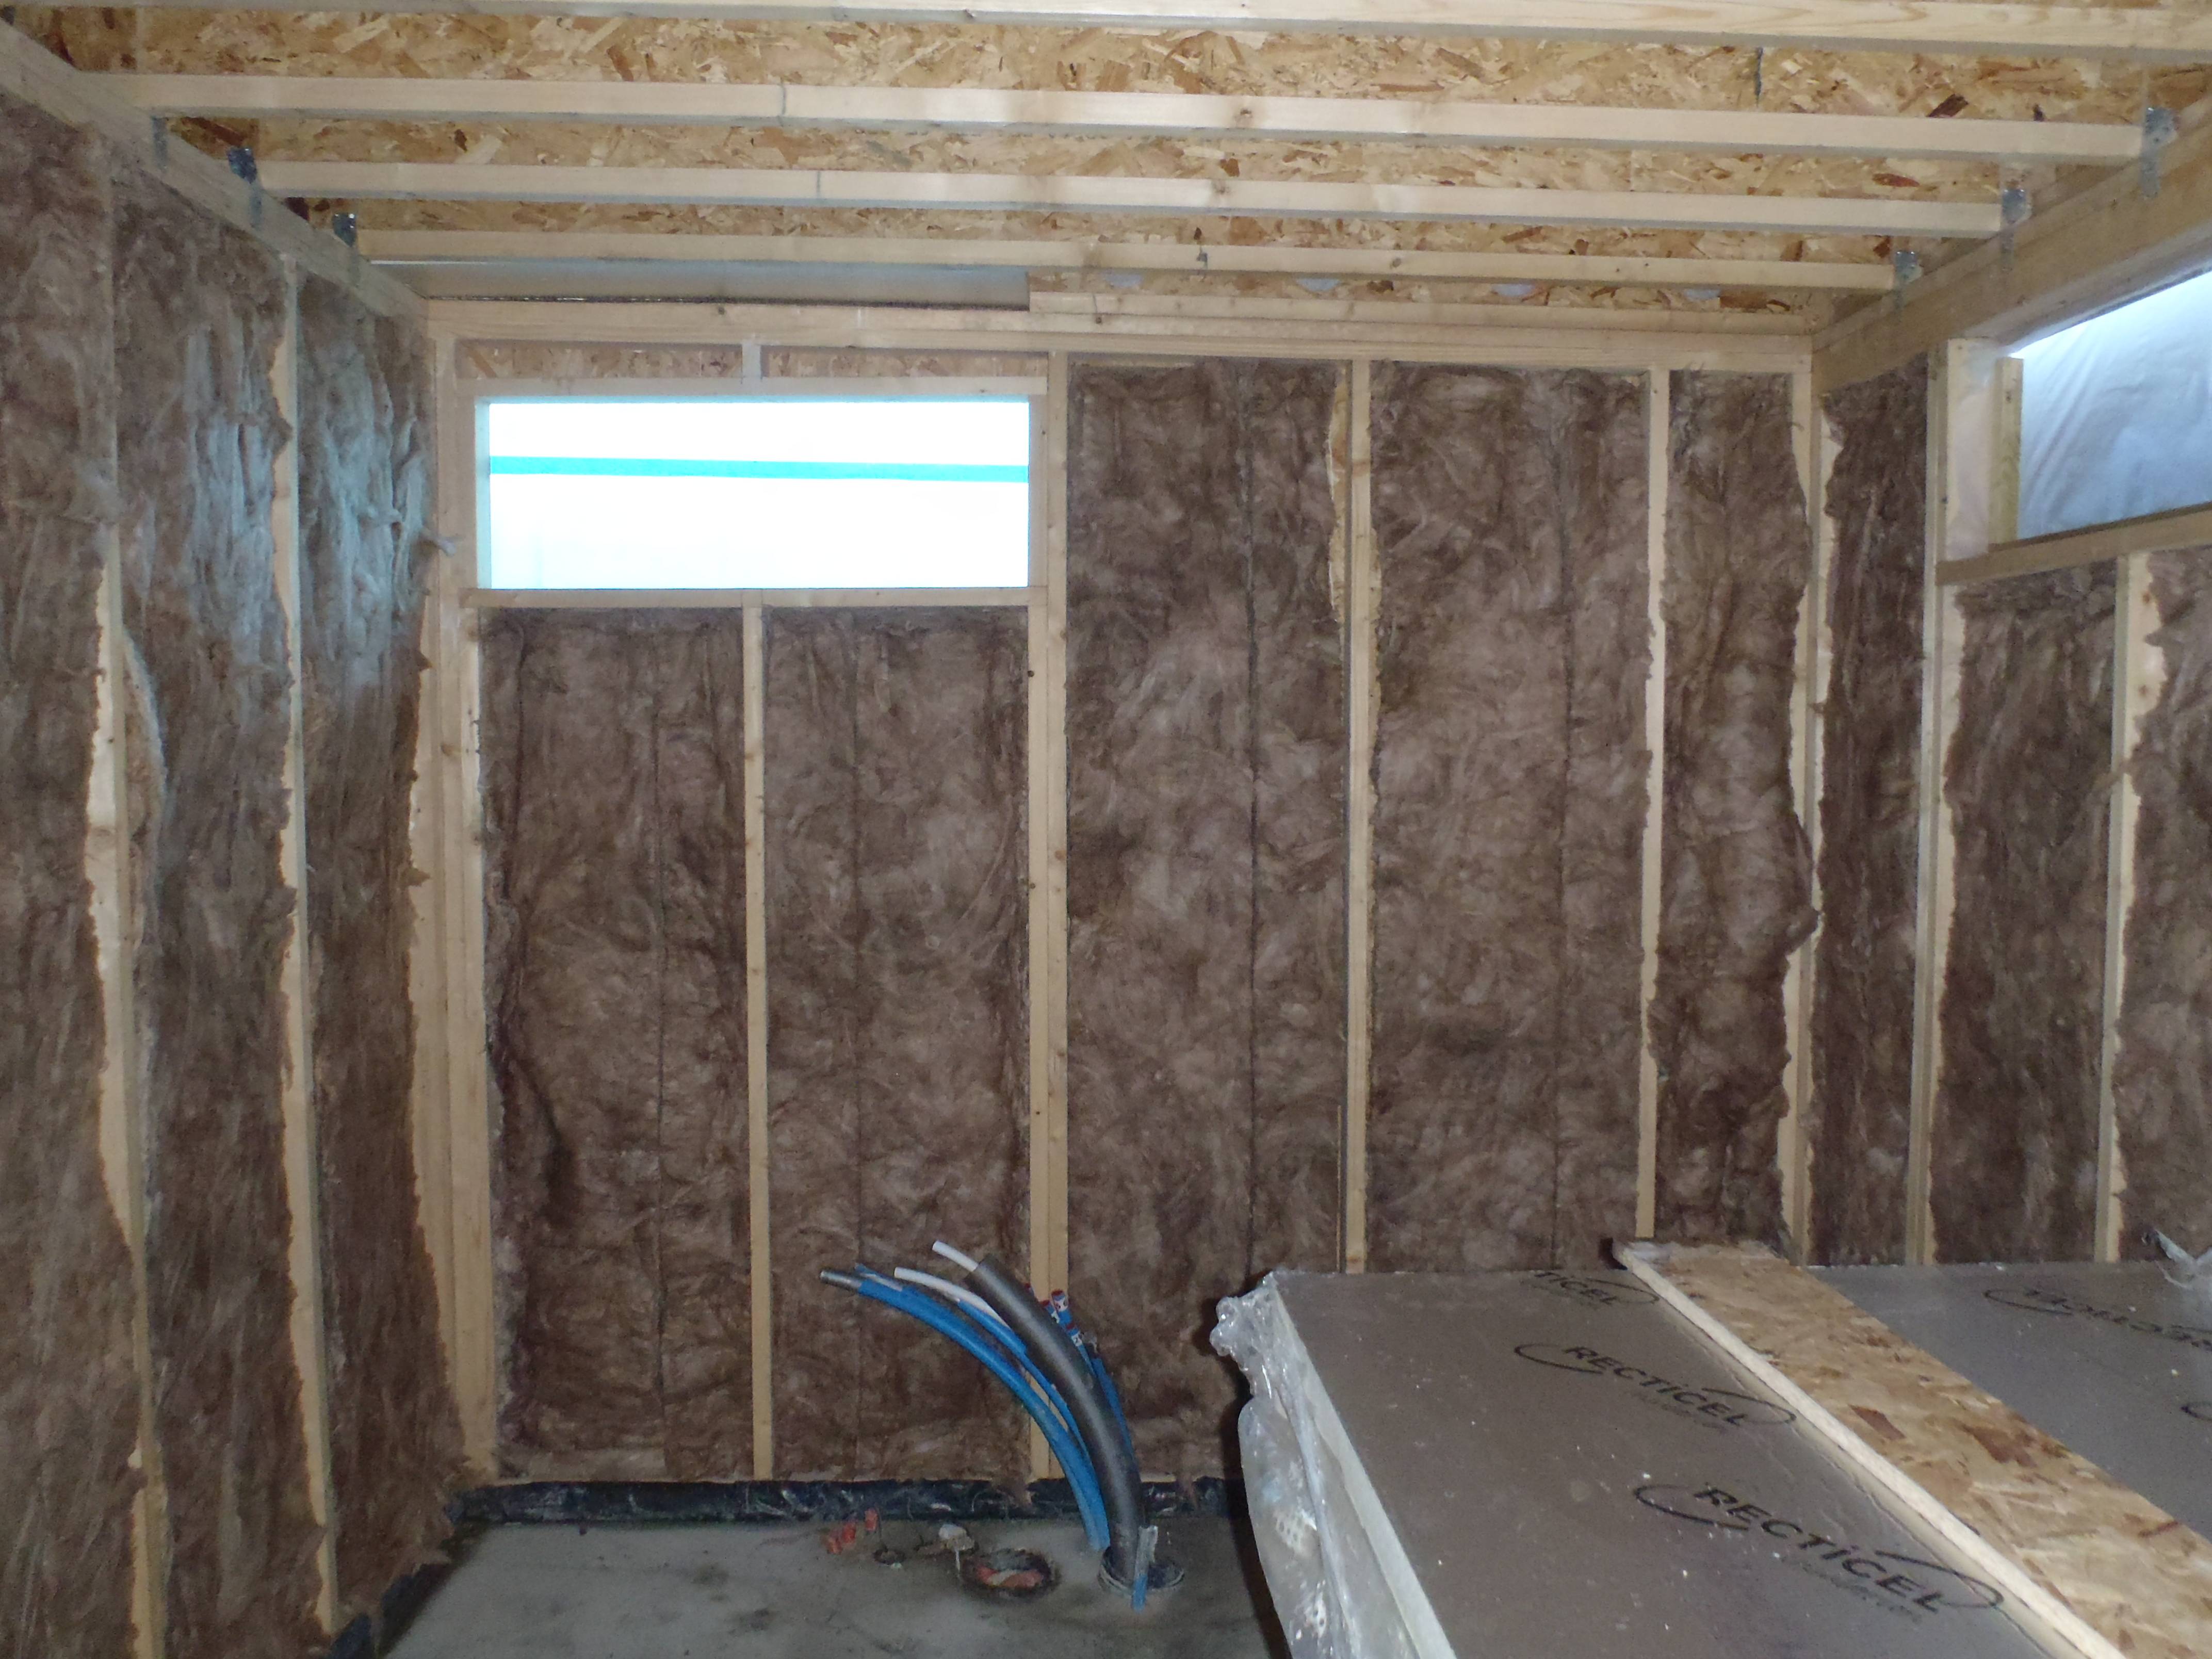
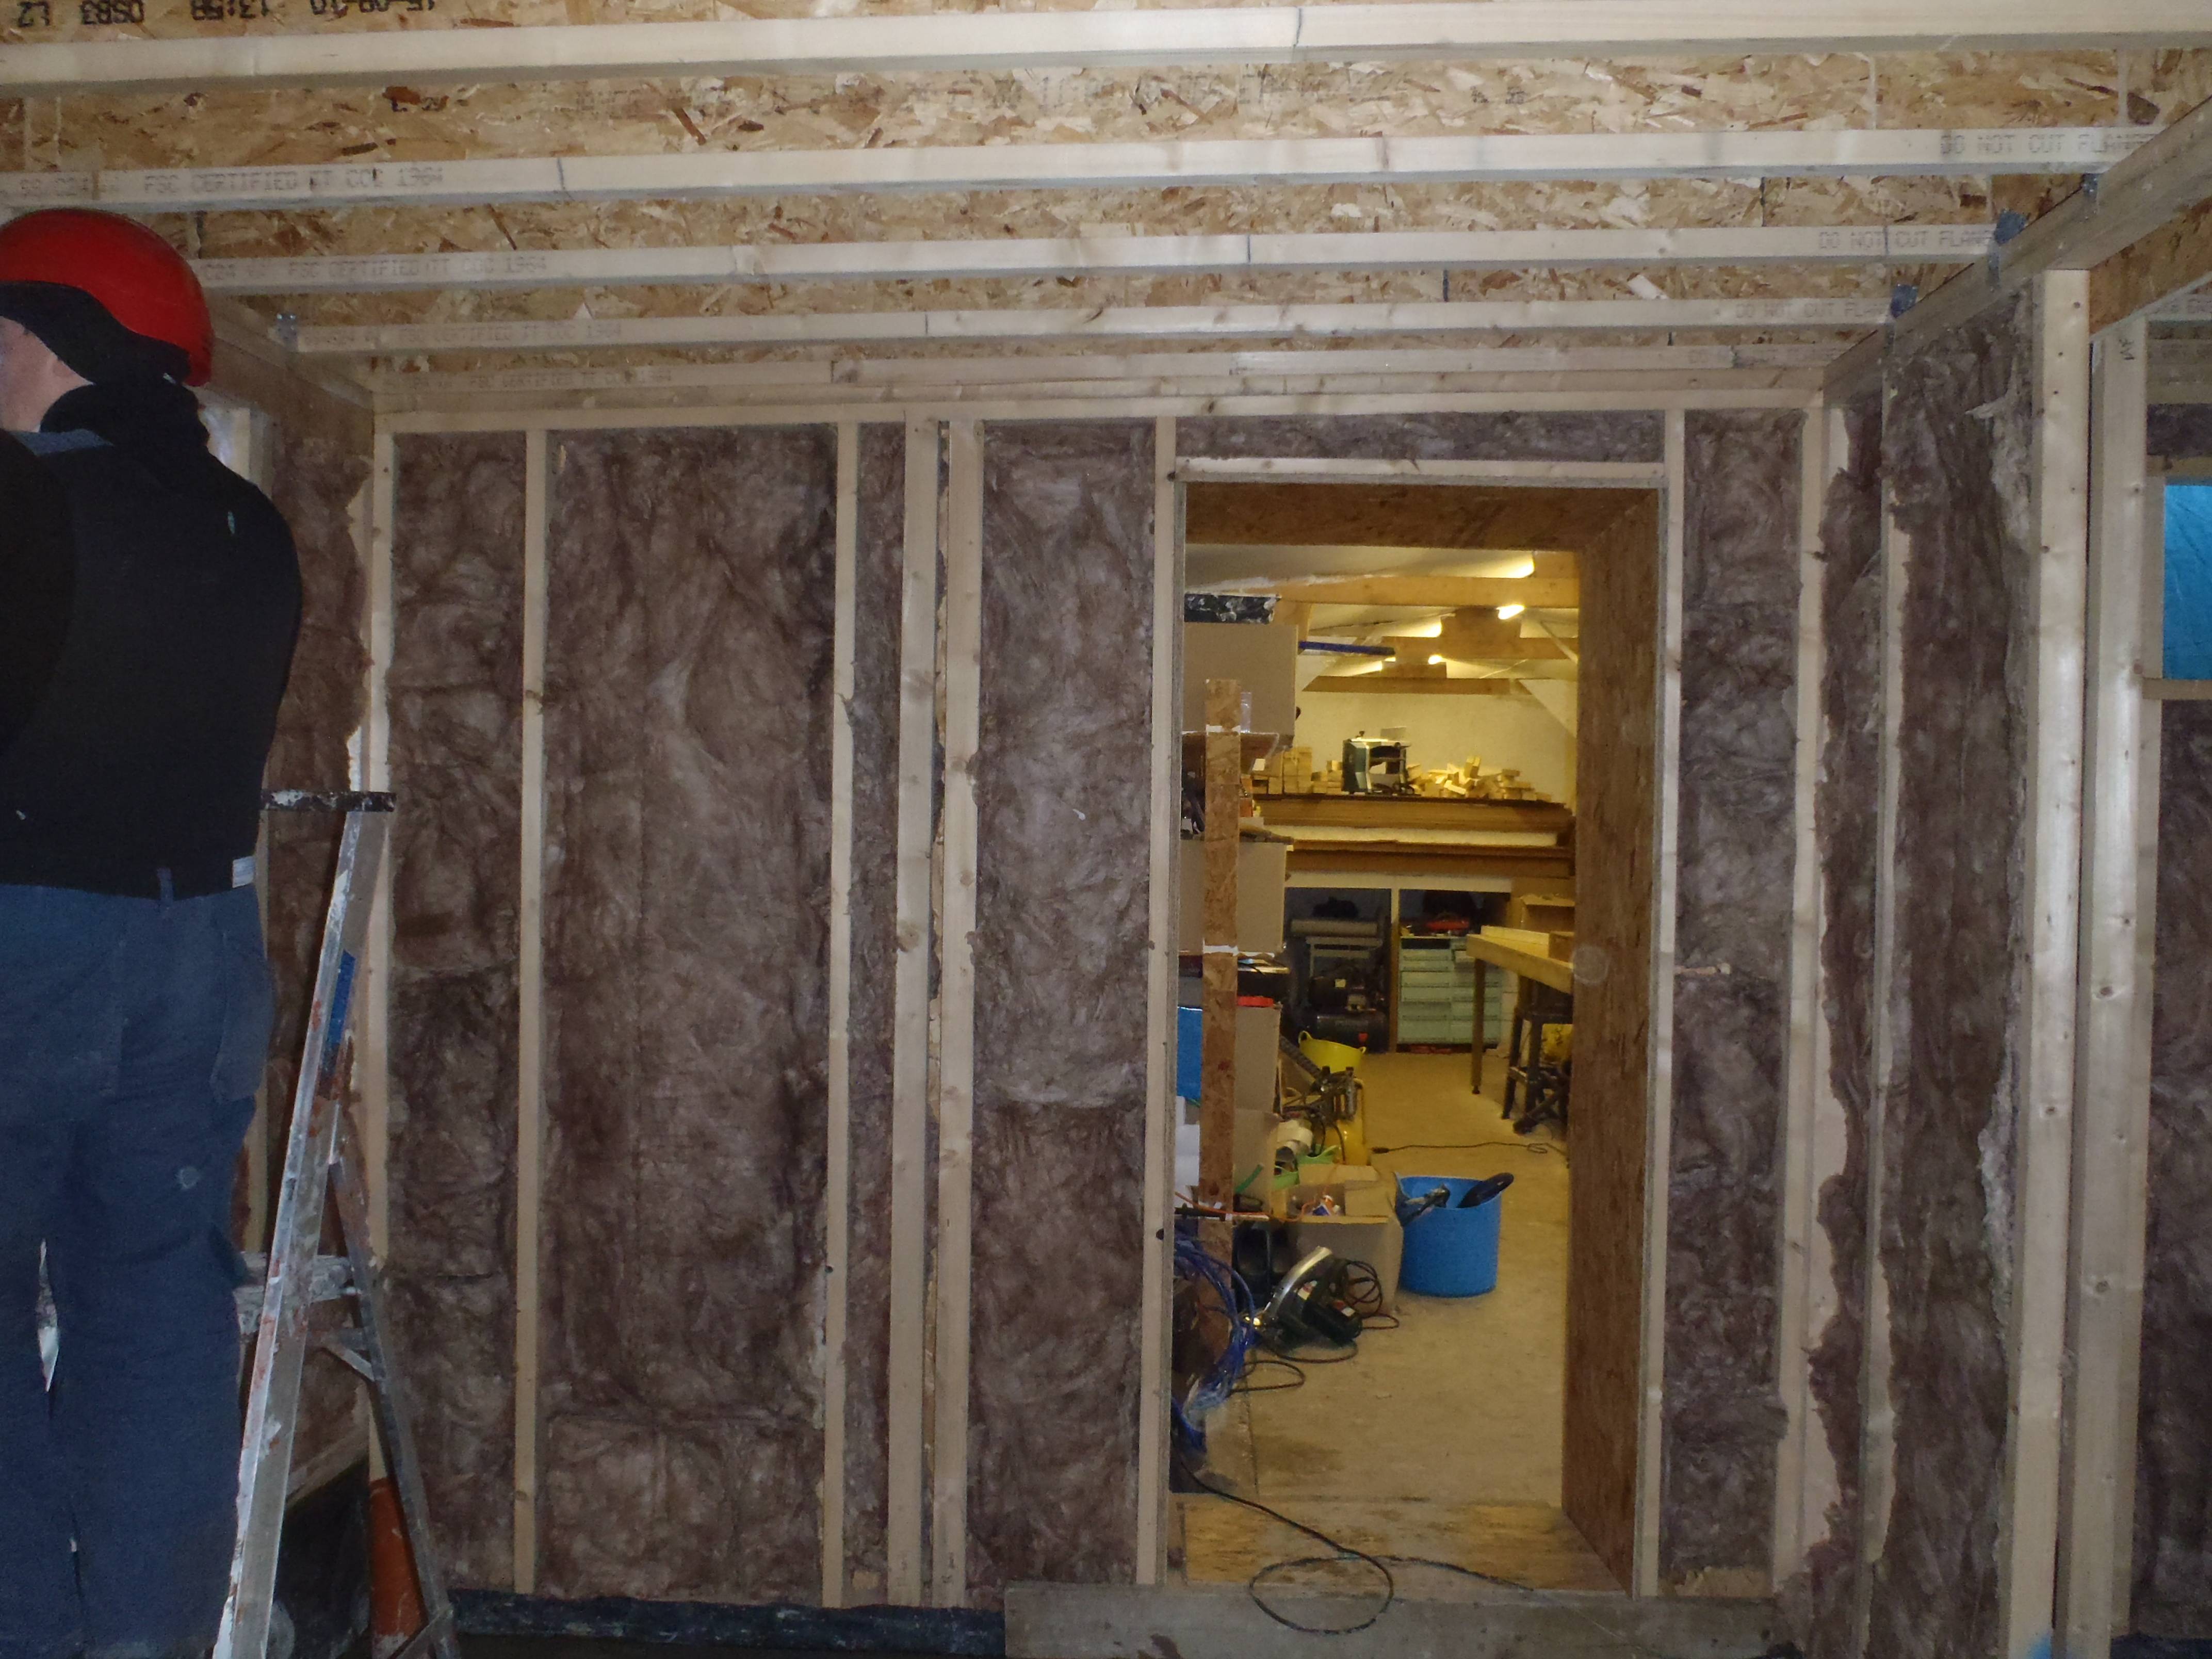
Today we put up 100mm thick glass wool insulation in all the walls (front, middle, back and the two sides). We wore one piece dust protective suits and dust masks to minimise the really itchy nature of the glass wool.
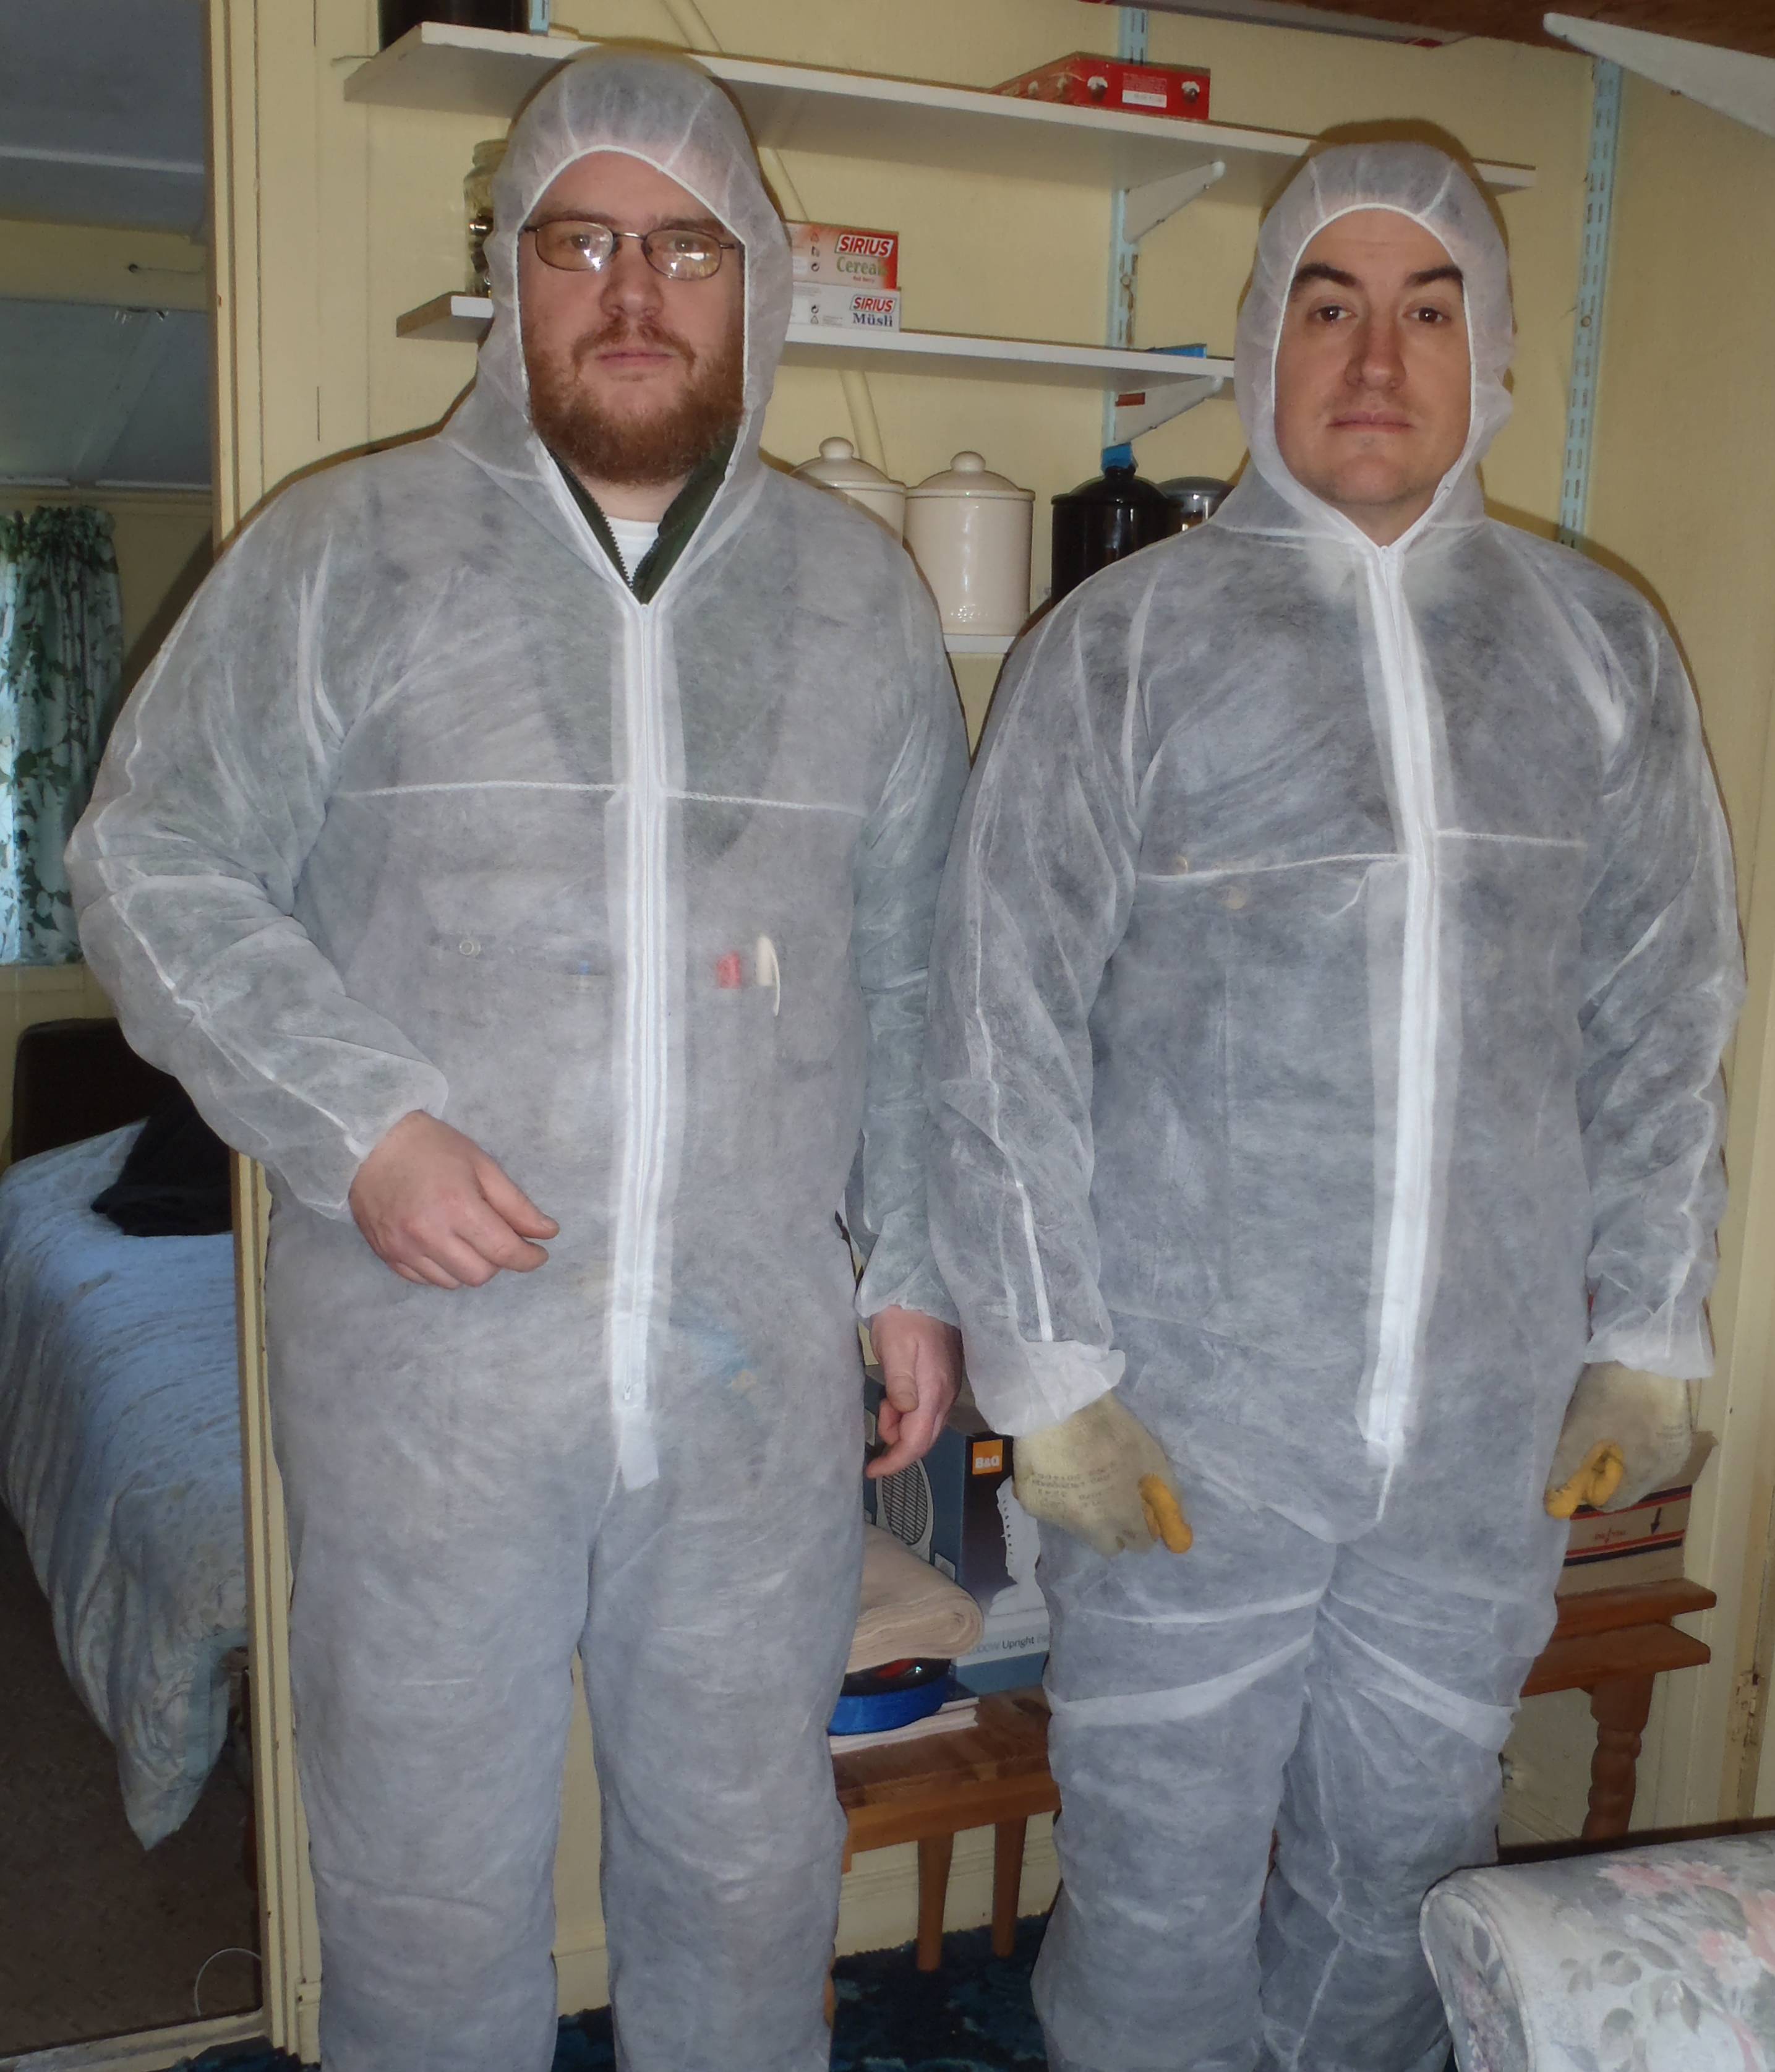
The Men in white
(in our suits)
It went quite quickly and we finished all the walls by lunch.
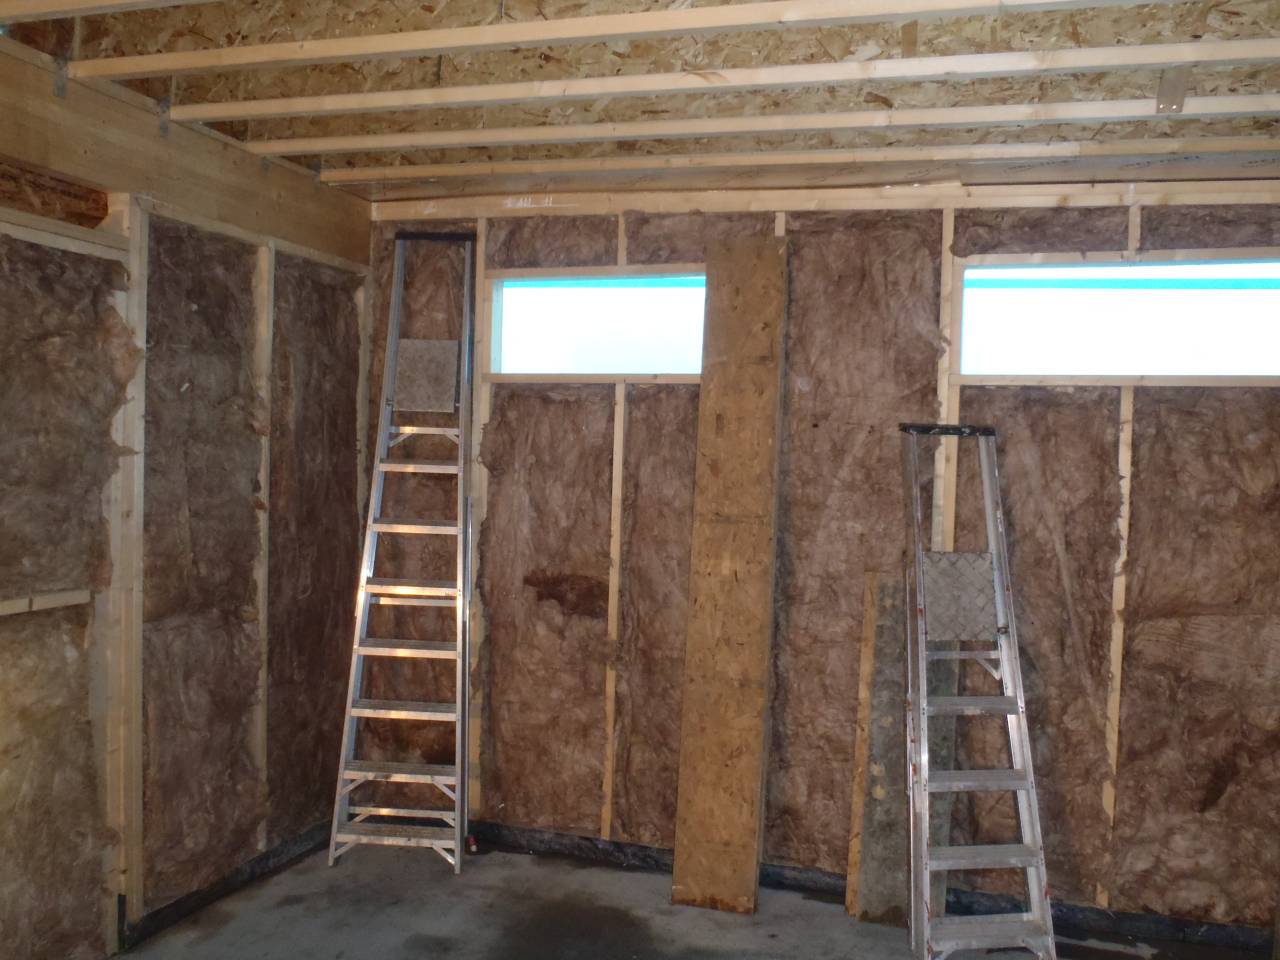
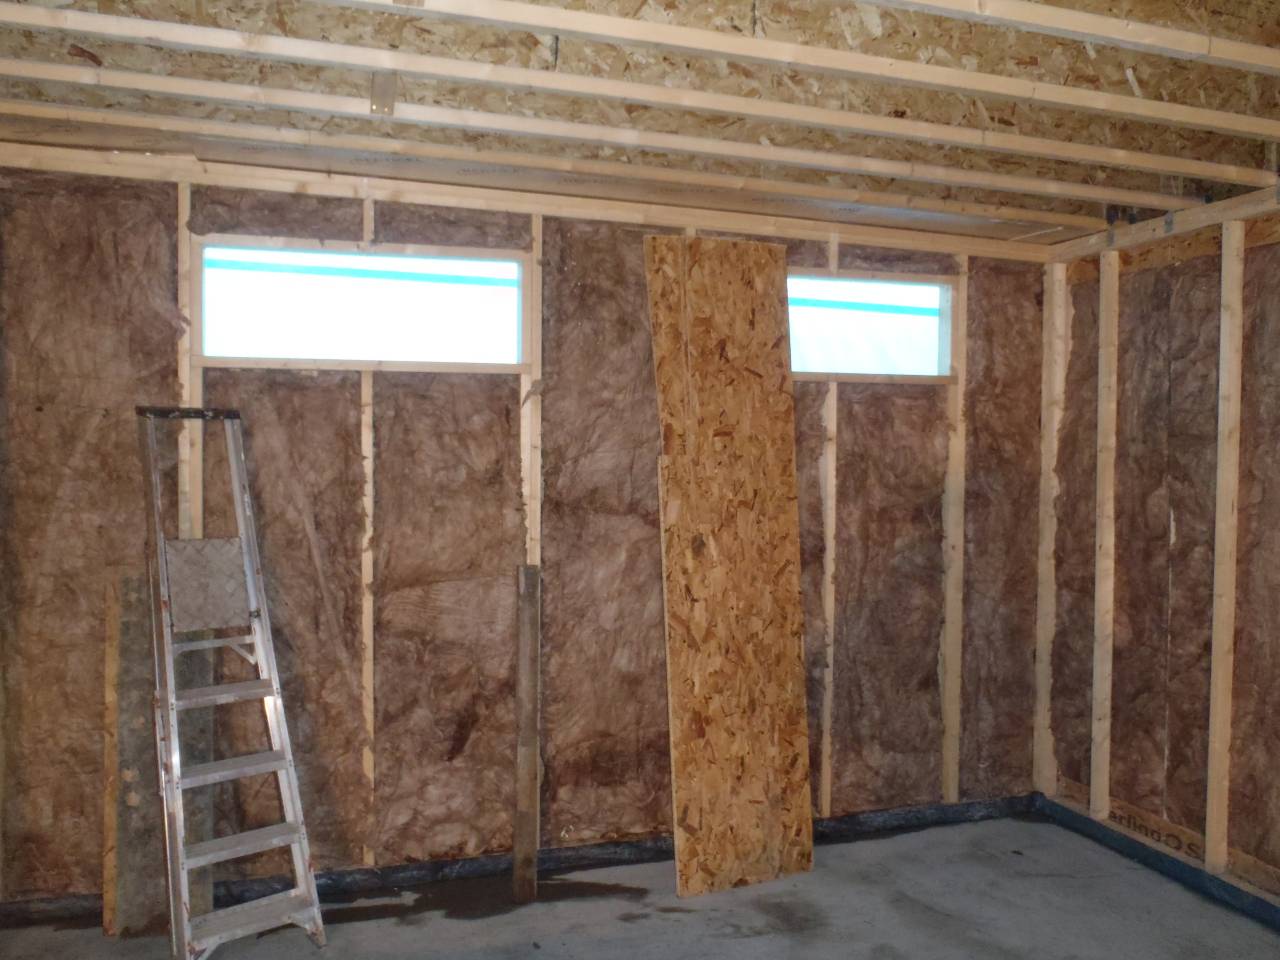
Glass Wool installed
Glass Wool installed
Glass Wool installed
Glass Wool installed

Glass Wool installed
Garden Room
Glass Wool installed
Glass Wool installed
The only part that is not done is the roof. We are waiting for the ceiling boards to come first!