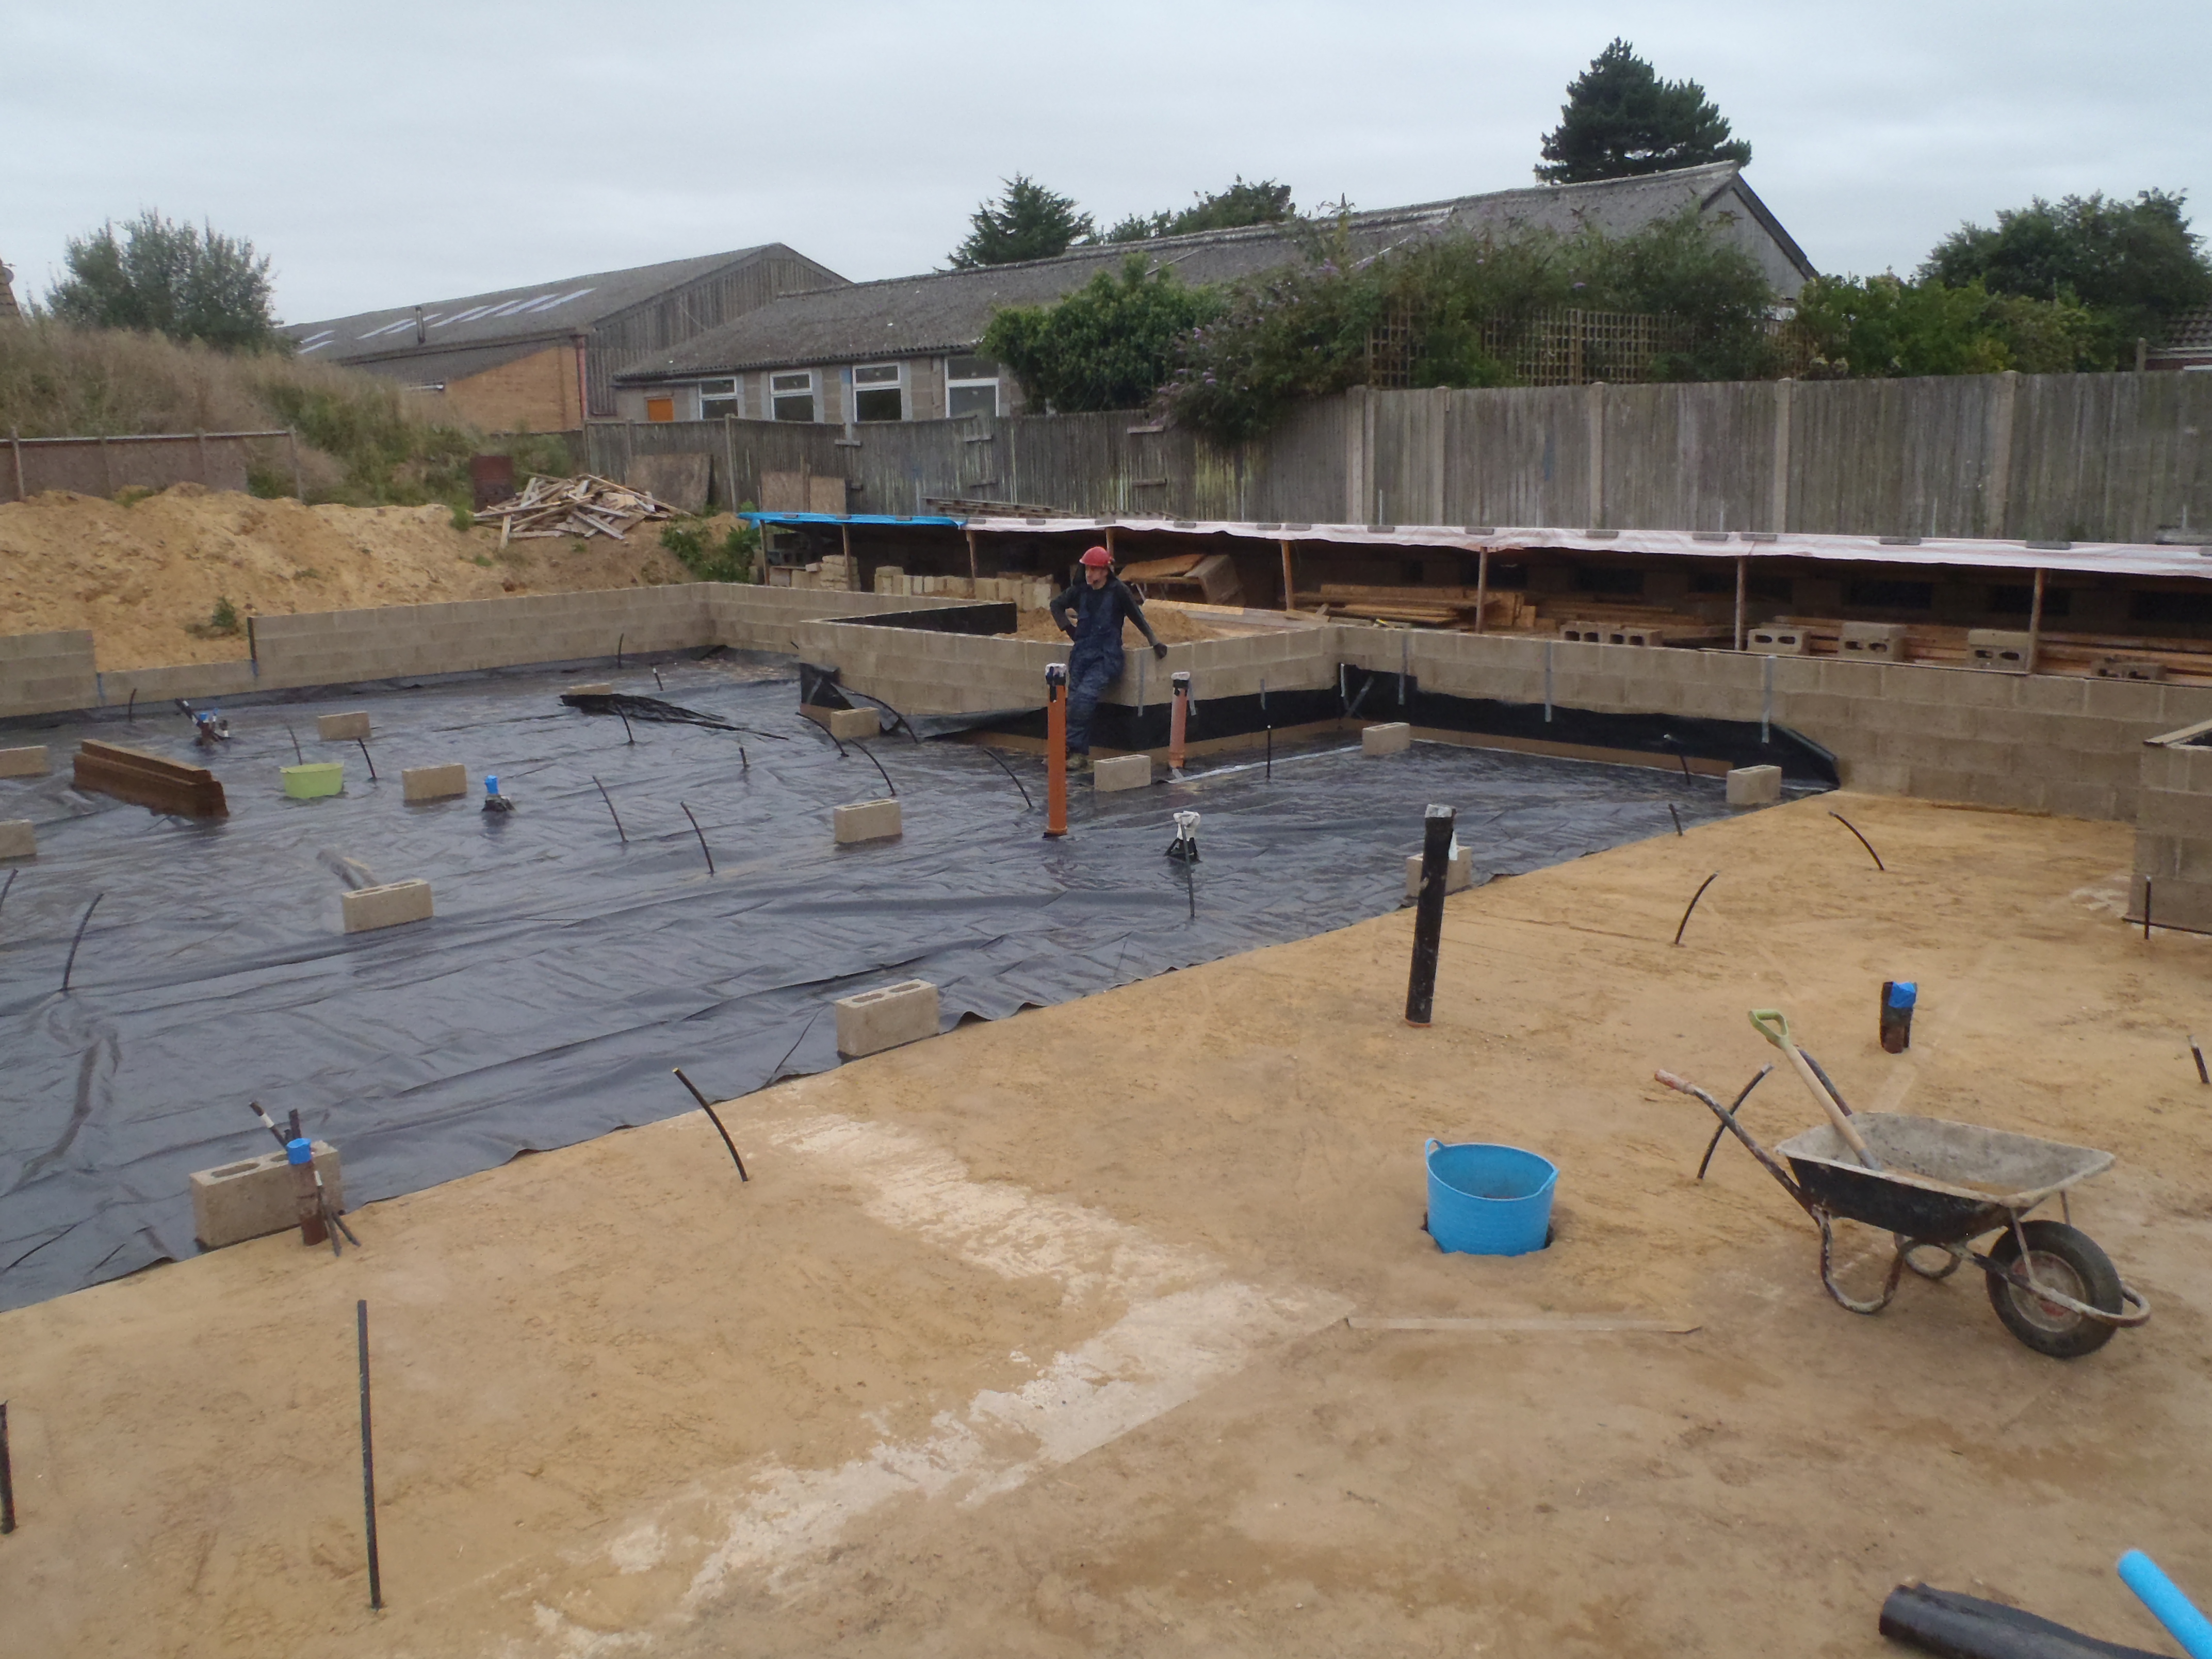
Today, we carried on with the preparation jobs to be done before the concrete Floor Slab is poured. We made a list of all the tasks that has to be performed, we have completed the following items.
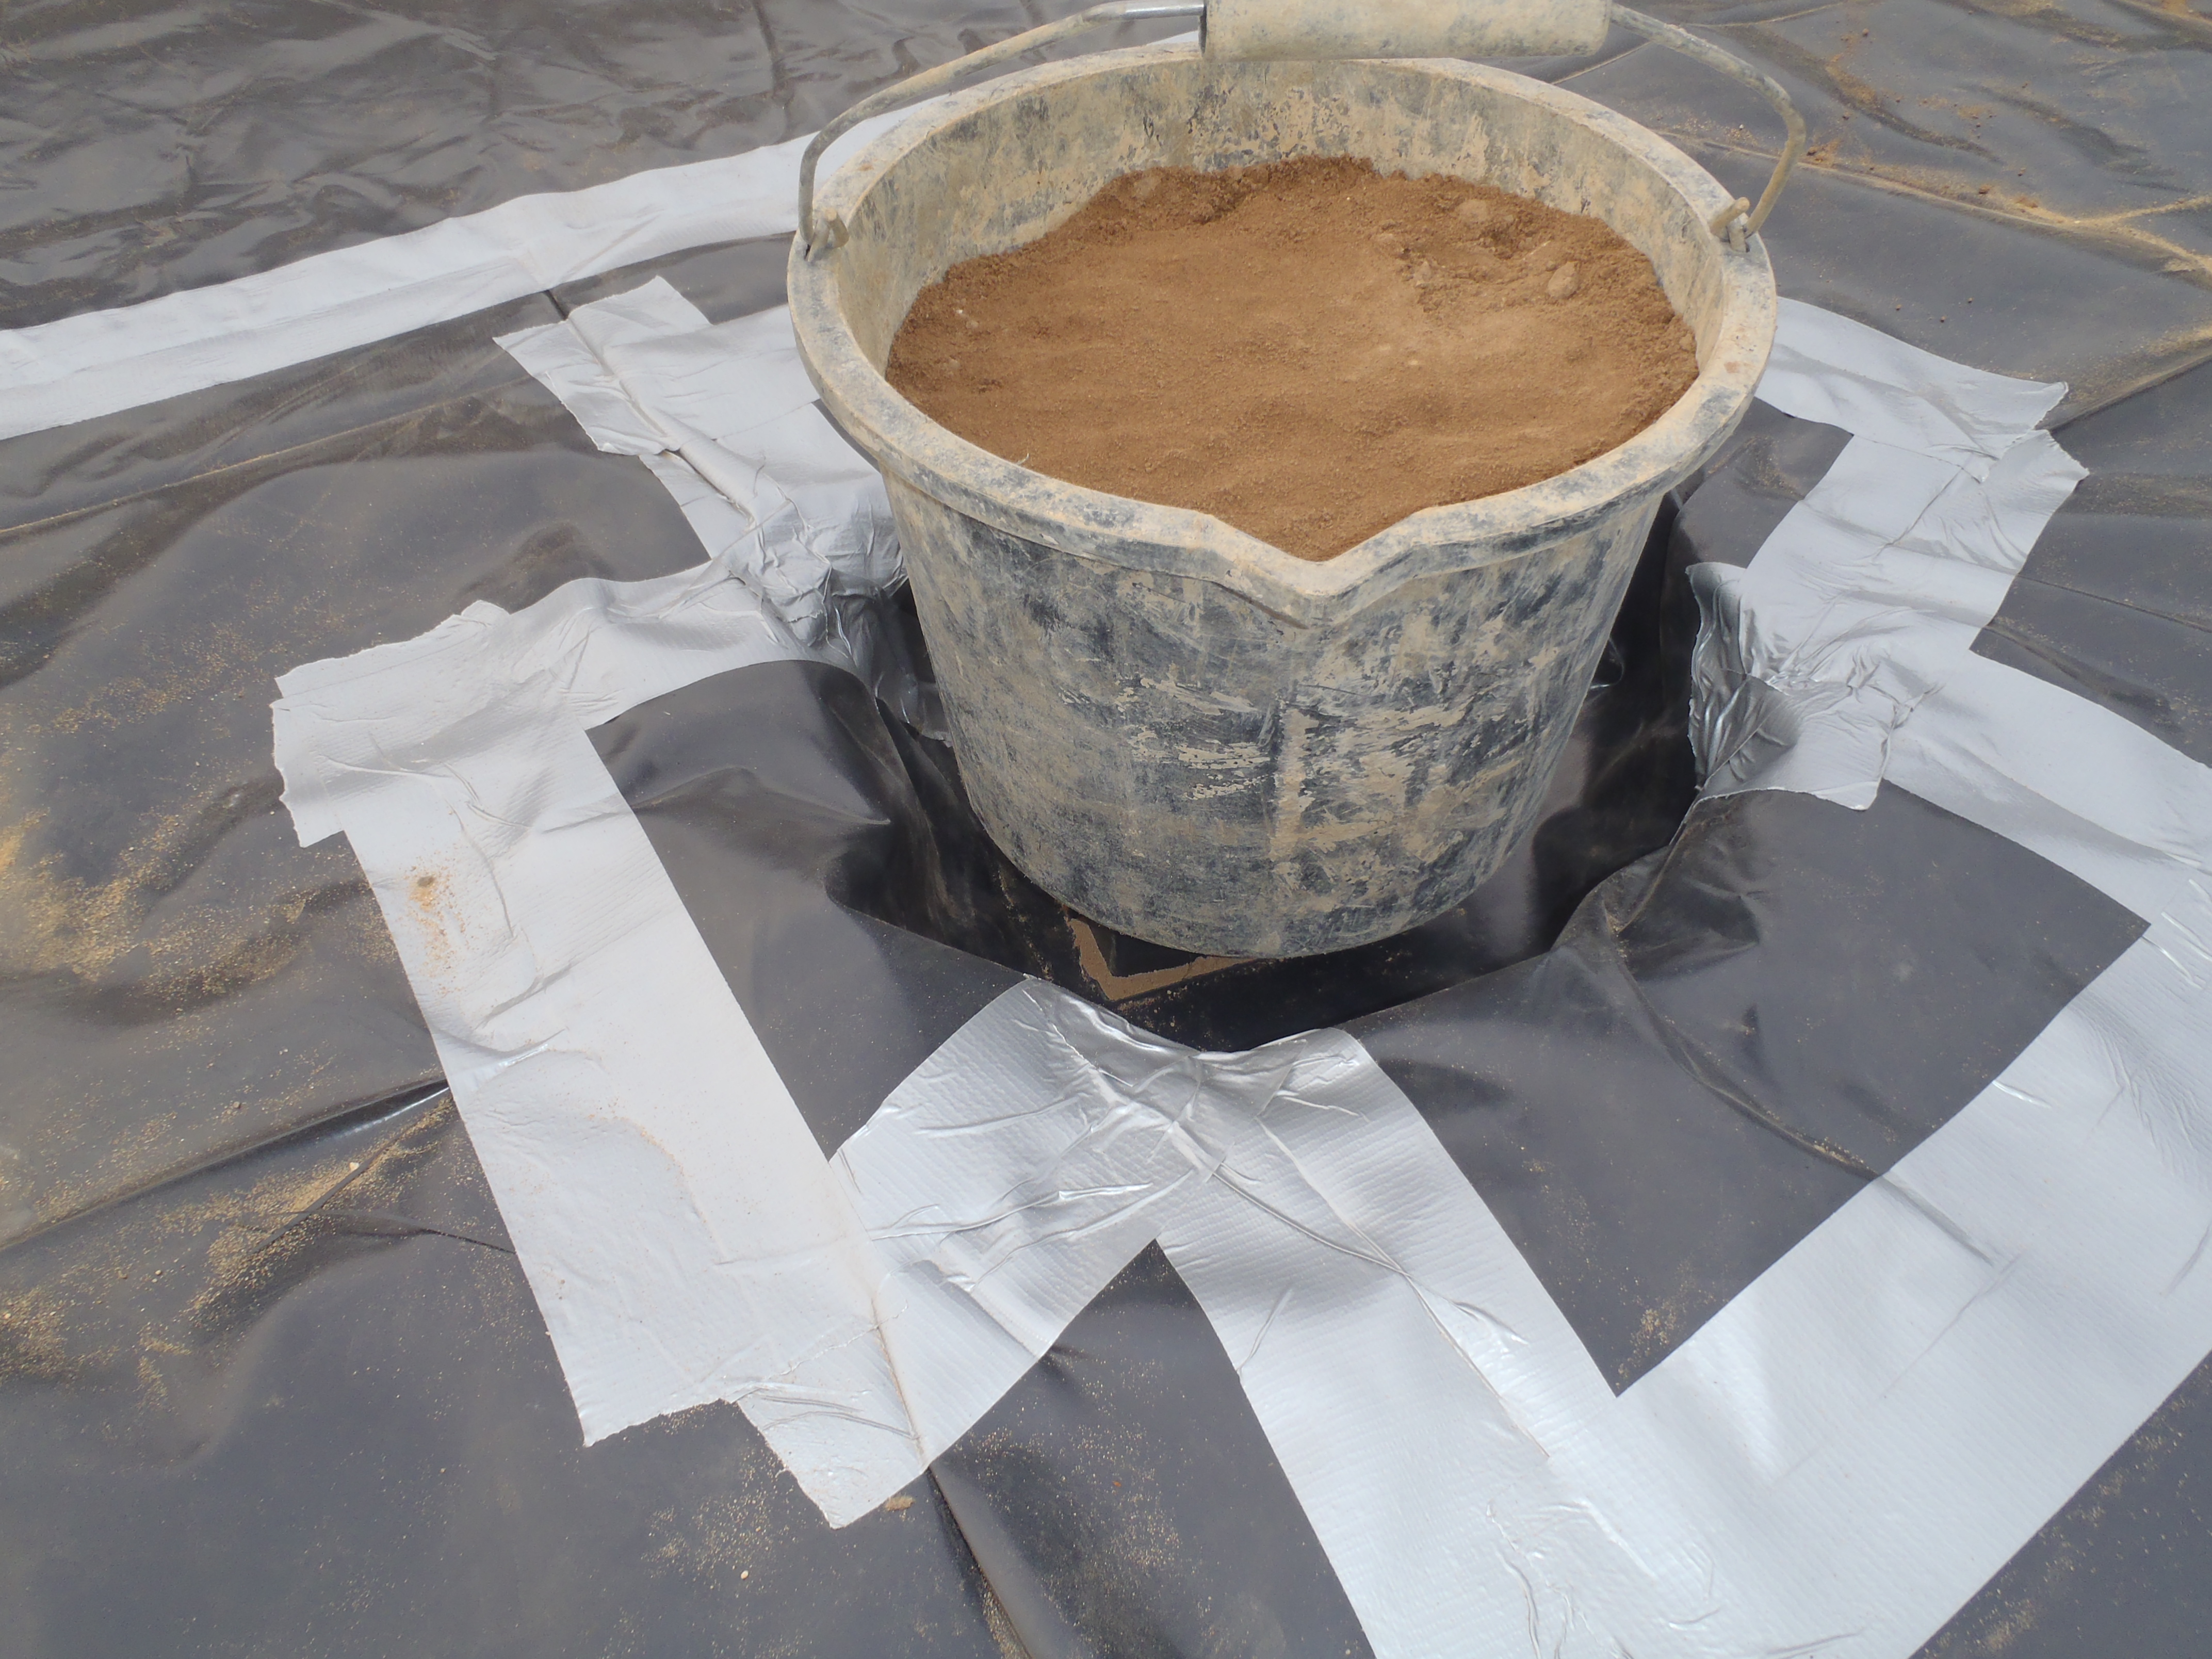
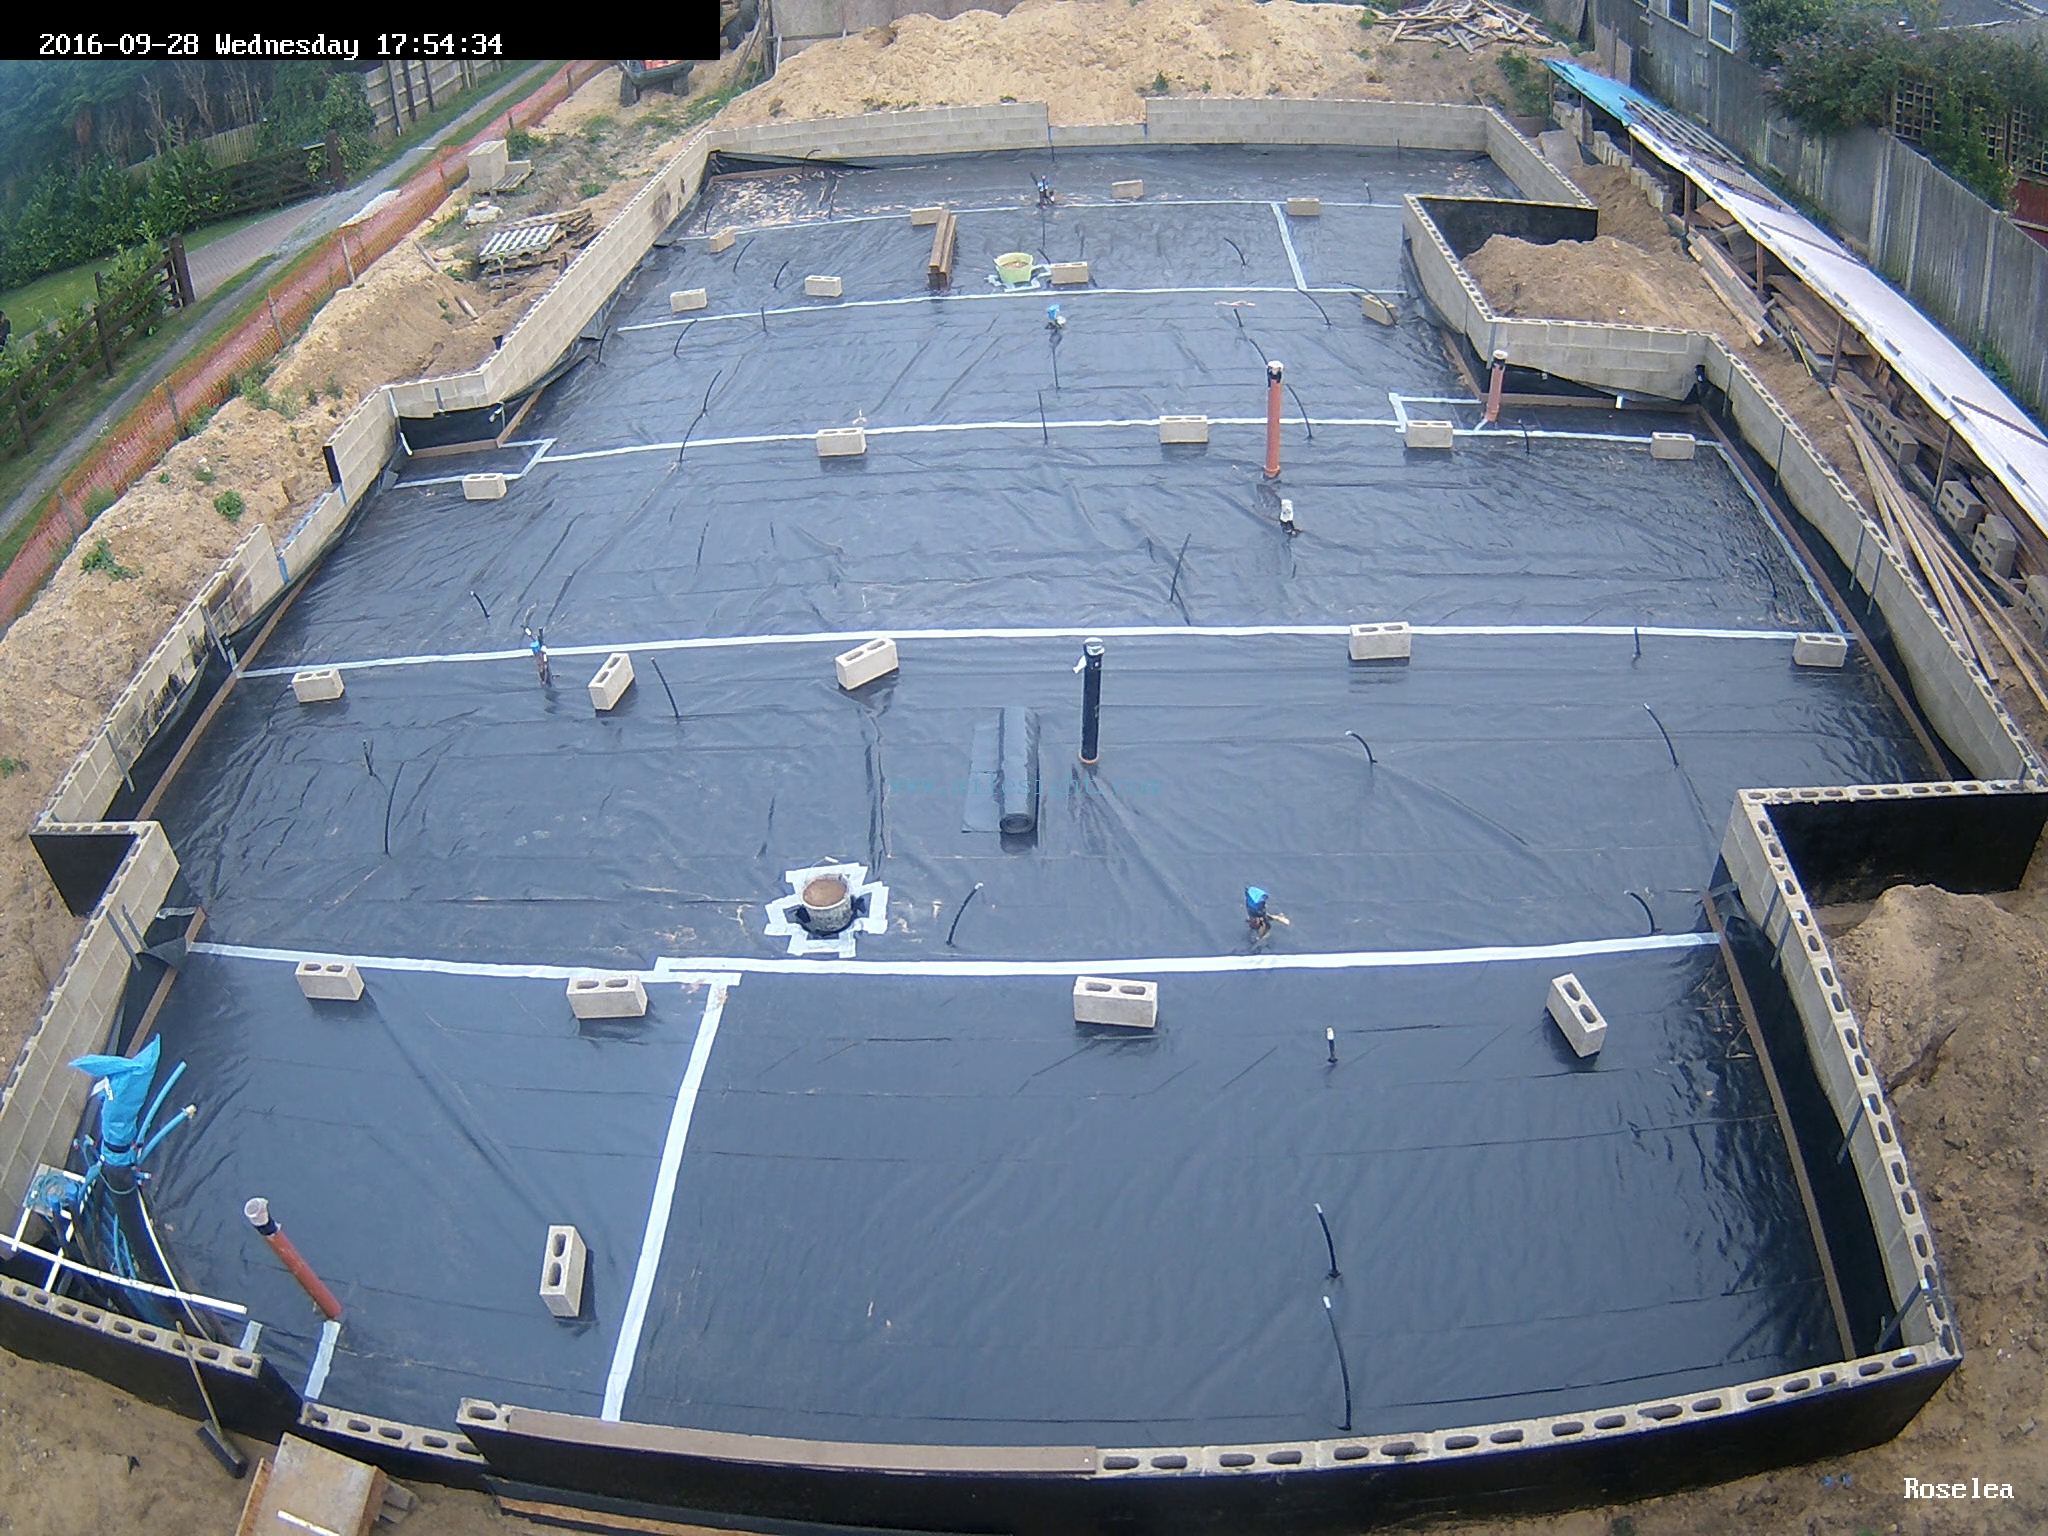
Sumps
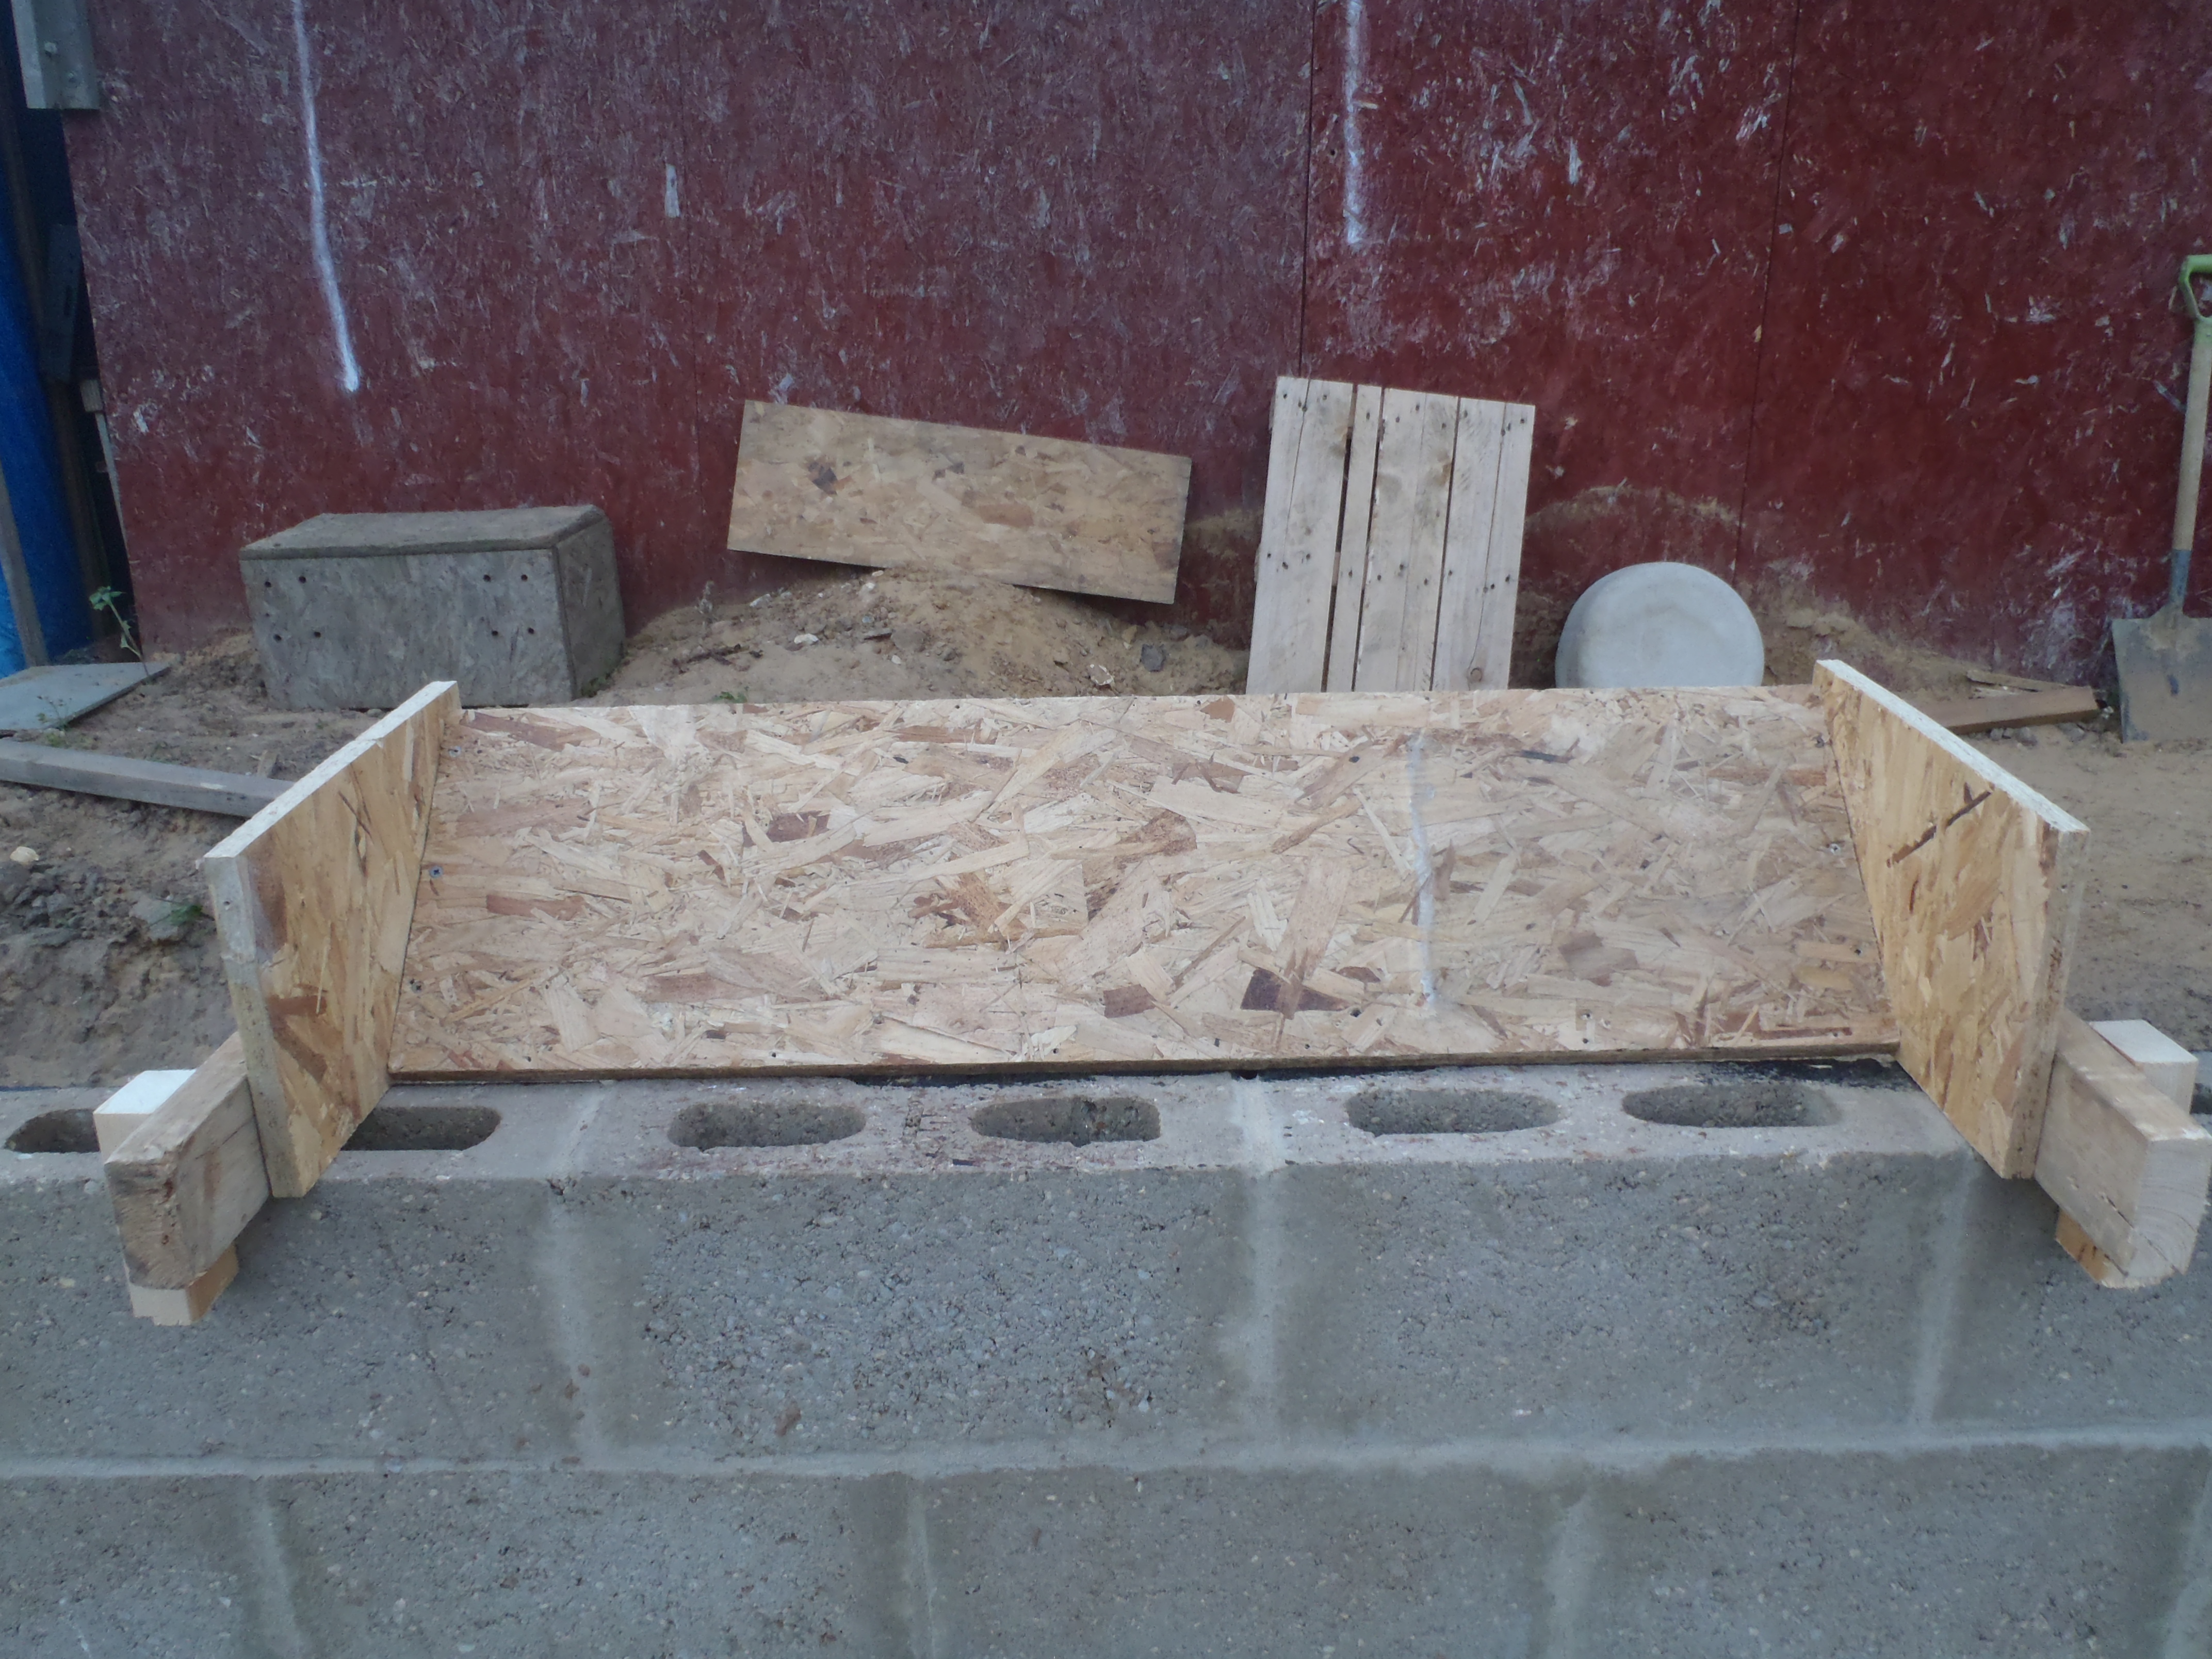
We wanted to make it easier for us to get rid of rainwater that will fall while we haven’t got the roof on the house to make it weatherproof. So we made two sump points in the middle of the floor slab, about 100mm deep so that a water pump can be dropped in and suck out the whole layer of rainwater quickly and easily. To make the concrete “dents”, we will put two builder’s buckers full of sand and stick on a large plastic foot which will sit upon the DPM in the dents. The concrete will pour around the and through the plastic foot, under the bucket and the weight of the bucket will stop the concrete lifting it up and hopefully create a hollow area once the concrete is set.
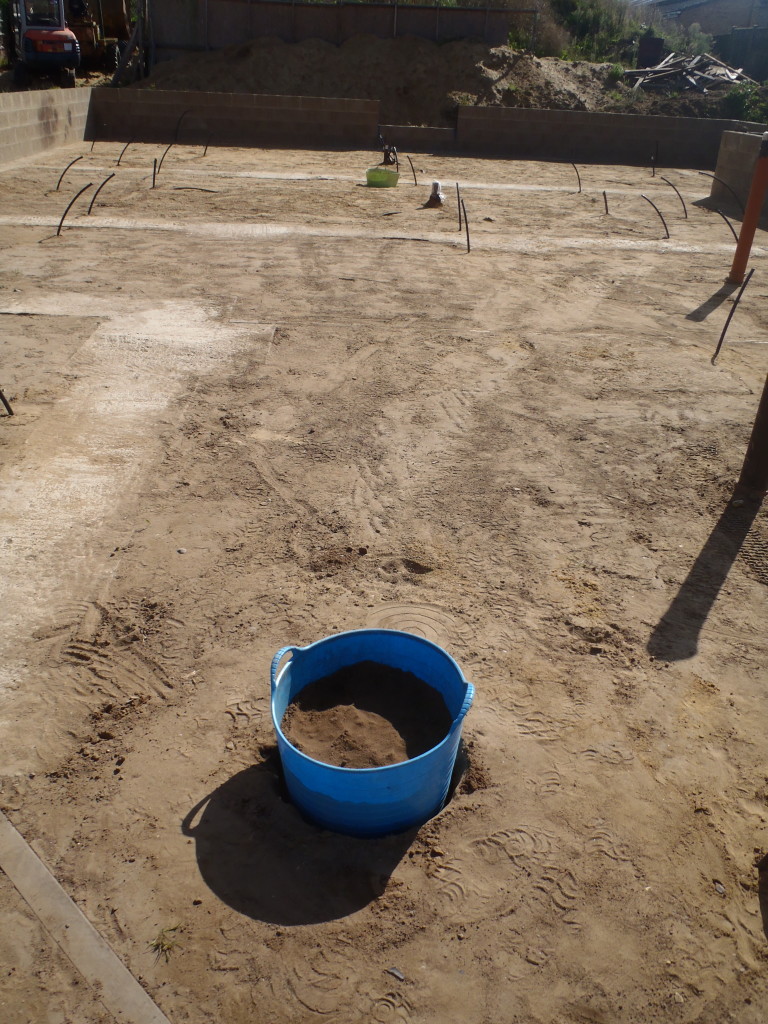
Sump-points-excavated
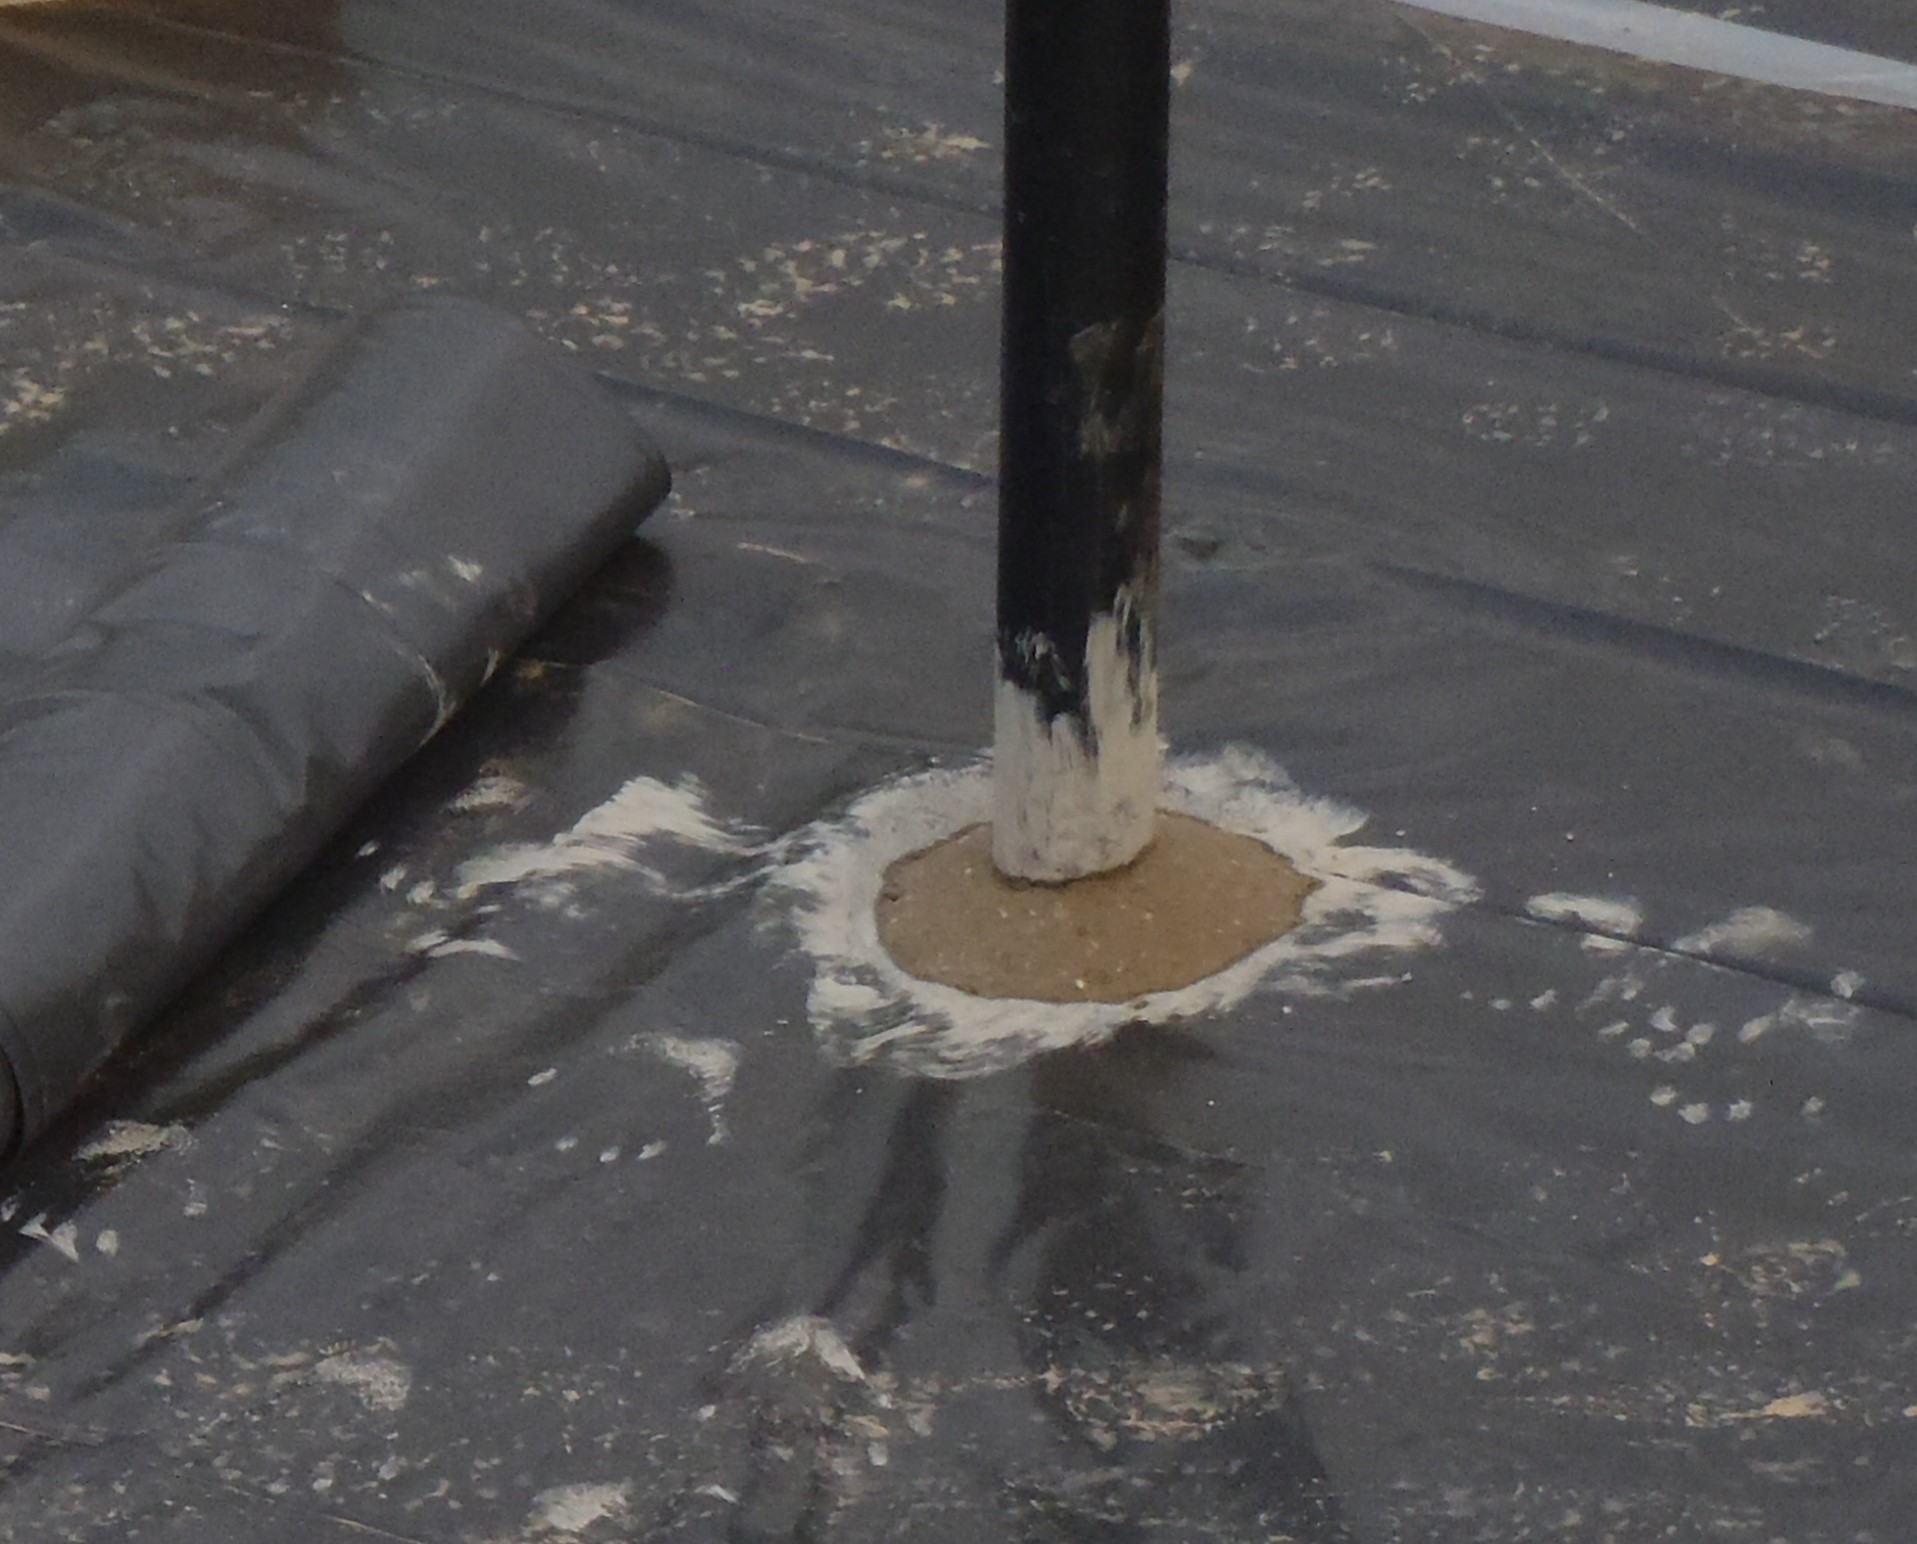
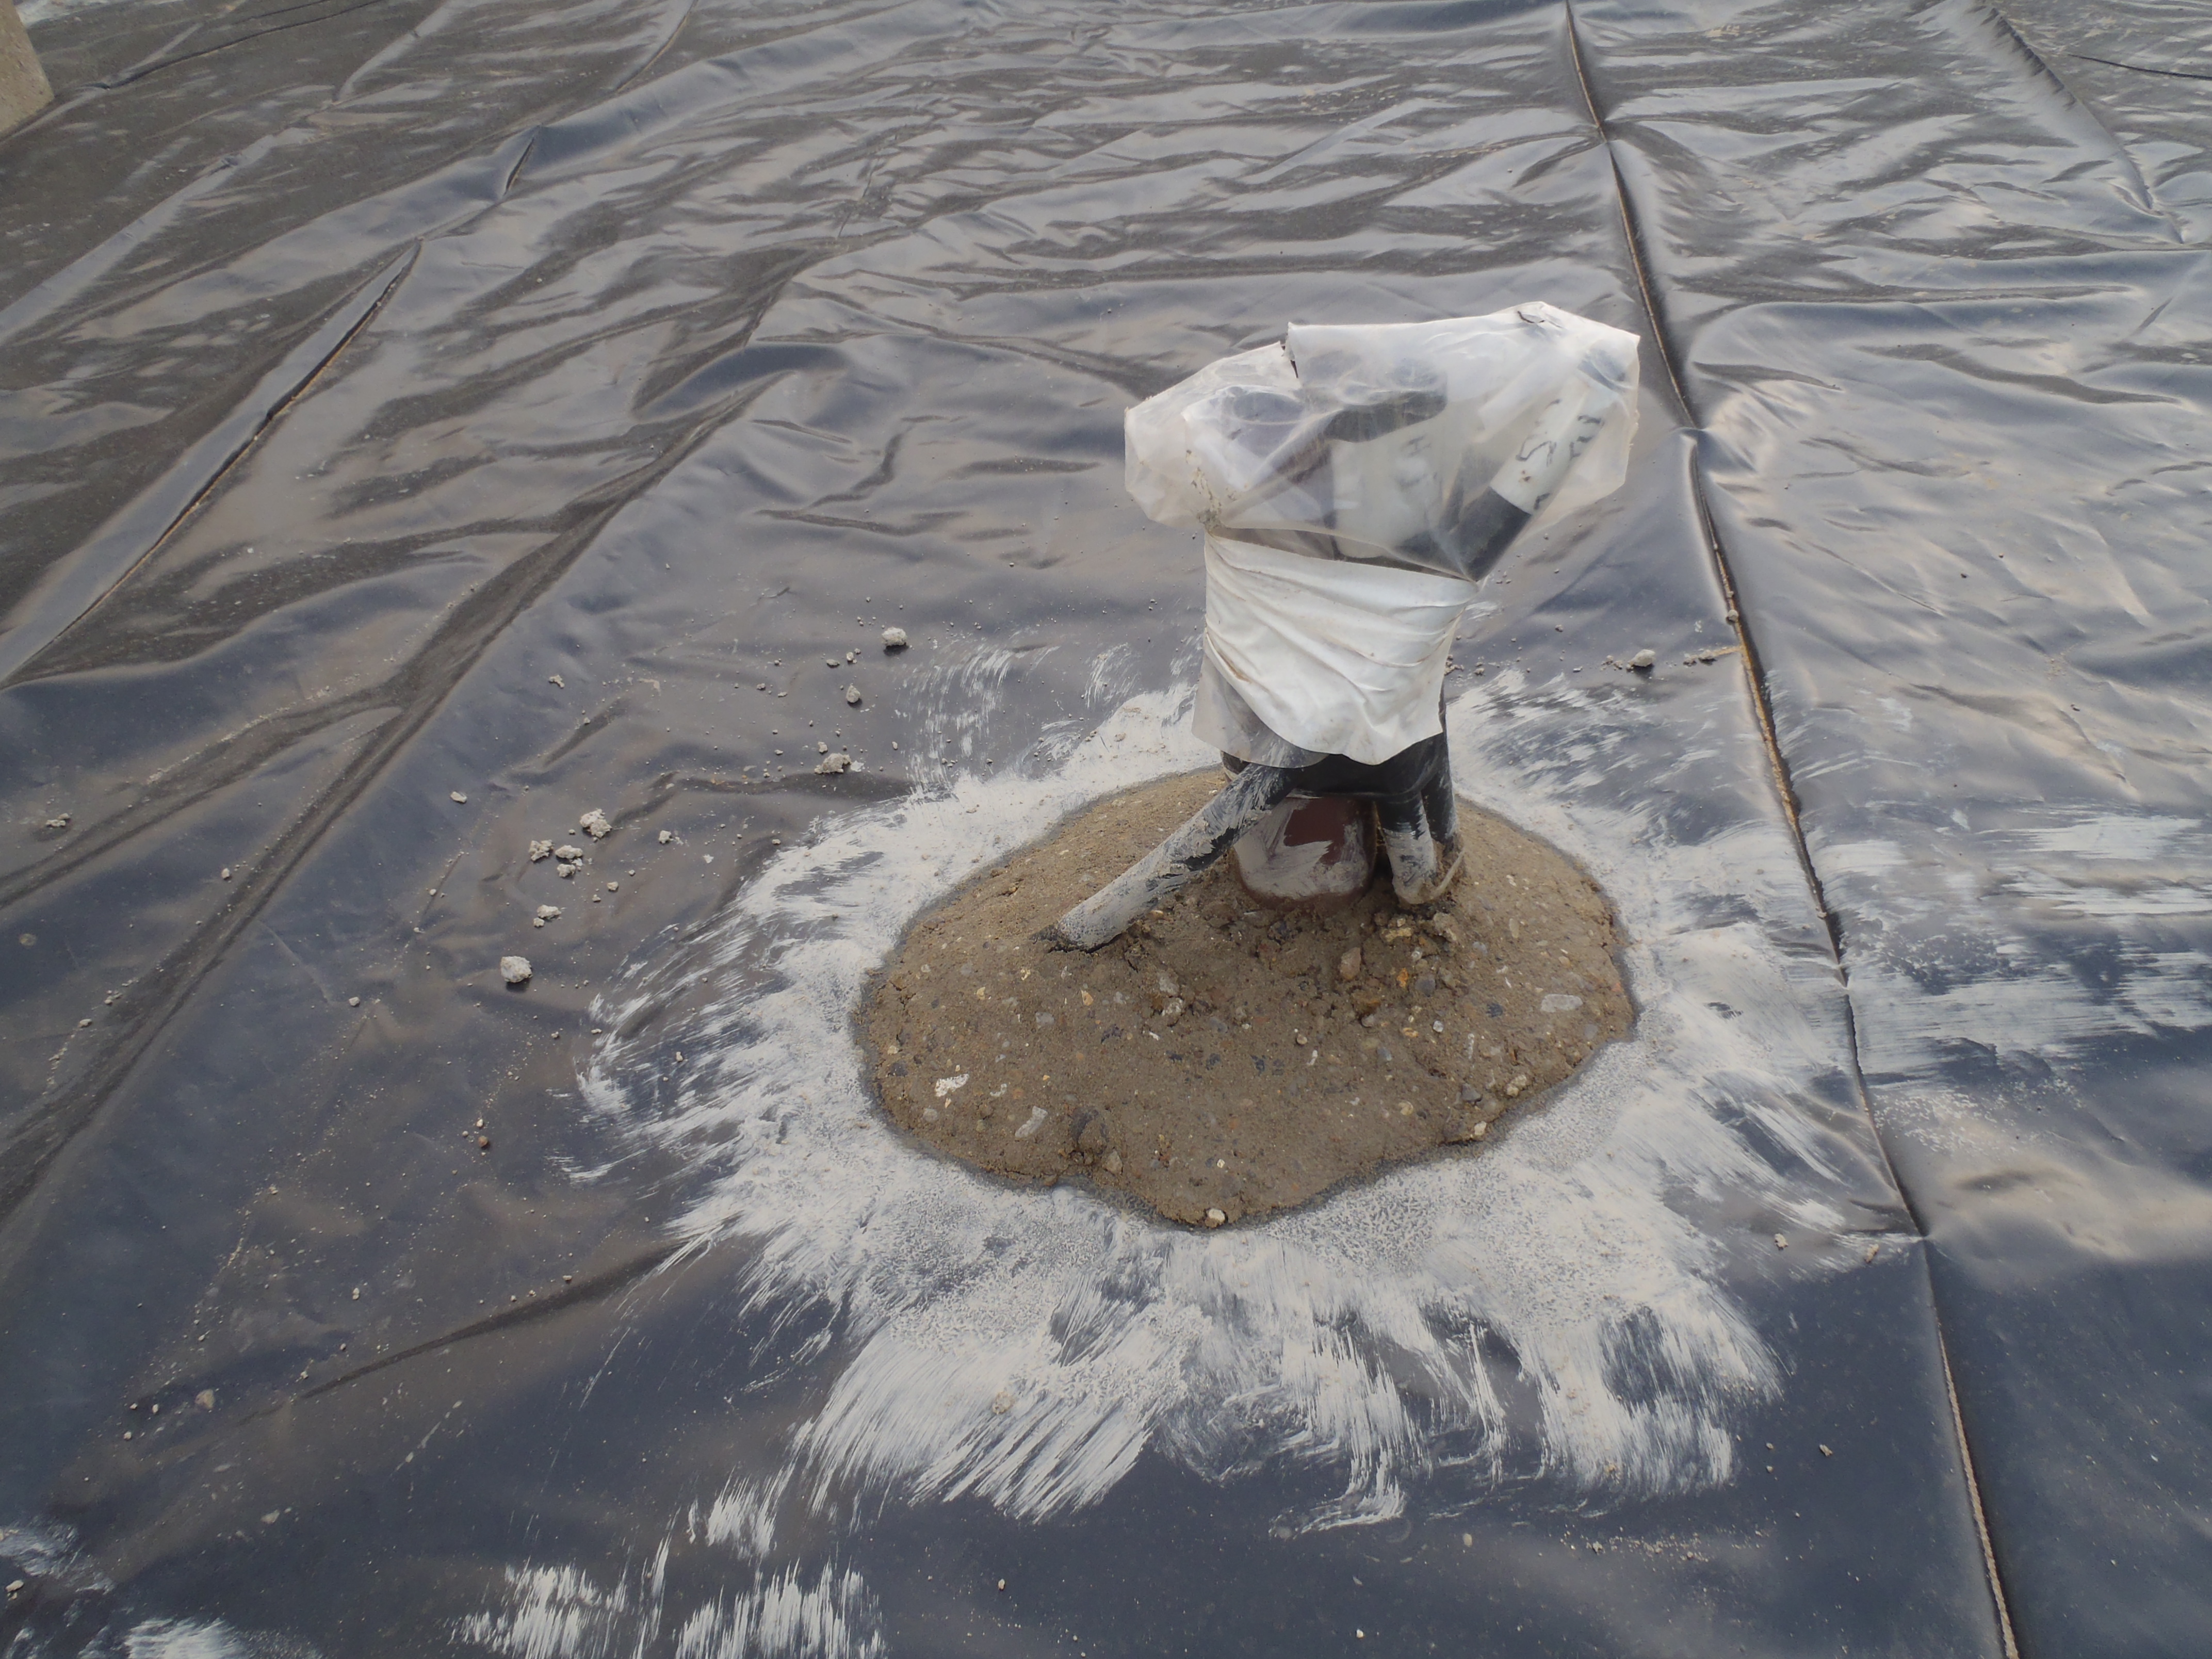
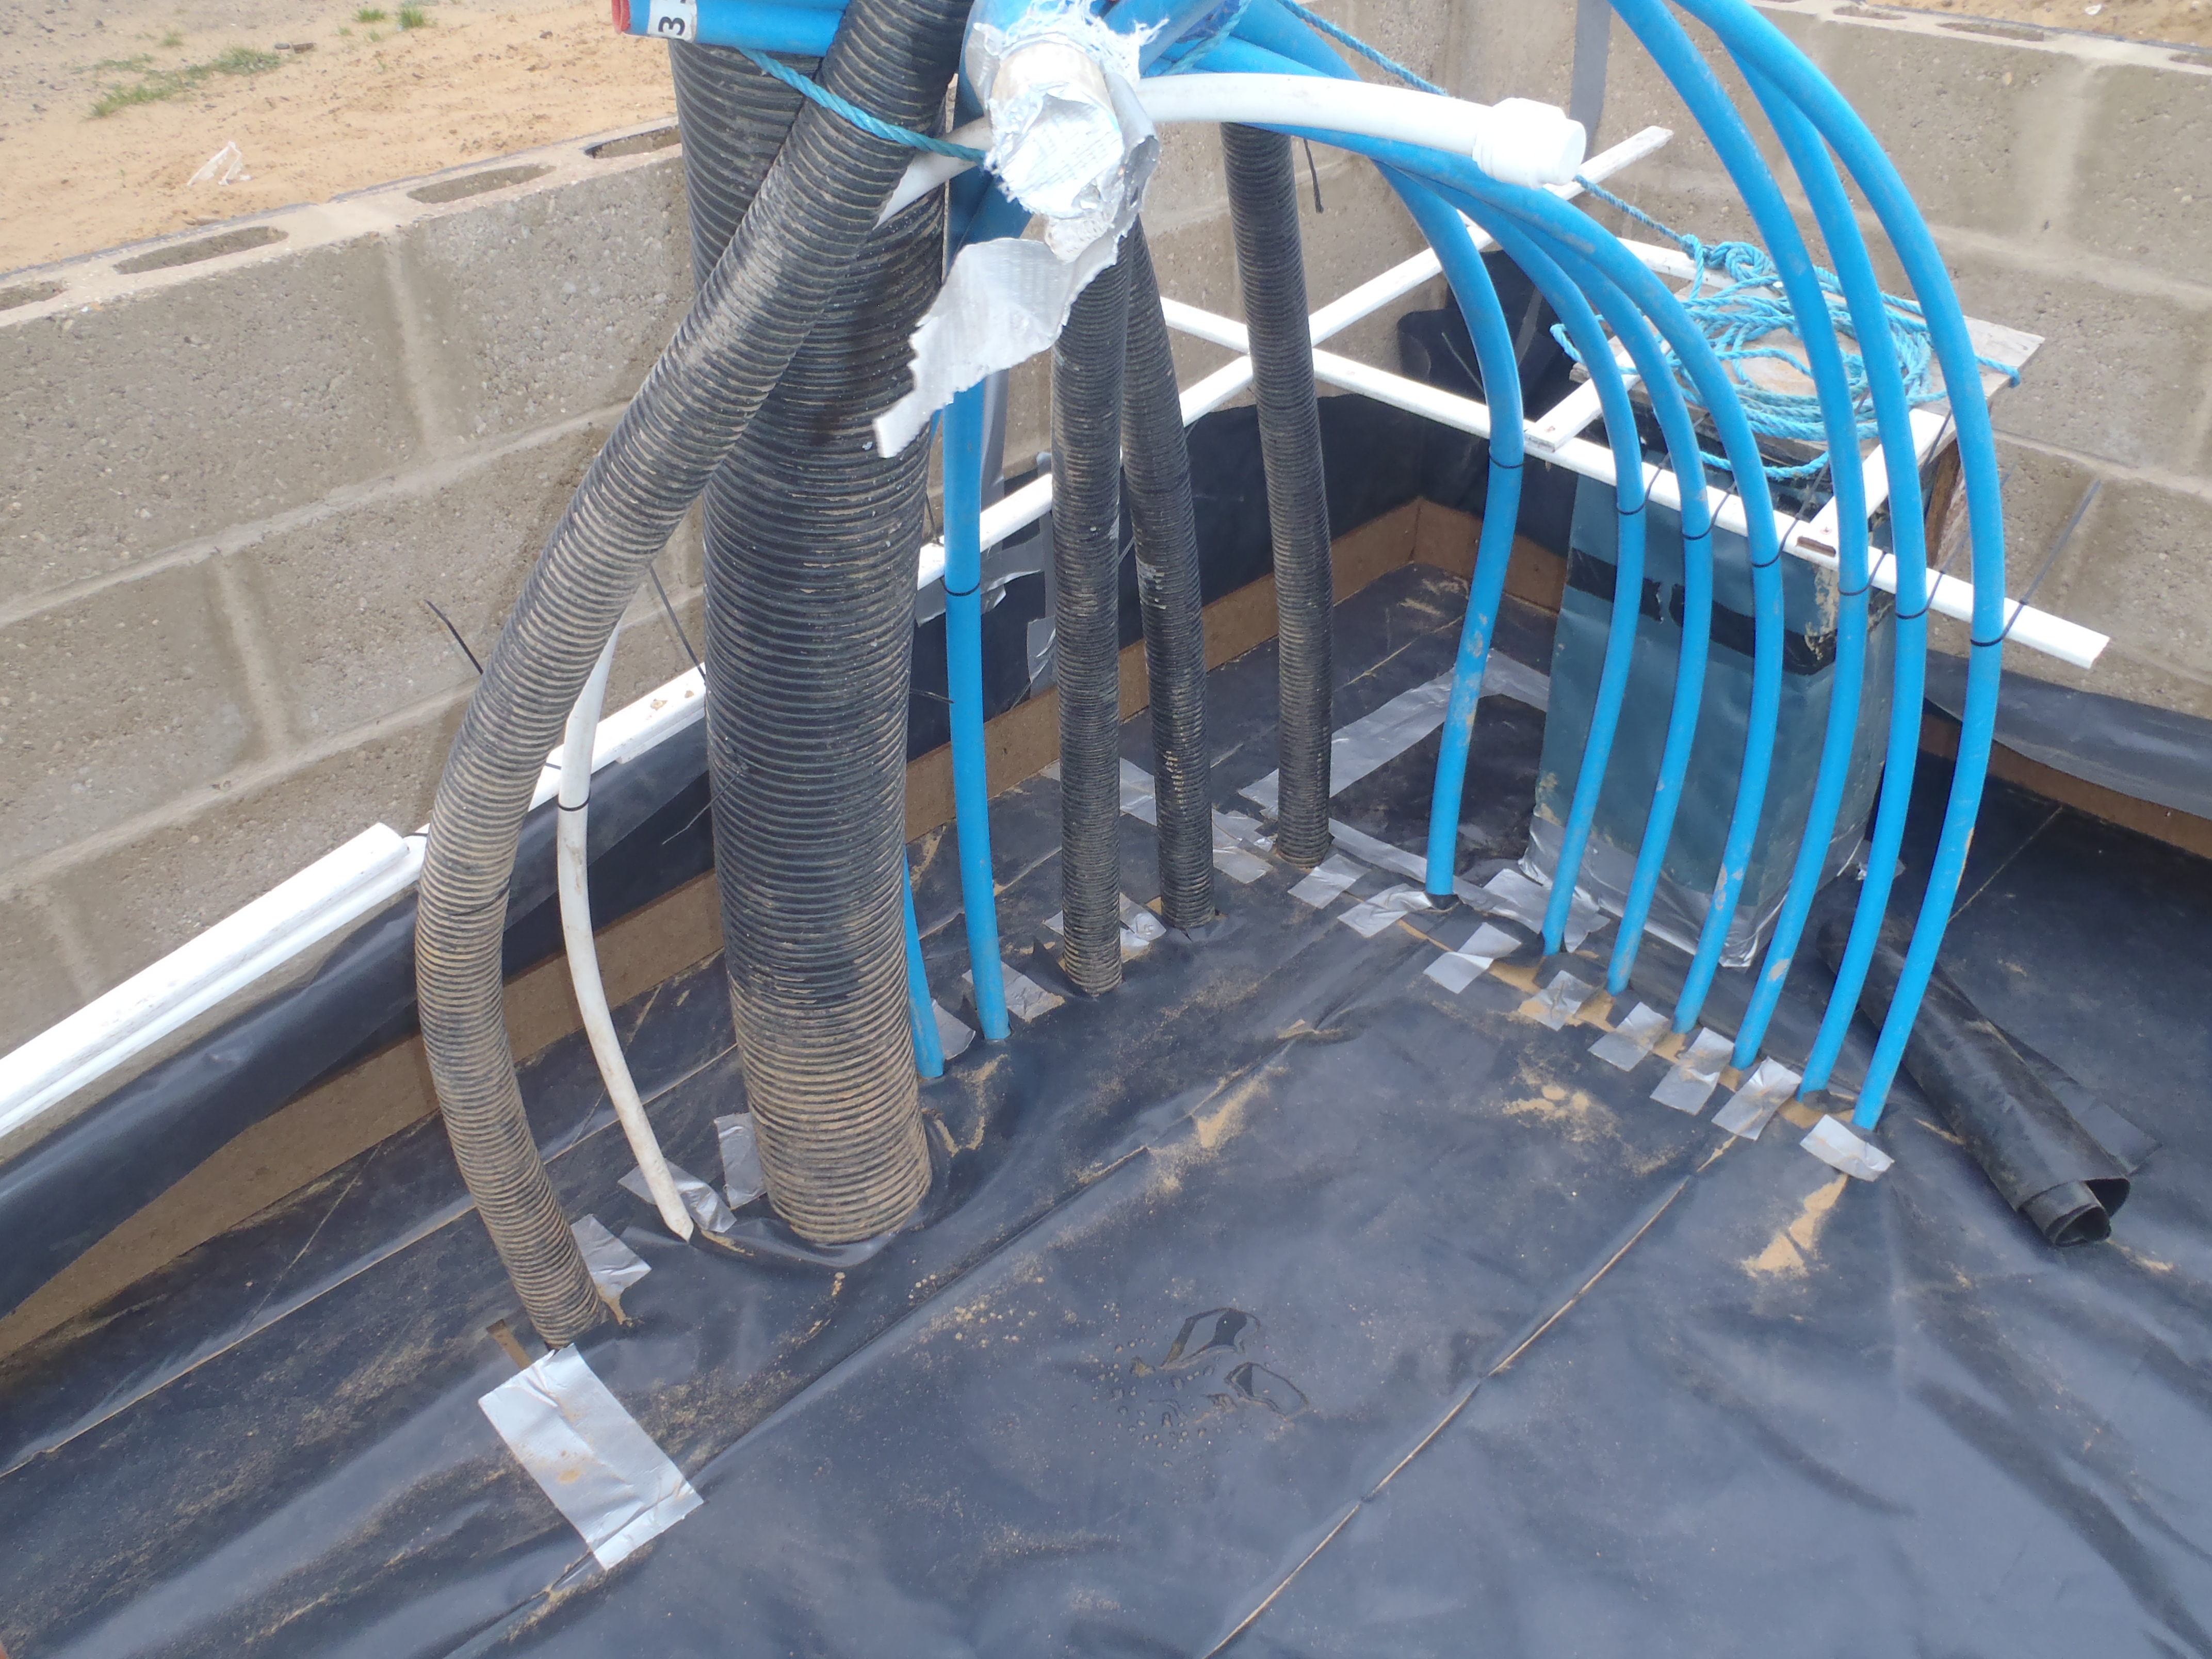
Confirmation and Adjustment of Sewage Pipes
Then, we double checked the position of all our Sewage Pipes coming up from the ground, in various location’s around the house. The Utility room is ok as well as the one over between Ensuite 1 and Ensuite 2. But one’s located in Ensuite 3 and the bathroom was slightly off so we wiggled it around so it was in a better position. We did the same with the final sewage pipe sticking up in the Cloakroom, adjusting that one too. All is now in the right place, in relation to our new frame of reference I.e. The Perimeter Wall.
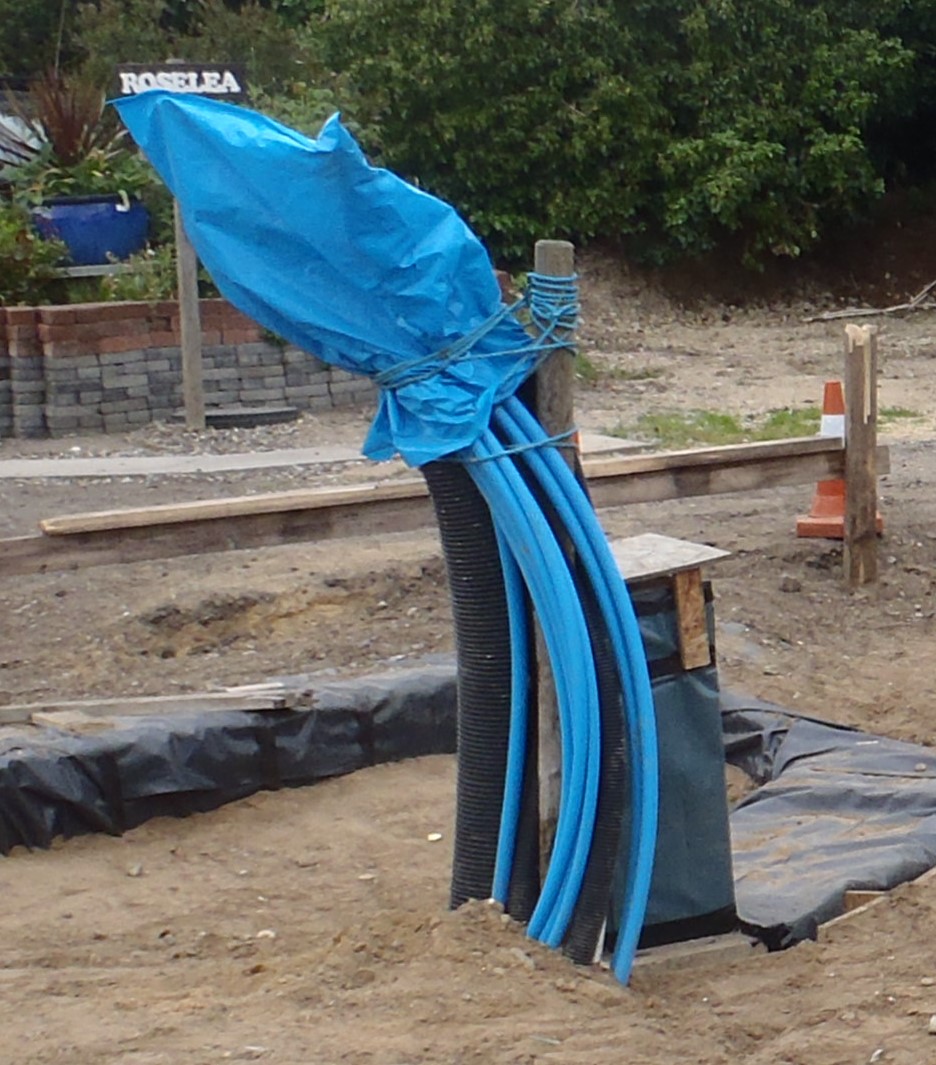
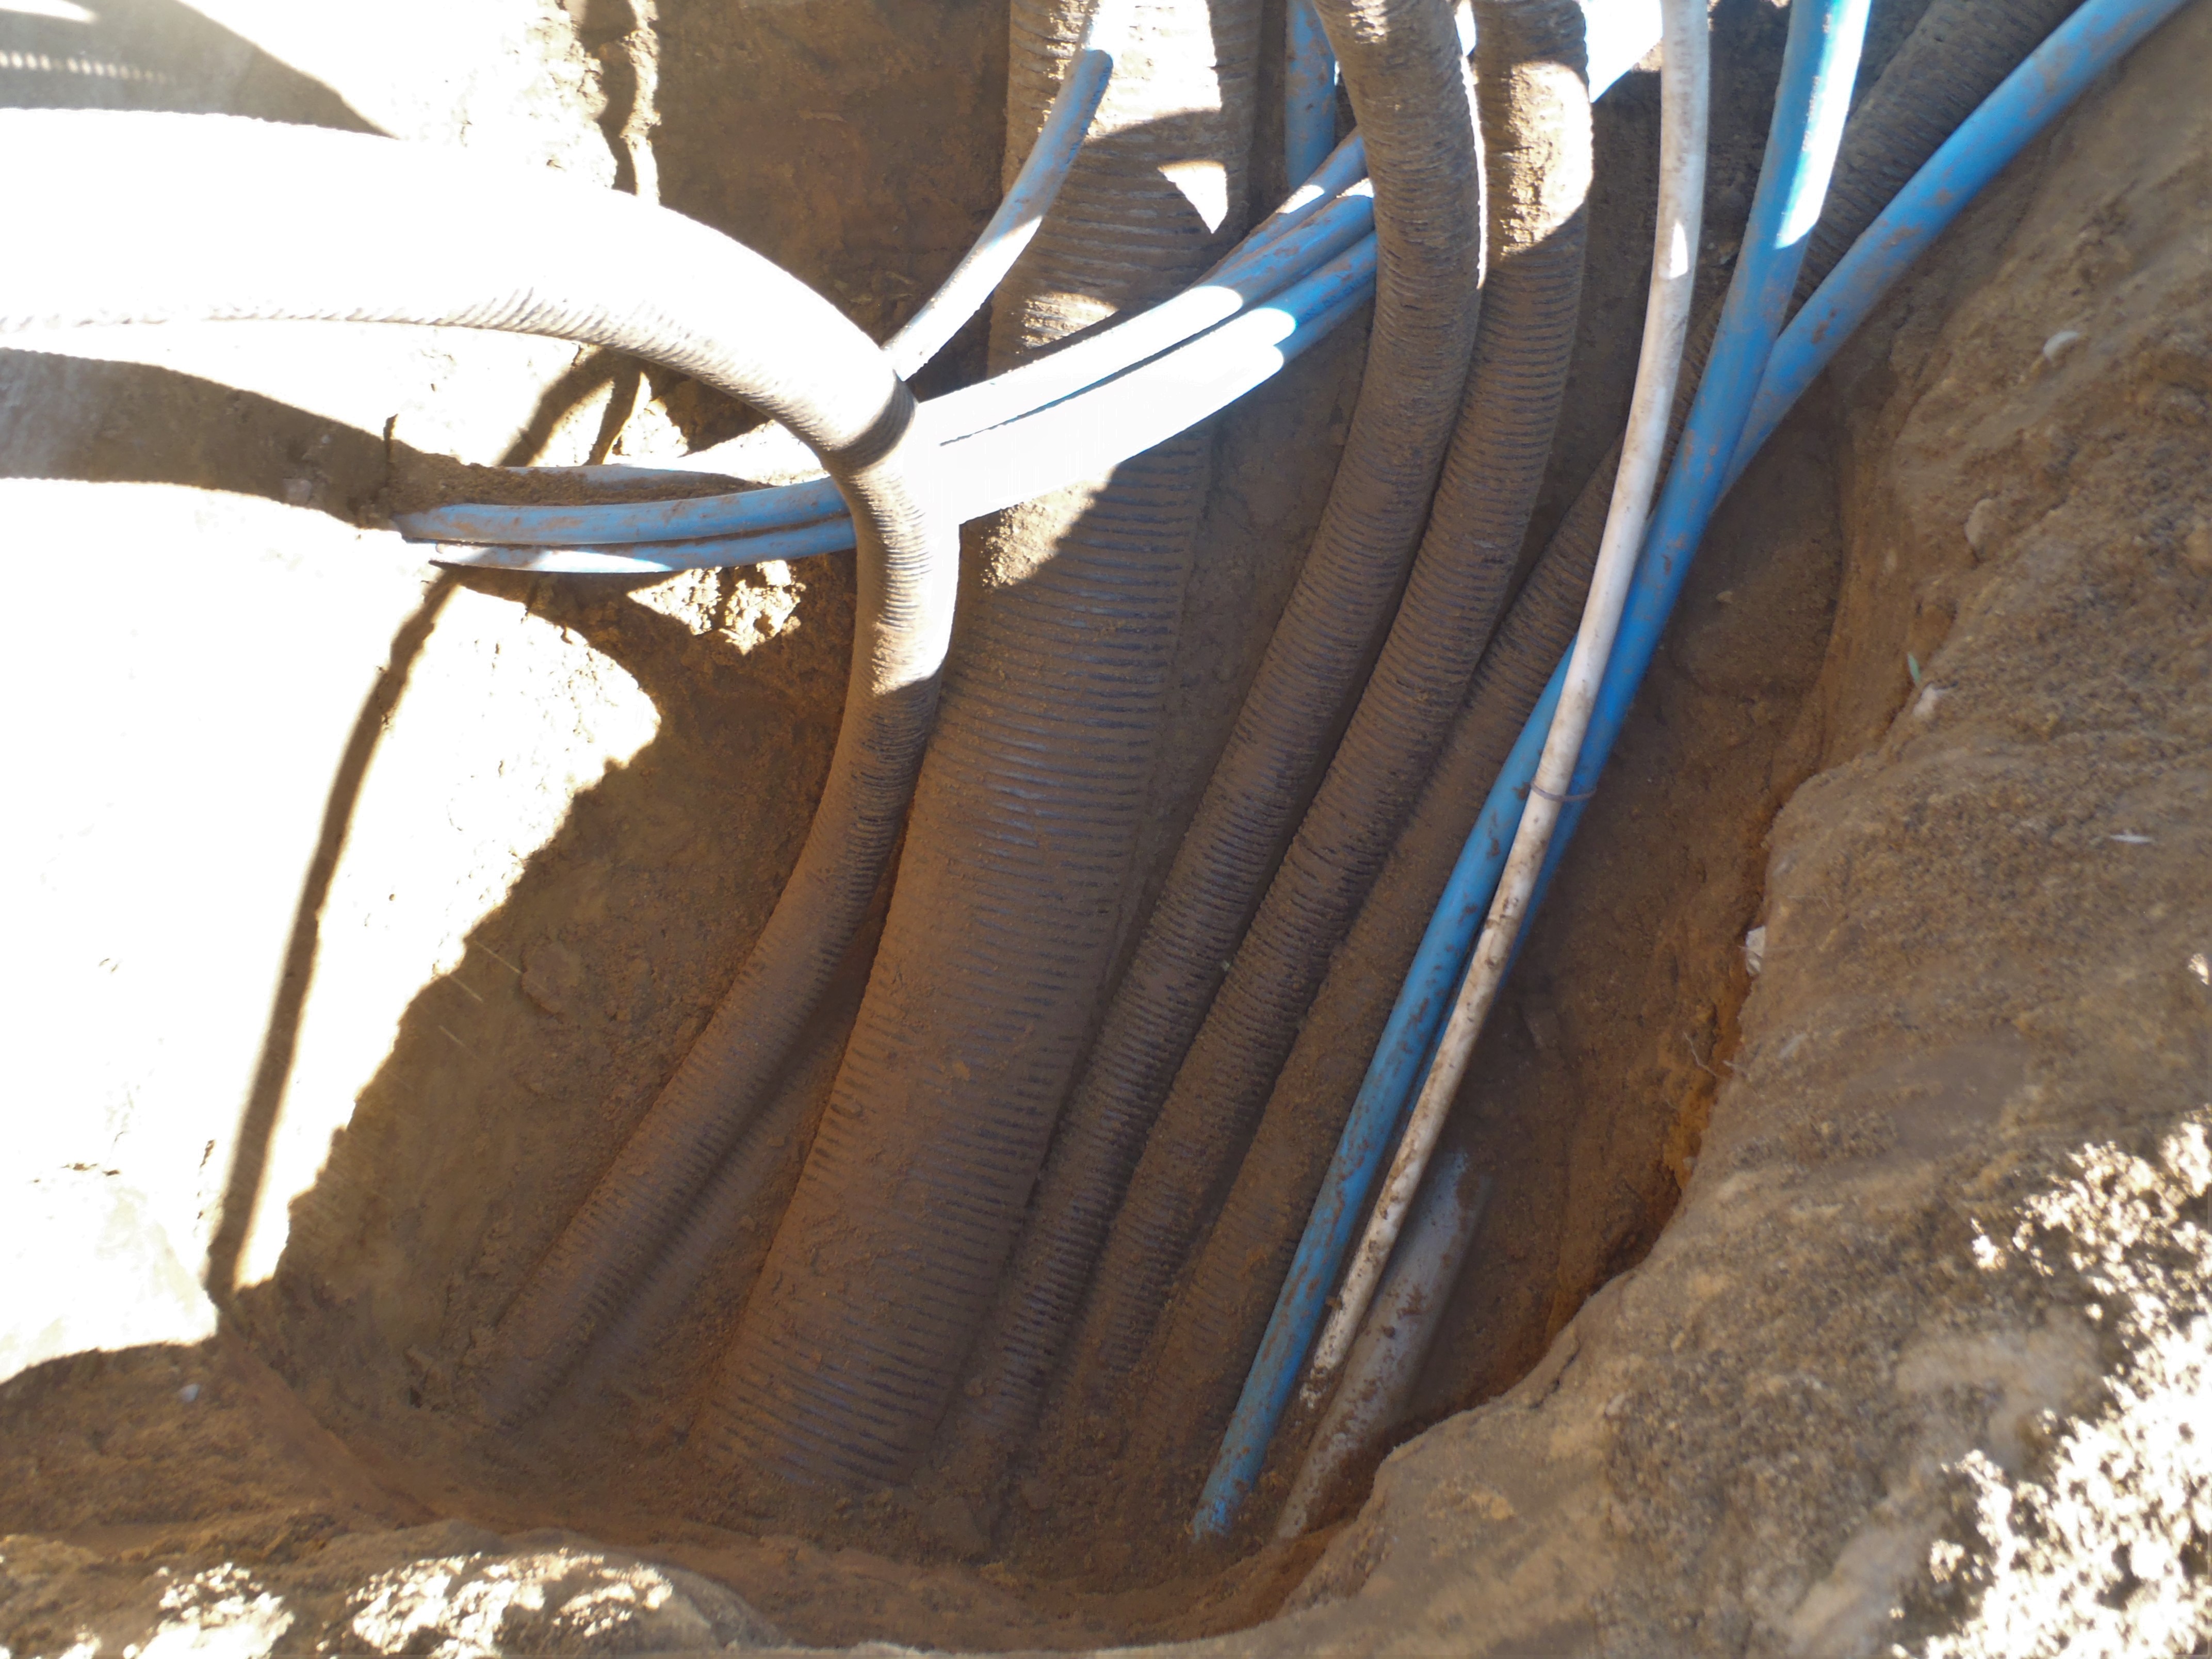
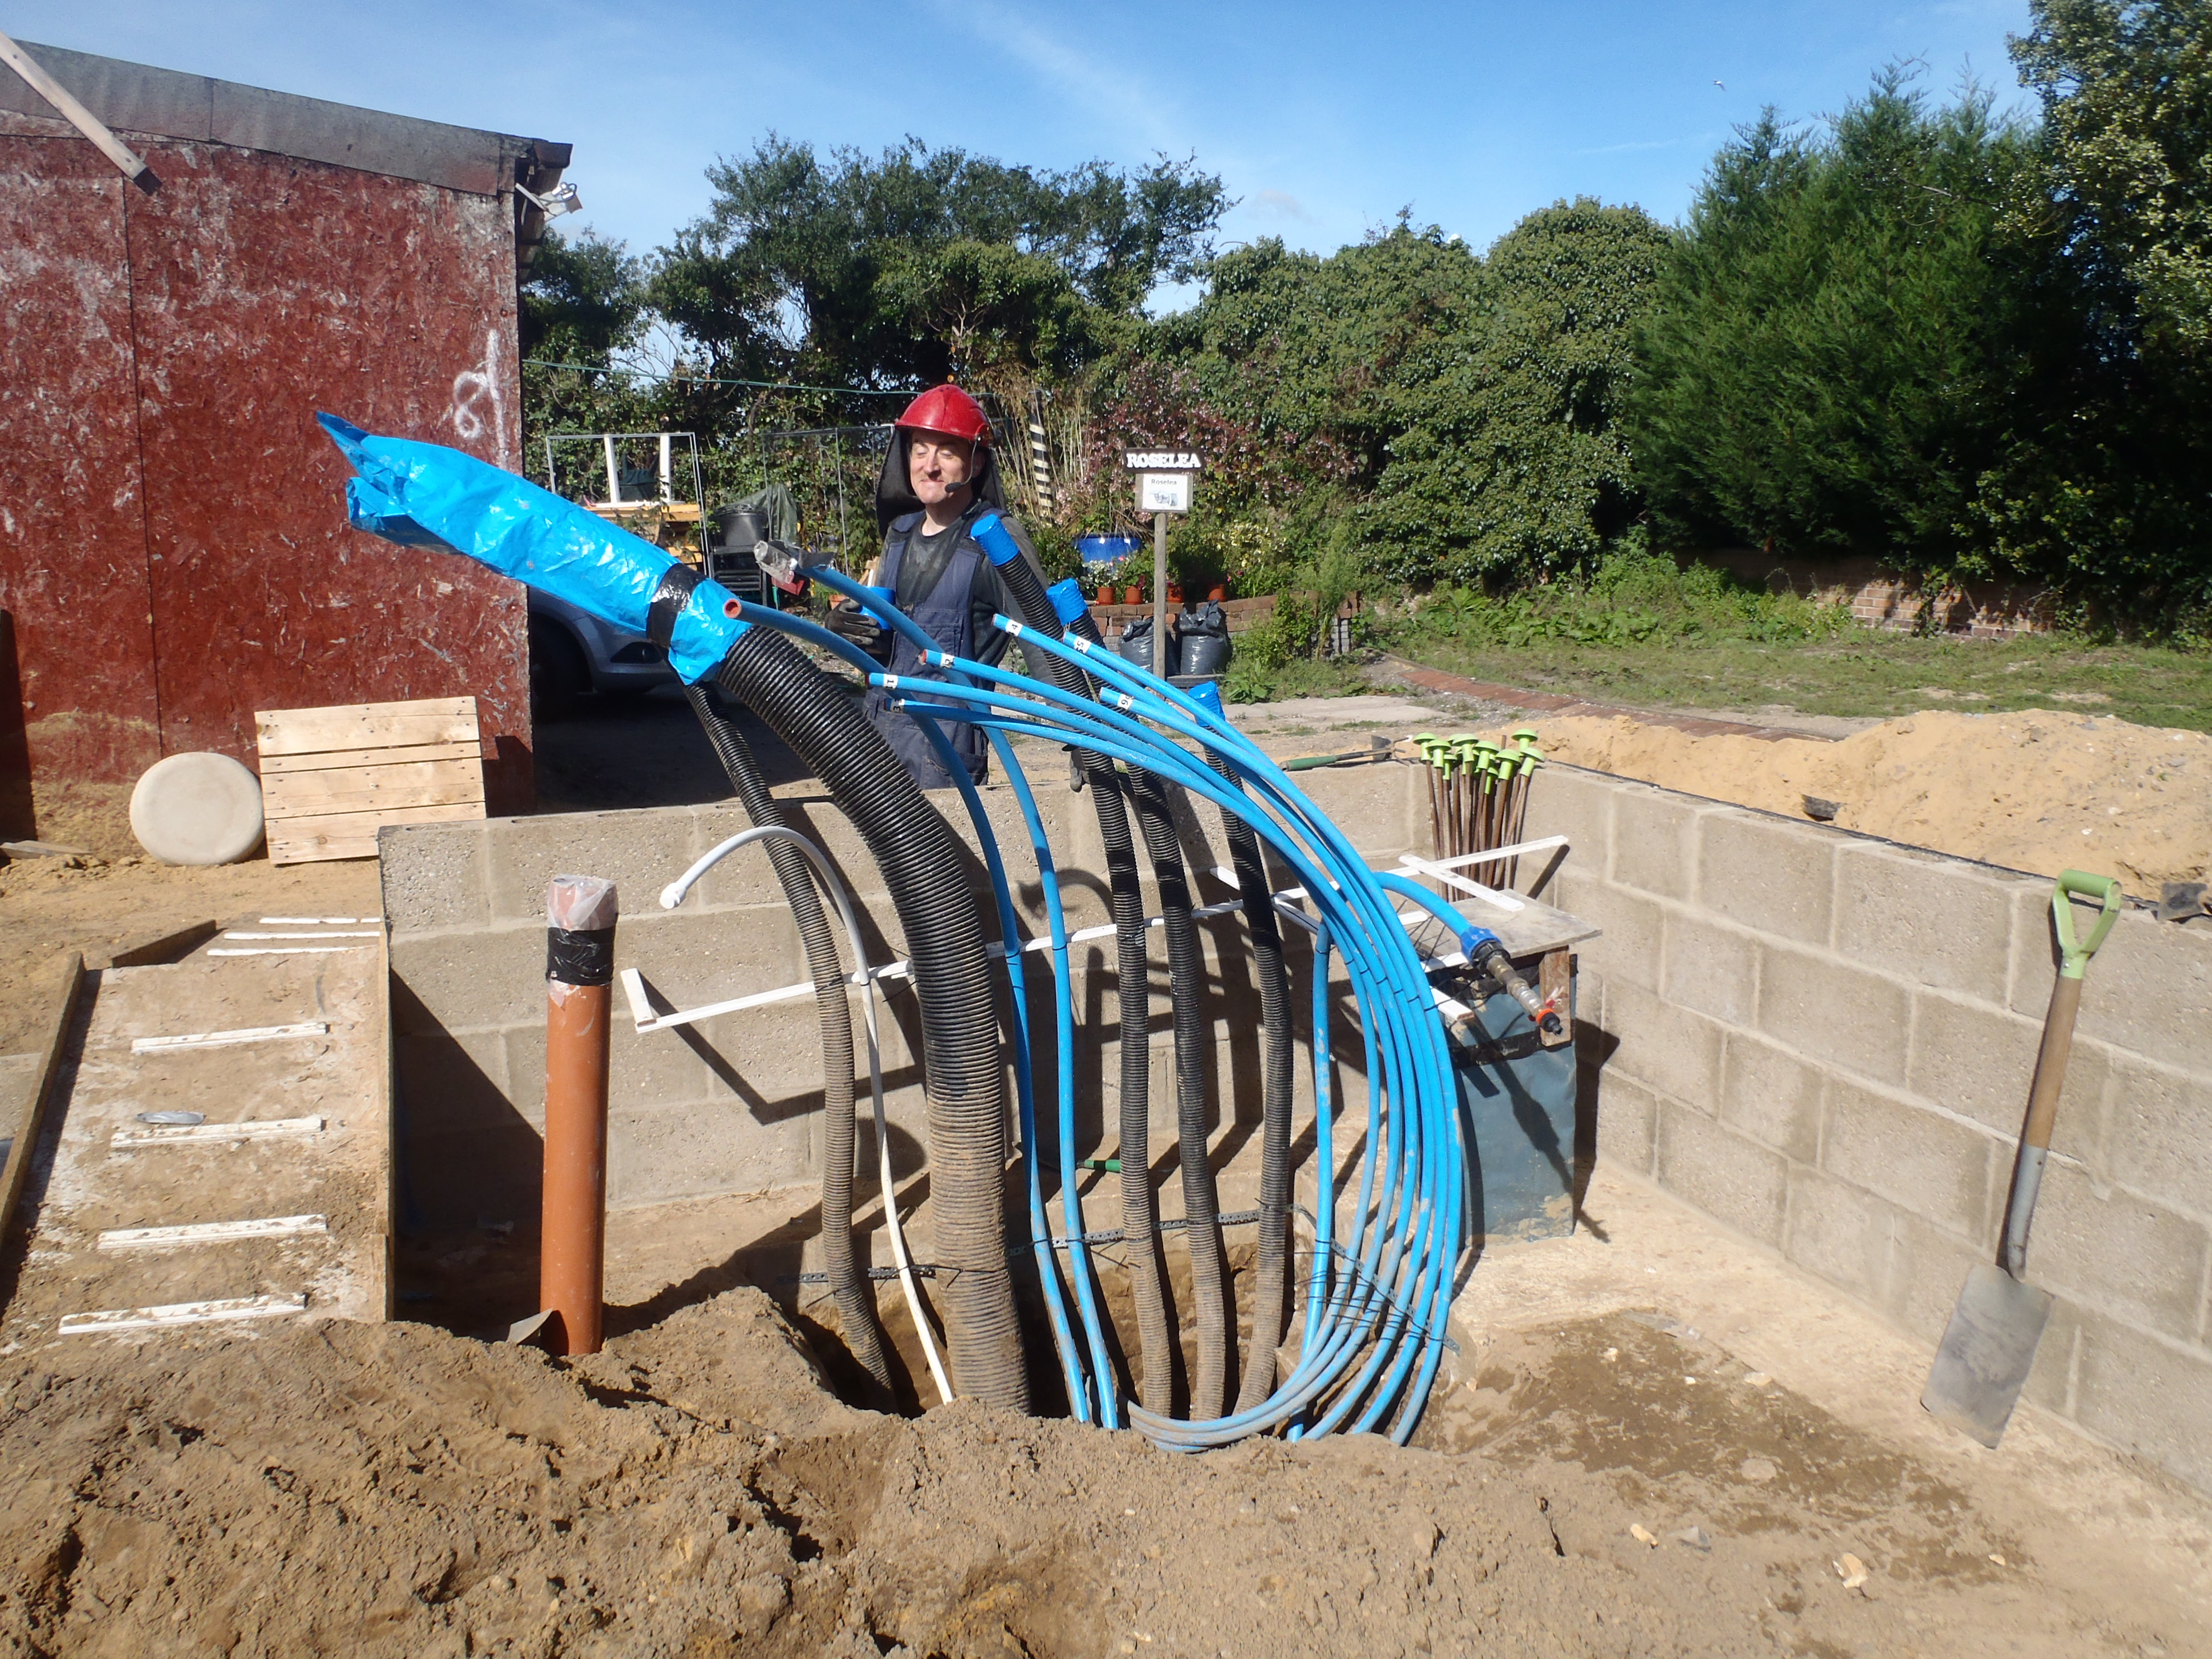
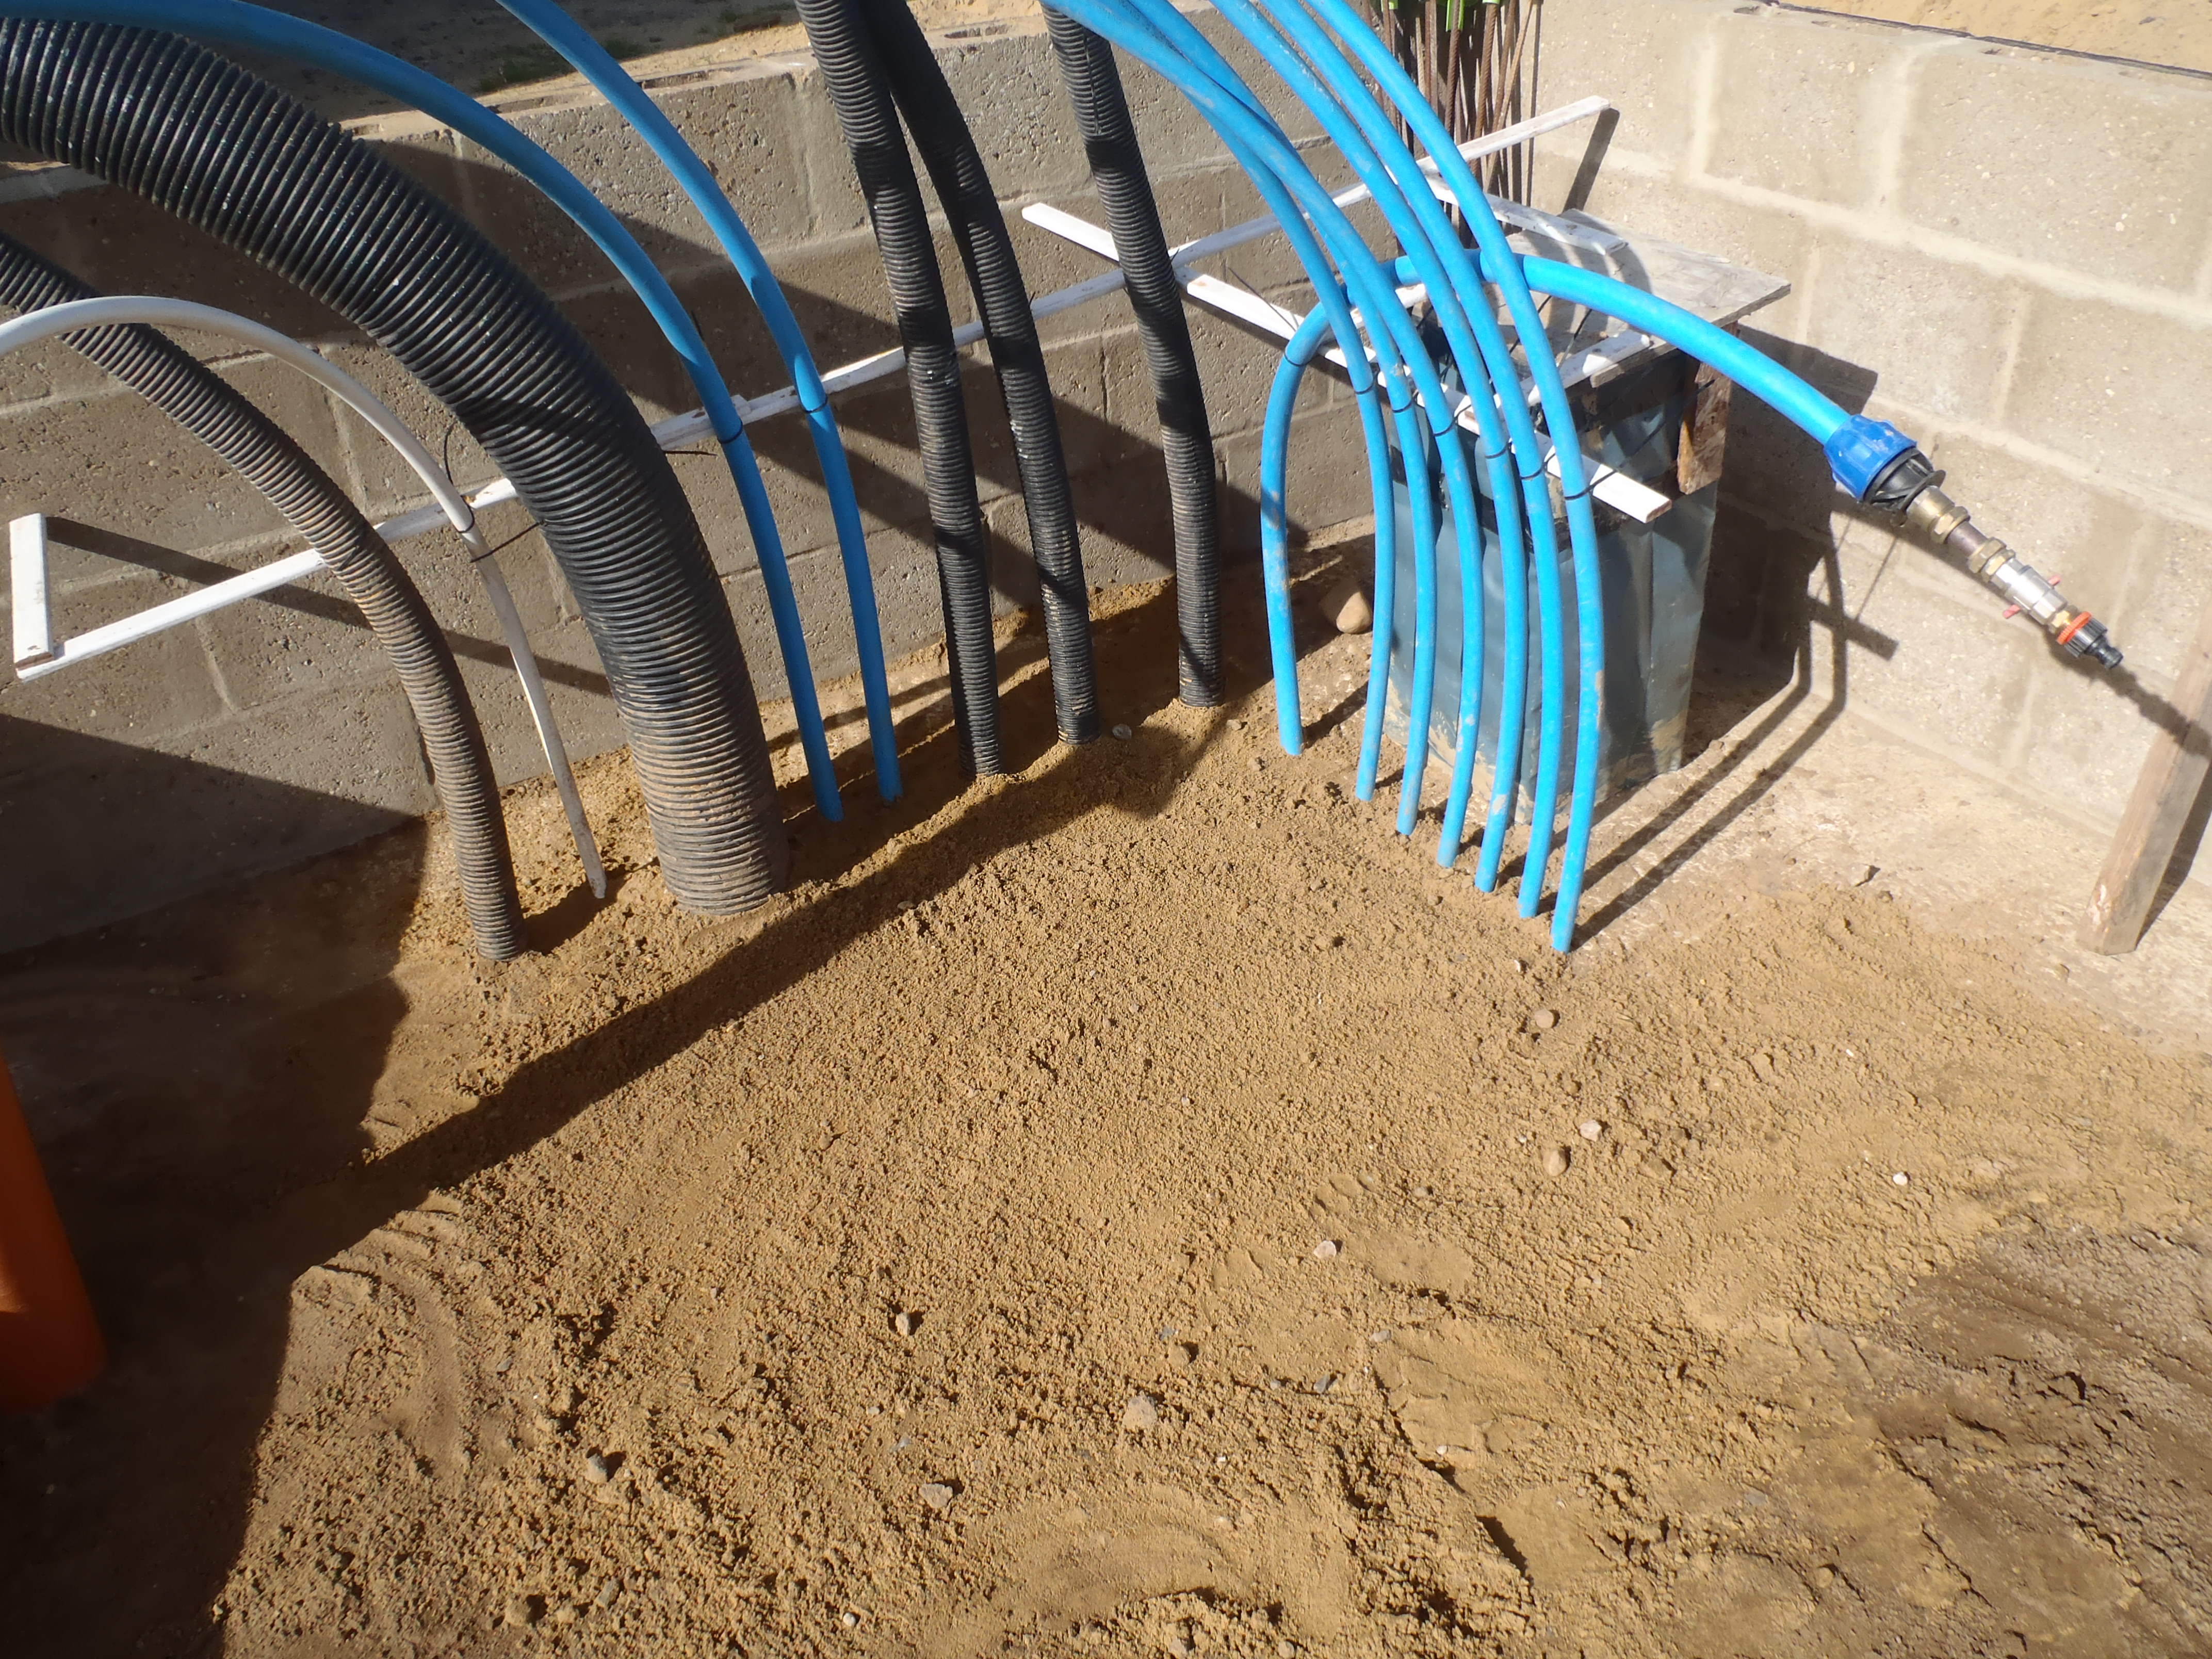
Energy Modules
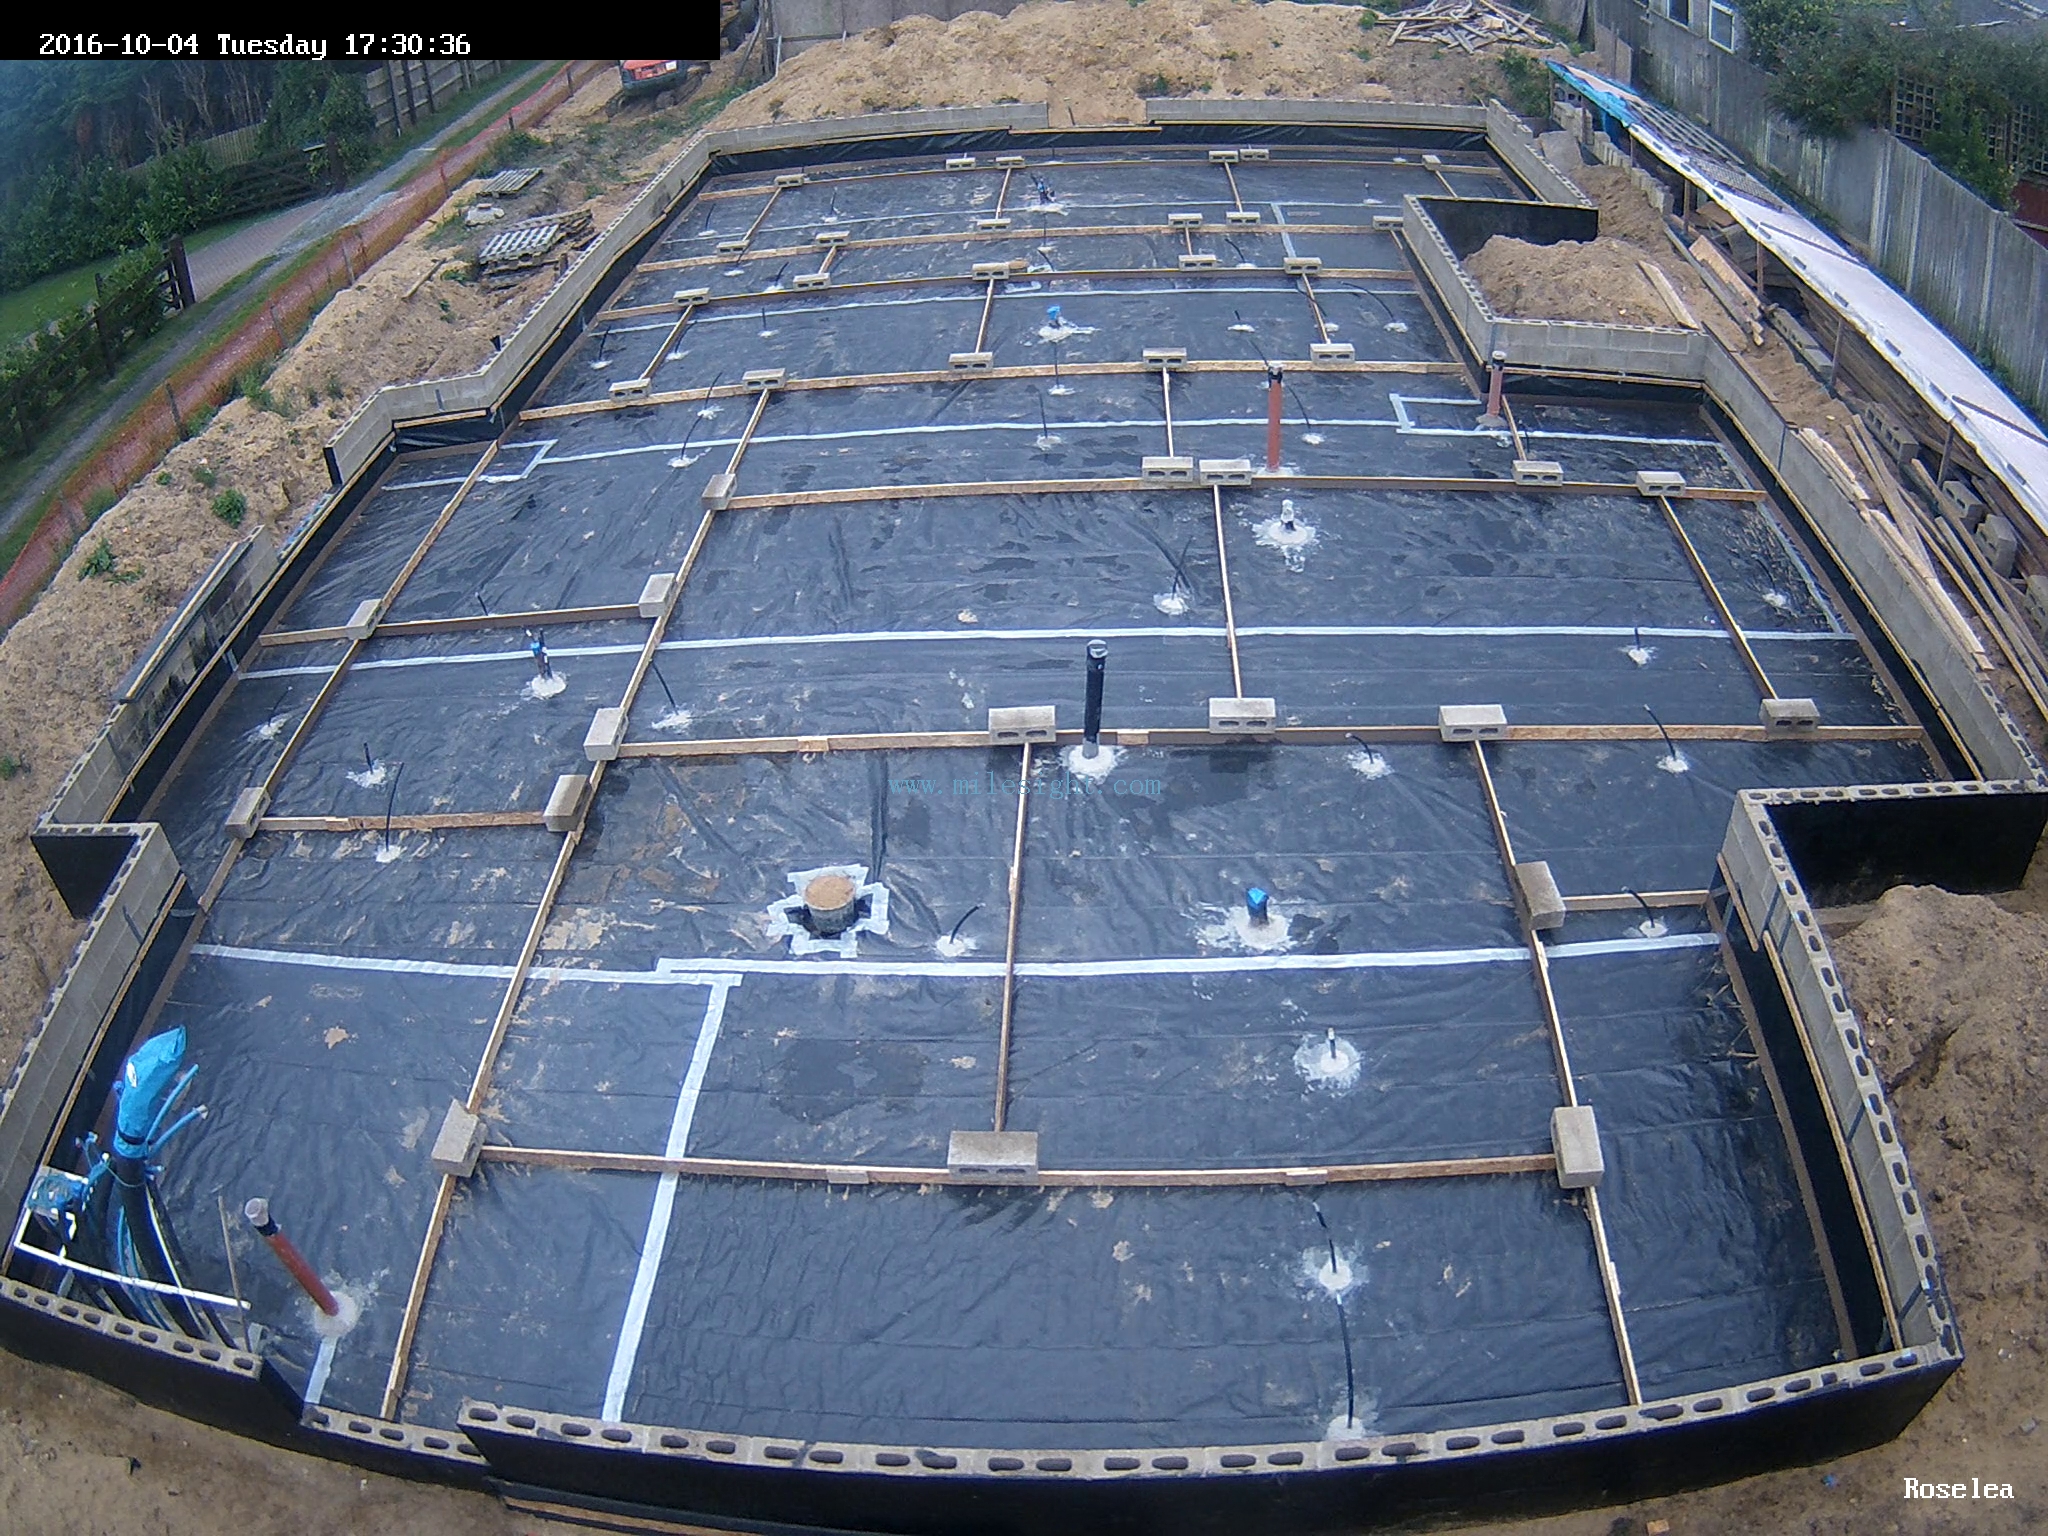
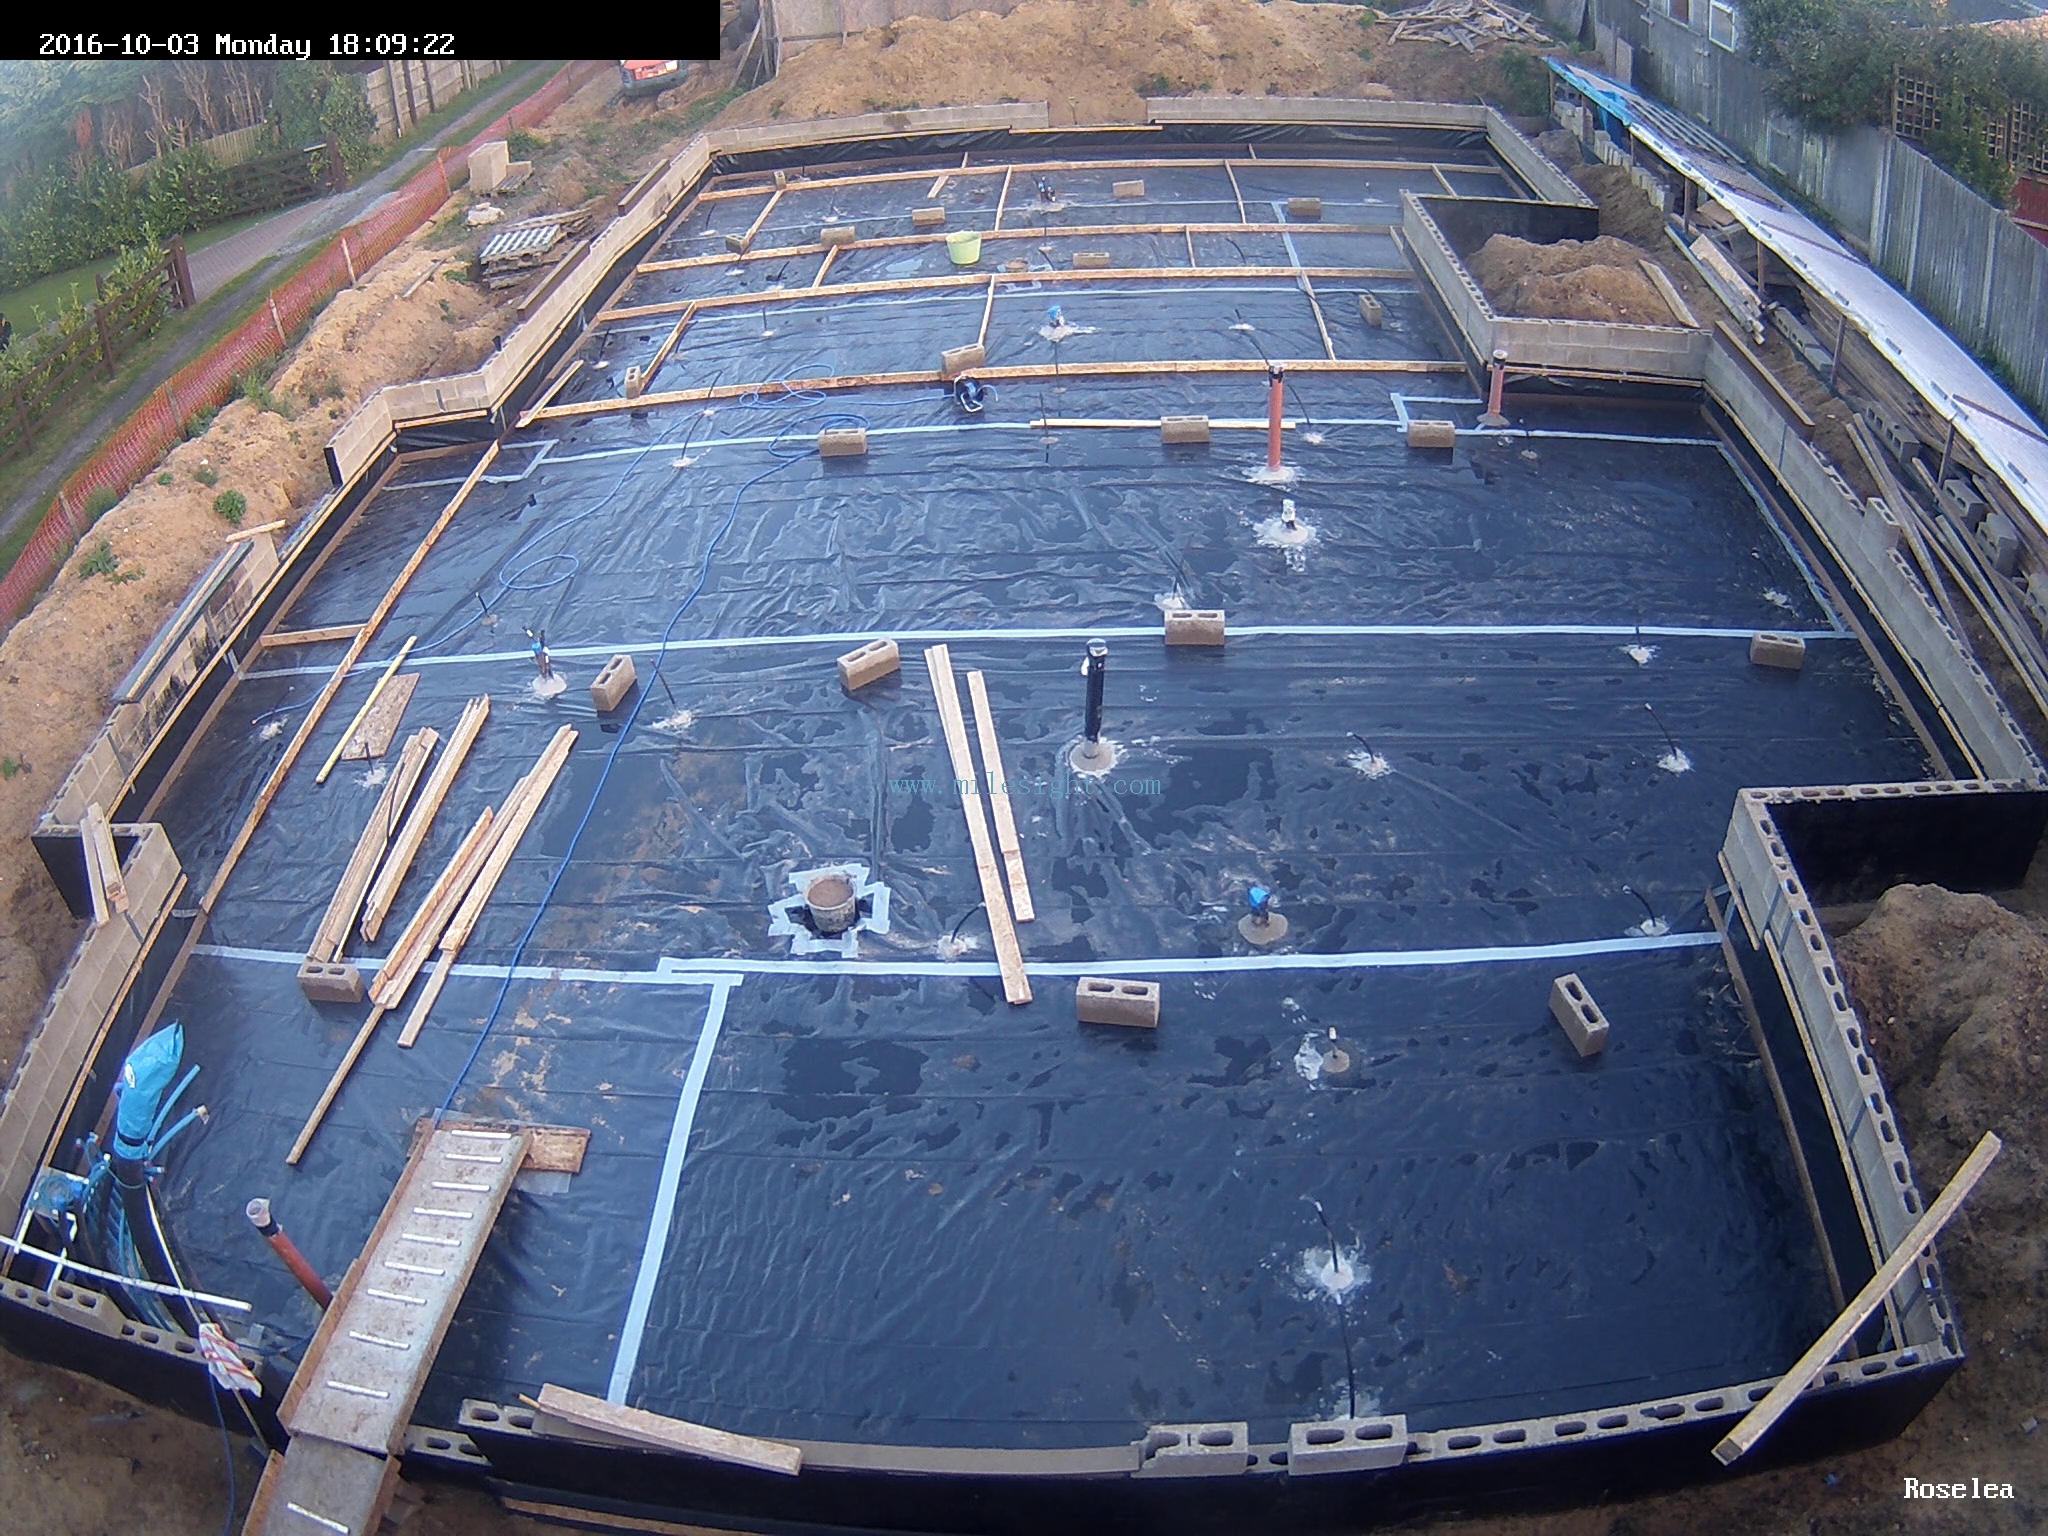
This will be the last time we have any options to deal with any problems with our underground water tanks that makes up the 5 Energy Modules situated underneath our house. We checked the water levels (looking down the inspection tubes) in all 5 and they are still nice and full! The rubber membrane skin are still holding and we haven’t made any holes during the installation (and repair) jobs on each module! Phew and Thank Goodness!
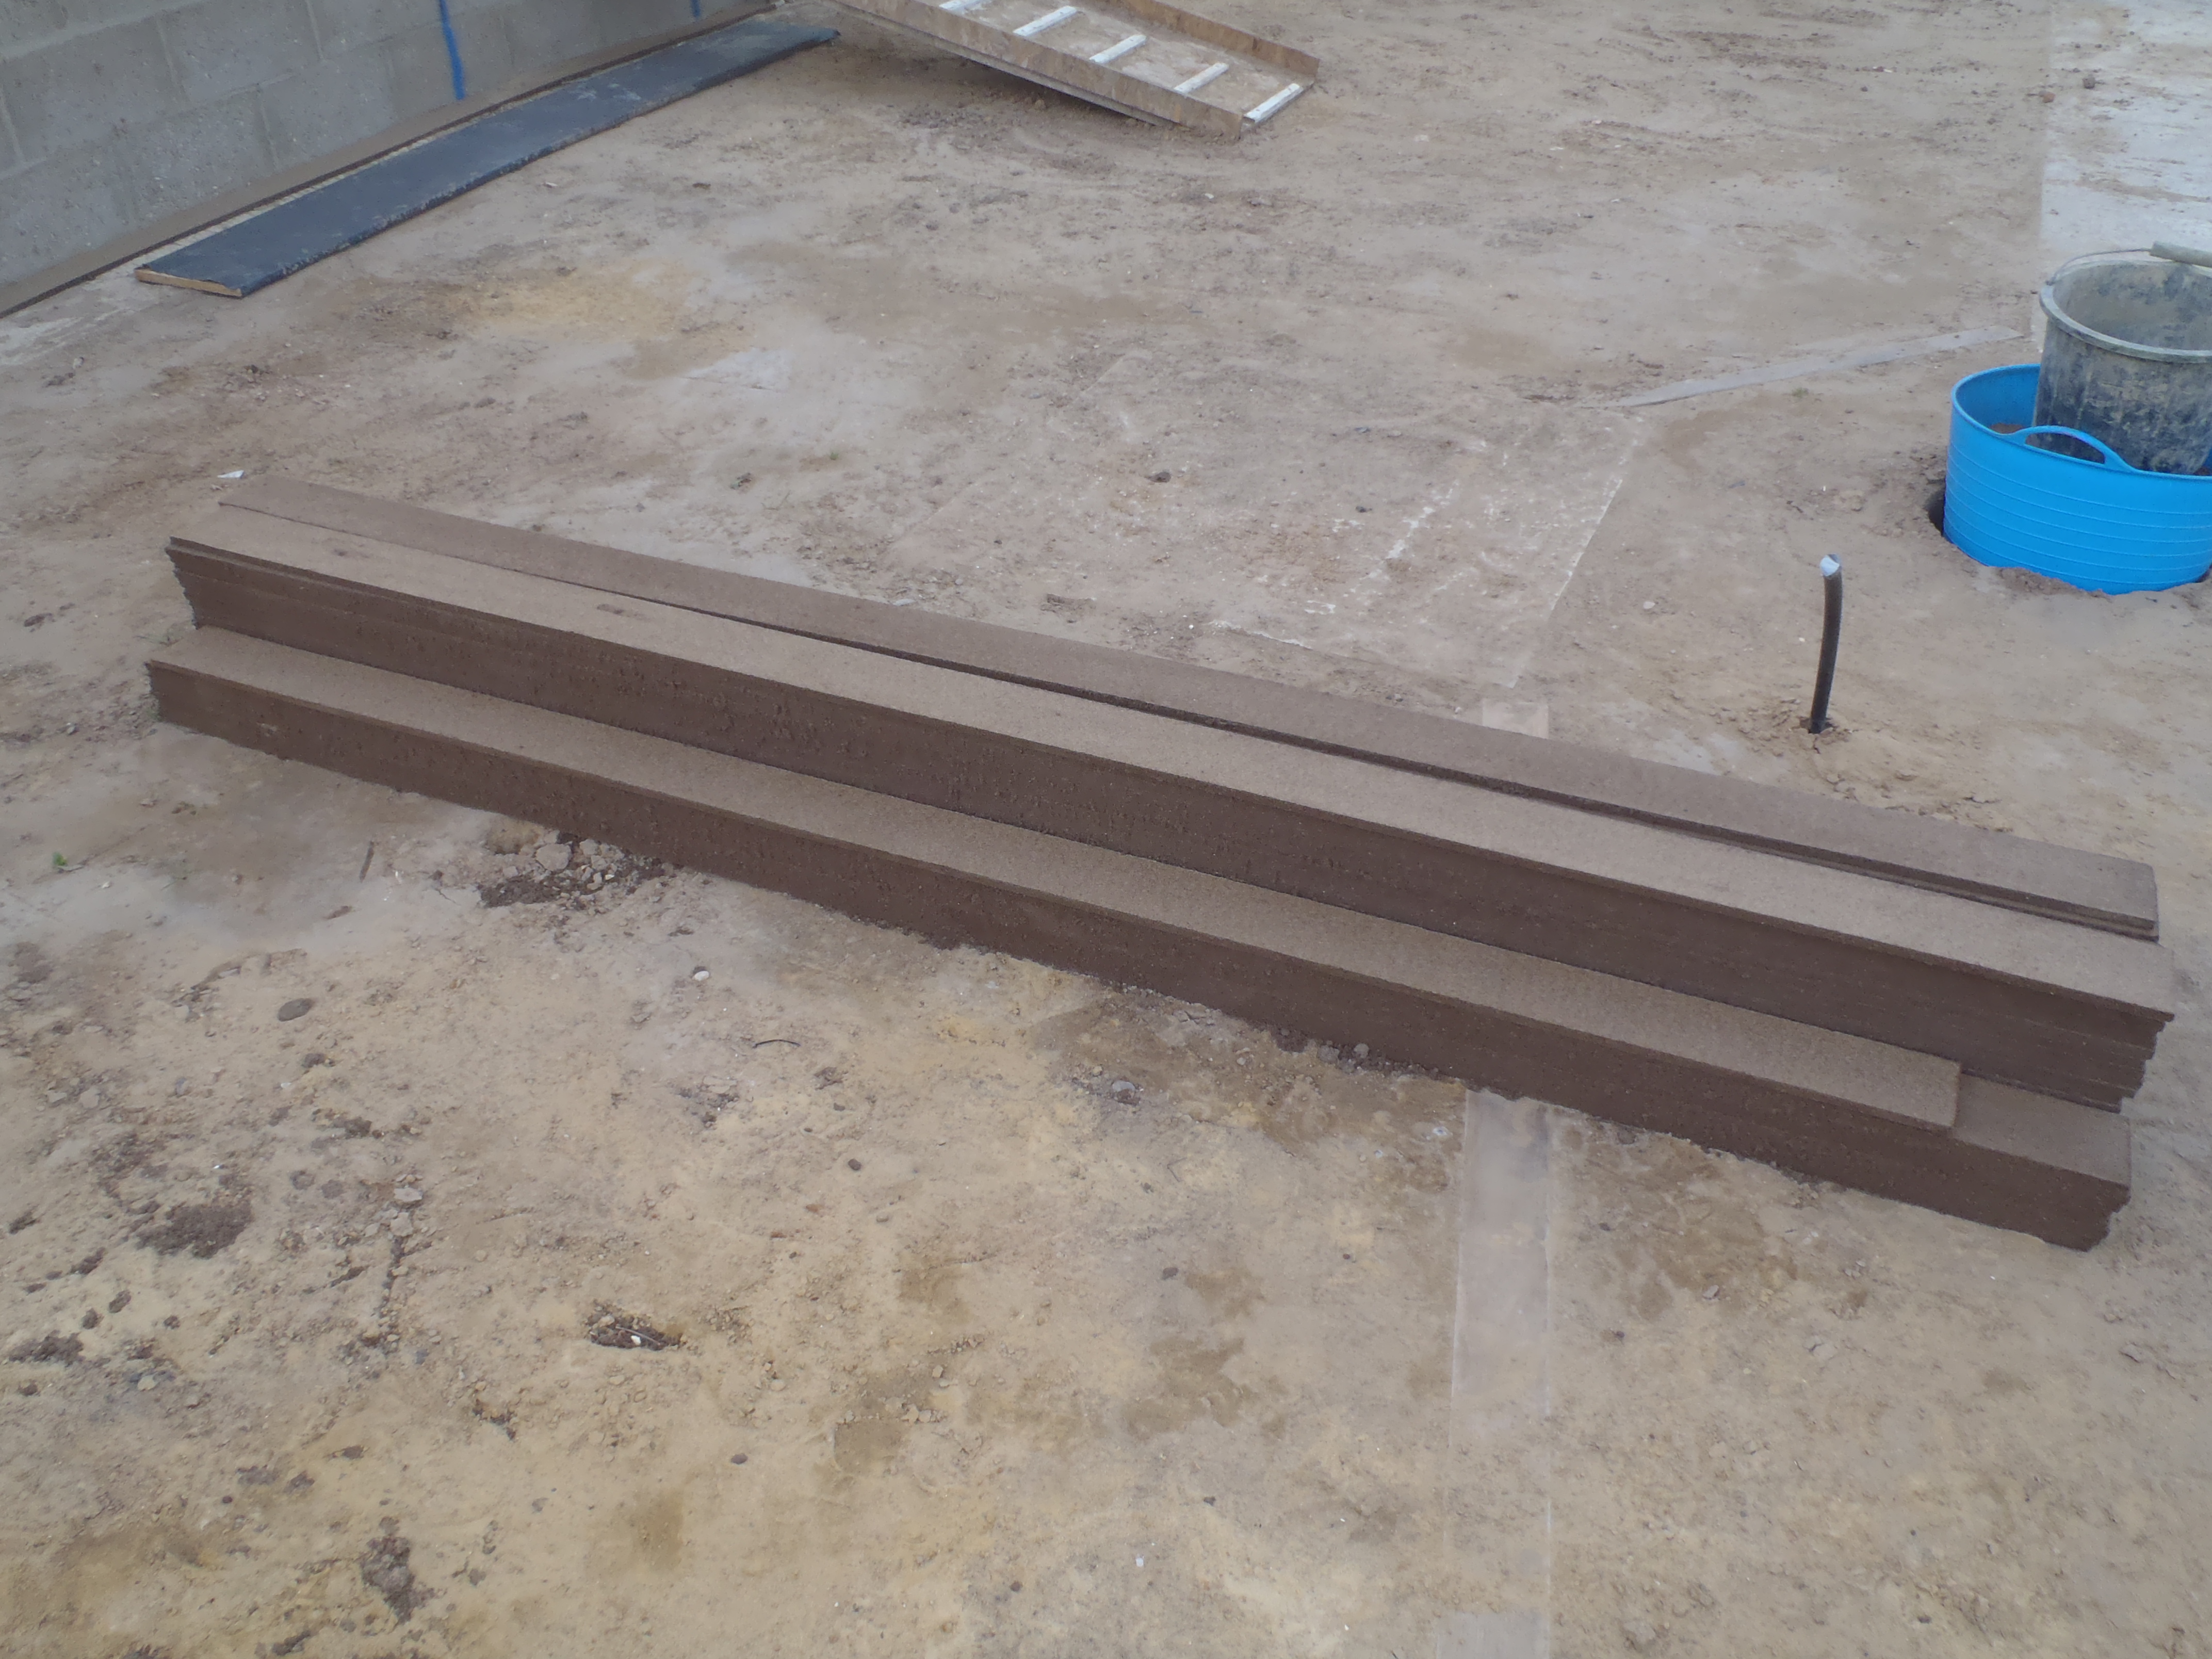
Fluffy Expansion Boards
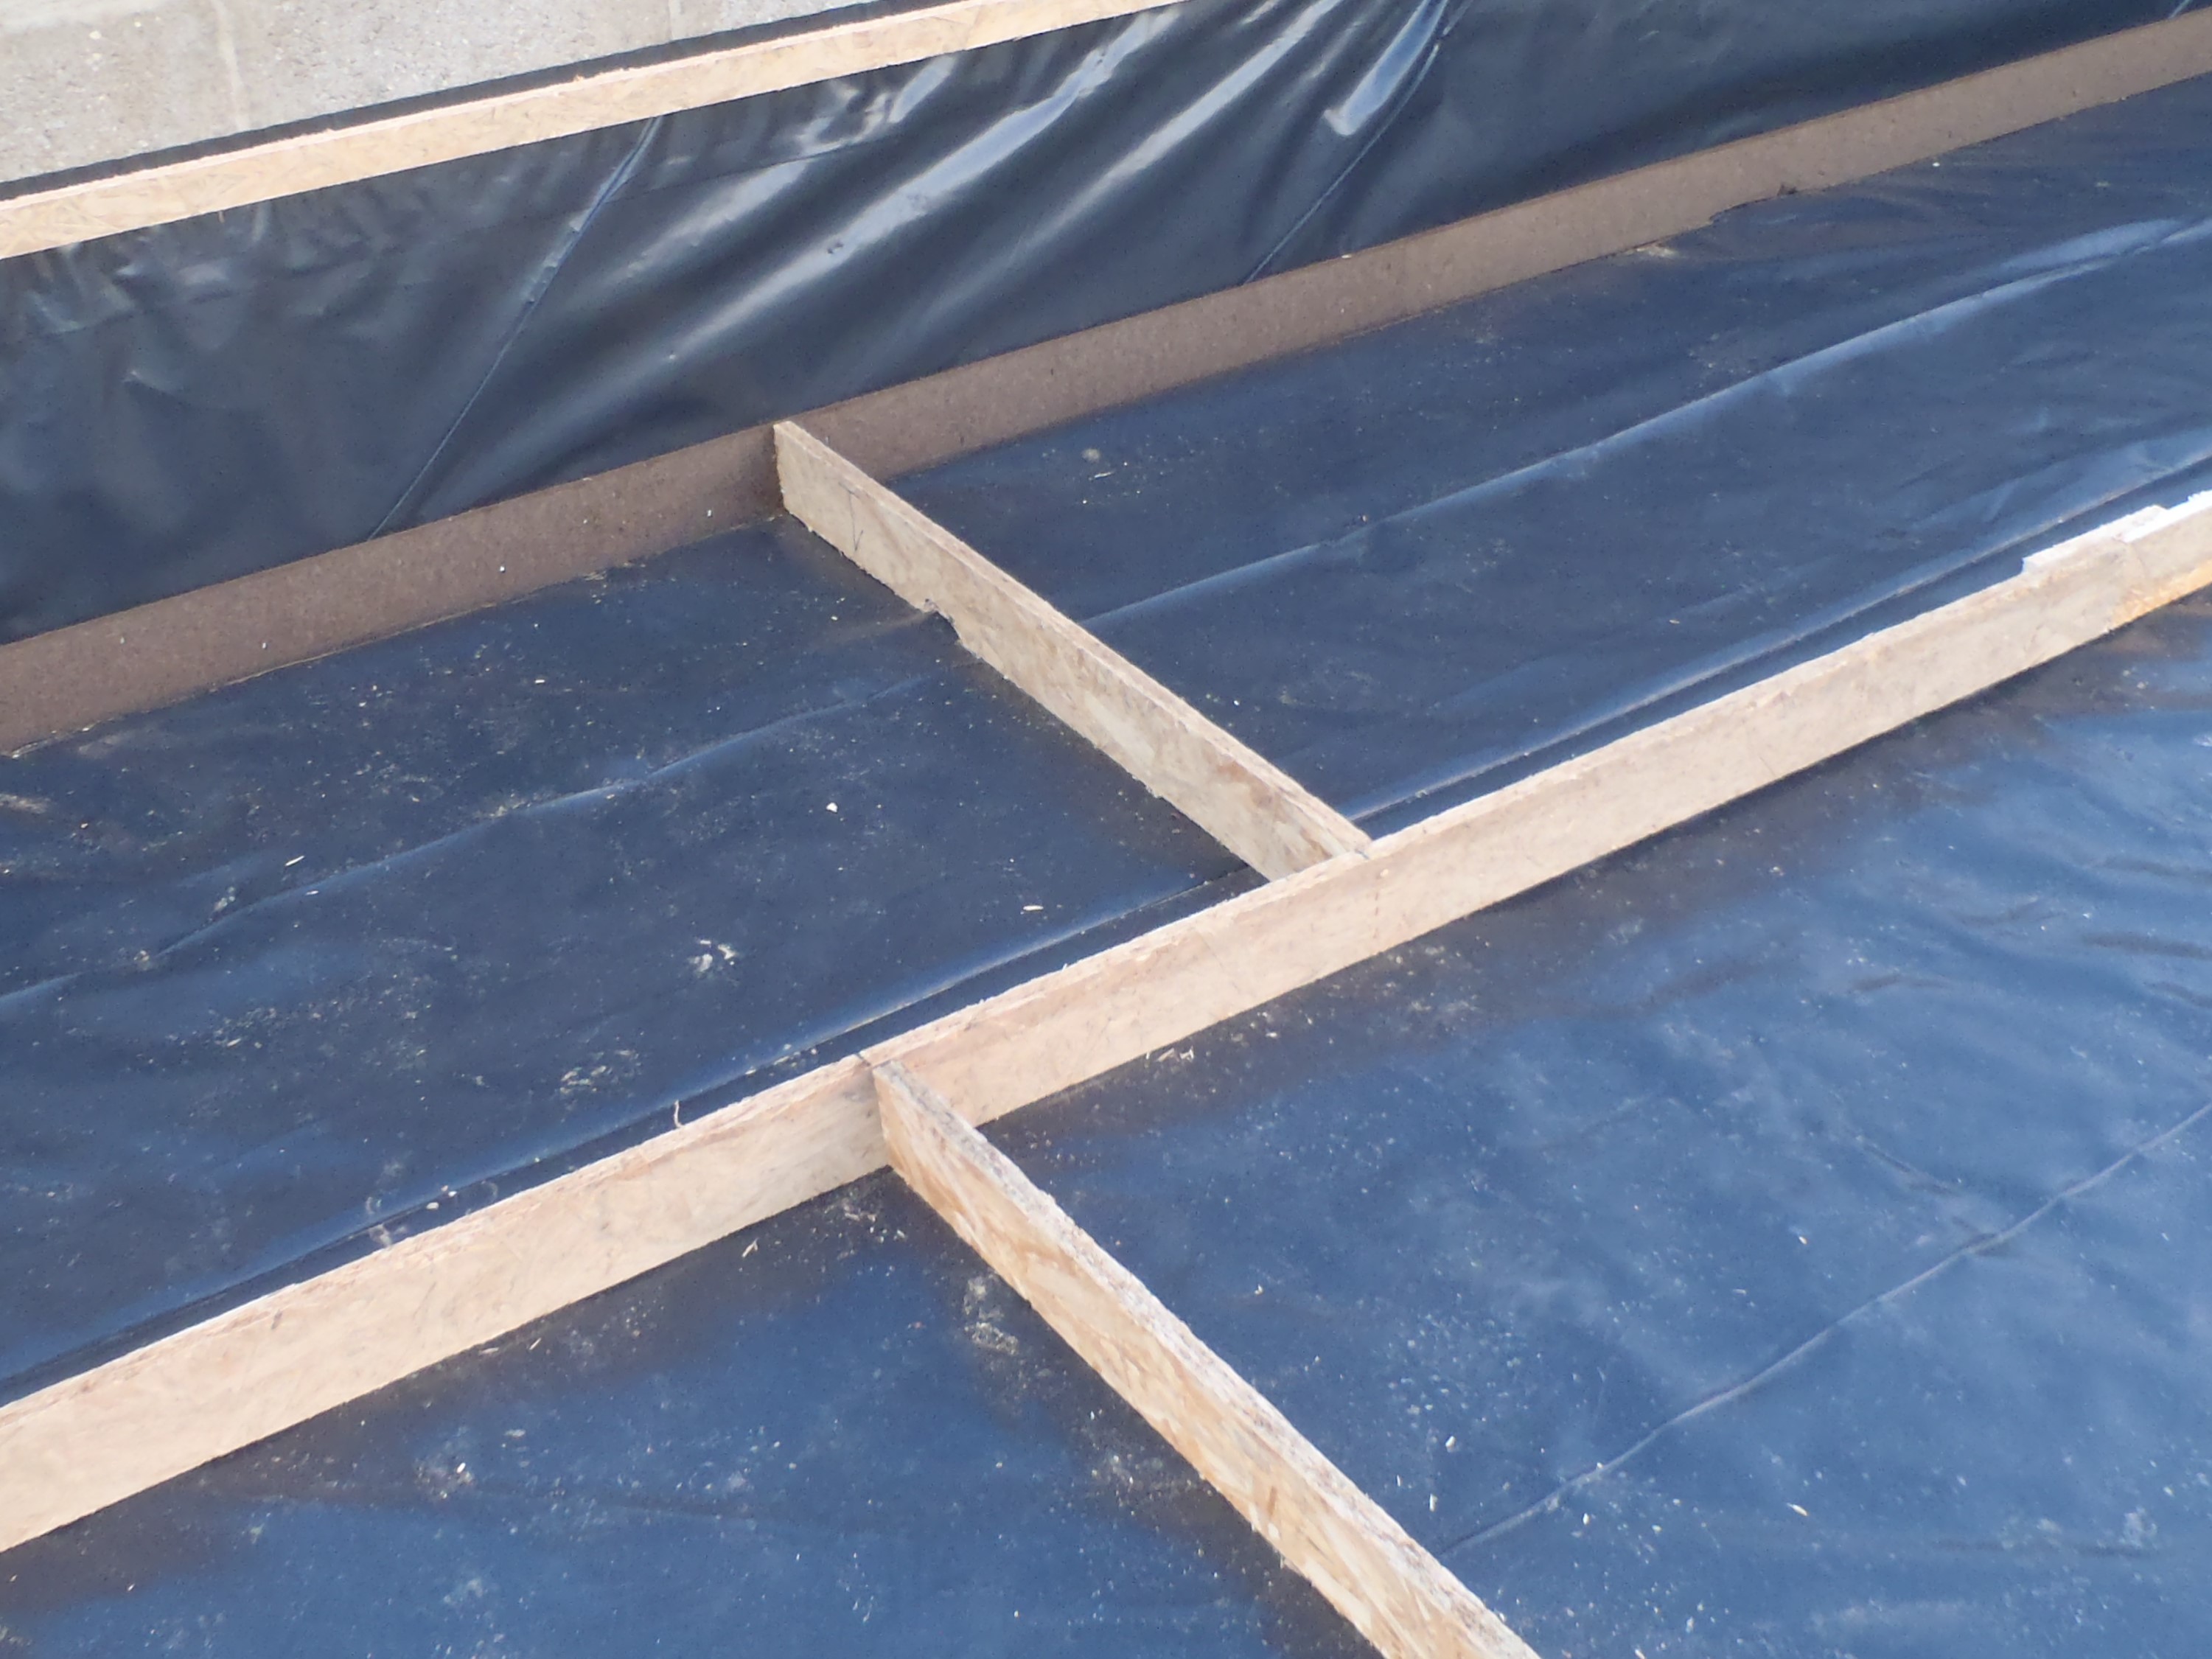
Next we sliced up all our 7 sheets of the fluffy low density fibre boards into a pile of 100mm wide strips (all 84 of them), ready for forming “cells” (in the concrete floor slab) around each Energy Module’s location. Also, these squash-able and water proof strips (the fibres have been treated with bitumen) will be nailed at the bottom of the Perimeter Block Wall, right around the circuit, to allow the expansion of the Floor Slab against the wall too.

Exspansion-filler-board-cut-up
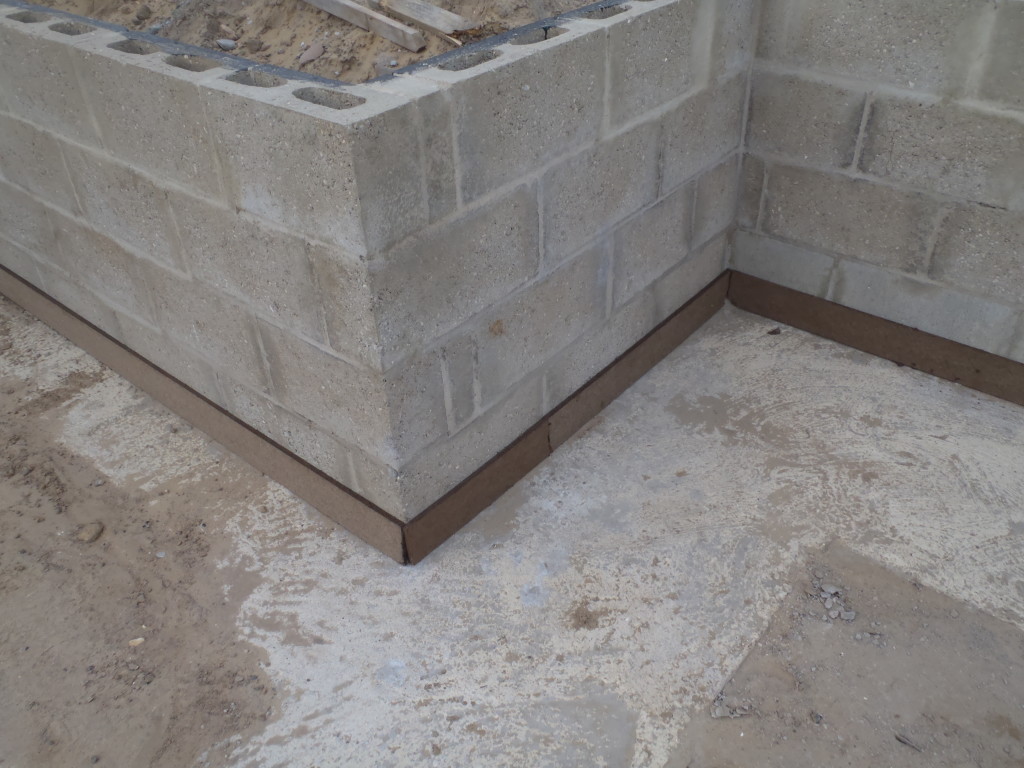
Exspansion strips against wall
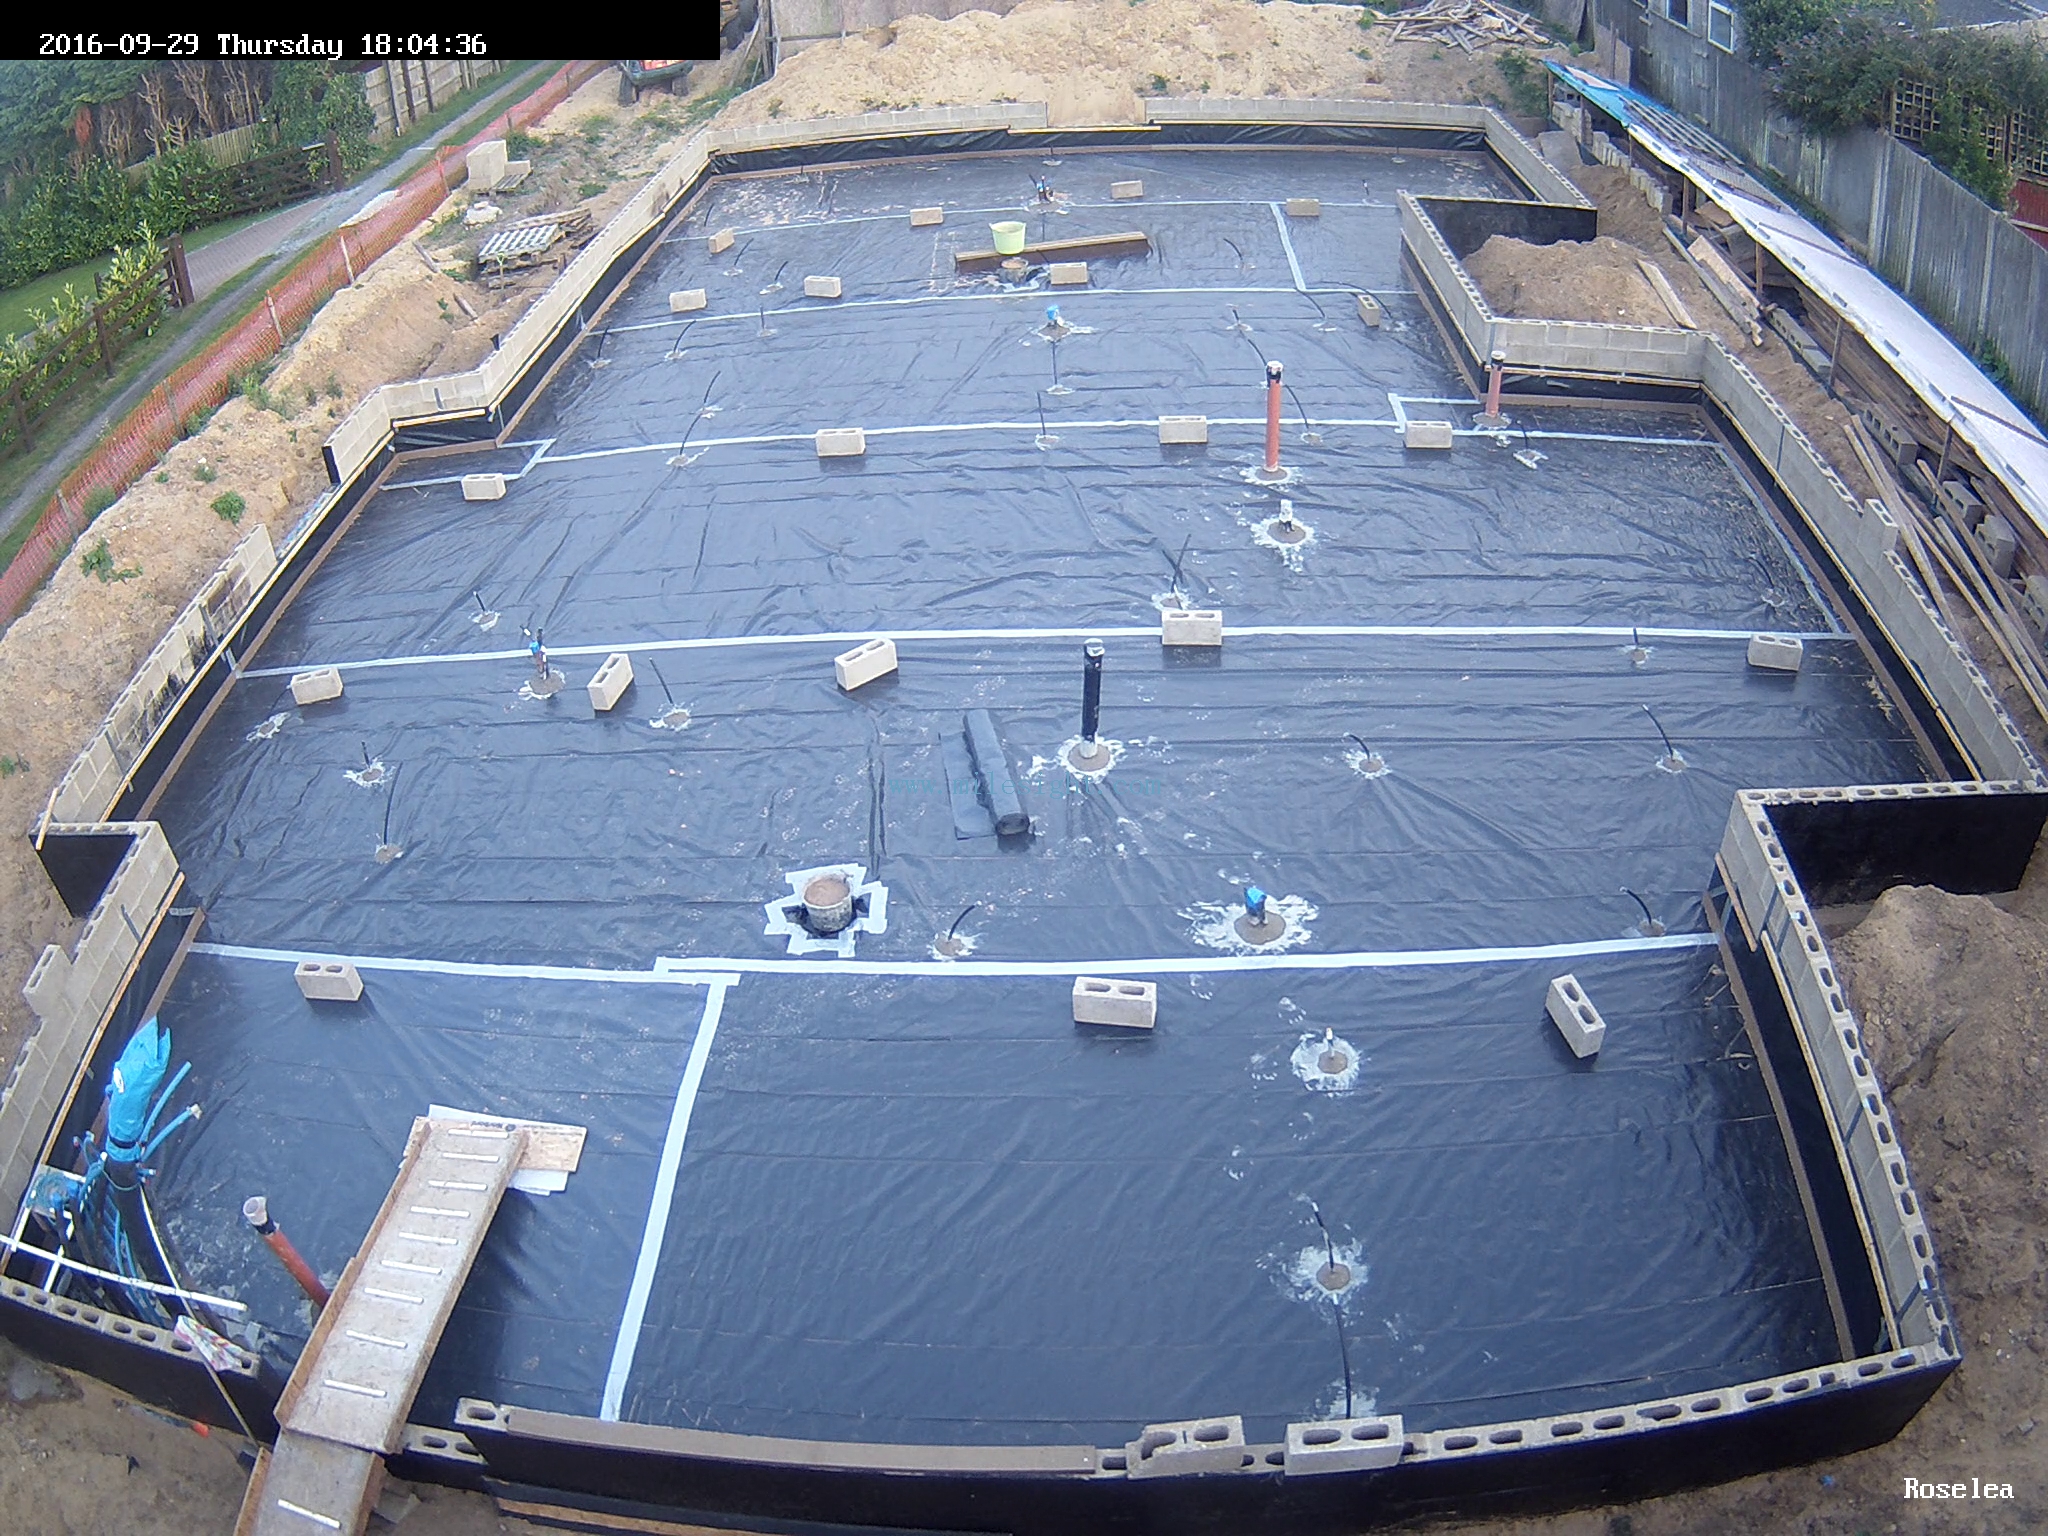
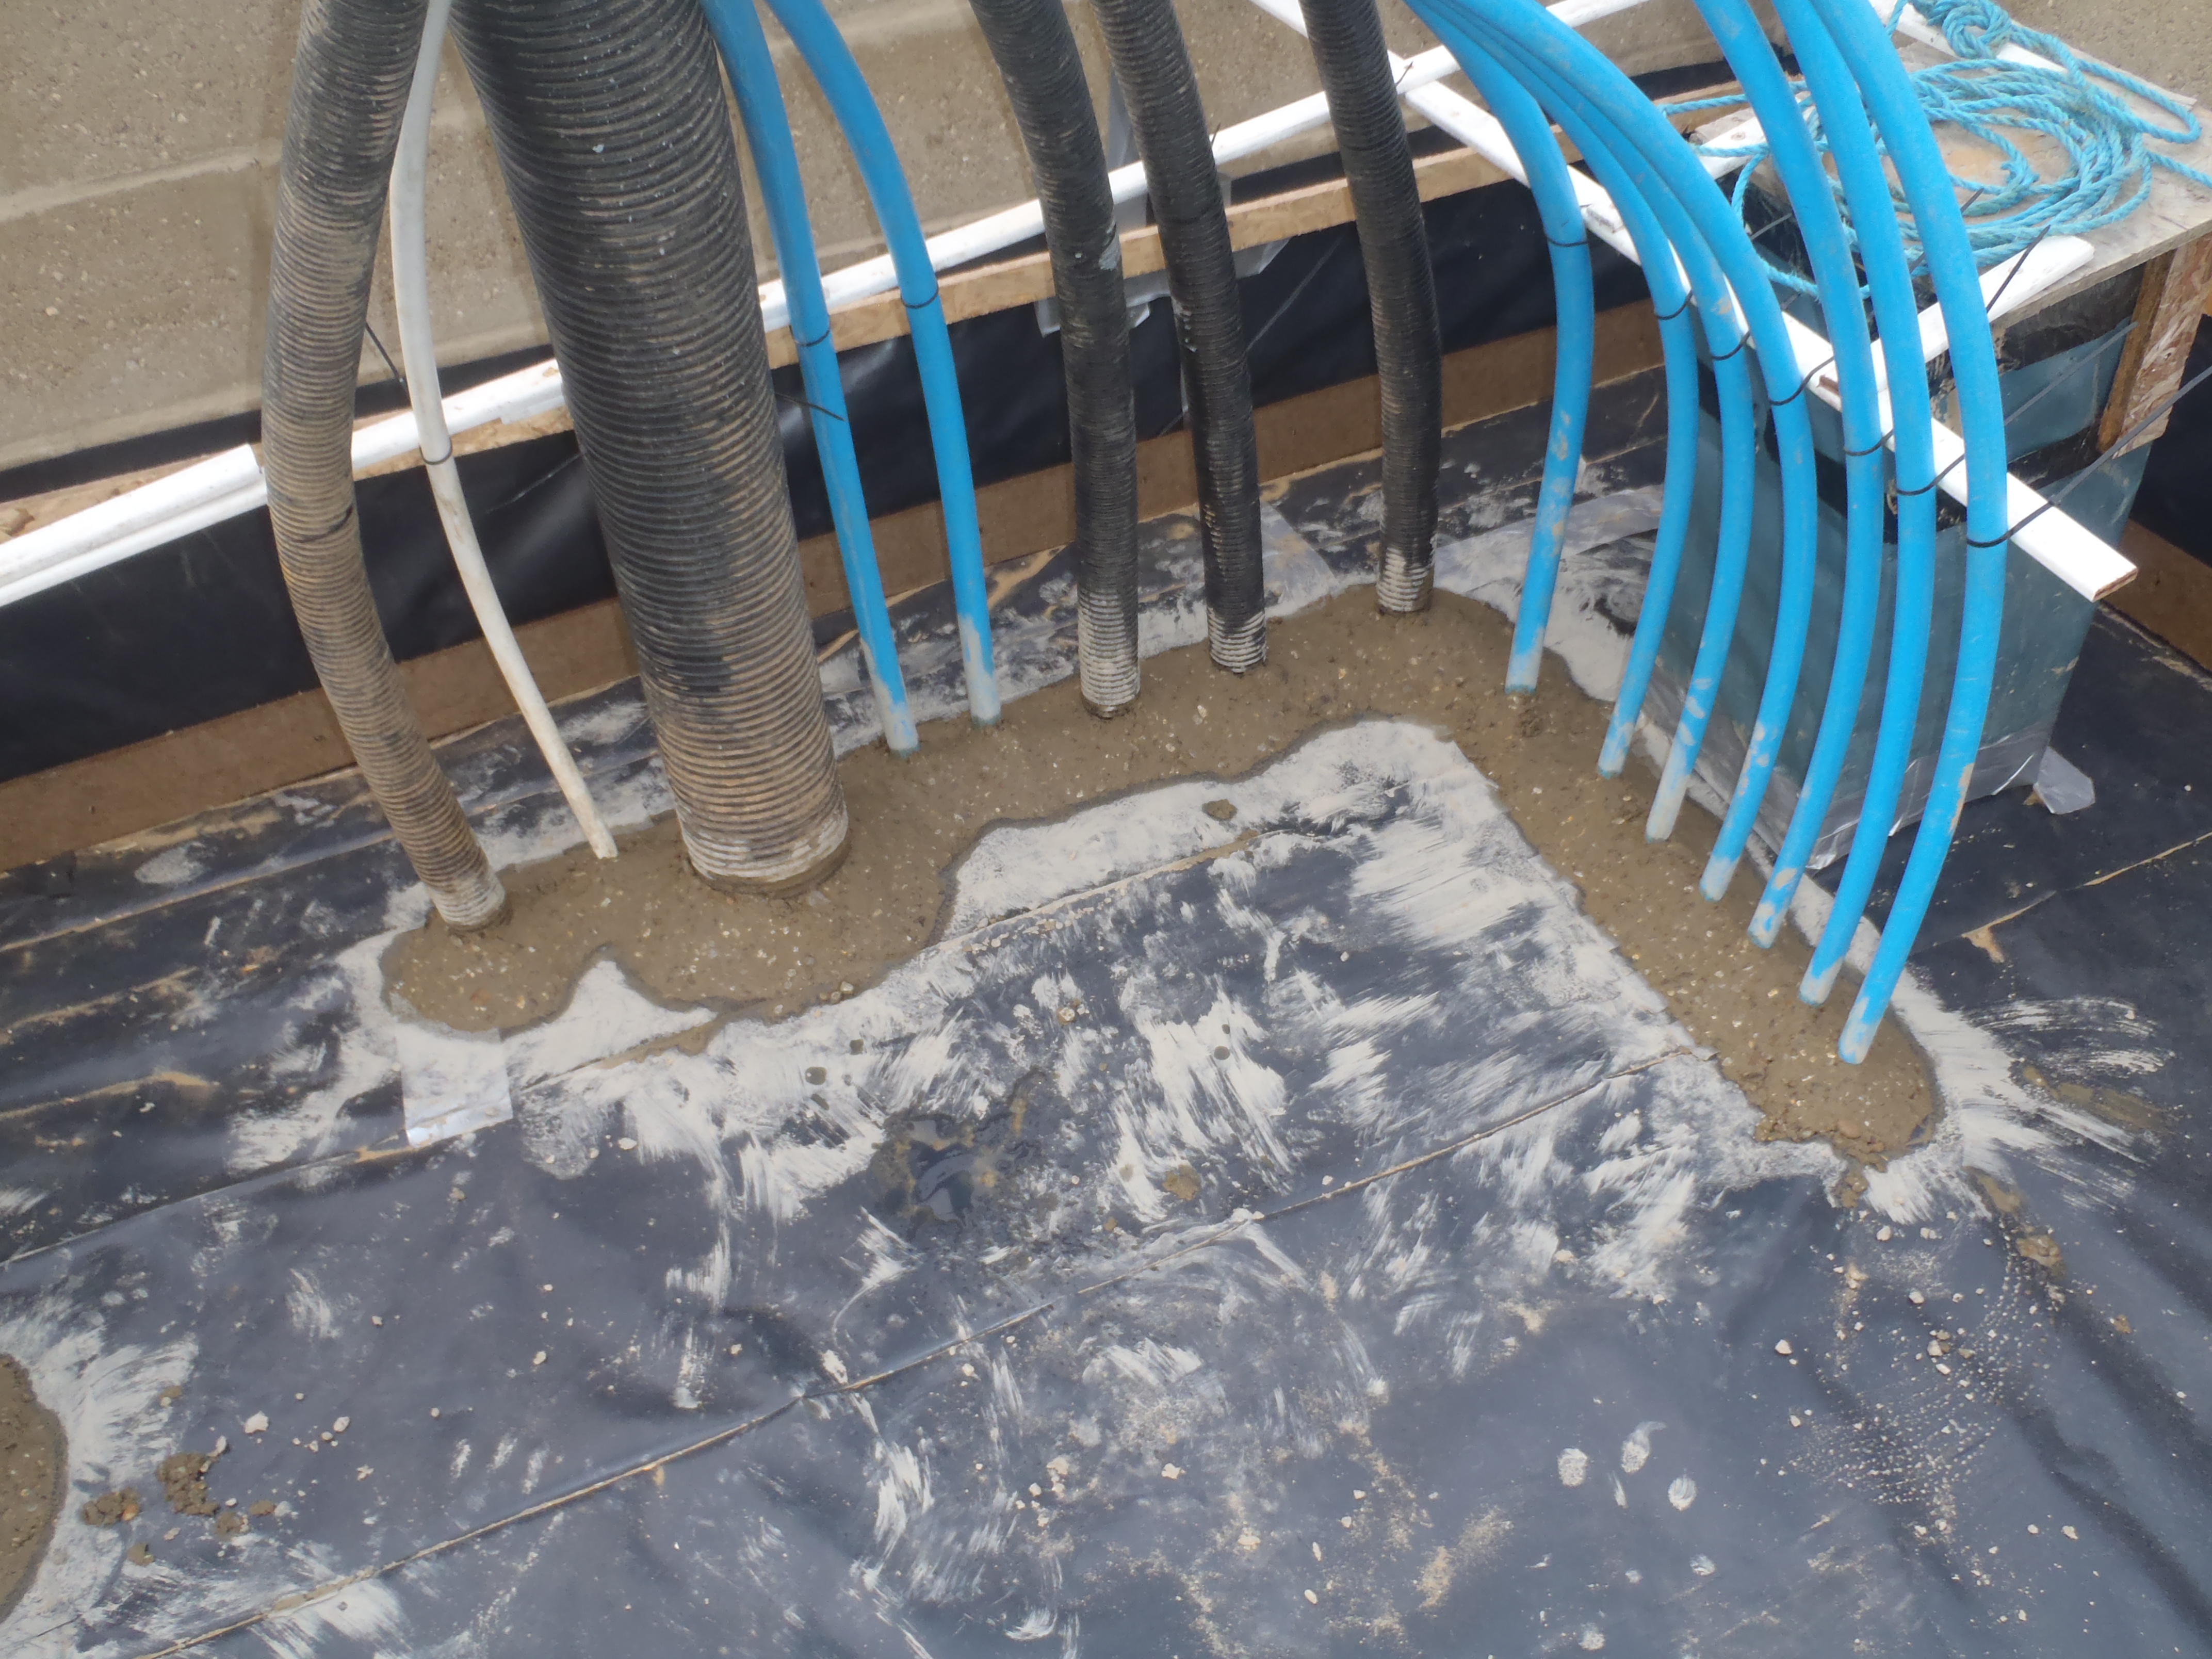
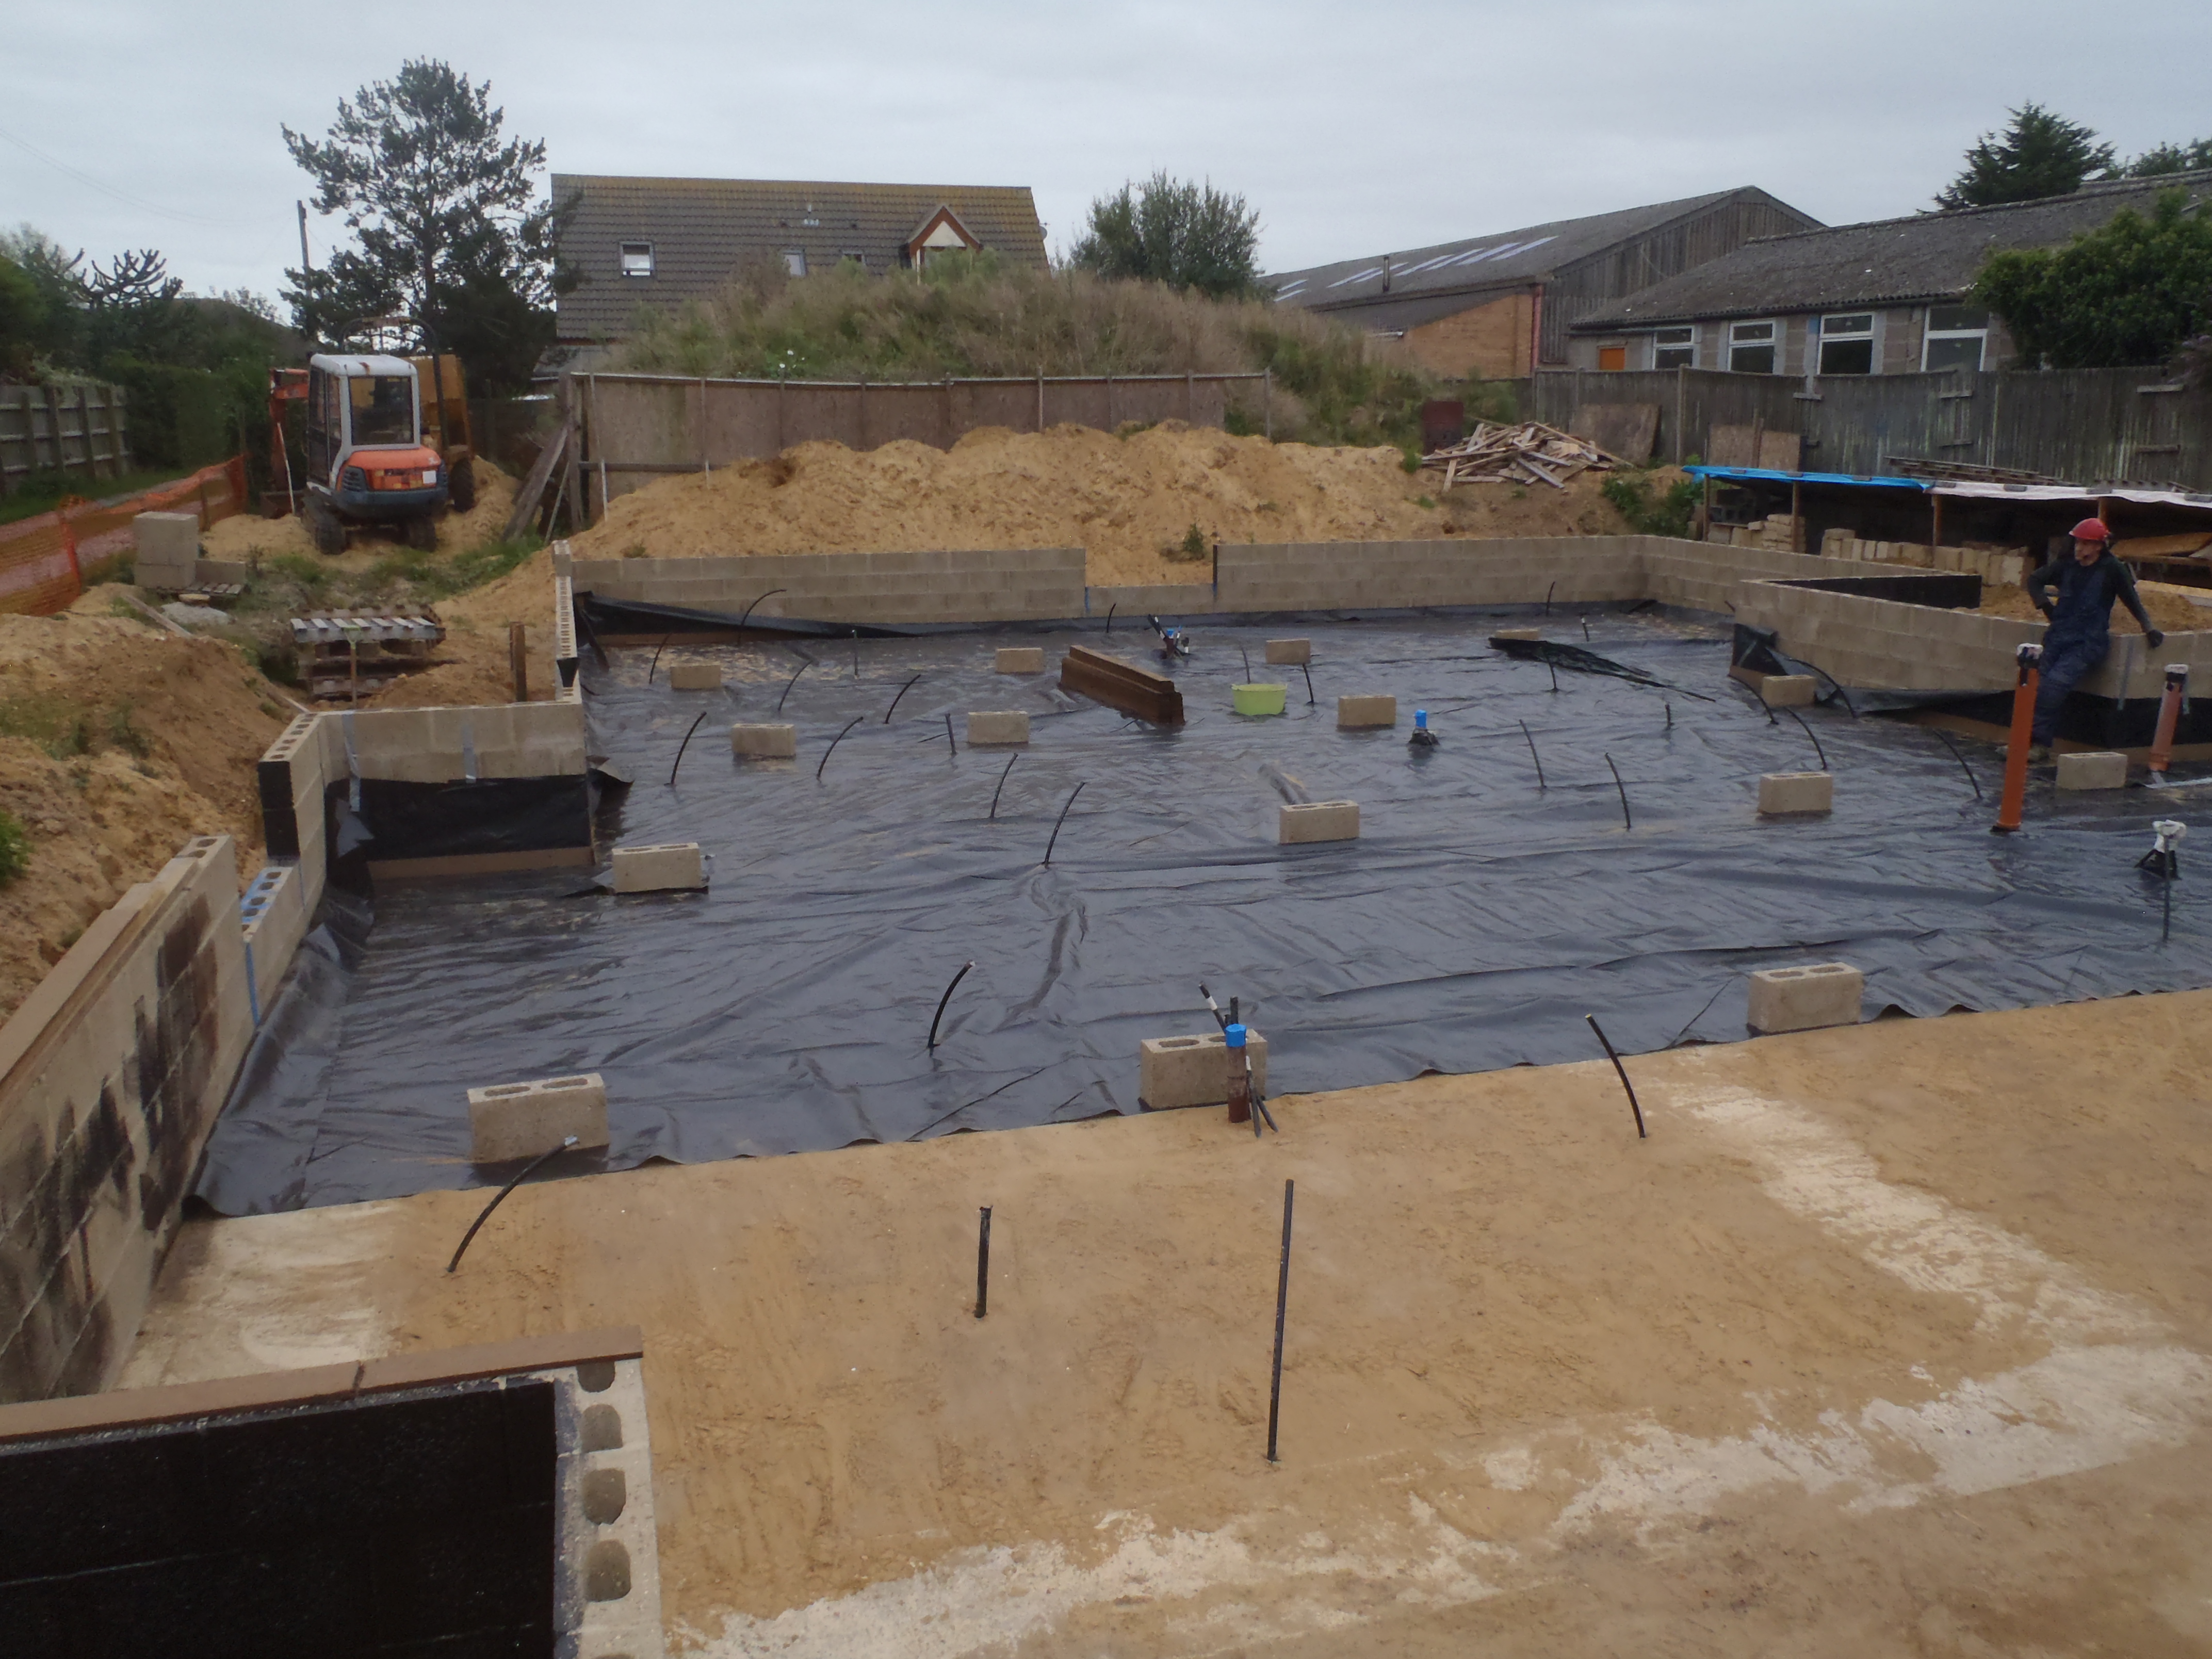
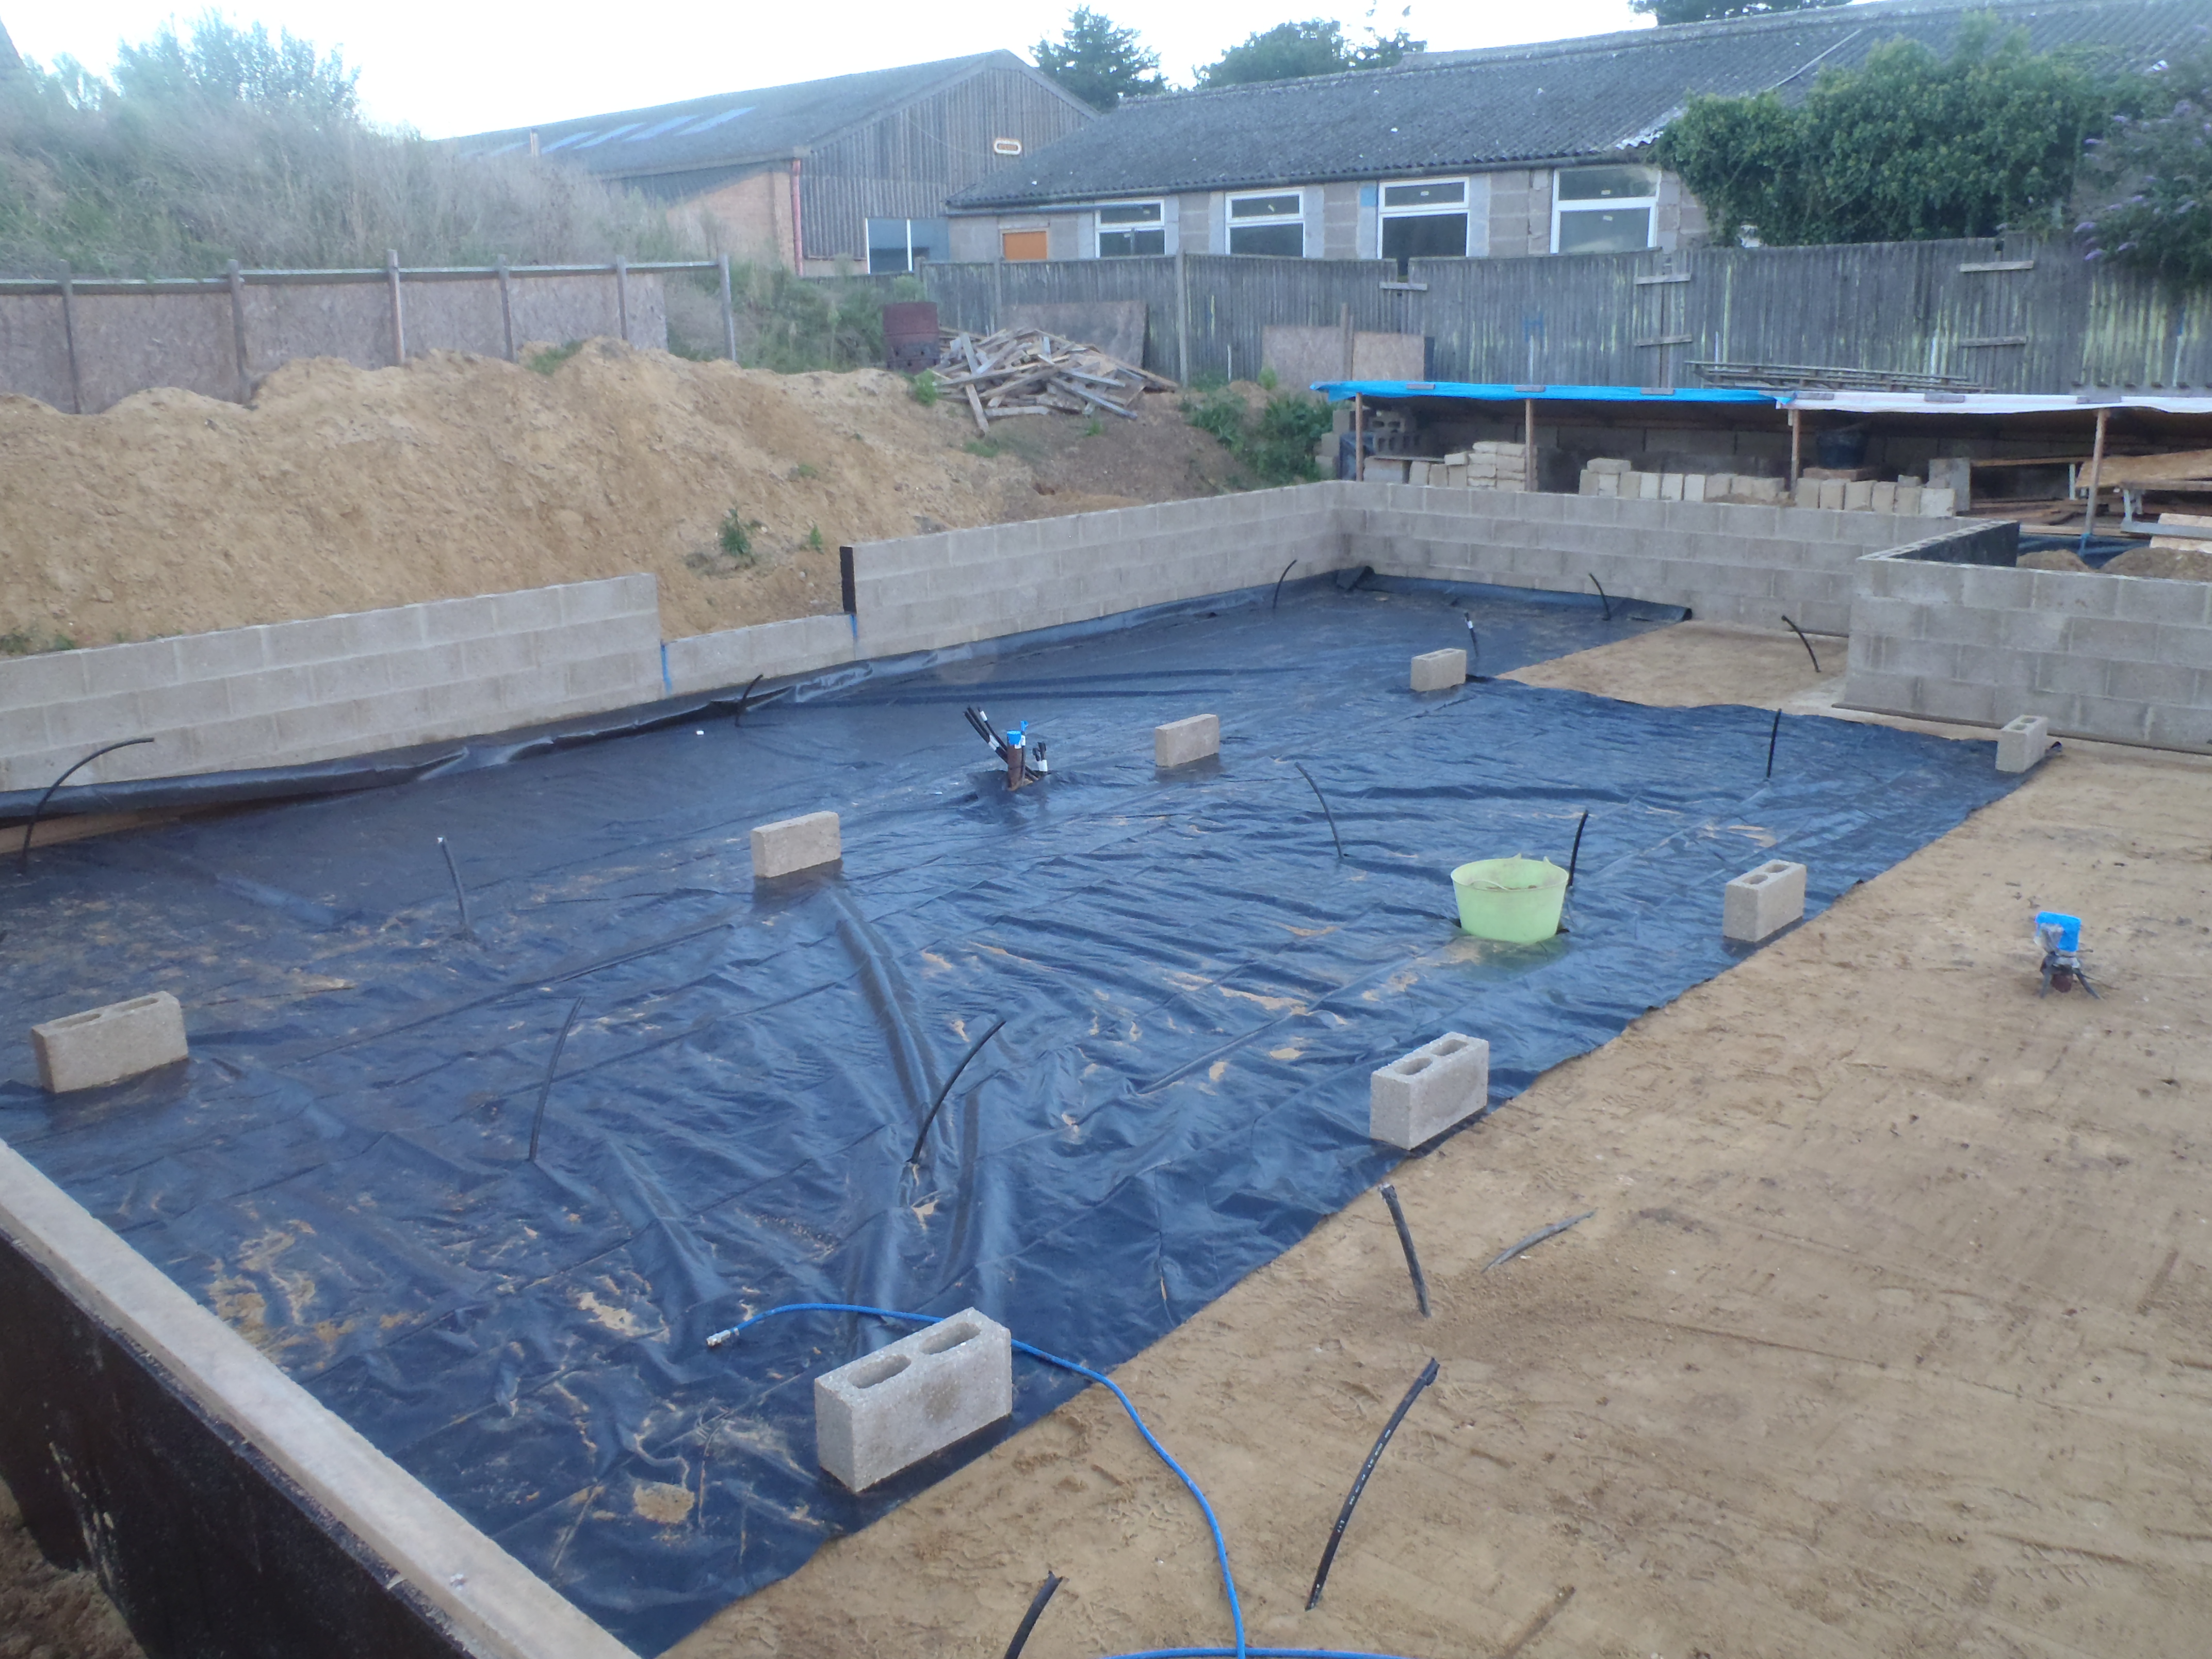
DPM
Finally, we started the process of laying down the DPM (Damp Proof Membrane) plastic sheeting. We started at the Great Room, by putting down more sand and scraped across to fill in any last hollows and holes before the plastic goes down. We managed to finish levelling the Great Room but not the laying the DPM before the day ended!!
So on Monday, we resume with that task, laying the plastic sheet out and making holes to allow all the various pipes and conduits to stick through. We will have to put an extra “patch” at all these intrusions and stick down all the edges to make sure that the special “free-flowing” concrete doesn’t get under the DPM and cause a fault in the Floor Slab structure and its strength.