Today, we finished assembling our various templates and tools to help us build the wall. The L right angle template is working fine outside, after we have also made a couple of plumb bob holders, one for the corner and another for lining up the arms.
One was using an standard camera tripod unit with the adjustable head removed to straddle over the corner and position the plumb bob down to the point at the corner on the L template, and the other one is a little triangular platform with 3 legs.
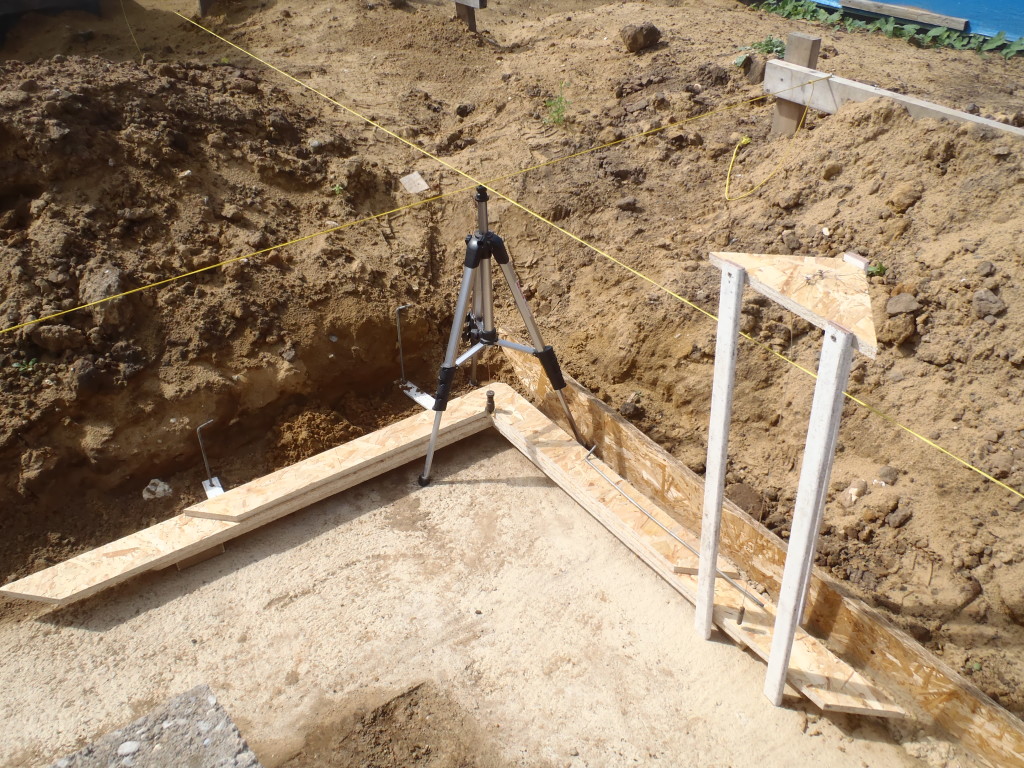
Tripod-and-Tripod
Then, we made a little flat tool with two spirit level vials screwed on it and a short post going upwards to attach the laser detector unit to. This will both test the height of the block and also the horizontal level too.
On the other end of the laser level system, is the transmitter and we built a 4 tier “shelf” unit to allow for the laser generator to be placed on 4 different levels, each one being separated exactly 225 mm apart, that represent’s the height of a block (215 mm) plus a 10 mm mortar line.
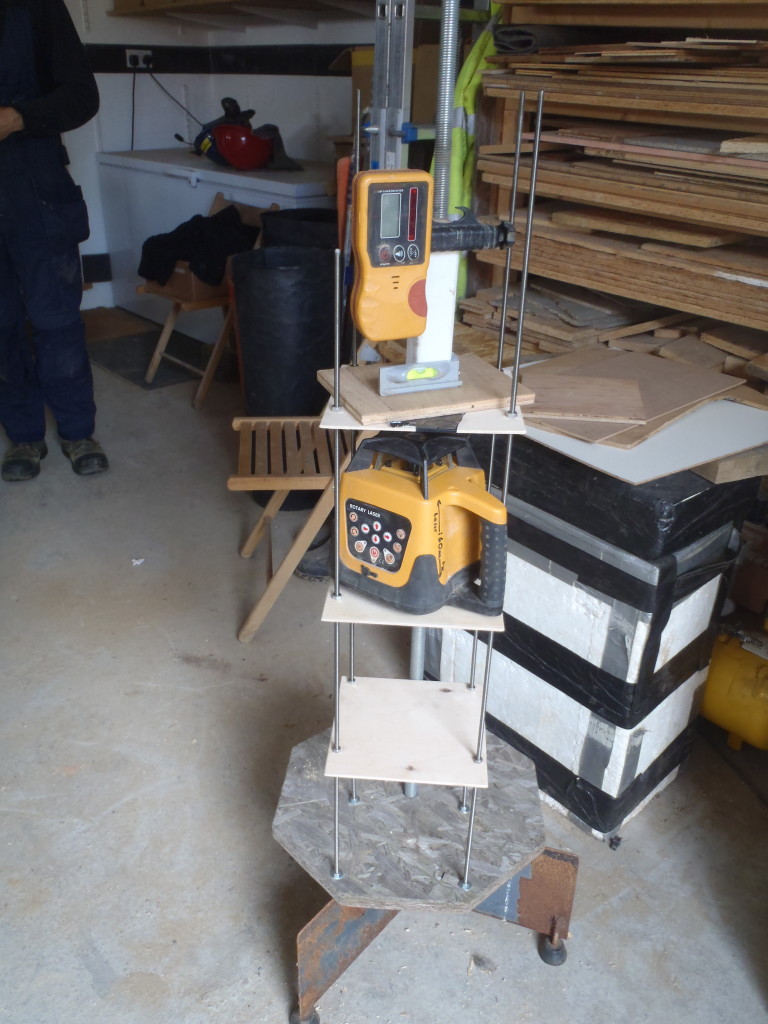
Storie-Laser-Pole-and-Detector-Unit
After lunch, we set up the equipment for mixing the mortar, got out the machine, water and electricity, opened up one of the stack of cement bags and discovered that it is going hard in places, so we sieved the content to get rid of the lumps!! Then getting the laser platform with its new “shelf” set up and calibrated that for an extra thick mortar joint (doubled to 20 mm) to adsorb any unevenness in our foundation strips.
At this point it was nearly 5 pm so we decided not to start block laying today, instead we went back to the workshop and made so more tools!
The old tool for controlling and applying a flat 10 mm thick mortar layer on the vertical ends of the blocks was adjusted to fit the narrower 140 mm wide blocks, instead of the 215 mm blocks it was last used on.
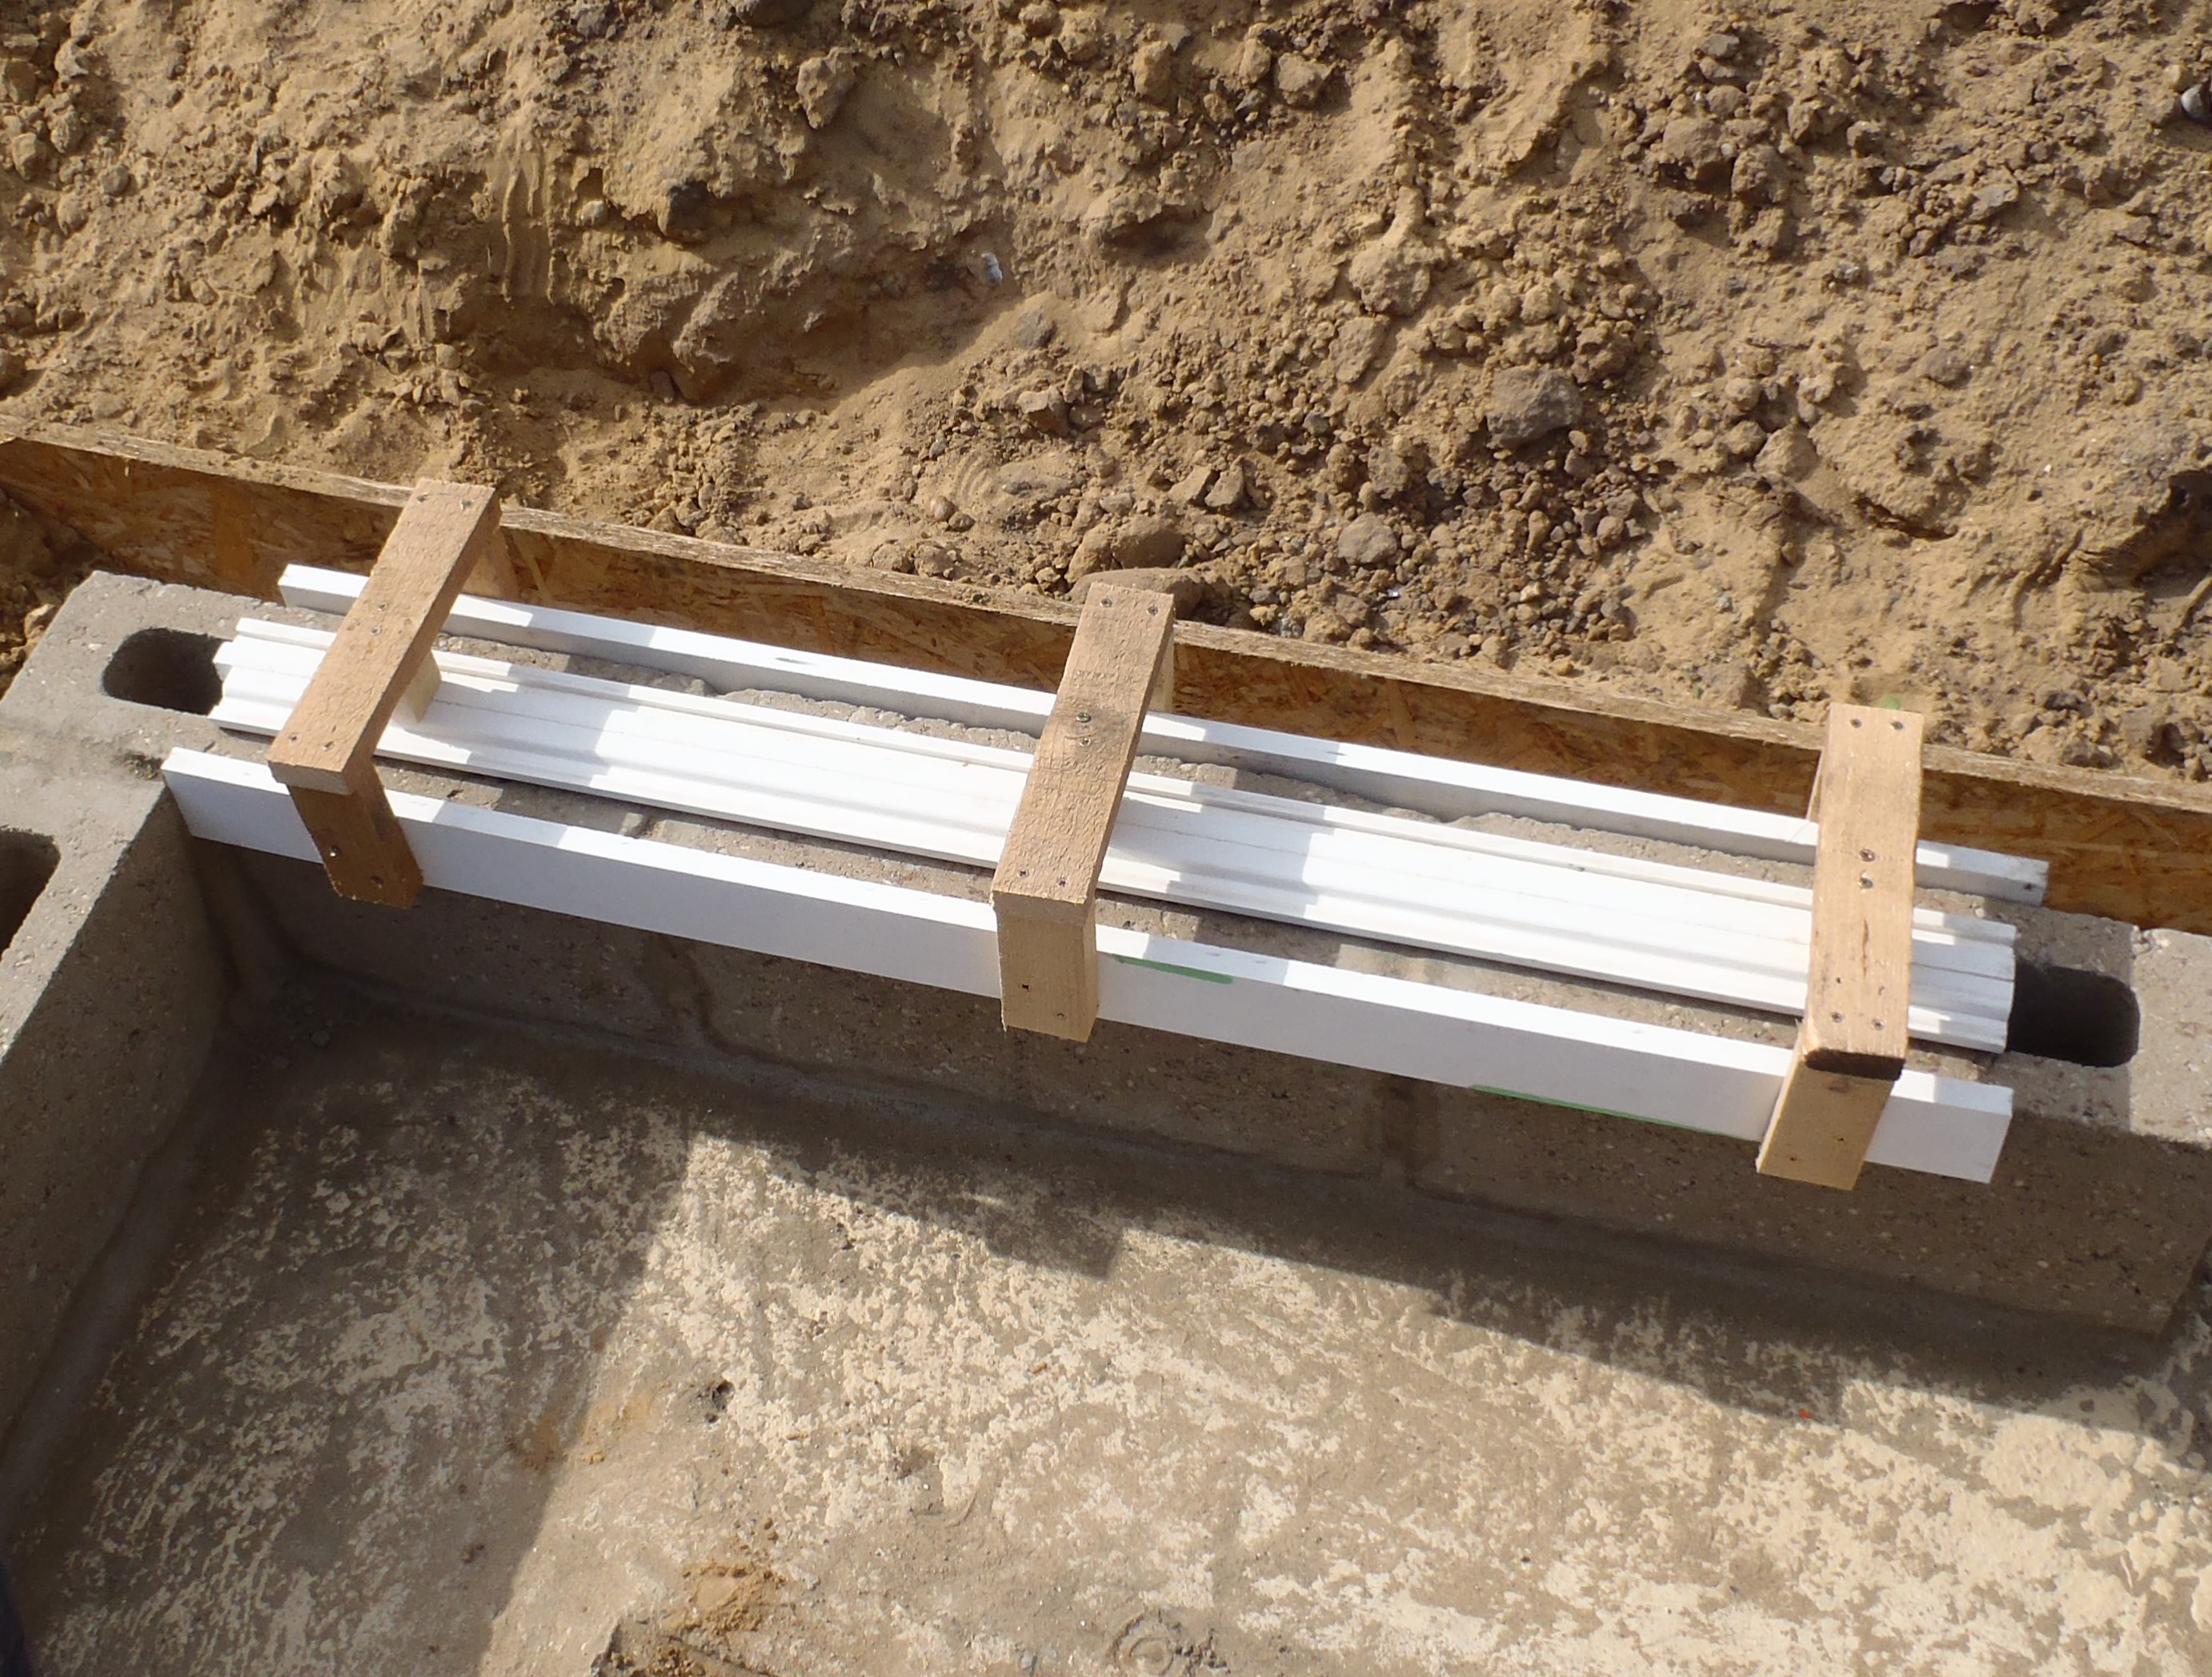
Finally, we started making another template to control the amount of mortar along the top of the blocks when we are stacking the next layer on. This will create two 30 mm wide grooves to allow for a 15 mm thick load of mortar to be placed on the top surface so when we put the next concrete block on top, it will squash and wiggle down to a more consistent 10 mm thickness.
Tomorrow, weather permitting, we will definitely start in earnest on actually building a wall!!