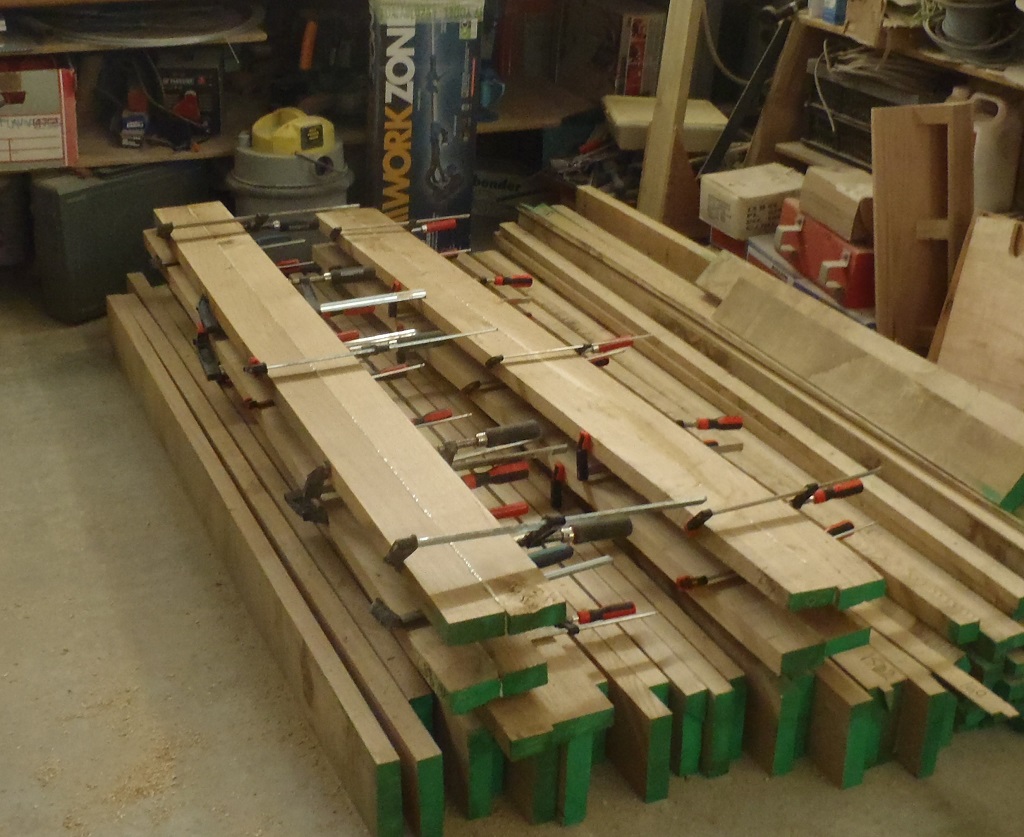
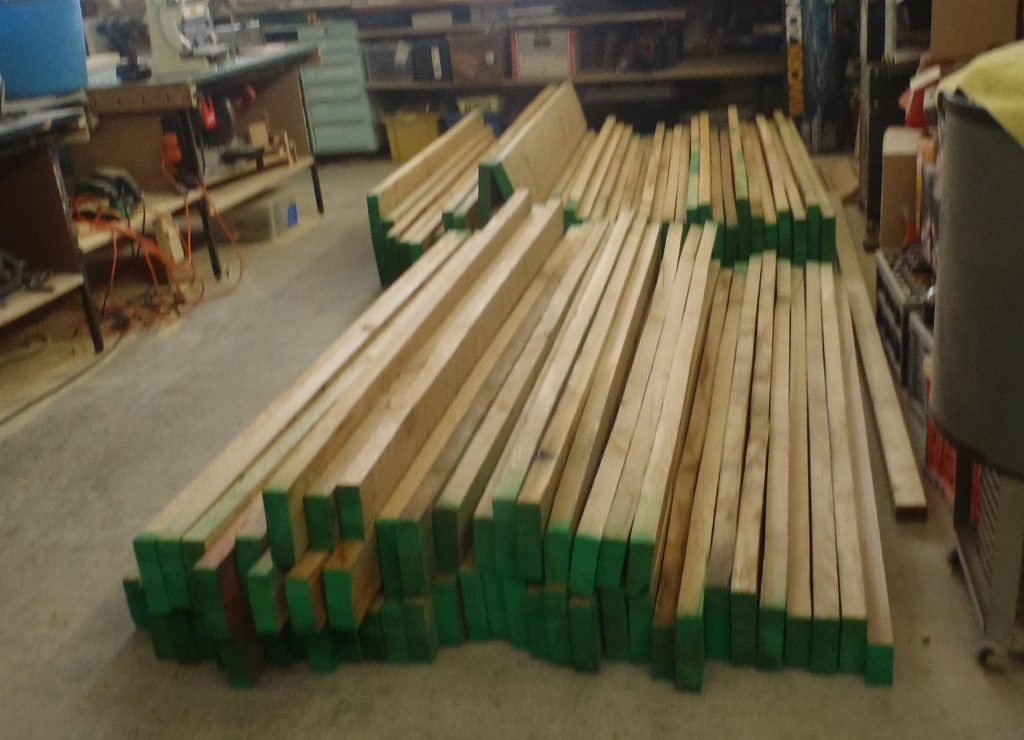
This morning, we finished gluing the last fifteen sets of Oak timber, only using 5 set of clamps (as our new ones haven’t arrived yet). We had to wait for the 30 minutes for the PU glue to reach first hardening stage but it wasn’t too bad as we were able to keep a cycle going with new freshly glued ones and be able to unclamp the oldest glued set which was just about at the 30 minute point.
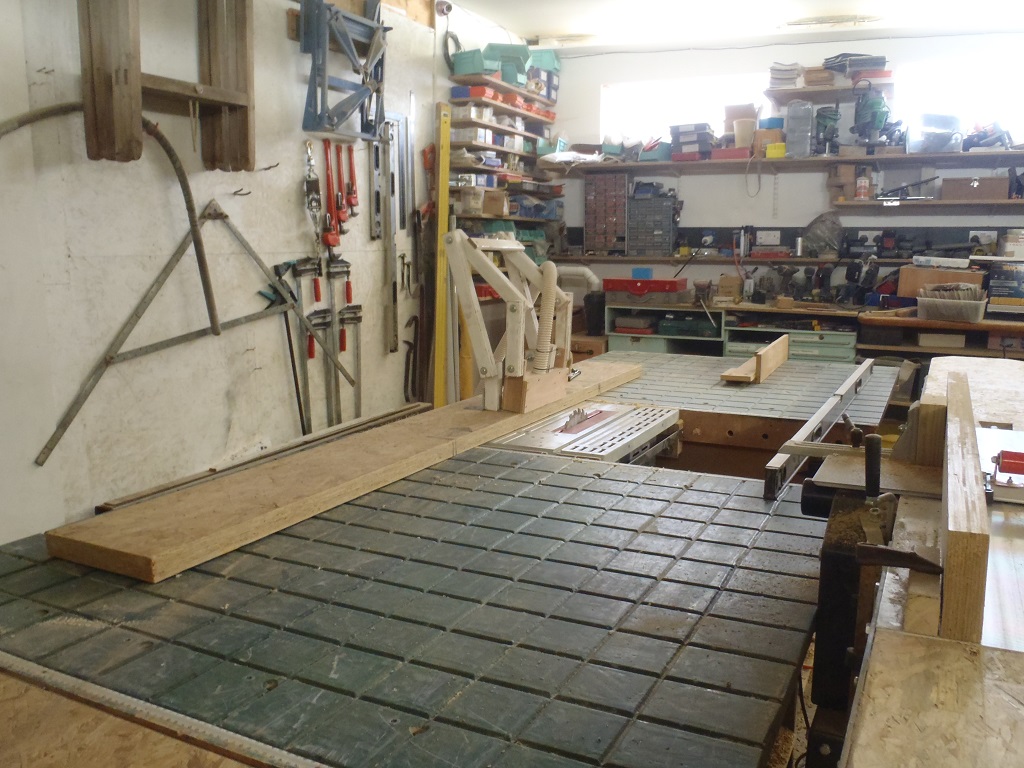
Then after lunch, the five we had glued yesterday, we scraped off the excess glue and then put them through the planer to slice off a fraction of a millimetre to clean off the stain of the glue and any slight imperfections.
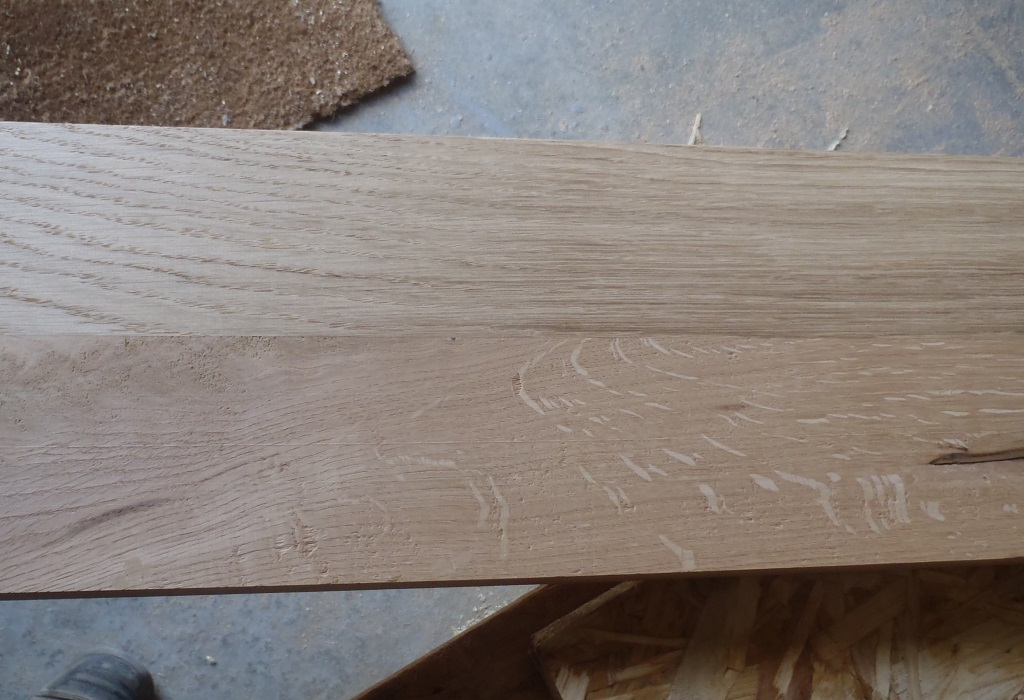
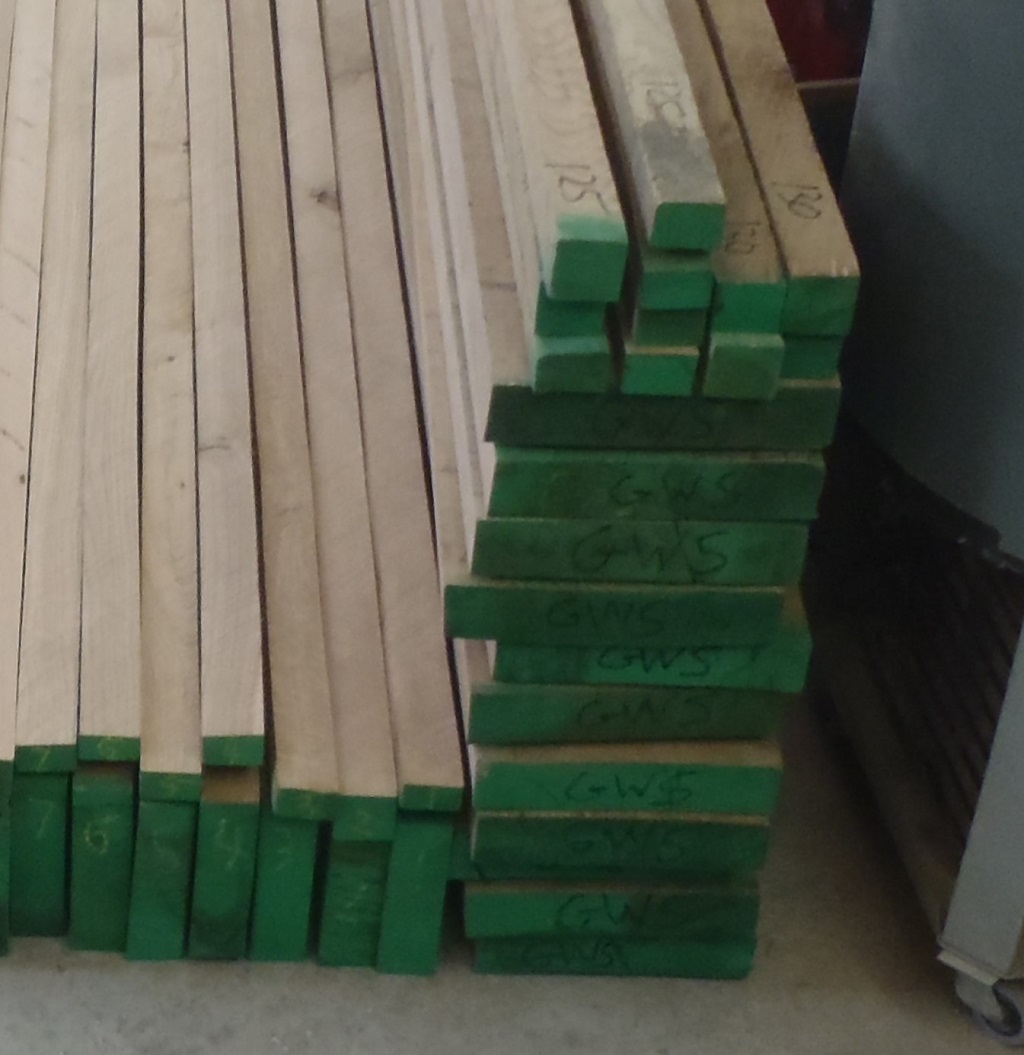
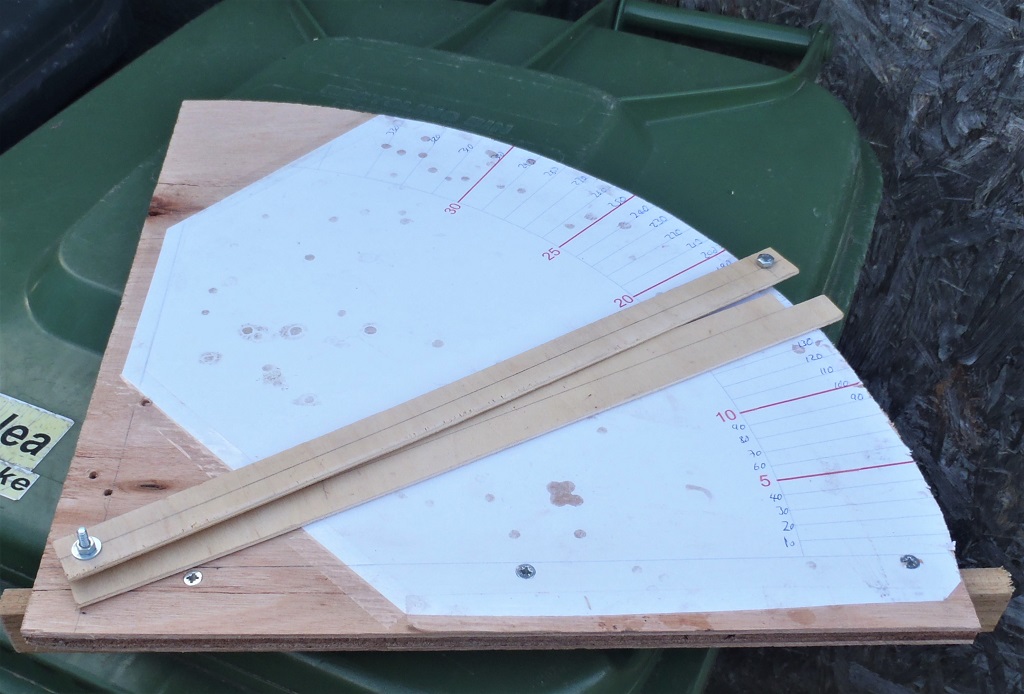
Spot-the-glue-joint-1

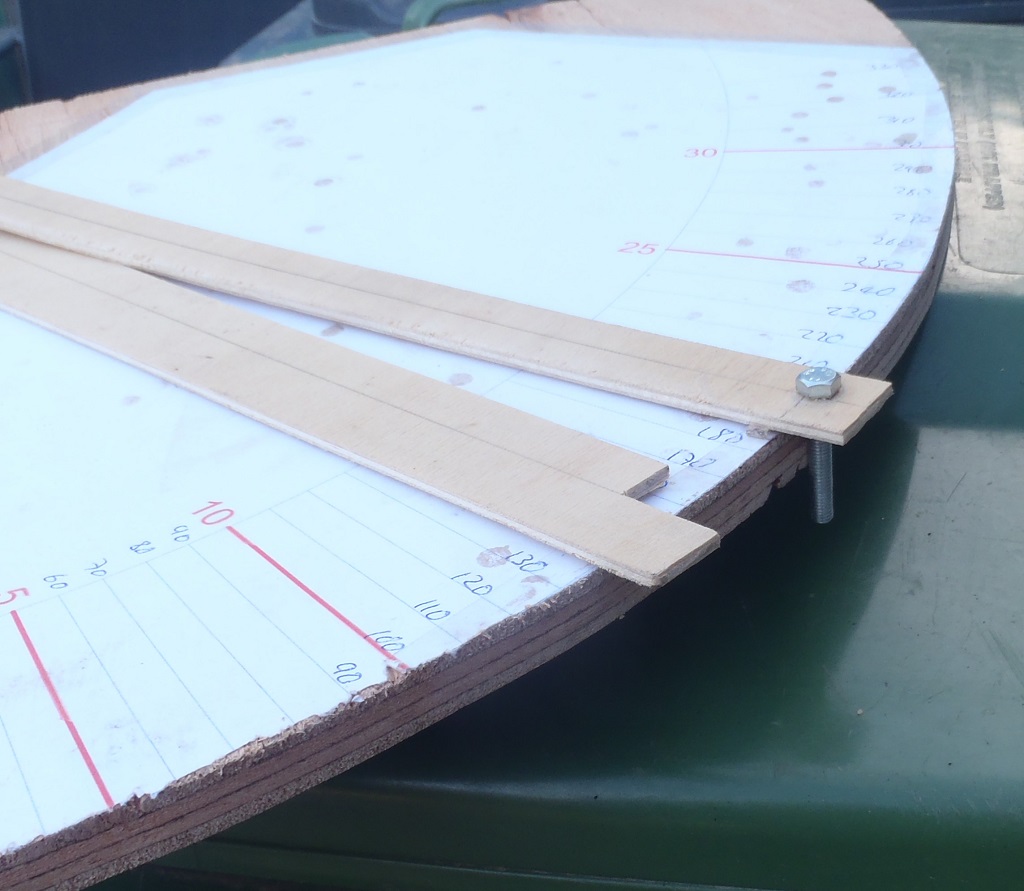
Spot-the-glue-joint-2
You cannot see the actual joint itself, but only by the fact that the two Oak strips have a very slight different in colour and of course the grain do not match up either.
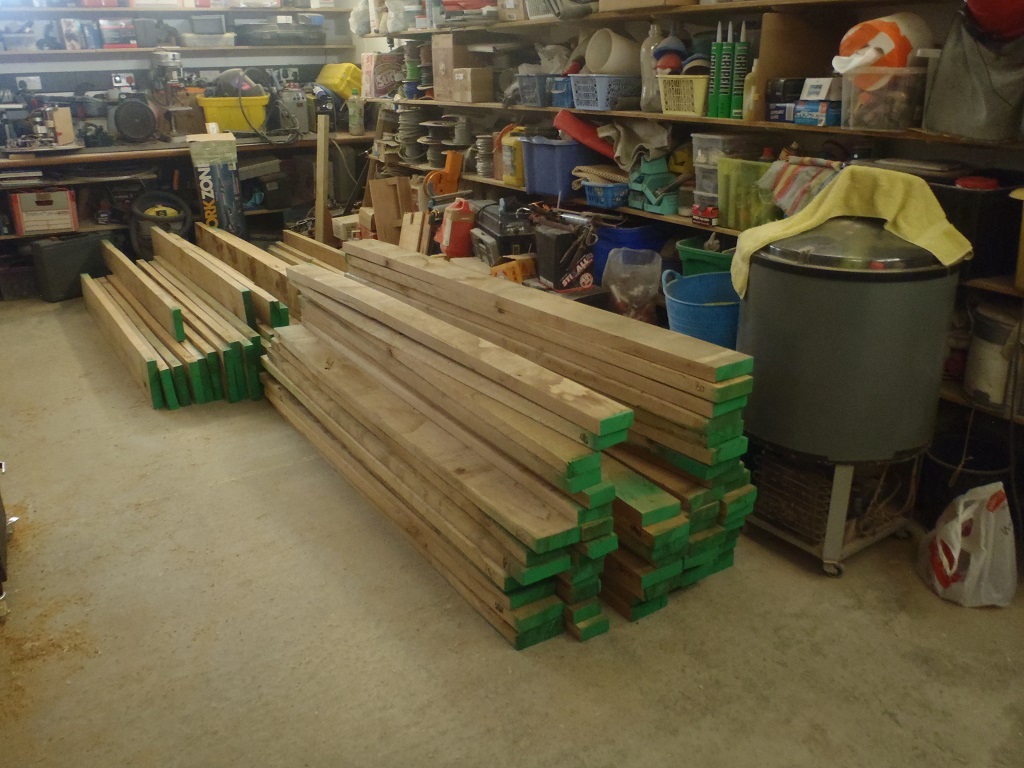
But it is looking good and tomorrow, when we have done the same to today’s fifteen glued planks, we then will be ready to pass all of these twenty glued planks, plus the other twenty single Oak pieces, through the planer in its thickener section and achieve, hopefully, a set of forty Fascia boards with all the same thickness. We will see!