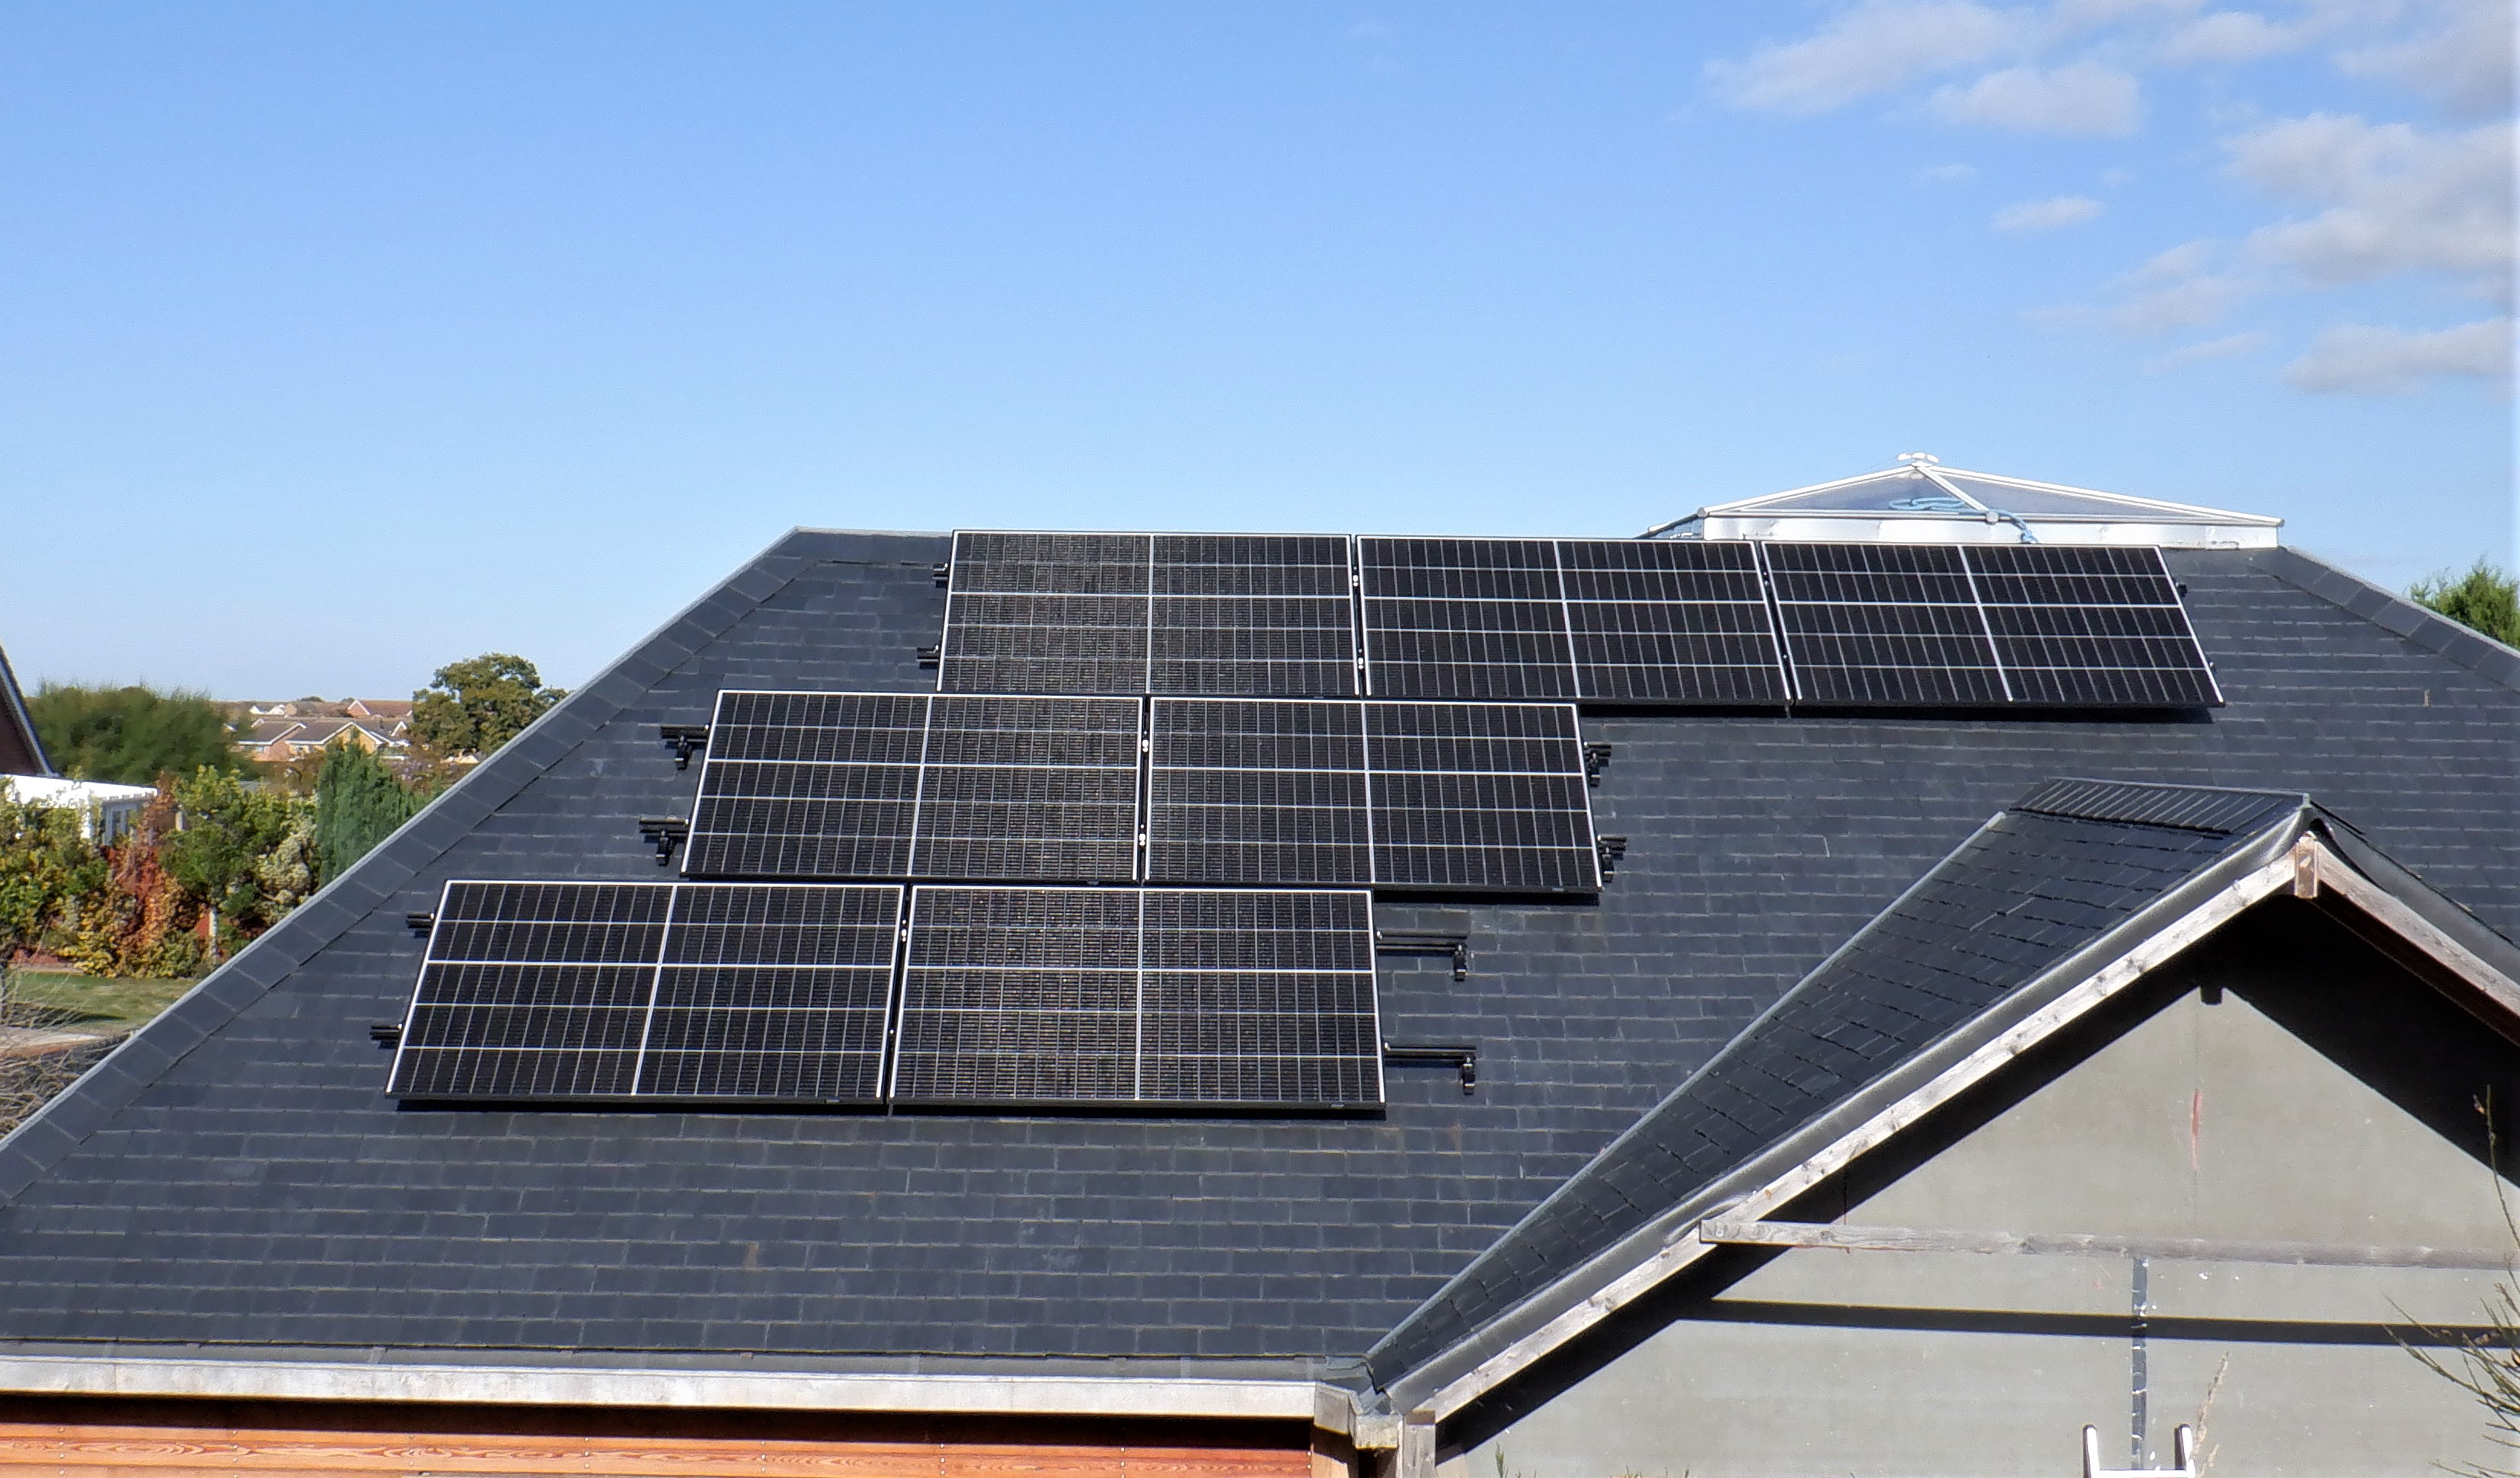
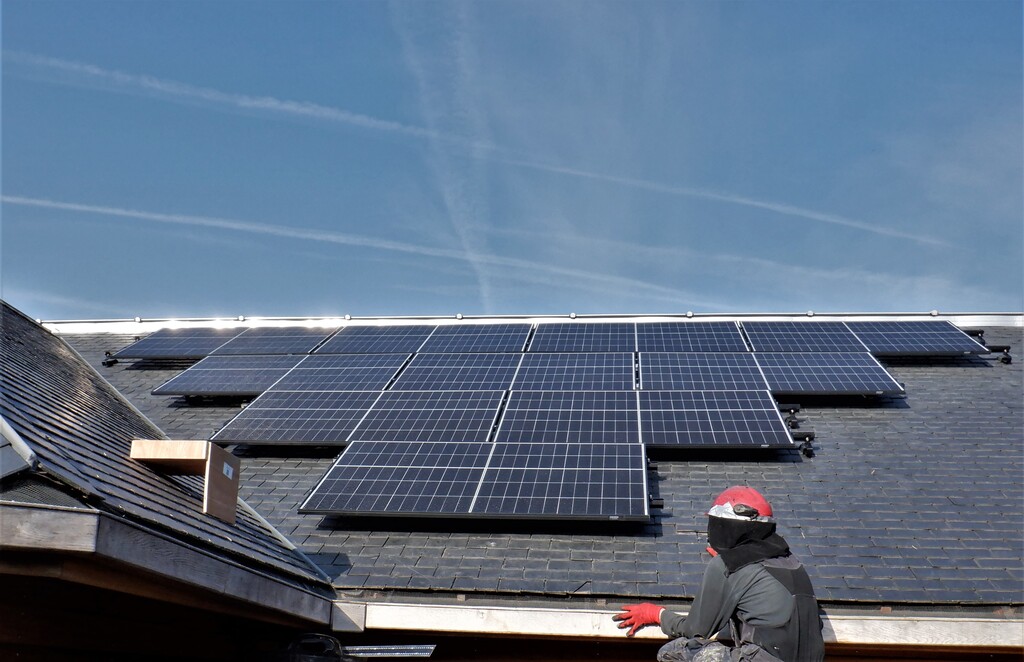
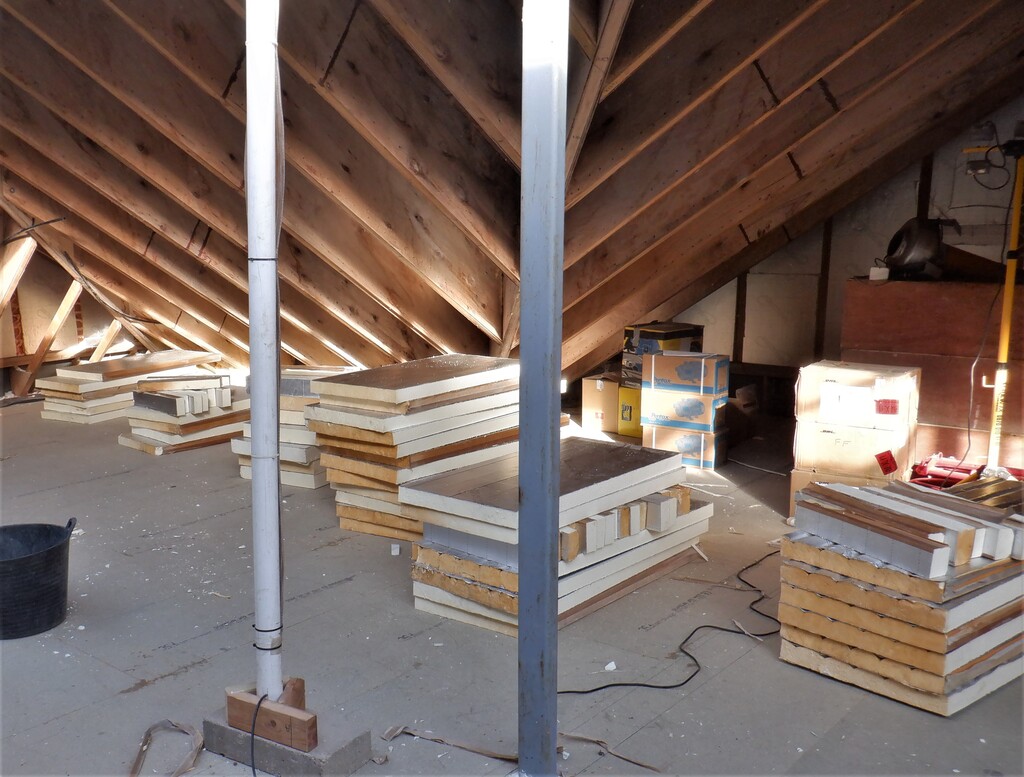
We started the new week with a new complete change of project, with the installation of our new Solar Panels on our slate roof. We have seventeen panels to mount, ten on the M roof (overlooking the Swimming lane, slightly West of South) and seven out on the P roof (overlooking our Patio, pointing slightly East of South), using a collection of metal brackets and horizontal aluminium rails.
But, we have to make this job as easy and safe first, so we pulled out four old scaffold platforms we had stored and re-assembled them. We put two in the alcove formed by the L, M and N segments of the house, and anchoring then to the walls by hooking a thin piece of plywood behind the window wings and joining the two module together too. We put up safety boards along the edge of the platforms to provide tactile warnings of the looming edges and then tied a ladder up against one of the shorter edges.
We did the same around the corner in the Patio area so we can gain access to the P roof section too.
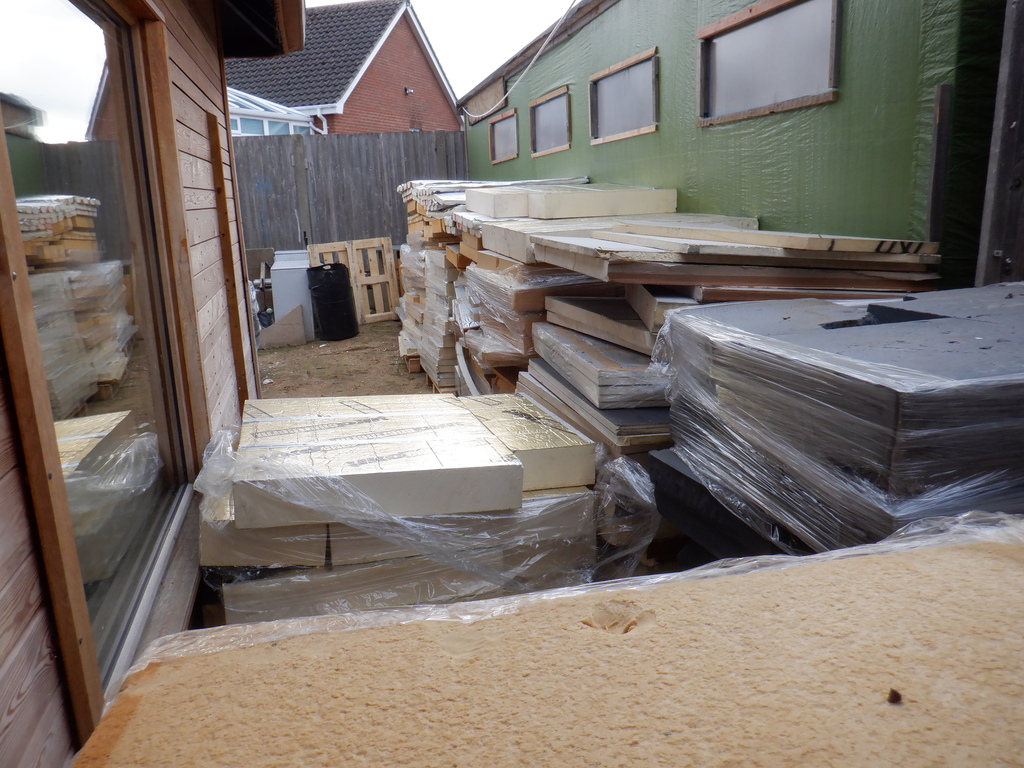
One of the jobs we did prior to this point, was to paint about a third of the metal brackets with a primer and black paint, to match the black colour of the Solar Panels but also our dark slate tiles too. We didn’t want to have silvery gleam poking out around the edges of the panels.
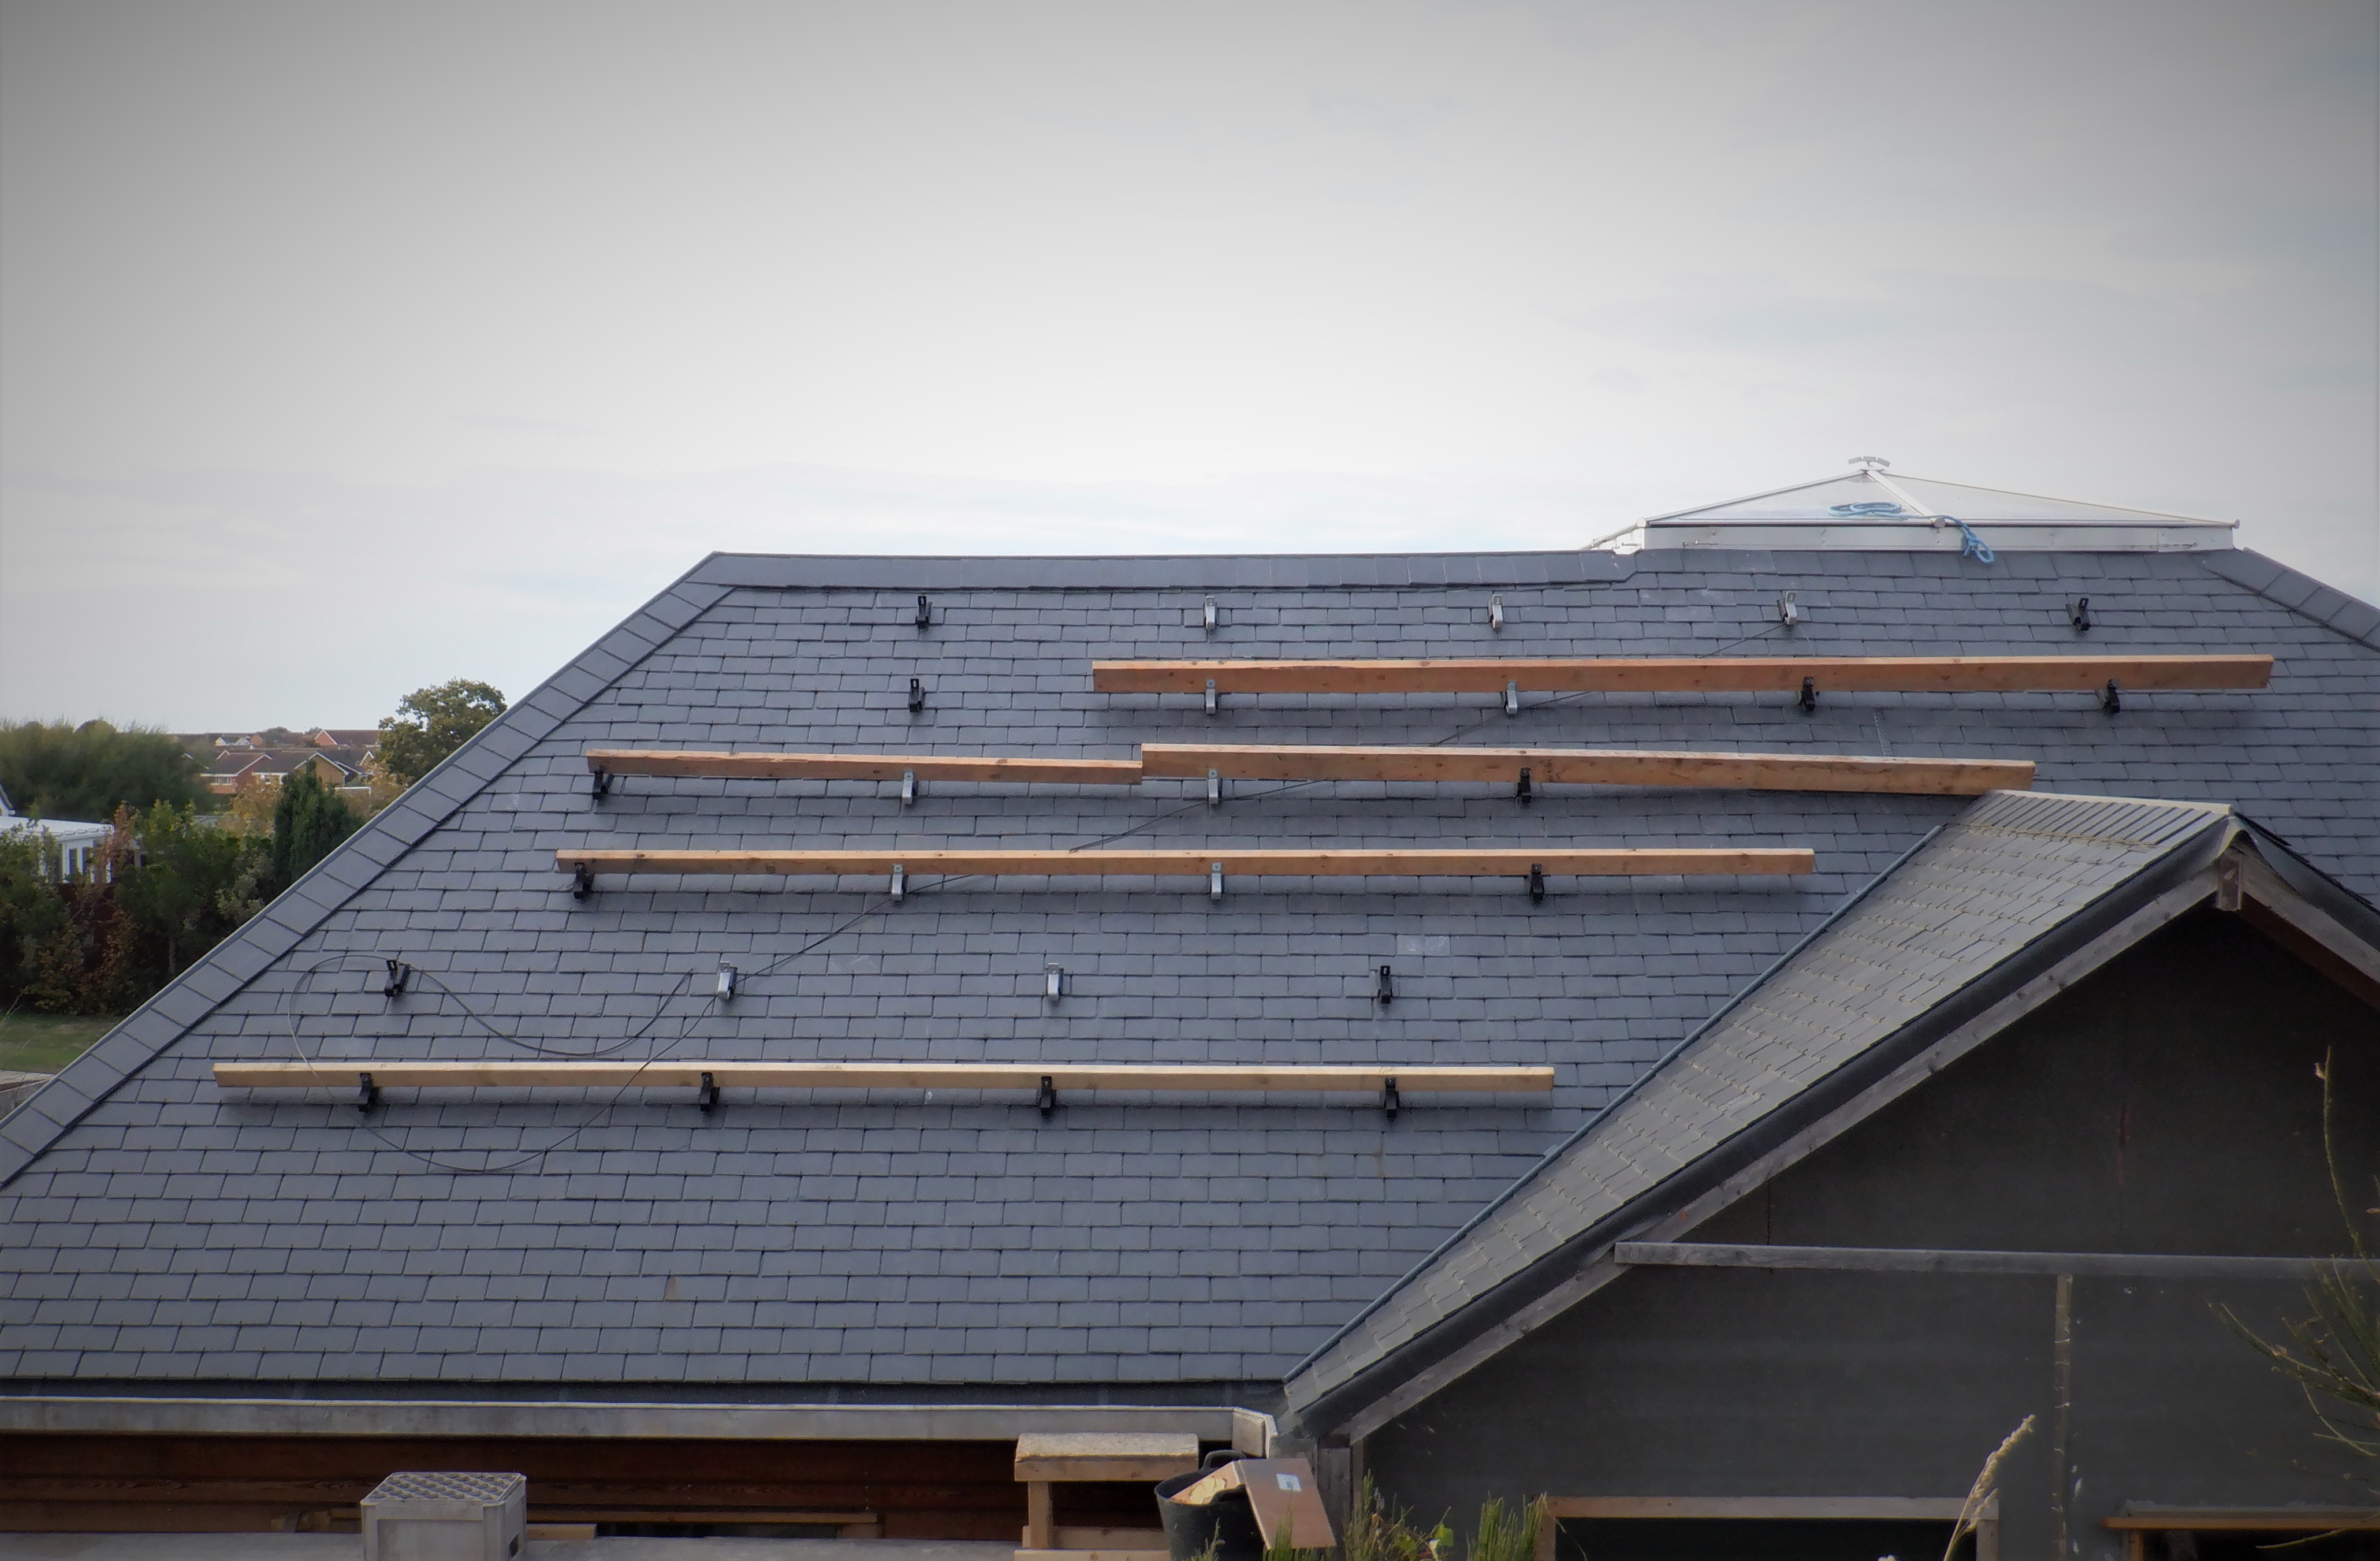
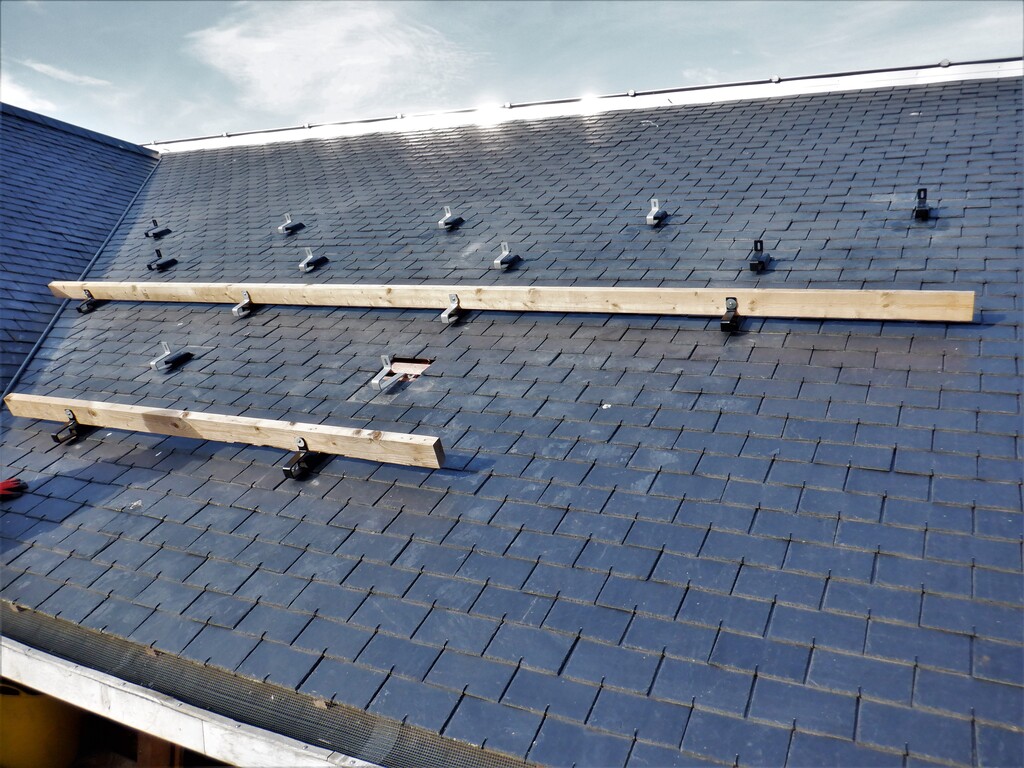
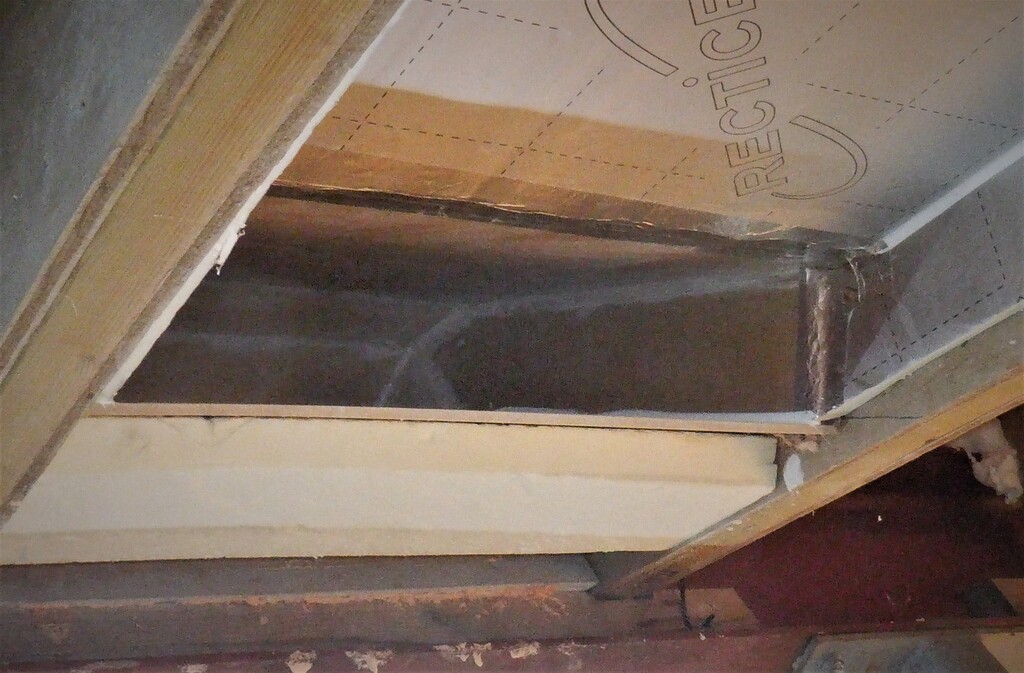
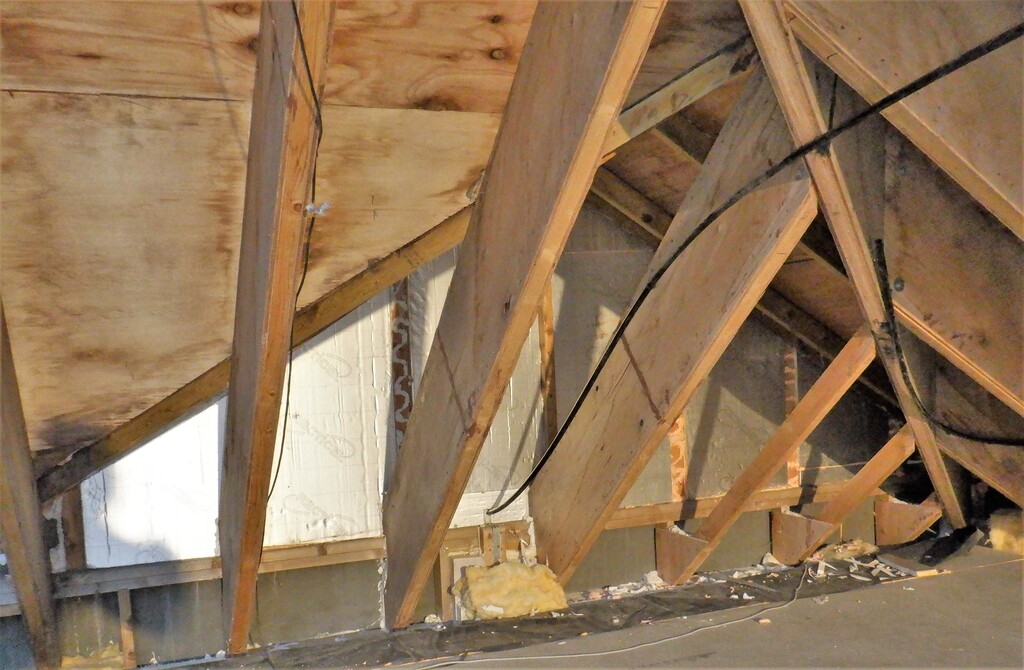
So, we then proceeded to install these chunky metal brackets, using the black painted ones where they would be seen, and the unpainted ones in the middle. We needed eight rows of brackets, grouped into four sets, as we have four rows of panels on this M roof segment. The first row from the bottom is a single panel and it has four brackets. We twisted the slate hook sideways to release the slate and then able to slide it downwards with a strong wiggle and tugs. We calculated that the first position for the brackets would be eight rows of tiles from the bottom of the roof, aligned up on the main roof rafter underneath. We removed half dozen tiles to exposed the vertical batten and then we could screw the metal bracket using 100mm heavy duty coach screws, two of them for each bracket down on the batten and screws deeps into the main structural rafter underneath.
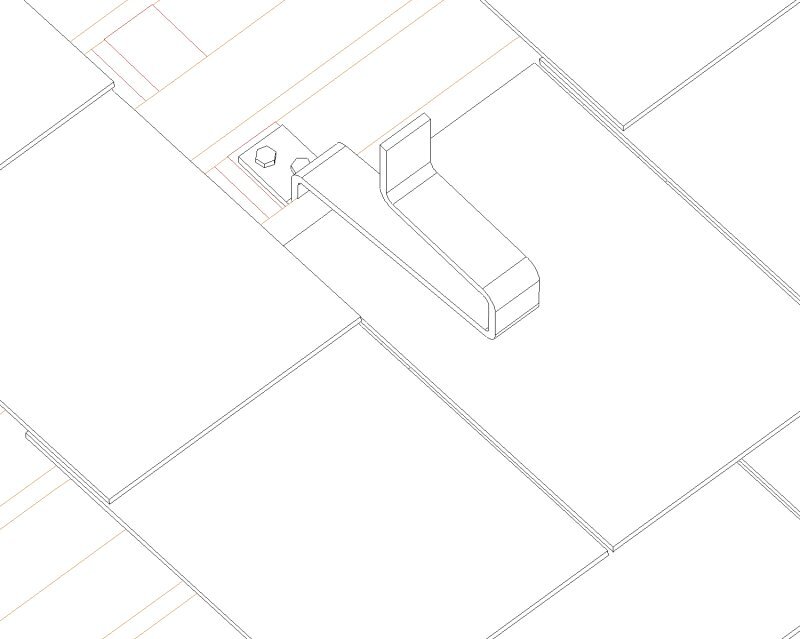
Remove-Slates-to-expose-rafter-and-fix-hook
Notch-slate-below-hook-and-refix
Then we put a plastic flashing protector over the bracket and cut each slate to fit around the “nose” that is sticking up above the surface of the slate tiles. Usually we needed to trim three slates and sometimes we had to remove the original hook nail and had to nail the newly shaped tile in with old fashioned copper nails instead. It was quite a task to wiggle the slates back into place, sometimes needing to remove more, just so others could go back in again.
Place-flashing-over-hook

Notch-slate-around-flashing-and-replace
It was a fairly slow process and we had thirty-six of them to do for this roof and it took us three days to complete this task.
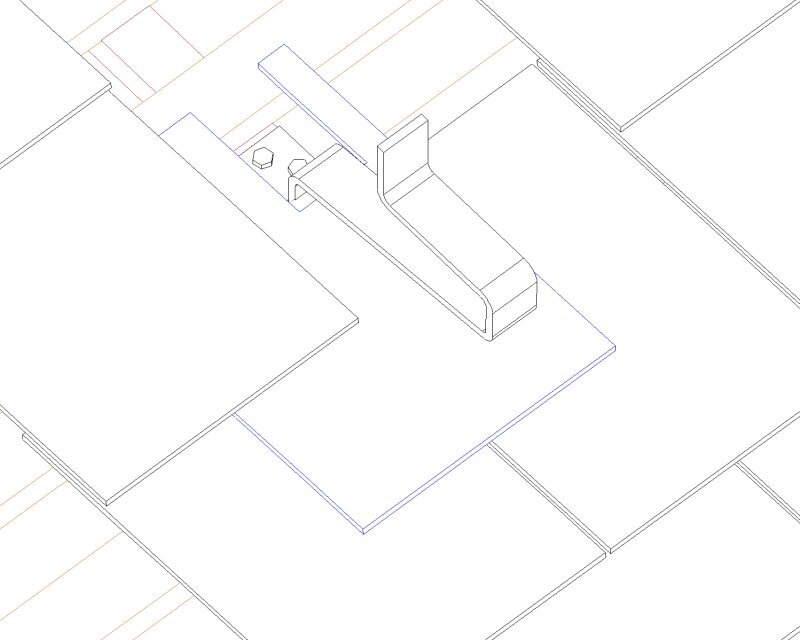
The placement of the brackets were mapped out so that the set of ten panels were positioned as far leftwards as possible, to avoid the potential shadow created by the ridge line on the right side of the roof.

M-First-2-brackets

M-First-5-rows-of-brackets
M-All-8-Rows-of-Brackets
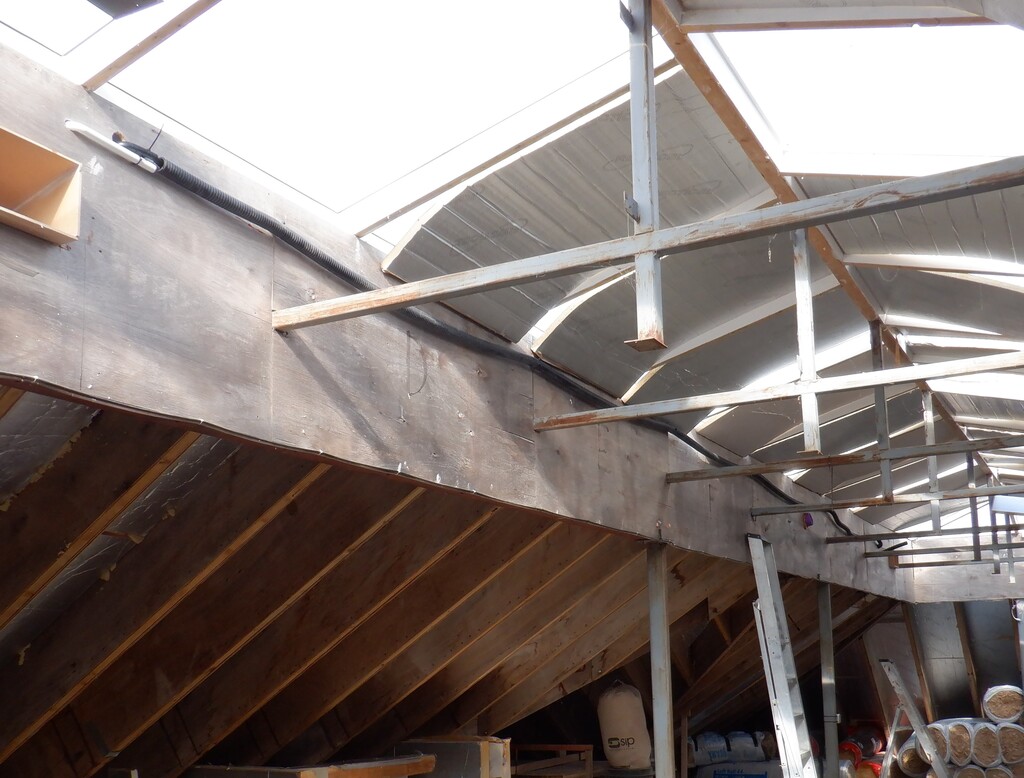
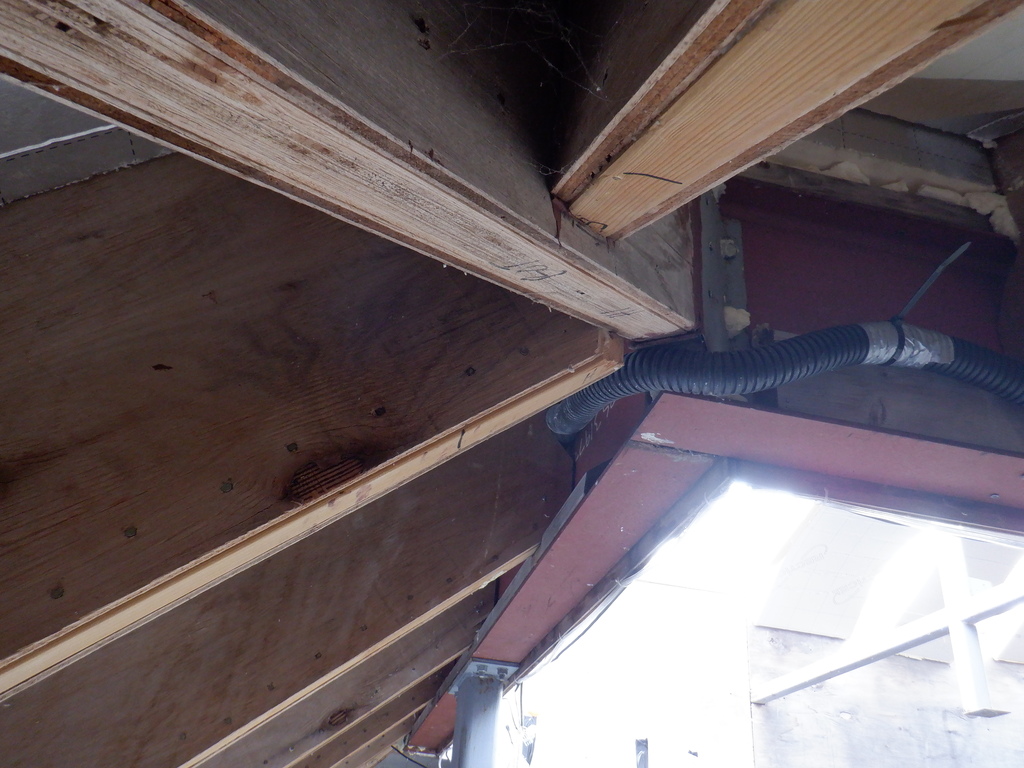
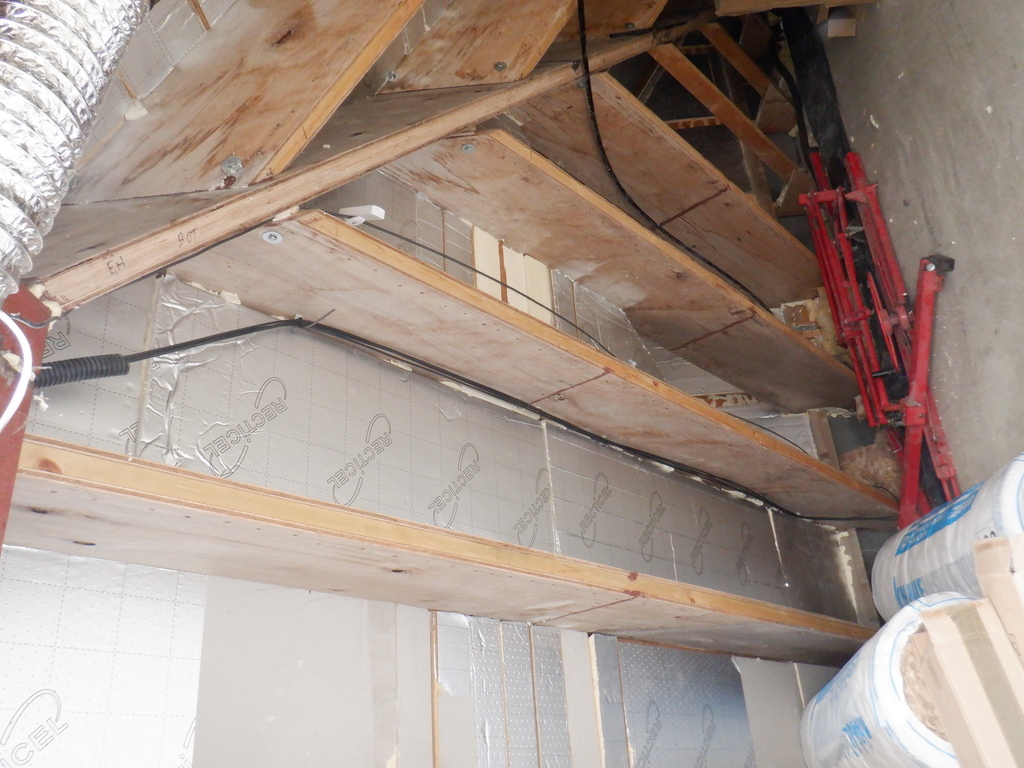
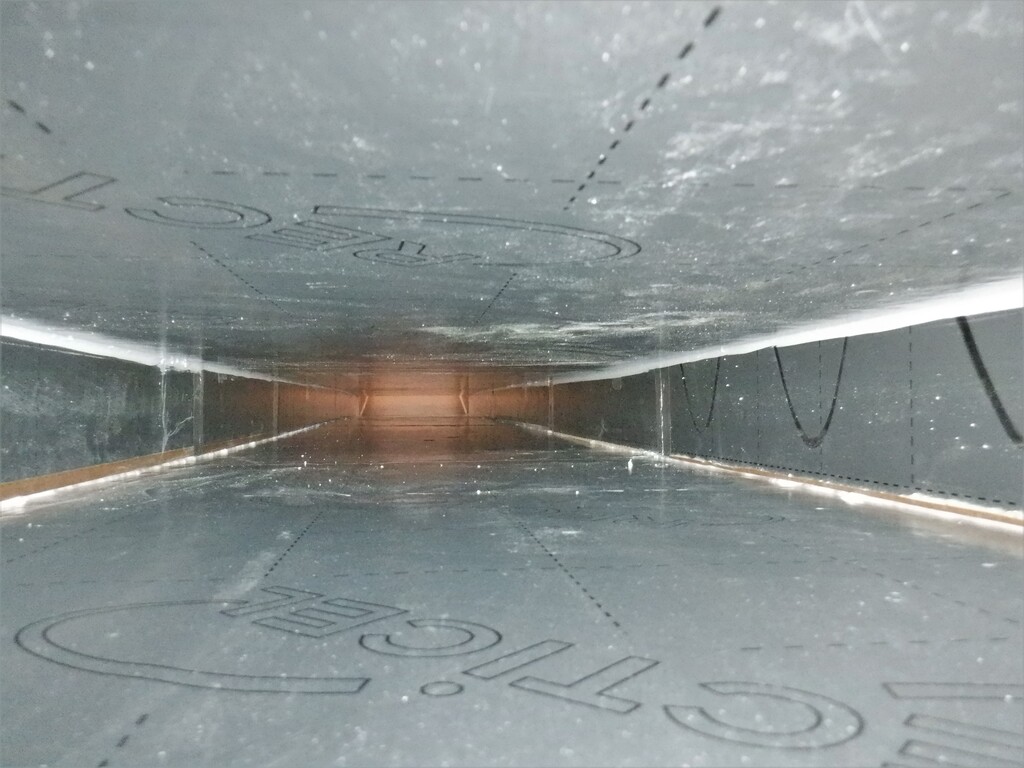
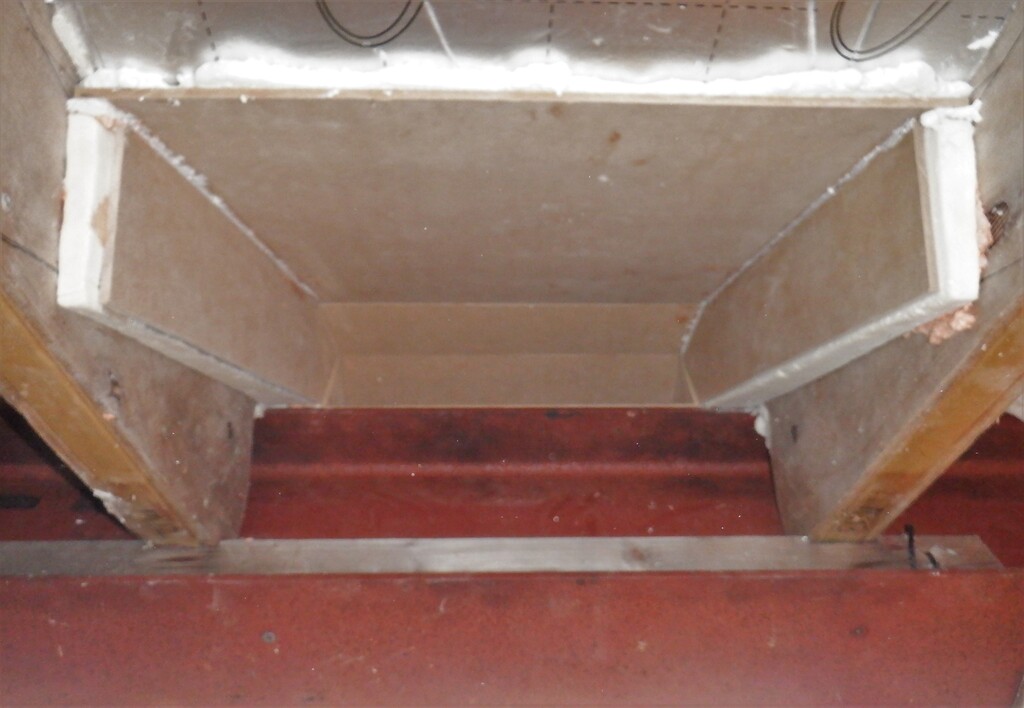
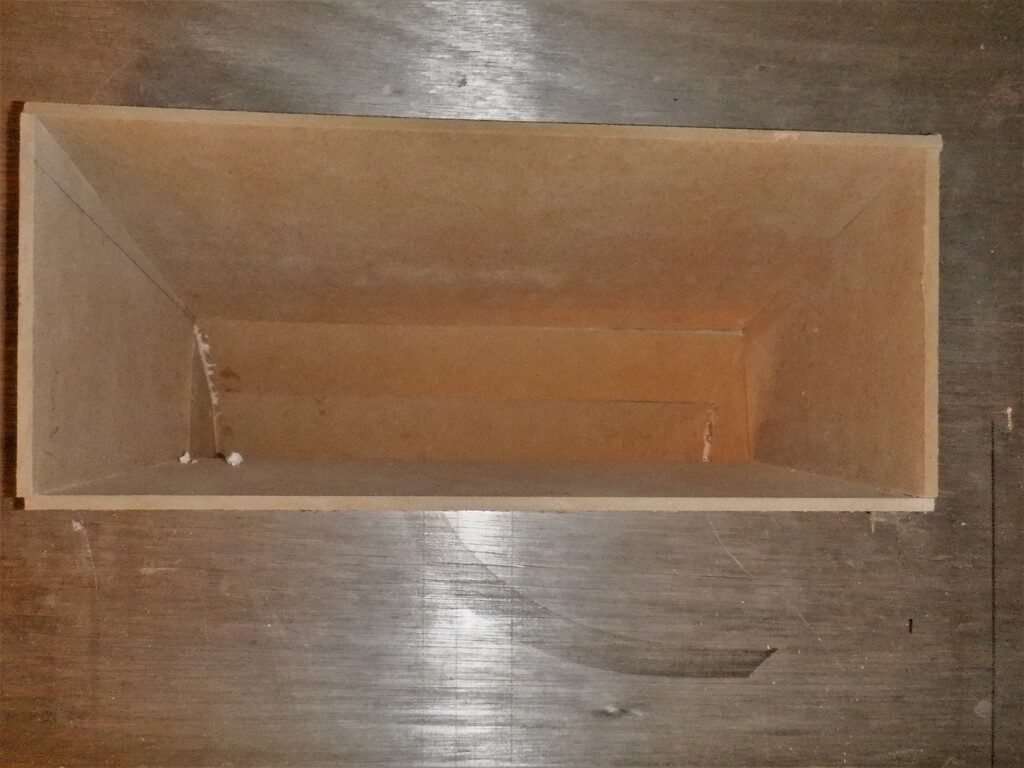
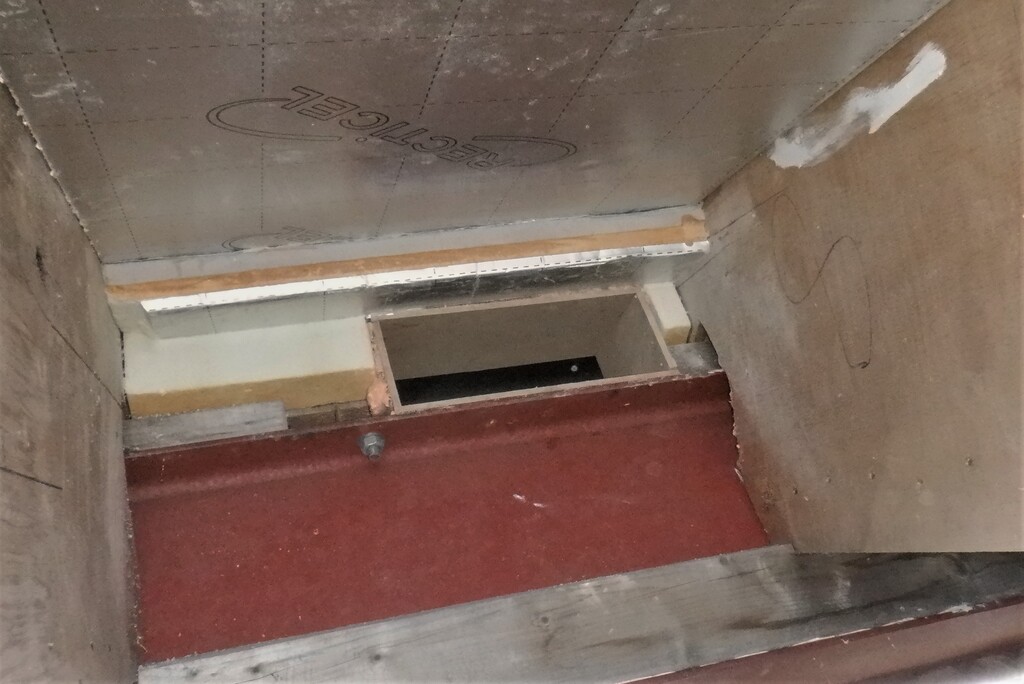
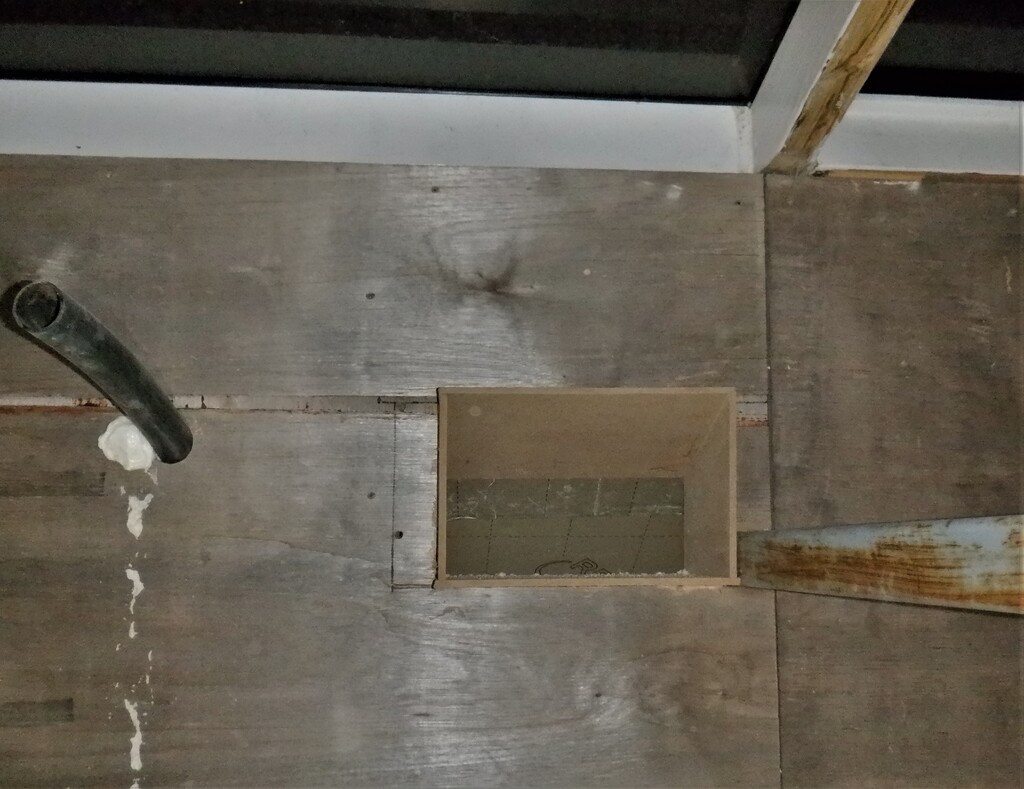
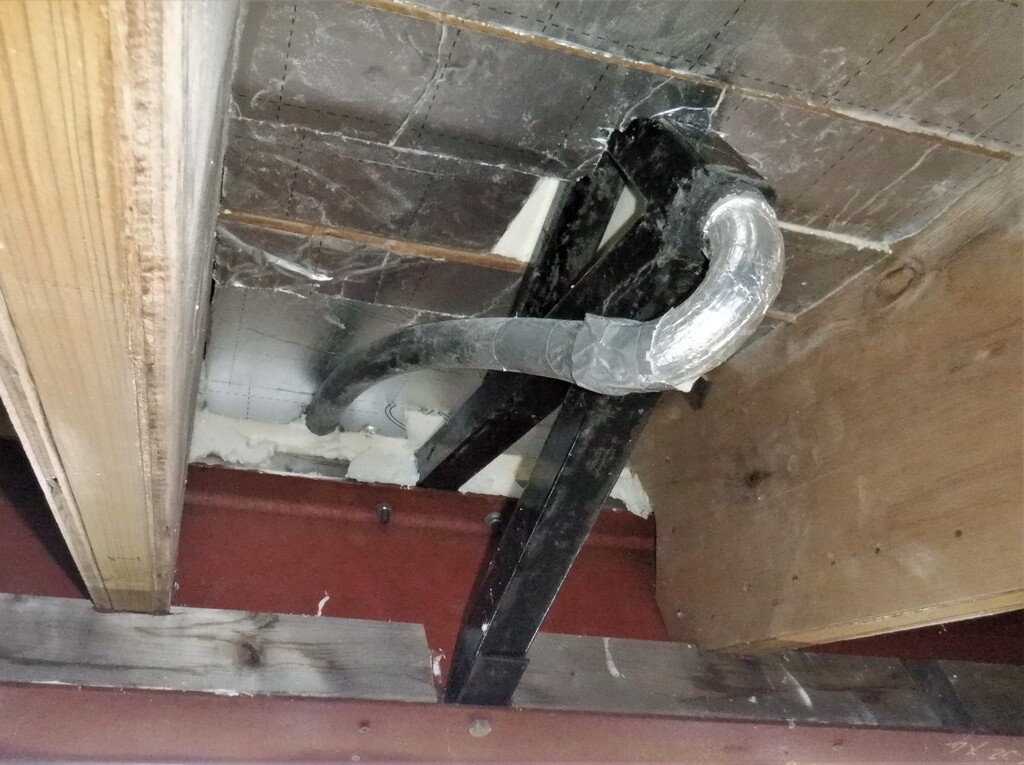
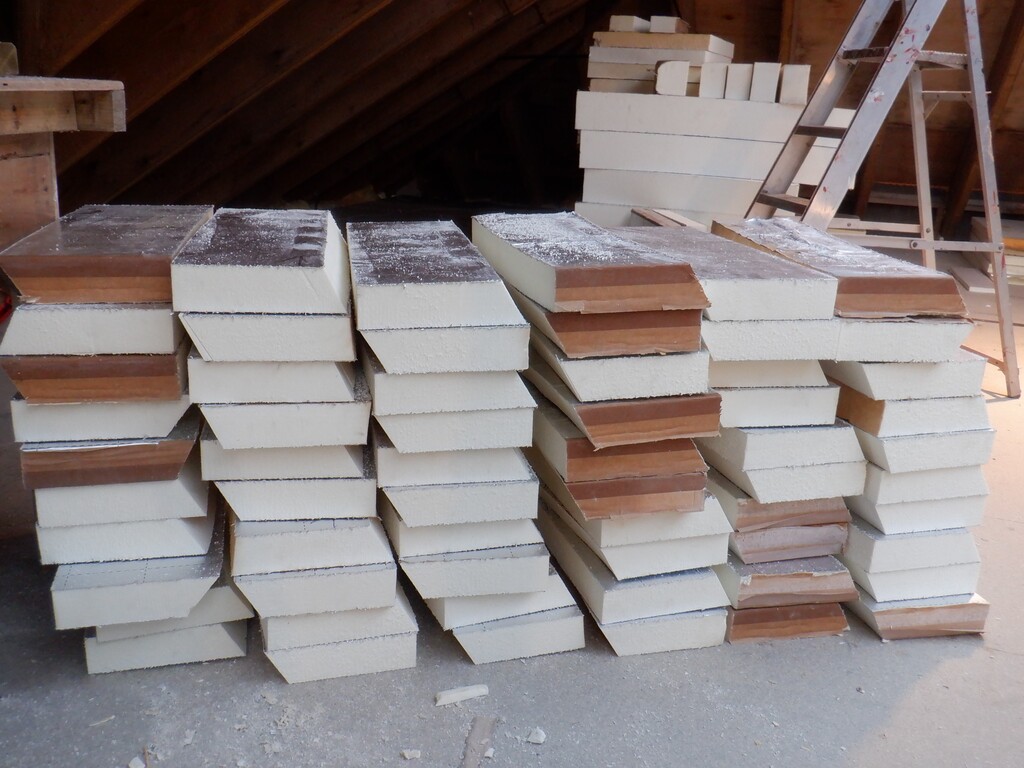
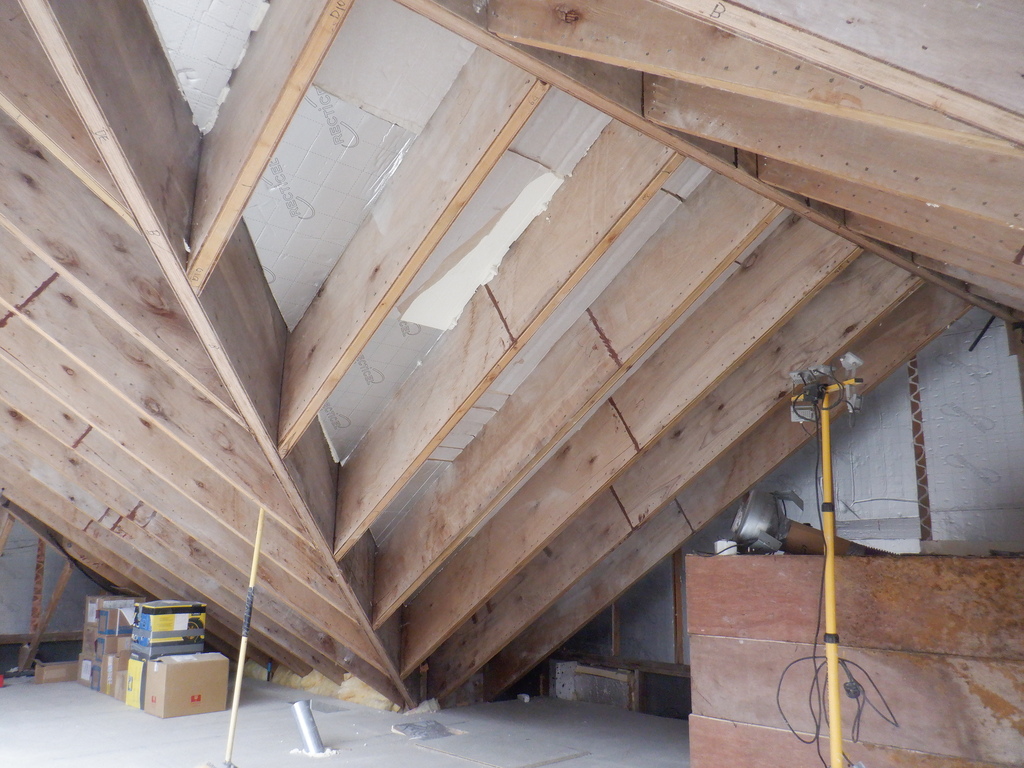
We were interrupted with this job by rain on Thursday and other commitments on Friday, so we worked indoors installing a 40mm flexible conduit to take the four solar panel cables, all the way from the Skylight near the Great Room, right along to the other end, routed down inside one of the rafters to the external wall position and then along the floorboard into the corner that is over the Utility Room downstairs, where we drilled a hole through the ceiling panel and the lid to the Equipment Cupboard and stop just inside. We can now thread the the four separate double insulated 4mm copper wires all the way from the control box to the panels outside on the roof. The last job, which we haven’t done yet, is to drill a hole or two through the kerb wall itself, up in the Skylight to provide that final access for the wires to get out onto the roof.
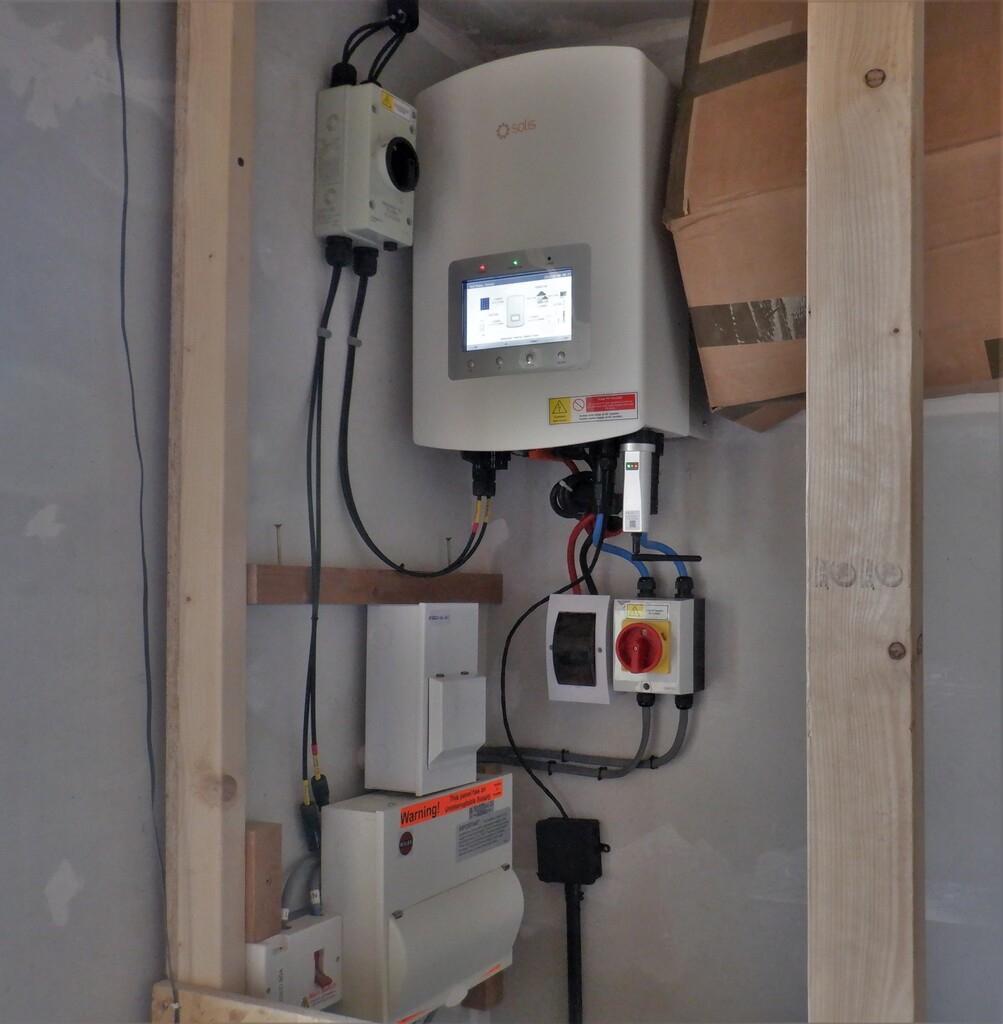
Then we installed the hybrid inverter on the wall inside our Equipment Cupboard, tucked in the corner just right of the window. There is (will be) a door above the worktop and we would be able to pull it open to read the status display on the front of this box of electronics magic!
There is a lot of safety switches and fuses that had to be installed around this Invertor, to make sure that we can at any time, disconnect any part of the system, like for example, the batteries, or the solar panels or indeed the mains electricity as well.
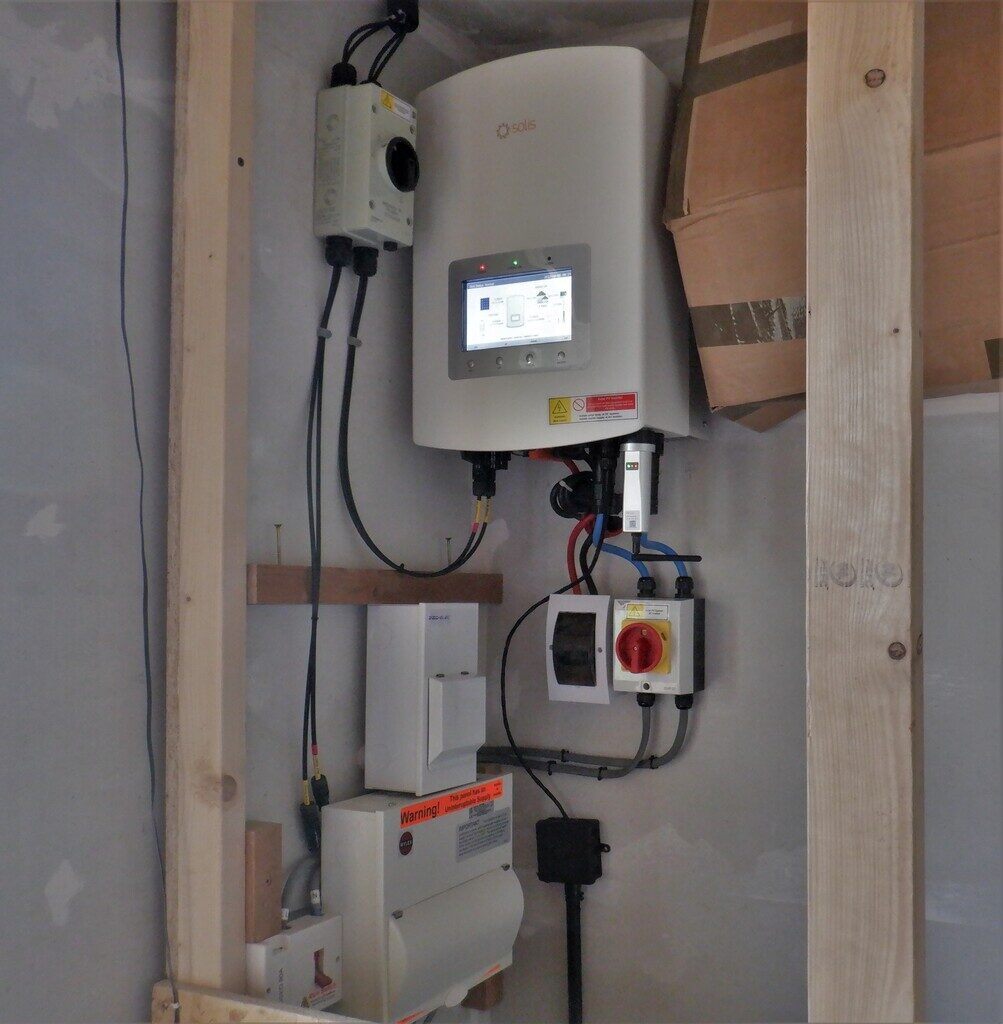
Inverter-and-connections
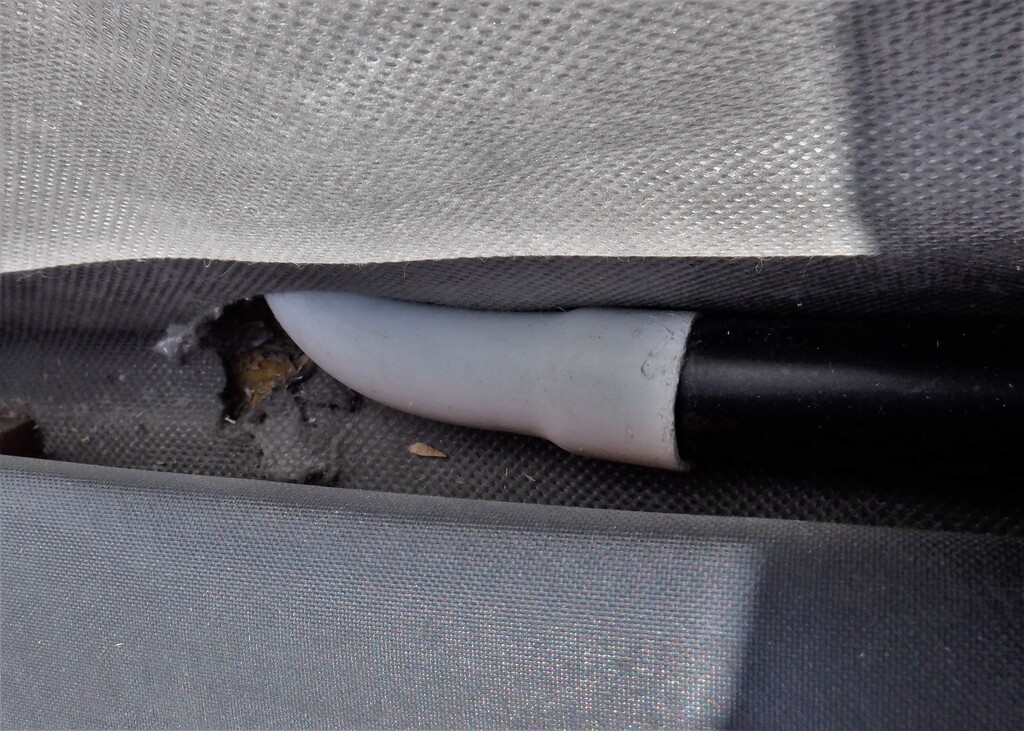
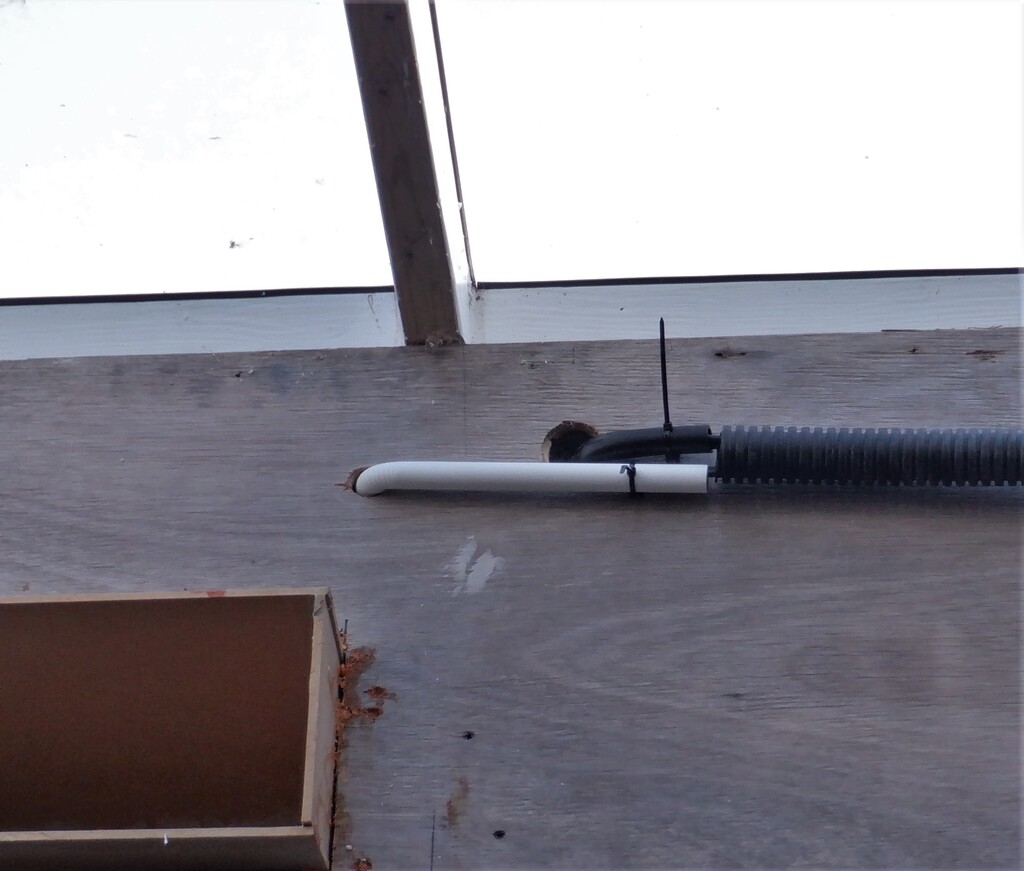
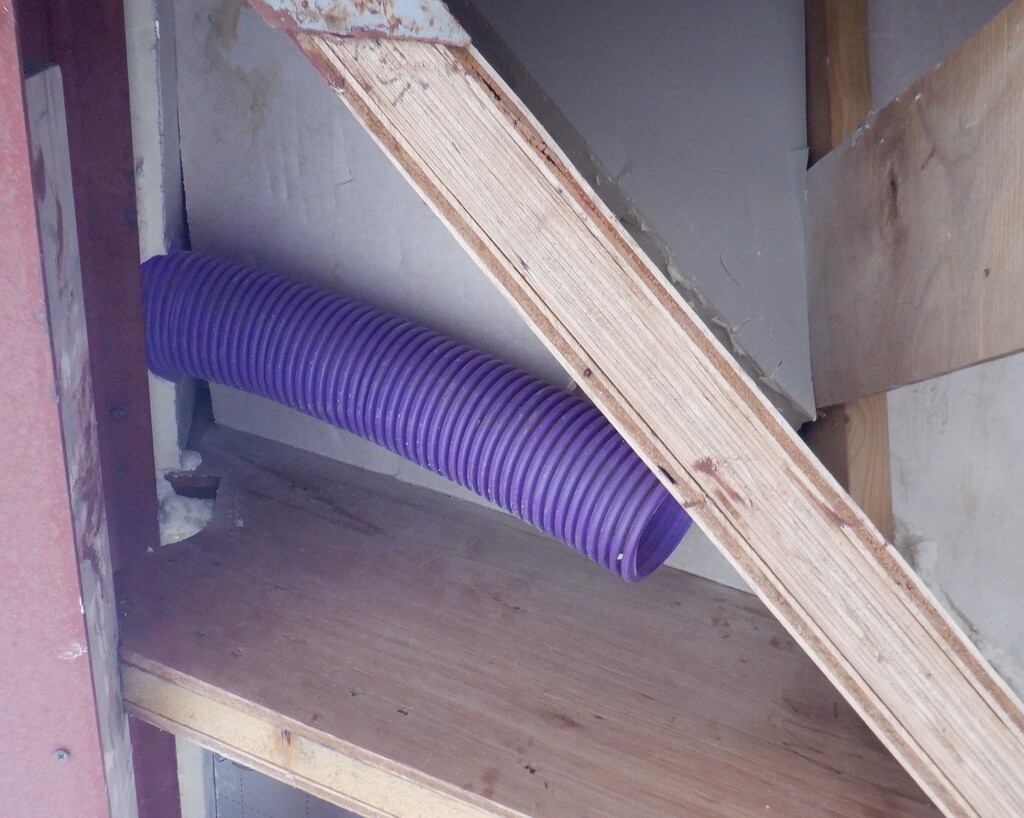
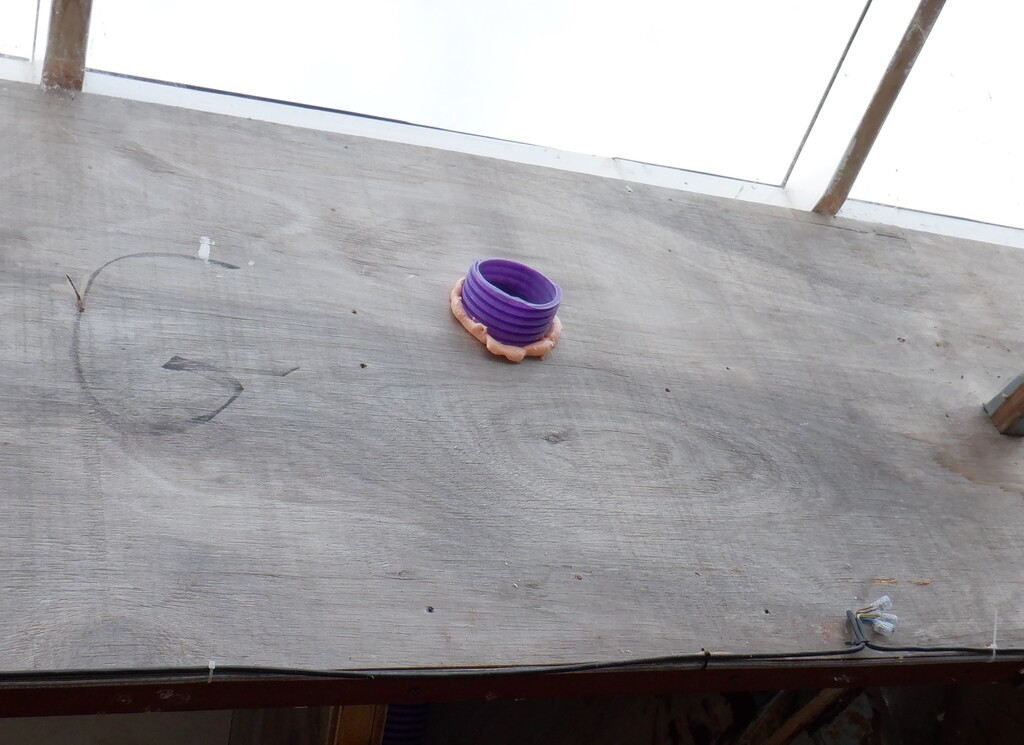
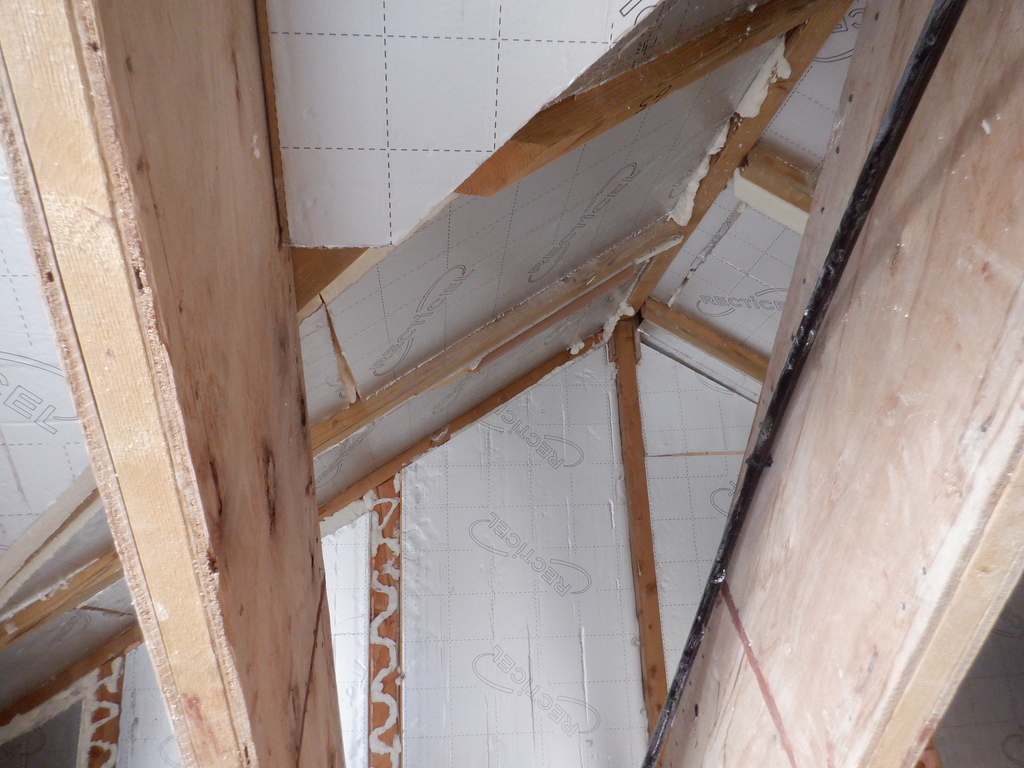
Back on the roof, we then proceeded to drill two 20mm holes through the kerb of the Skylight, one for a conduit to go straight out on the M roof and slide under the tile battens and down to the first metal bracket. The second hole had a 20mm conduit turning a sharp right angle turn and running along the kerb behind the flashing rubber membrane and aluminium strip, to end up out on the P roof, curving around to a metal bracket ready connecting to the top solar panels out there. We bent the other ends of the two conduits so it went flat along the kerb inside the Skylight and went to where the 40mm flexible conduit ended.
The next job was to thread the four cables through the conduit we had previously put in, but, we discovered a very annoying difficulty. There were too many bends and the conduit was too flexible as well, and our cable kept jamming after we had only pulled through ten metres or so. We even tried using a motorised winch to provide 250Kg pulling power but we broke the rope and cable connection and it went ping!!
So, in the end, we had to cut up our lovely conduit and threaded the four cables in sections. We finally made it and got the wires going down into the Utility Room, ready to be connected to the cut-off switch and the other ends going right up in the Skylight and going through the two 20mm conduits we put up earlier. We pulled through enough cable for both roof sections and make sure one half of the twin cables was long enough to reach the bottom of the roof too.
Conduit-through-the-kerb-before-sealing

Conduit-inside-the-skylight

solar-cable-run-along-the-skylight

Through-the-skylight-frame-and-around

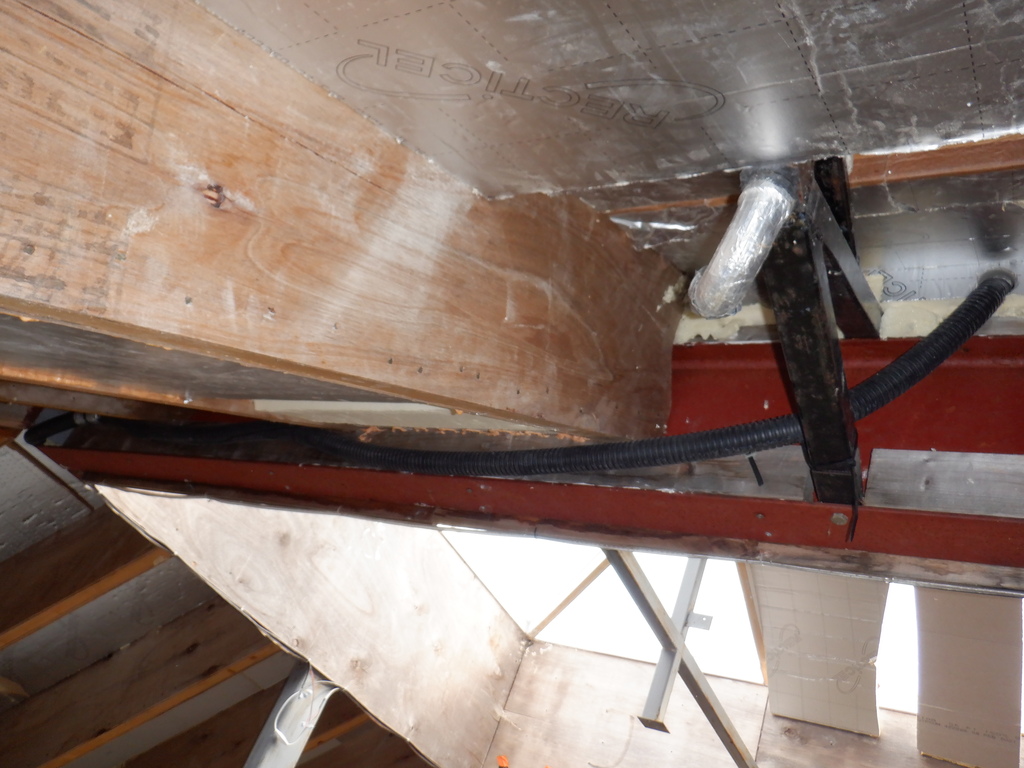
the-corner-and-through-the-ends-of-the-rafters-until

it-comes-down-a-rafter-and-along-the-bottom-to-the-Utility-room-in-the-corner
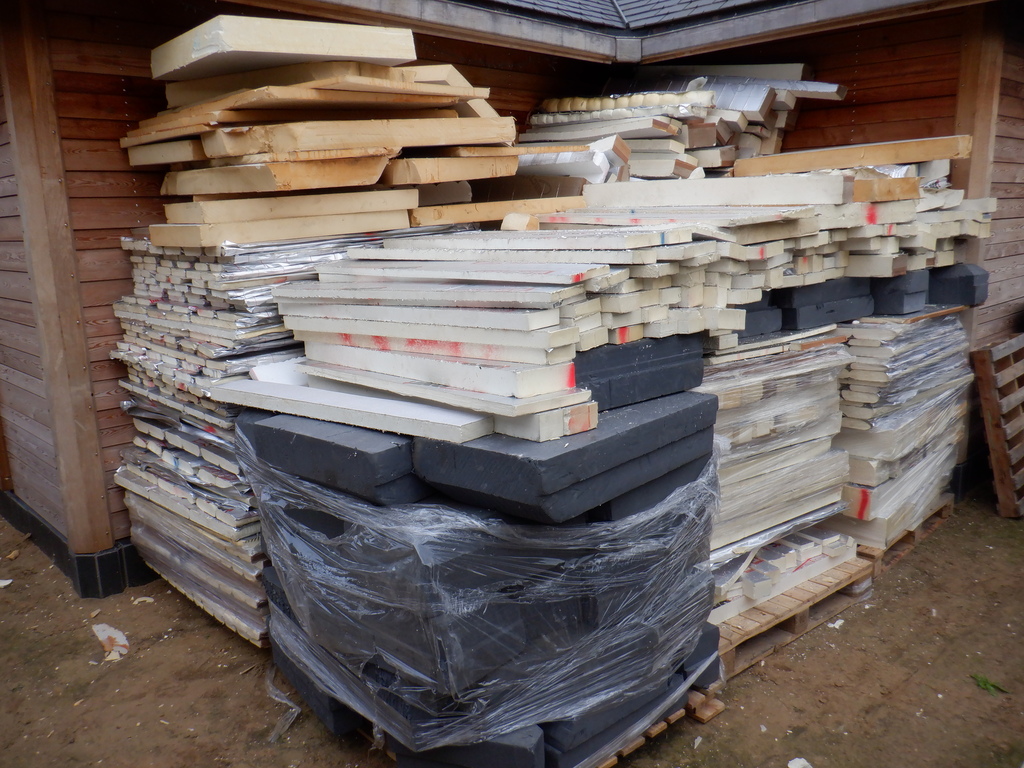
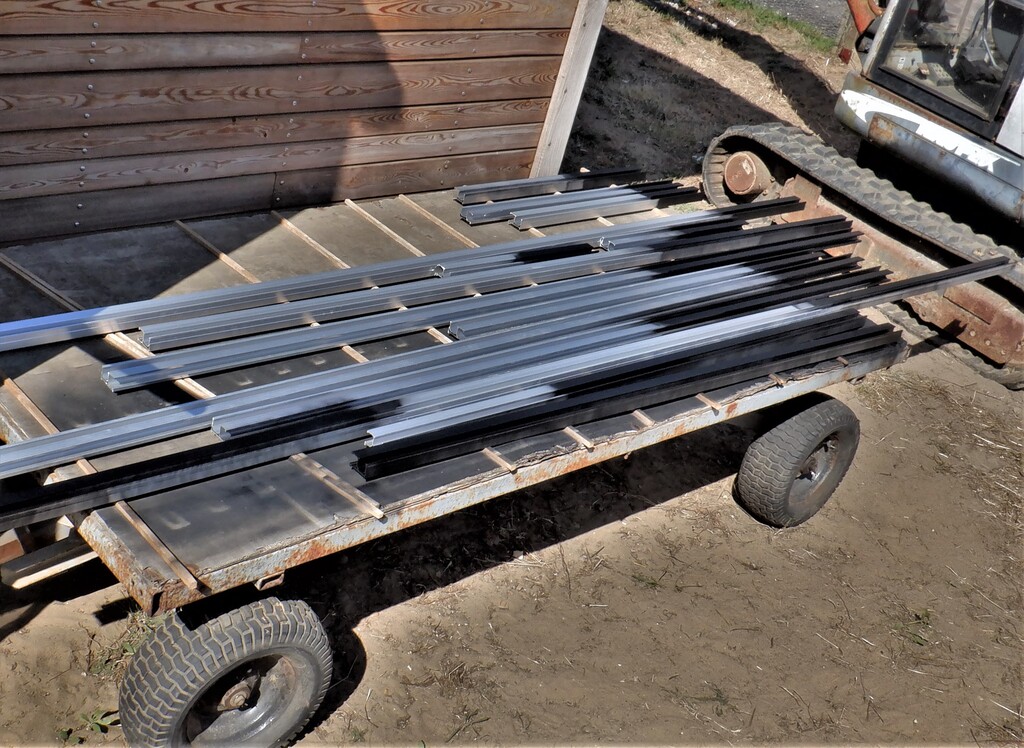
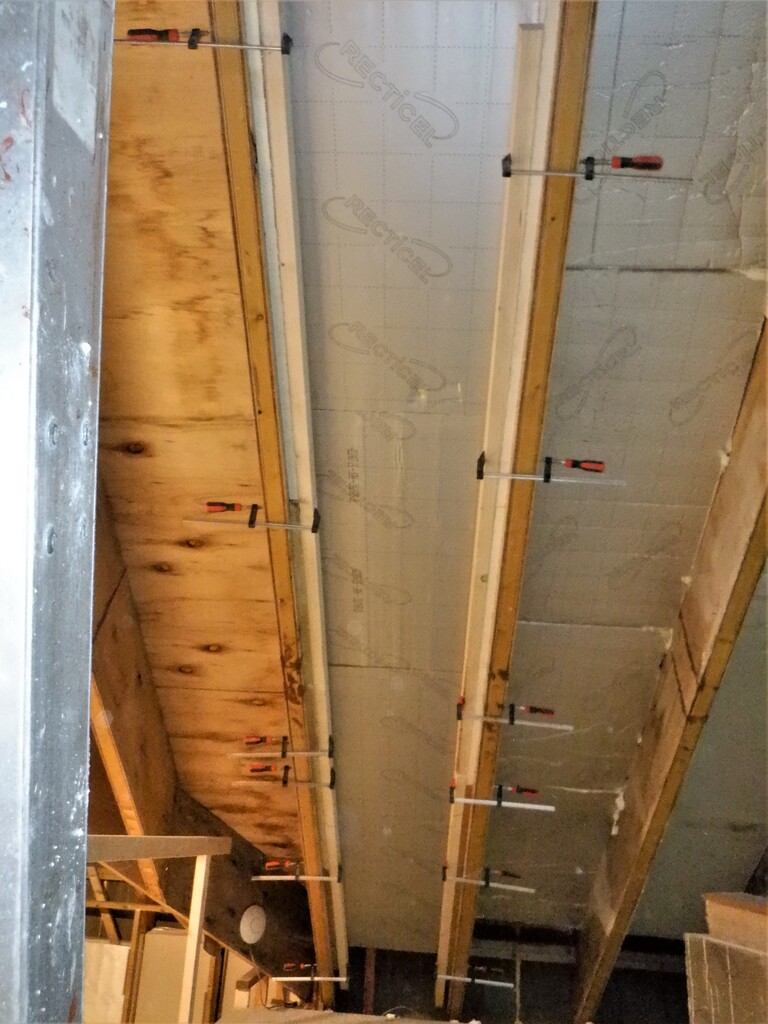
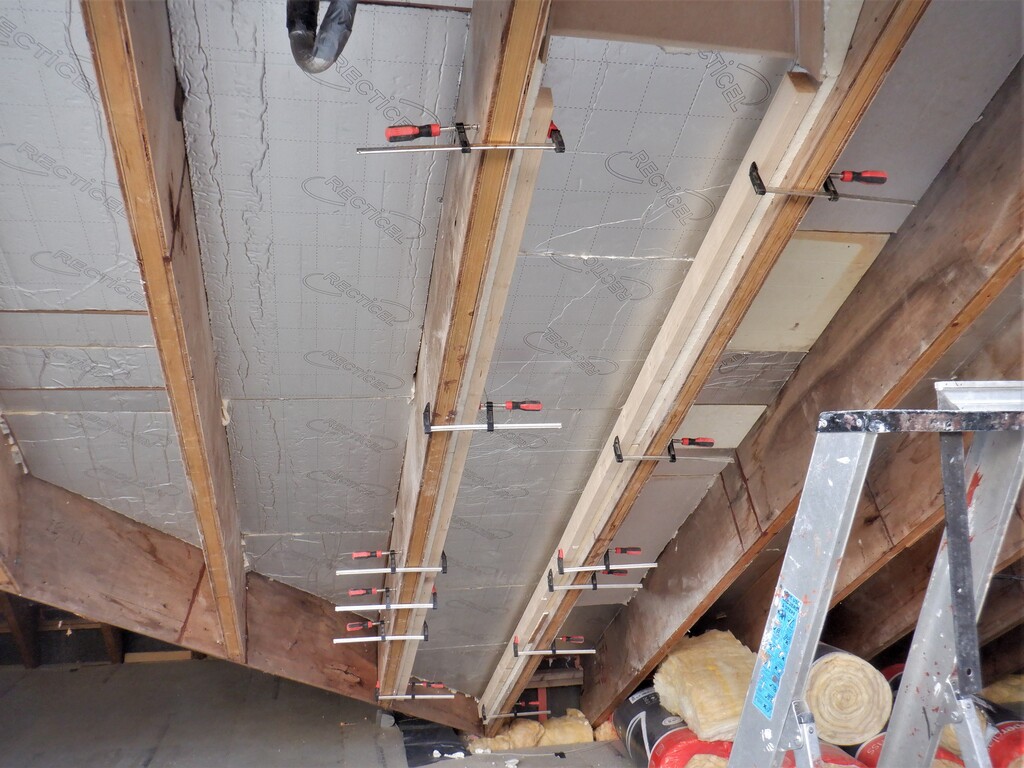
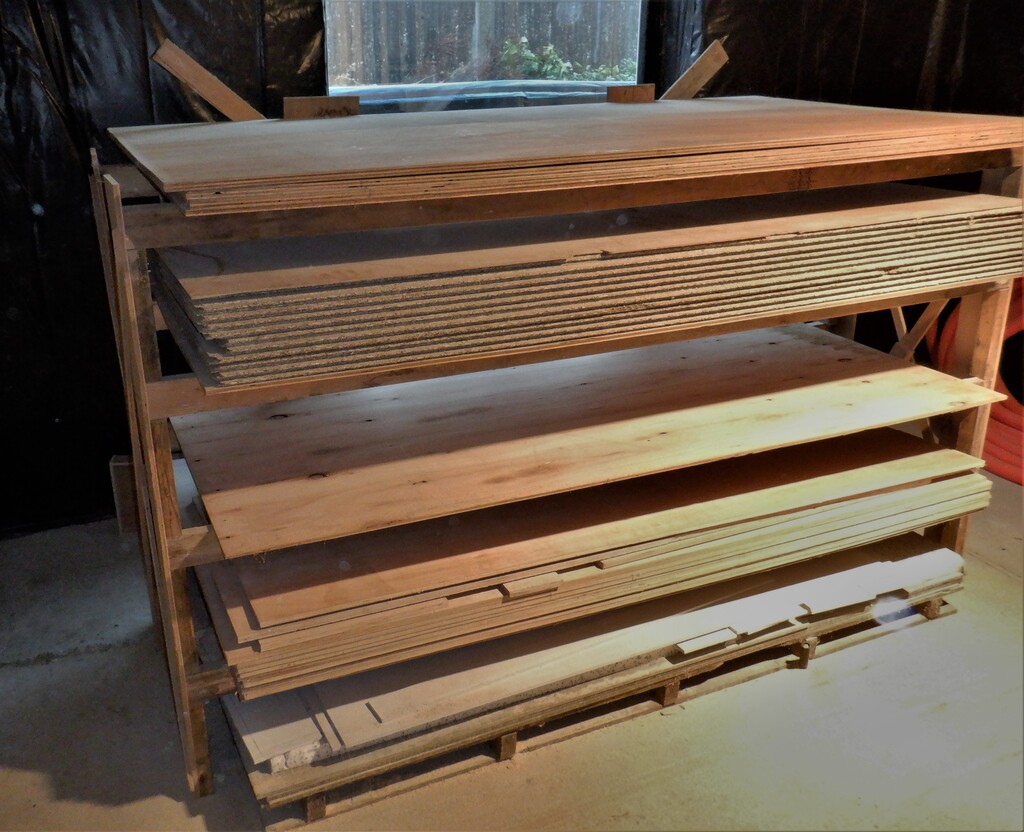
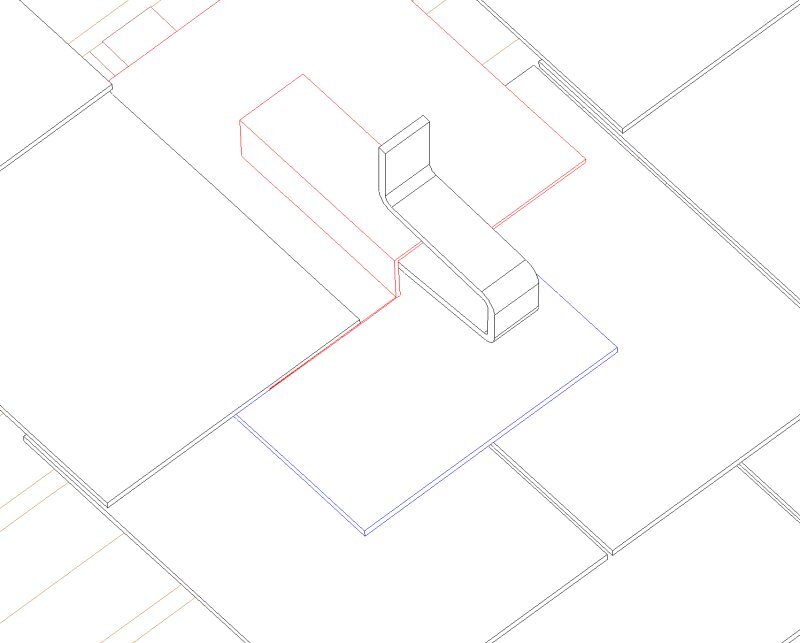
The next job was to create the aluminium horizontal rails that will connect to the sticking up metal brackets and form four sets of support bars that will hold the solar panels in place. They then needed their ends painted black to disguise the shiny silvery gleam, just like what we already have done to the metal brackets.

Ends-af-rails-painted
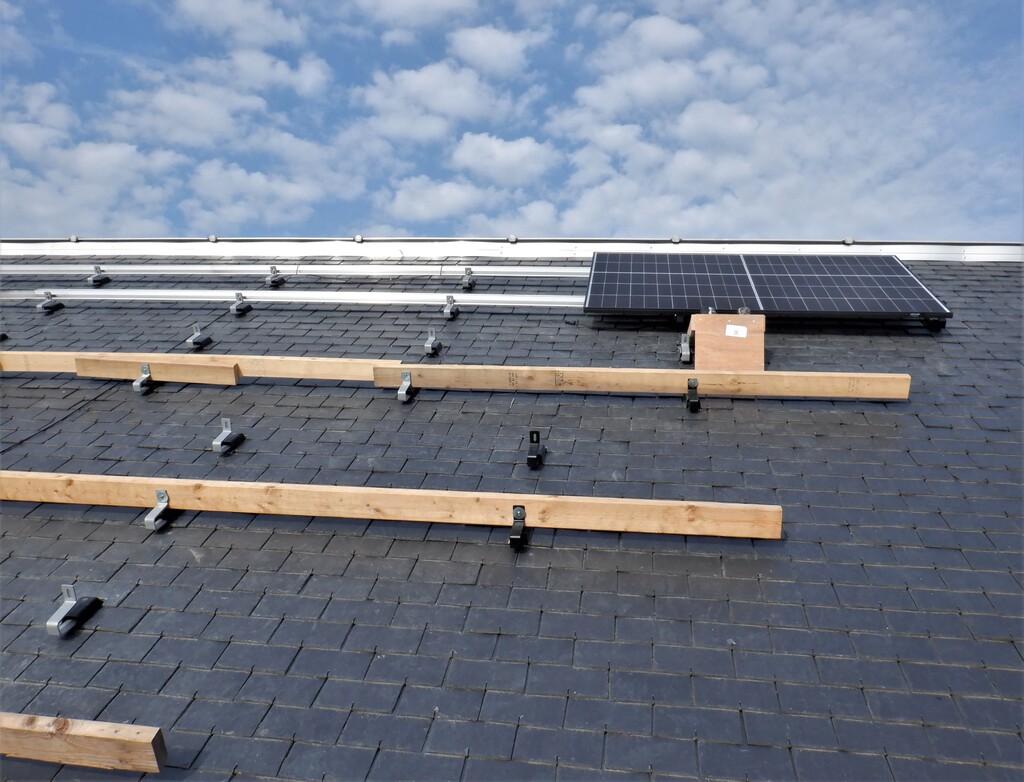
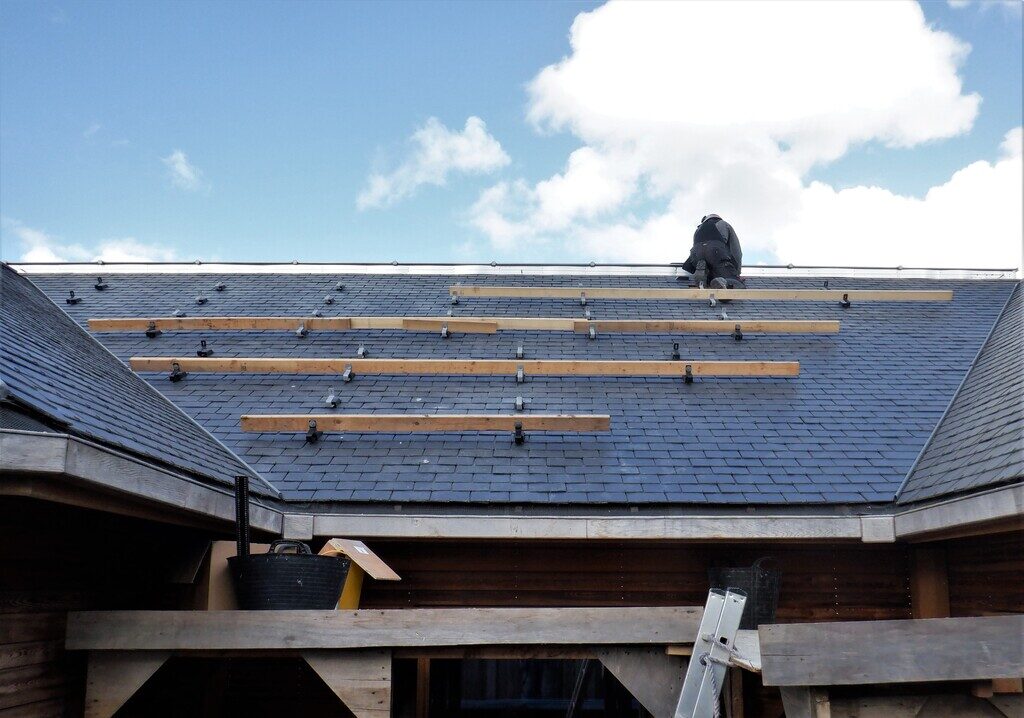
Now that we have the wires in place, and also connected to our isolation switch back in the Utility Room, we proceeded to install the first ten of our Solar Panels, starting at the top with four panels in a line. Two aluminium support bars were joined together and then anchored to the seven metal brackets for each rail. We then carefully carried up each Solar Panel module up one by one, connecting the cable into each panel, making sure that we had every panel pointing in the same orientation, with the positive connection point upwards.

First-panel-in-place
We slowly proceeded for each new line of panels, three panels in the second row, and then just two for the next line and finally finishing off with the single panel at the bottom.
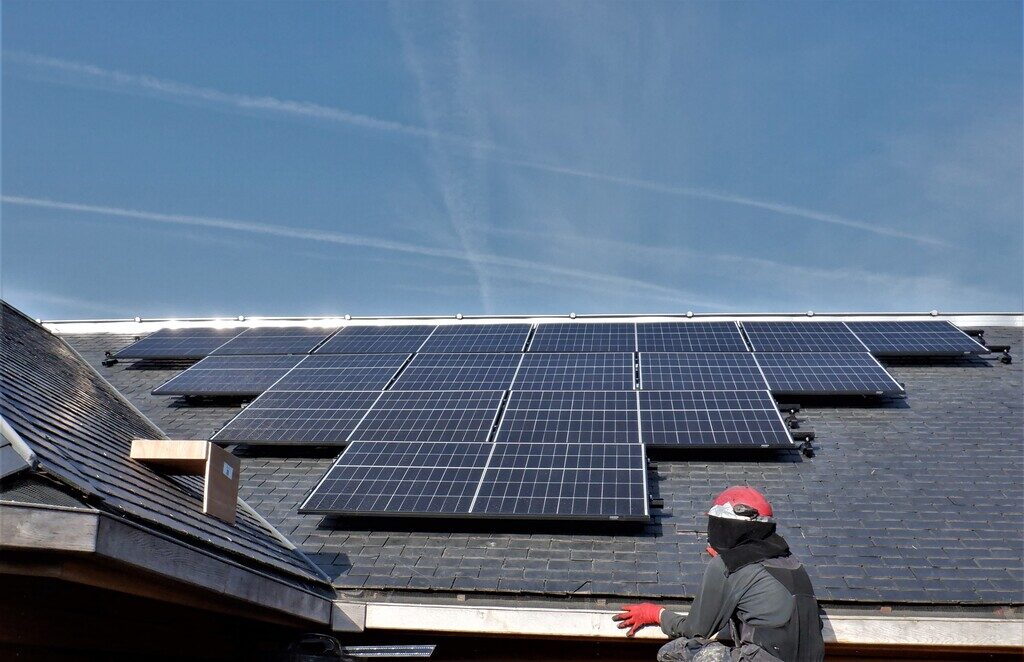
Solar-on-M-finished
To make sure that the wires were working, and that each lie of panels were ok, we connected the negative wire to the last panel in the line and measured the voltage back in the Utility Room. The first row produced 156Volts. We repeated this test every time we had completed a line and we were getting higher and higher measurements each time which is very good news.
The final measurement returned 392Volts for all ten panels.
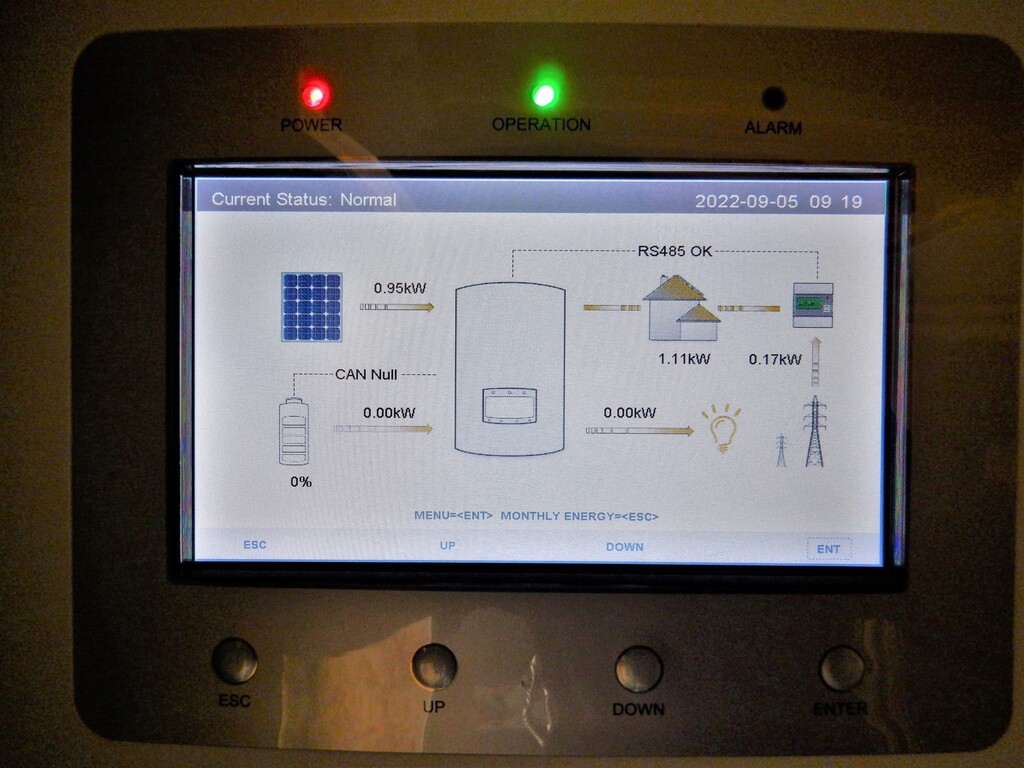
The last thing we did for this stage of work, was to connect the output of these Solar Panels to our Inverter magic box and switch it on. It came alive and showing that we had a connection to our Solar Panels and it immediately started reporting that we were generating 2kW of electricity. This was in the evening at 6pm so that wasn’t too bad at all.

Inverter-display
One of the things the Inverter wanted, was a electricity current sensor fitted to our household mains connection going into the smart meter so it can calculate how much we are drawing from the mains and adjust its own circuits to avoid exporting any excess electricity out on to the National Grid. This is good because we won’t get paid for any exported energy and strictly speaking, we are not allowed anyway.
So we had to install a bunch of network cables from the House to the Garage, we took the opportunity to also include a replacement LAN network cable that will go all the way back to the Tech Cupboard plus also a telephone landline extension so that we can have our DECT base station in the house instead of the garage. The third cable is the connection for the mains current sensor but that one needed to be threaded up to our Utility Channel in the garage and then all the way along to the front of the building where it terminated in a network socket. We had to unscrew every other section covering the Utility Channel, screw a series of L hooks to keep our data cable away from all the mains electricity that is already crowding the bottom half of the channel and tie little cable ties to keep it all nice and neat.
I conclude this report now but to finish off with some further numbers, during Saturday, yesterday, while we were working on sorting out the network cables, the Solar Panels collected another 16kWh (kilo watt hour) or 16 units of electricity, we had the Inverter box switched on from about 9am and looking at the historical data, for this time of the year, it matches what we had generated. Very Nice!