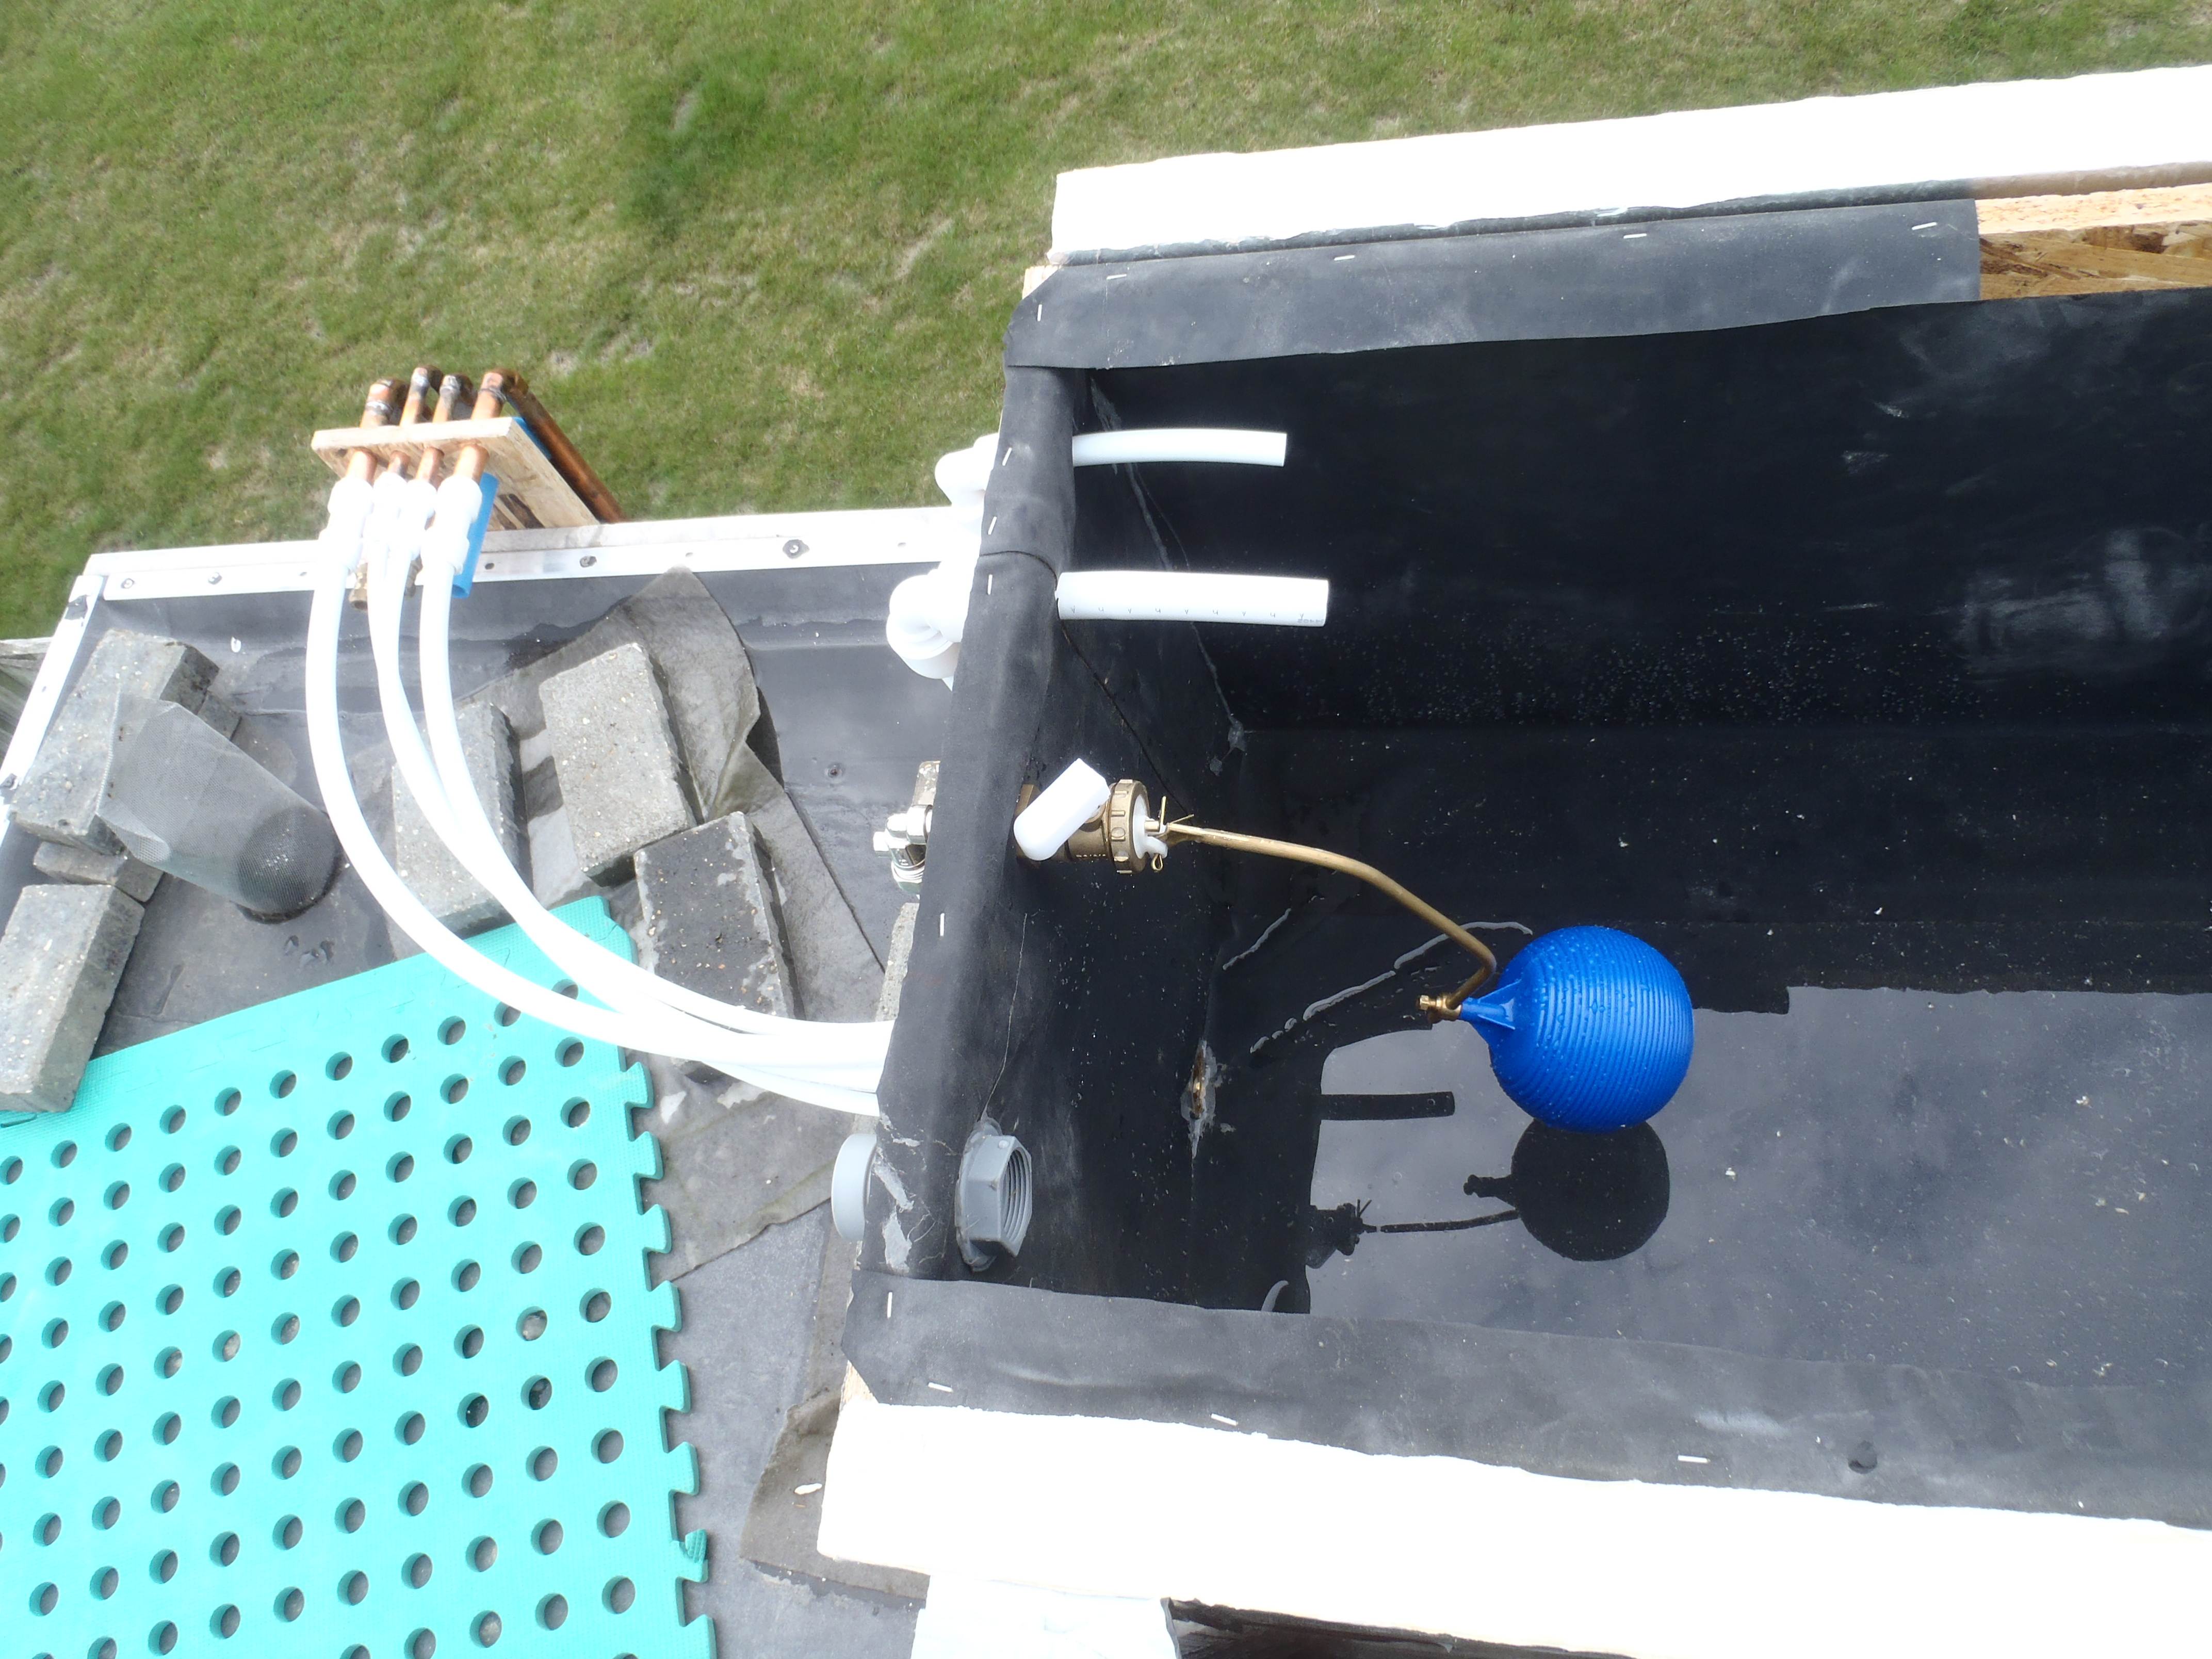
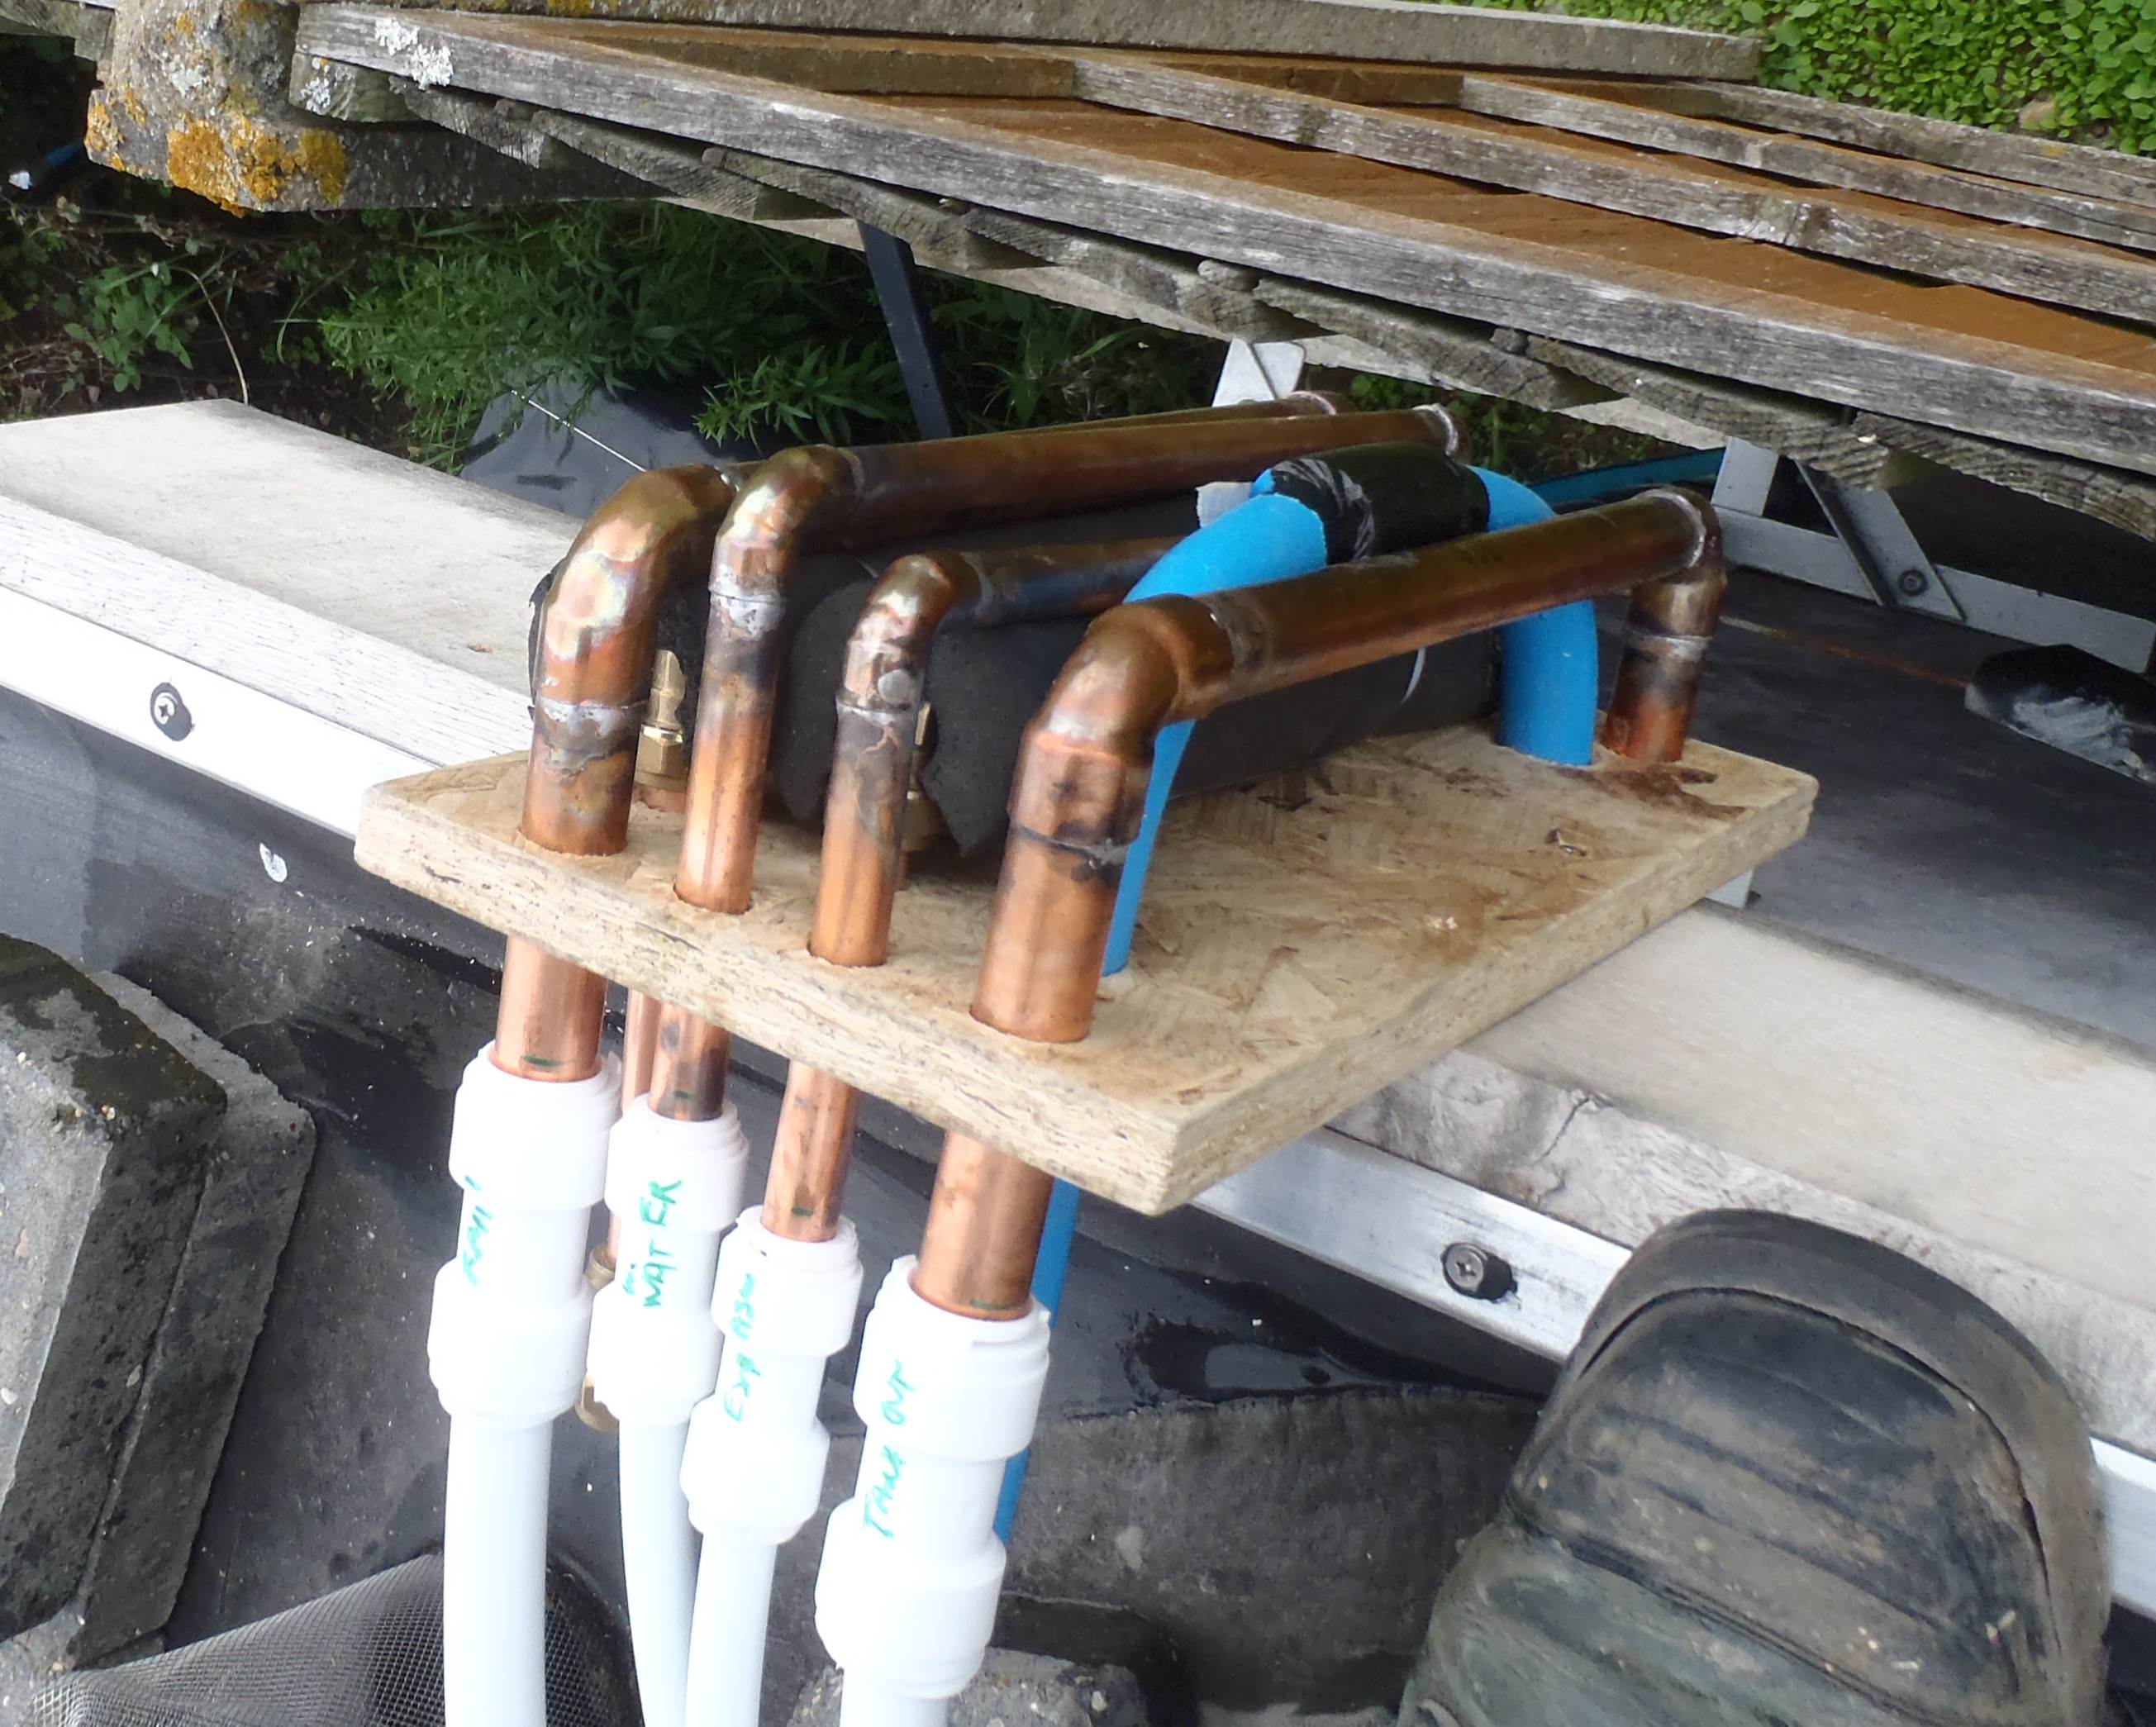
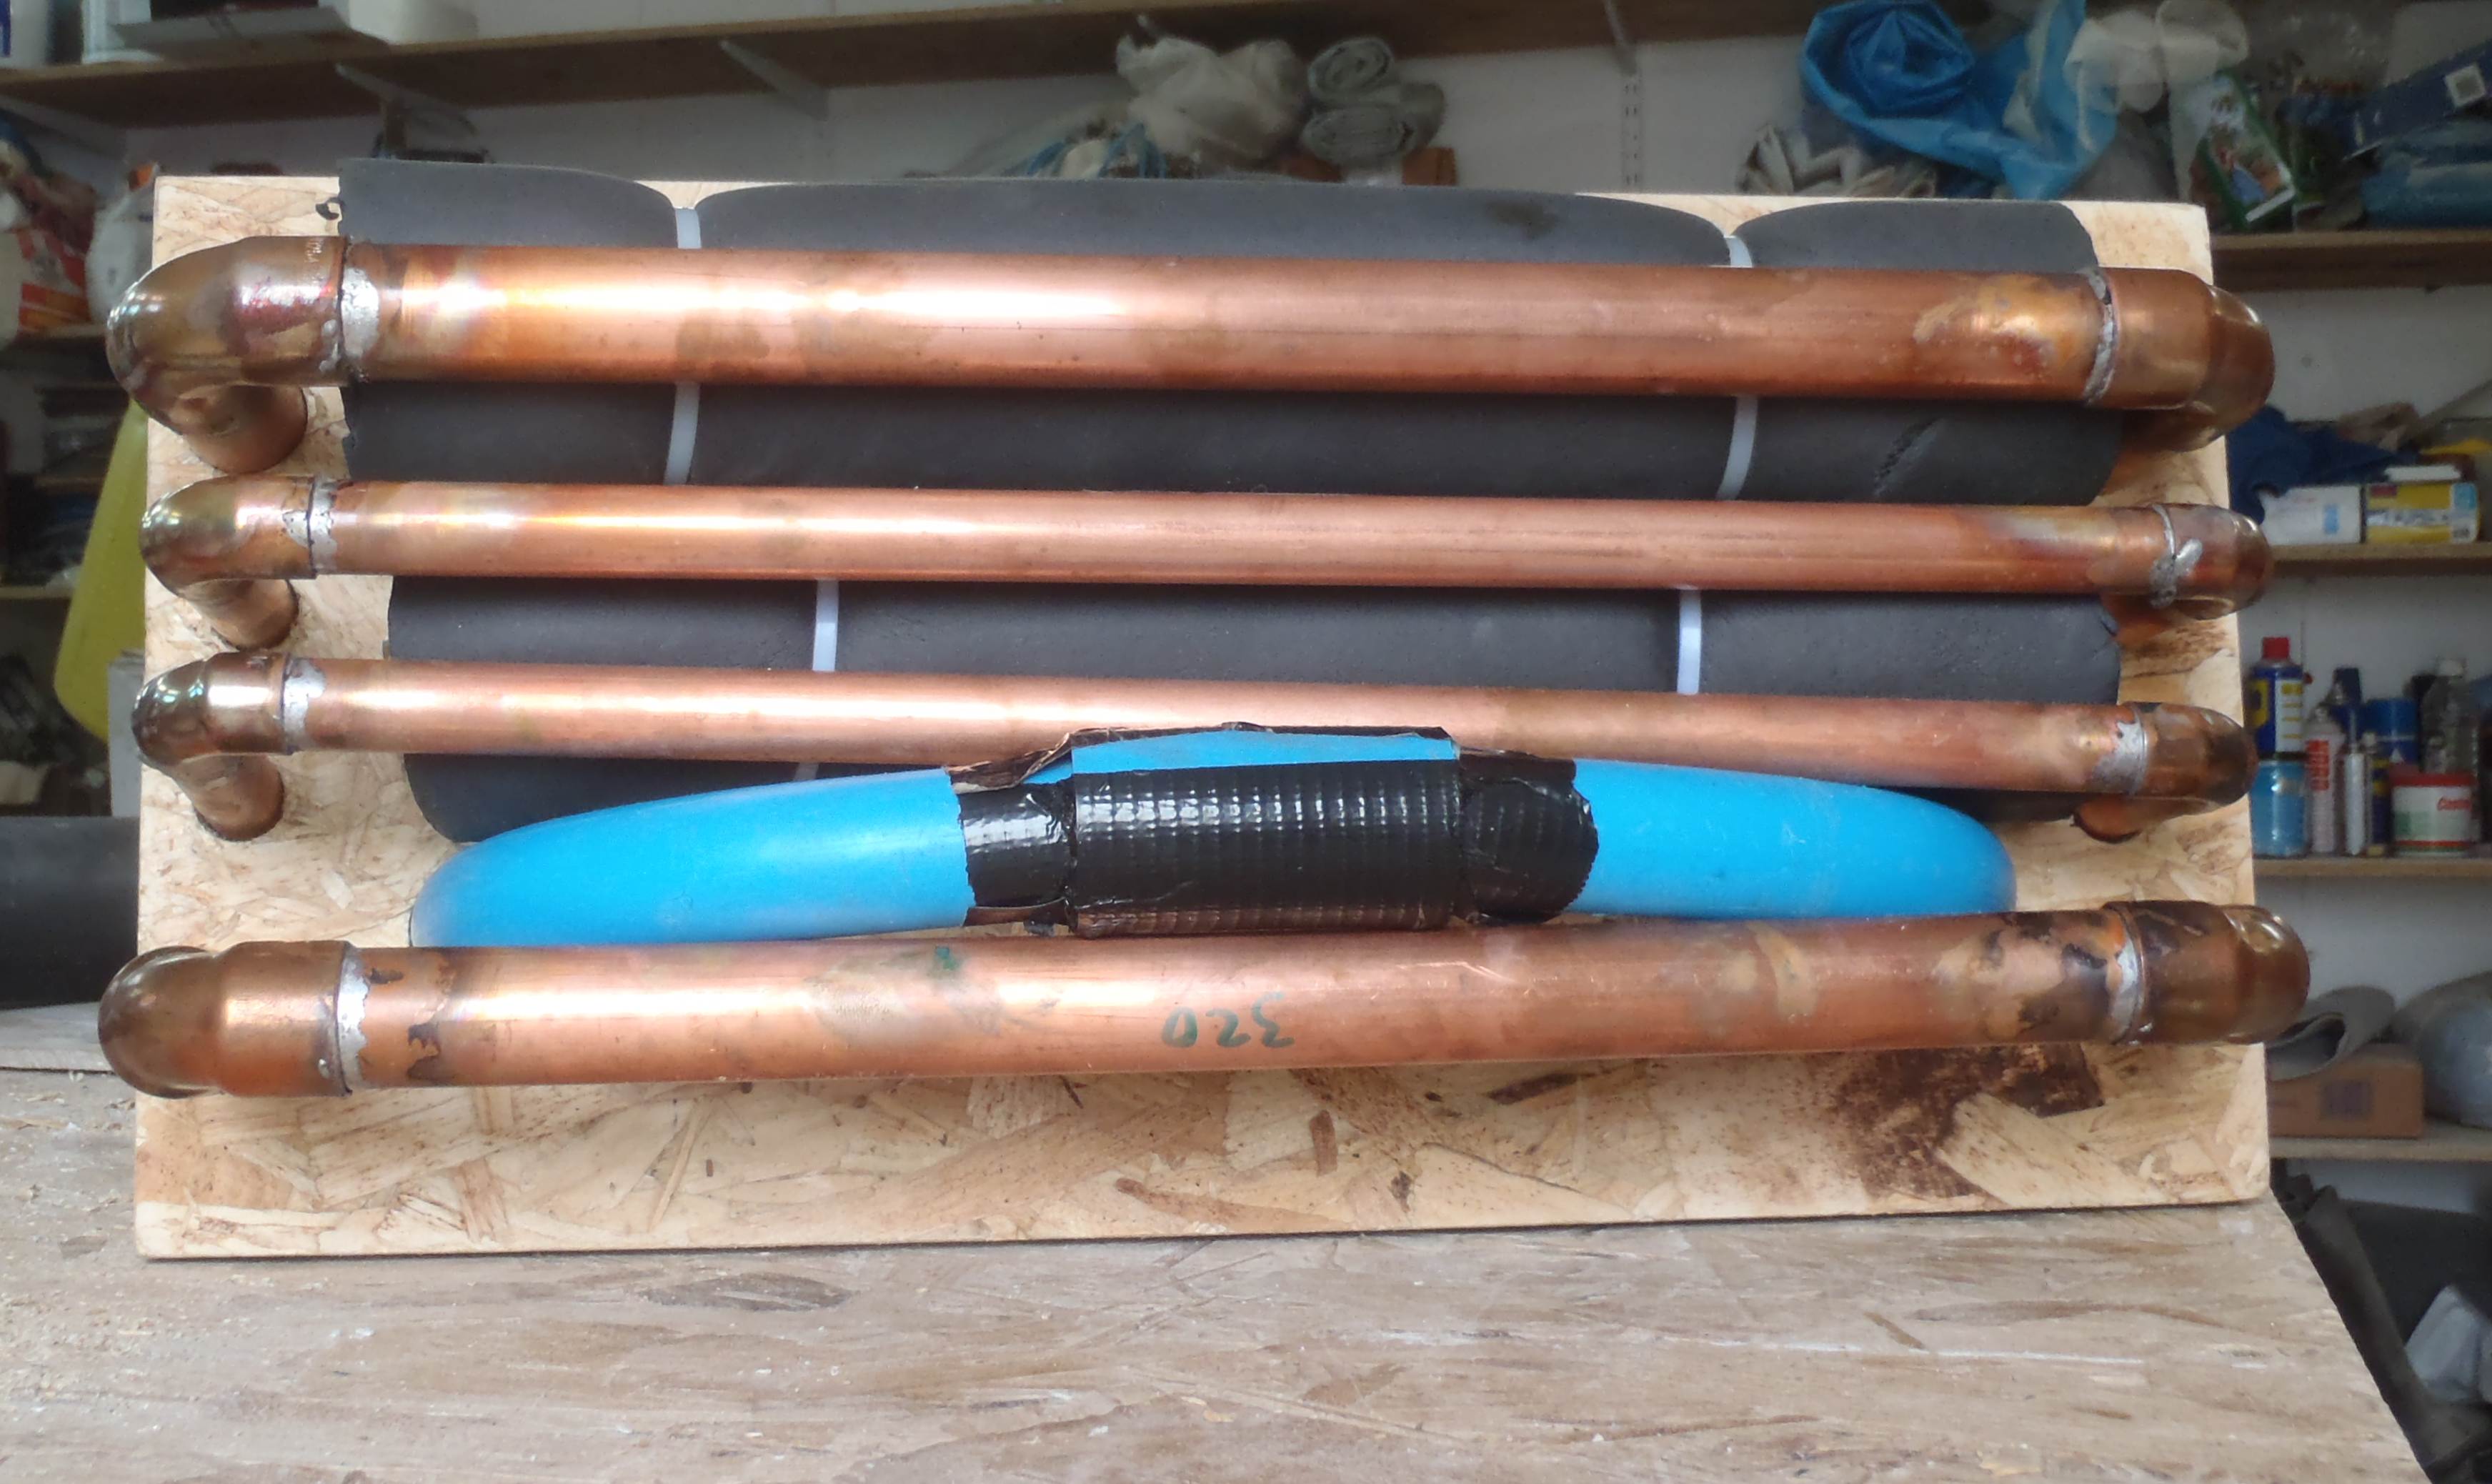
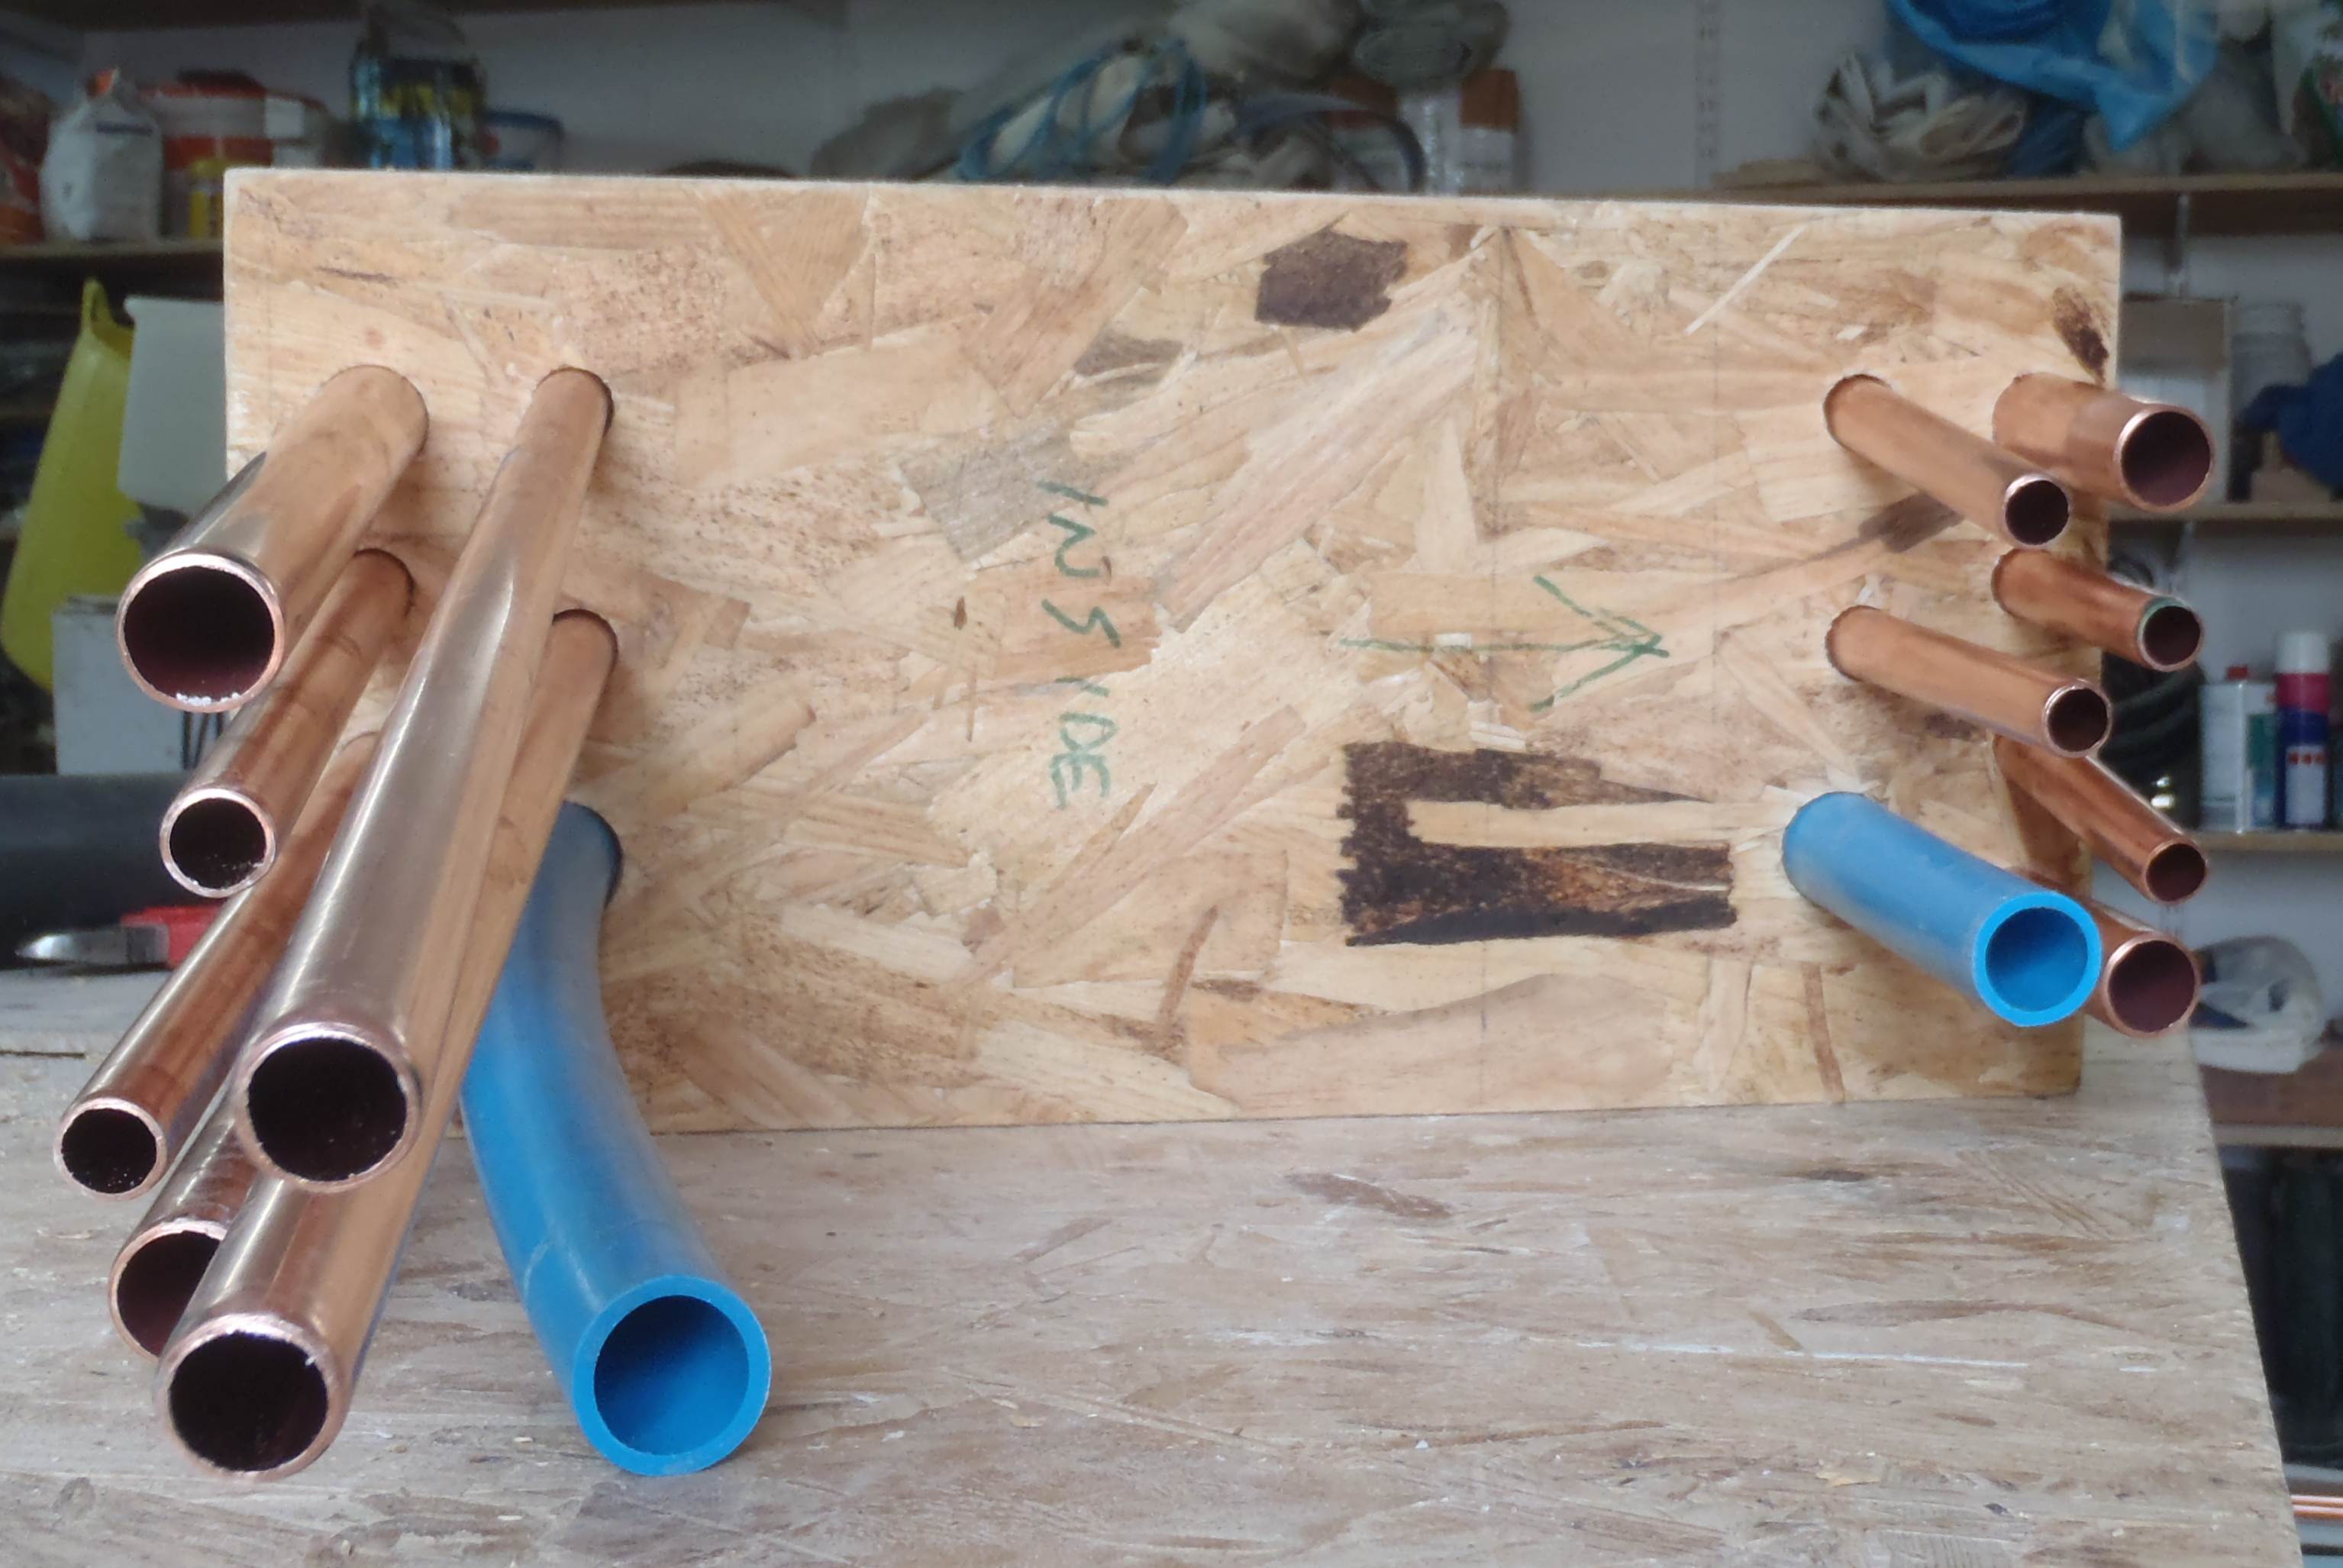
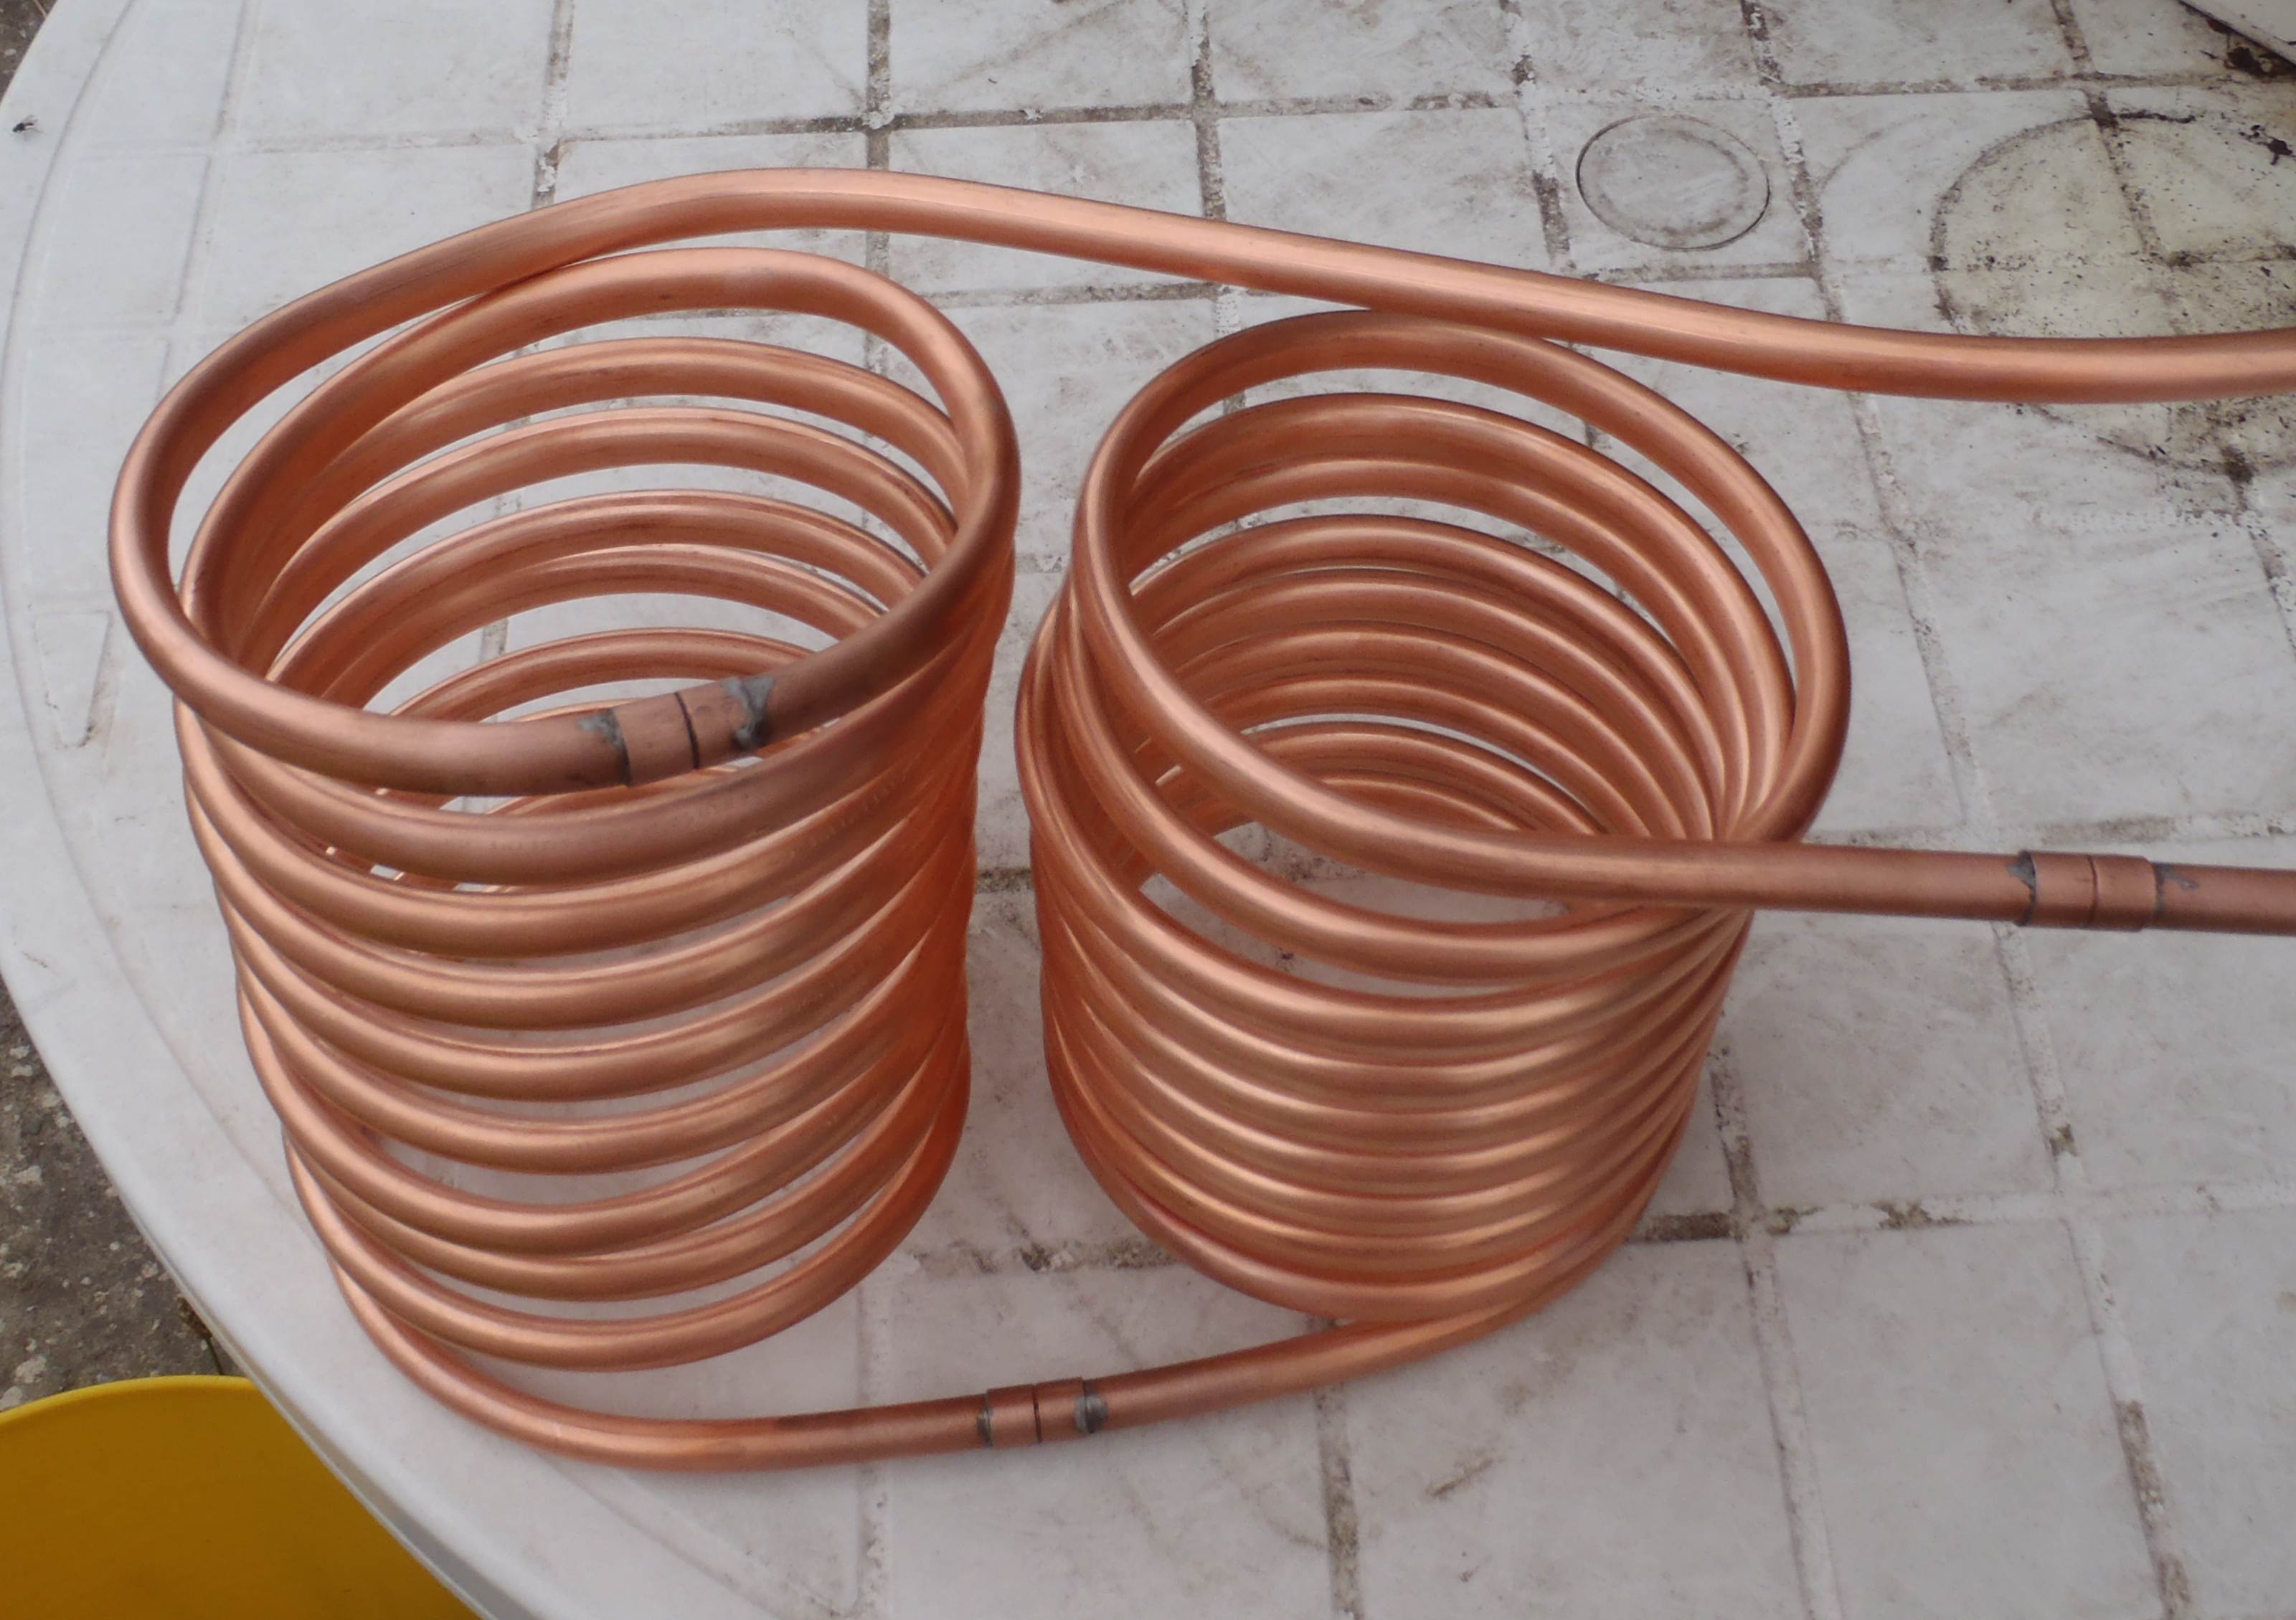
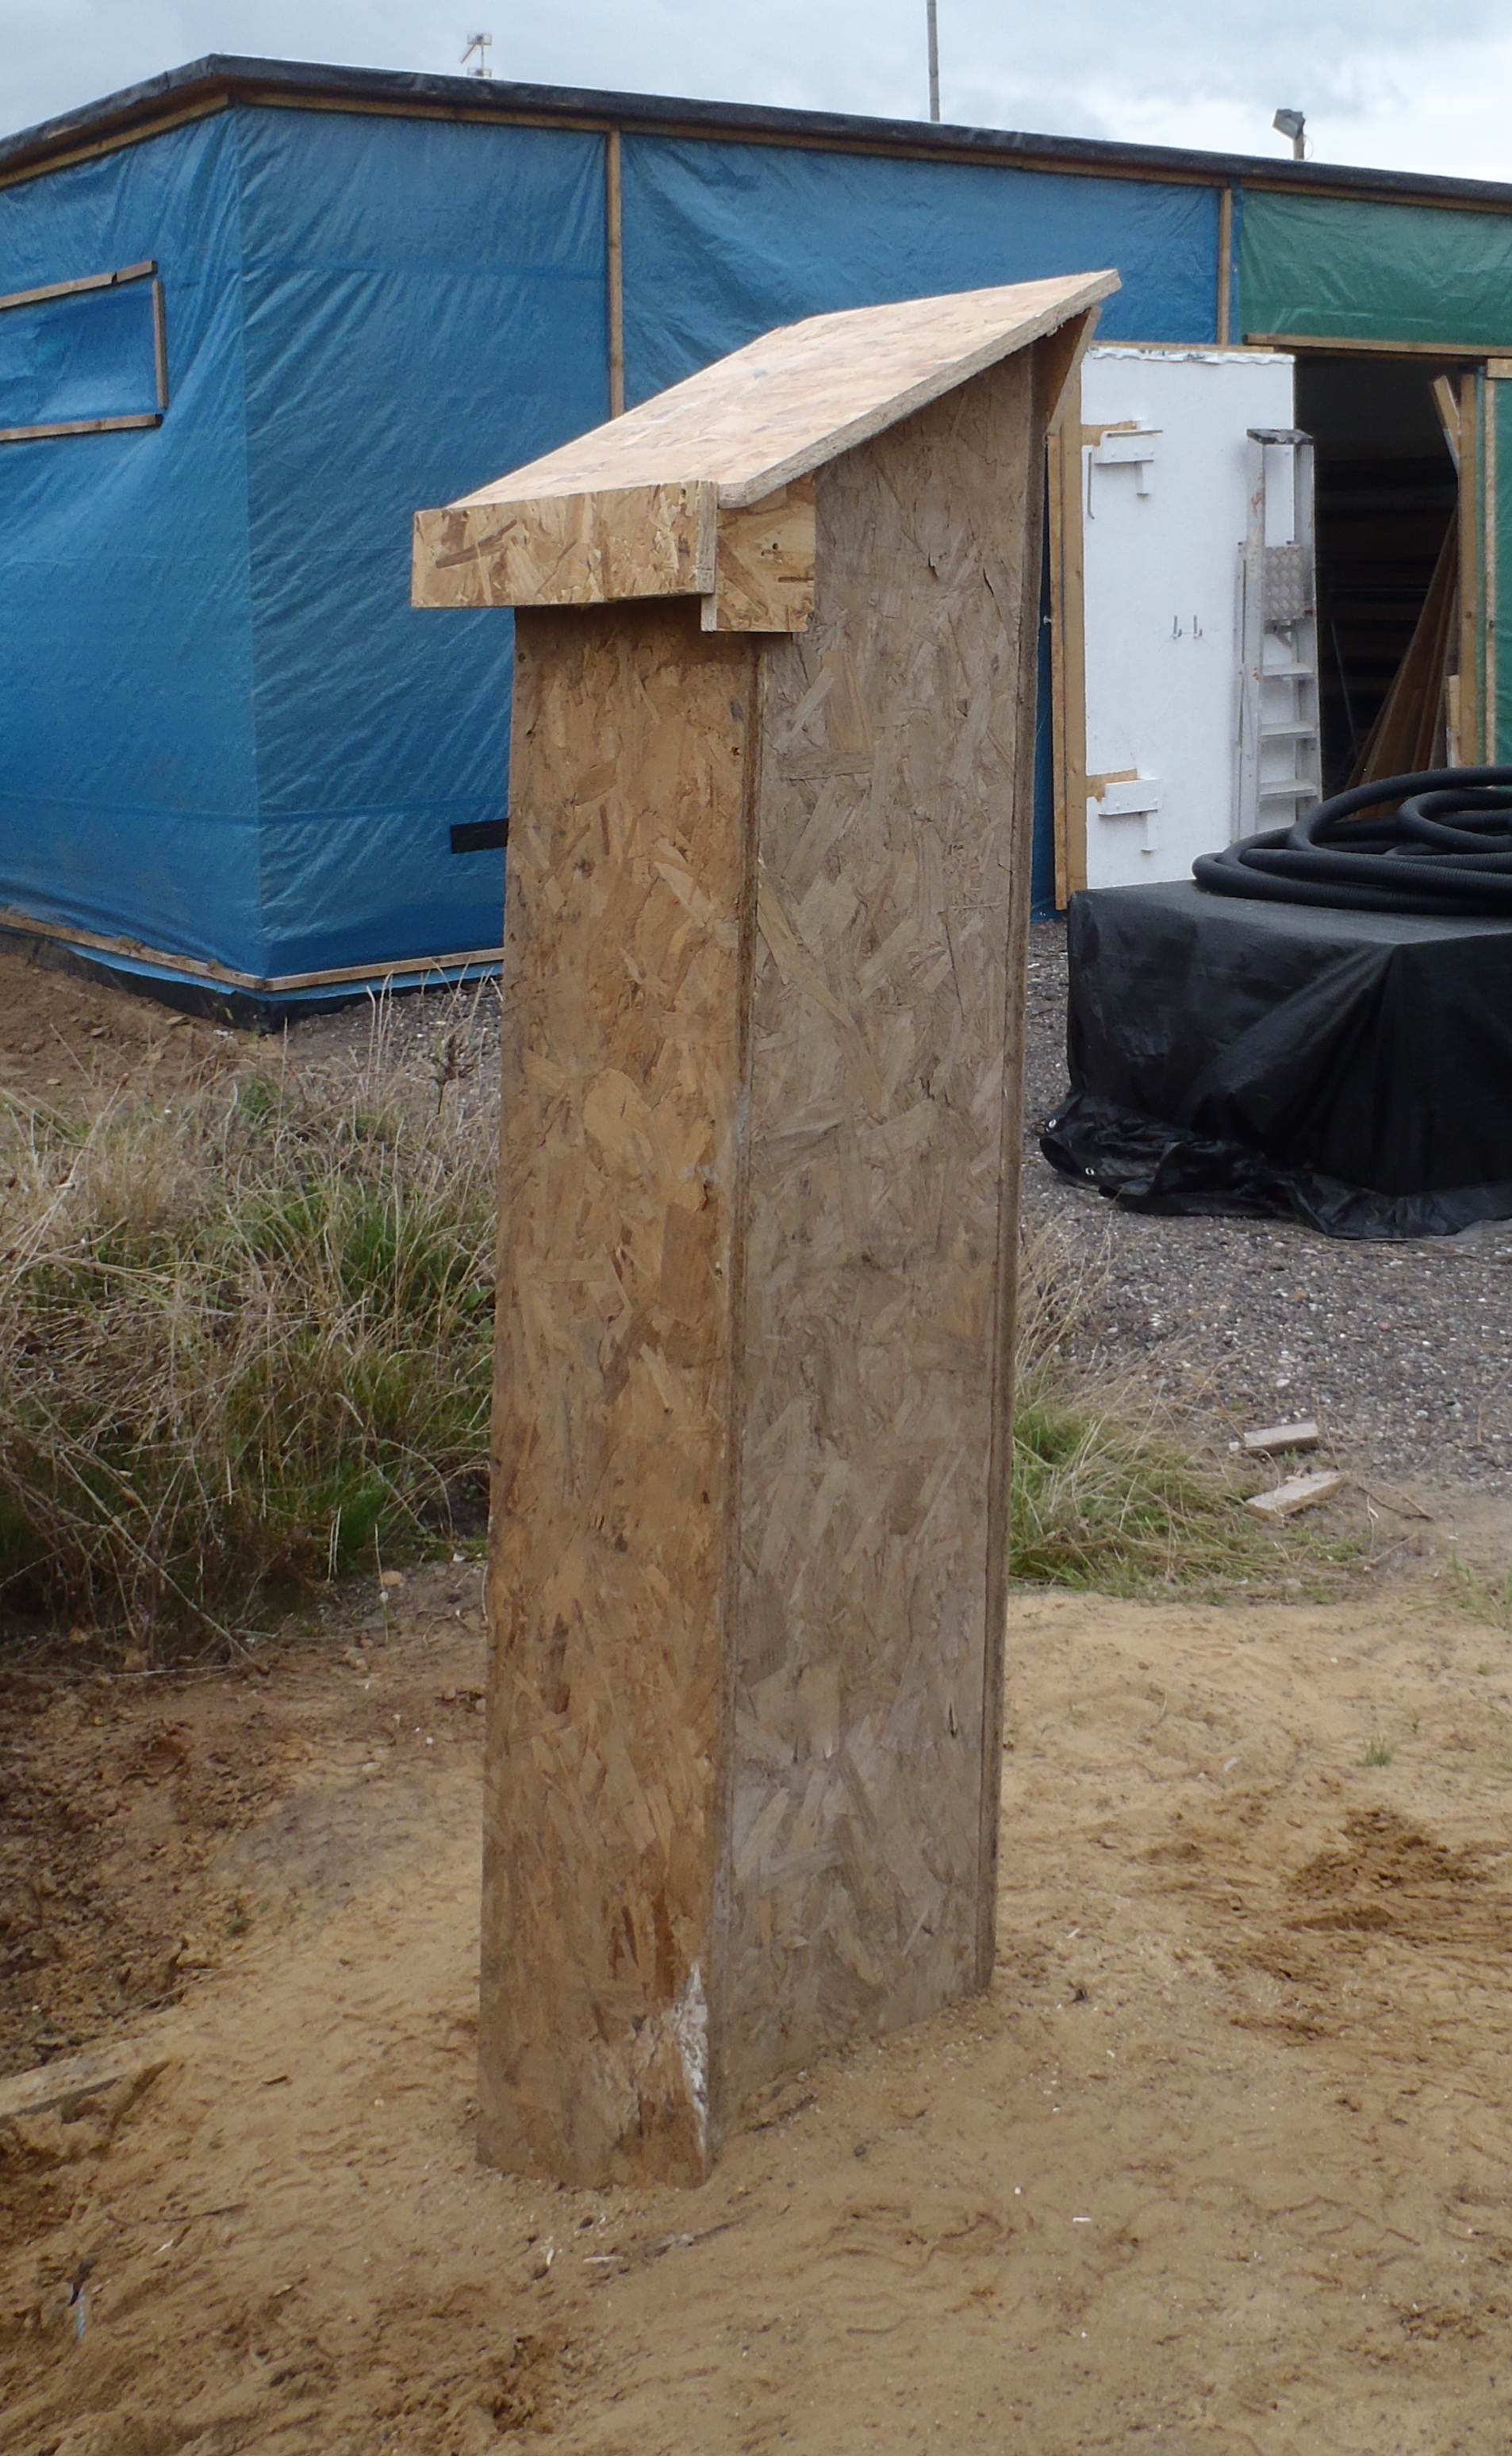
The finished special “U” pipes for the roof was installed today. Then connected the 4 cold water pipes inside above the hot tank, the mains water, the rain tank feed, the hot tank expansion overflow and finally the header tank down feed. Then went up on the roof to connect the other half, the other side of the “U” bends and bring the 4 pipes to the header tank itself.
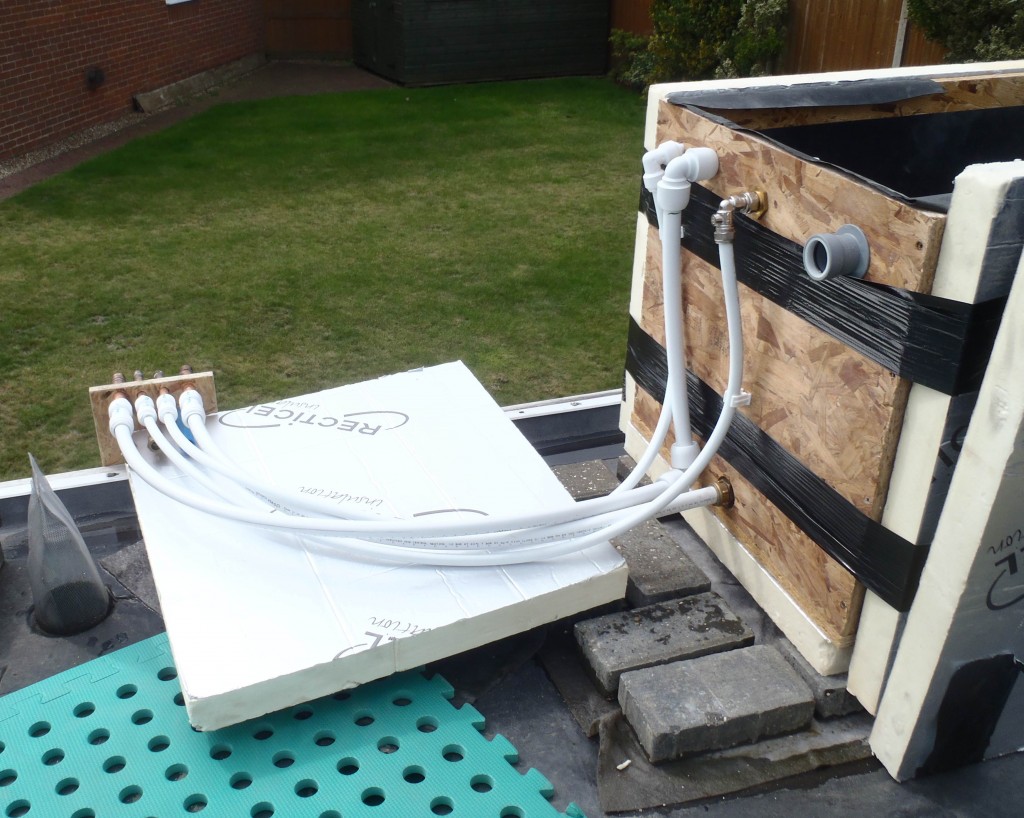
Header tank plumbing connections

Header tank plumbing connections

Header tank plumbing connections

Header tank plumbing connections
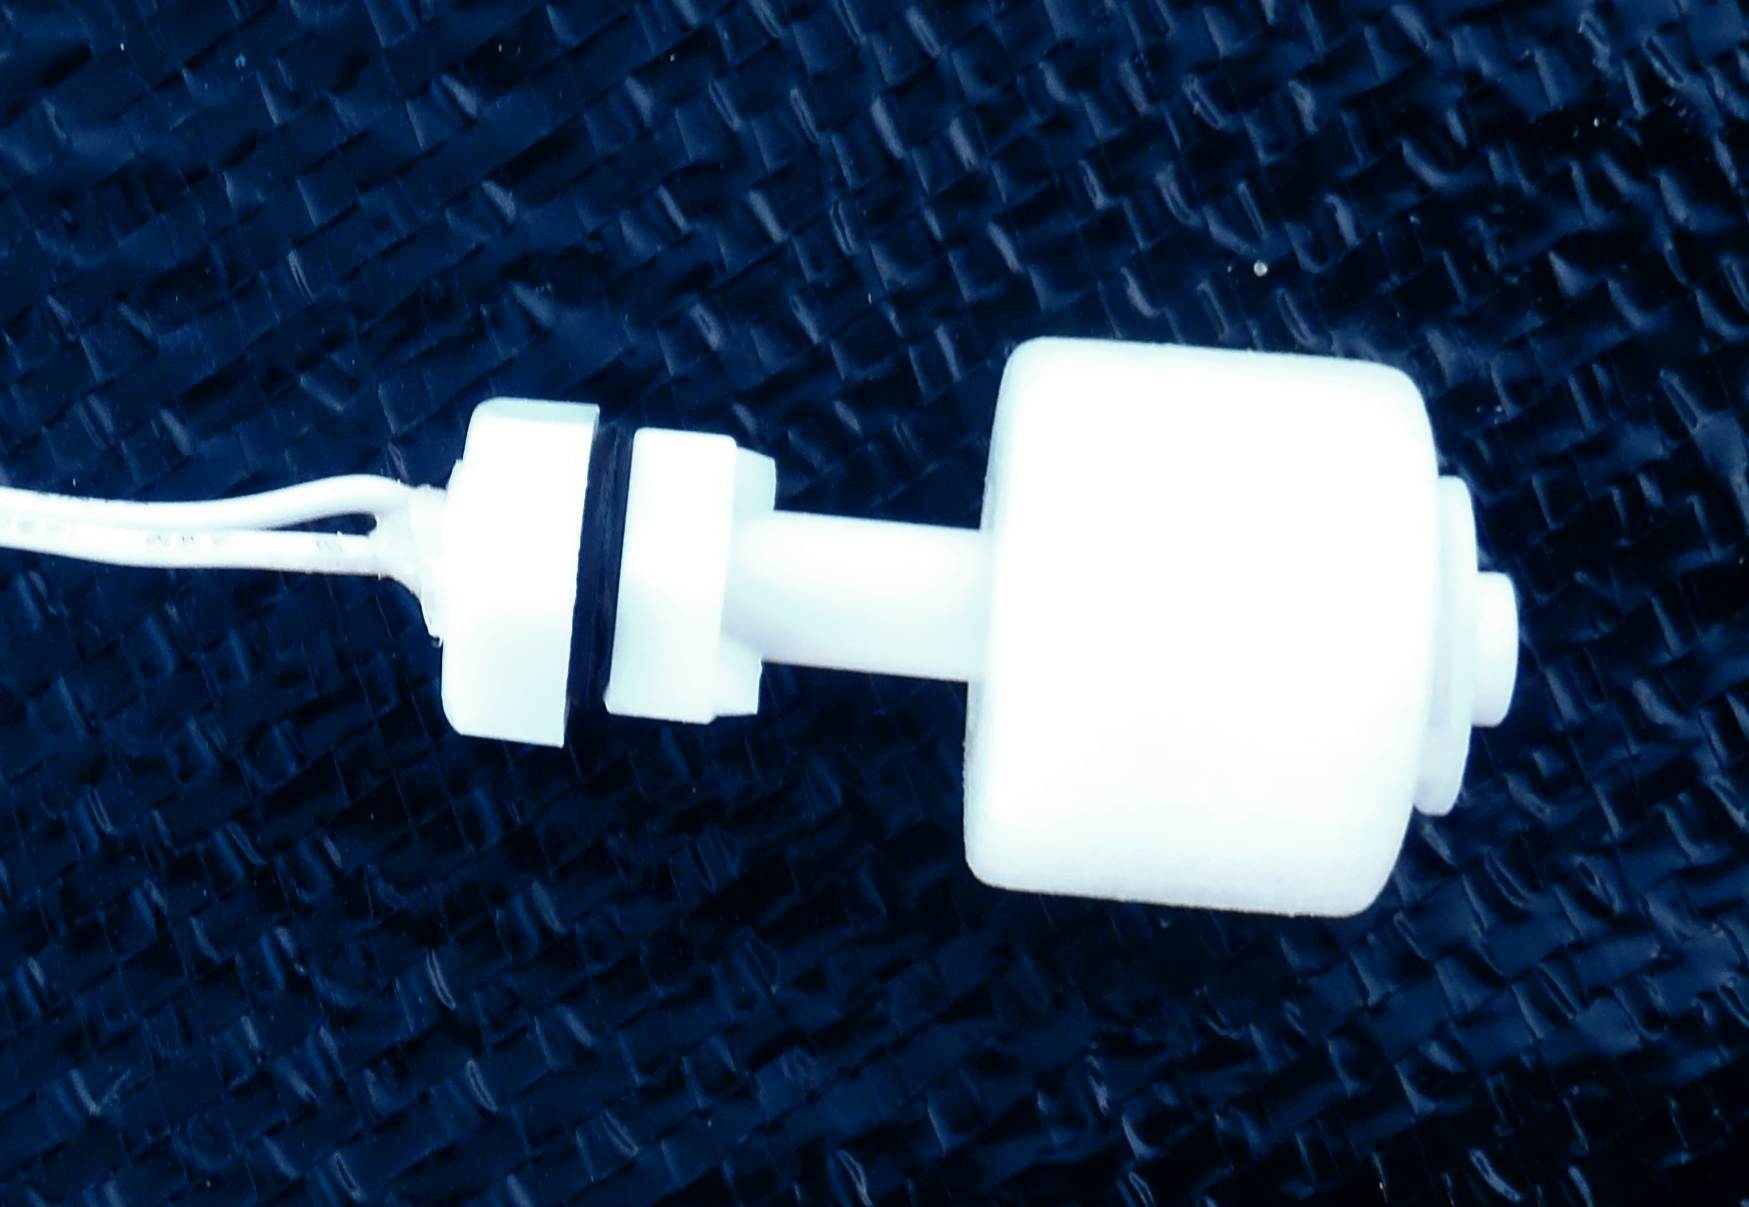
Apart from one air lock situation, the header tank filled up nicely, the hot tank was filling up, water was coming out of the basin pipes! The air lock occurred in our “U” bends we think and we got rid of it by getting the garden hose up to the header tank and blasting mains pressure down the cold water feed from the header tank! One loud gurgle later and everything resume flowing quite nicely thank you! It is very interesting in how the slightest angle off a pipe might end up that would cause an air lock. Amazing!
While the header tank was filling up we fitted the basin in the toilet.
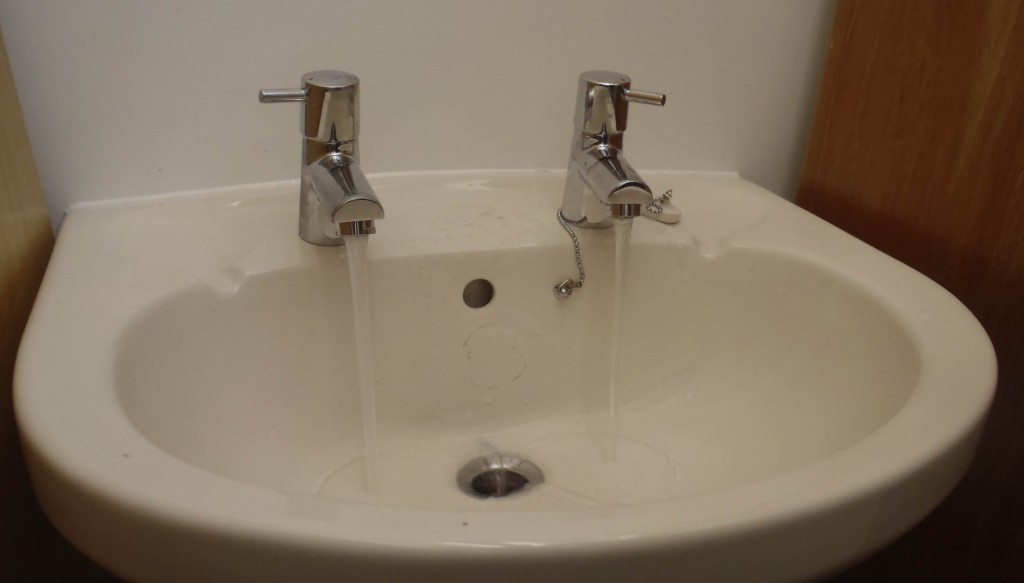
Bathroom basin installed and working
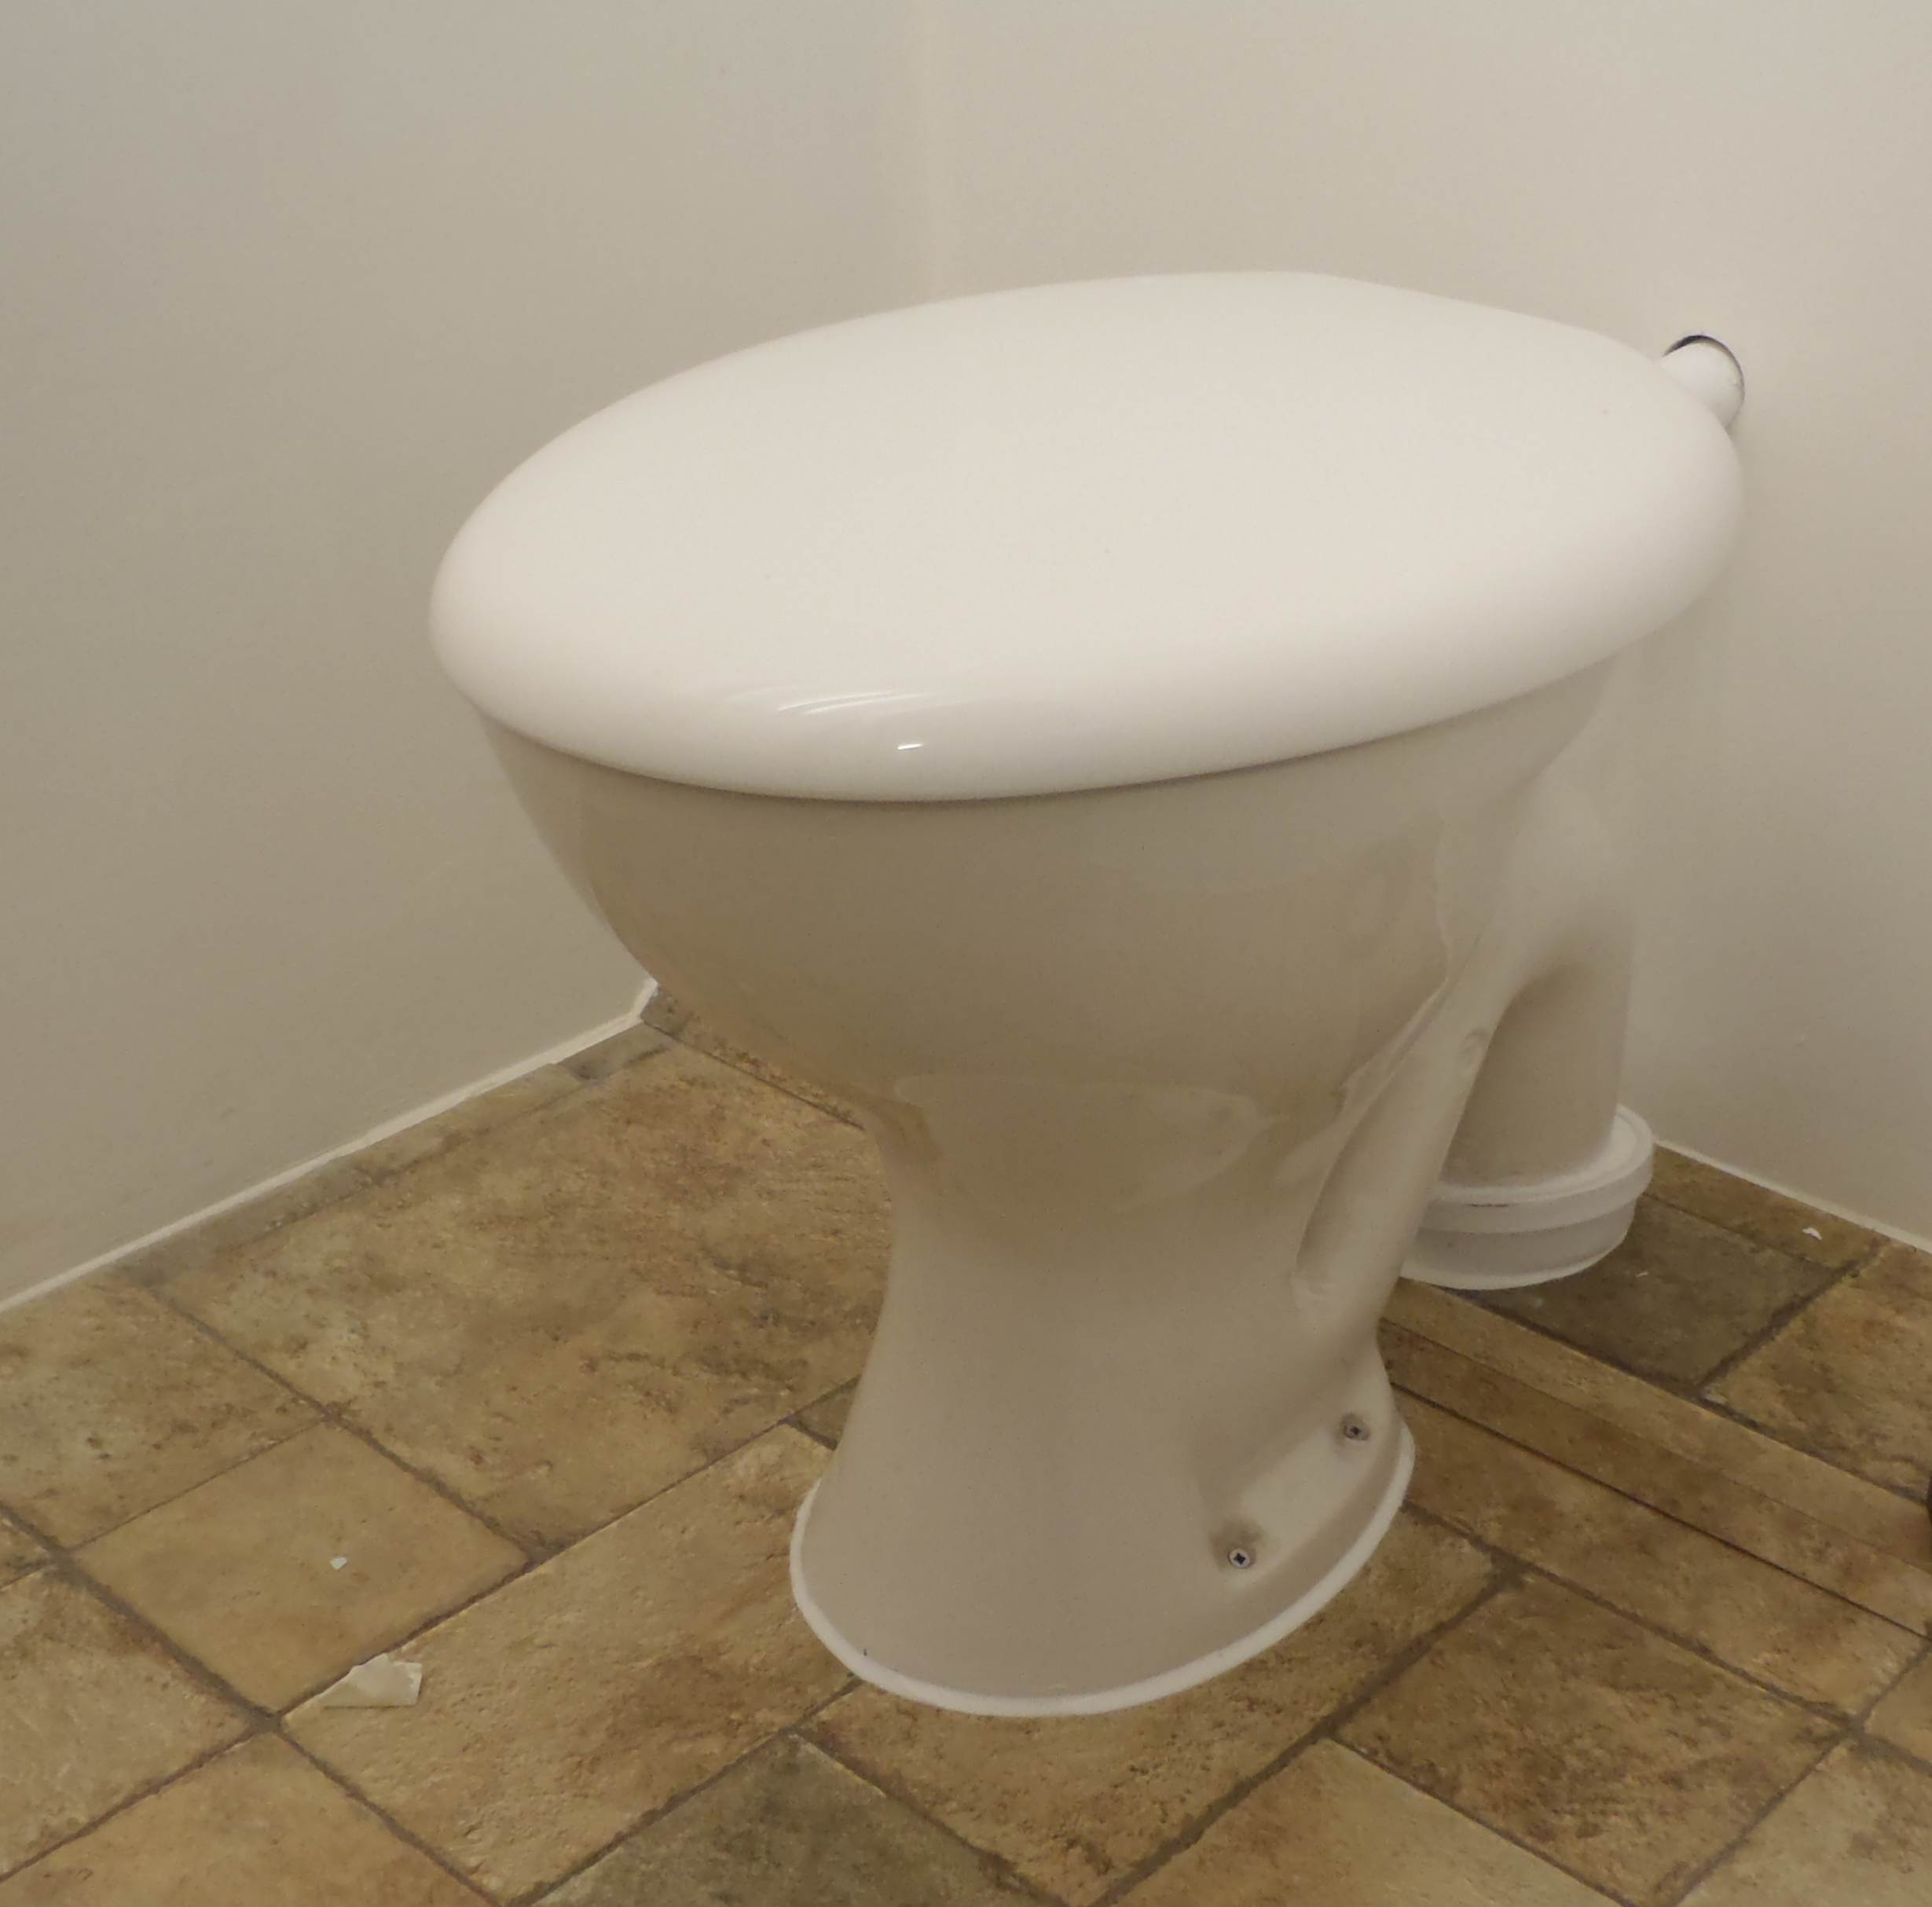
And also we installed the toilet pan too!
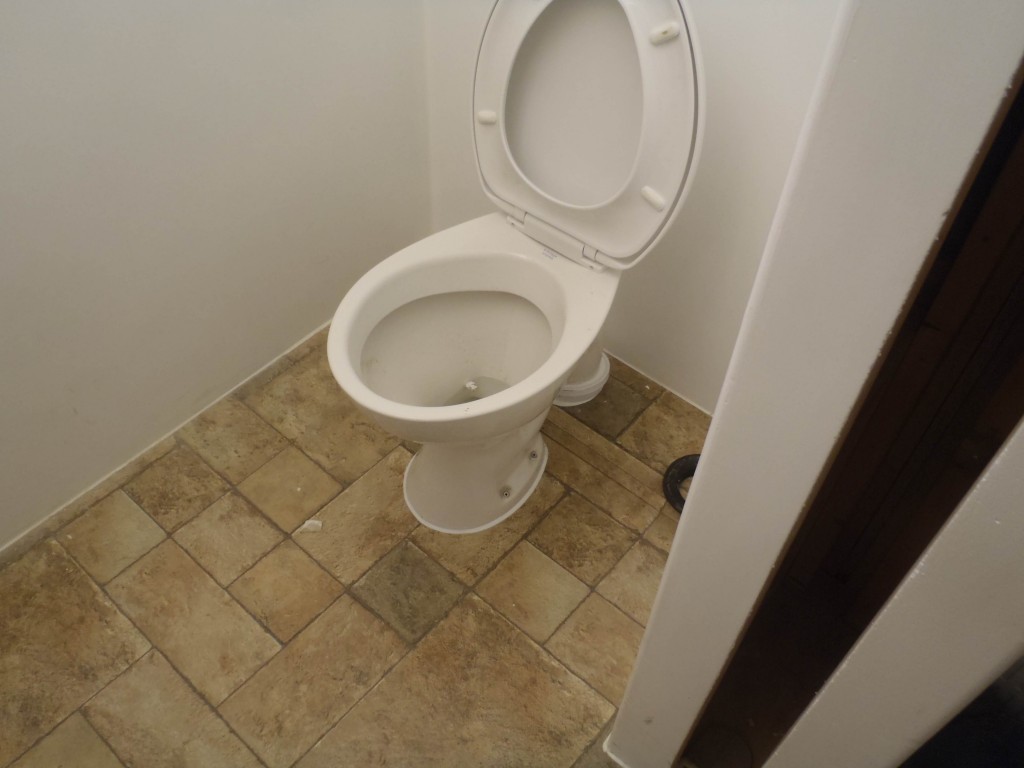
WC installed and sealed in

WC installed and sealed in
We now have water in our basin, from both taps but both cold! For now! The cistern fills up too but we haven’t pulled the handle or rather in this case push the button! We wanted to make sure the sealant is fully cured around the soil pipe connections before subjecting it to too much water, but tomorrow .. .. we will definitely christen it! Smile!