The garden room now has four windows fully fitted with their Oak frame and their double glazing units.
~images
Just one more on the side wall to complete and that is the Garden Room done.
The garden room now has four windows fully fitted with their Oak frame and their double glazing units.
~images
Just one more on the side wall to complete and that is the Garden Room done.
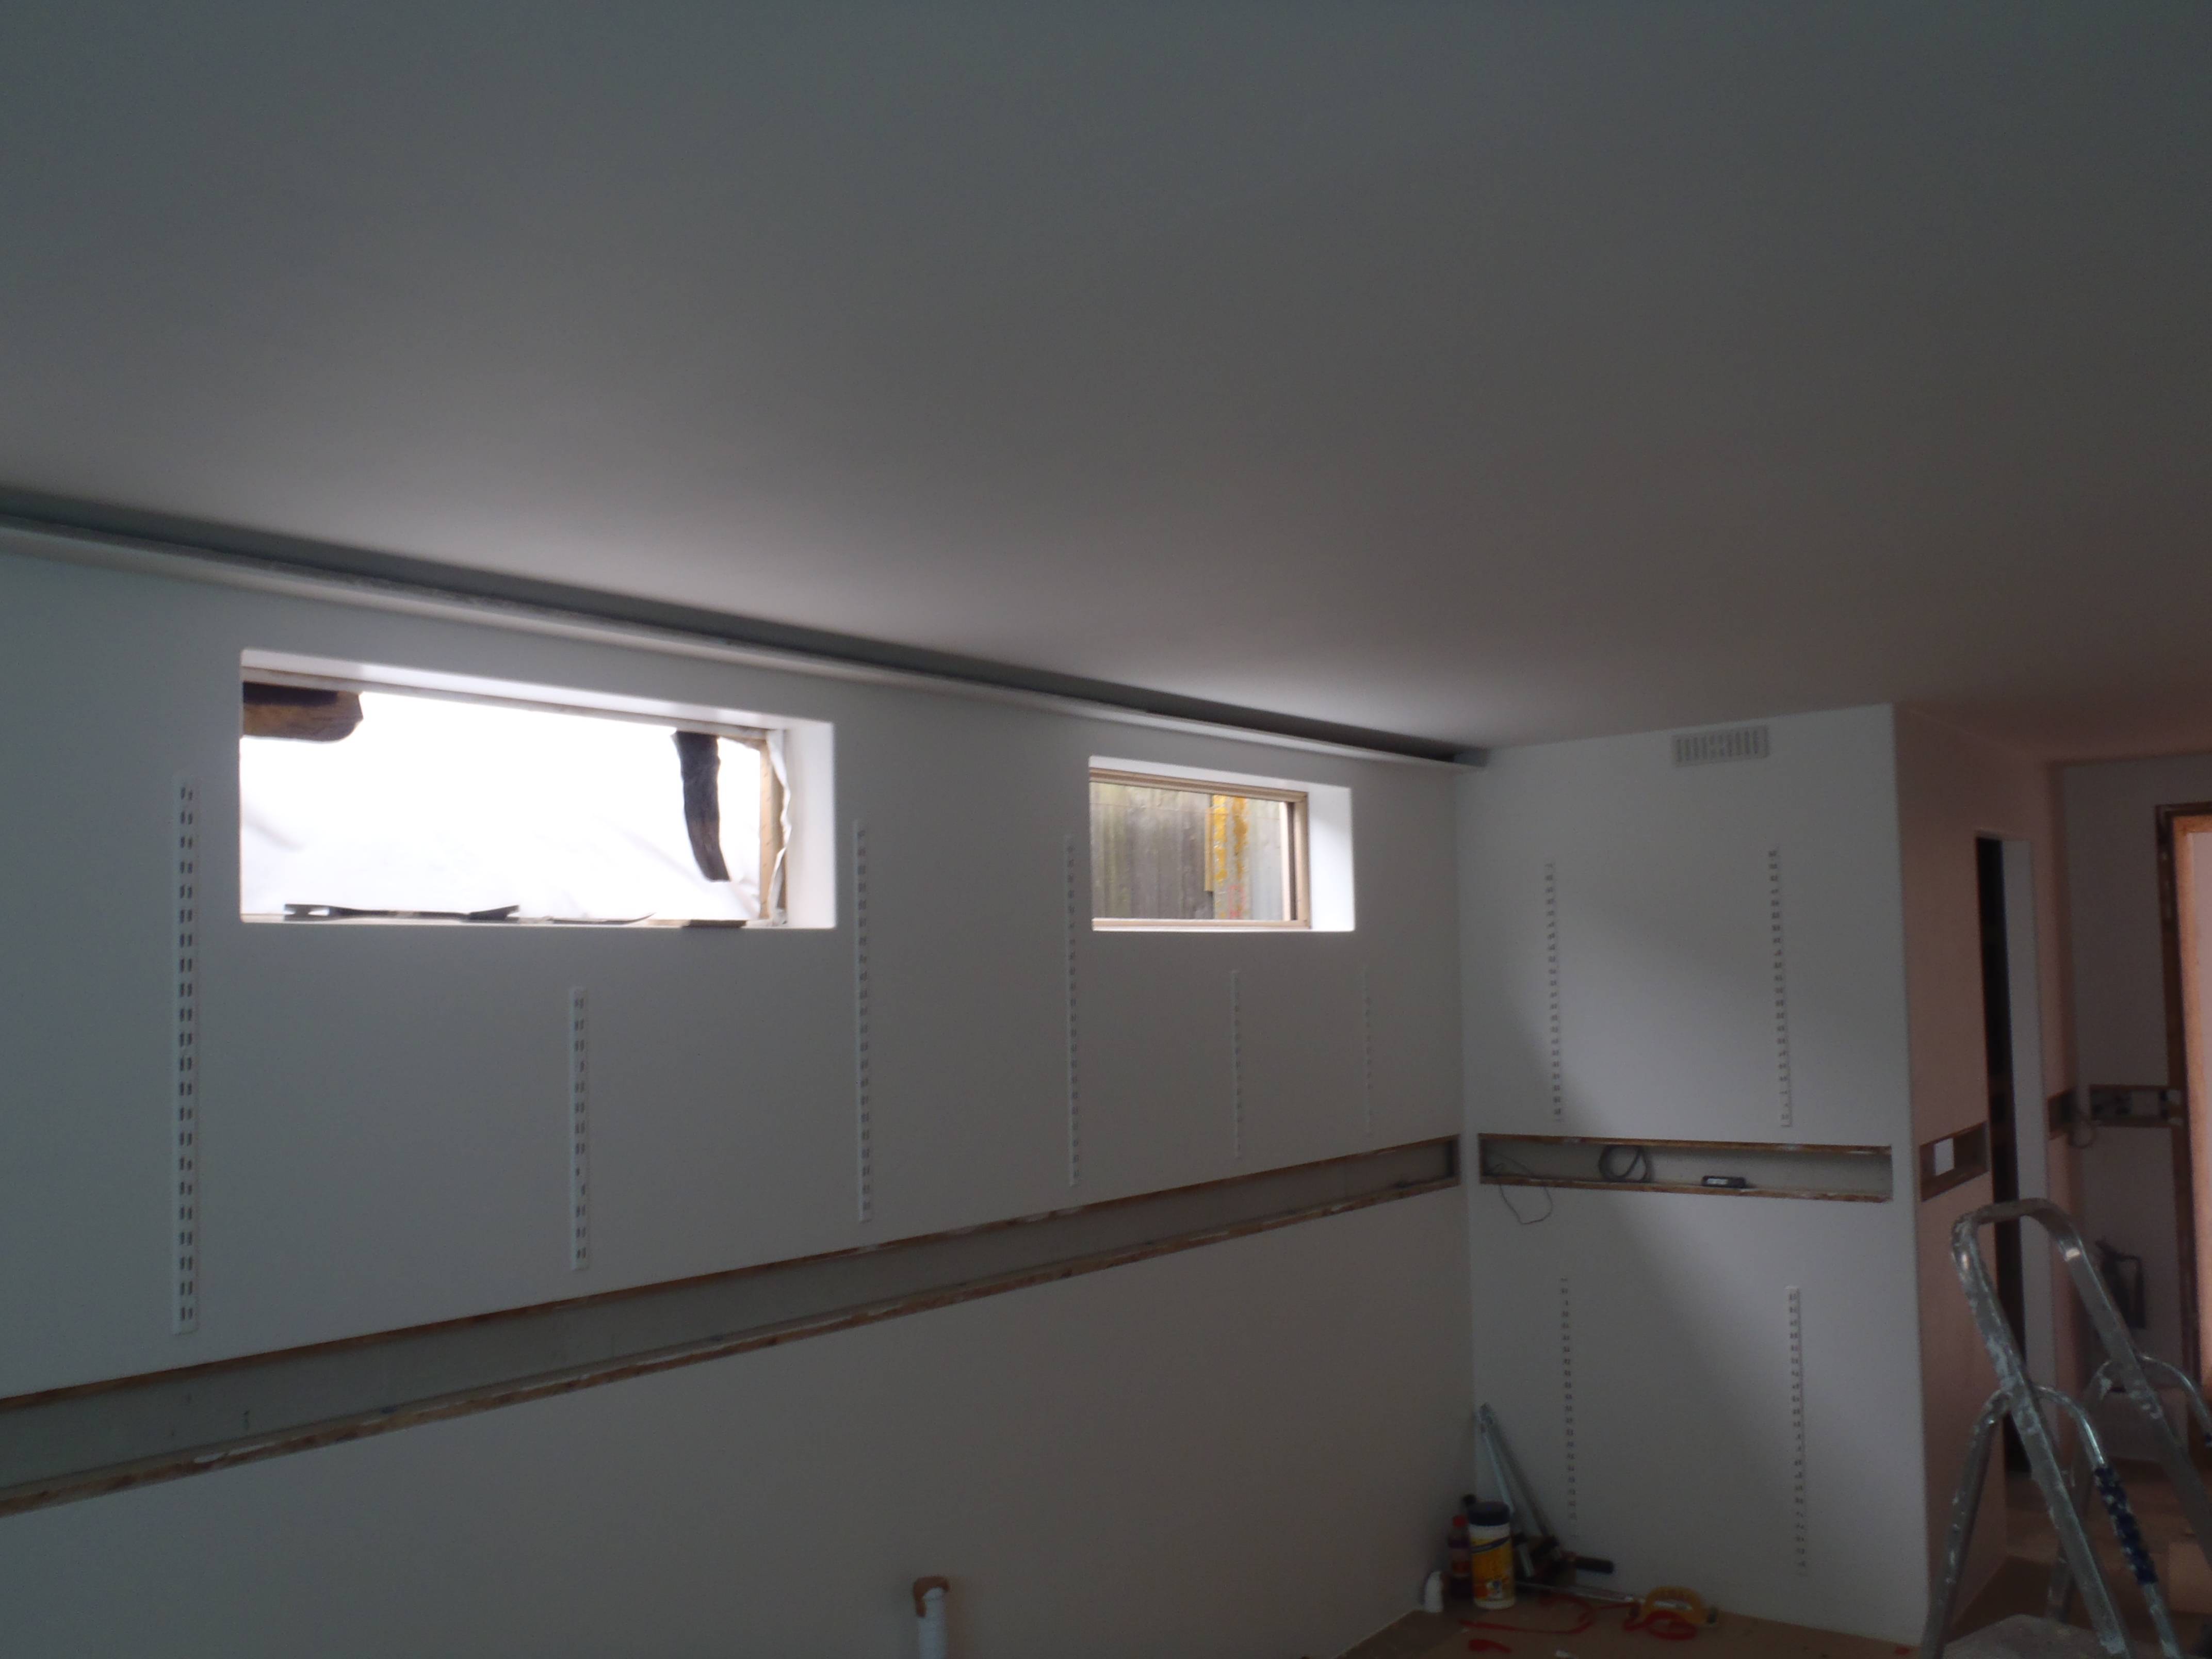
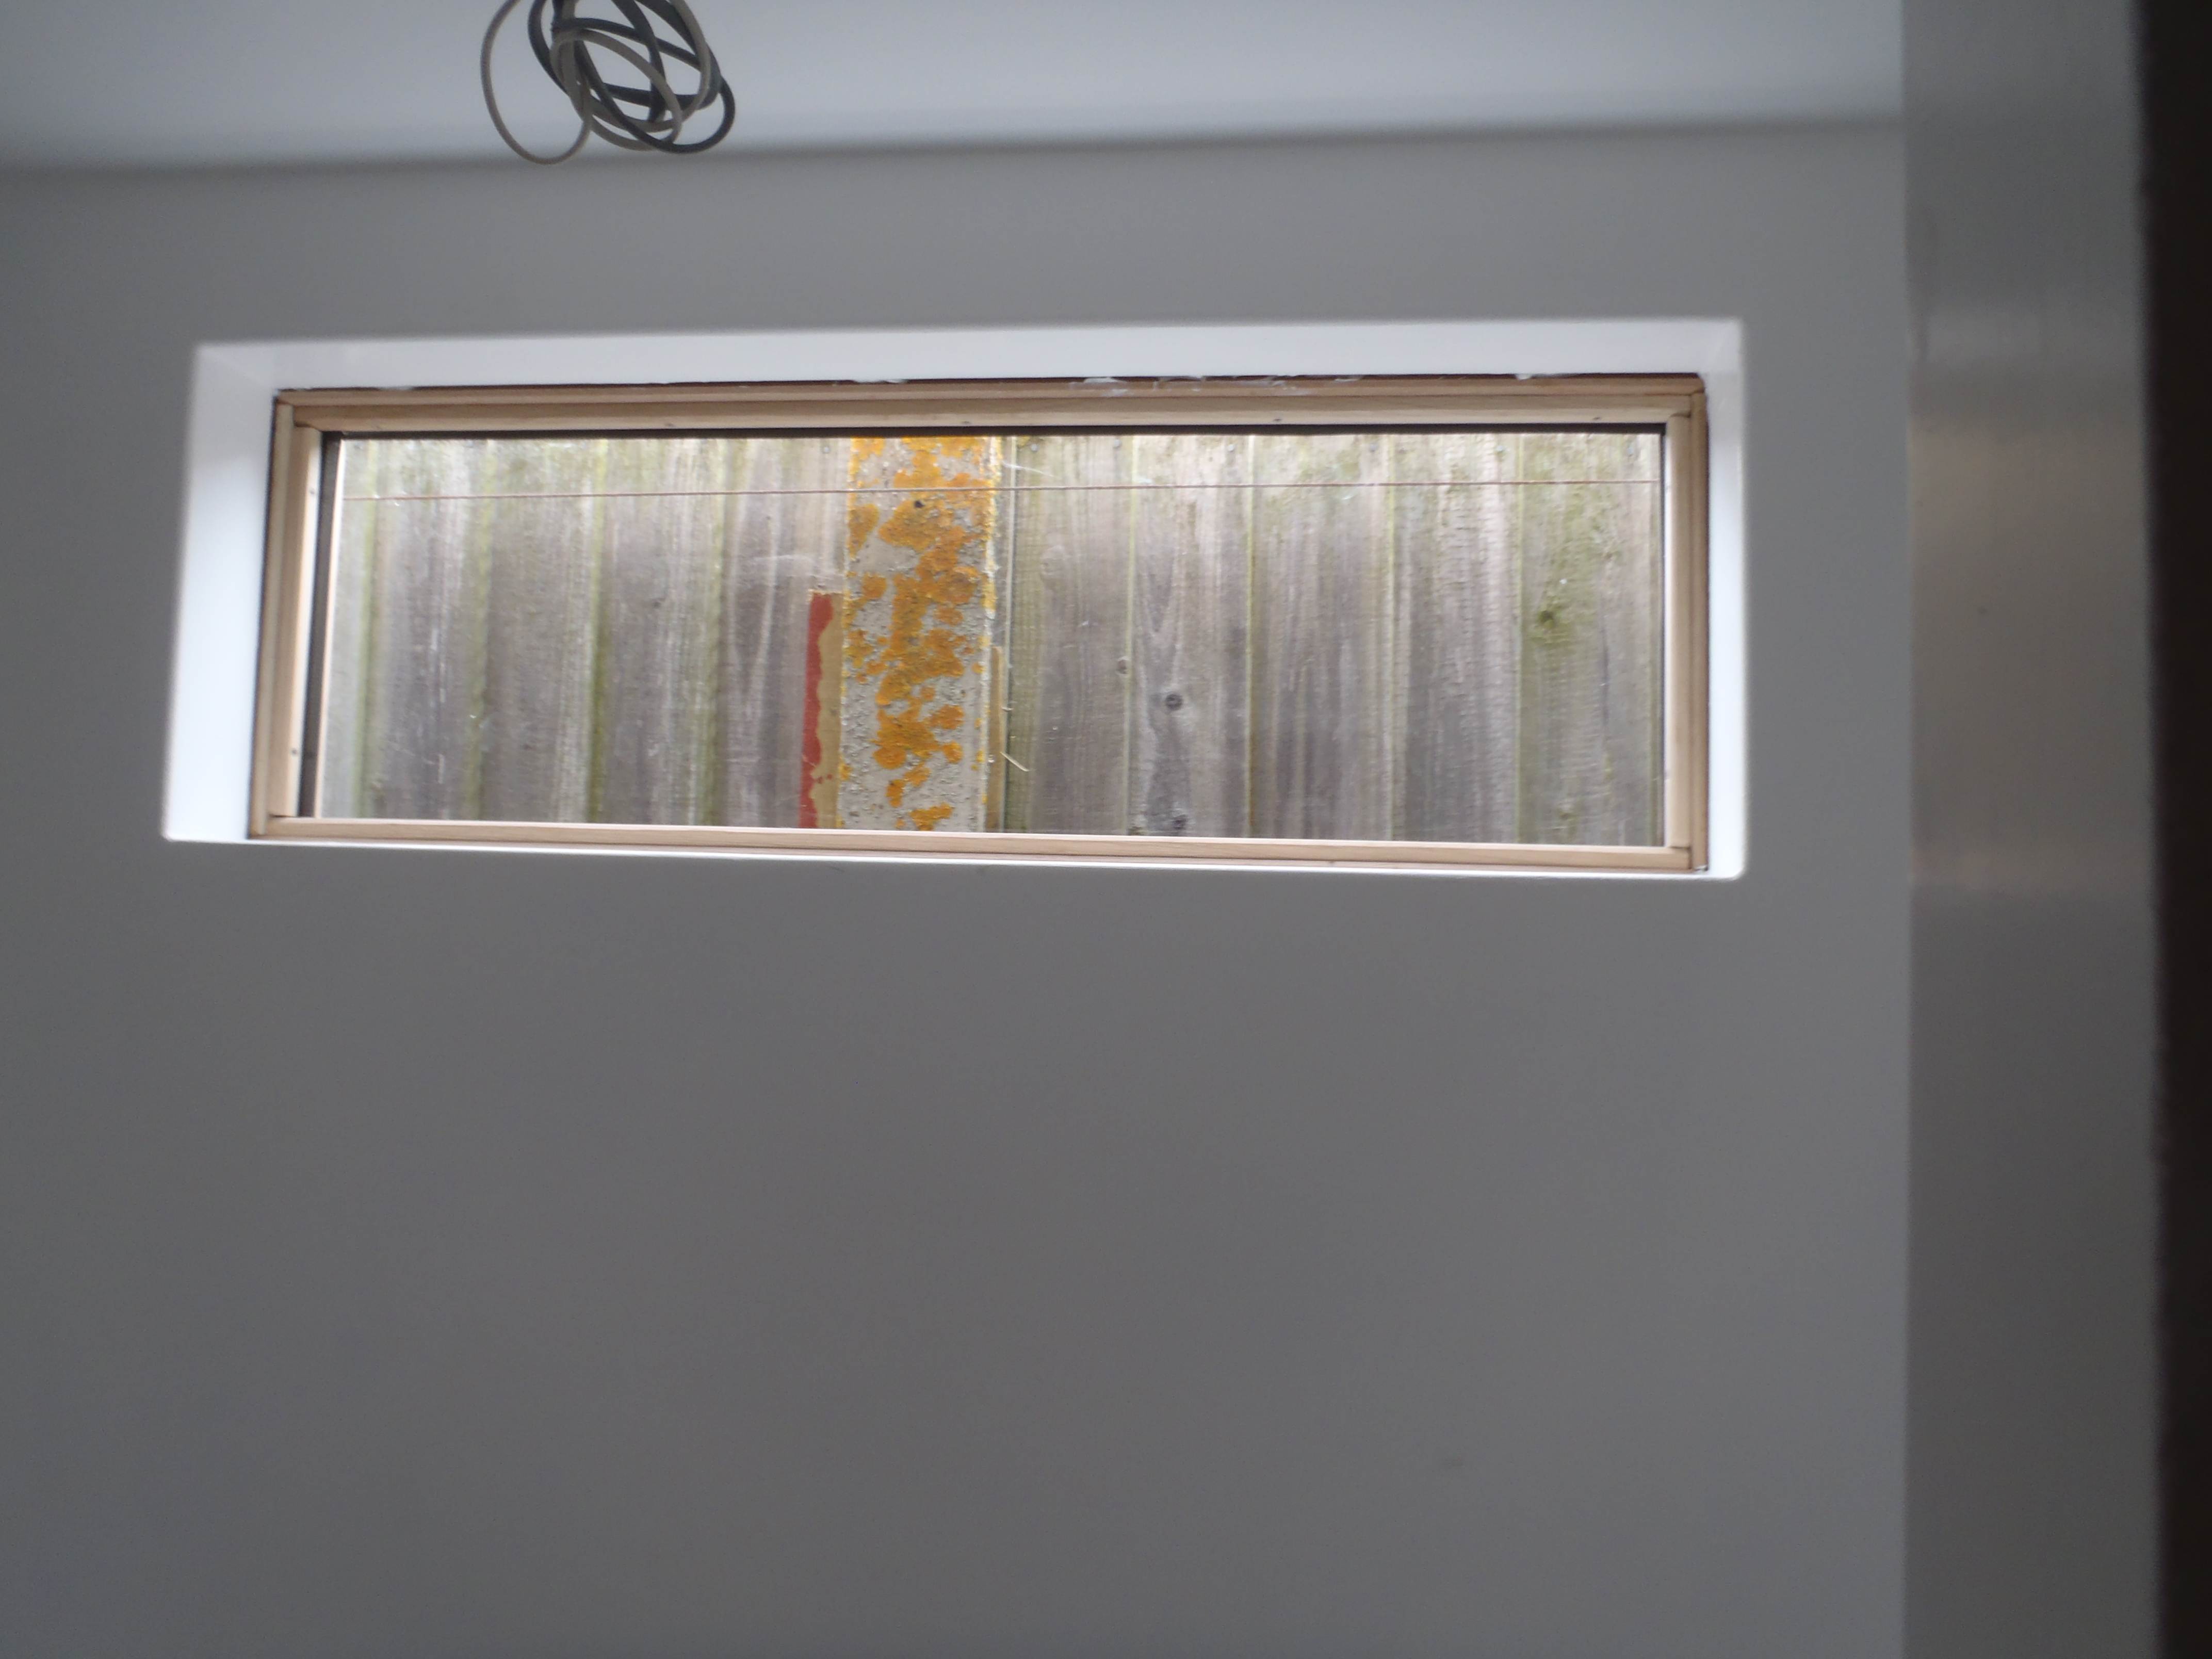
The first 2 windows were completed today! We simply got on with the installation of the windows in the back wall in the garden room regardless of the fact that there was a very slight hint of rain in the air! The forecast said that it would be dry all day just like yesterday so we got on with it!
The Oak frame was sealed in using PU sealant, clamped down while six screws were driven in side ways to provide a solid fixing. The glass was then stuck into place using double sided glazing tape. The glass fits just fine! The Oak frame also fitted just fine too! Phew!
GR First two windows installed
GR First two windows installed
It is interesting that the old temporary plastic windows were much brighter than the glass but that is because the plastic film wasn’t completely transparent and they glowed in the daylight but of course the glass is so much clearer! The room will now be overall brighter when we have the remaining windows done!
Two more to go on the back wall. 7 more of a different design to do later (1 left in the Garden Room and 6 more in the front garage room).
Yesterday The electric mains sockets were installed in all the rooms in the temporary living quarters. There are 13 of them! Each bedroom has 3 and the lounge has 4!
Stephen has built the lighting strips for the Garden Room. The concealed indirect lighting channels in the Garden room are much more narrow than what we have in the garage itself. The lighting units are mounted on long strips of timber (38mm by 25mm and 3.9m long! They are wrapped completely up in aluminium foil to provide both an earthing point for the florescent maps themselves, a reflective surface to maximise light output into the room and finally a conductive heat transfer mechanism to cool the controller.
There are lamps on each end of the strip with the controller unit in the middle. The Mains Lighting circuit will be connected at one end so the whole strip can be disconnected for maintenance.
Two of these have been made and that will be the total lighting in the Garden room. They are installed in the Garden room such that the tubes on opposite sides don’t line up, this gives the best distribution of light.

GR Lights installed
The sliding doors for the WC are now varnished! They have had their 3 coats of clear floor grade varnish.
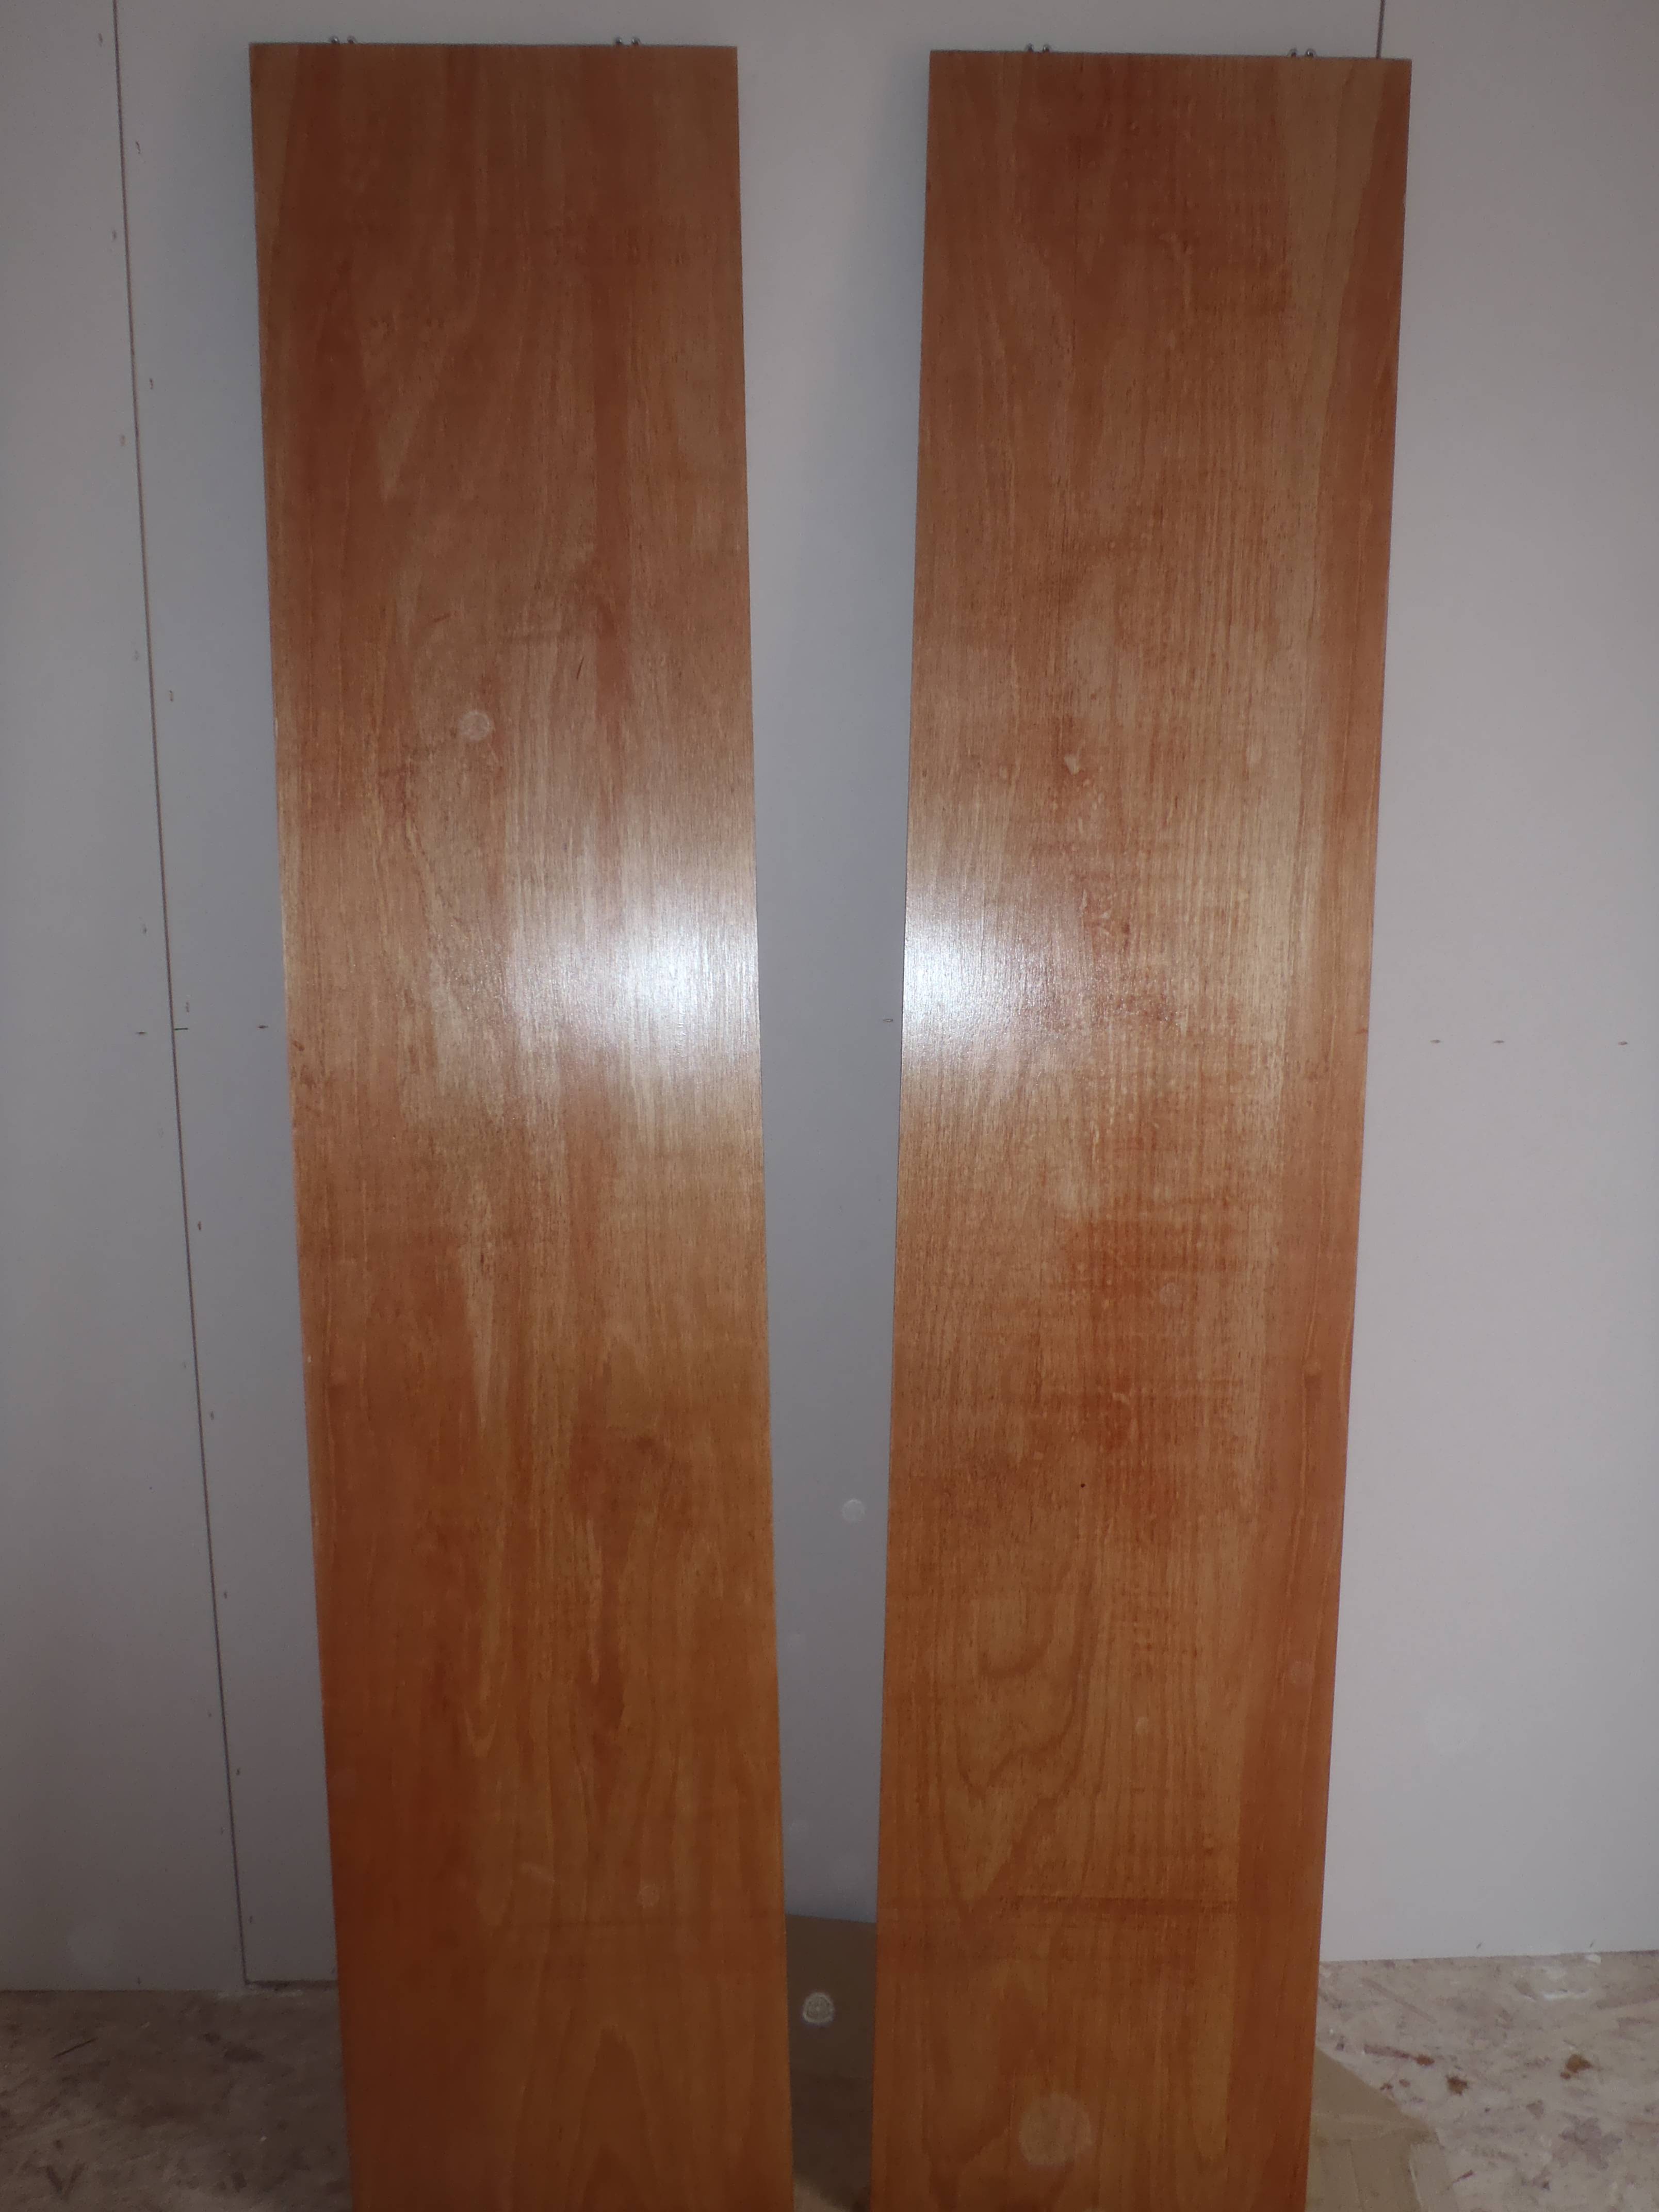
WC sliding doors varnished
Next is to make an Oak “buffer” strips for the two doors to bash together and conceal the layers of the construction. We will put on magnetic strips as well to help keep the two doors closed while the WC is engaged!
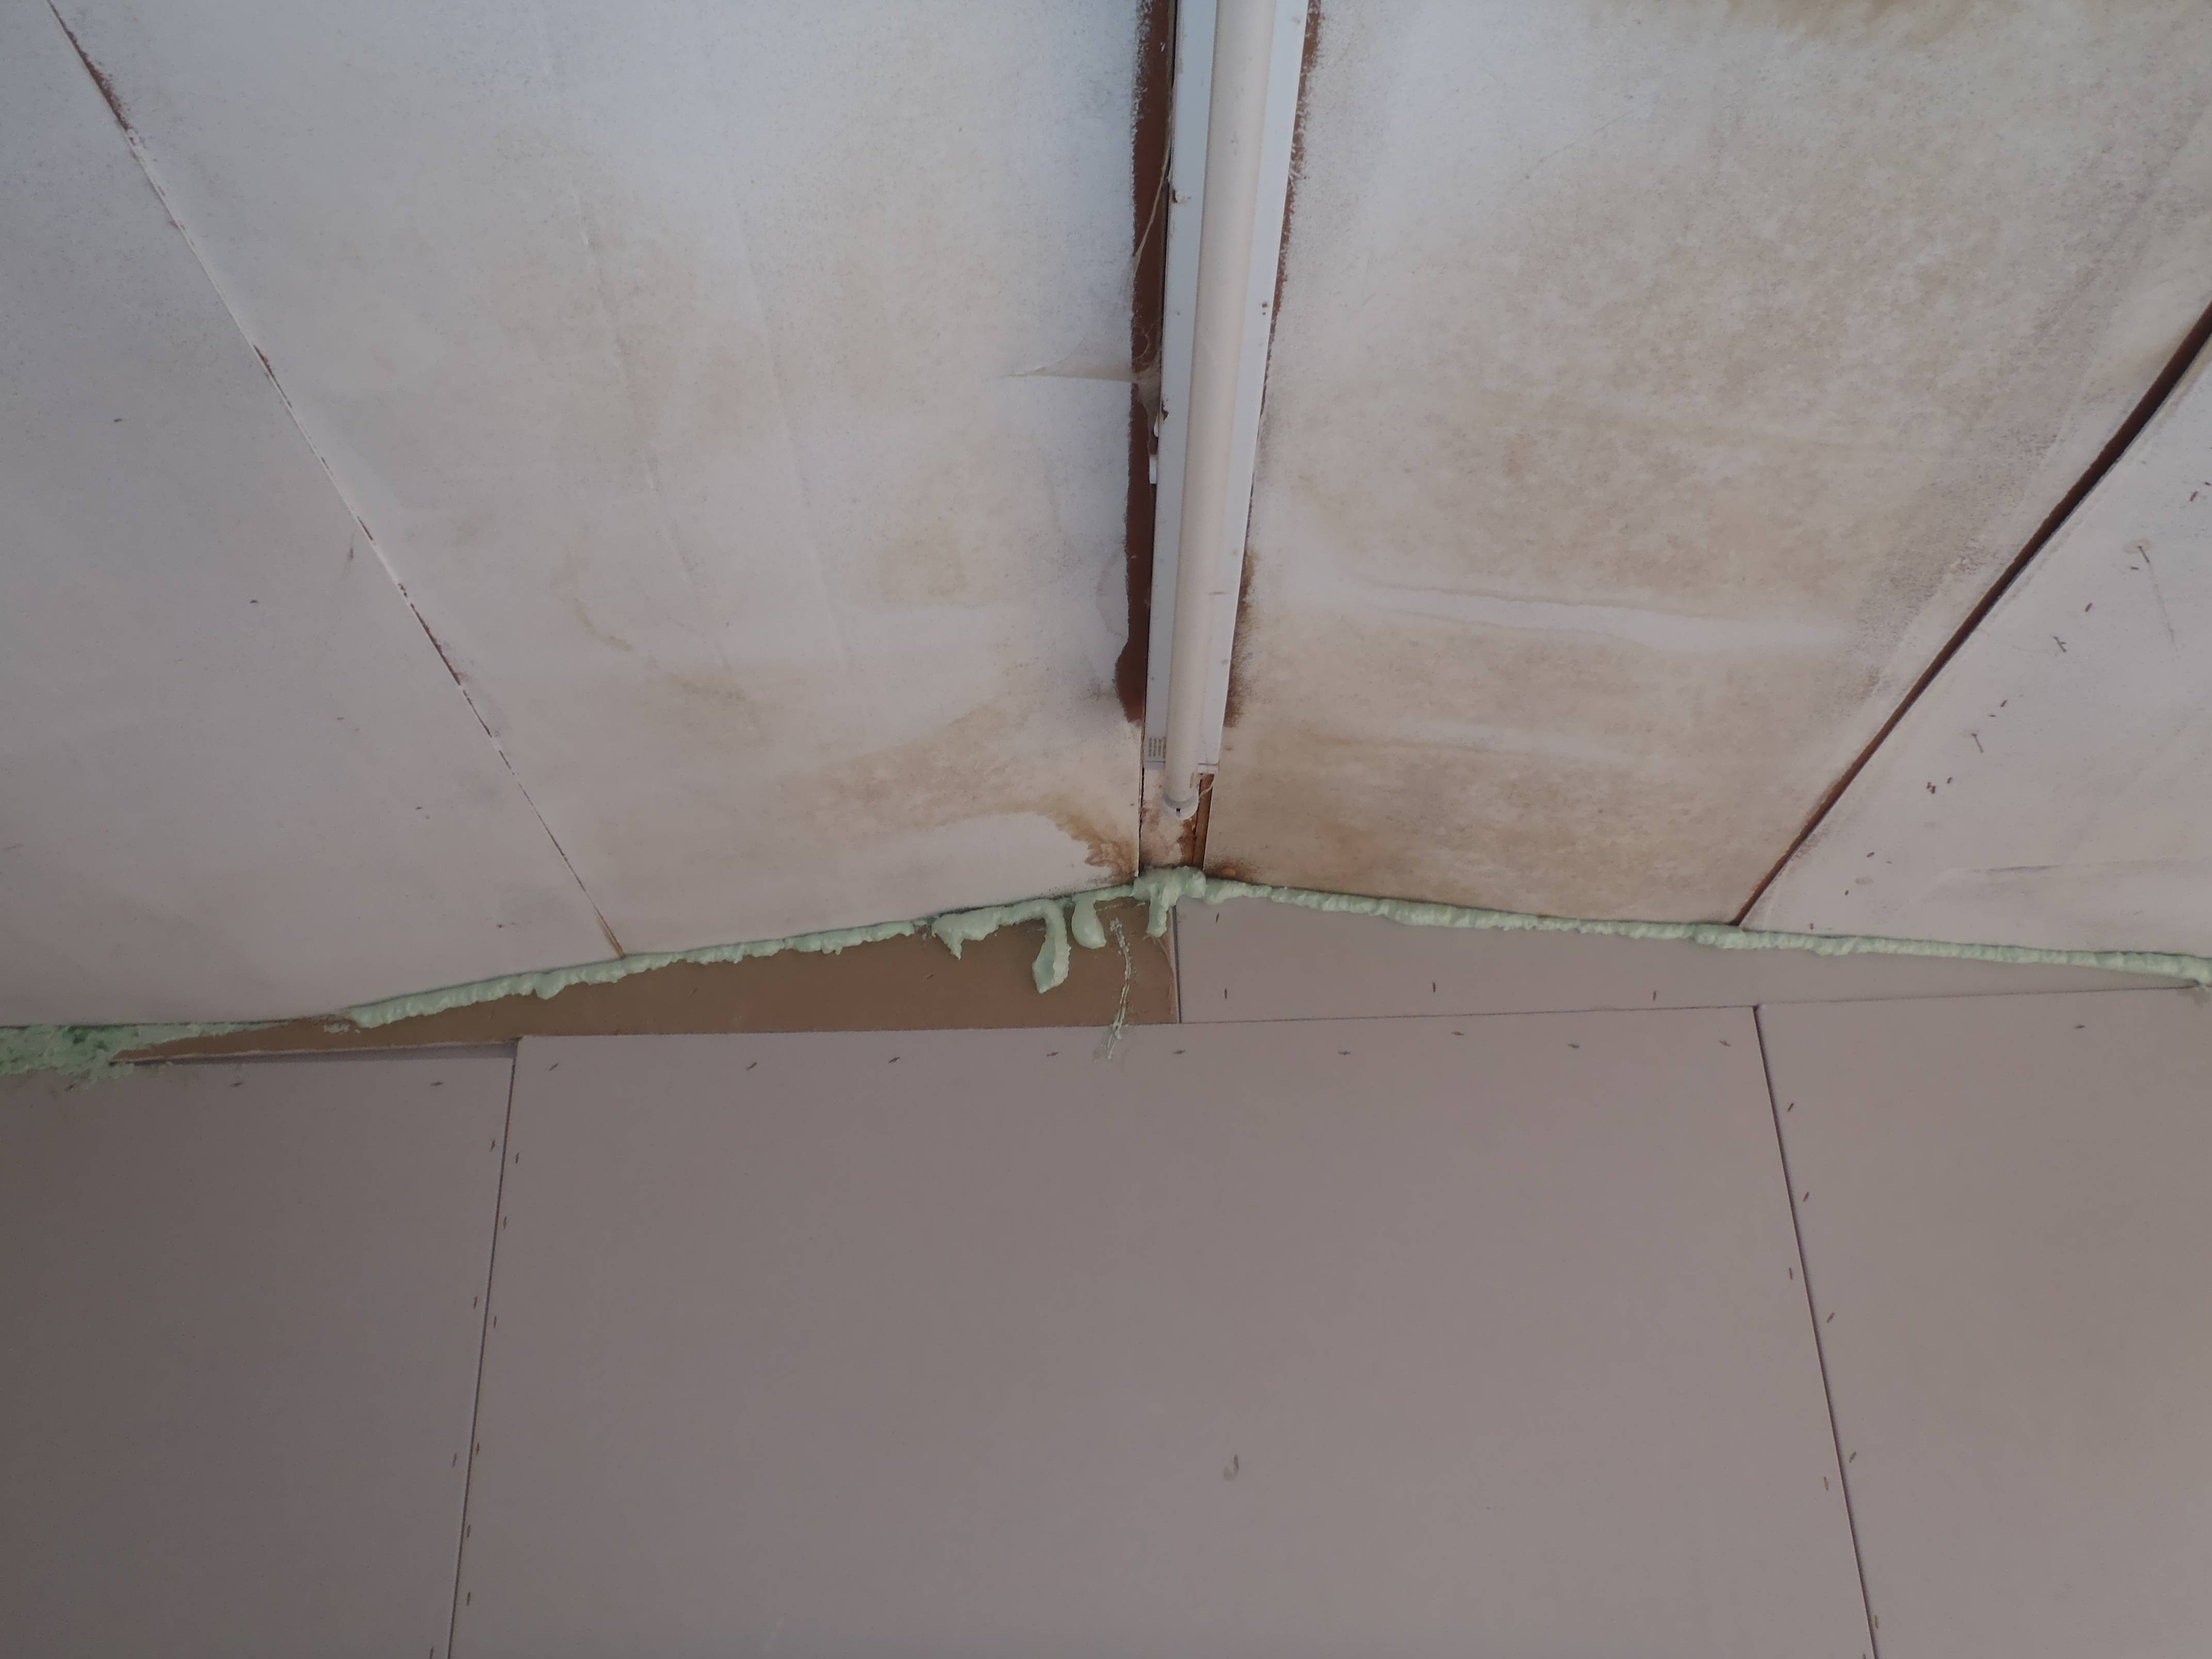
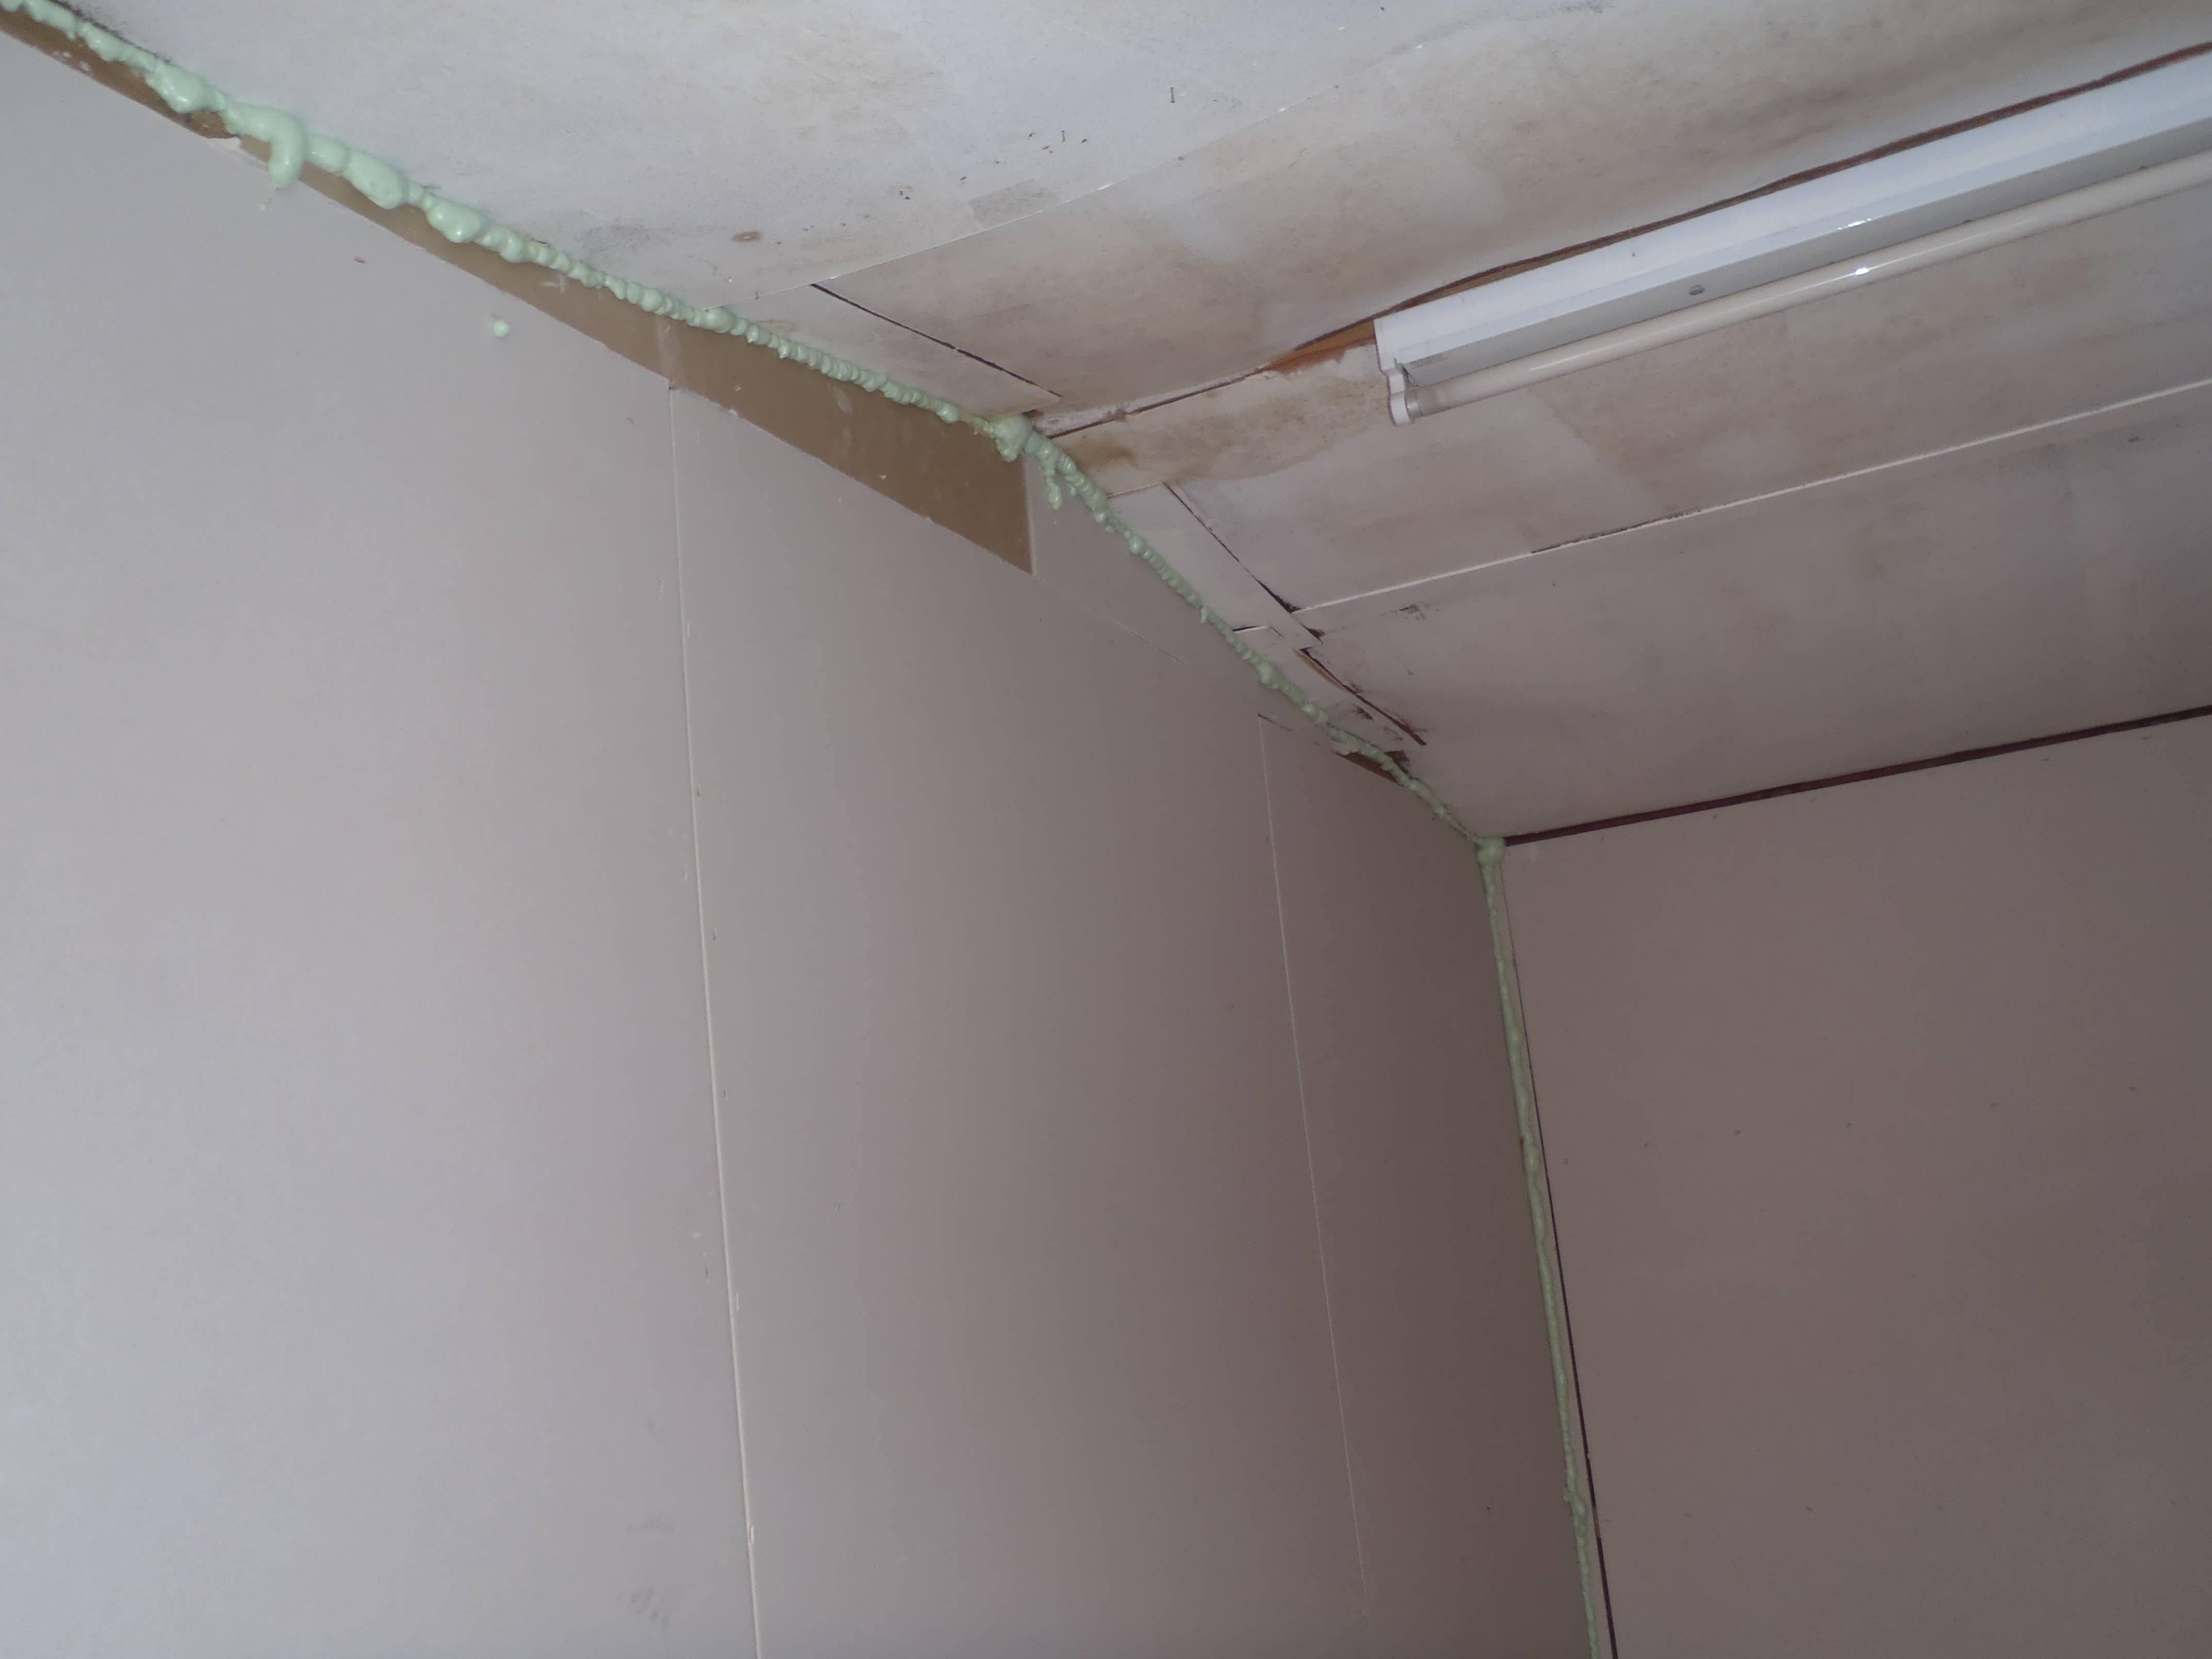
Stephen went around sealing the gaps between the partition walls, using a complete can of expanding PU foam. He only managed to do the lounge and the first bedroom.
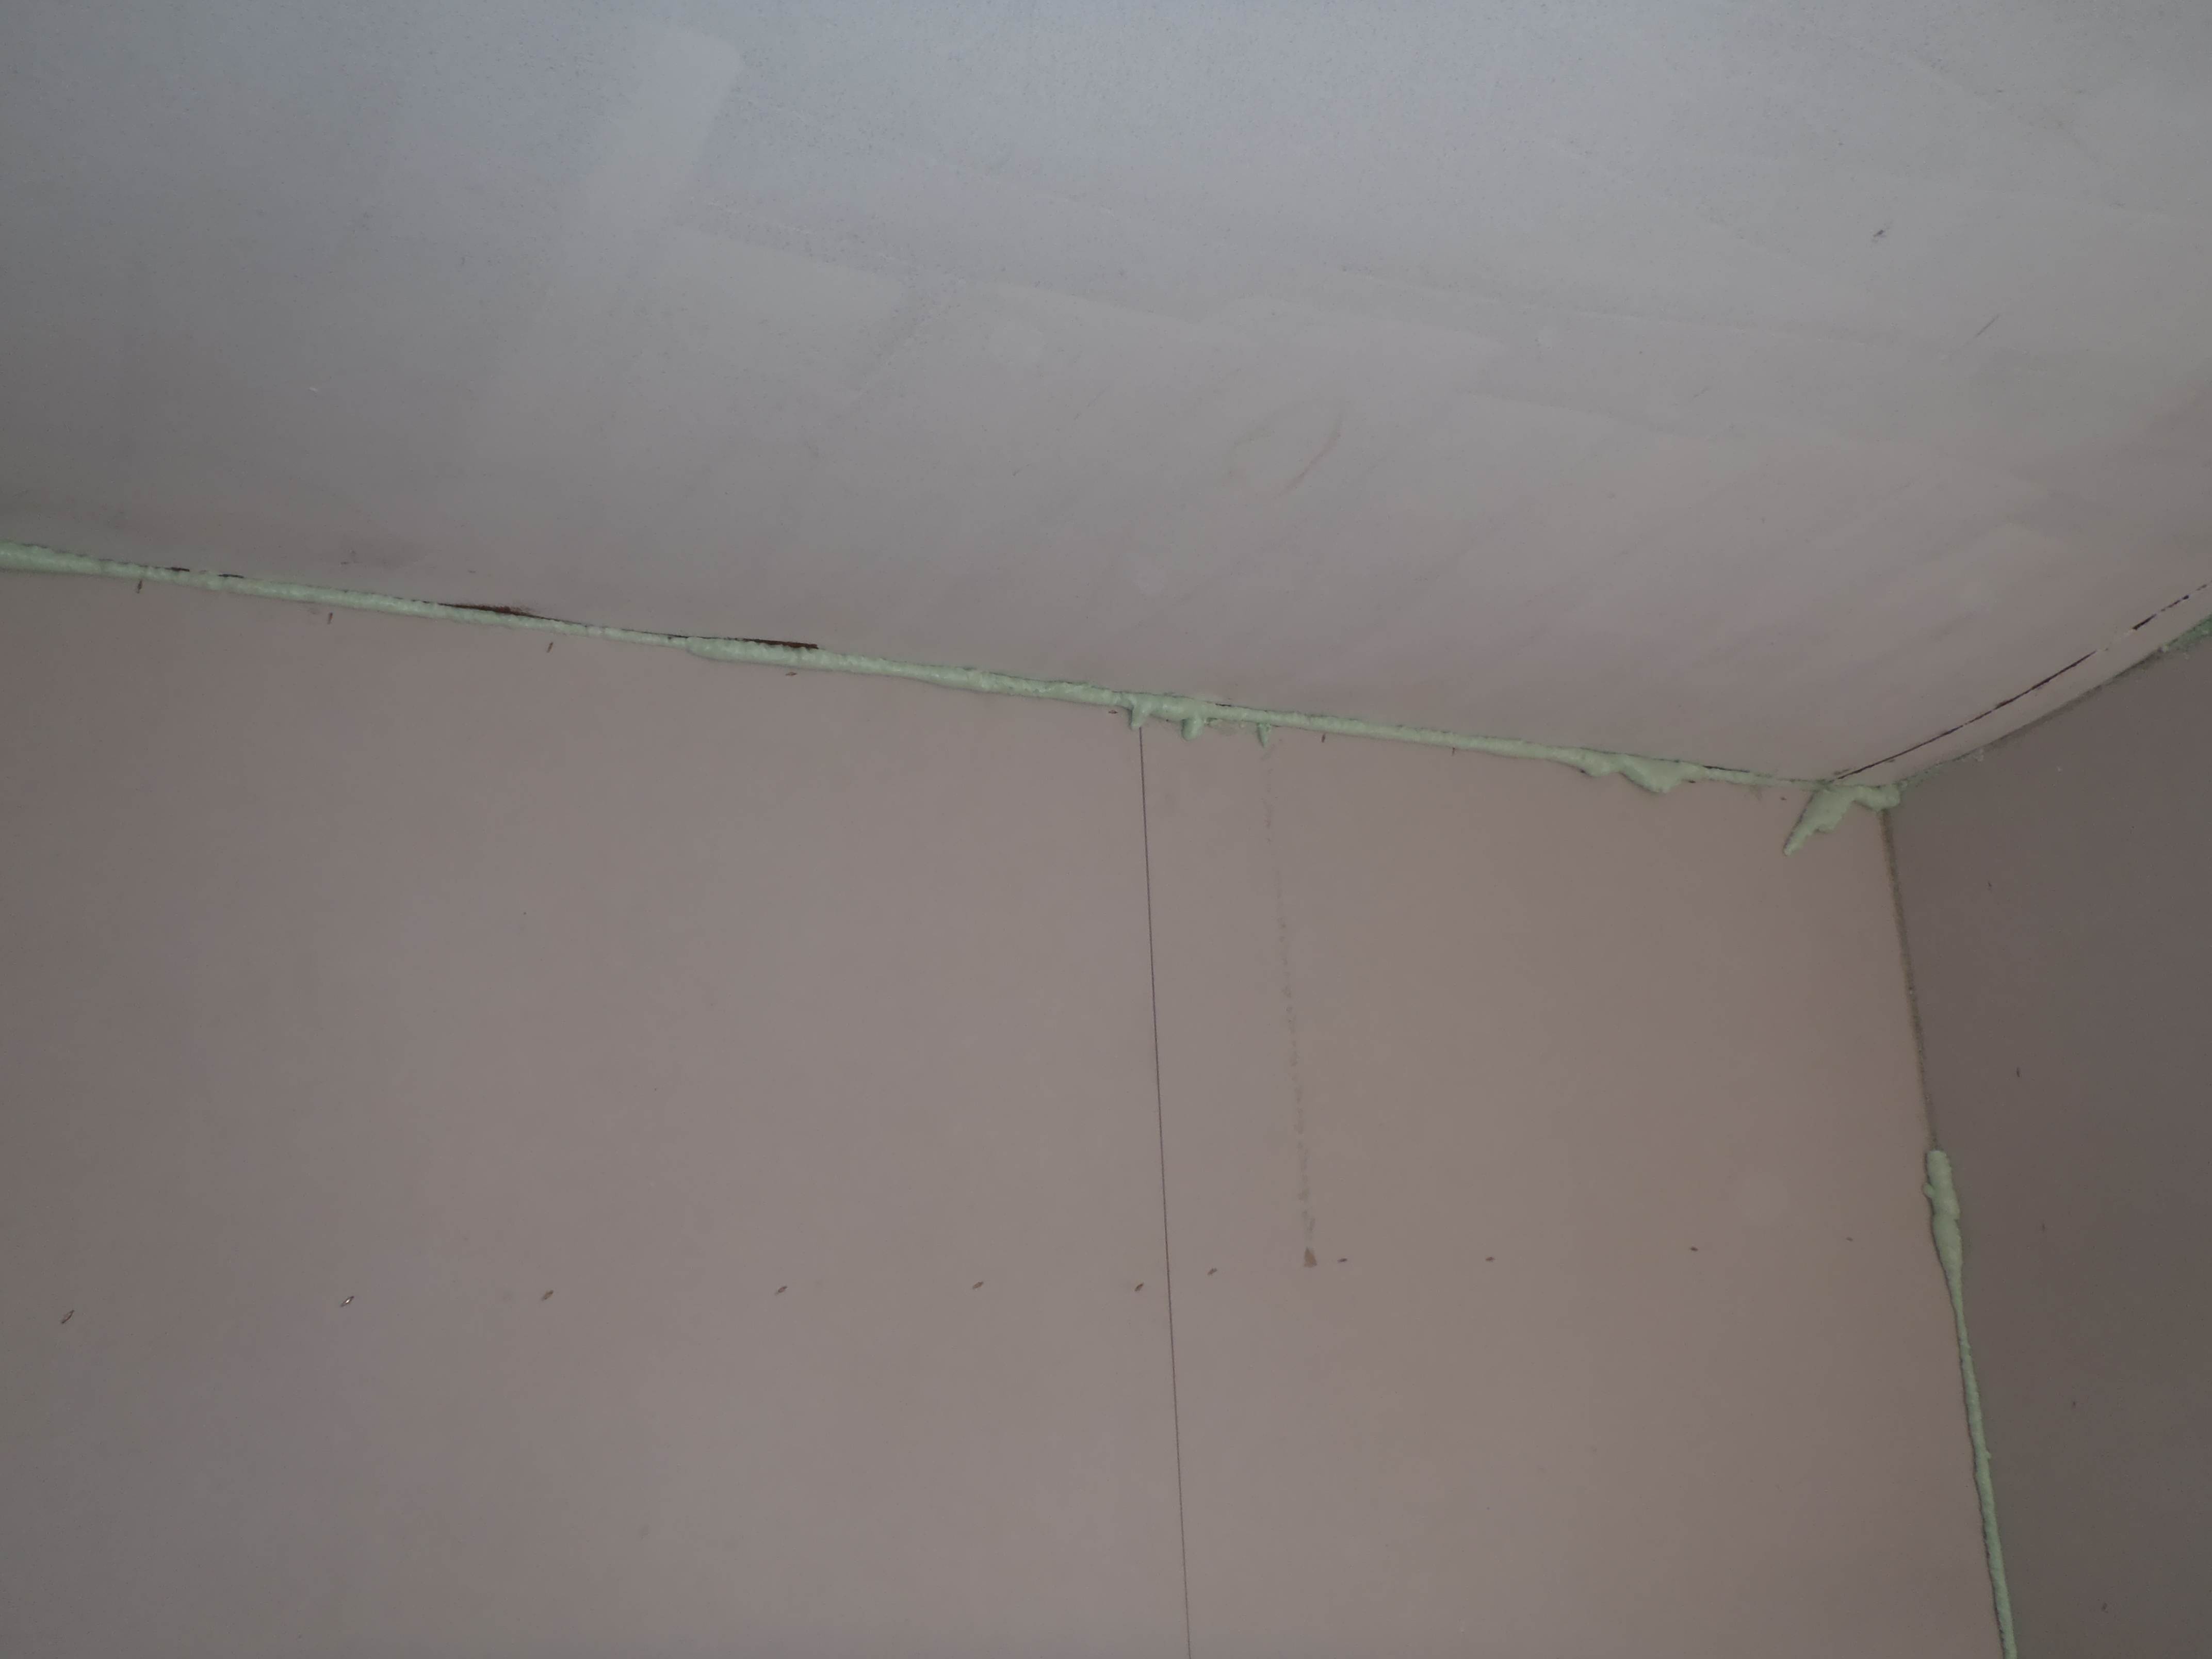
Sealing the gaps with foam
Sealing the gaps with foam
Sealing the gaps with foam
The excess will be trimmed off and covered with white cloth tape.
All three partition walls are now finished in their basic structure and coverings. Next we will fill in the gaps around the edges in the corners to improve sound insulation, cover up the joints with white tape and then paint them.
We have partition wall number 2 up and completed! It was pretty much the same as number 1.
We have started on the third and last partition and have up the framework.
~iamges
This morning we applied the glazing tape to the Oak Frame and the Beading ready for the glass. The tape is a double sided sticky foam strip. The foam is 3mm thick to allow the glass to have movement during thermal expansion and pressure differences between inside and outside (for example strong winds).
All we need now is some good weather to allow us to remove the old plastic sheets and battens which are acting (just barely) as windows, clean the surfaces and screw in the new Oak Frames etc.
The first partition wall in our temporary living quarters is done. The framework of 63mm CLS timber filled with 100mm glass wool and covered on both sides with 12.5mm plasterboards.
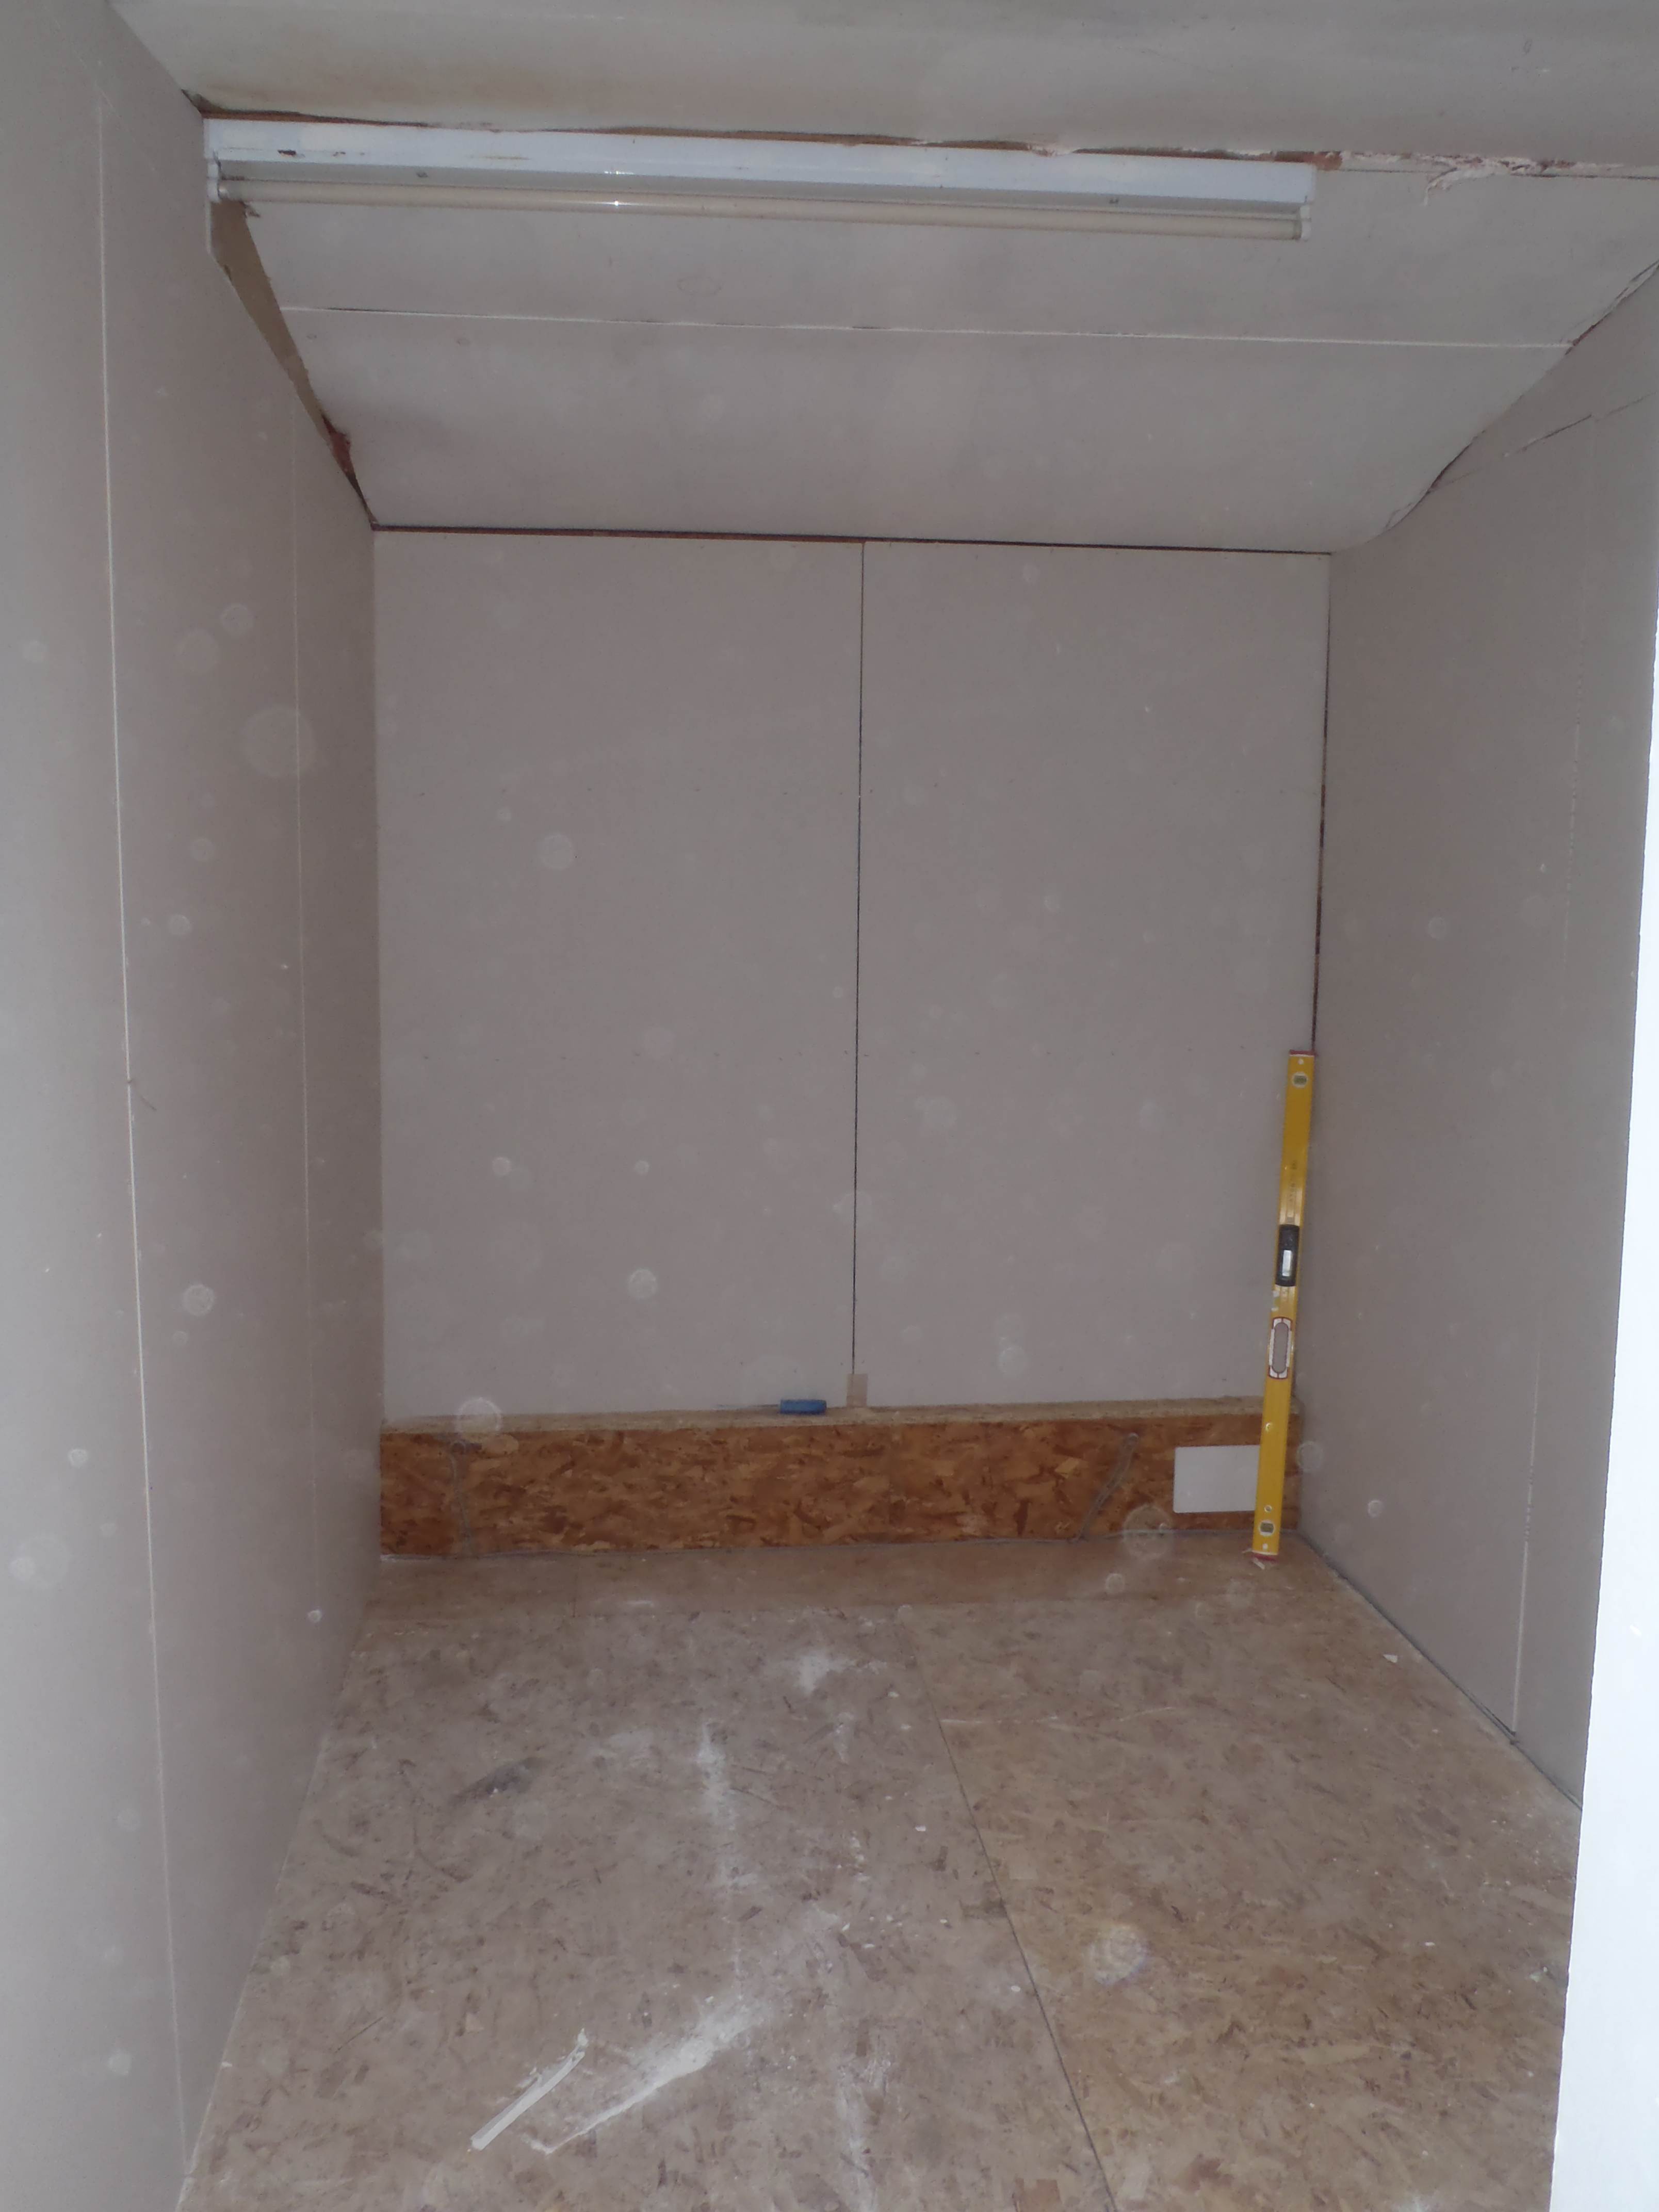
First bedroom boarded out
Only two more to go!