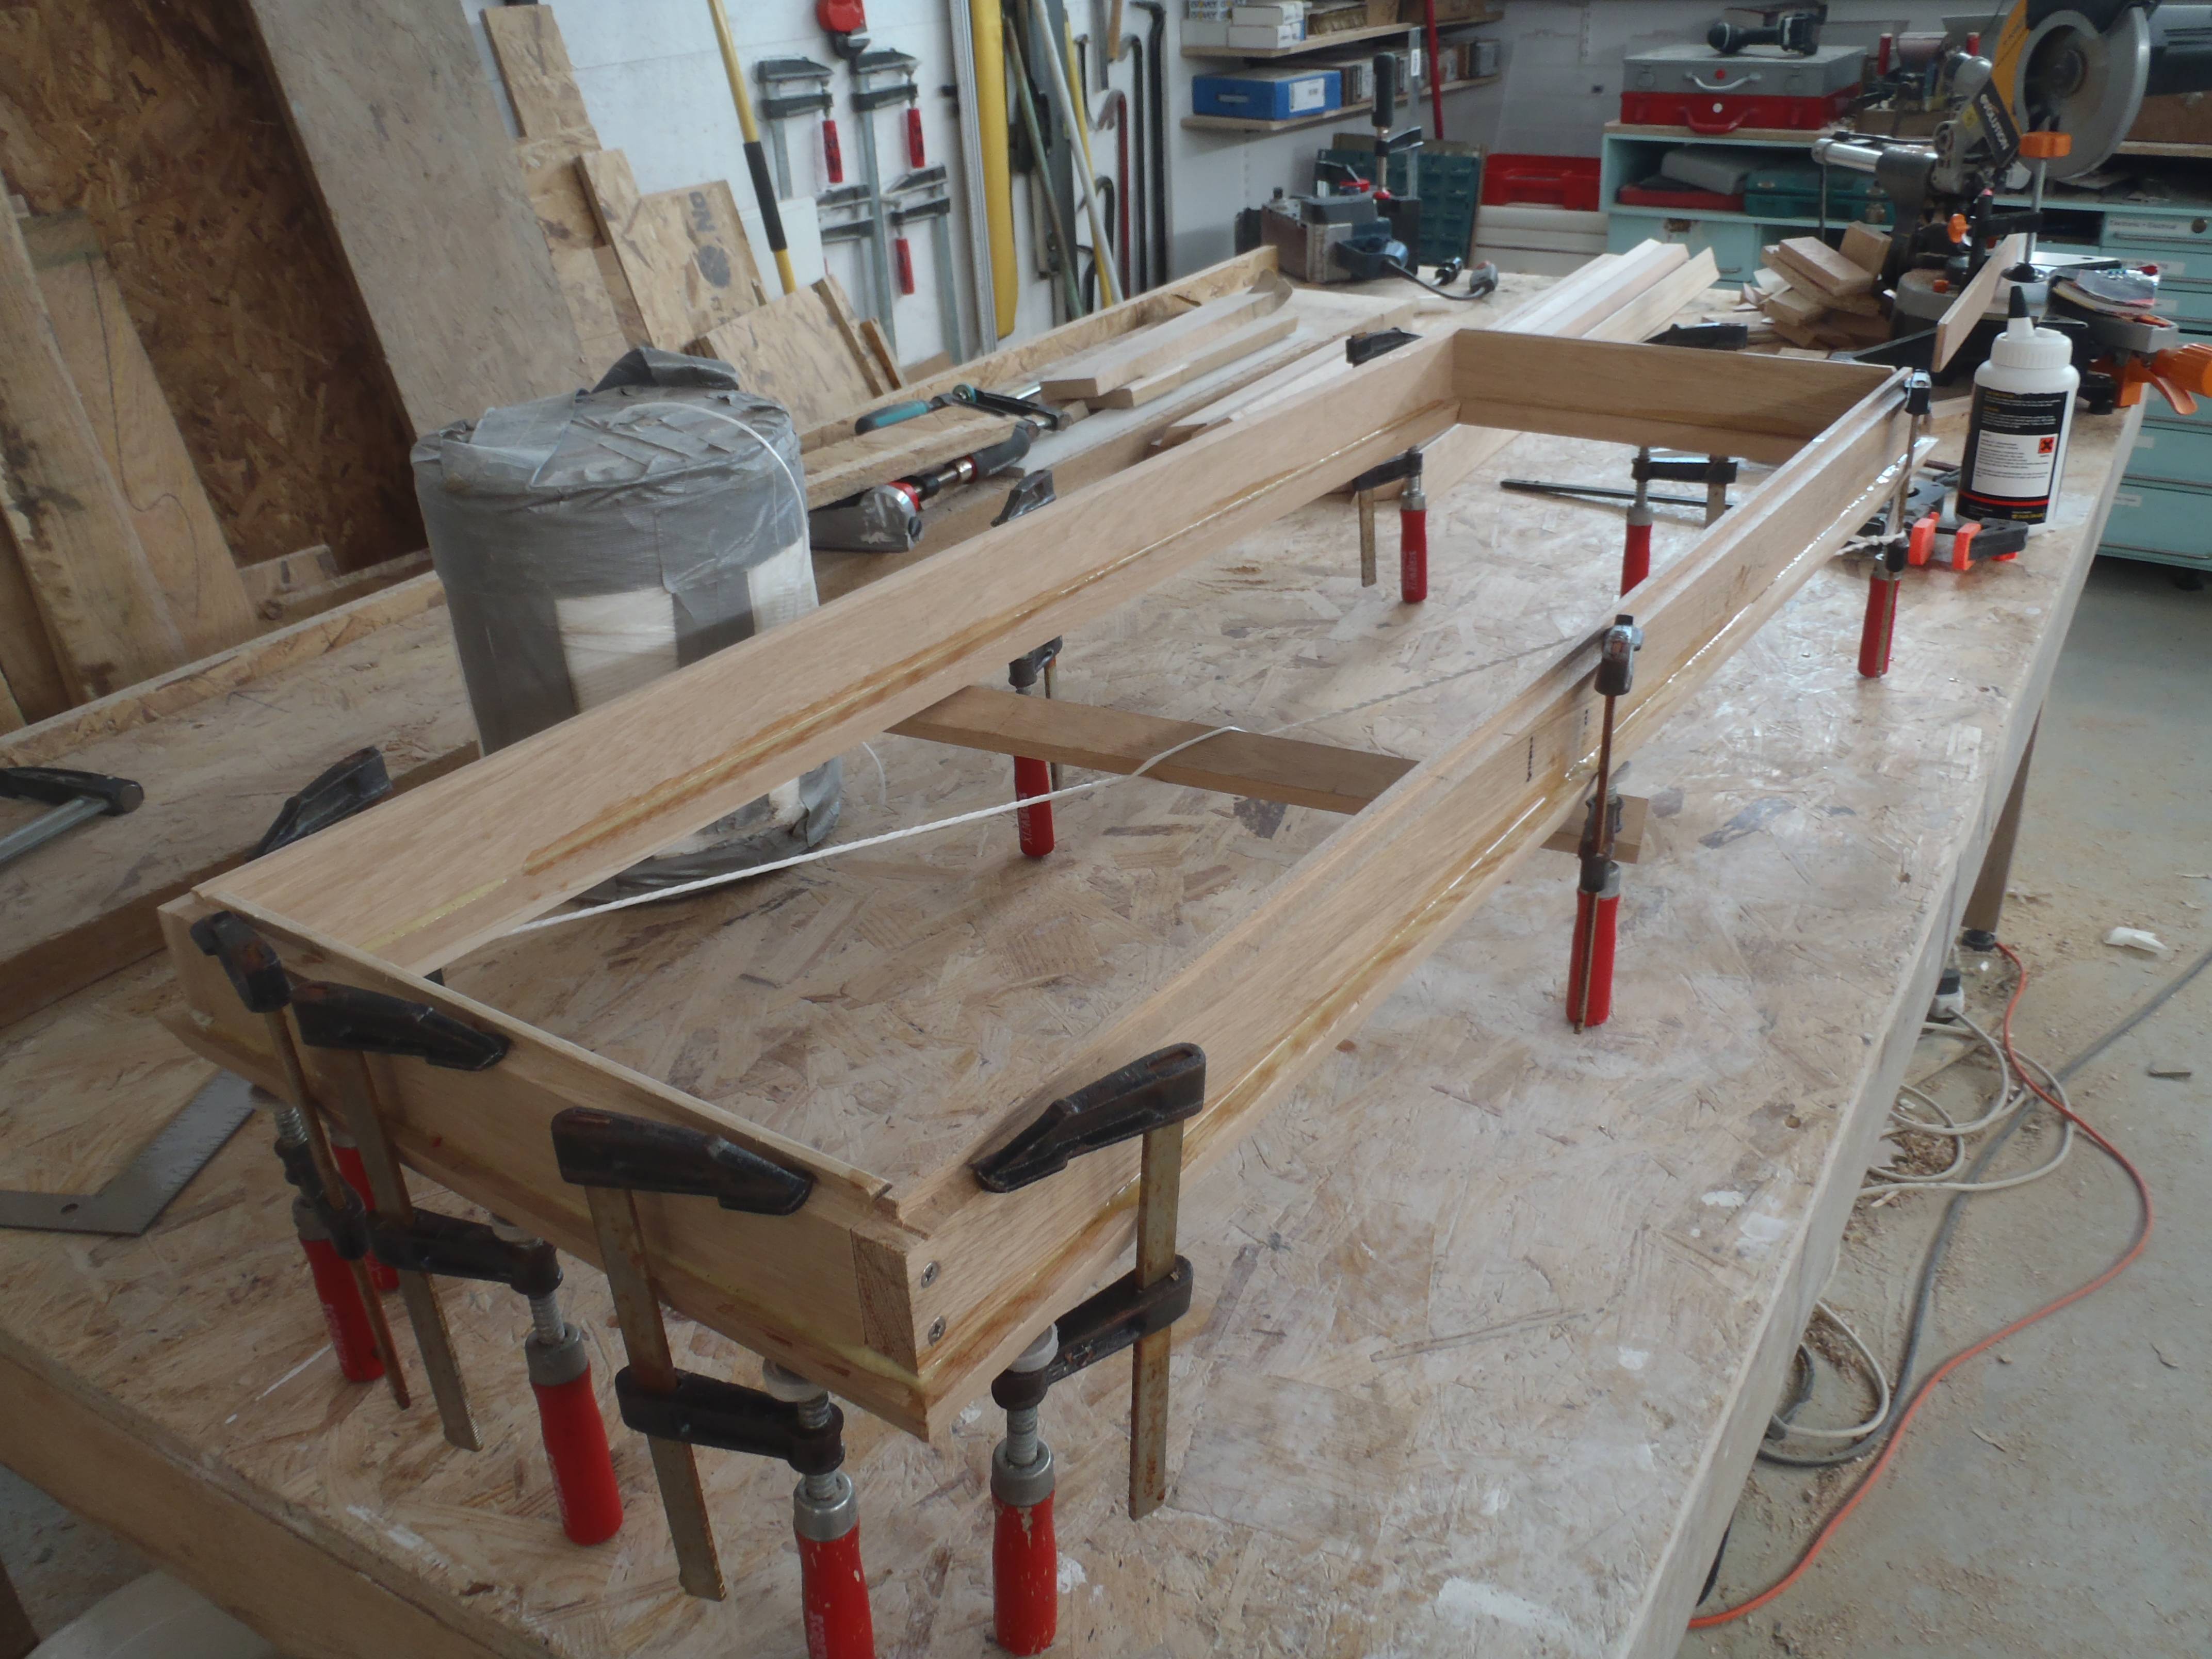
We are now ready to fit the four back windows when the glass comes and the weather improves! The beadings are made, ready to hold the double glazing units in place. The glass is expected to come tomorrow.
We have our part list ready for the final seven windows, the four down one side and three on the other side of the garage. It will take another good week to complete these seven frames.
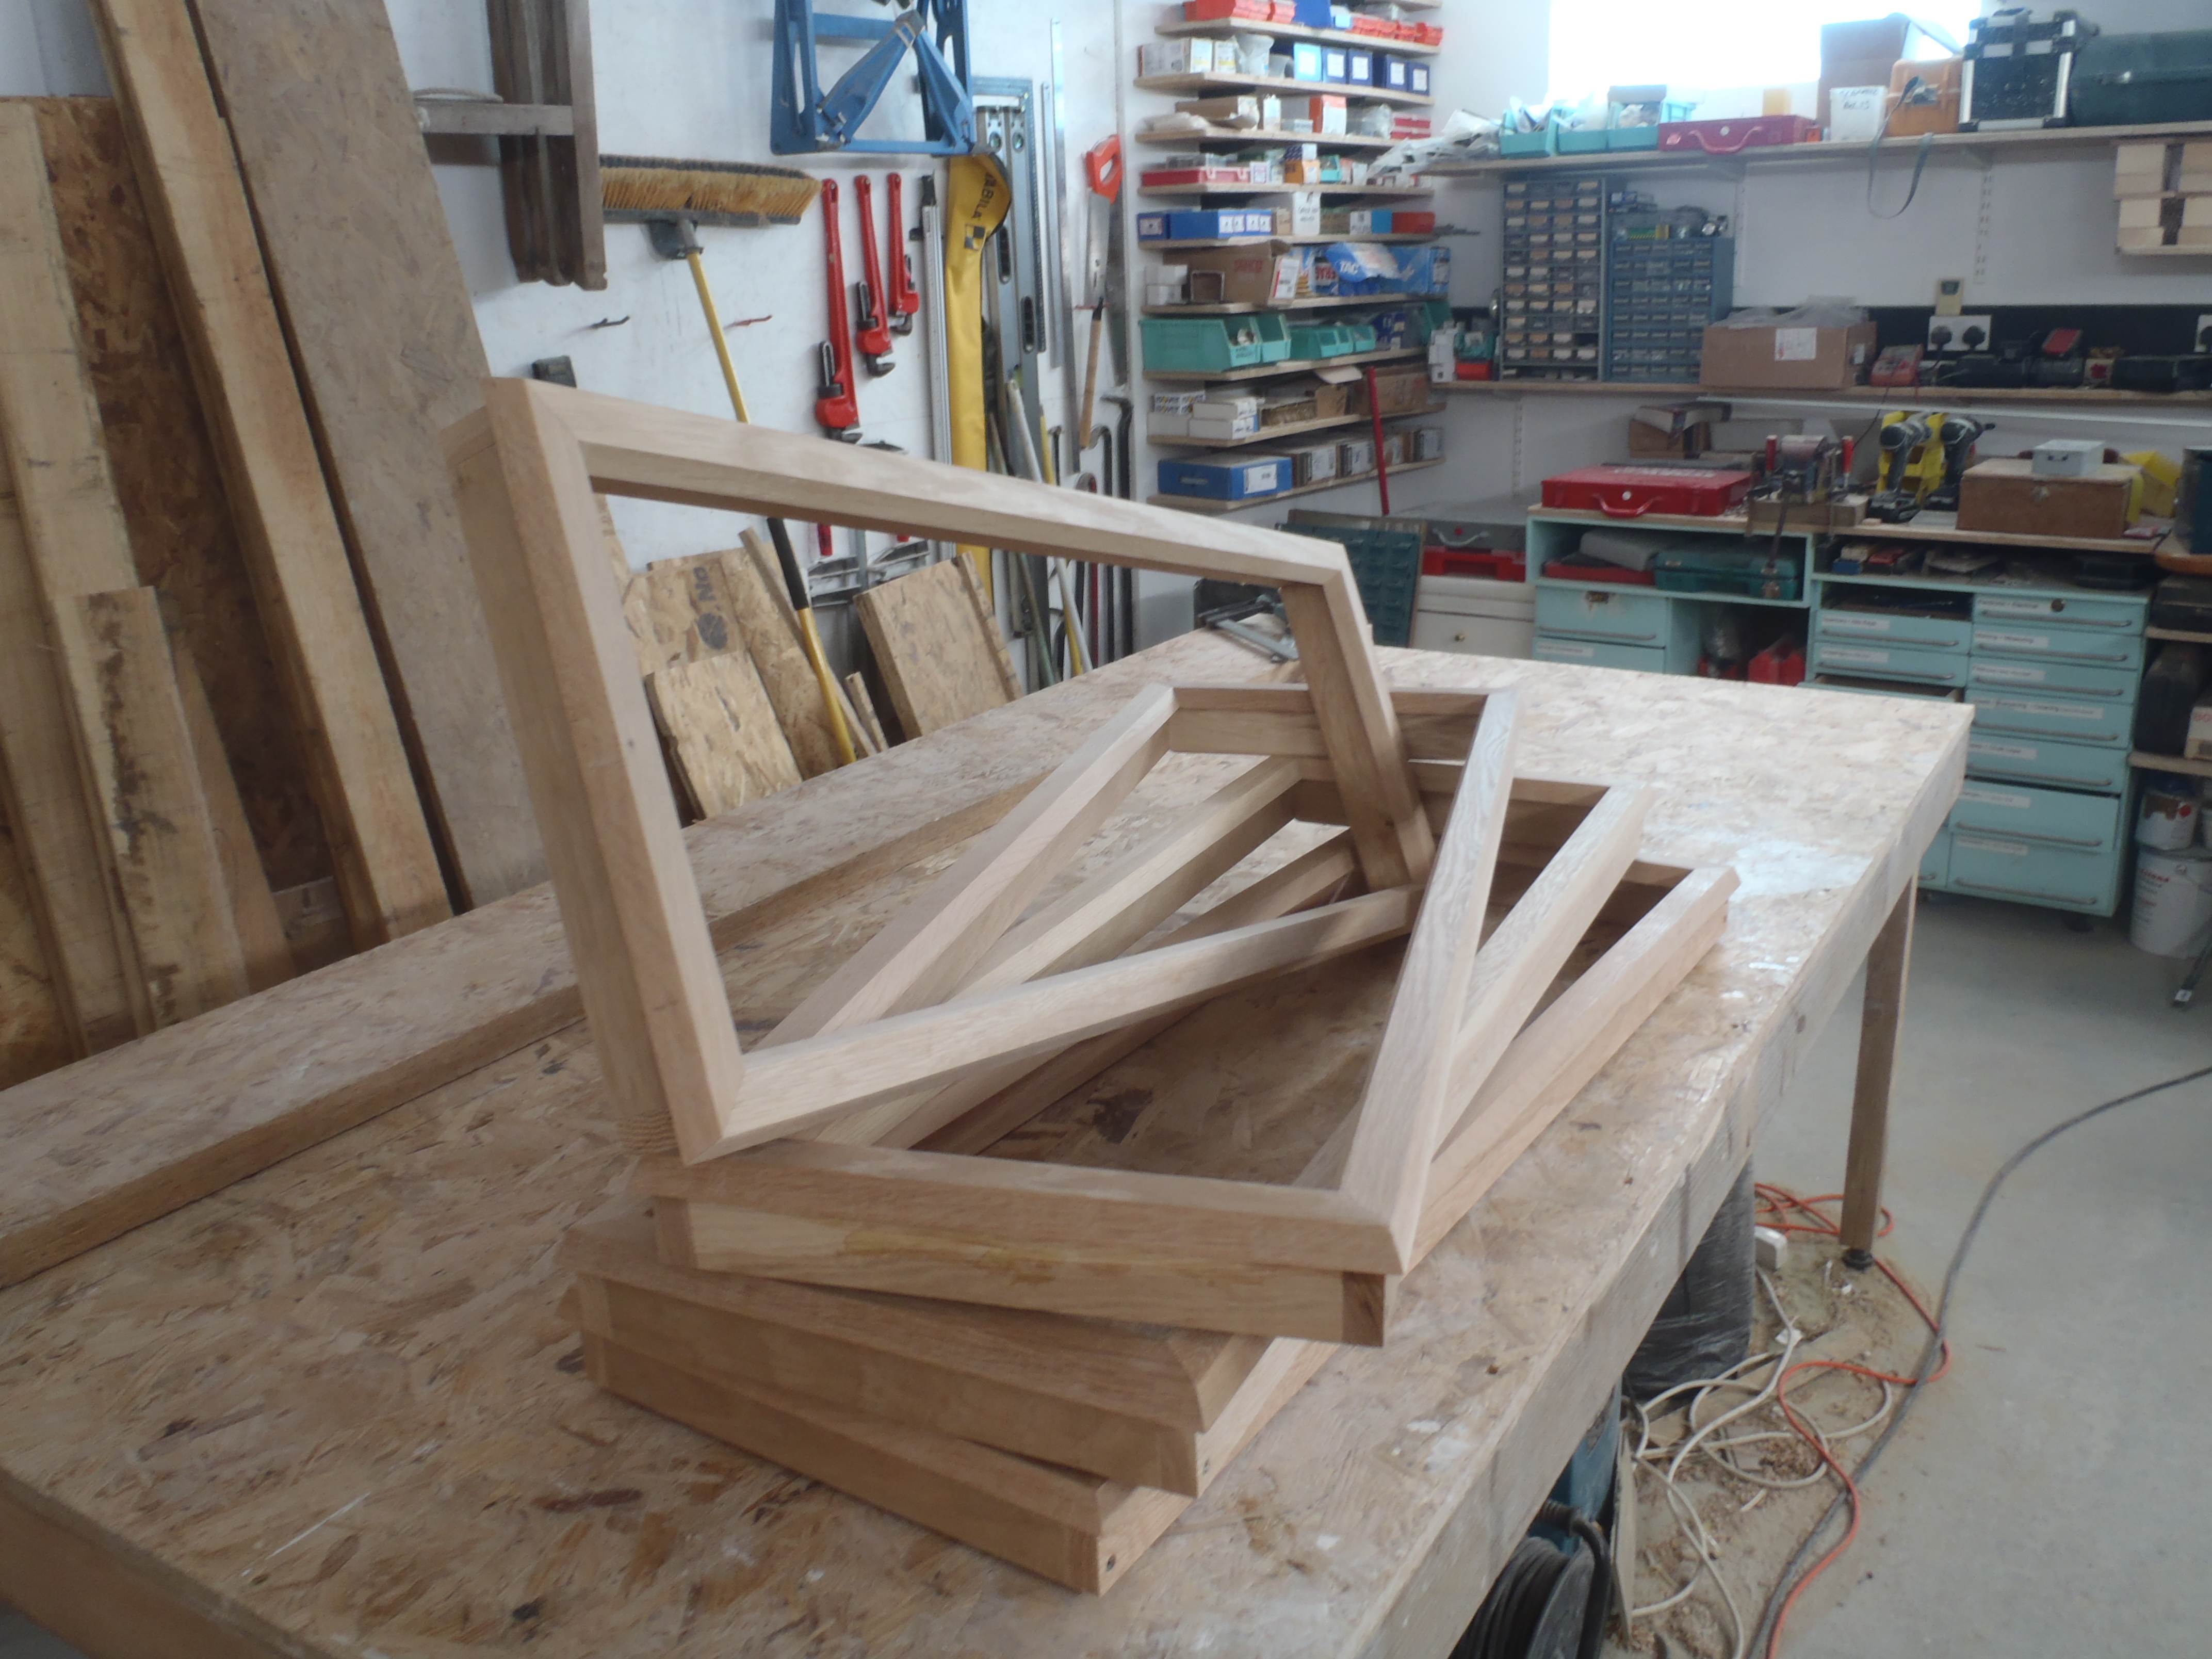
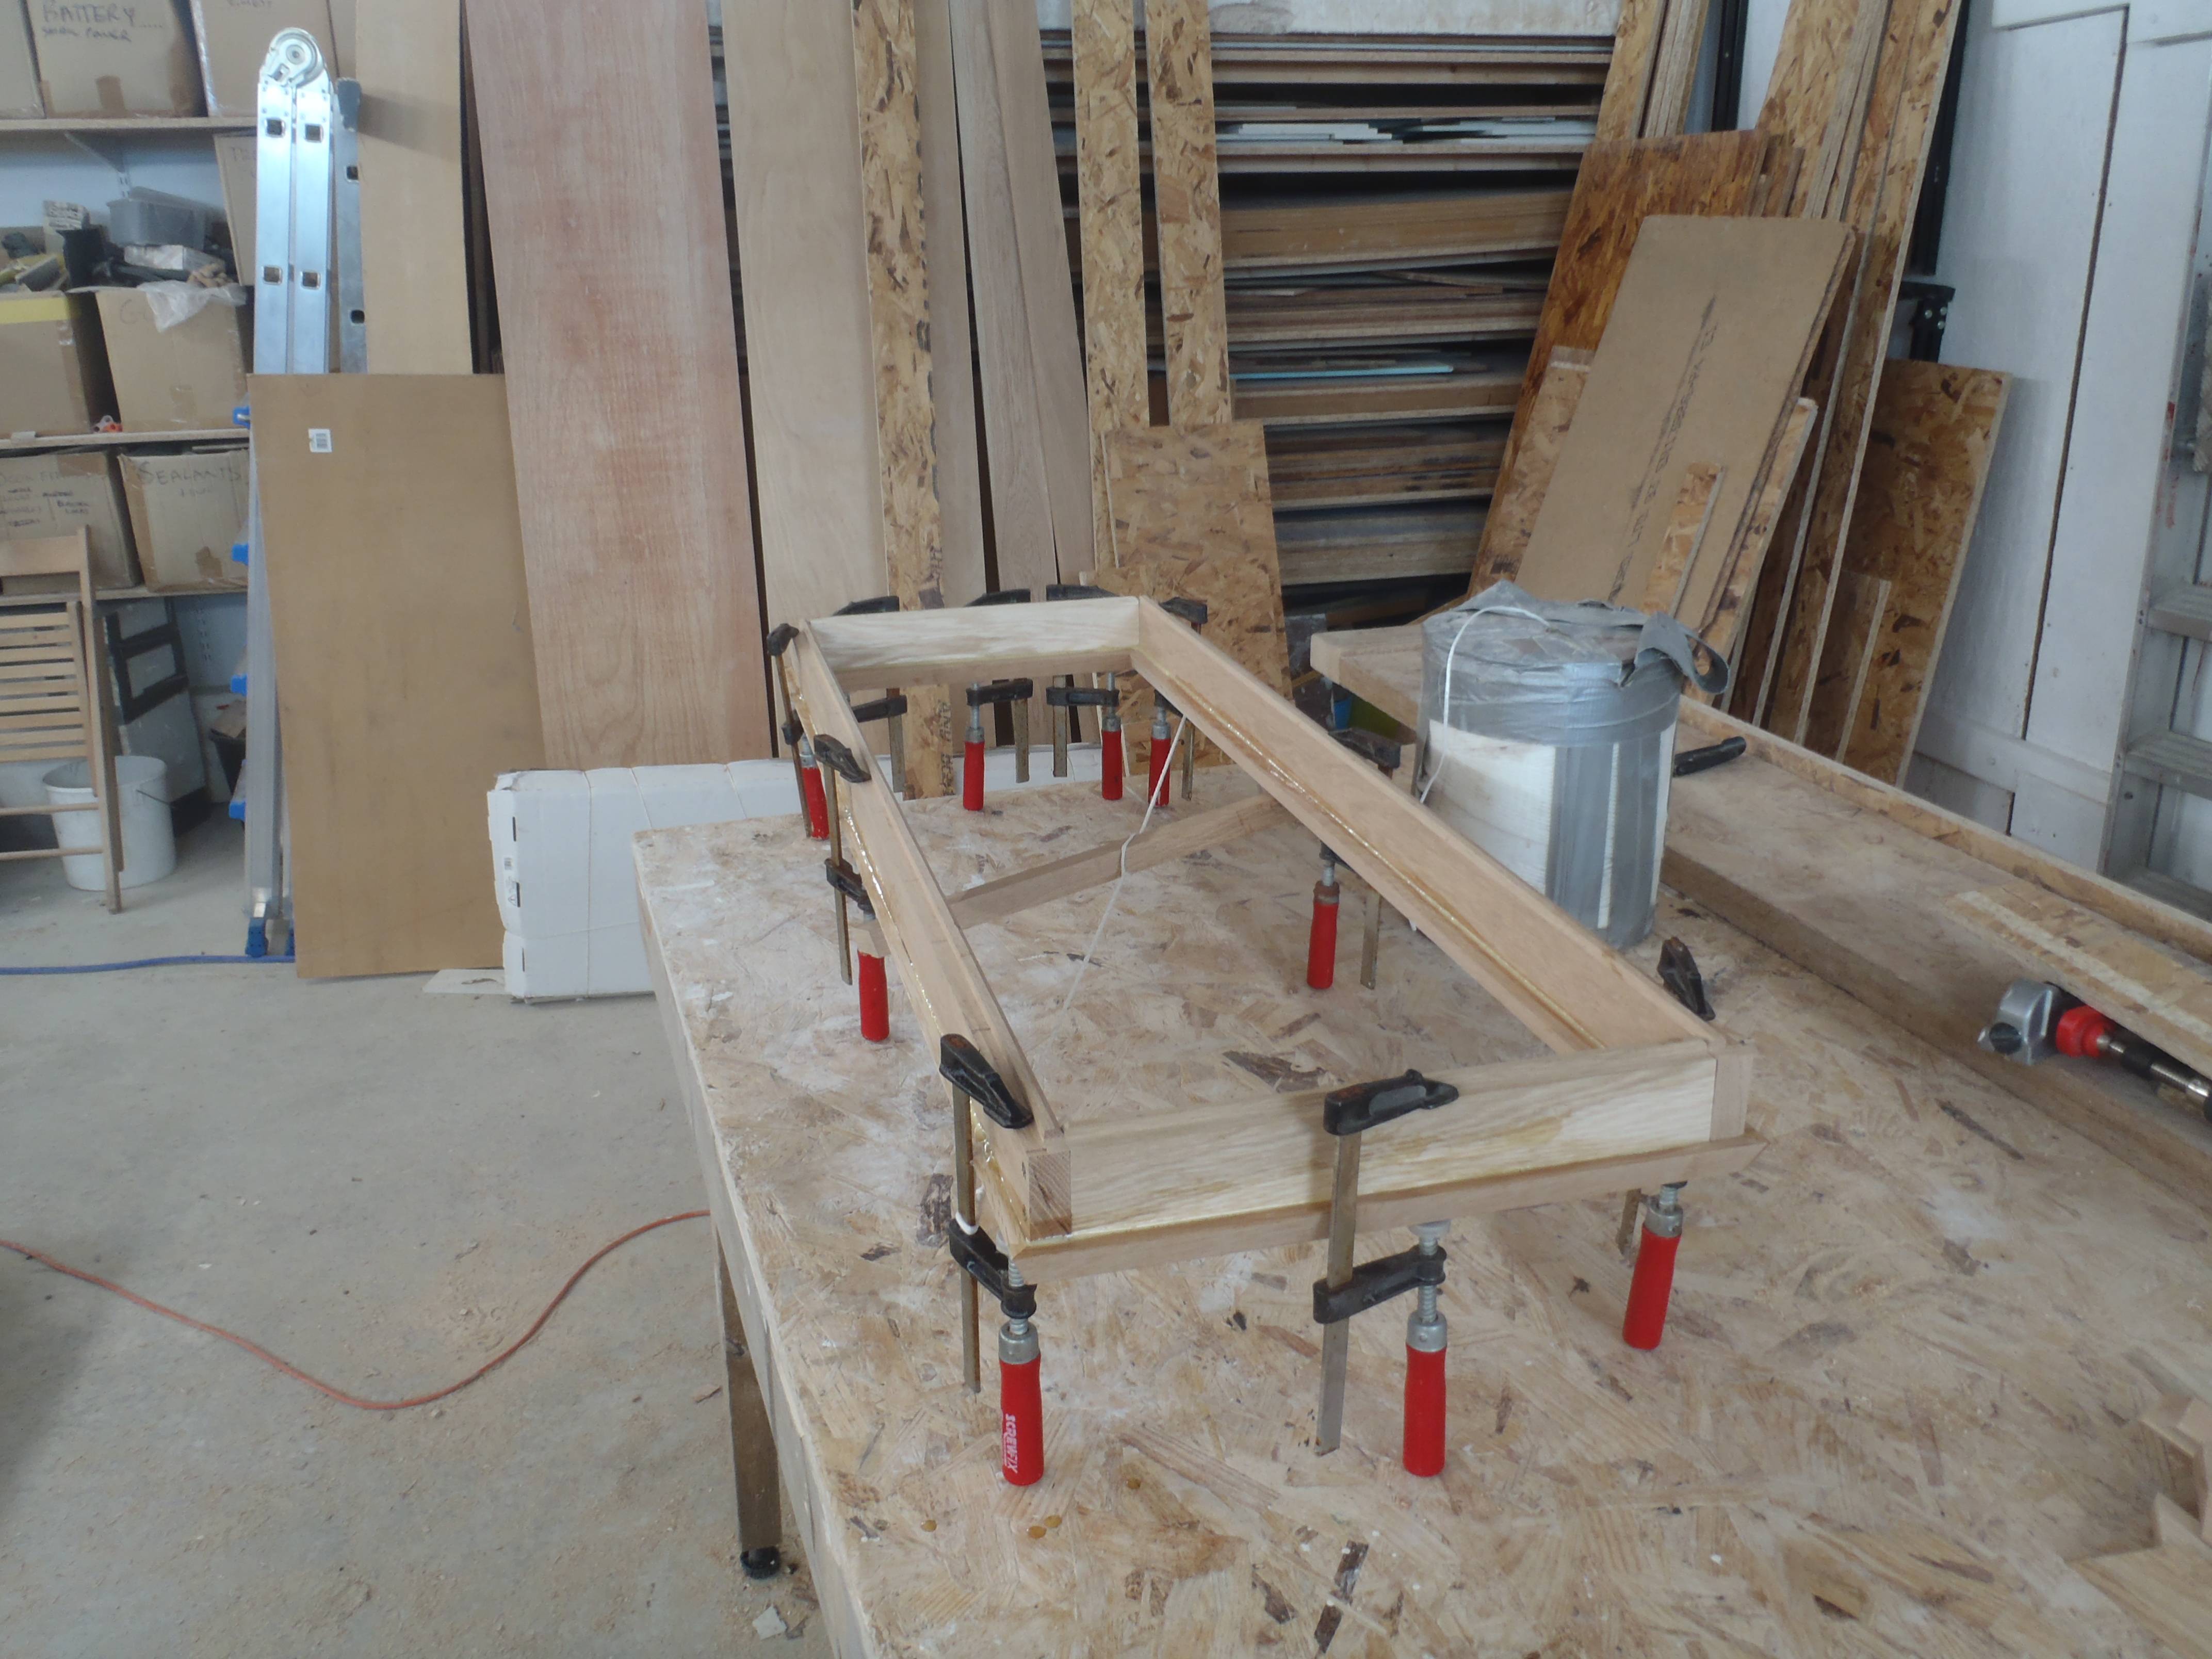
All window frames finished