Monday saw the start of a new period in our work, the clock had gone back at the weekend and we have lost an hour of work in the afternoon so we decided to shift our work day to start at 9am instead of 10am and finish at 5pm when it gets dark instead of 6pm.
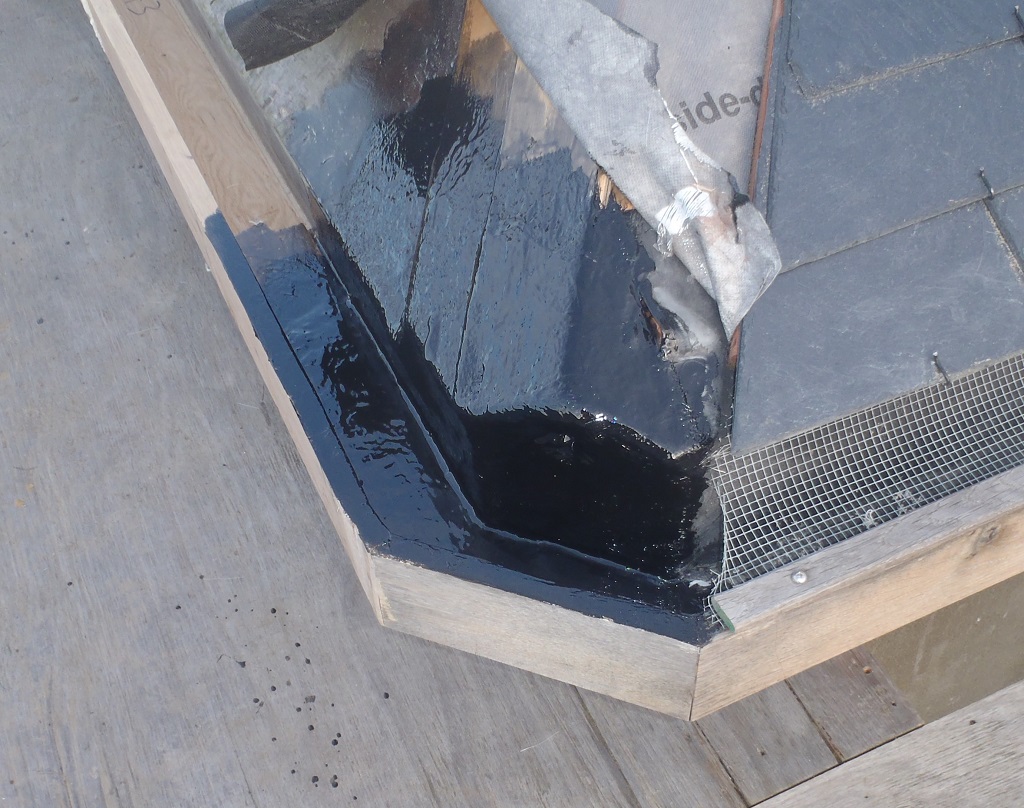
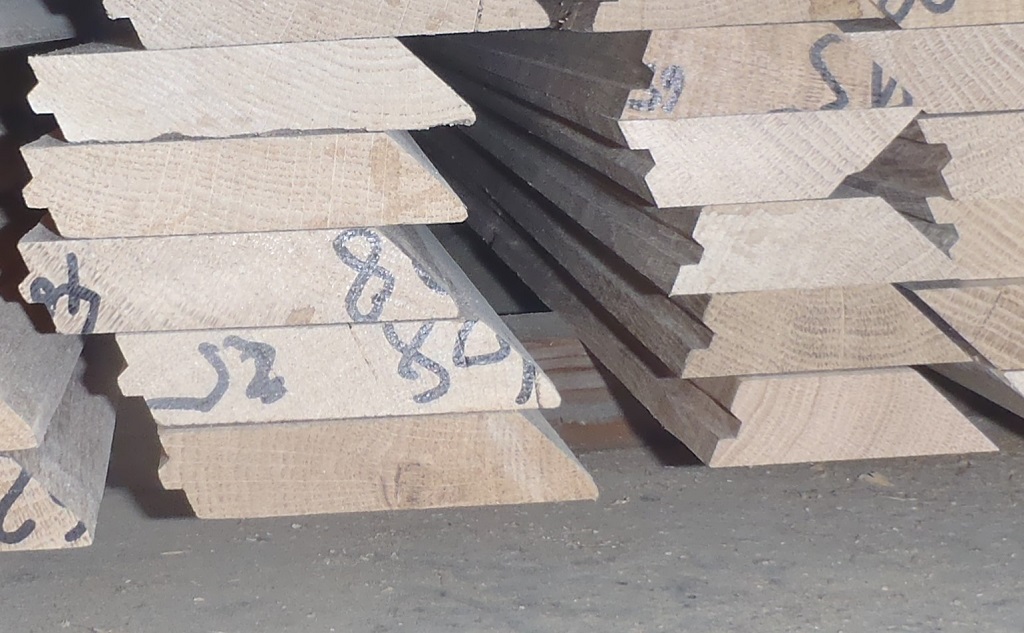
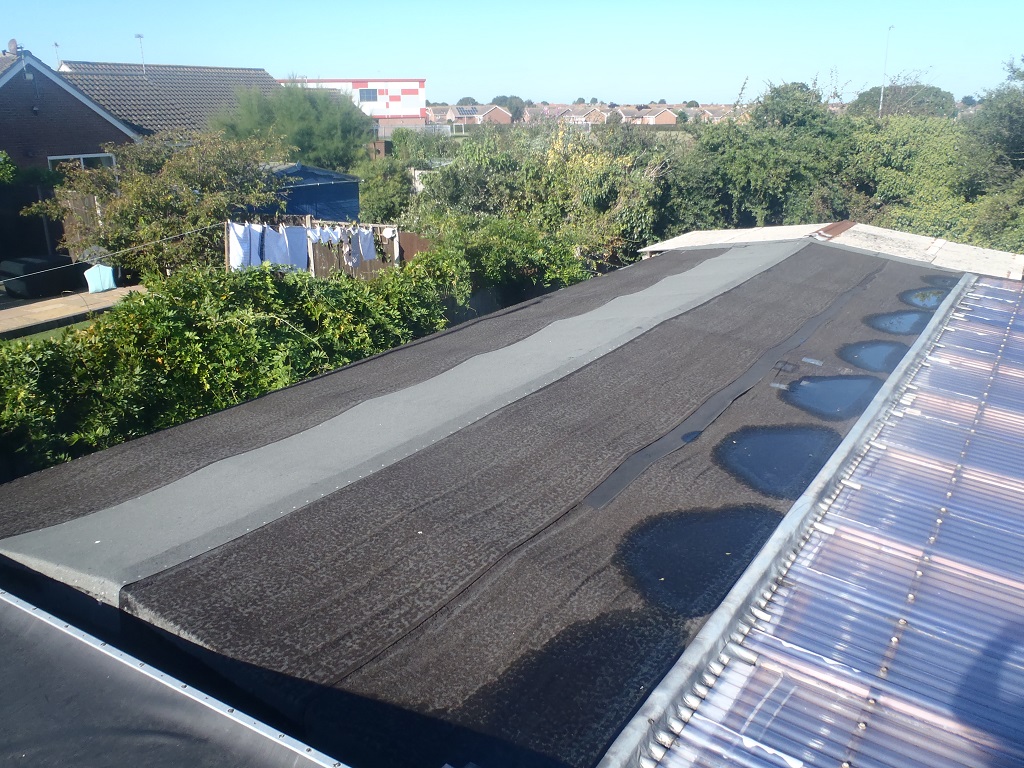
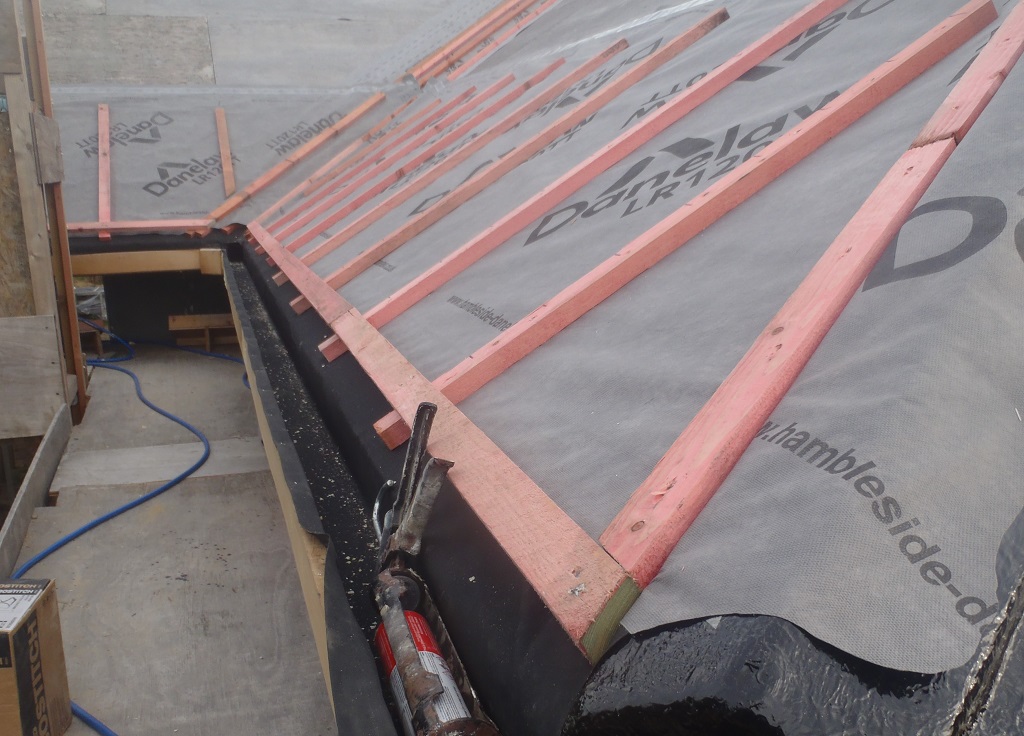
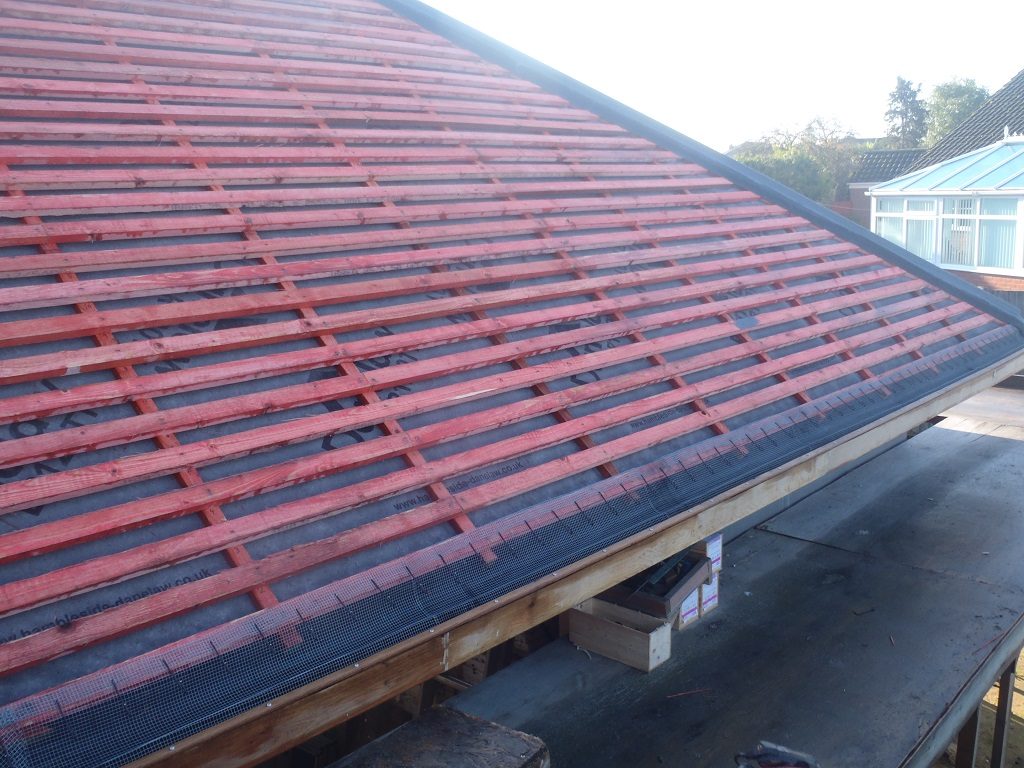
We got on with putting the rubber liners in the three gutters for section ‘F’, ‘G’ and ‘H’, all stuck down. Mind you, we had to dry the gutters out first beforehand, with several towels and a heat gun running at 500°C!! The two ends of each rubber liner was stuck down on to the fibre-glass resined corners of the guttering with contact glue as we have done all the while and so finally, we have done the very last three corners.
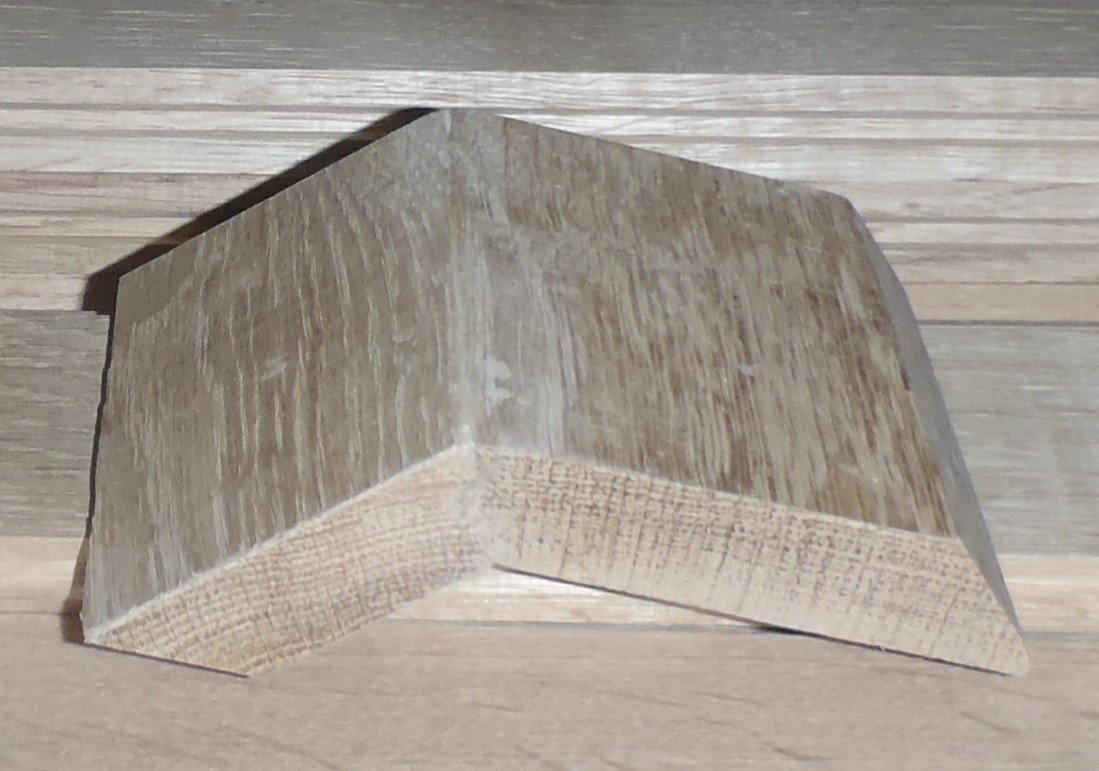
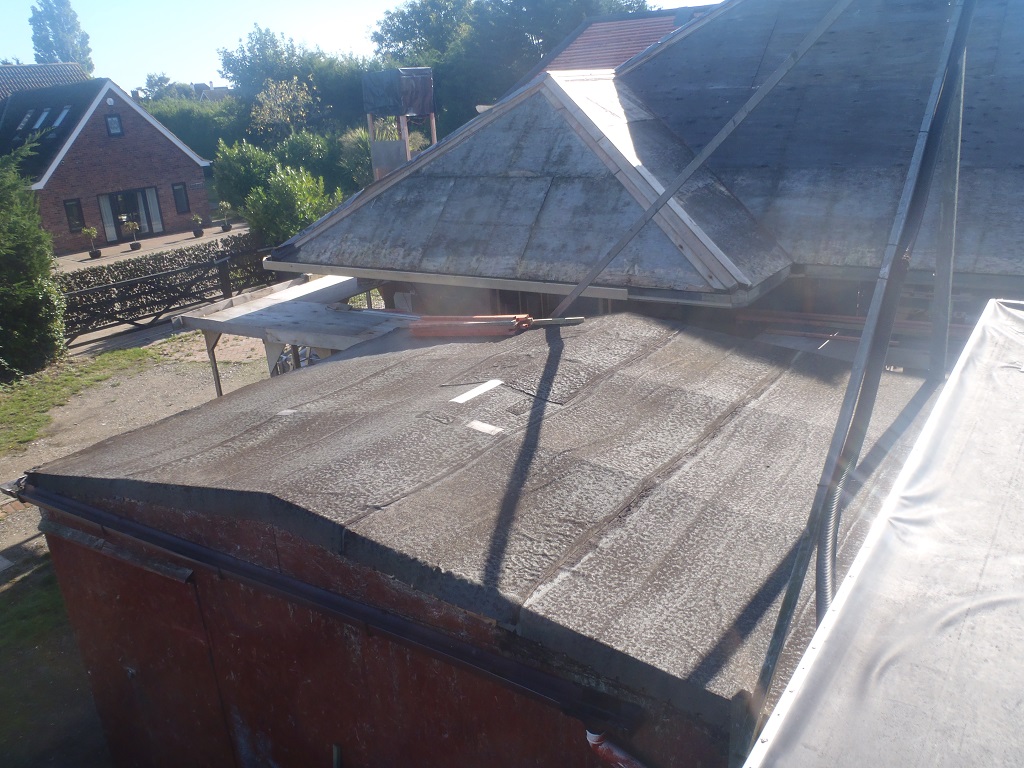
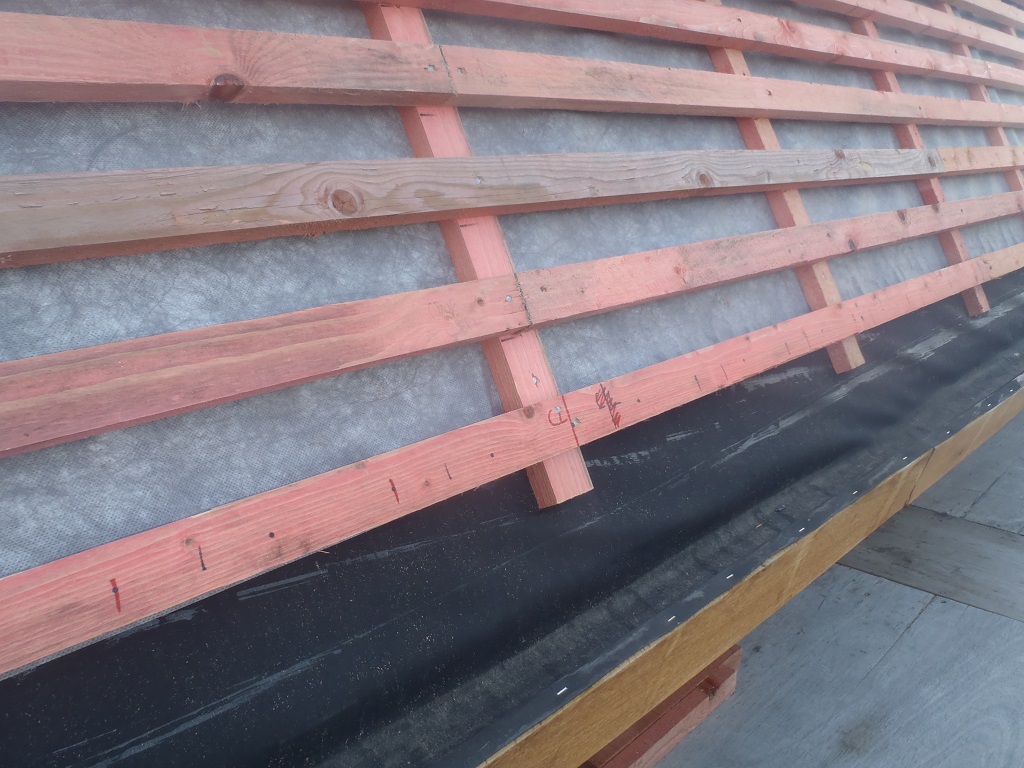
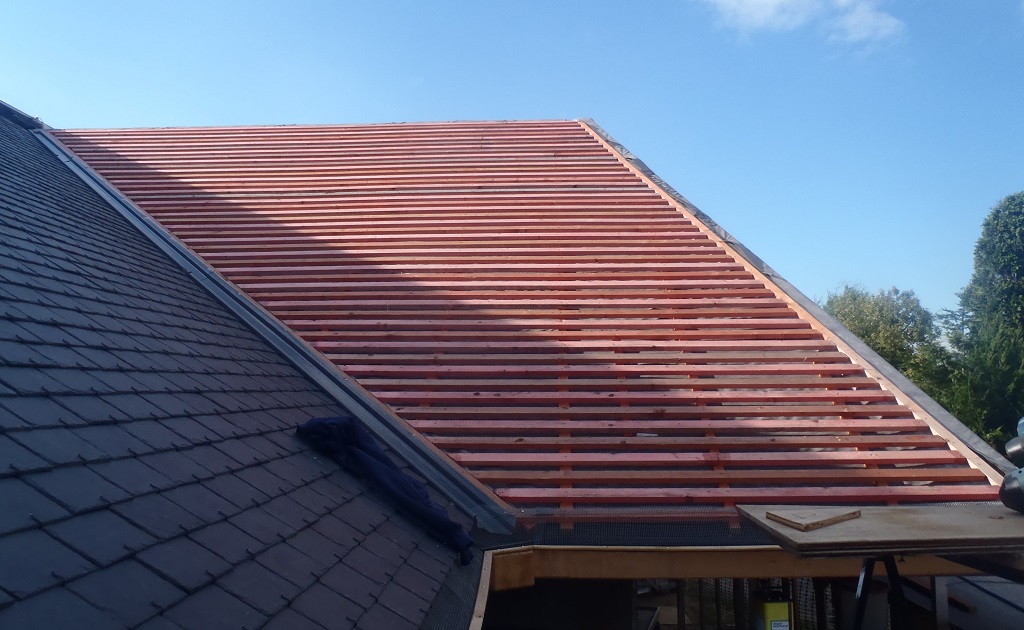
The last little task was to put up the valley membrane and wooden counter battens, ready to support and hold the grey glass-fibre valley trough.
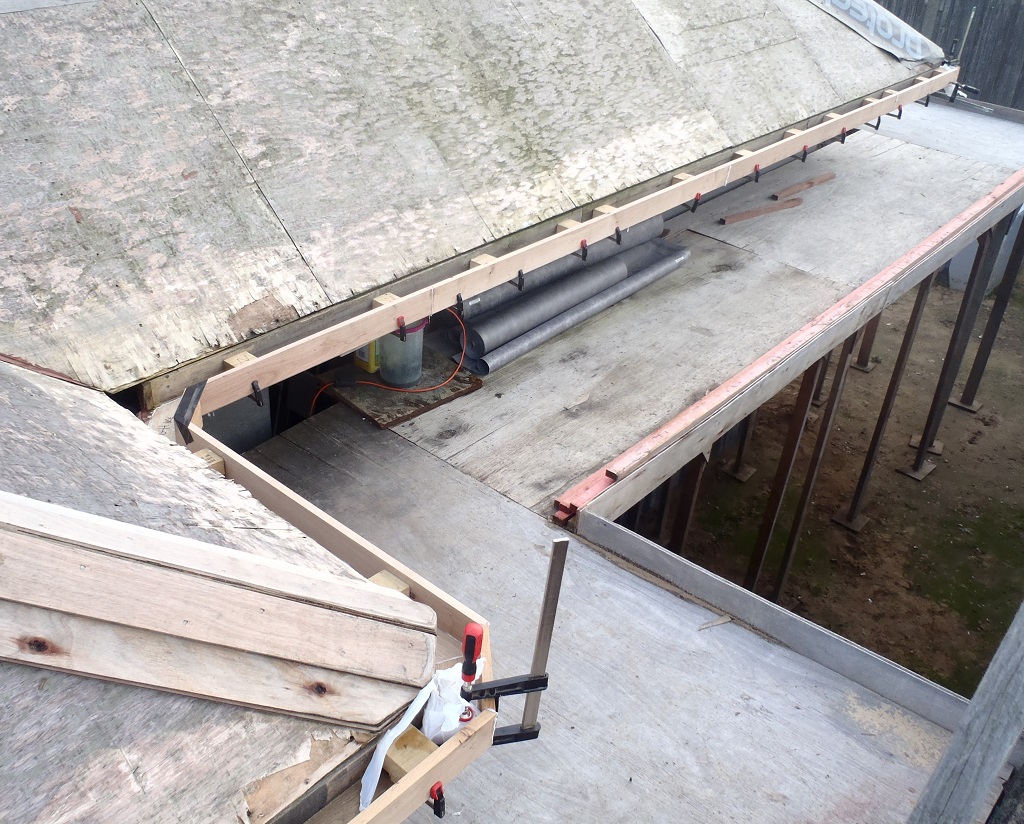
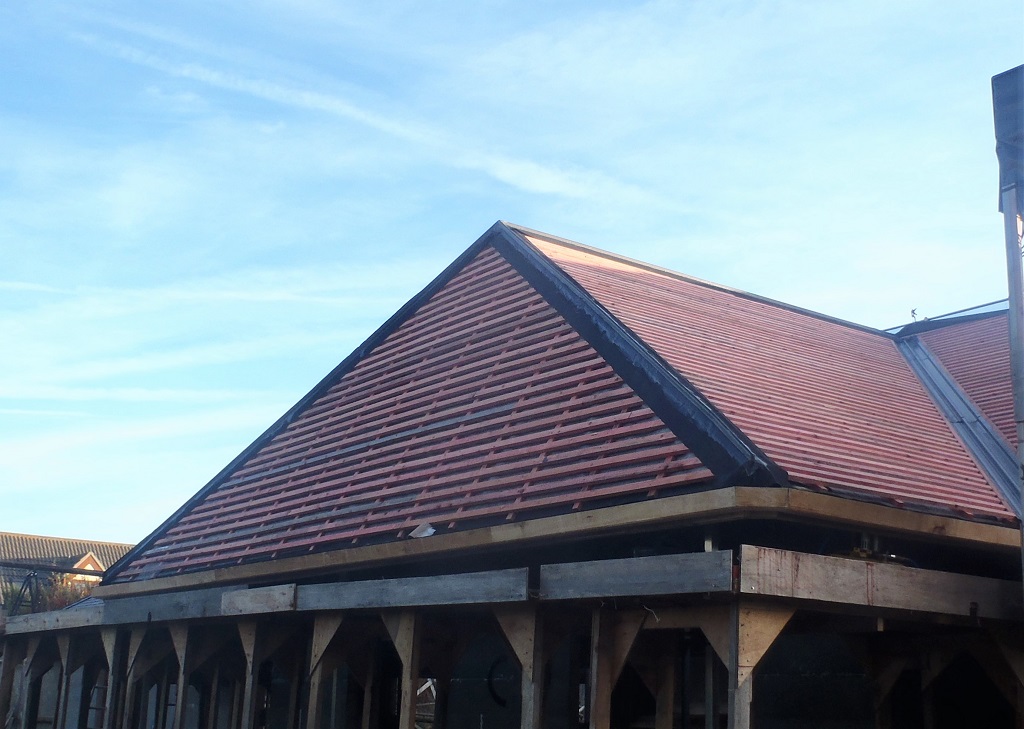
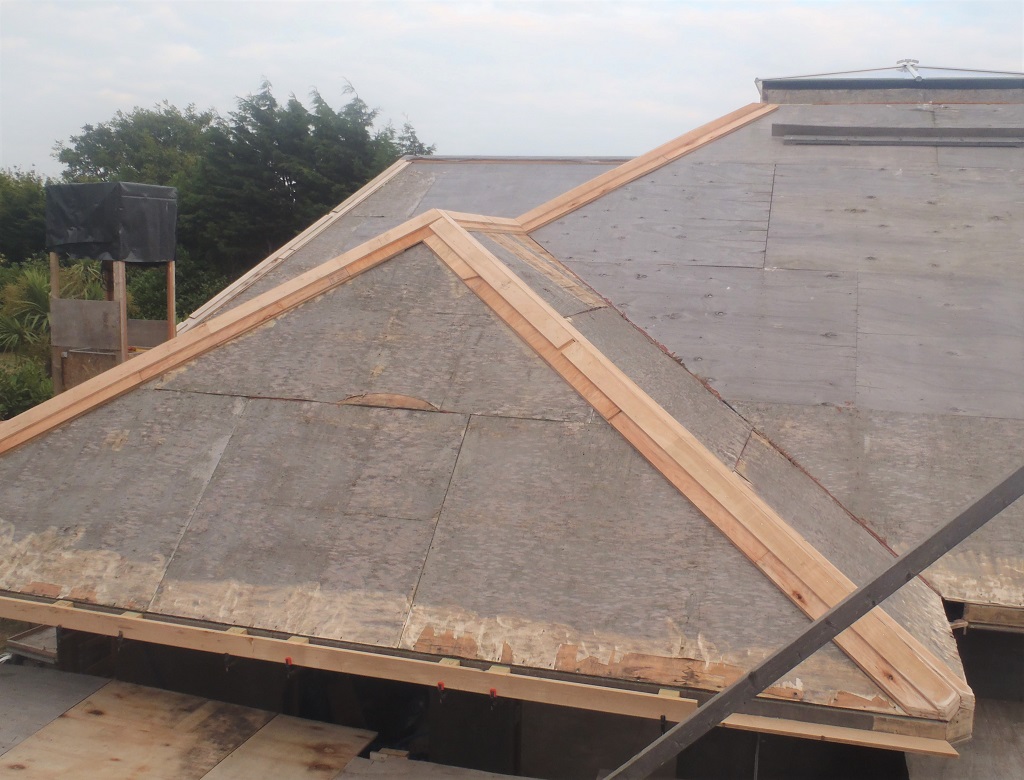
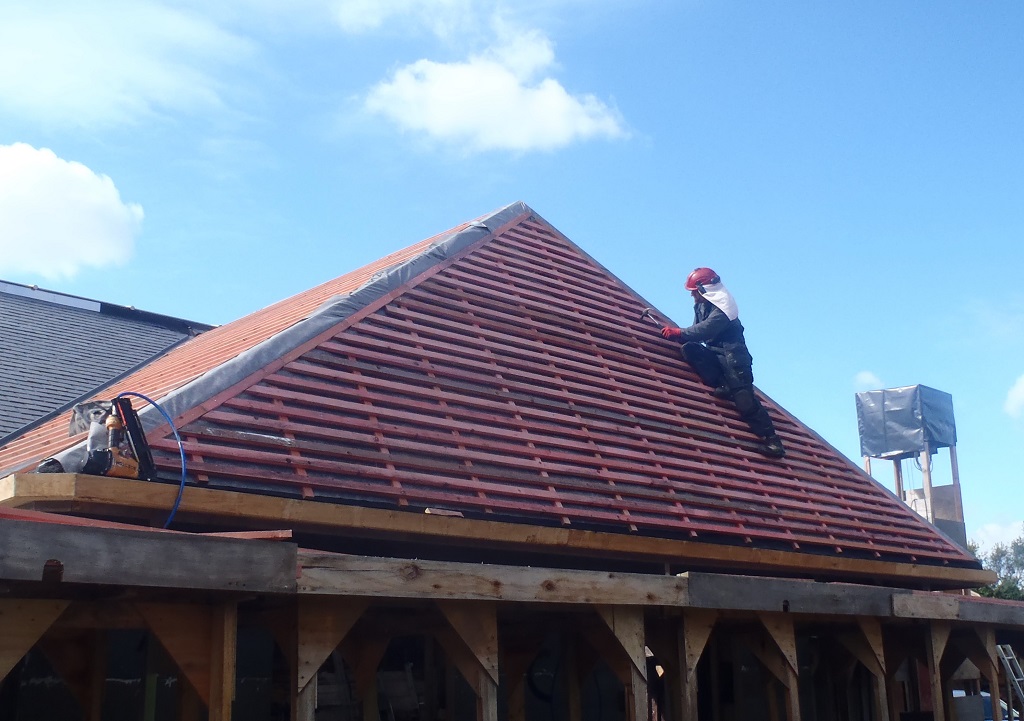
Tuesday and Wednesday, we got all the breathable membrane up along with their counter vertical battens to hold it down, plus some widely spaced out tile battens so we could climb up and down easily. The last job before it got dark was to nail all the flashing battens on the Hips and Ridges, 4 hips and 1 ridge sections.
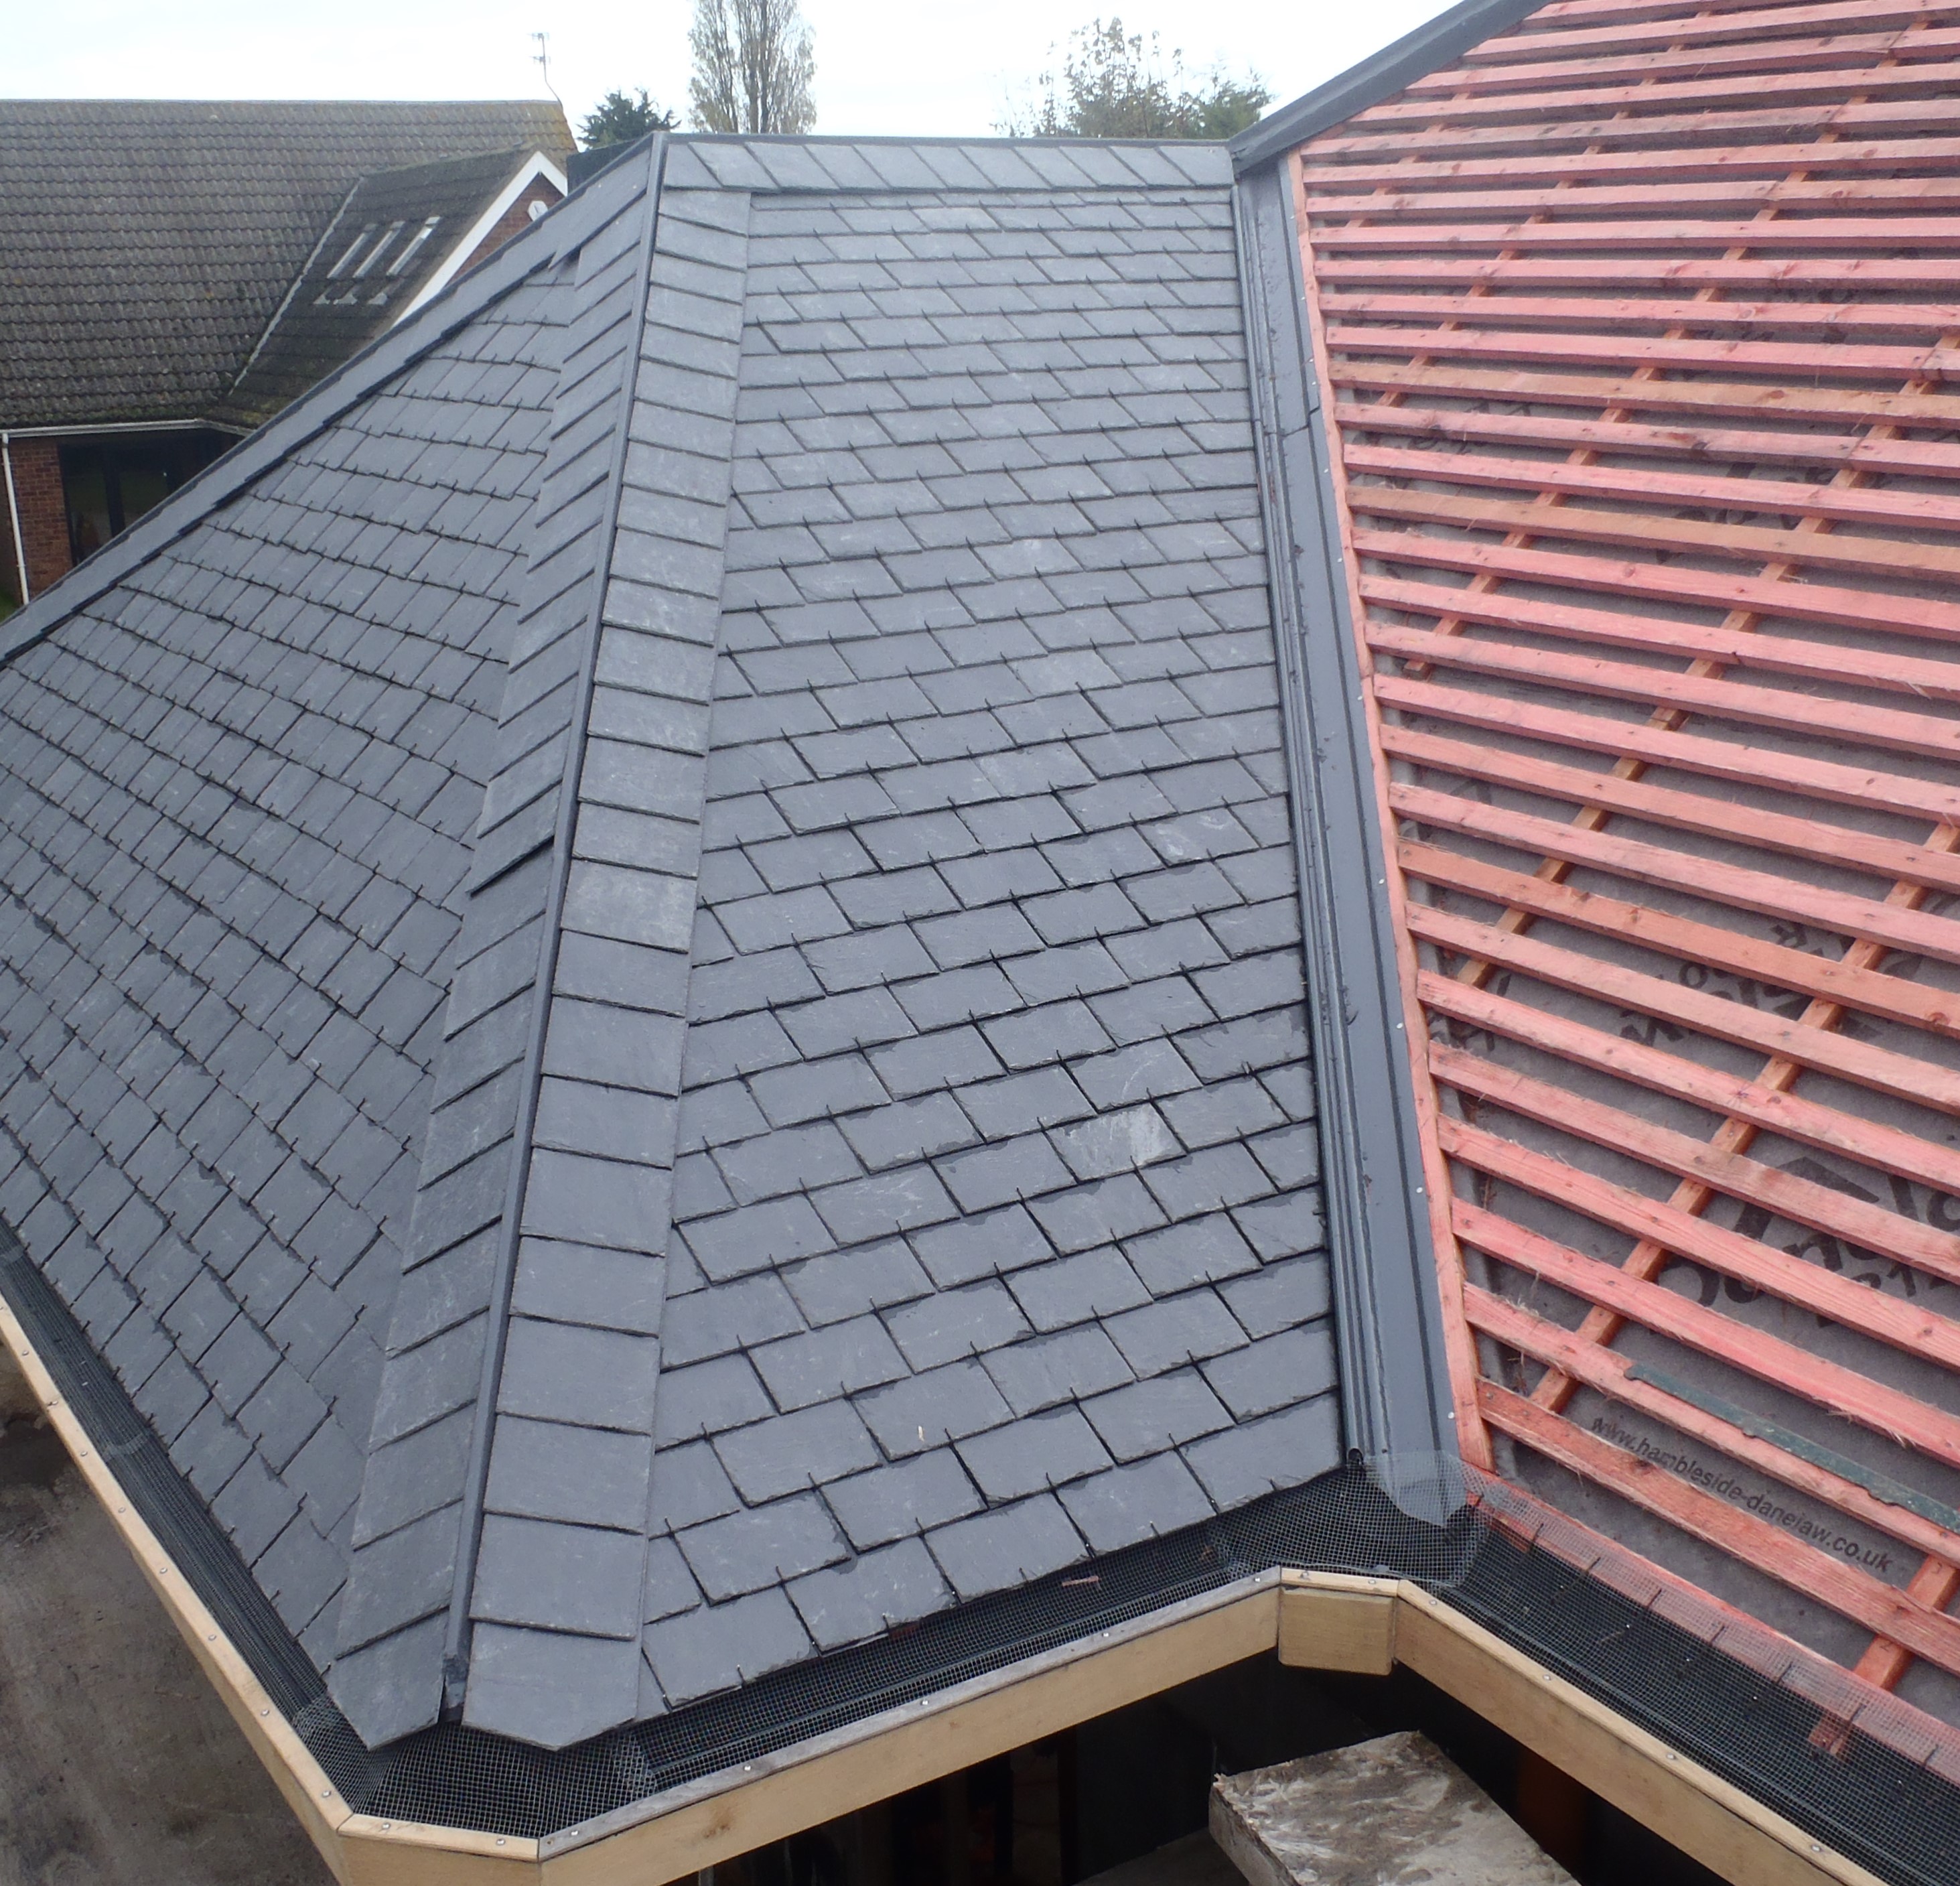
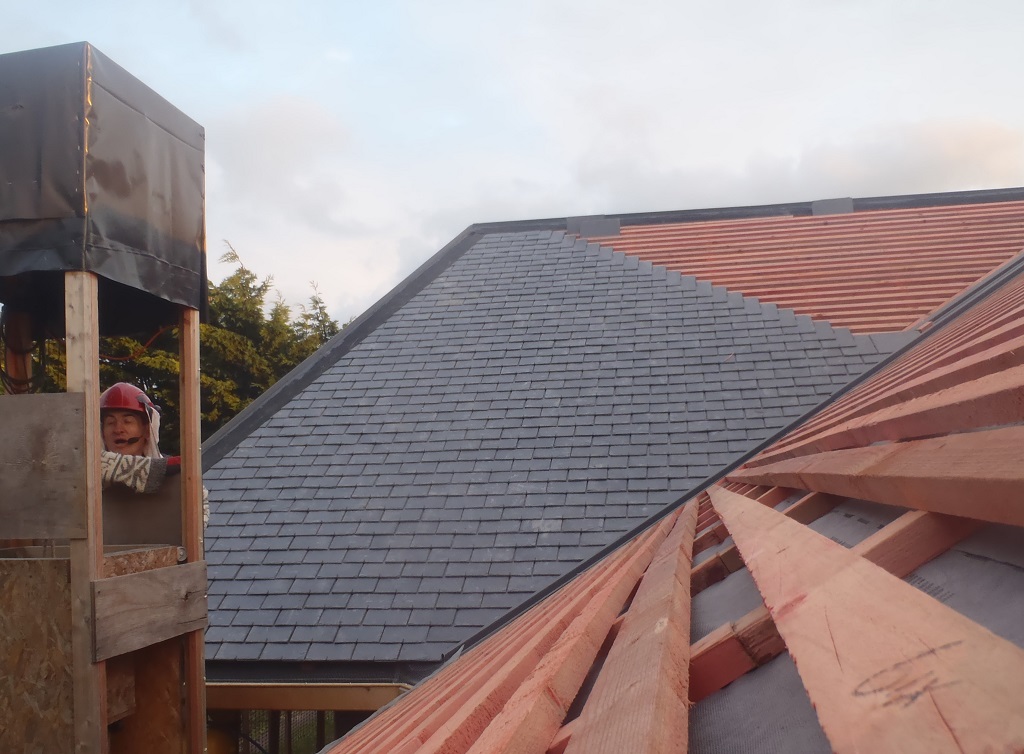
With these last three sections of roof (‘F’, ‘G’ and ‘H’) done, this means that we now have at last, a completely waterproof roof right across the whole building!
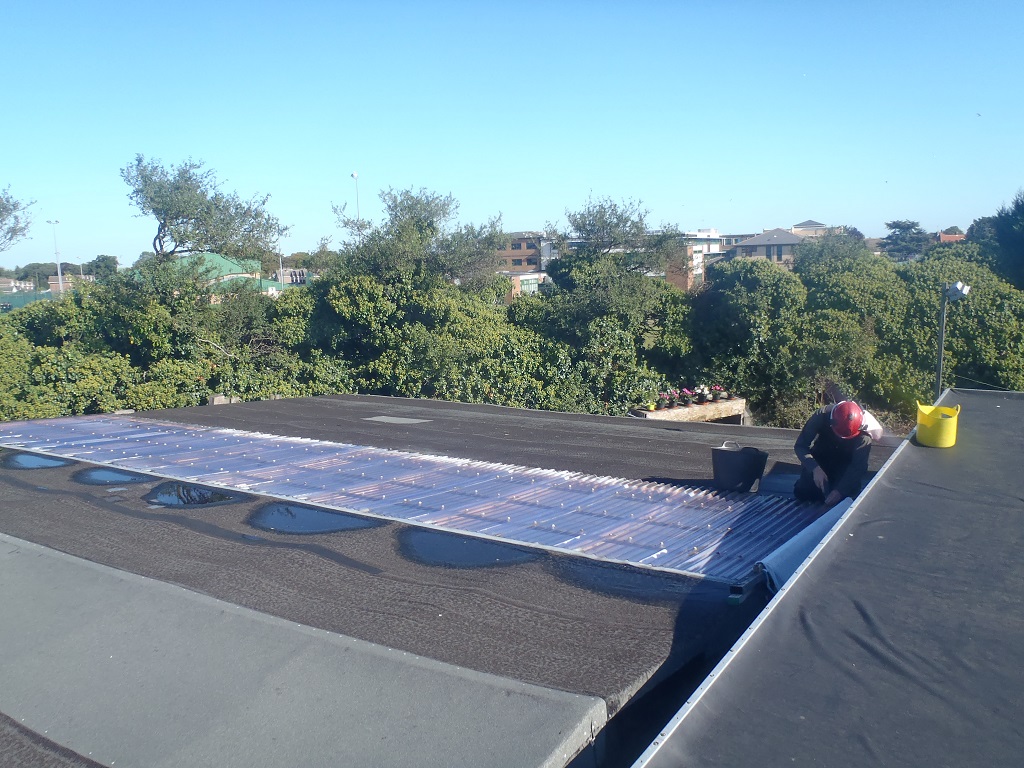
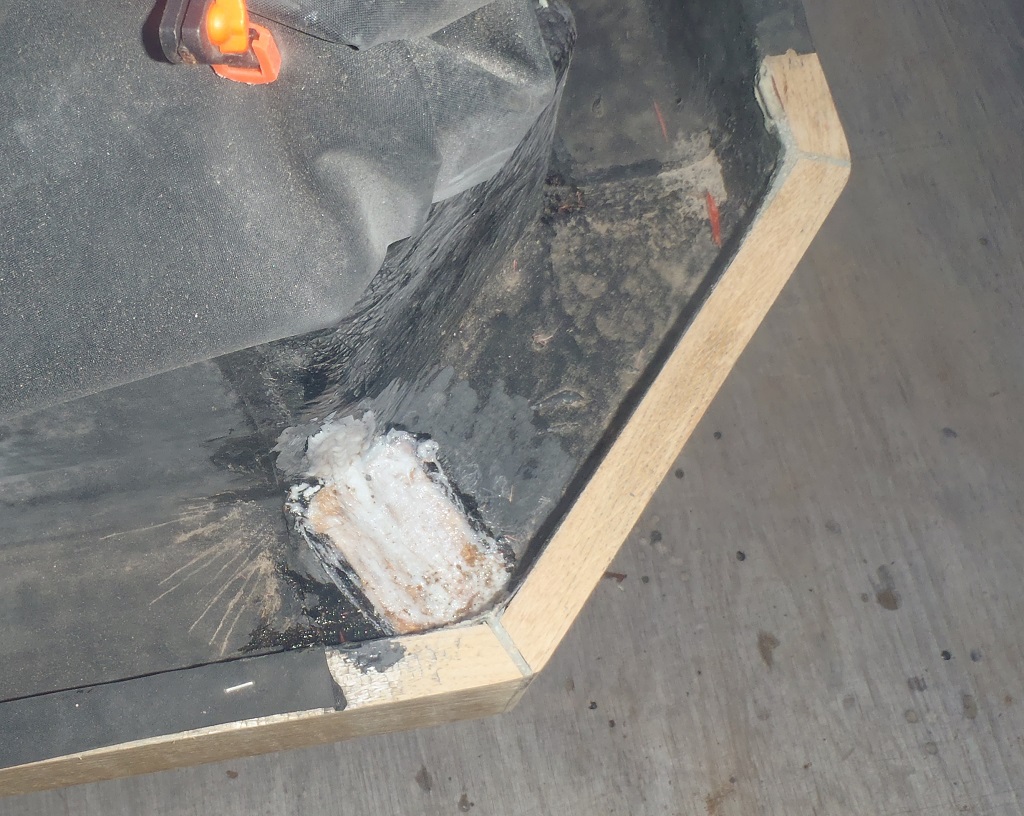
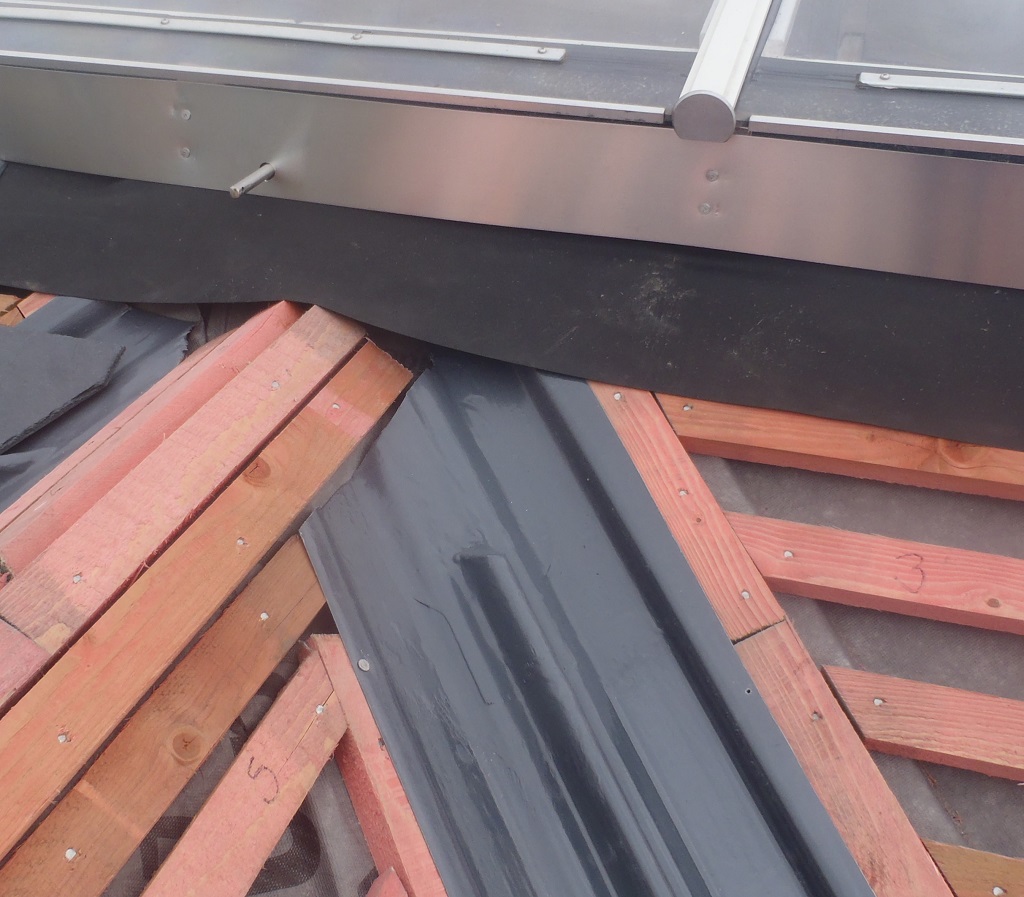
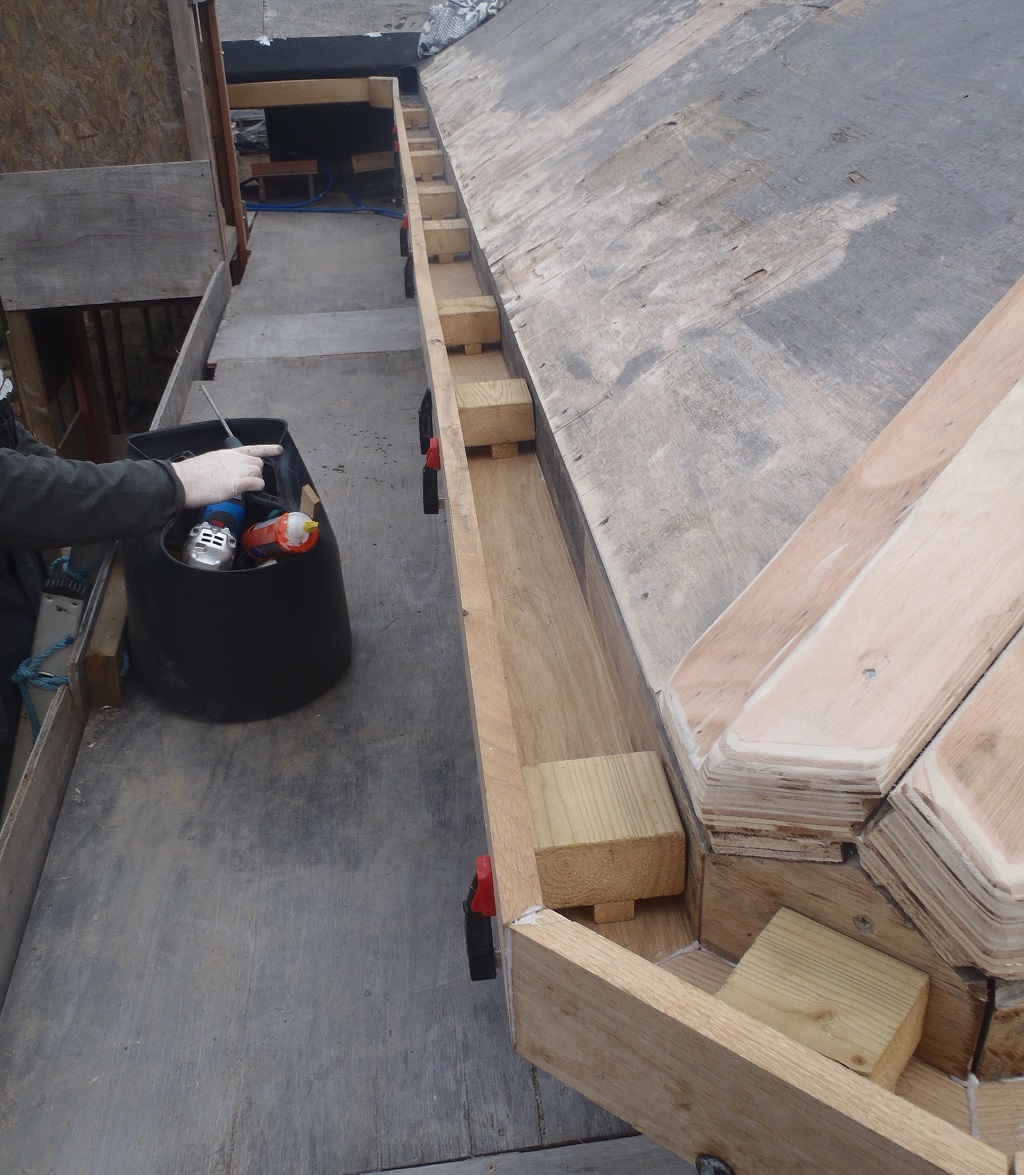
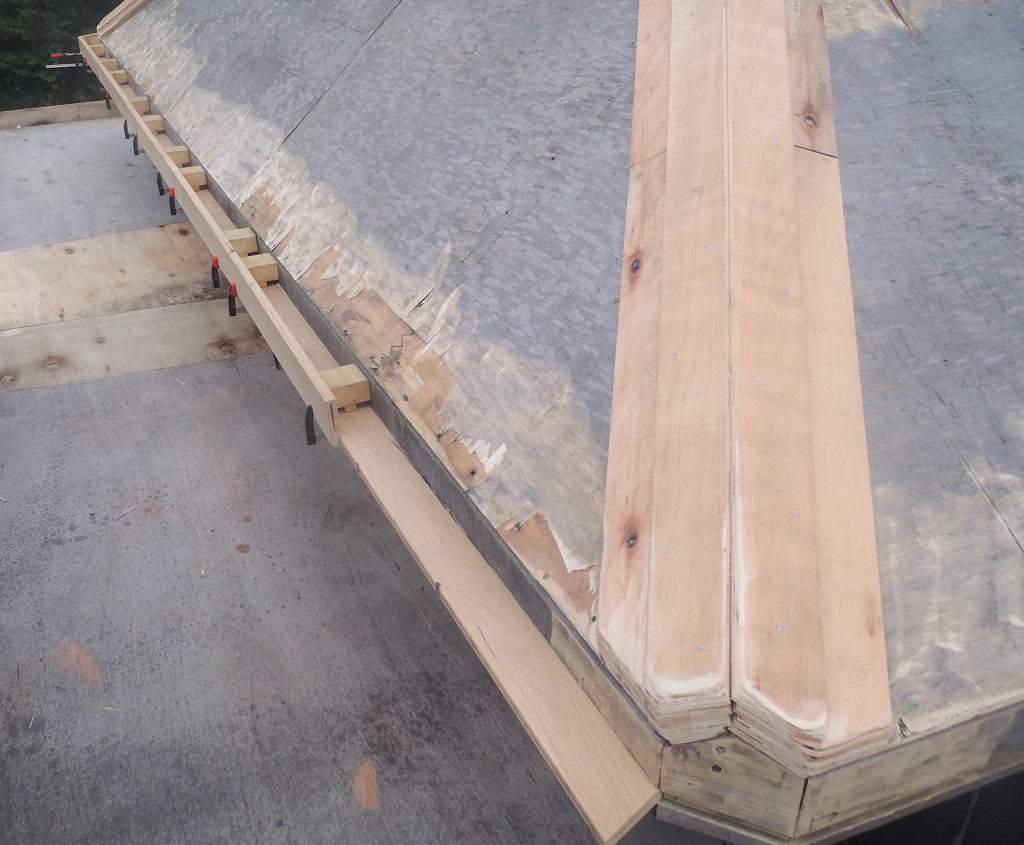
Thursday was a good day, still chilly but with sunny intervals. Firstly, we put up the spacers up on the kerb of the Skylight and stapled on the rubber strip ready for the slates and the aluminium protective strip to go up. Then we managed to get all the rubber membrane up on the flashing battens, followed by the OSB bull-nose strips and covered with the glass-fibre ribbon.
And then coated it in two layers of resin to produce our bull nose protection to divert the rain water away from the joints between the roof sections. All done before the forecast of rain arriving in the early morning hours of Friday. This was the last of this type of task, no more glass-fibre and resin out on the roof or gutters… all done now!

Hip-Flashing-for-FG-H-finished
Friday was an alternative day of meetings and other commitments [It also rained a bit].
Saturday was rather wet and we only managed to do a couple of hours on the roof, putting up some tile battens and instead worked in the workshop making a sound reducing cabinet for our little CNC milling machine.
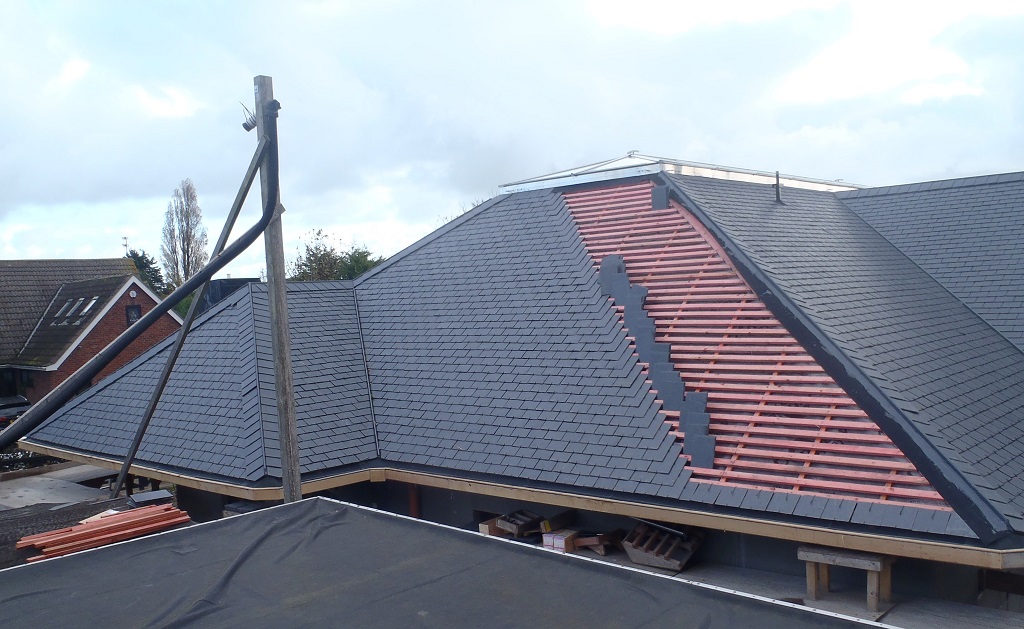
Monday was a slow start because of another appointment but we did work in the afternoon on the roof and got all of ‘F’ and half of ‘H’ done with the tile battens. When it got dark (at 5pm), we continued in the workshop to continue with our cabinet.
Tuesday was a nice day, well almost a nice day until the gentle showery weather arrived late in the afternoon. We got all the tile battens up, we put up the first section of trough in up the valley and cut the top smaller section to fit and did the necessaries to slice off the bull nose and then glass-fibre and resin the hole to hold the rain water in.
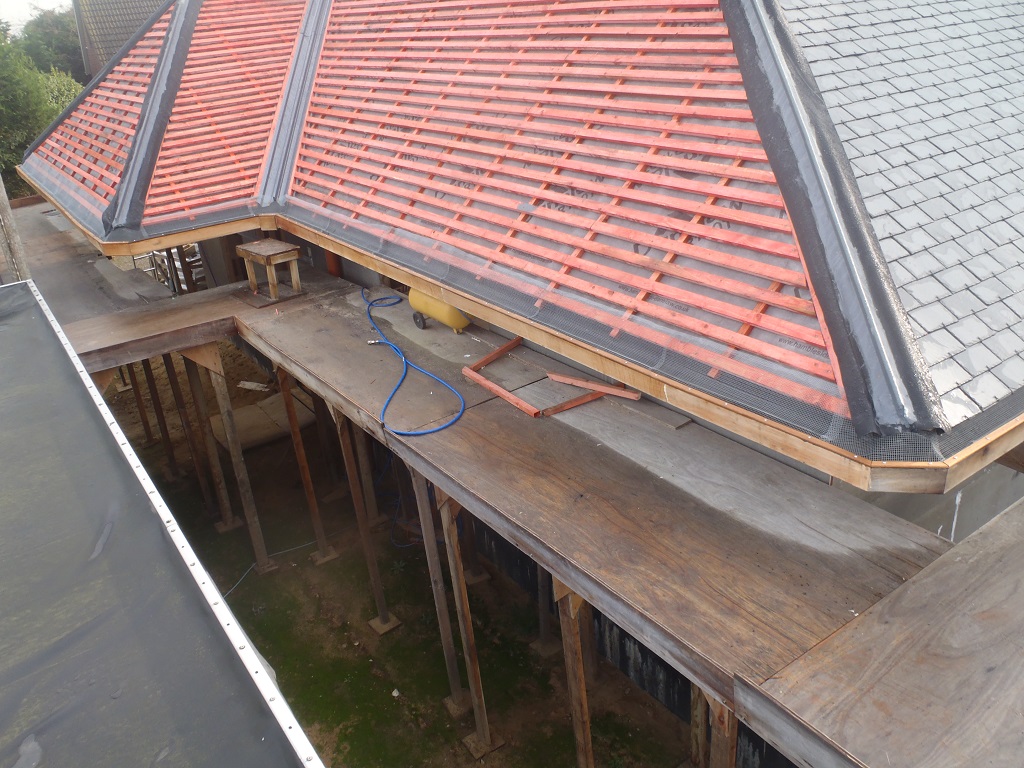
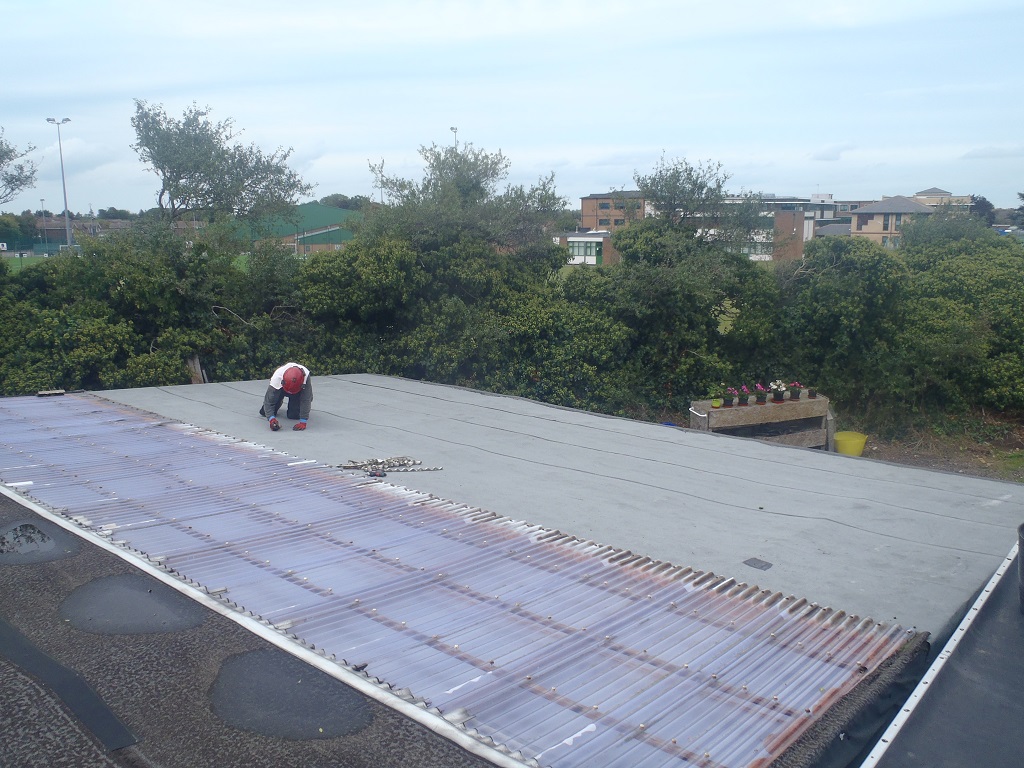
We also started putting on the metal mesh along the guttering.
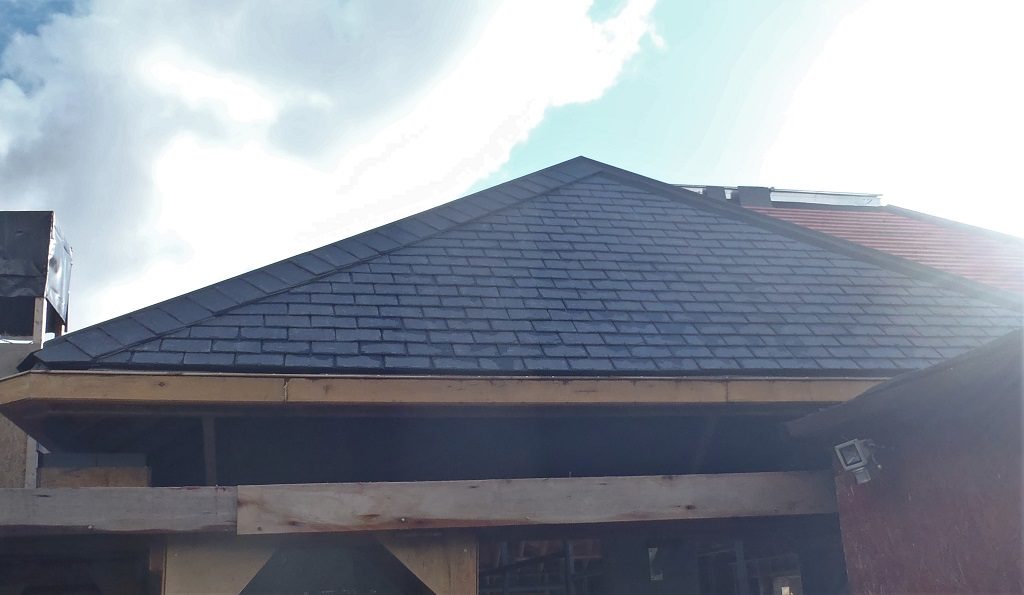
Wednesday saw the completion of the mesh over the guttering along the ‘F’, ‘G’ and ‘H’ sections. We now have fully finished all the guttering right around the whole house. We only just made it and we had one 300mm strip left over from an original roll of metal mesh 900mm wide by 25metres long.

Mesh-on-gutters-complete
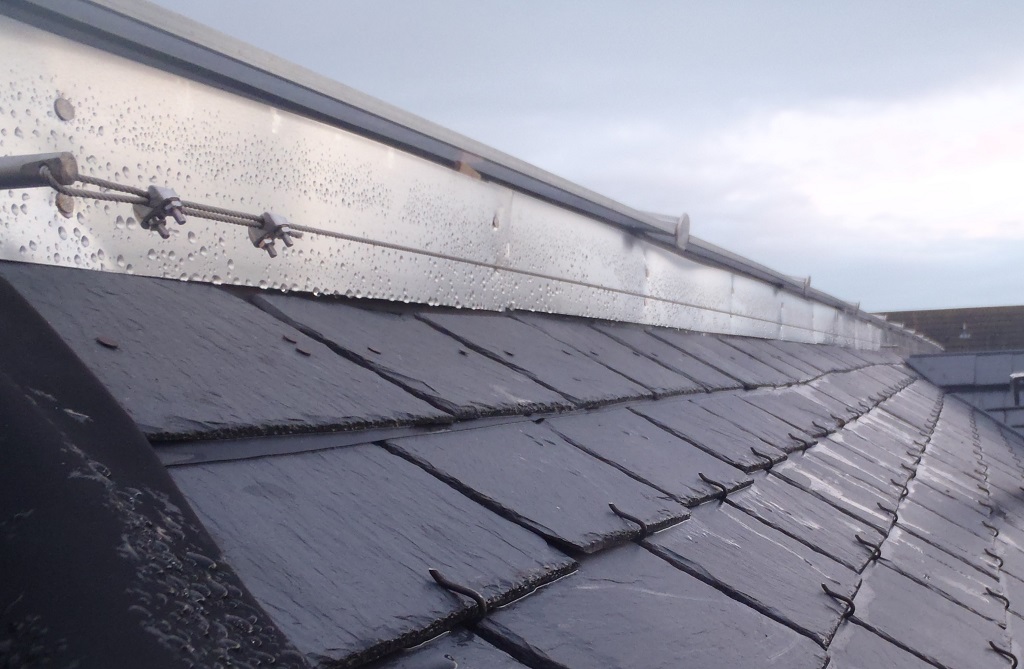
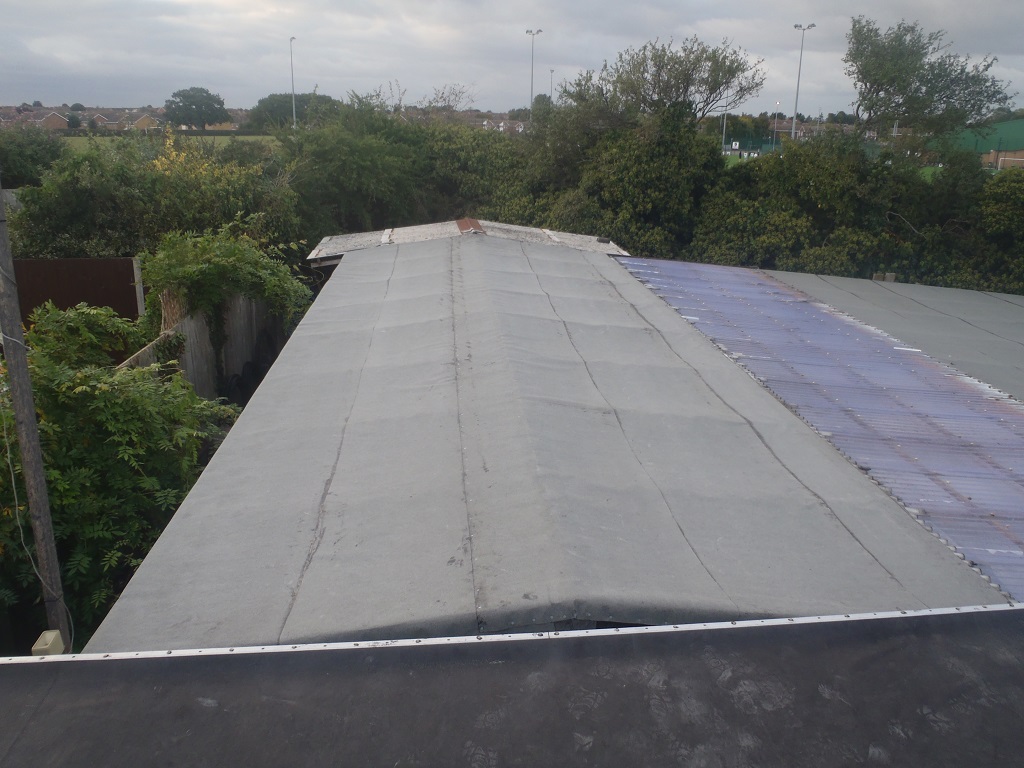
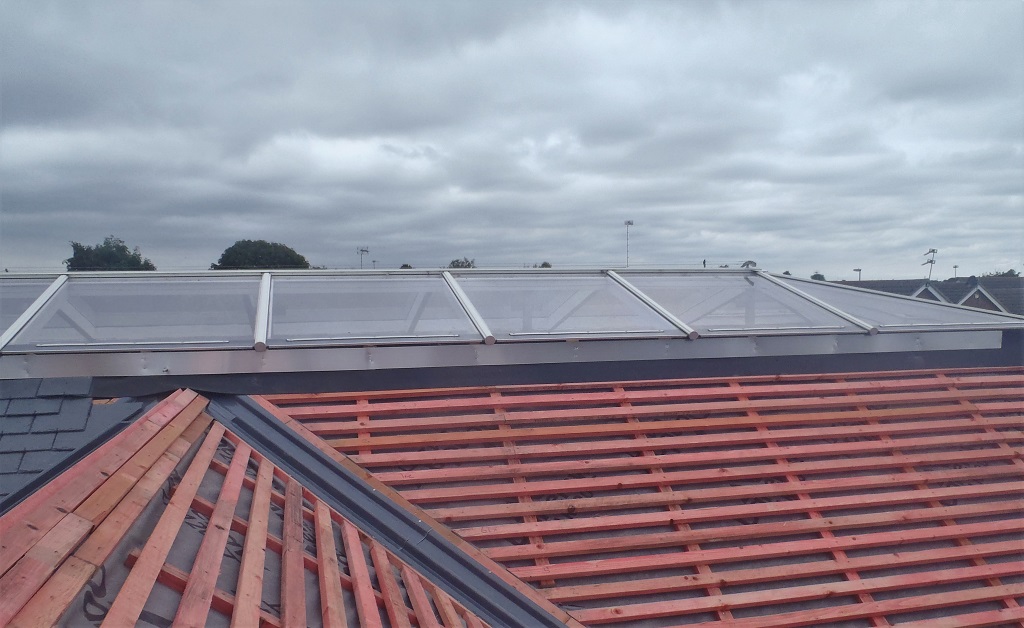
The afternoon task was to replace the first section of the skylight kerb we did back in March where we had originally put up slate pieces to protect the rubber membrane and we had decided to switch over to the better looking aluminium strip instead. So we had to break off the slates, reposition the spacers to align with the 2metre strips and then nail on the replacement pieces (all done whilst sitting on the skylight working between our legs). We also got the last section all done on the end of the skylight including the support rods for the safety wire.
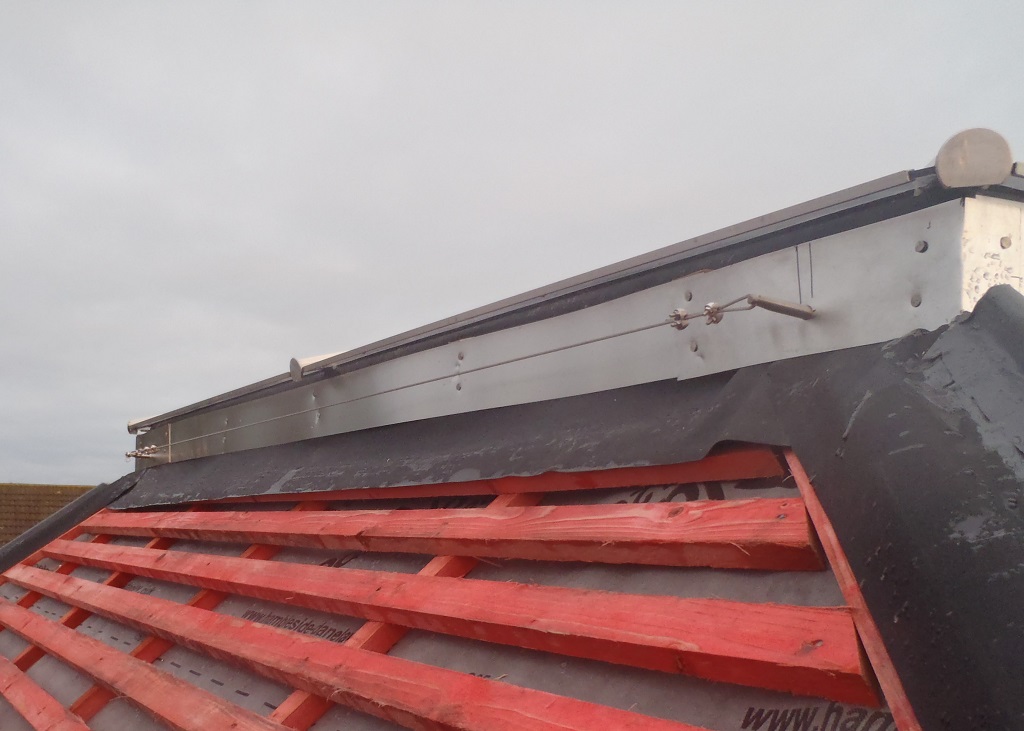
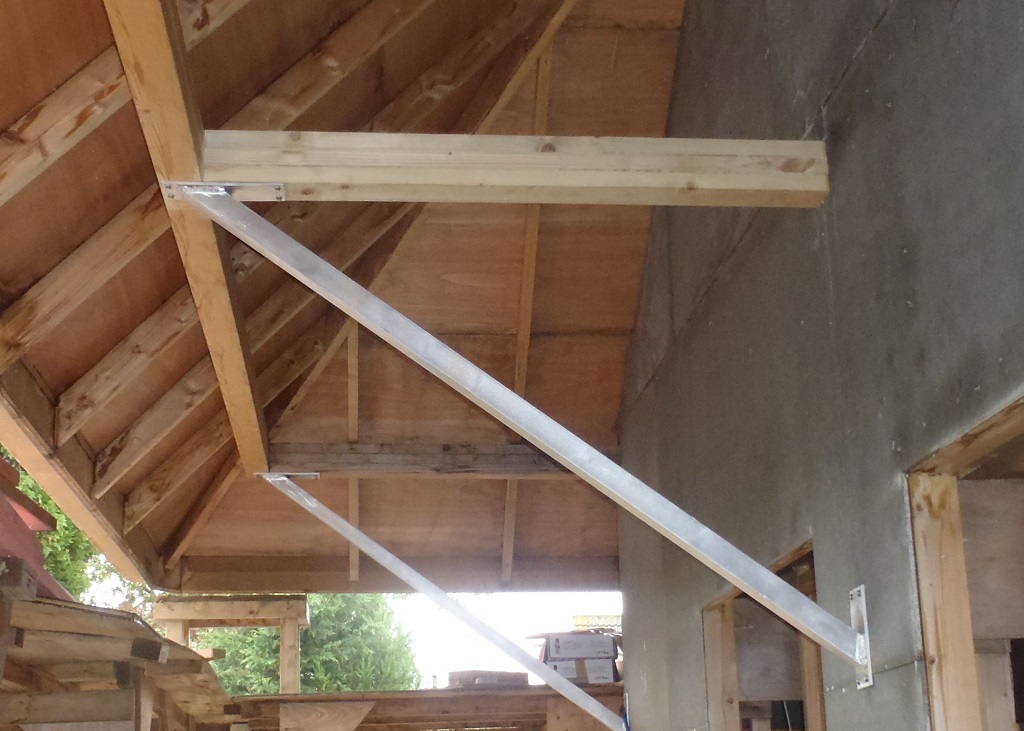
Thursday, we got the safety wire strung up on all the support rods, on each side of the skylight. We did this by shuffling sideways on the windows of the skylight and leaning down to deal with the stainless steel wire. Each wire, four of them, one for each side of the kerb, was clamped into place and then tightened up until the wire was good and solid, with a minimum slack in the length, ready for when we clip on a ladder or a safety harness to enable us to service the skylight or roof.

Safety-Wire-along-IM

Safety-Wire-along-H
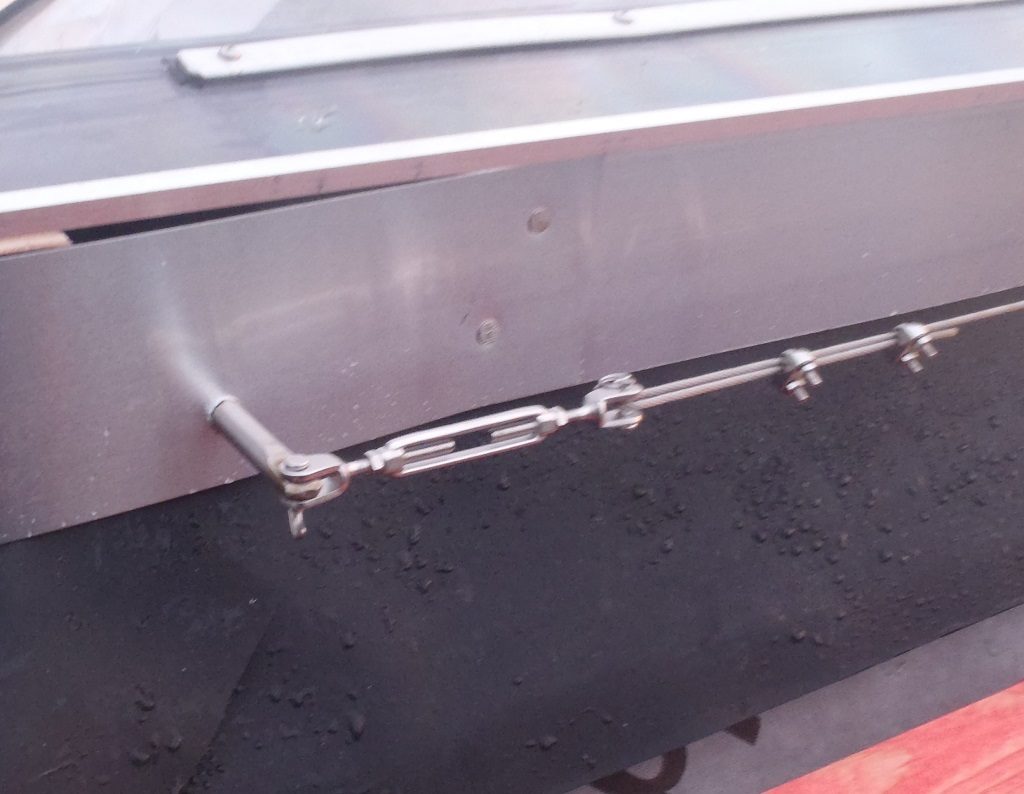
Safety-Wire-tensioning-buckle
Friday we got the preparations all done for the last three sections of roof, namely ‘F’, ‘G’ and ‘H’, marking up where the initial hook nails goes for the first line of slates under the metal mesh, before folding the mesh down on top of the batten. We also projected a vertical line up the ‘H’ roof and then marked off the beginnings of each batten so we can be assured that all the slates on each row will align up, all nice and neat.
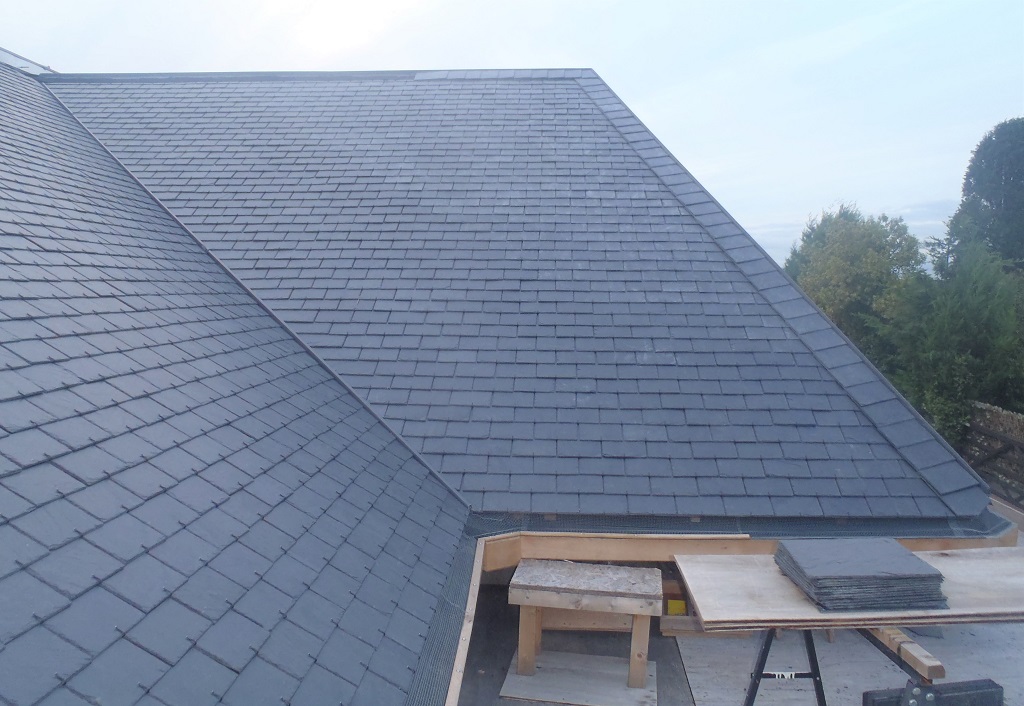
Then spent the rest of the morning and afternoon, putting up the last hundred or so slates on the ‘E’ roof we left unfinished because we didn’t have easy access (and safe) to lean over the hips and ridges to get them in.
Mesh-and-bottom-row-of-hooks-on-H
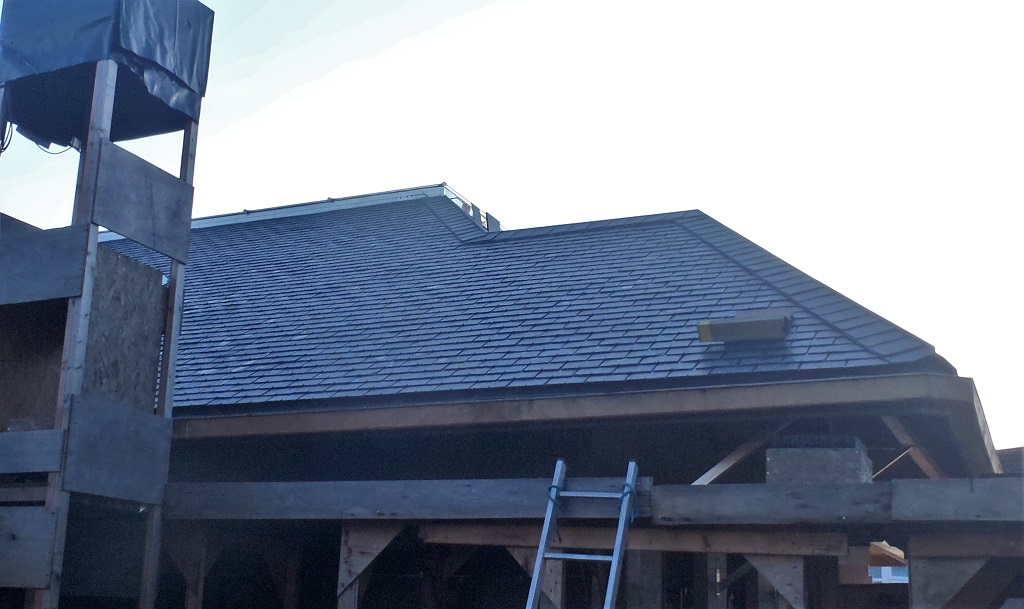
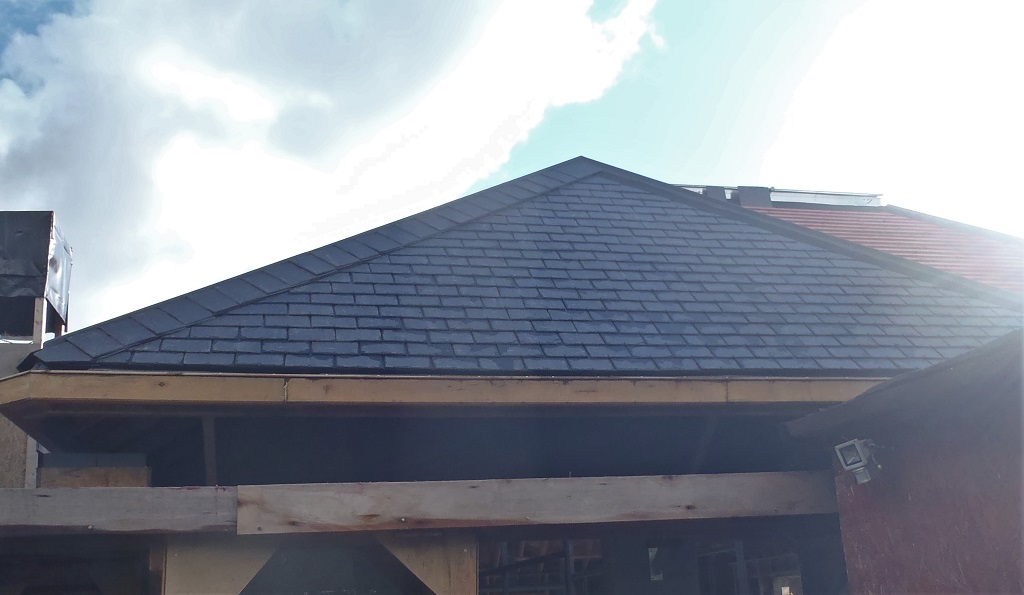
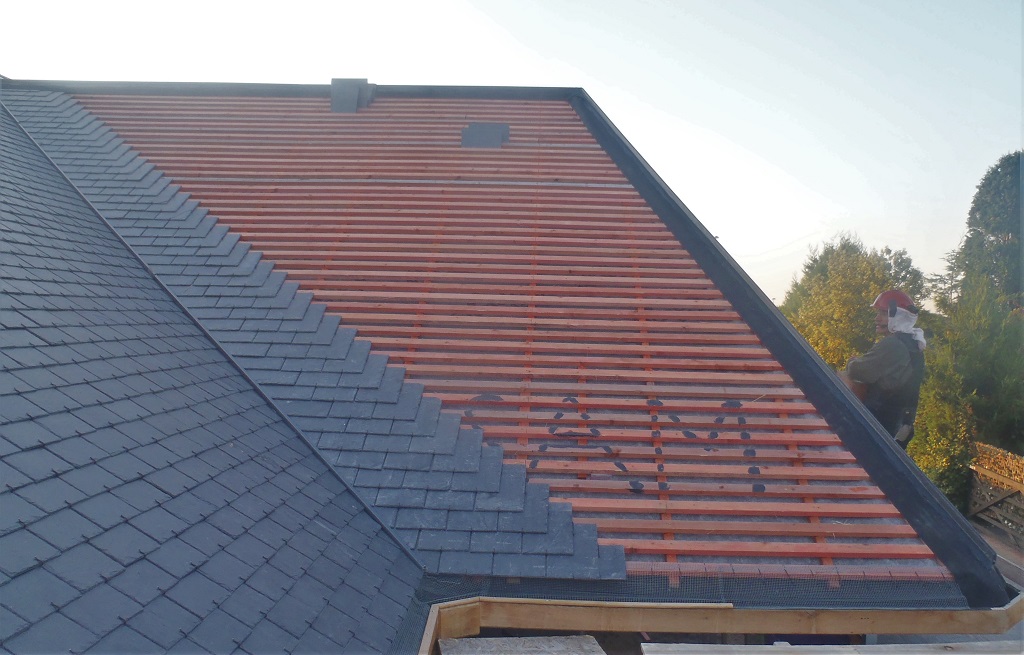
Saturday’s work got the flashing slates done on the ‘E’ section and then the whole of the ‘F’ section was completed too except for the flashing slates on the right hand side.

E-Slating-Finished
F-slating-done-almost
Next week will get the ‘G’ roof section done and hopefully most, and perhaps get all, of the ‘H’ section finished too.