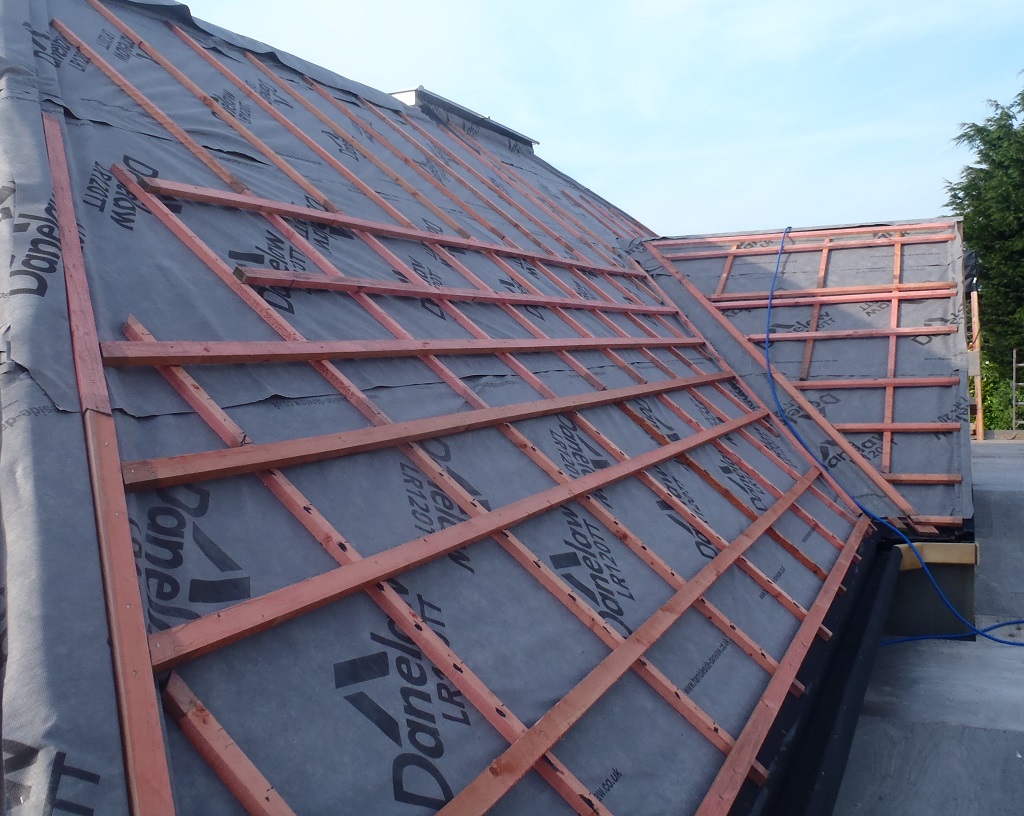
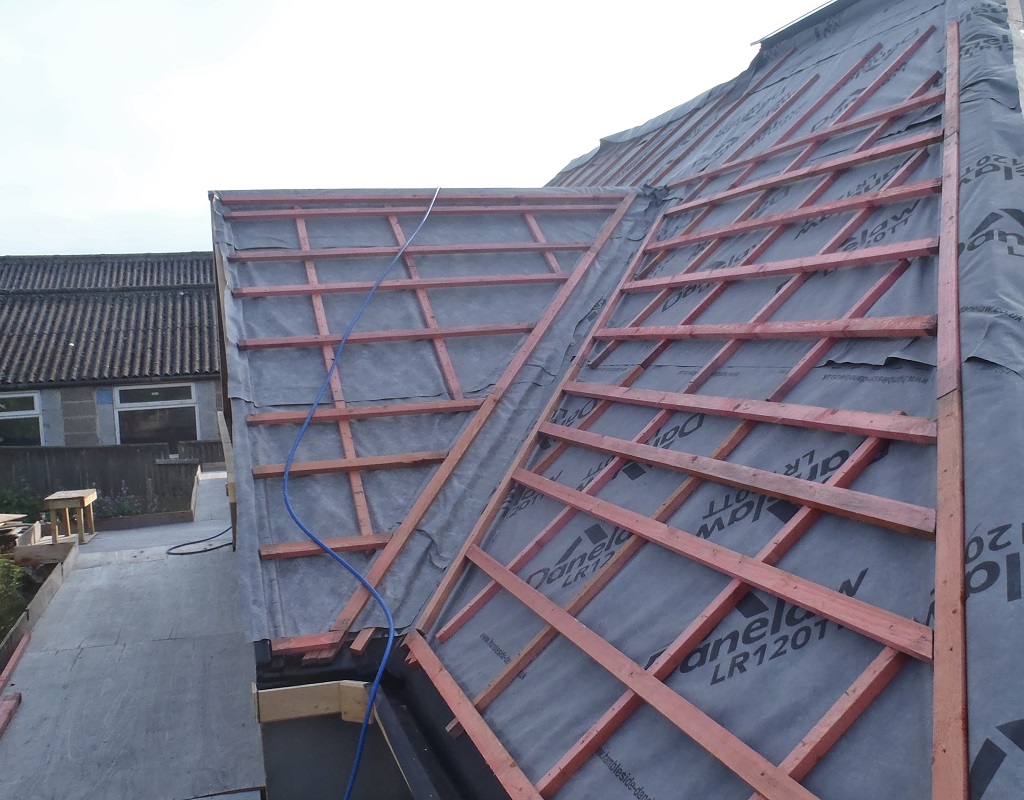
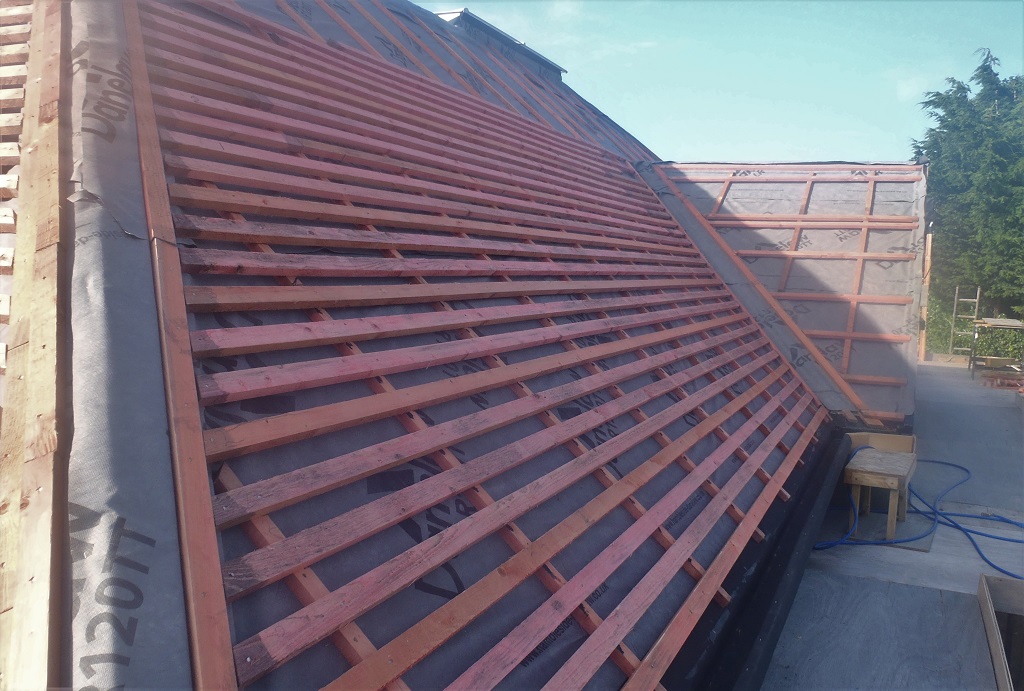
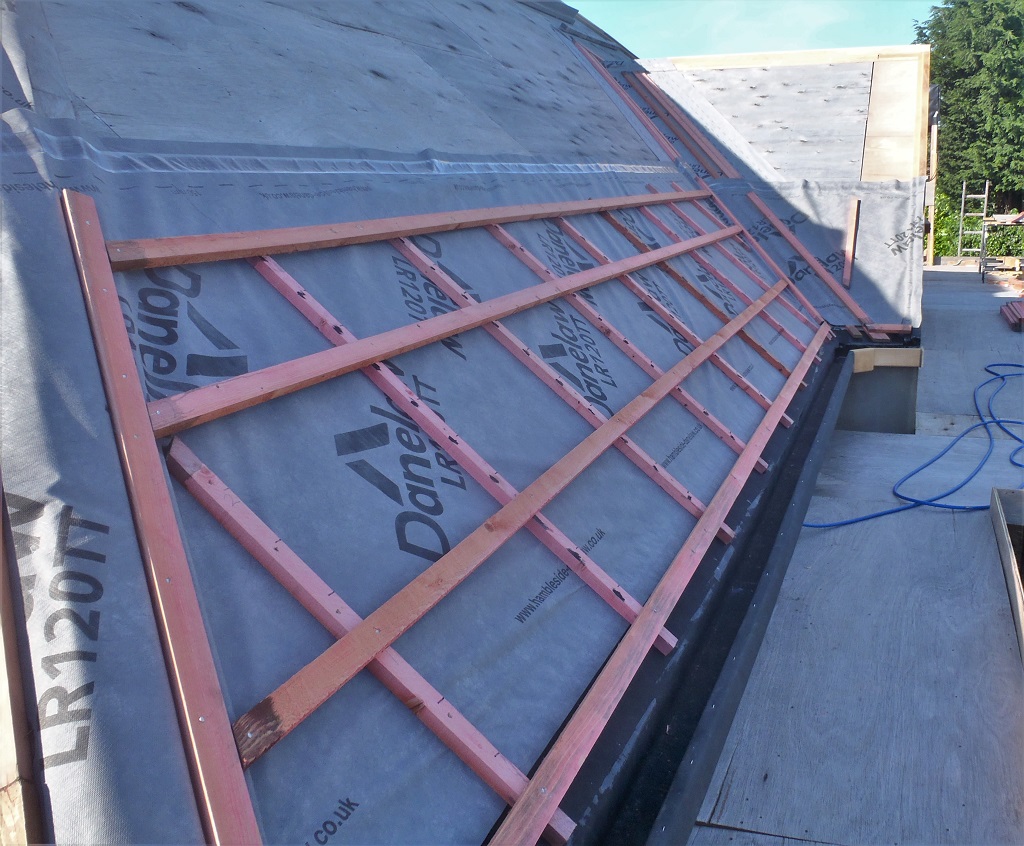
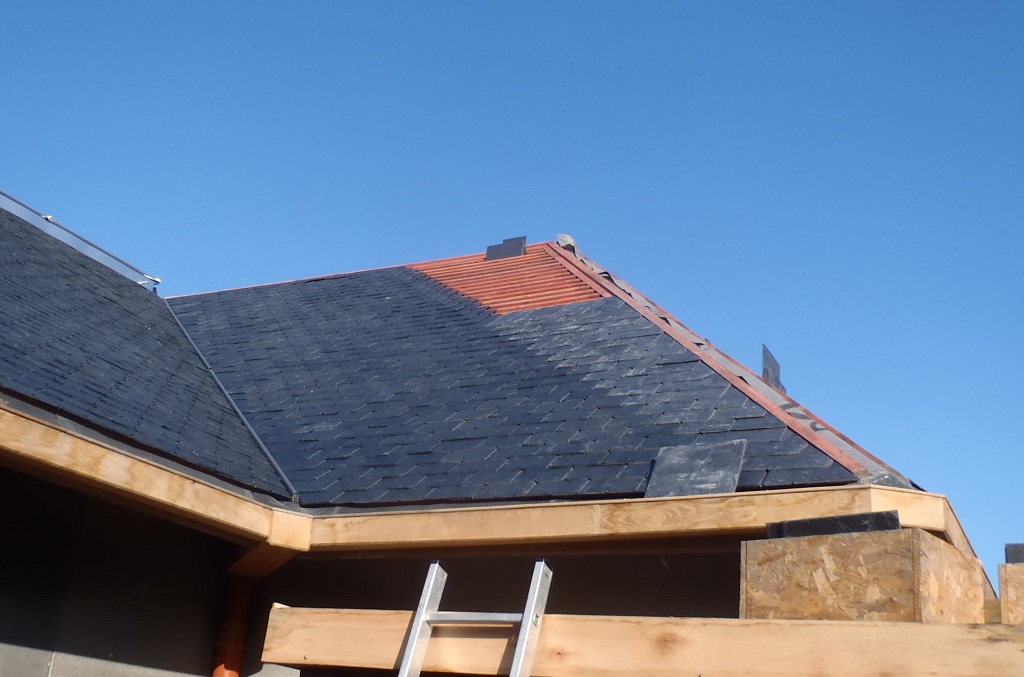
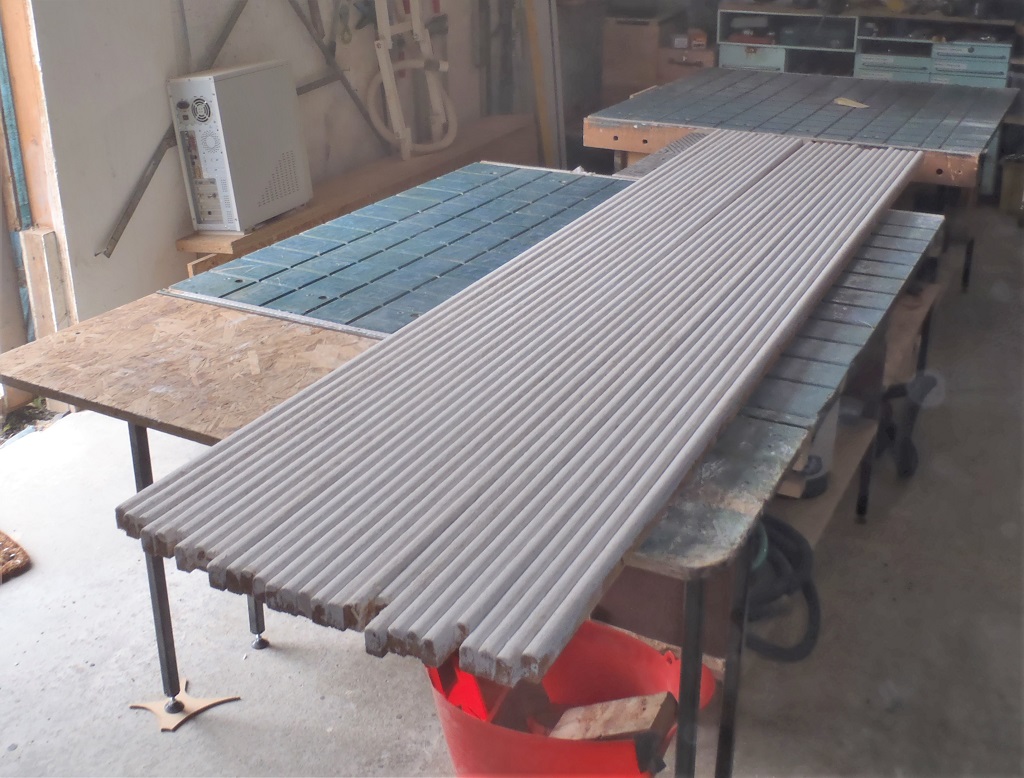
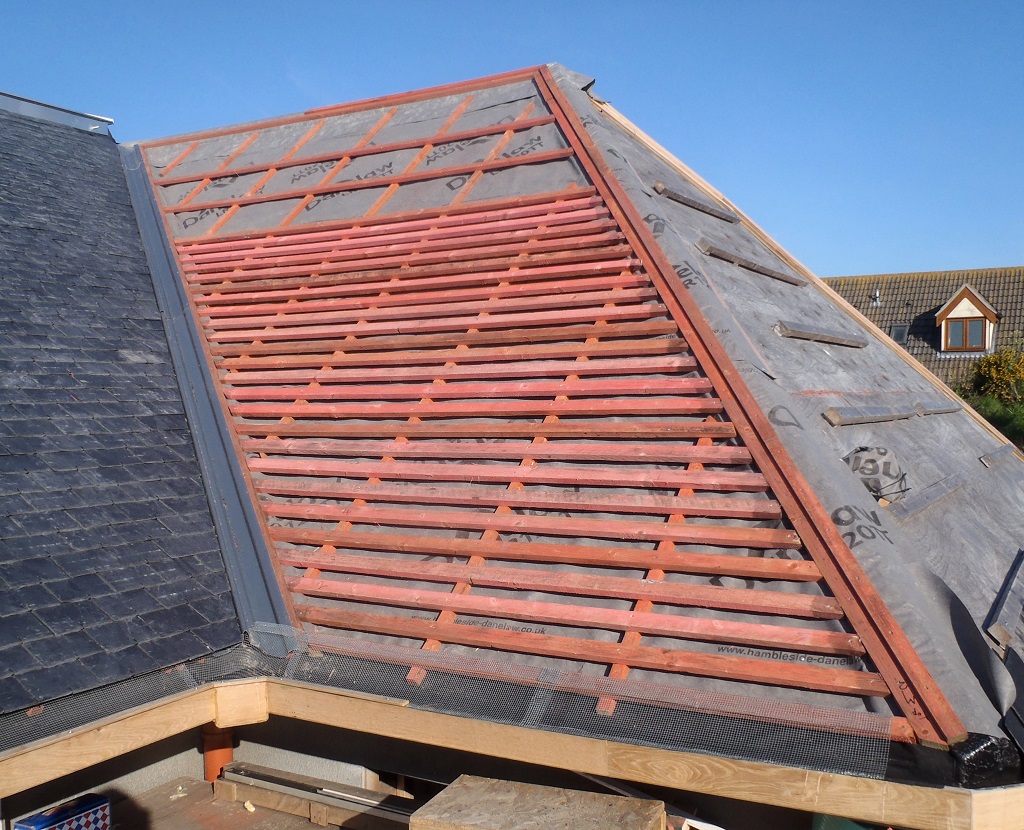
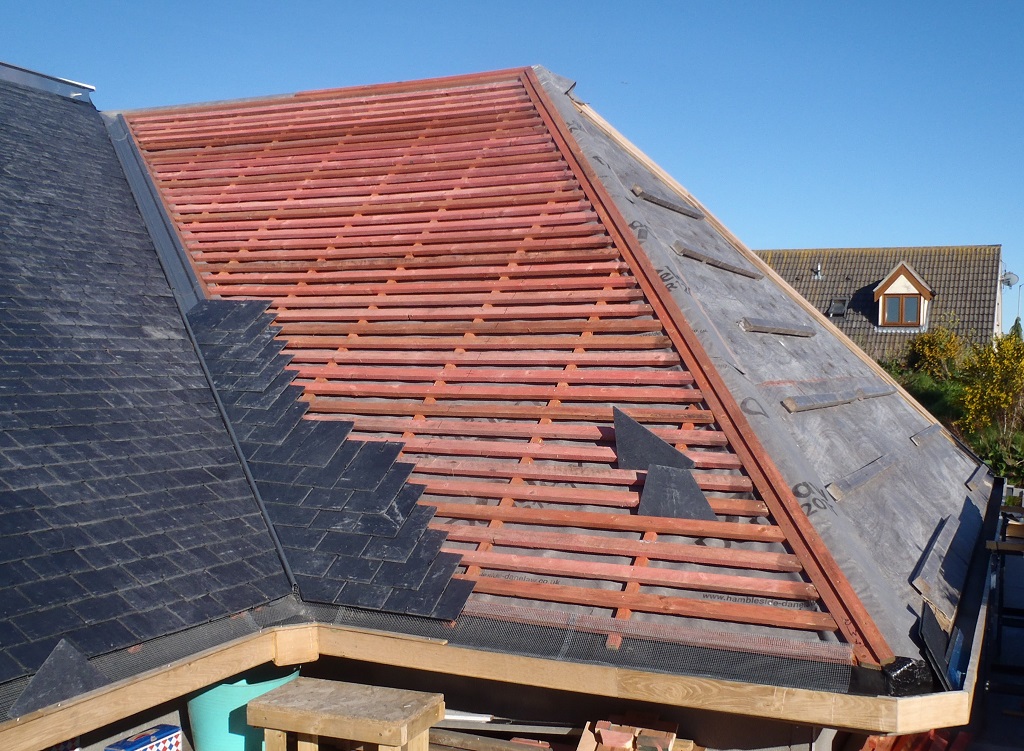
Monday, we got on with the task of putting on the three strips of the breathable membrane across the O section, all held down by vertical counter battens.

O-mostly-Battened
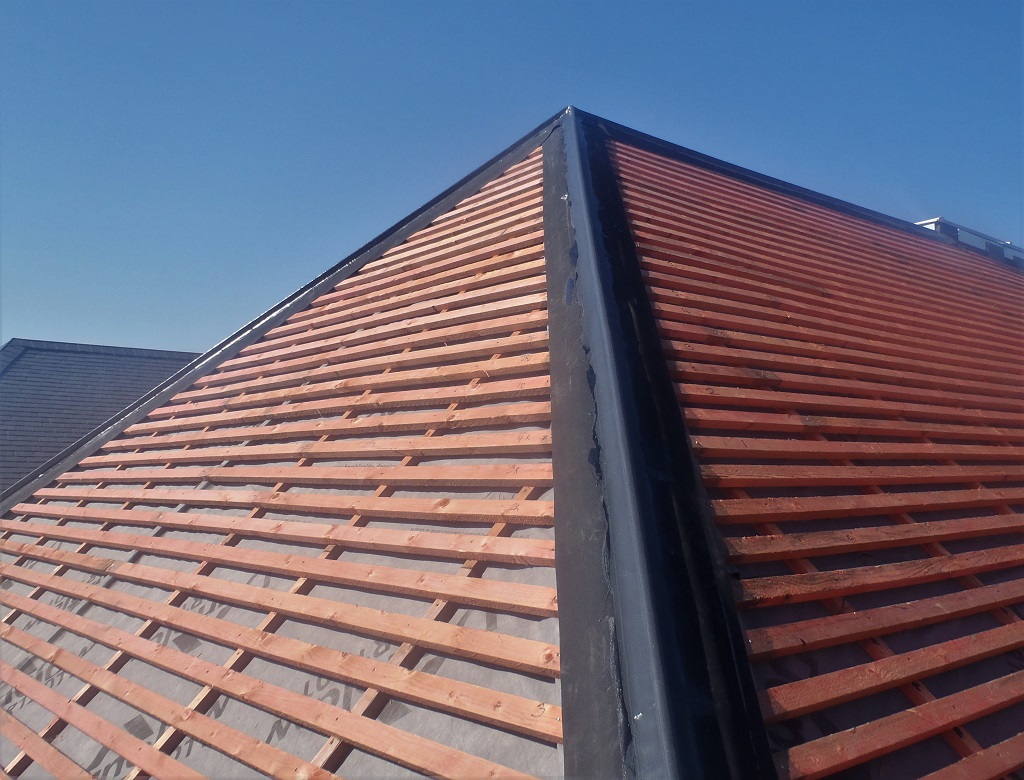
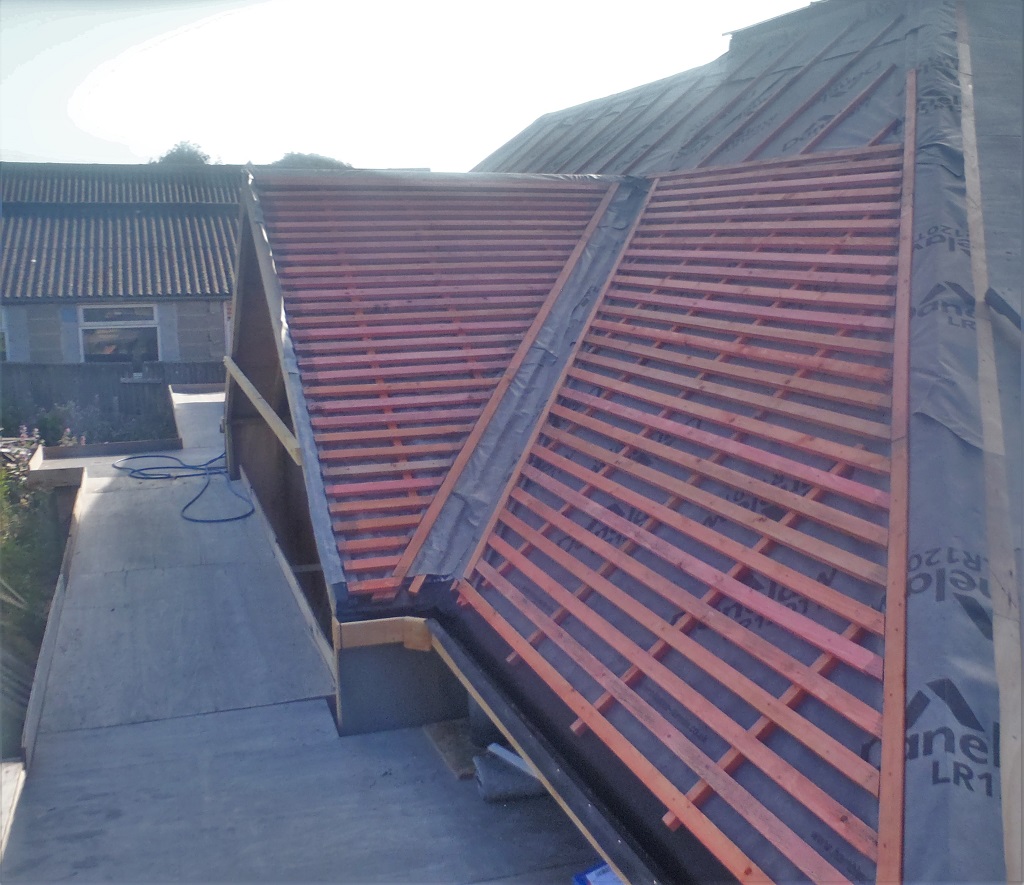
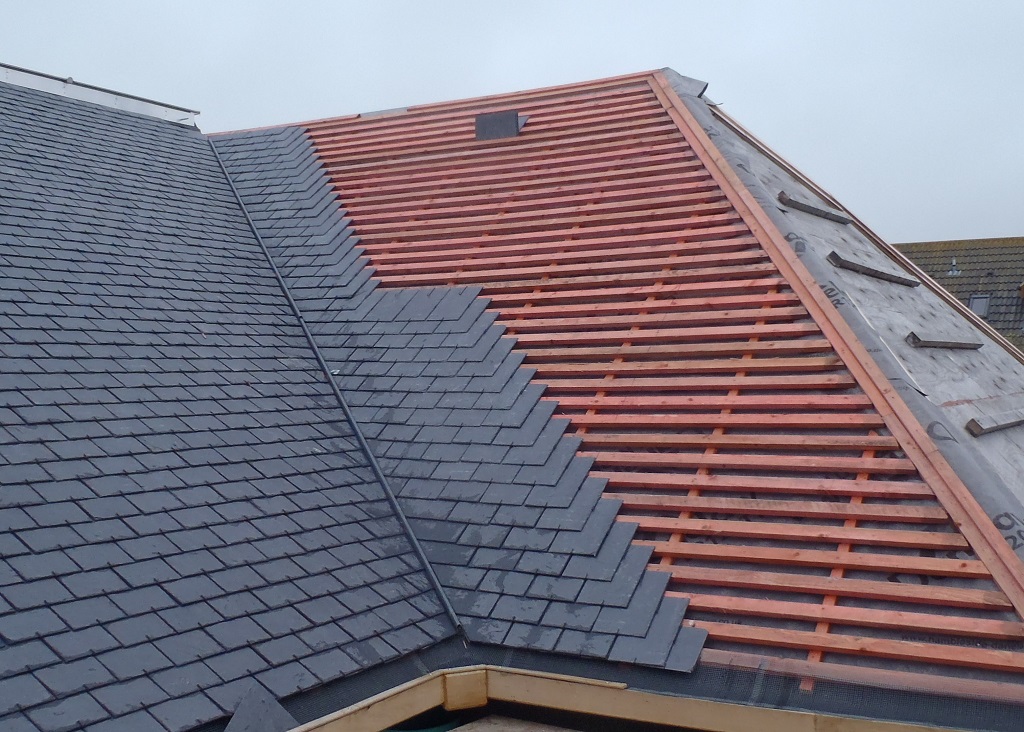
Then by Tuesday lunch time, we got all the horizontal tile battens nailed into place too.
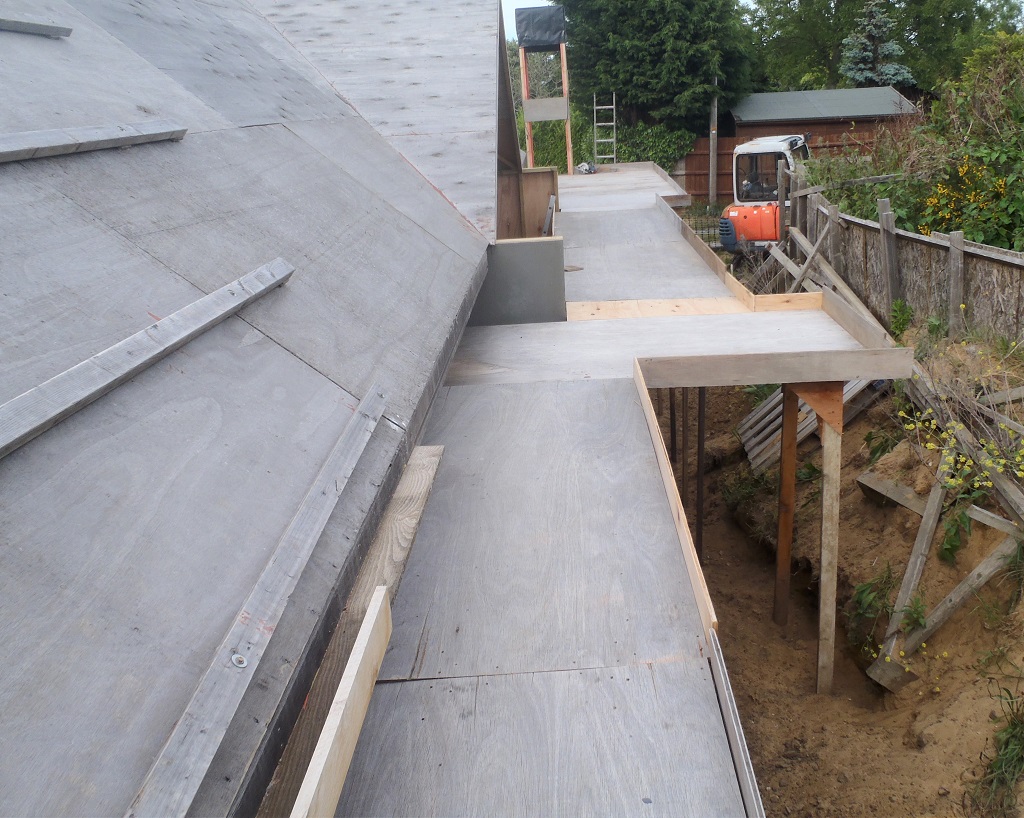
The remaining of the day was spent tidying up everything off the working platforms because we will have to move and adjust all our platform modules to go along the “P” section of the roof and around to the front of the building along the “A” section too.
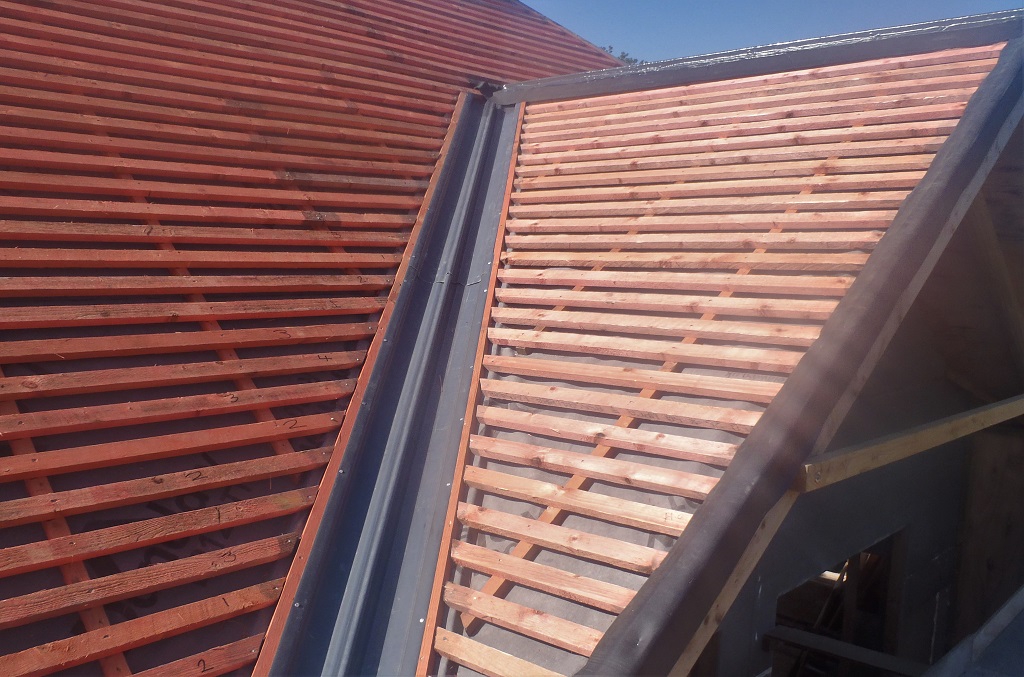
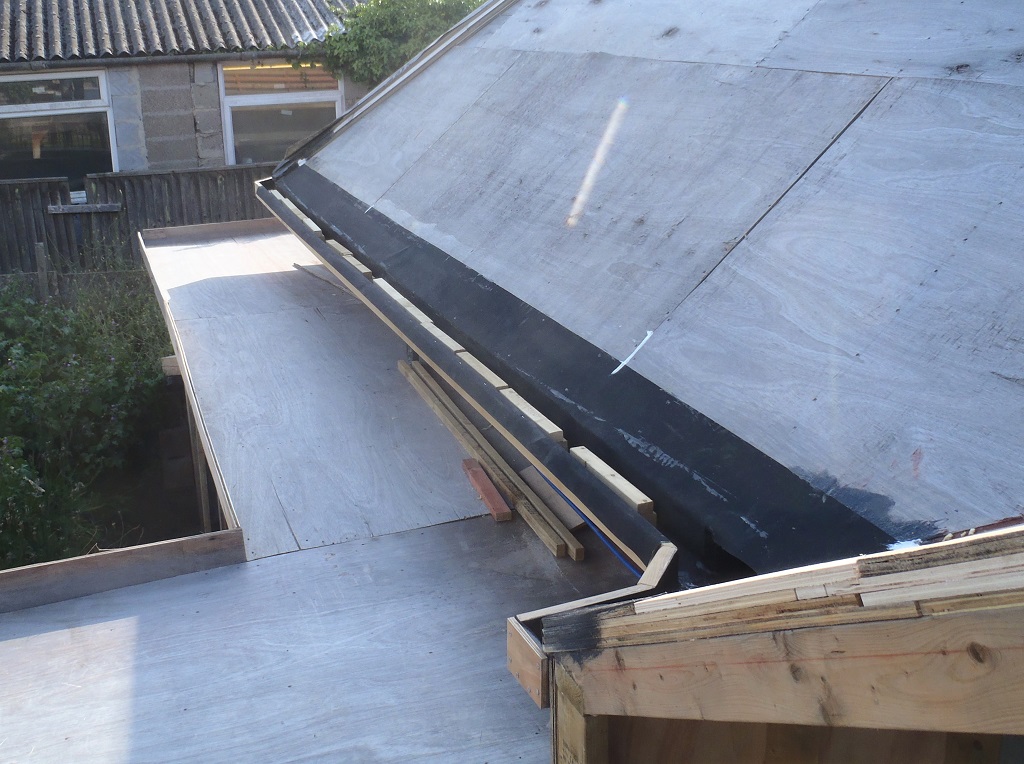
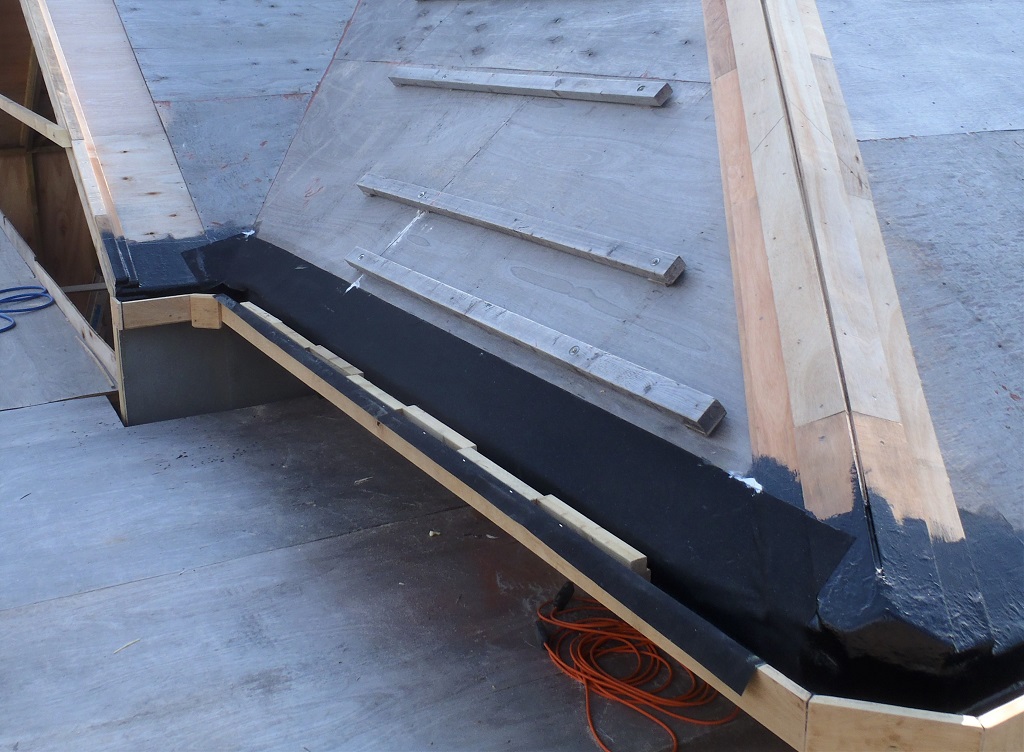
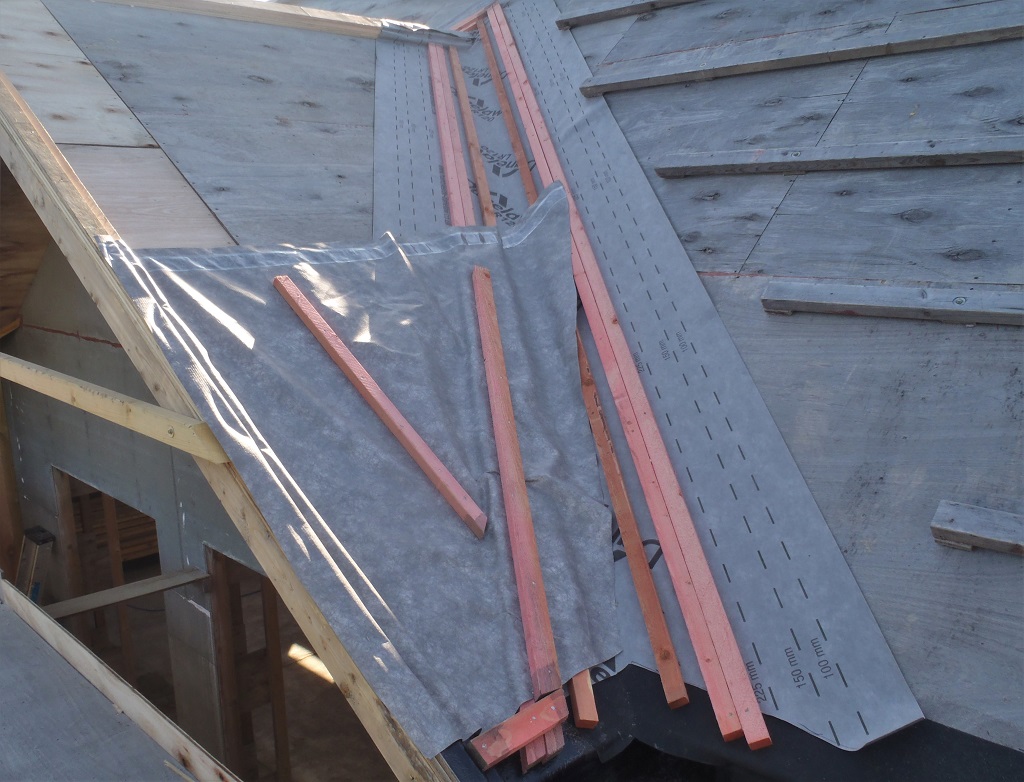
The reason we are doing this now, before we have completed the task of putting up the Slates on the last bit of N and all of O, is because we need to make our “bull-nose” fibre-glass and rubber flashing protection covers that goes along both diagonal hips (the N-O and O-P hips) plus also along the ridge line between the N and P rooves and we haven’t got the “P” section done at all. We need at least the breathable membrane strips in place so it can overlap at each boundary before the flashing battens can be put into place.
This is why we are having to stop at this point and start work on the P roof.
But .. ..
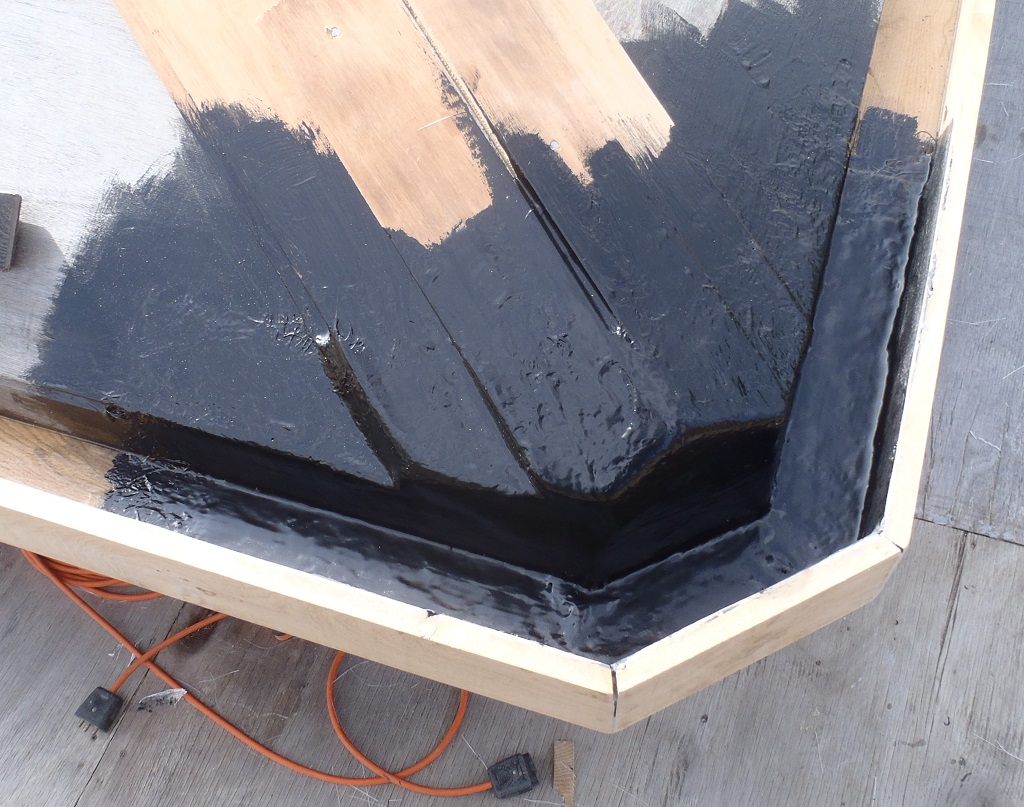
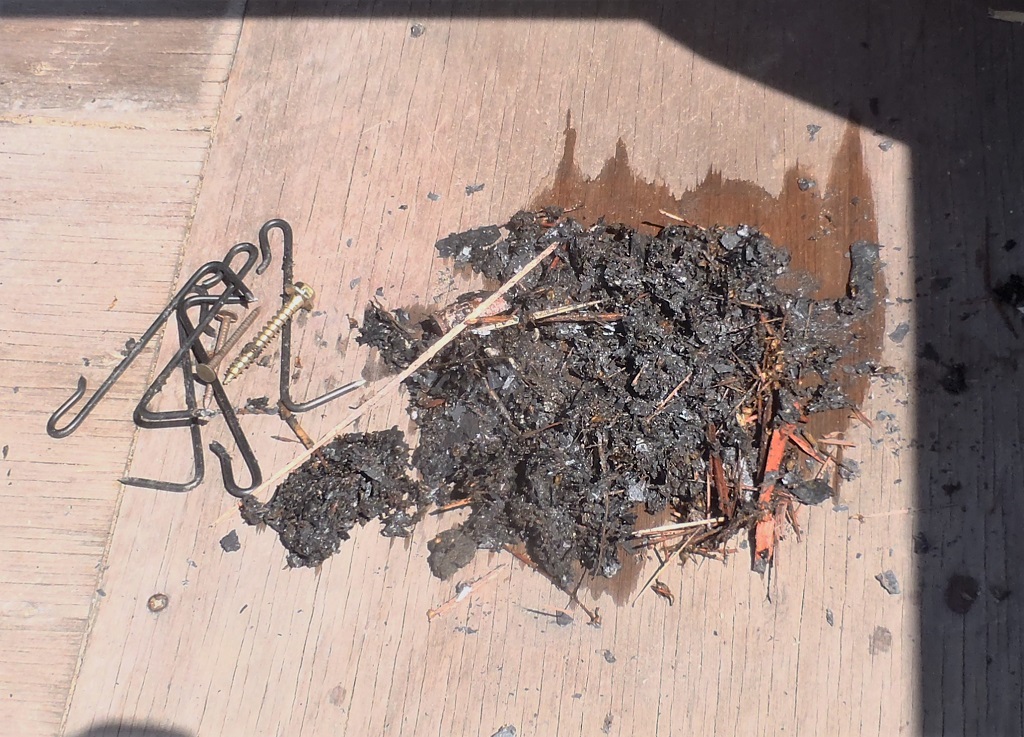
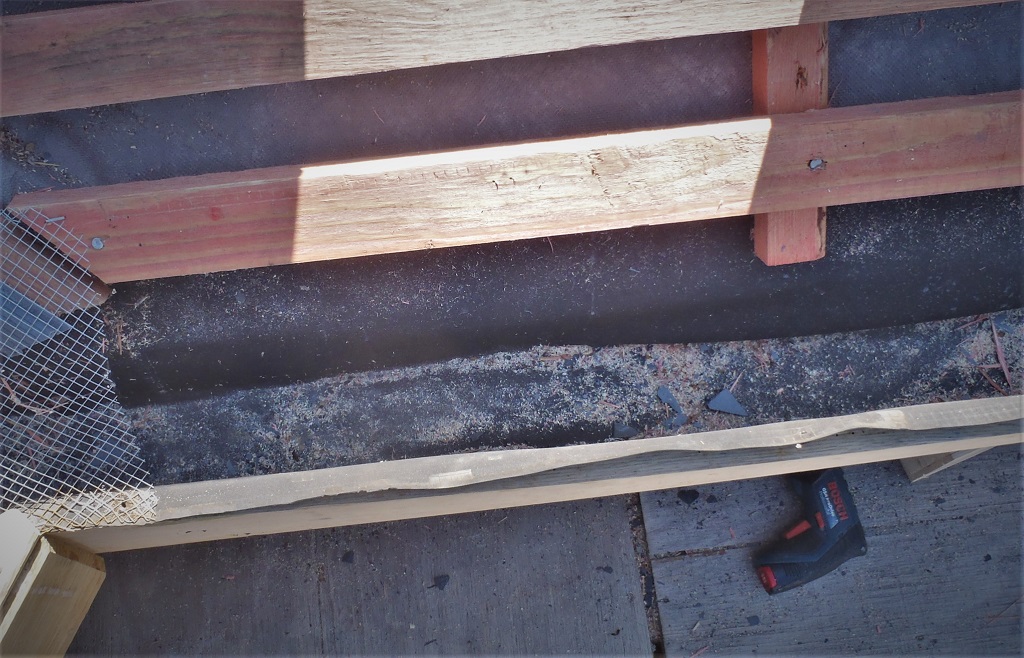
On Wednesday, we realised that before we dismantled the platform modules, we took the opportunity of cleaning up the gutters, both inside and outside! There are loose nails, slate fragments and lots of wood splinters lying in the gutters, and also the joints still has the hardened glue sticking out in various places. So the morning was spent scraping and sanding the glue and smoothing the joints with chisels and sanding machines and then using a pressure washer, and a cloth filter plugged into the top of the downpipes at the back of the gutter channels, we blasted all the bits and pieces along.

Debris-from-gutters
More-debris-and-Filter-unit
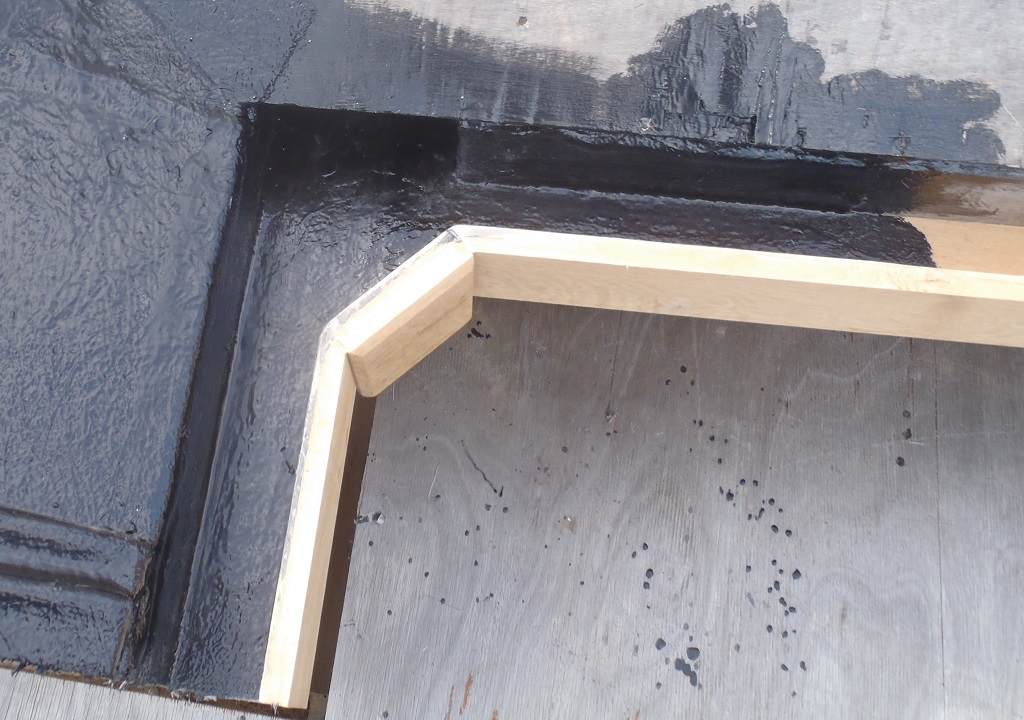
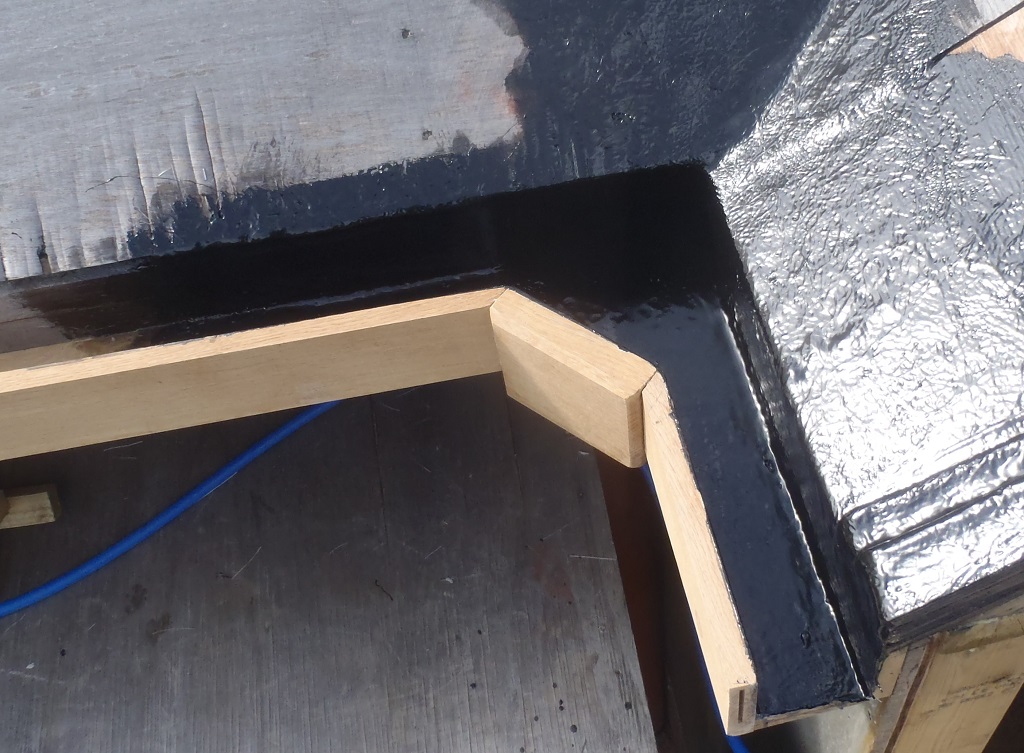
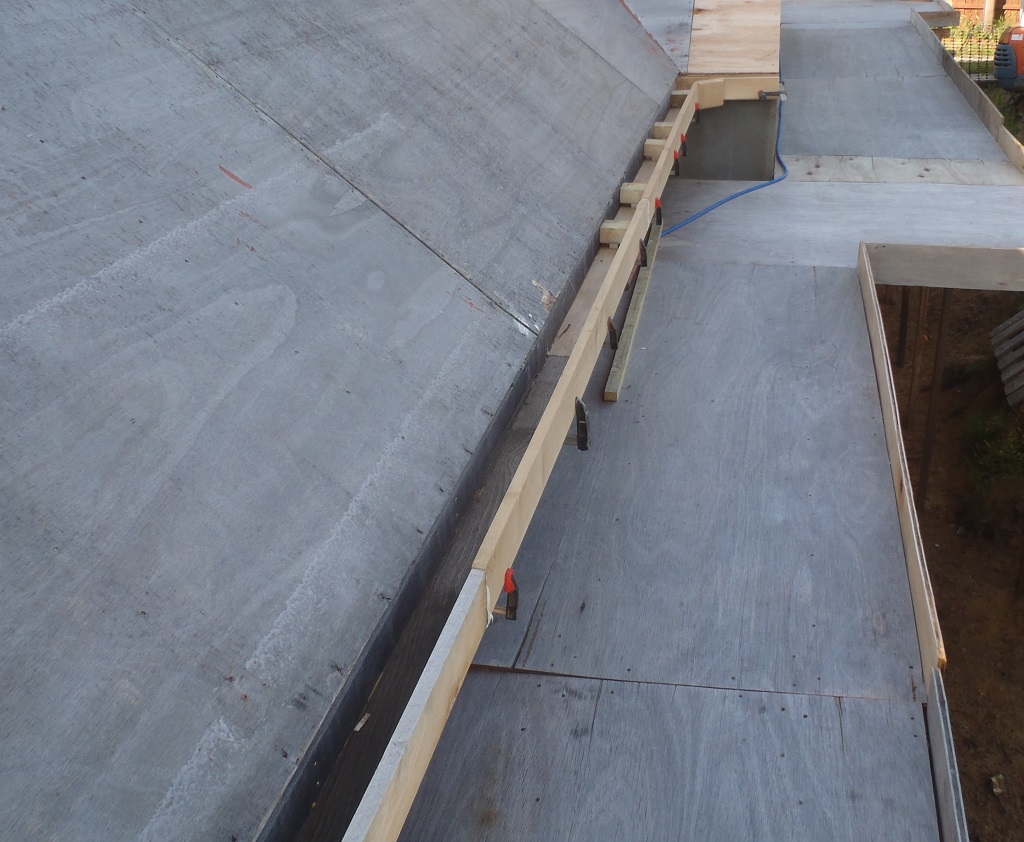
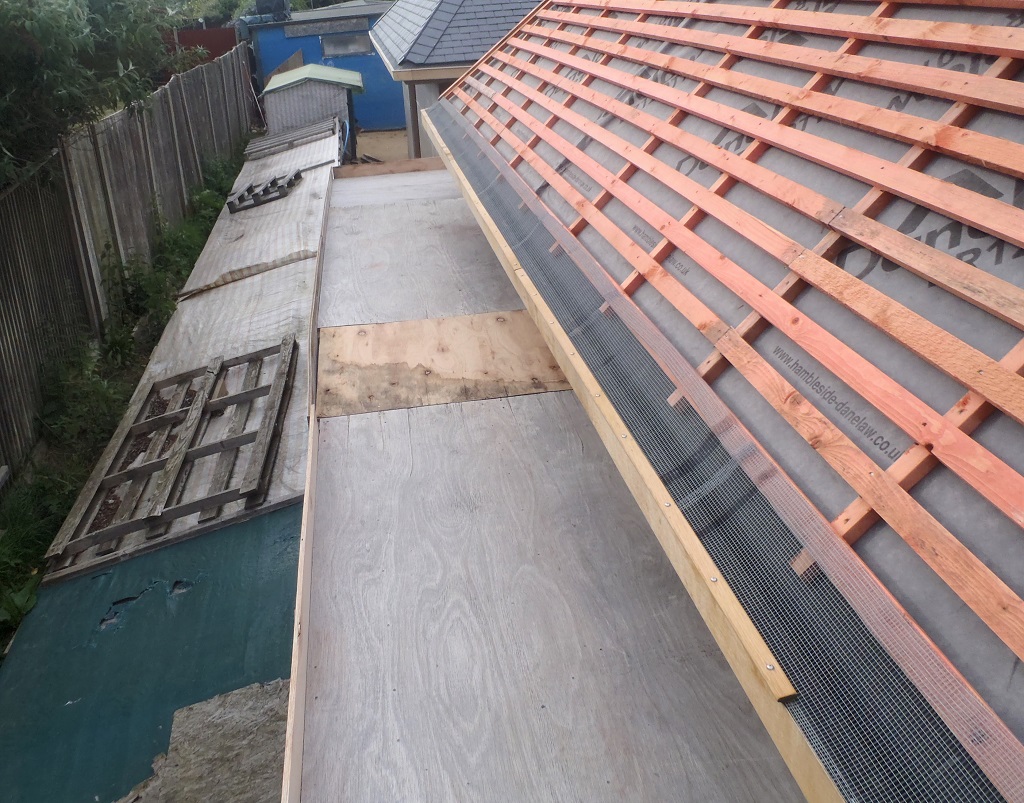
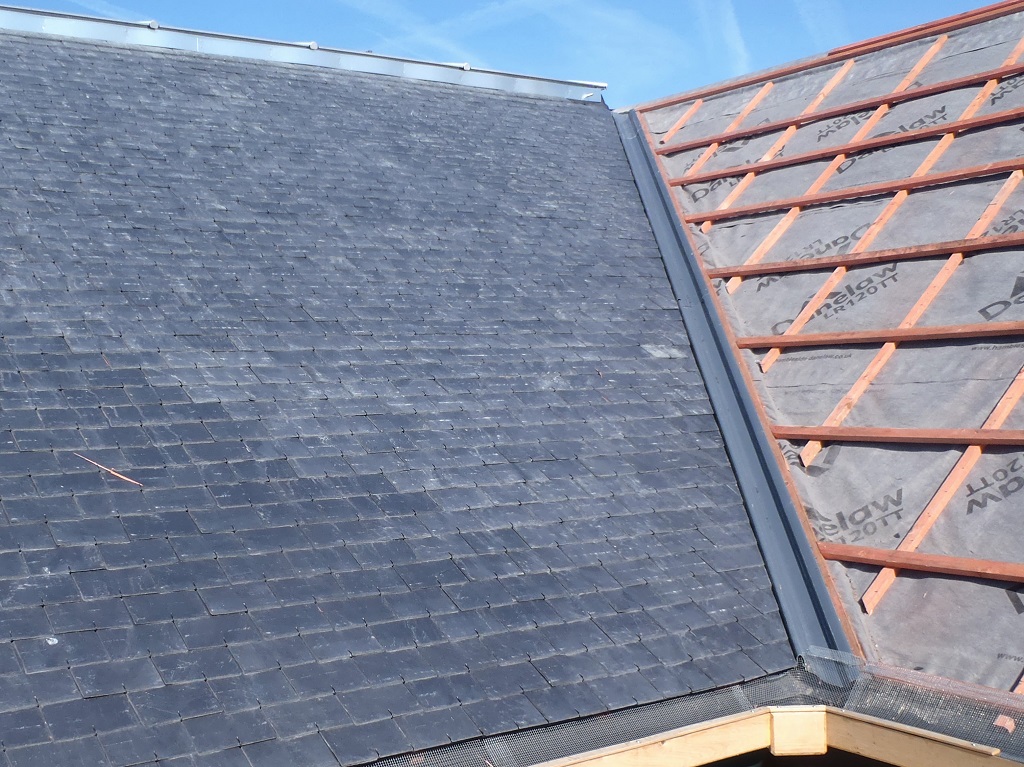
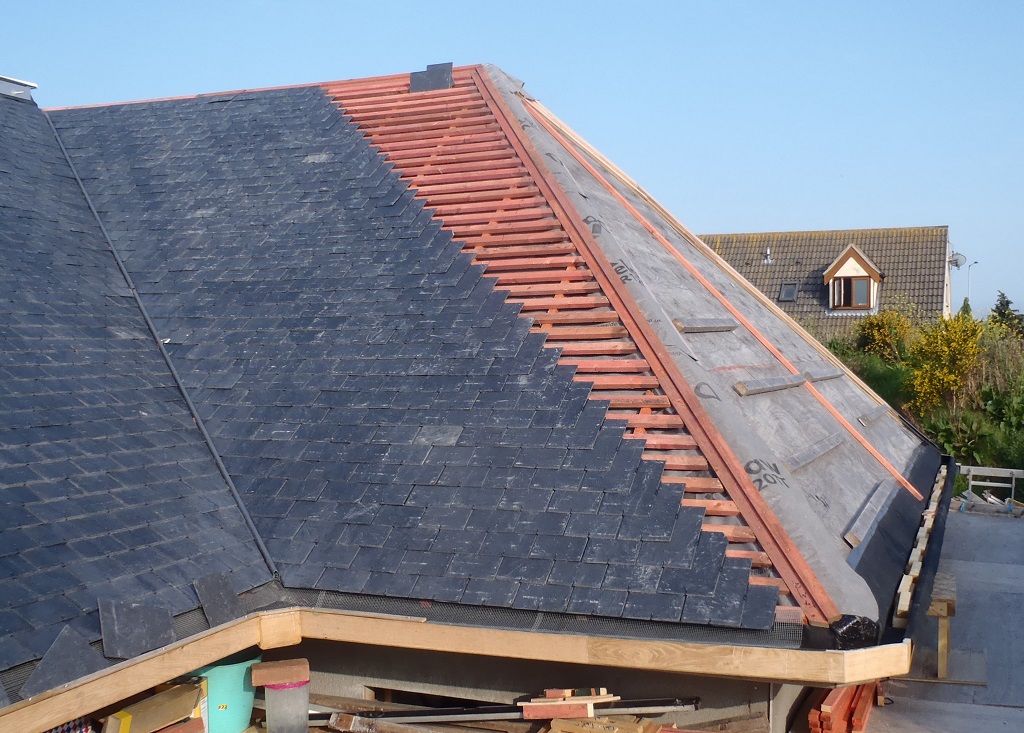
In the afternoon, we also saw that we could finish off the metal mesh coverings over the gutters and screw down the oak “caps” to lock the mesh and rubber down. We also put in twice as many stainless steel dome head screws as previously to provide a stronger pressure and keep the cap tight down in more places.

O-Battened-and-gutter-mesh-installed
And here’s the time lapse…
Sooo that means we are ready to move the platforms around .. NOT!!
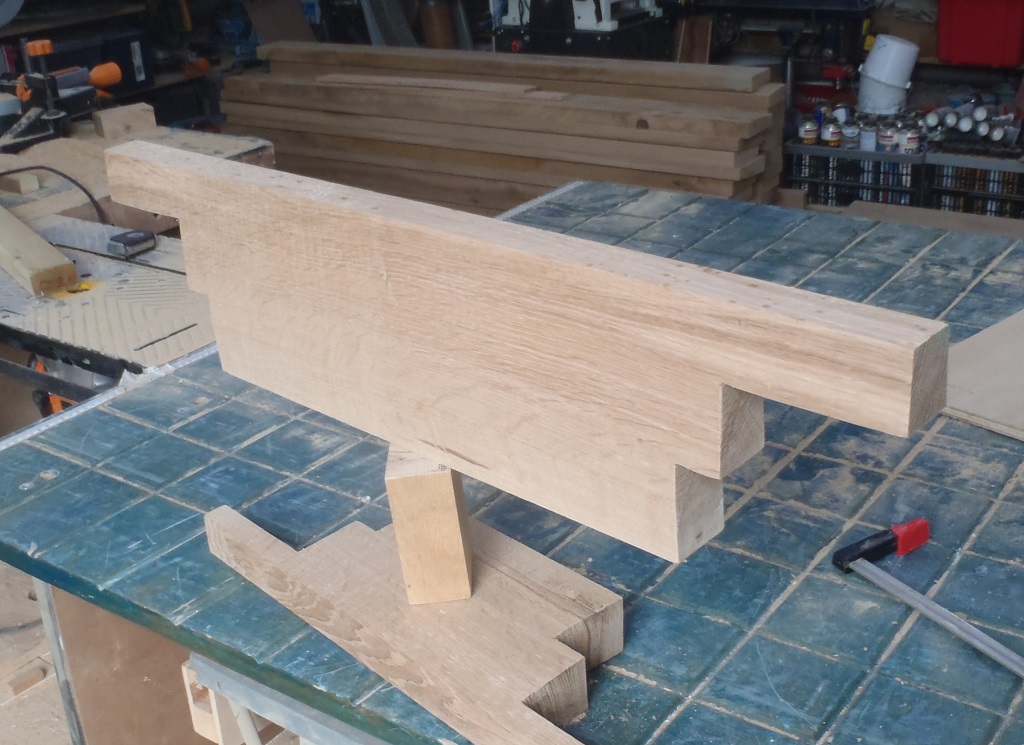
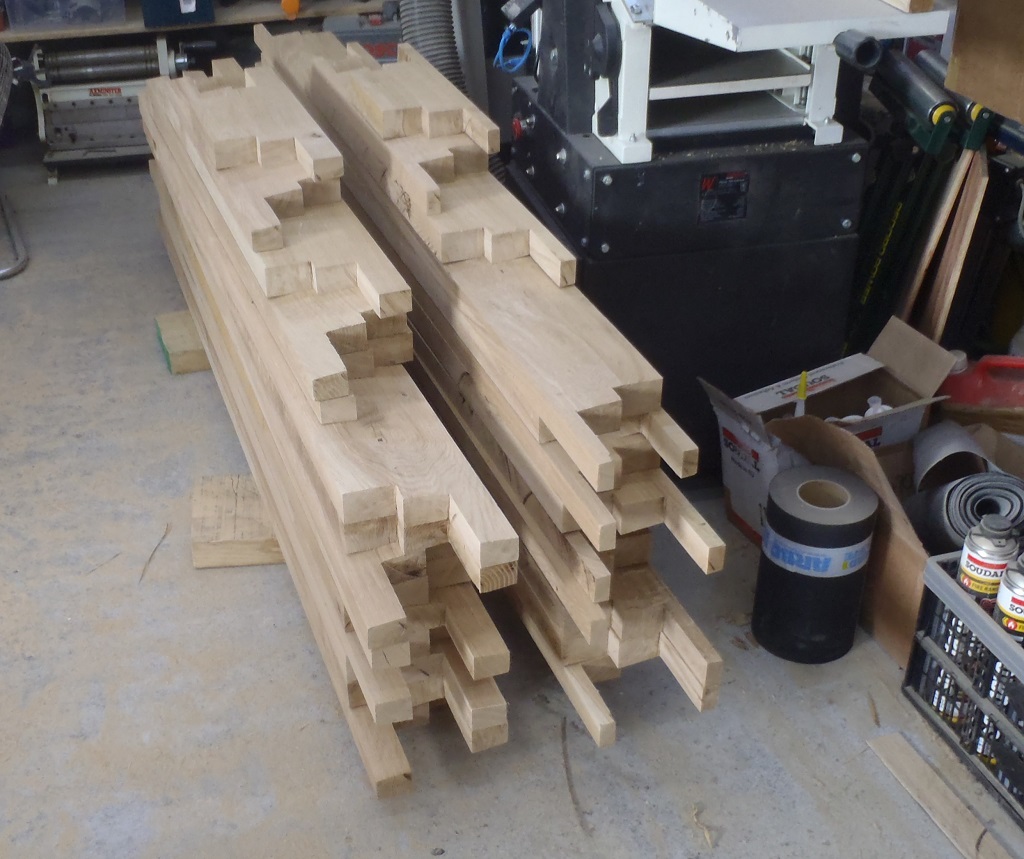
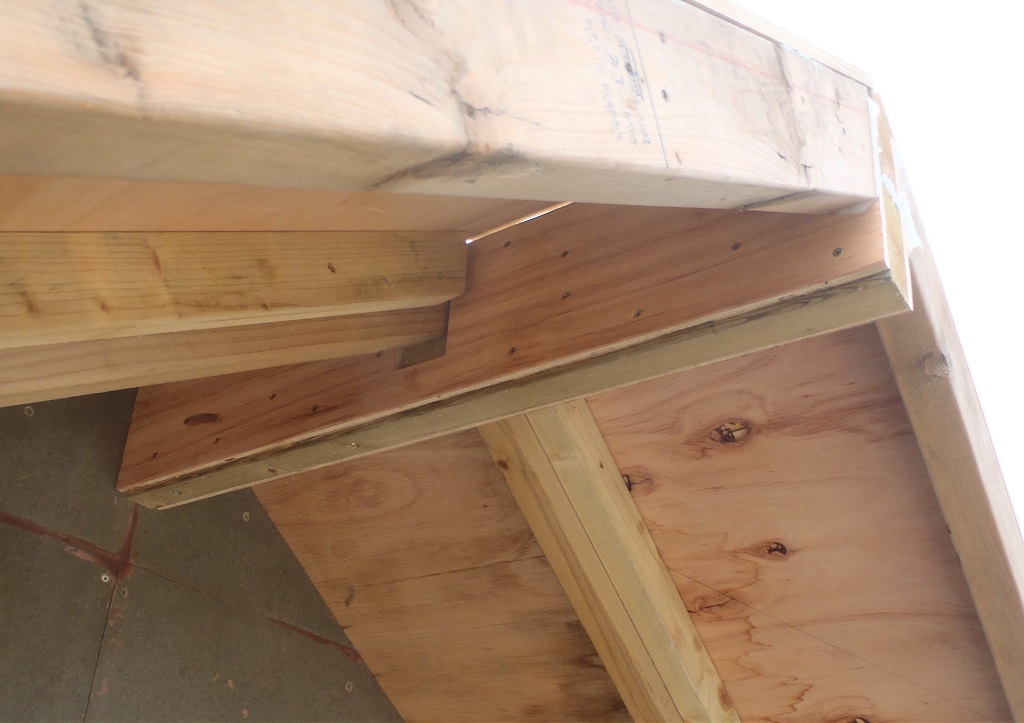
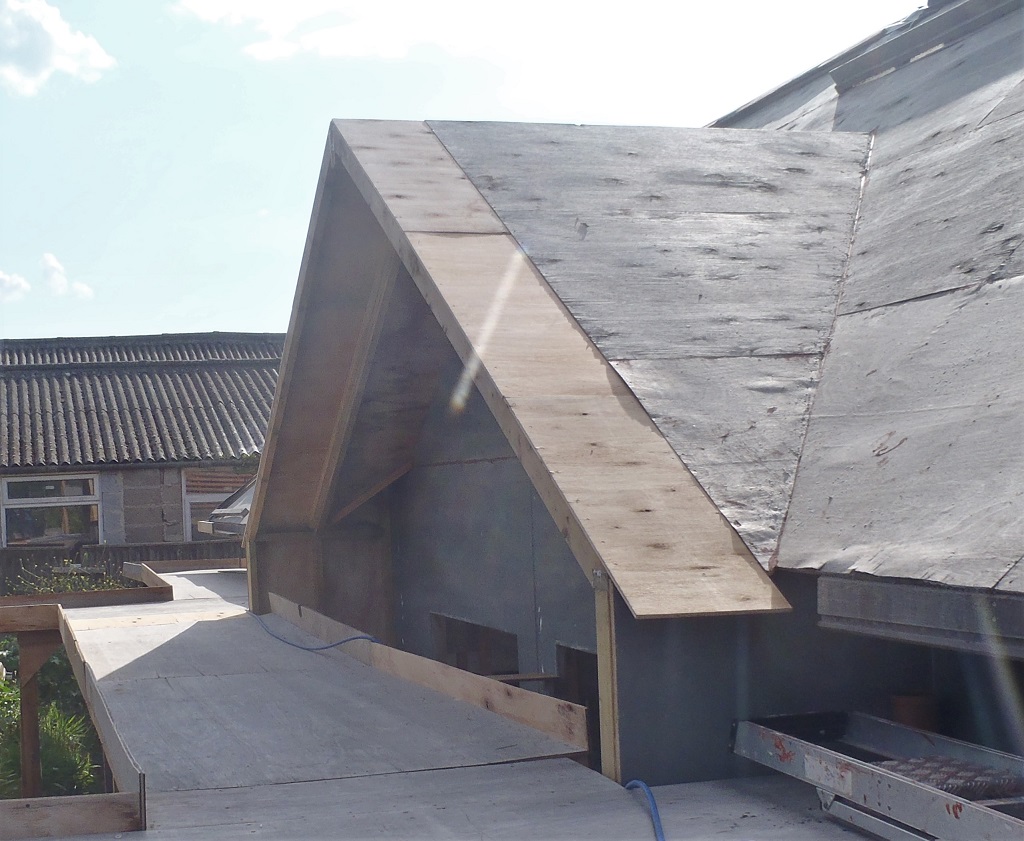
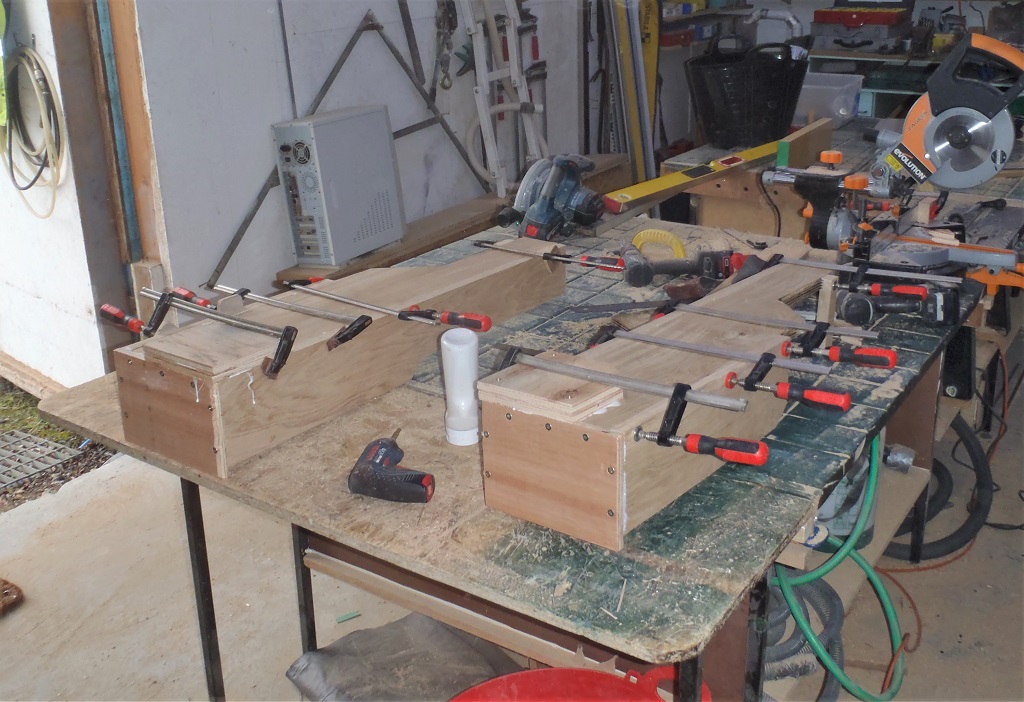
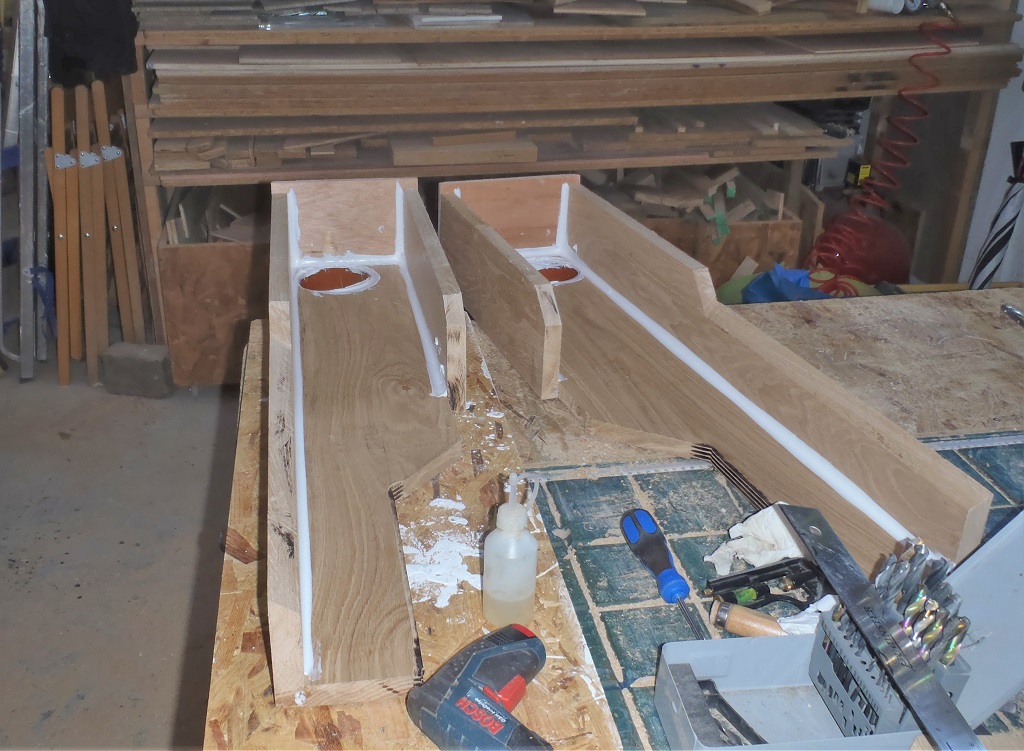
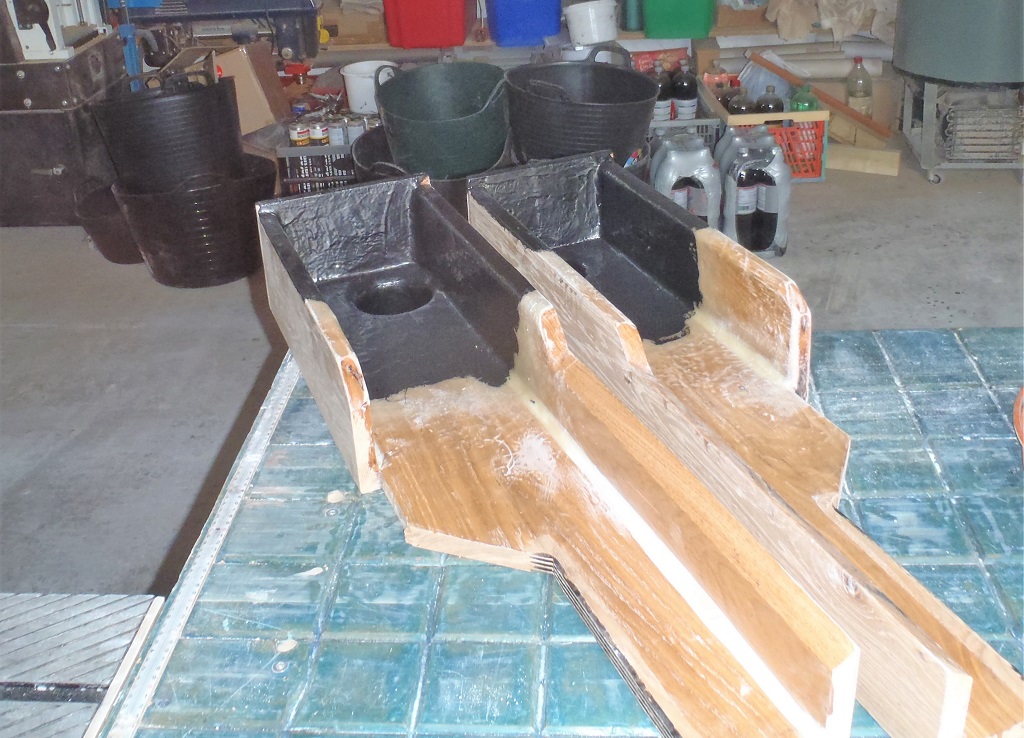
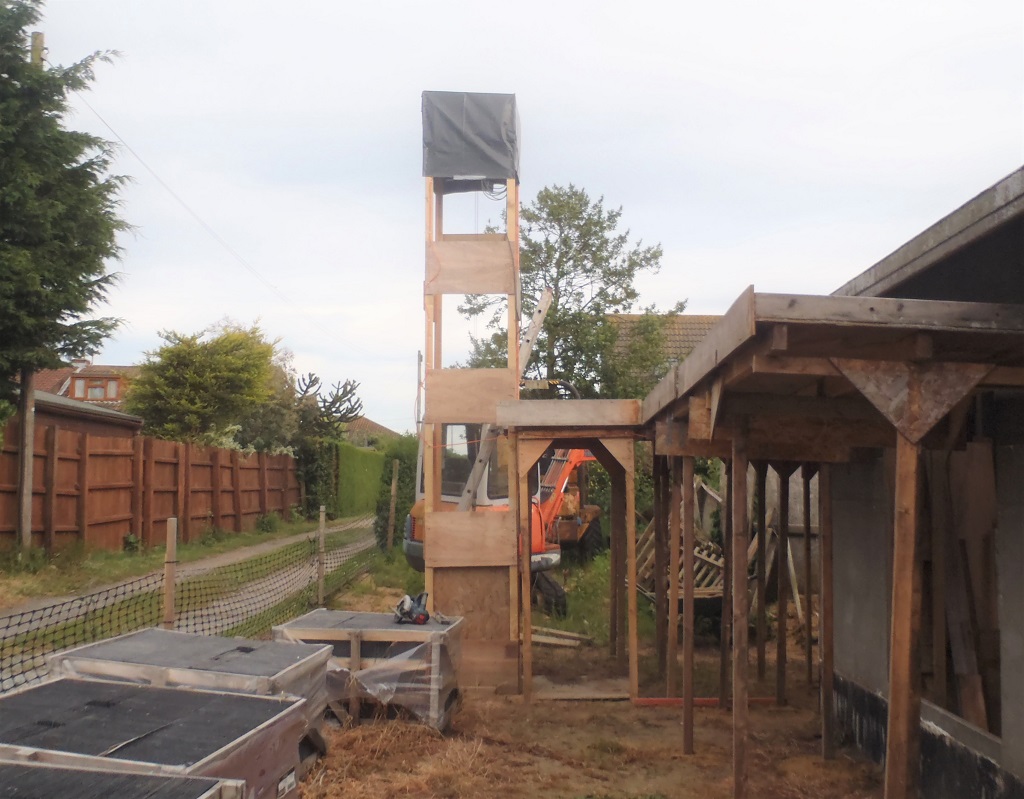
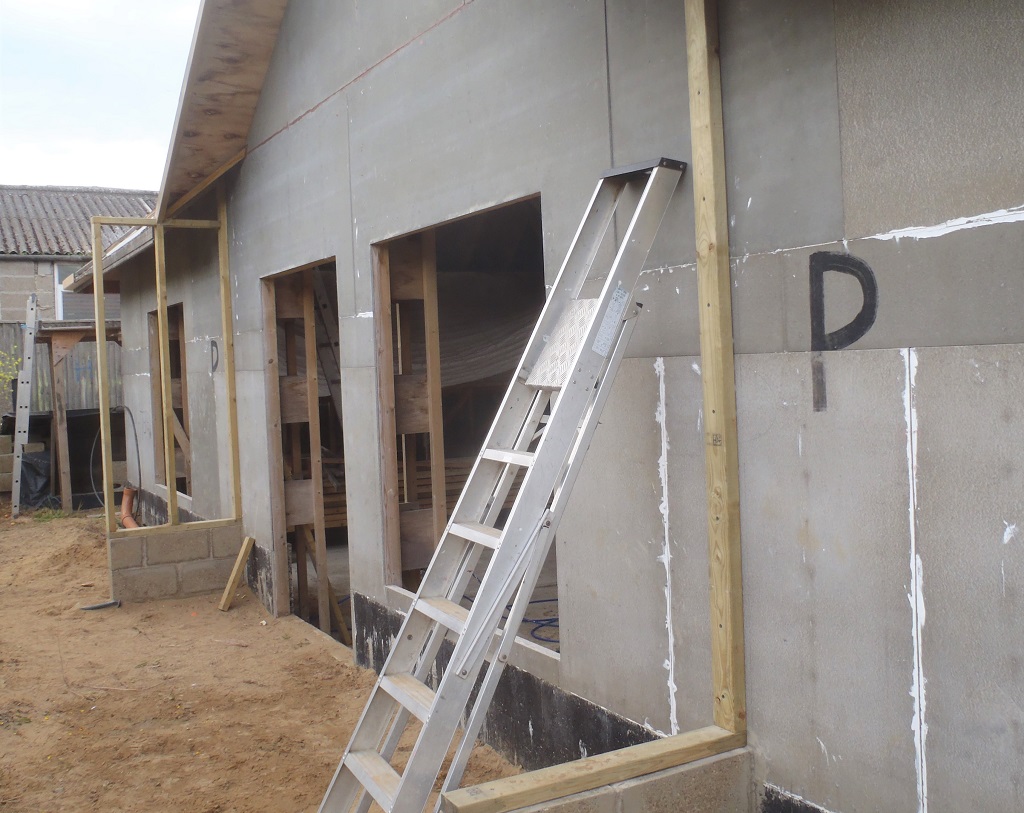
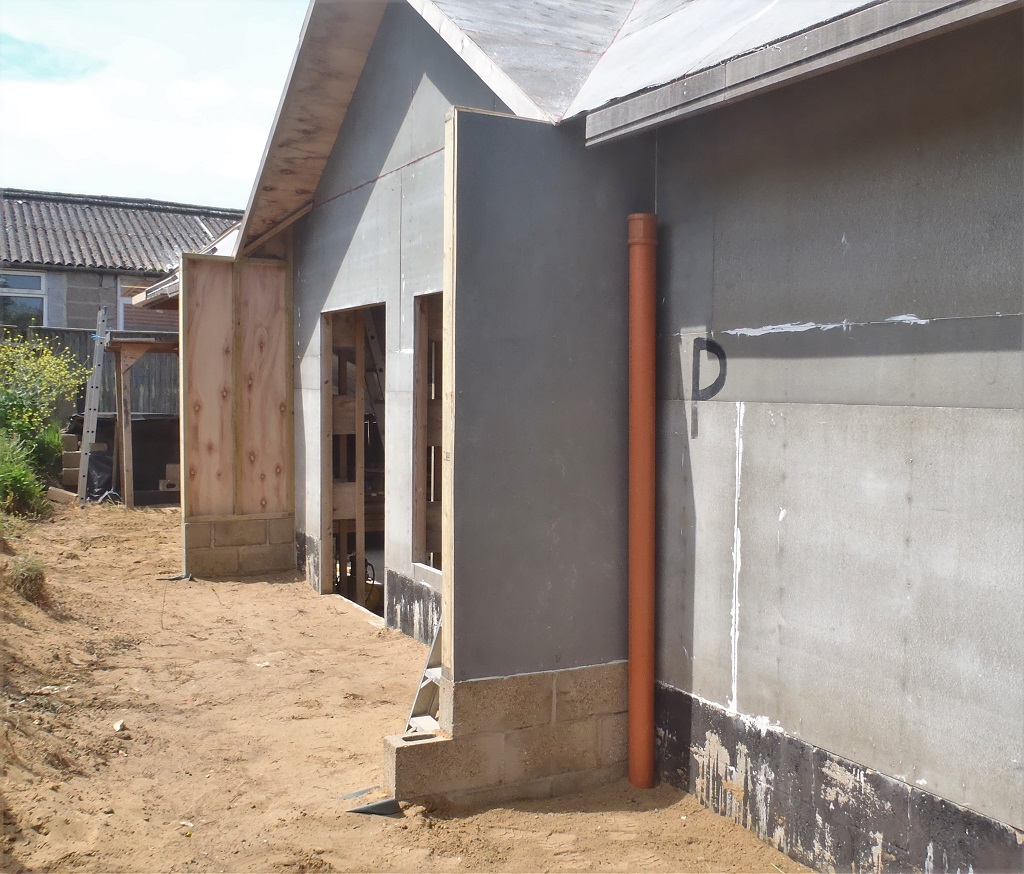
Another realisation is to do with the design of the valley troughs (the fibre-glass modules) and the minimum required space and clearance its needed to do its job properly. Actually, we had realised this several weeks ago so we have been thinking on this problem to how to adjust the Conservatory gable end around on the “P” section of the roof.
Conservatory-gable
We came to the conclusion that we needed to extend outwards the gable end another 300mm. Also it was felt that we really ought to build out the perpendicular stub walls that forms the start of the Conservatory and will fully support the sticking out section of roof, especially loaded with the extra Slates.
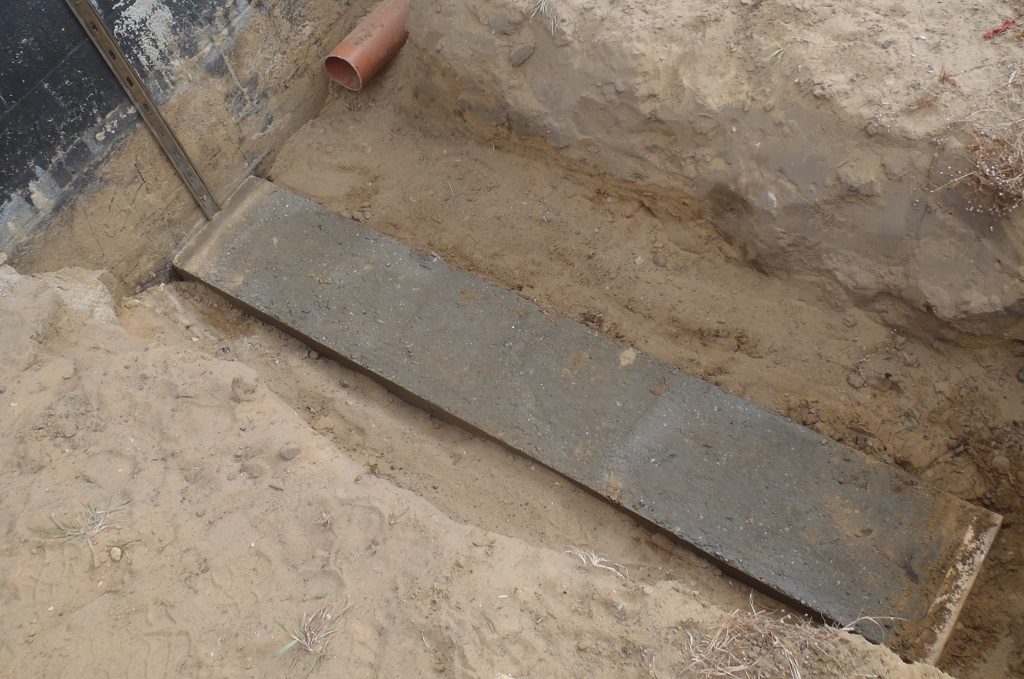
So Thursday and Friday, we dug out two trenches on both sides of the position of the Conservatory’s walls, removed the plastic rainwater pipes and the sand was compacted using a thumper and levelled off.

Conservatory-Hole-dug-for-foundation
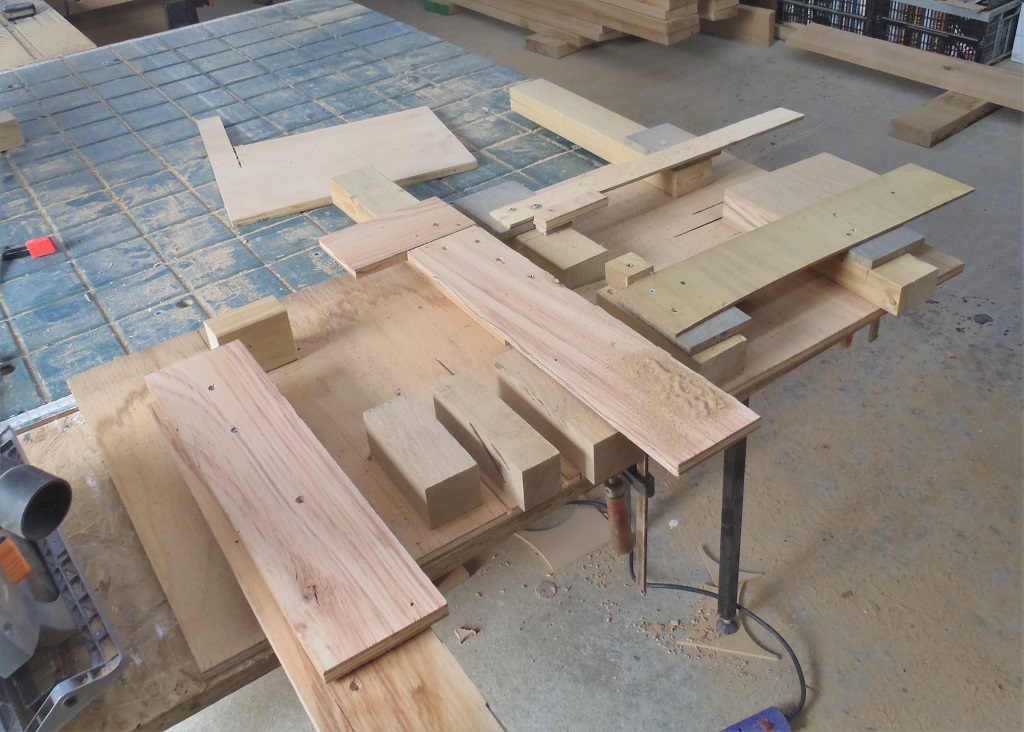
We constructed rectangular frames to hold the concrete that will form the foundations. Then we put in three reinforcing bars in each framework (holes through the narrow wooden end and holes in the concrete blocks of the main wall). This will both help strengthen the foundation but also provide a connection point when we come to do the rest of the Conservatory later on. These foundations are only 1500mm and 1700mm long strips as we couldn’t go any further without going into our massive mountain of sand and soil we got piled up at the top of the garden!
Conservatory-Foundation-shuttering
So the last task on Friday morning was to mix nine builders buckets of sharp gravel and three bucket of cement and pour in the concrete to set over night.

Conservatory-Foundation-Finished
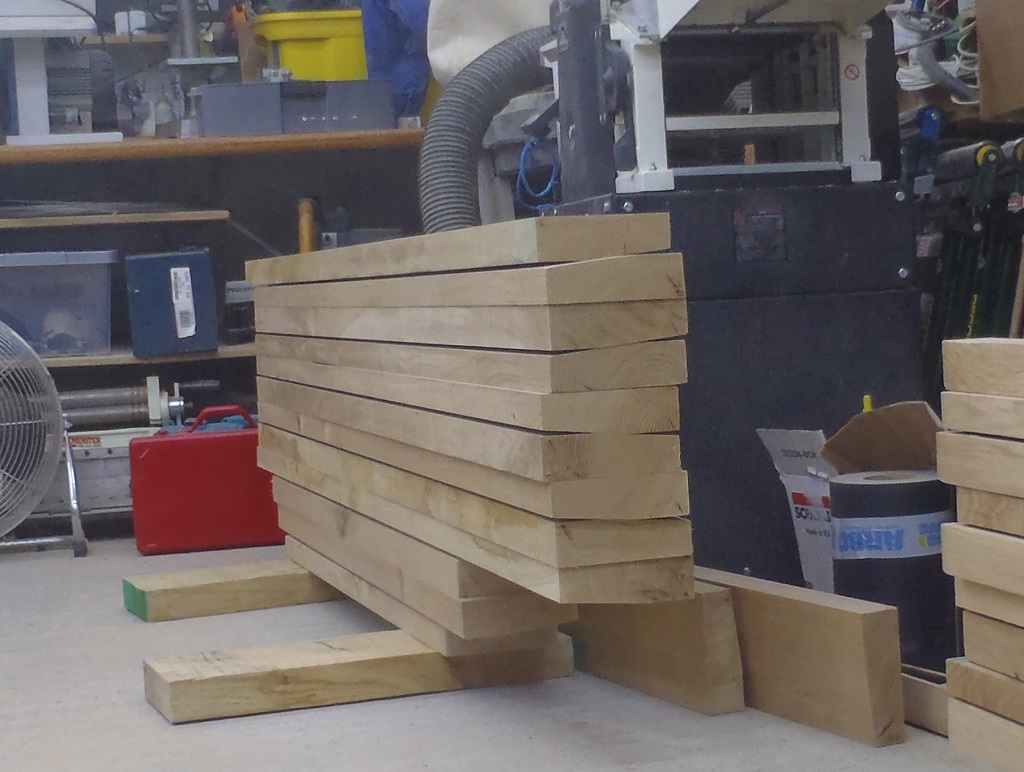
On Saturday, we pulled out 21 concrete blocks from our swimming lane storage yard, split four of them in half and got everything ready, including sieving three buckets of soft sand from our own natural sand dune we got in our garden ! We then prepared the foundations for the walls stripping the form work and marking them for the right angle from the wall.
Conservatory-Foundation-stripped
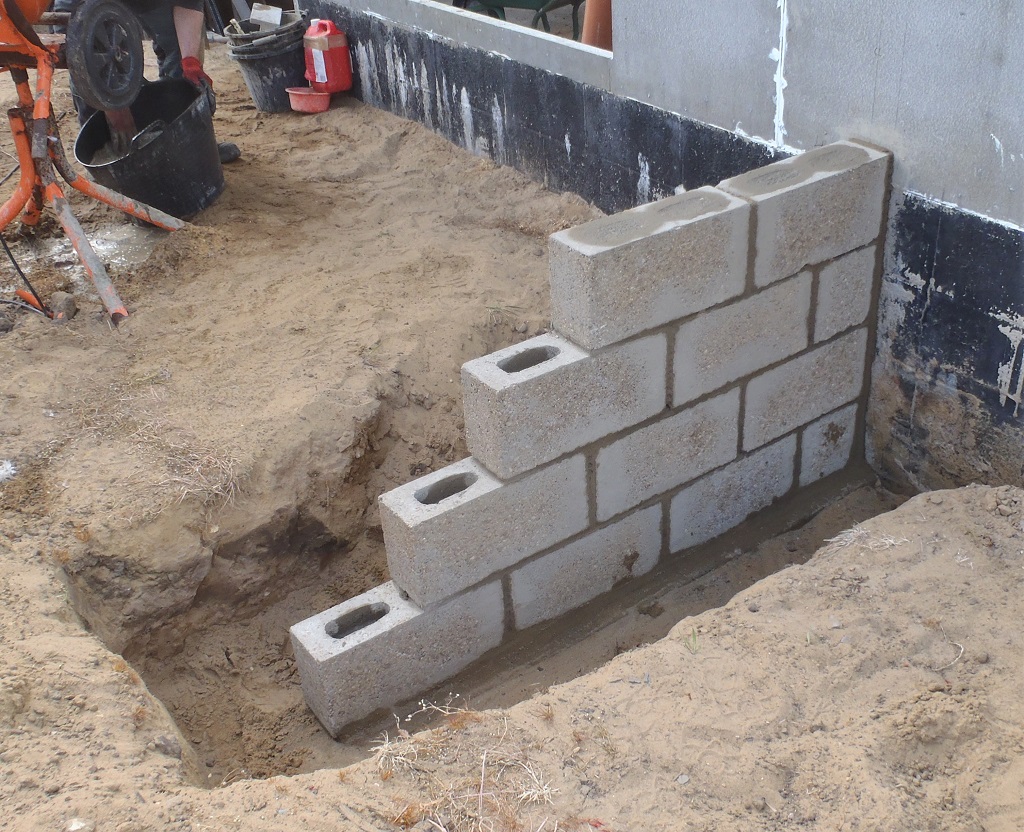
One wall is just a simple staircase arrangement of the blocks, starting with three and an half along the bottom (hence why the foundation needed to be 1700mm long) and the fourth and final row is just two blocks wide. This is what we want regarding how far out we need the stud walls, a distance of 900mm. The new wall is attached to the old one with a stainless steel strip bolted to the old wall which has ‘L’ brackets to embed in the mortar of the new wall.
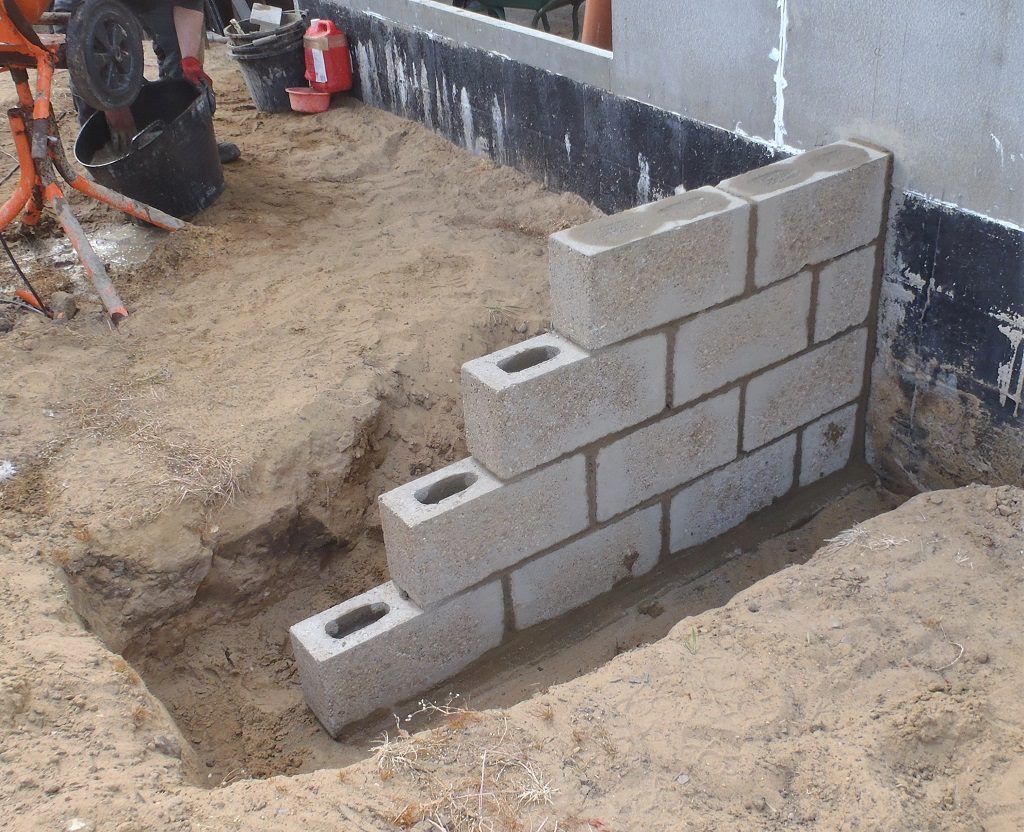
Conservatory-Front-wall-start
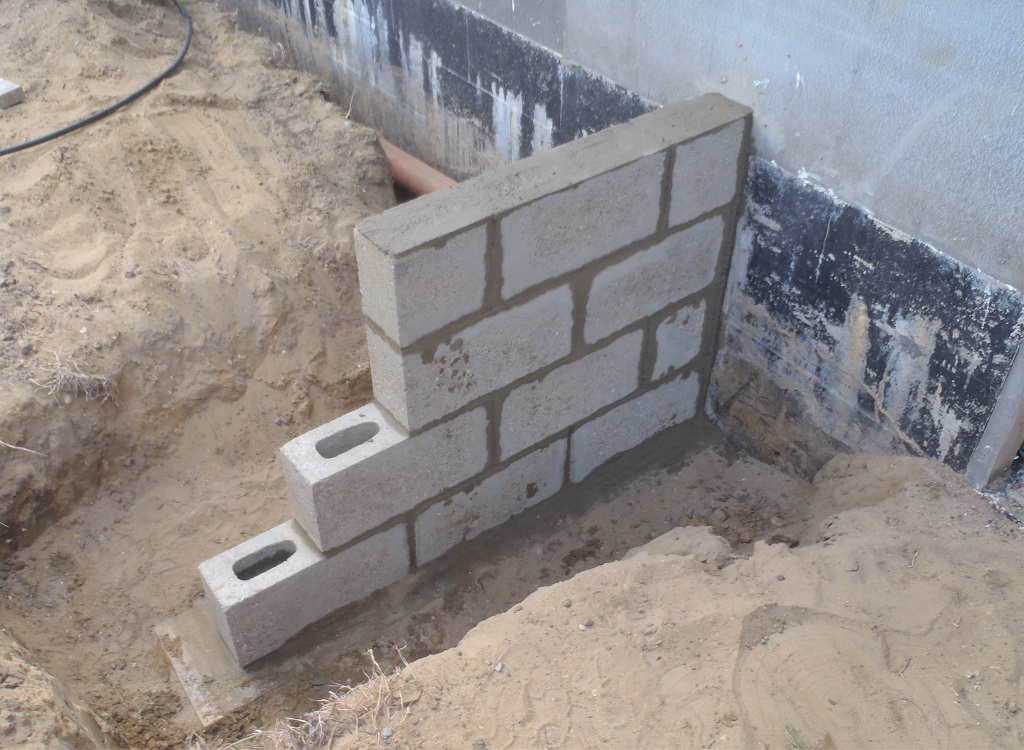
The other blocks had to be laid down slightly differently because there is the Conservatory doorway positioned here, so we needed the two final rows to be both two block wide and then the usual staircase effect there after with the bottom line being just three blocks long (and the foundation only 150mm long).

Conservatory-back-wall-start
The last job of the day (and week!) was to mix more high strength concrete and pour them into the hollow columns inside the concrete blocks themselves. Oh yes, we also moved the extracted sandy soil back around the new walls and levelled the ground back up again.
Did you notice the walls are higher than those of the house? This is to get the sill of conservatory the same height as the house windows…
So next week, weather permitting, we will build up the wooden framework of the stud walls and connect them to the roof above and then we can start moving the platform modules – hurrah!