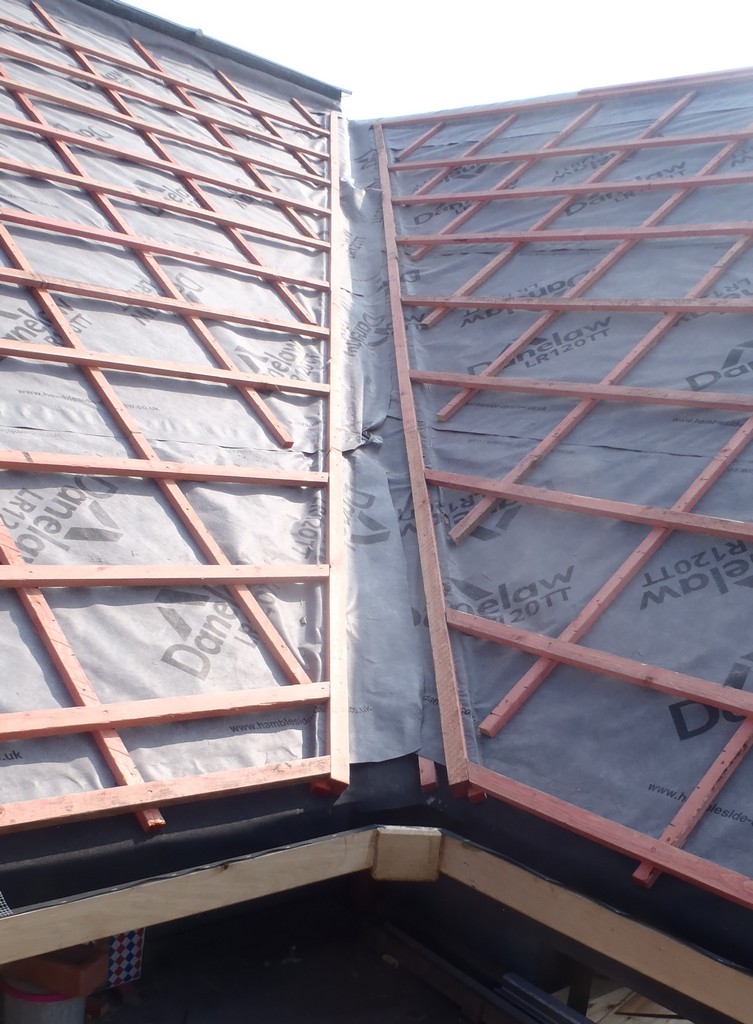
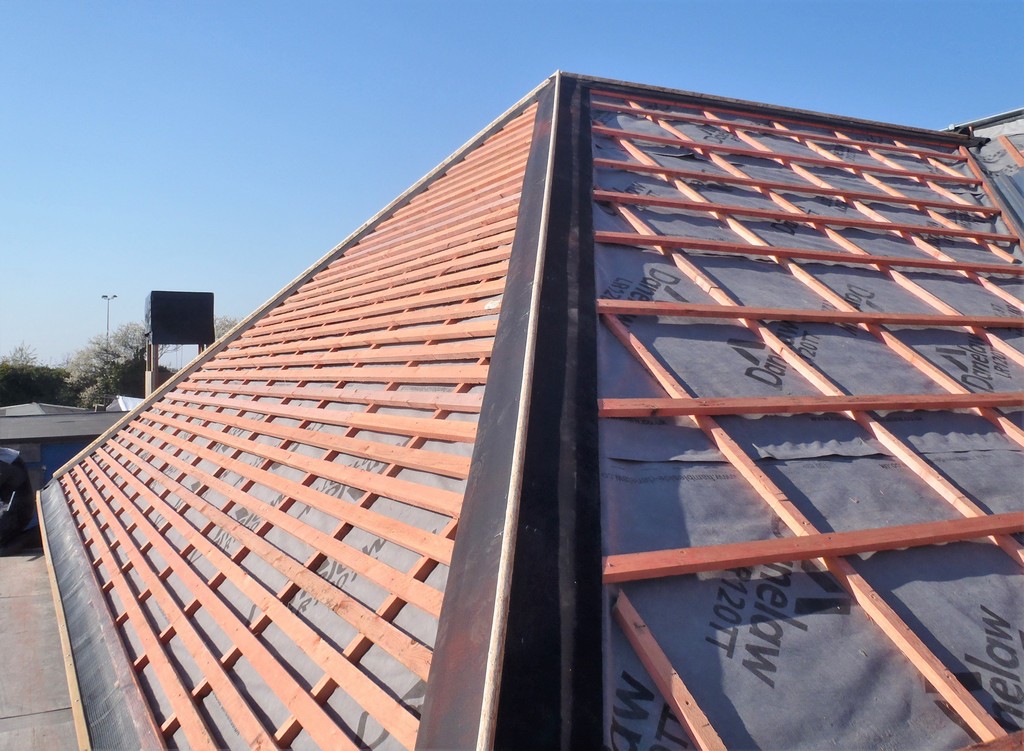
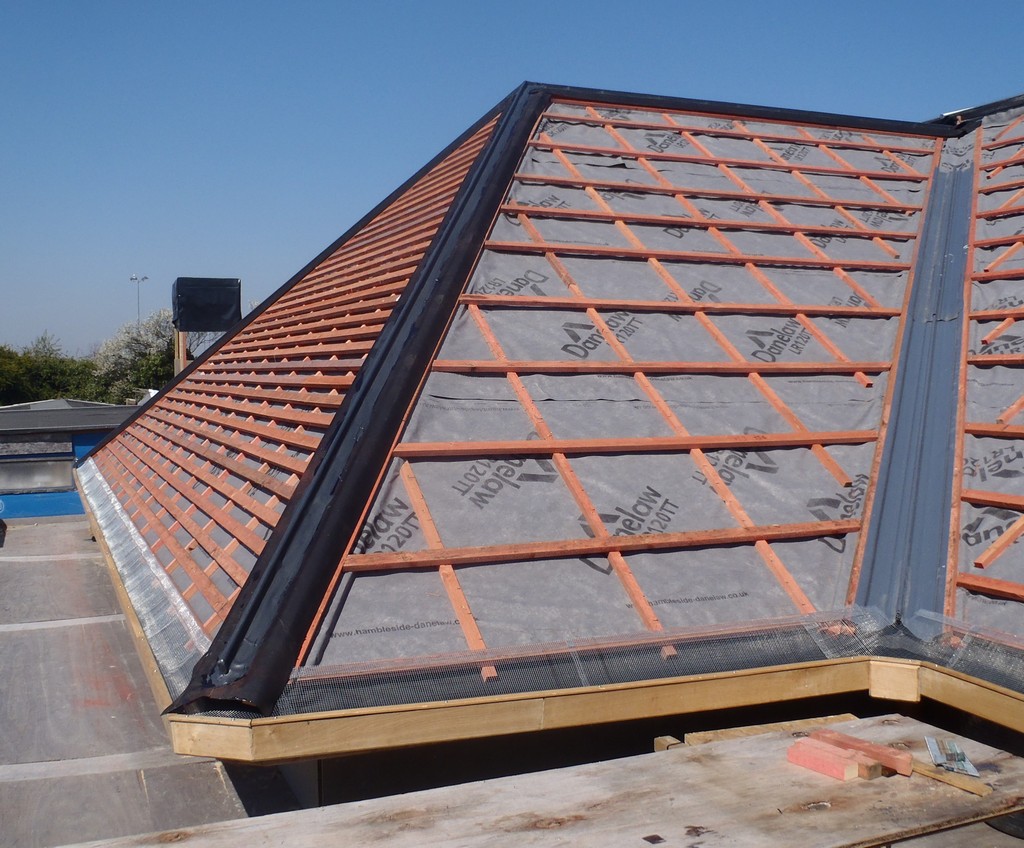
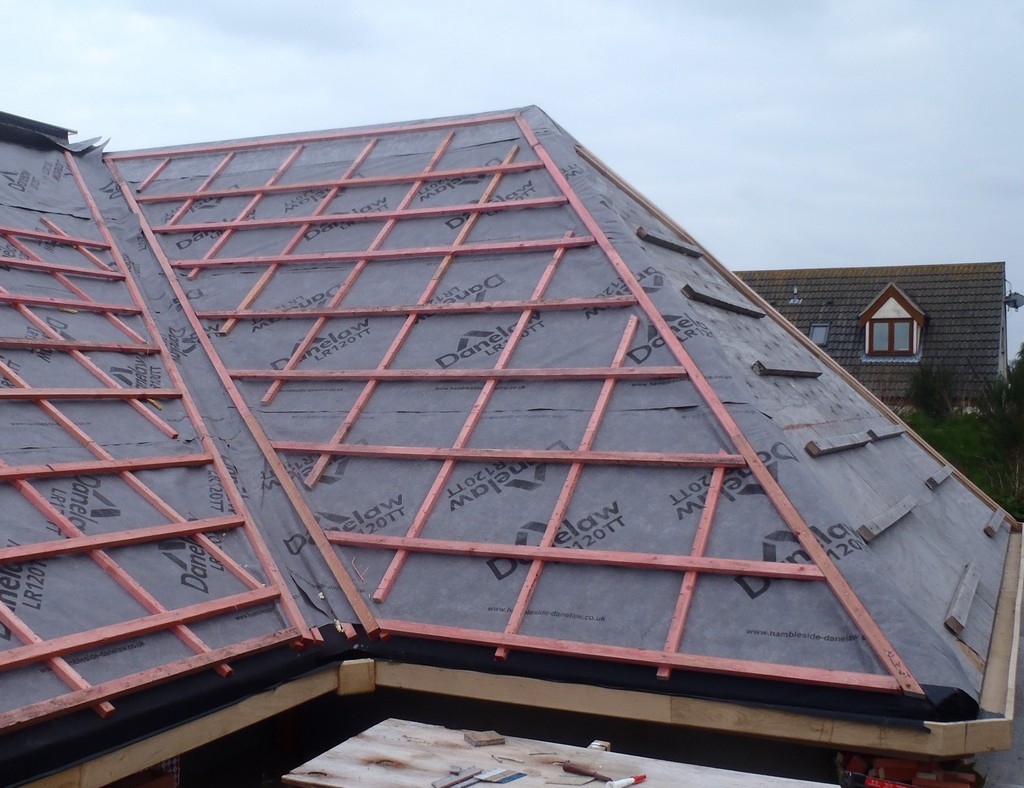
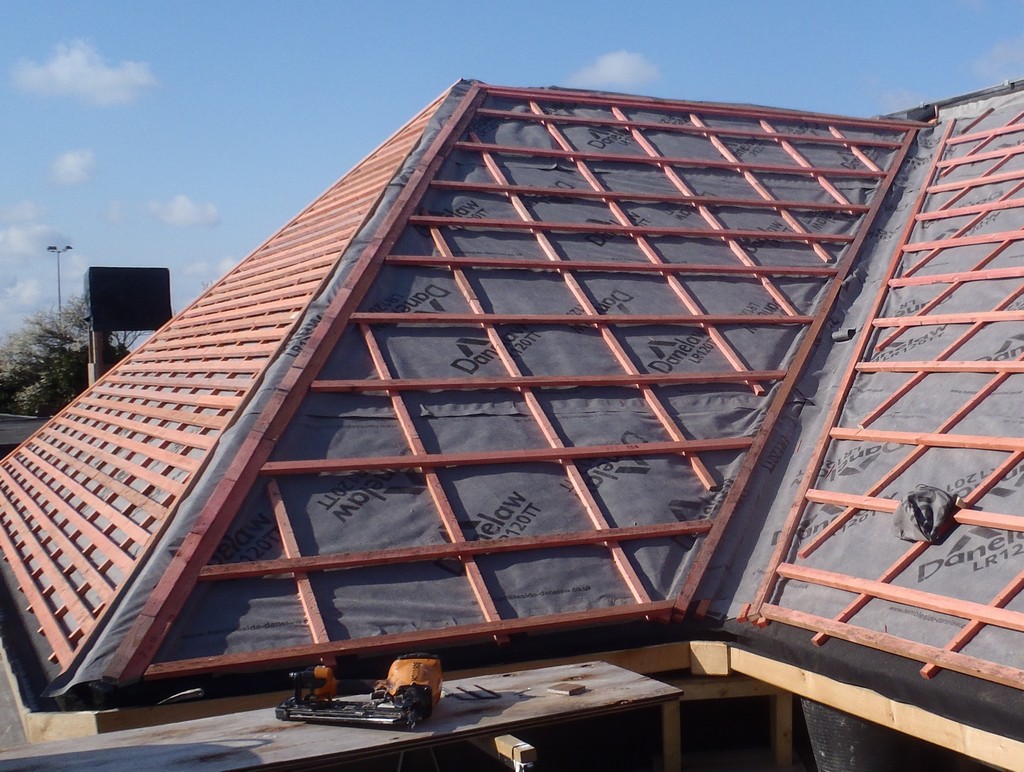
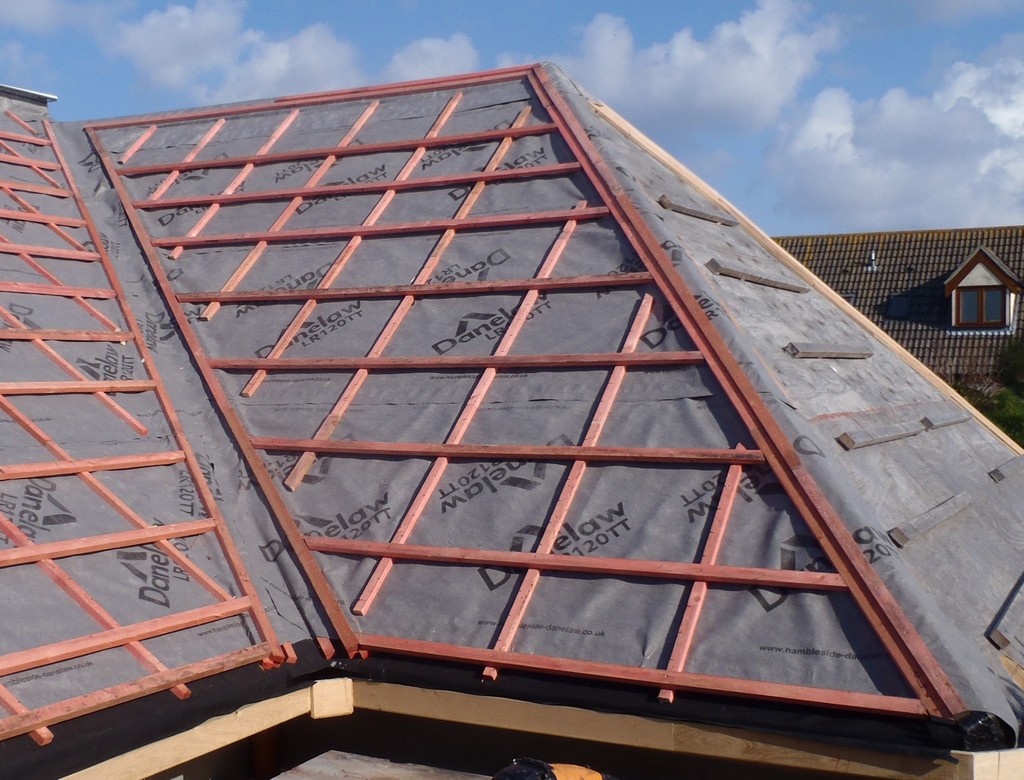
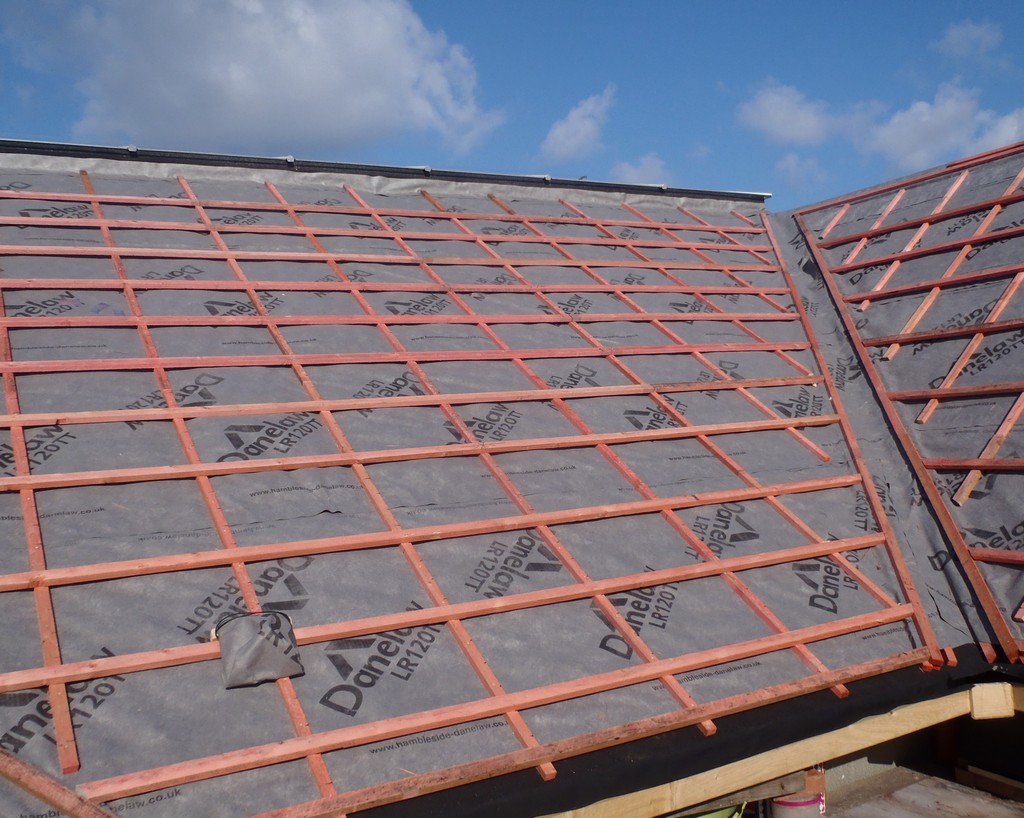
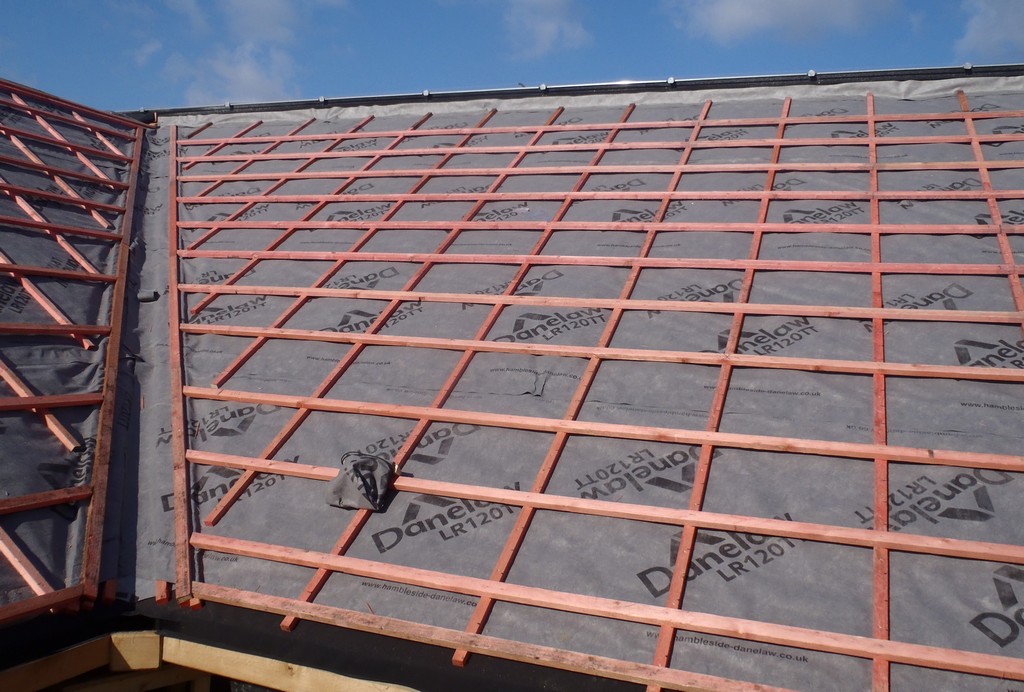
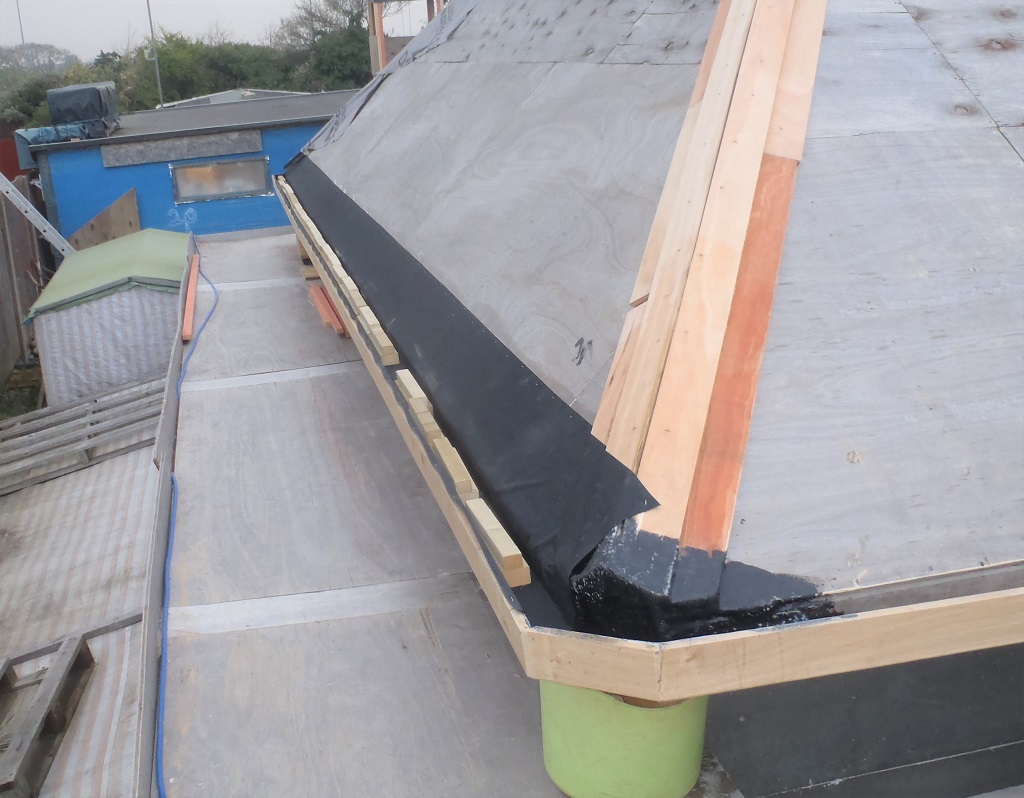
Today, at the start of a new week, under a wet cloudy chilly sky, we finished putting up the tile battens on the M section of the roof, all before lunch time.

Battens-complete-on-M-1
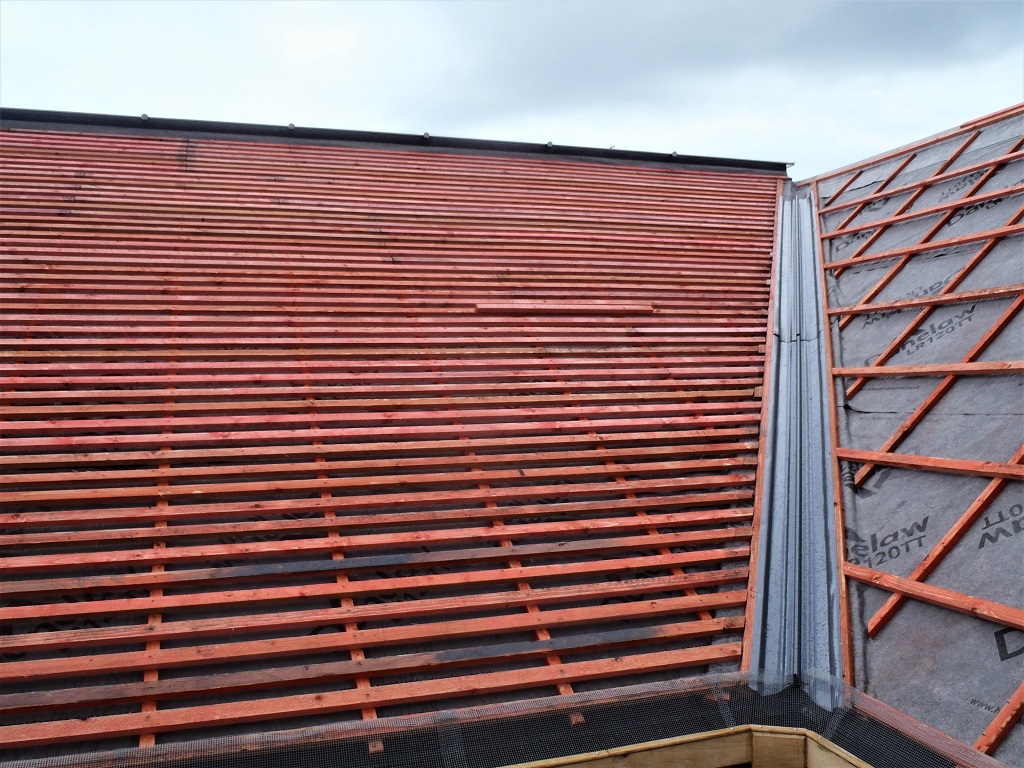
Battens-complete-on-M-2
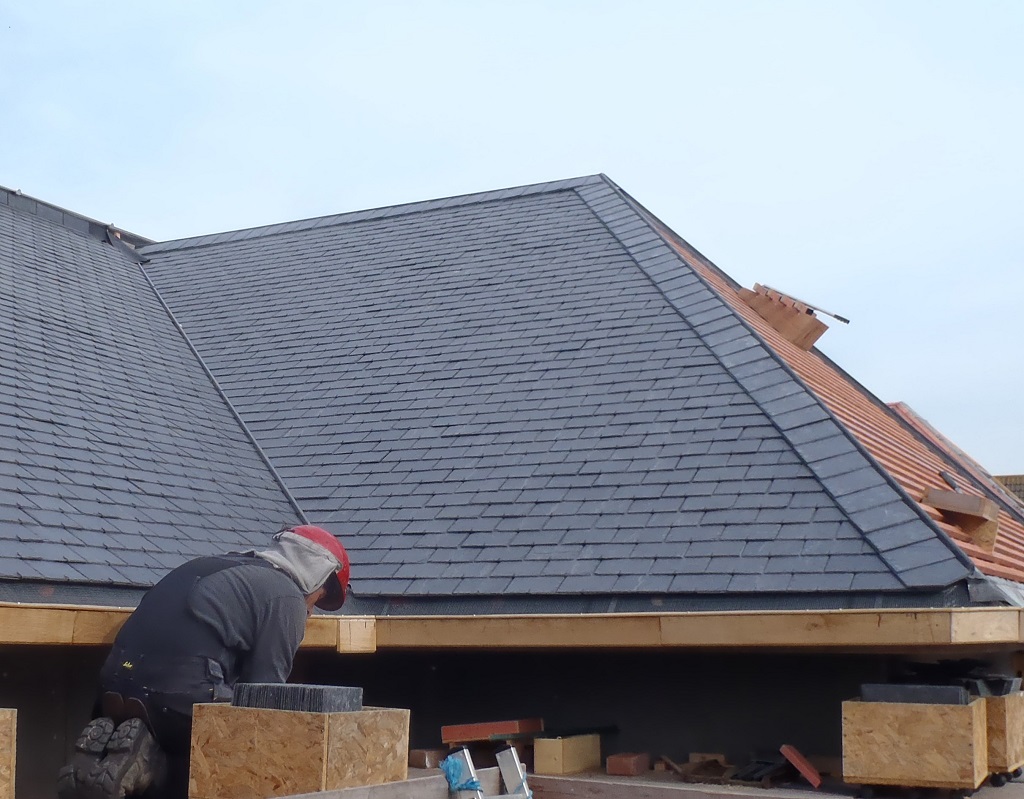
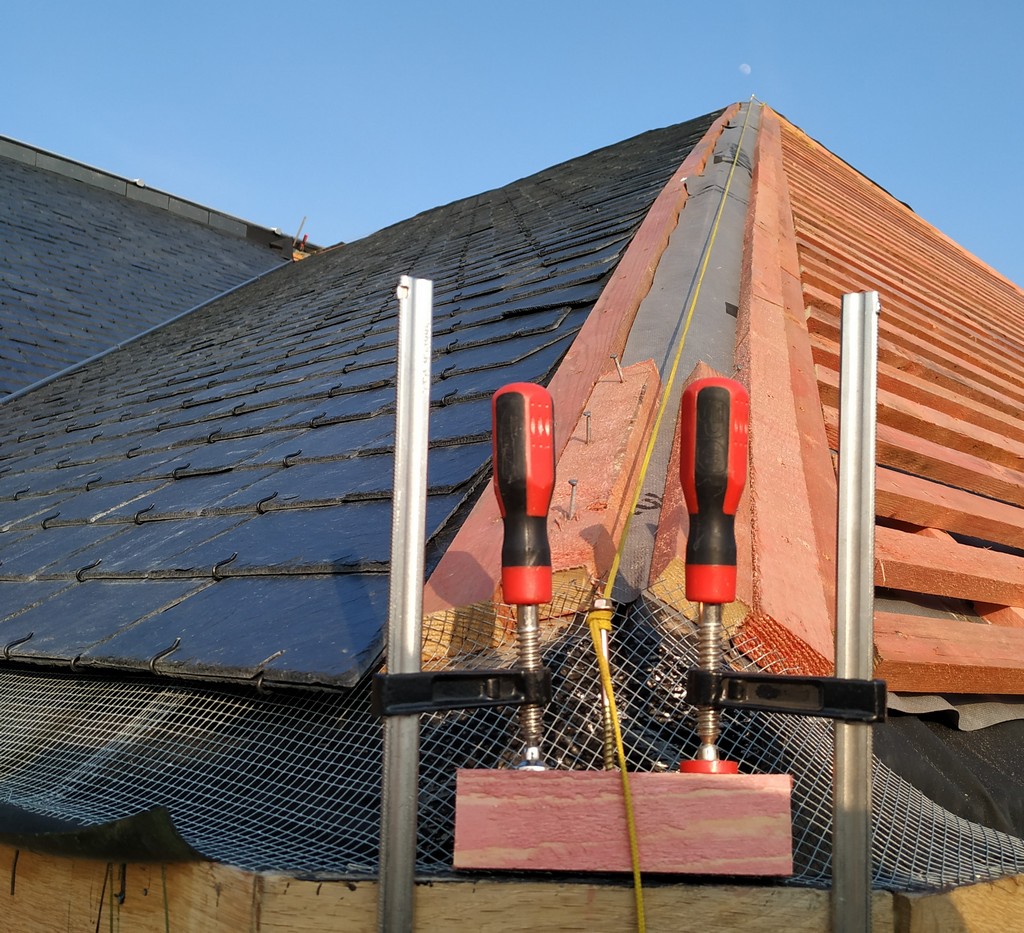
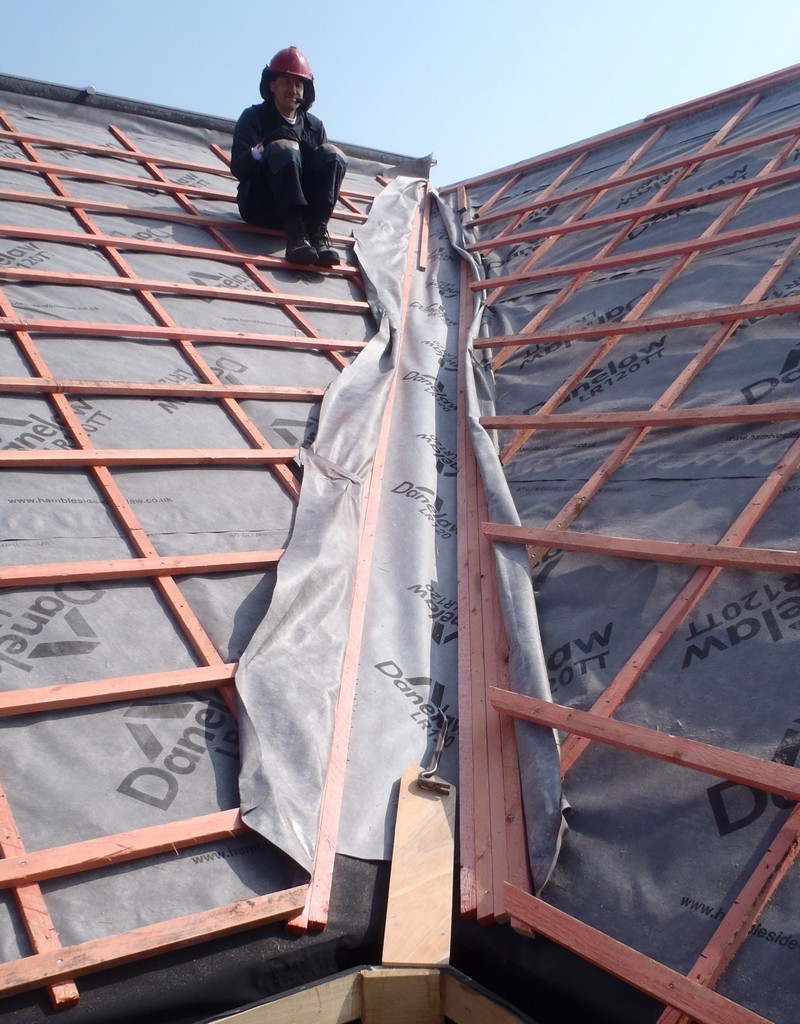
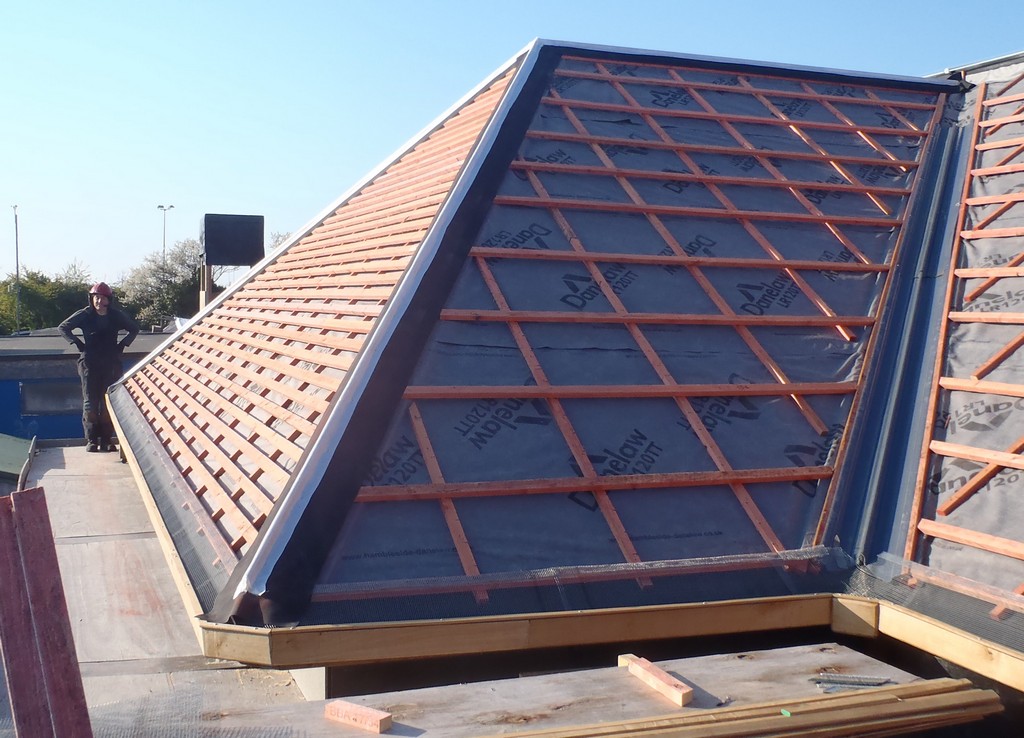
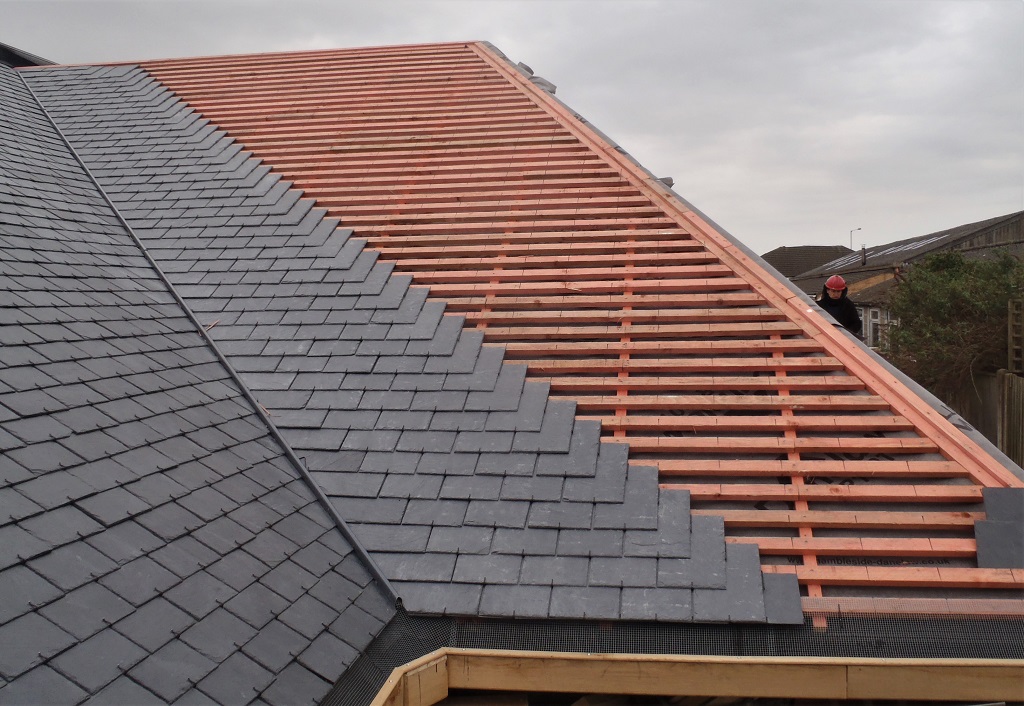
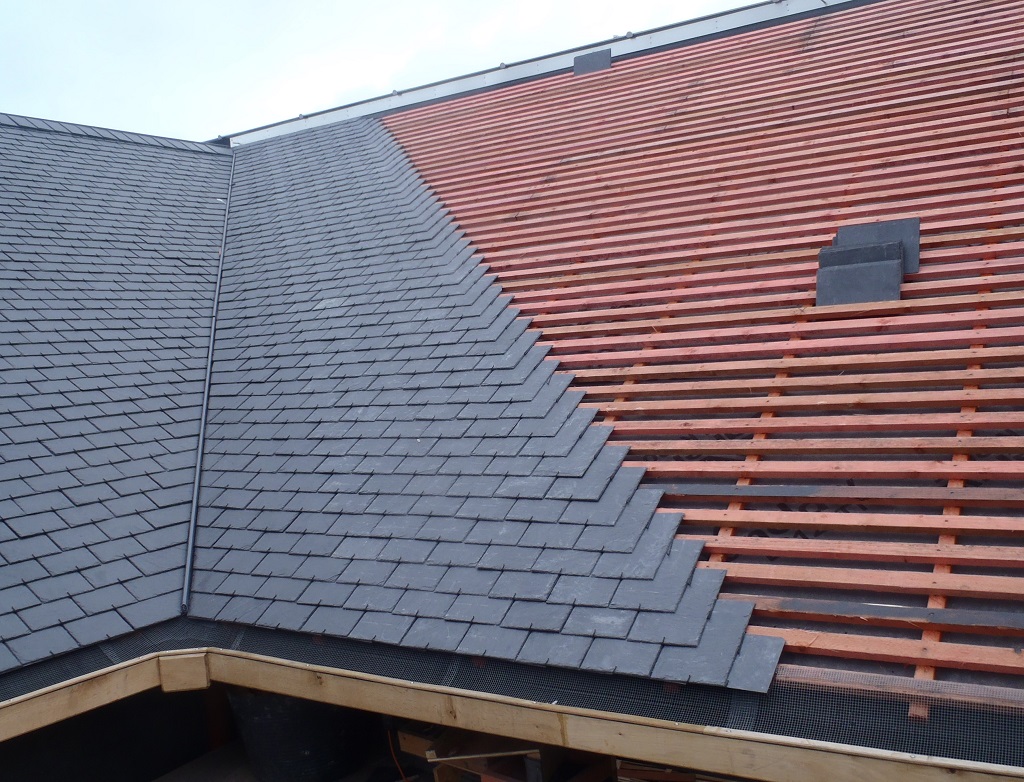
After lunch, we started putting up the slates, going up the valley and in the three or so hours of the afternoon, we managed 32 rows with two or three slates in each. It is a slow job measuring and fitting the slate into the angled valley, we got a good way up with about 19 rows to go.
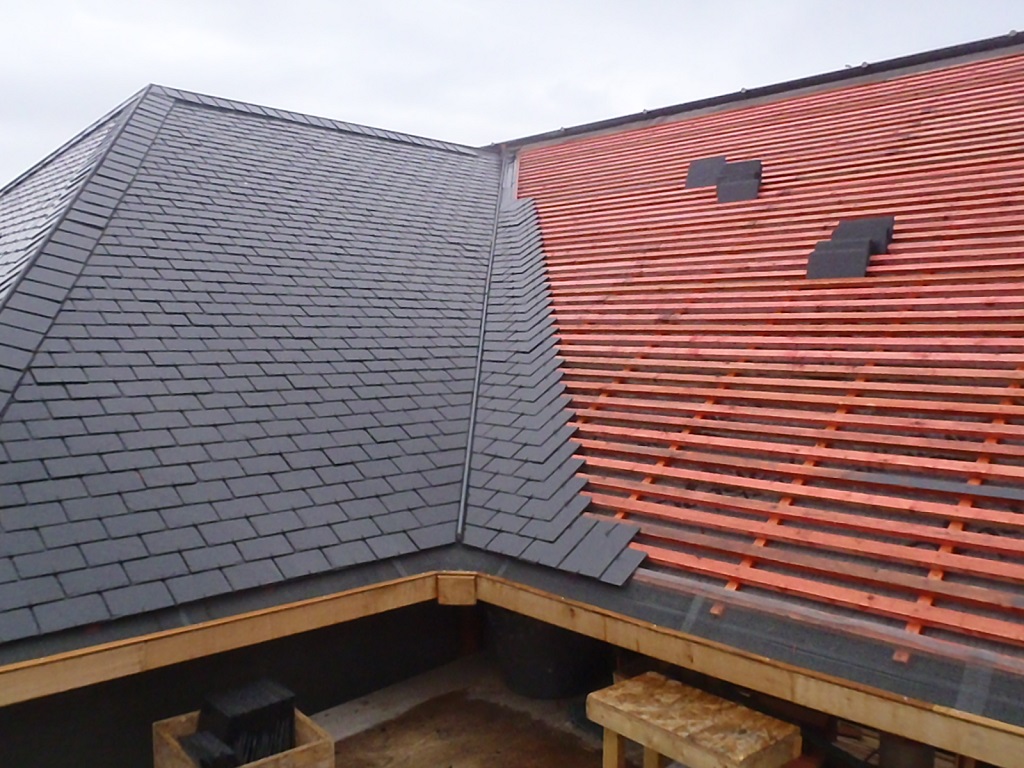
First-few-slates-on-M-End-day-6
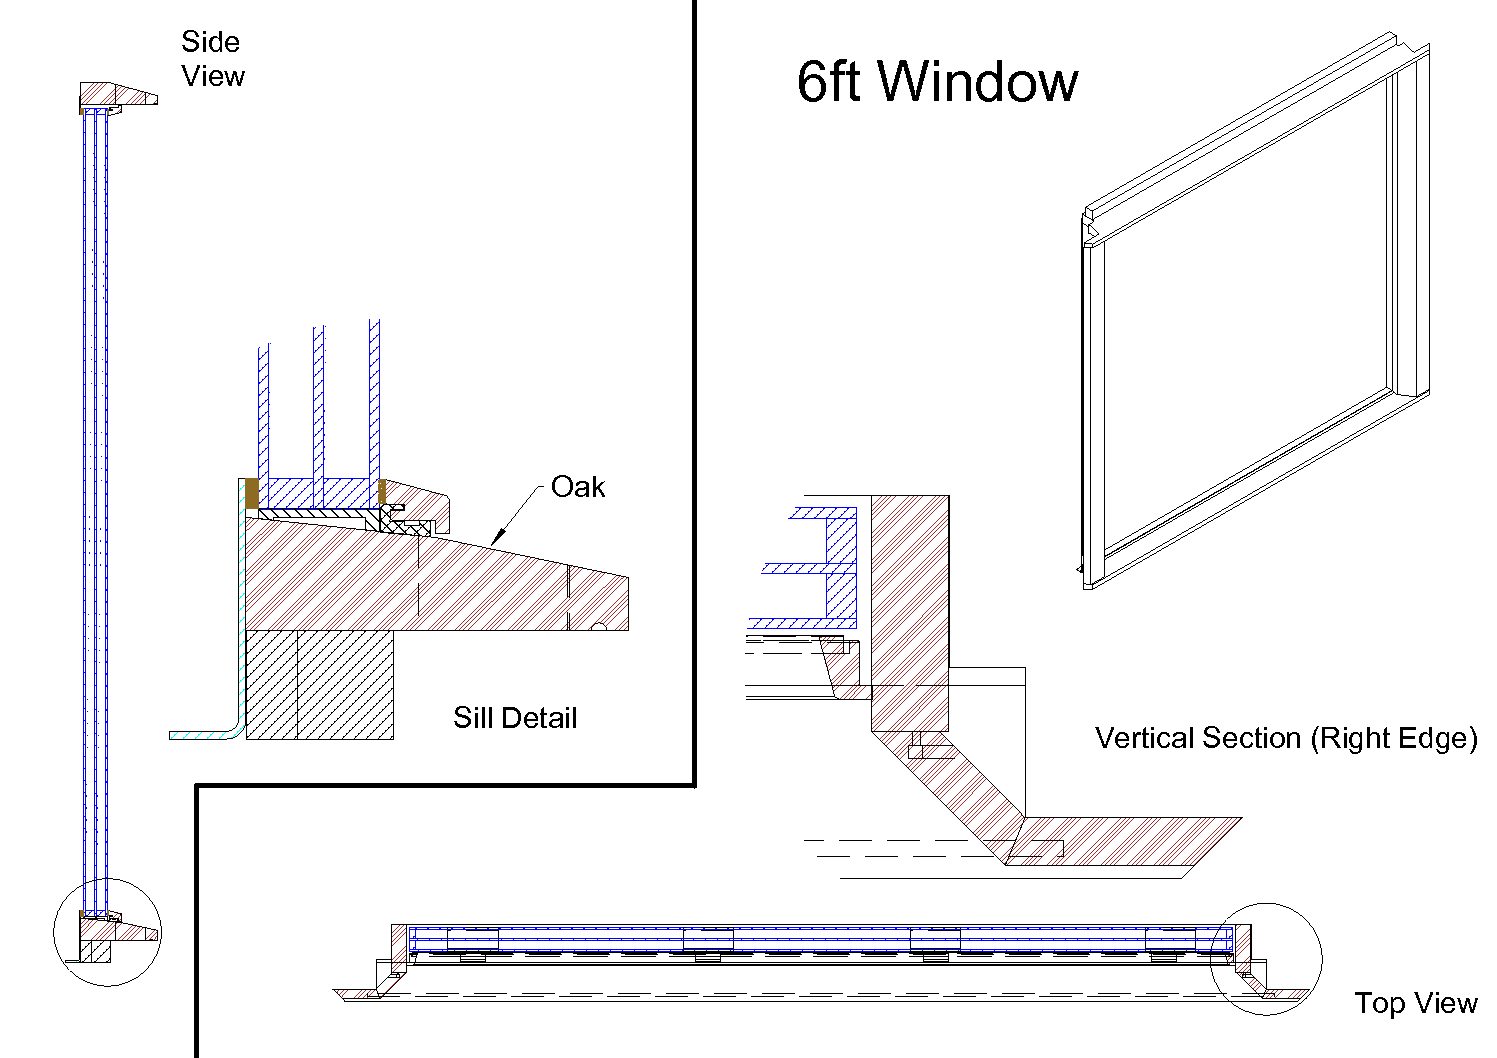
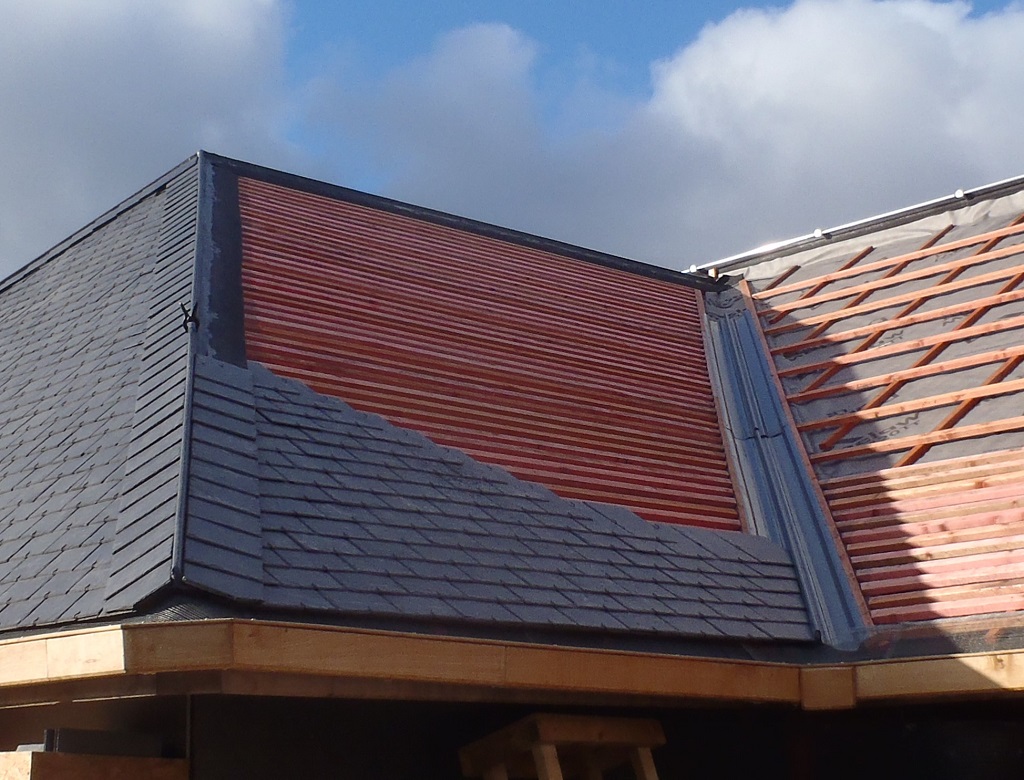
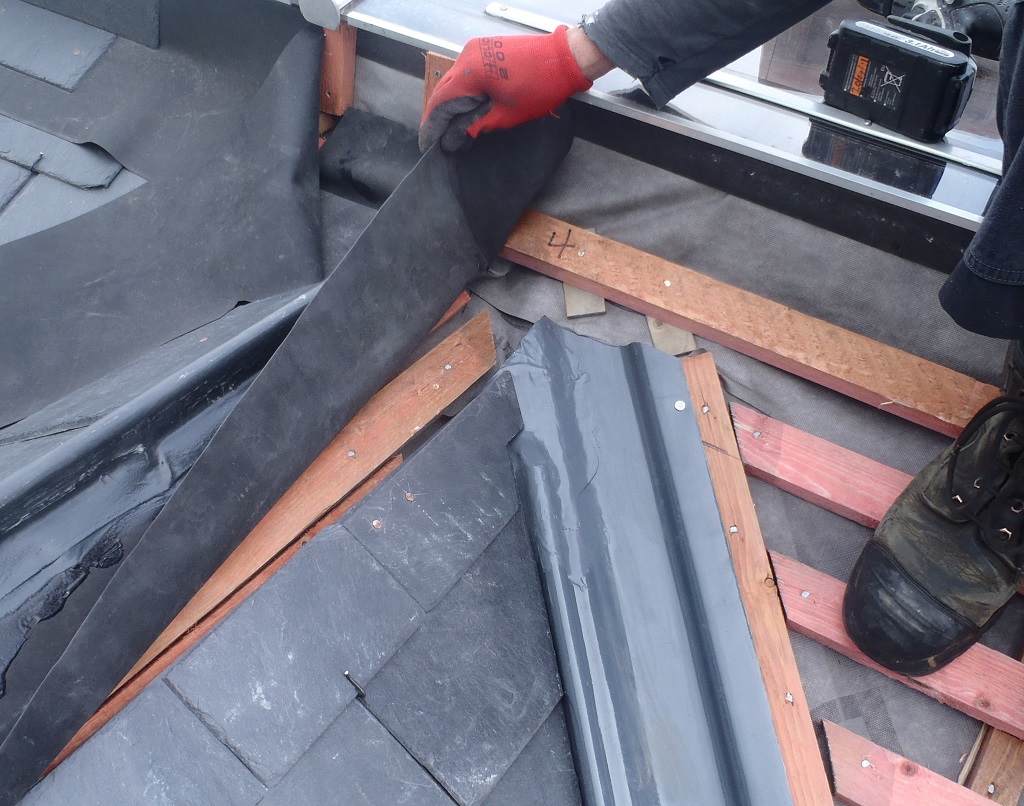
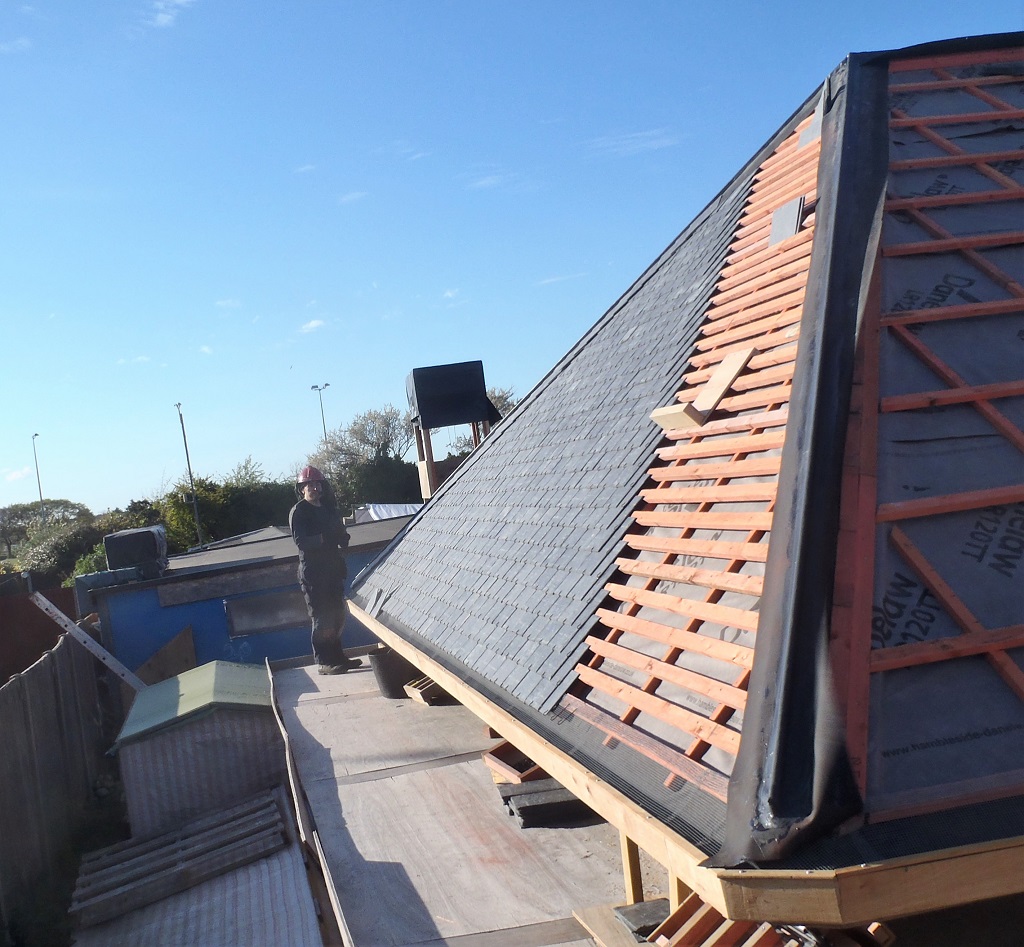
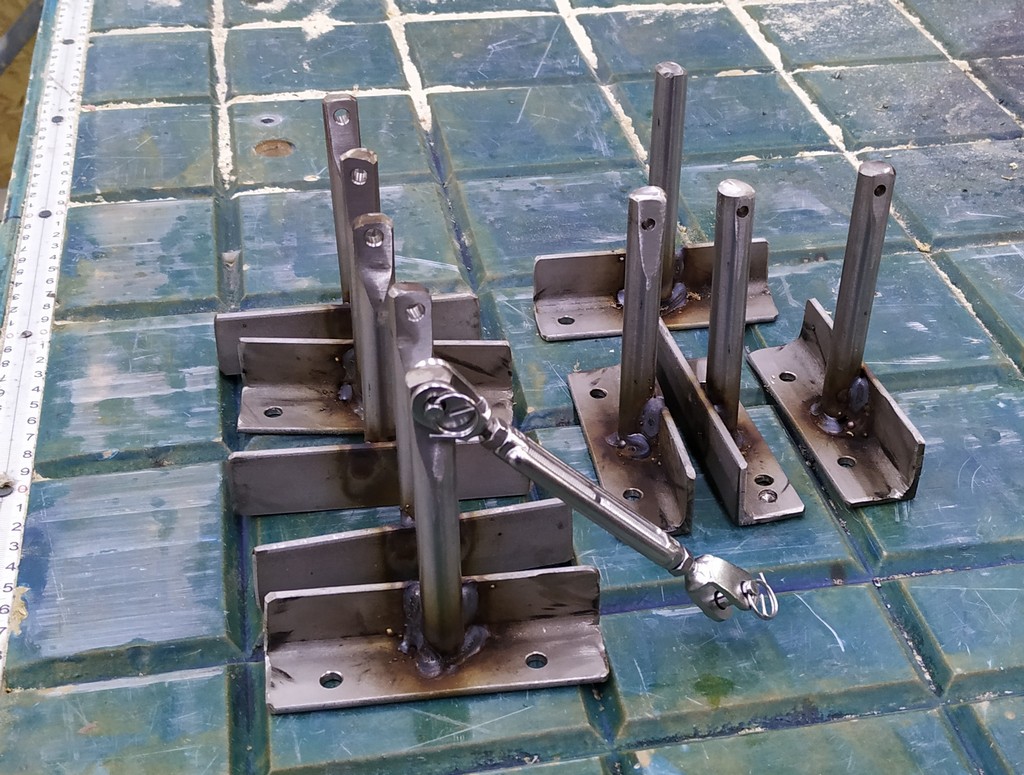
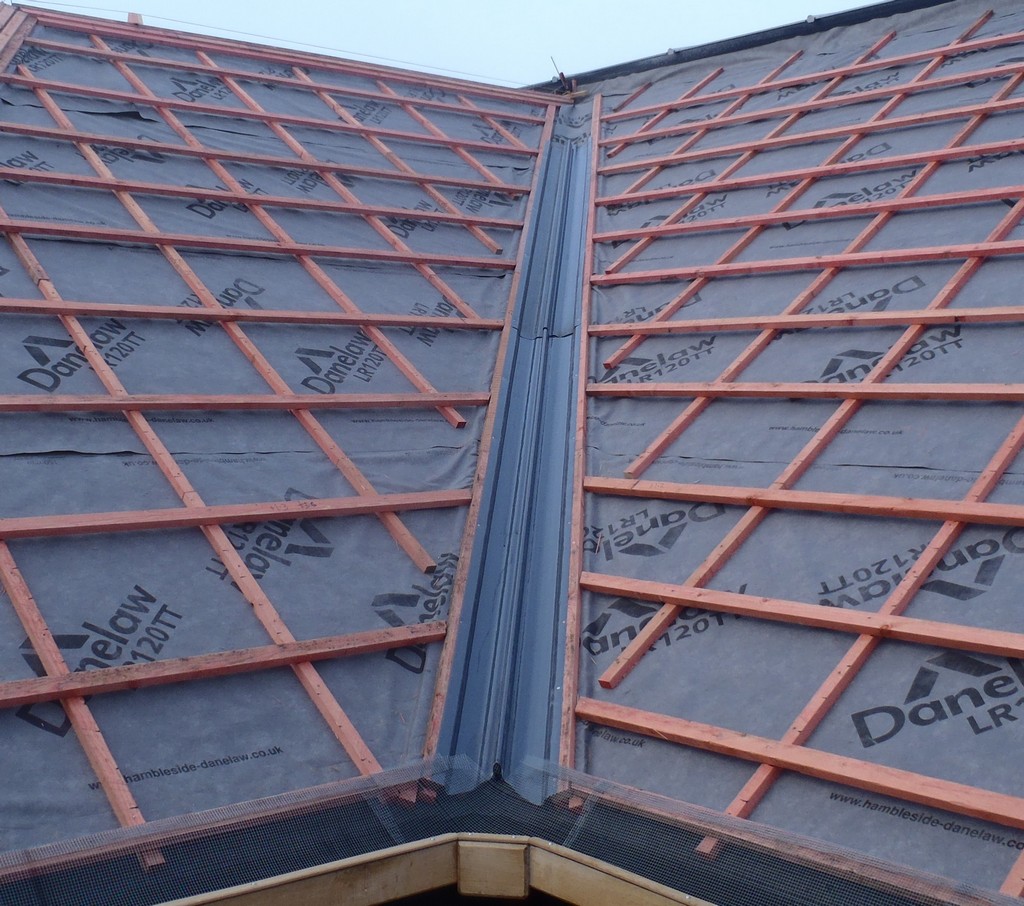
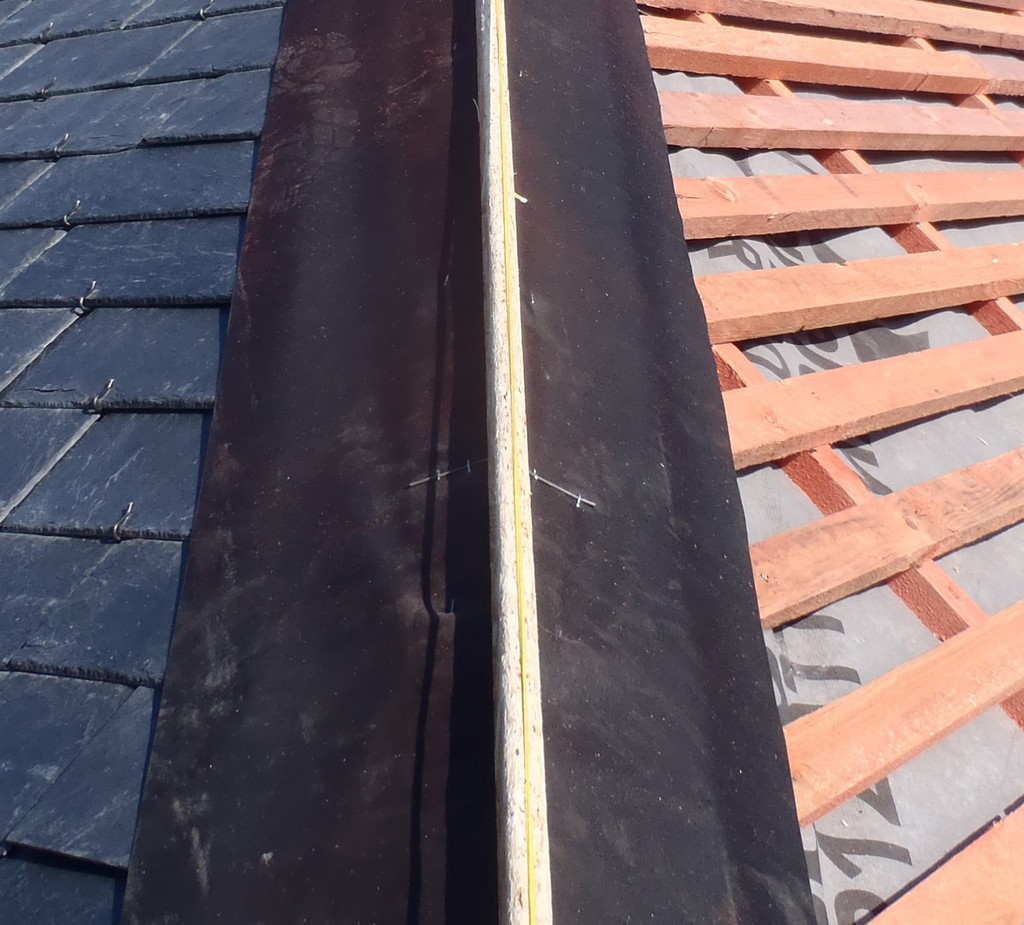
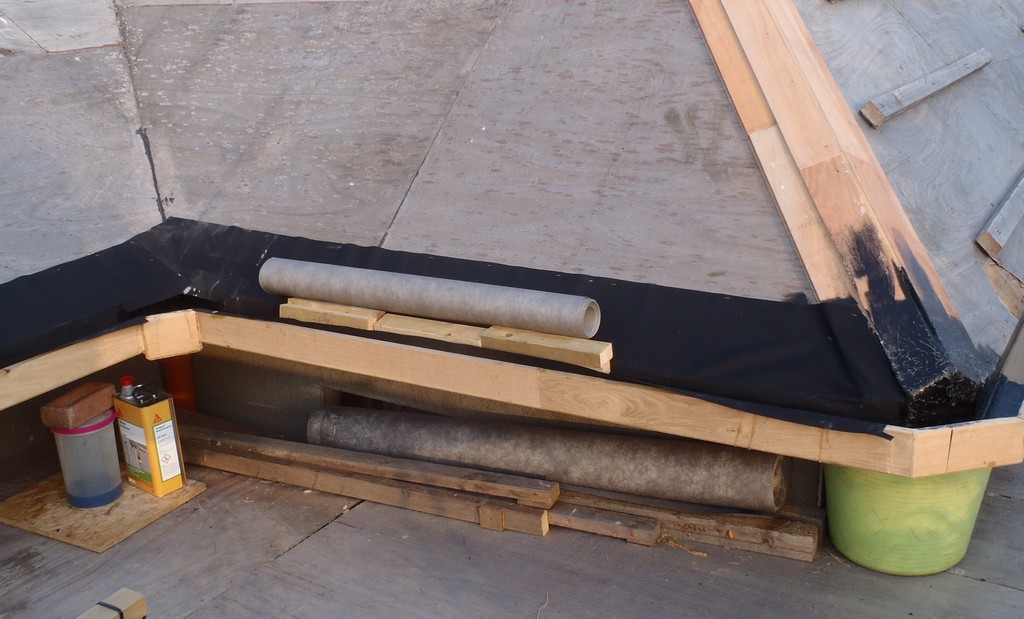
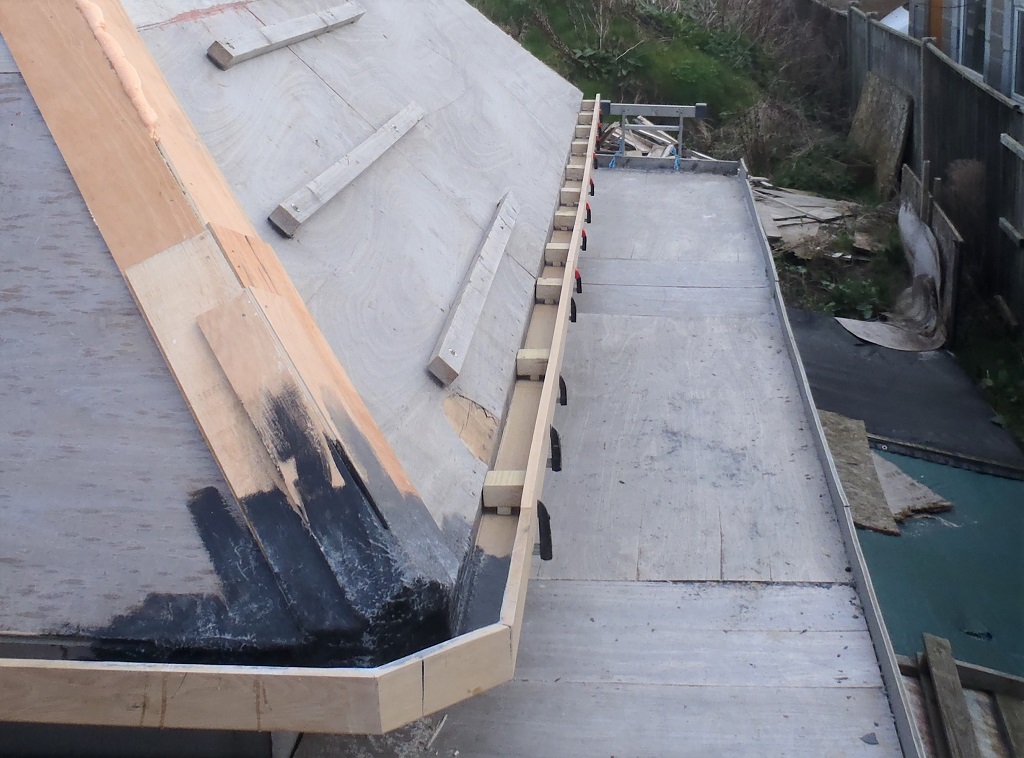
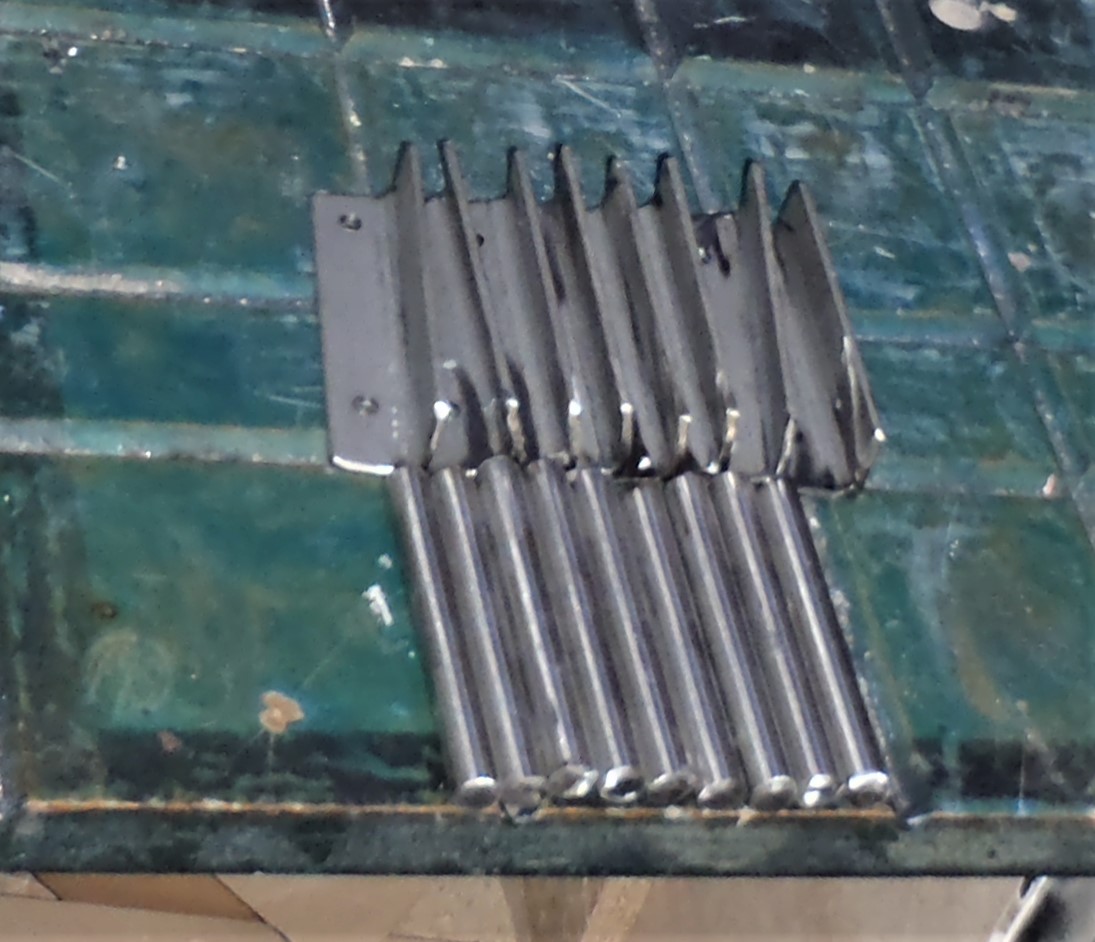
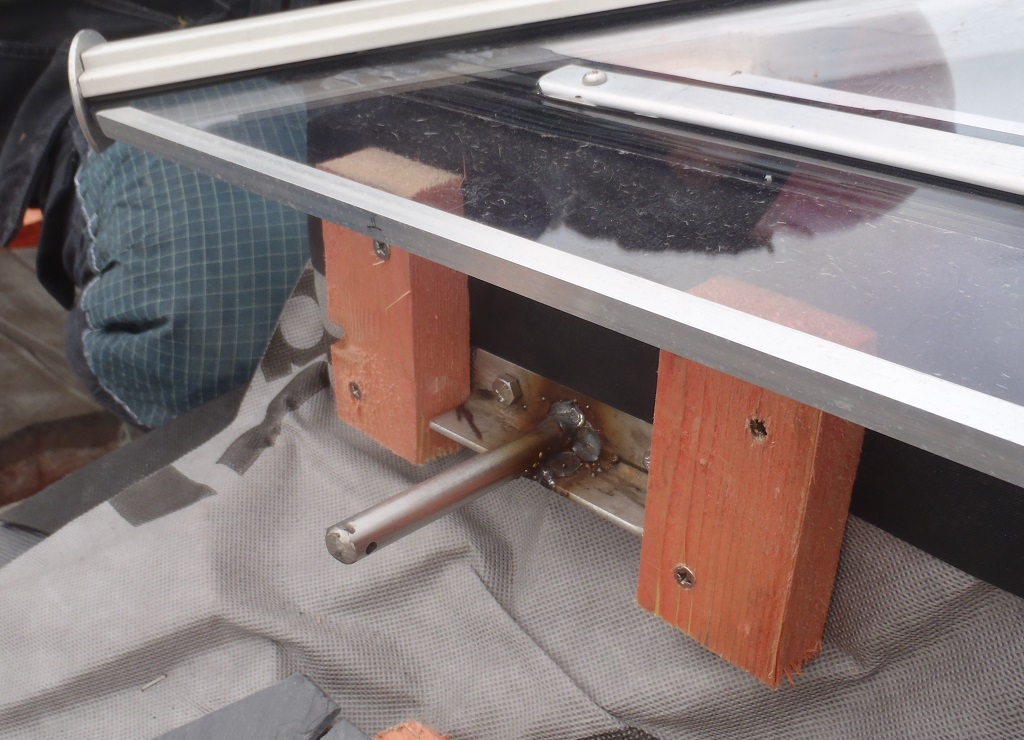
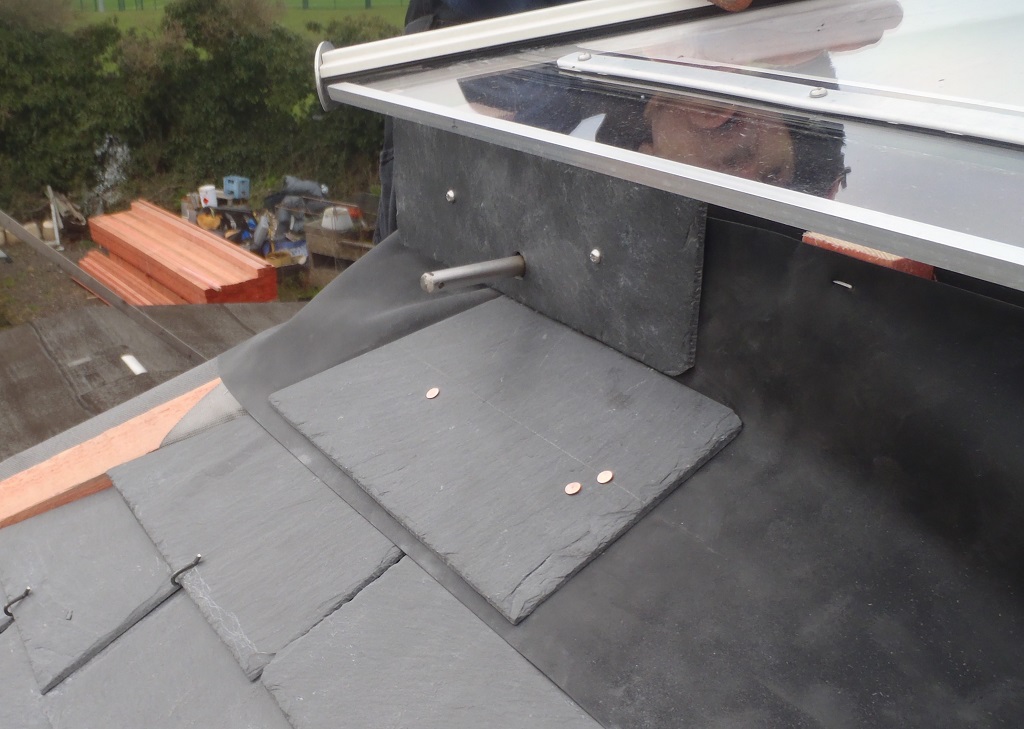
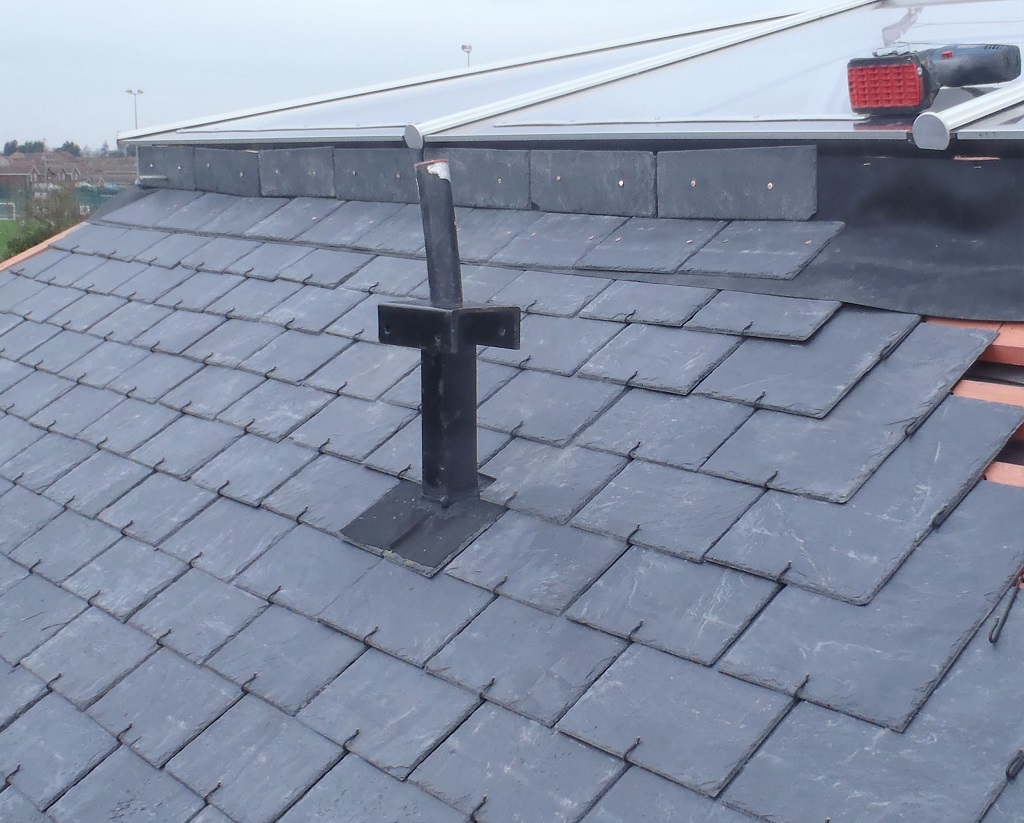
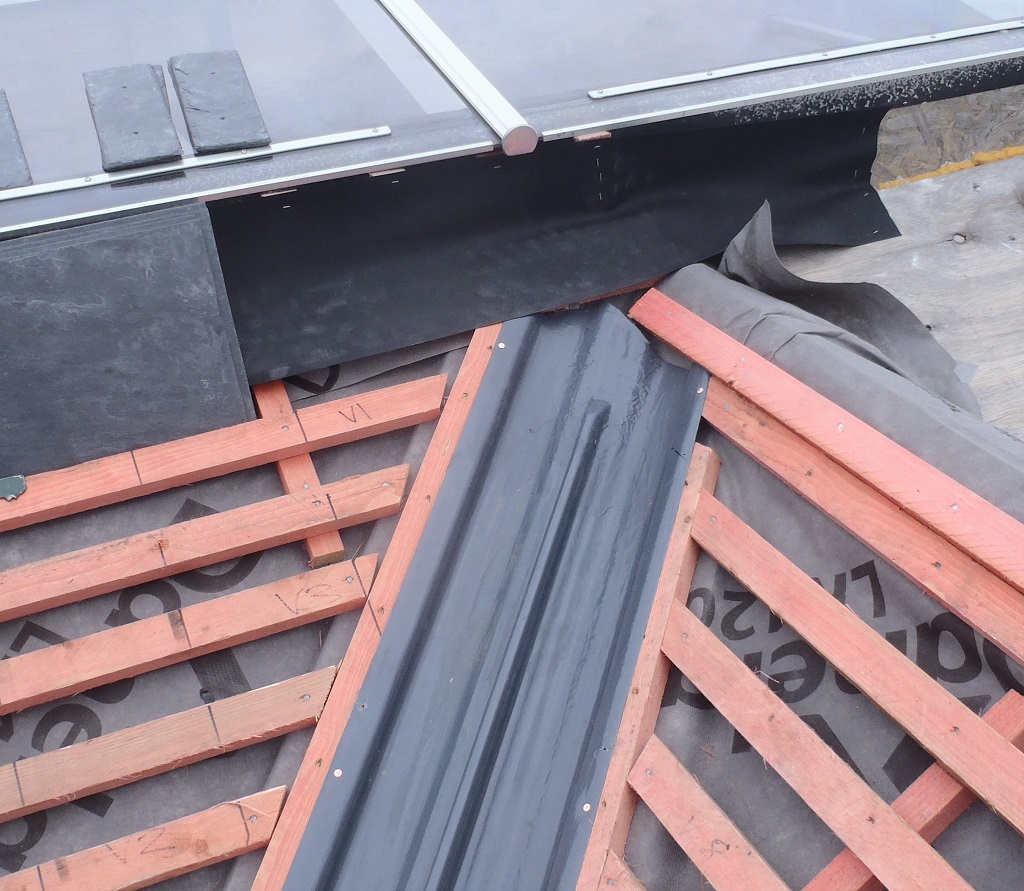
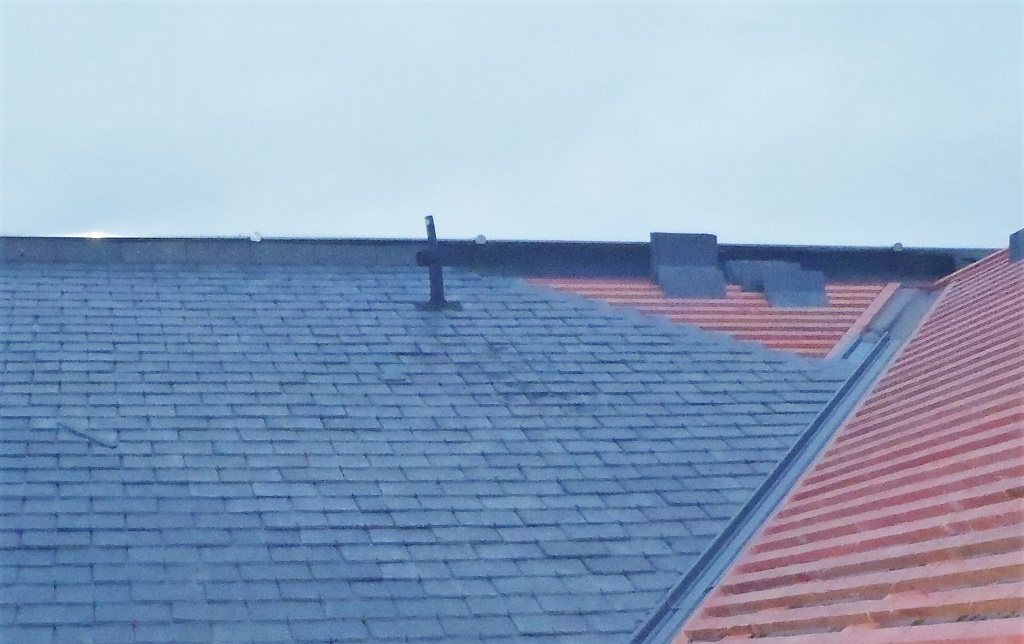
Tuesday saw the installation of the kerb flashing along the Skylight, made up of a strip of rubber and a line of aluminium strips in front, both mounted on wooden short batten pieces spaced out every 500mm (see 1:29 in video).
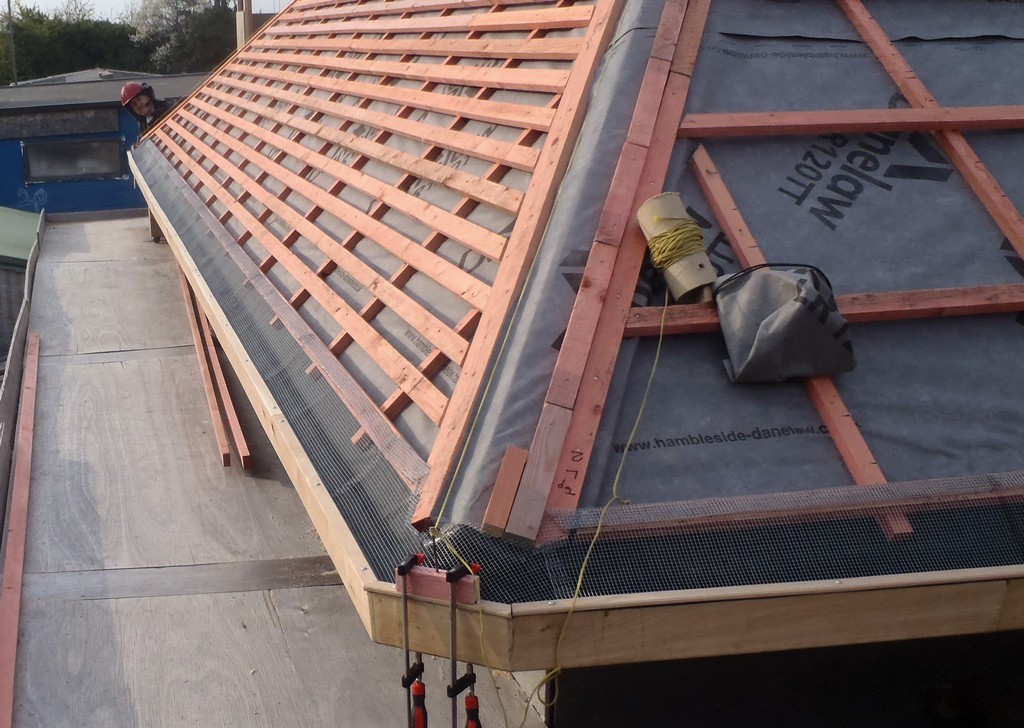
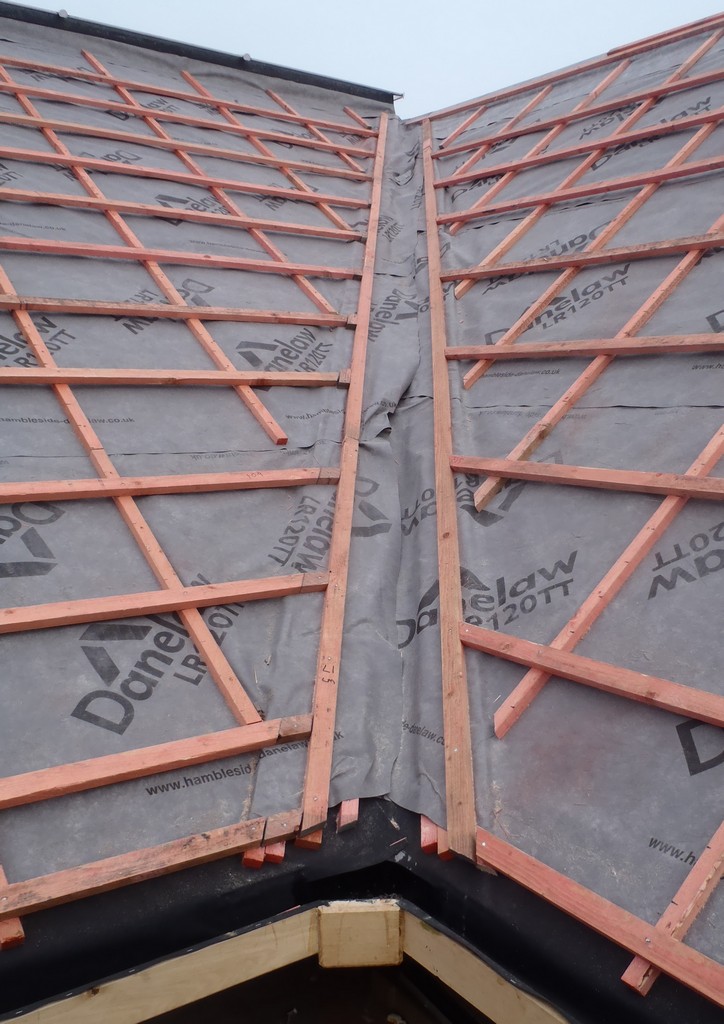
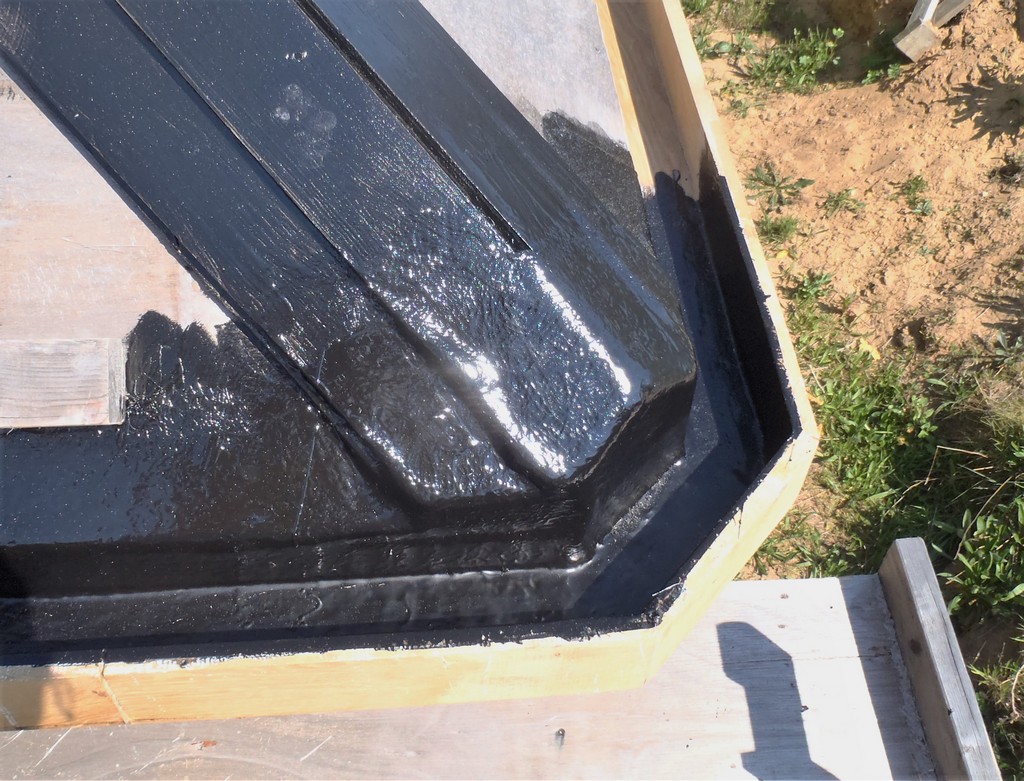
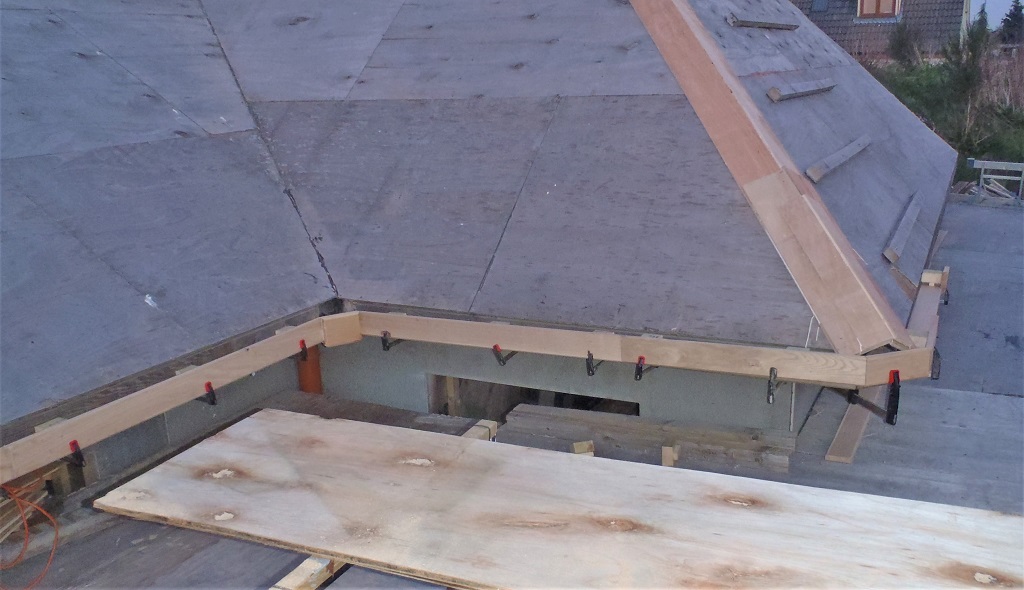
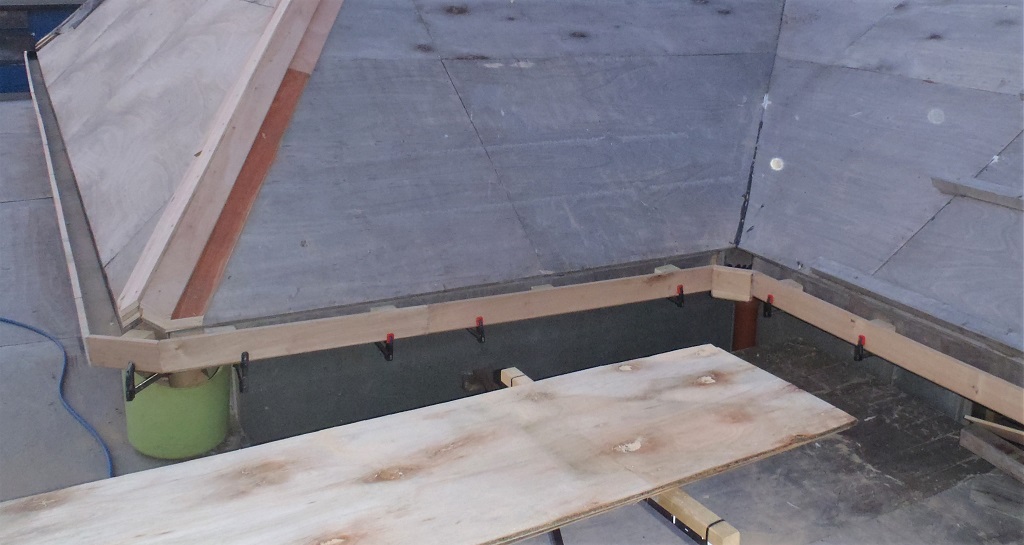
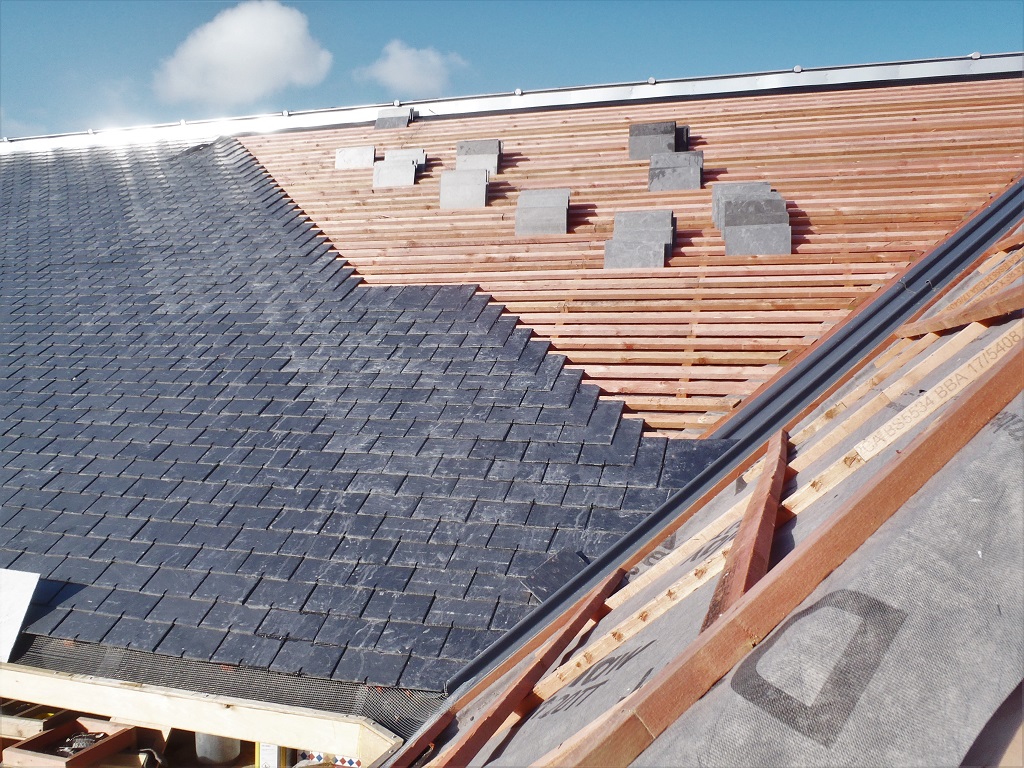
Then in the later part of the afternoon, we finished off the valley rows and also finally, fitted the last couple of slates over on the I roof and the final ridge flashing slate along the J roof.
Left-Valley-completed-End-day-7
All day Wednesday and Thursday morning was a complete wash out in terms of working on the roof but we did instead do some analysis of the task in doing the windows (see Sorting Oak Timber for Windows) so wasn’t a complete waste of time.
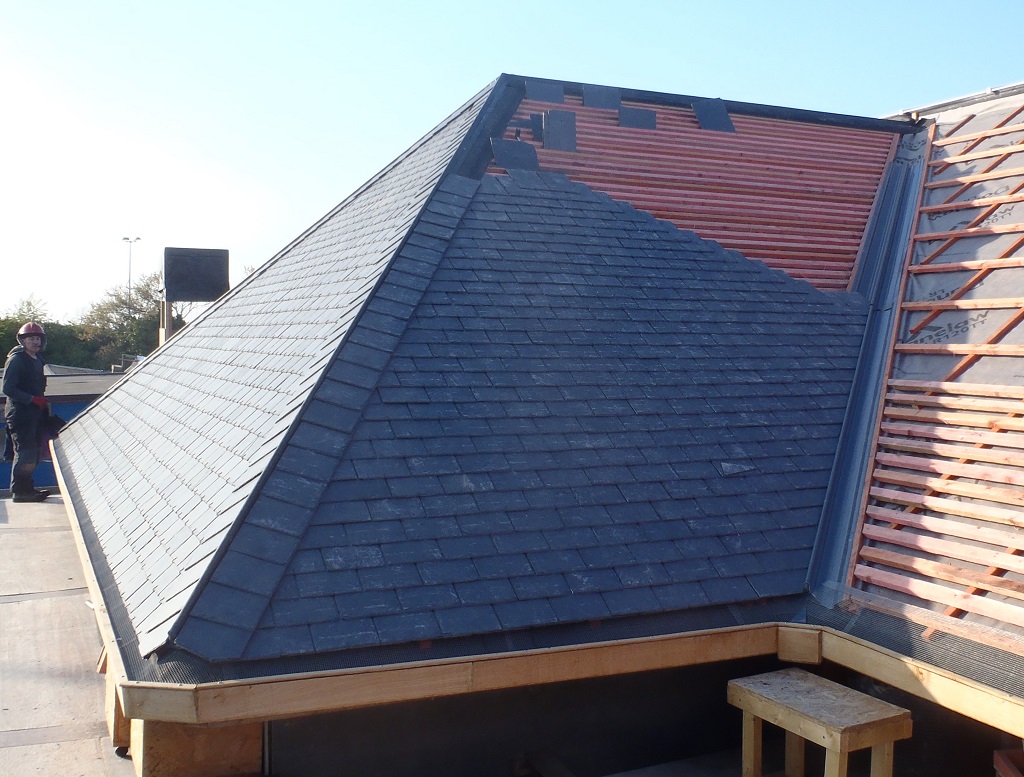
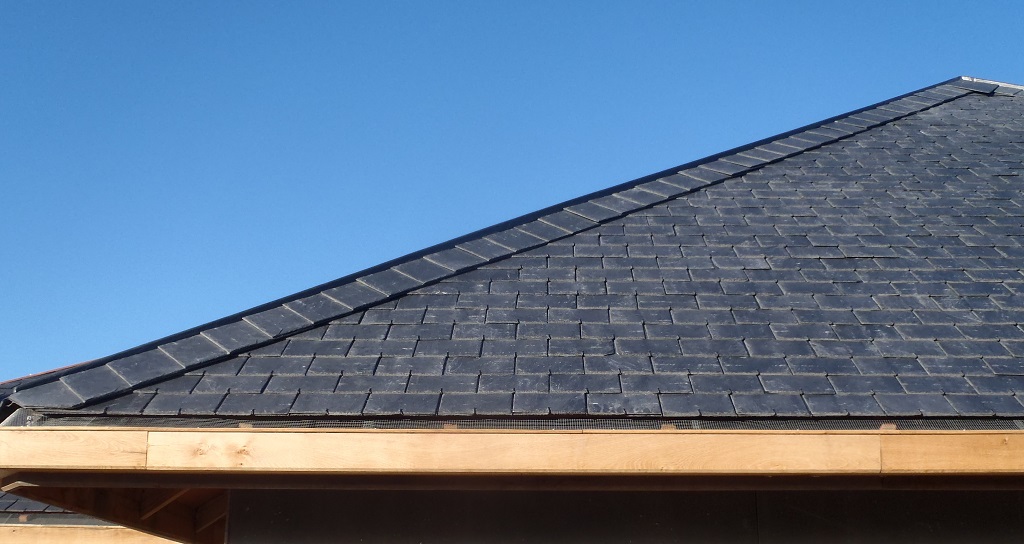
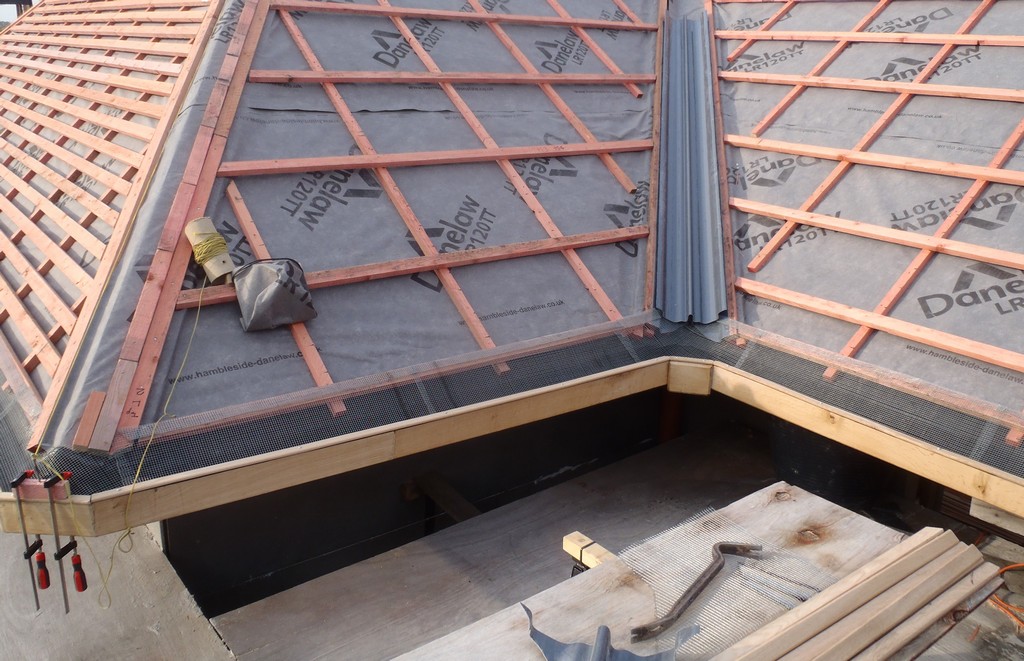
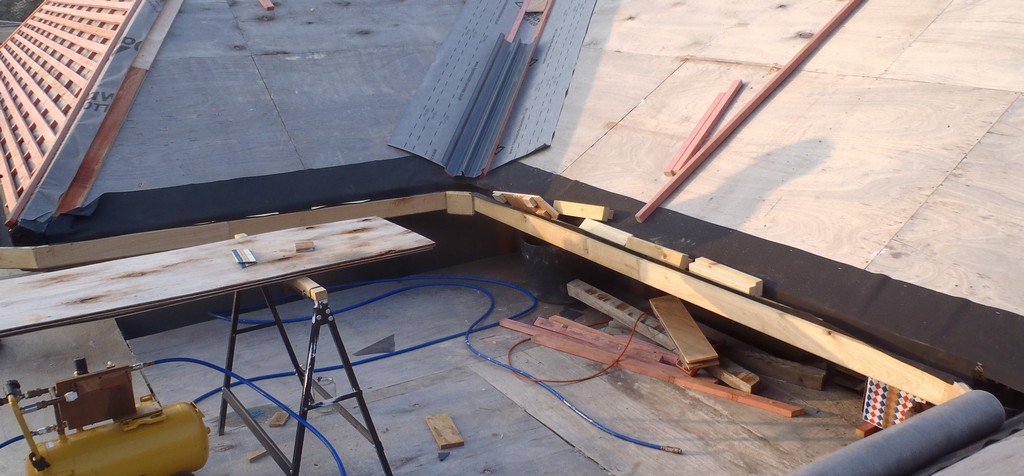
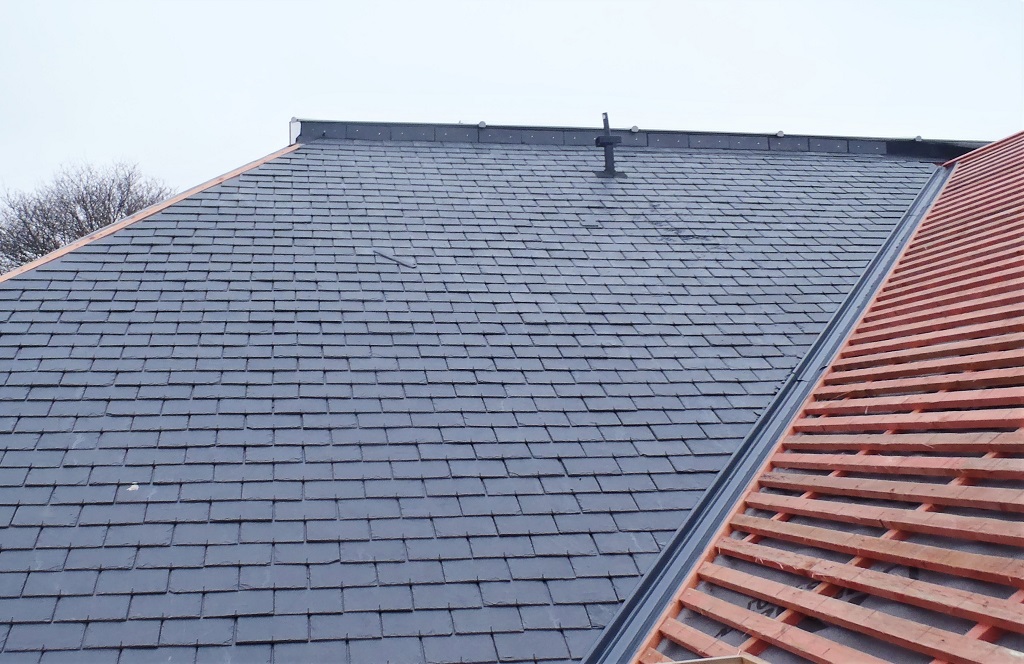
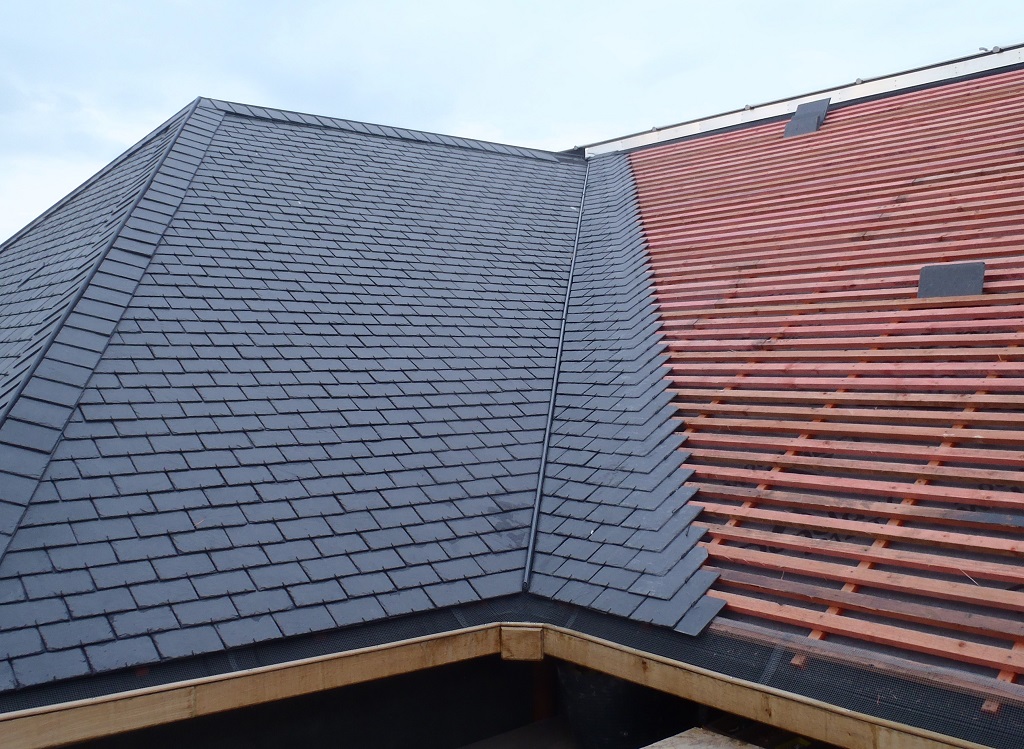
Thursday afternoon, we resumed work on the roof and finished off the complex intersection of the K ridge line meeting with the valley coming up the L and M section of the roof. After that, we were able to mount approximately 300 slates in just two hours to conclude the day’s work. That was fast work!
Progressing-across-M-End-day-8
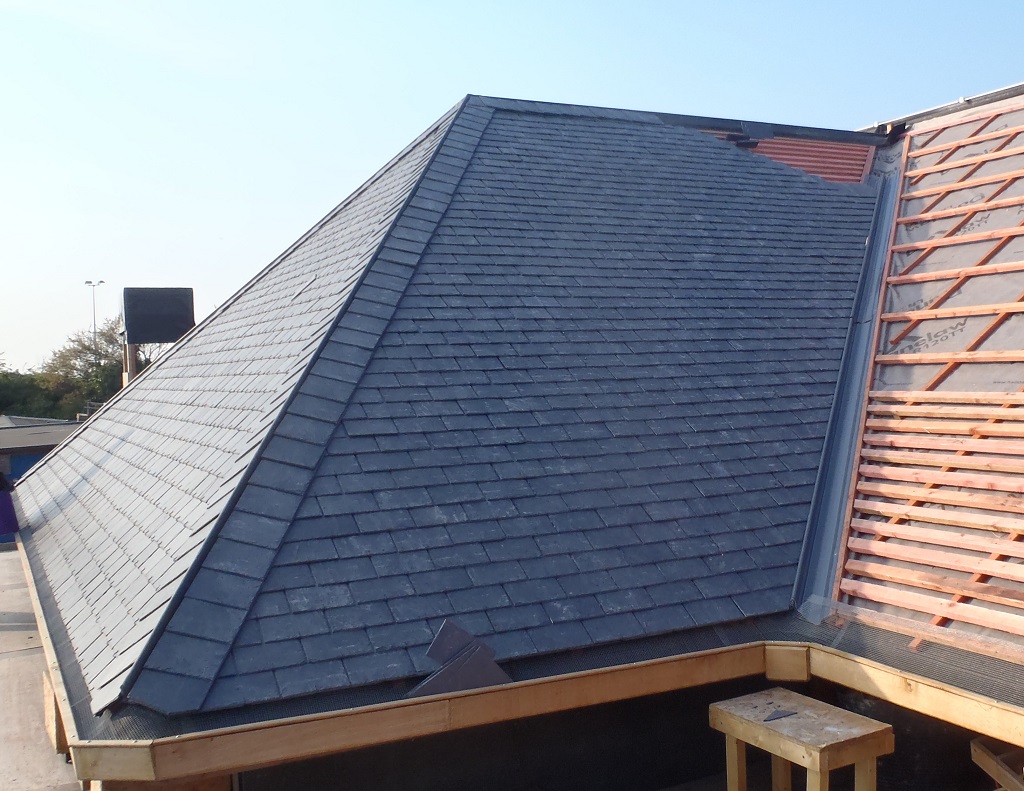
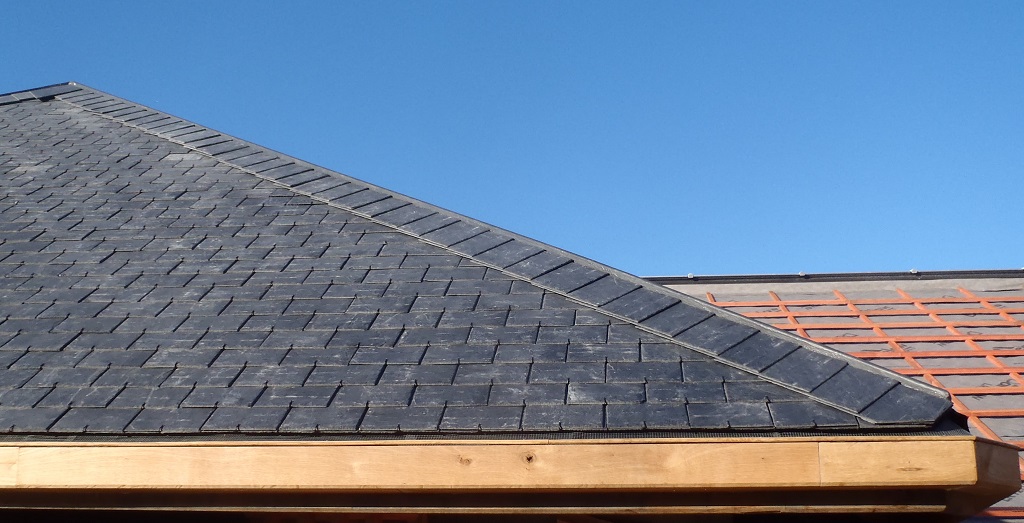
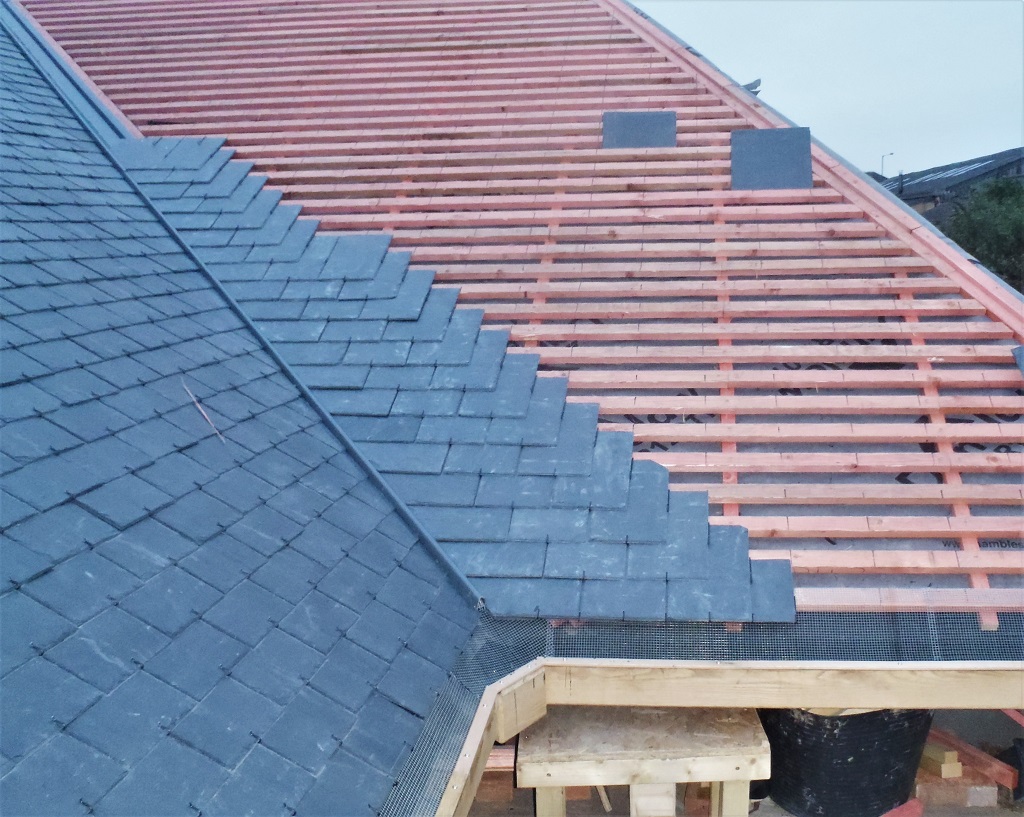
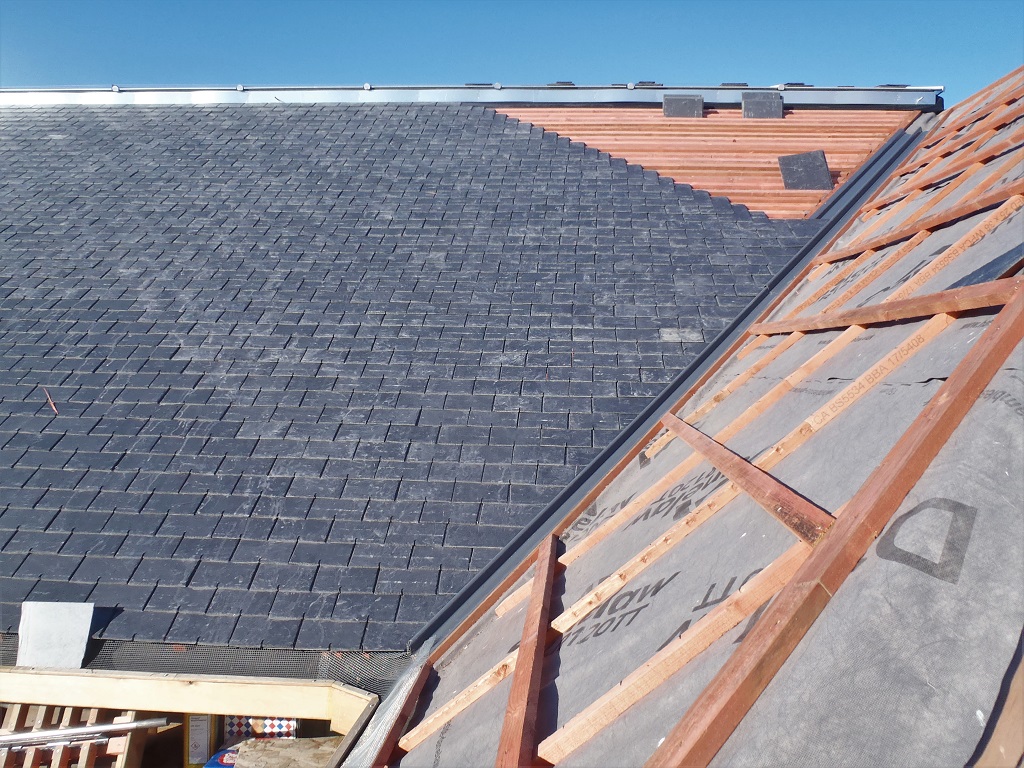
Friday also had some rain interruptions and we lost a couple of hours in the afternoon. But we still managed to get a further 500 slates up on the M roof, we are well started up the other valley (the M-N valley) now but probably still have another 800 slates to go to finish this roof section.
Starting-up-Right-Valley-End-day-9
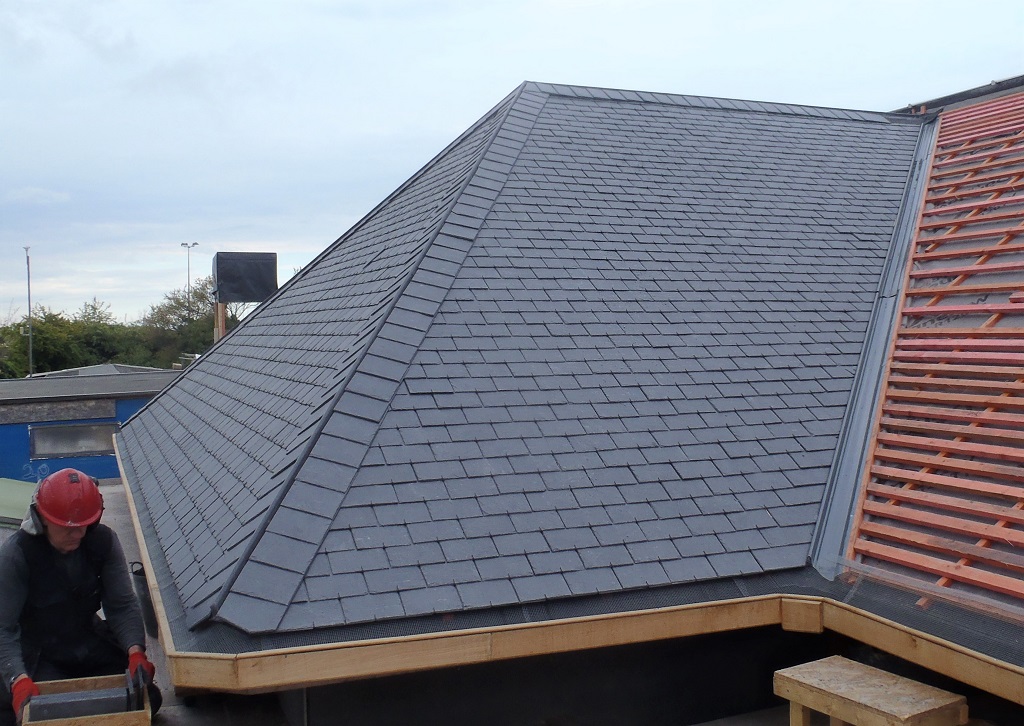
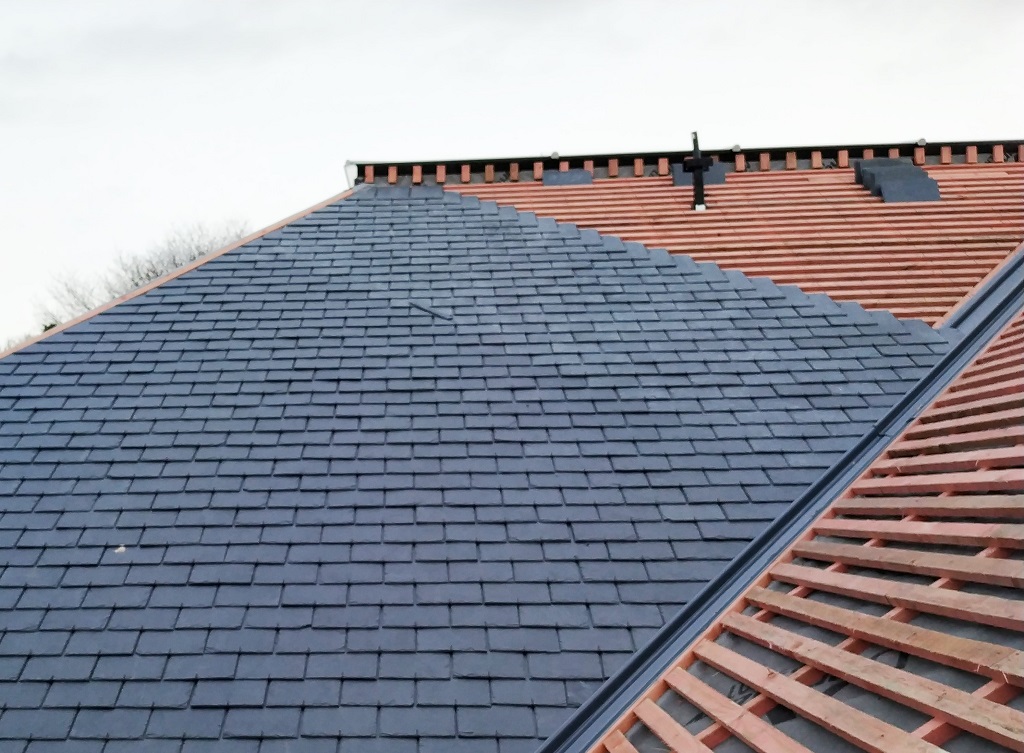
On our final day Saturday, we continued putting up more slates, working up the valley, with shorter and shorter strips and in total we did about another 500 slates. There is just a fairly small triangle patch of roof left to do.
Nearly-finished-M-End-day-10
But we did have a short pause where we had to analyse why the position of one row of slates was slightly off (you will see the moment in the video below) and this is the first time it has happened. We concluded that the beginning of the horizontal row was not started in the correct position, we realised that there was too much of a risk of drifting whenever we start a new row on the left end. The lesson learnt today will help set up the next section of roof properly and mark the starting point on the left ends of each row from a known reference vertical line in the middle of a roof section.
In conclusion for this week’s work, we could have done the whole of the M roof section if we had not had the rain interruptions on Wednesday, Thursday and Friday.
Now enjoy the video of us dashing about on the roof!