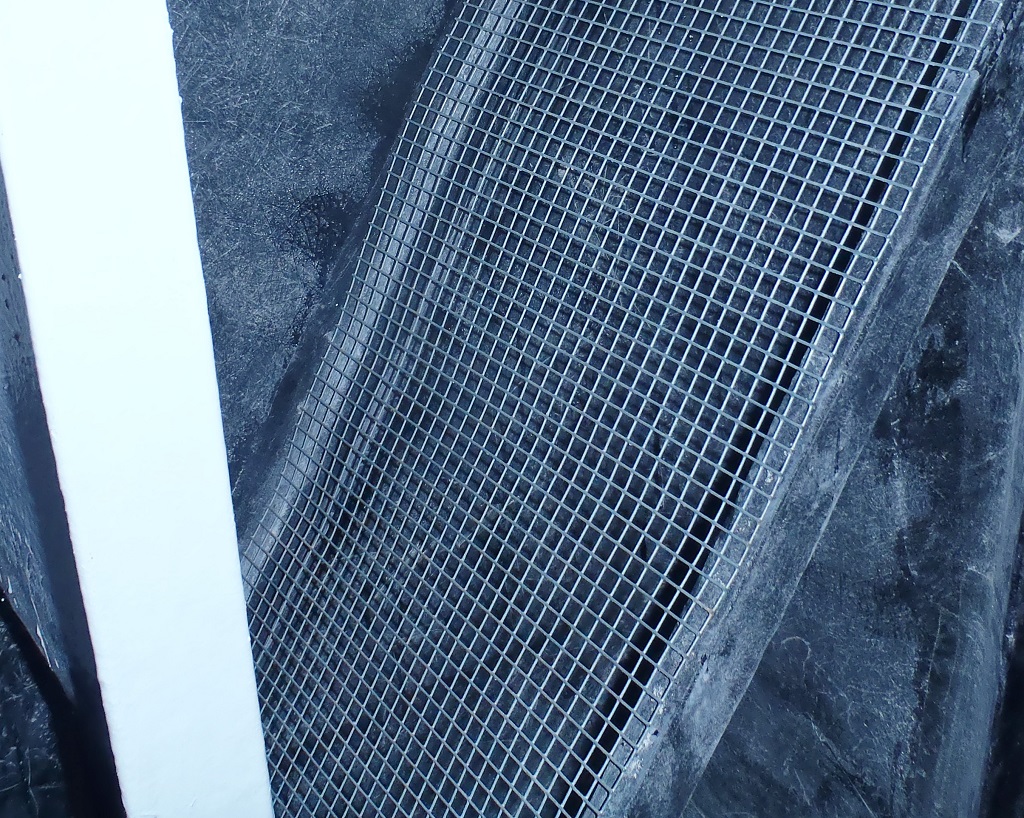
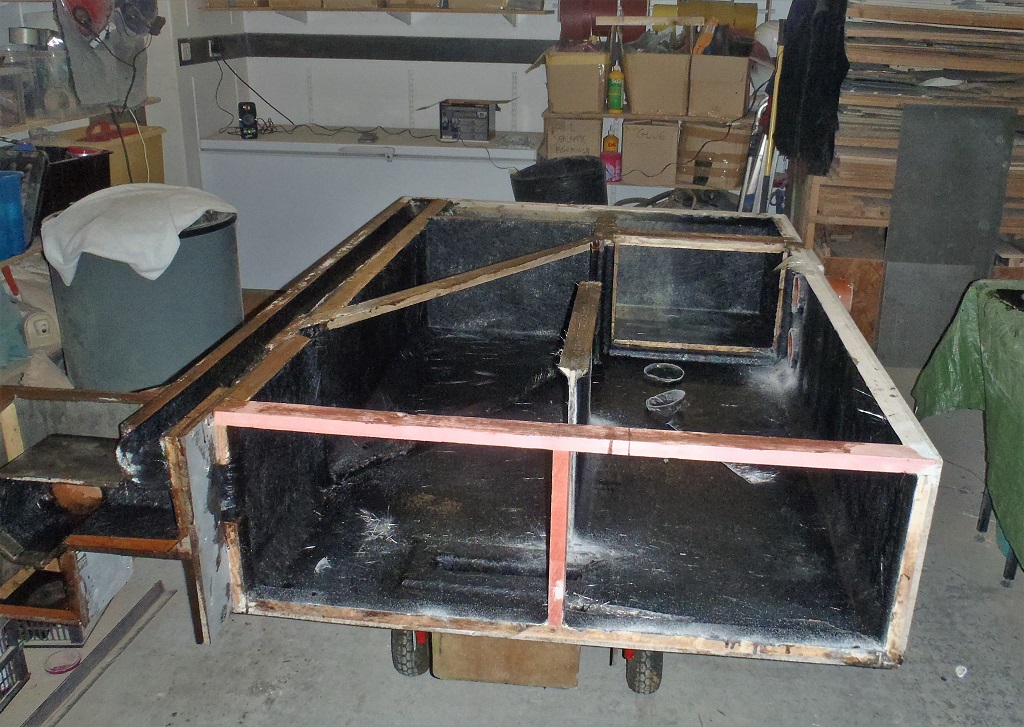
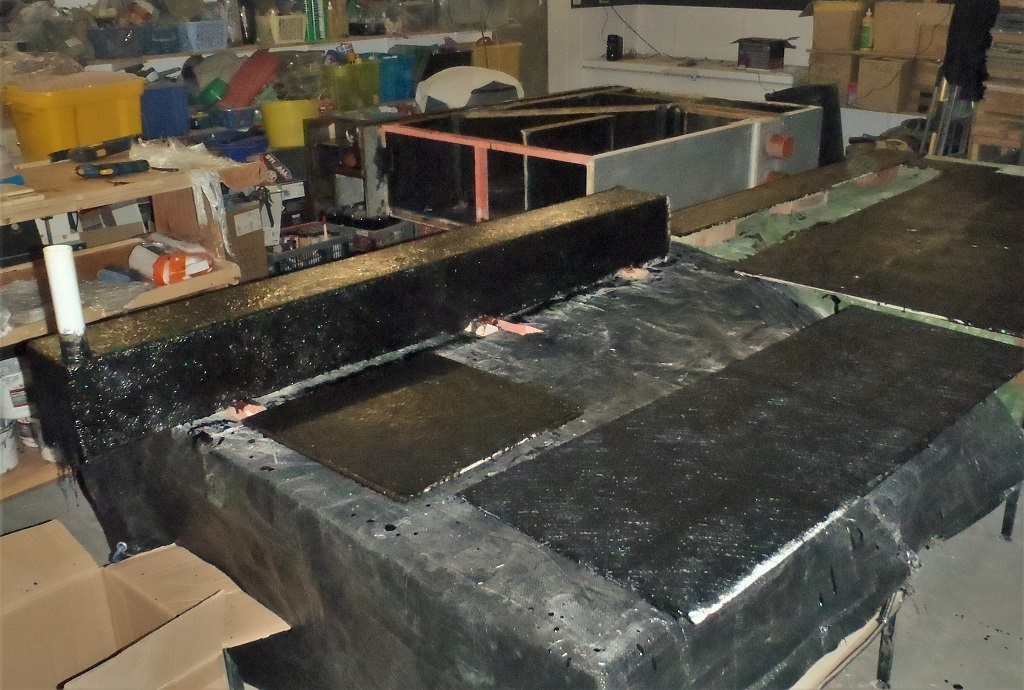
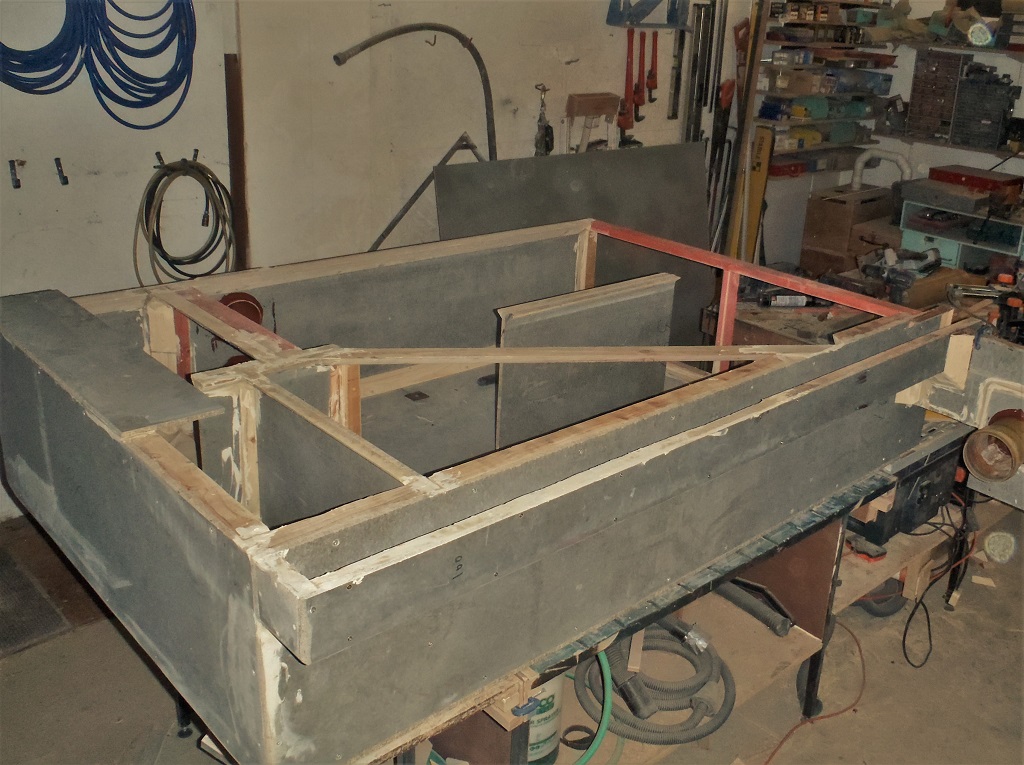
We constructed a small test rig, to reflect the design and placement of the two layers of the wooden battens to be on our roof and then played with a dozen slate tiles.
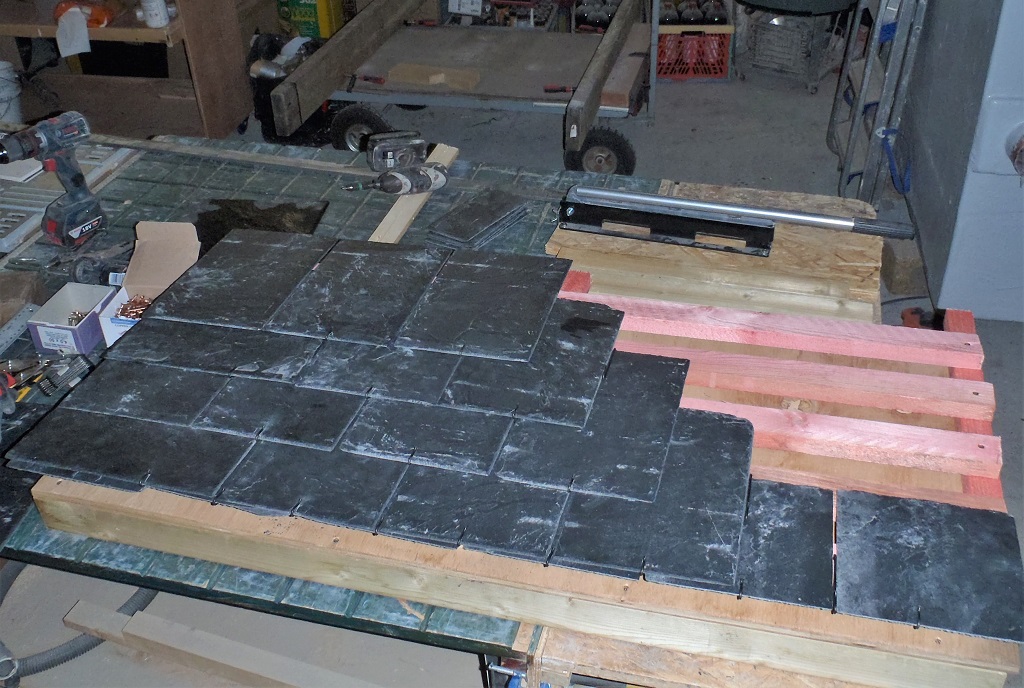
Roof-slating-test-1
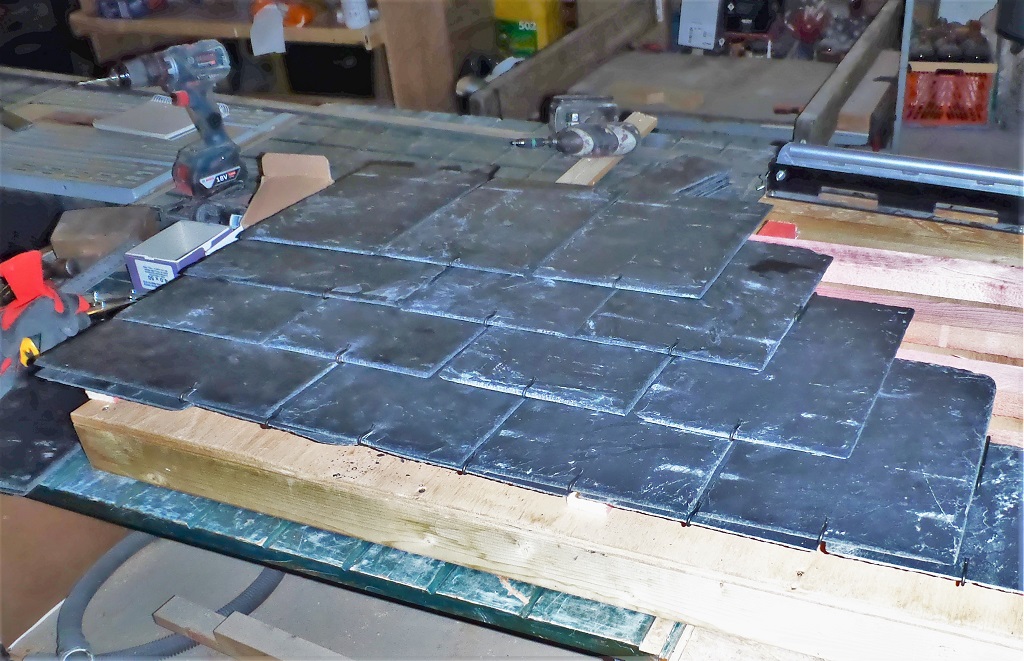
Roof-slating-test-2
The first row of any roof has to have two tiles (the lower tile is cut down in height) to ensure that the rainwater will be directed down the slate and not drip through onto the battens and the breathable membrane. We tested using the copper nails (through two holes) to see how they work, and tested using the hook nails (a bent rod of metal running underneath and hooks on the bottom edge)
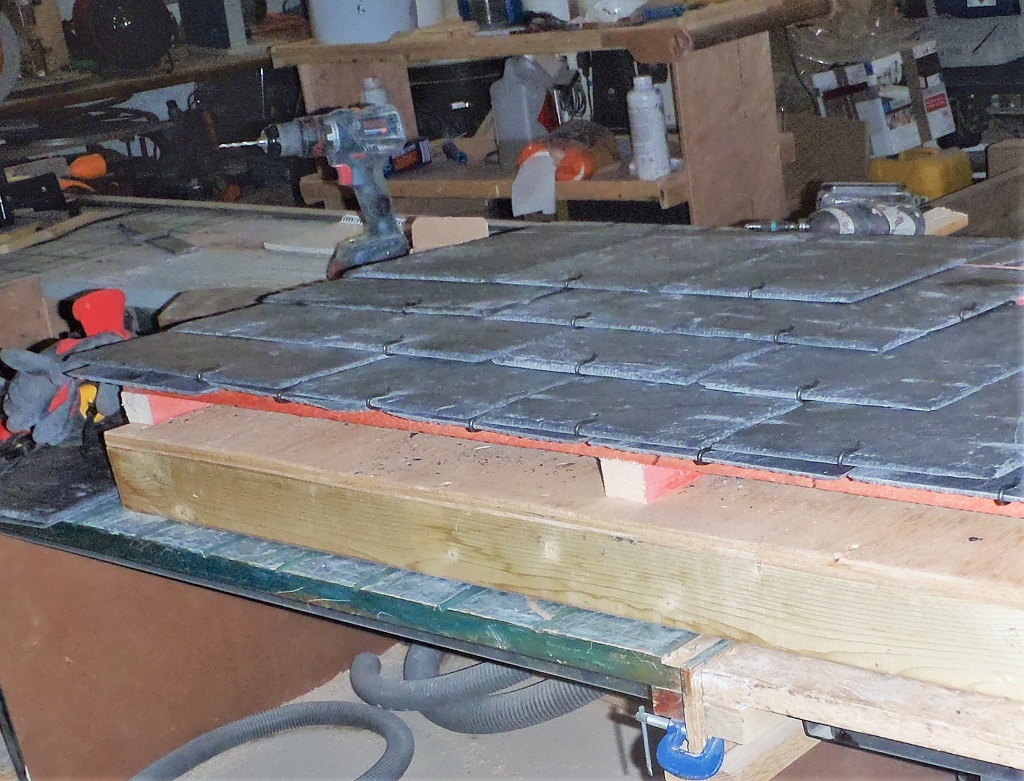
Roof-slating-test-3
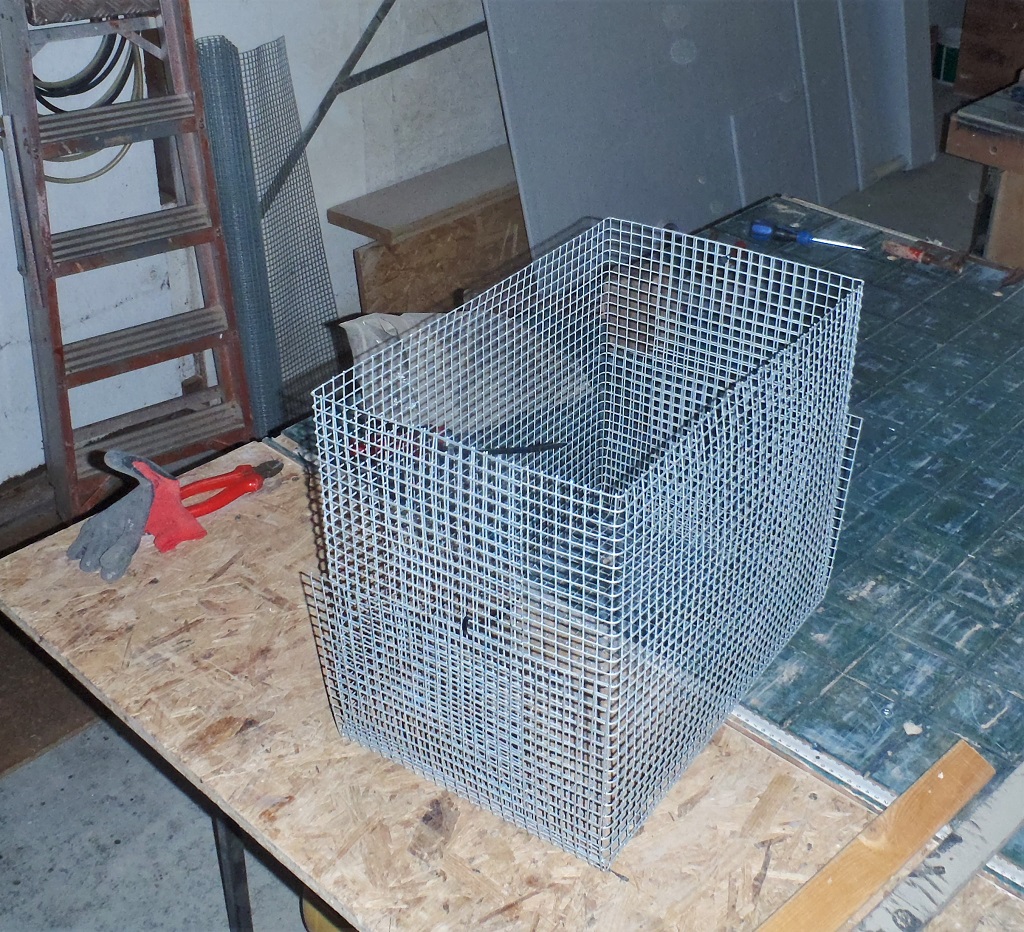
It is quite obvious that there is a need for a “filler” to be inserted on the first batten, to take the place of the missing third tile, so we will fold up our gutter metal mesh guard several times to the required thickness and when that is nailed on the first batten row, that will provide the extra height needed.
The overhang distance of the bottom edge of the slate tiles will be about 55mm so we will position the first line of battens so that the tiles will hang over the gutters by 25mm, and the rainwater drips nicely in.