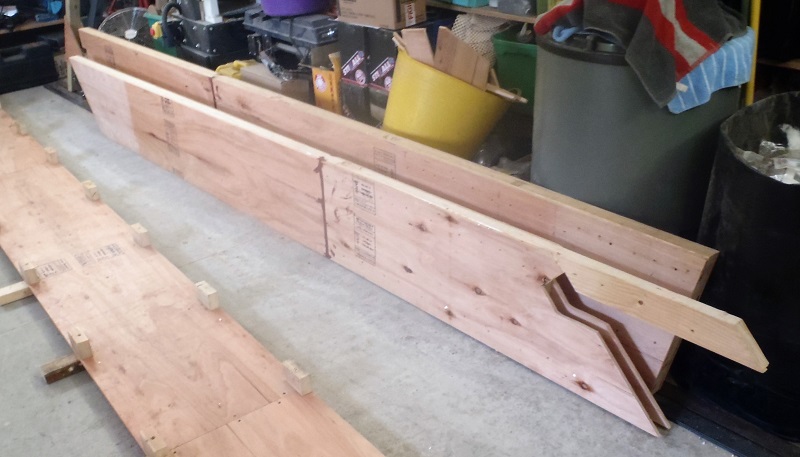
This morning, we planed the top and bottom edges of both part of the K Ridge Rafter. We wanted to make sure that these surfaces are clean and smooth to get maximum contact area to the metal strip (coming later on) and the wood and have plenty of glue connection to maximise strength. We also planed the middle joint to clean up bumps etc. caused during the manufacturing process.
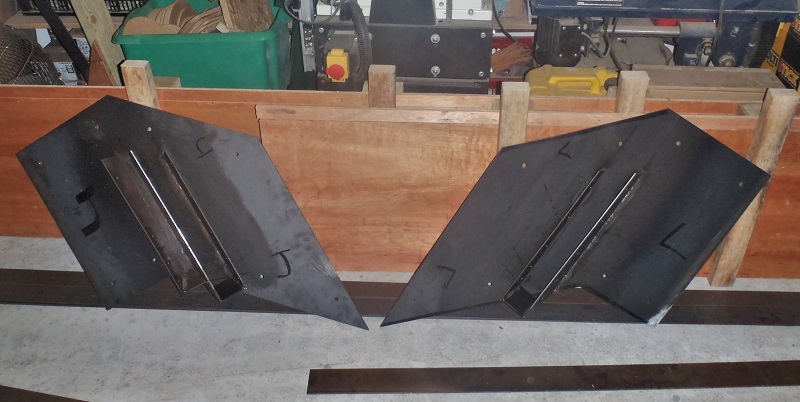
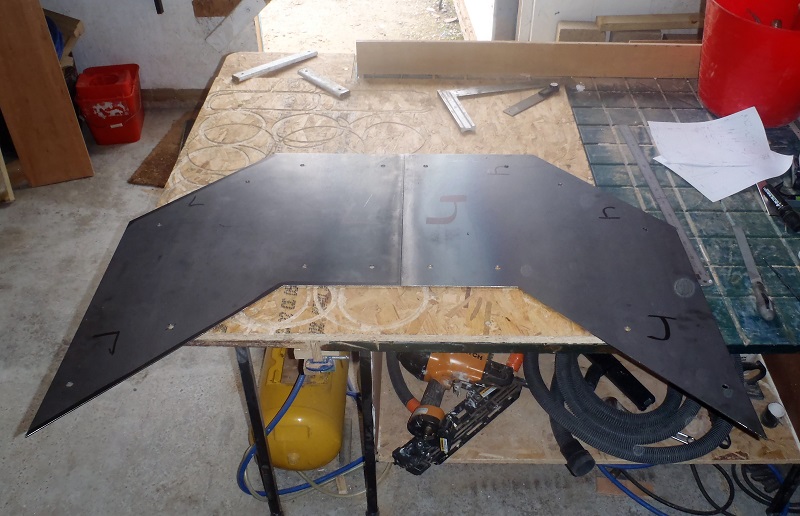
After struggling to get both parts laid flat on the work bench, pushing one end right into the shelf to the wall – phew and the other end sticking half way out the main workshop doors on a roller support leg! We managed to join them together so we could lay down one of the metal bracket piece that makes up the elbow joint element.
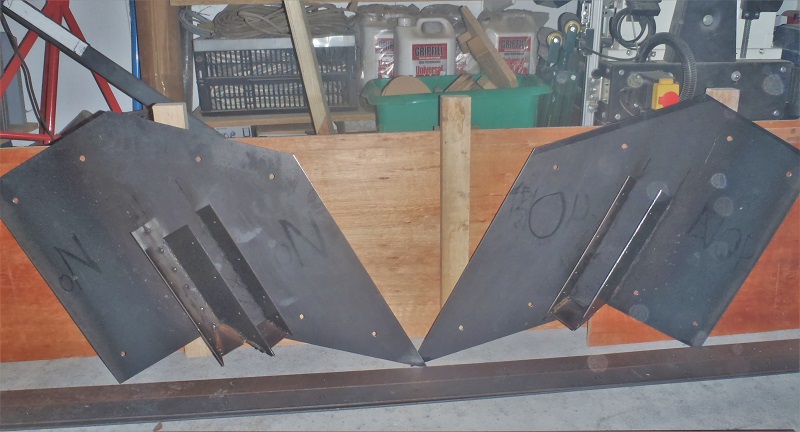
We then put in pilot holes where the bolts are going to go, and using a portable drill press and our electric powered drill, we drilled 10.5mm holes through the flanges, all eight of them. after that, we managed to get both metal bracket pieces bolted together and tightened up.
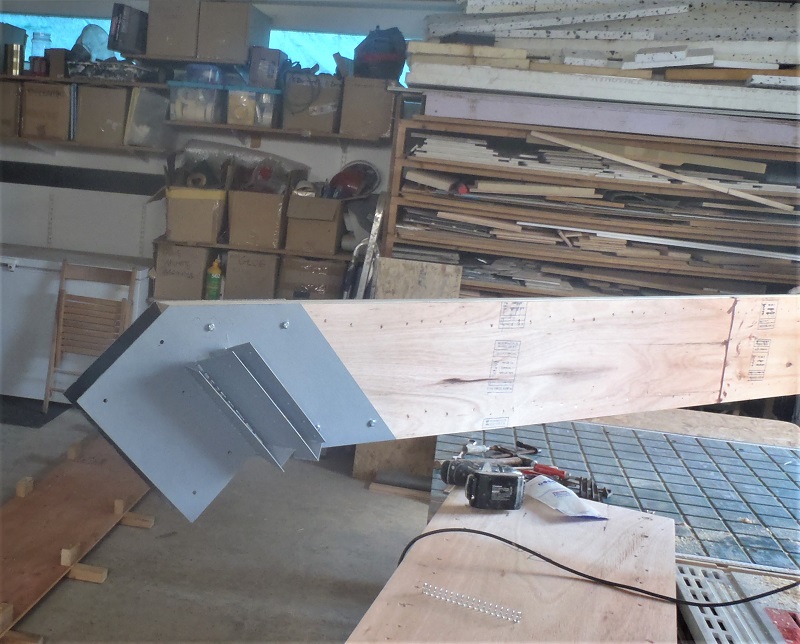
K-Ridge-Metal-plate-Test-fit-1
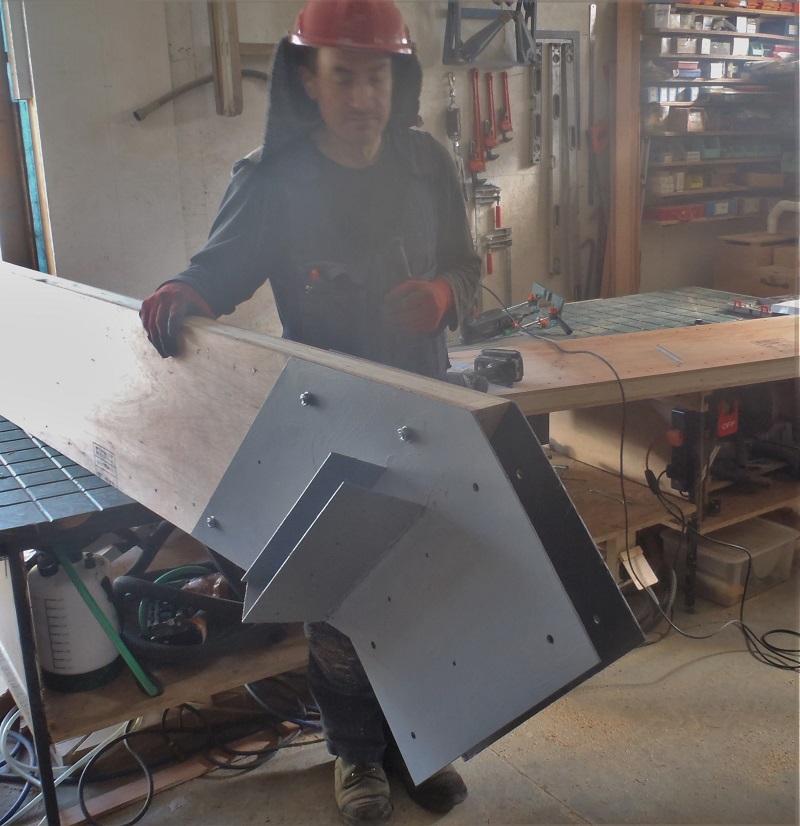
K-Ridge-Metal-plate-Test-fit-2
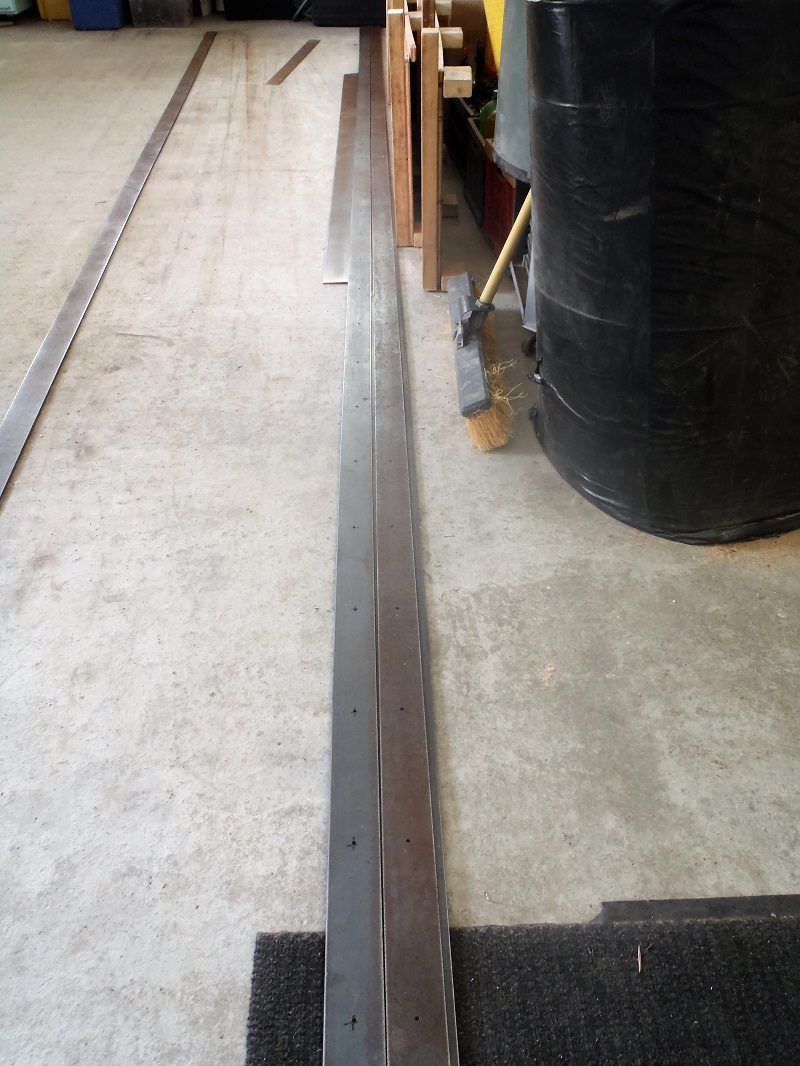
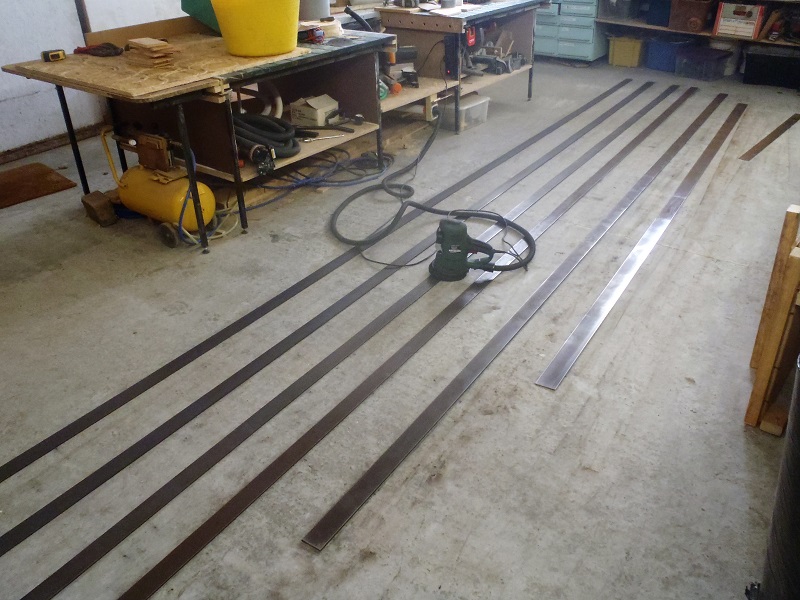
It is only a half day of work today because of other commitments so tomorrow, we will have to resume work outside as we just don’t have enough room inside the workshop! The other part needs to go in and have its own test fit too. Then the long narrow metal strips (5mm thick) will go along the top edge and bottom edge and bent at the elbow joint corners. Having done all this, everything is glued up and screwed and bolted all back together again!