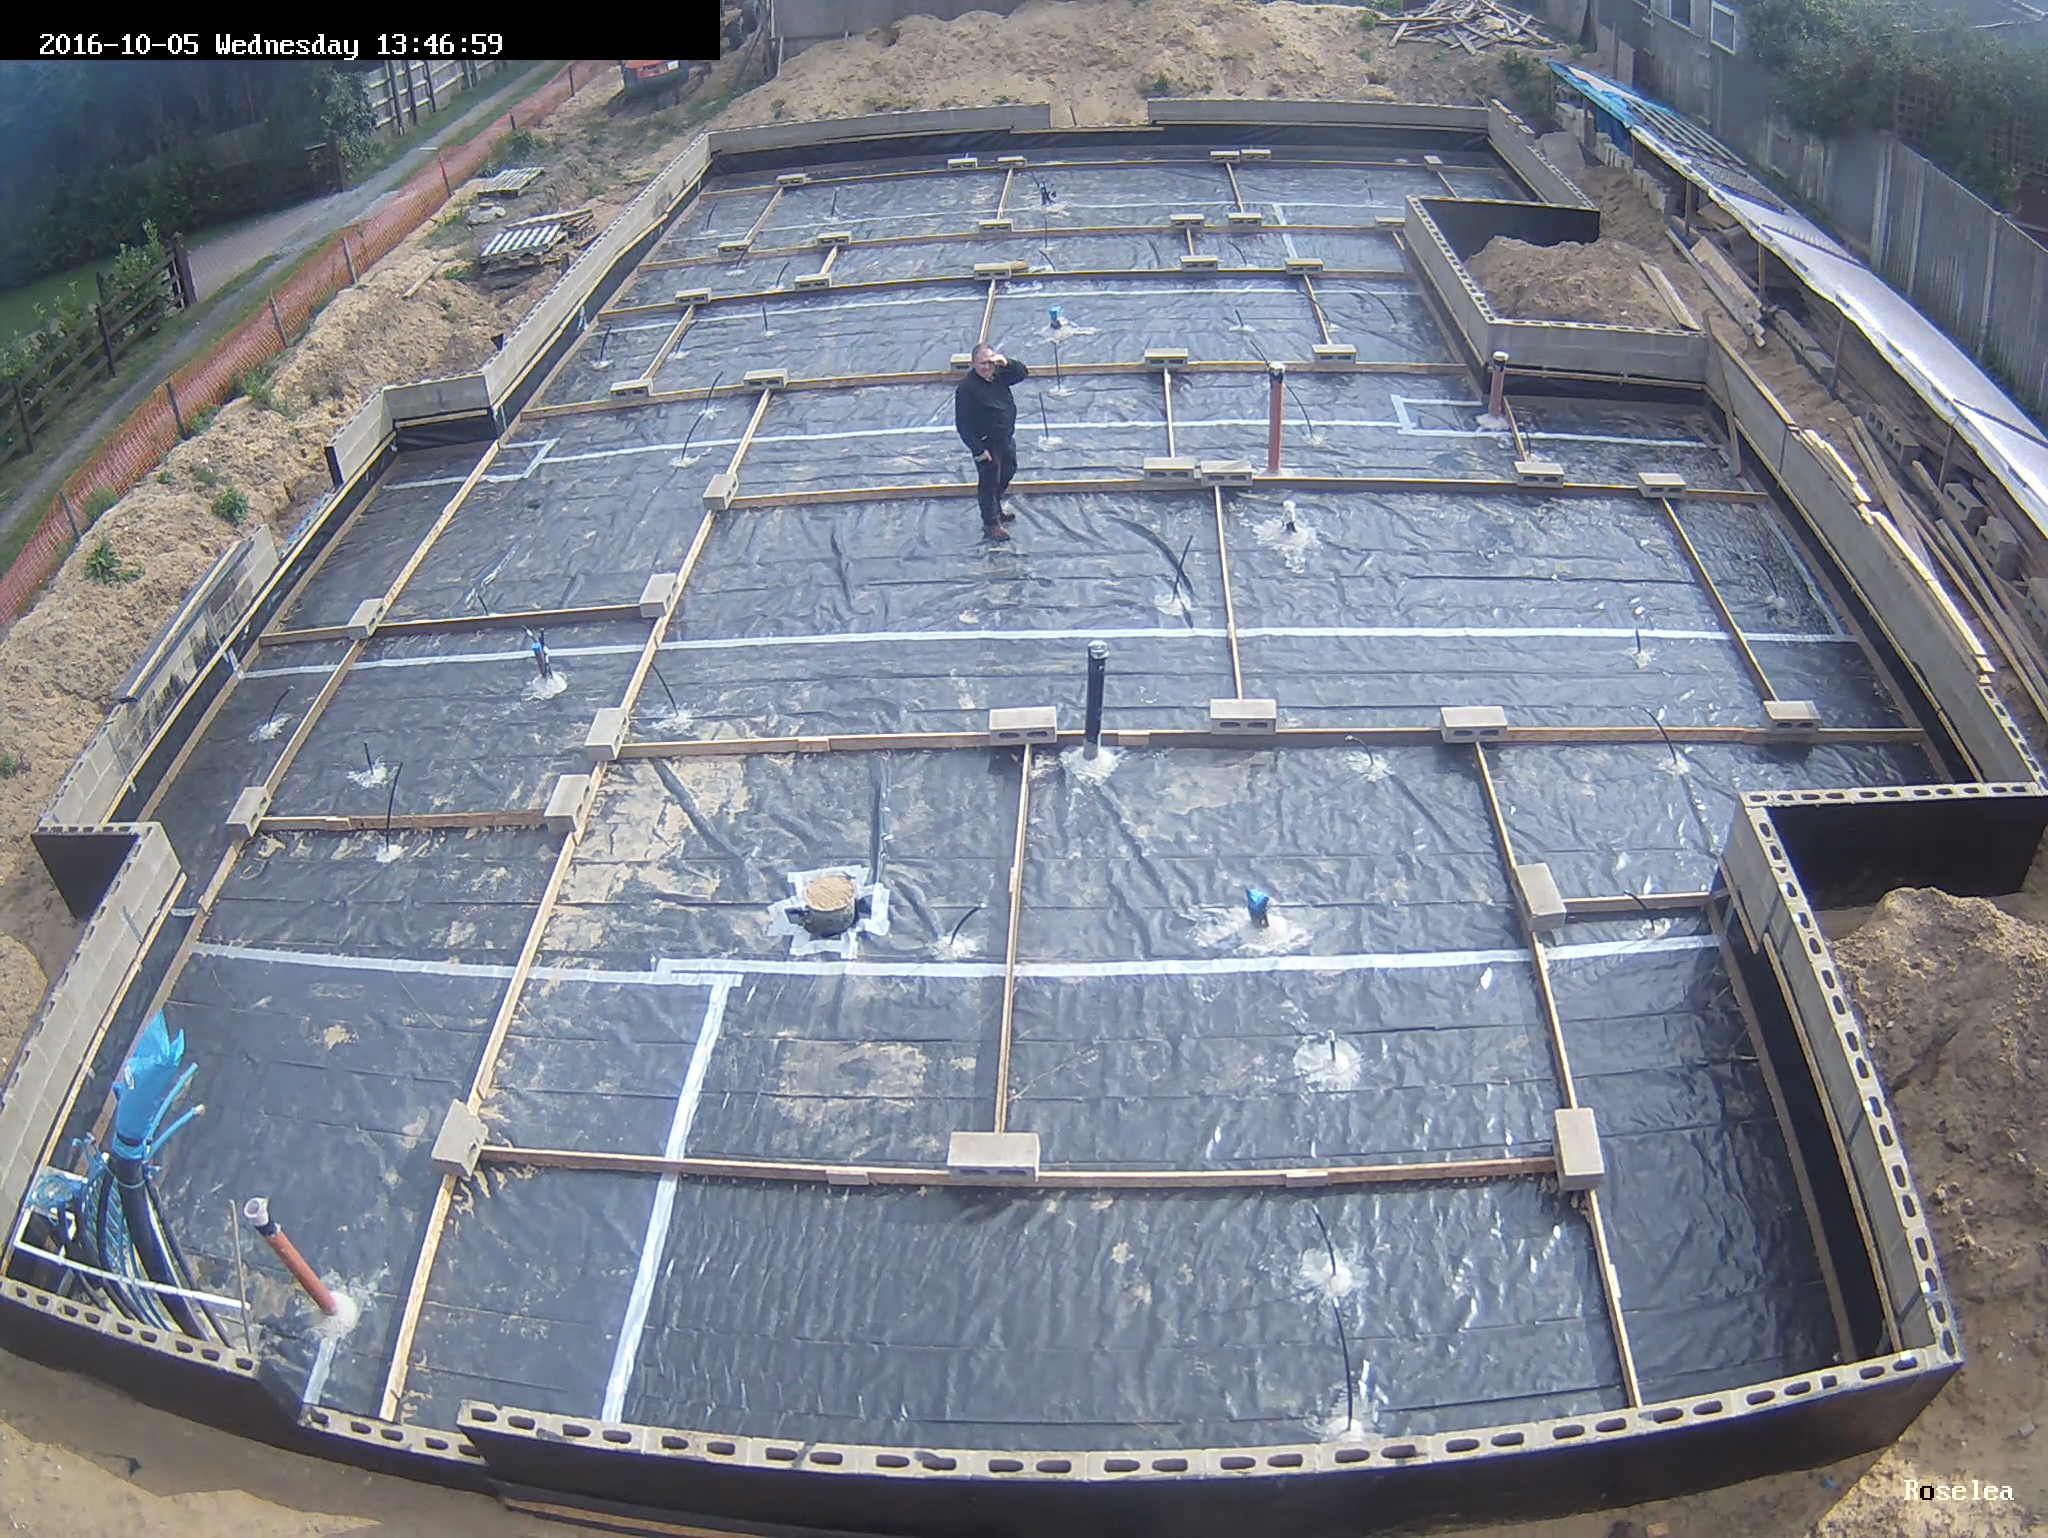
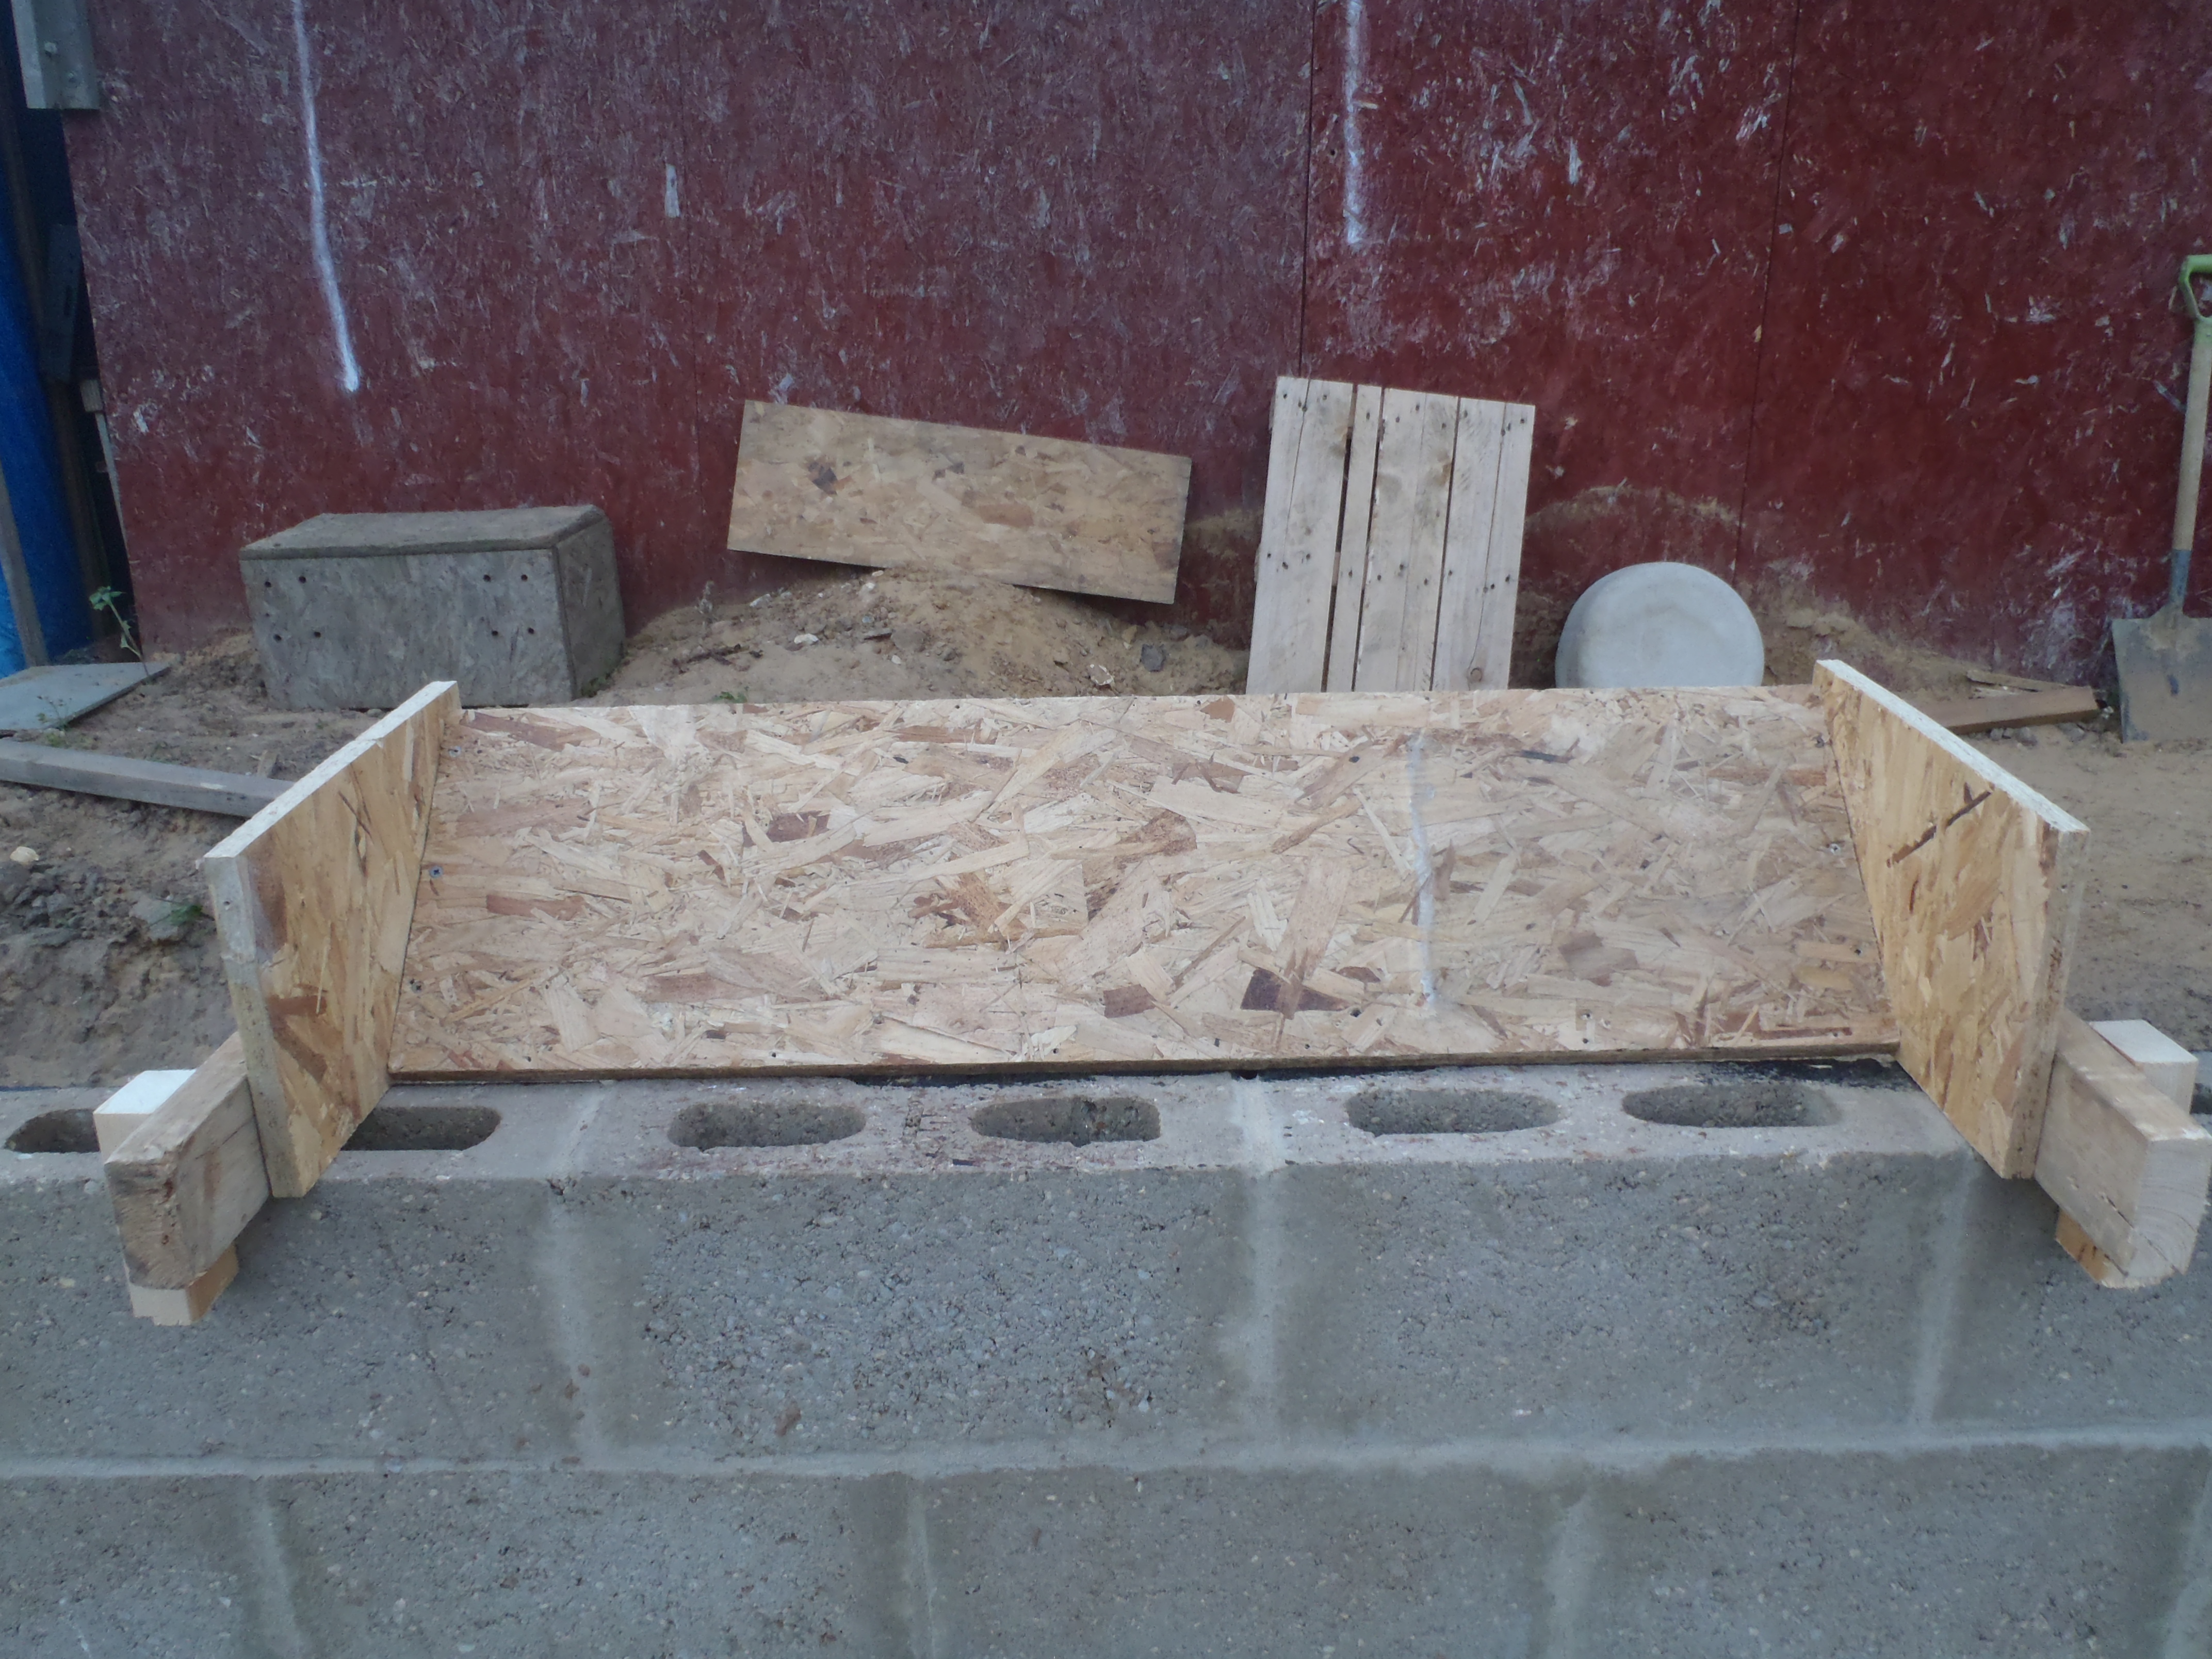
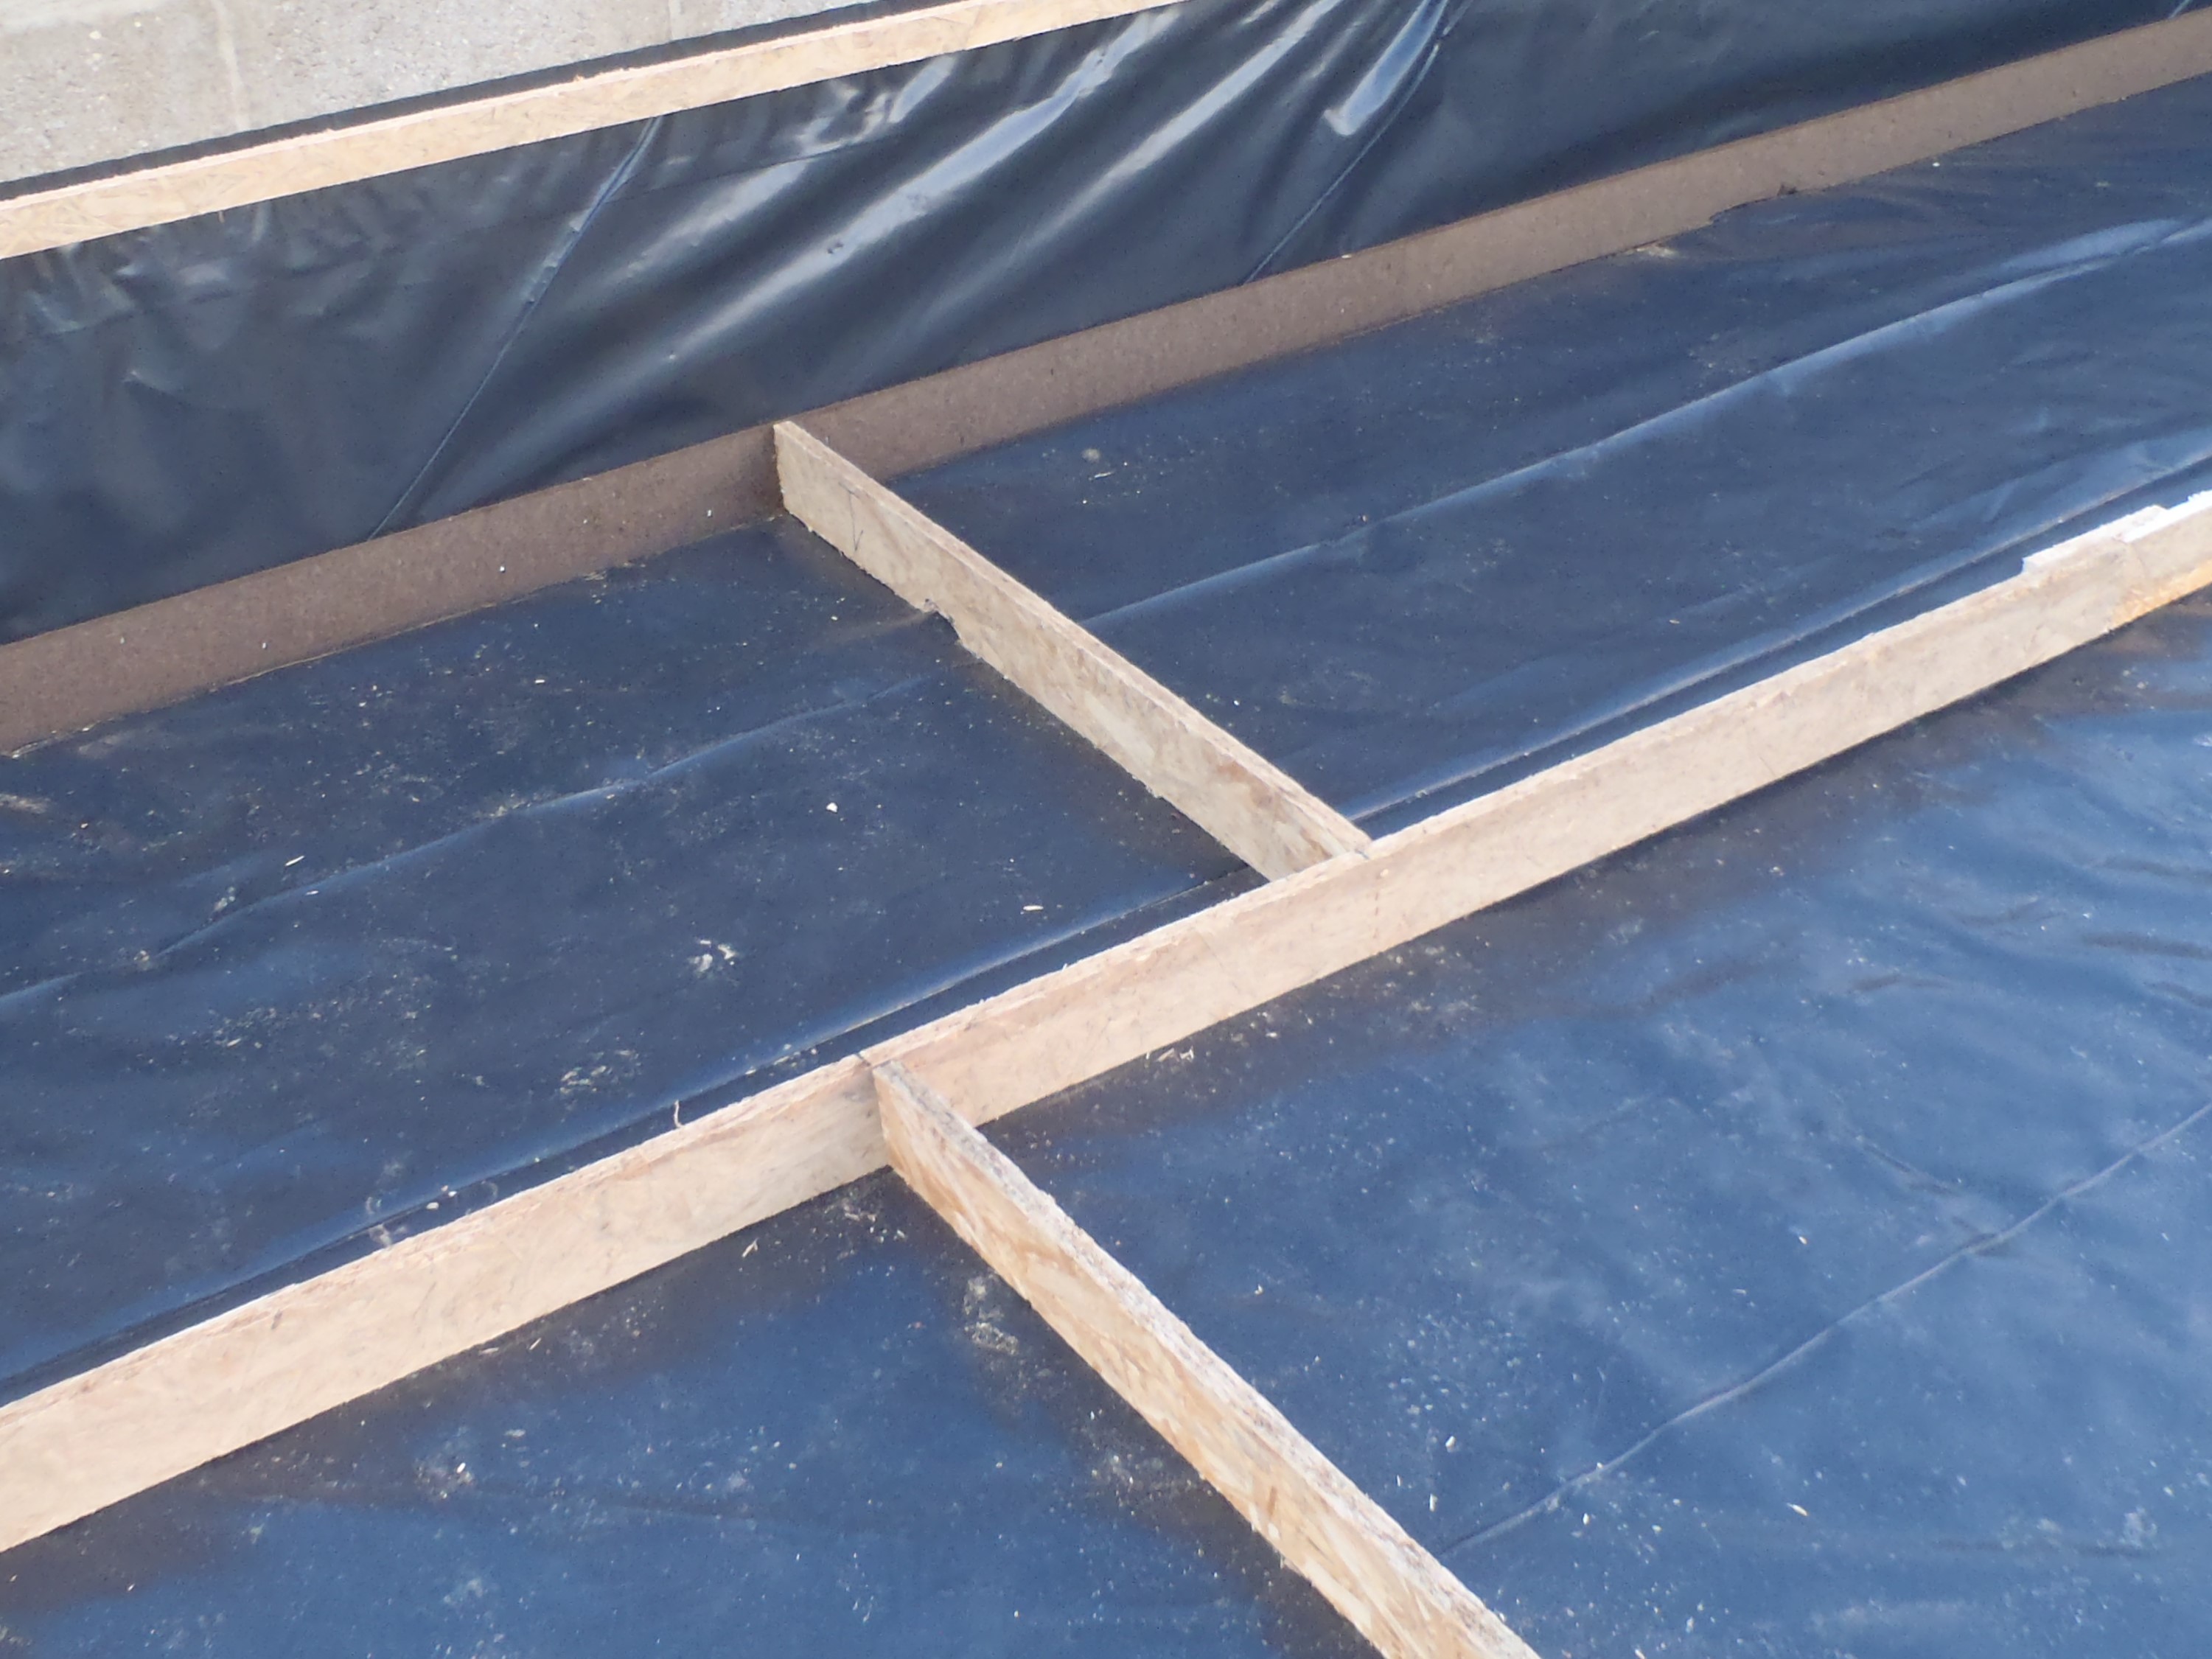
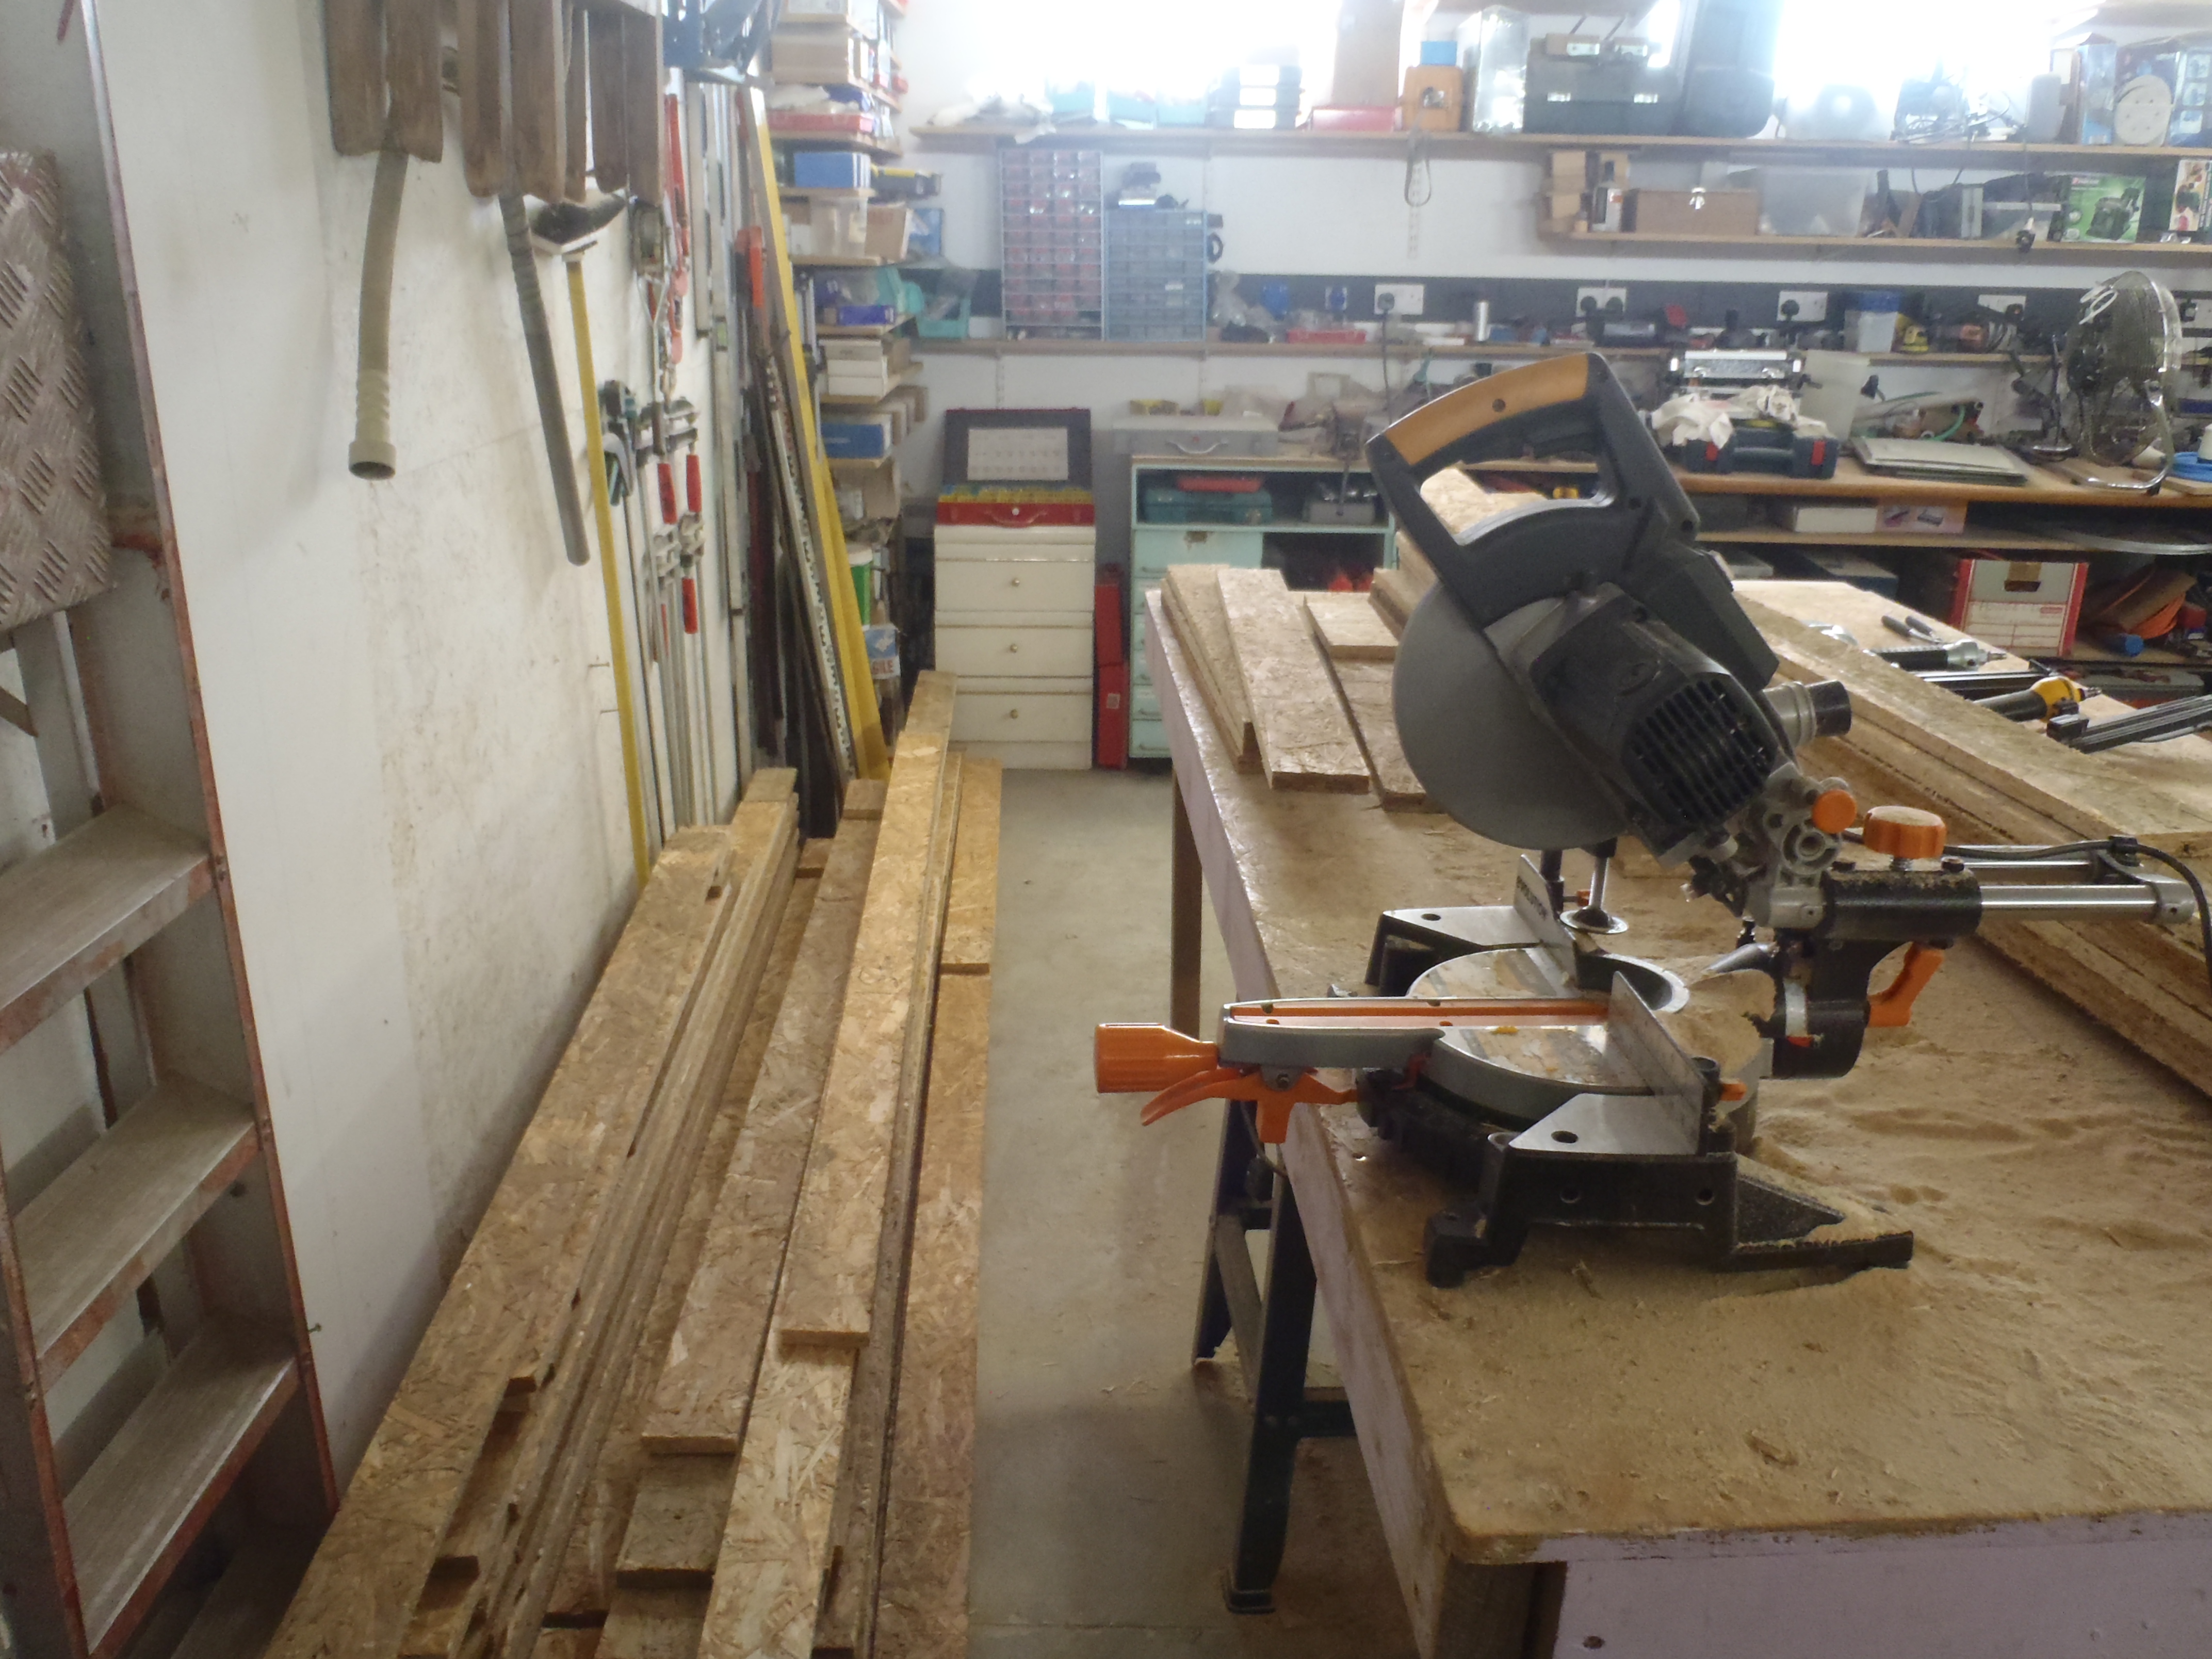
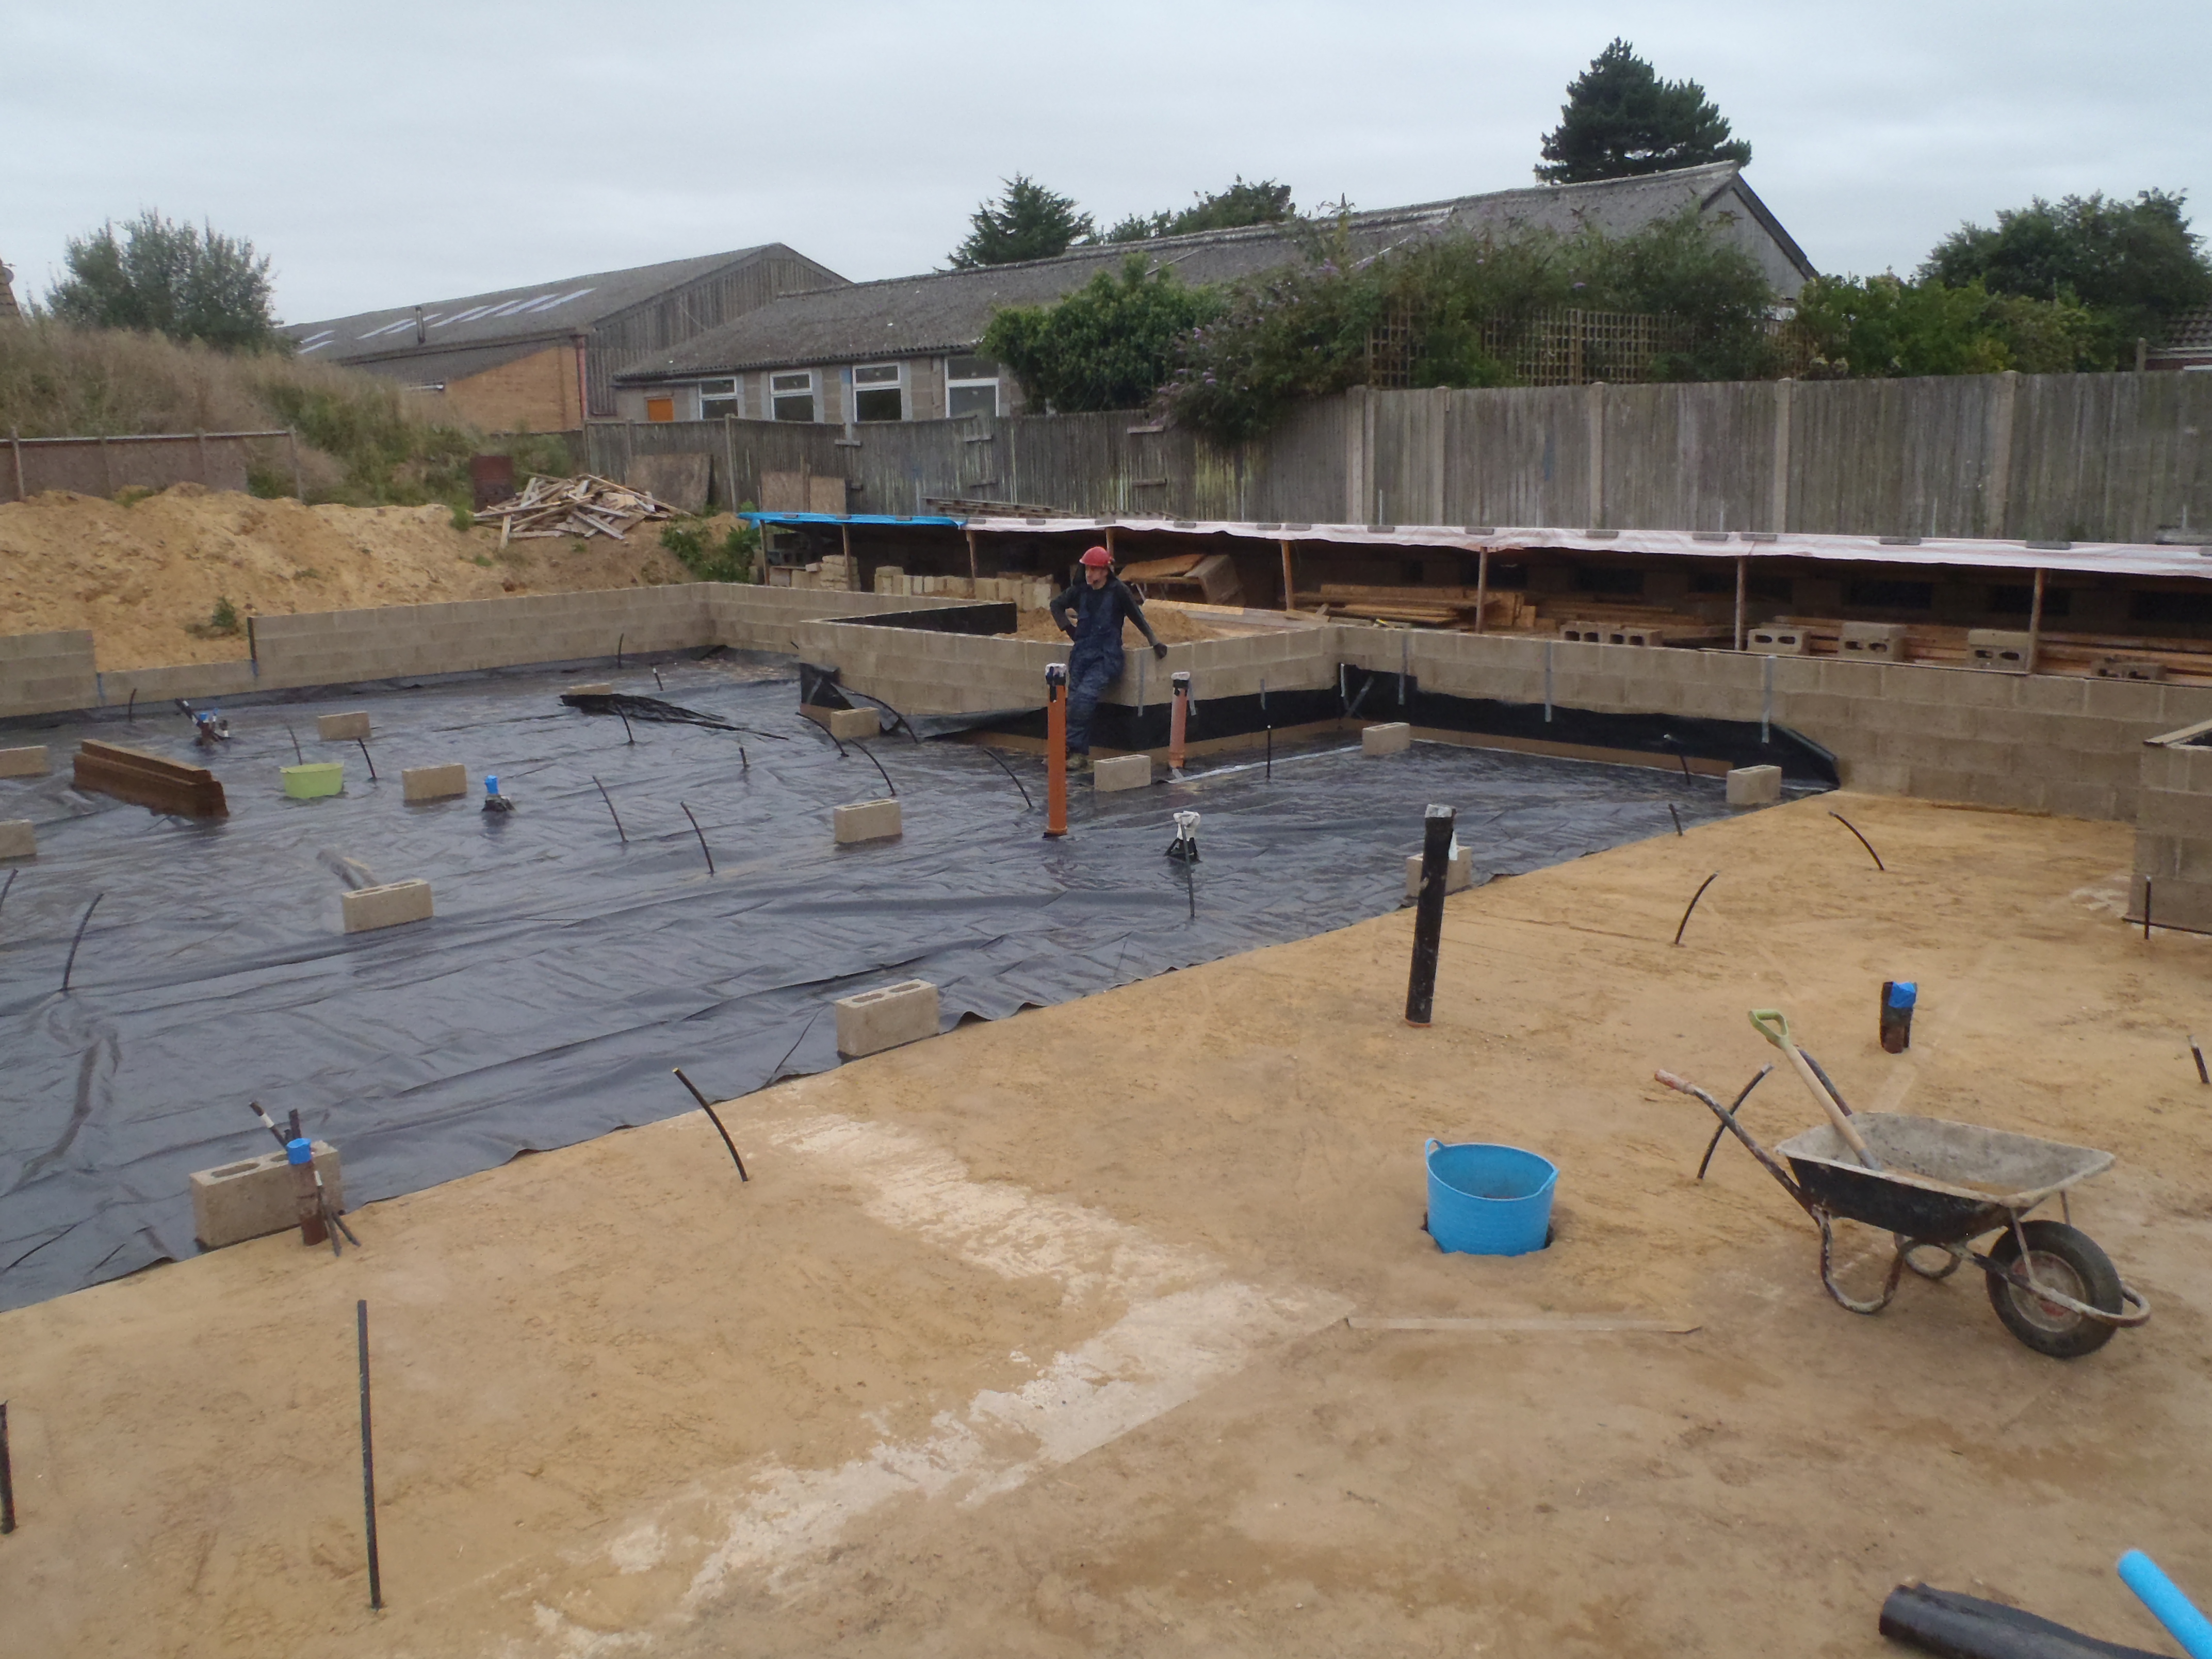
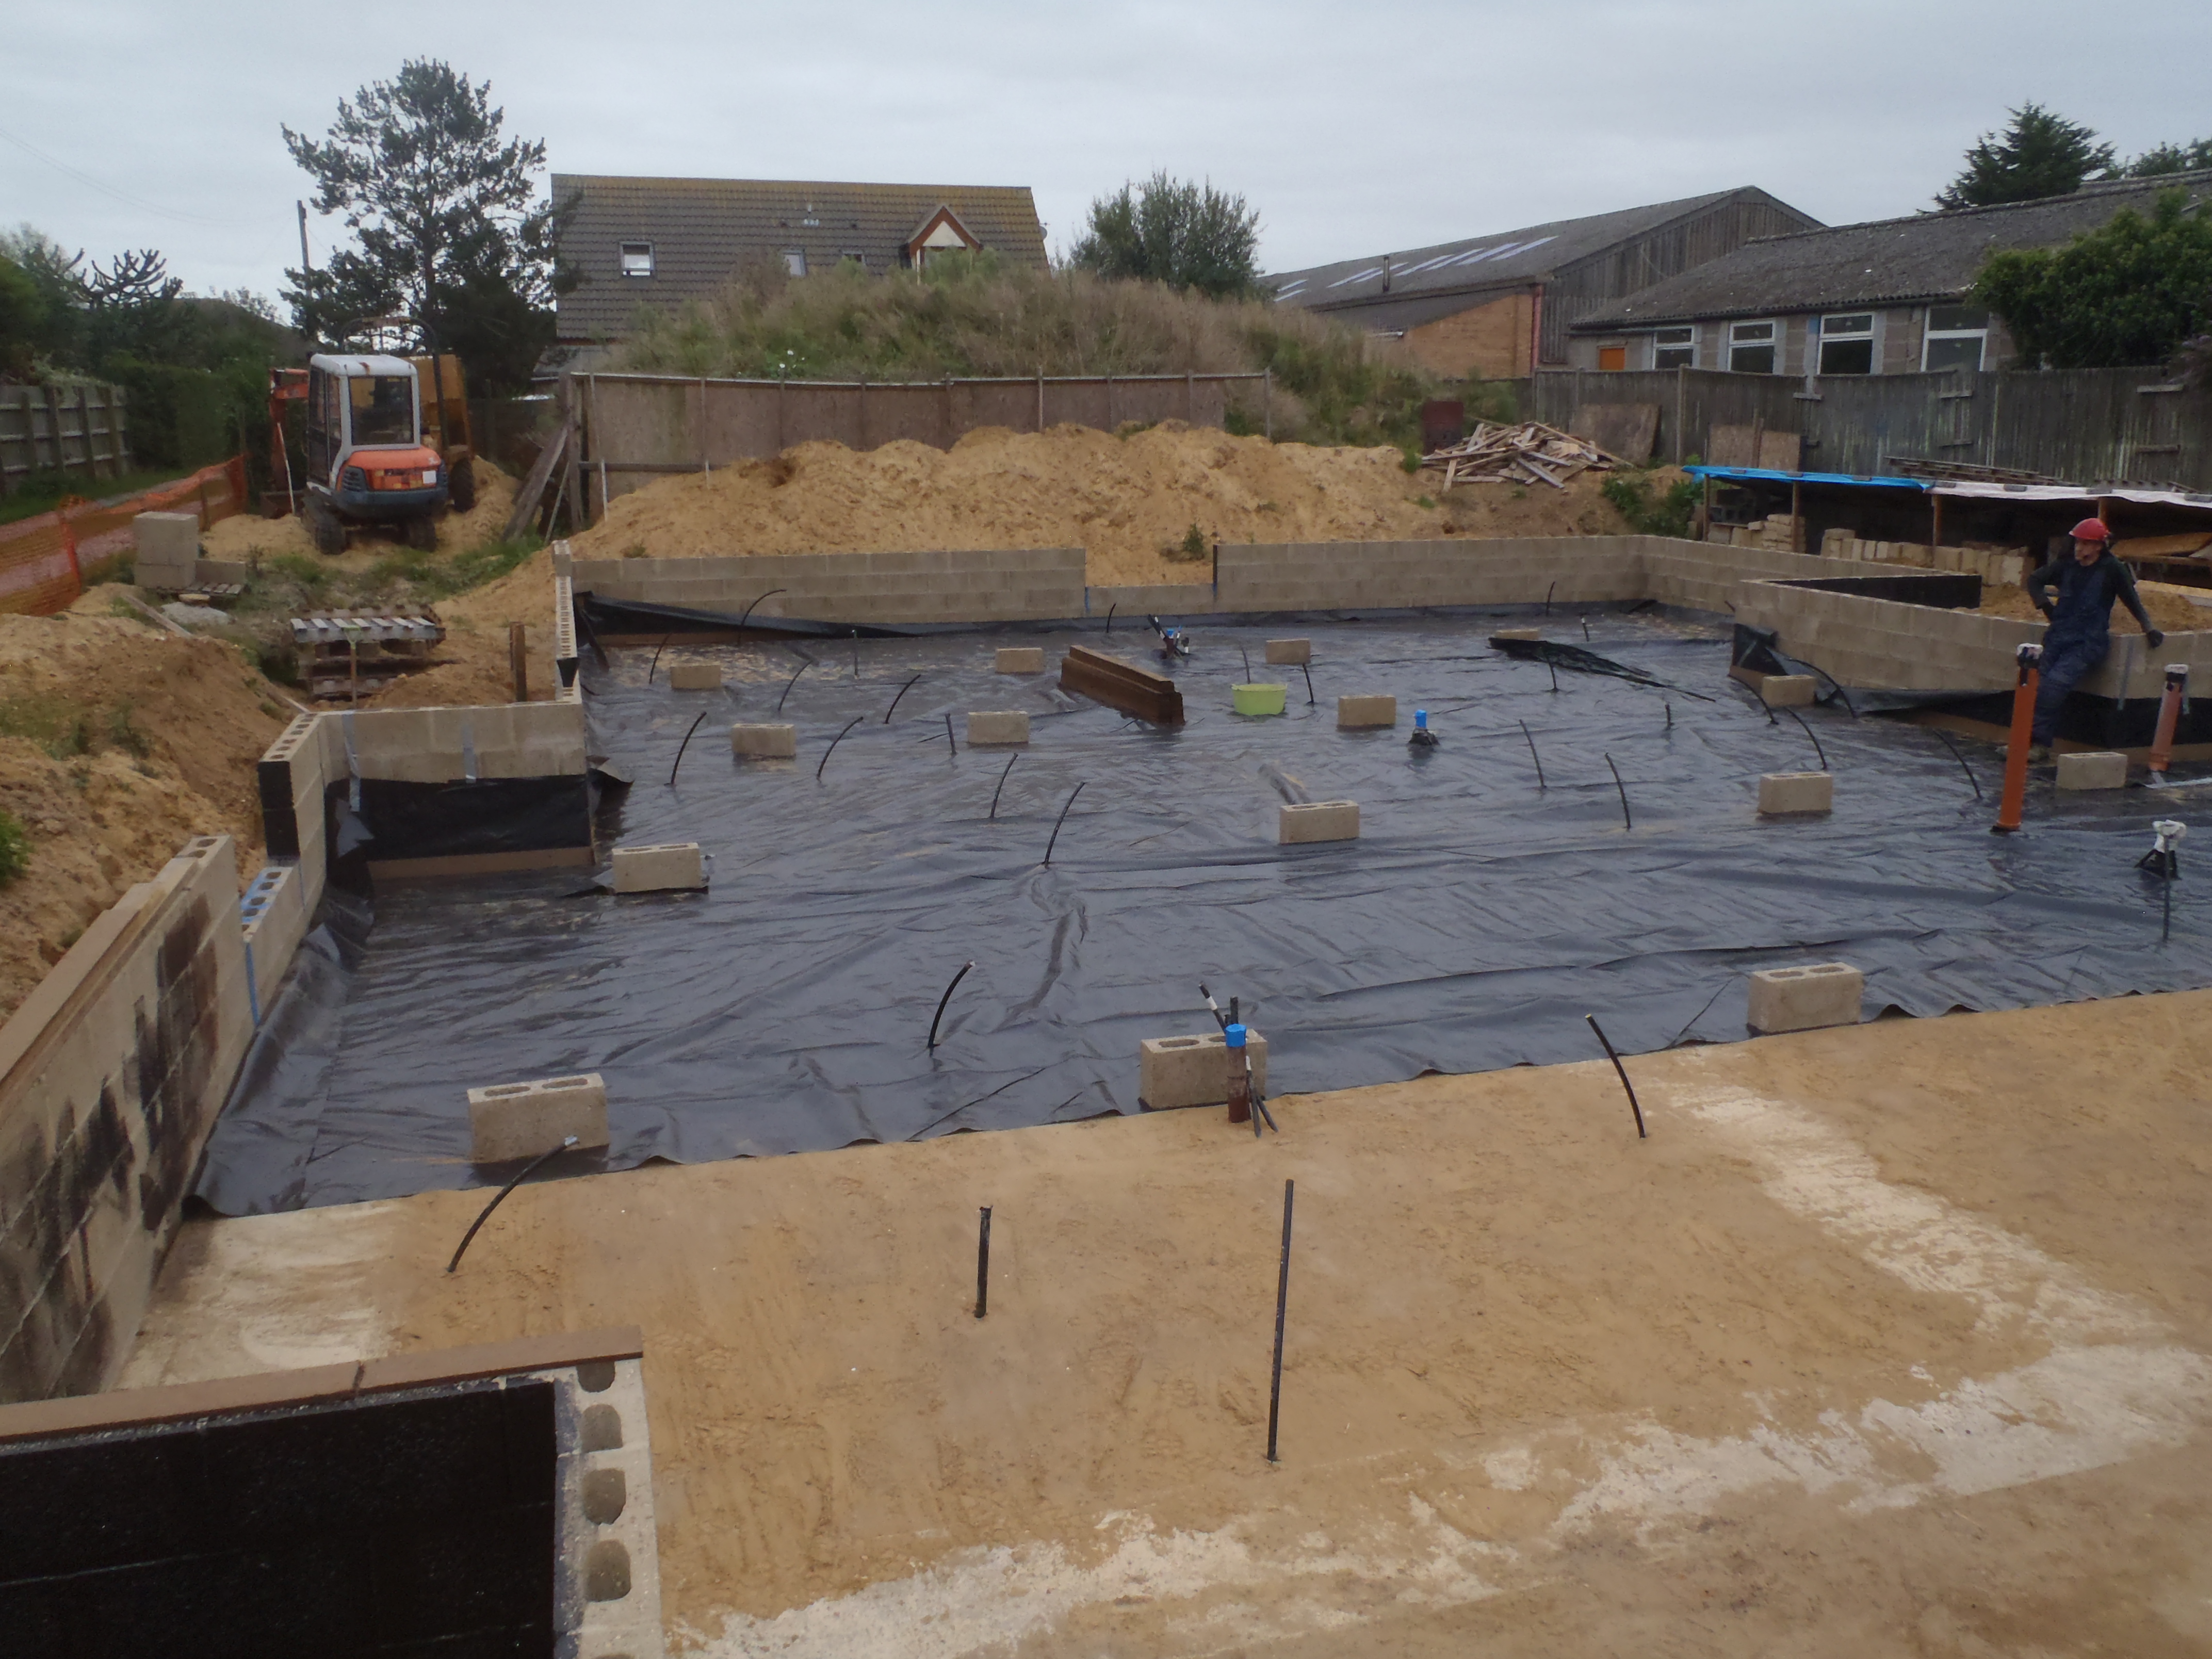
Today, while we waited for the rain shower to clear up, we sliced up loads of strips of OSB left-over from our foundation shuttering, down to 100mm wide, and these will be used for forming the cells all over the Floor Slab to make sure that the soft fluffy expansion boards are held into place solidly, plus also make sure that no concrete is allowed to be more than 3metres in a single piece to avoid nasty cracks from appearing in jagged and random places when it cures but also in changes of temperatures over the seasons.
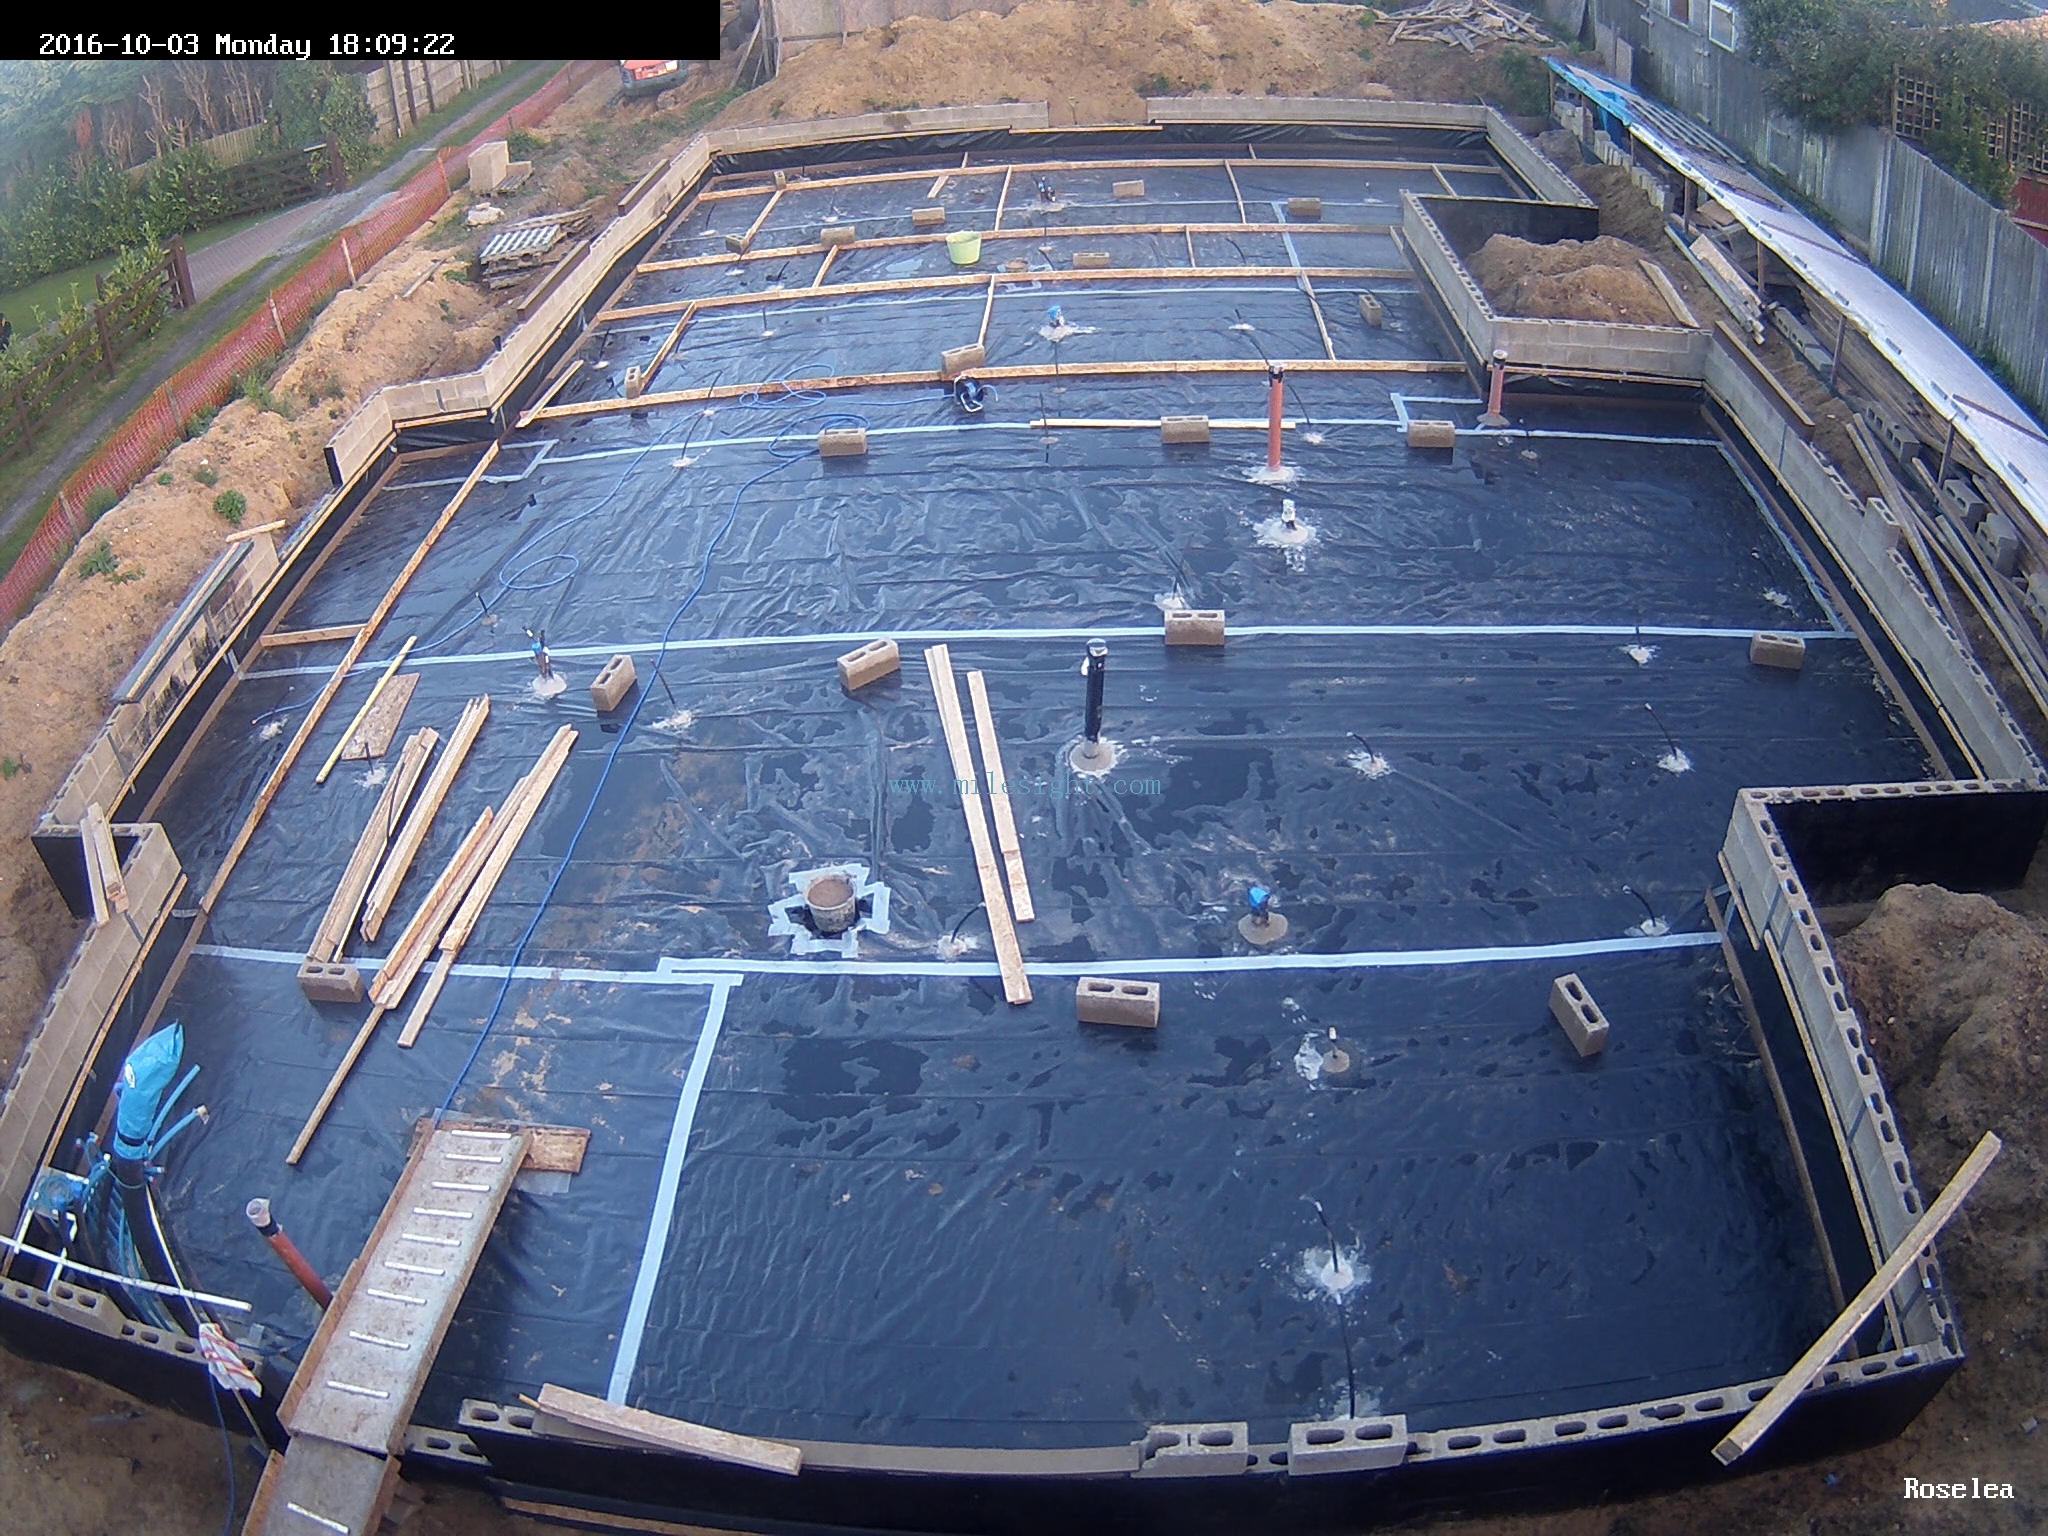
We also sliced up more old shuttering boards into 50mm wide strips, after lunch, and these were used to mail up the flappy loose ends of the DPM up the walls.
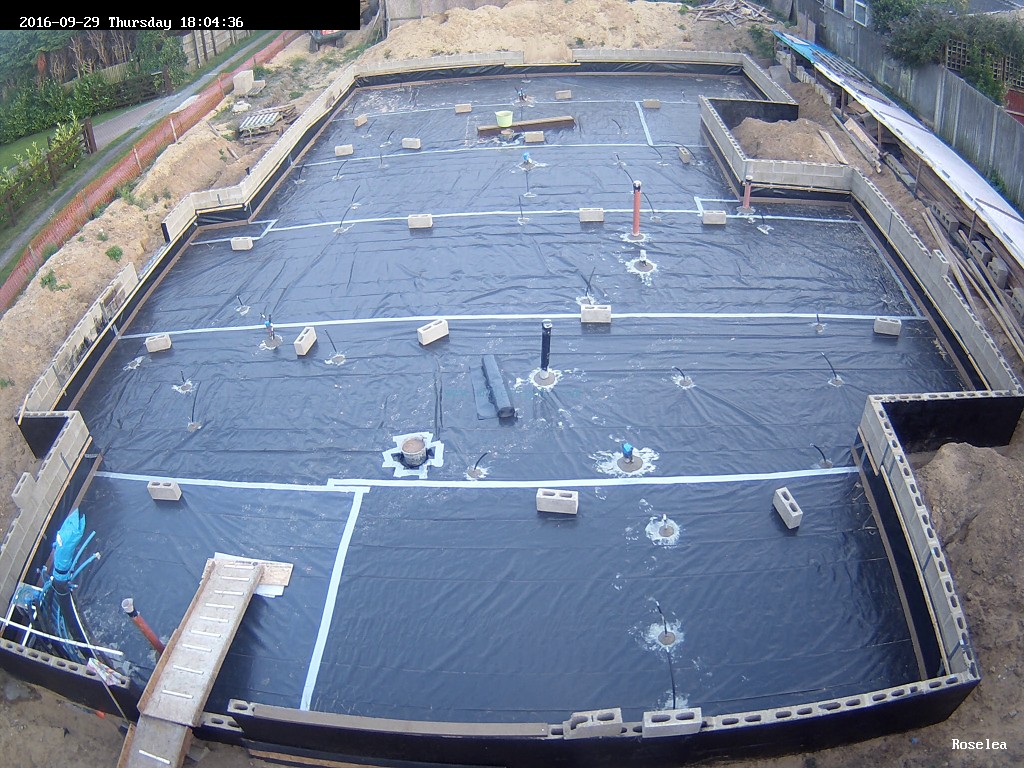
Edges-nailed-and-Conduits-sealed
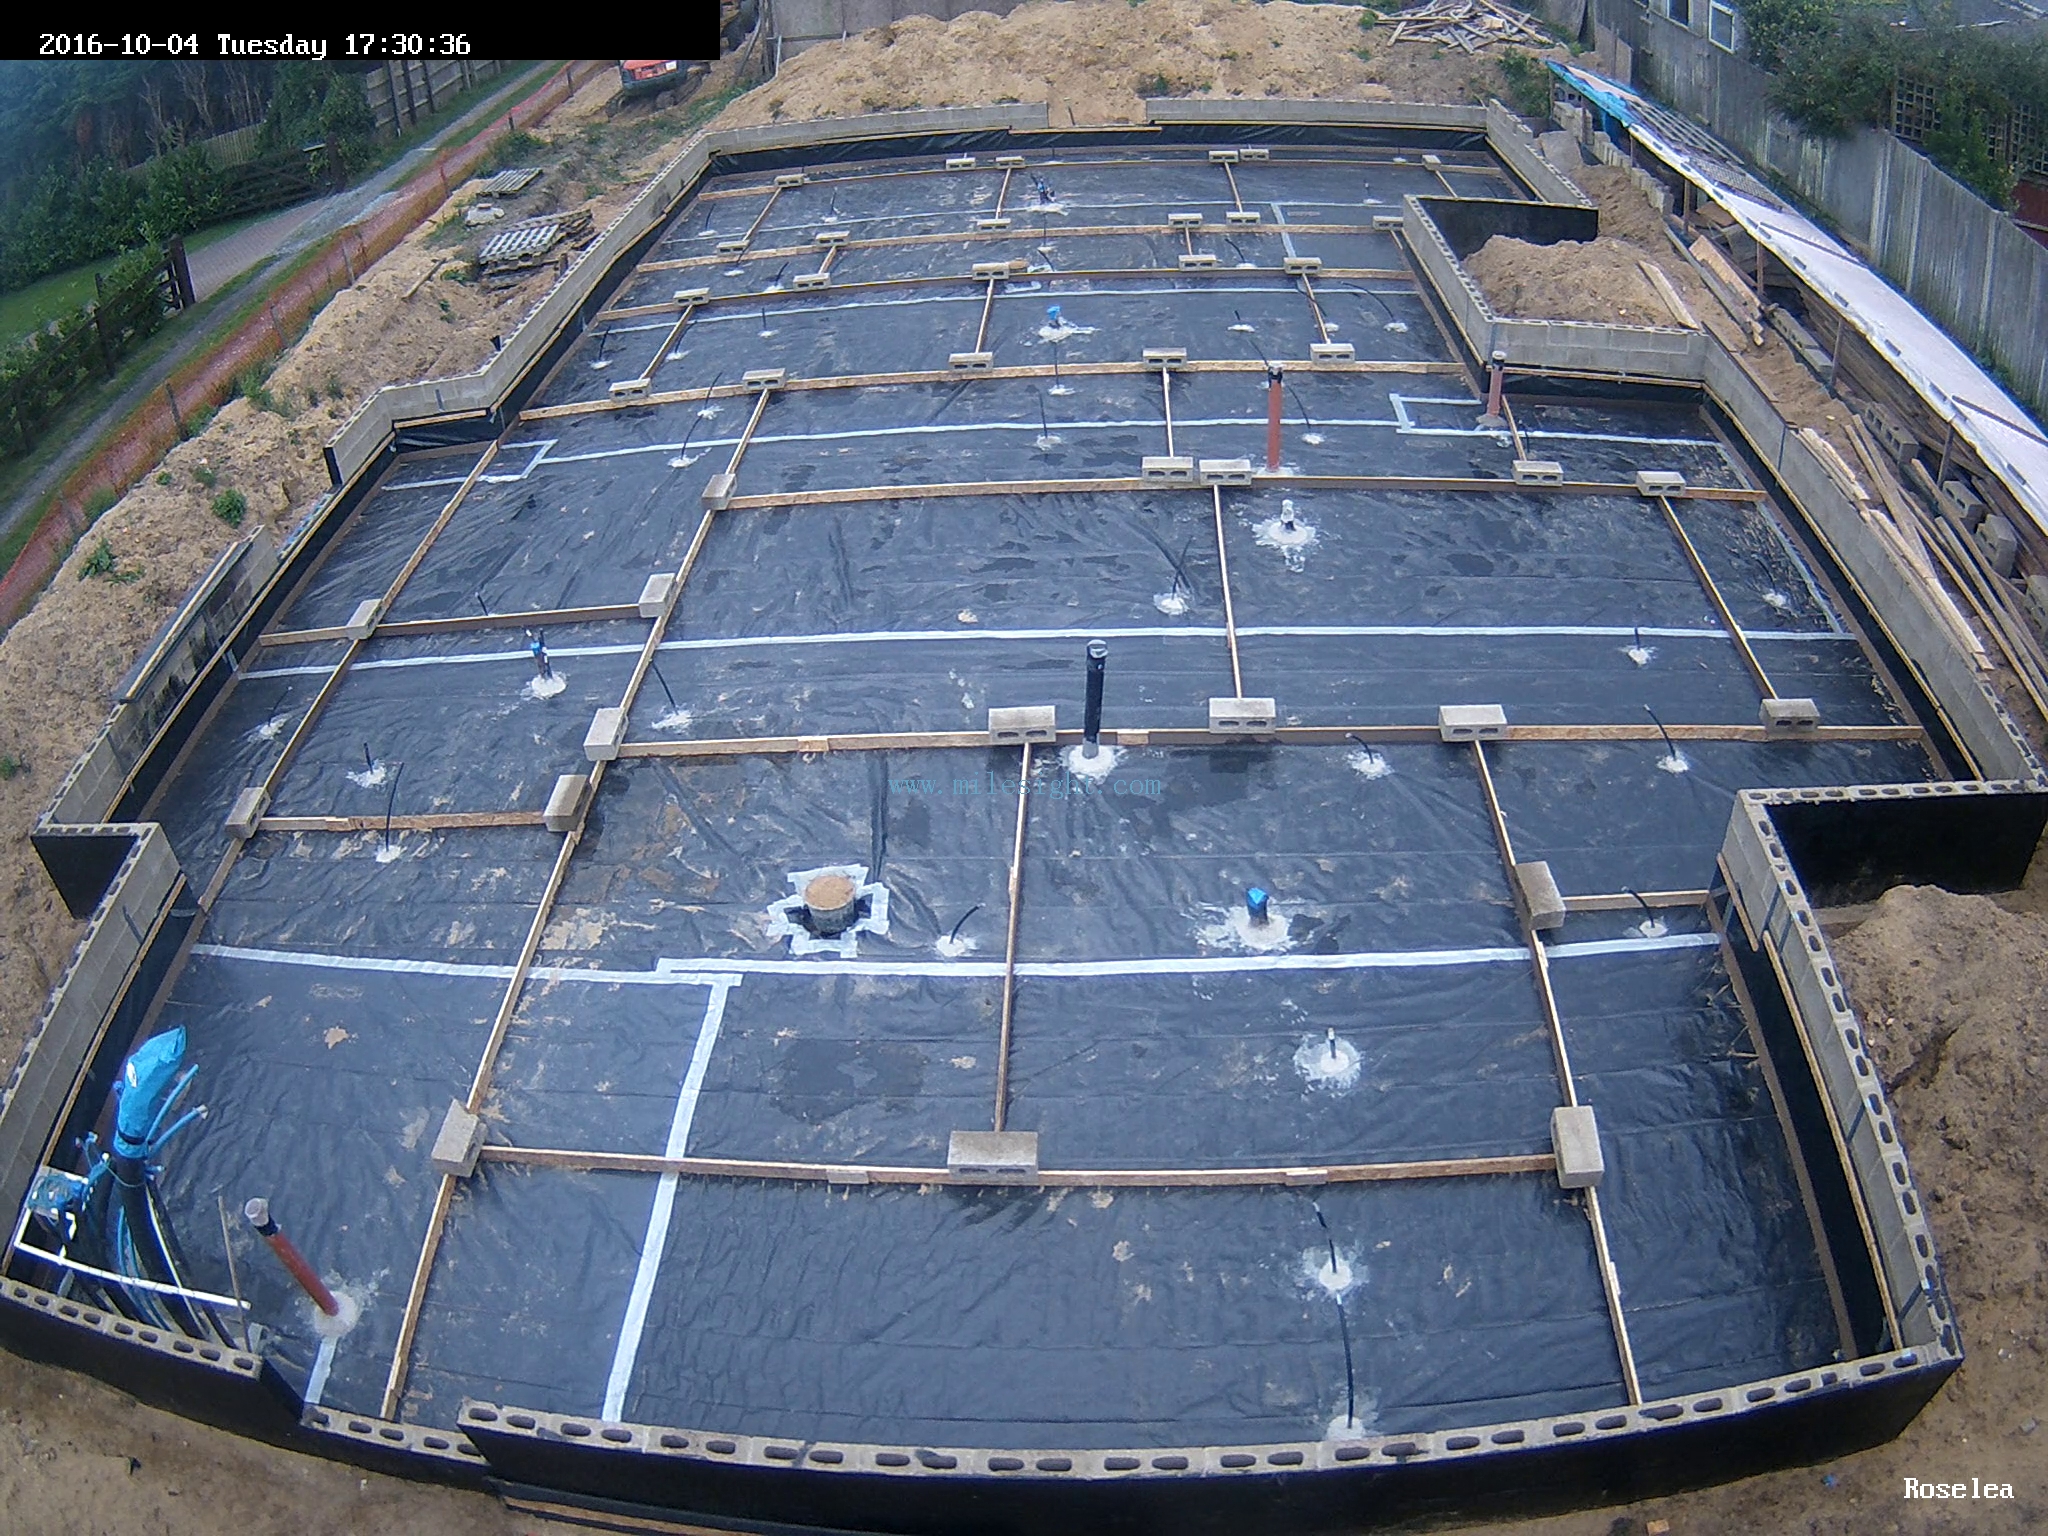
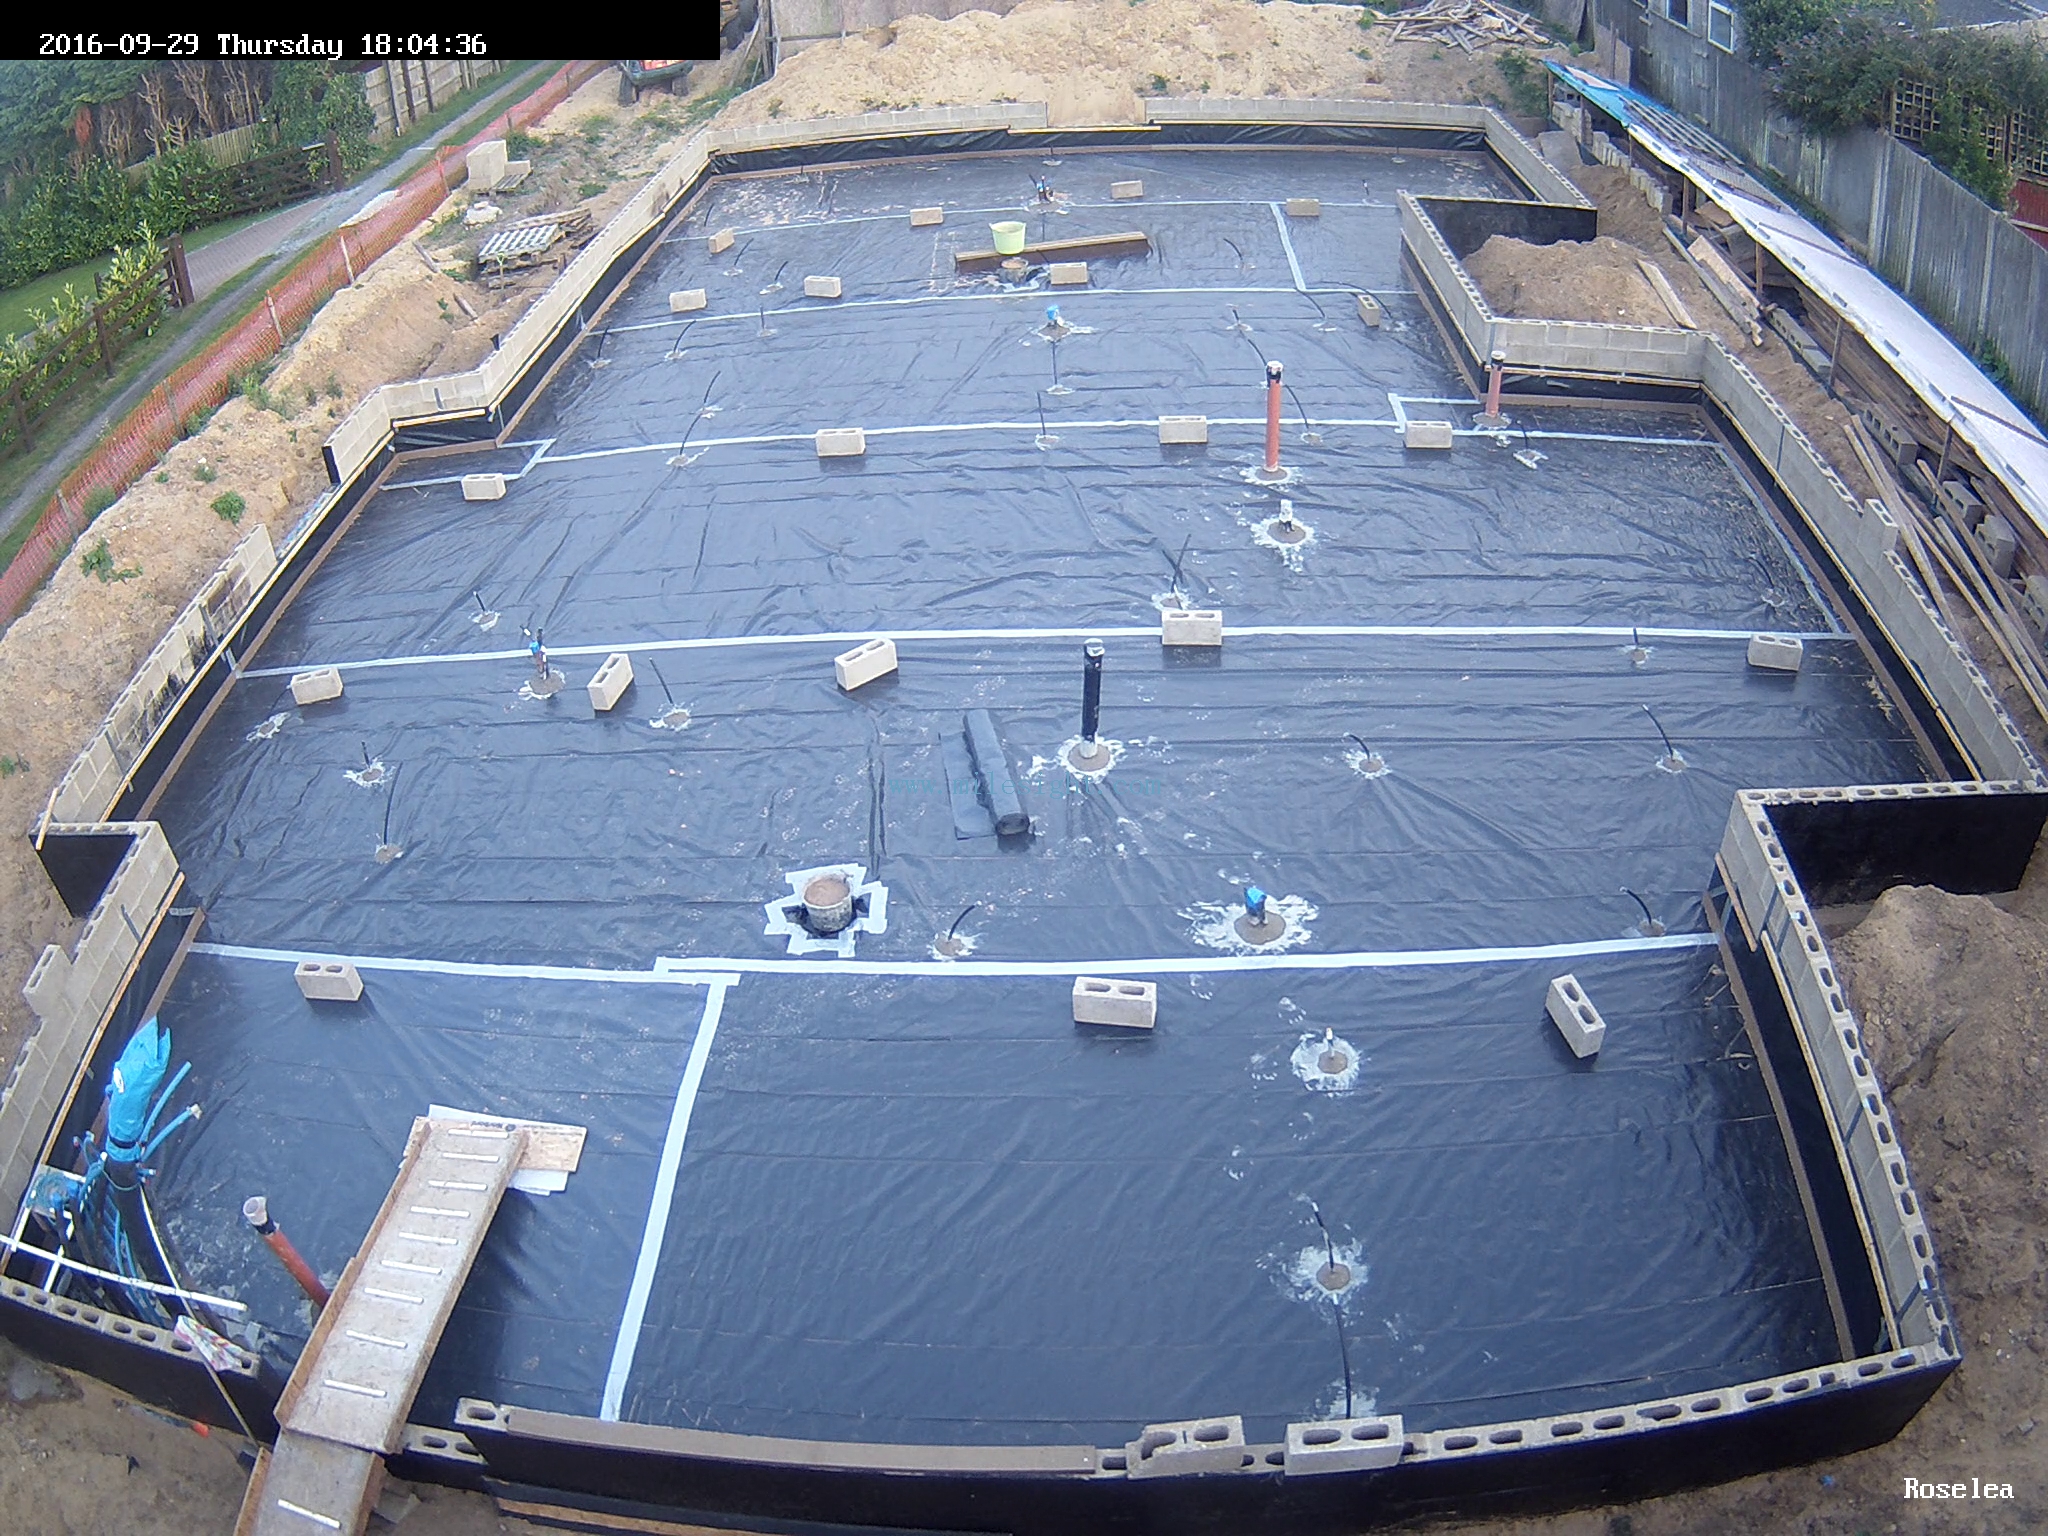
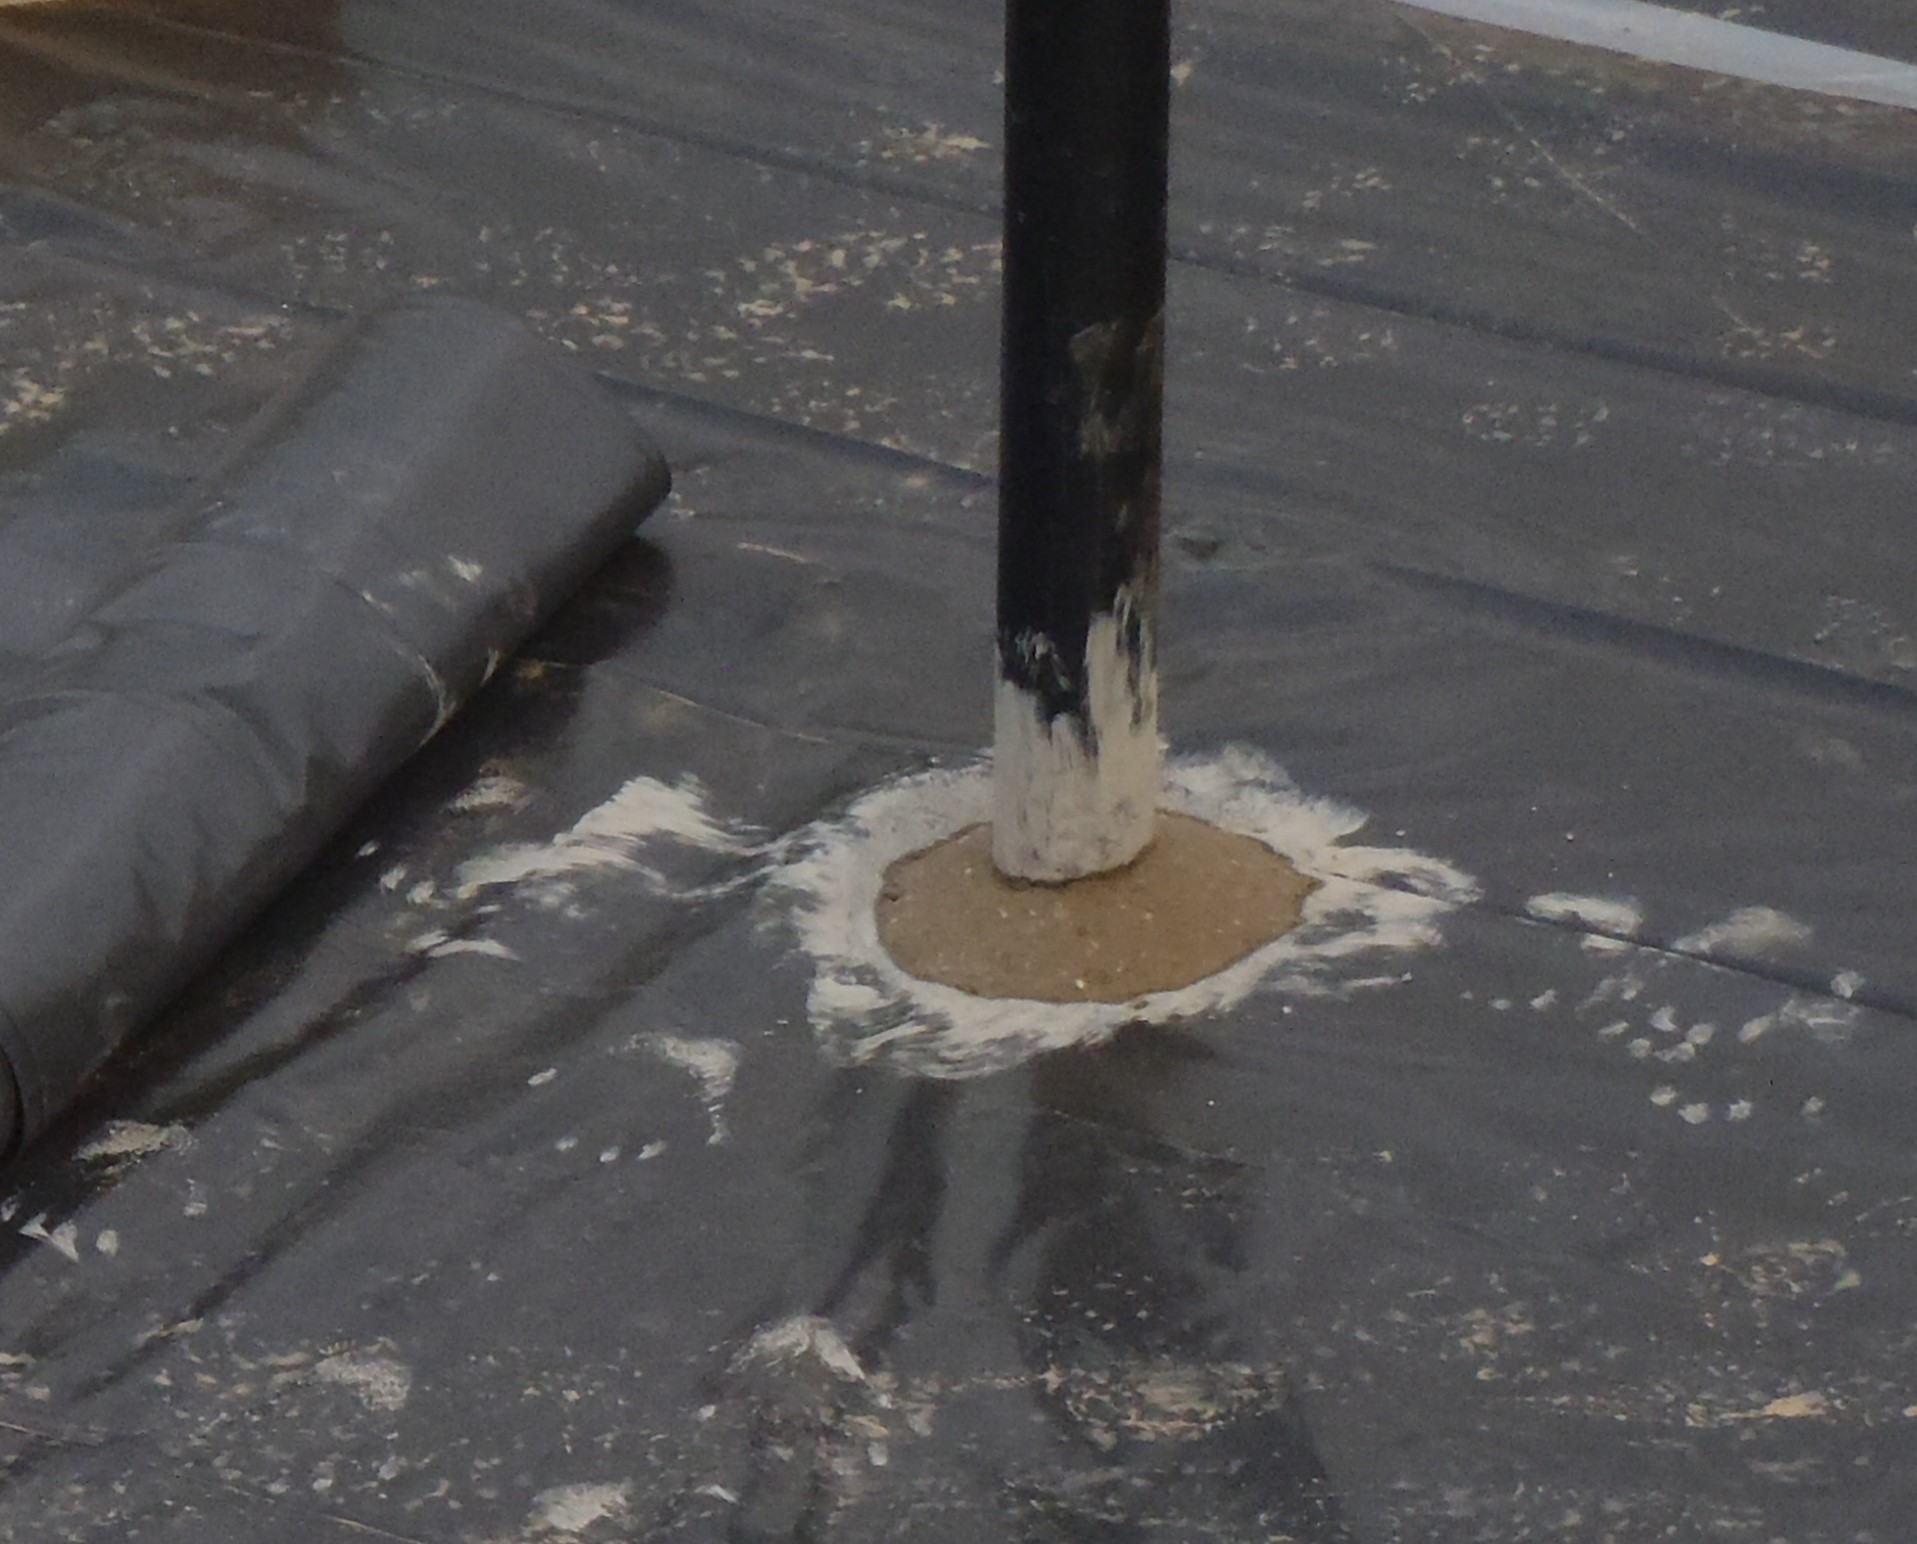
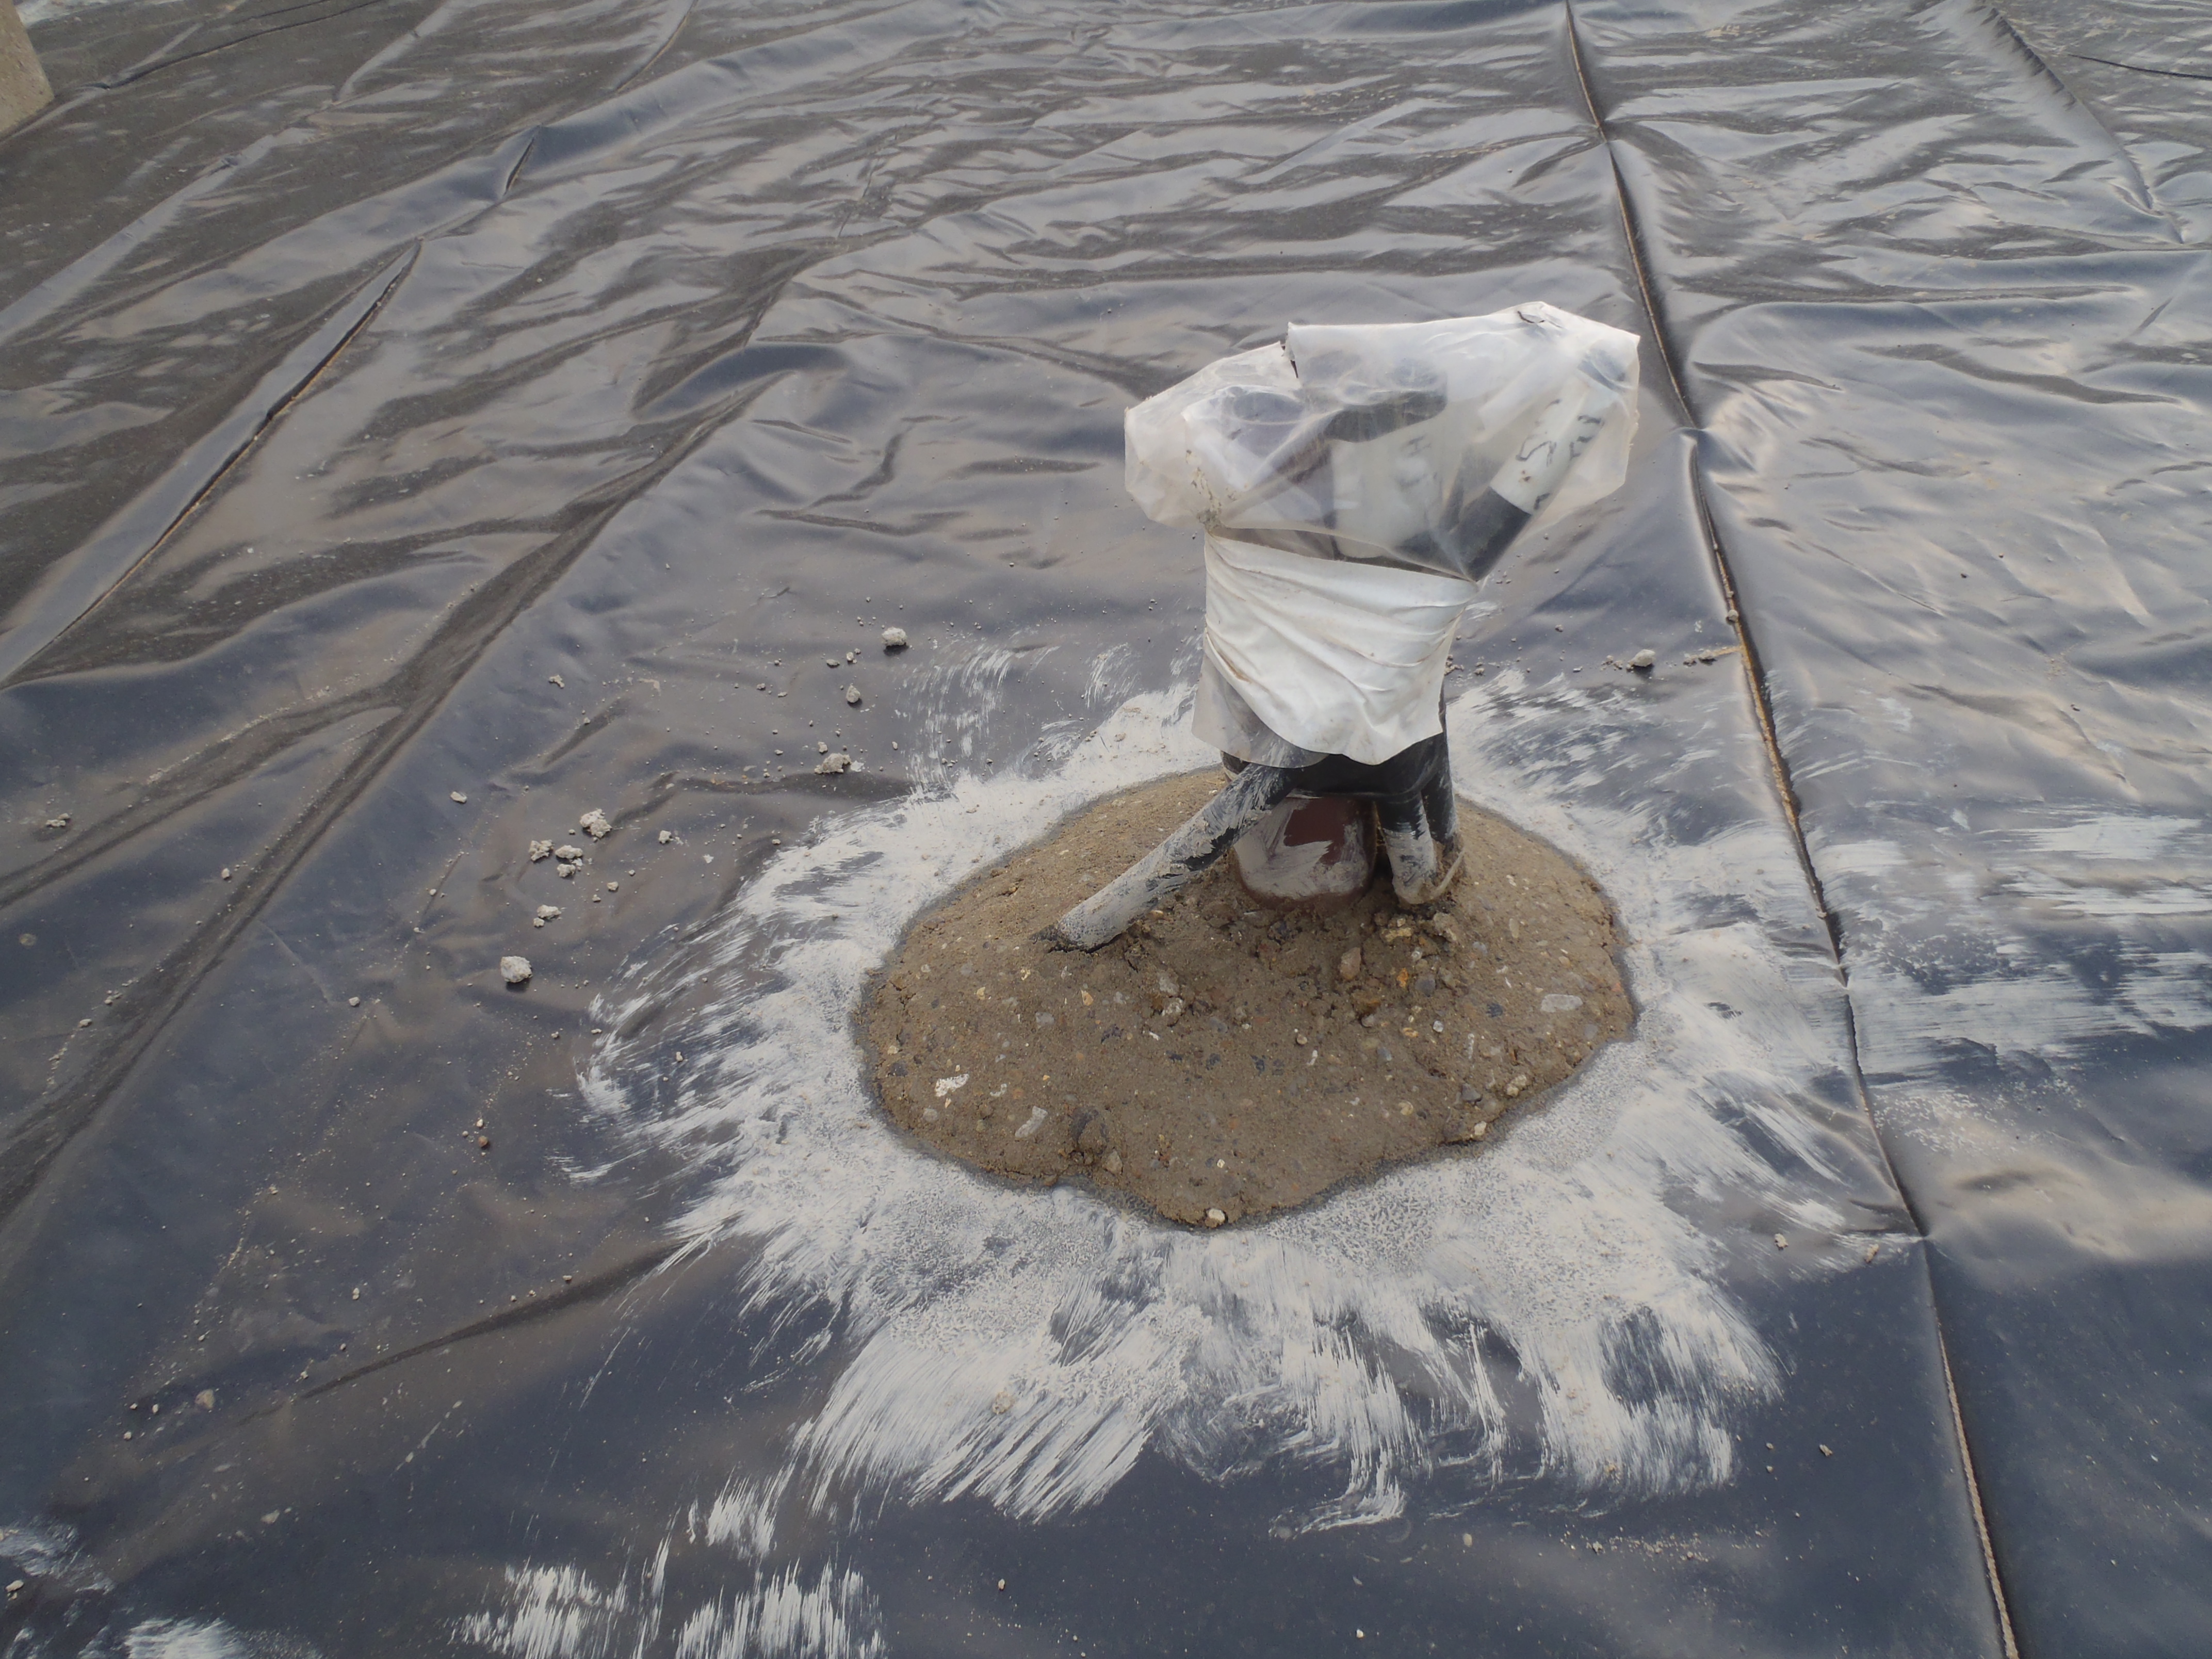
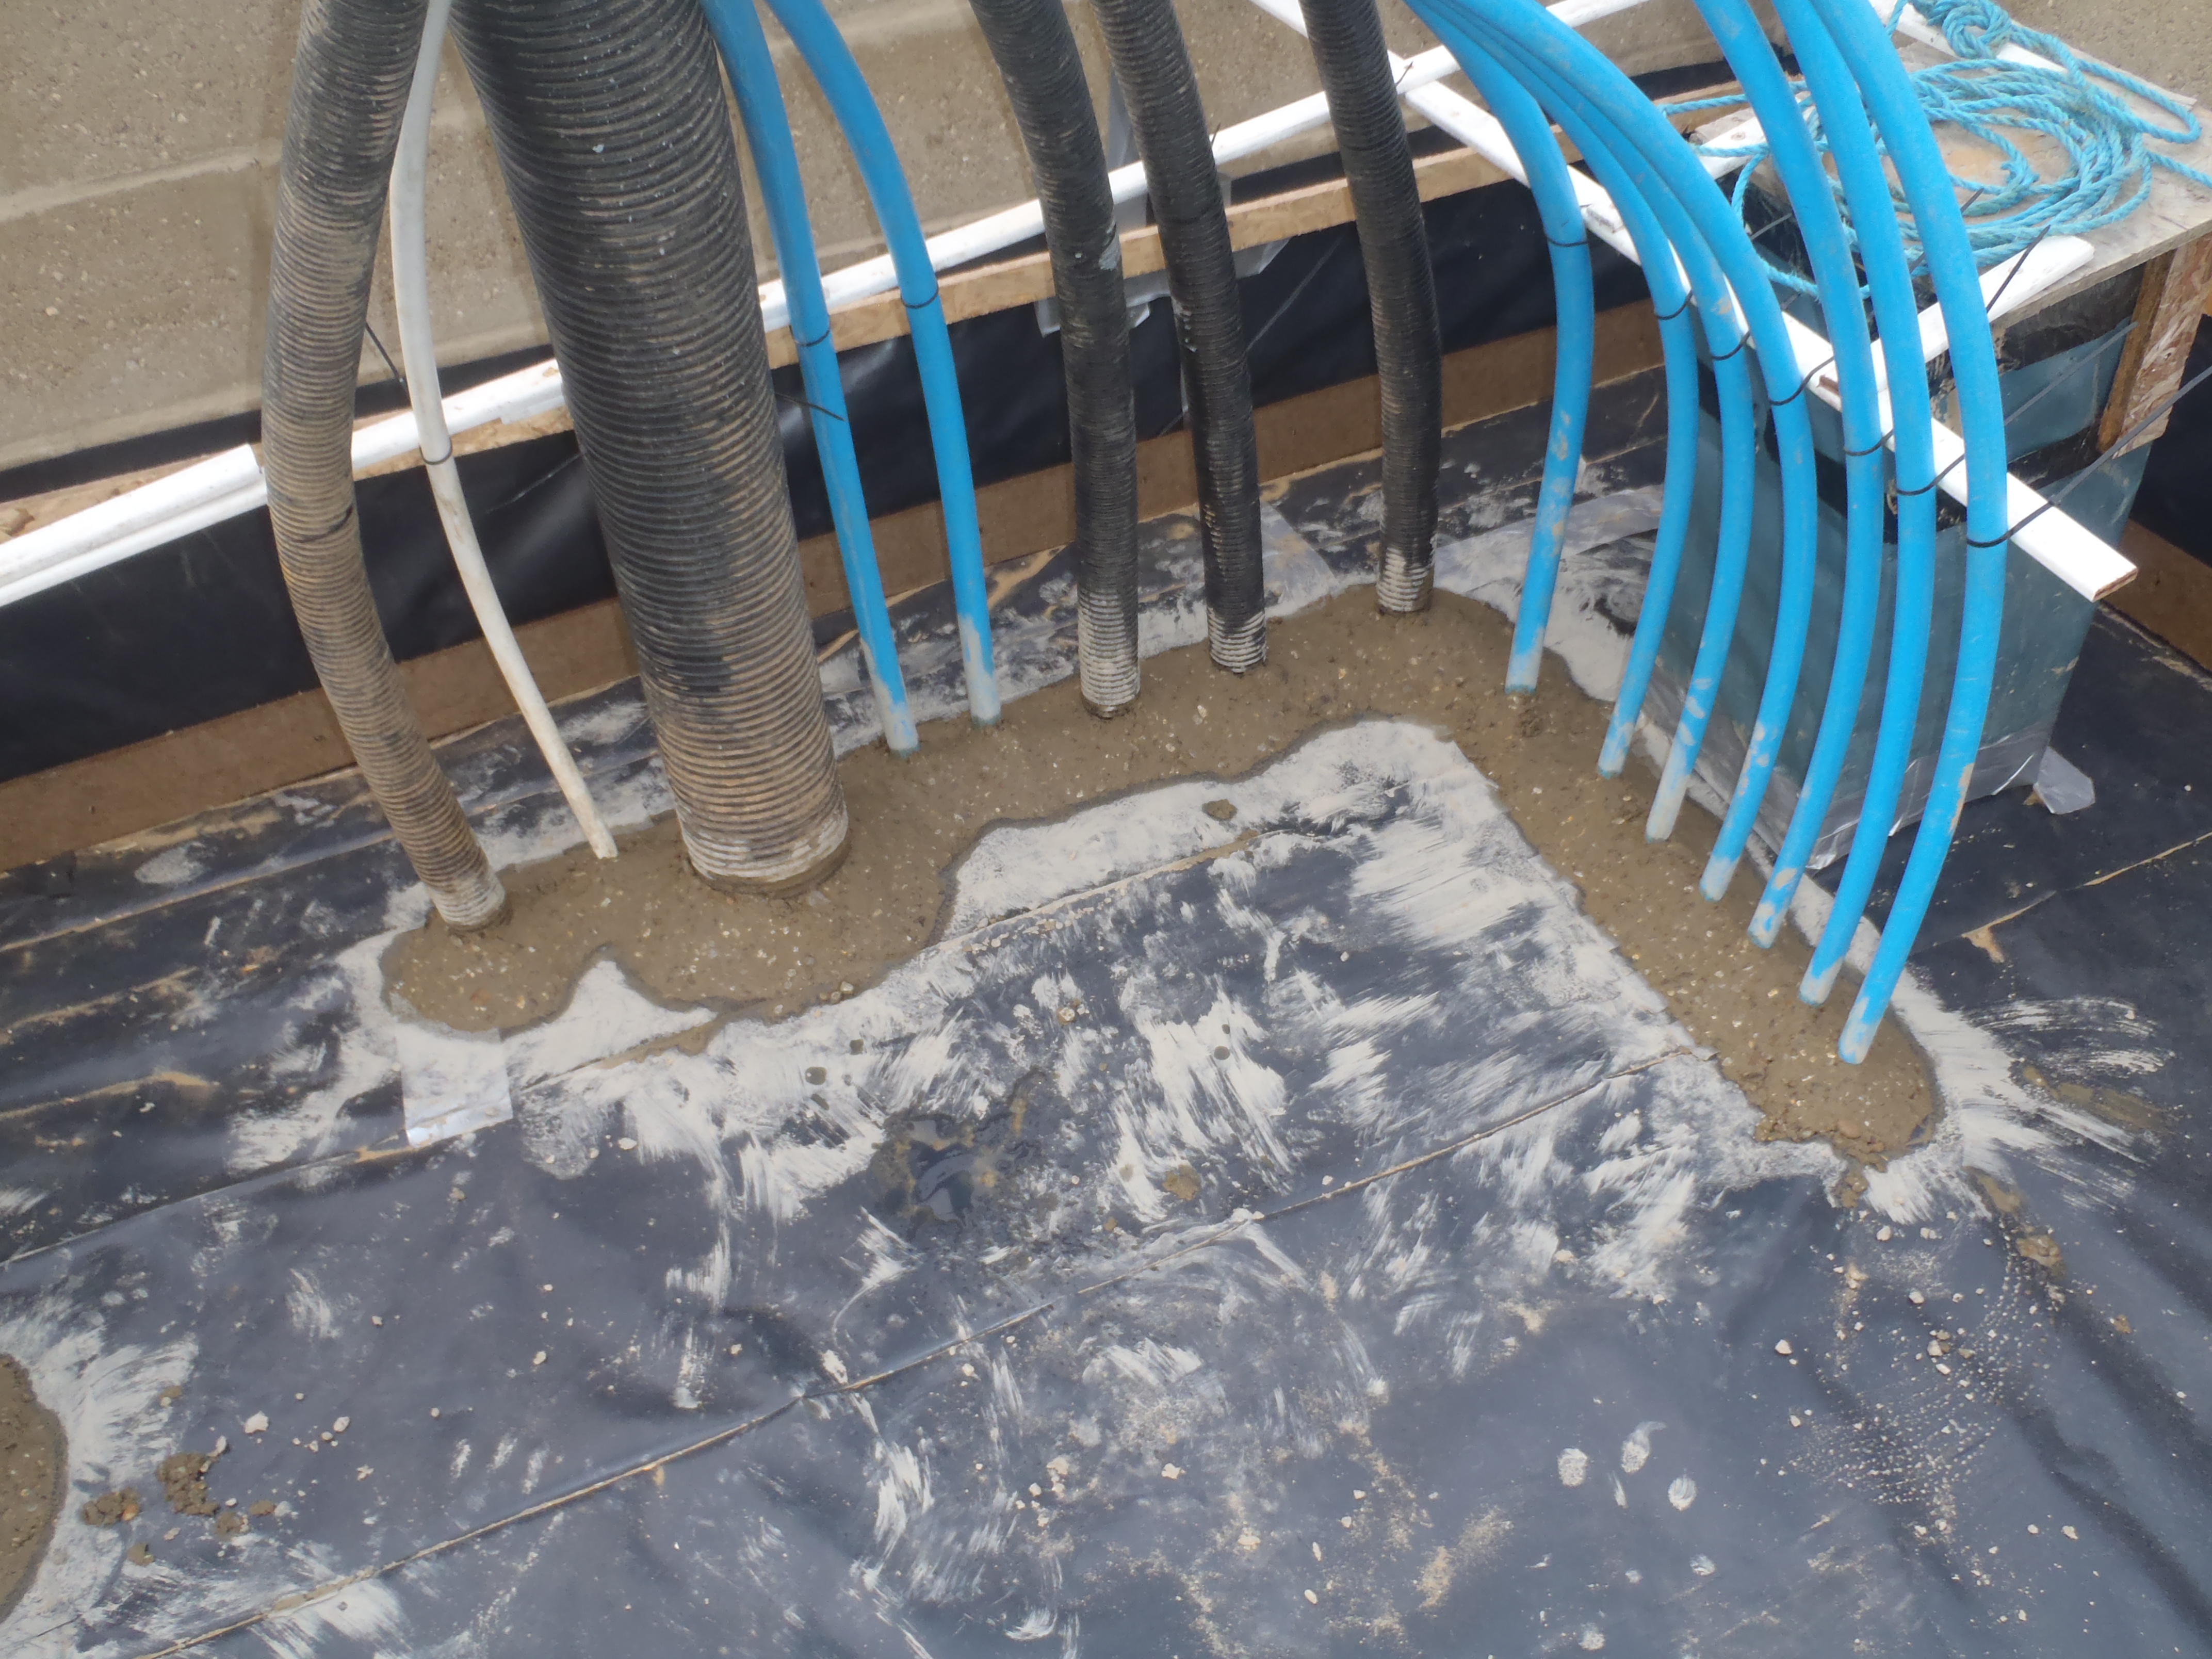
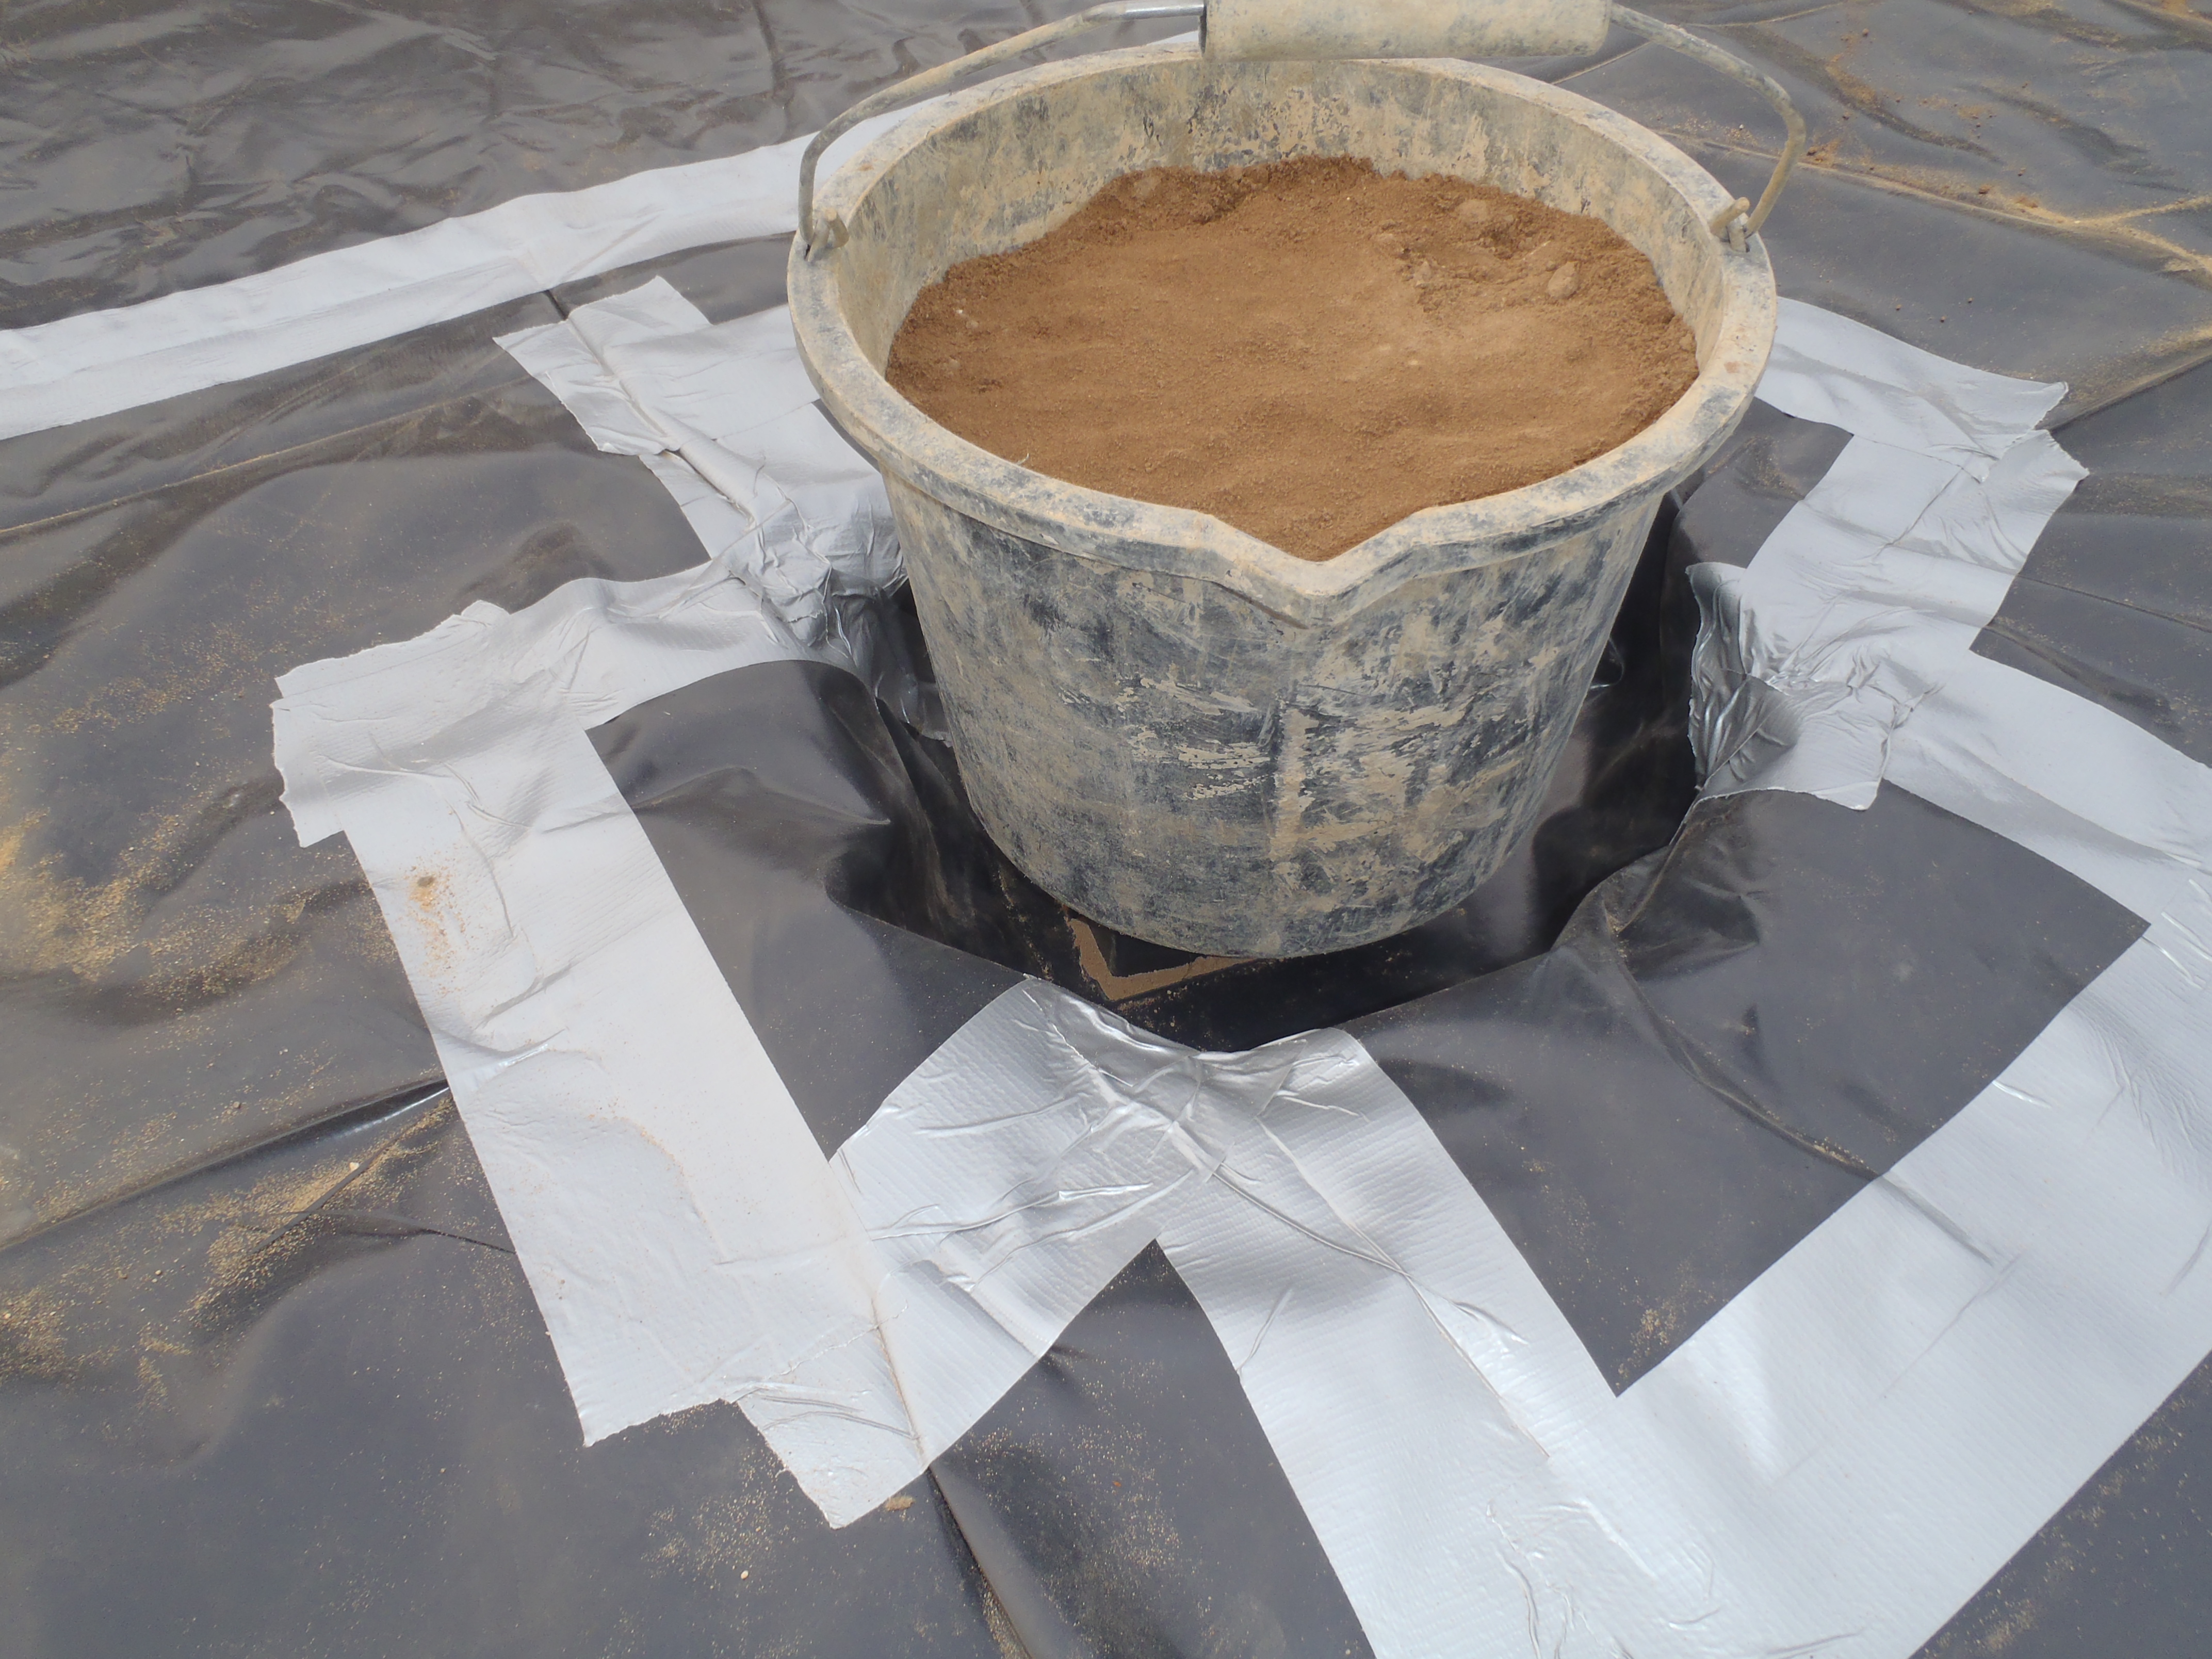
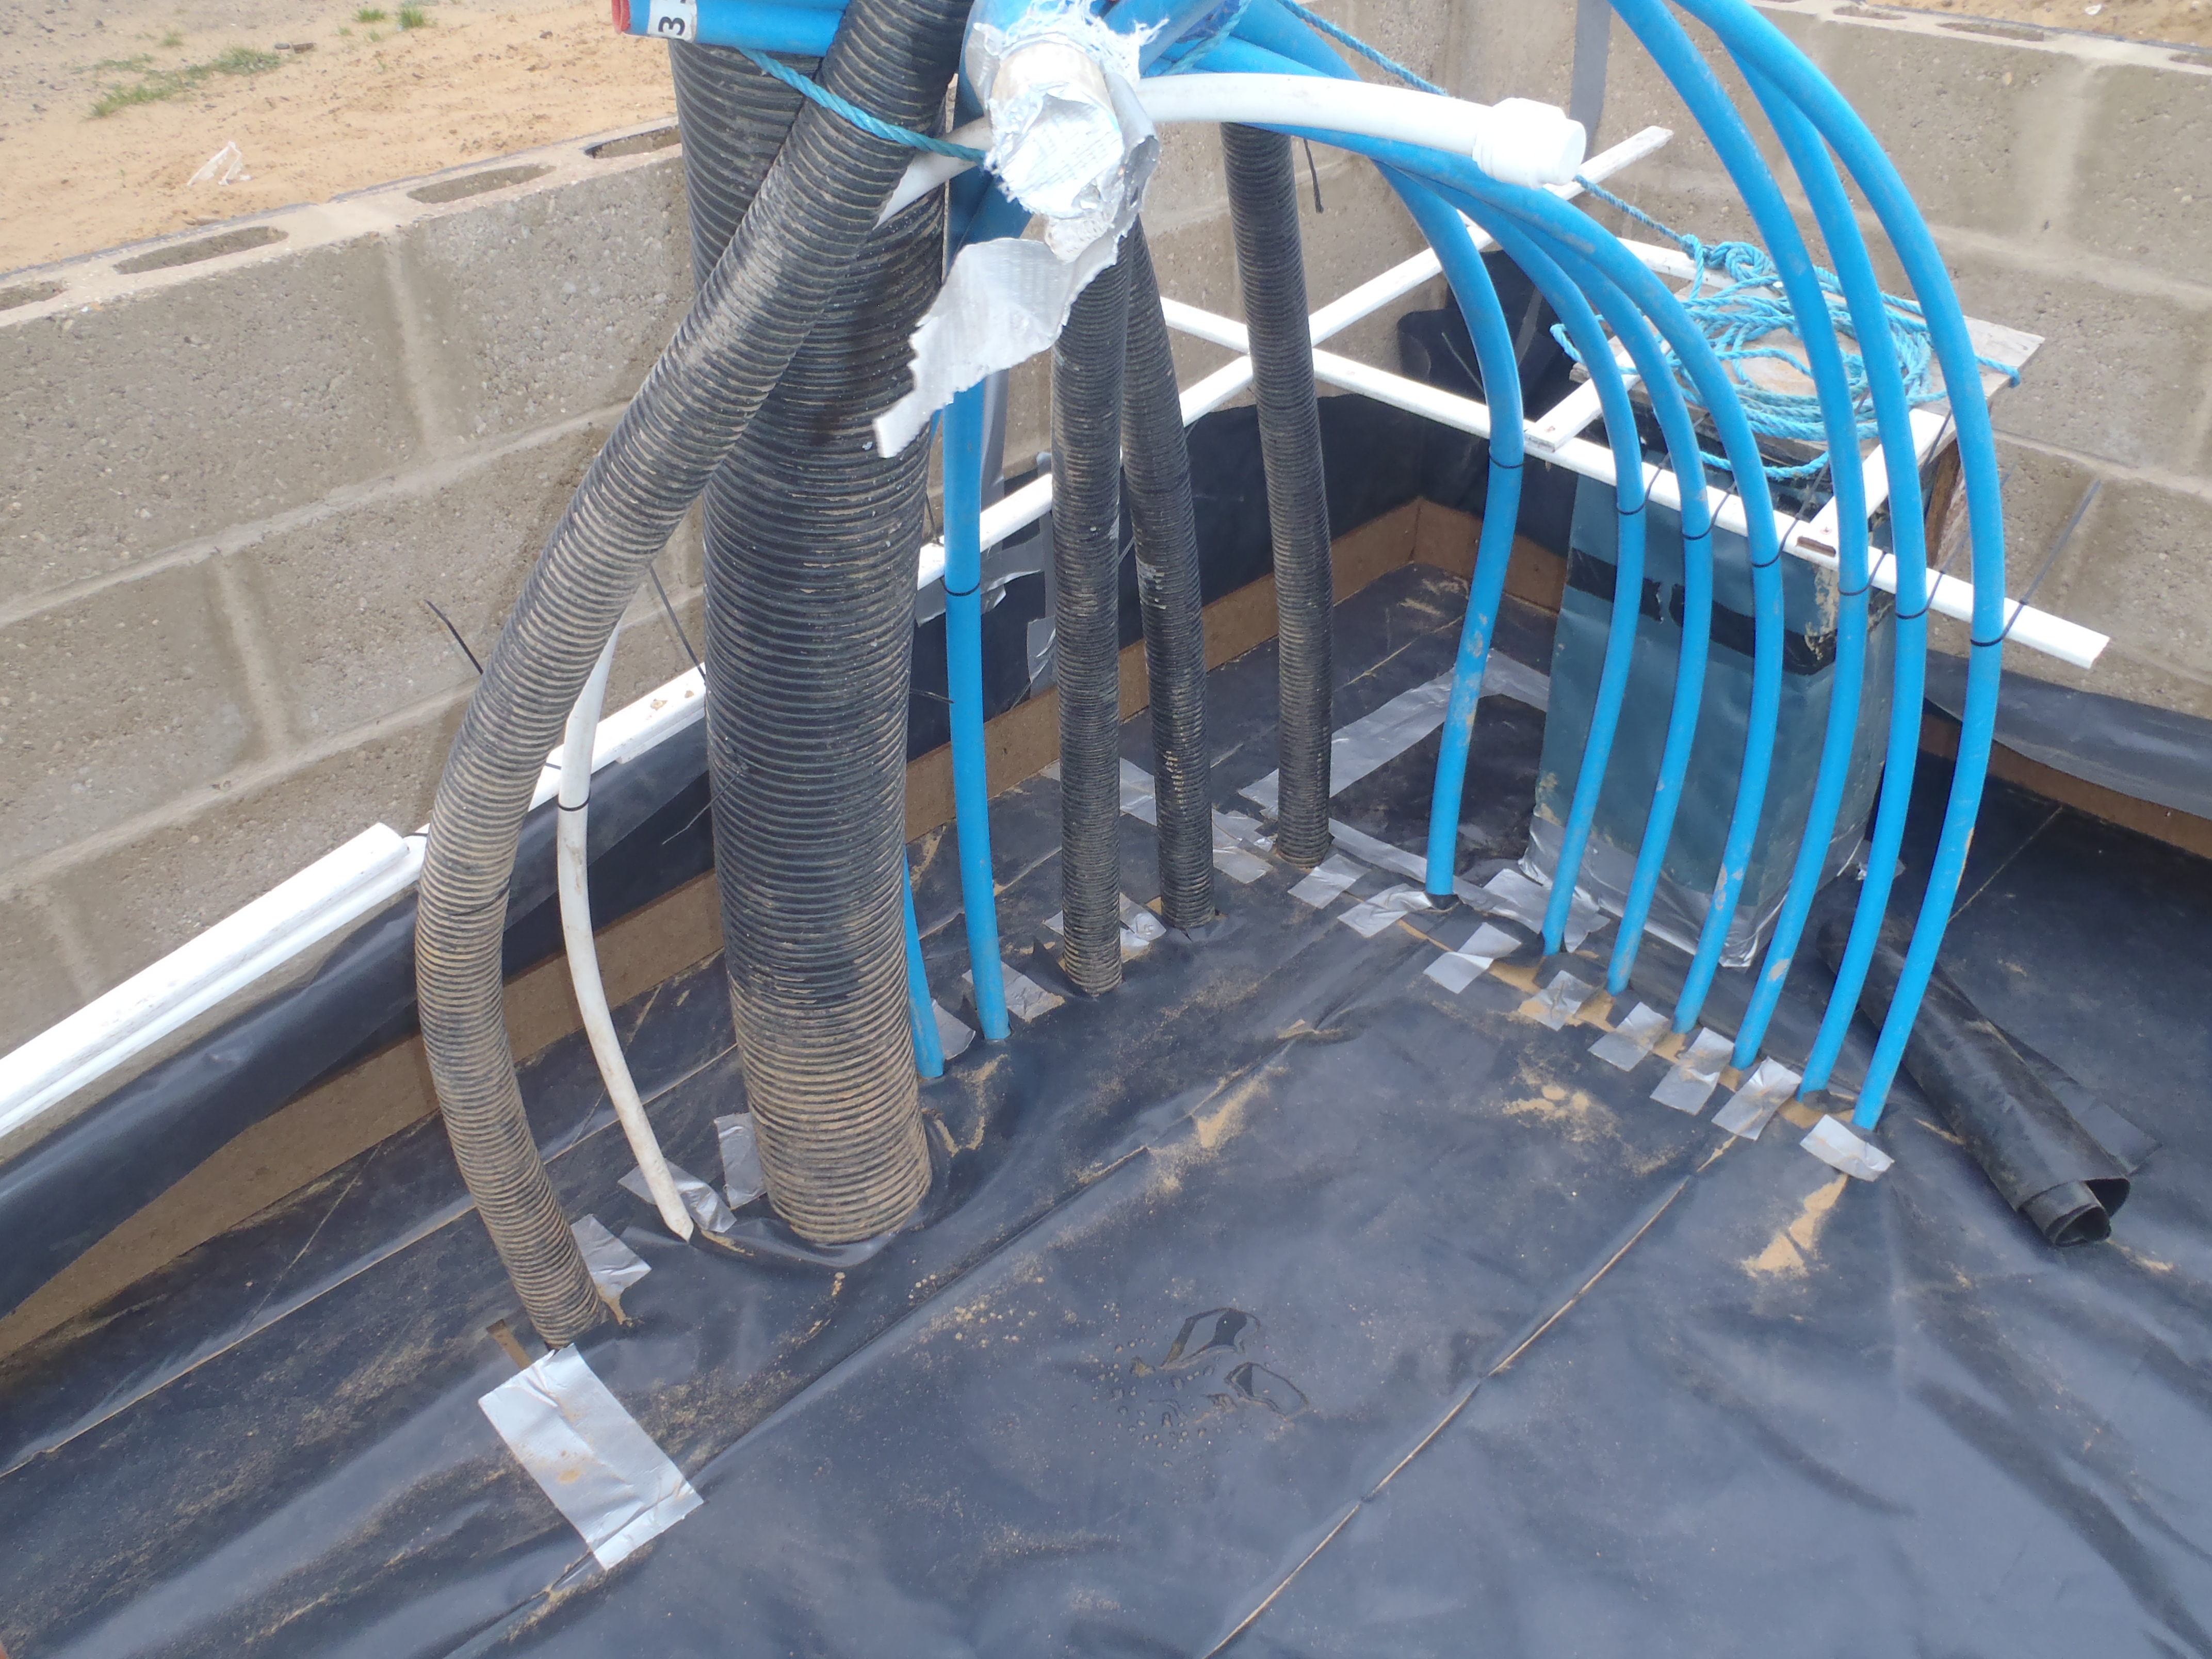
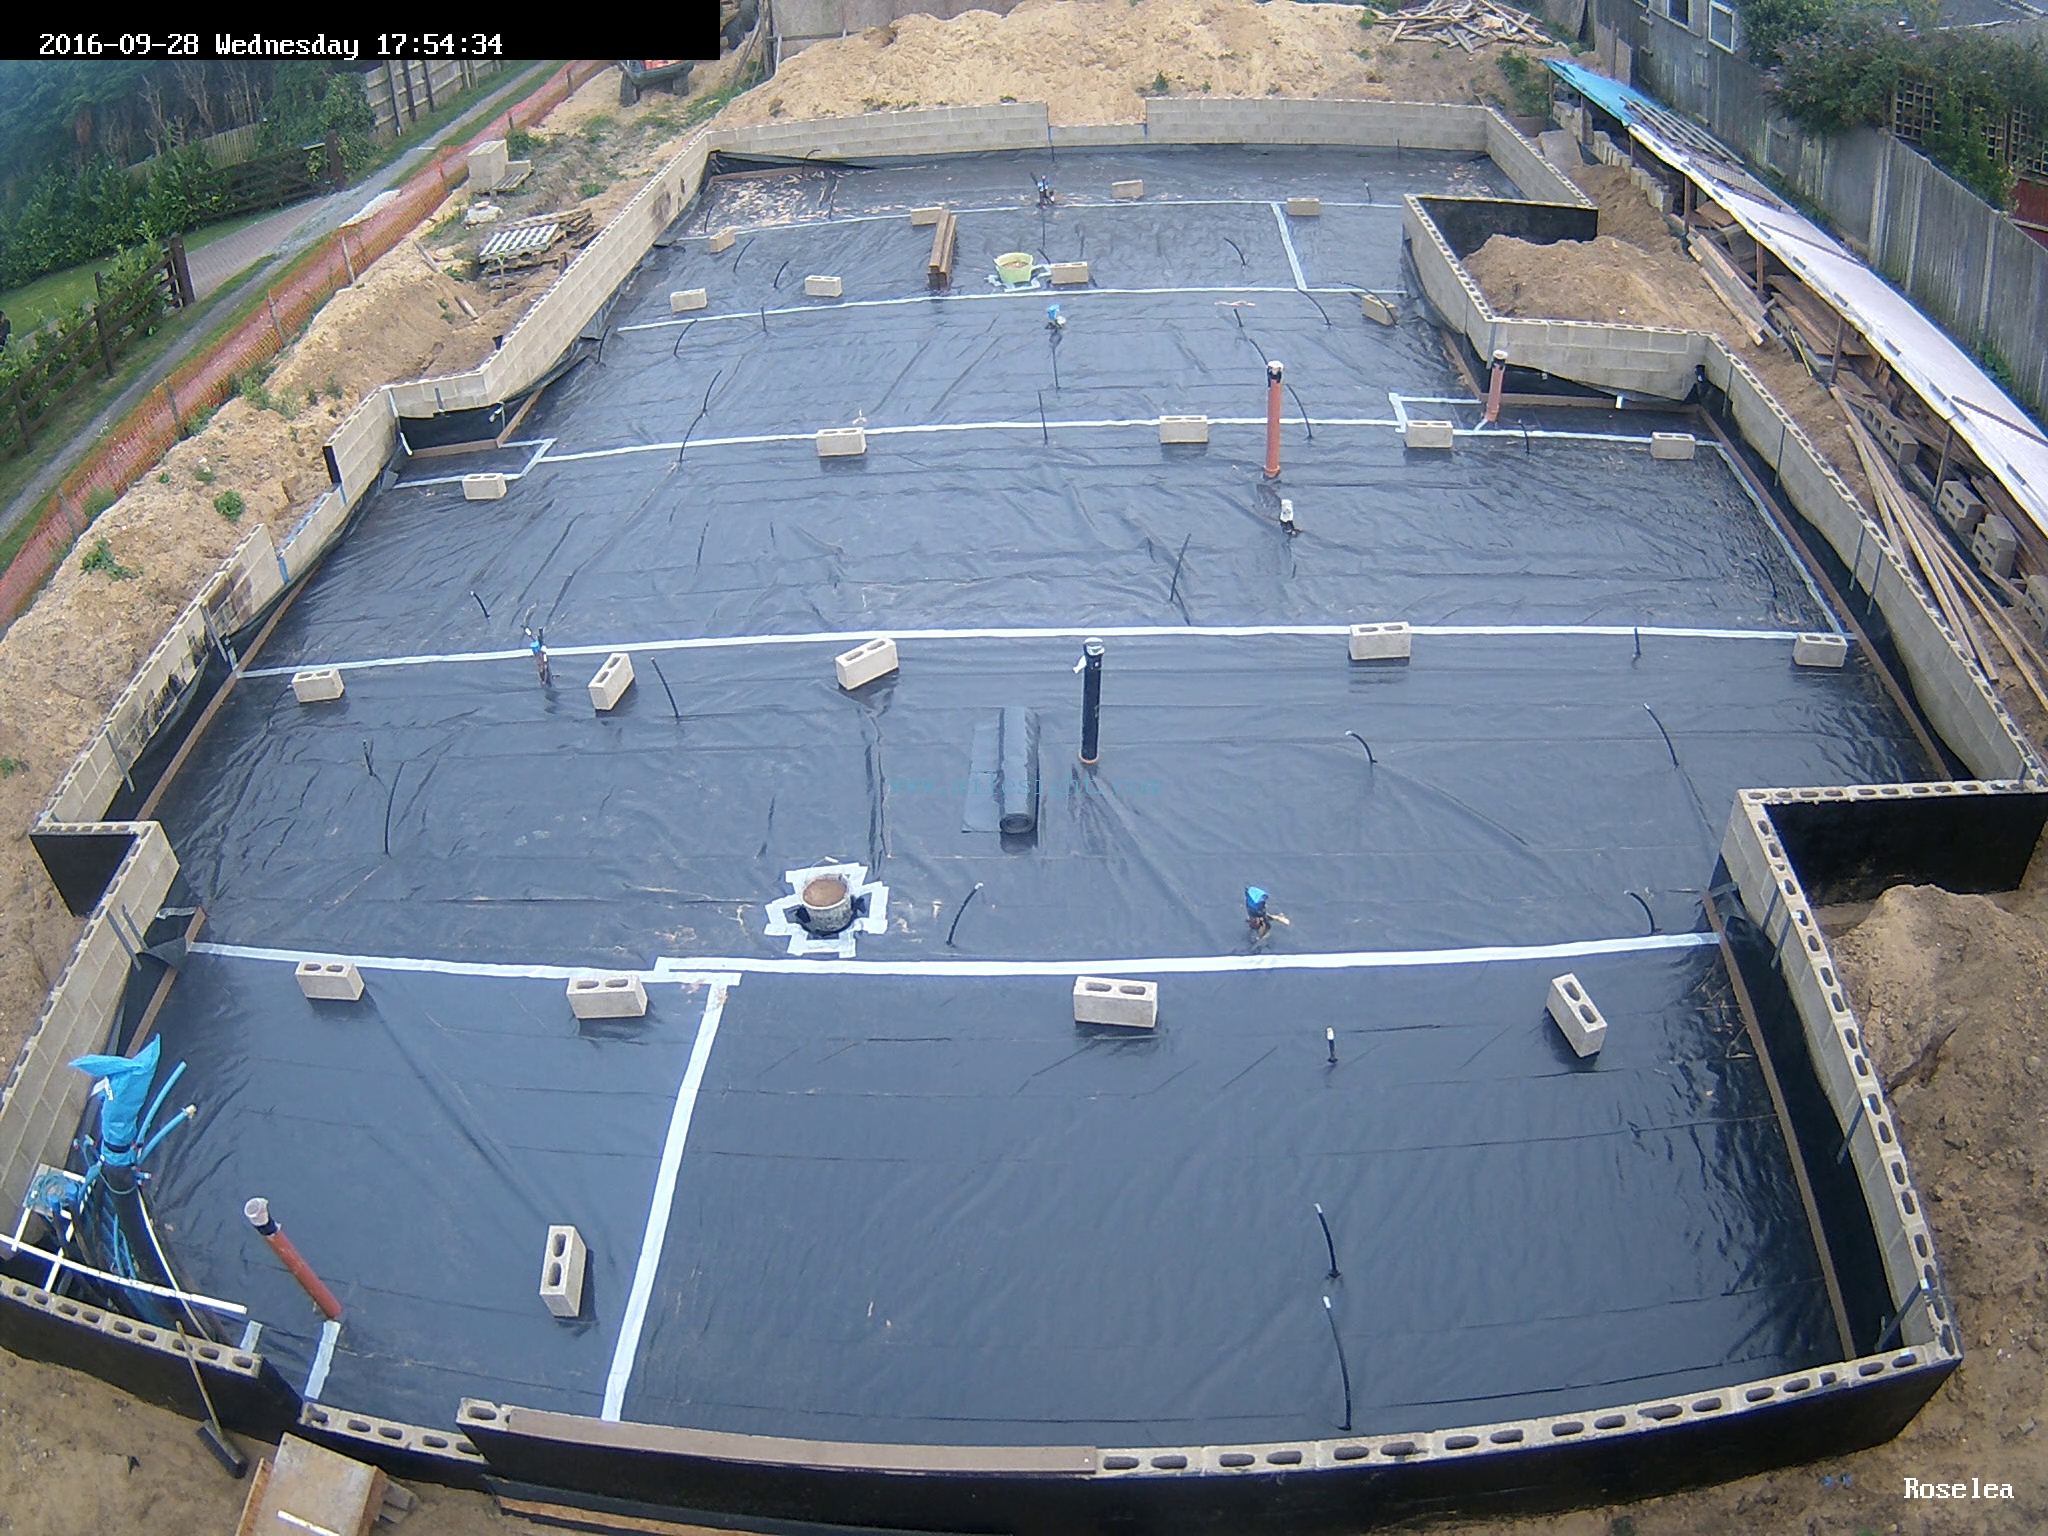
Then, we mixed a wheelbarrow load of dry concrete using 3 builder’s buckets of sharp sand ballast and left over cement and patted blobs down and around each and every item sticking up through the DPM plastic. There were 4 sewage pipes, 32 temperature probe conduits, 5 huddles of pipes, wide tubes and more conduits, some more water filling conduits as well and finally, the dozen electricity, water air and vacuum pipes and conduits to and from the Garage!!
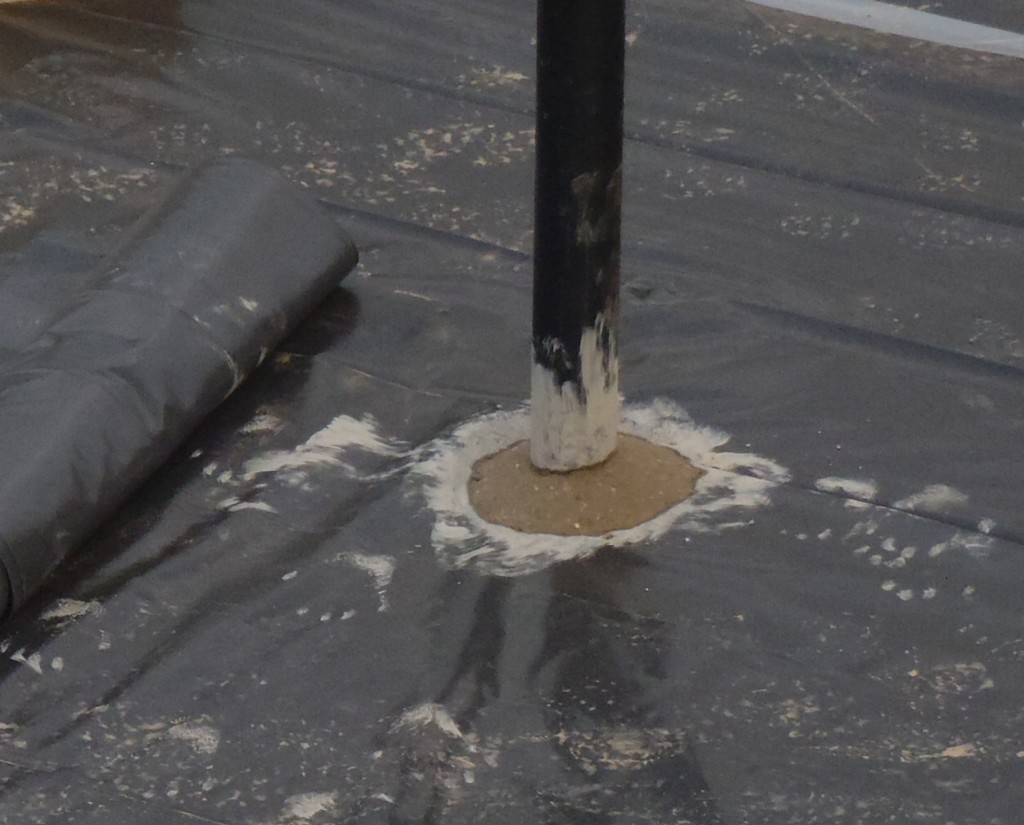
Sewage-pipe-sealed
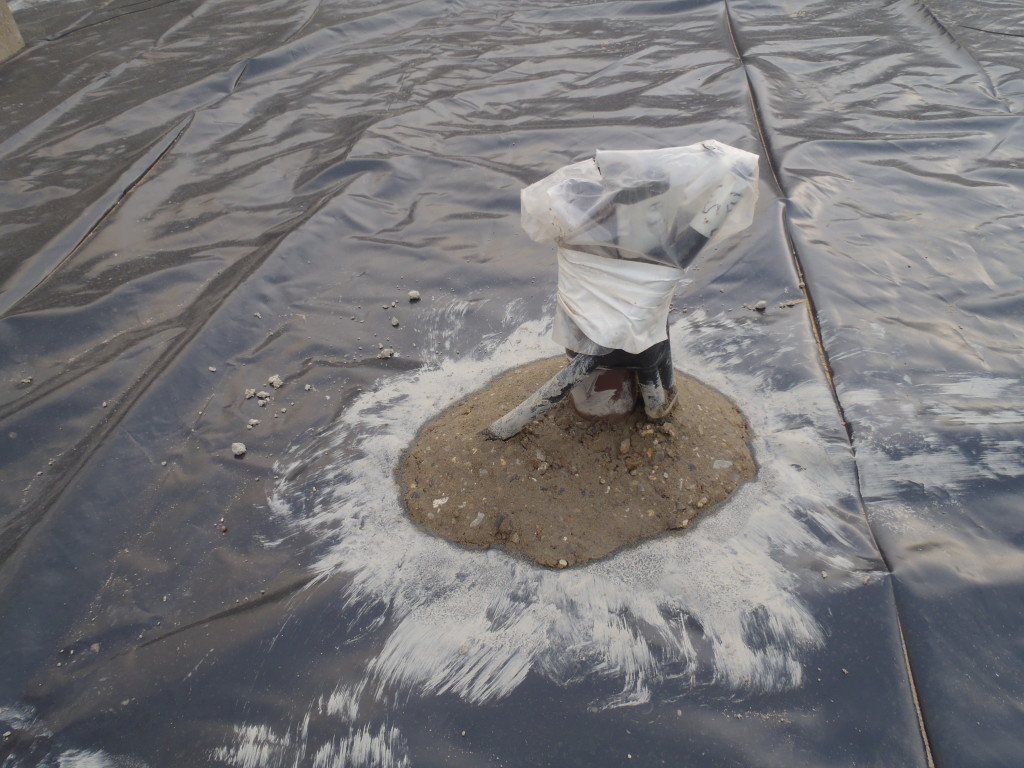
A-tank-connection-cluster-sealed

Utilities-sealed
The next job is to use those 100mm wide strips and form the matrix of cells all over the ground. We have started the ball rolling for the “day” of the poring the slab to be Wednesday 5th October, but it still depends on our Building Inspector coming and approving our work and also for the concrete people to come back from Holidays to answer technical questions on whether we need some special additives to be included to make the concrete more suitable for coping with wide temperature fluctuations during the seasons as we have our Energy Modules being heated up during the Summer and then cooling down during the Autumn and Winter.