Today, the first major welding task was done, putting together the 9 pieces of steel framework that will fix the two long side of the box shaped superstructure (the steel I beam pieces) to prevent lateral twisting, as well as providing a fixing for the ridge beam right at the top of the roof that holds the glazing units, plus a fixing point for the ceiling in the upper floor rooms.
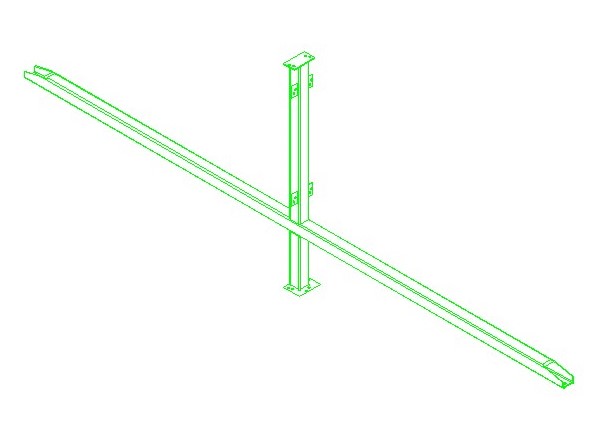
Beam-restraint-diagram
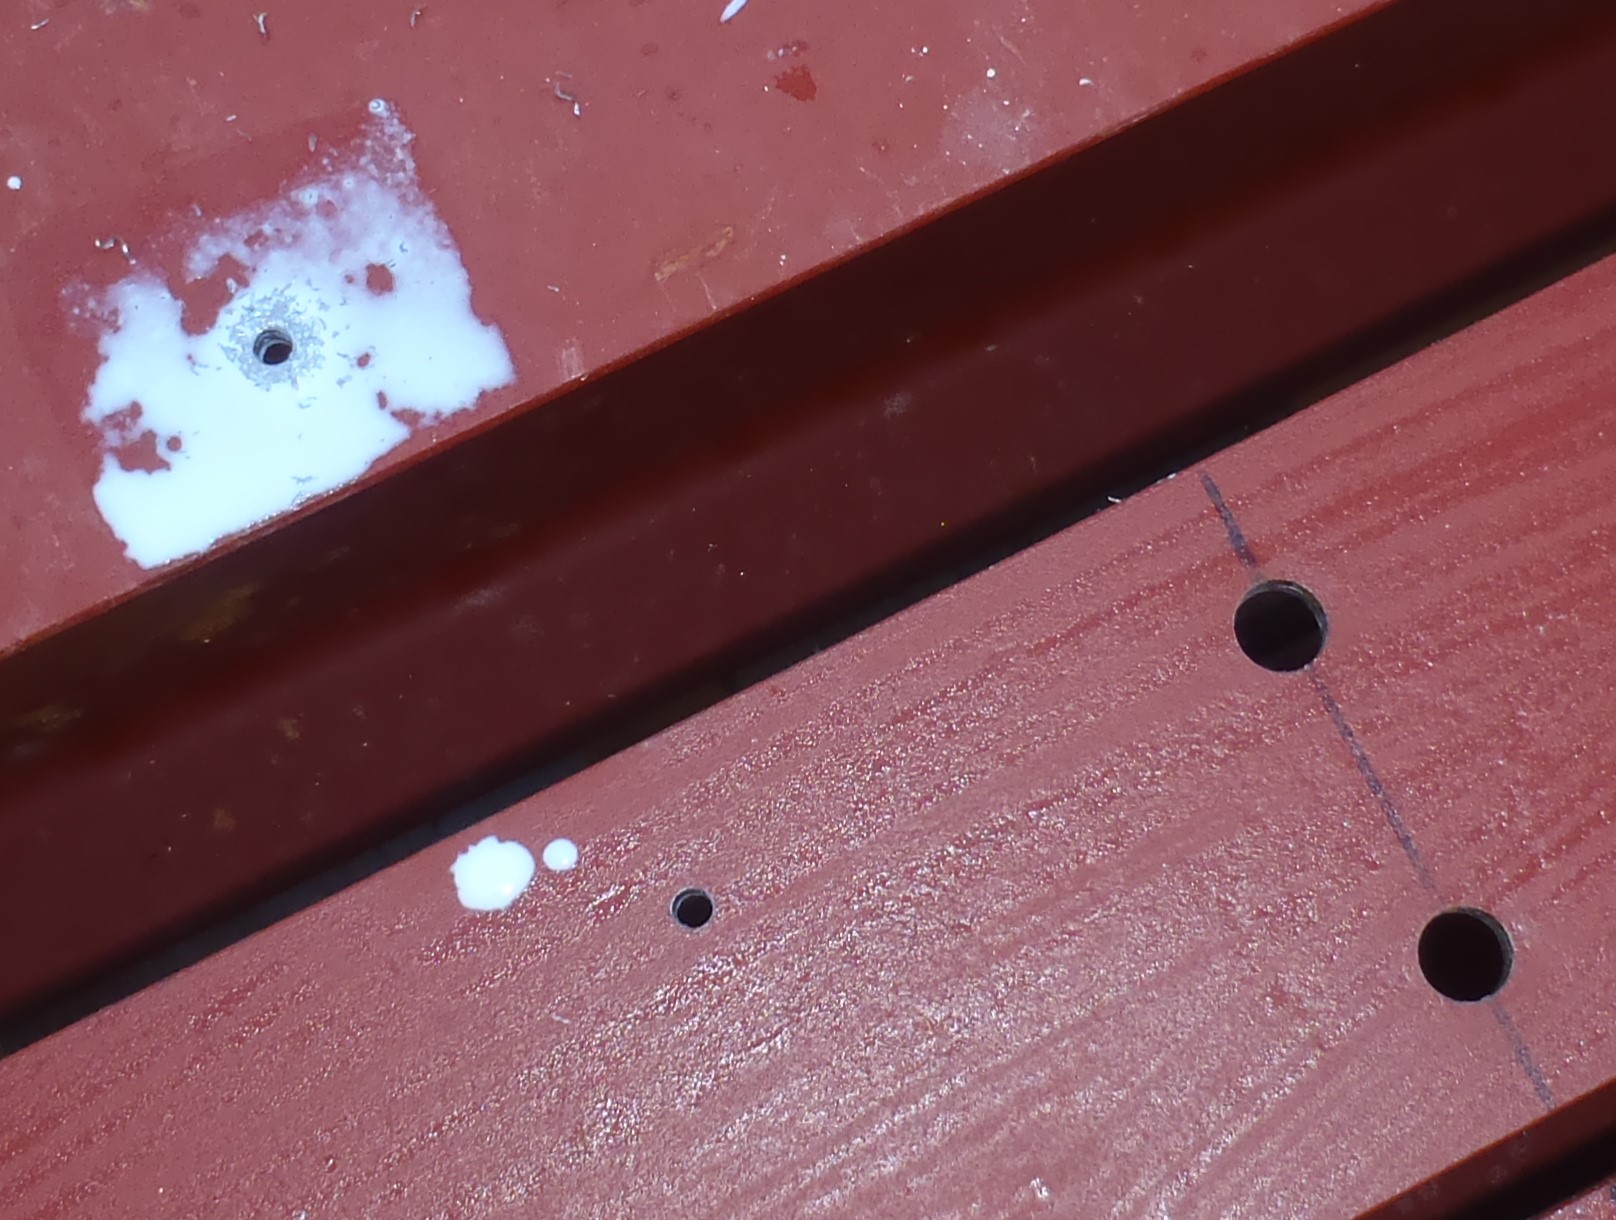
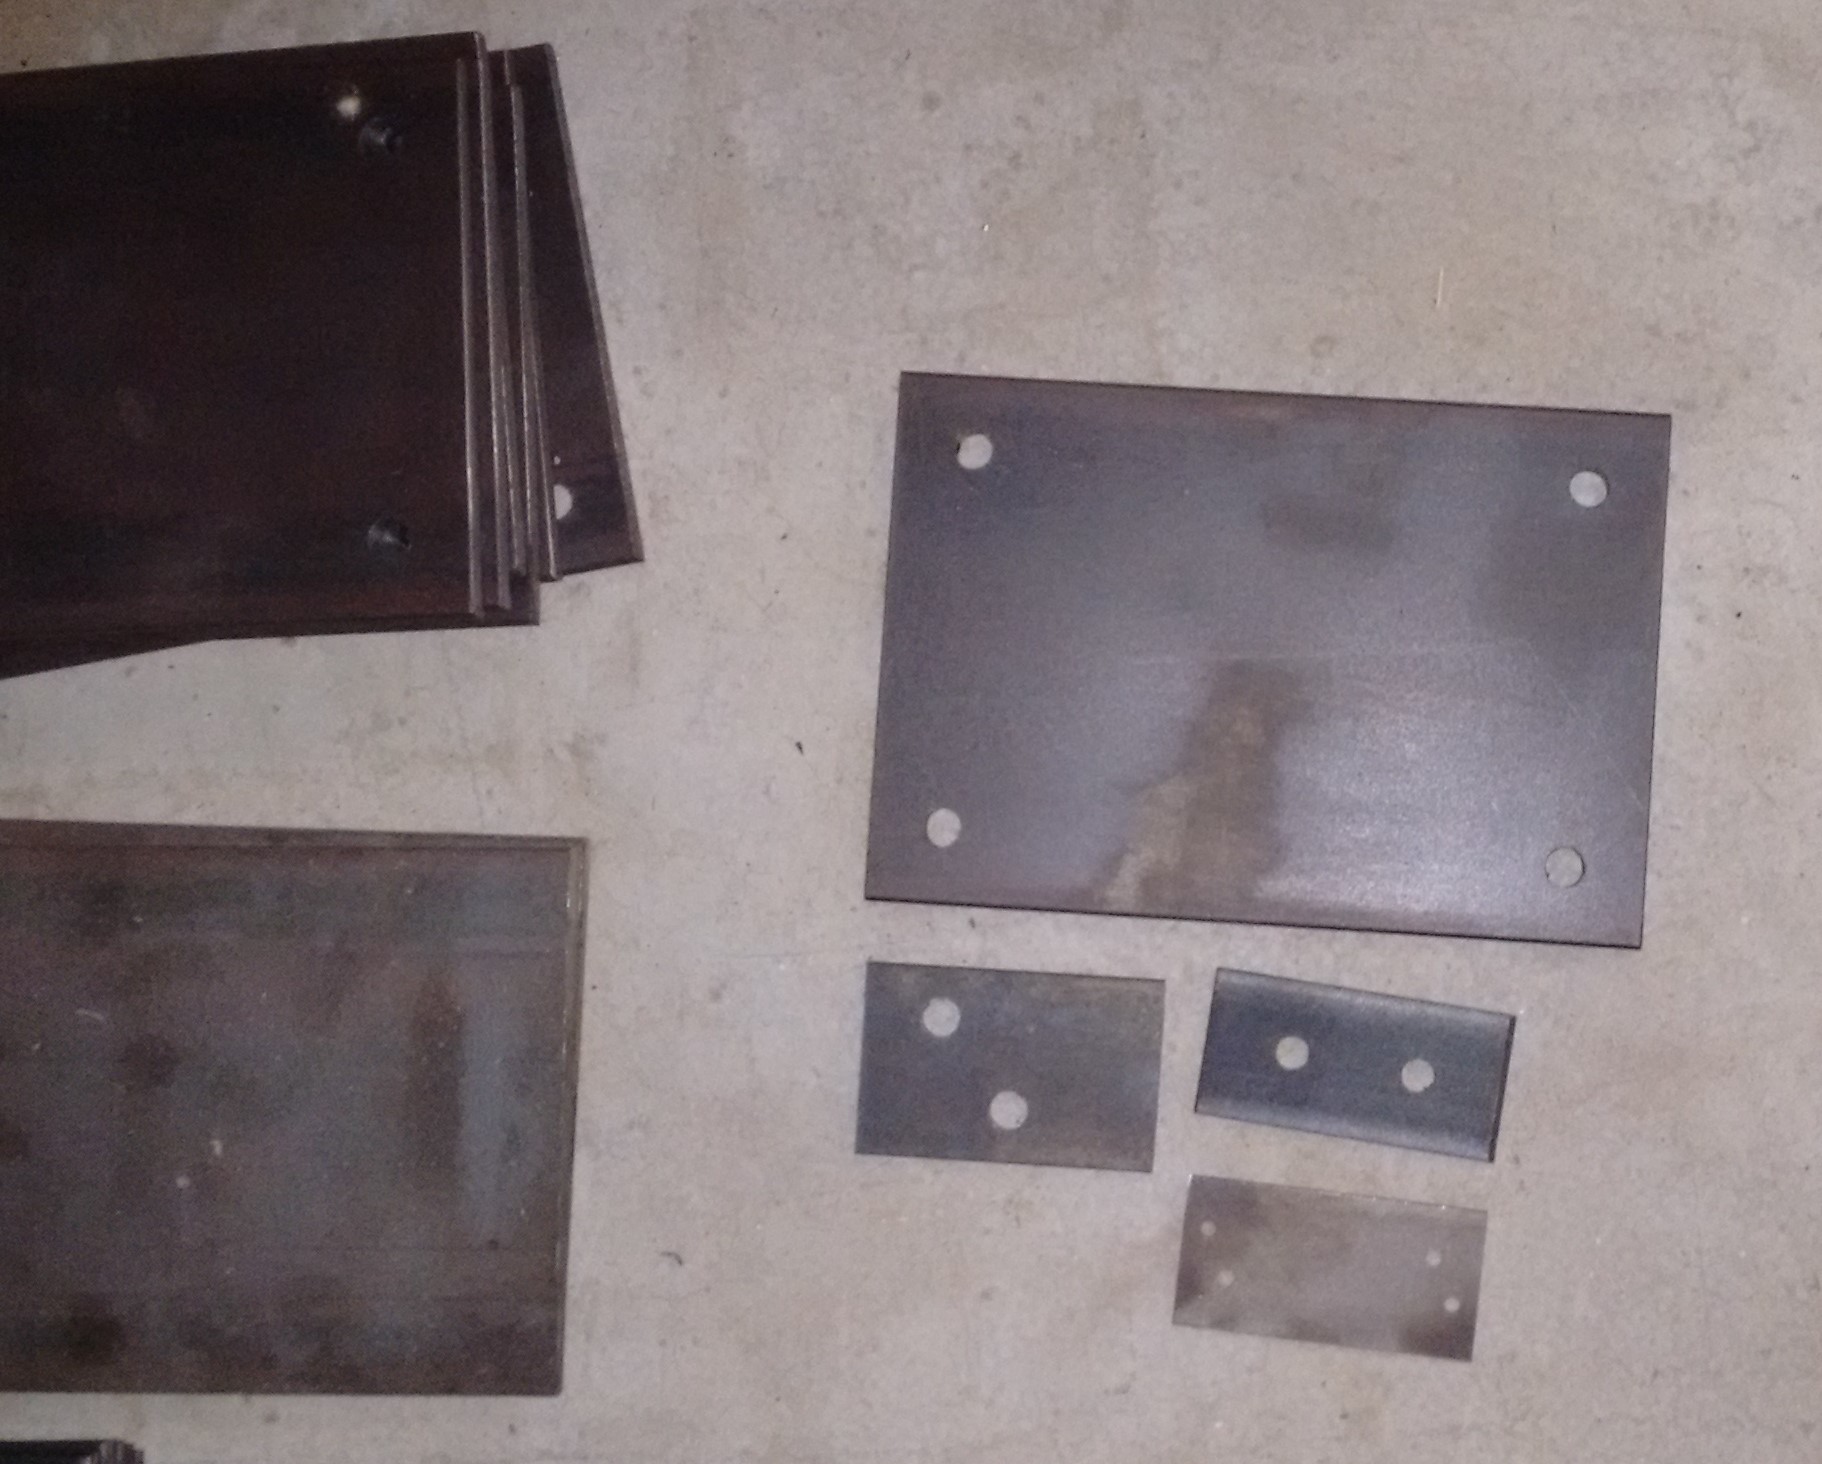
In the morning the plates and flanges were welded to the upright parts using a jig so measurements only need to be done once. Then after lunch the parts were assembled and welded into the complete restraint on another jig.

Beam-Restraint-welded-on-jig
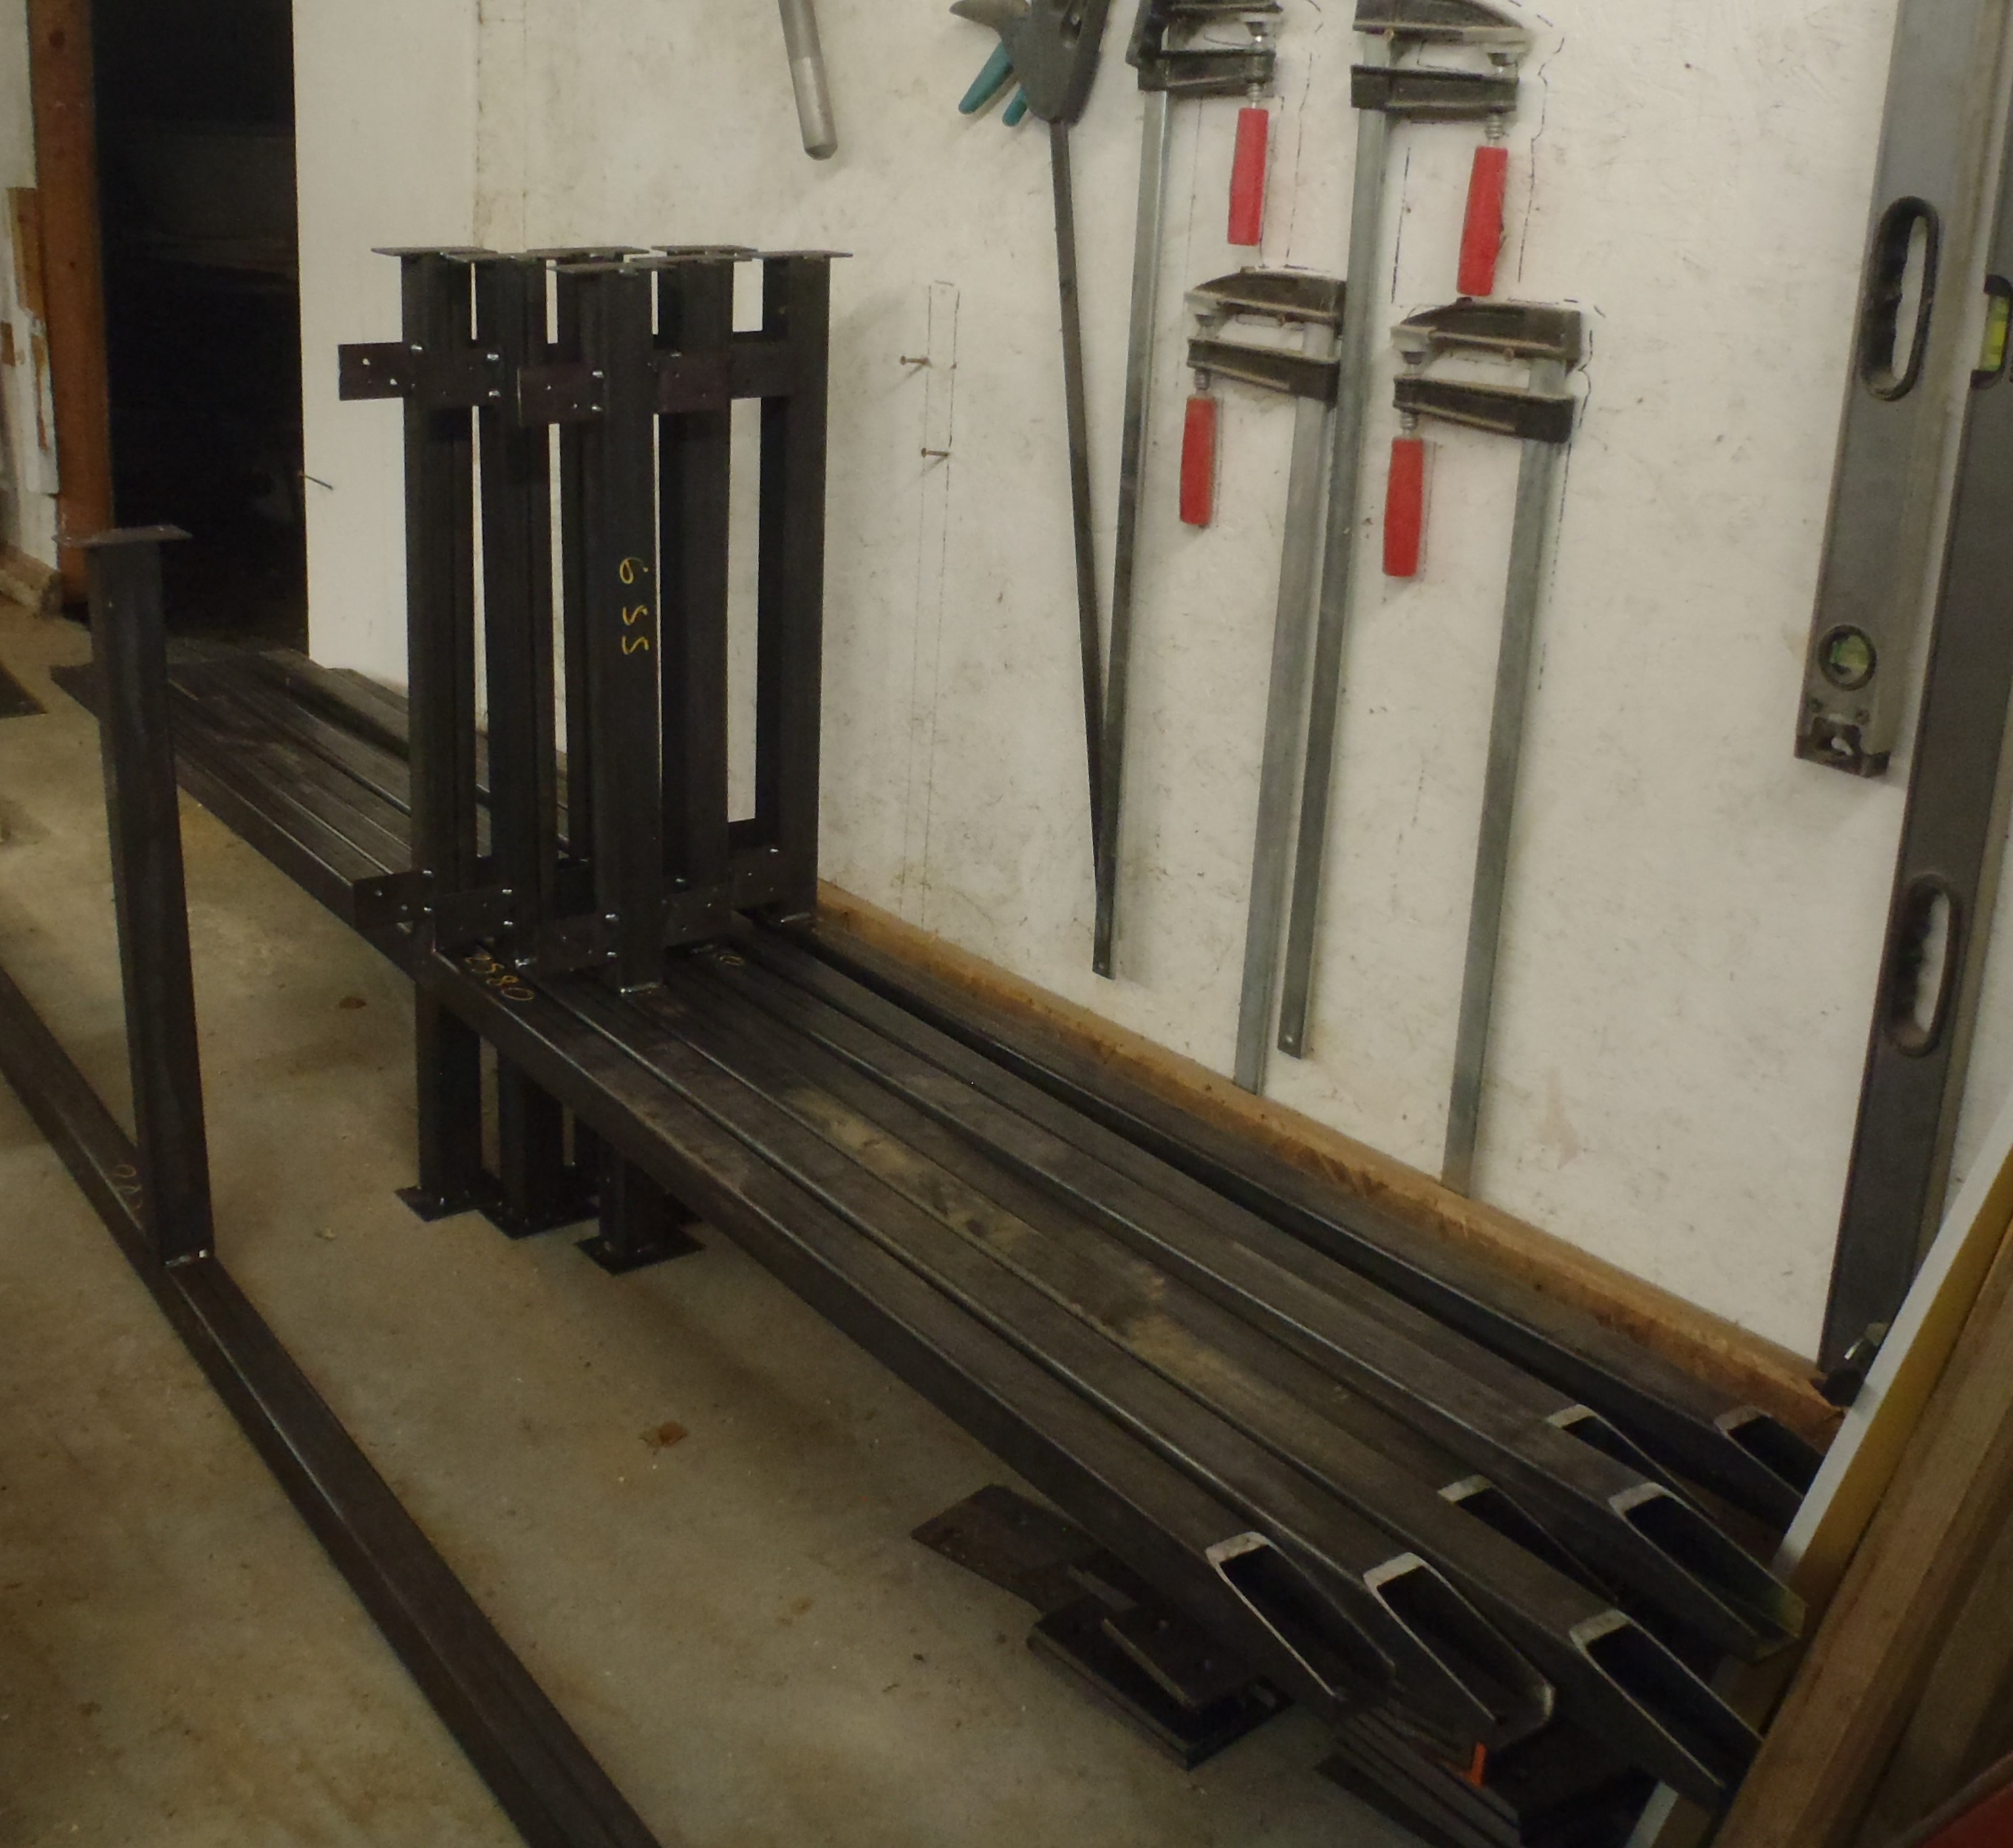
Beam-restraint-x-9
On Monday, these 9 cross pieces will be cleaned and primed so that they will survive a relatively short time being exposed to the weather and prevent rust etc.