Category: Build Progress

  • Quick Tidy Up

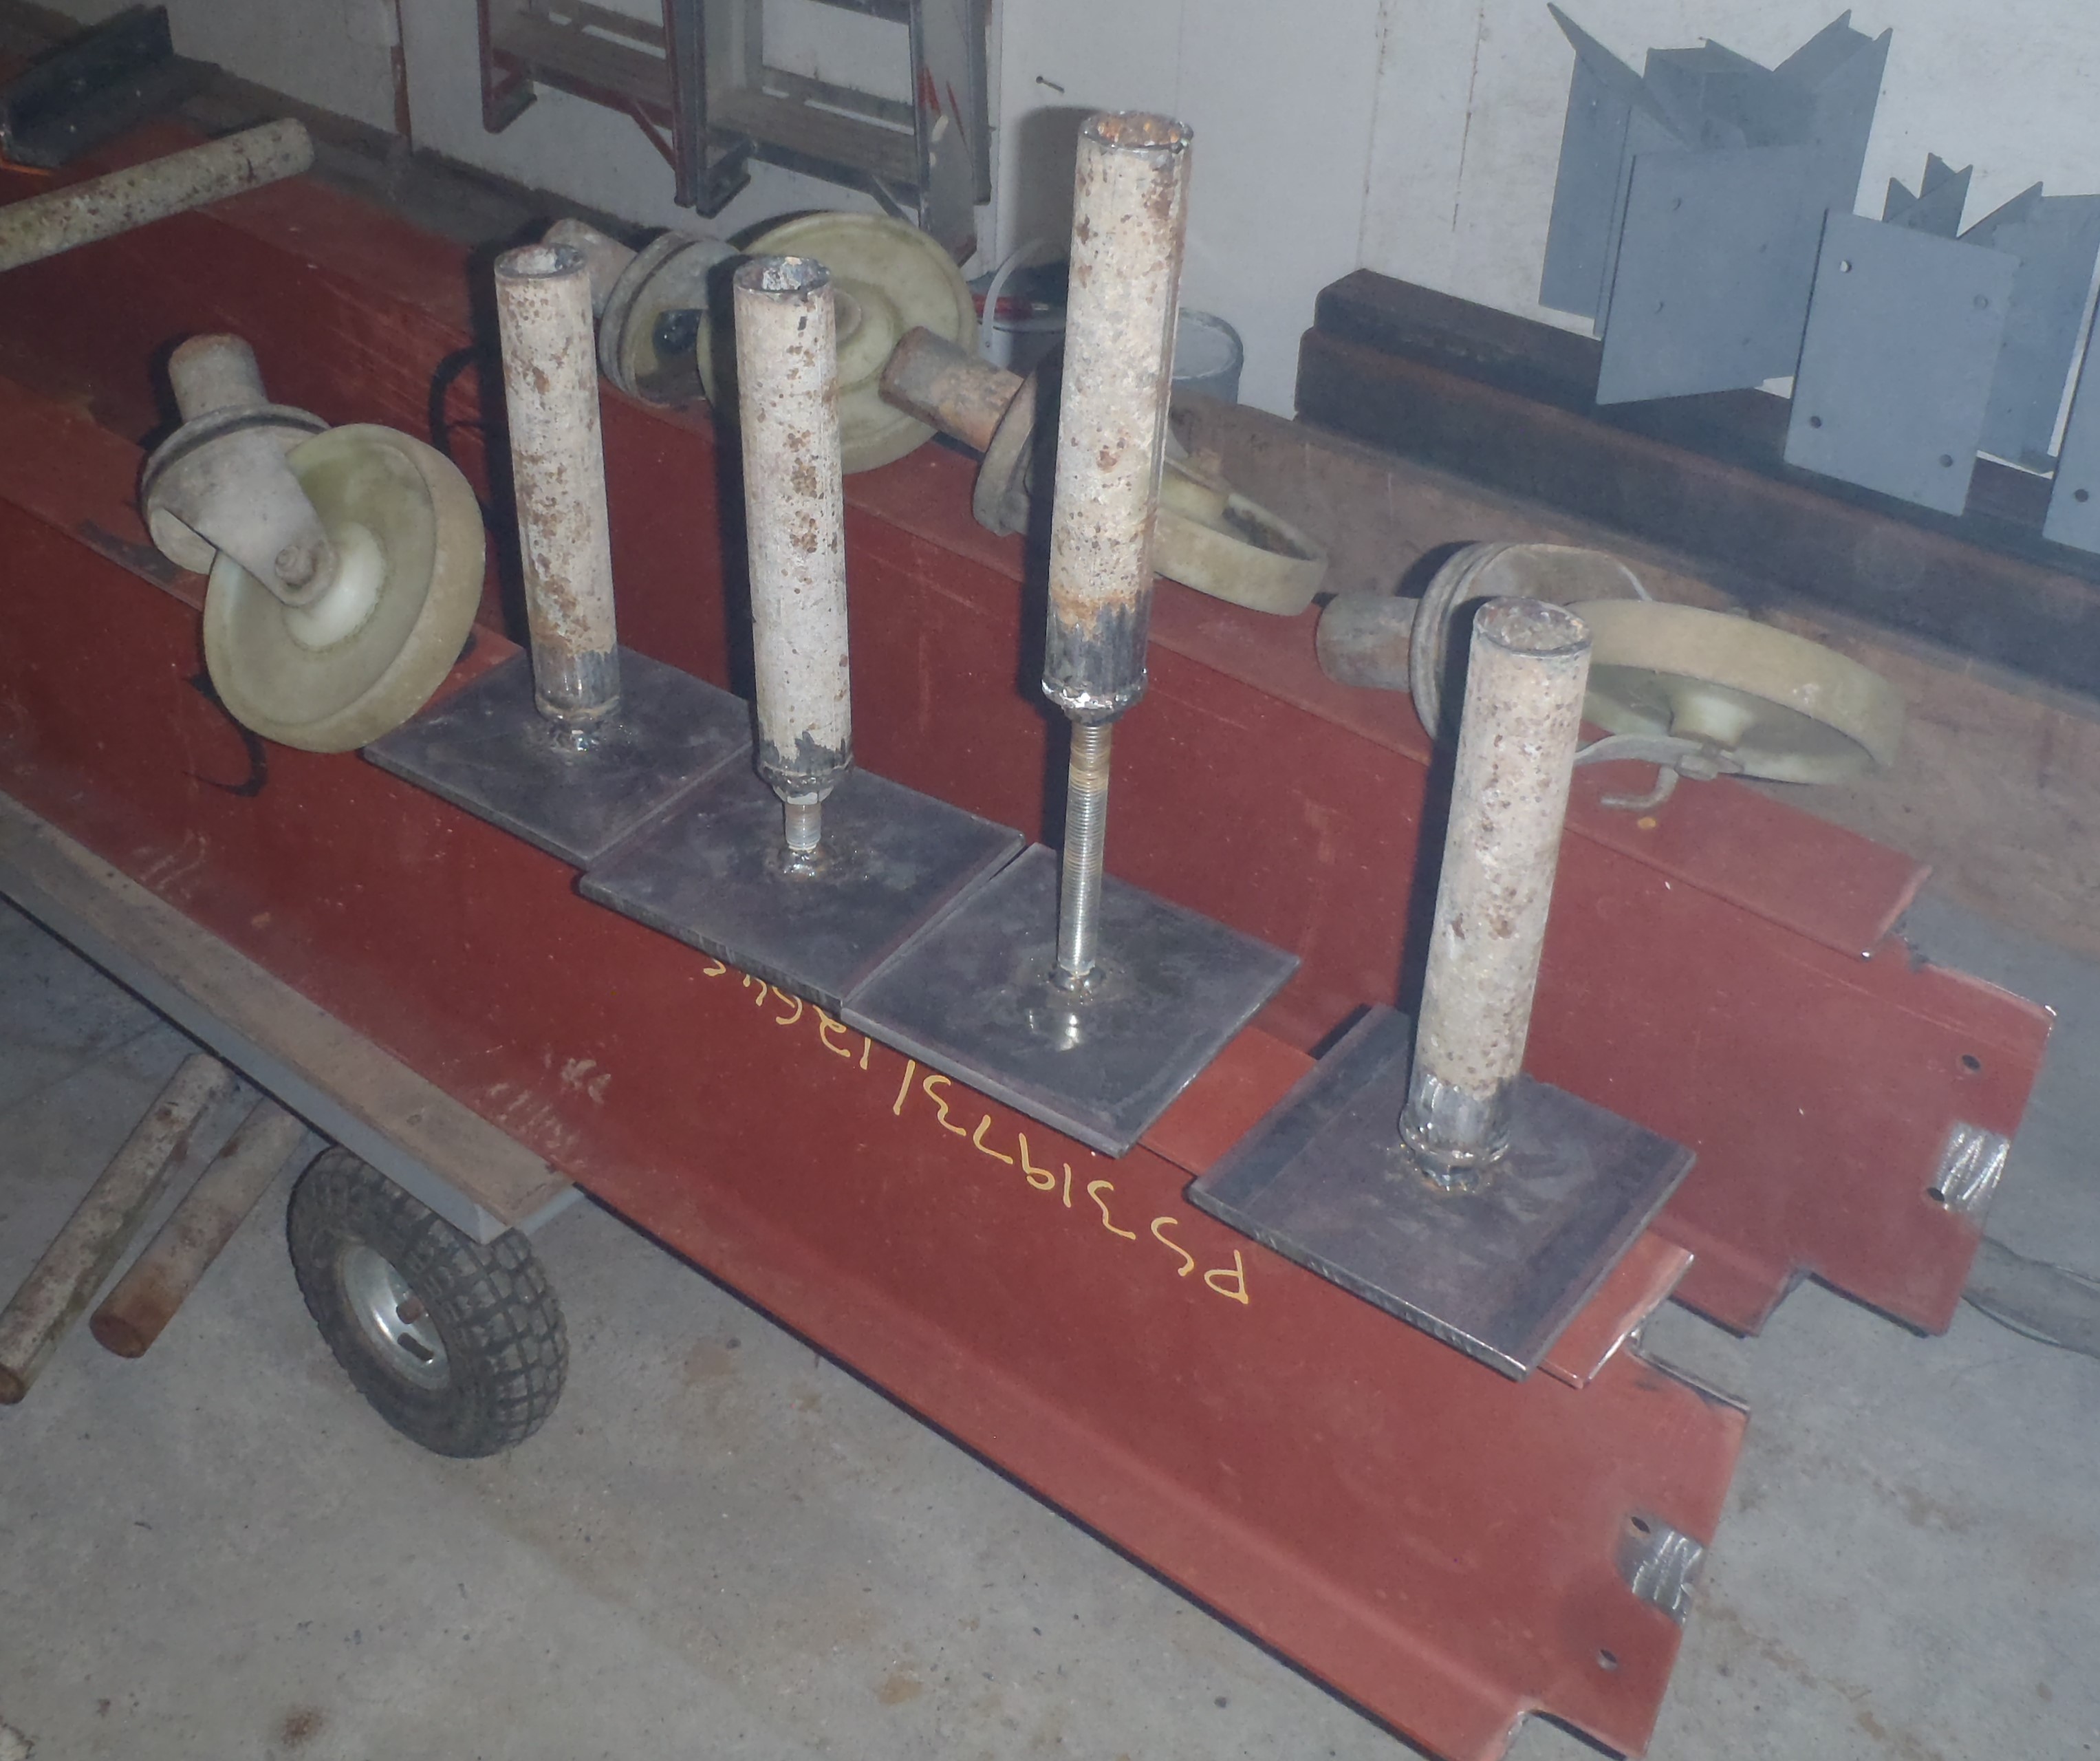
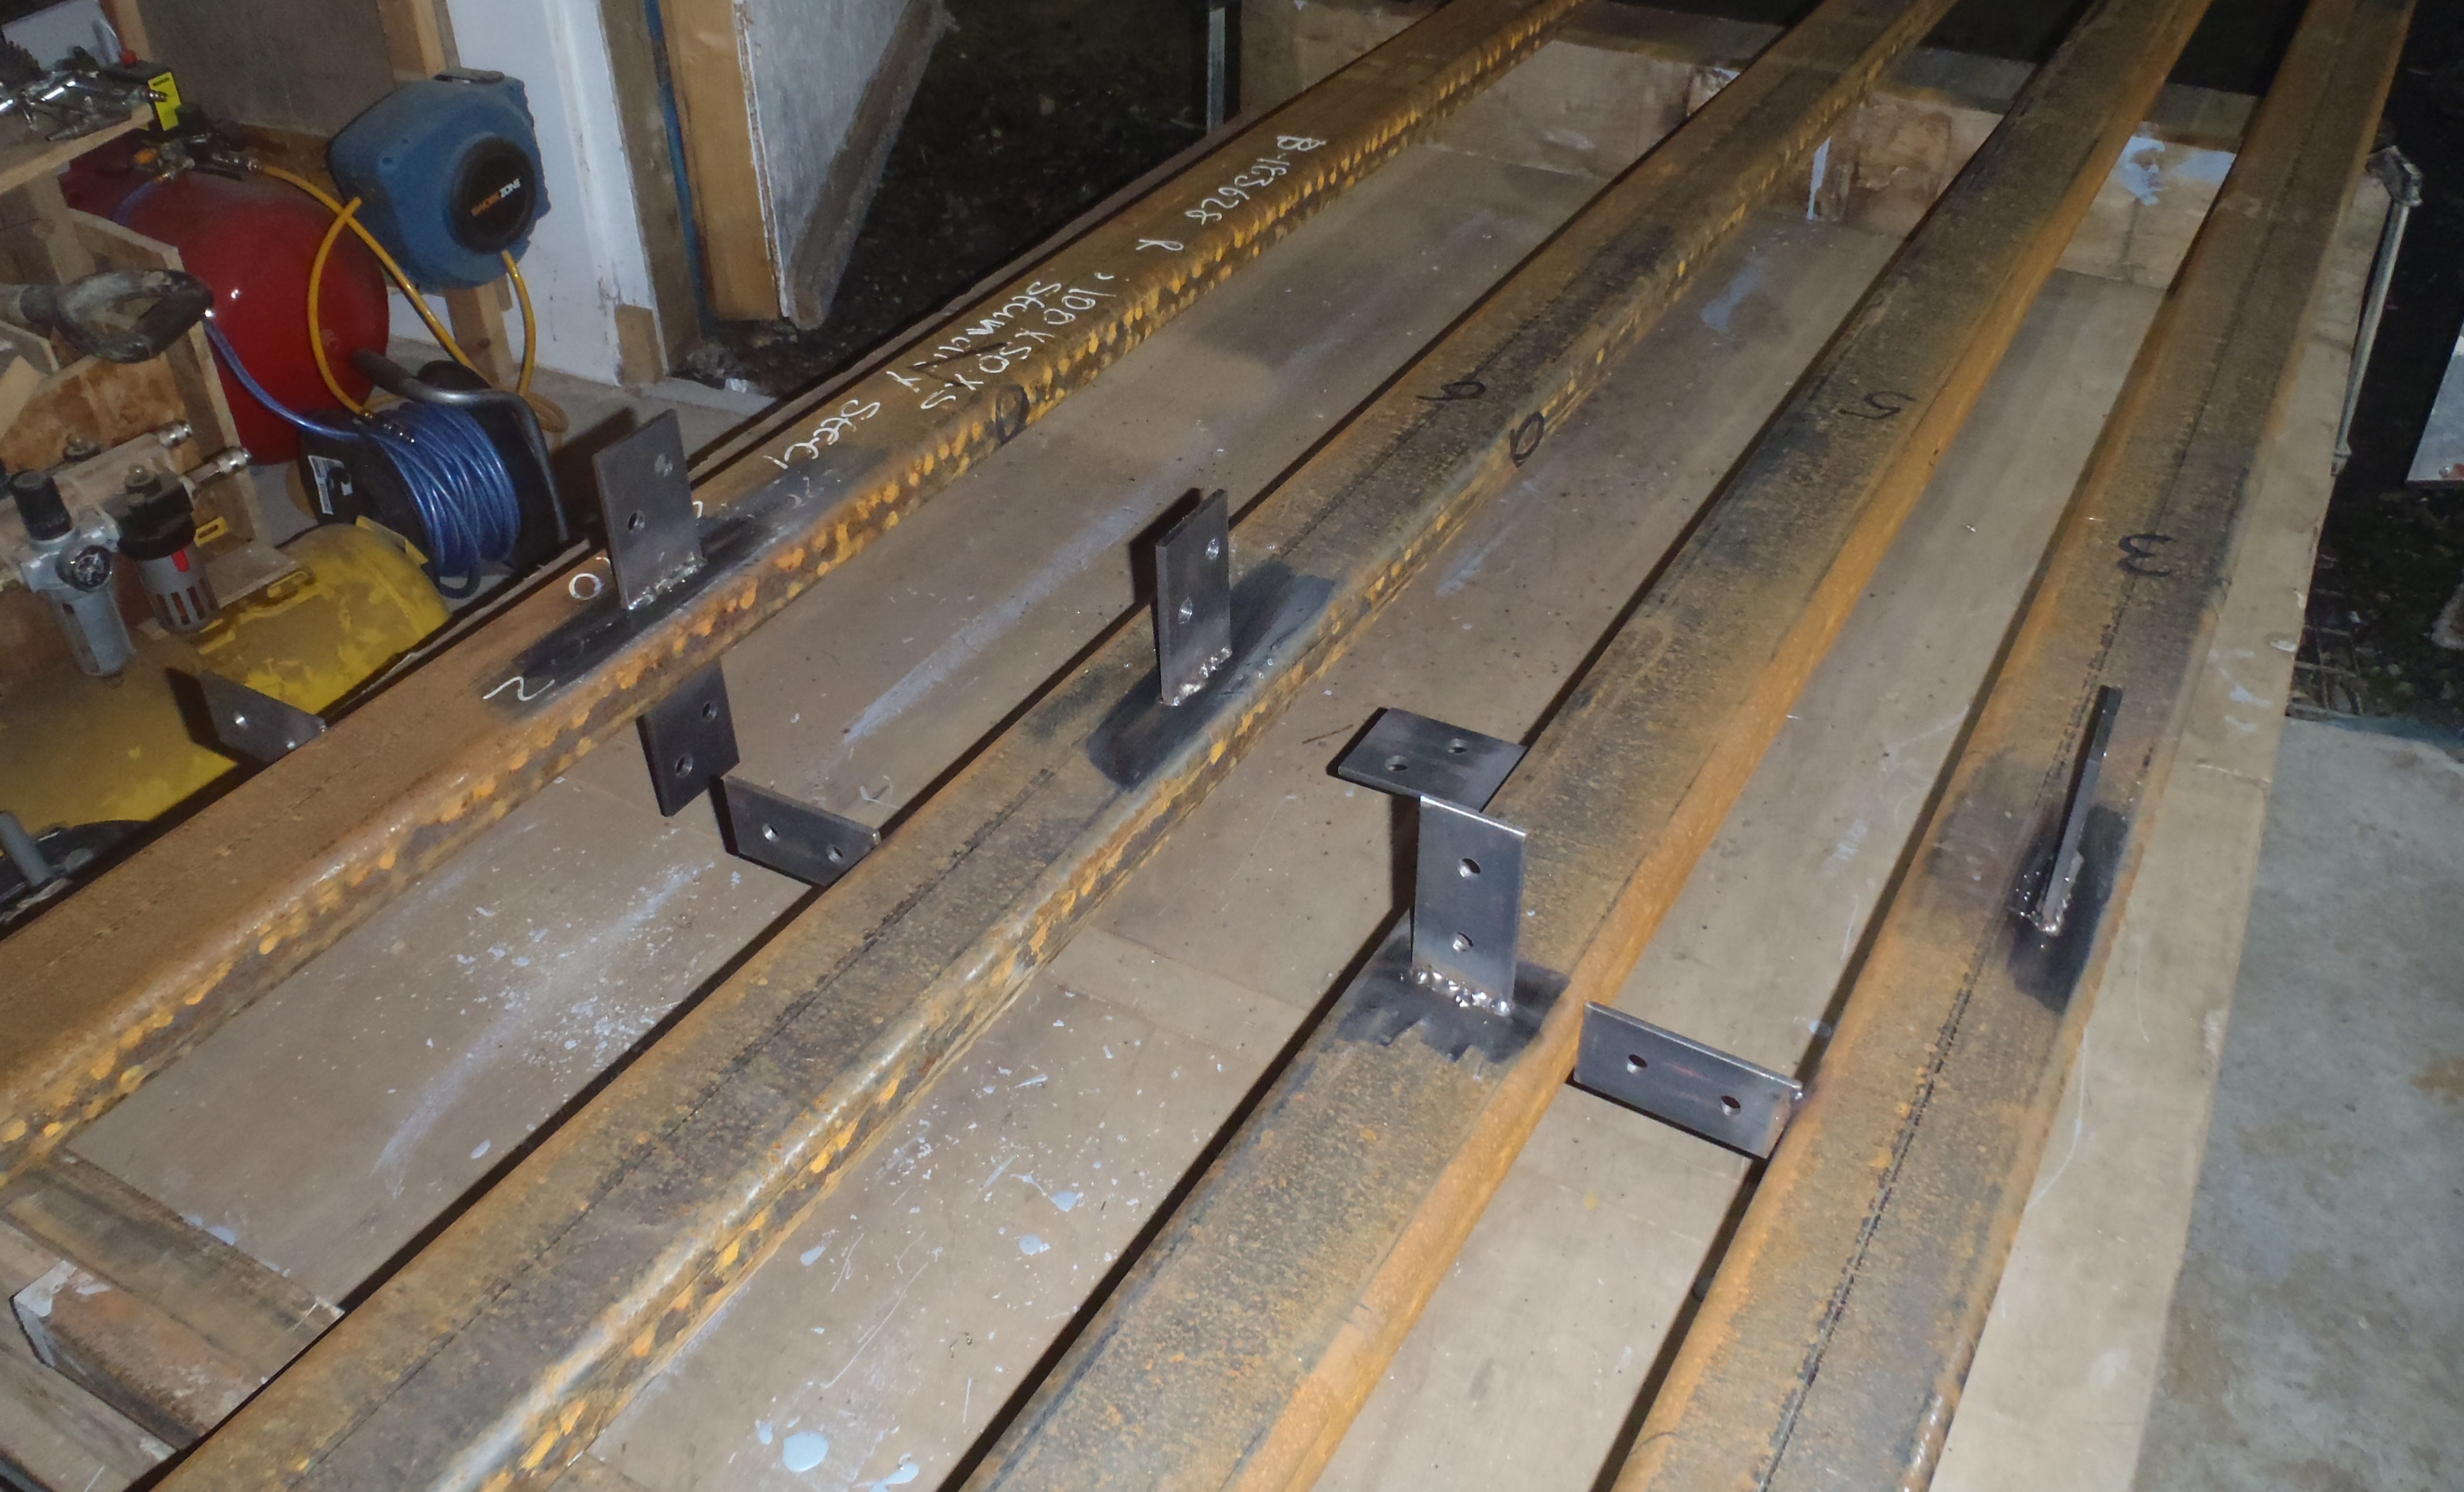
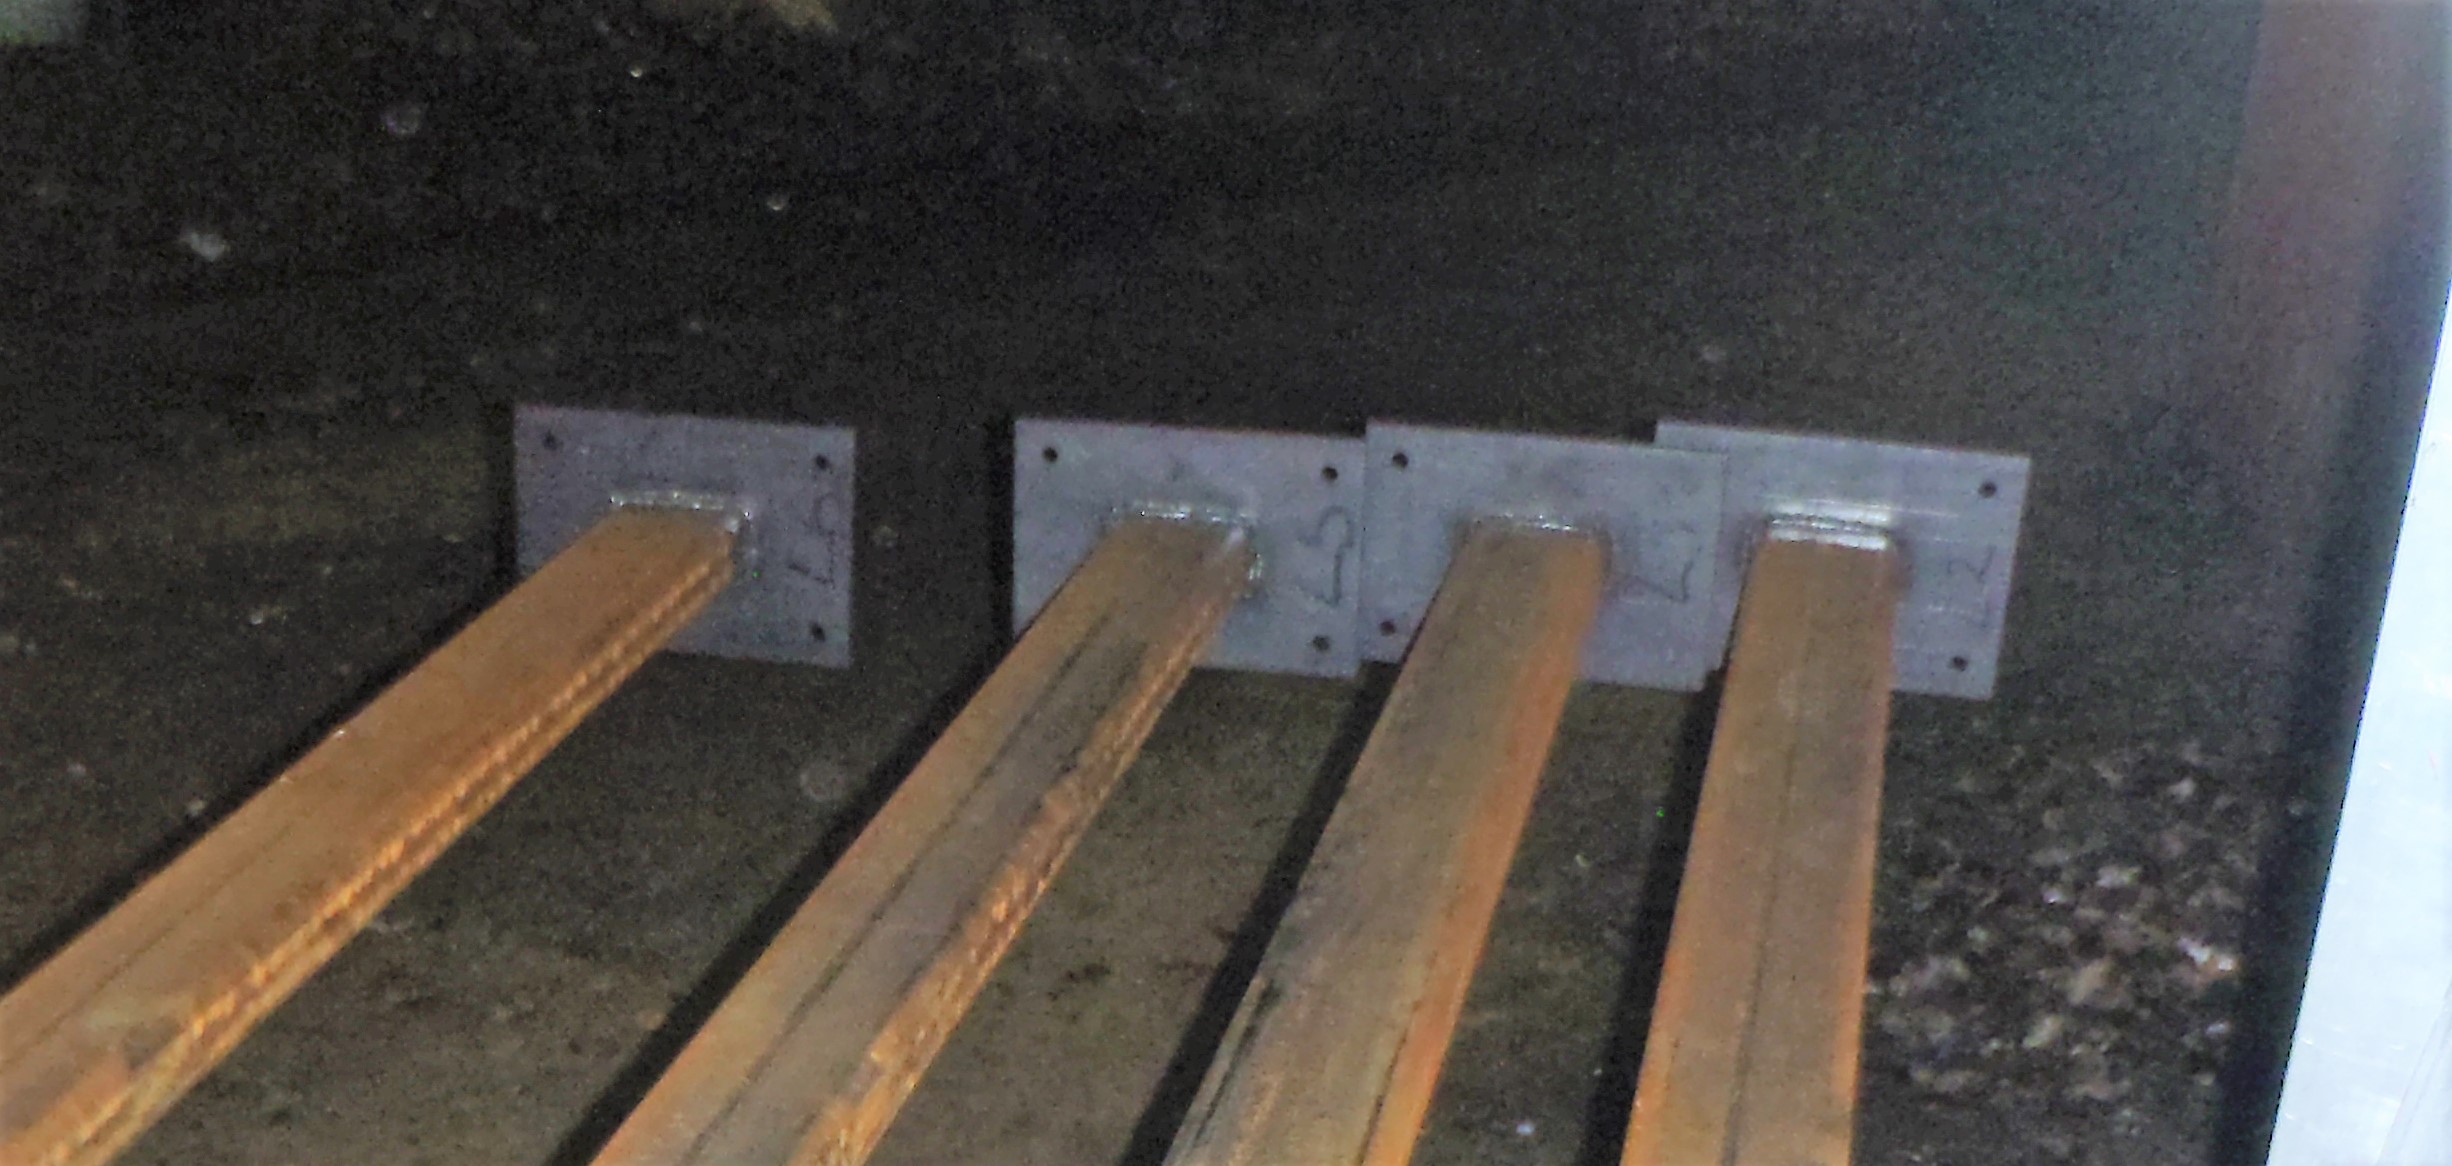
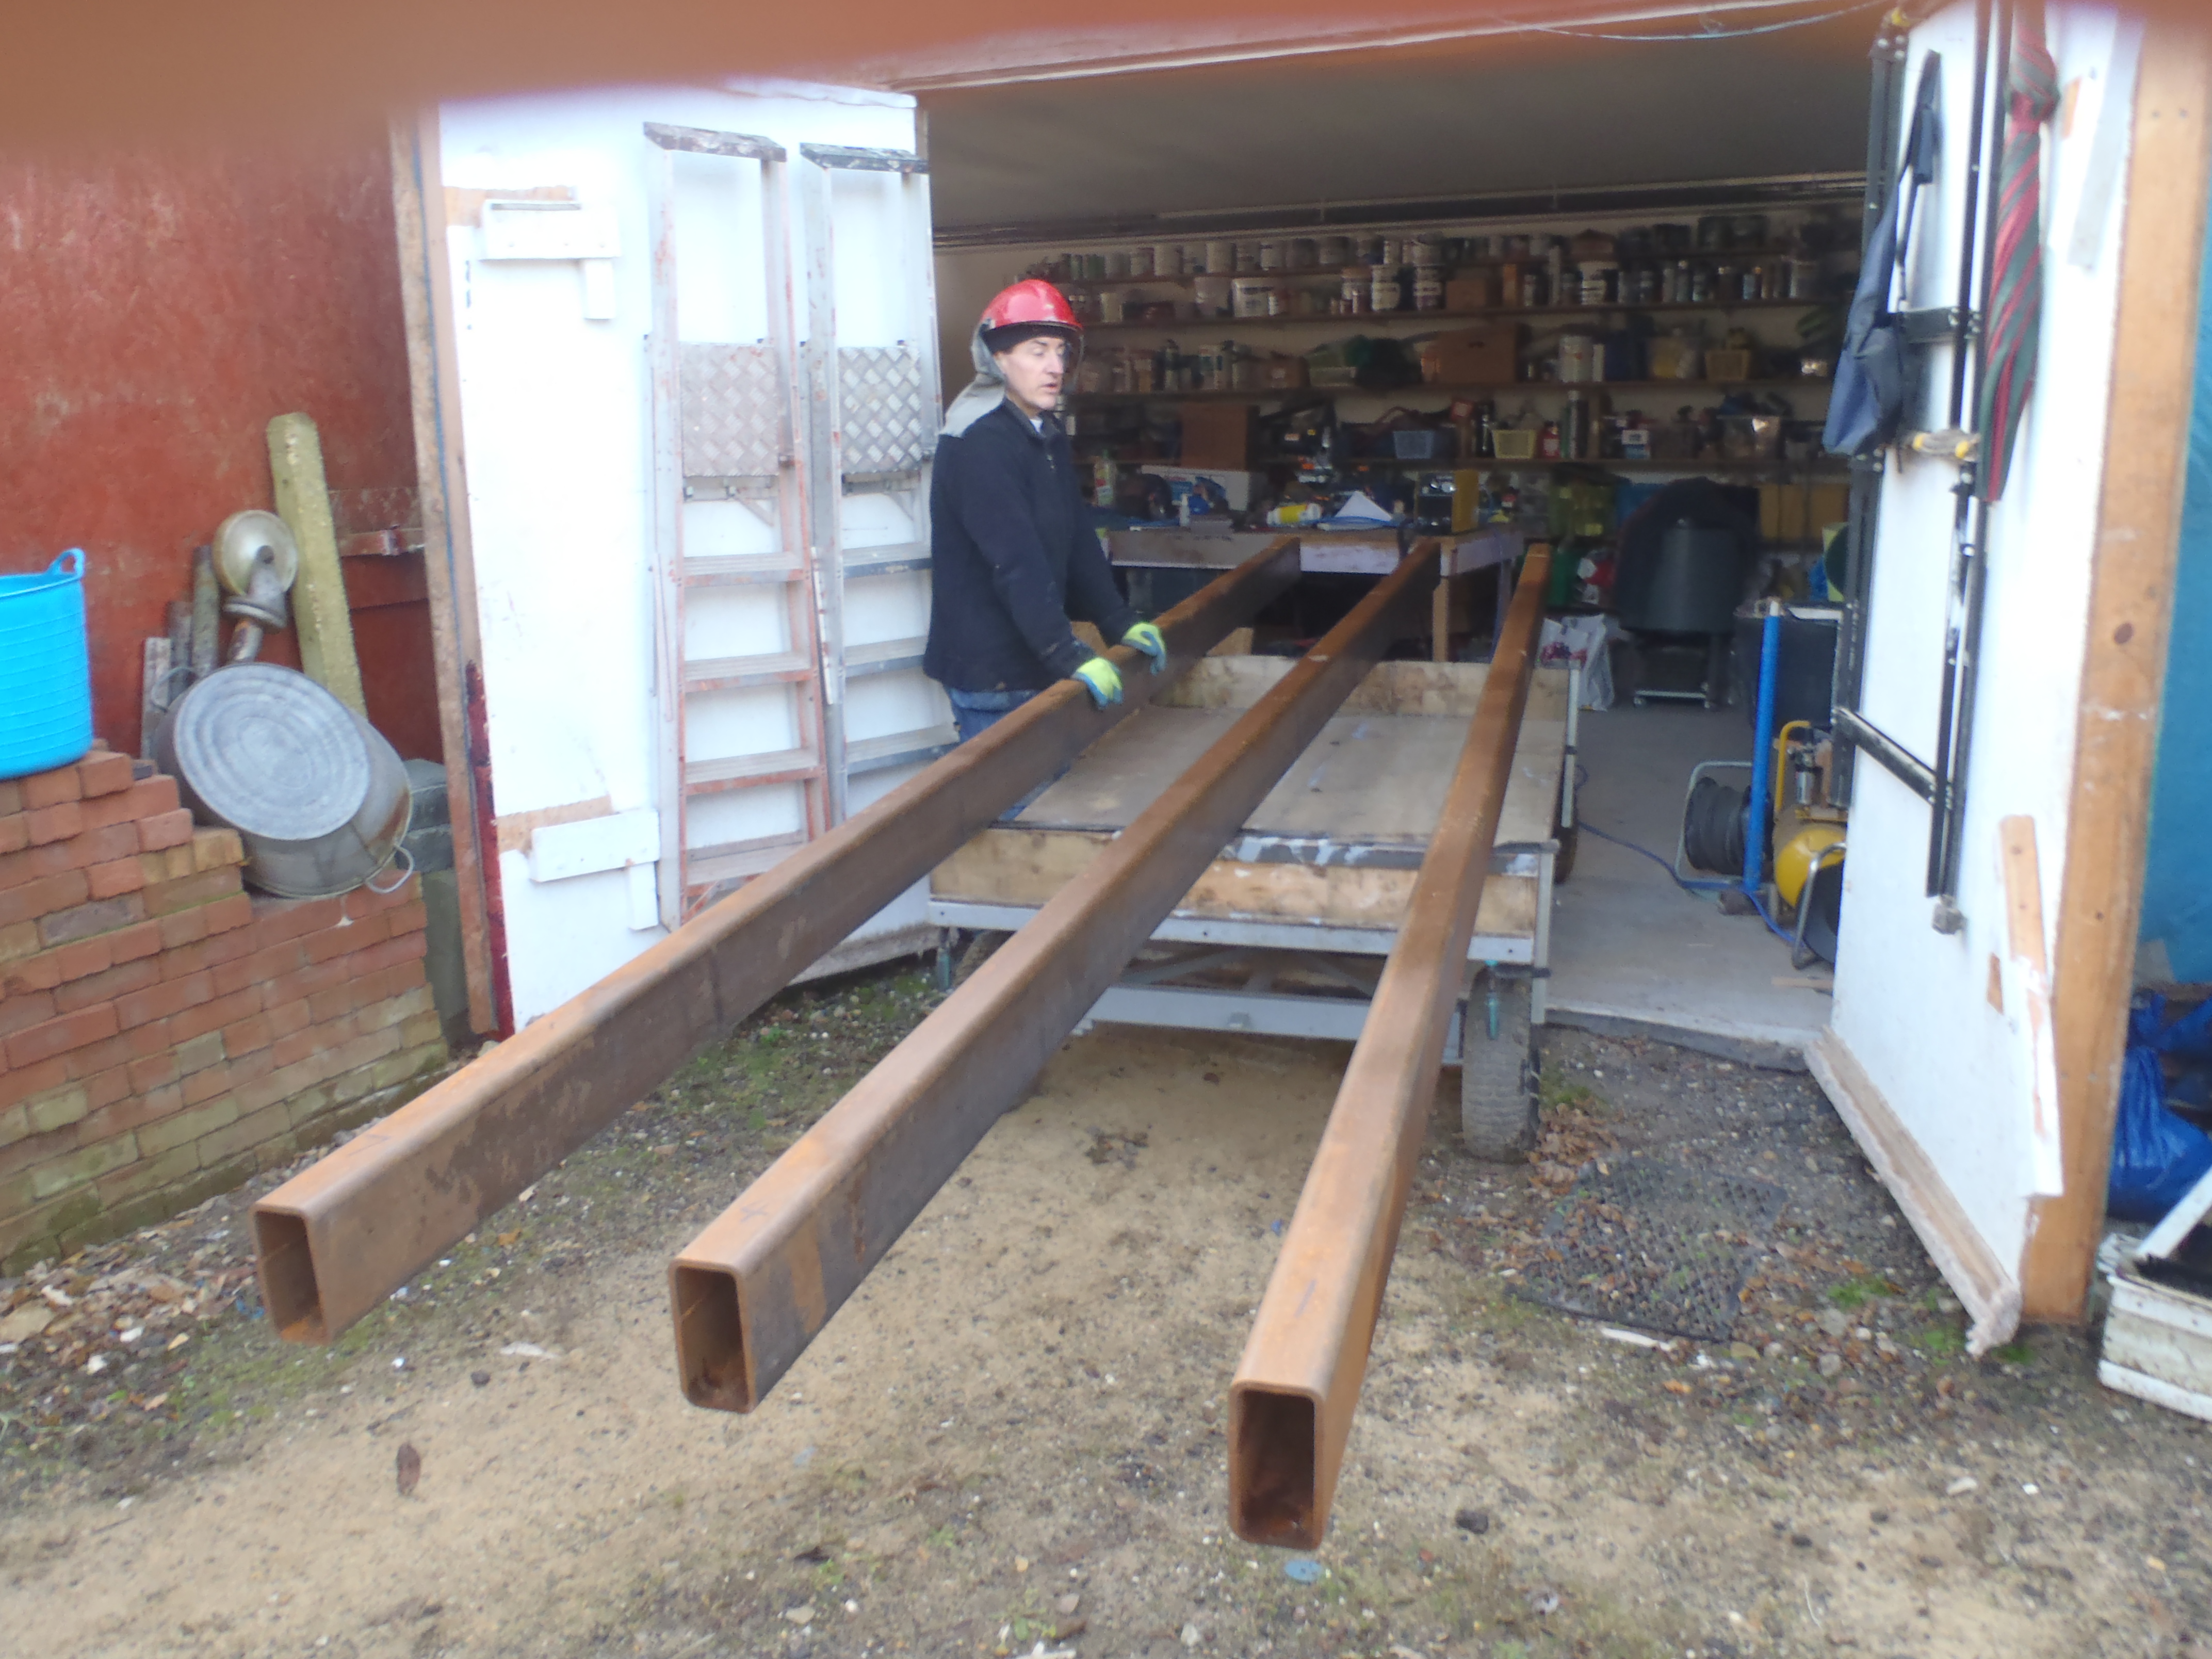
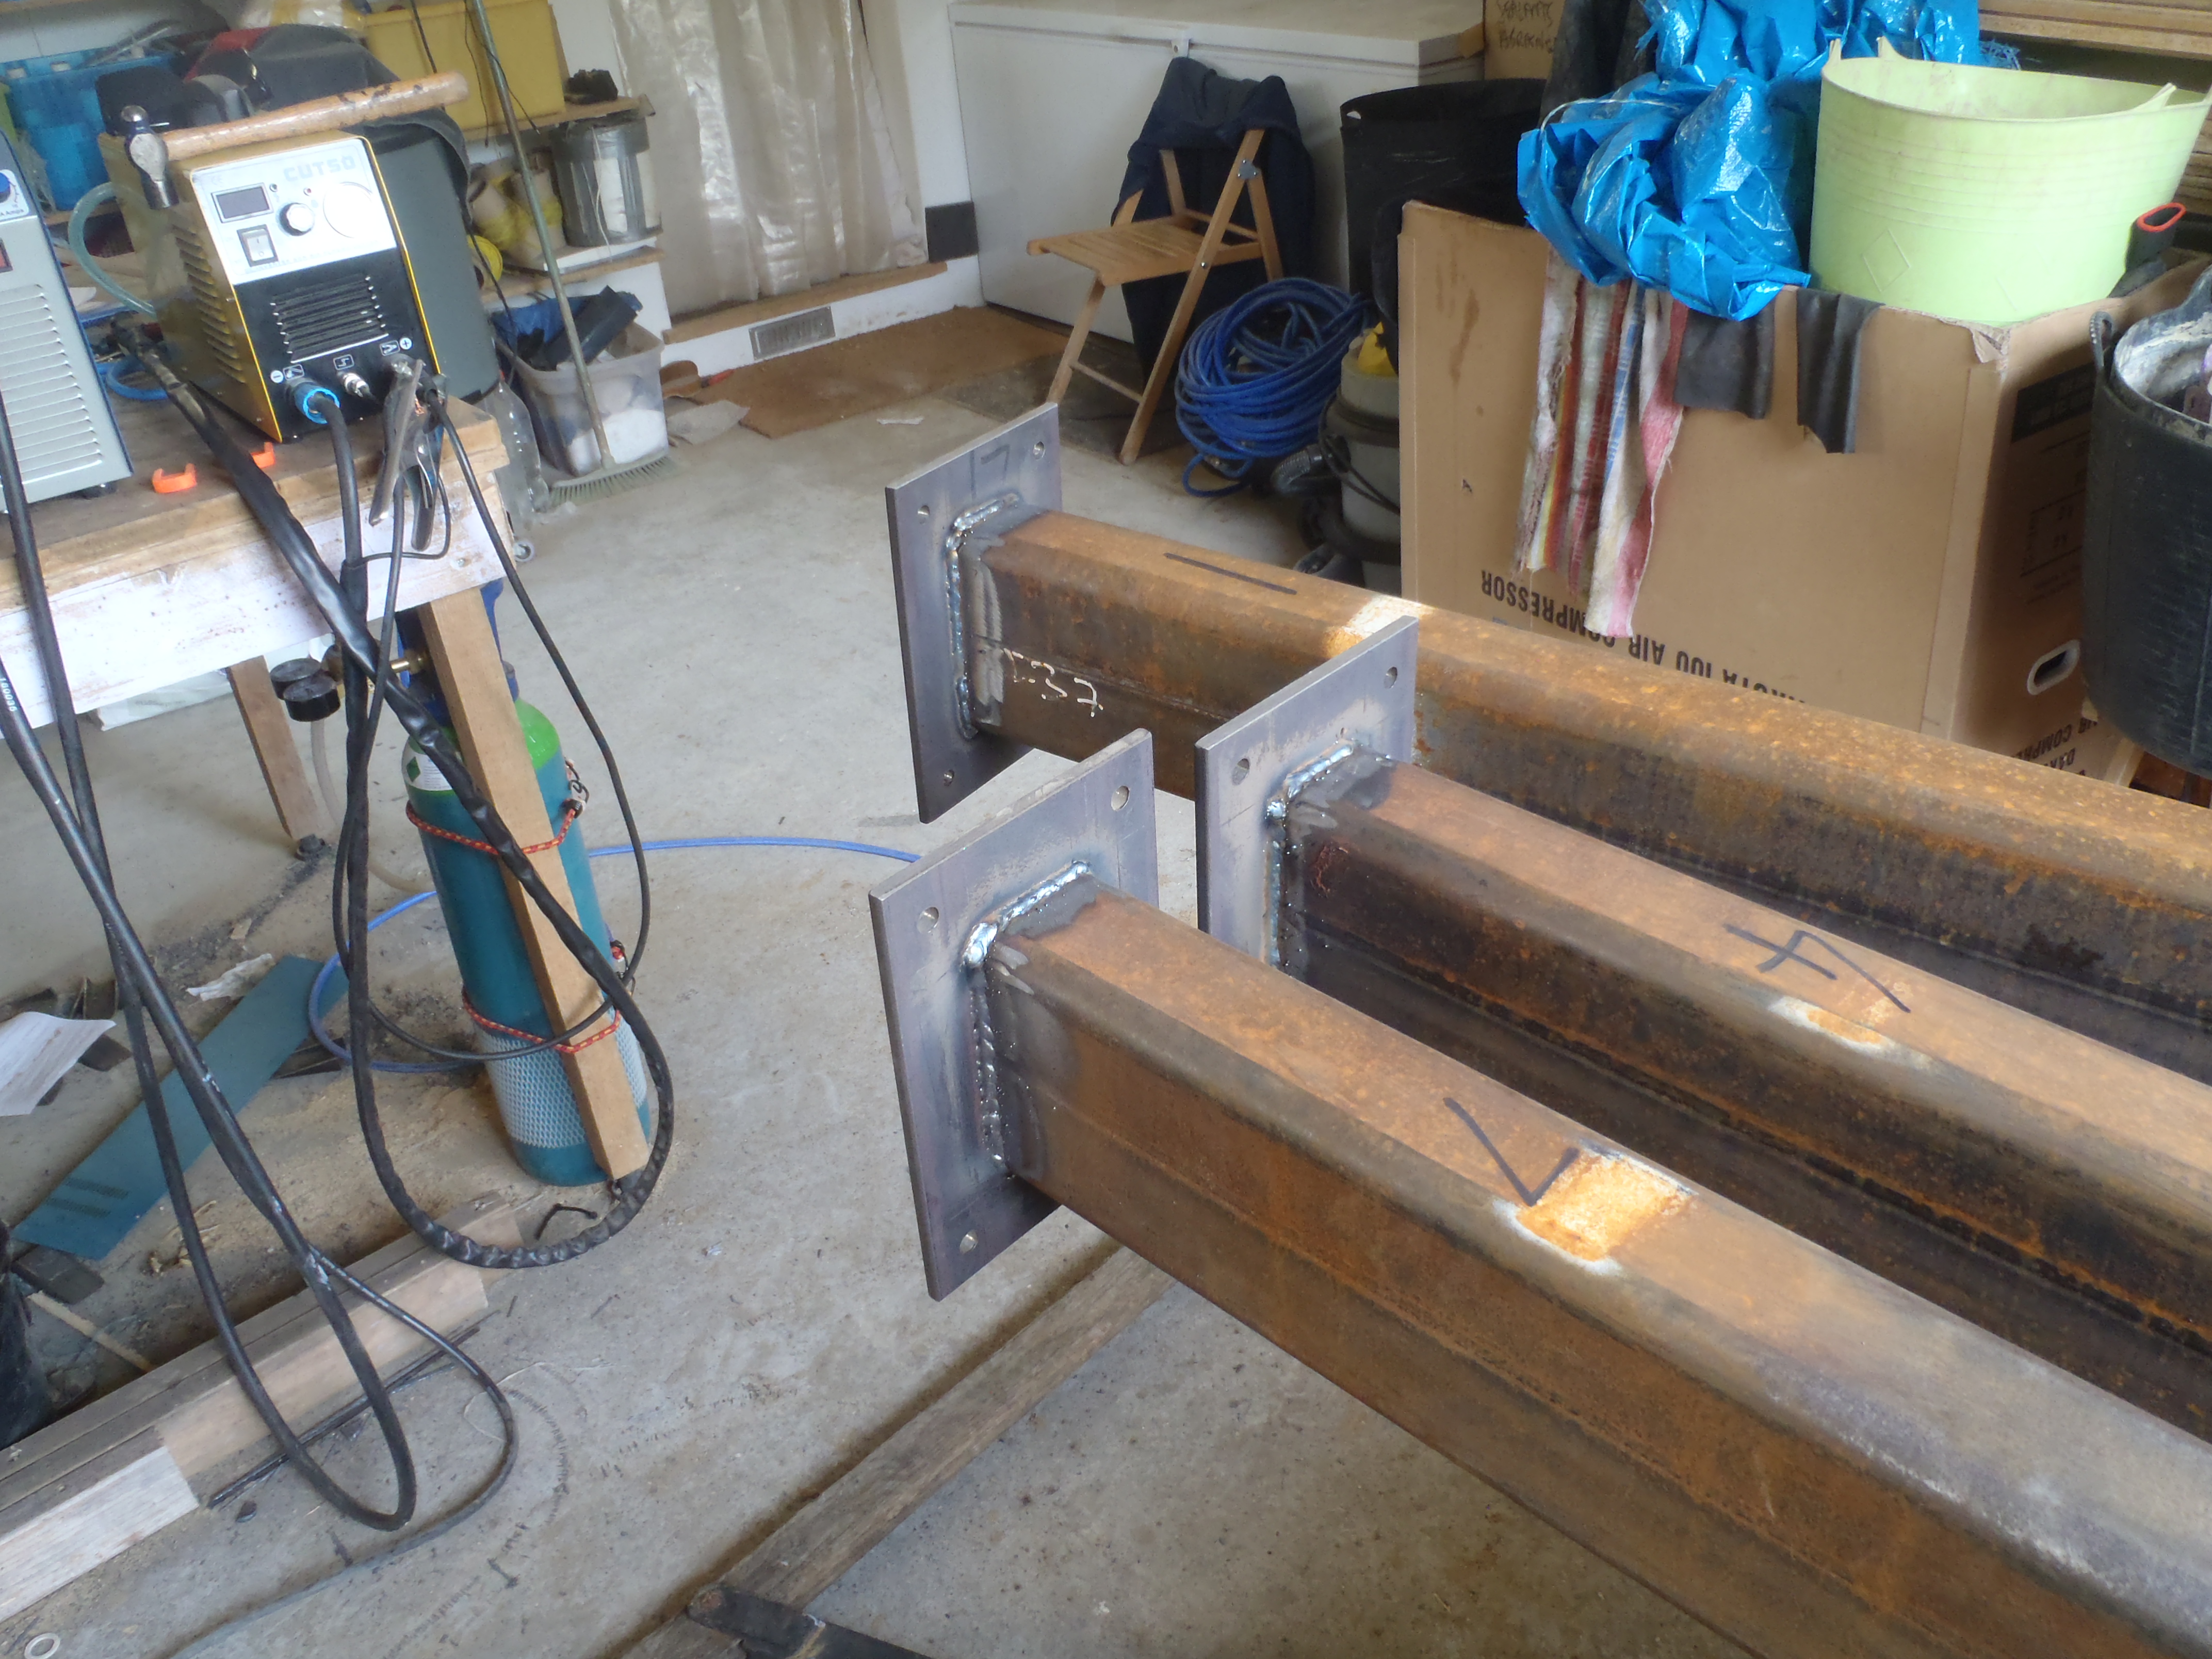
    We also spent some of the morning tidying up and doing minor servicing tasks around the site. We dismantled the painting tent and framework. We moved the 7 painted steel legs to around the house so each one is nearer to where they will be standing up.

    We also cleaned out the drainage sump to clear out the muck and cleaned the filter wrapped around the pump and replaced a rain protection bag over the ends some of the conduits etc.

  • Scaffold Platform Number 2 Being Constructed

    Today, we resumed work on our house building project after the disruptions of Christmas and new year holidays, some illnesses and a jury call up!! We needed another platform for our scaffold tower to go with the 1st one we made late last year (for doing the flood light) and the 2nd one will be used when we start assembling the steel framework.

    So the wooden OSB board was cut into 3 strips and using 89mm wide CLS timber, screwed and glued them together, to make 3 portable modules so we can haul each one up and down the scaffolding tower when we put a tower up.

    Scaffold-Platform-MK2-Construction

    Scaffold-Platform-MK2-Construction

    We will finish the job in the morning with the construction of “kick boards” around the edge of the platform to keep tools from being kicked and rolling off plus also to make sure our own feet never accidentally “miss” the edge and fall off!!!

  • The Legs All Painted

    We started to paint all the legs yesterday but ran out of paint, after ordering some more of the metal primer paint, we finished painting the last steel legs and making sure the bottom portions are double painted as they will sit in water during heavy rain showers etc.

    The painting tent has served its purpose now so we can take that down and move onto the next task of assembling the central framework of the roof.

  • Final Odd Jobs Completed

    Over the last couple of days, We took in the shortest steel I Beams into the workshop where a short piece of the top and bottom flanges, at both ends was cut away, (using the plasma cutter) so the now sticking out webbing can interlock at right angles to the sides of the longer I Beams and be bolted together (using a heavy duty right angle bracket).

    End-beams-cut-to-fit-inside-flanges-of-main-beams

    End-beams-cut-to-fit-inside-flanges-of-main-beams

    End-beam-with-joining-bracket

    End-beam-with-joining-bracket


    Also, we cut another piece off the 10mm thick plate to make a mounting bracket for the chimney “module” extension arm to be welded to. We just need to drill the 4 bolt holes through the plate and the top flange of the I Beam at the same time and that will be ready for completion nearer the time when we construct the roof itself.

    Then, taking more slices off the 10mm thick plate we got left over on our spare steel rack collection, we made 4 square foot plates with a 20mm thick bolt rod sticking up to form foots for the scaffolding tower along with matching nuts welded to the end of lengths of tubing. A pair of the tubes are clamped into the bottom of a scaffold tower on one side with a pair of wheels on the opposite side. We can then twist the foot around to balance up the tower and remove any annoying rocking motions etc. and make our lives safer.

    Scafold-tower-Wheels-and-Adjustable-feet

    Scafold-tower-Wheels-and-Adjustable-feet

    There are more steel work to do but that will be later on when we are building the roof proper, after all the perimeter walls are constructed.

  • Final 4 Legs with Pieces Welded On!

    This afternoon, we unloaded the 3 heavy legs and loaded the remaining 4 lighter legs onto the trolley and transferred them into the workshop. The Foot plates and Top plates were welded on and then the collection of sticking out tabs were welded half way up the legs in the appropriate positions to achieve the necessary connections between the legs (just like what we had done on the first 3 legs).

    Last-4-legs-brackets-welded

    Last-4-legs-brackets-welded

    Last-4-legs-top-plates-welded

    Last-4-legs-top-plates-welded

    Last-4-legs-base-plate-welded

    Last-4-legs-base-plate-welded


    The final job is to paint them tomorrow and we will be all finished! Then the fun job of assembly will begin …. wish us luck!!

  • 3 Big Fat Legs All Completed!

    Today, we tackled the heavy duty legs (number 1, 4 and 7), each measuring 160mm by 80mm by 5.4metres tall and with a wall thickness is 8mm!! (Each weighs about 150 kg or 24 stones)

    We managed to man handled them onto our large trolley and trundle it into our workshop, with half the length still sticking out the doors.

    First-3-legs-on-trolley

    First-3-legs-on-trolley

    We labelled each one with their number and then sliced off 10mm of number 4 leg to compensate for the concrete being slightly higher at that point. Next, we welded the 10mm thick bottom plates on the ends as shown in the picture below

    Base-plates-welded-to-first-3-legs

    Base-plates-welded-to-first-3-legs

    Then we had to push the trolley out and make a 3 point turn to get the other ends into the workshop and weld the 10mm thick plates on the other end of the legs.

    Top-plates-welded-to-first-3-legs

    Top-plates-welded-to-first-3-legs

    Next came the fiddly job of placing steel tabs sticking out half way up the legs to hold cross struts (between leg 1 and 2 plus leg 7 and 6) and a lintel (between leg 1 and leg 7). Leg 4 had also more steel tabs welded on all 4 faces of its leg (for tie down steel strips upon the 1st floor boards to anchor this leg).

    Restraint-brackets-to-welded-first-3-legs

    Restraint-brackets-to-welded-first-3-legs

    Finally, we painted the 3 legs with the rust proof primer under our painting tent outside in the dark. That those 3 leg done, now we have just the remaining 4 lighter duty legs to do and we will be all finished!

  • Brackets Painted and Preparations starts on Legs

     The 6 steel brackets were hung up in our painting tent this morning and painted this afternoon.

    Shaun-painting-brackets

    Shaun-painting-brackets

    Plus also the preparations for making the Steel Legs, all 7 of them, started today. First of all, we measured the height of the concrete floor inside the house at where the legs will be standing. The results of the laser level check-up were that 6 of them were within plus or minus 3mm and the 7th position was 15mm higher. This means that we will shorten that particular leg by 10mm and leave the other  6 legs alone as they are all within working tolerance.

    Then the foot and top plates were orientated and marked out so they can be welded flat onto the ends of each of the 7 legs the right way around and that the bolt holes will line up with the I Beams.

    It will probably take another week to weld the final pieces of steel onto the 7 legs and have them painted too. Then we will be ready to assemble them all together into the massive rectangular box framework situated in the middle of our roof and house.

  • Ridge and Valley Support’s Construction Completed

    The task of the last two weeks (interrupted by a bought of illness), has been to cut and weld together pieces of 3mm thick steel plates into brackets. These are designed to allow the ends of main wooden box rafters (the Hip Ridge, Valleys and extension Ridges) to be securely anchored to the steel I beam central structure.

    There are 6 of these brackets of which 3 just support a hip rafter at the corners of the building and the other 3 support multiple rafters converging together.

    42 pieces of steel had to be cut to create a jigsaw of parts to be drilled and welded together to form the six individual brackets.

    Rafter-Brackets 1,3 & 4

    Rafter-Brackets 1,3 & 4

    Rafter-Brackets 1,3 & 4

    Rafter-Brackets 1,3 & 4

    Rafter-Brackets 2&5

    Rafter-Brackets 2&5

    Rafter-Bracket 6

    Rafter-Bracket 6

    Rafter-Bracket 6

    Rafter-Bracket 6


    Rafter-Bracket 6

    Rafter-Bracket 6

    Rafter-Bracket 6

    Rafter-Bracket 6


    Just a coat of the metal paint to protect against short term rusting and this fiddly and complex task will be done.

  • Last 4 Cross Struts Painted

    The last 4 steel cross strut members were painted this afternoon.

    Beam-restraints-painted

    Beam-restraints-painted

    The next job is to weld and make joist brackets to anchor the hip ridge and valley box beams of the roof. These brackets will be bolted onto the steel I Beam structure.

  • Steel “Cross” pieces Cleaned and Painted

    Today was the job of cleaning and painting the newly formed Cross steel framework pieces. All 9 were washed in hot soapy water to remove all the dirt and oil and 5 of them were painted with the metal primer protection paint. All this was done inside our workshop as it was a wet day outside!

    The last 4 will be done tomorrow, and then they can be moved outside, to make  room in our workshop to carry on with the preparations work on the remaining steel pieces.