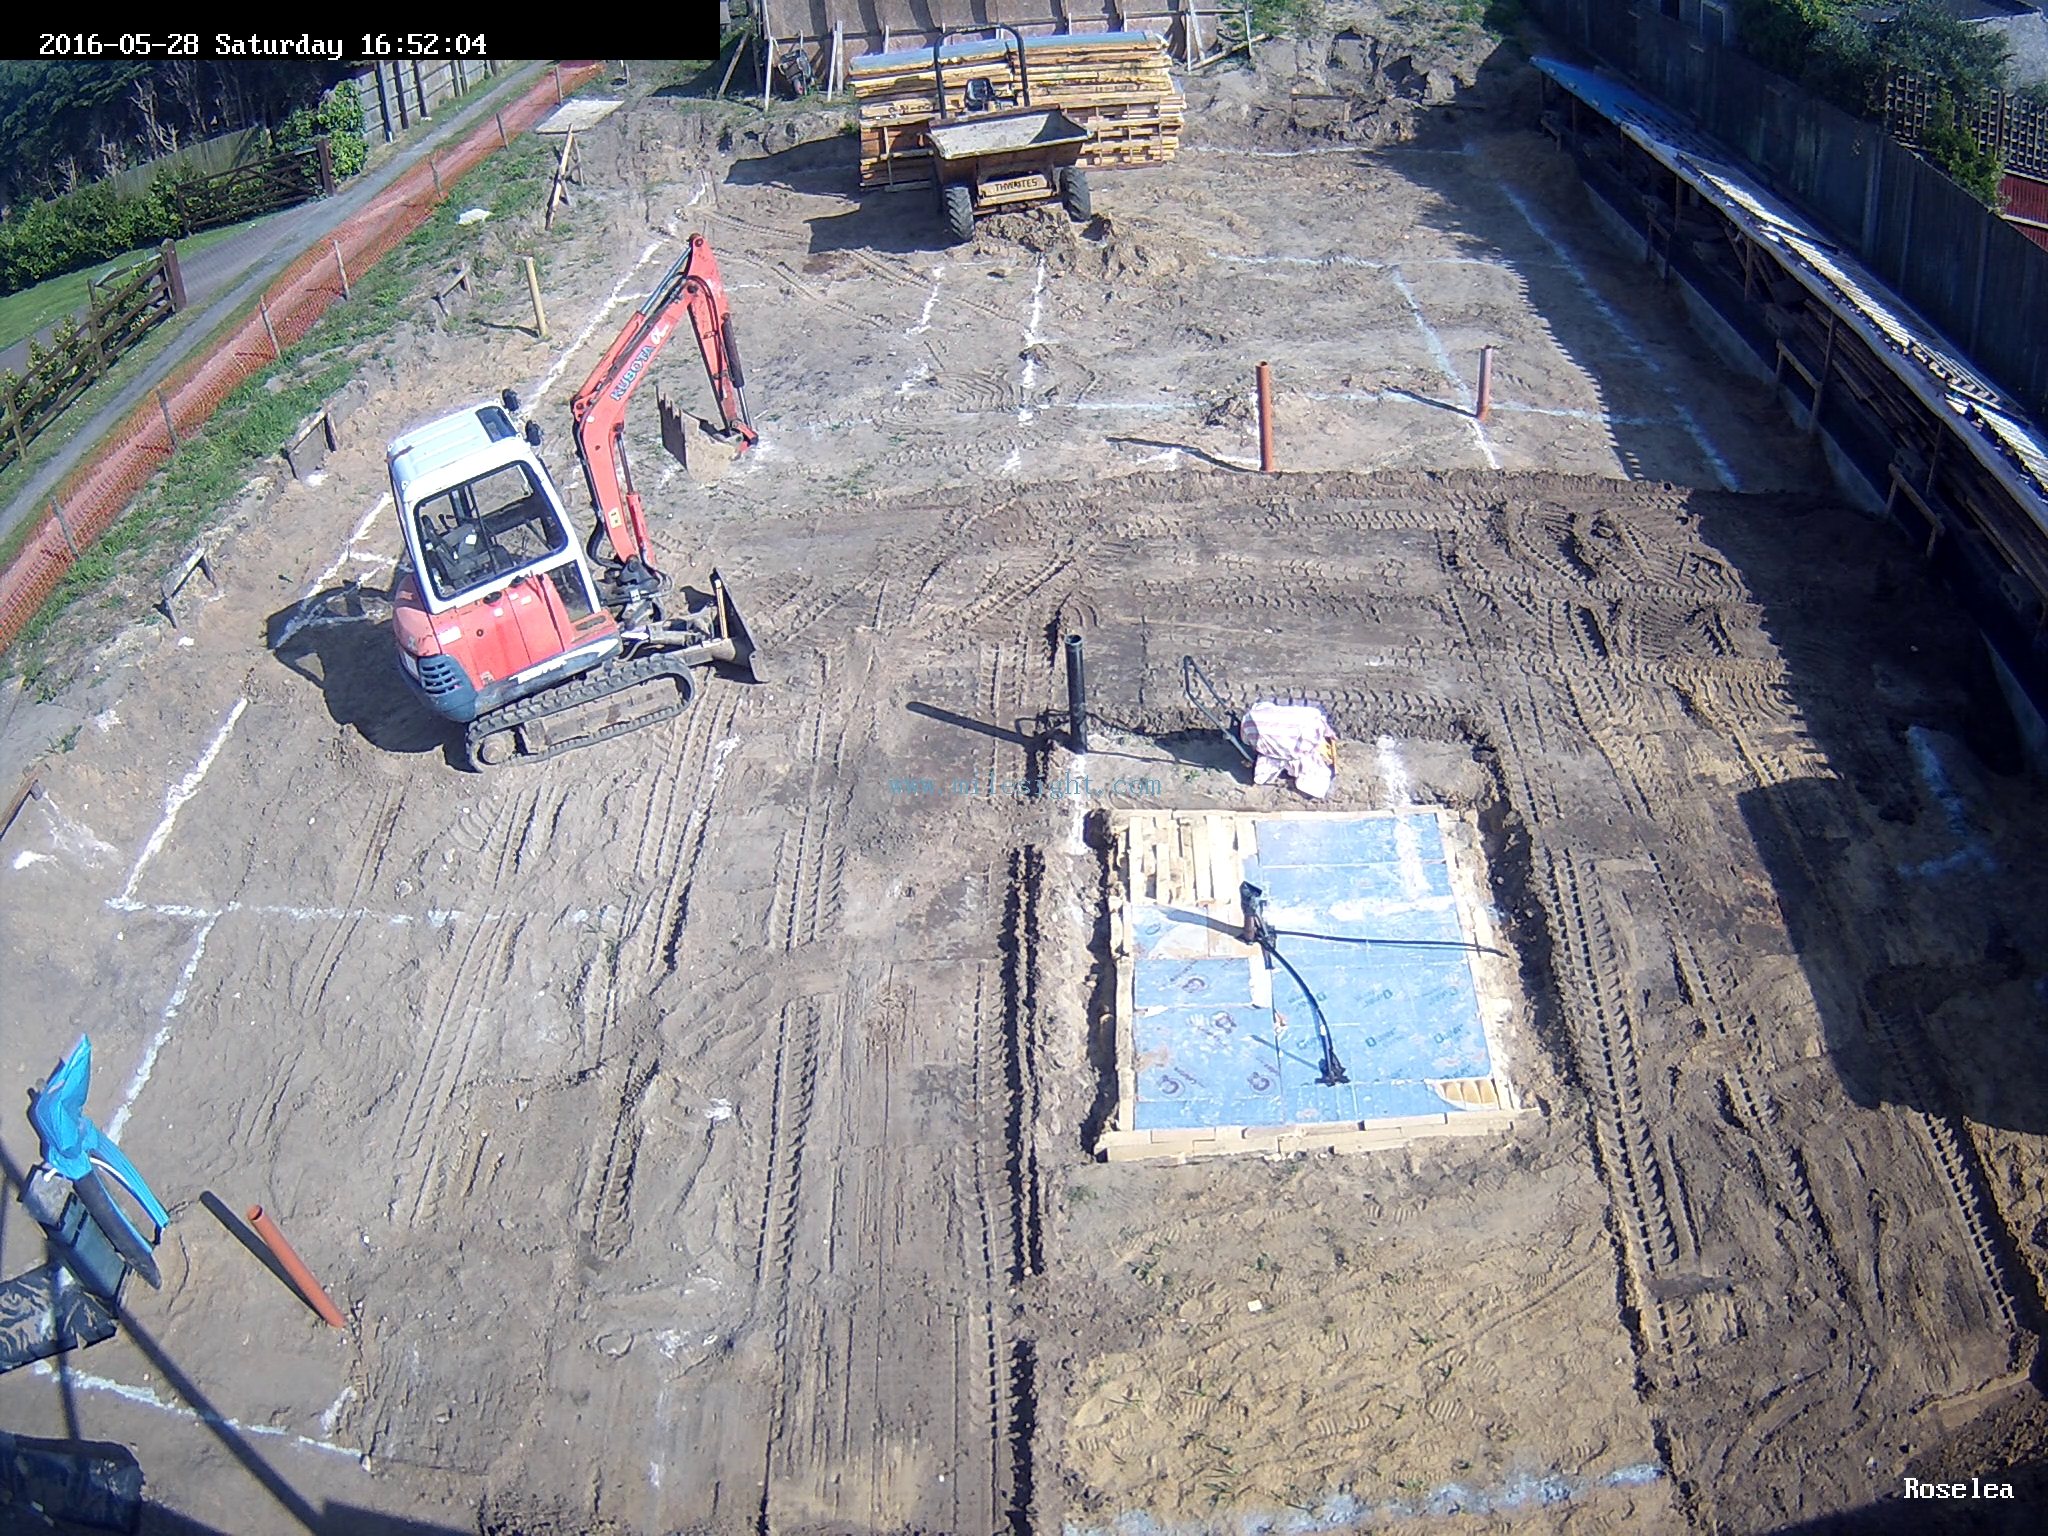
And this afternoon, we went back to our Number 1 Energy Module to carry on
with the assembling of the underground hot water tank.
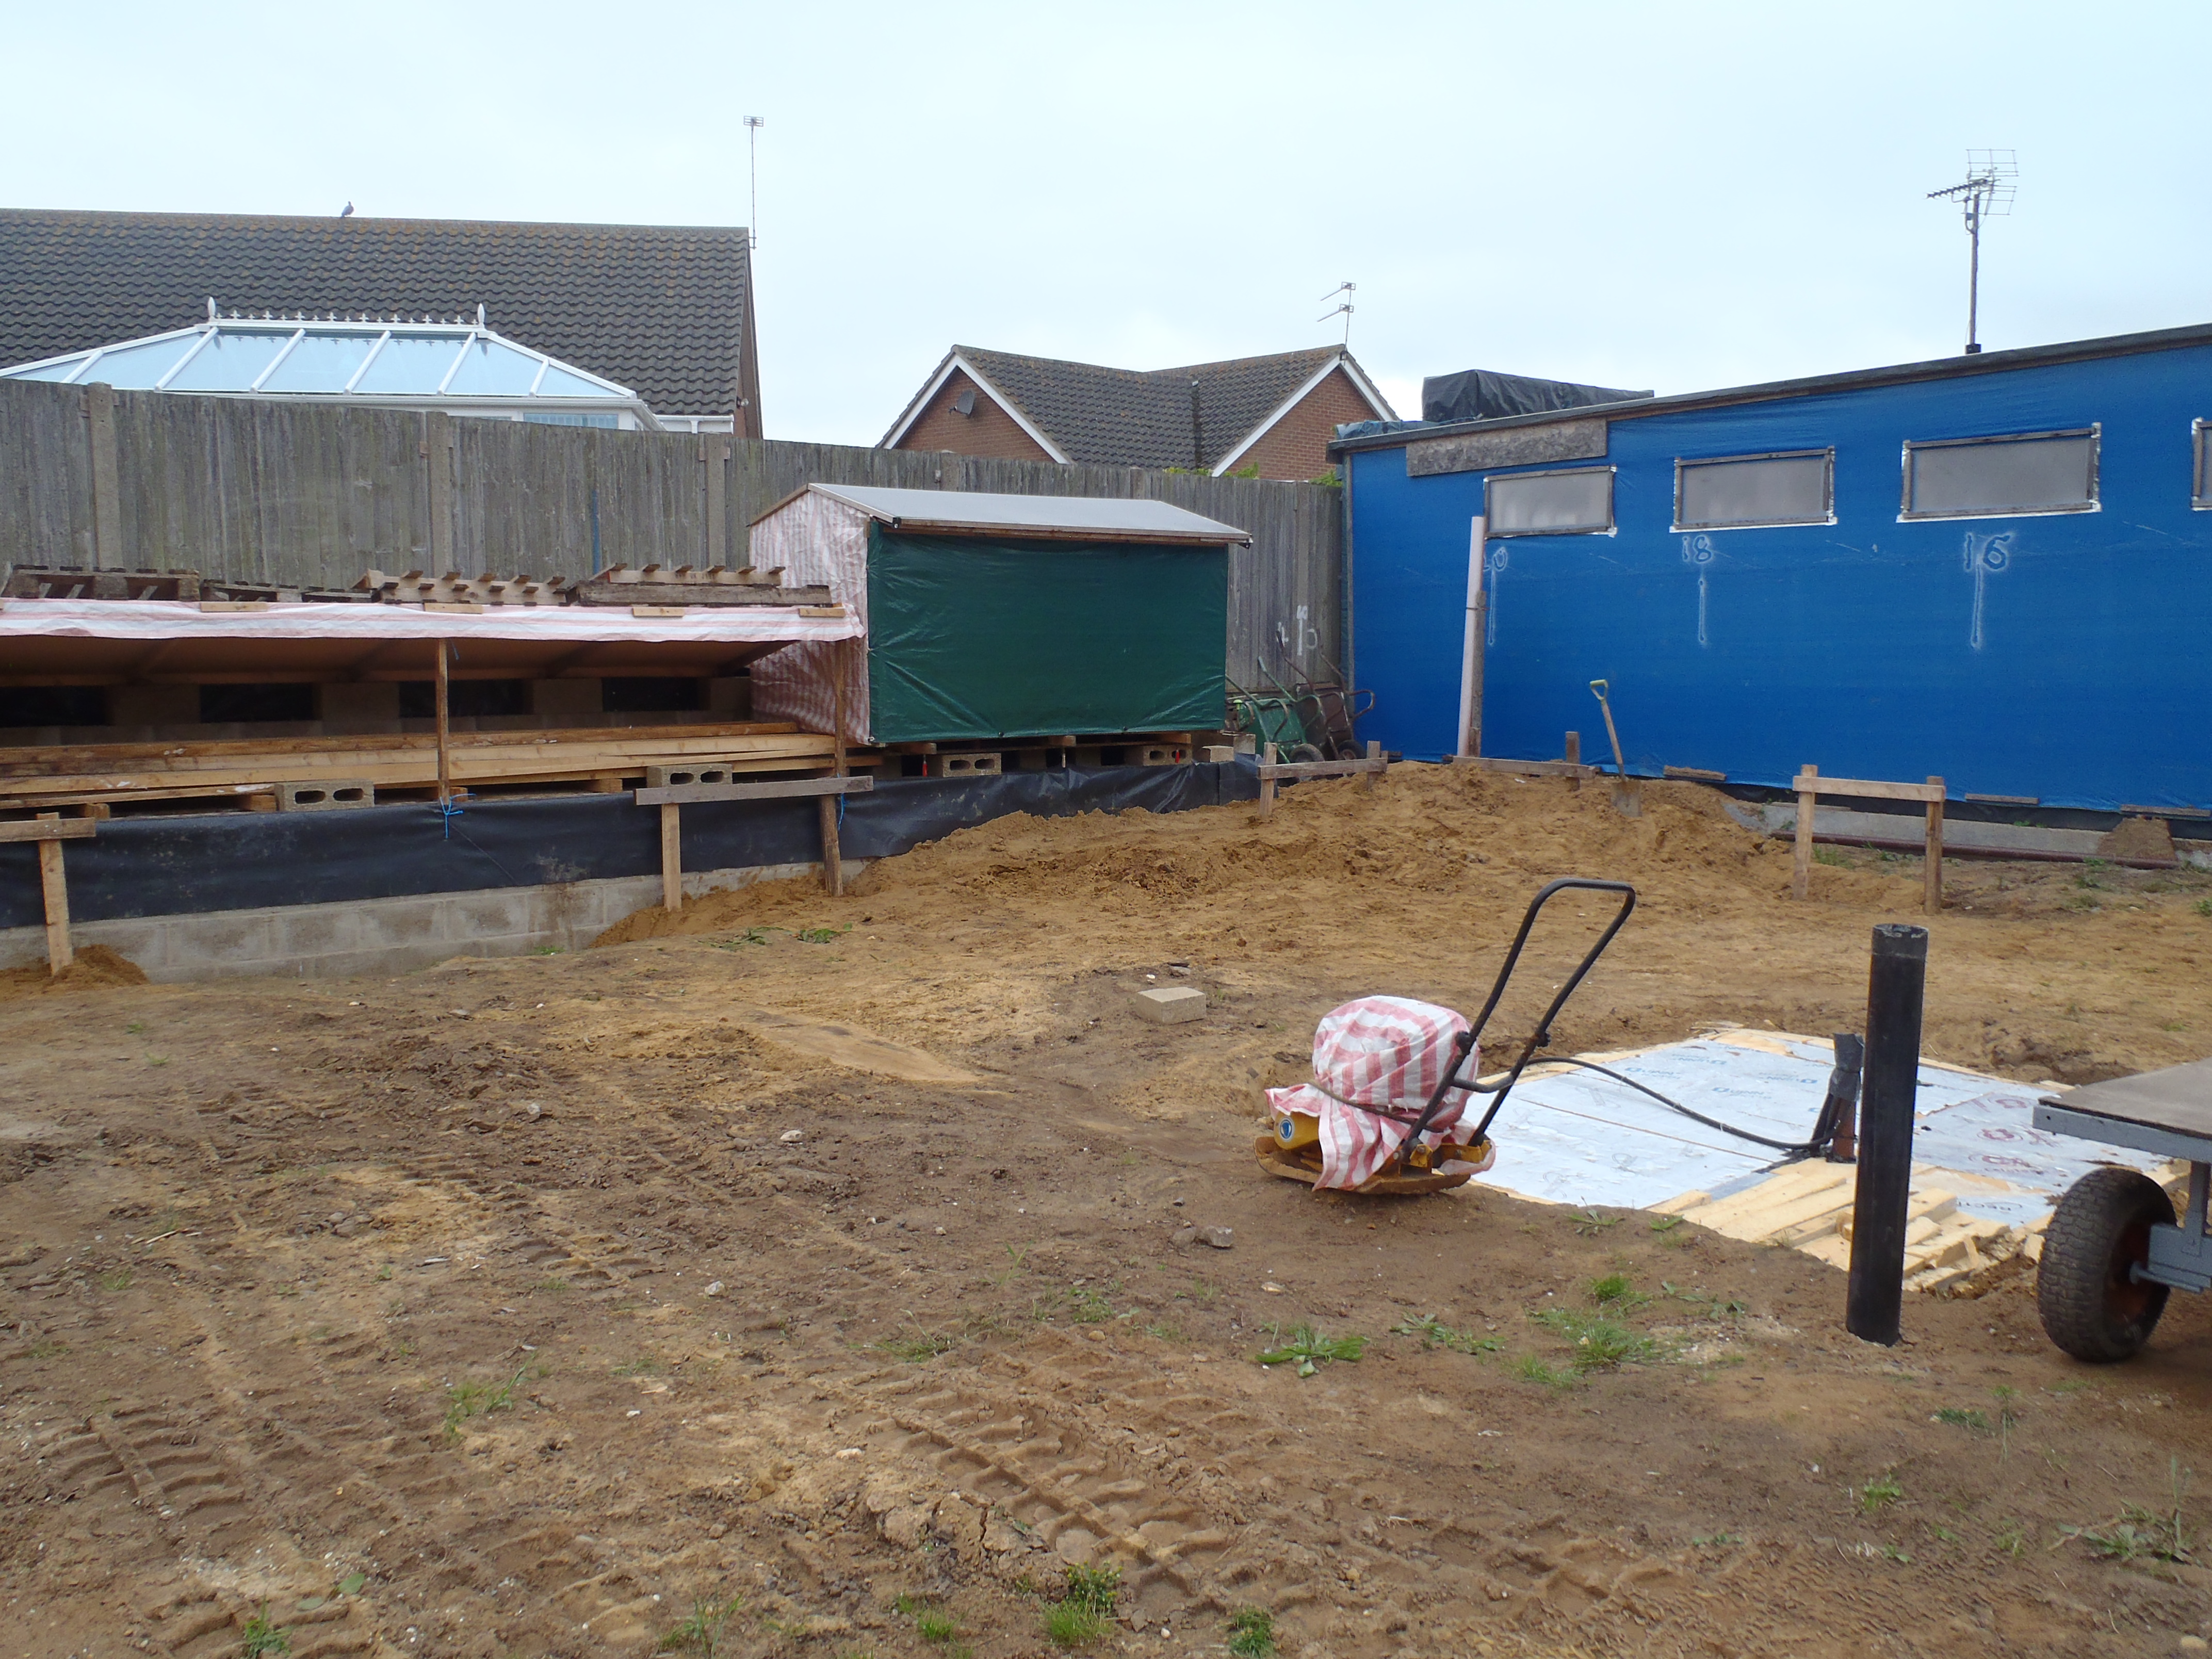
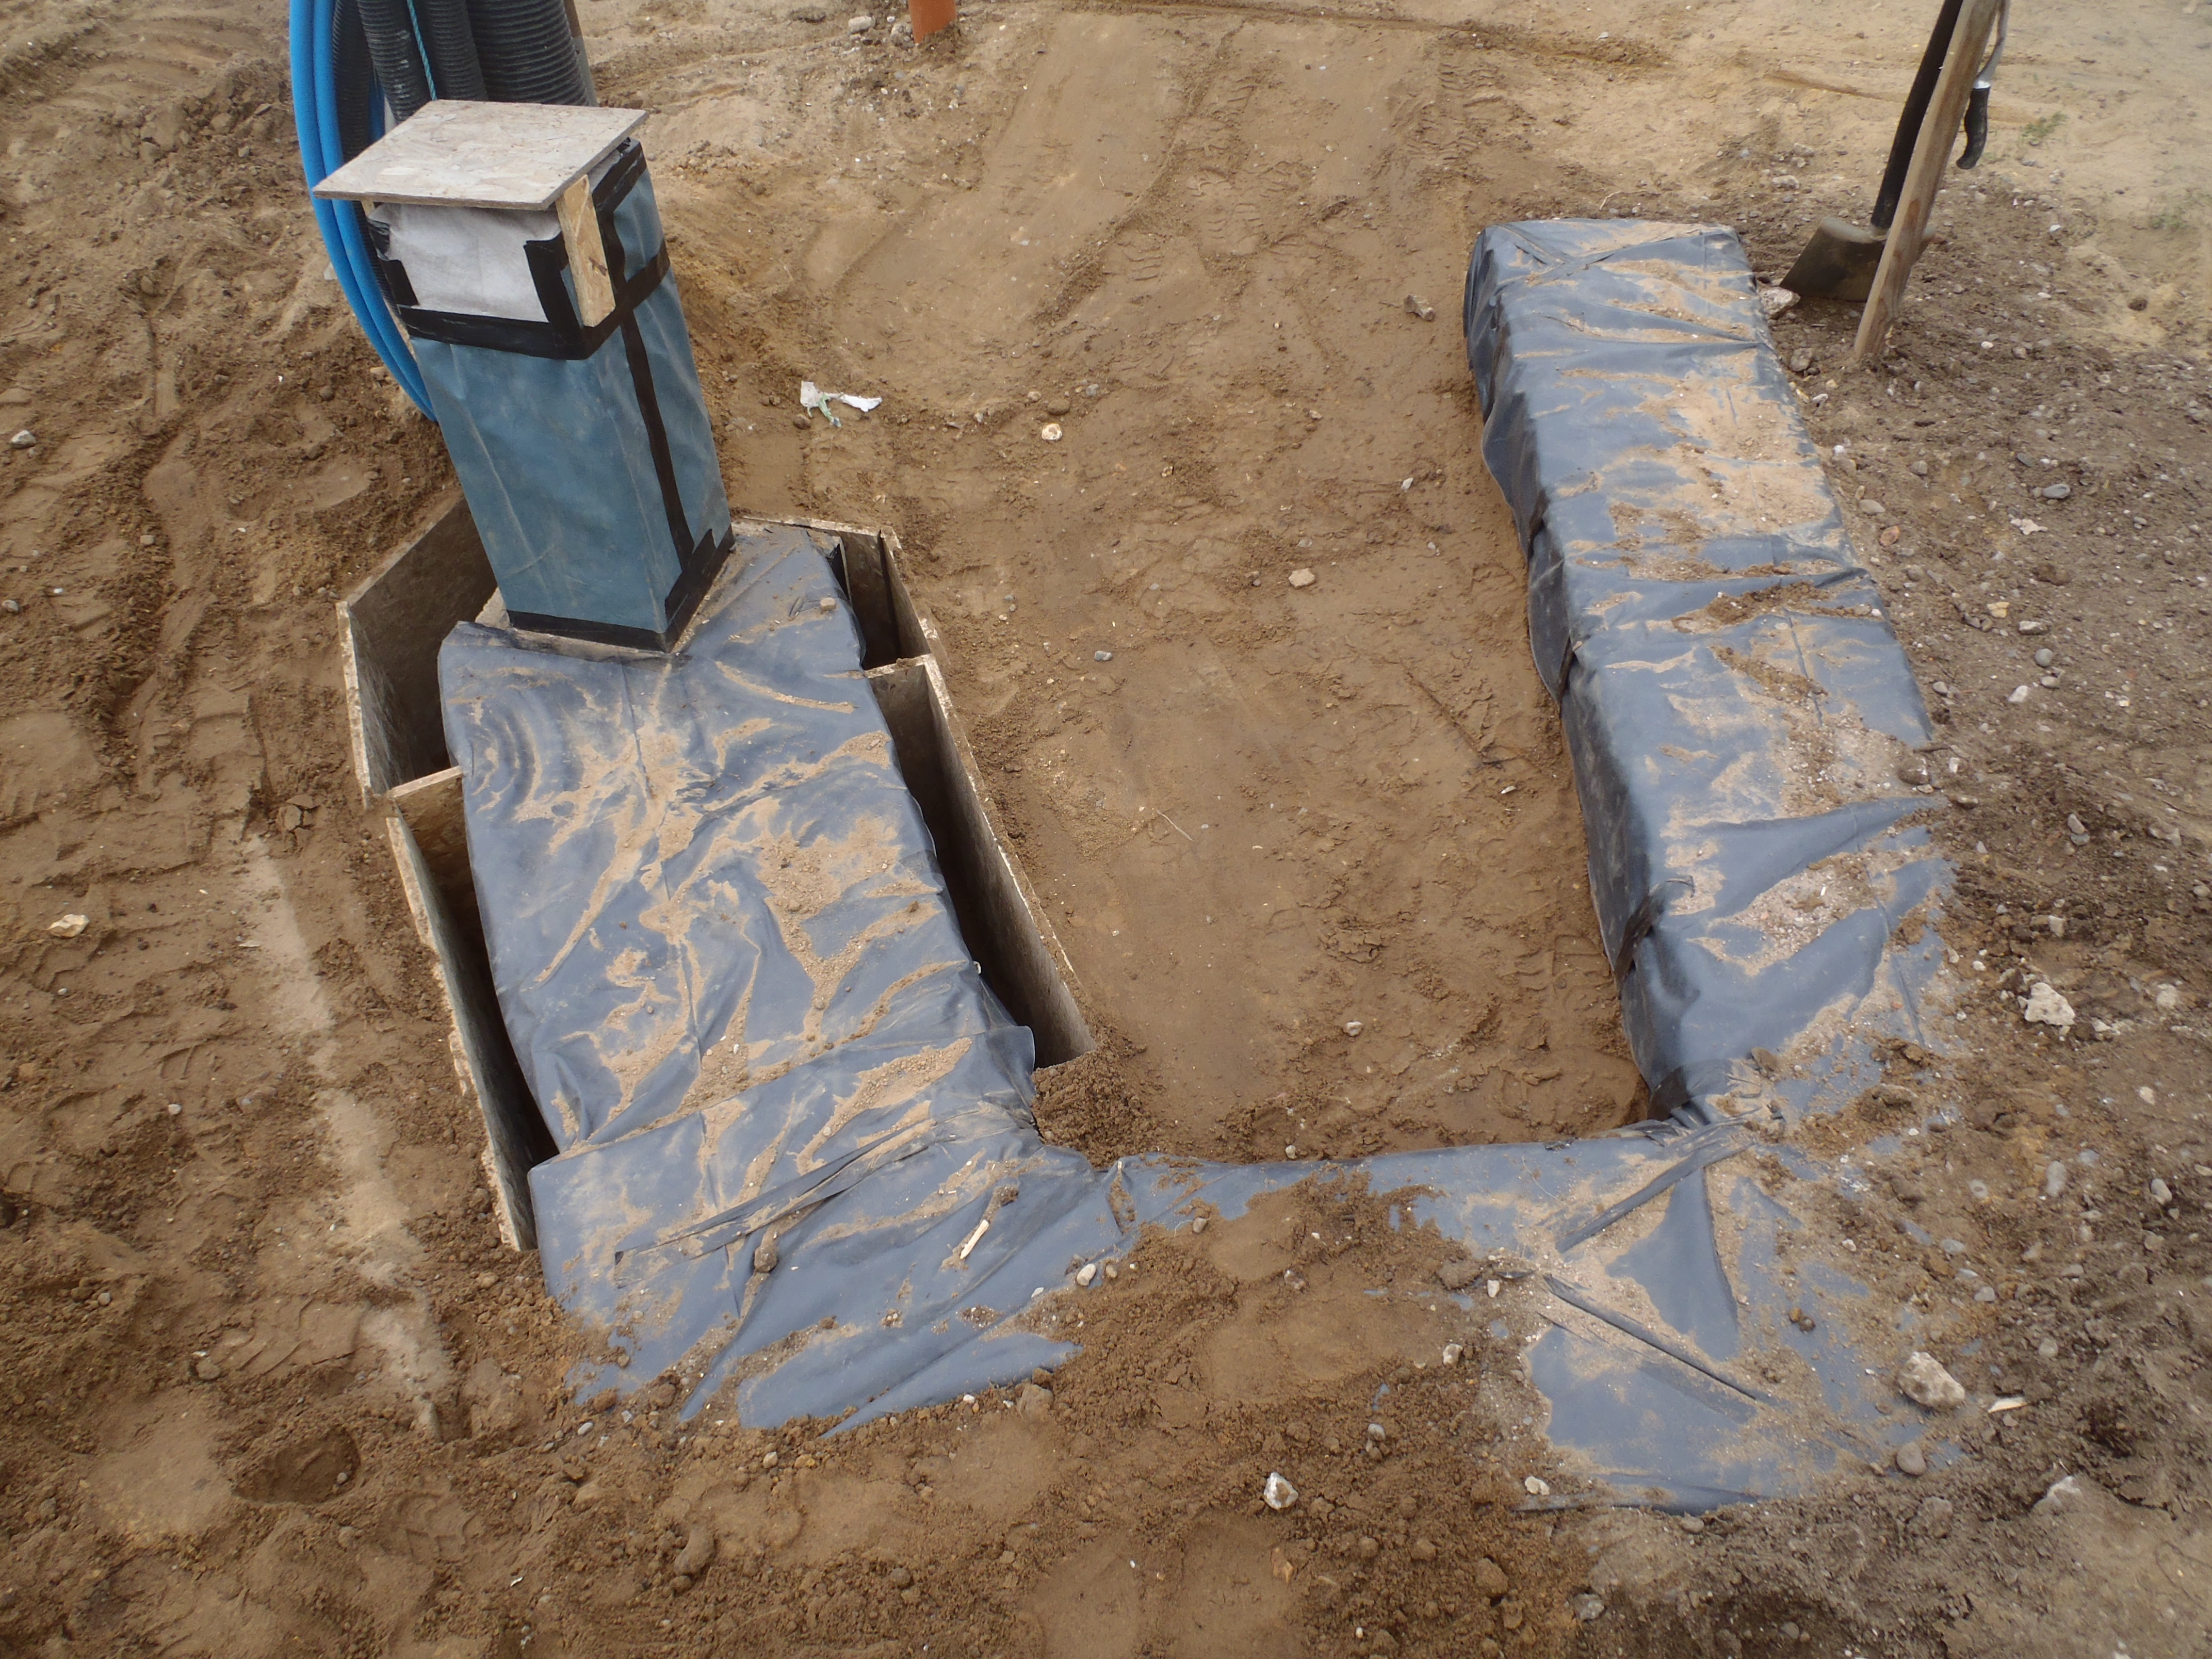
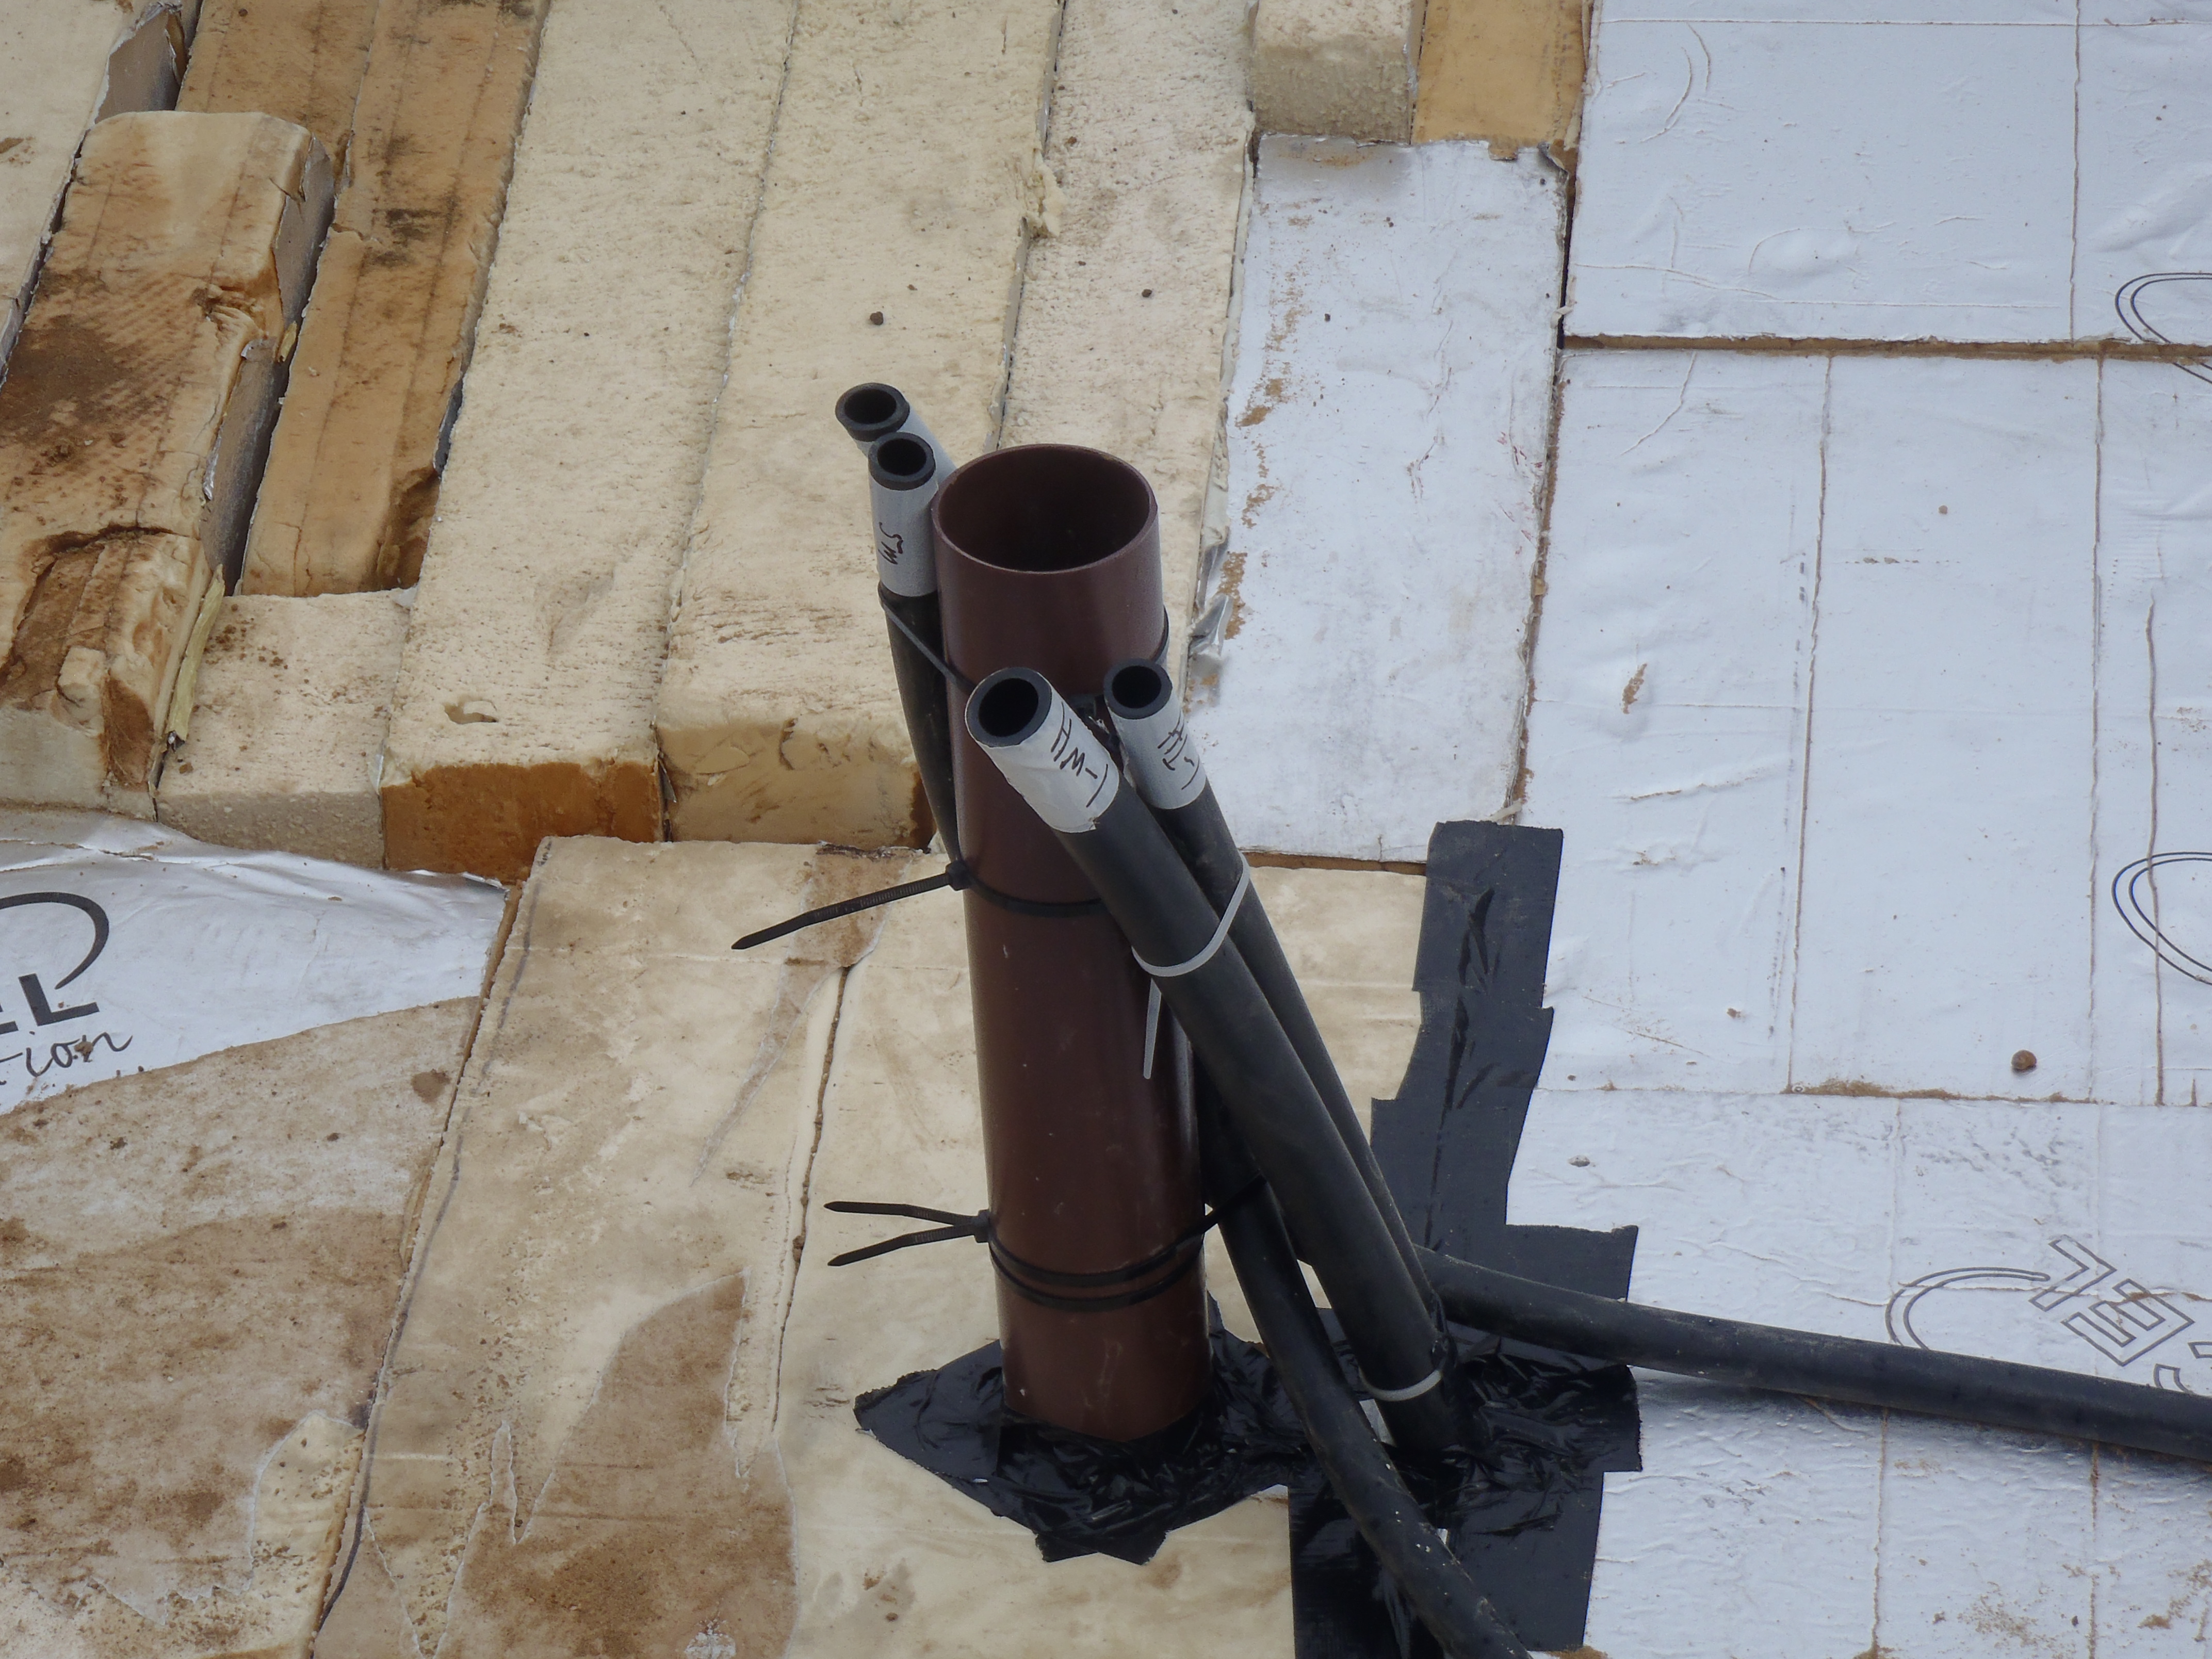
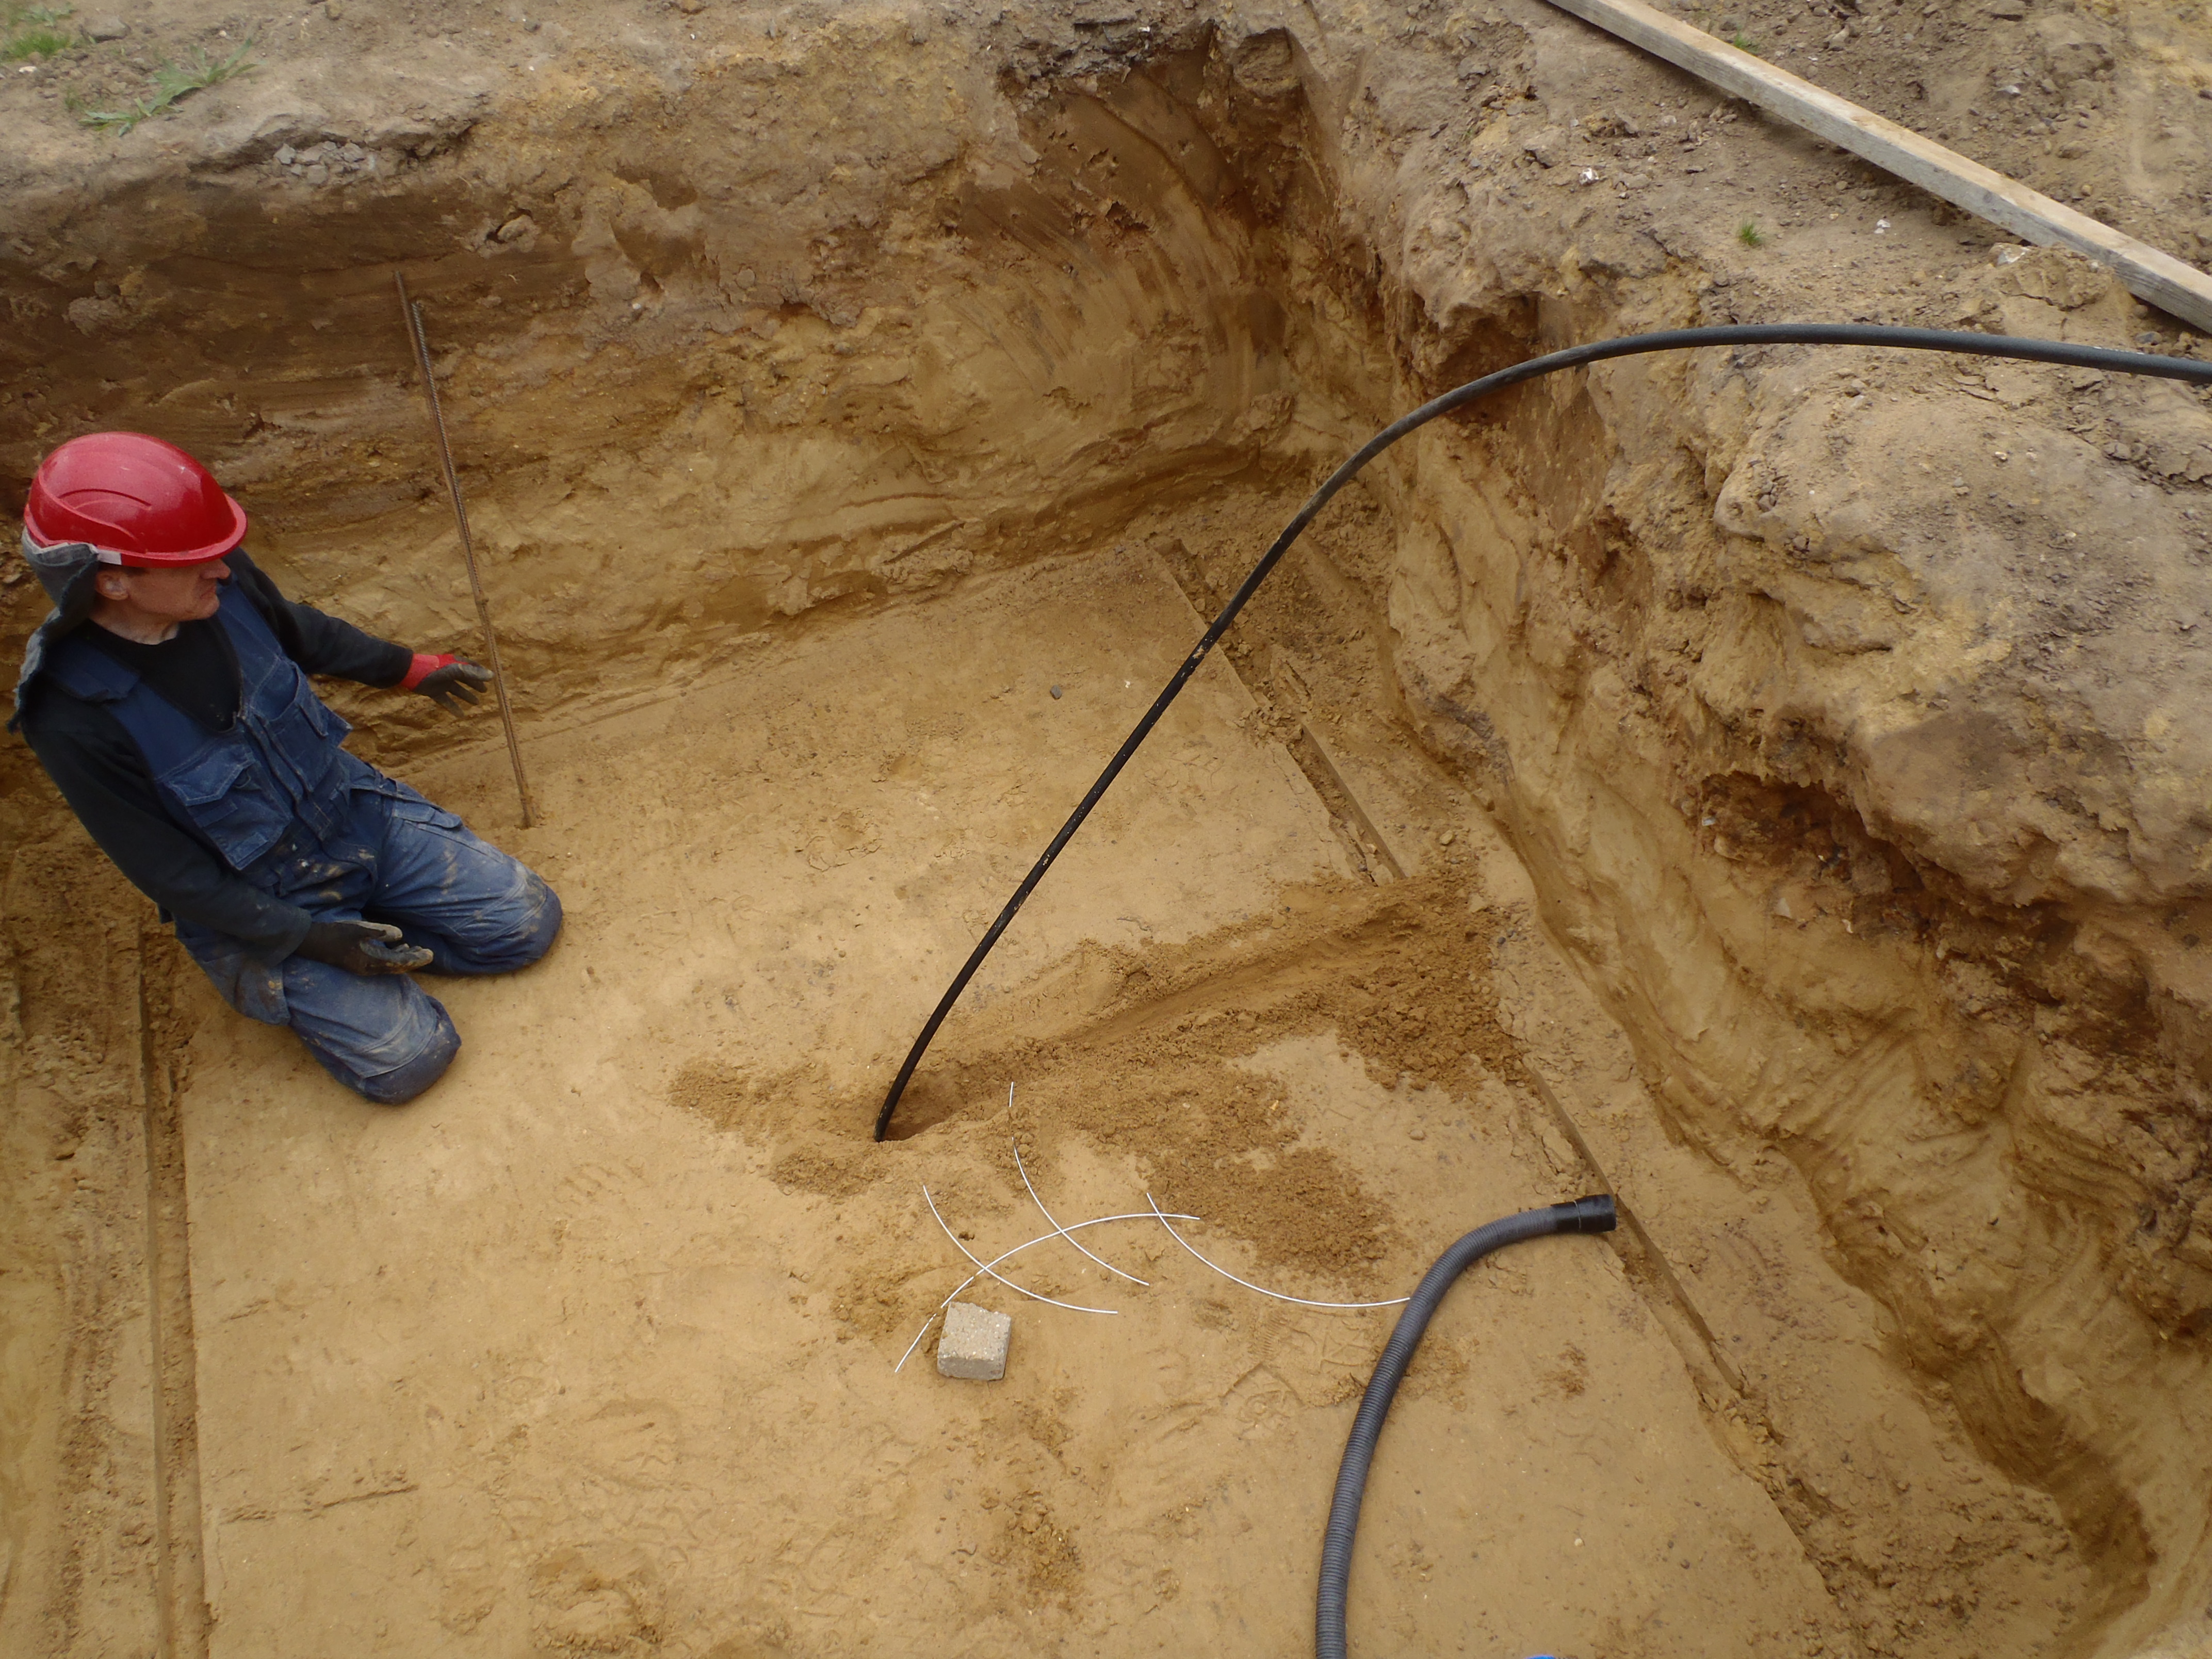
First of all, we drilled down a metre in the middle of the hole to allow for
a temperature sensor to be placed under the Energy Module. We inserted our
new 20mm plastic pipe to act as the conduit for the temperature probe, which
will be installed later.

Module-1-Temperature-sensor-conduit-drilled-down-and-buried
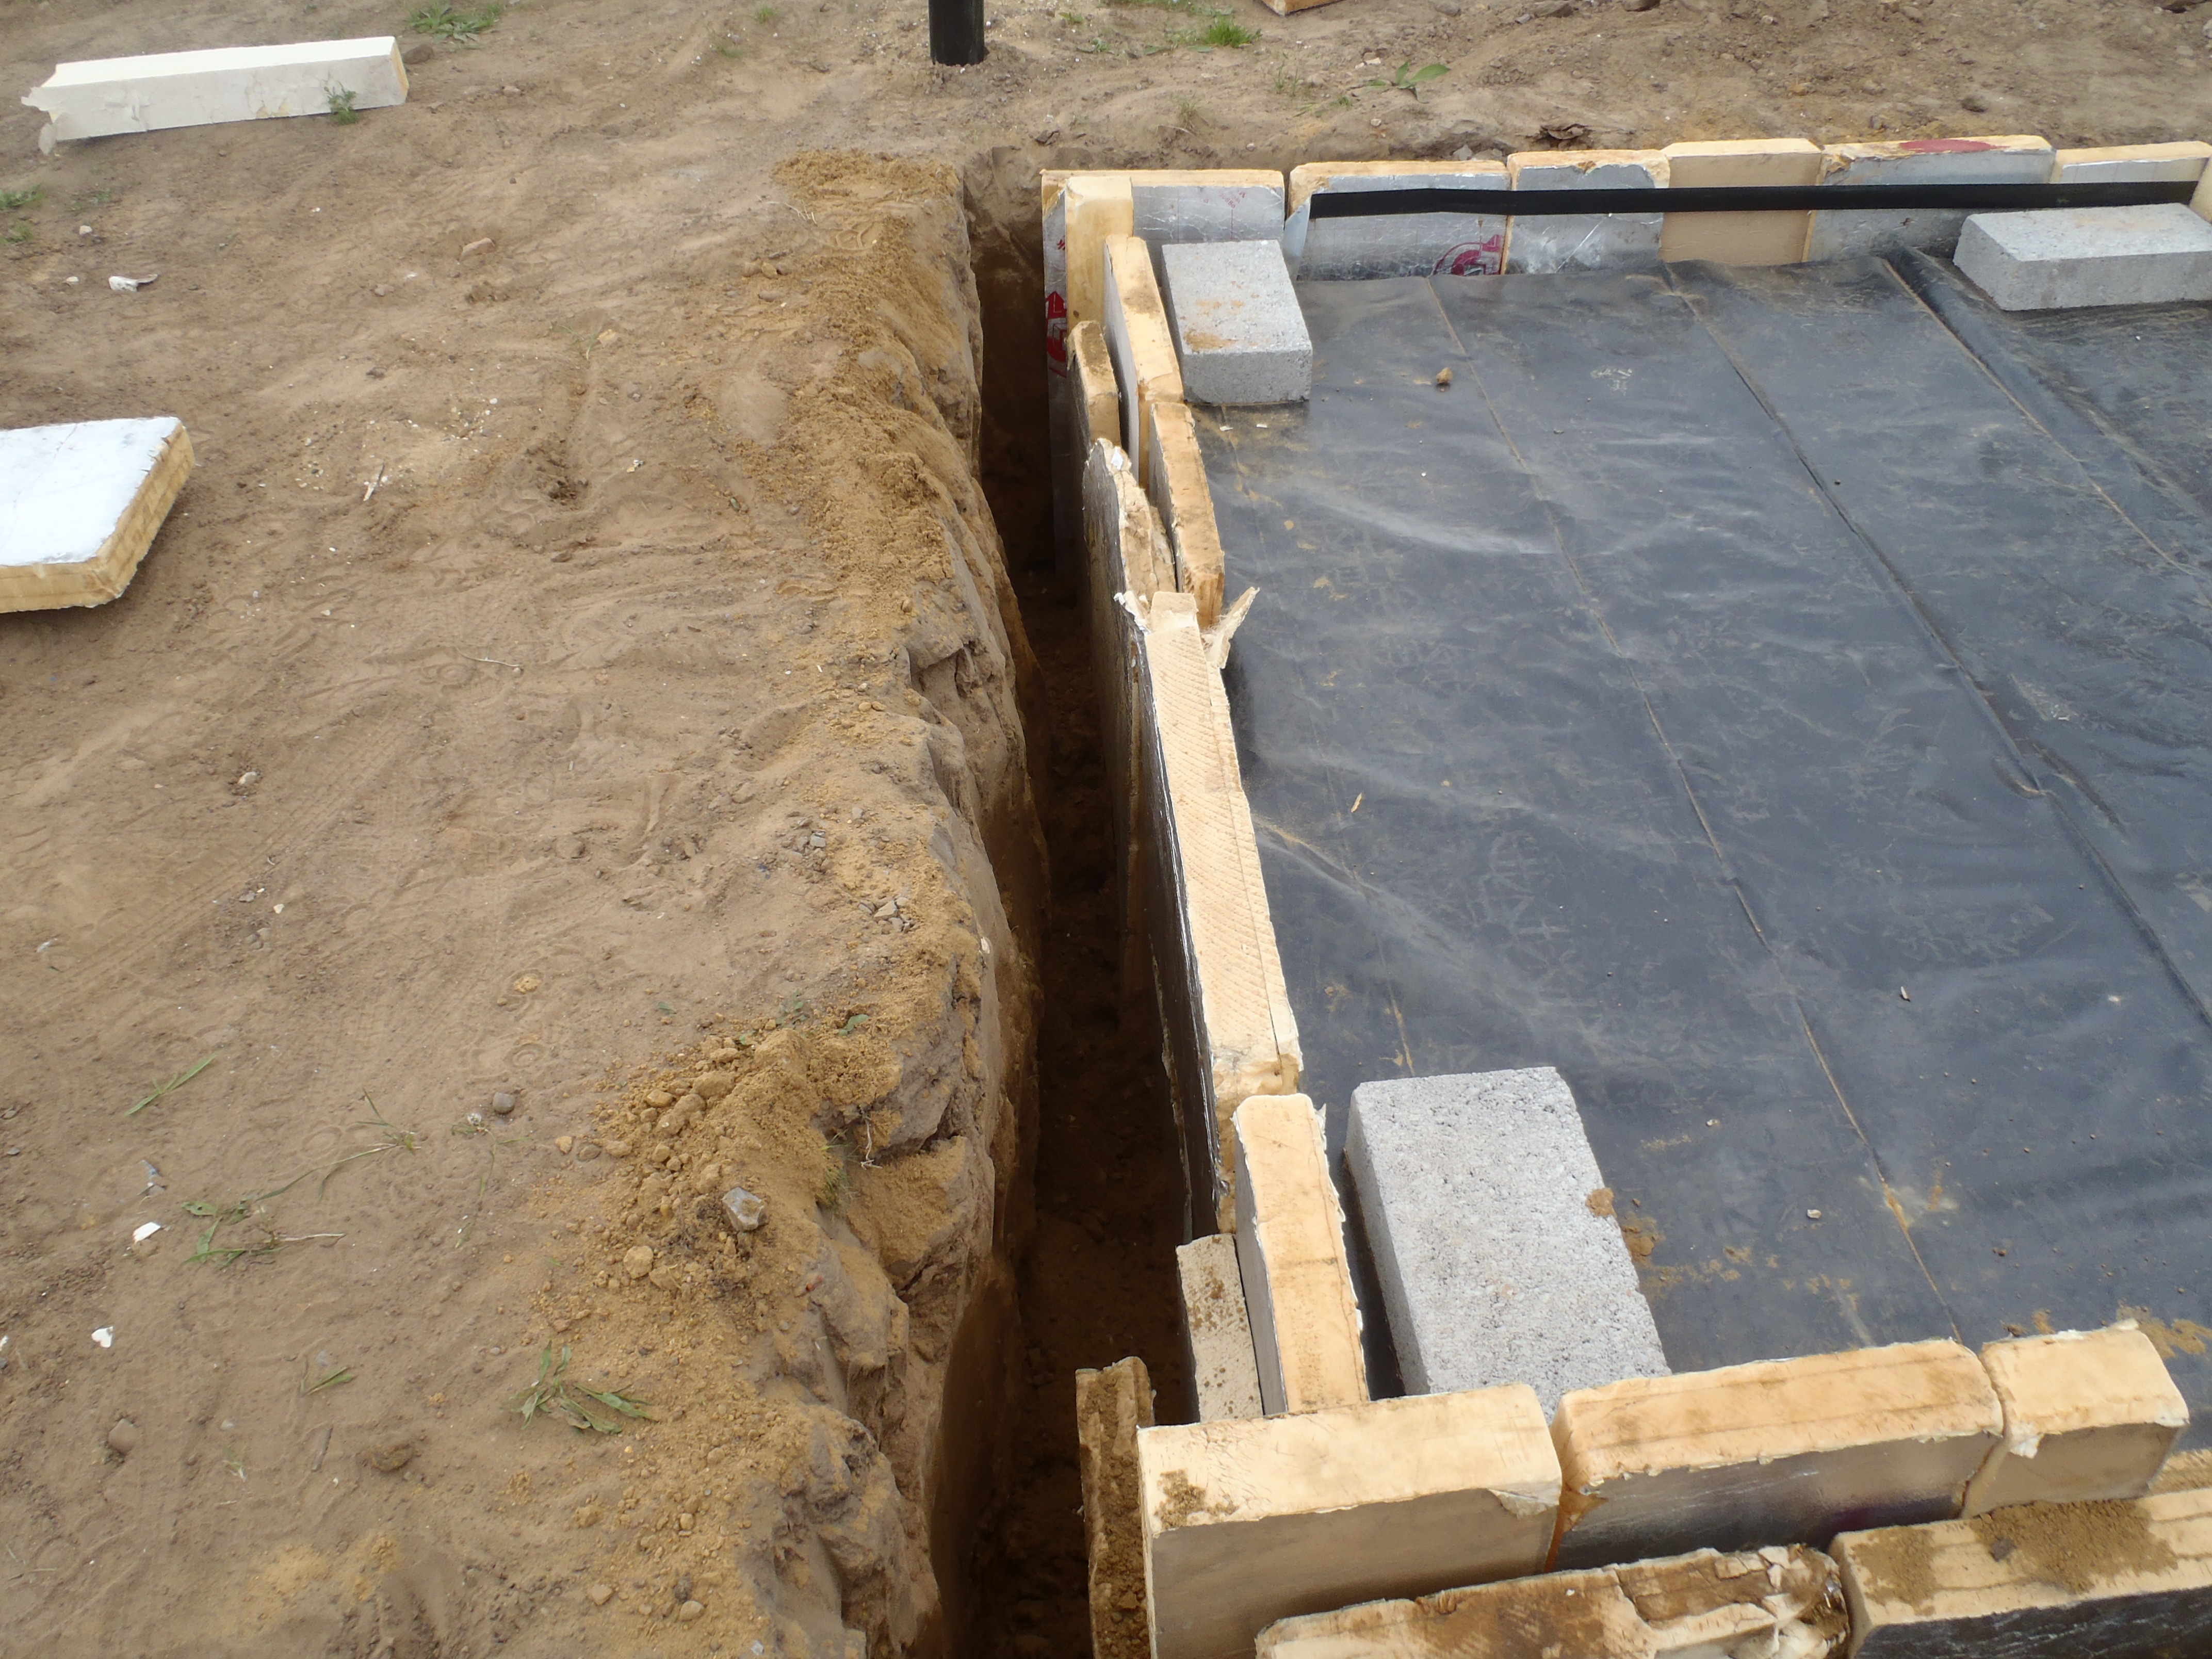
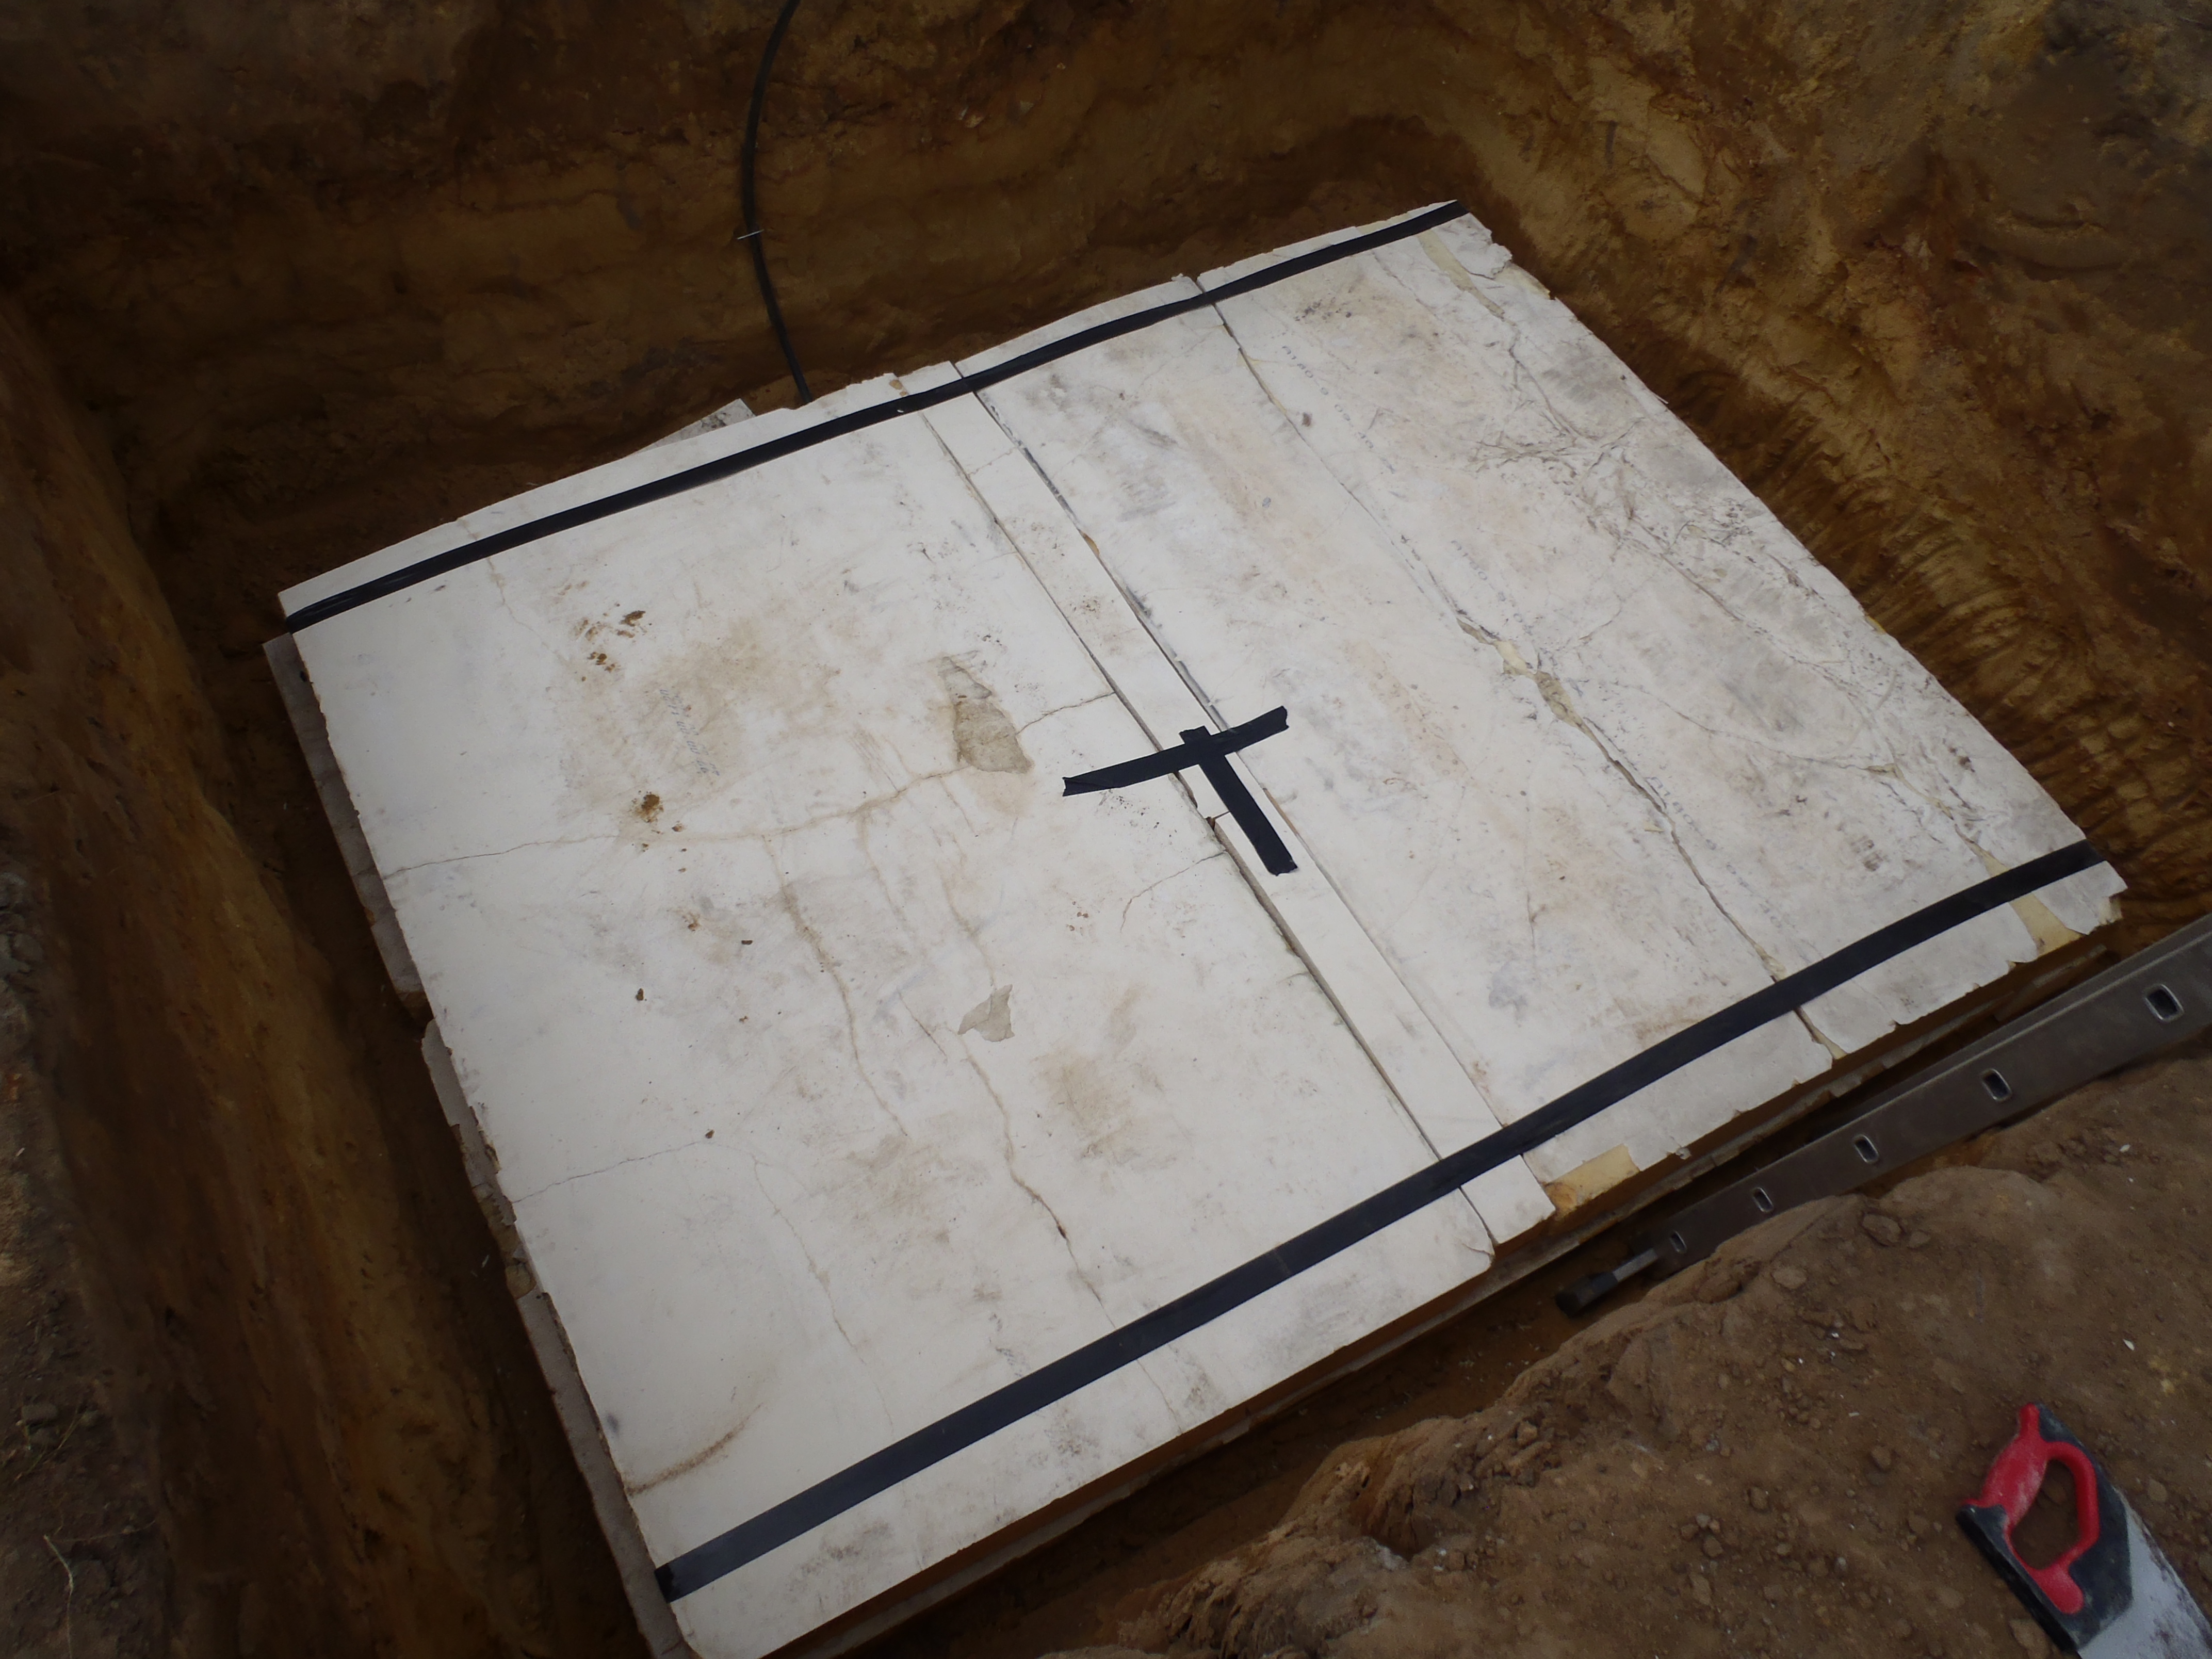
After that, it was grabbing pieces of the PU foam to build up the required
200mm thick insulation barrier between the bottom of the module and the
ground.
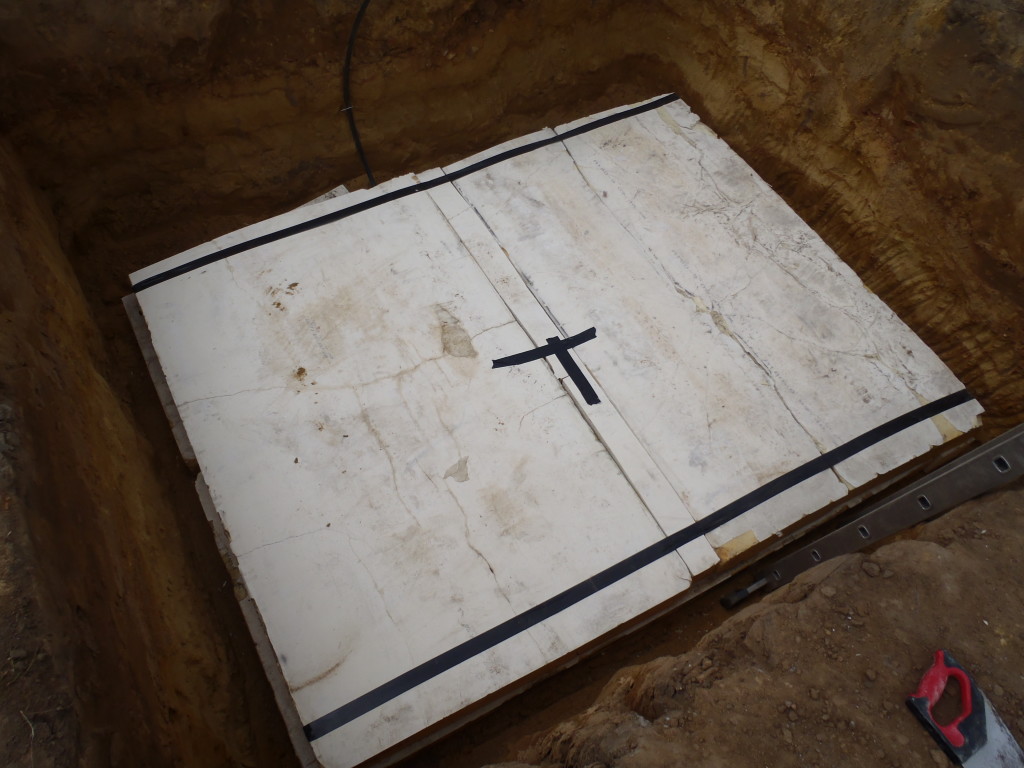
Module-1-Insulation-in-place
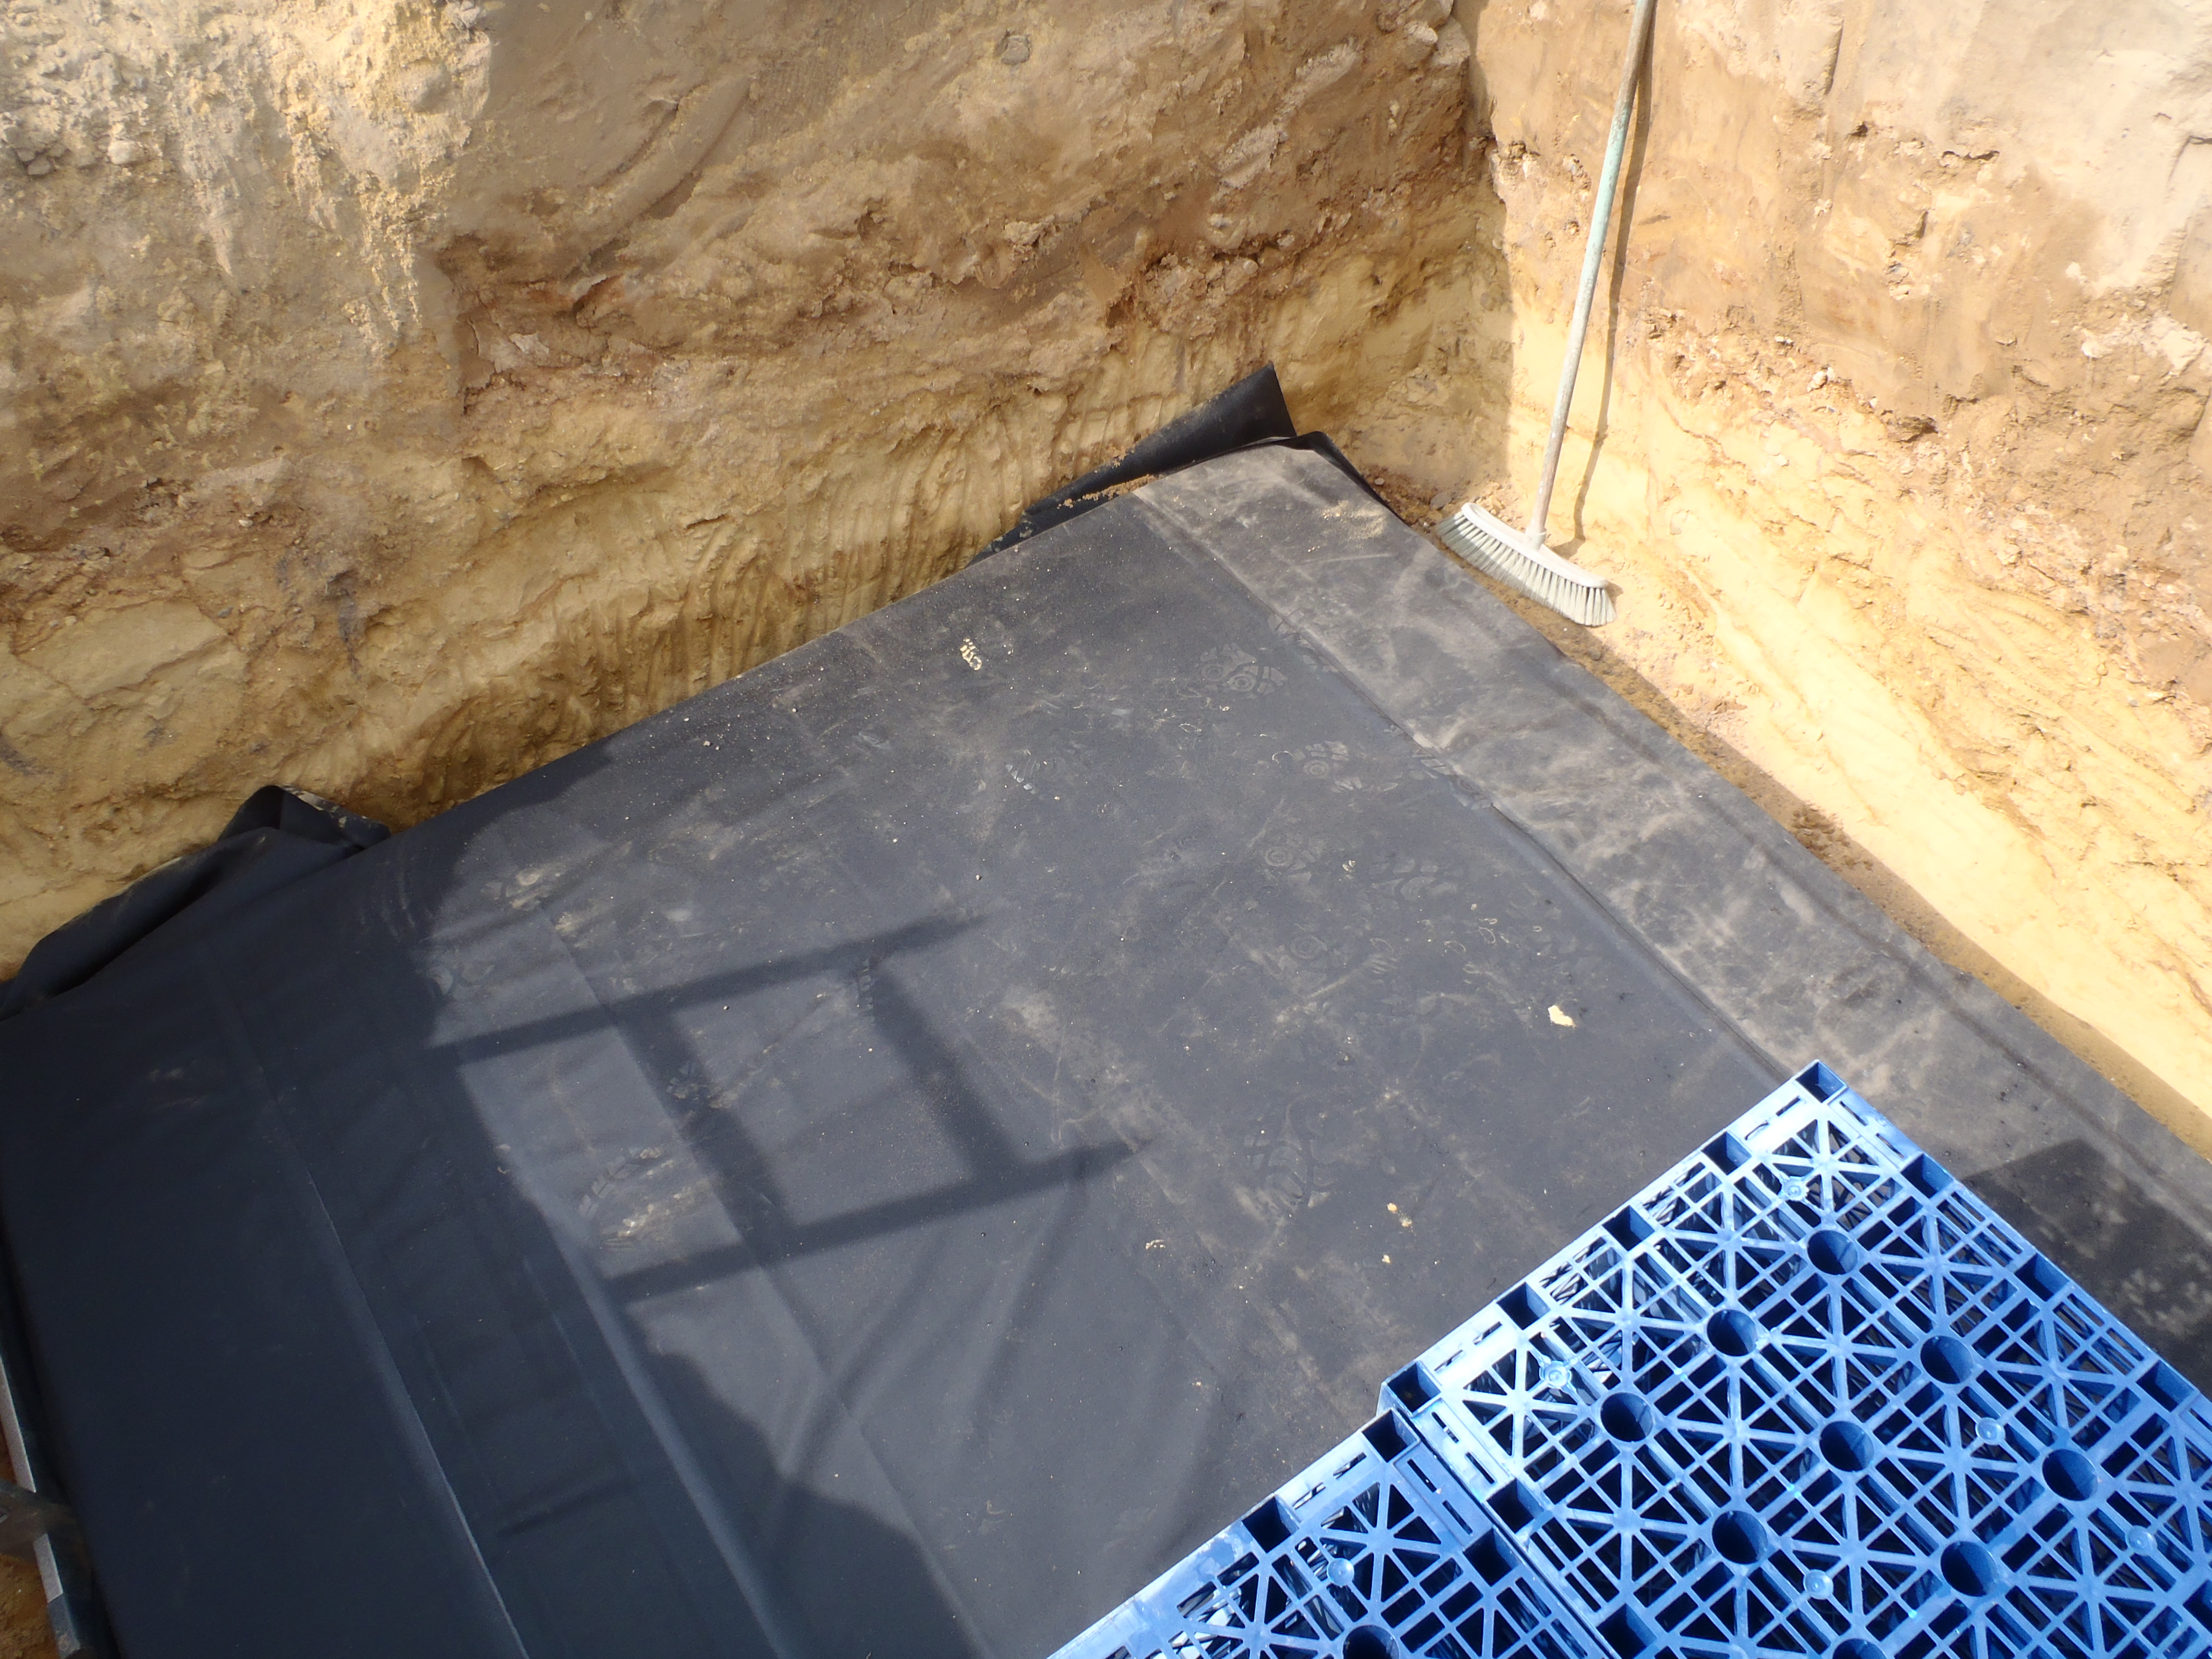
We then carefully laid down the rubber membrane on top of the insulation
boards, ready to wrap around the plastic crates to hold in the water.

Module-1-Rubber-sheet-placed-and-Aquacells-started
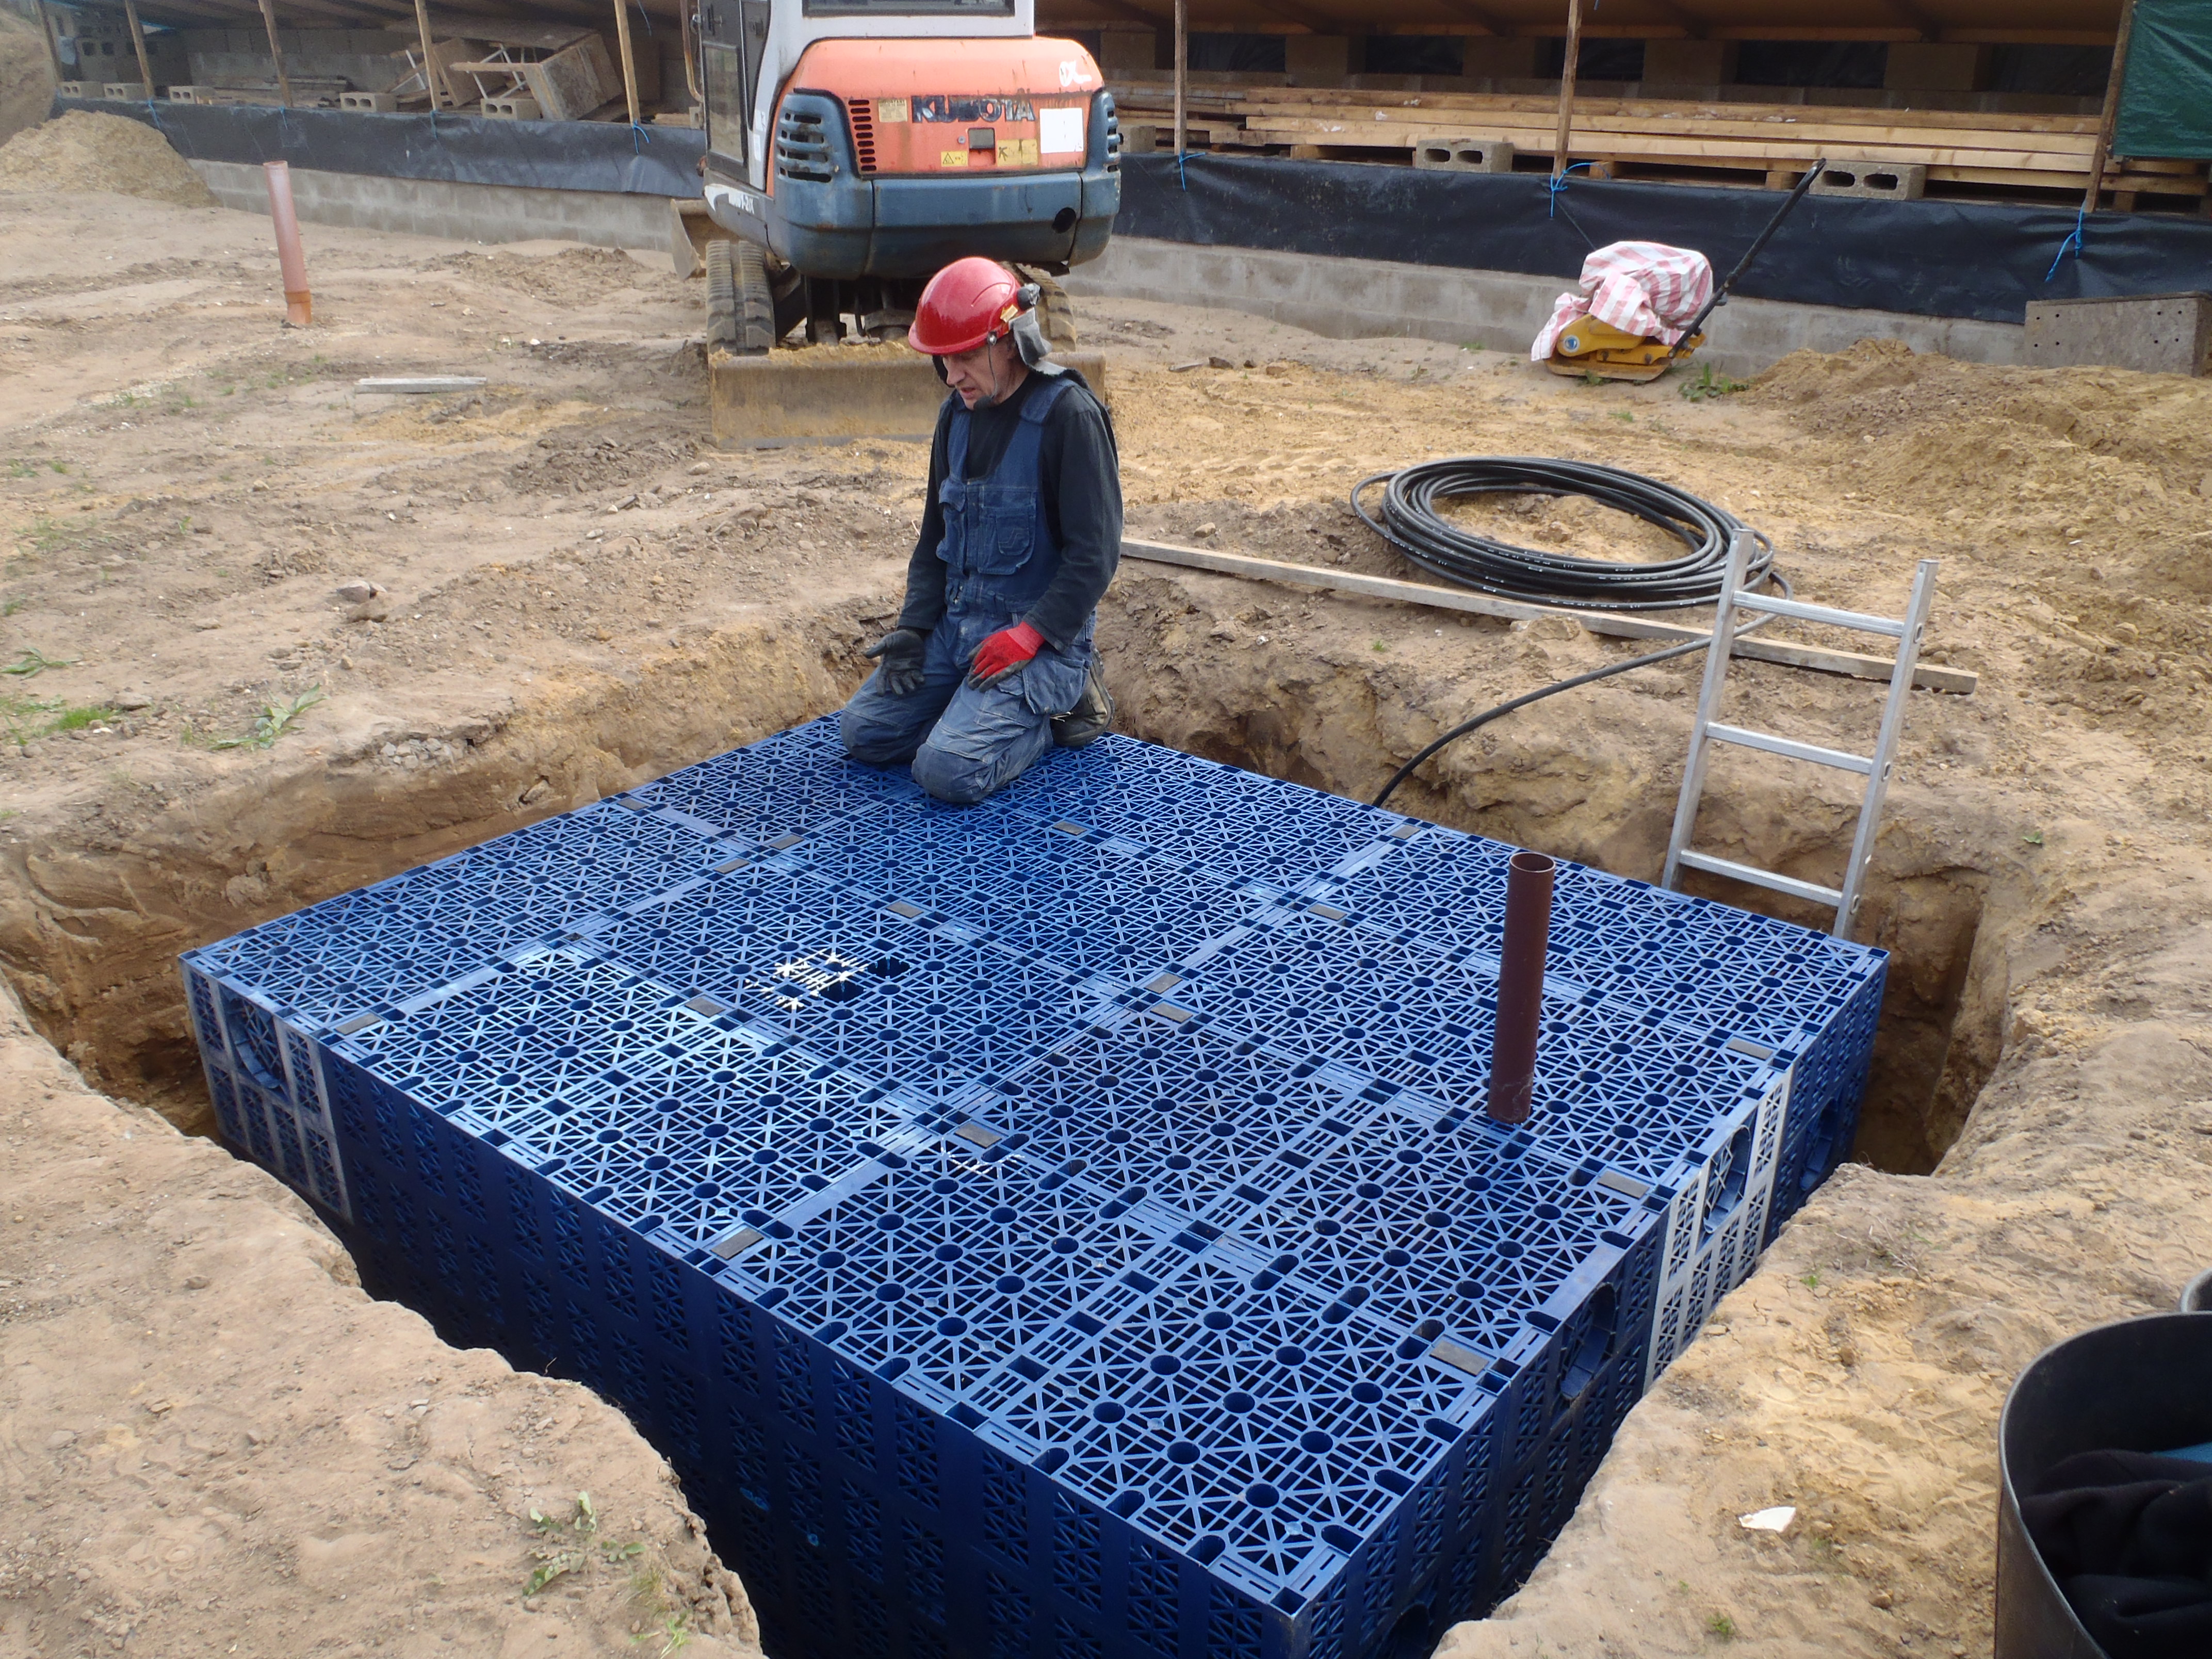
Then came the plastic Aquacell crates themselves, placing them in a grid of
5 by 2 to form the 1st layer of 2.5metres by 2metres block.
Module-1-Bottom-layer-of-cells-finished
Then, we had to cut access holes to allow the insertion of the water pipe
and another temperature probe to go down inside the energy module, right to
the bottom, plus also a larger hole to allow for inspection of the water
level.
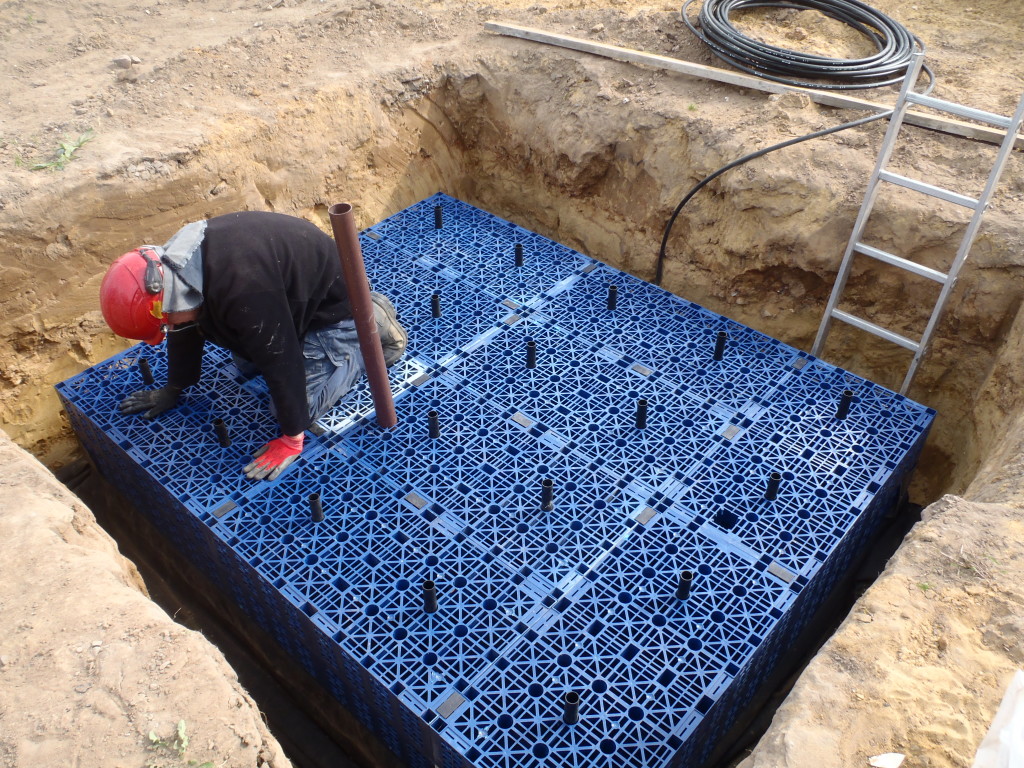
Then the second layer goes on, and more access holes are made, this time for
the 2nd water and temperature probe to be inserted.

Module-1-Top-layer-finished
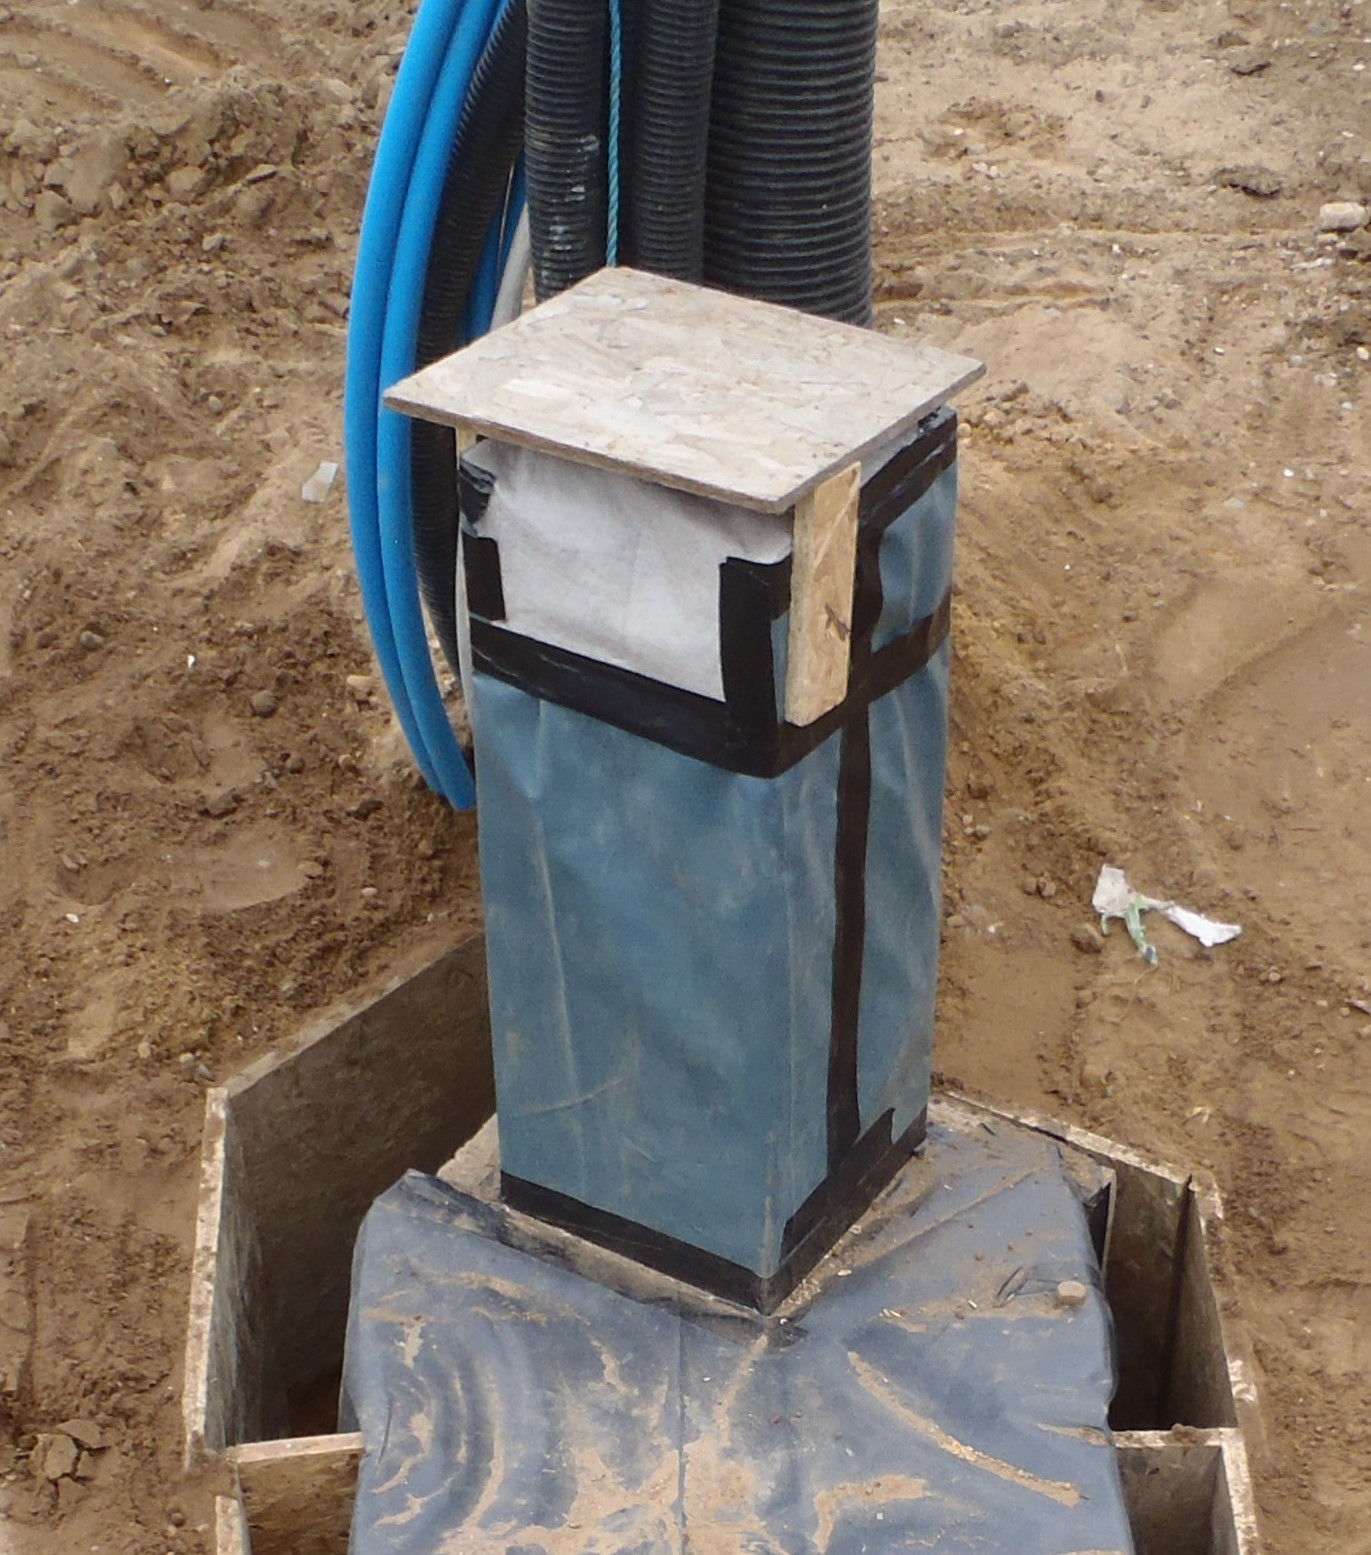
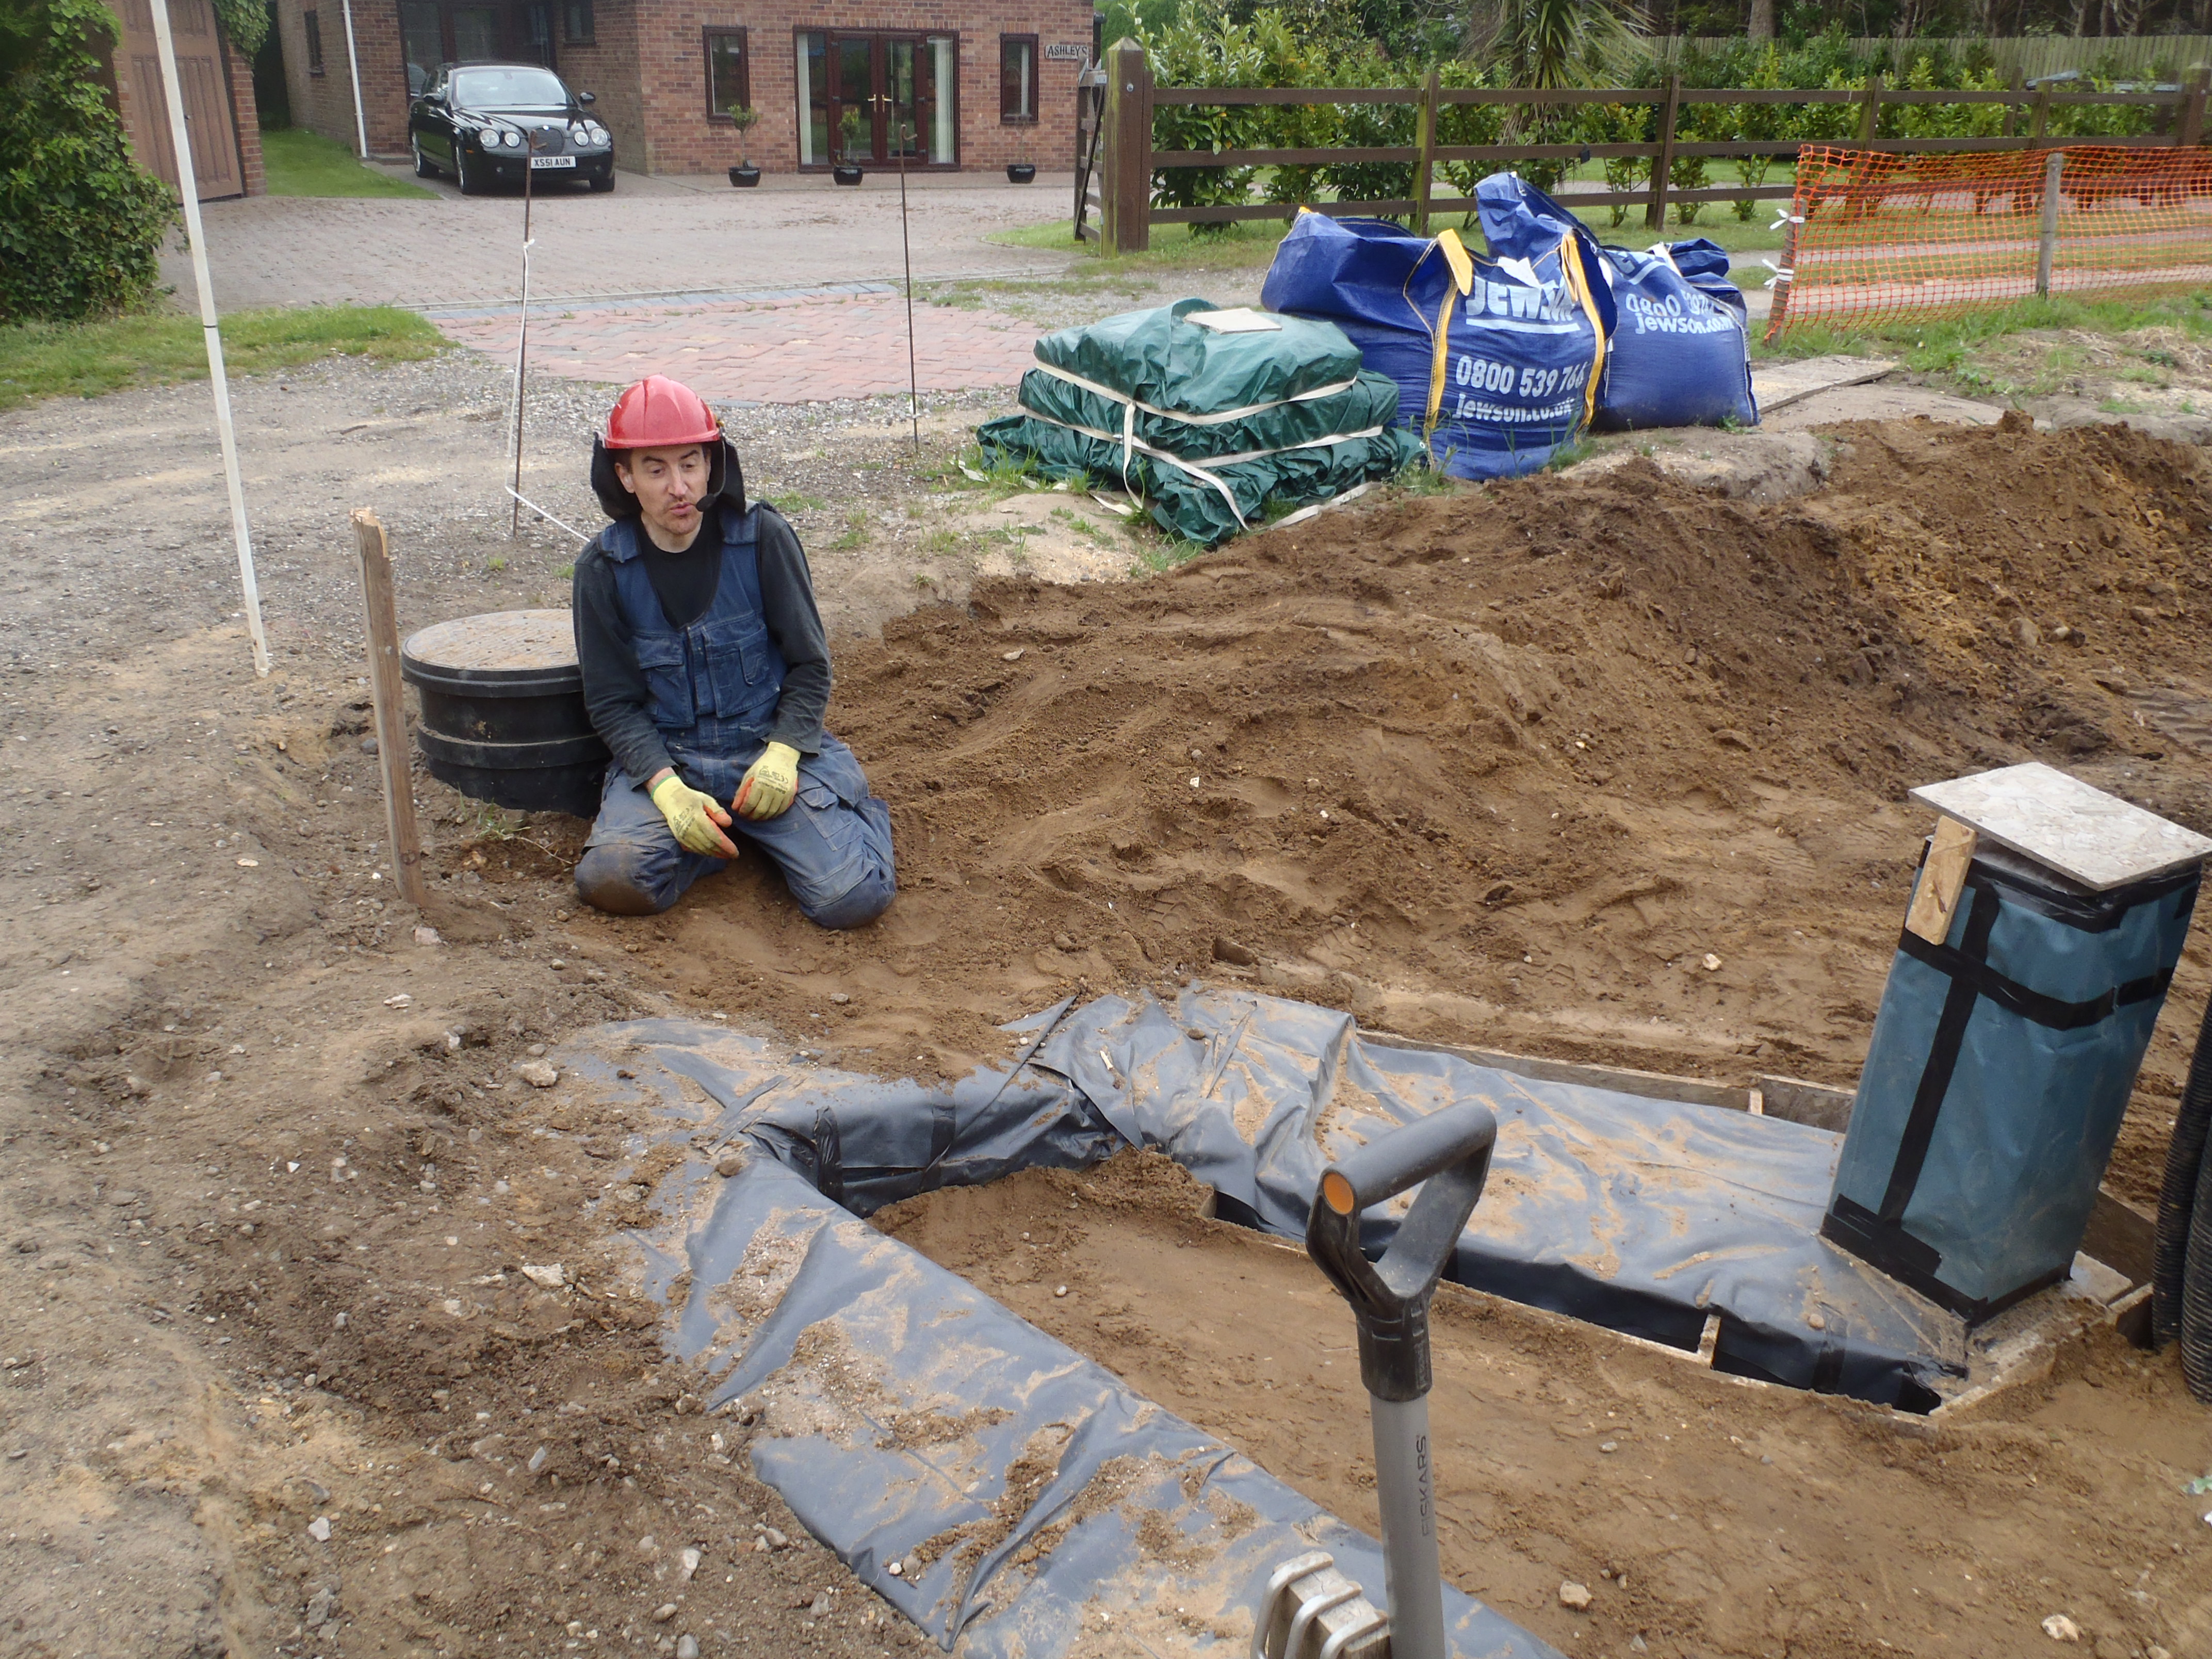
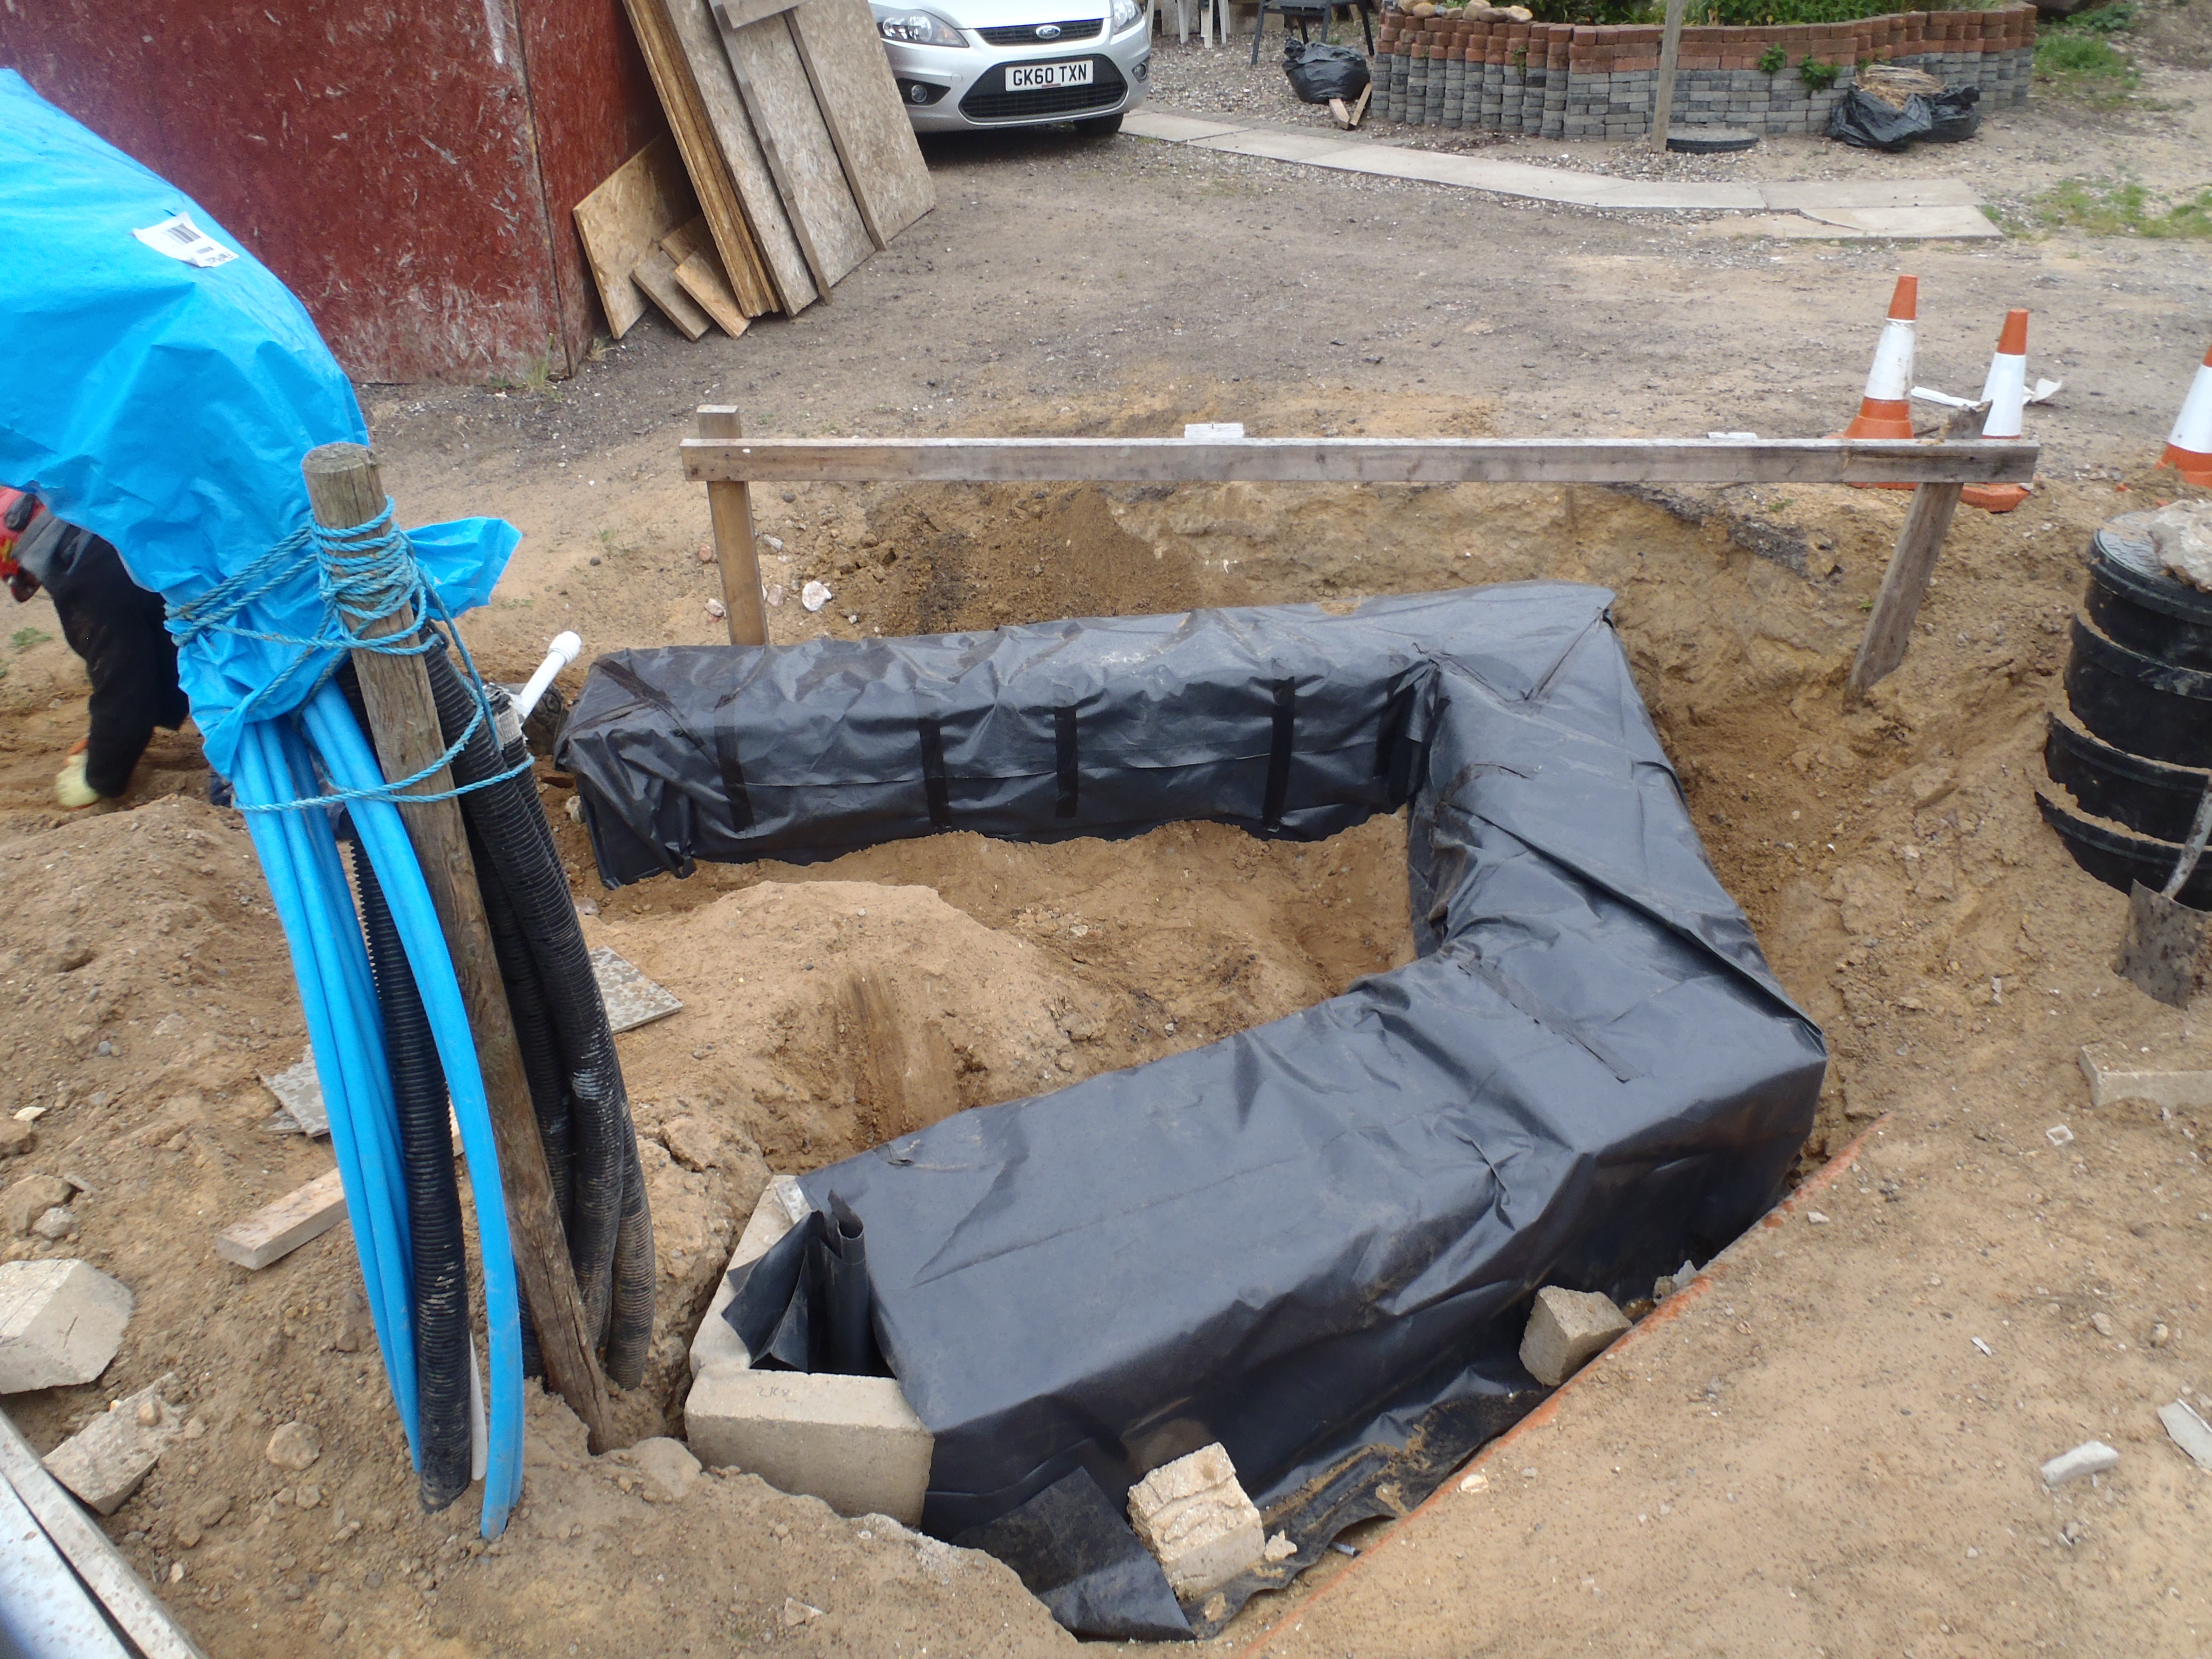
Finally, we pulled up the rubber sheeting around all the edges and folded
the corners in, just like a parcel. We will put on a layer of DPM plastic to
seal off the top surface of the water tank to stop steam and moisture
escaping out of these Energy Modules.
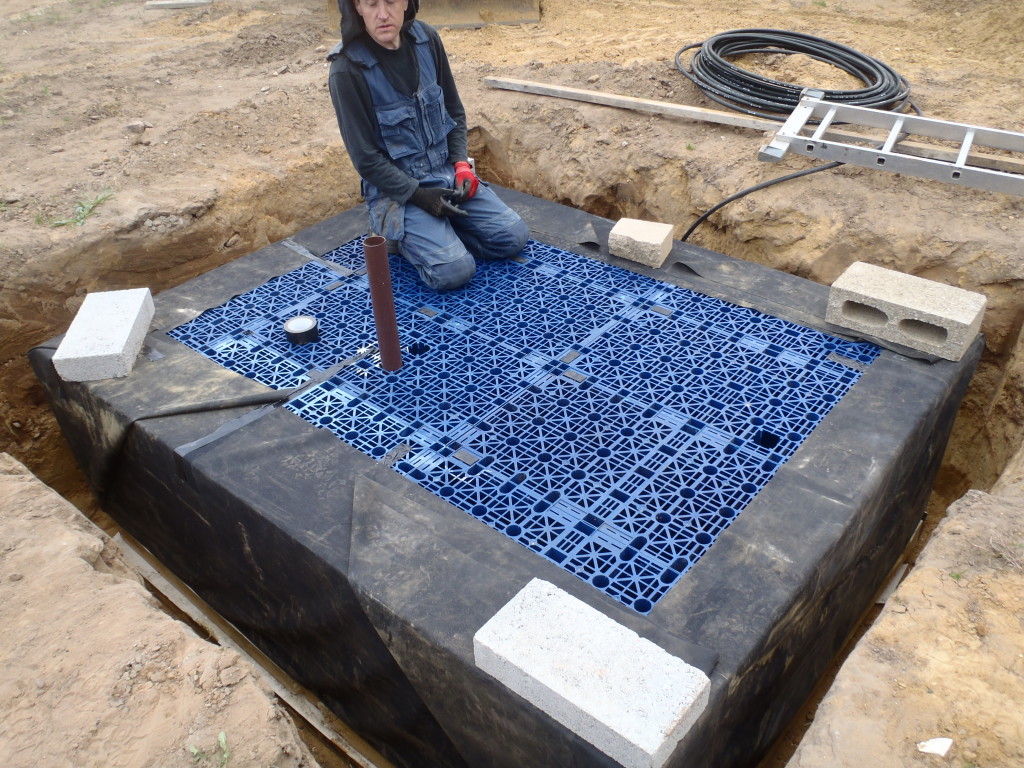
Module-1-All-wrapped-in-Rubber
Tomorrow, we will put down around the 4 sides more insulation panels and
then fill in the remaining gap with the sandy soil and compact it all down
nice and solidly.