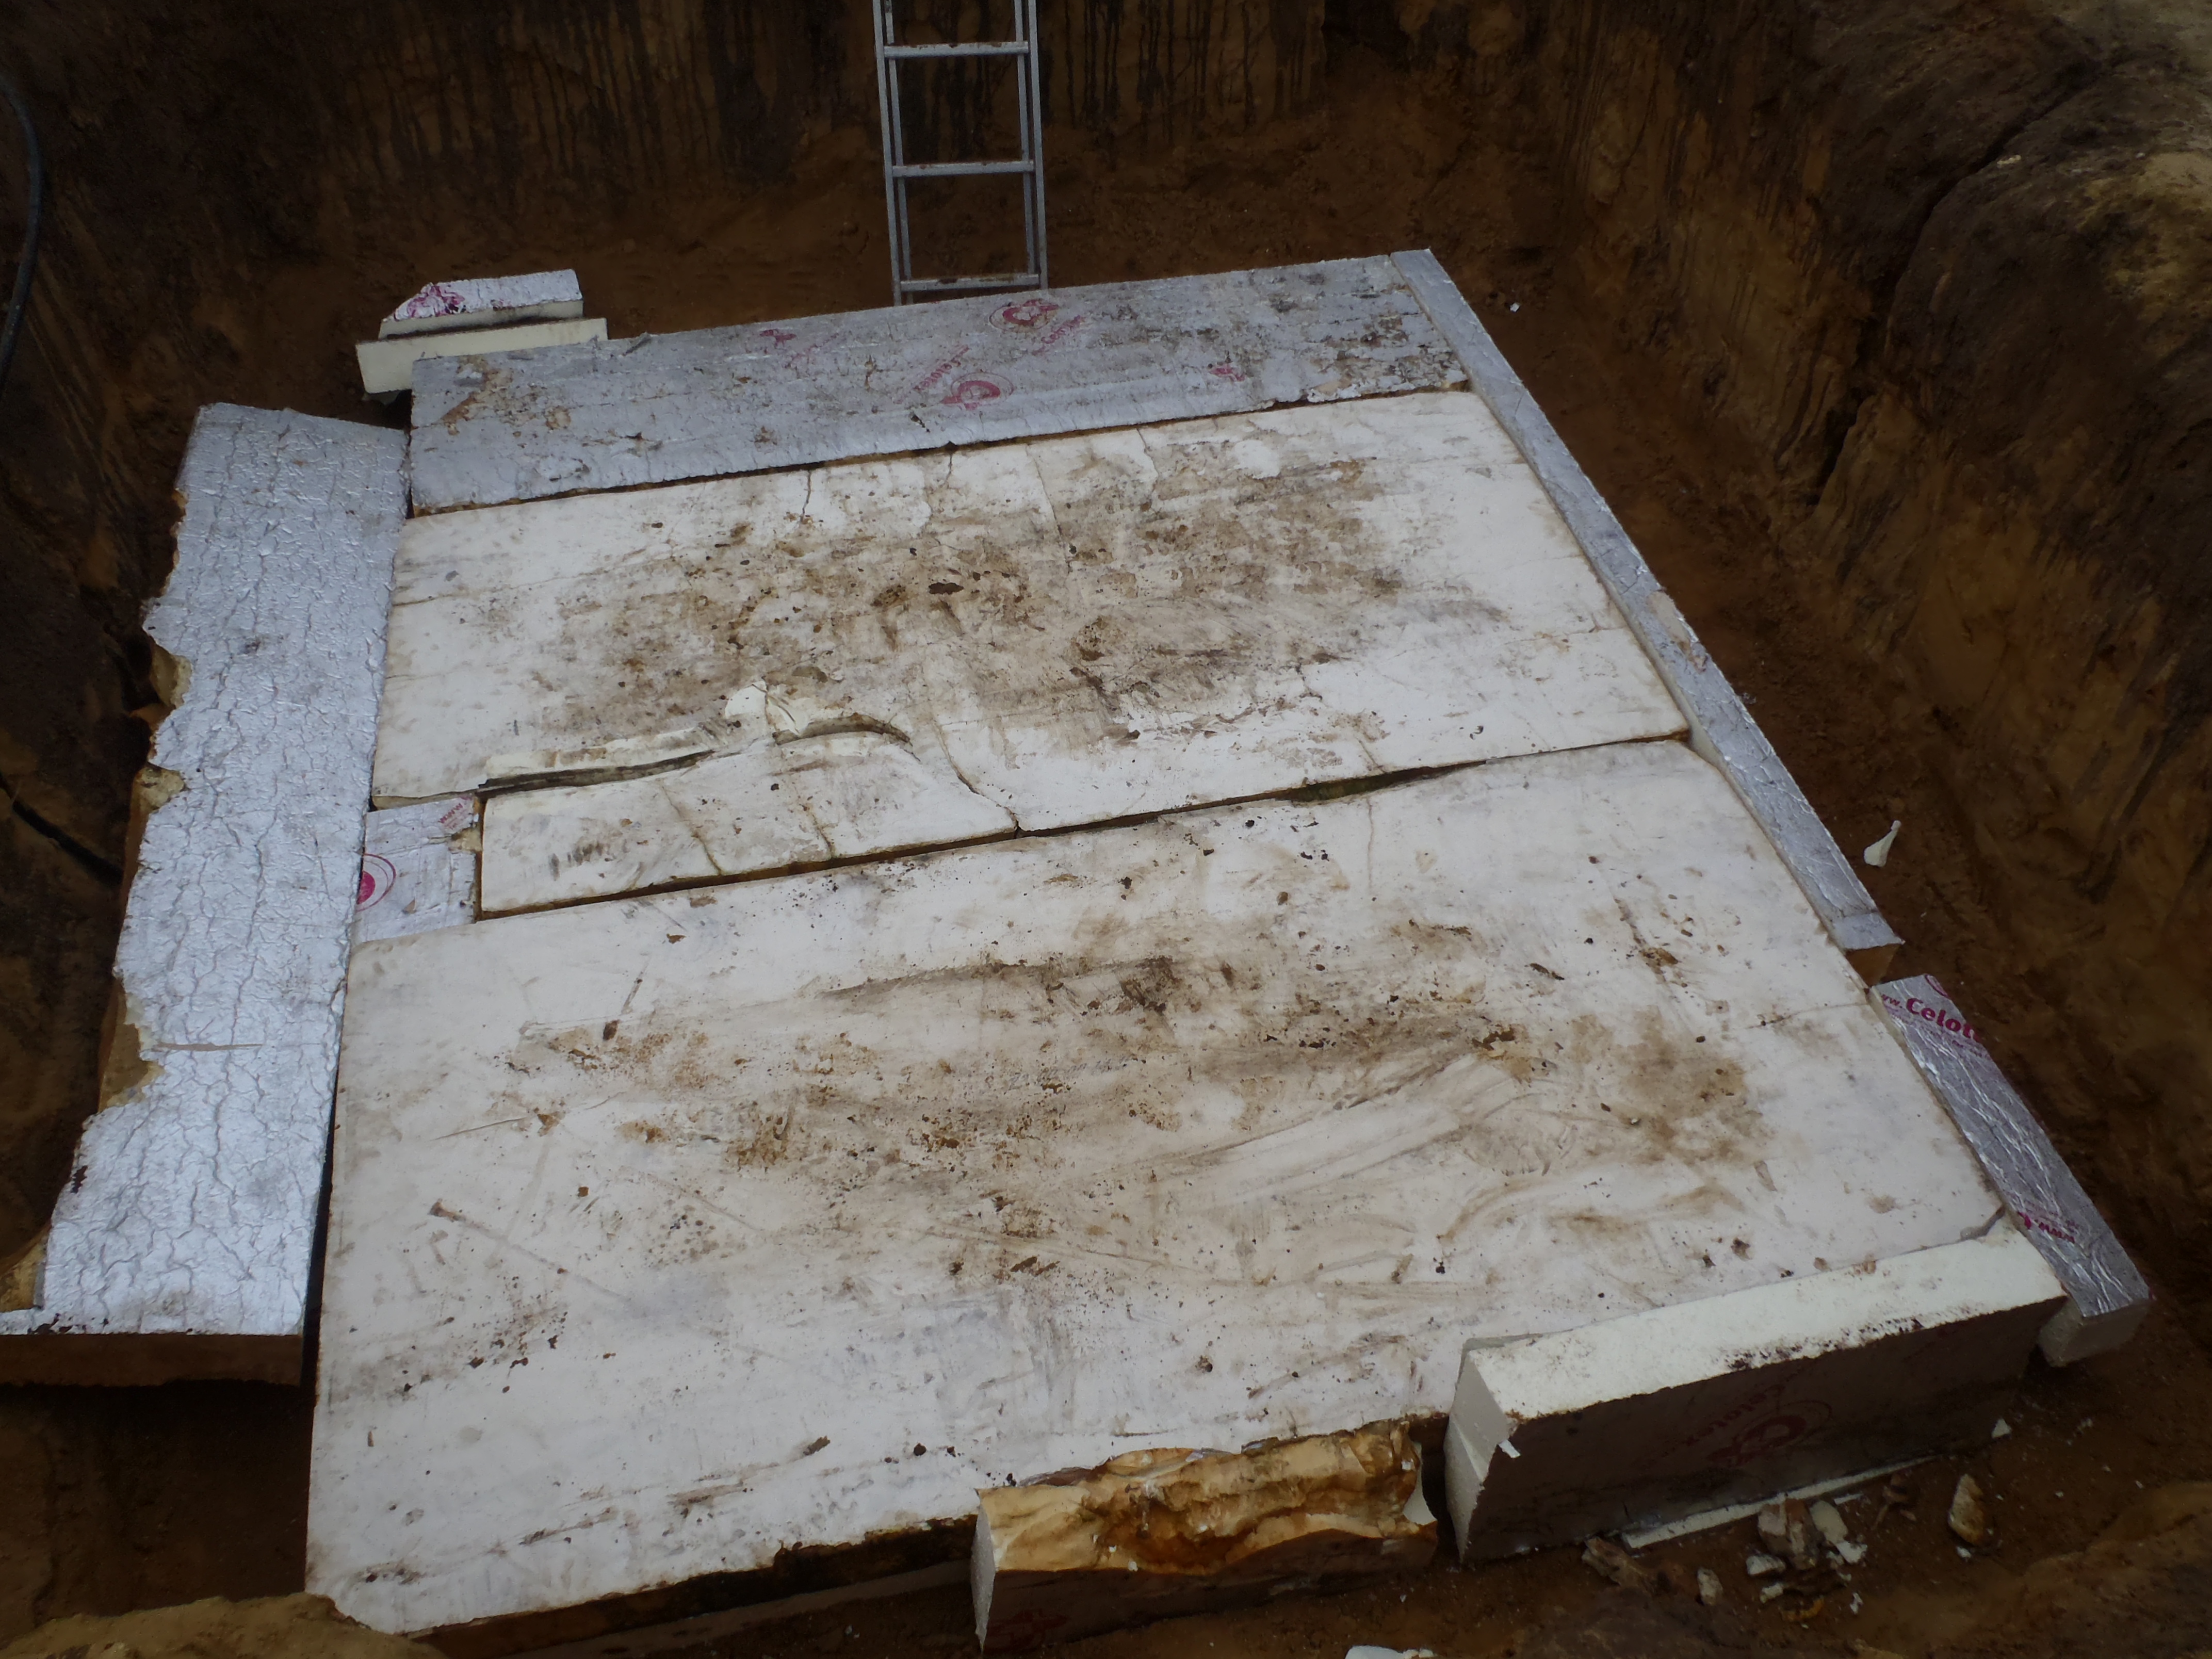
We have assembled the third set of our collection of Energy Modules today, the second biggest one! We put down two layers of insulation boards, a total of 240mm thickness of PU foam. Then a layer of geotextile fabric to reinforce the small gaps and edges between the joins of the various boards, to minimise the chance of the rubber stretching and bulging into voids under the crates.
The rubber membrane was unrolled and pulled into position on top, and draped around the edges (down pass the insulation layer) to wait for the final wrap-up procedure.
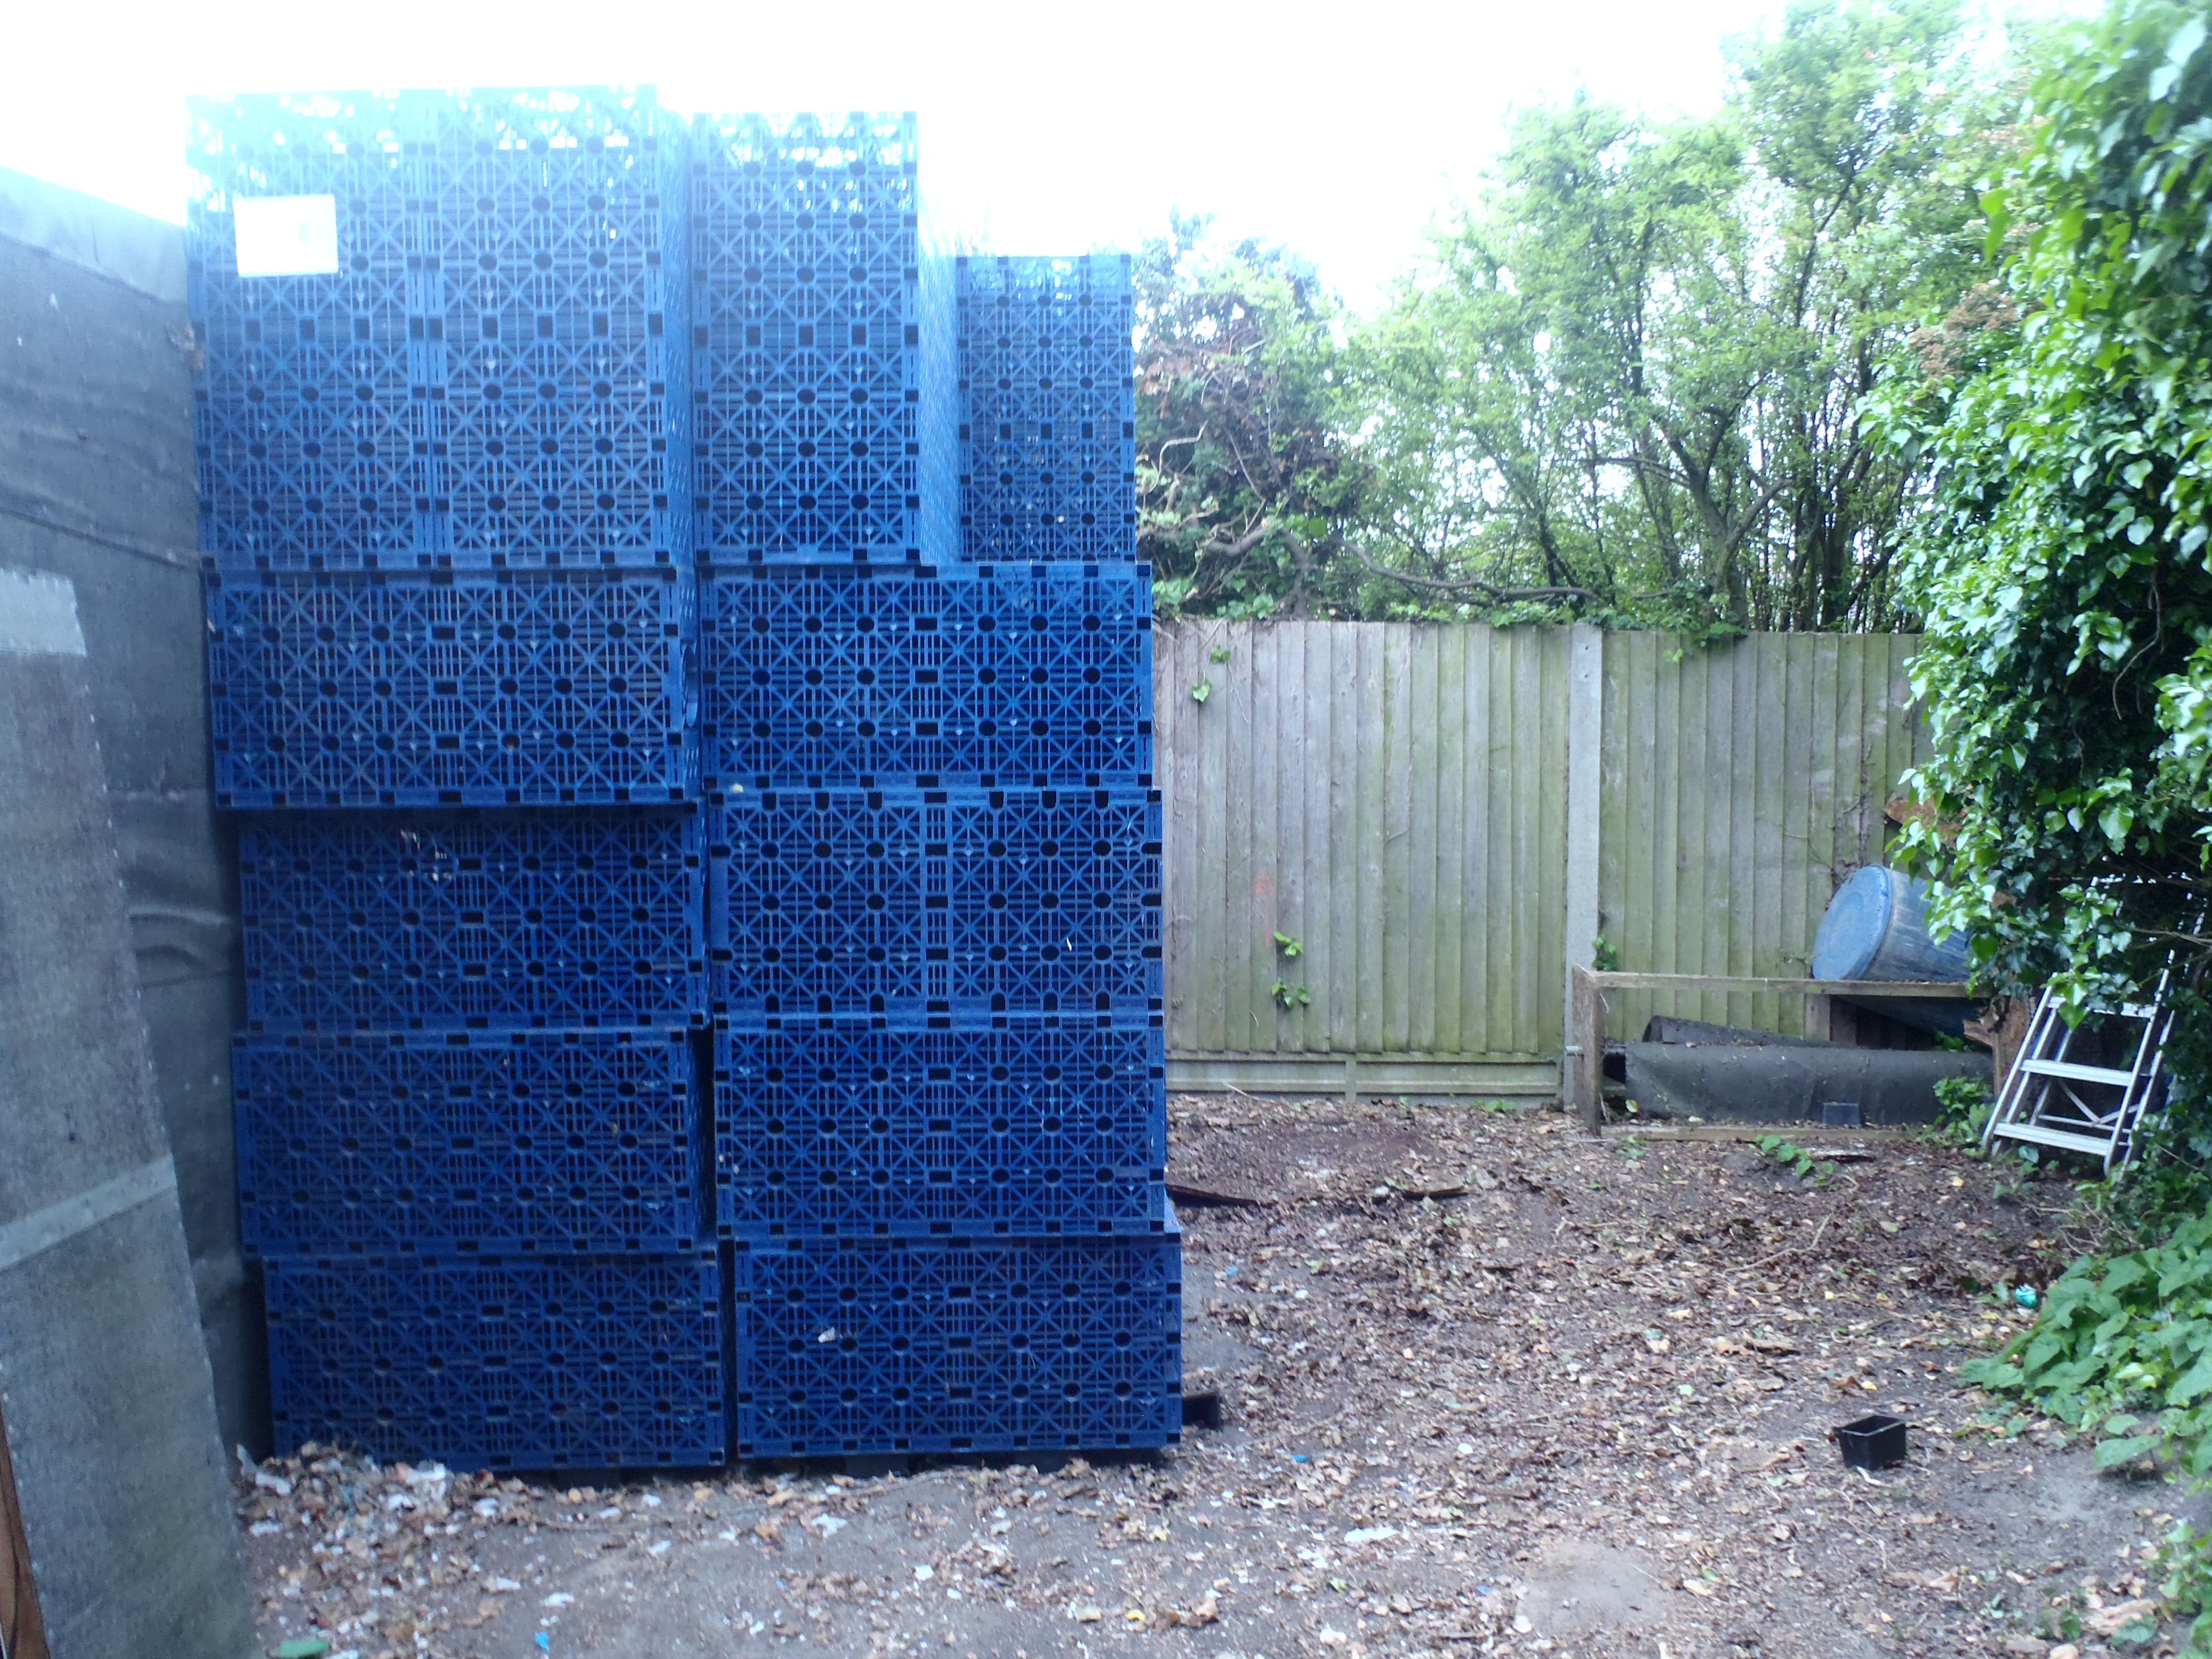
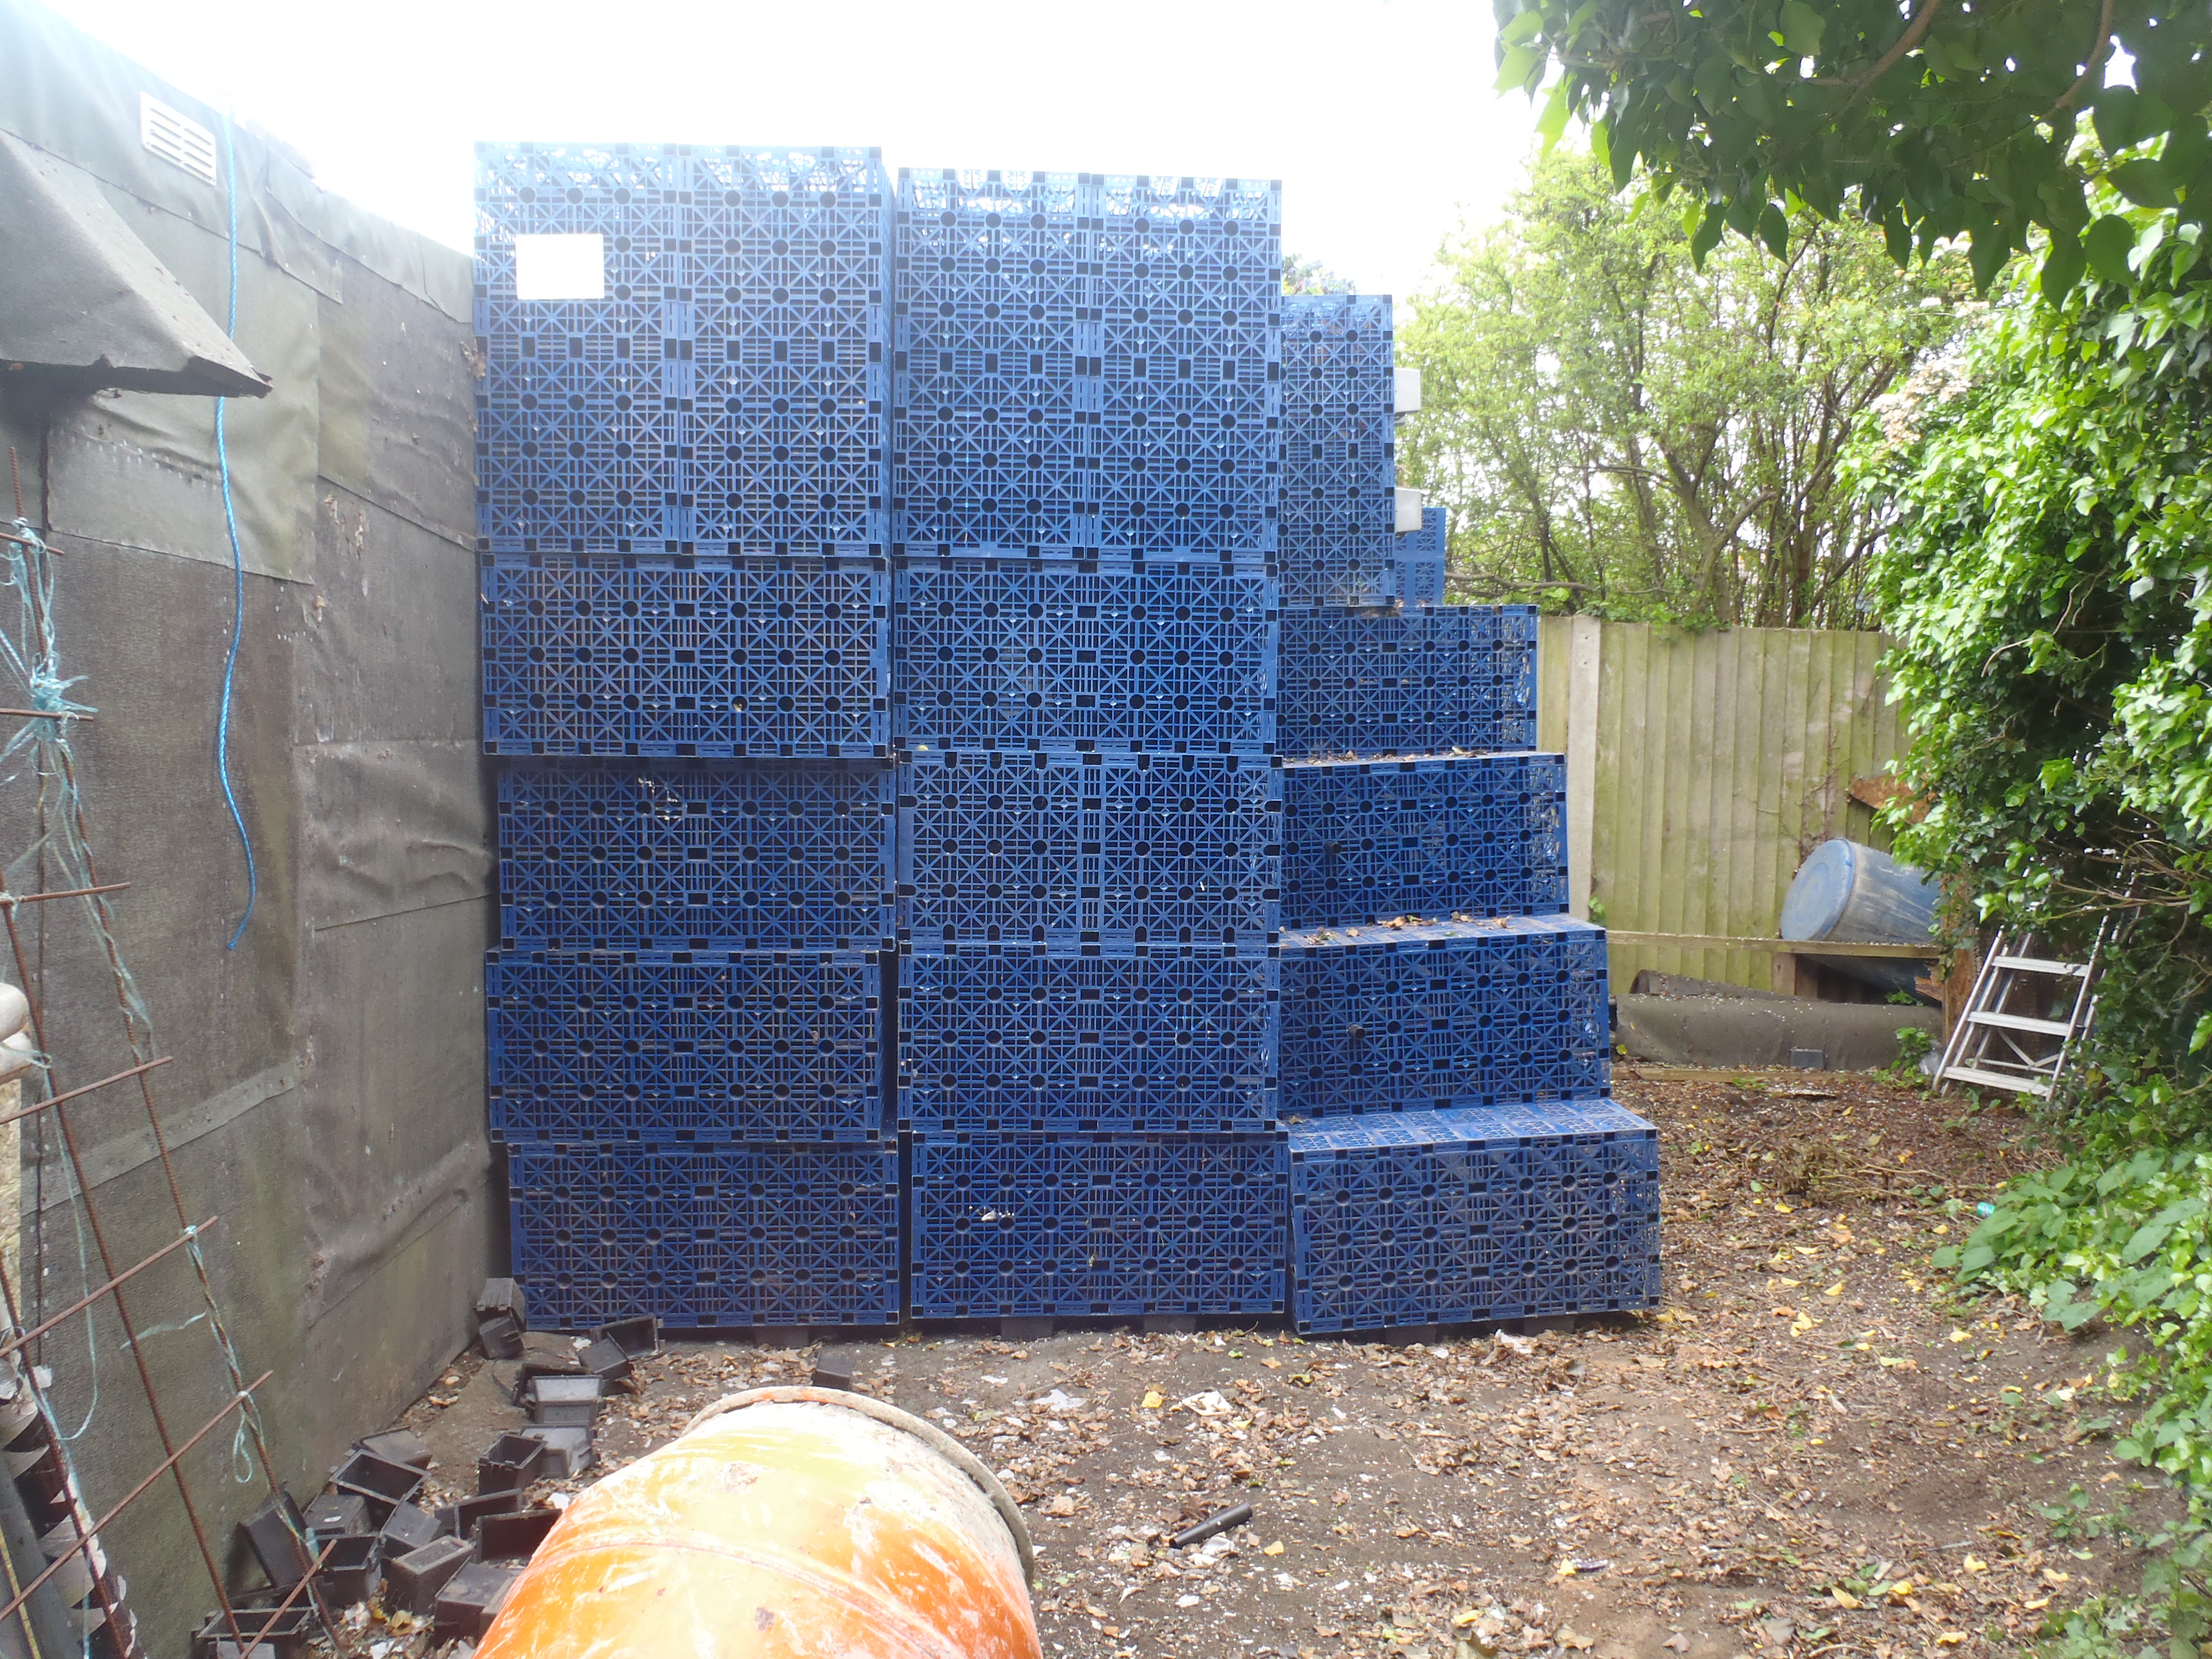
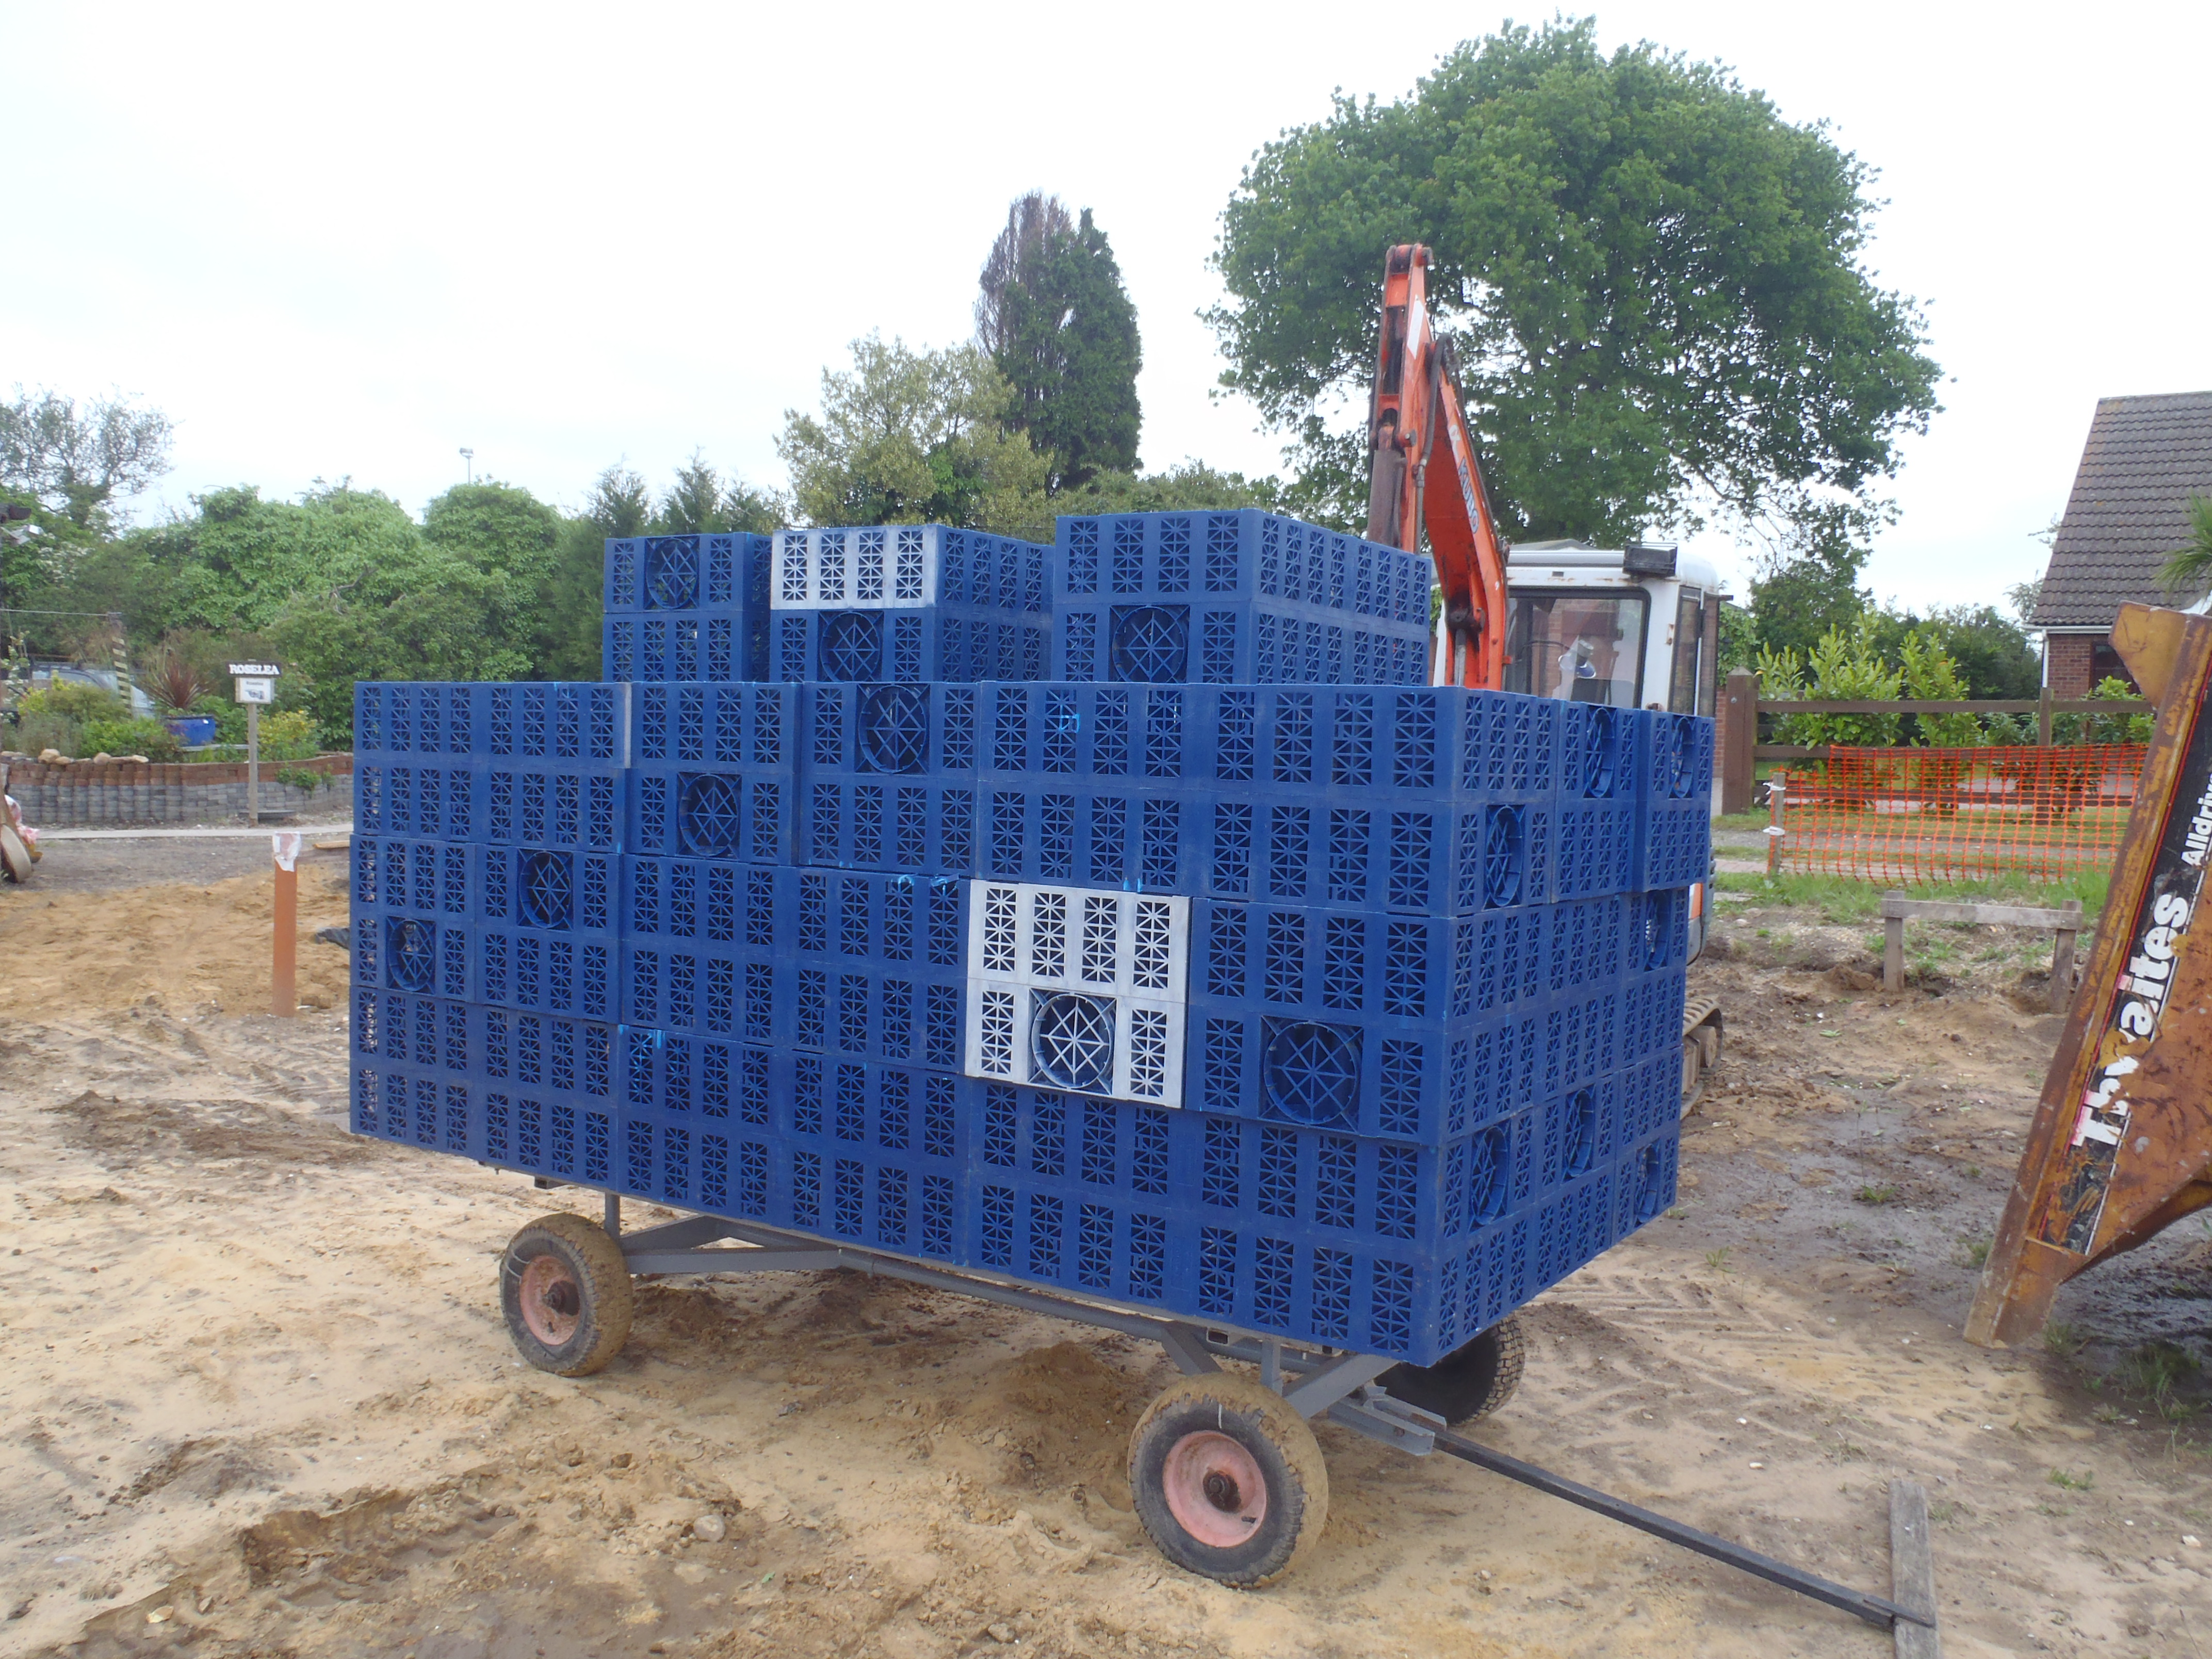
Then it was the job of moving 48 crates into the hole, to form two layers of 12 crates, all clipped together and also locked together with a forest of vertical tubes
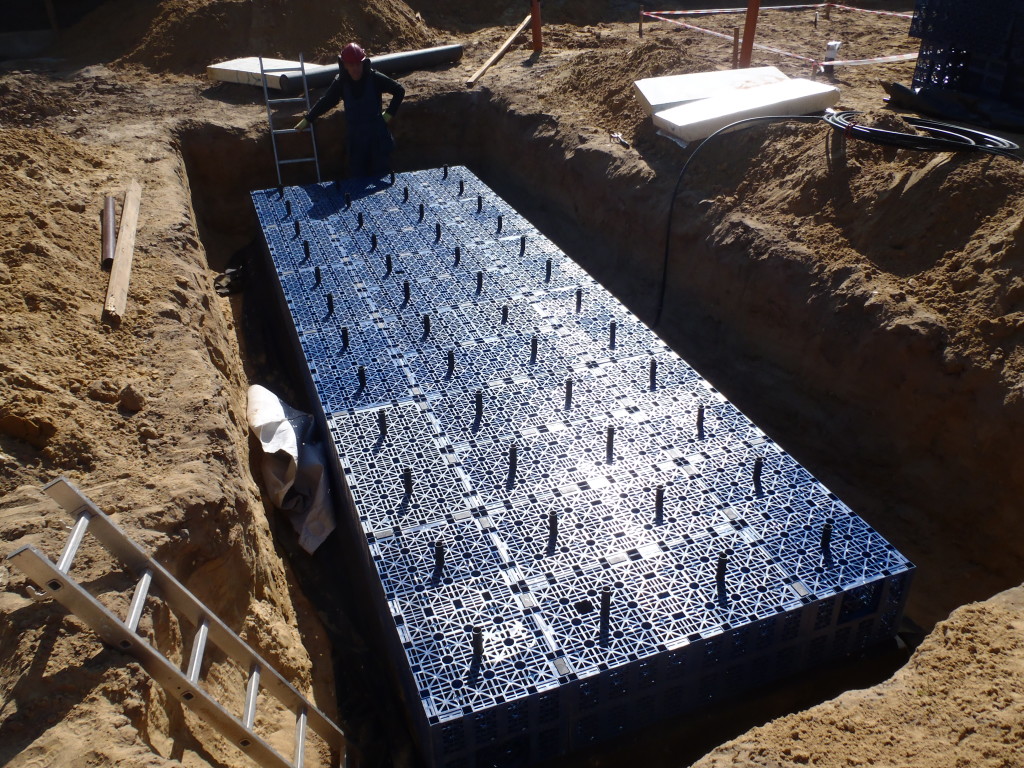
Module-3-First-layer-of-crates-in-place
During the assembly process, the three holes were cut into the plastic of the crates to allow the usual access for our conduit pipes and inspection port to be inserted.
Finally, we got a sheet of DPM plastic to lie over the whole top surface to protect the insides from dust and dirt and also to act as a shield to stop the water evaporating when it gets hot.
We then pulled up the rubber sheet and tucked in each corner, just like a Christmas parcel, to provide a waterproof barrier to hold in the 8400 litres of water!!
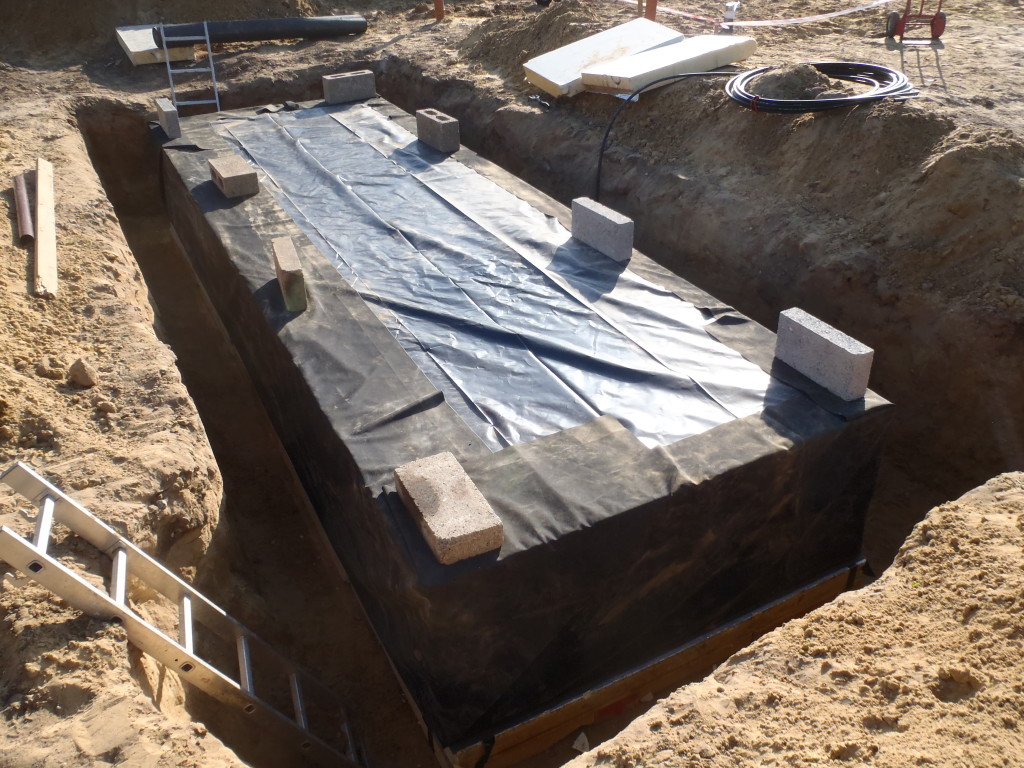
Module-3-All-wrapped-up
Tomorrow, in the morning, we will start the insertion of the insulation panels around the circumference of the module, and start pushing the sandy soil back in.