We continued with Energy Module Number 5 with the start of the assembly of the actual module itself at last!
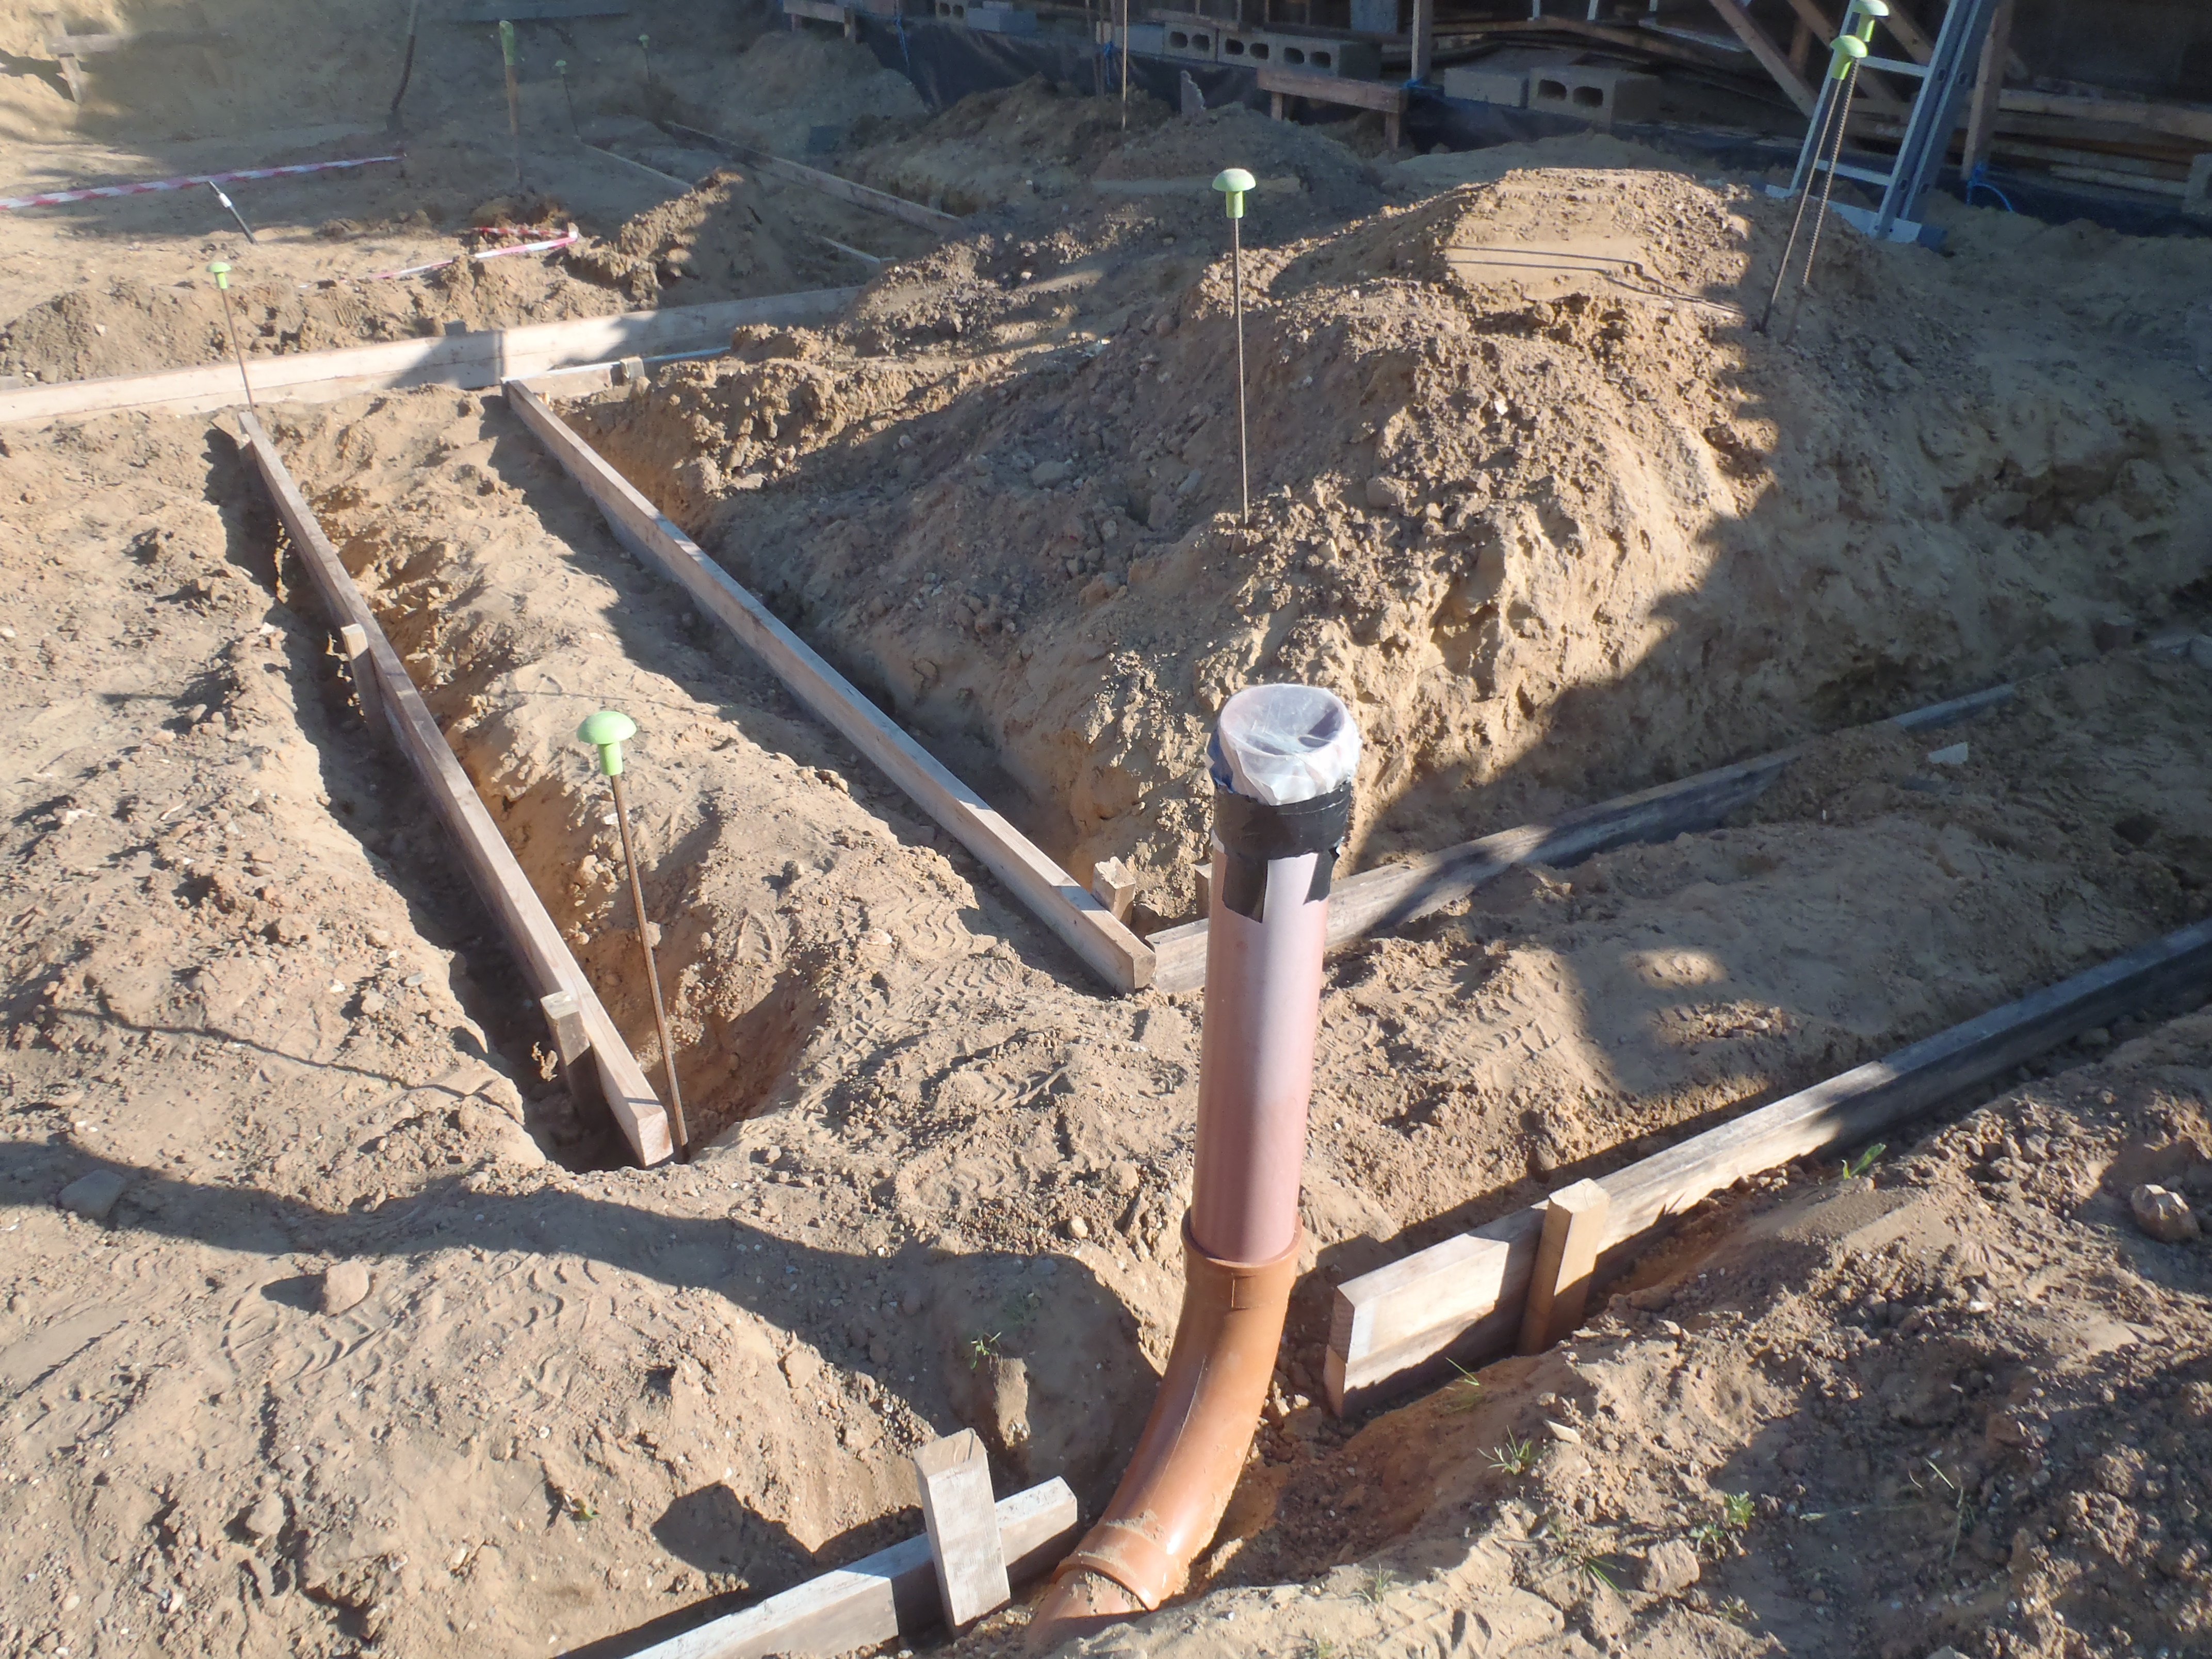
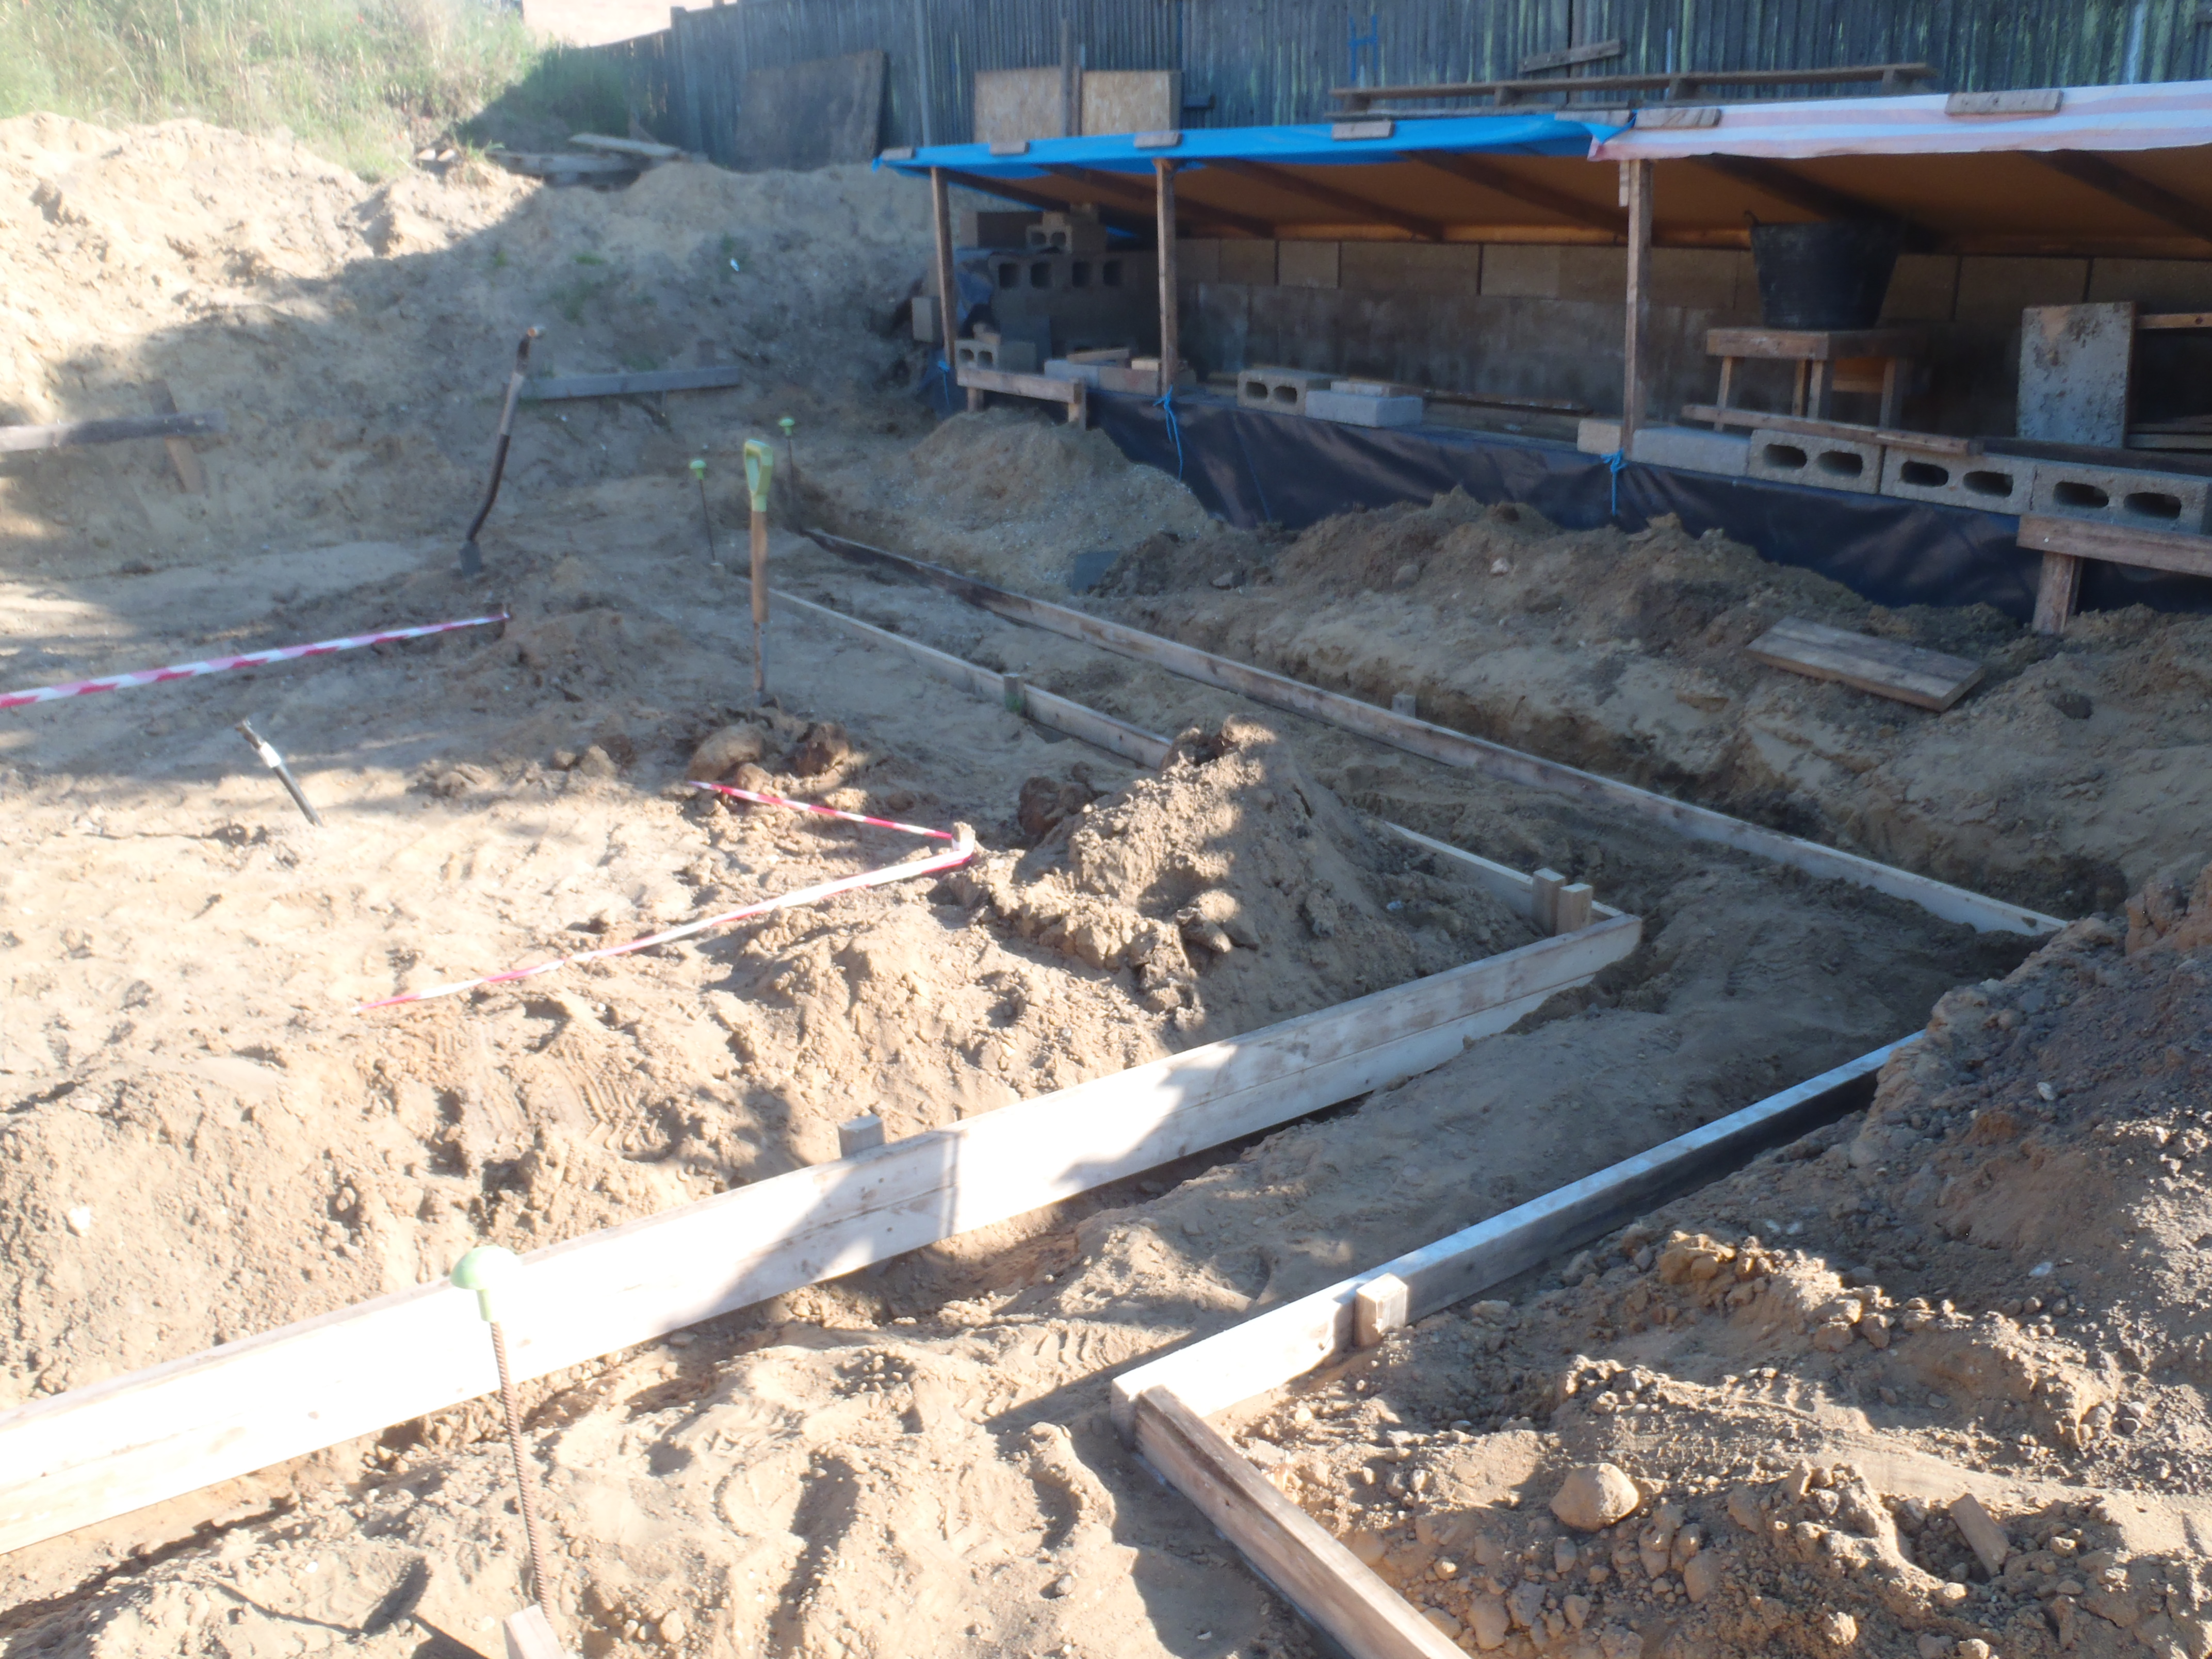
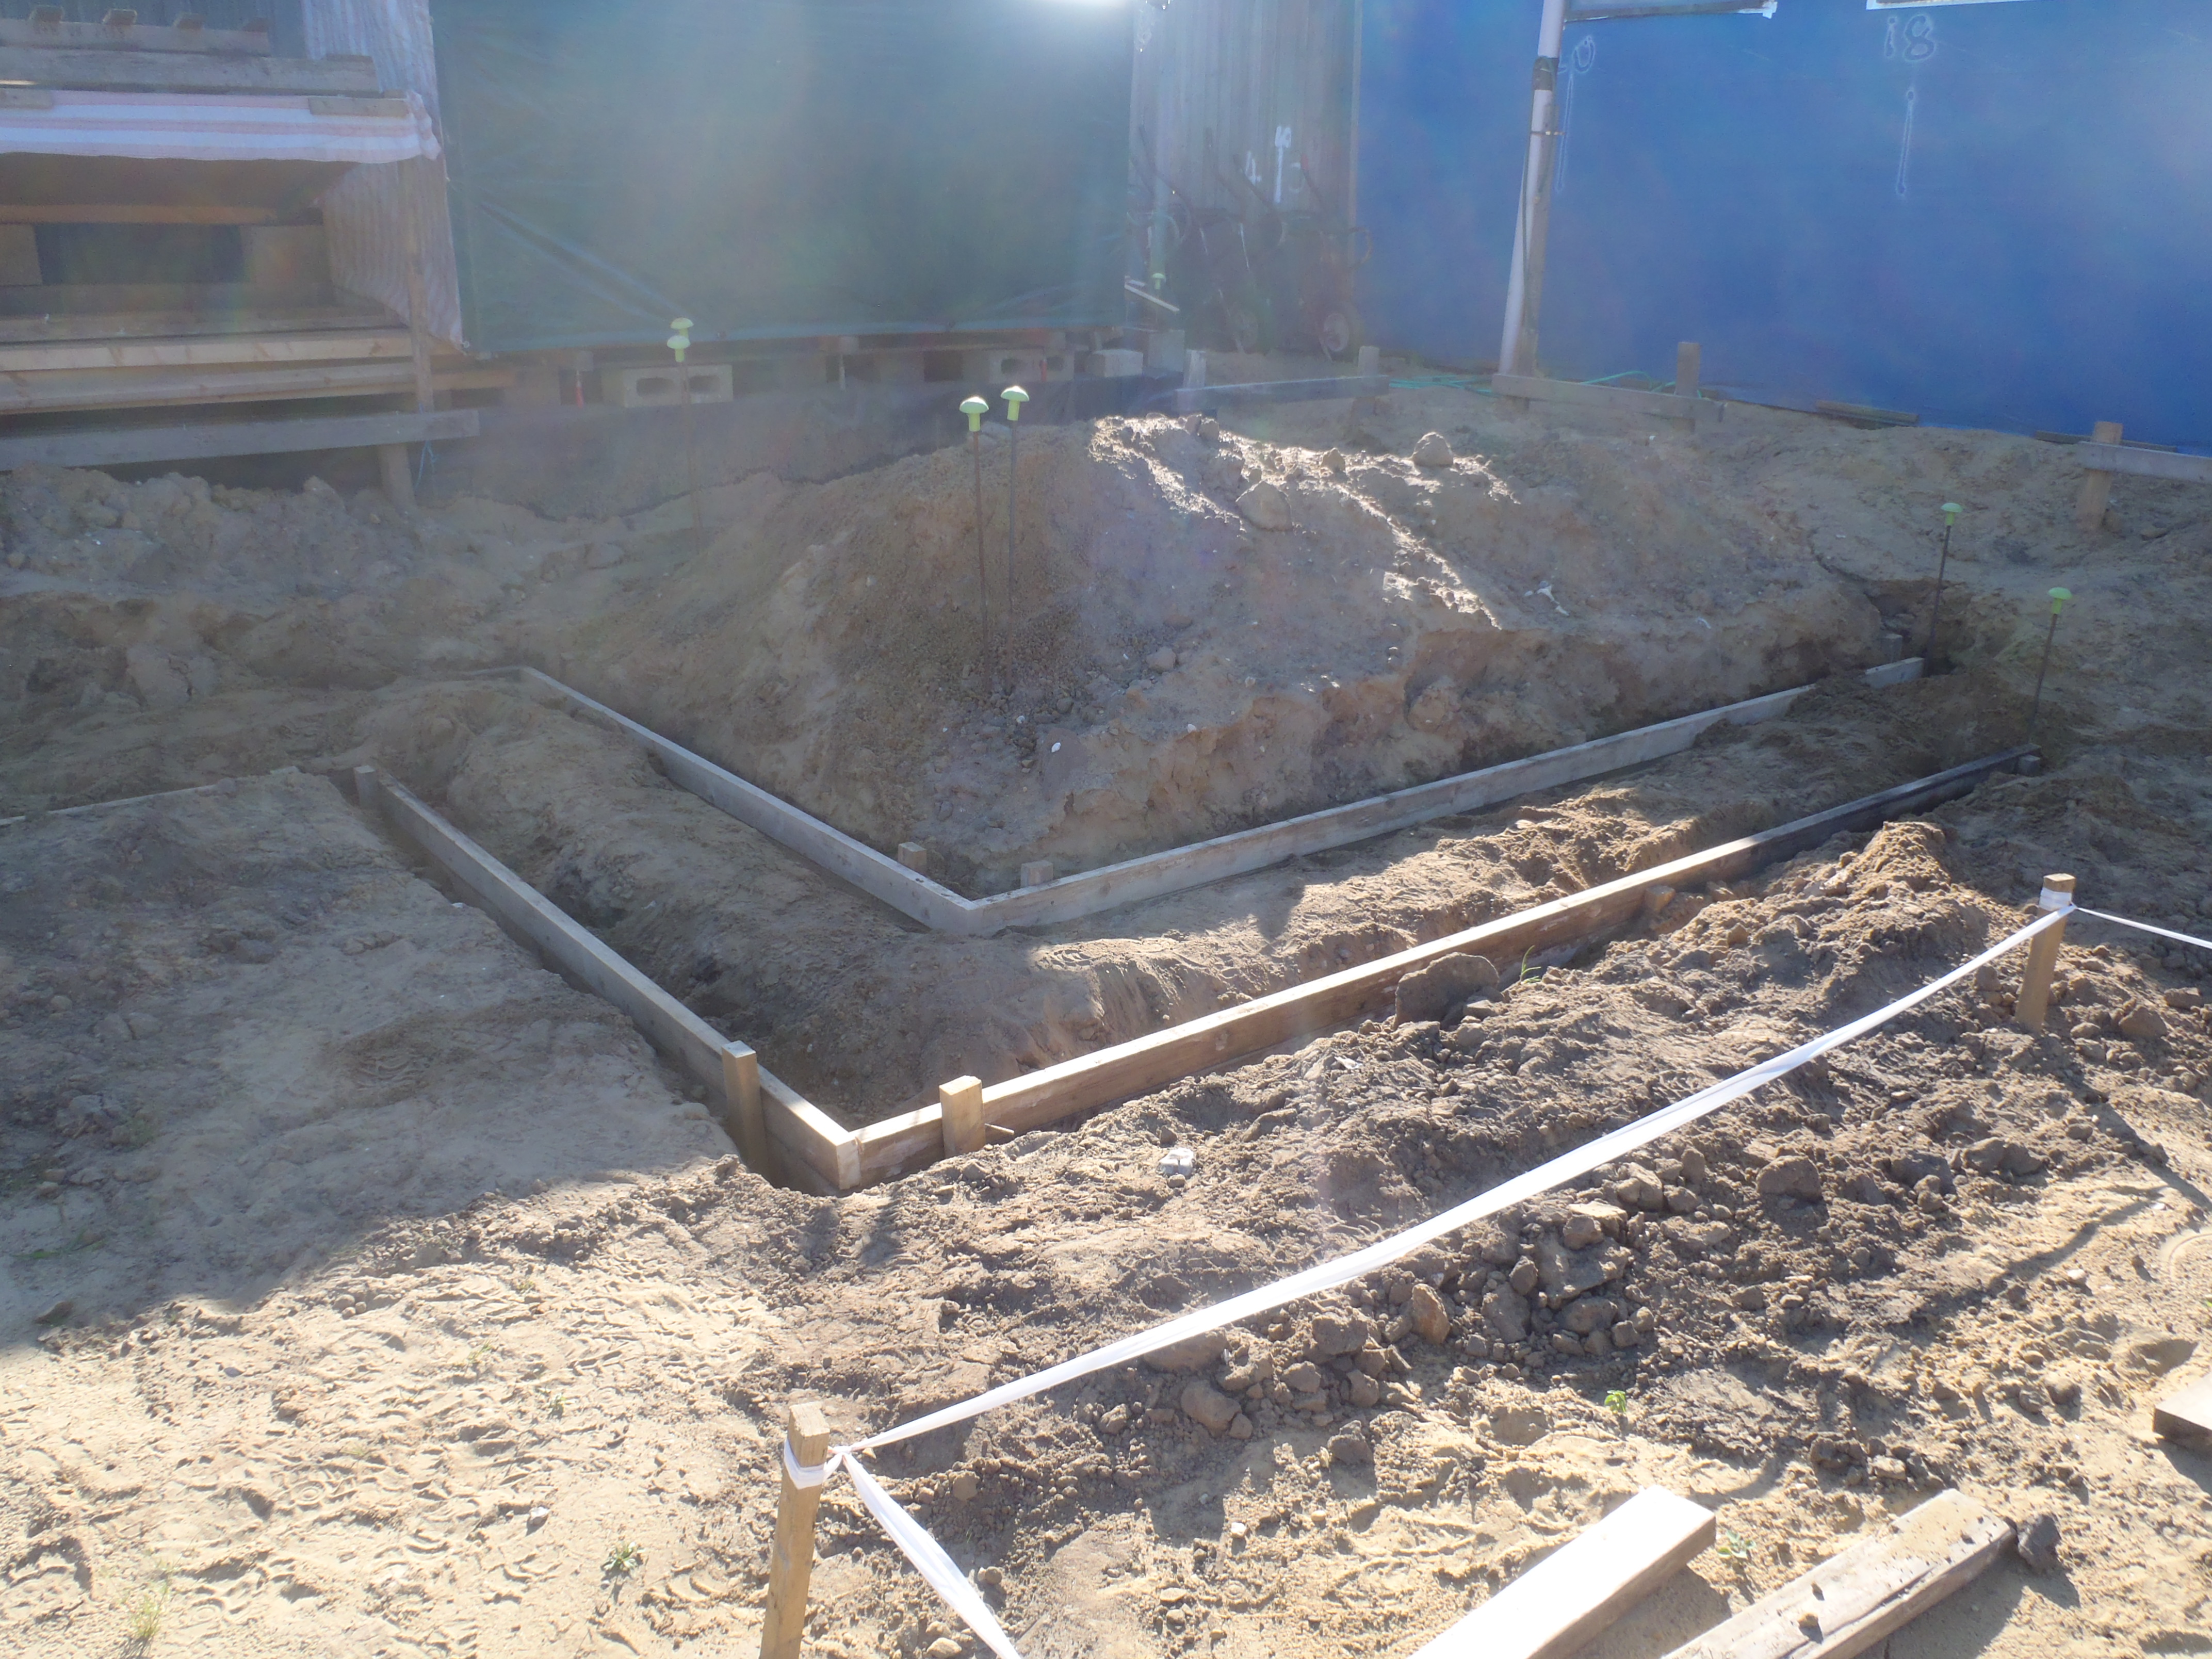
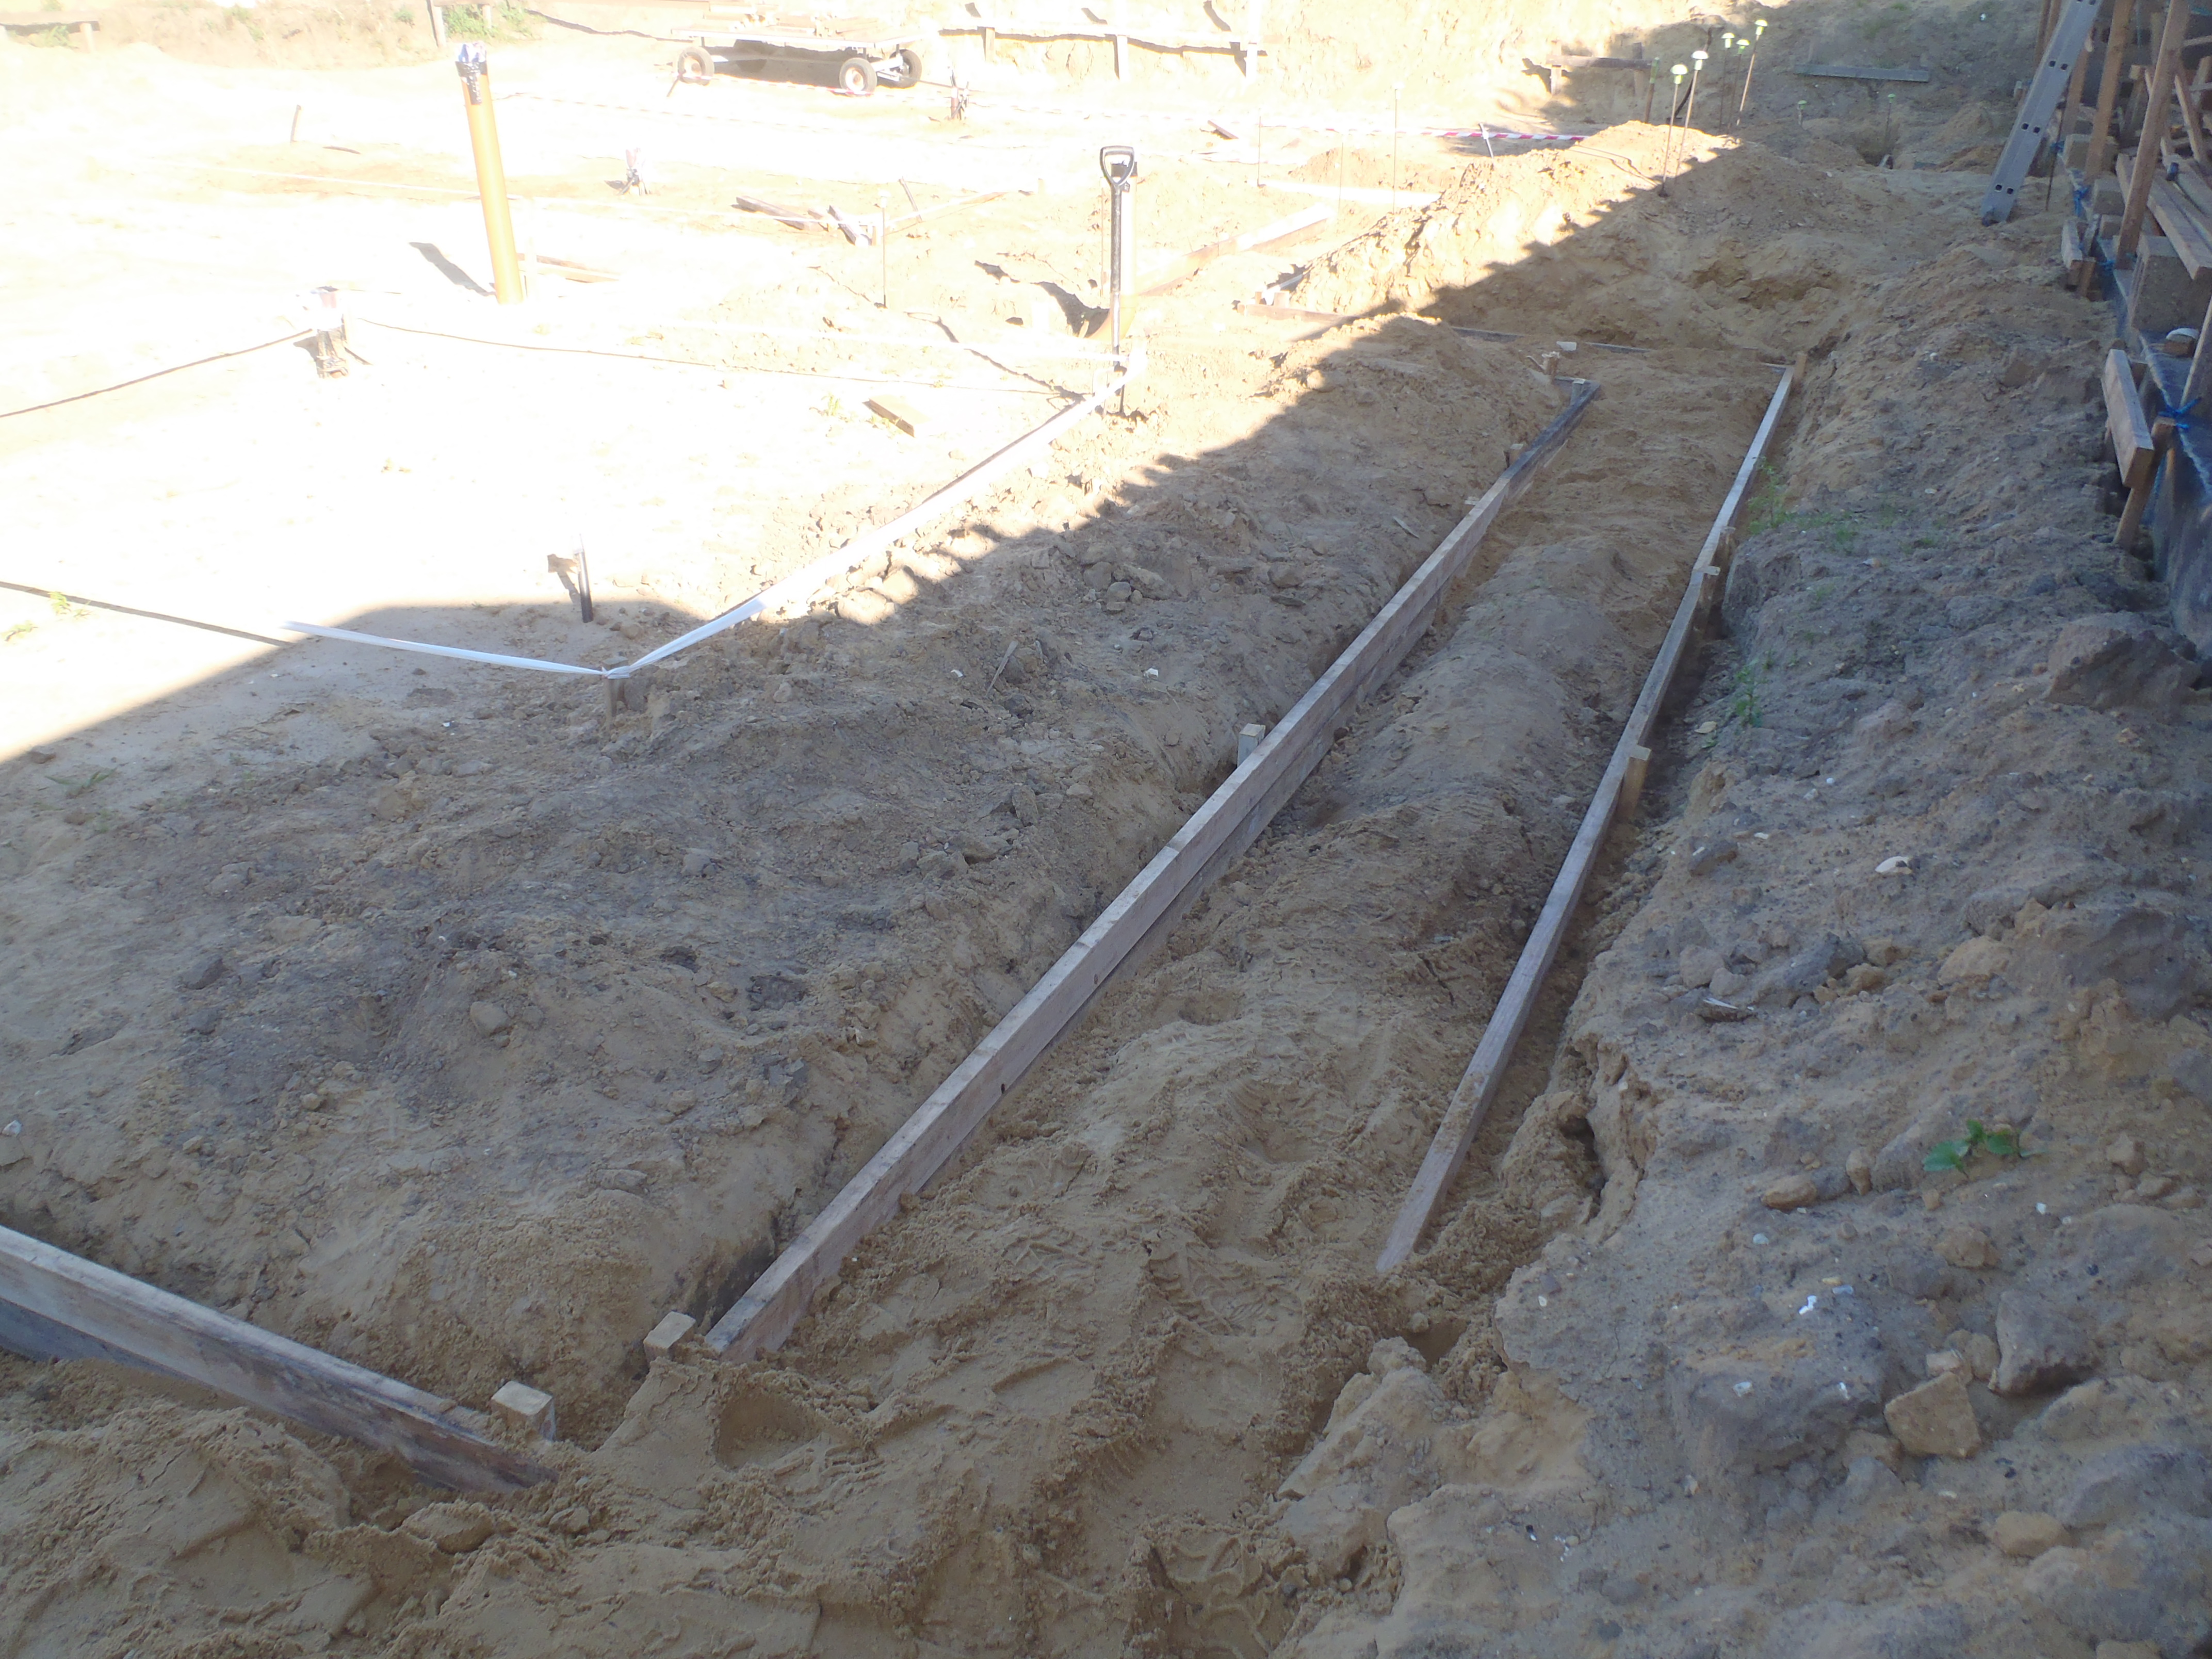
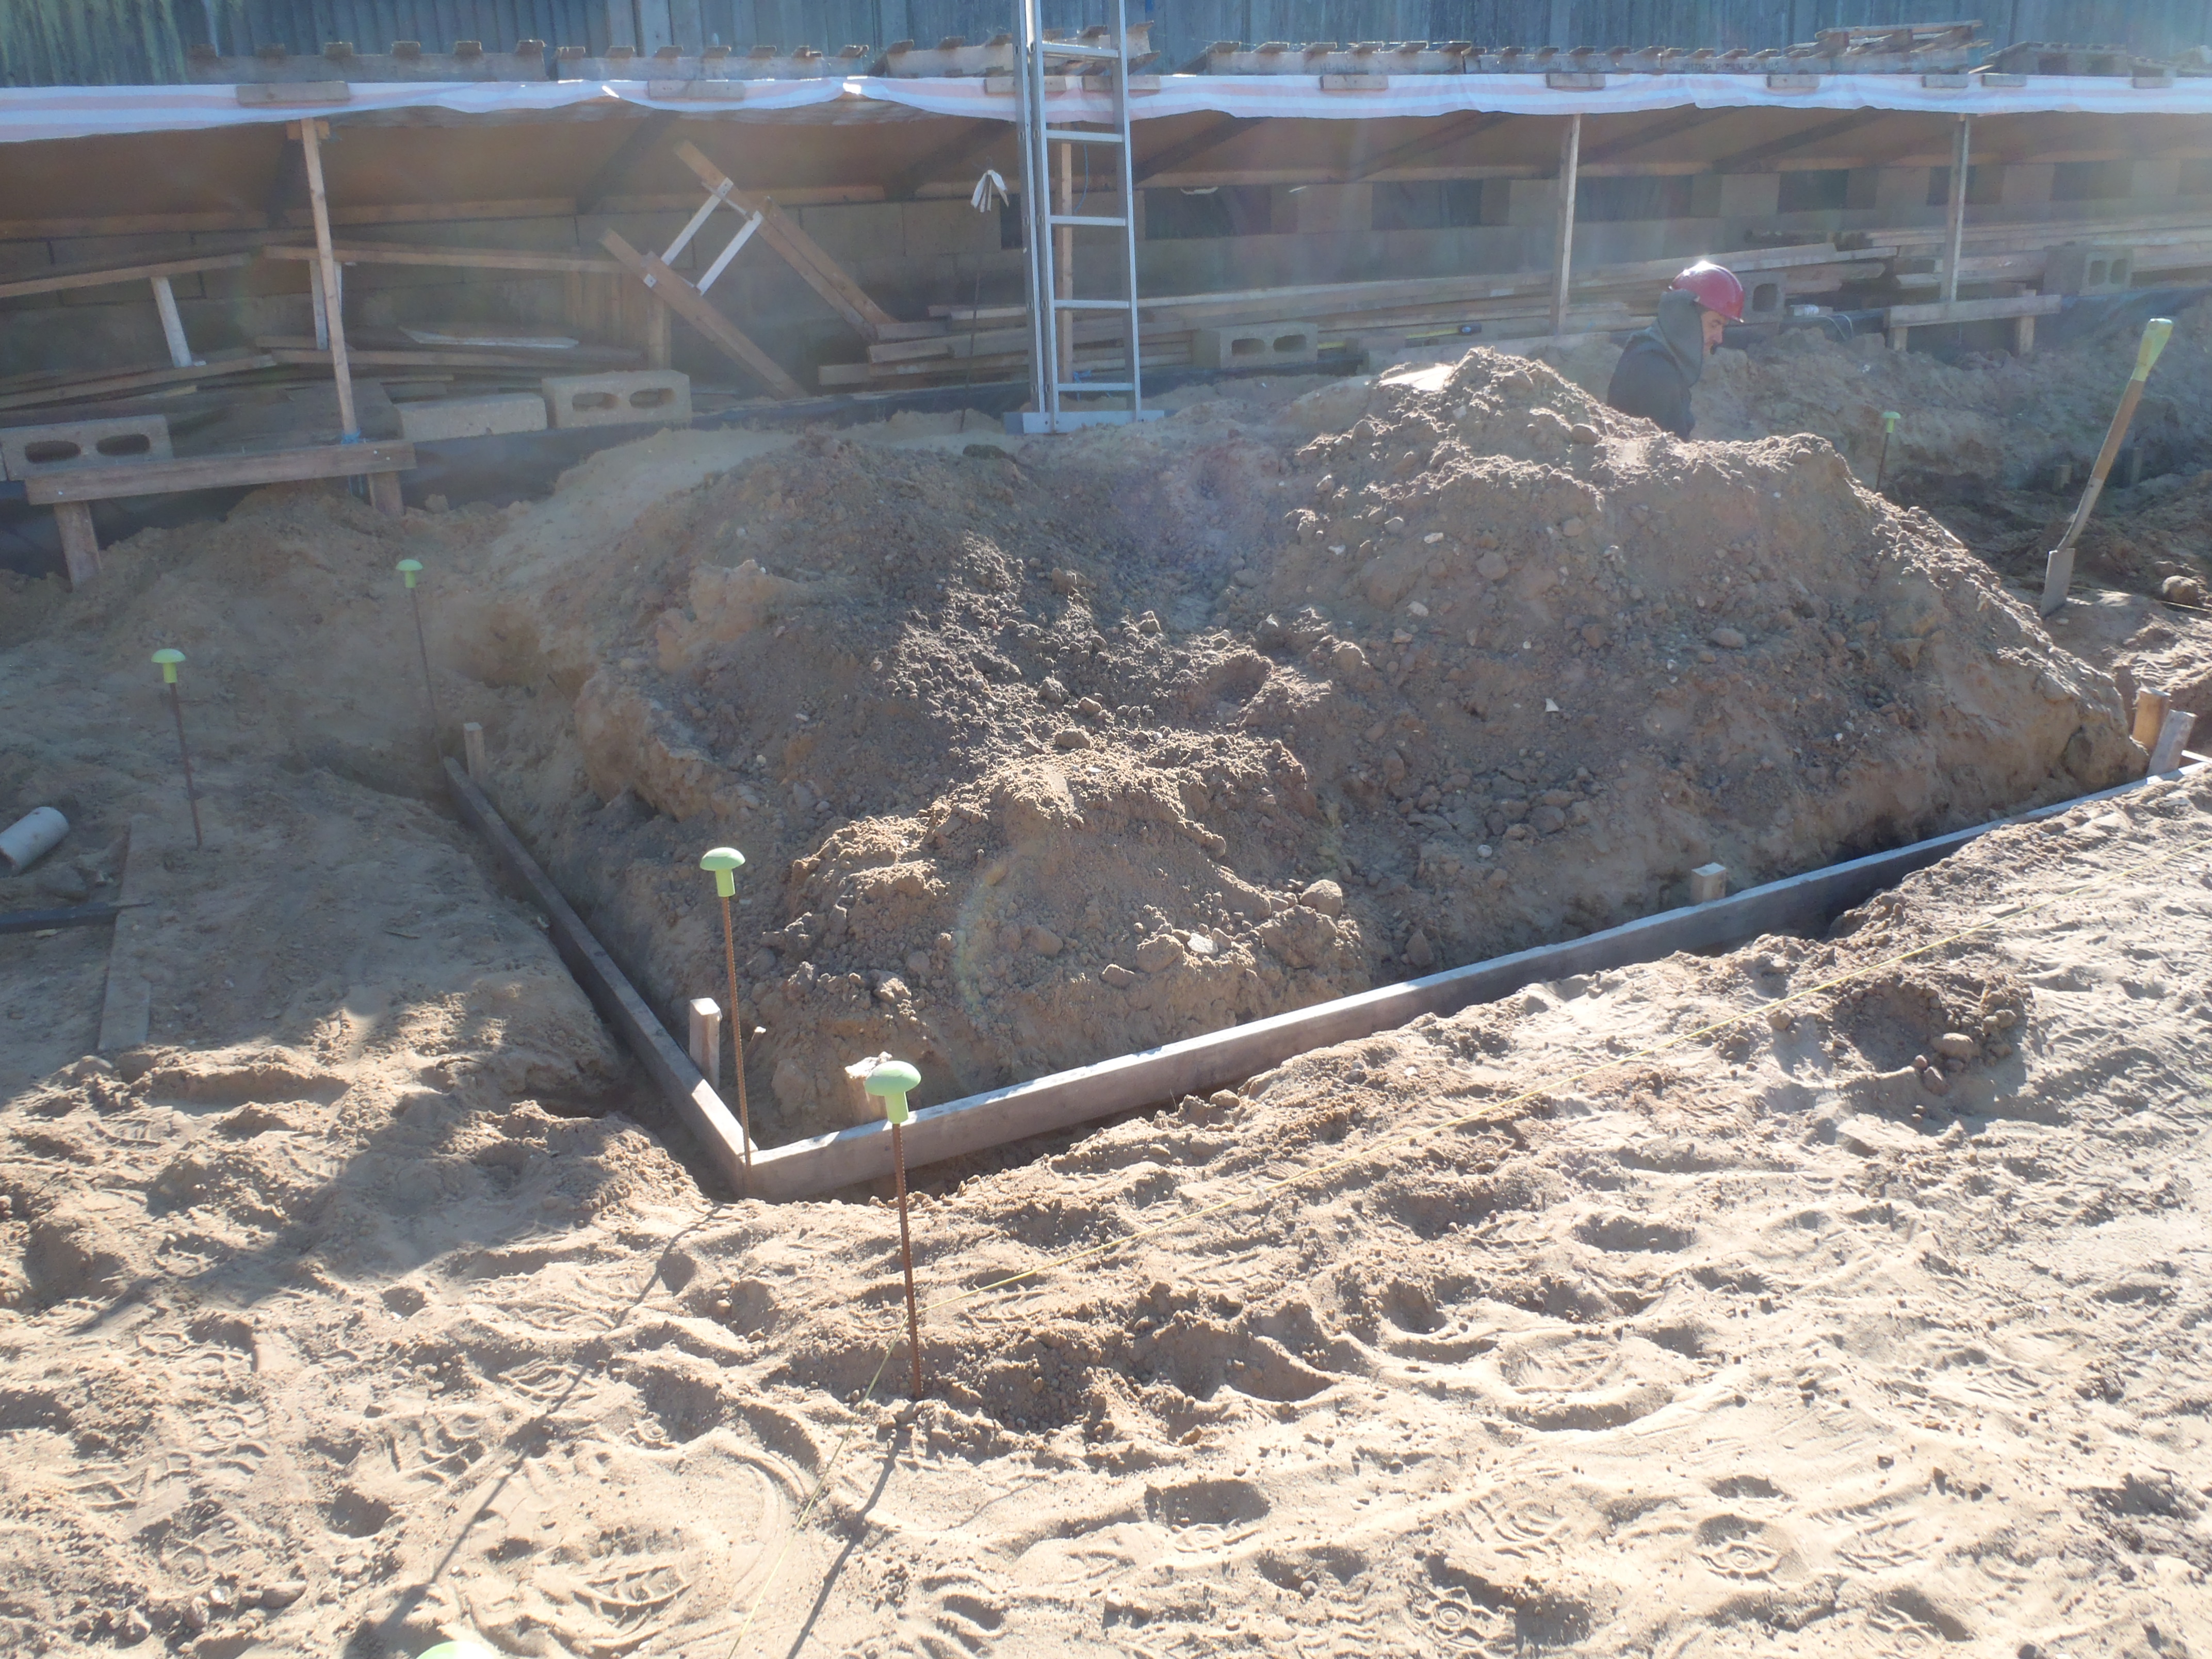
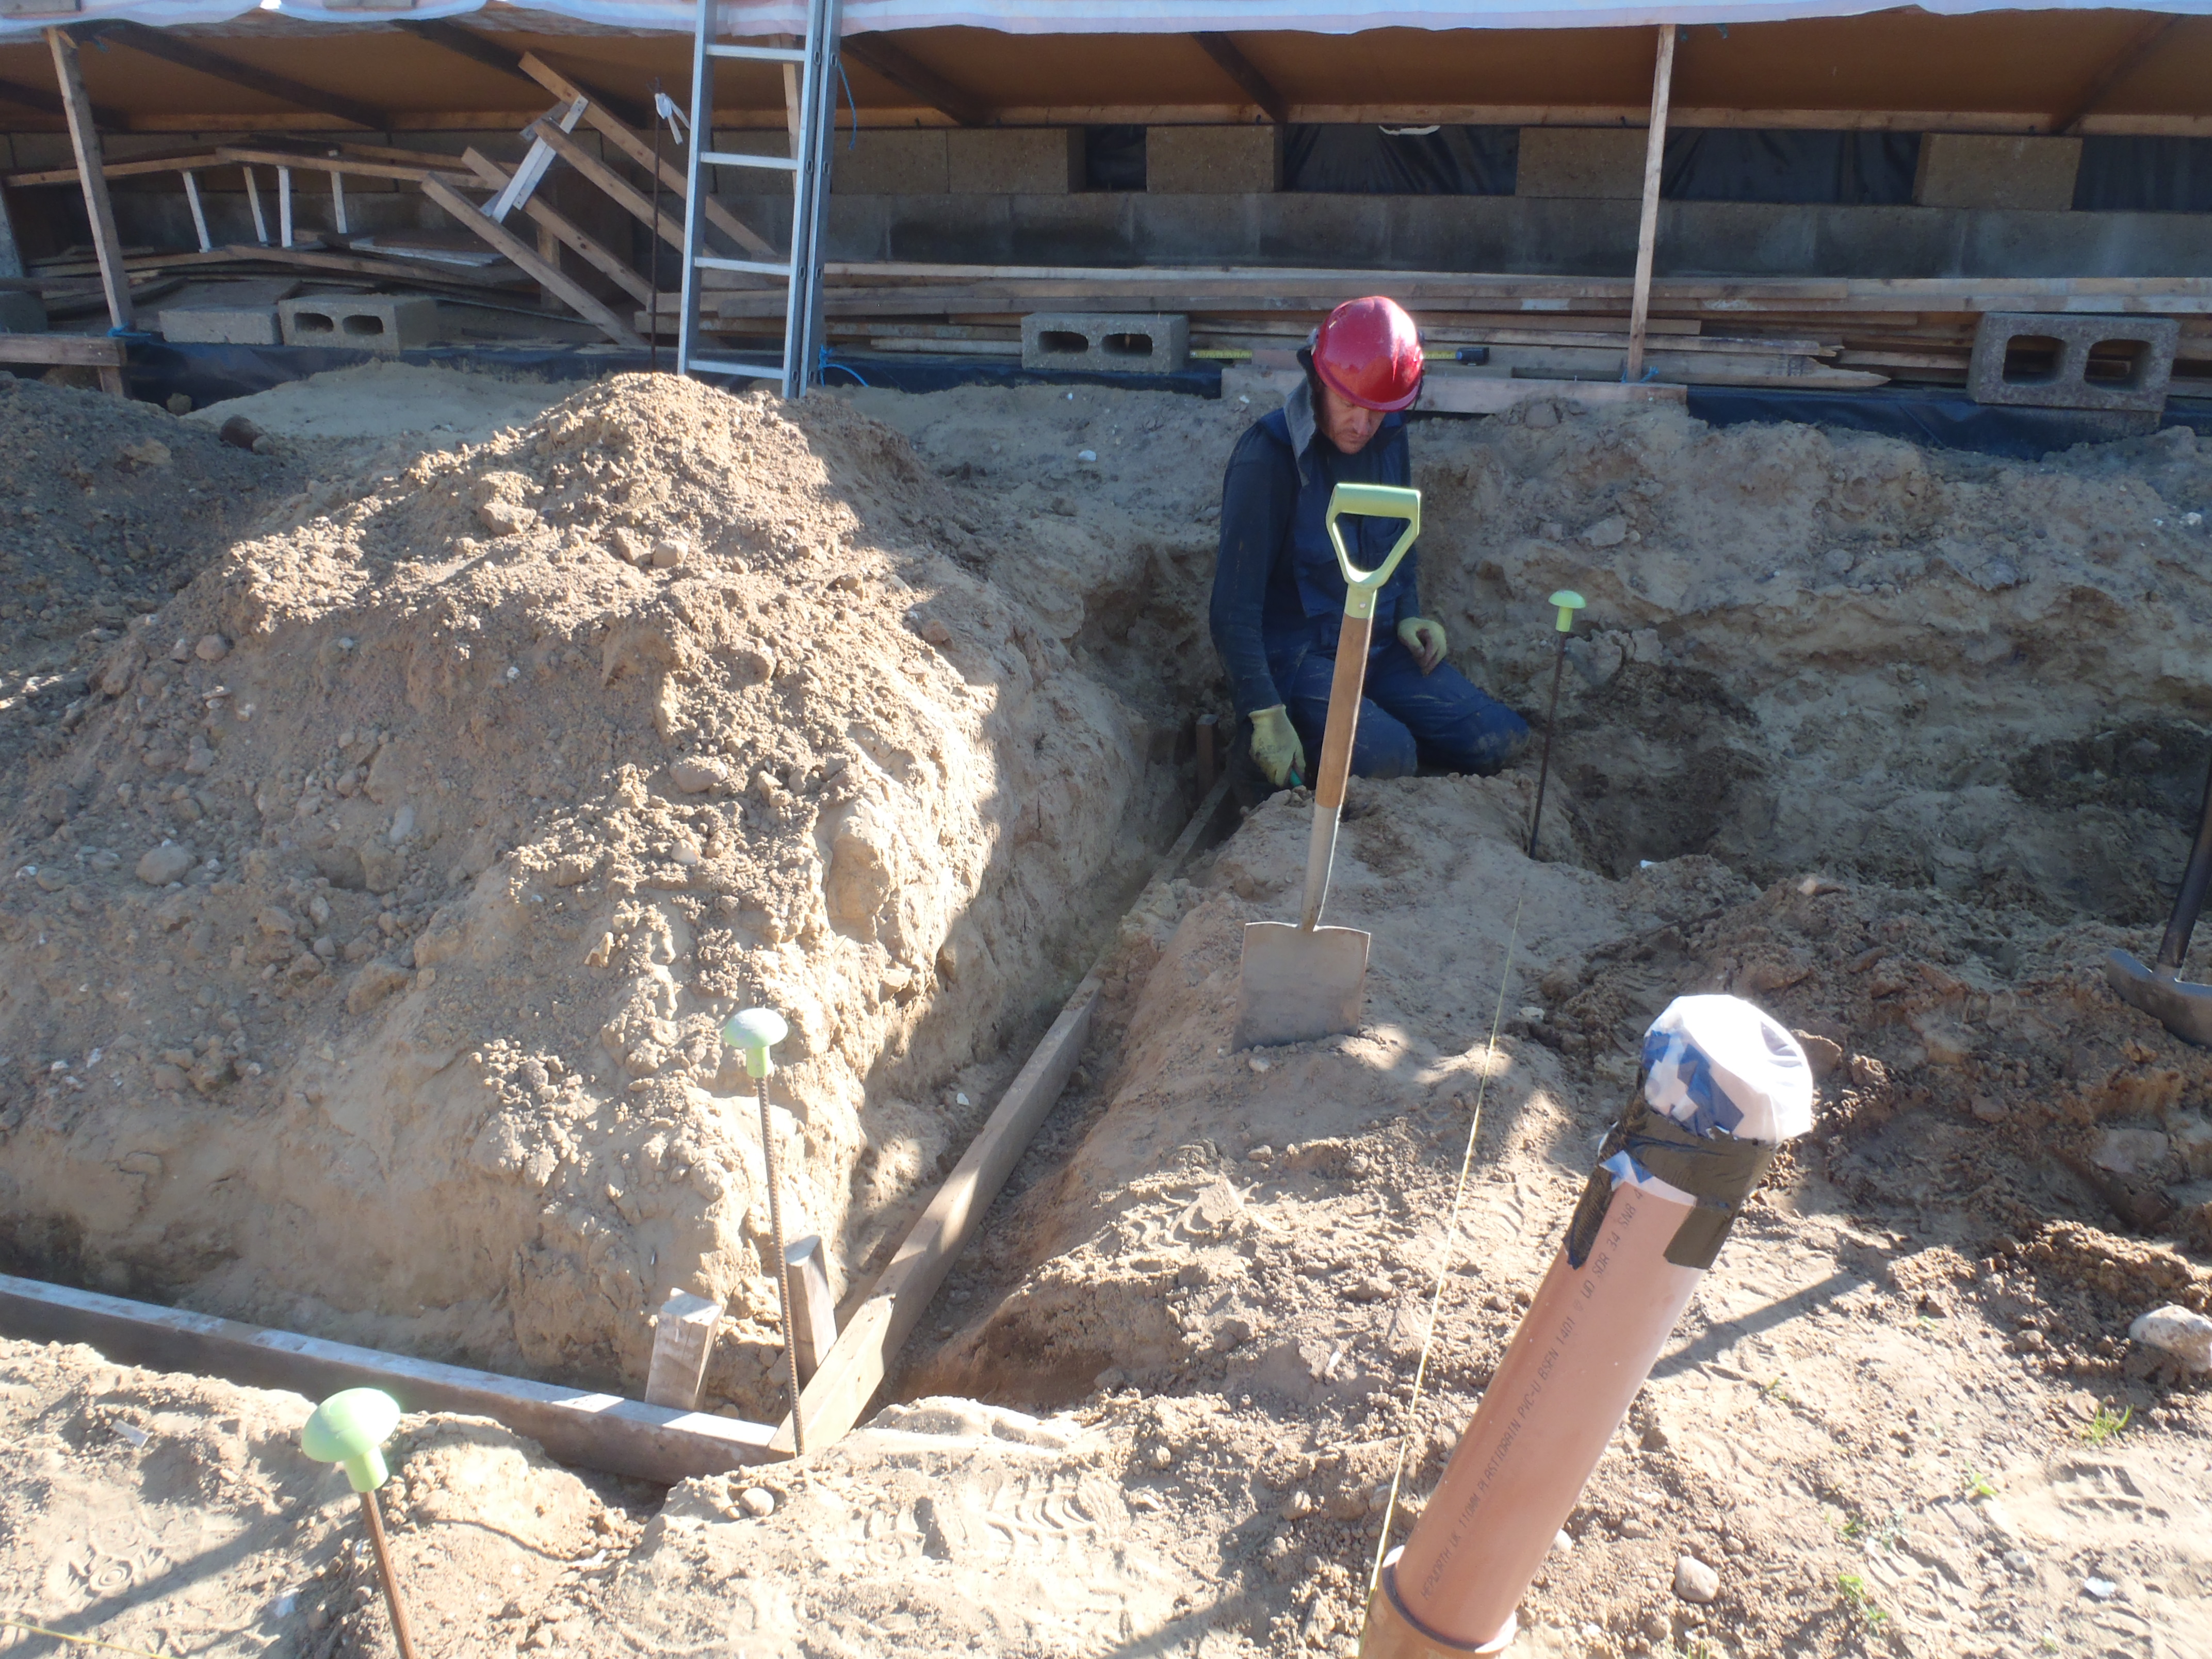
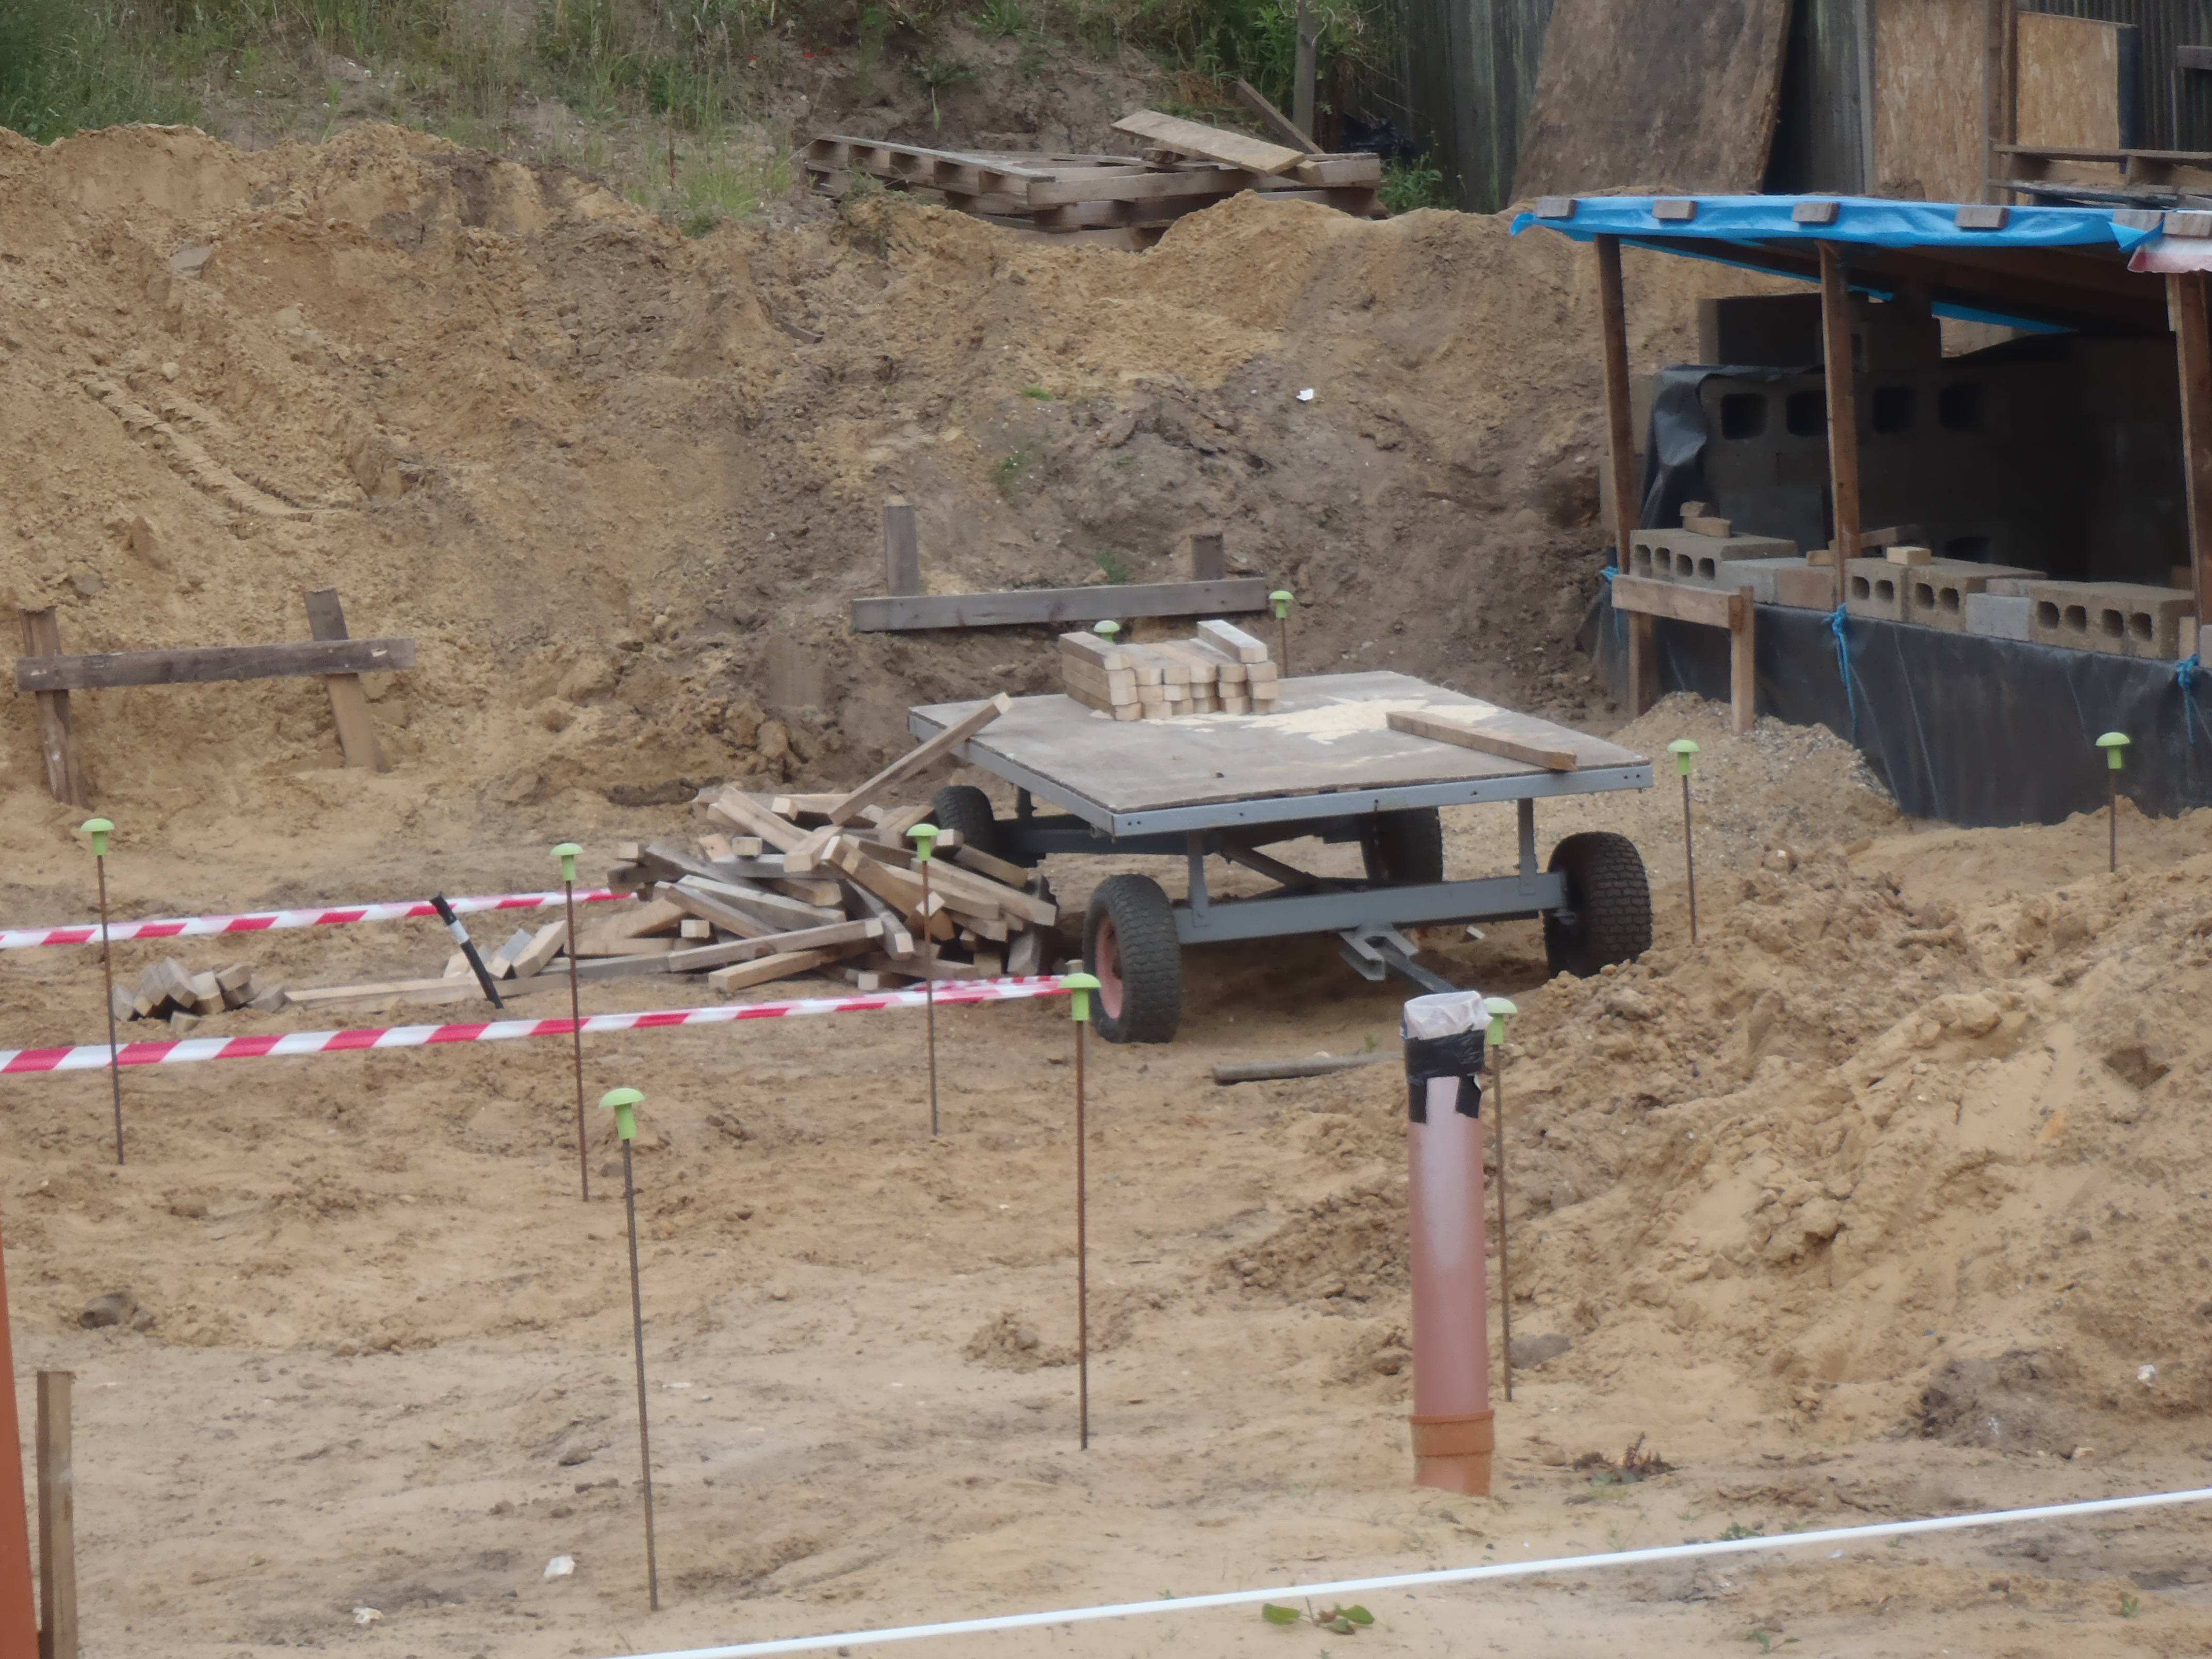
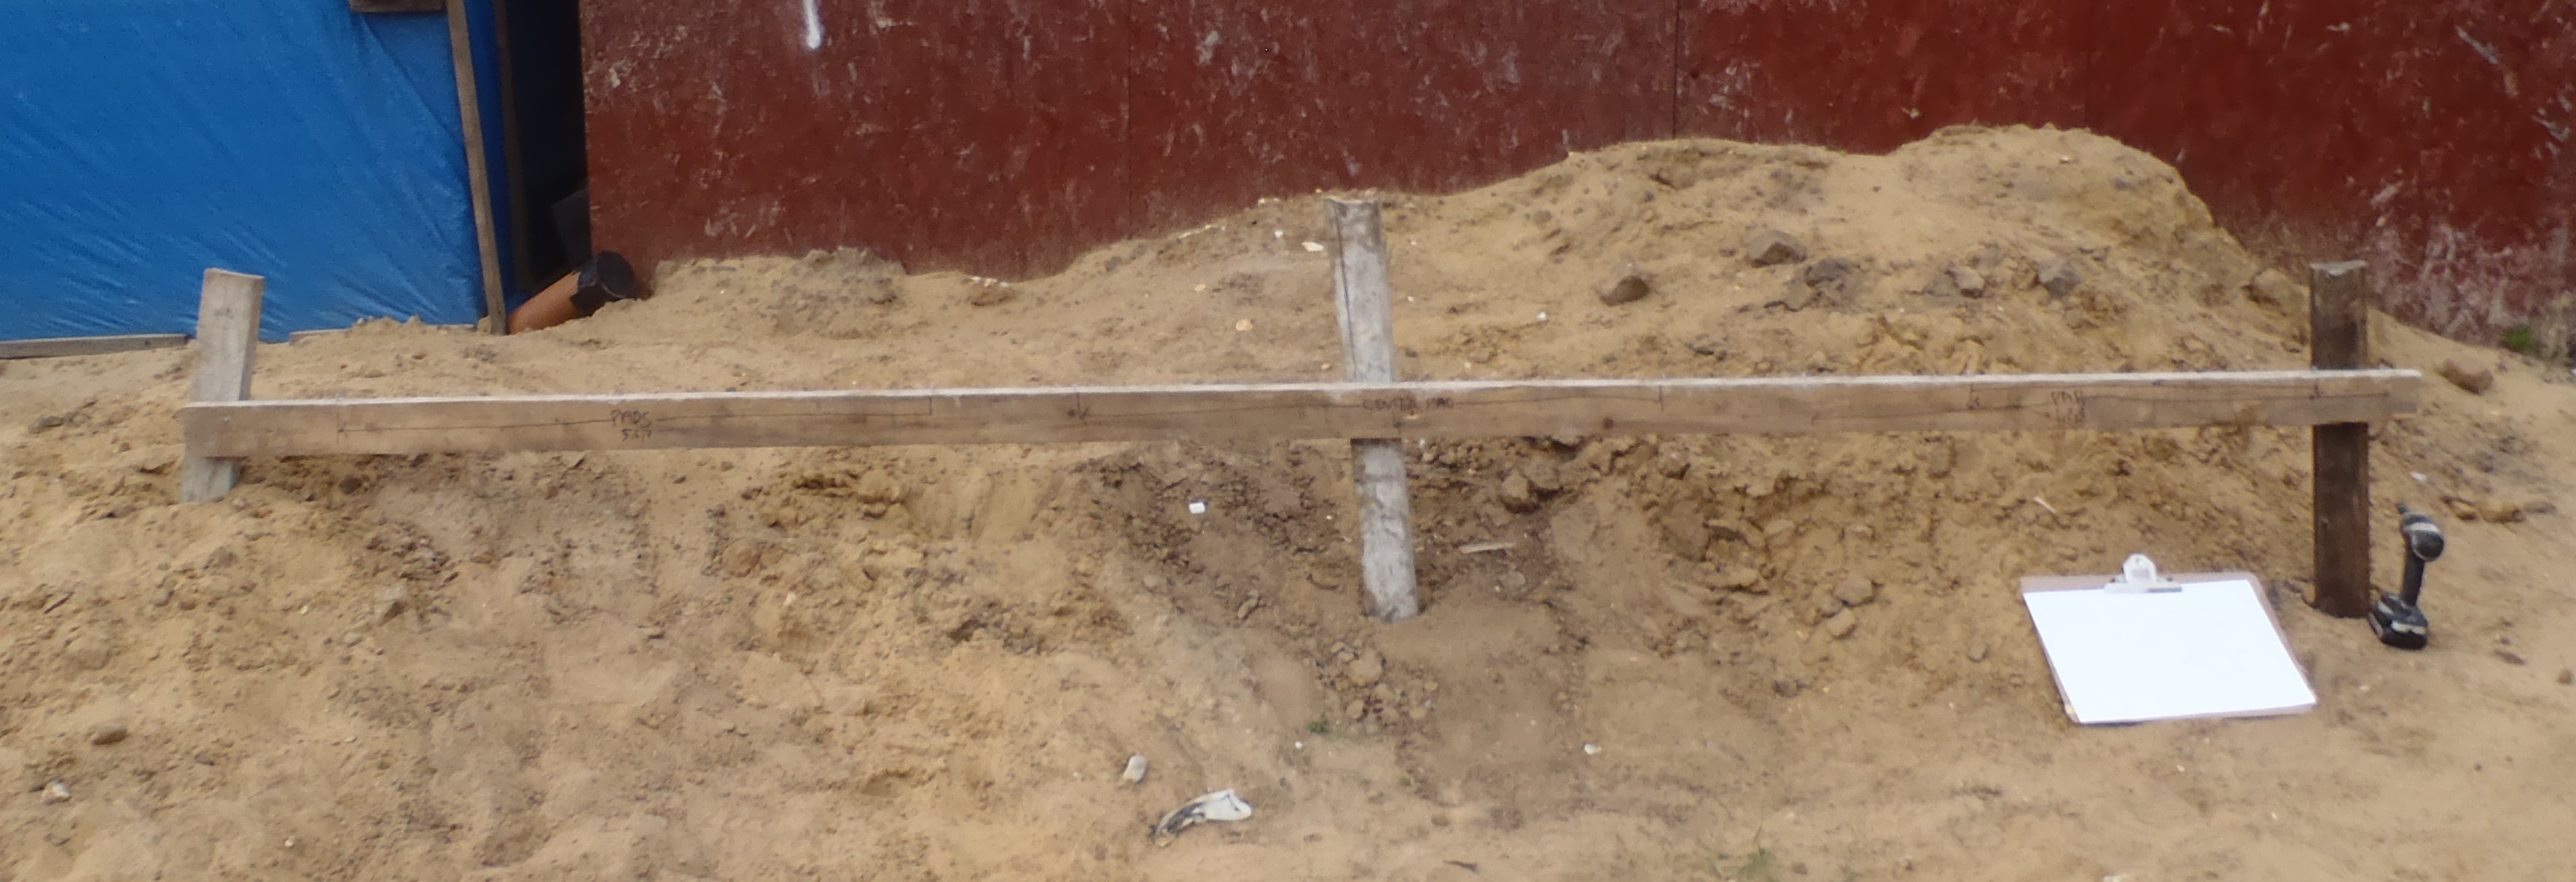
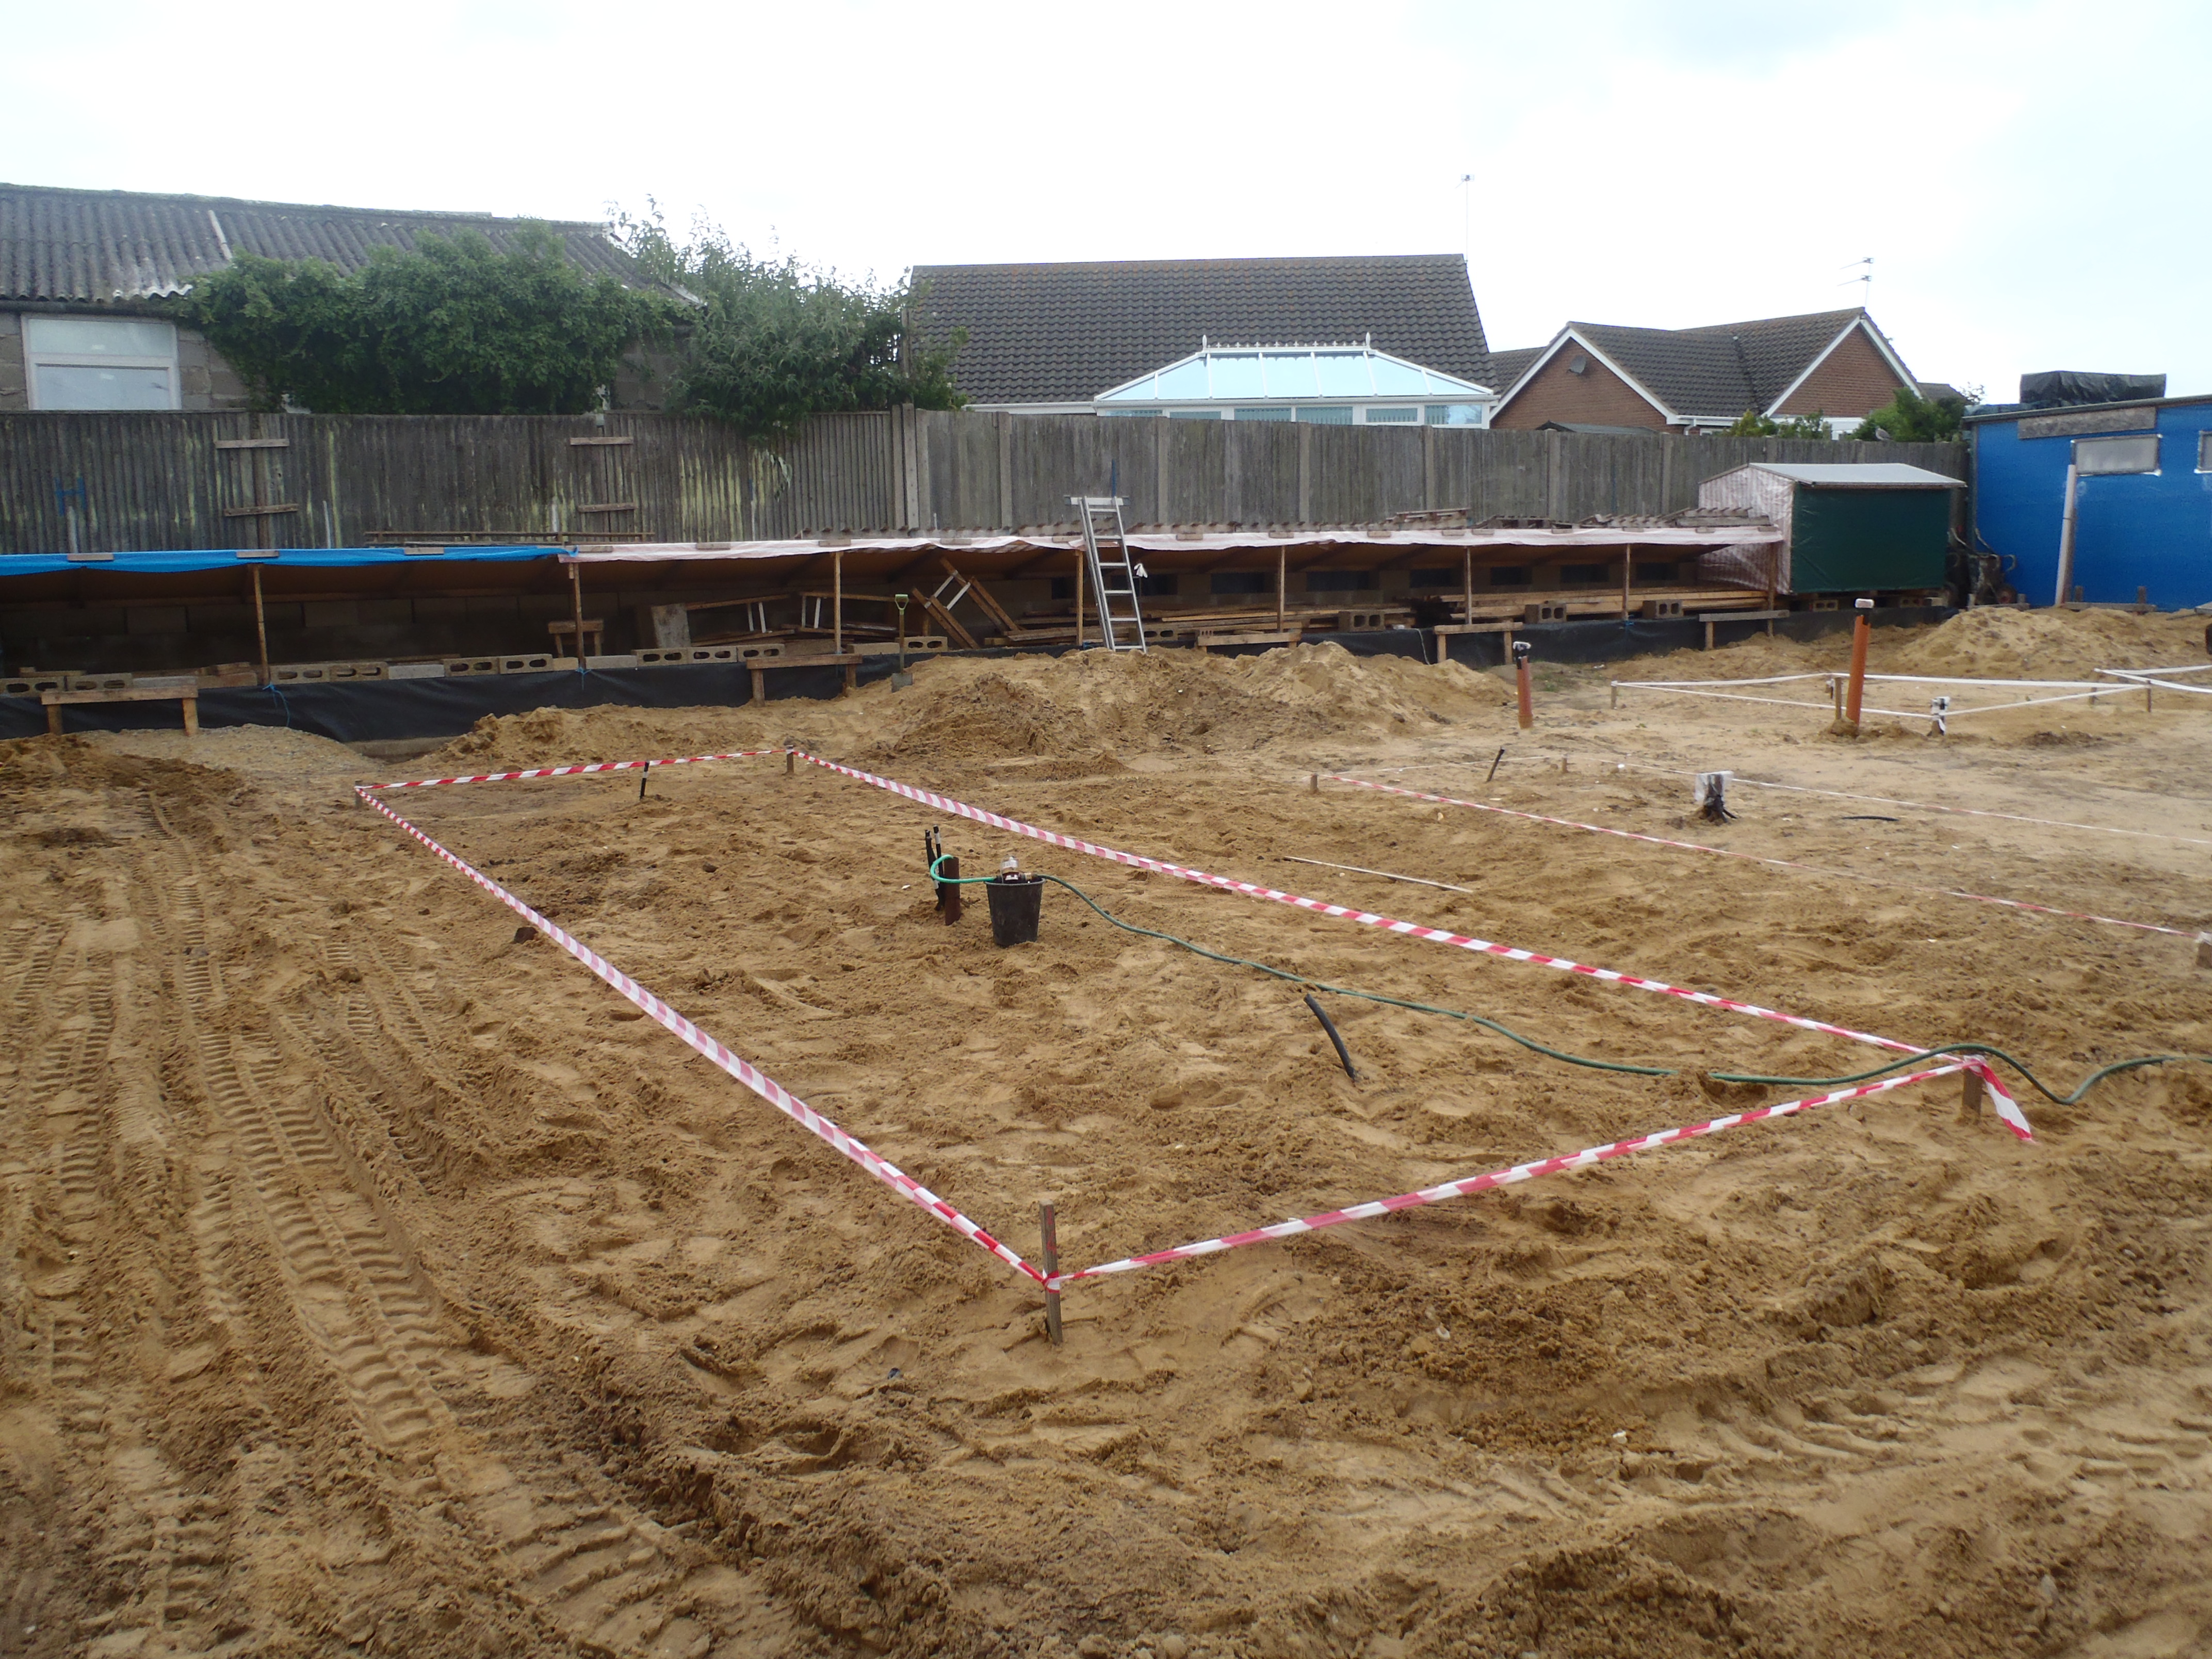
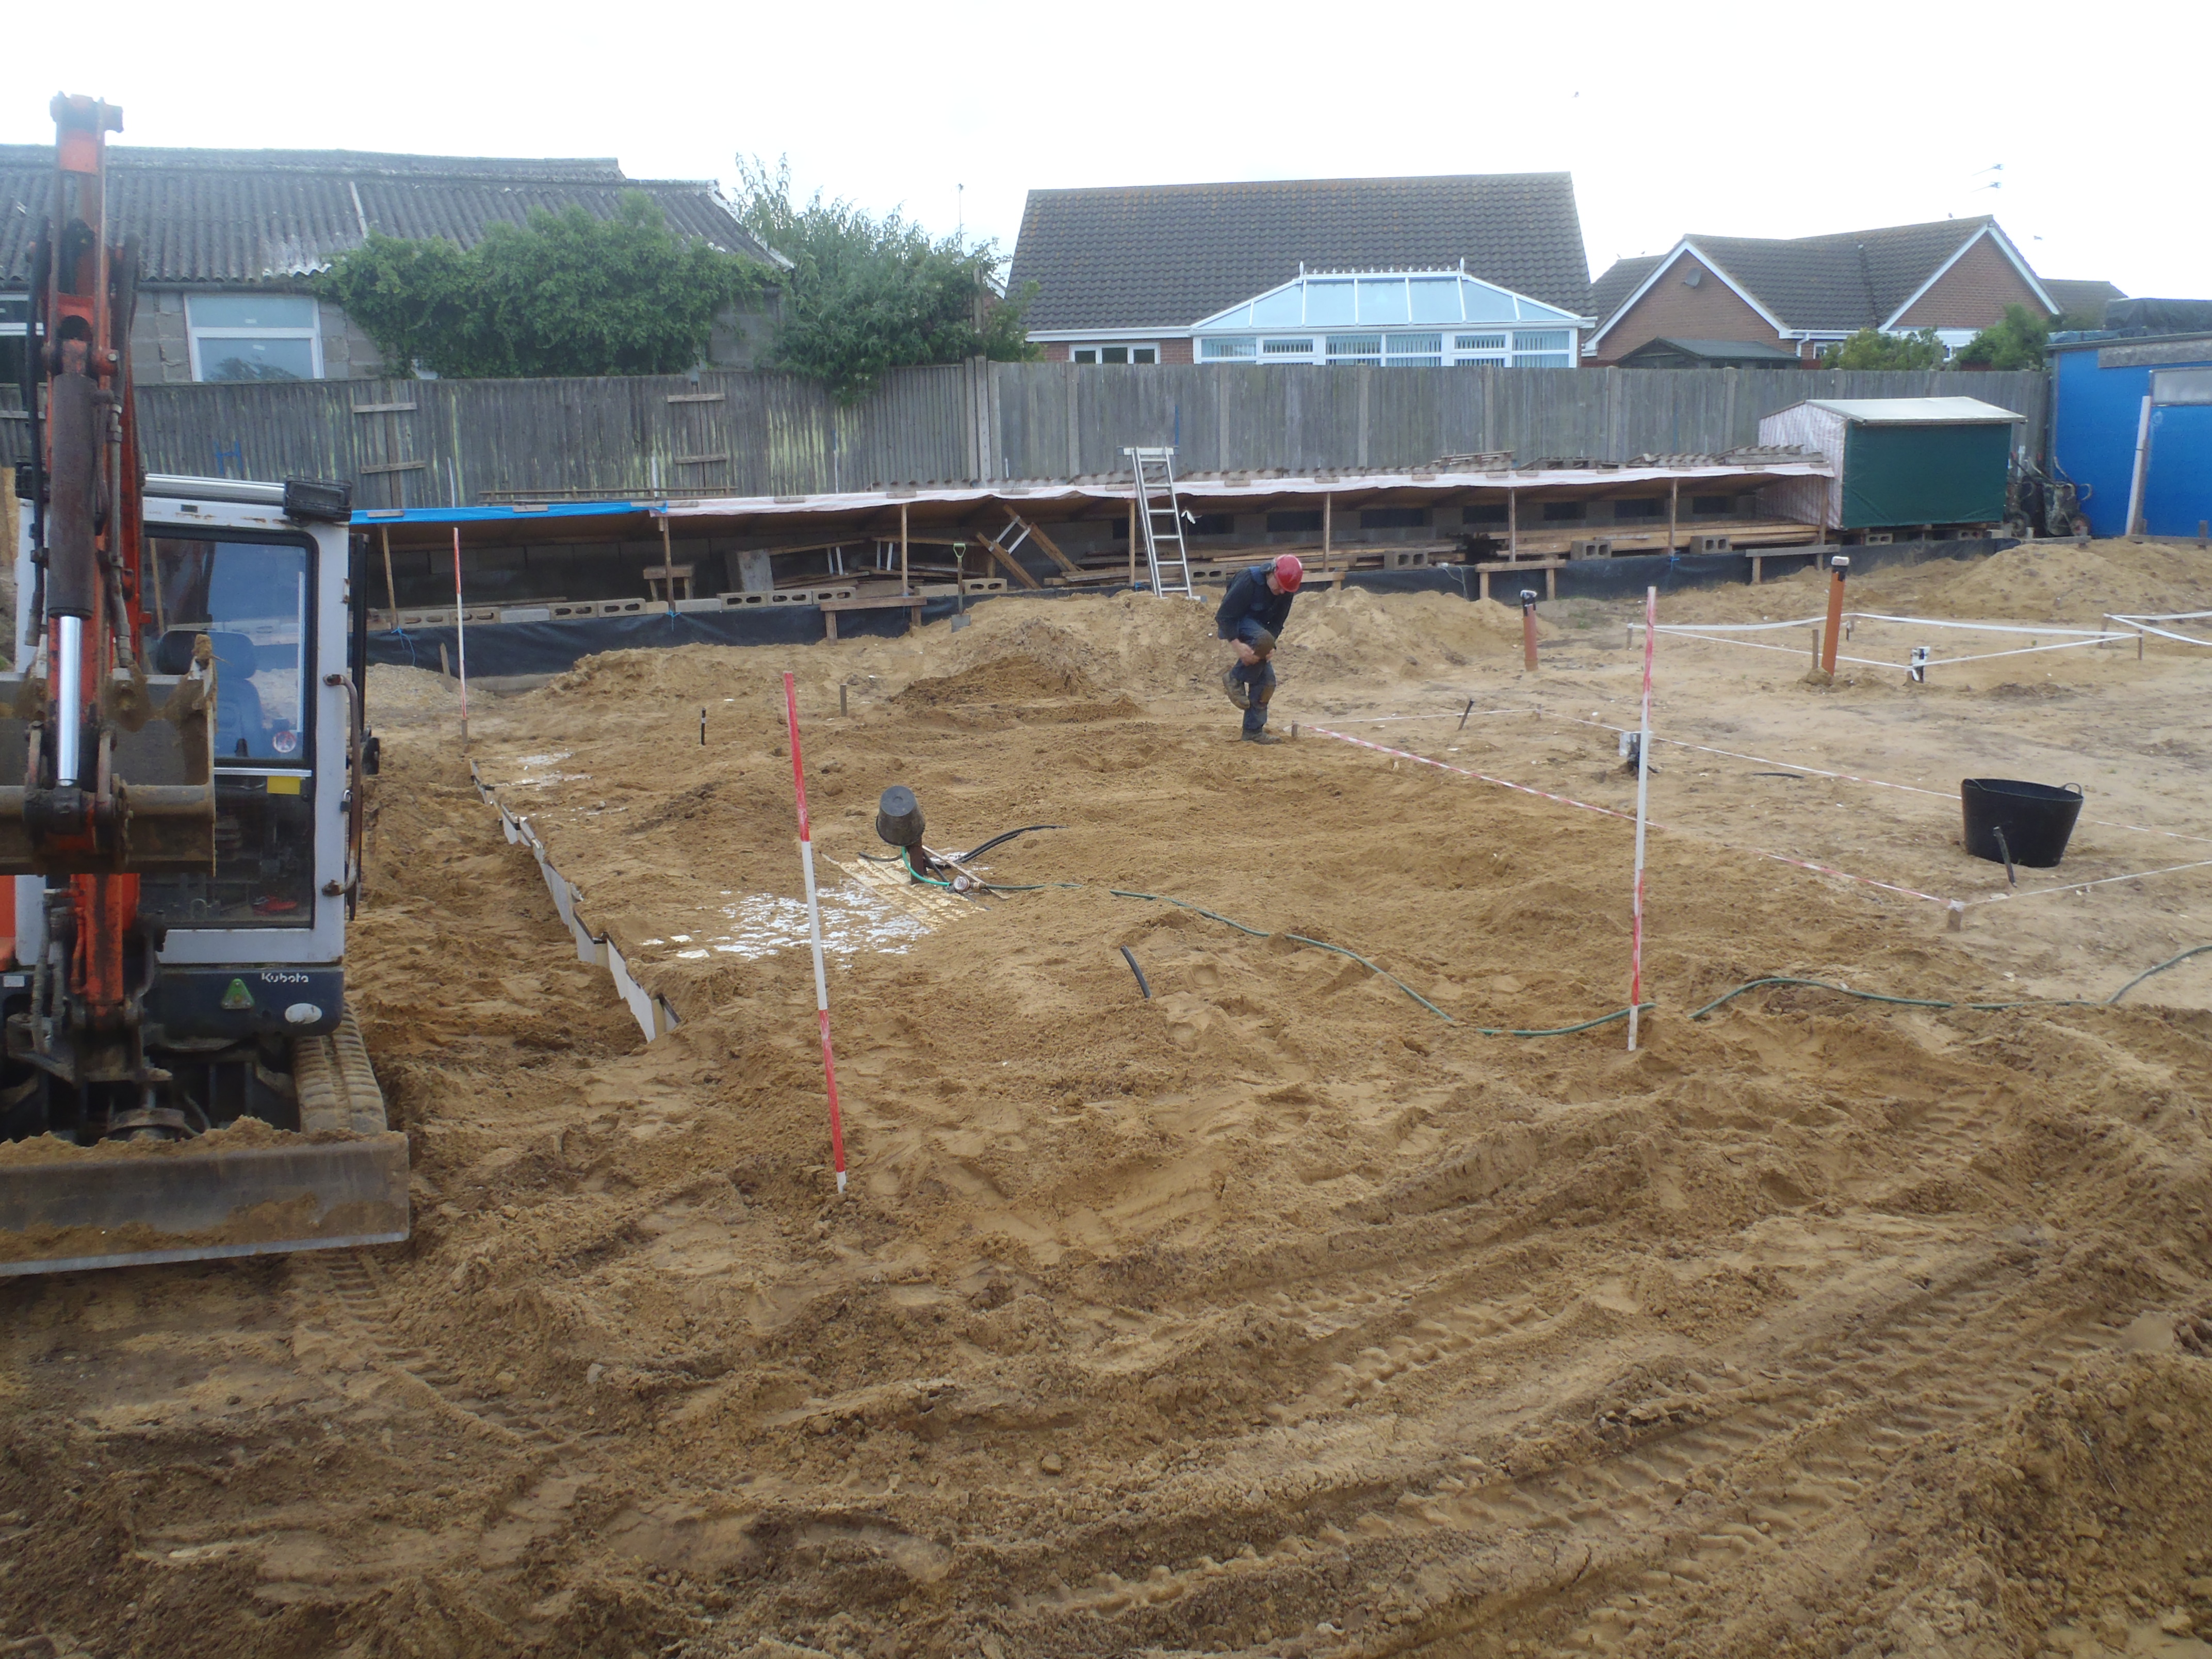
But first, not forgetting this time, we put in the underground temperature conduit pipes, this time two of them as the module is so large, we decided to put two probes underneath the unit to measure the ground temperature. They were positioned 3 meters in from each ends.
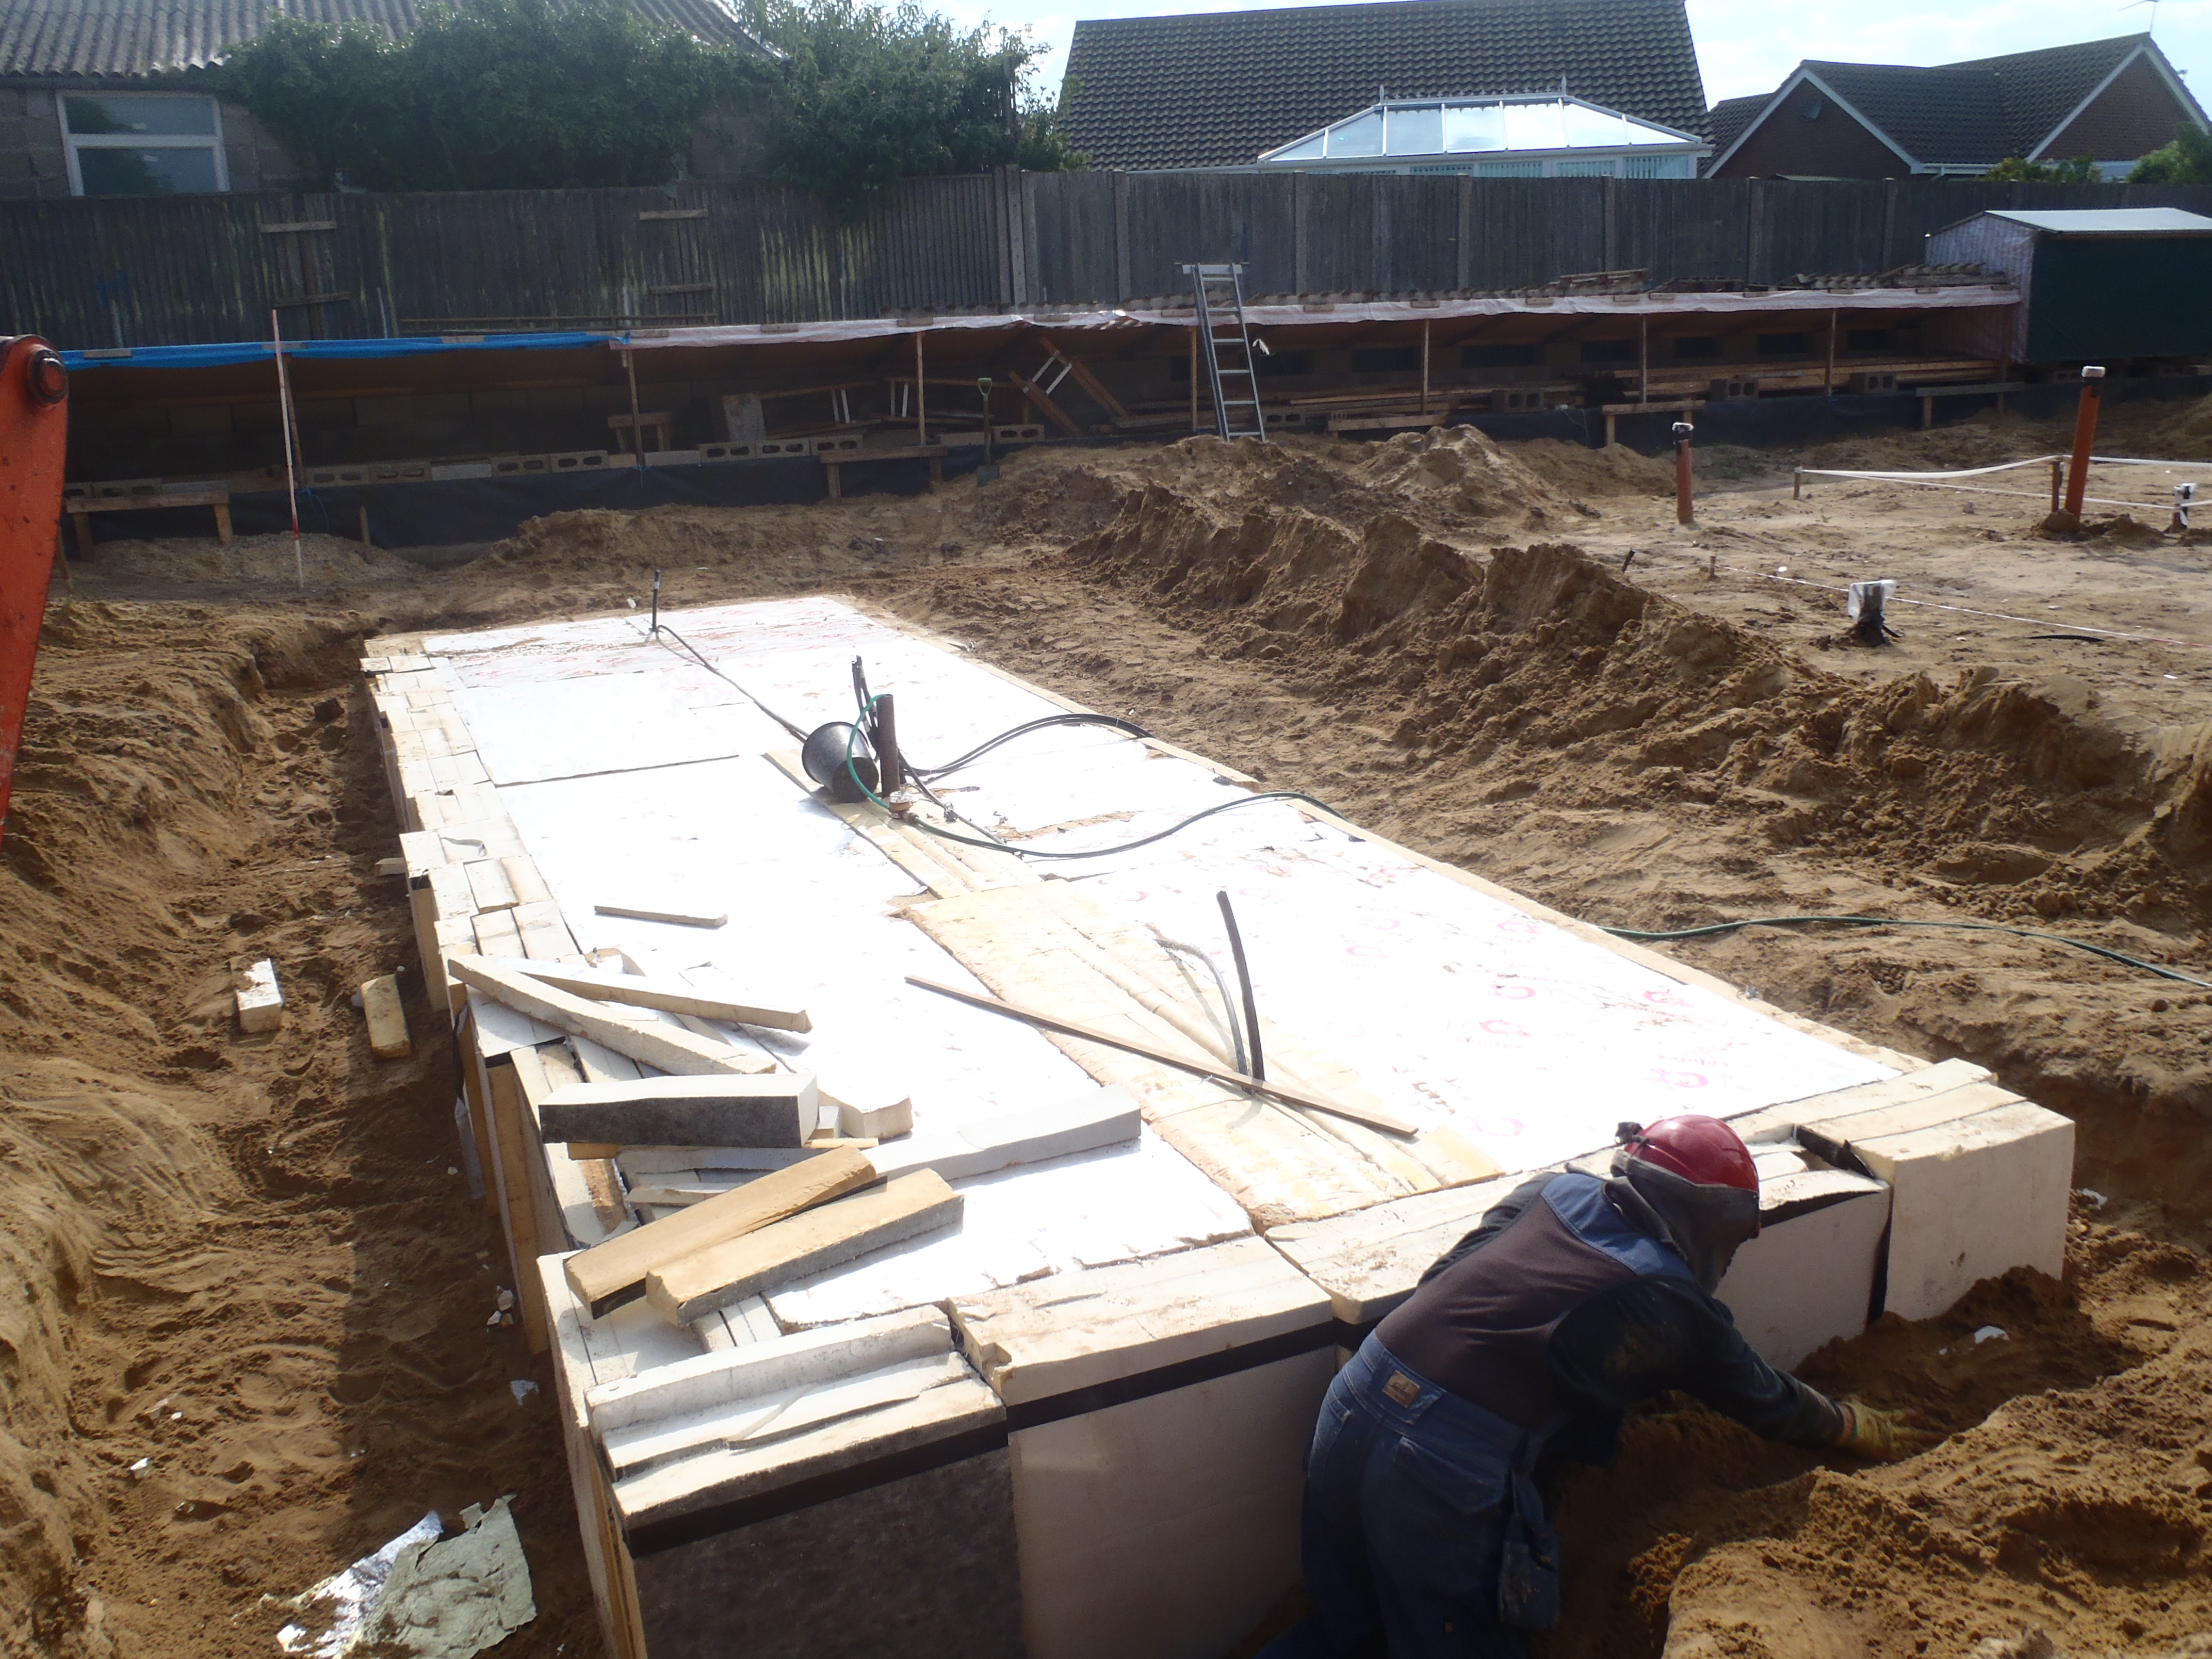
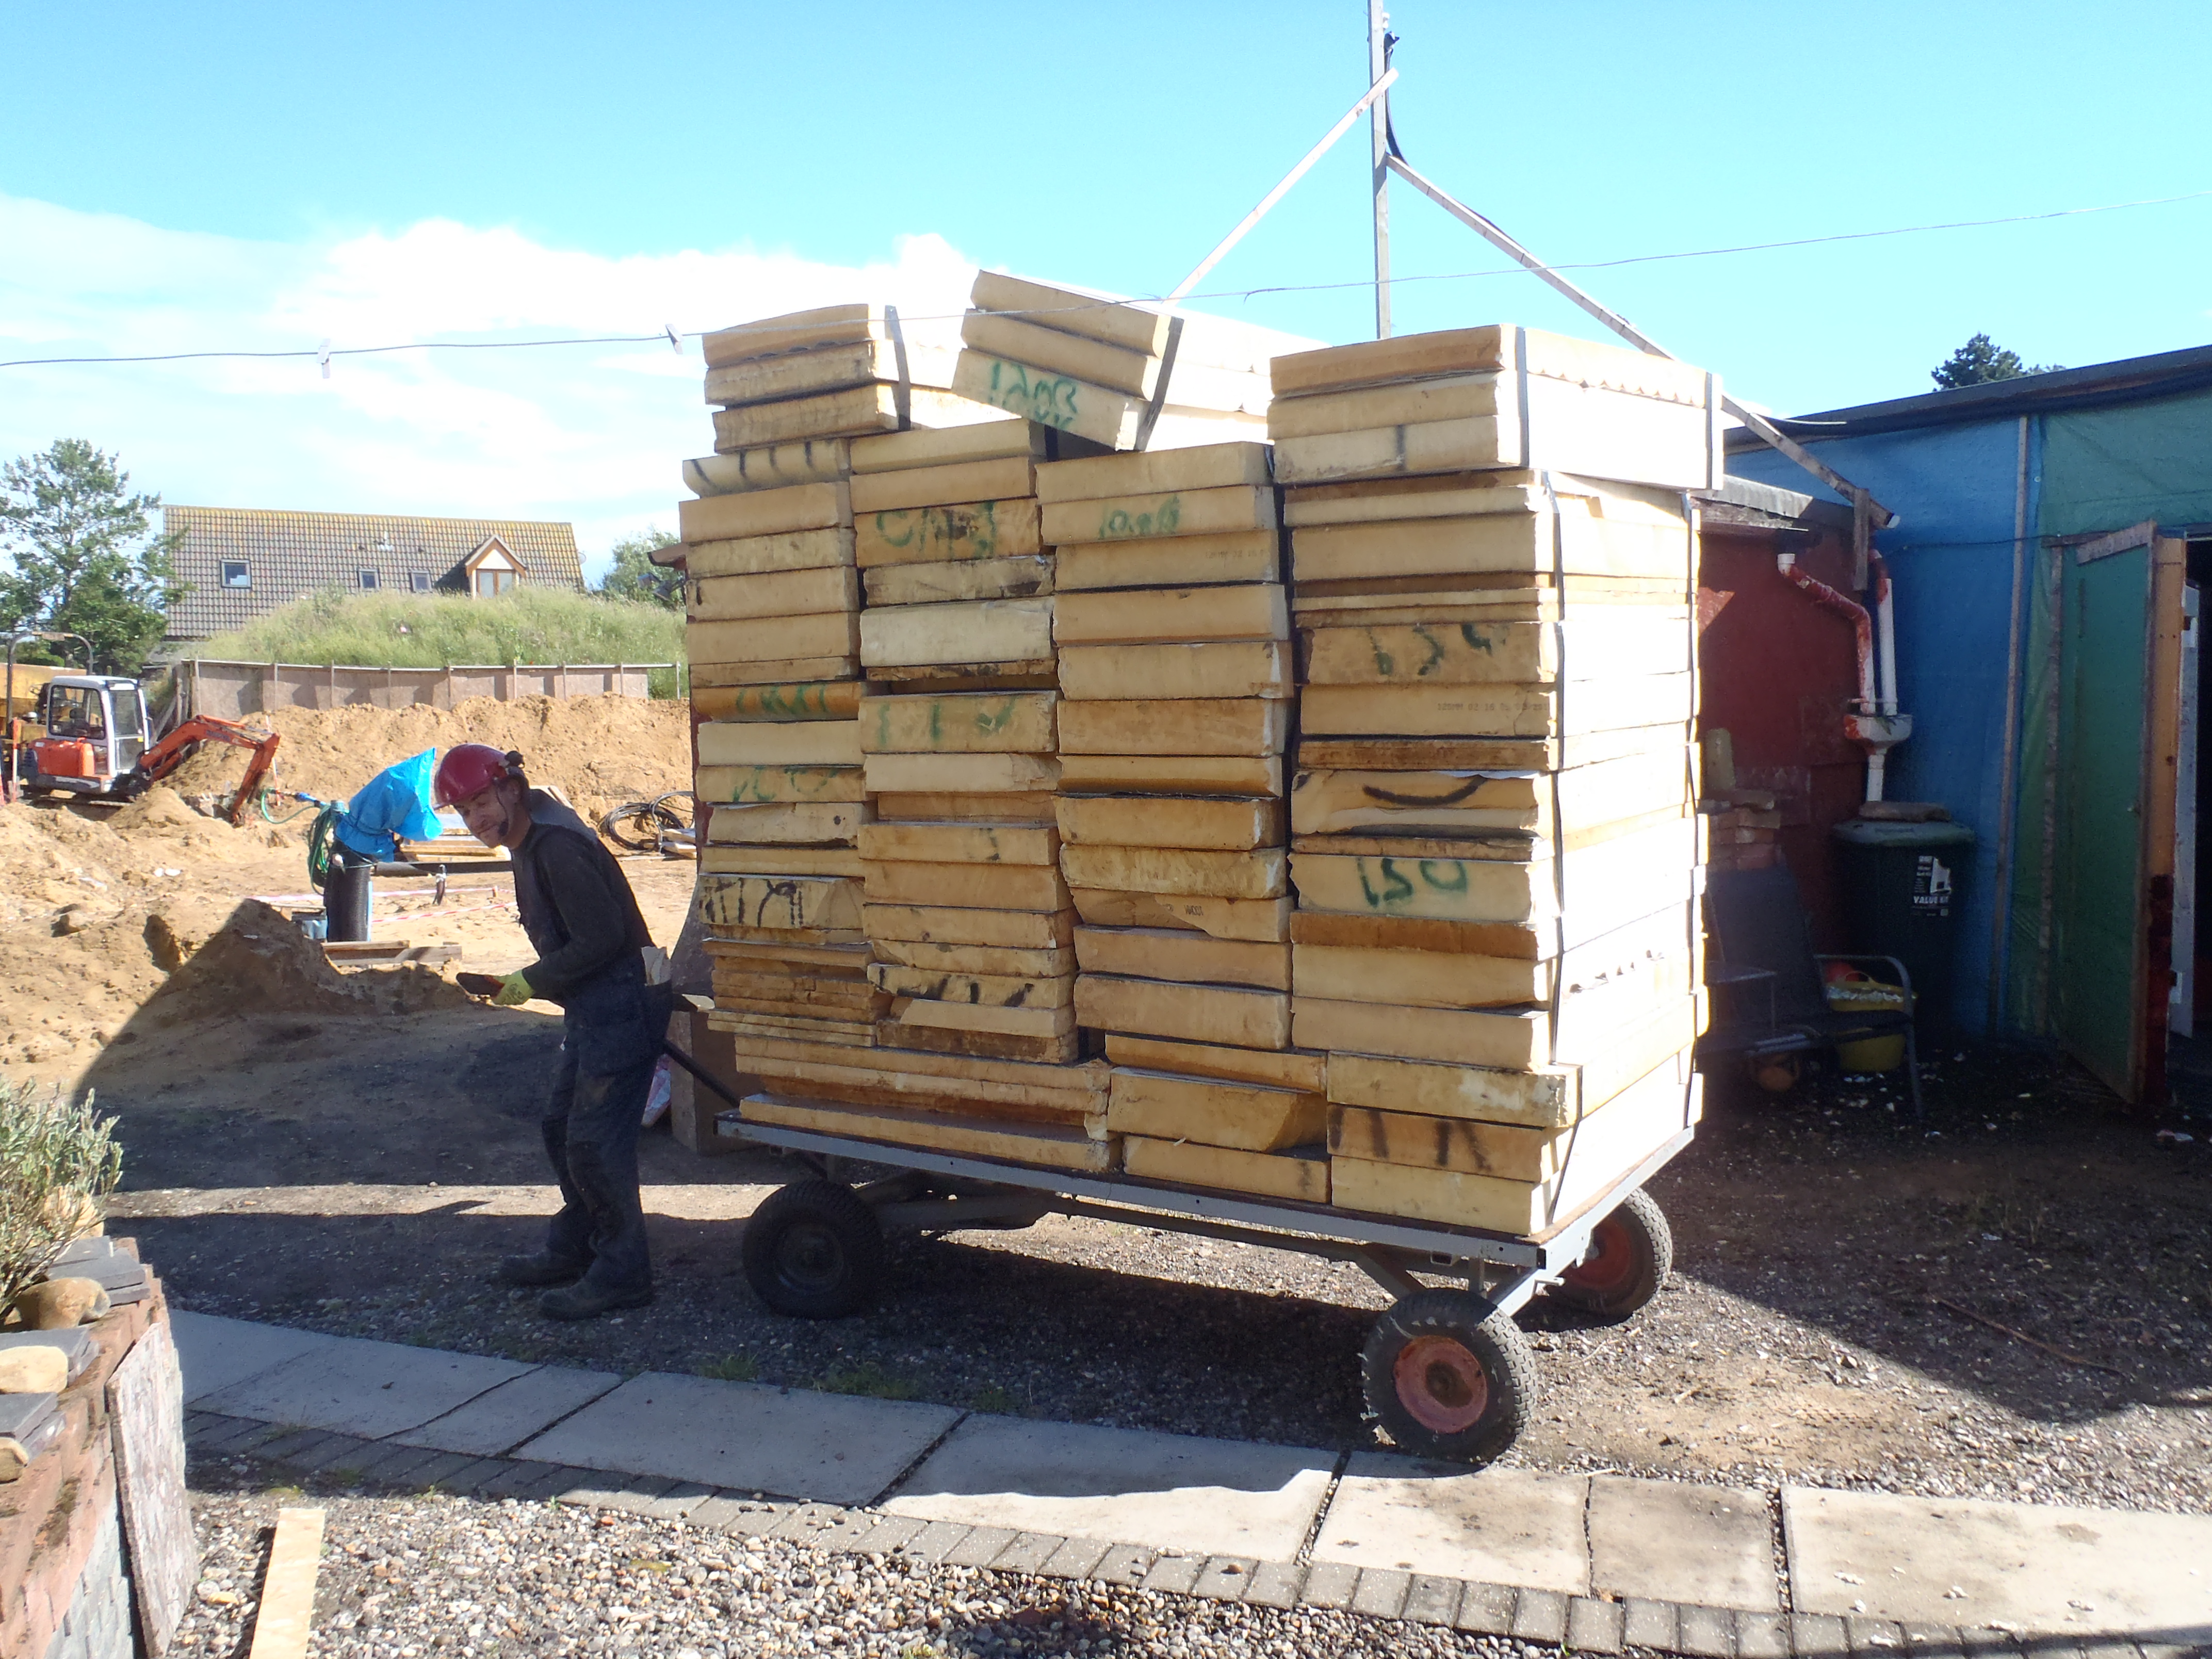
Then We sorted out two layers of insulation boards, one pile of 120 mm thick ones and a second pile of 140 mm thick ones, all being each the 600 mm by 1200 mm size. We managed just, to find 30 of each size! We are really making a large dent in our pile of insulation materials!
Oh yes, we had also some 100 mm thick boards for going down the middle to make the 2.5 meters wide layers (two lots of 1200 mm and the 100 mm making the 2500 mm total).
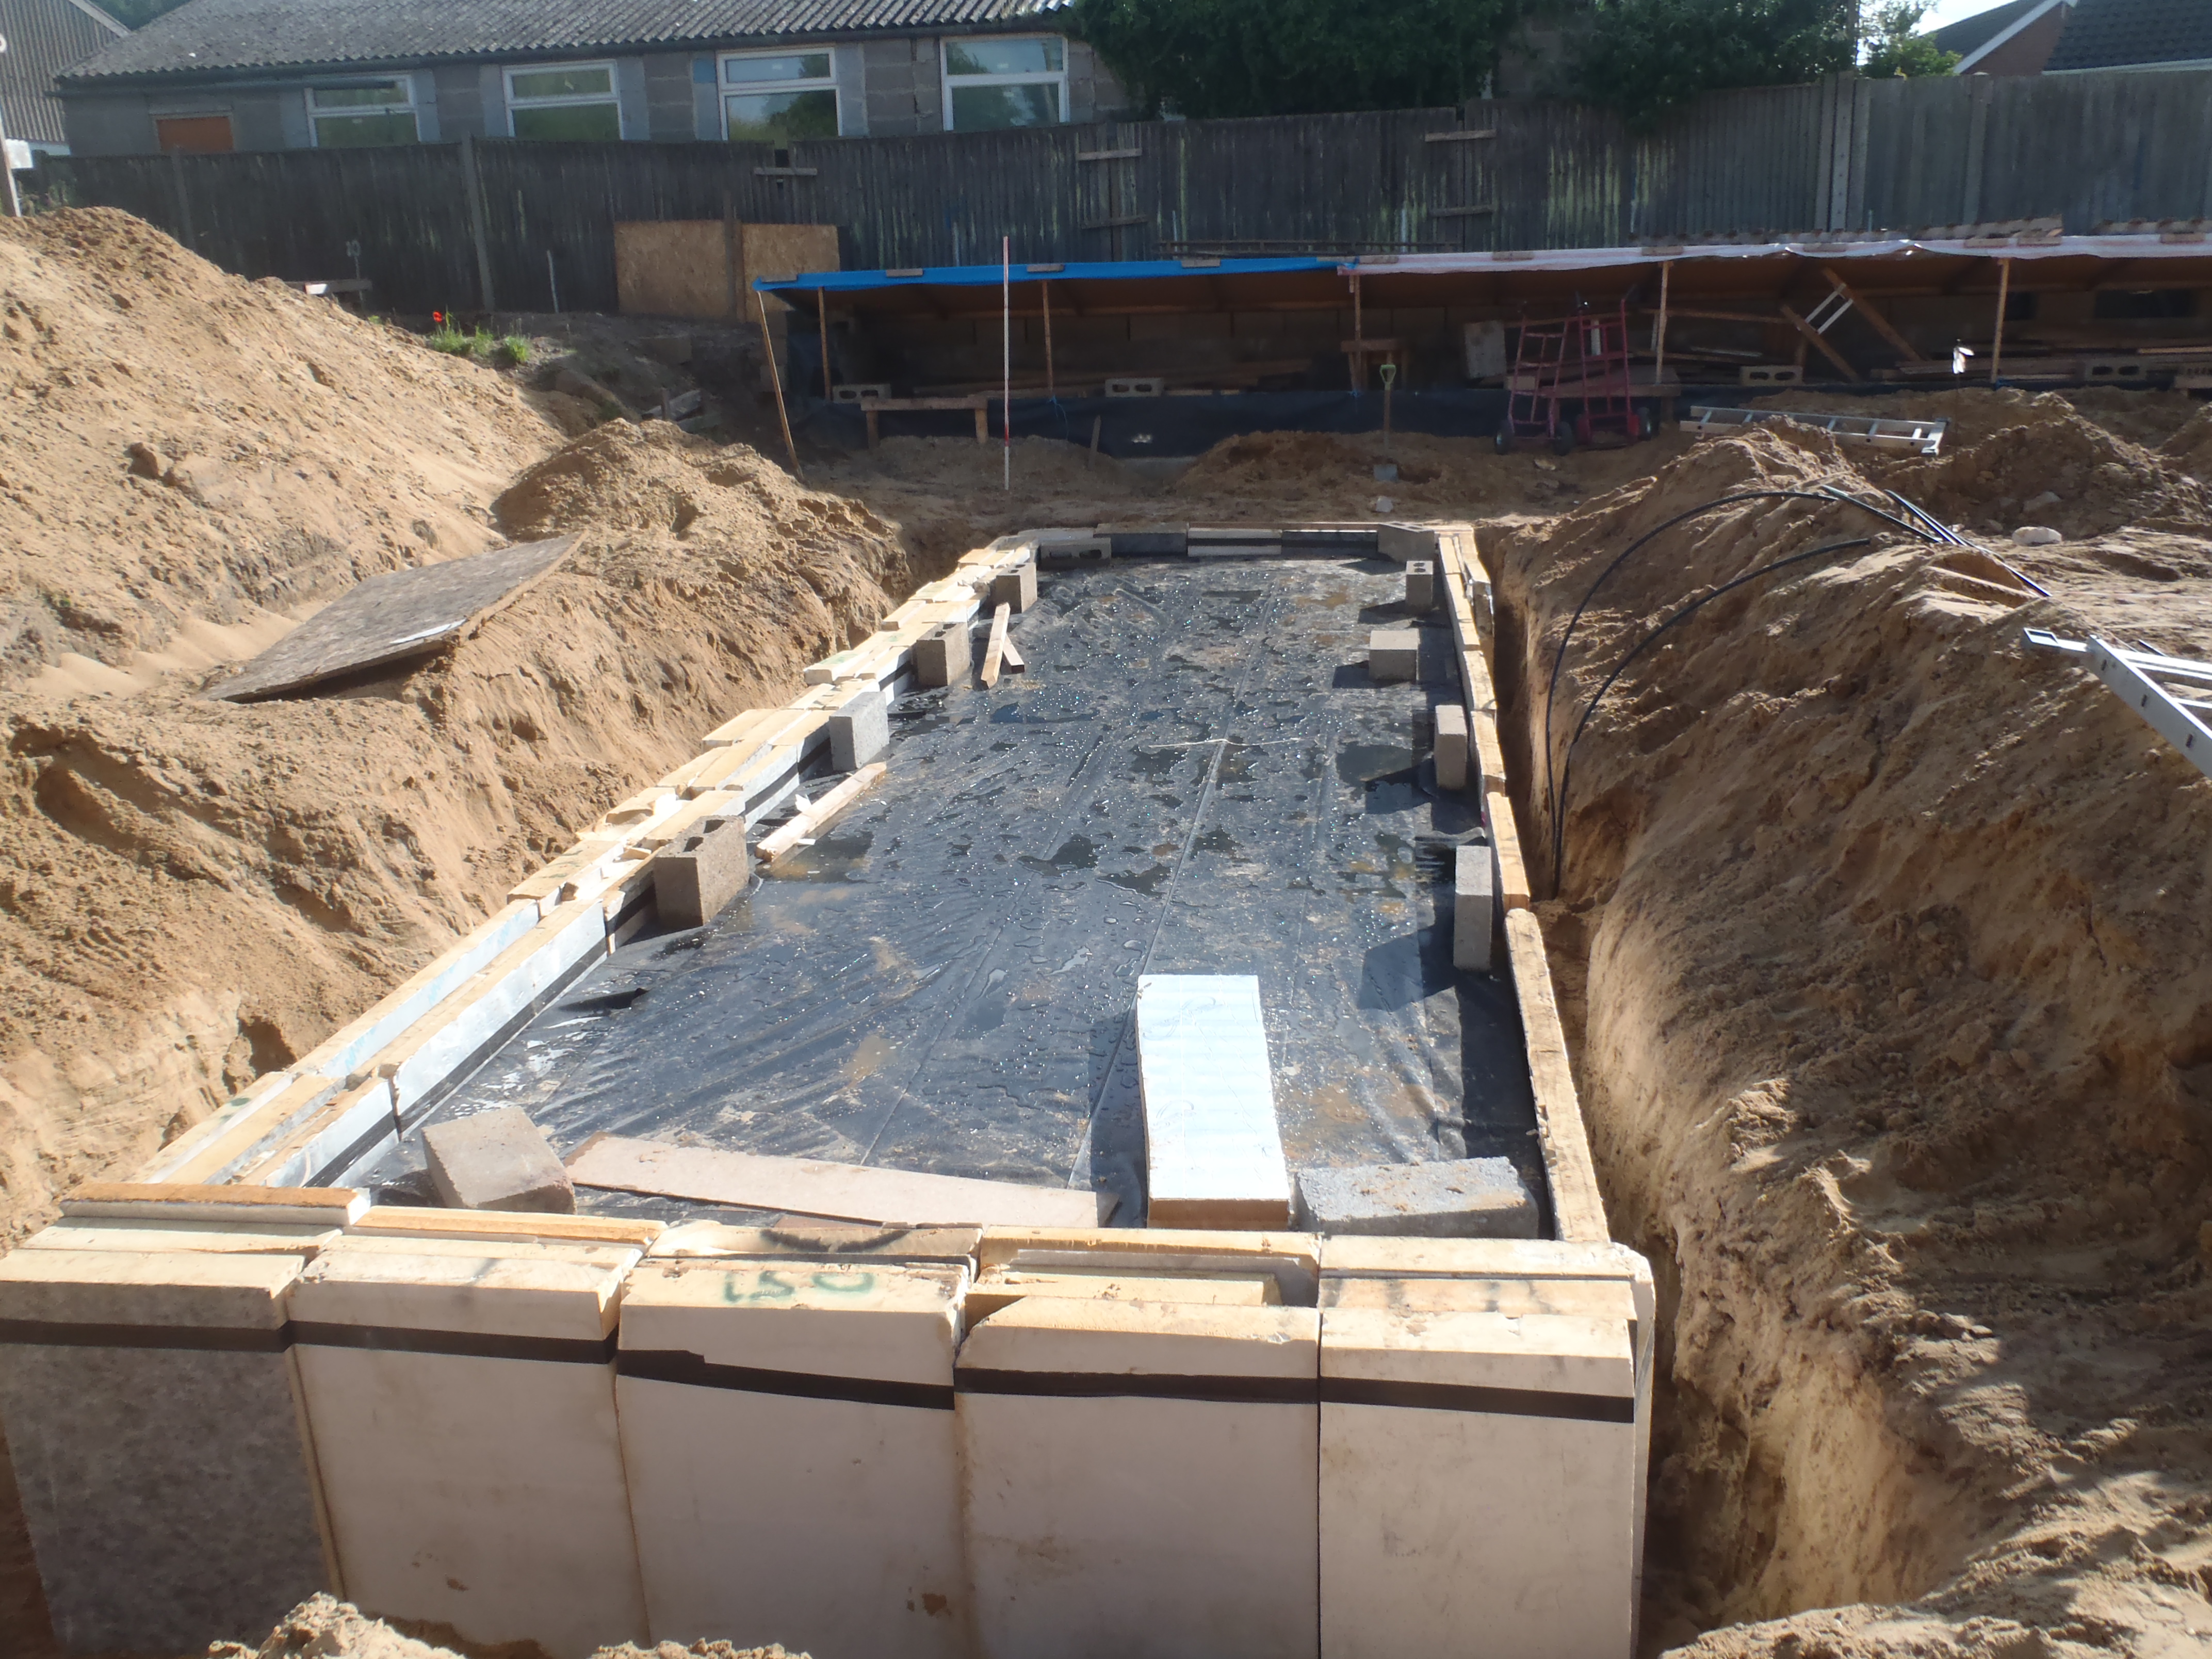
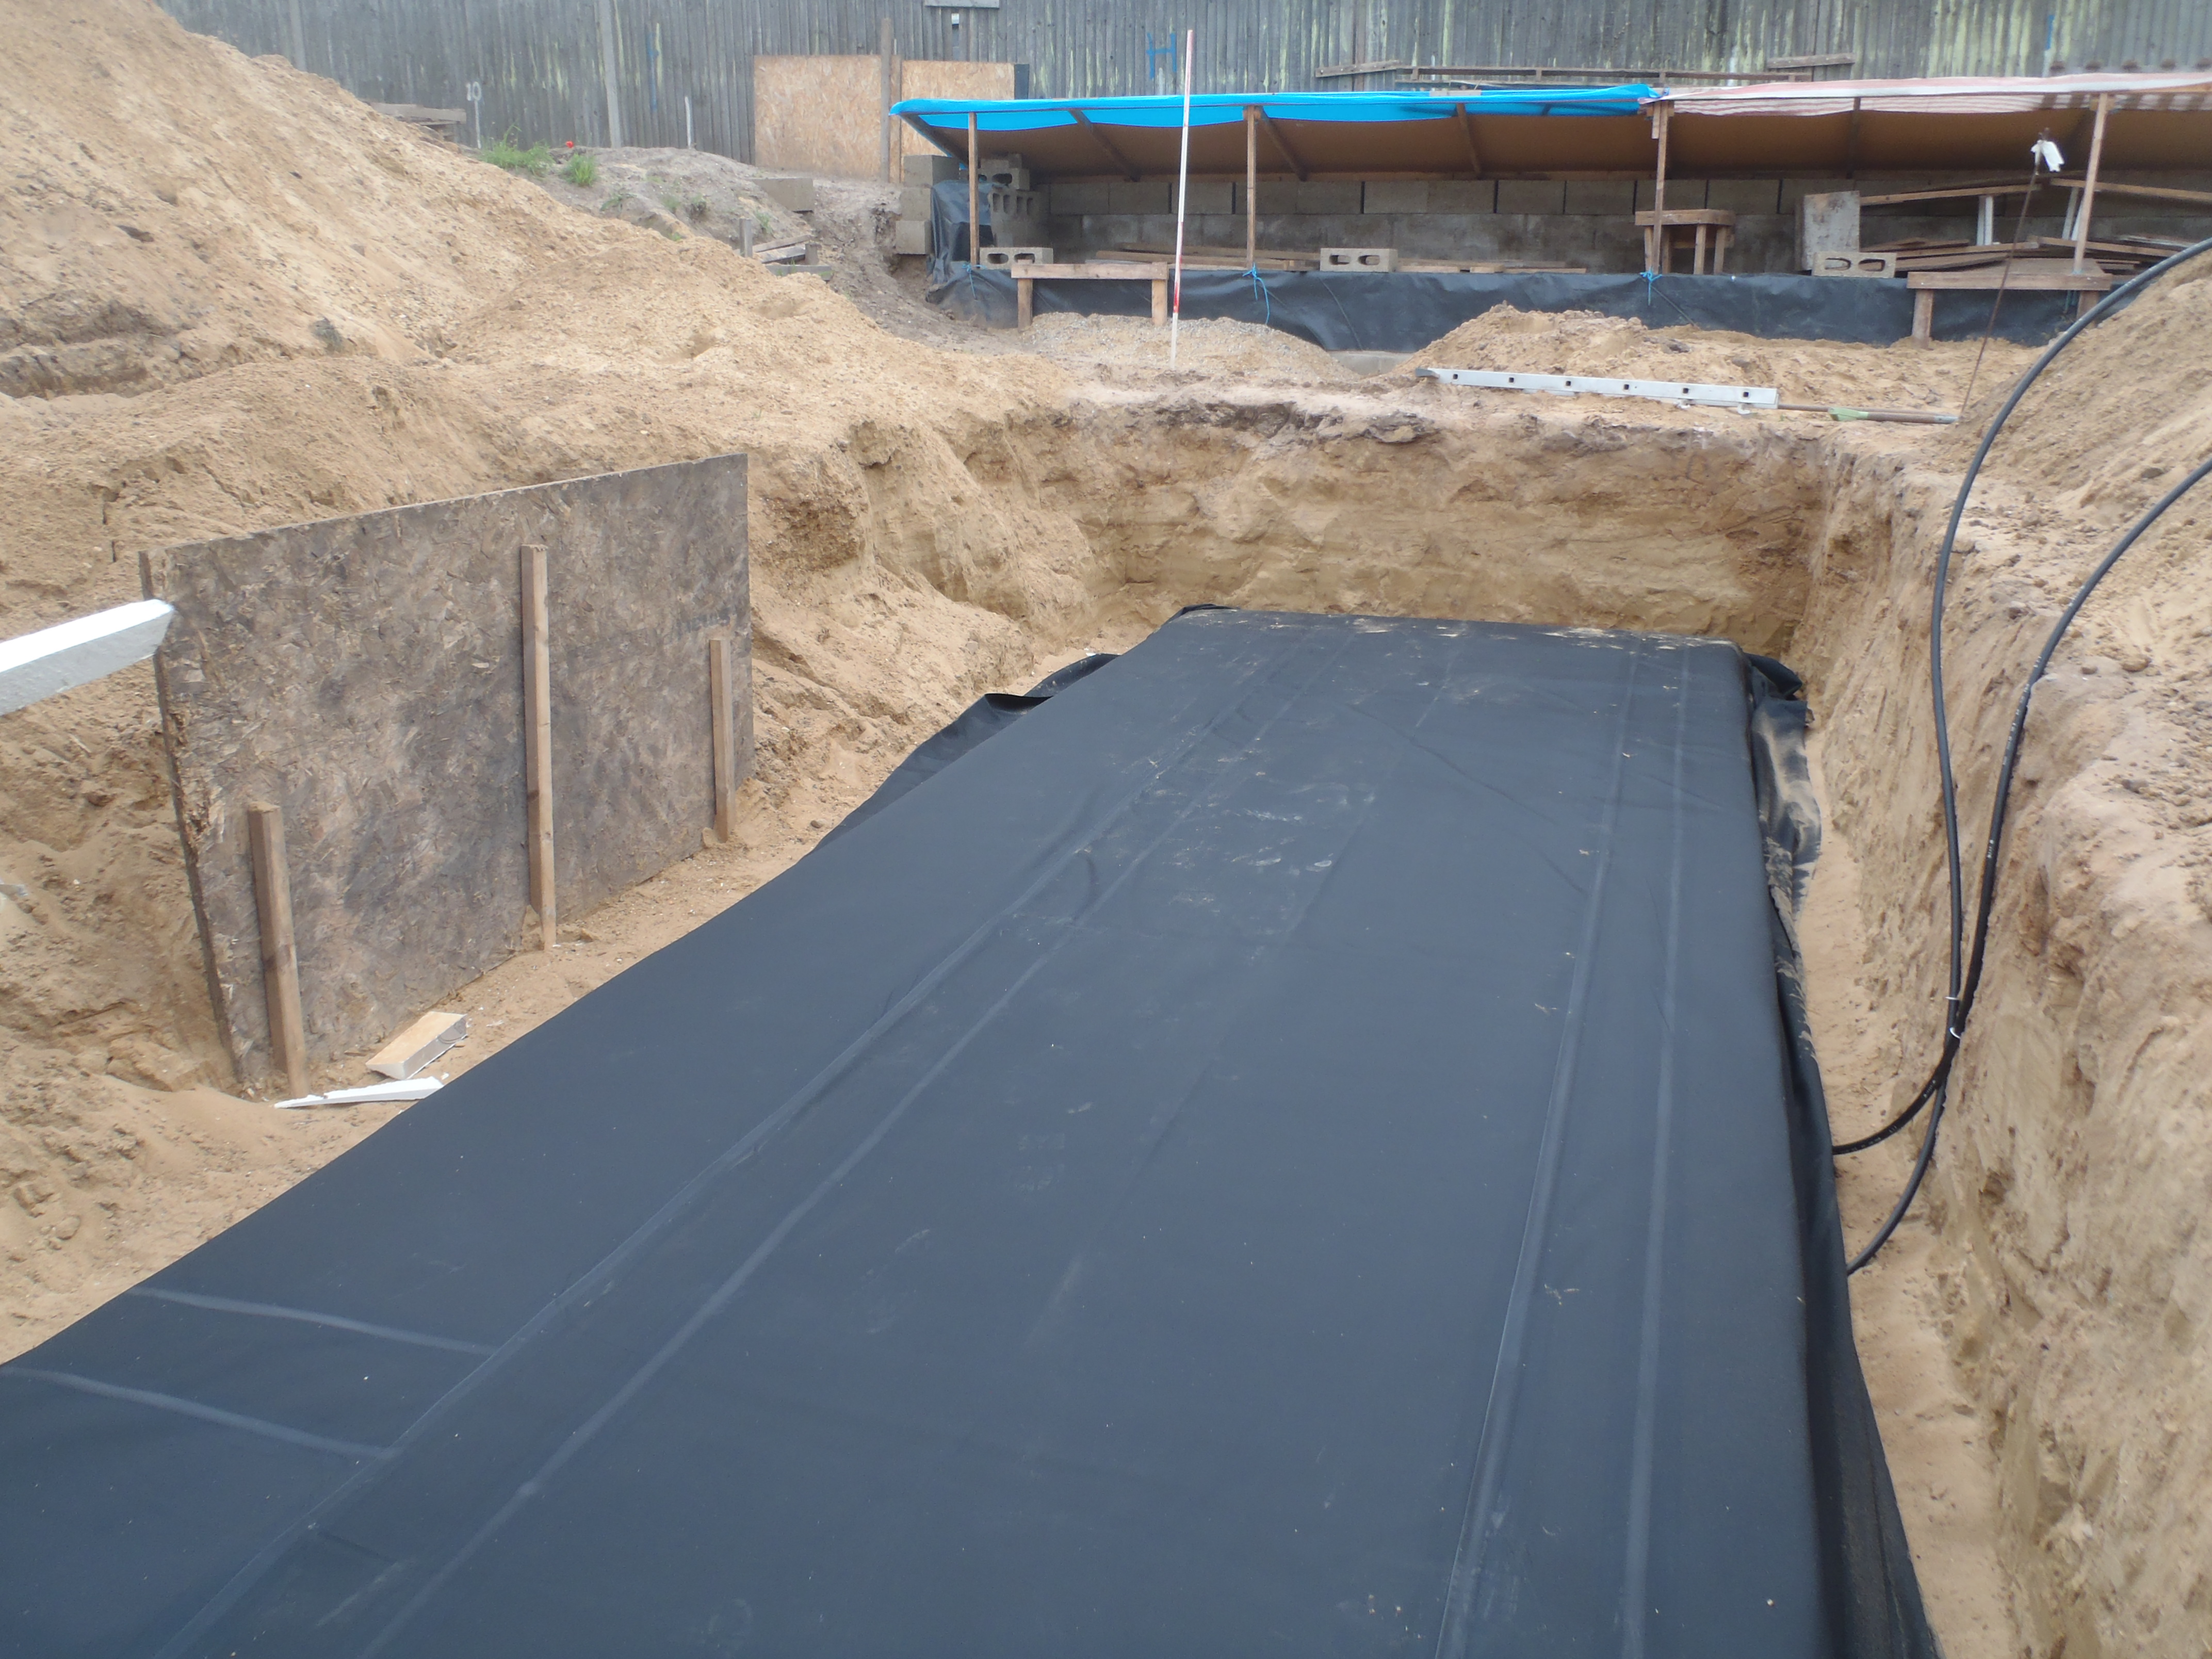
Then the rubber membrane was unrolled and sorted and positioned into place.
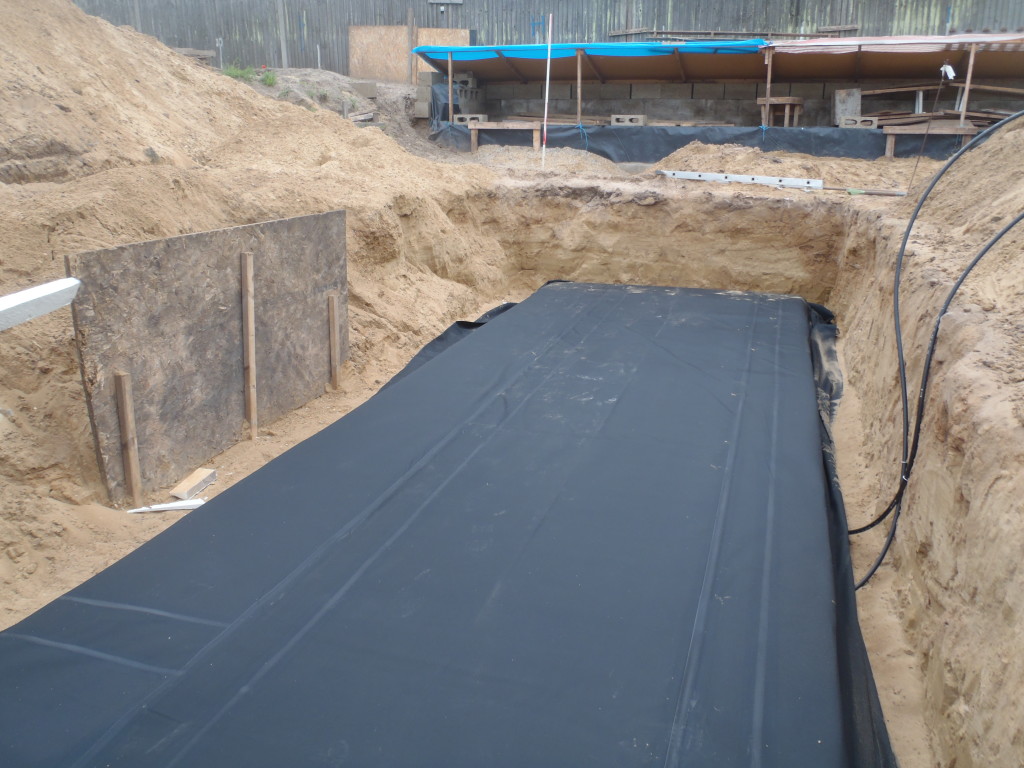
Module-5-Insulation-Rubber-sheet-in-place
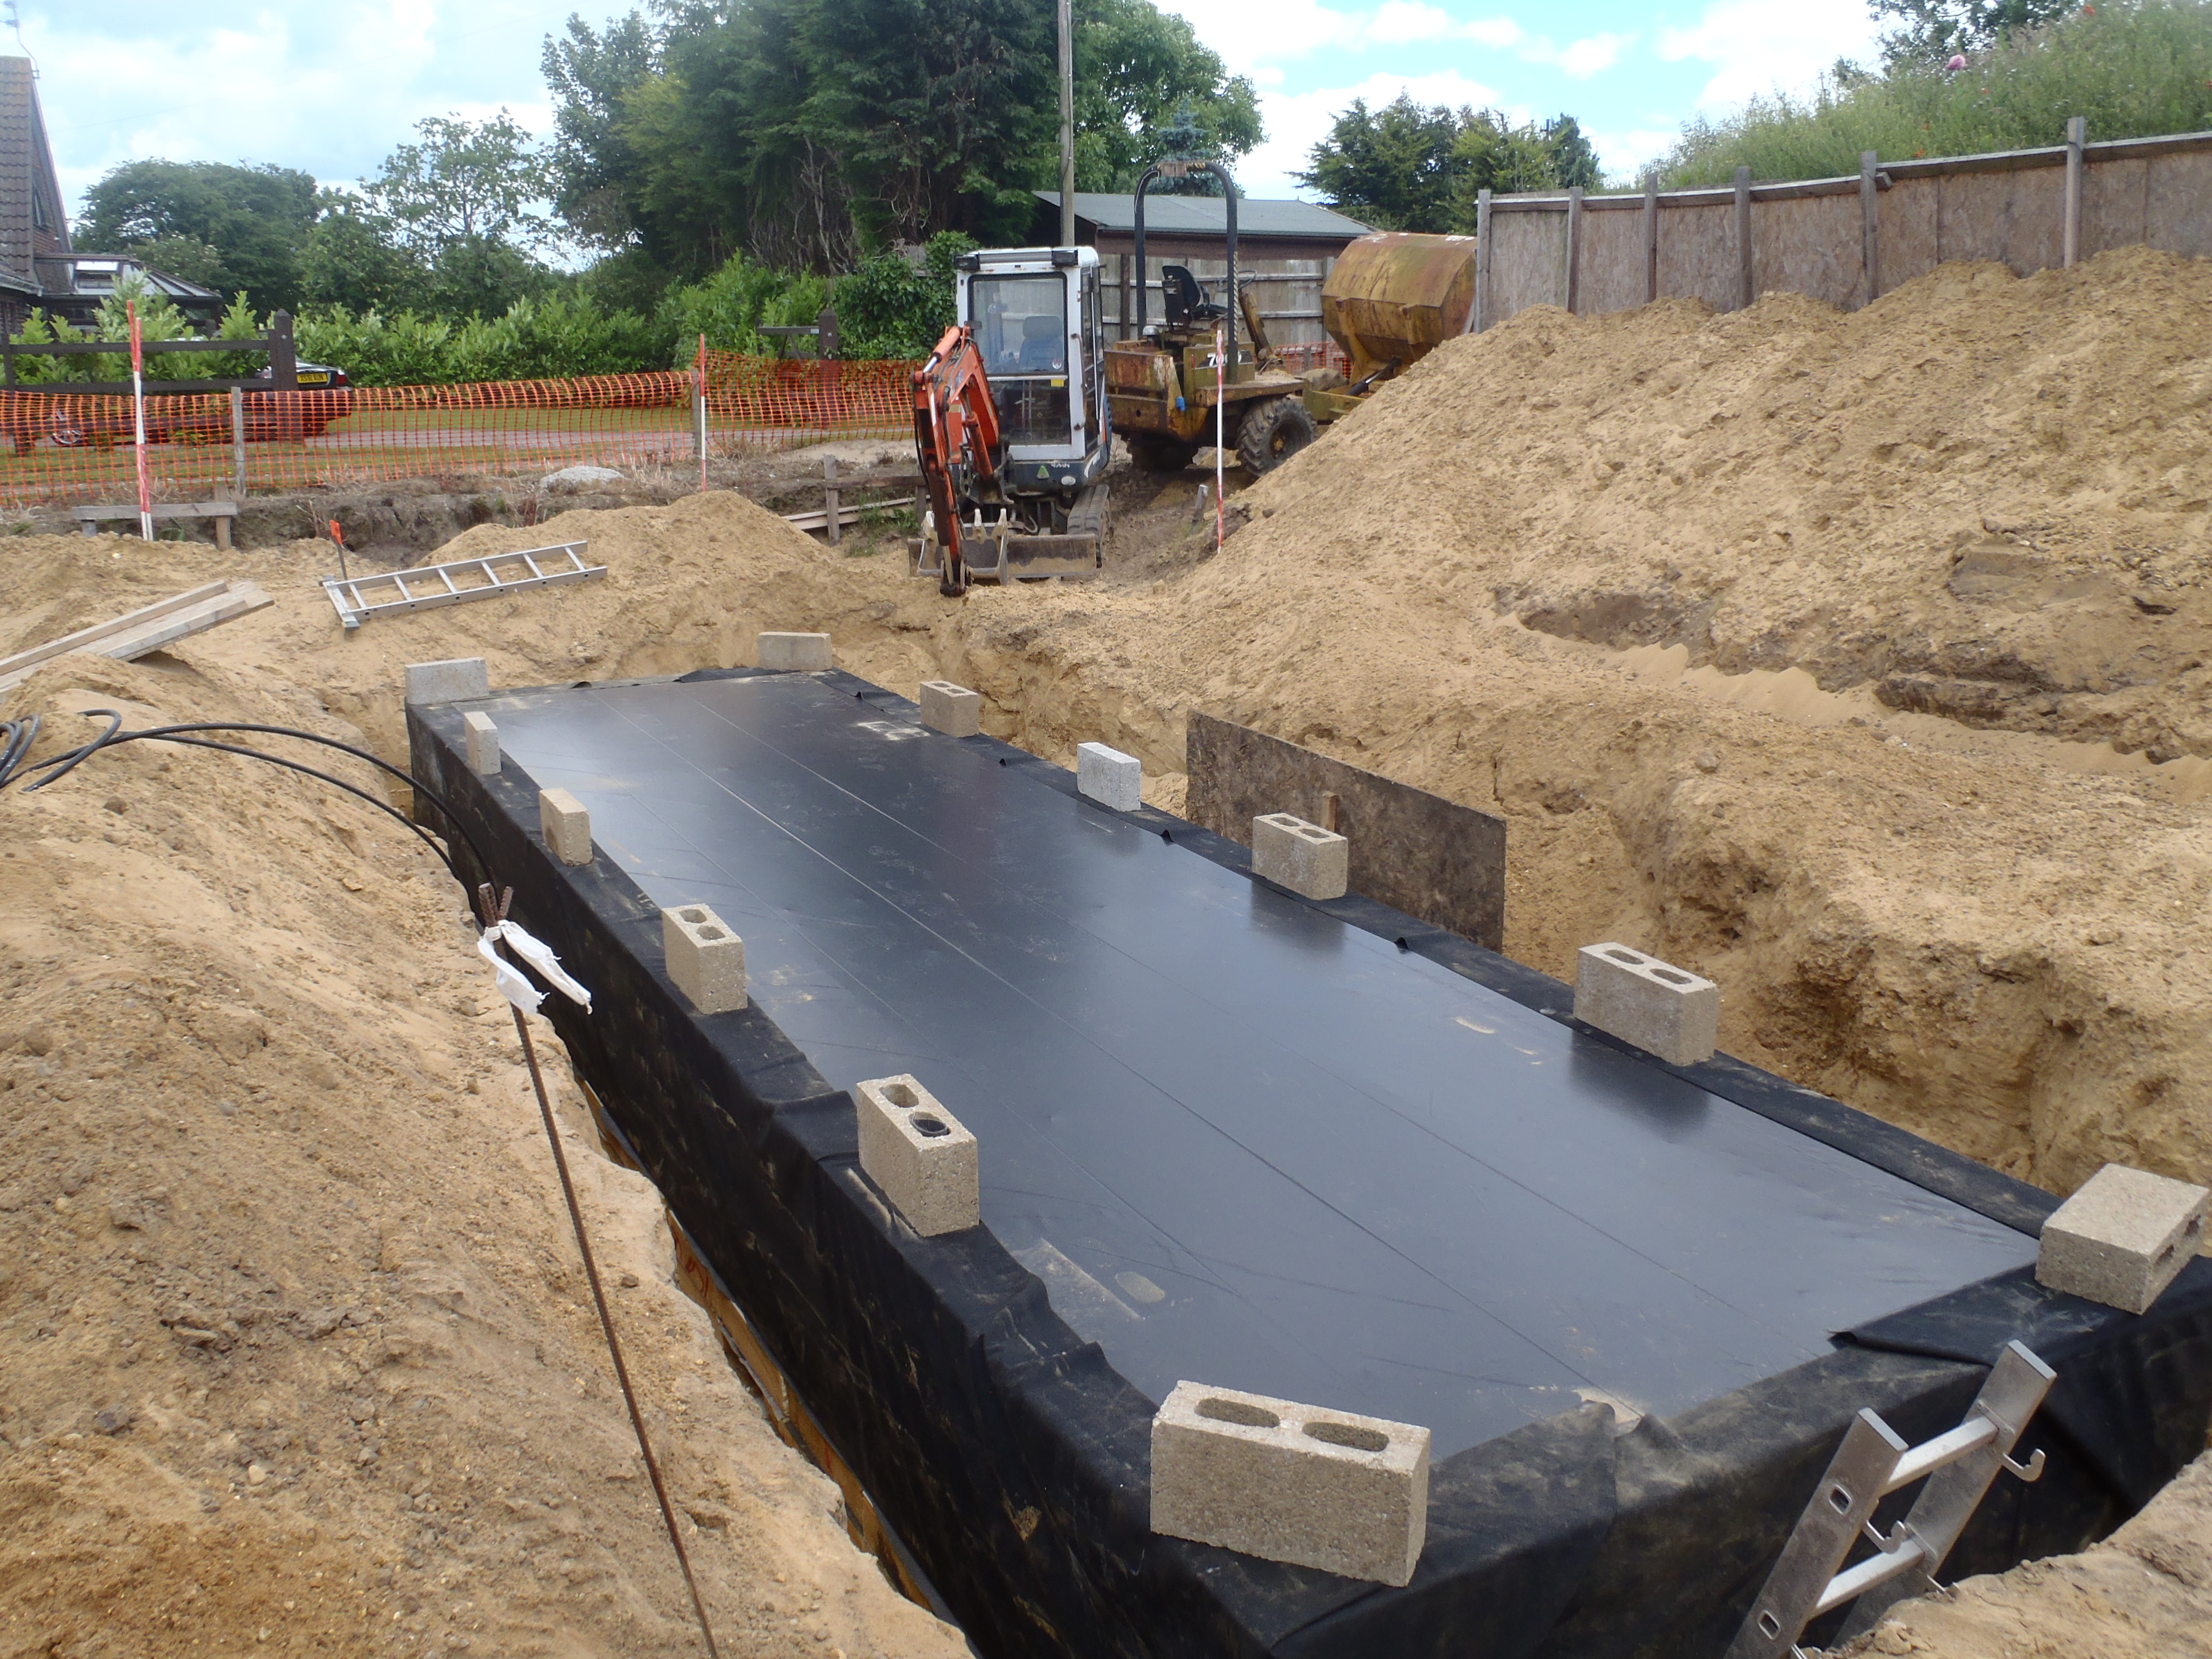
And finally for today’s day of work, we got our ramp and slid down, like a production line, enough Aquacell crates to form the first layer, all clipped together.
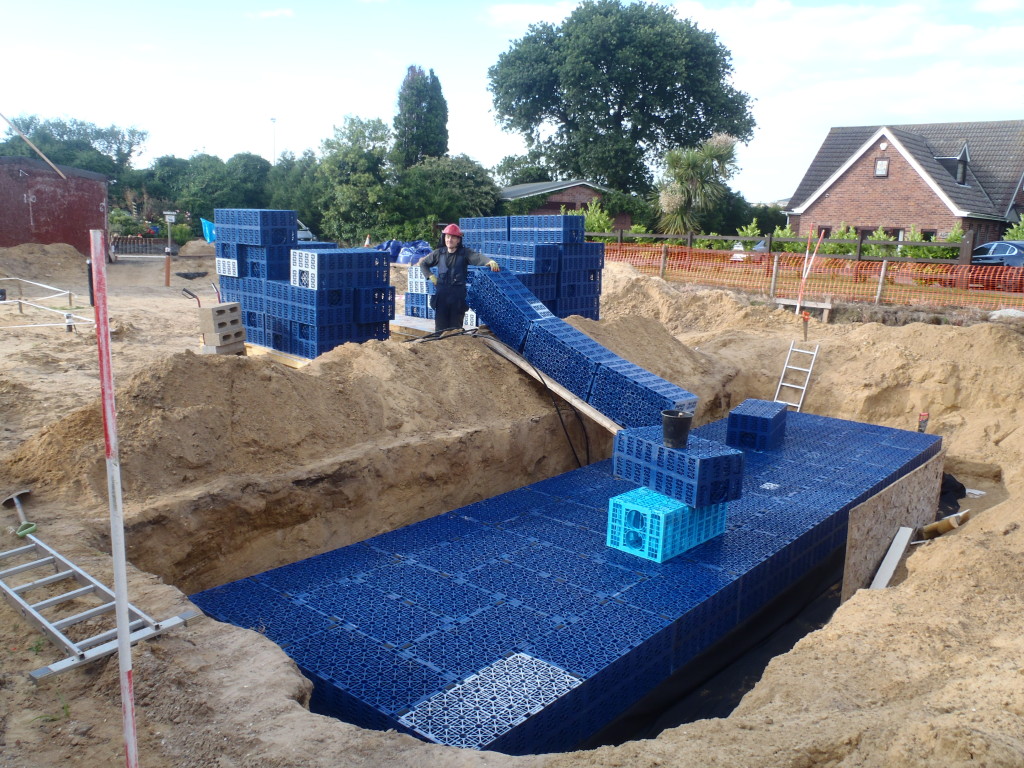
Module-5-Bottom-layer-of-cells-in-place
Tomorrow, we should be able to assemble the 2nd layer and pull up the rubber skin and wrap the module, then start putting all the vertical layers of insulation right around the unit and filling the sand back in to hold it in place. Phew!