Category: Build Progress

  • First Pipe Laid!

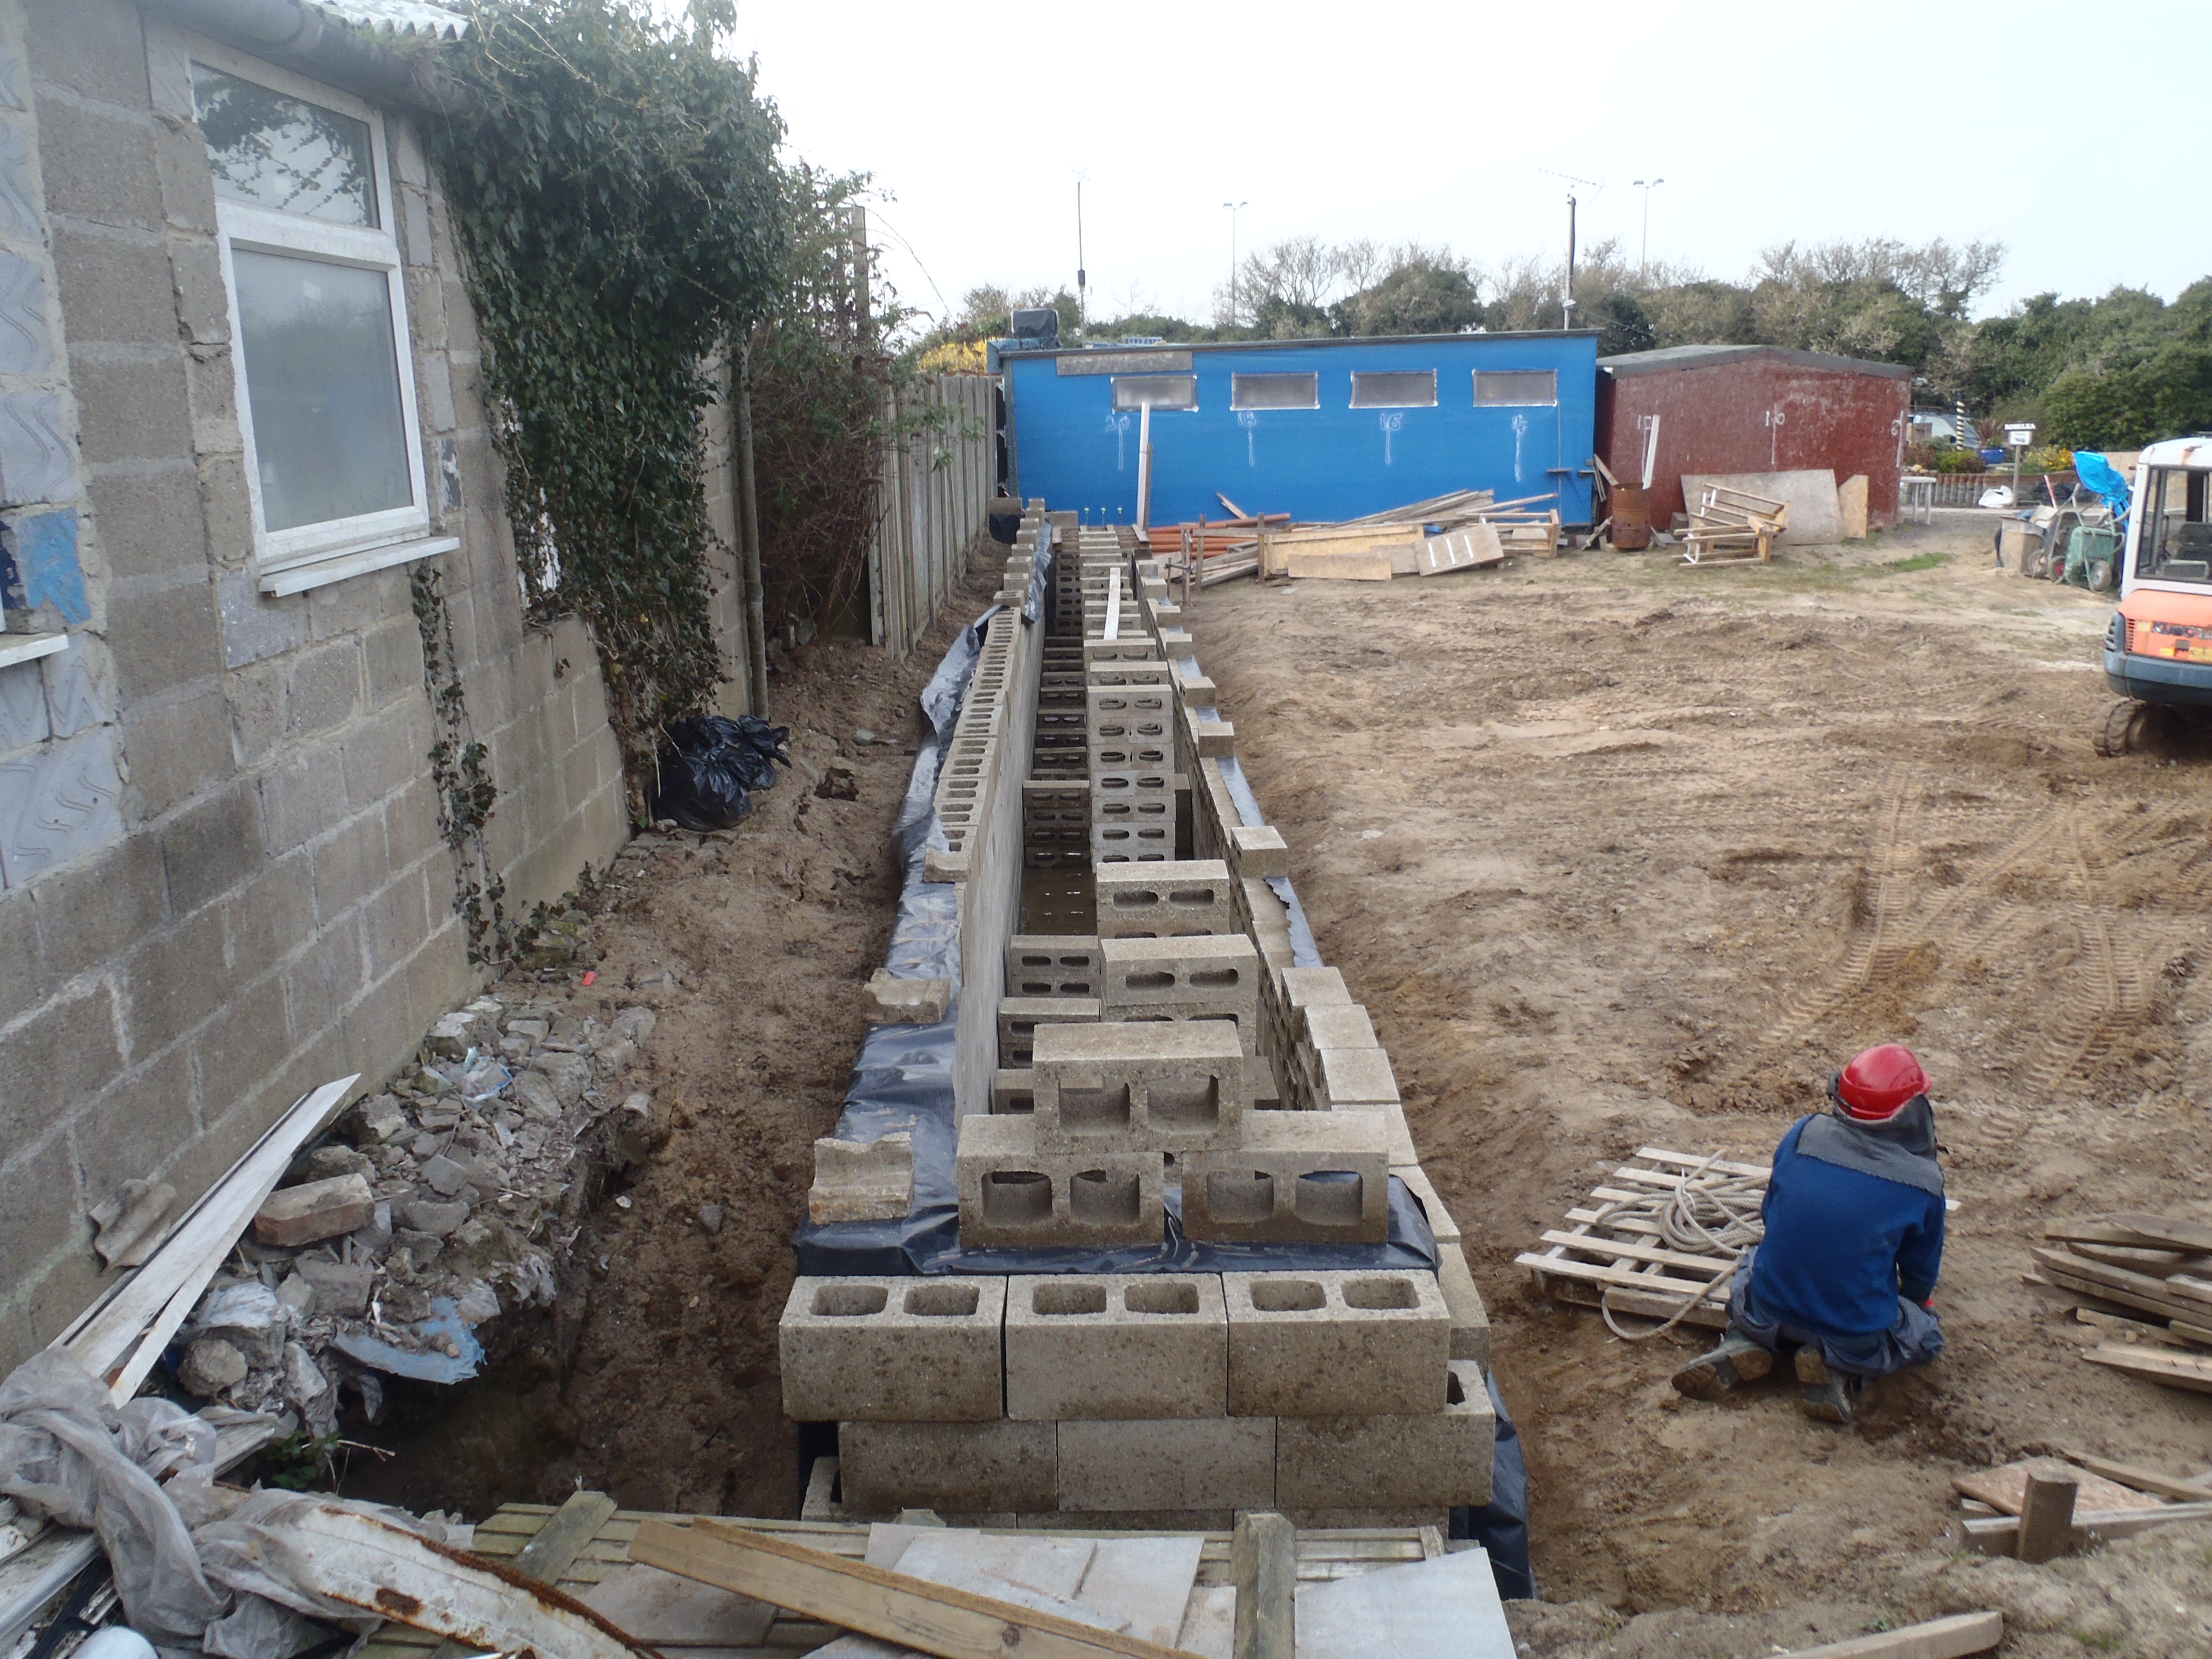
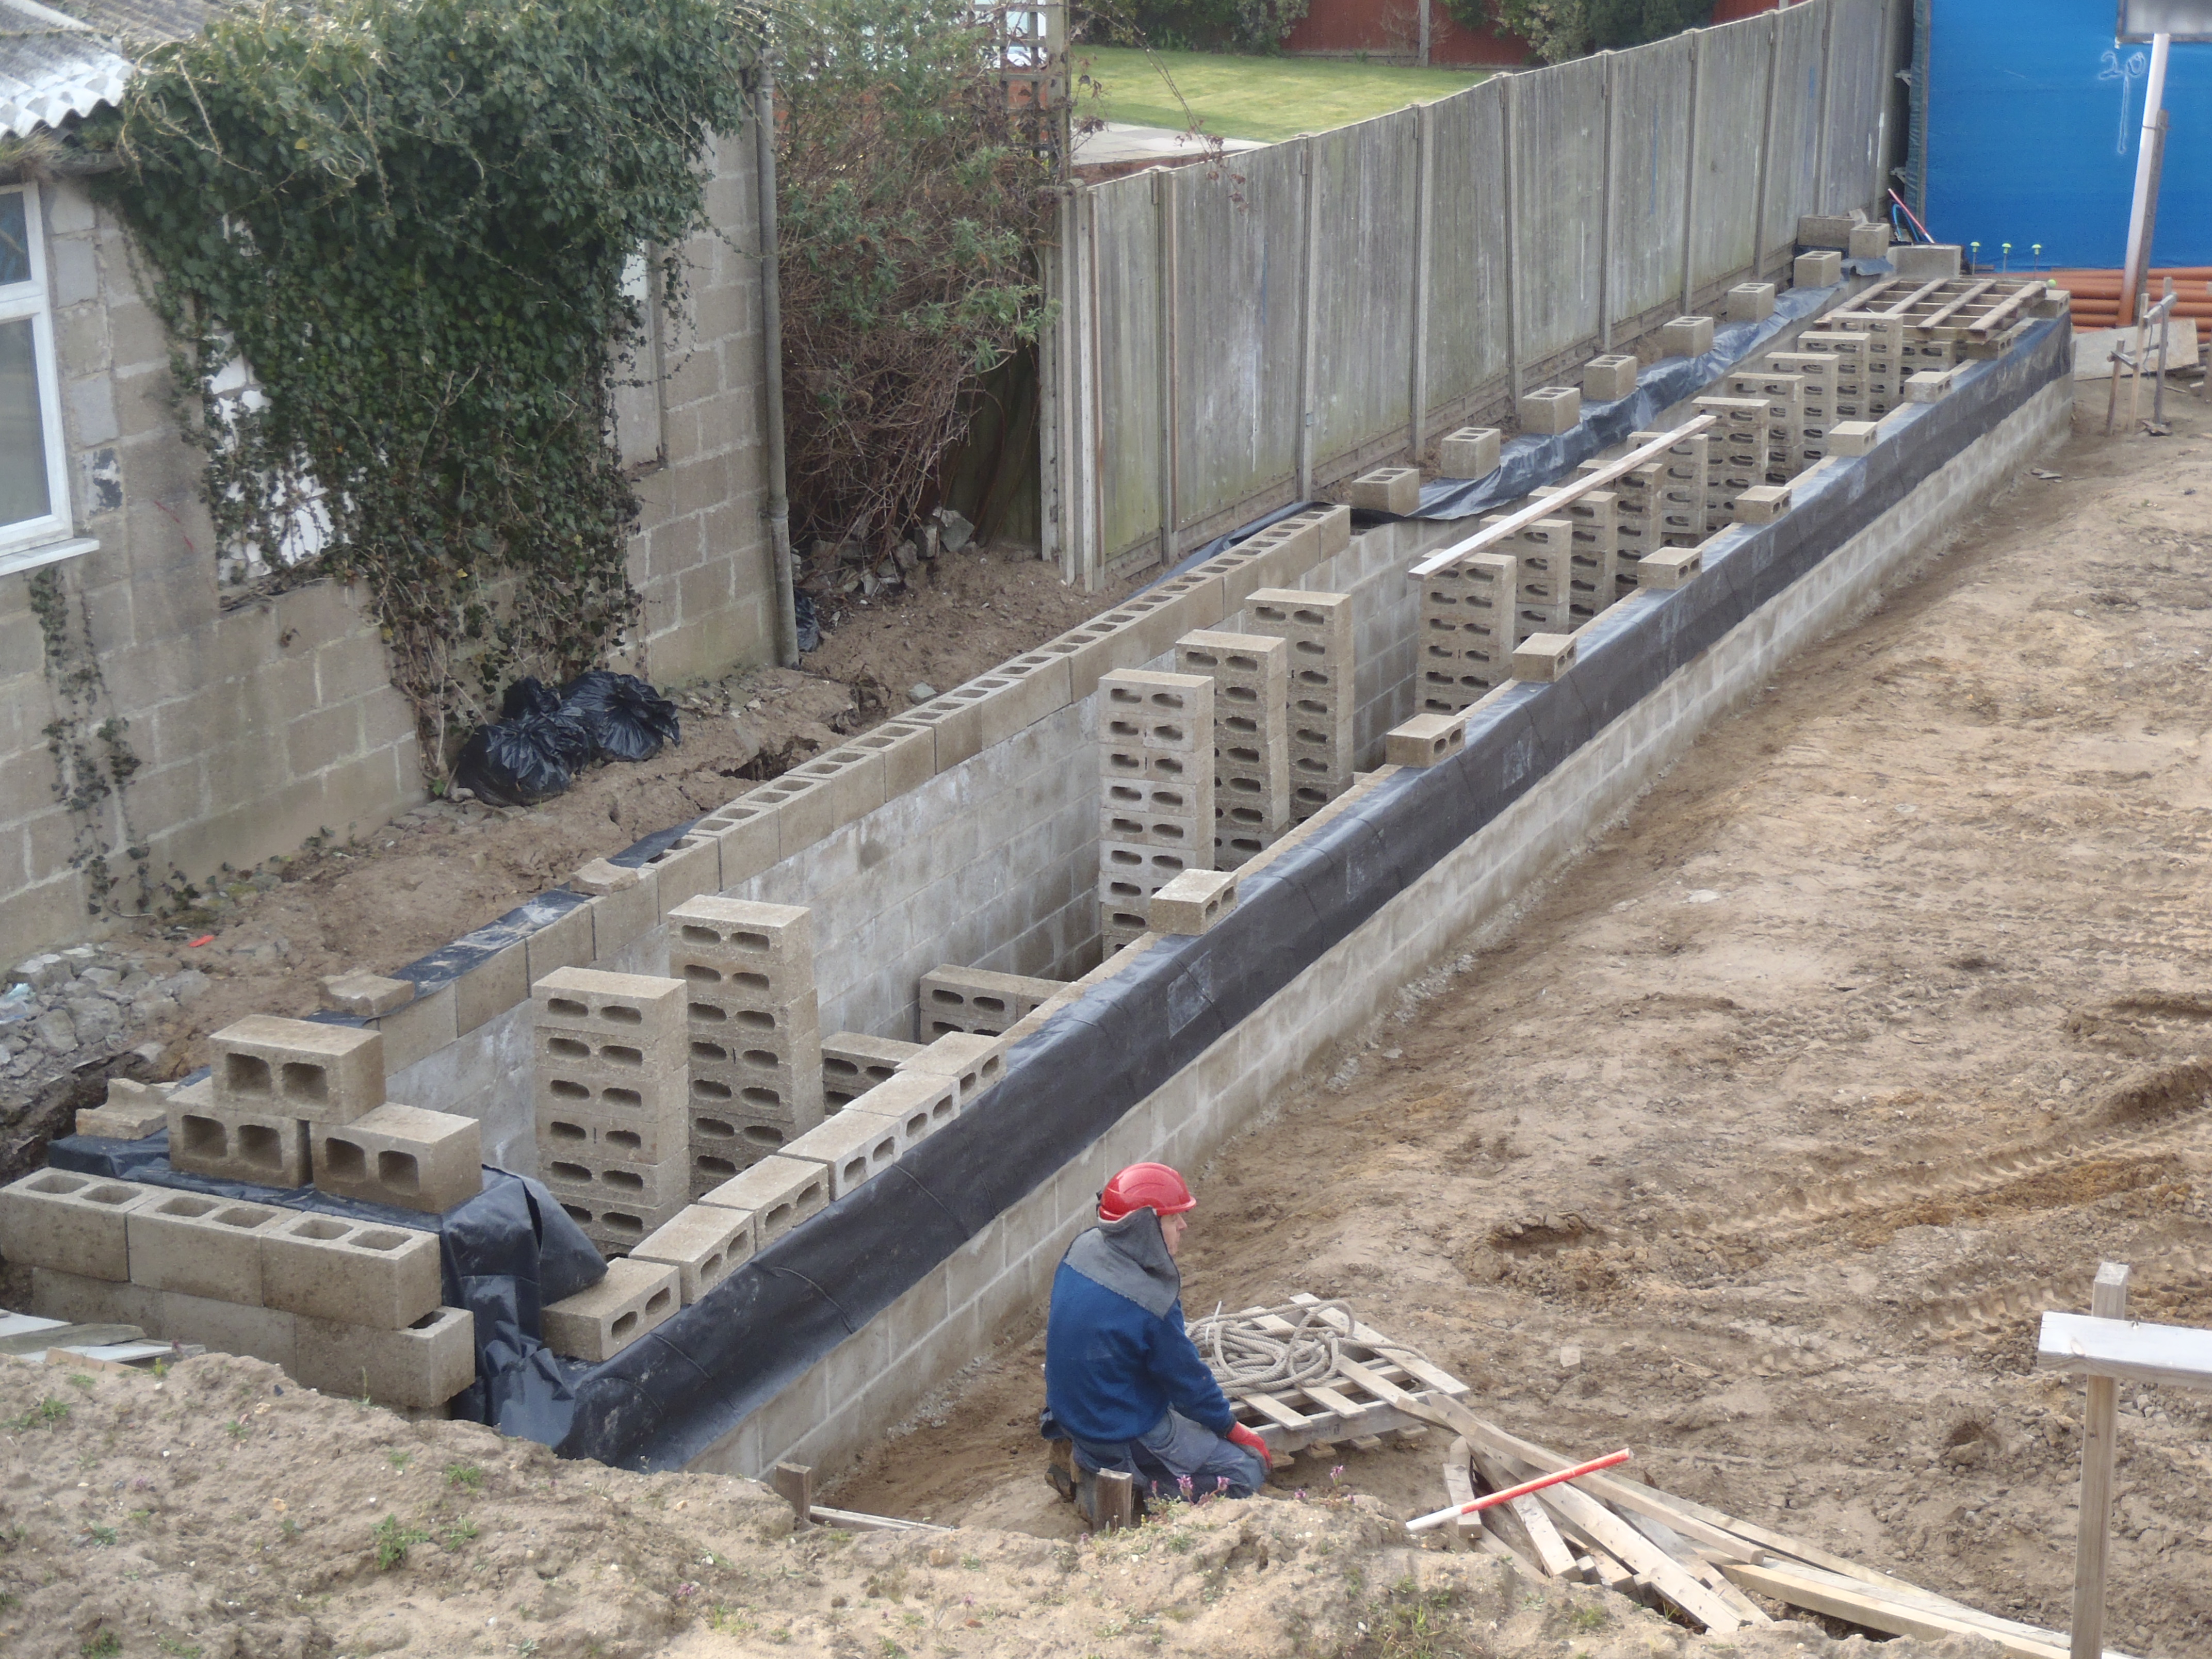
    Today, we did the 1st of three sewage pipes that needs to be laid in and
    under the house, before we put in the foundations and floor slab.
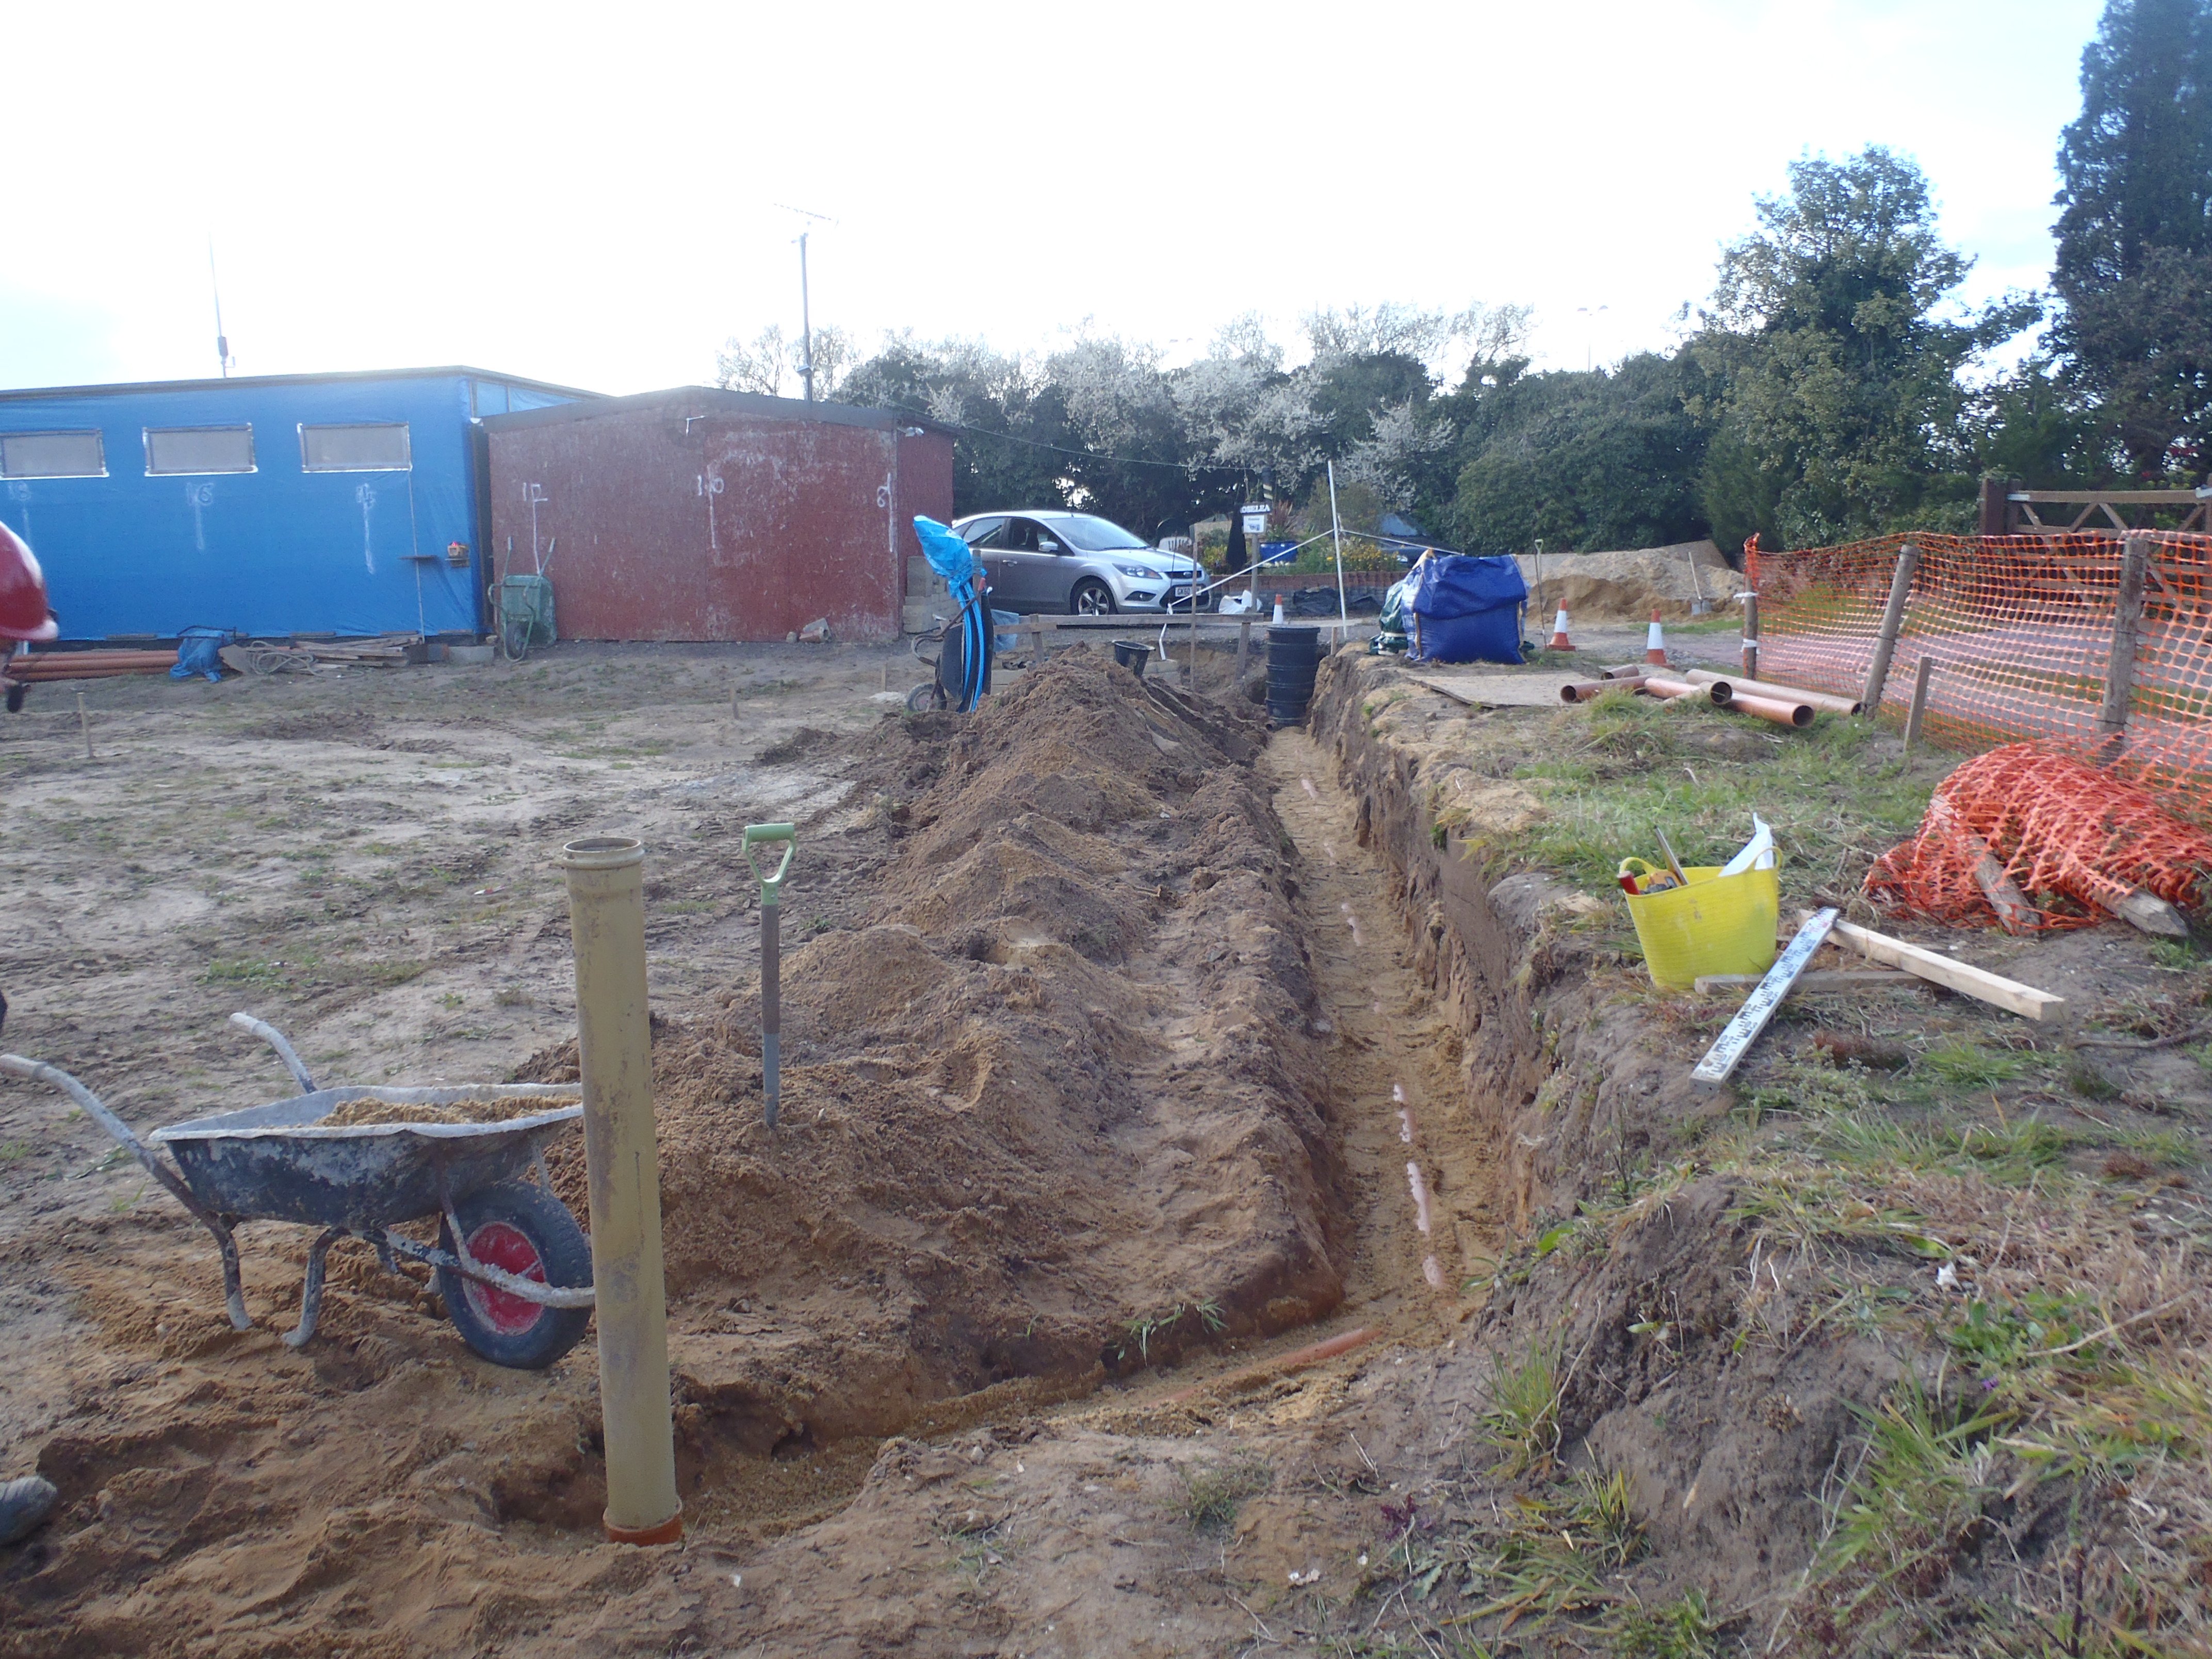
    Pipe-3-Laid

    Pipe-3-Laid

    This was a short one, from the kitchen and running more or less along the
    front of the house nearest to the Loke and terminating into the man hole
    junction just before the drive way.

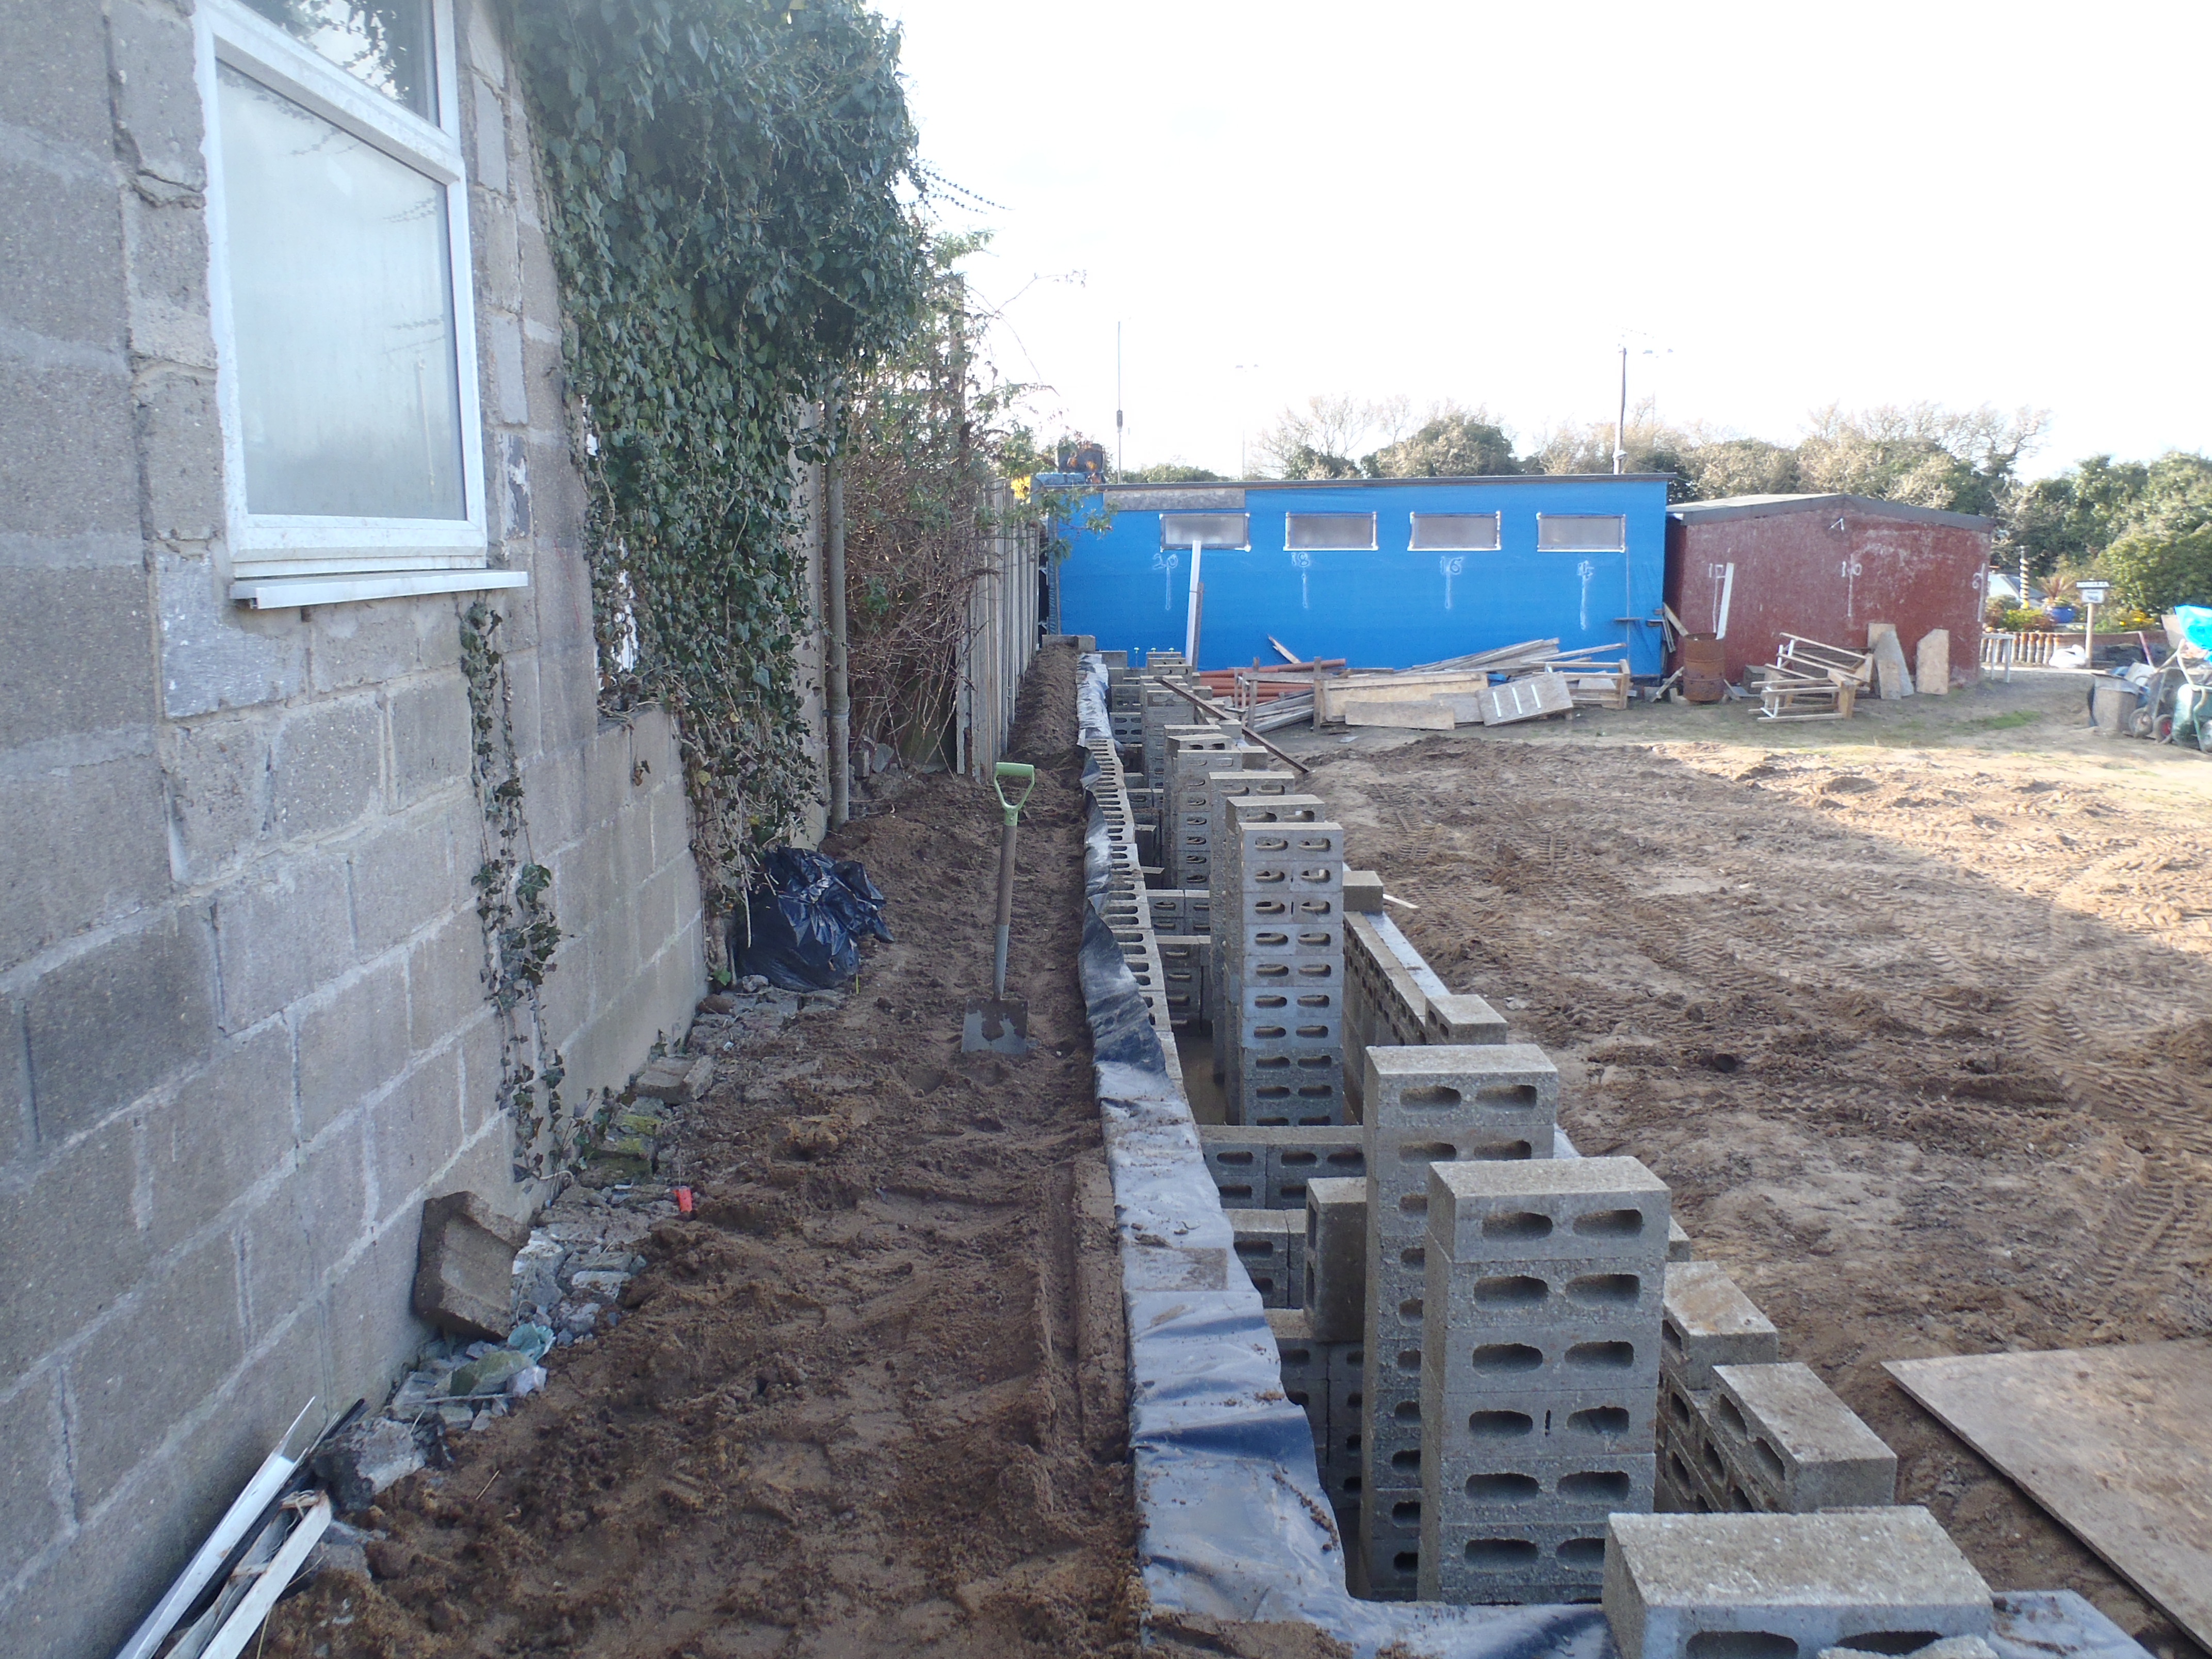
    It has to be buried, starting at the kitchen end, 750mm below ground, and
    falling away downhill at the normal “specs” of 1 in 40 slope to arrive at
    the man hole junction point at 950mm deep. That was the easier one to do!
    Tomorrow, weather permitting, will be the one that has to go across the
    drive way and has two bends in it too!

  • Double Check Calculations of Sewage pipe Positions

    This afternoon, we spent the time going over the drawings, calculating the
    exact positions of the sewage pipes coming out the ground (and through the
    concrete slab). We also discovered that the swimming lane is pretty accurate
    and parallel to the house. This and the garage as the 2nd reference point,
    will form the basic alignment for the whole house.

    We created a spreadsheet of all the distances from each of the batter boards markers to all “interest” points on each of the three sewage pipes we have got to
    run under the house.

    We now have these numbers, we can start marking and cutting the narrow
    trench lines for the plastic pipes to go in.

  • More Dirt Up Against the Fence Behind the Back Wall

    This afternoon, after the rain interruption in the morning, we moved few
    more tons of dirt over to the gap between the back wall of the swimming lane
    and the fence to our neighbours. It is now full and heap a little bit higher
    than needed so it can sink down over the coming months.

    Filled-to-the-top-behind-wall

    Filled-to-the-top-behind-wall

    Hopefully, this will stop any further floods and rivers of mud coming off
    the neighbouring higher grounds and causing a mess in our land.

  • Damaged Cement Bags

    Today, during our tidy up of the site, we were moving the last 18 bags of
    cement, and discovered that several of the bags, 4 of them, were damaged.

    Damaged-Cement-Bags-2

    Damaged-Cement-Bags-2

    Damaged-Cement-Bags-1

    Damaged-Cement-Bags-1


    We think that the fork lift truck driver missed his aim and rammed into the
    bottom layer of the bags and ripped two great big holes and two minor holes
    into the next bags above. Even the wooden pallet was damaged too.

    We have no idea when it happened, somewhere along the line from the Blue
    Circle factory to our builders merchant, it had a coming together with the
    tongs of the fork lift machinery!! We have reported this incident to our
    builders merchant and we await for replacement bags we hope.

  • All 420 Concrete Blocks Moved!

    Today, we finished off moving the concrete blocks, all 420, yes all four
    hundred and twenty concrete blocks on 7 pallets. These are the narrow 140mm
    hollow blocks and we moved them all over to our swimming lane to serve as
    support piles for holding stacks of OSB sheets and the CLS timbers as well.
    Plus also the odds and ends we rescued from the dismantling of the old
    little cottage, and any other bits and pieces we have around the site like
    old pallets etc.

    But first, as you can see in the picture below, some of the support piles
    are taller than others and the reason for this is to allow us to lay a sheet
    of OSB on these taller piles and bridge the gap to the dirt behind the back
    wall of the swimming lane. This will allow us to use the mini digger to dump
    more dirt without spilling any into our nice and clean swimming lane! The
    gap needs filling up again after the soil has settled down and washed down
    in the recent rainfalls. This is exactly what we wanted to see and therefore
    we are putting more dirt up there to make sure it is all settled and solid
    to hold the fence posts sturdily, especially the workshop section where we
    need to rebuild the fence again.

    Blocks-moved-to-swimming-lane-2

    Blocks-moved-to-swimming-lane-2

    Blocks-moved-to-swimming-lane-1

    Blocks-moved-to-swimming-lane-1

    Blocks-moved-to-swimming-lane-3

    Blocks-moved-to-swimming-lane-3


  • Big Trolley repainted

    We bought a big hand trolley (2.4 m x 1.2 m, 1000 kg load)  back in 2002, and have used it extensively since. The steel frame has been desperately in need of a de-rust and repaint for a few years now! When we had finished using the trolley as the base of the soil sifter, we removed all the wooden framing and platform and started to remove the old paint and rust with a wire brush on a angle-grinder (this was in December last year) and then we left it in the workshop until today.

    We finished wire brushing and cleaning it this morning and then painted it this afternoon (we will probably only give it one coat as it really was very rusty and will need to have the platform support frame replaced in a few years (if we don’t discard it as no longer needed)).

    Large-Trolley-Re-Painted-2

    Large-Trolley-Re-Painted-2

    Large-Trolley-Re-Painted-1

    Large-Trolley-Re-Painted-1


  • Mini Trolley Repaired

    Stephen repaired the mini trolley on Thursday afternoon and this Morning. The rear wheels were completely broken and the axles bent badly. The front wheels which had been already reinforced (after being bent while moving a load of concrete blocks – 13 of fat ones!) survived but the axles were bent as well.

    The bent axles were cut off and replaced, then the new metal was painted. The broken edges of the plywood top were trimmed off.

    We bought two new wheels (which were re-enforced by welding 4 struts from the central hub to the disc and rim, see pictures) for the rear wheels.

    Then everything was re-assembled and the trolley was good as new!

    Small-Trolley-Wheel-Before

    Small-Trolley-Wheel-Before

    Small-Trolley-Wheel-After

    Small-Trolley-Wheel-After


  • Third Row Completed on Front Wall!

    It is nice to see the 3rd row all completed! It is looking neat and tidy,
    especially with the black DPM plastic sheet covering and protecting the
    mortar joints from any rain showers at the moment while the cement set and
    cures.

    The final 24½ blocks went in smoothly, taking us 4 hours to lay them in
    place.

    Front-Wall-3-Row-All-Done

    Front-Wall-3-Row-All-Done

    We have decided that it would be much more practical to NOT have tall
    reinforcing bars sticking up along the front wall and basically potentially
    be in the way for the next 2 years. We will just lay flat two rows of the
    narrow 140mm blocks to gain extra height (just laid dry without any mortar
    etc) and then place the DPM plastic and hang it down the wall, in front to
    provide a waterproof barrier against any dirt and rain water.

  • Third Row Commences on Front Wall

    We grabbed the morning to start the 3rd row of the front wall, doing 25
    blocks before the rain came in the afternoon. This is our last row of the
    fat 215mm wide concrete blocks – at last!! Well at least, for this stage of
    the swimming lane construction, as we got the pond and the final couple of
    metres of the lane to build later on after we have built the house itself!!

    On this row, we inserted a reinforcing steel bar horizontally to improve the
    strength in the direction of “bowing” outwards under the pressure of the
    water.

    Front-Wall-3-Row-Half-Done

    Front-Wall-3-Row-Half-Done

    We protected our wet joints with a plastic sheeting, from the rain. Which
    turned out not to be so heavy as forecasted after all!!

  • Second Row of Wall Completed!

    With our early start this morning, we managed to finish off the 2nd row of
    the front wall before we had to stop for other tasks and commitments. A 9am
    start saw us doing the final 16 blocks before 12:30pm, which also included
    the delay of our mortar guide breaking apart under the strain of having done
    over 400 blocks! It was a half an hour quick and nasty repair job to get
    going again and finish off the final 6 blocks!!

    Front-Wall-2nd-Row-Complete

    Front-Wall-2nd-Row-Complete

    Stephen improved the design in the afternoon, to make it stronger and also
    more flexible as we will be switching over to the narrow 140mm blocks soon,
    and there is another 570 blocks of those to do too!!!

    So we just got another 50 blocks of the fat 215mm blocks to do and then we
    look at doing one row of the narrow blocks for the 4th row.