Category: Build Progress

  • Second Row of Front Wall well over Half Completed

    We were interrupted with heavy rain showers in the morning, so we didn’t get
    started on doing any work until after lunch at 2:30pm.

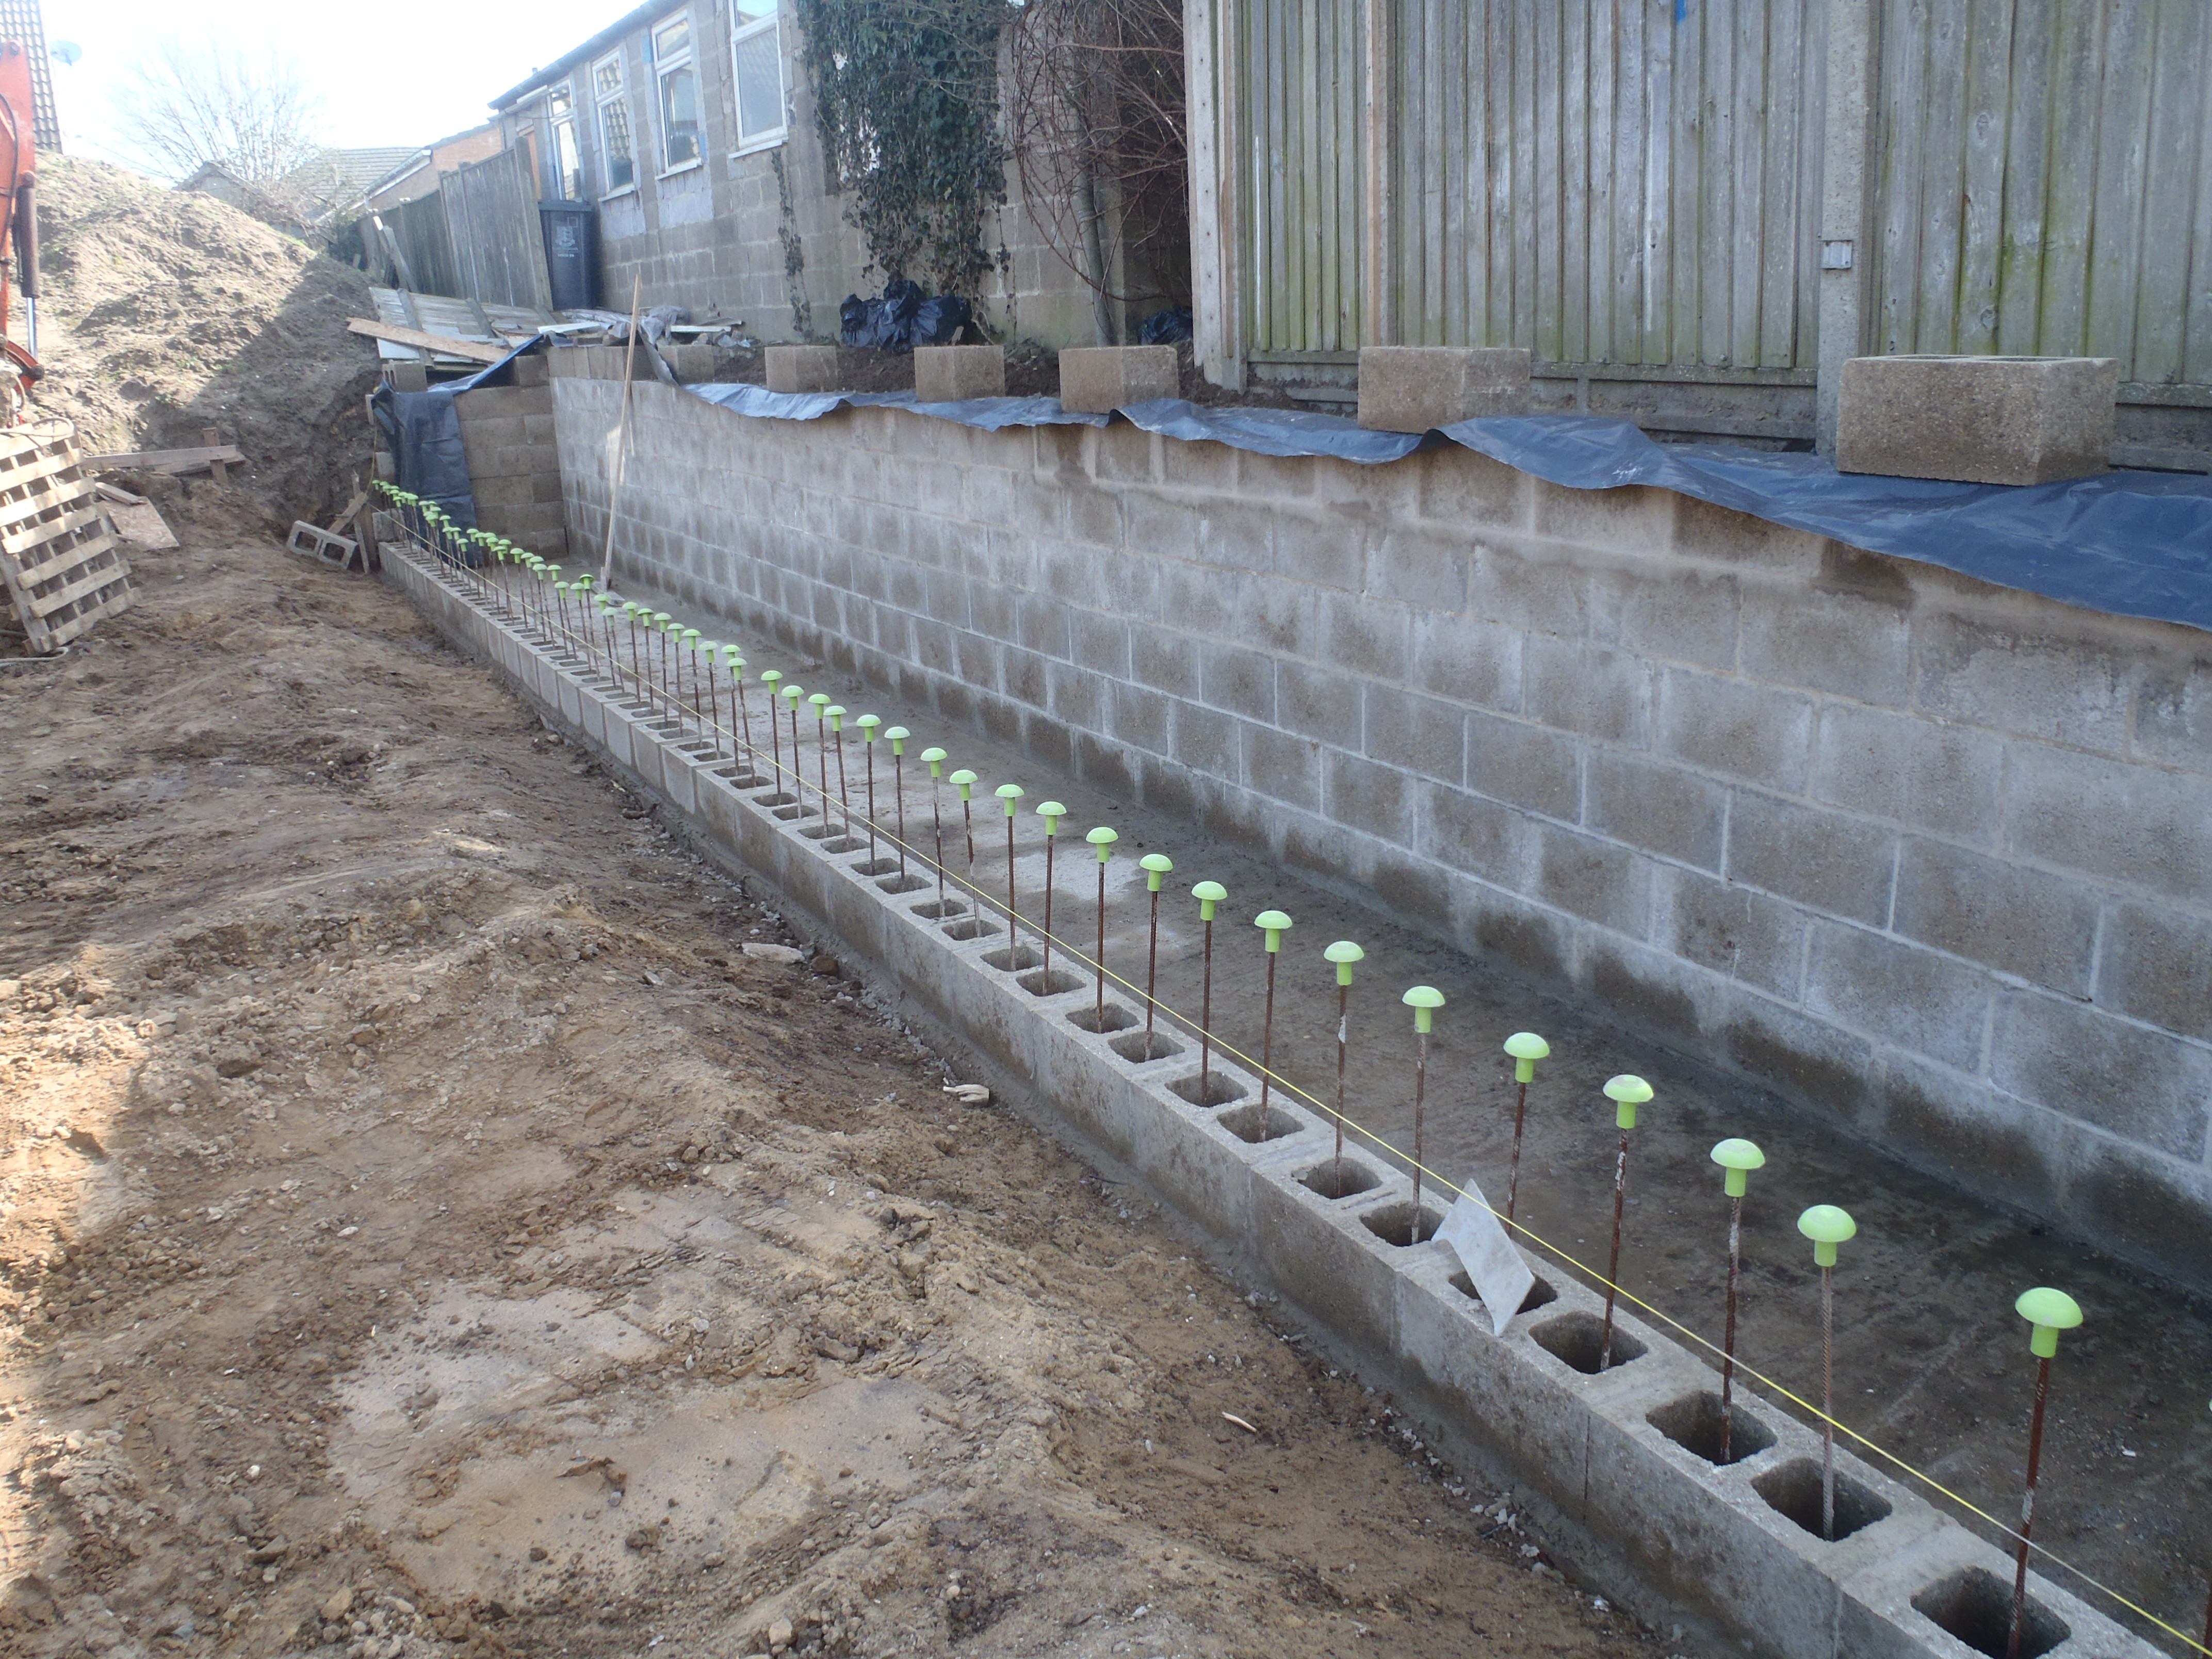
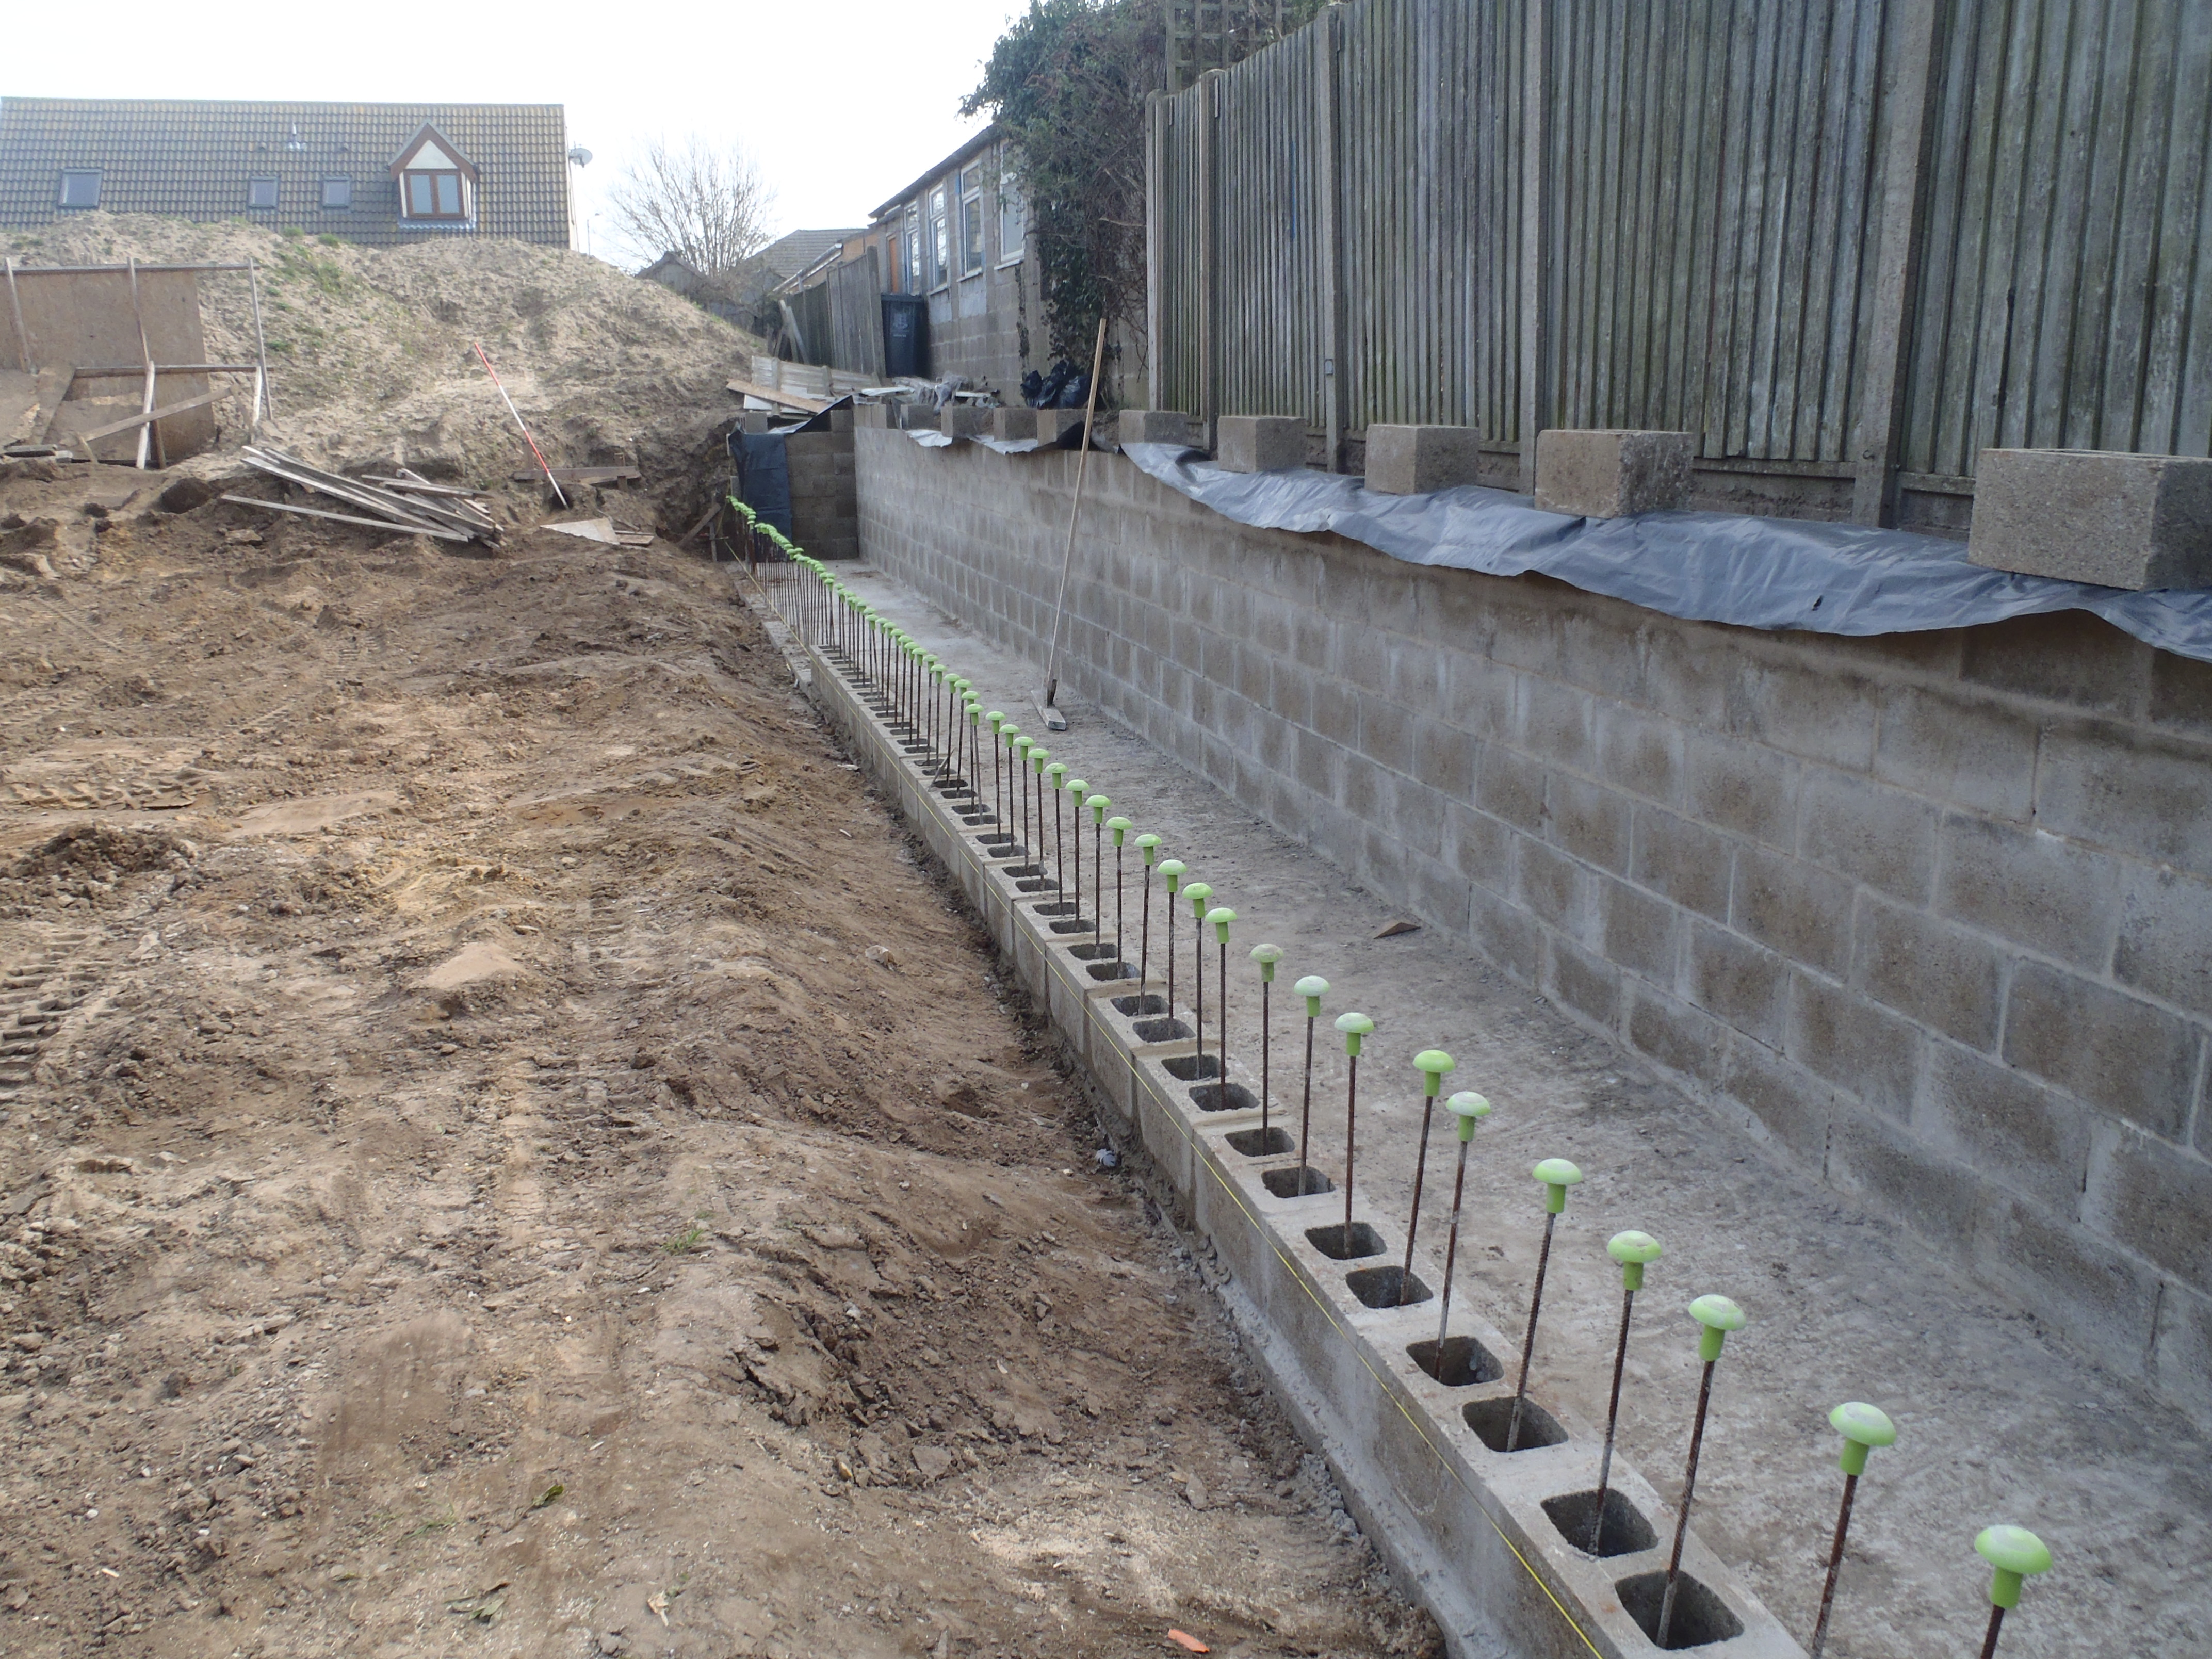
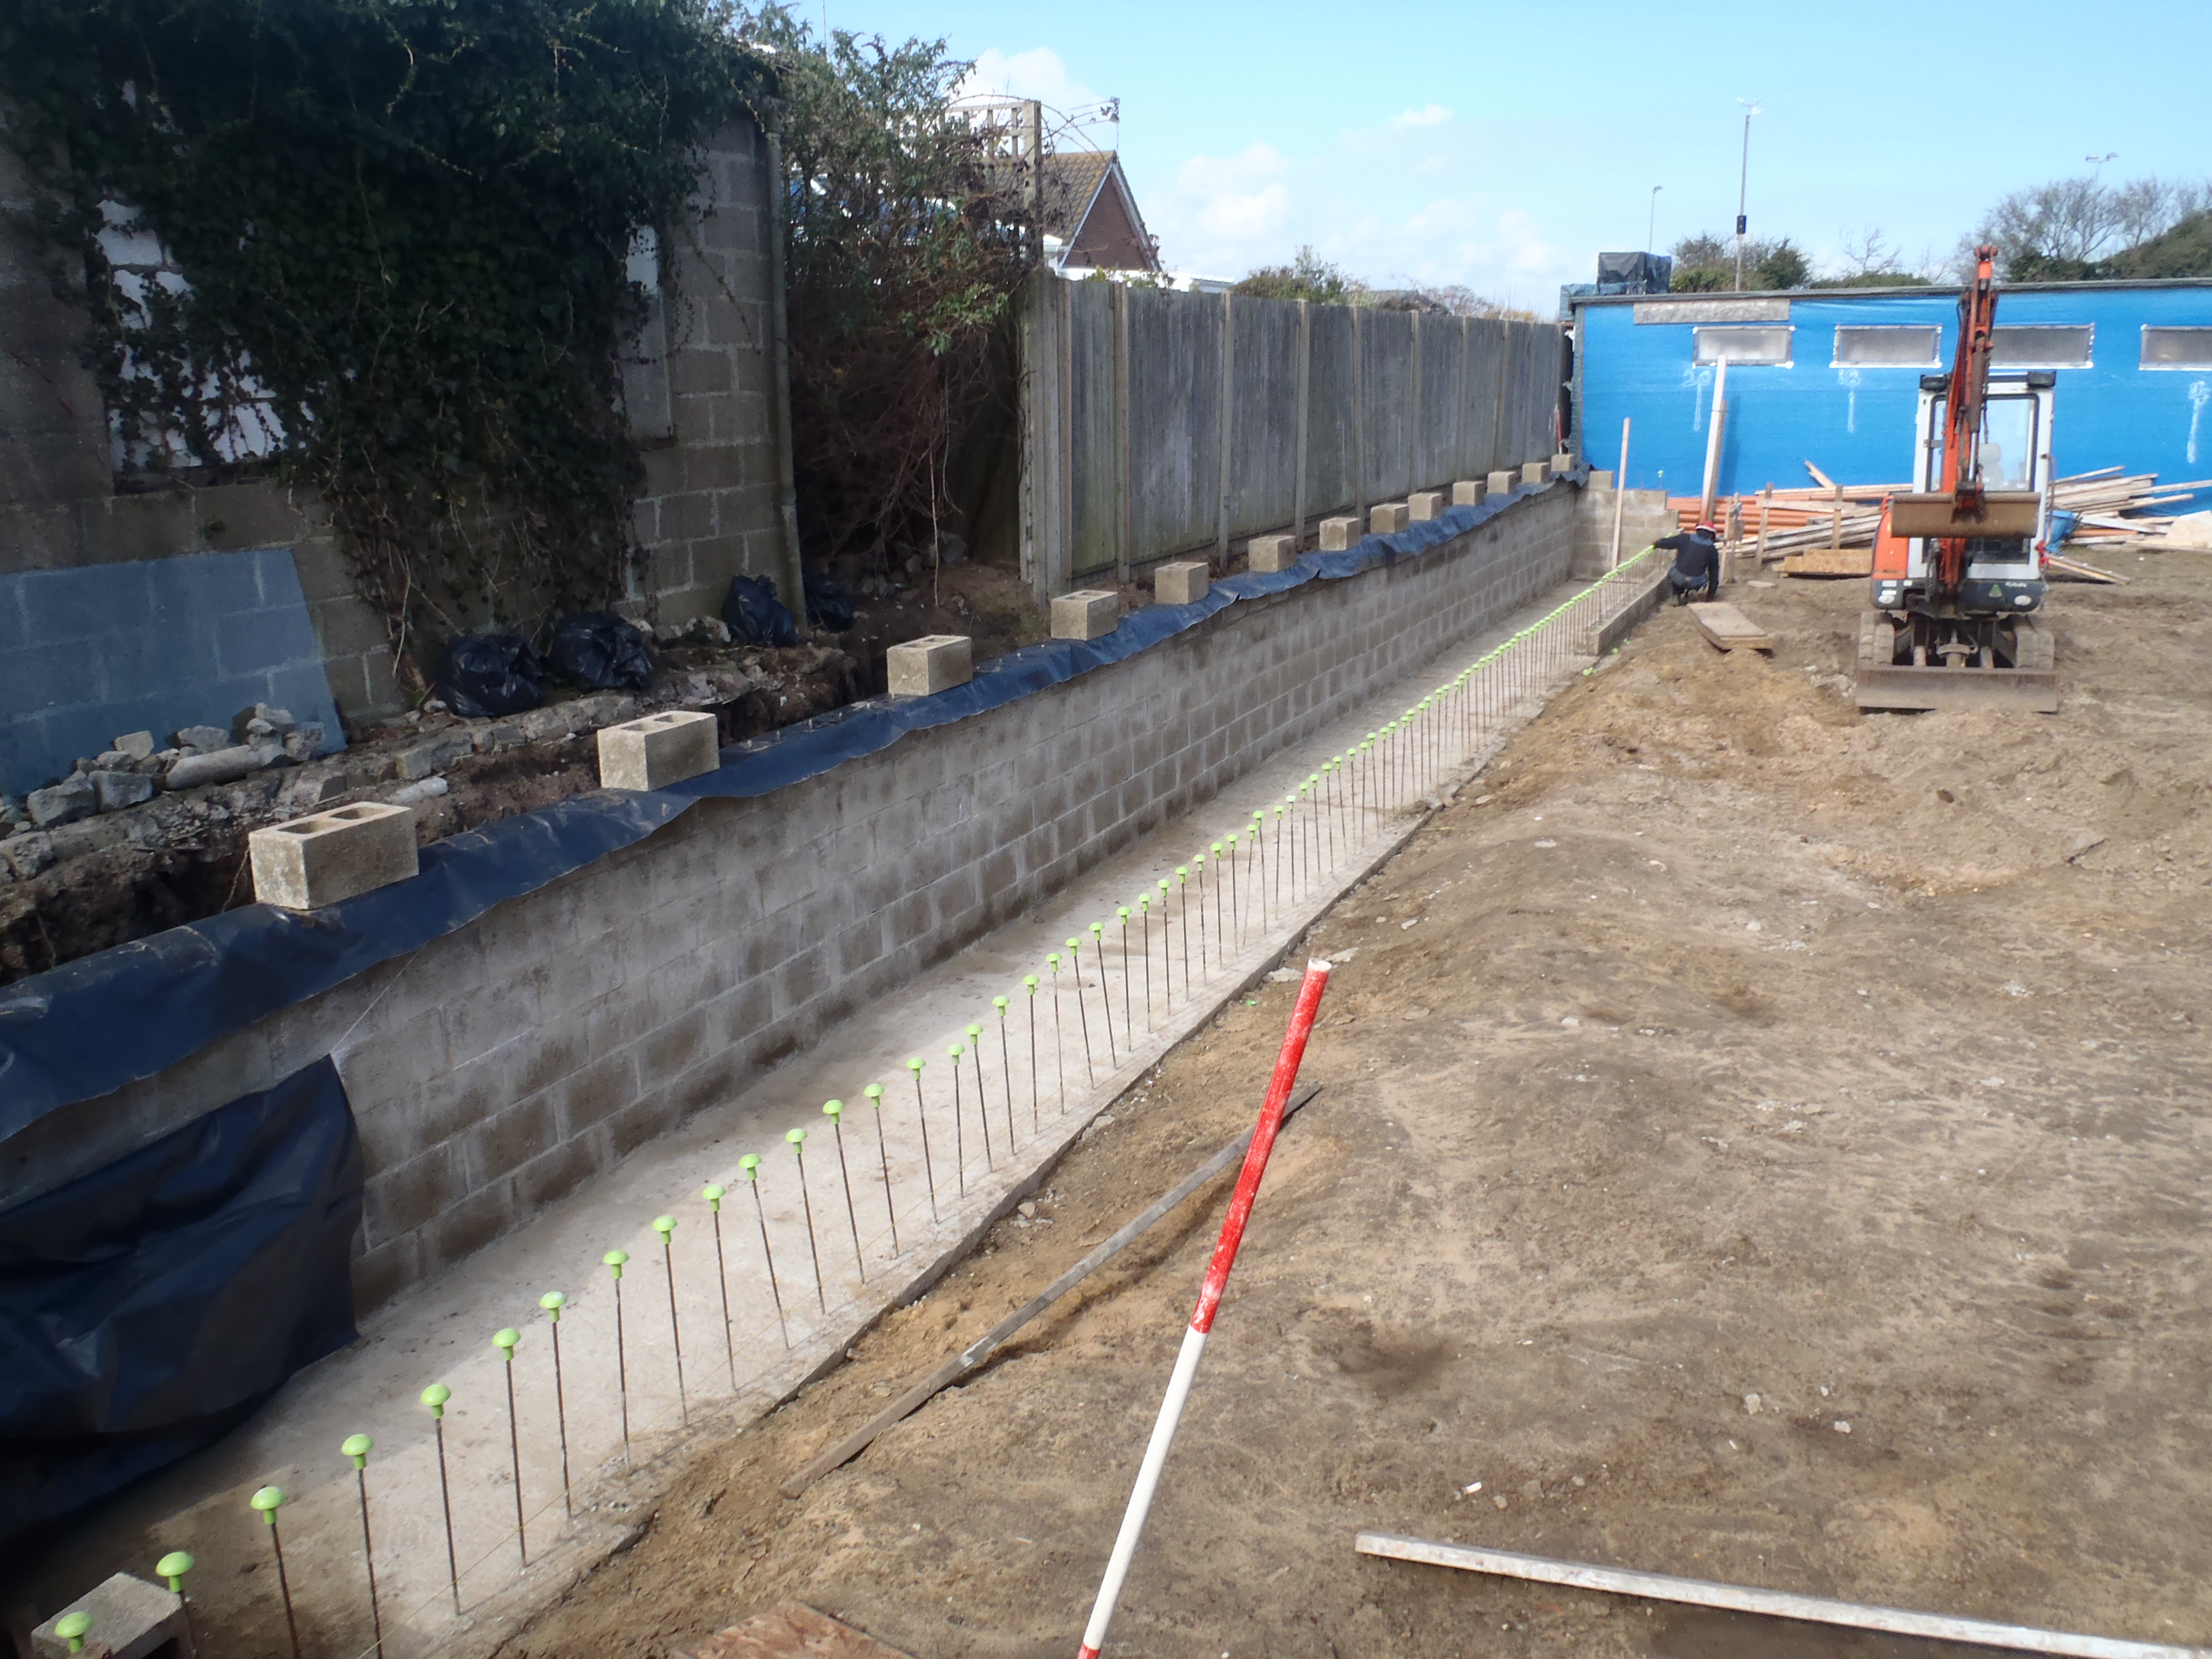
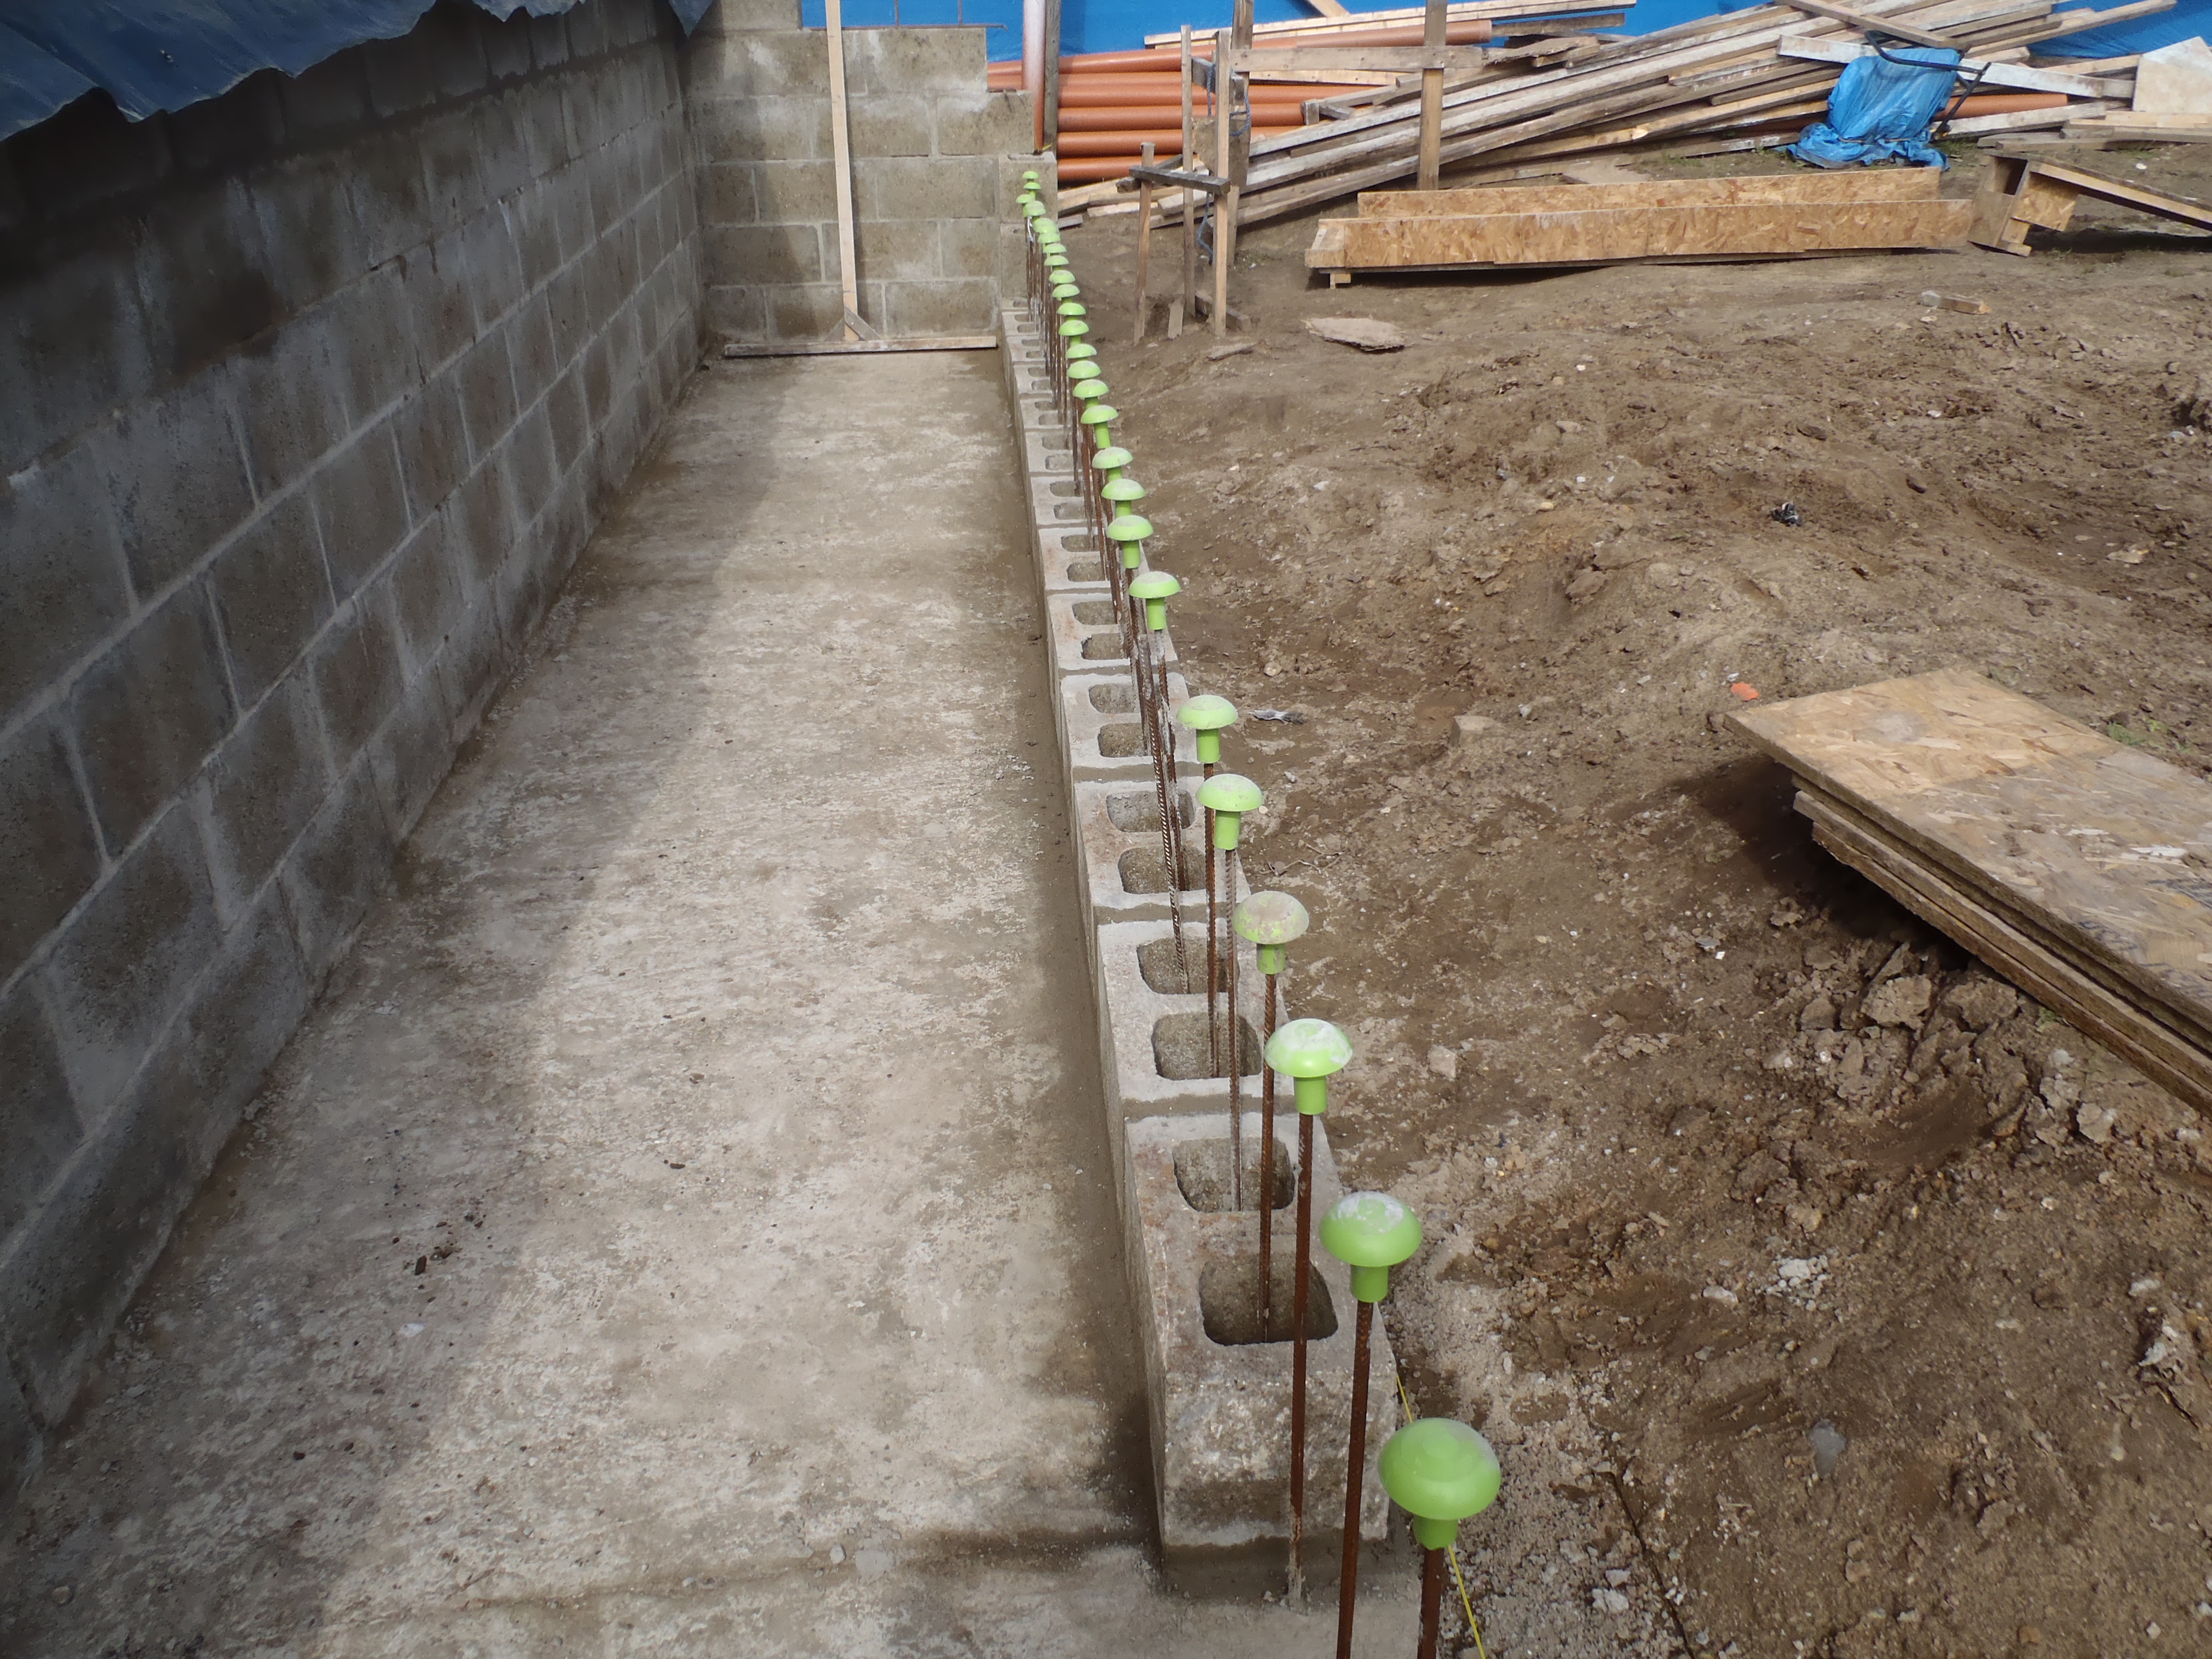
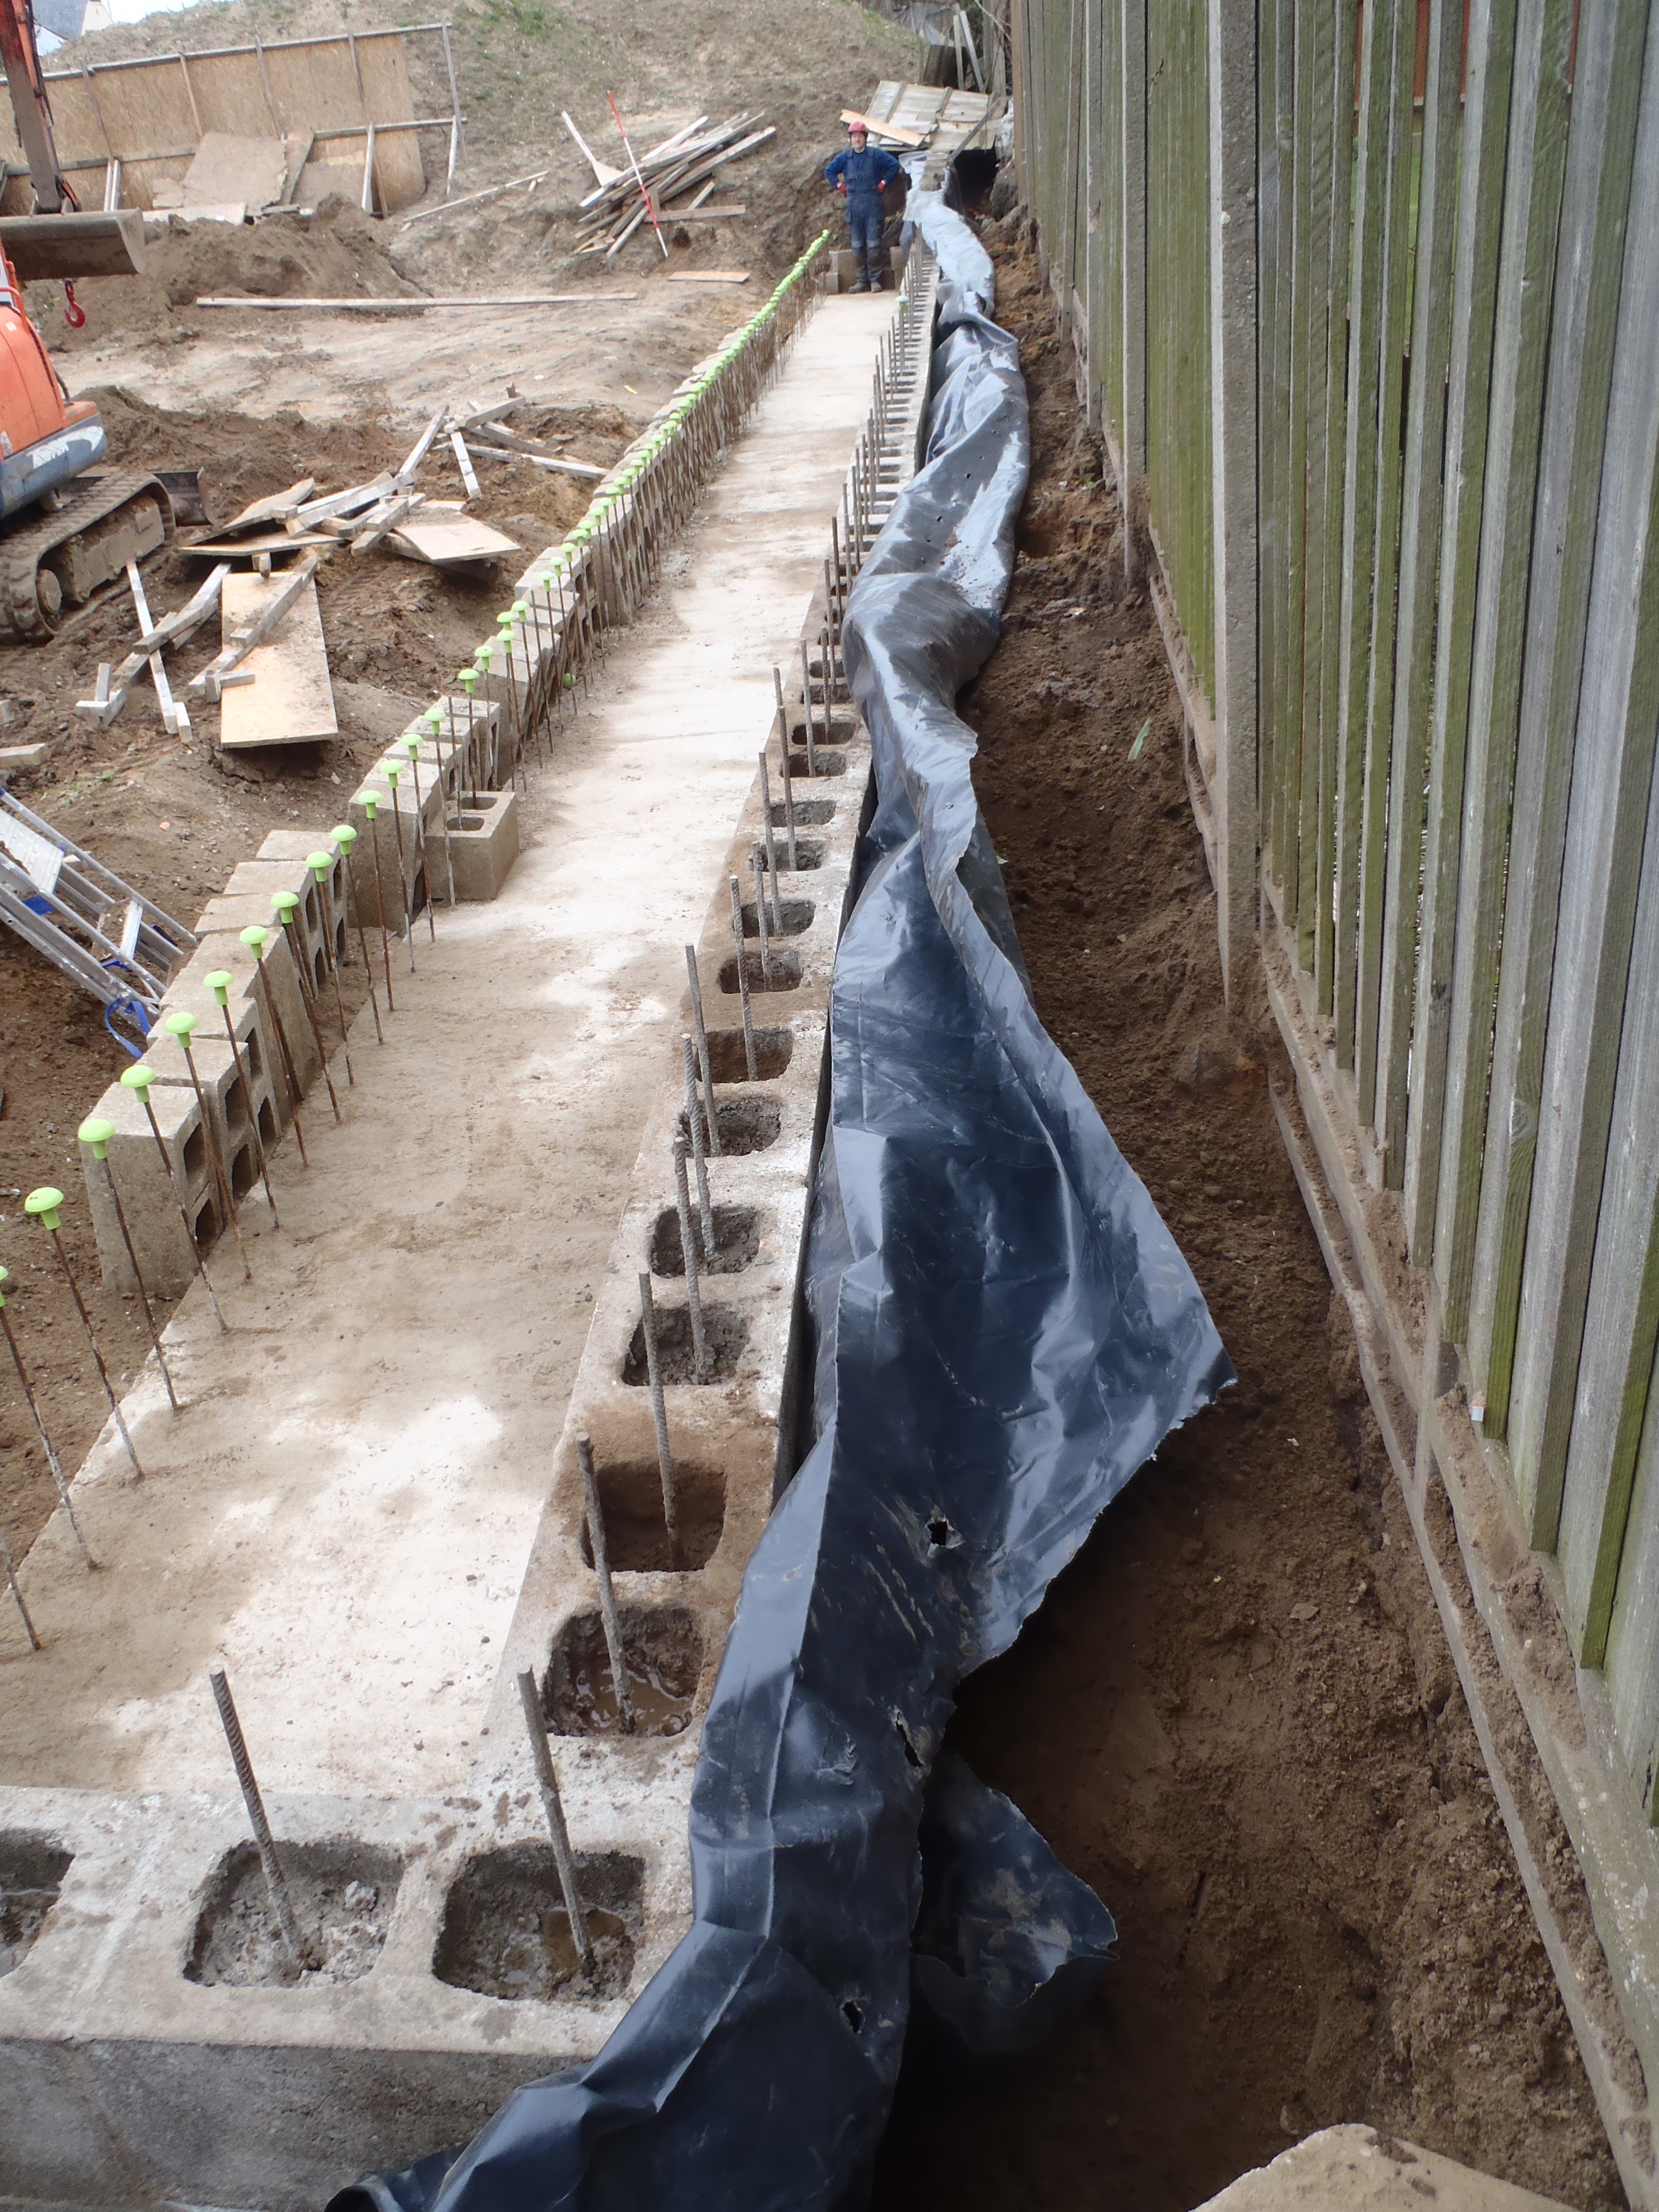
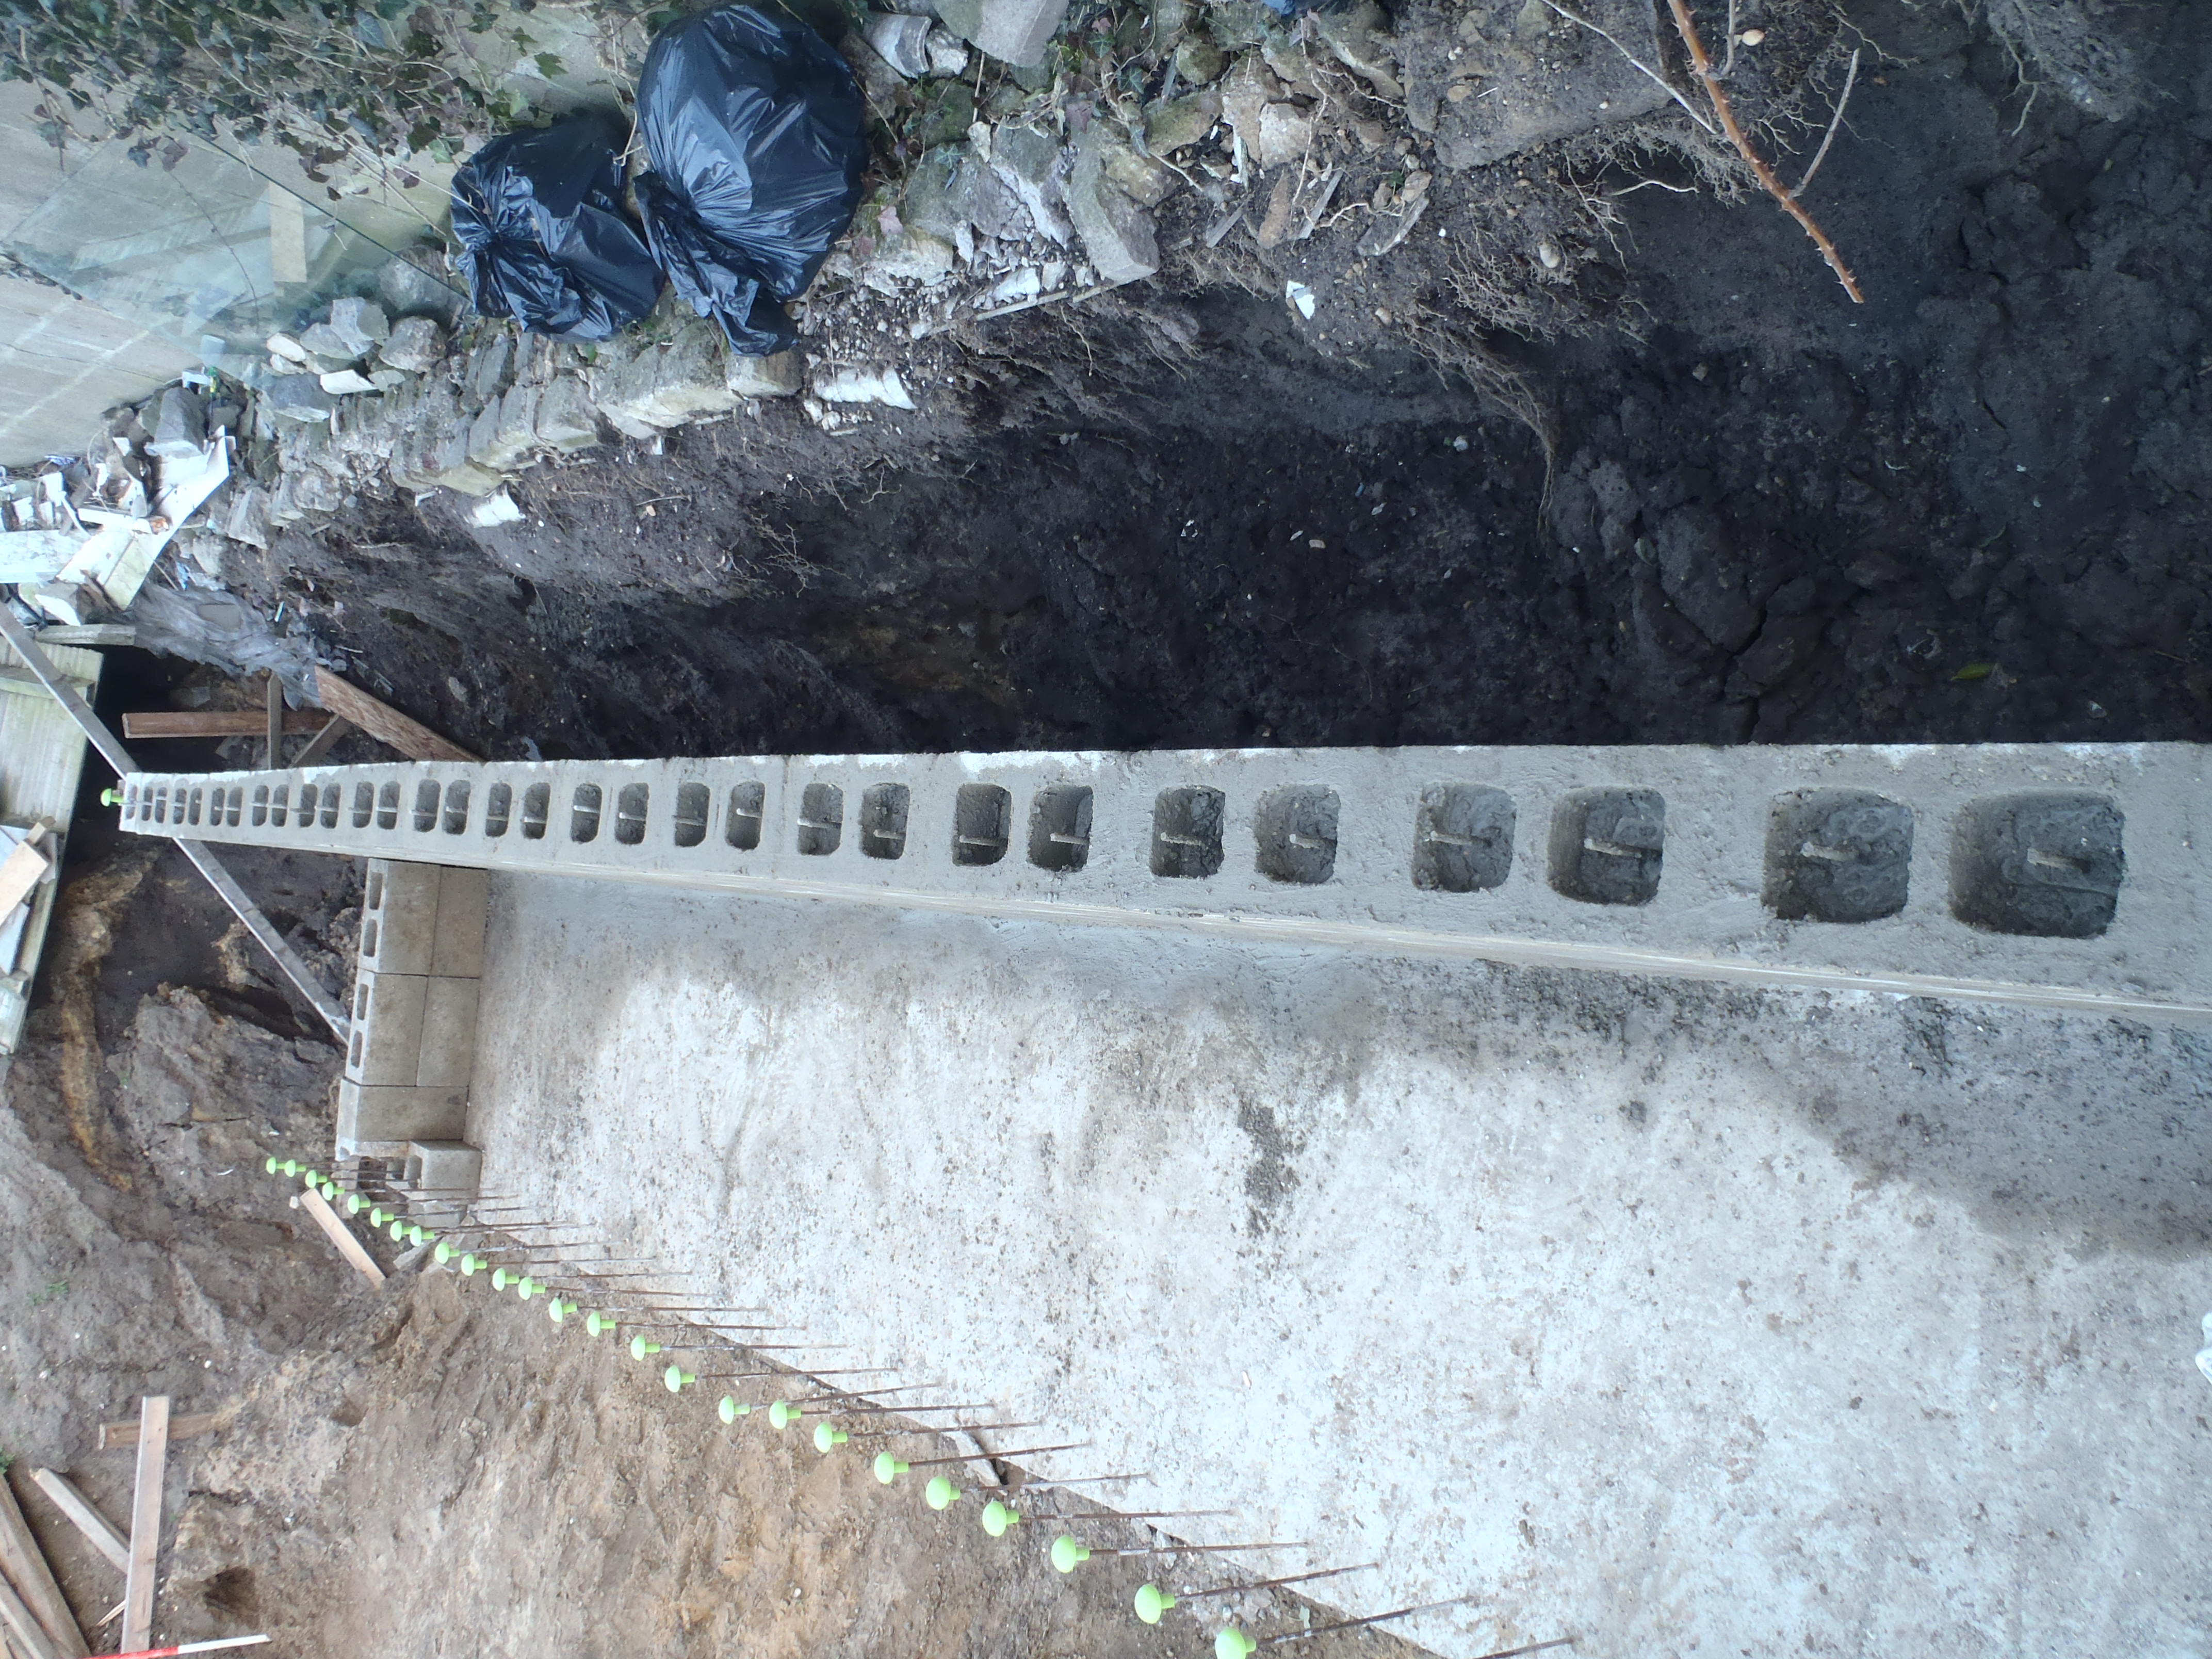
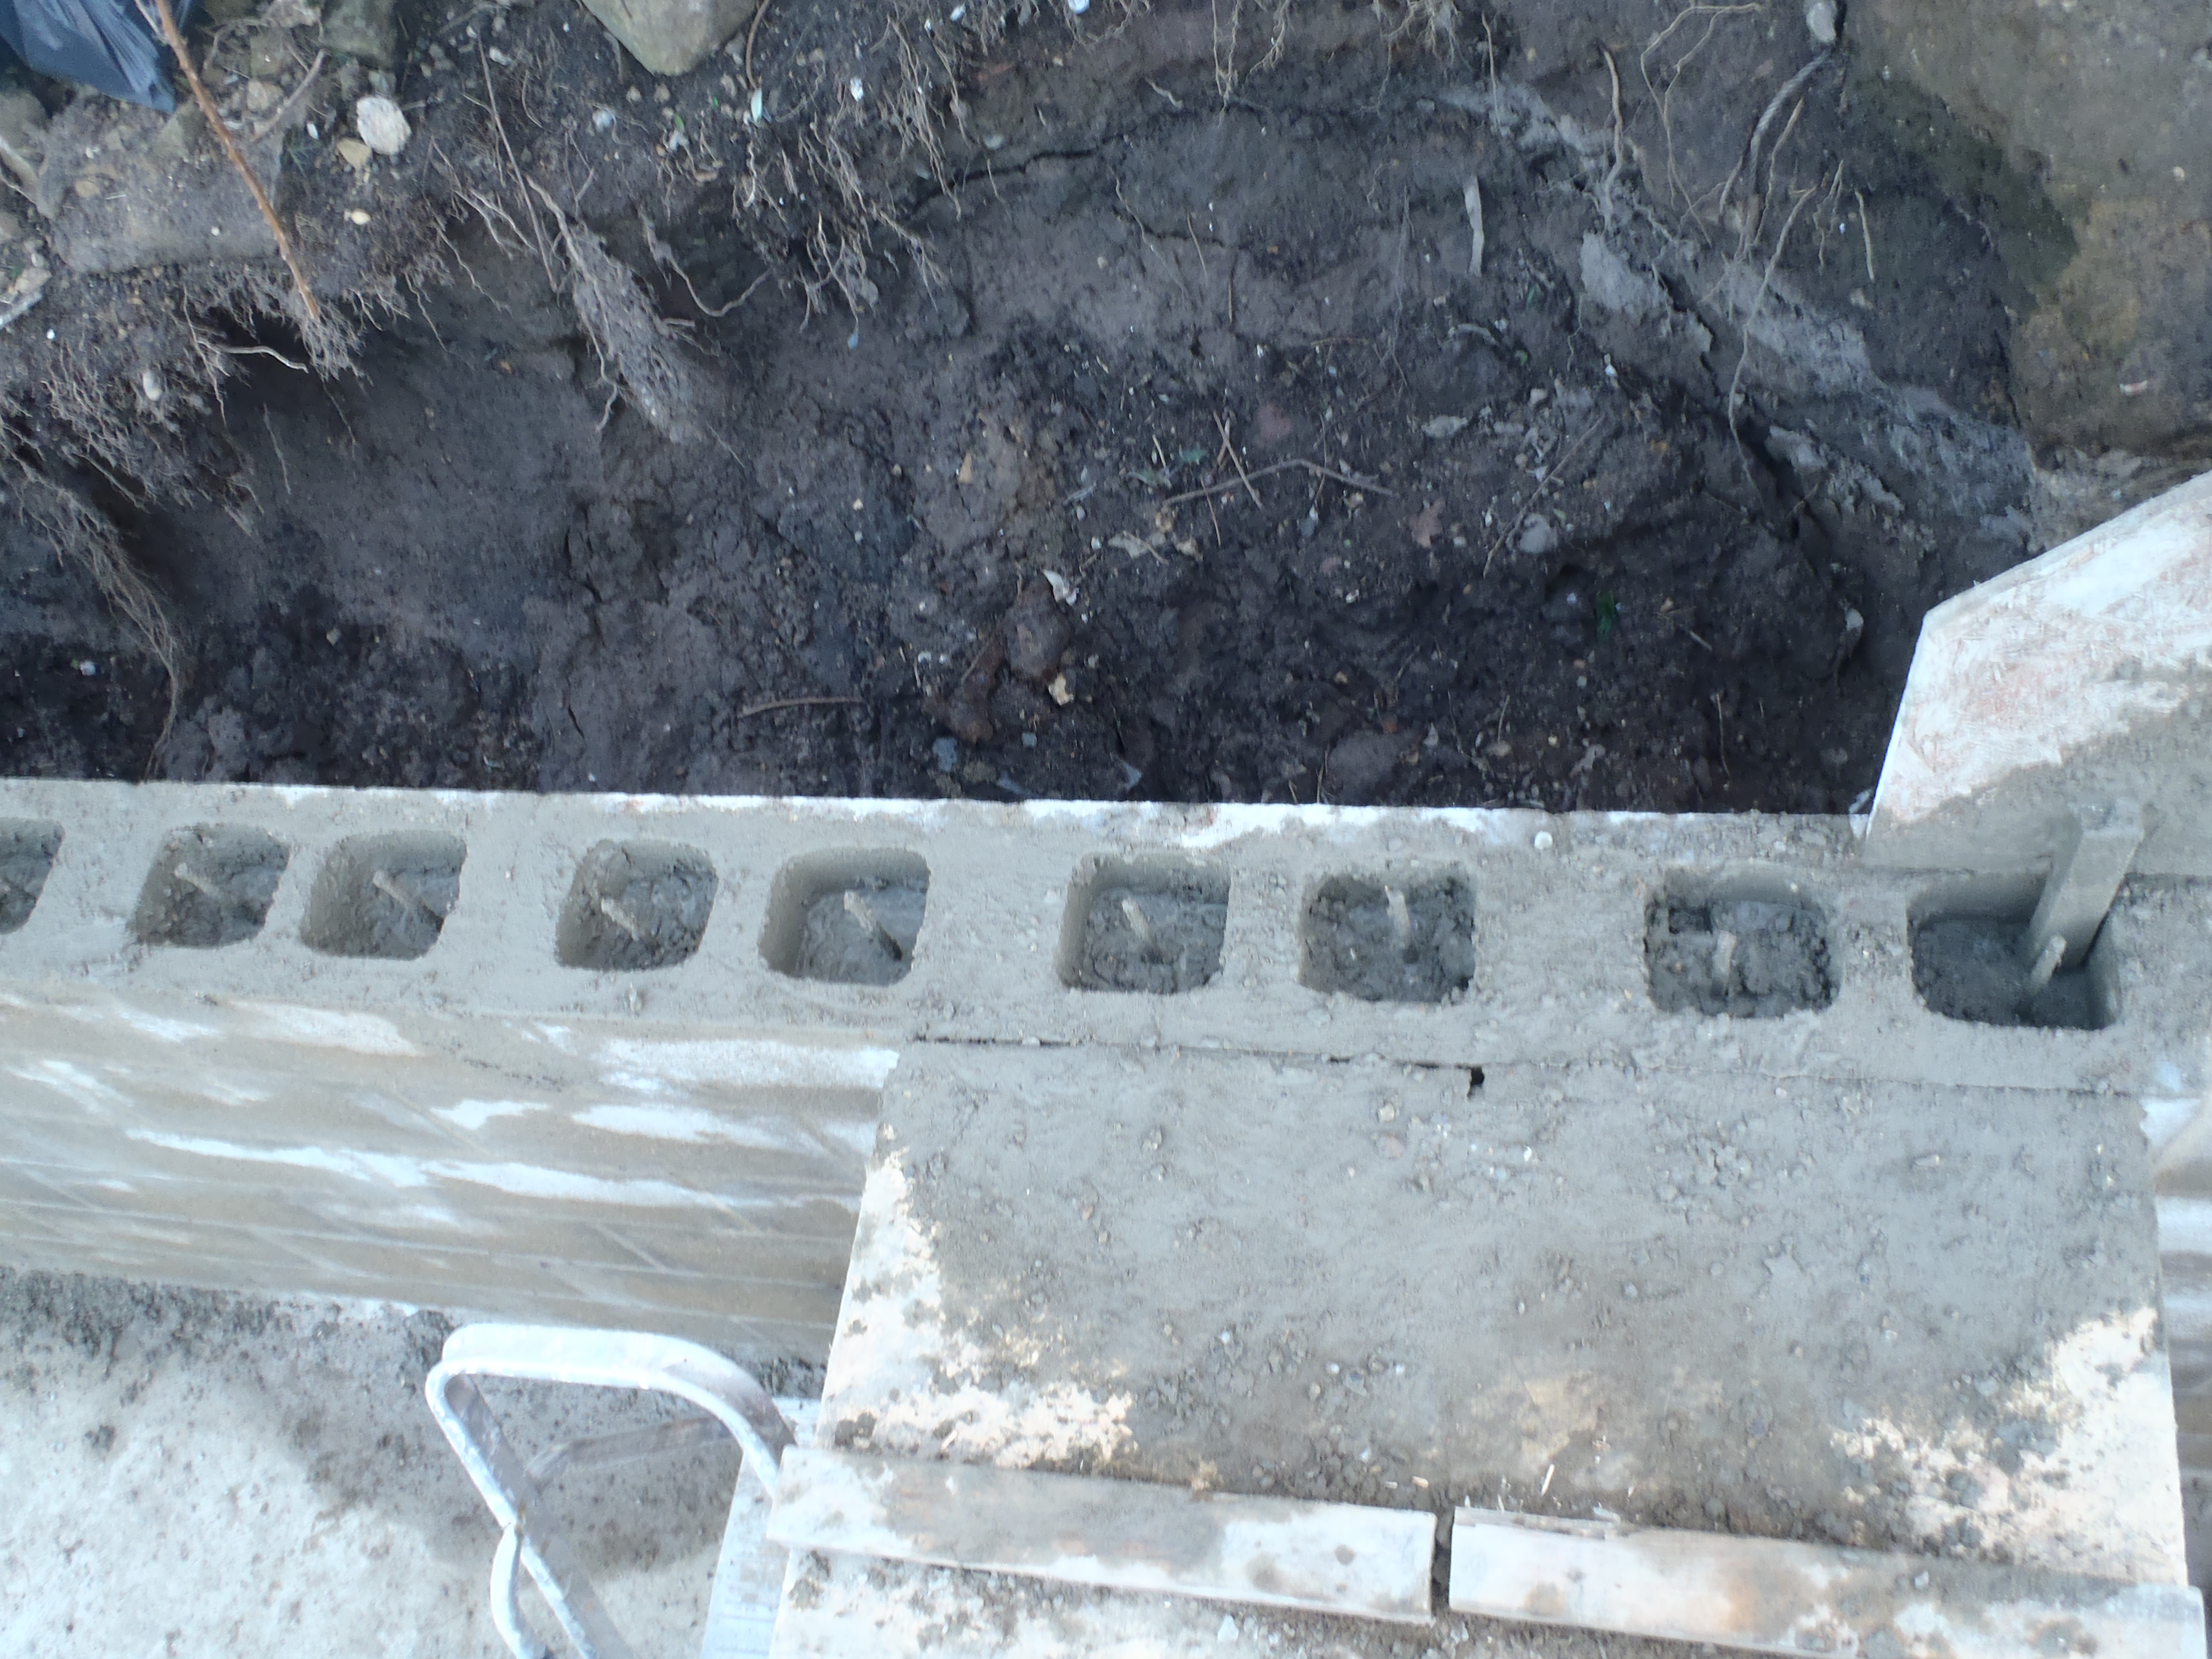
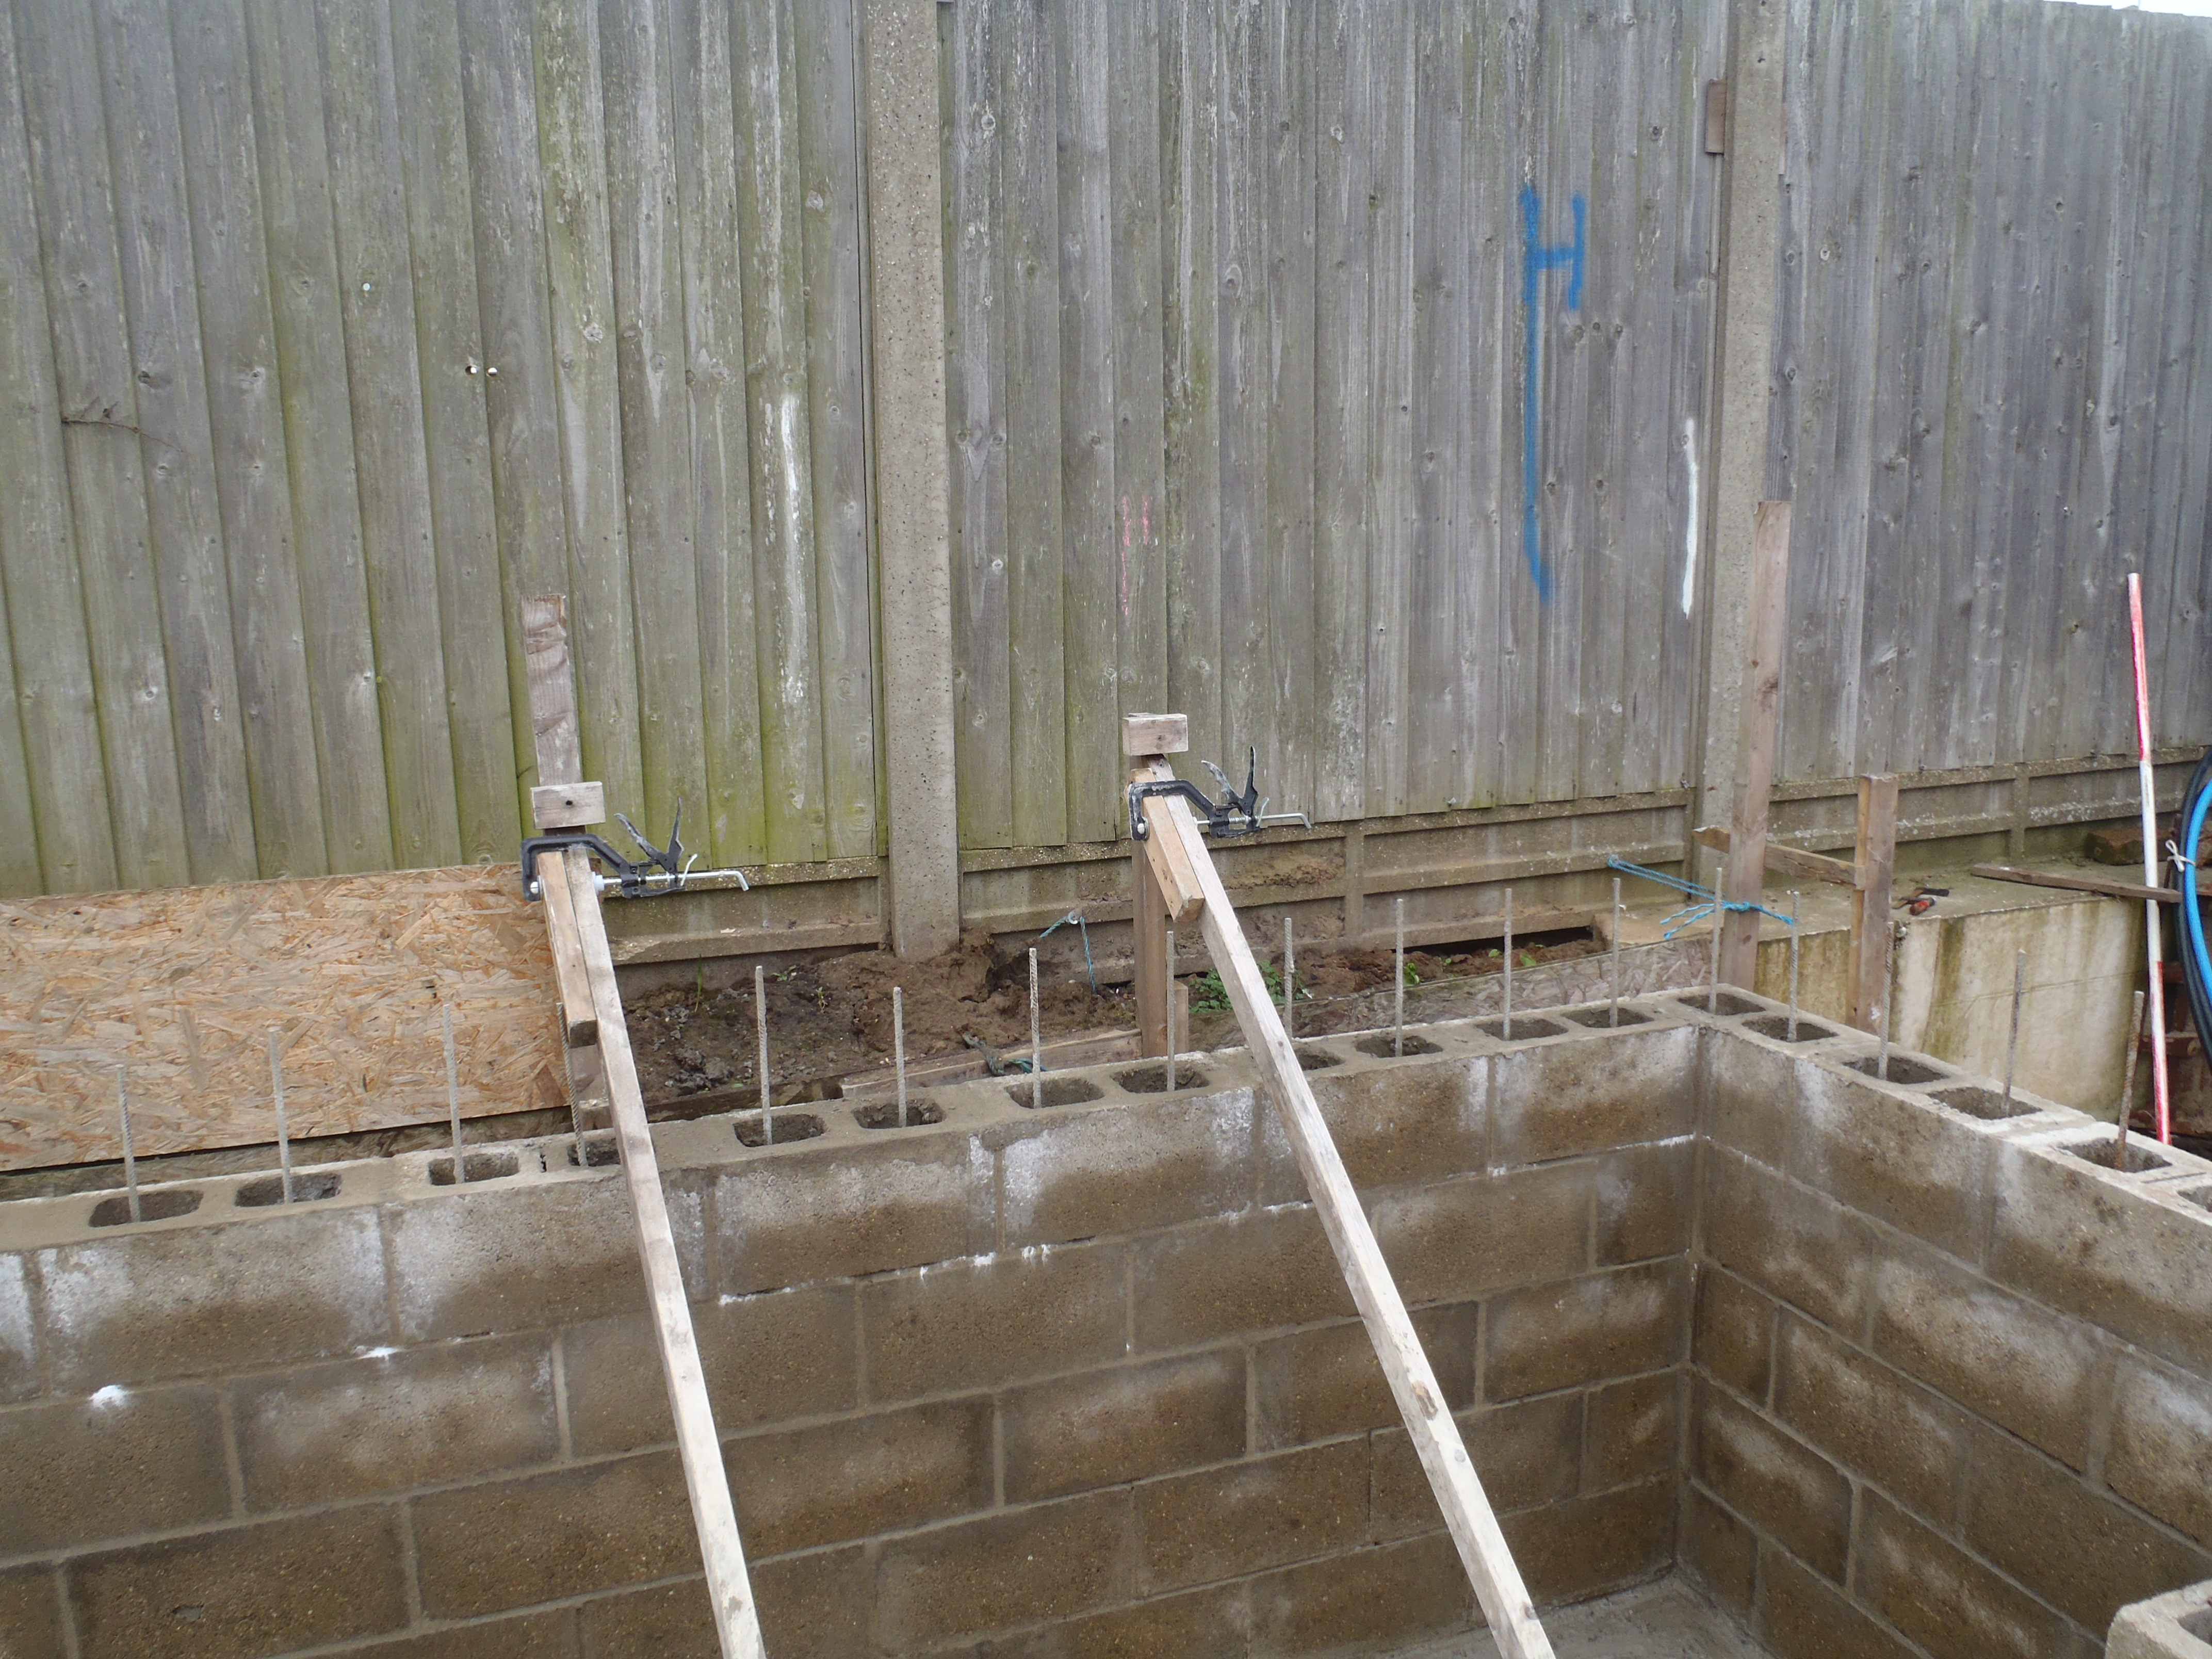
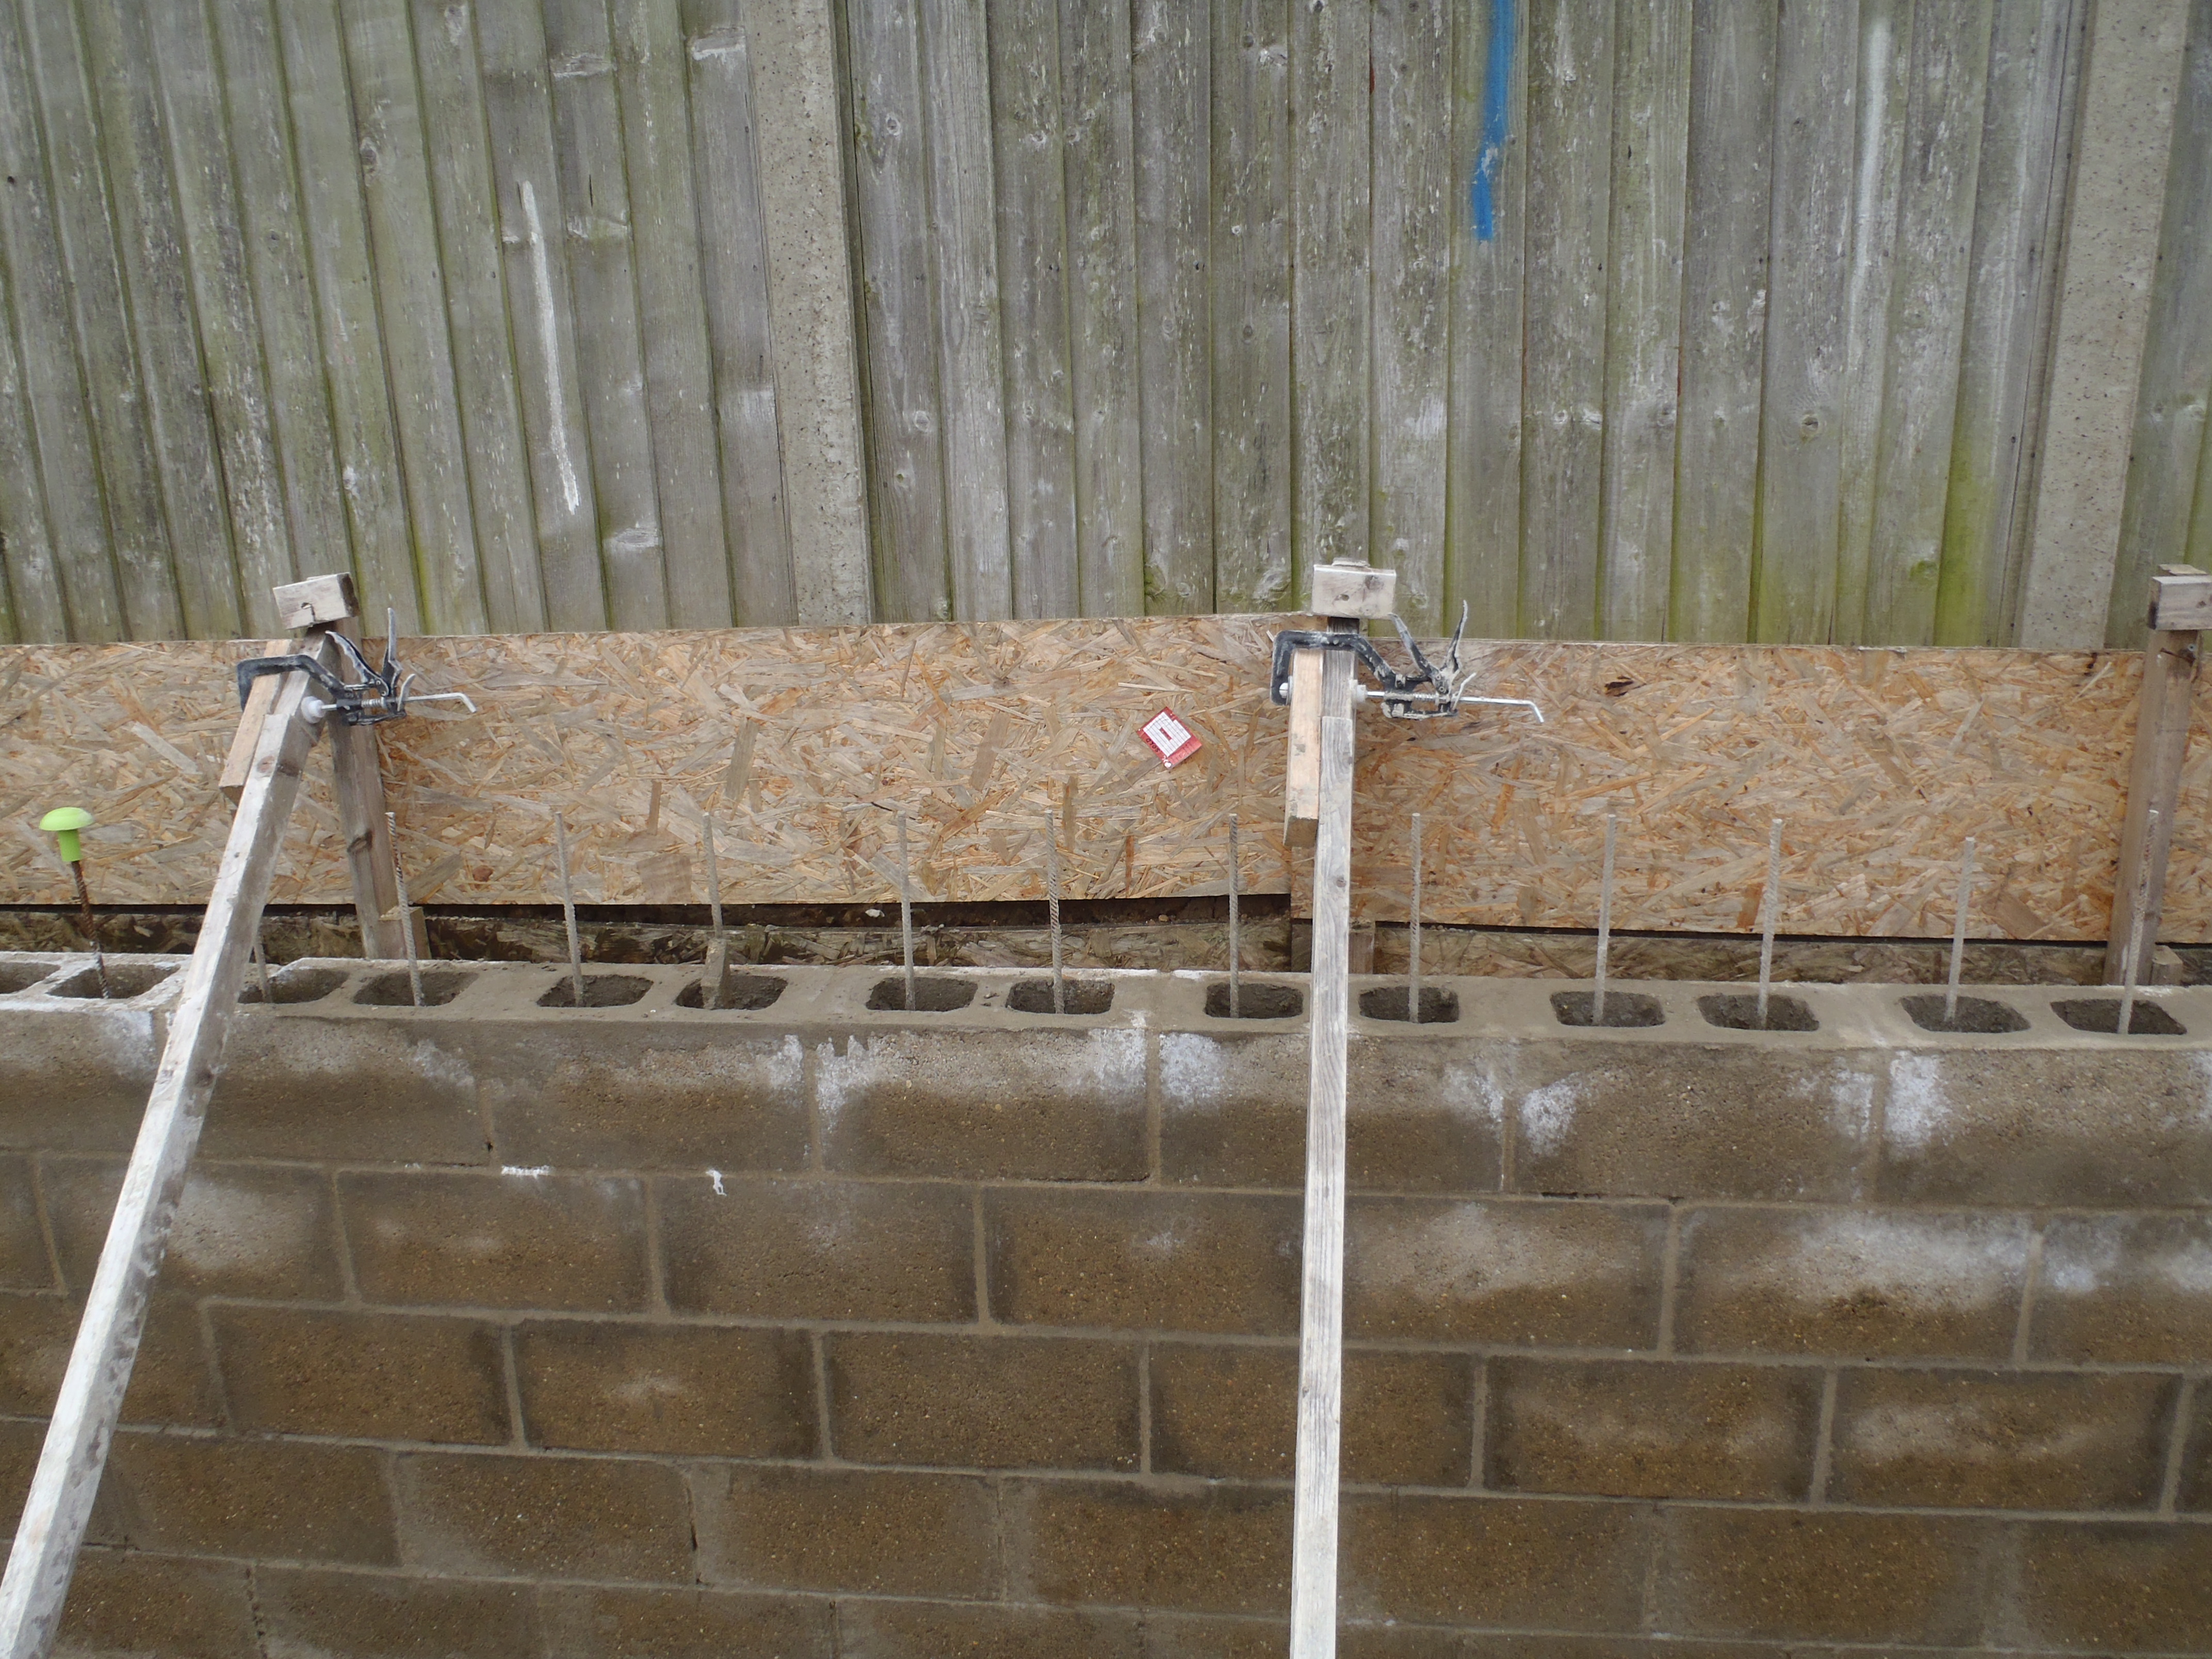
    We managed to do 33 blocks of the 2nd row of the front wall of the swimming
    lane. It was a long haul and we didn’t finish until 7:40pm – phew!

    But we are glad that we did manage to do that many as this week is going to
    be rather interrupted with other commitments and weather too.

    It is quite noticeable that our skill at laying concrete blocks is improving
    all the while and compared to our back wall, the front wall is coming out
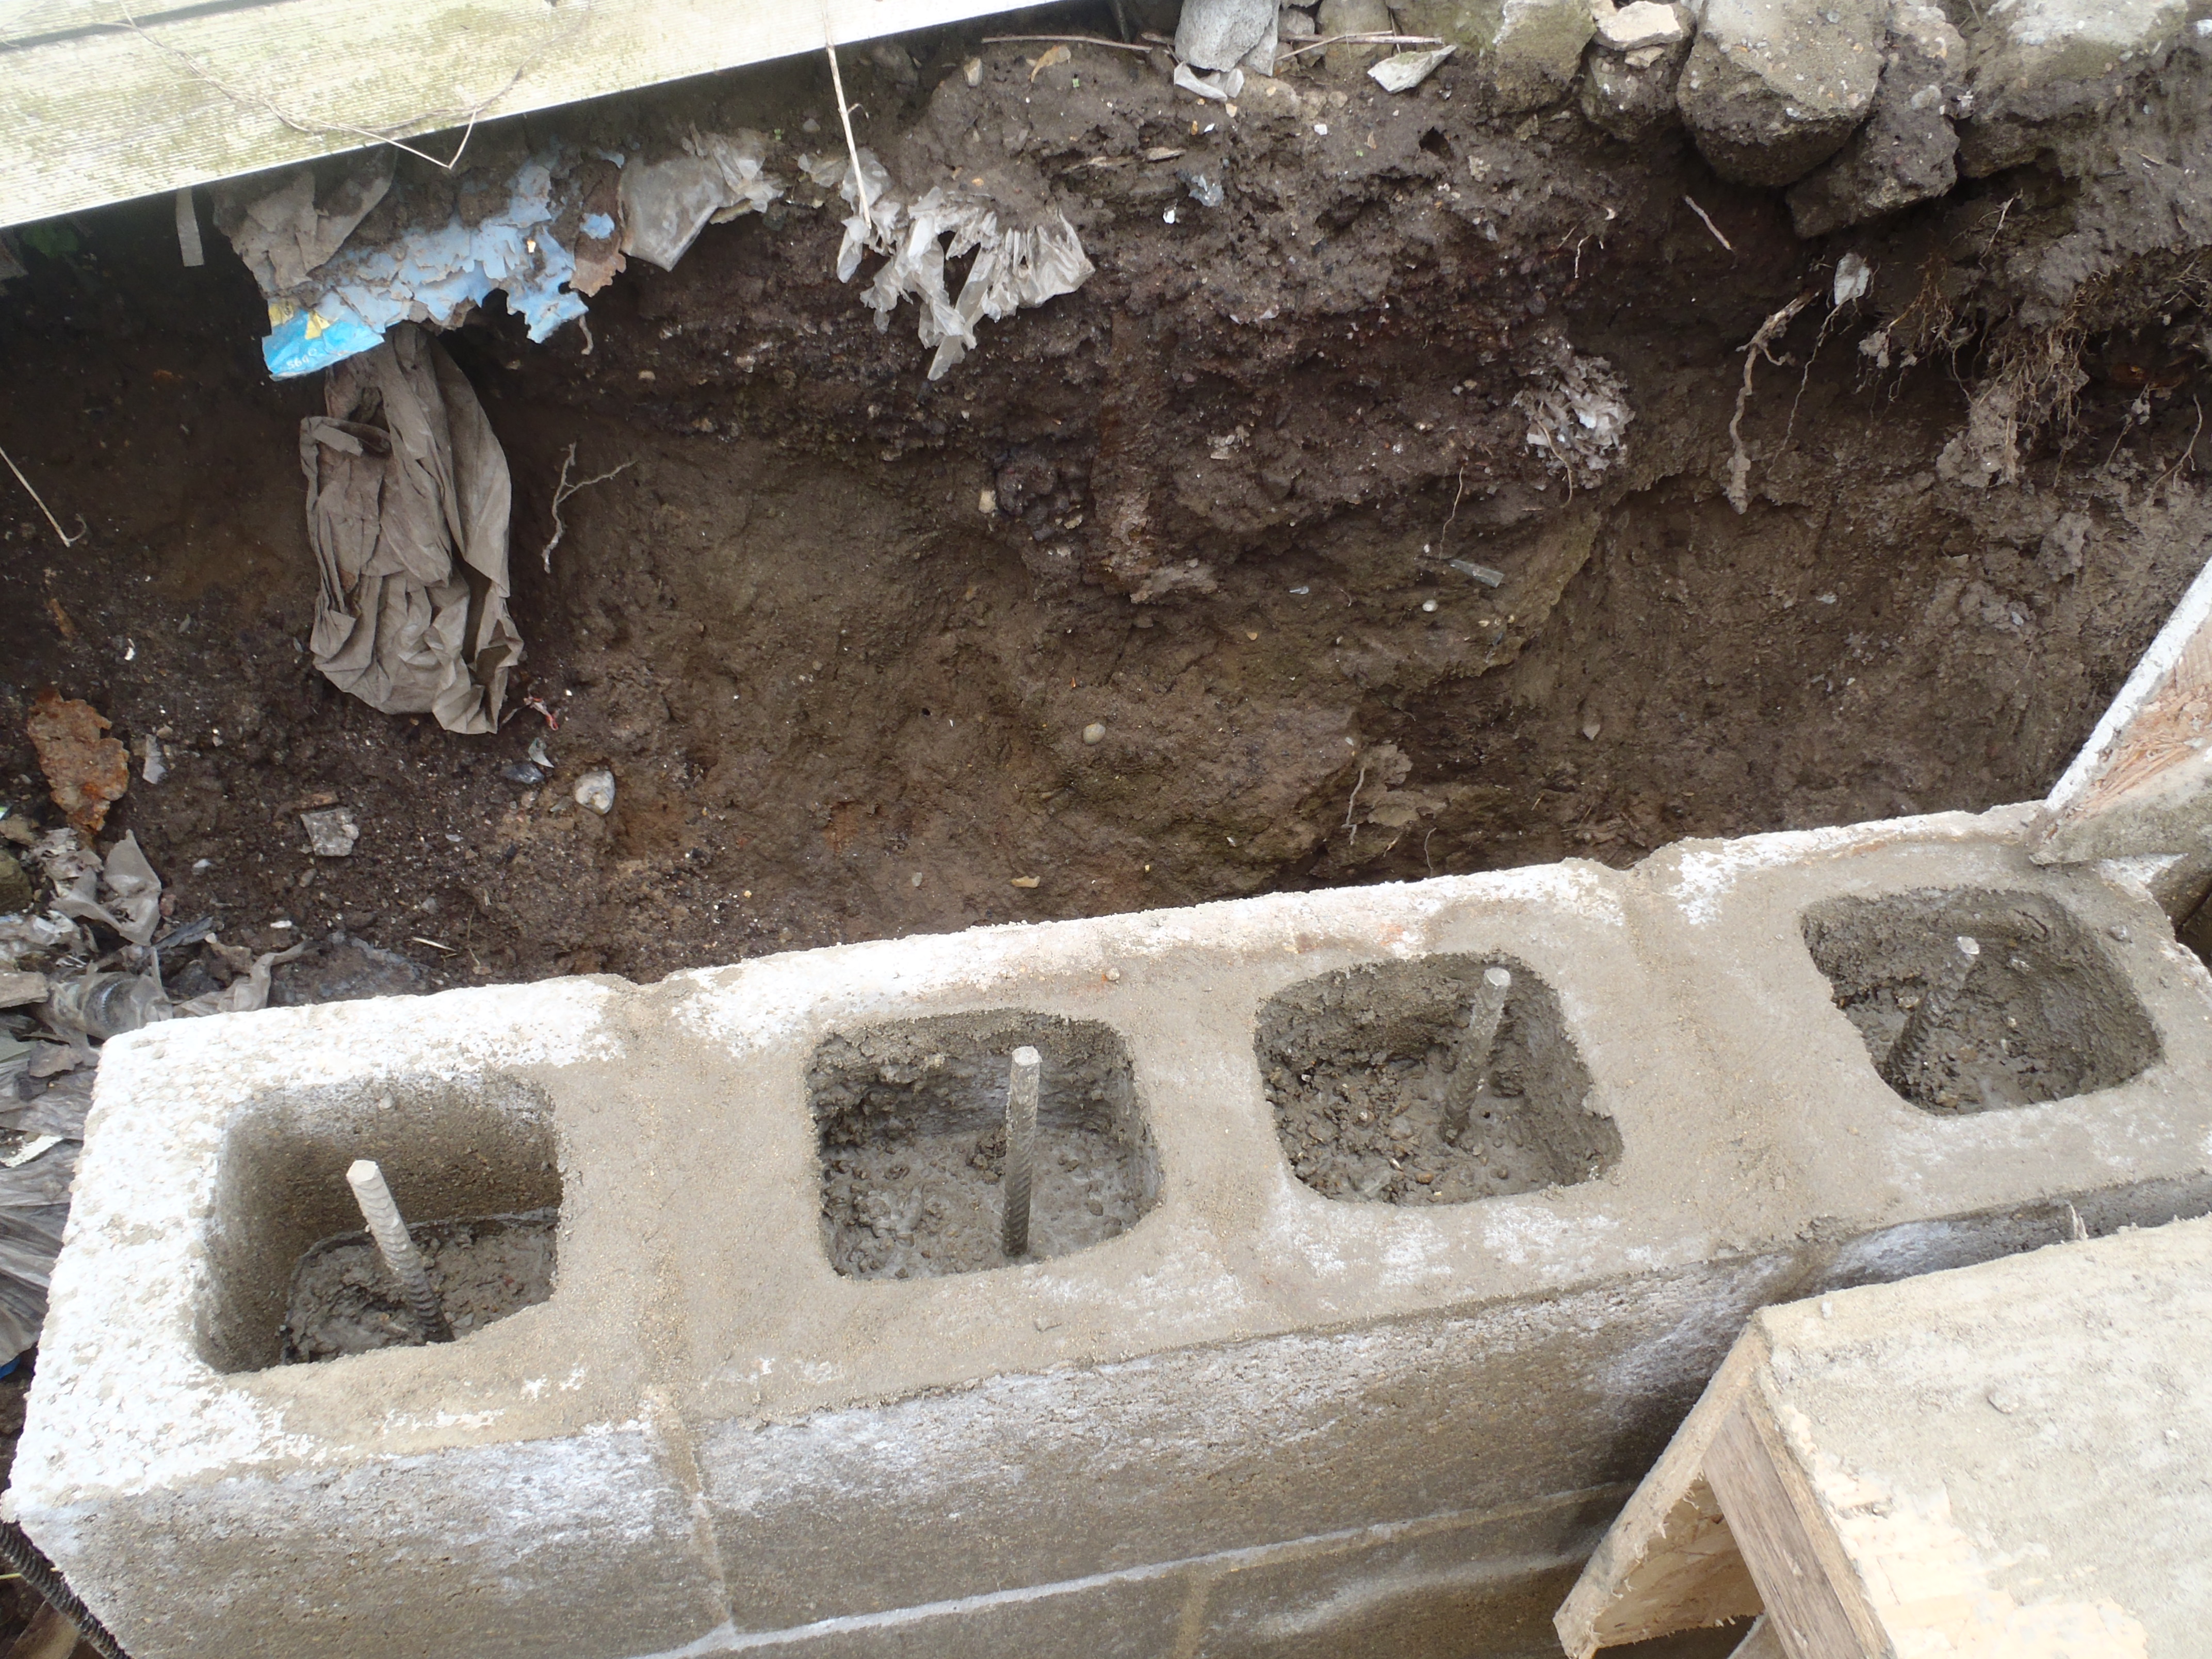
    very nicely indeed!! Only 16 blocks to go to complete this 2nd row and then
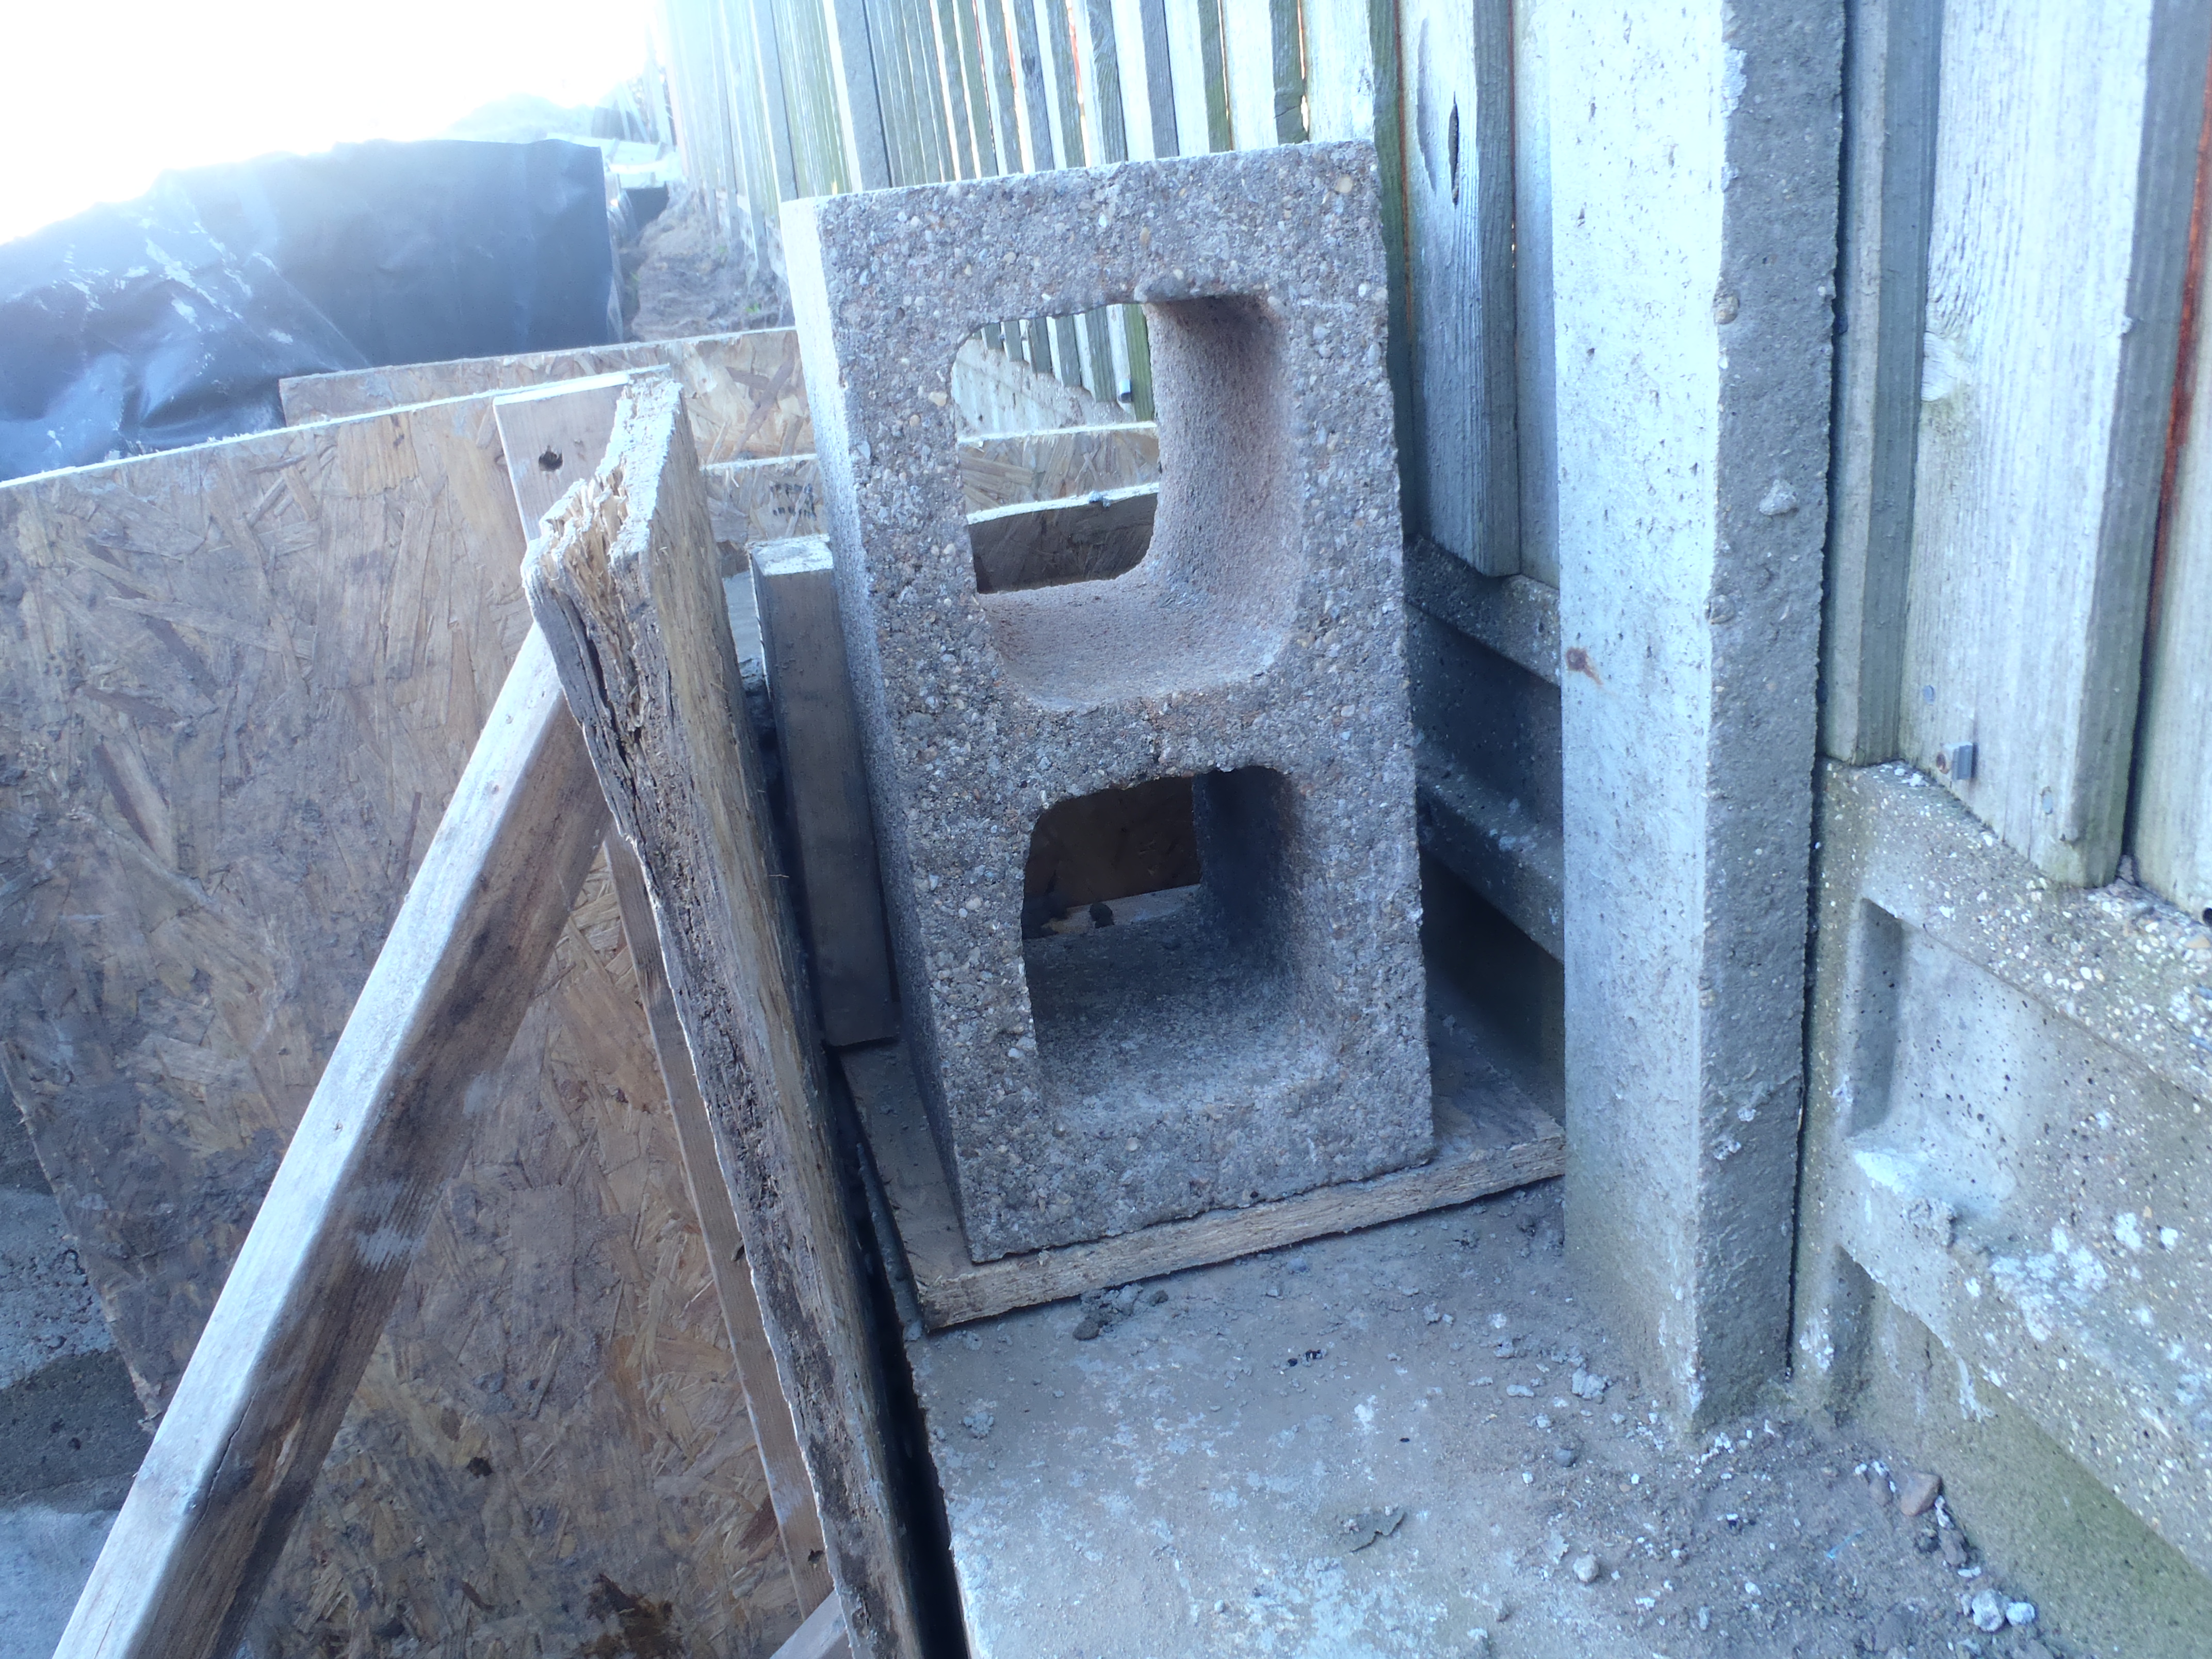
    we can start on the final 3rd row of building the wall using the fat 215mm
    wide concrete hollow blocks. Then we might do a 4th row using the narrower
    140mm wide hollow blocks. This would bring the level of the wall up to just
    above nominal ground level and we can then fill up in front of the swimming
    lane, using the excess sand / soil mixture that will come out when we dig in
    the energy modules. It is coming together slowly but surely!!

  • First Row of Front Wall Completed

    It was a lovely sunny day on this Sunday, to complete the 1st row of the
    front wall of the swimming lane. We took four and half hours to do the
    remaining 19 concrete hollow blocks. It went very well, laying the block
    nice and evenly, even though we discovered that a fair number of the steel
    reinforcing bars sticking up out of the foundation slab were “out of
    position” and we had to bend some of them right over and chip a bit off the
    bottom of the blocks to make them fit!!

    Front-Wall-1st-Row-finished

    Front-Wall-1st-Row-finished

    But now we have a nice level line to work upon tomorrow and it should go
    faster with the 2nd row.

    Something to note, we discovered that we had rain overnight and there was
    some standing water in our swimming lane! This means that we are going to
    get our swimming lane sooner than we expected, if we get a real heavy
    thunderstorm blast of rain! At least, the ants will enjoy the swimming
    exercises!!

  • Continued with the First row of the front wall

    We spent half a day on doing the 1st row of concrete blocks for the front
    wall of the swimming lane. We managed to do 17 blocks today which took us
    about 4 hours to do. It was a case of spending quality time on making sure
    the blocks were level and at the correct height, so that the subsequence
    rows would come out neat without too much fuss.

    Next-17-Blocks-on-1st-Front-Row

    Next-17-Blocks-on-1st-Front-Row

    We had done 12 blocks previously a couple of days ago, plus the 2 that was
    done a month ago, means we now have done 31 blocks in total so there is
    another 19 blocks to go to complete the 1st row.

    We are doing just 3 rows to build the front wall, and we will stop at that
    point. We don’t want to do any more than that for now, as we might need the
    extra clearance around the house as we build it, and avoid any future
    situations where a 3 foot high wall above the nominal ground level would get
    in our way, if we went ahead and built all 7 rows of the front wall!!

  • Soil / Dirt / Rubble put Back Behind new Back Wall

    Today, we shovelled loads of soil and rubble back over to behind the new
    Back Wall of the swimming lane. Much of this dirt was the same material that
    had collapsed and washed down away from that higher grounds during the
    thunderstorm we had back in January.

    Blocks-Stacked-at-End-of-Lane

    Blocks-Stacked-at-End-of-Lane

    Filled-behind-wall-at-Workshops

    Filled-behind-wall-at-Workshops


    It is all rather neat now and once it is settled down a bit, we can put back
    the old fence too.

    We also put together a solid blockage using excess concrete blocks and the
    extra length of the DPM plastic sheet to seal off the open end of the
    swimming lane to stop any further rain water and mud from sliding down into
    the lane. Or at least we hope so!!

  • Concrete End Cap Poured

    Today, we sealed the end of the gap between the swimming lane’s back wall
    and the fence, by pouring in concrete into a mould. This End Cap was
    necessary because the return channel needed to be built on a concrete
    foundation which in turn sits on the hardcore / soil but near the garage end
    of the swimming lane, there is going to be a filtration unit to “clean” up
    the rain water and the soil would have leaked out from under the foundation
    over time, so we capped it off.

    End-Cap-1

    End-Cap-1

    End-Cap-3

    End-Cap-3

    End-Cap-2

    End-Cap-2

    End-Cap-Finished

    End-Cap-Finished


    It took 3 bags of cement to produce 200 litres of concrete to make a 150mm
    thick wall from the bottom of the mass wall and swimming lane wall and the
    gravel board of the fence, some 1450mm high and 600mm wide, with a slight L
    shaped extension to the mass wall (this runs along and under the fence and
    right across the back of the garage).

    It will make a neat vertical wall, flush with the end of the swimming lane
    and allow us to control what we want to install in that location without
    worrying about the motions of rain soaked mud!!

  • Sixth Row is Complete!

    The back wall is now completed with the 6th row of blocks laid today. we had
    to do another 31 blocks to finish it off and 1 around the corner on the end
    wall.

    We continued along the front of the swimming lane to start the 1st row and
    we did 12 blocks. It took longer to do those as we were being careful and
    getting them level and at the right height so that the subsequence rows on
    top come out neat and tidy.

    Back-Wall-Complete

    Back-Wall-Complete

    Start-of-Front-Wall

    Start-of-Front-Wall


    The back wall is done for now until the soil behind the wall has settled
    down and compacted with future rain falls. It is likely to be several years
    before we get back to doing the next task, the return channel feature of
    the swimming lane.

    The back wall is now doing the job of holding back the soil and water from
    the higher grounds of our neighbours and we can hopefully forget about that
    issue for now.

  • The Shored Up Soil is Released

    Today, after a couple of weeks delay while we waited for the concrete in the
    back “retaining” wall, to cure and gain proficient strength, we released the
    shored up soil of the land stretching across to our neighbours (the workshop
    and a row of houses).

    We inserted a sheet of DPM plastic to minimise the chances of wet dirty soil
    from getting through our back wall and creating problems in the future,
    hidden behind the fibre glass resin coating.

    All the diagonal struts were proven to done a good job, because as we
    removed them, the boards and posts leaned over under the weight of the soil
    behind them. But we had mostly filled the gap between the concrete wall and
    the OSB boards so the whole thing wouldn’t suddenly collapse and potentially
    disturb the neighbour’s fence posts and panels!!

    But we had problems removing the OSB sheets as they were too firmly held in.
    We tried pulling them out using the mini-digger and rope, but the rope
    sliced it way through the OSB! Wow! So we decided to leave them there as
    mementoes and for ‘Timeteam’ to discover in some future archaeological dig!

    Dpm-in-Place-and-Mostly-Filled-e1461138200943

    Dpm-in-Place-and-Mostly-Filled-e1461138200943

    Now we can finish off the 6th row and put on an end cap at the mass wall to
    retain the soil from spilling out near the garage.

  • The Tubes are all done!

    WOW! We finished it all today, even though we started much later at 11:30am
    (due to having had an appointment in the morning). We did 38 columns using
    9½ bags of cement!

    We changed our jobs around so I could do the making and mixing the concrete
    and Stephen took the wheelbarrows loaded with the concrete over and up to
    the wall to pour in and vibrated each column down firmly. It was much more
    efficient!! But Oh Boy .. We Are Knackered!!

  • Another 33 Columns filled!

    Today, another 33 columns were filled!!

    We decided that it would make sense to split the mixing load in half and do
    only a half a bag of cement and 3 buckets of ballast. It works so much
    better this way that we hardly need to fiddle with the cement mixer, just
    put in 6 litres of water, half a bag of cement, mix this up for a second or
    so, and then chuck in the 3 buckets of ballast .. and that’s it!! it is
    virtually mixed all together as soon as the last bucket goes in. We do add a
    quick spray of water to loosen the mixture up a bit and it then pours out of
    the barrows and straight into the hollow columns.

    So today, the columns were 6 blocks high, hence why we did only (huh!) 33
    for the 9 bags, whereas yesterday we did 31 columns for 8 bags. But
    yesterday, we were doing just 5 blocks high columns!! That makes it a rate
    of three and two thirds columns per bag today, against three and seven
    eighths columns per bag yesterday, if you are interested in the maths!

    Saturday-33-Columns-Filled-1

    Saturday-33-Columns-Filled-1

    Saturday-33-Columns-Filled-2

    Saturday-33-Columns-Filled-2


  • 31 Columns Filled in Back Wall

    Today, we managed to fill a further 31 hollow columns in our retaining back
    wall. This is 8 bags of cement, mixing each bag with 6 builders bucket of
    ballast.

    We found that putting in slightly more water in the mix, helps with the
    pouring the concrete down into the hole and the vibrator thingy is very good
    at knocking down the mixture. Very glad to have bought one off the web!

    Friday-28-x-5-Block-Columns-Filled-2

    Friday-28-x-5-Block-Columns-Filled-2

    Friday-28-x-5-Block-Columns-Filled-1

    Friday-28-x-5-Block-Columns-Filled-1

    Friday-4-x-6-Block-Columns-Filled

    Friday-4-x-6-Block-Columns-Filled


    We found that putting the water in first and 1 bucket of ballast, mixed up
    before then adding the bag of cement. This creates a very wet and slurry
    mixture to help distribute throughout the further 5 buckets we then put in
    all at once and while the machine is stopped. Cannot add them while it is
    going because the slurry will get pushed out of the drum!! We are using
    about 12litres of water to bring up the resultant concrete to a good
    “flowing” consistency.

    So in summary, the concrete we are making is:
    1 bag of cement
    12 litres of water
    6 large builders bucket (3 gallon / 13.5 litre capacity) of a mixture of
    small stones crushed up to pea sized (10mm) and sharp sand.