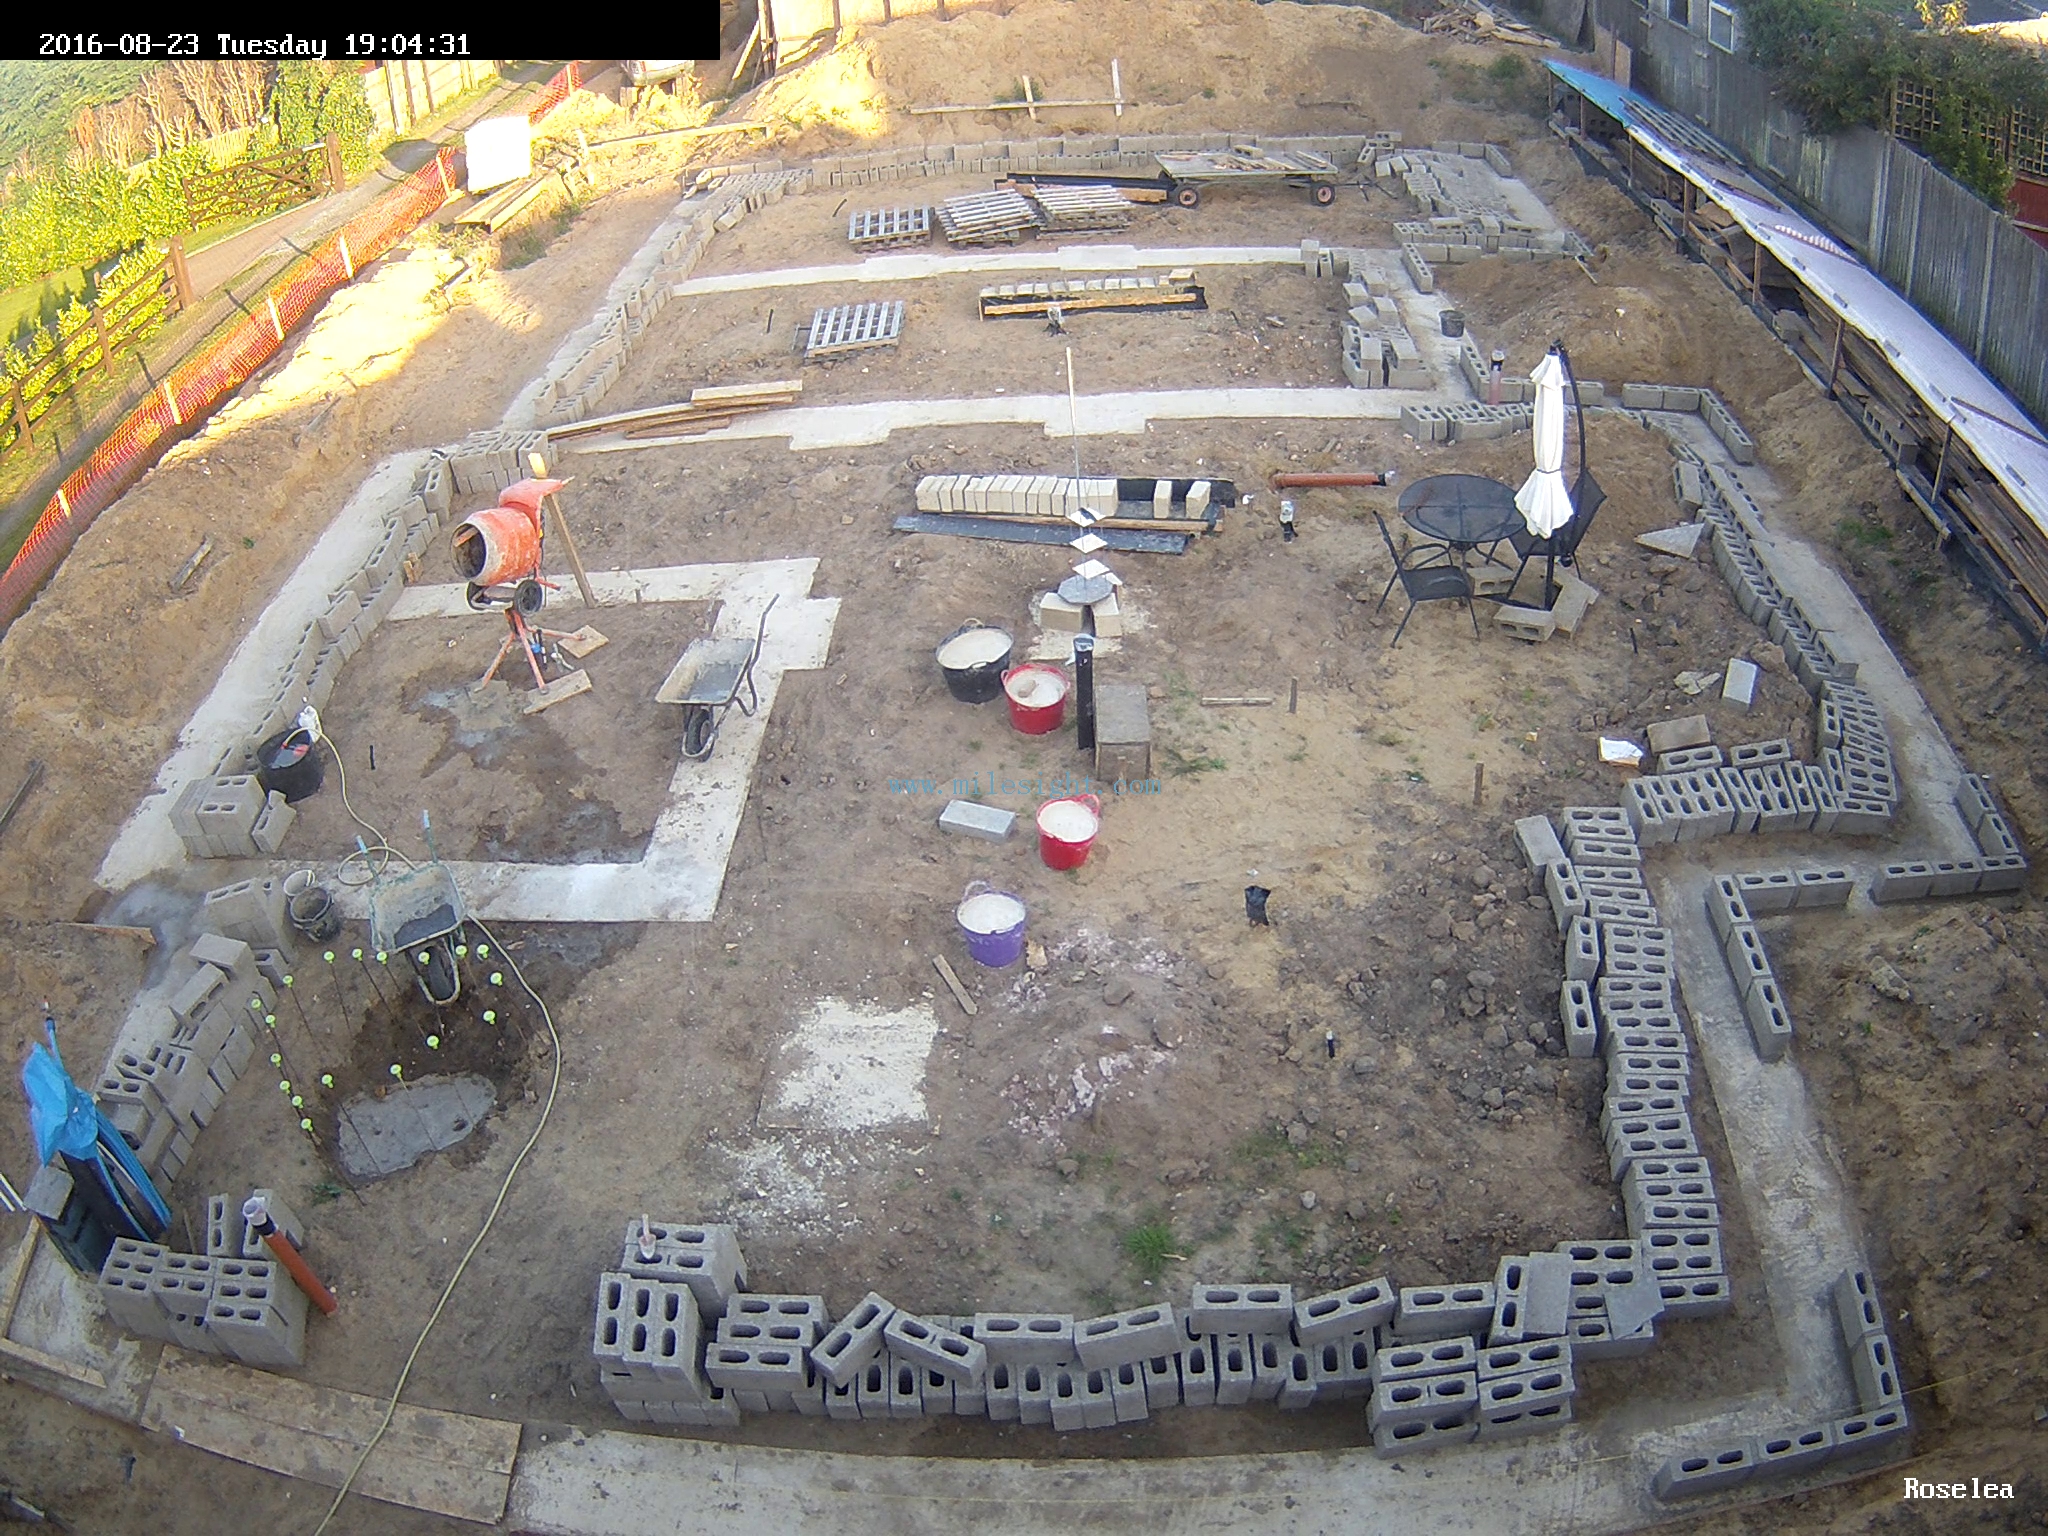
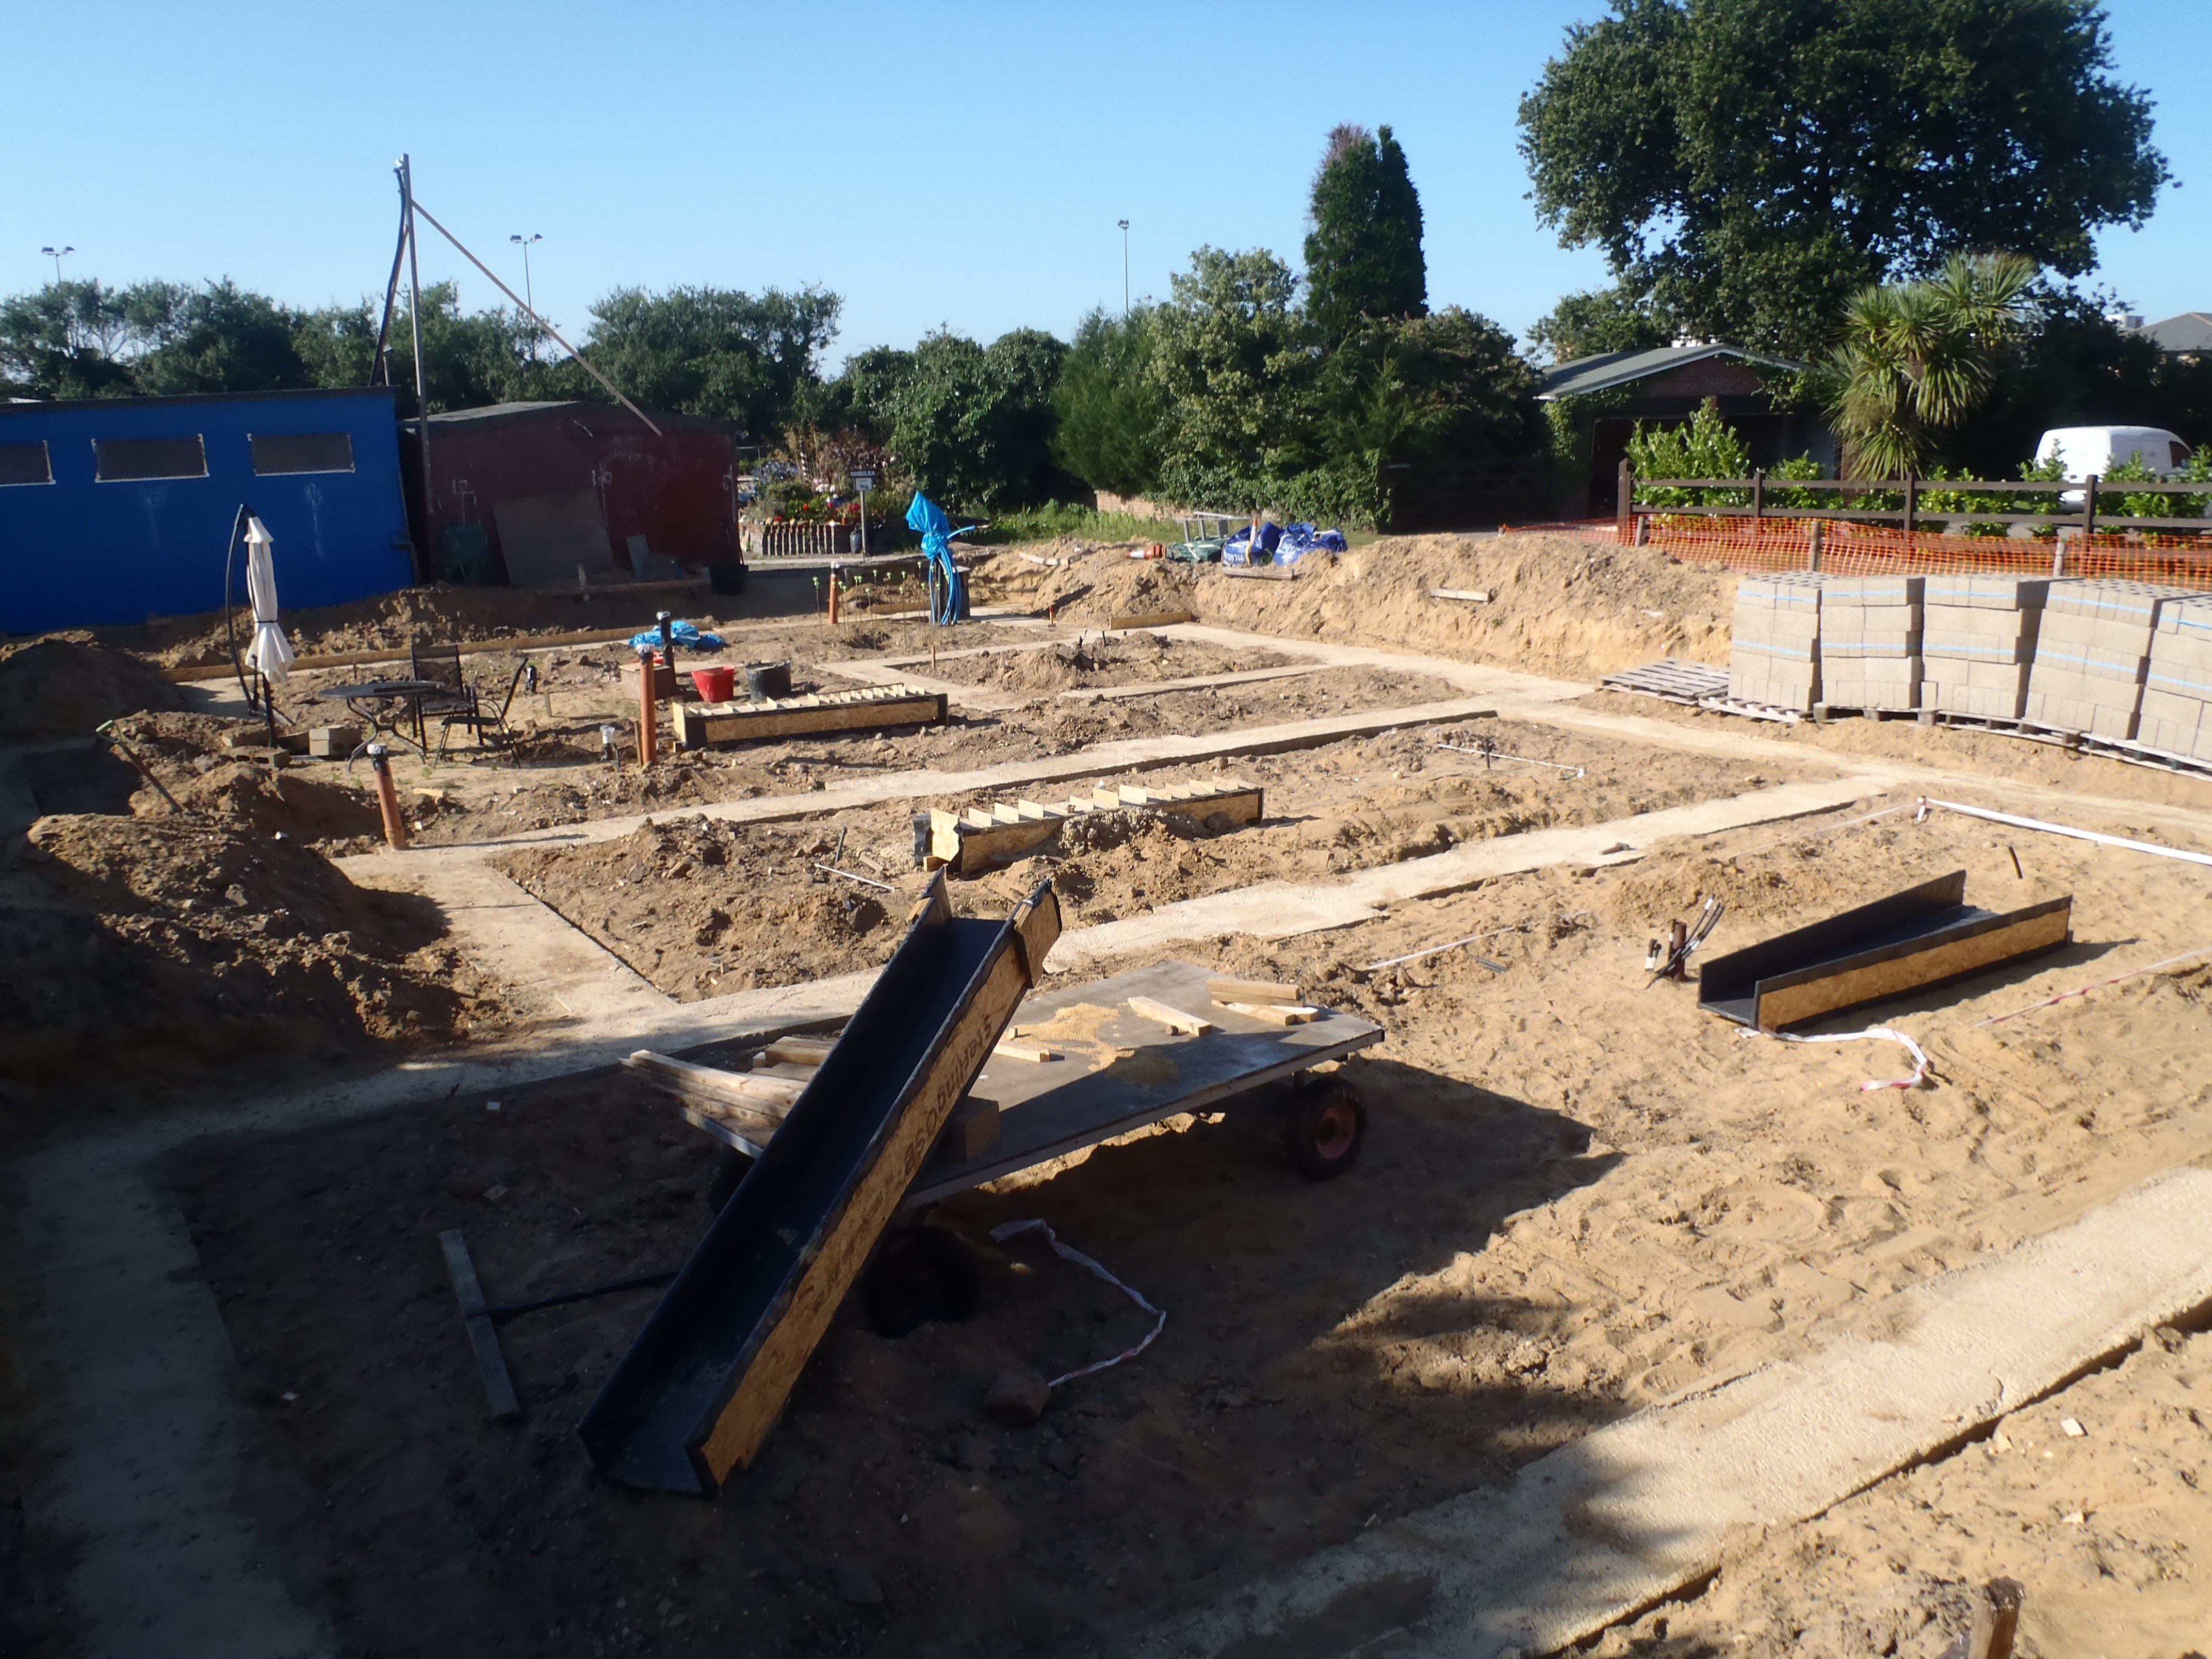
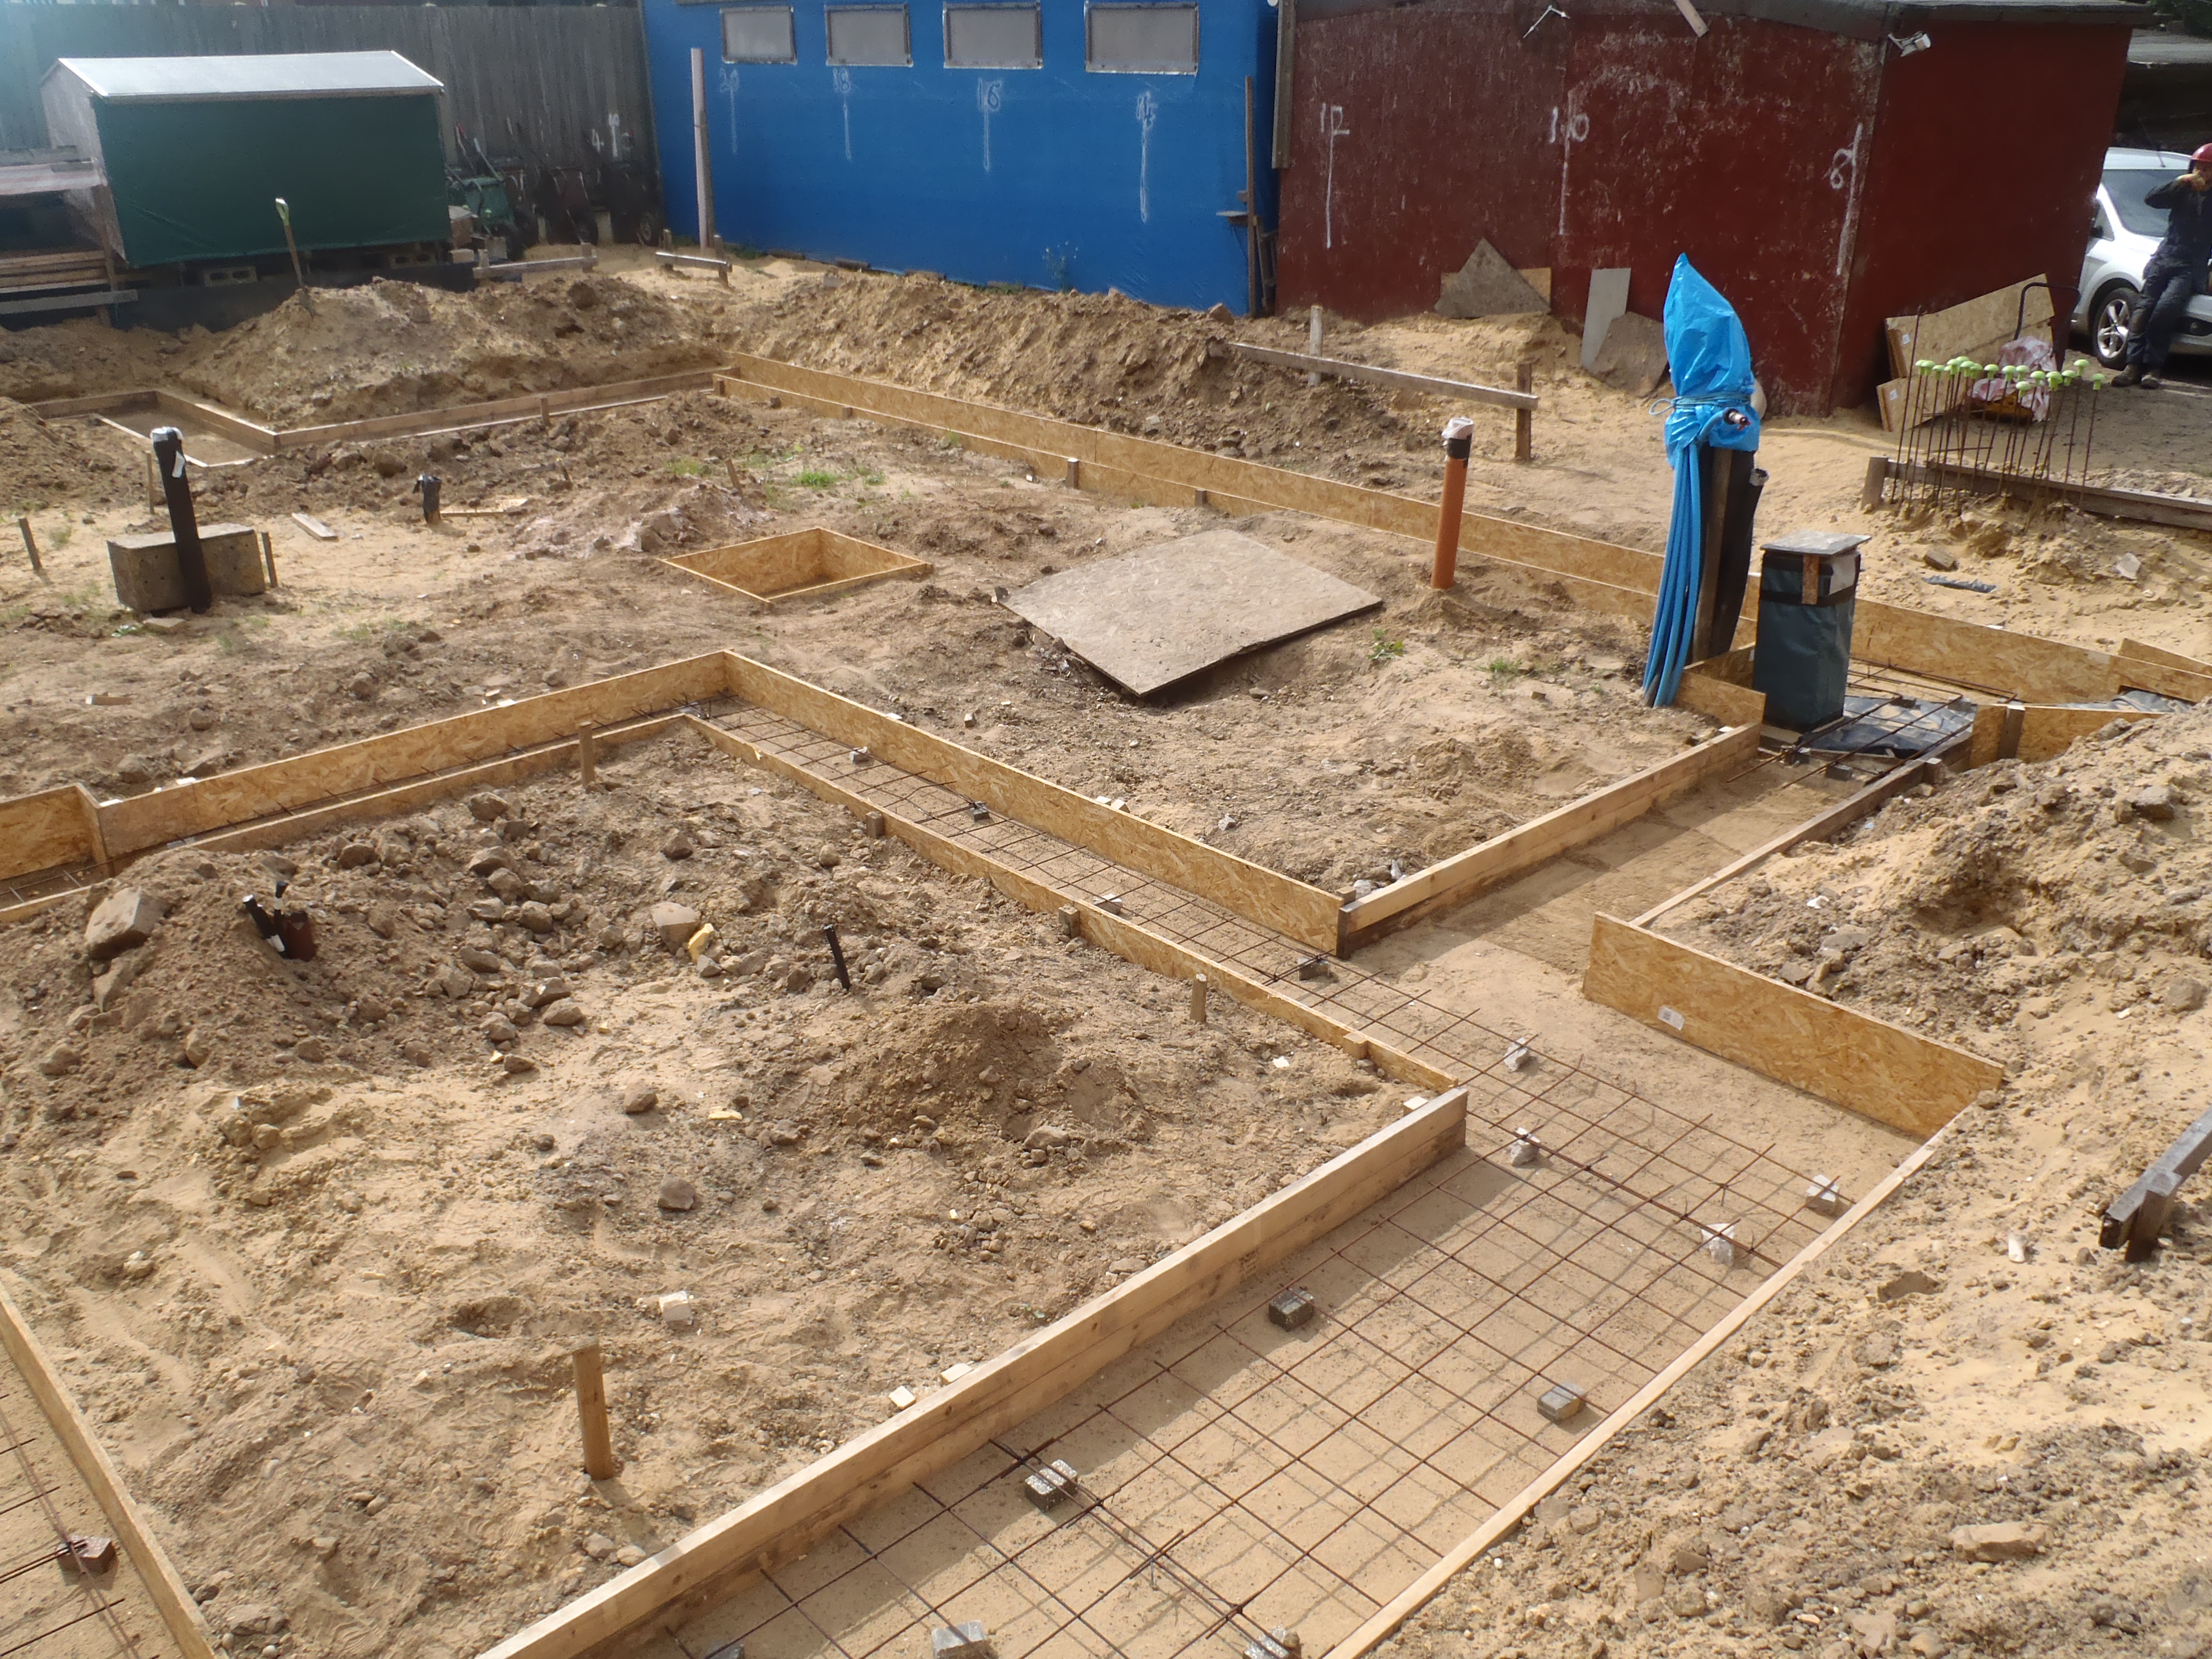
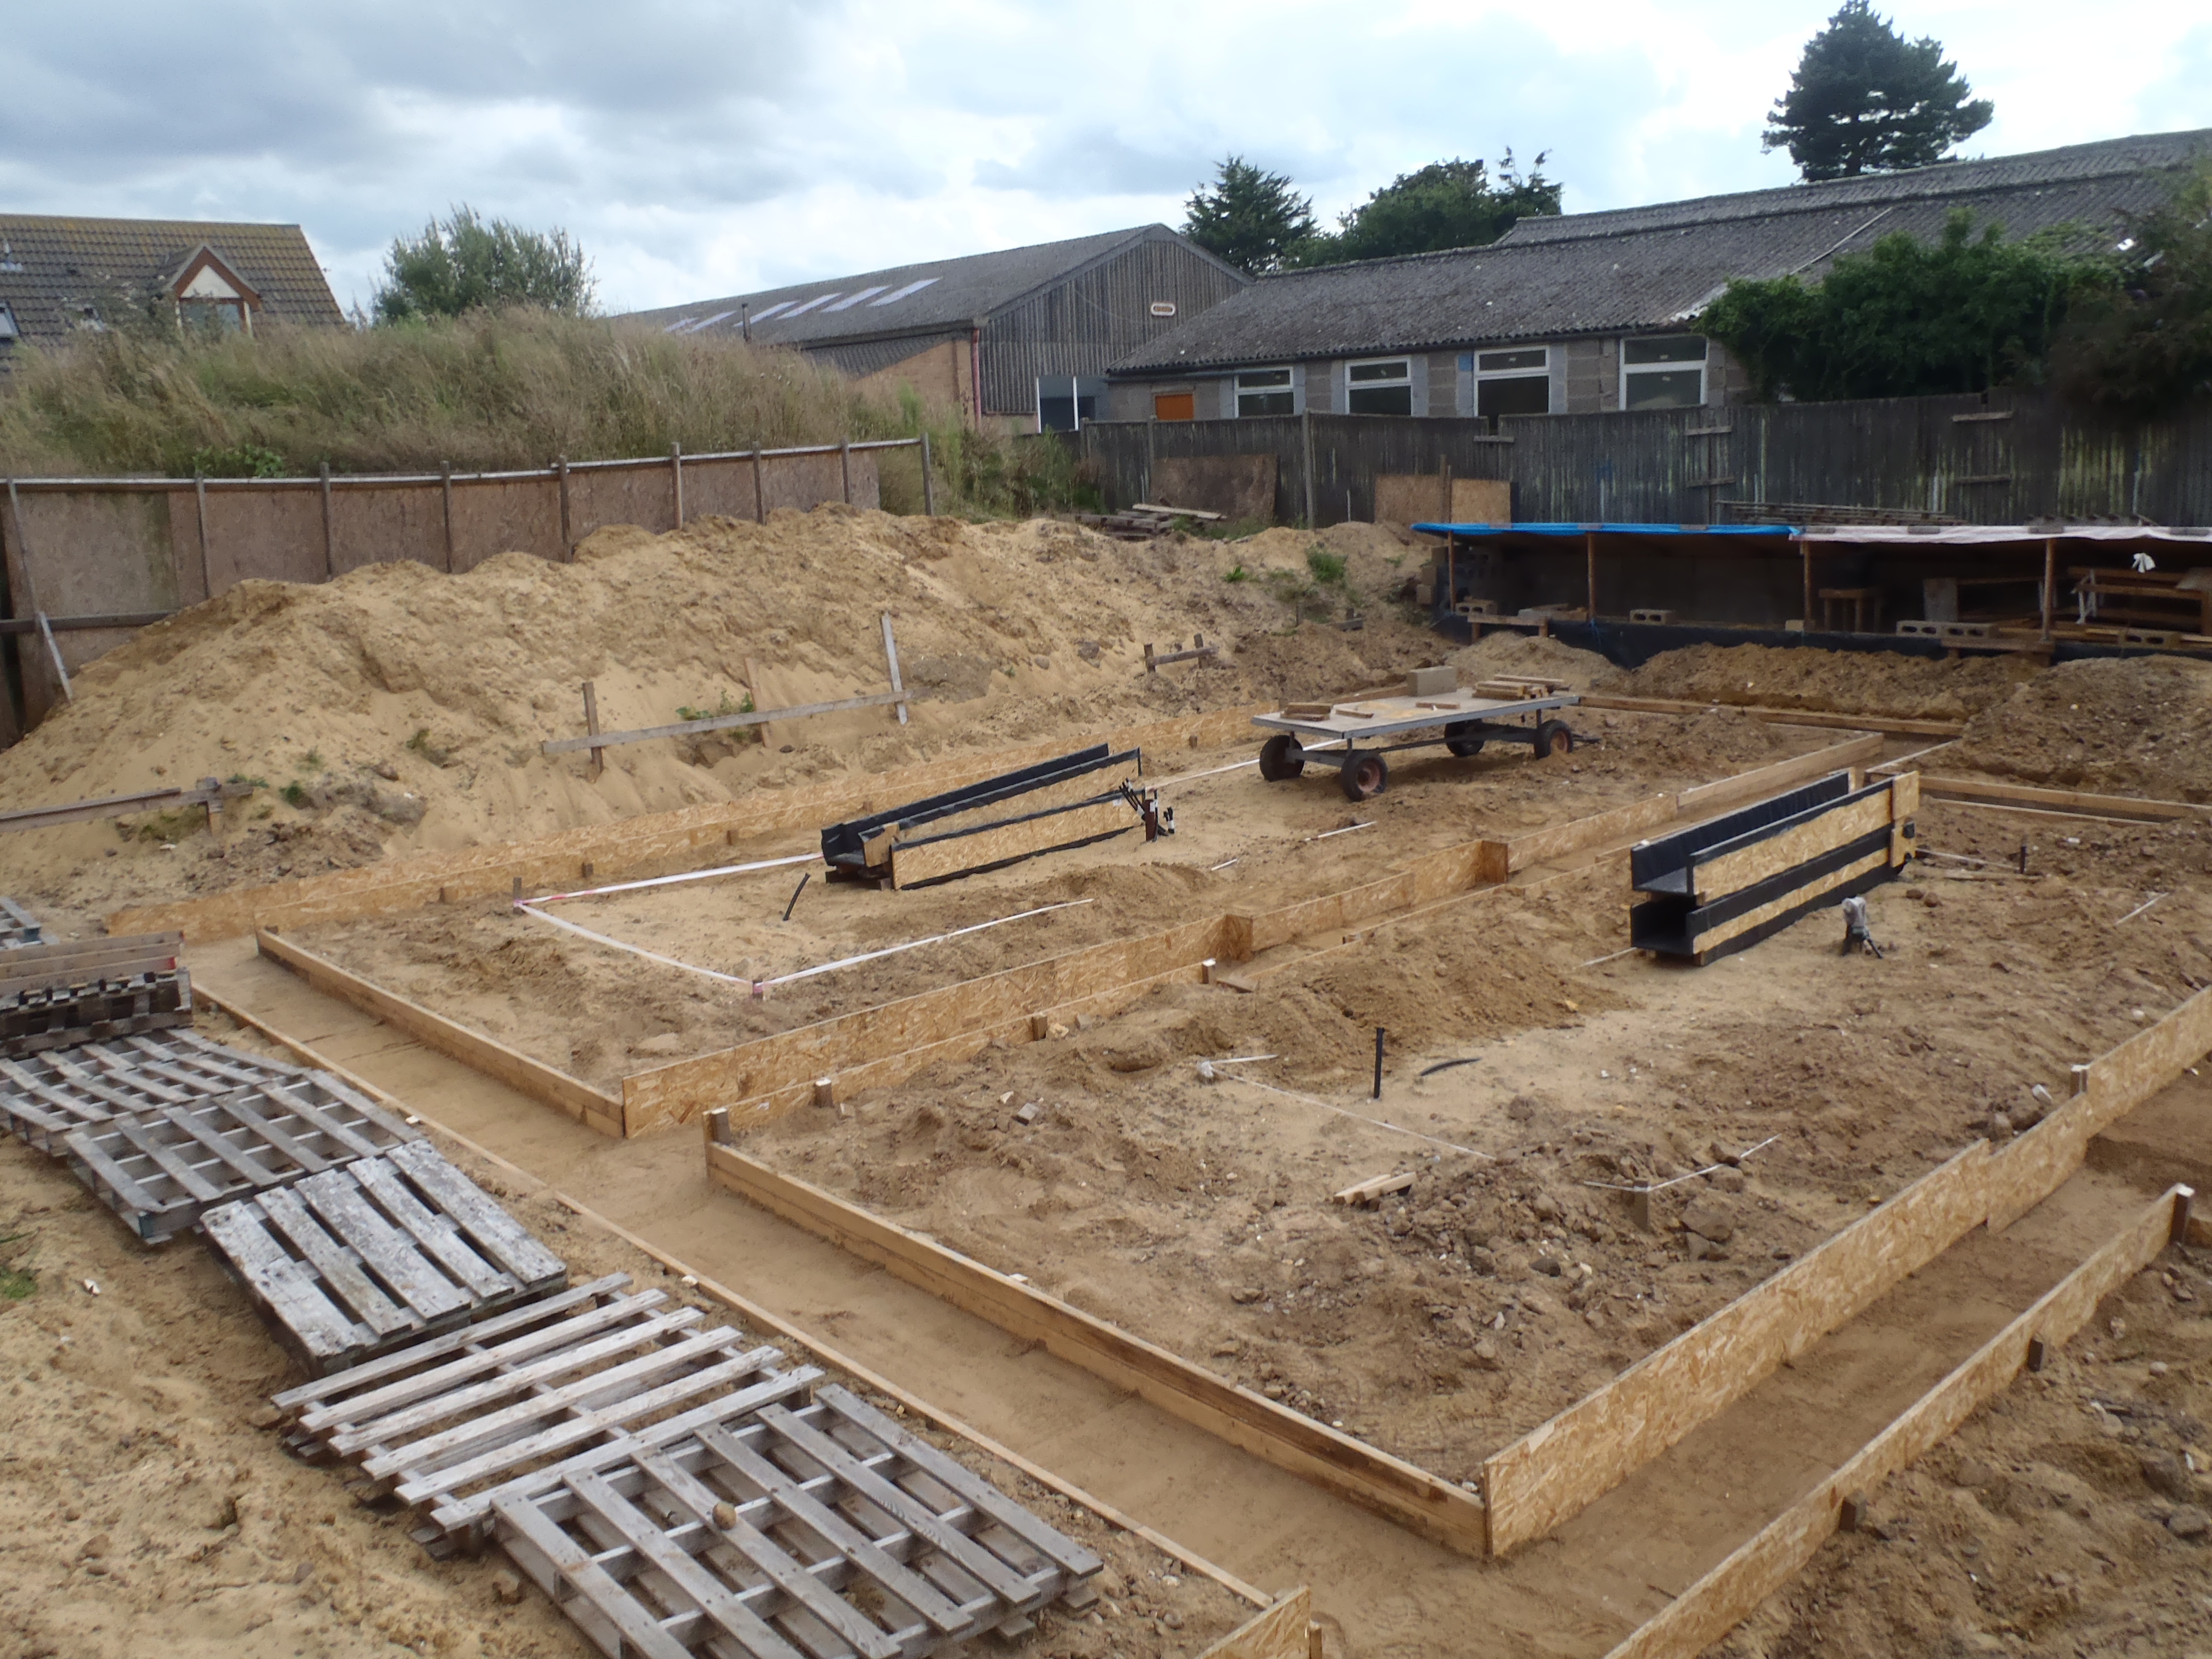
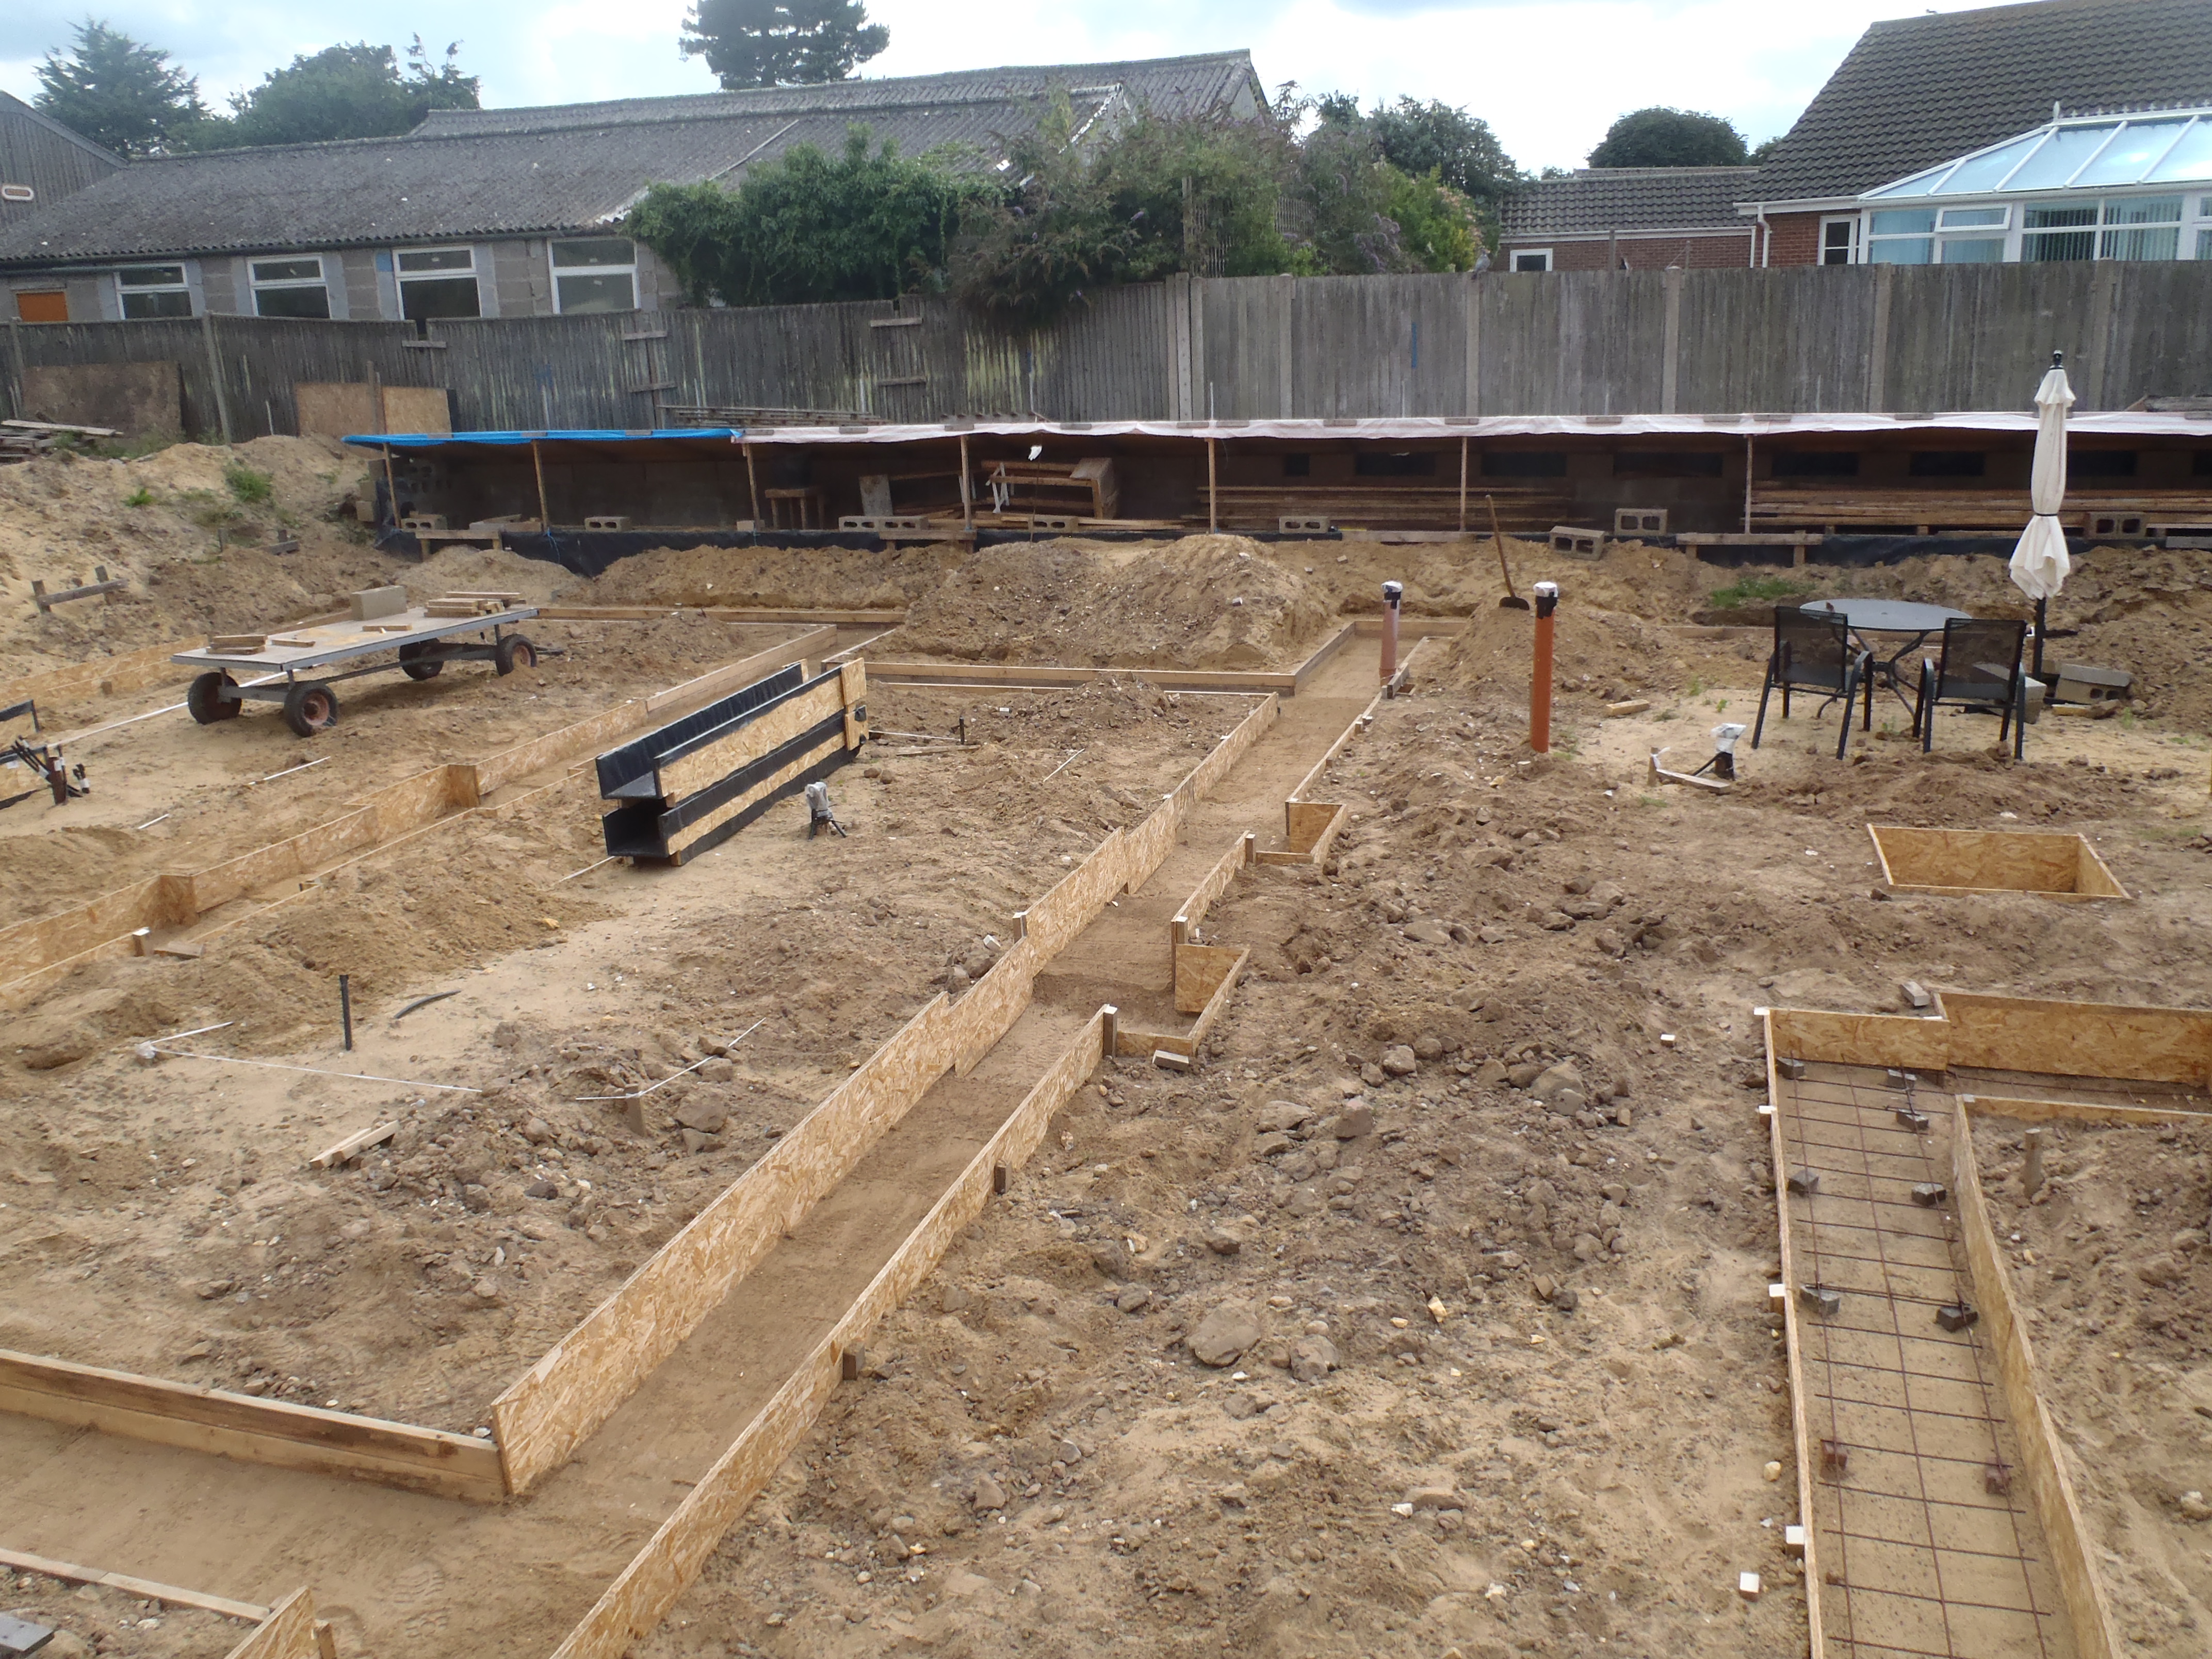
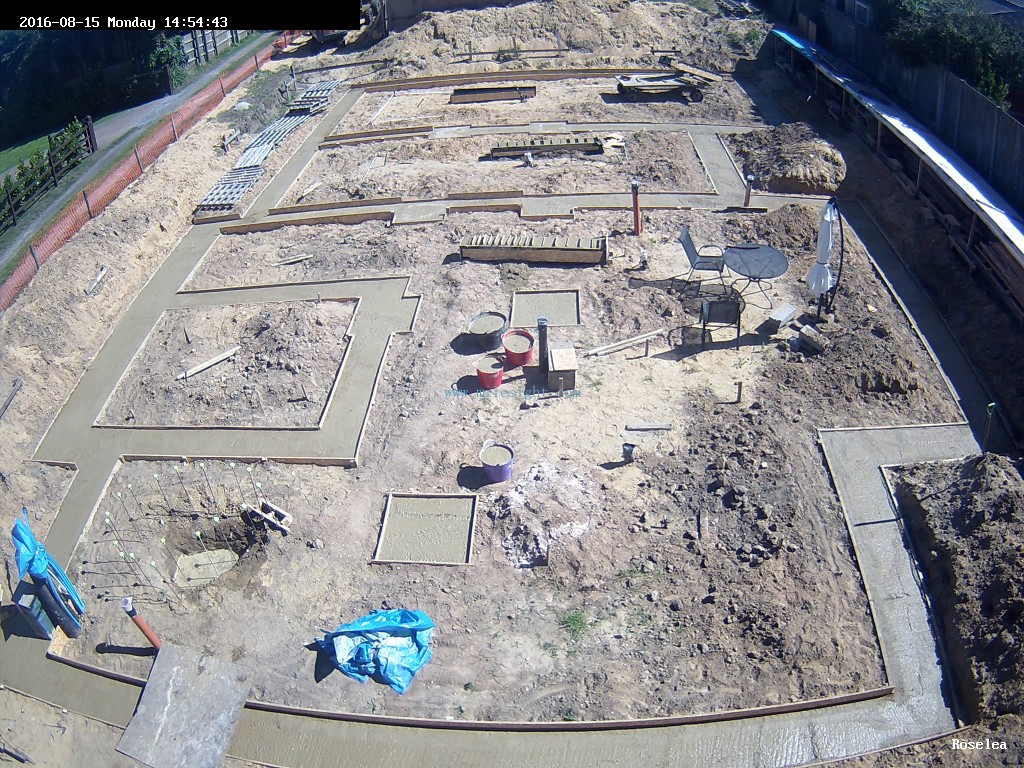
Here’s the site at 7:46 before we got started …
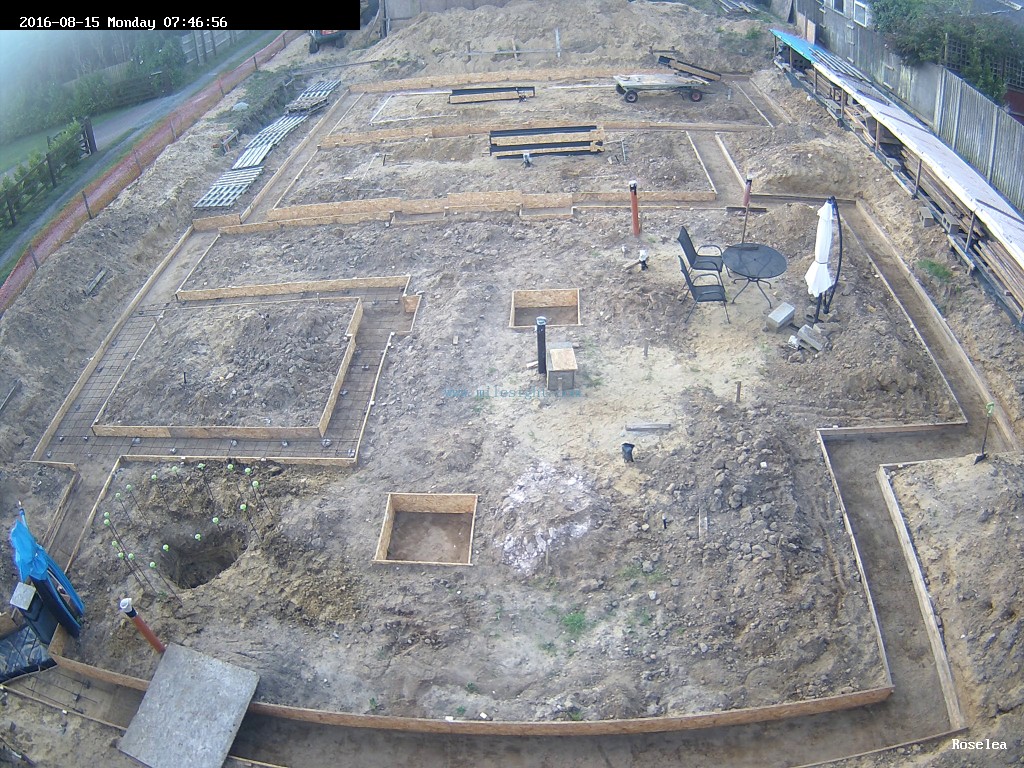
Aug-15th-The-site-before-work-started
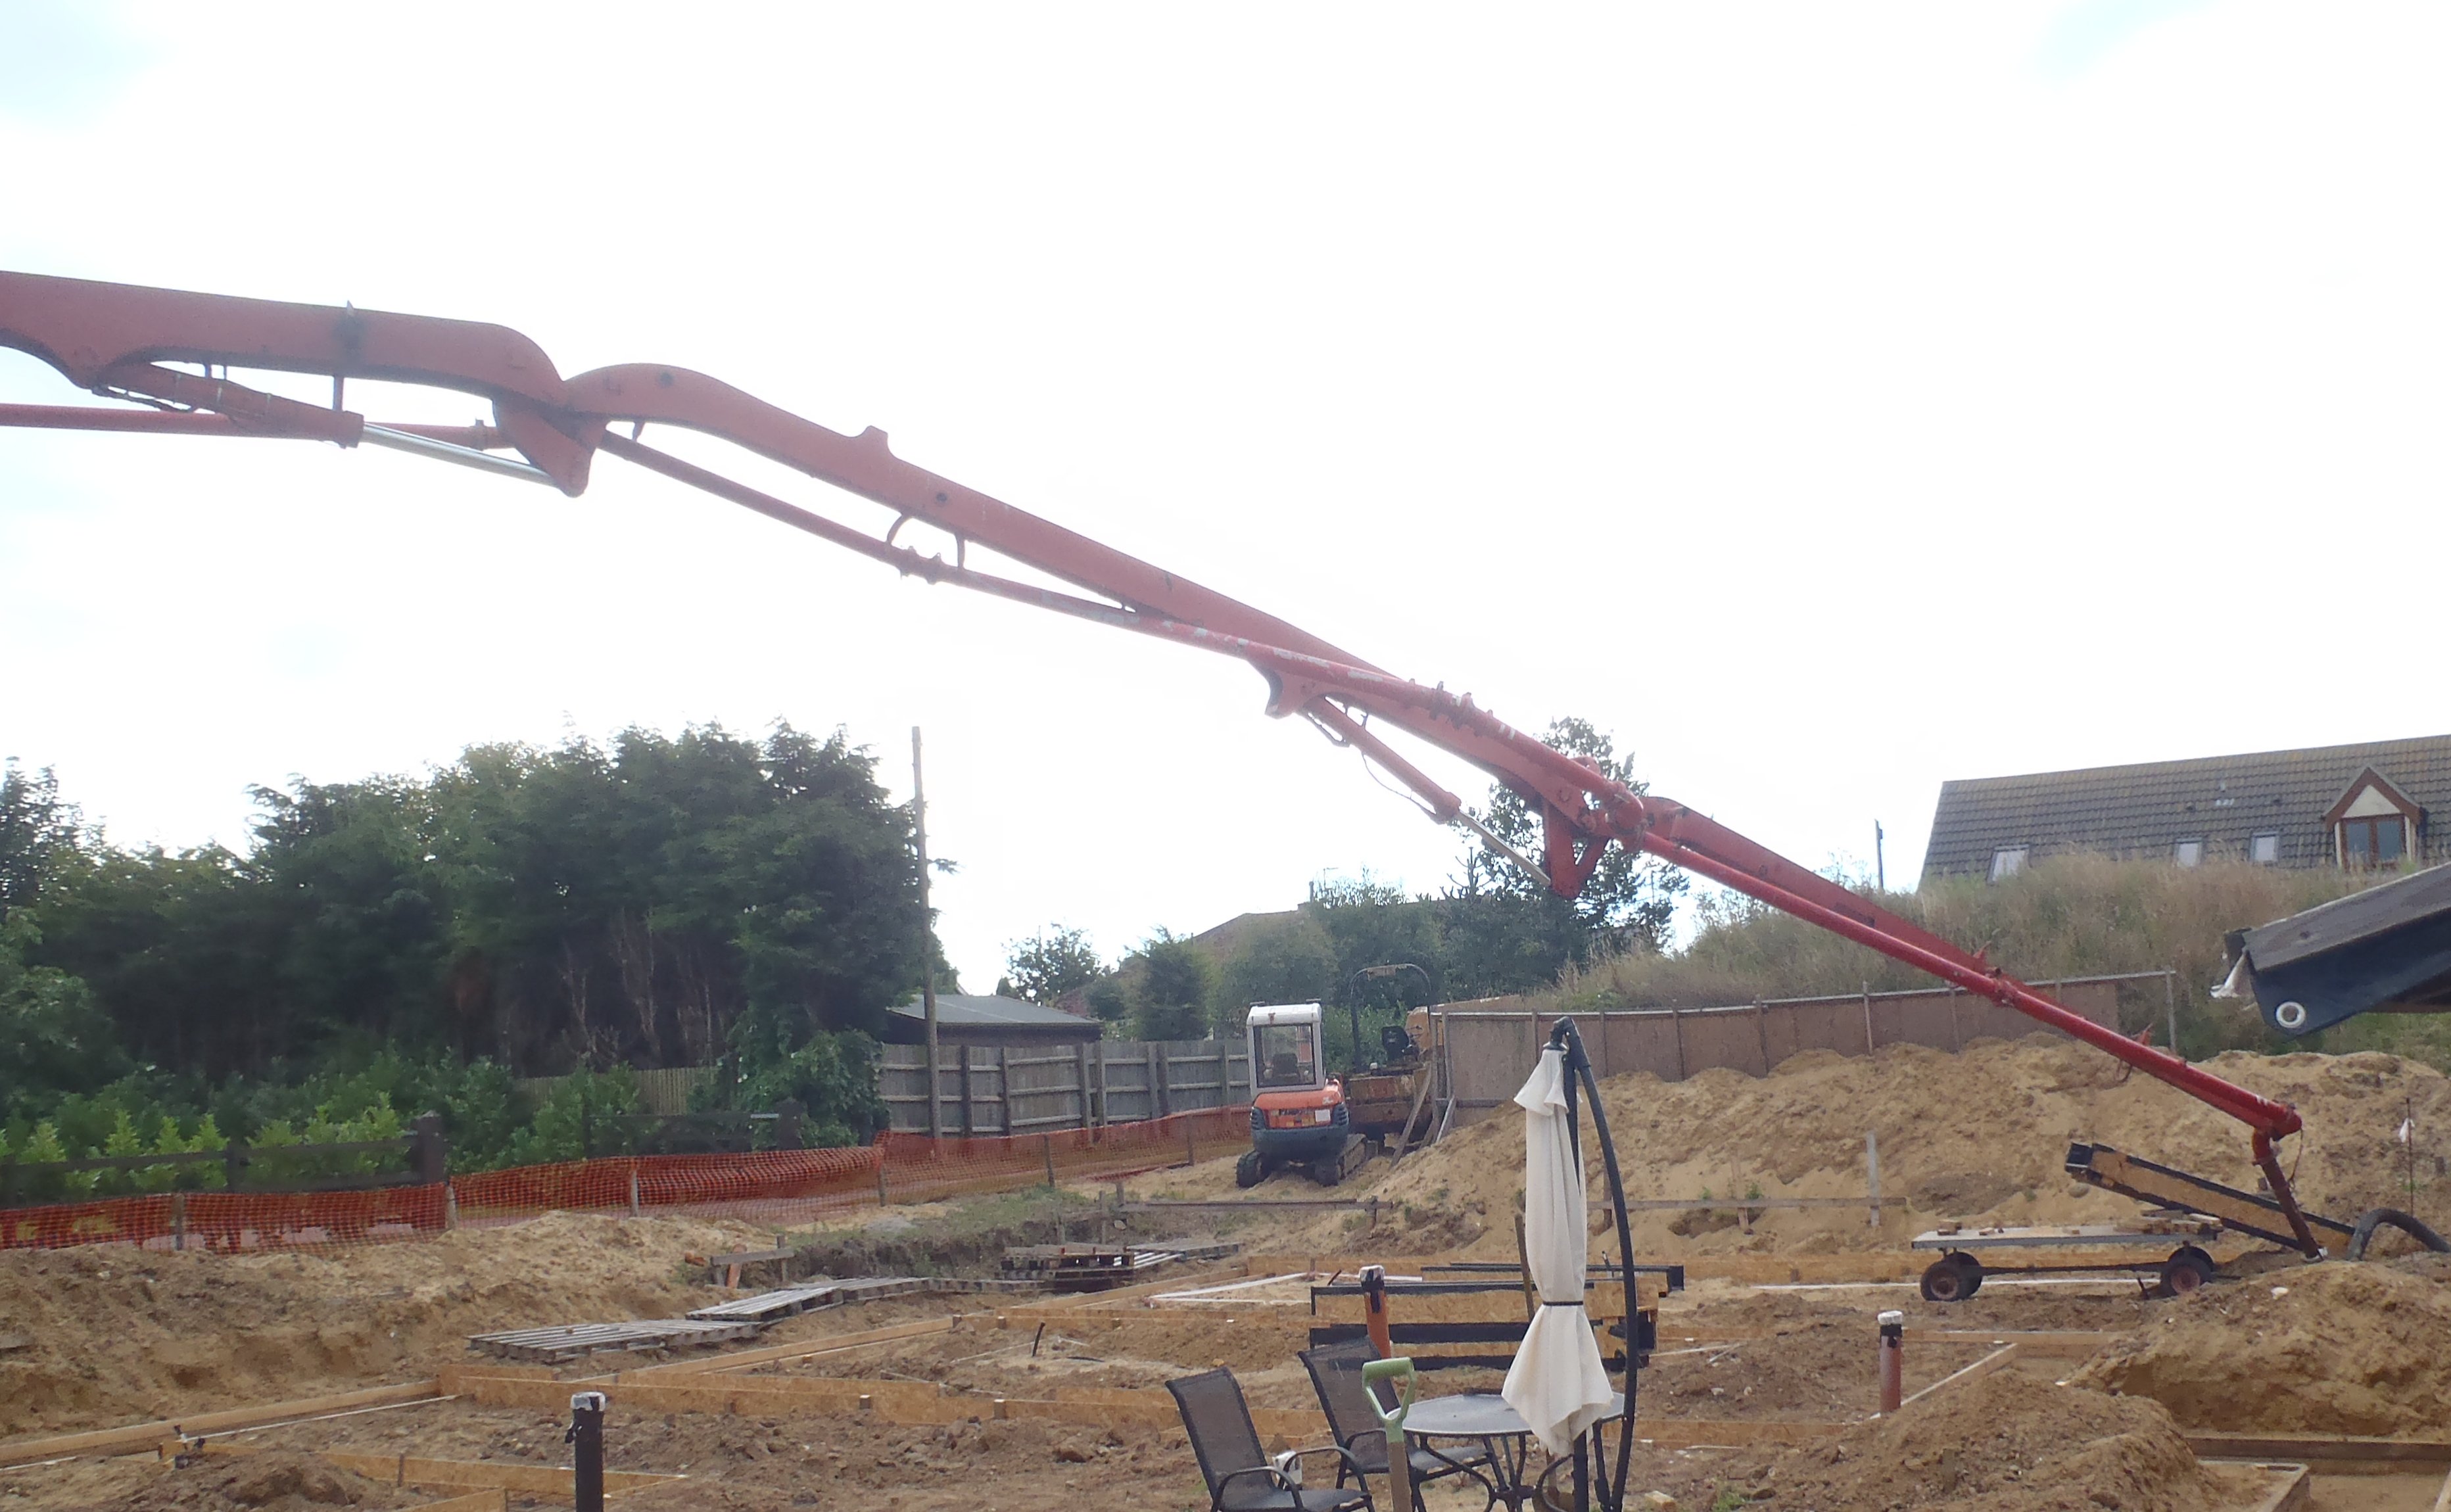
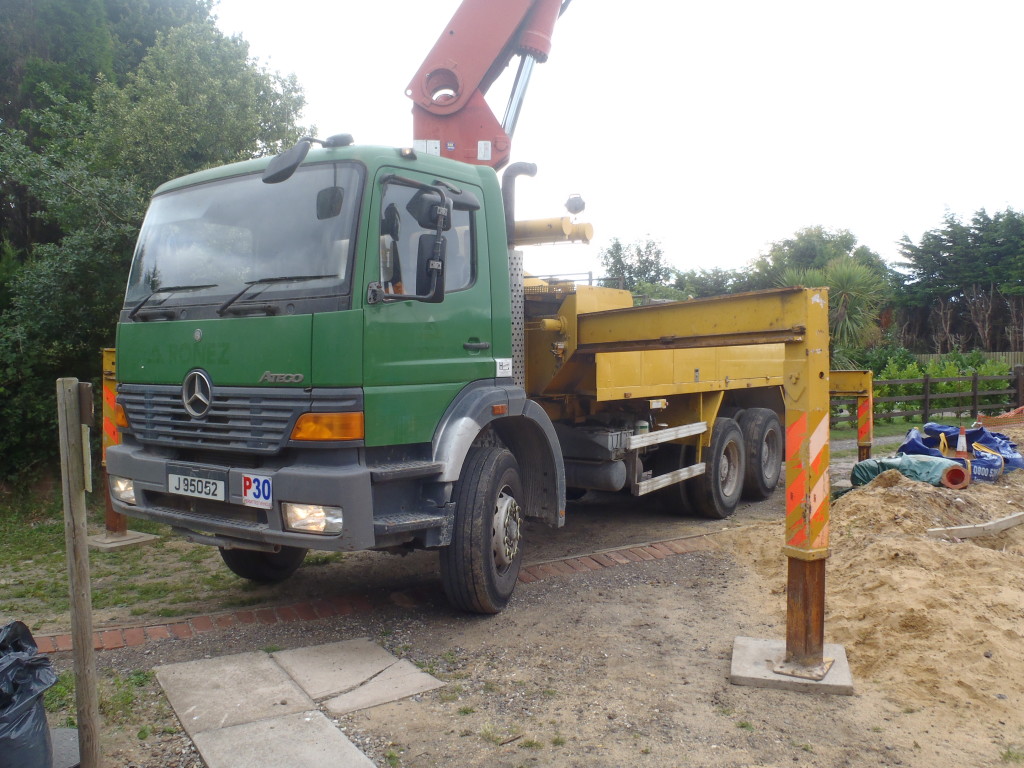
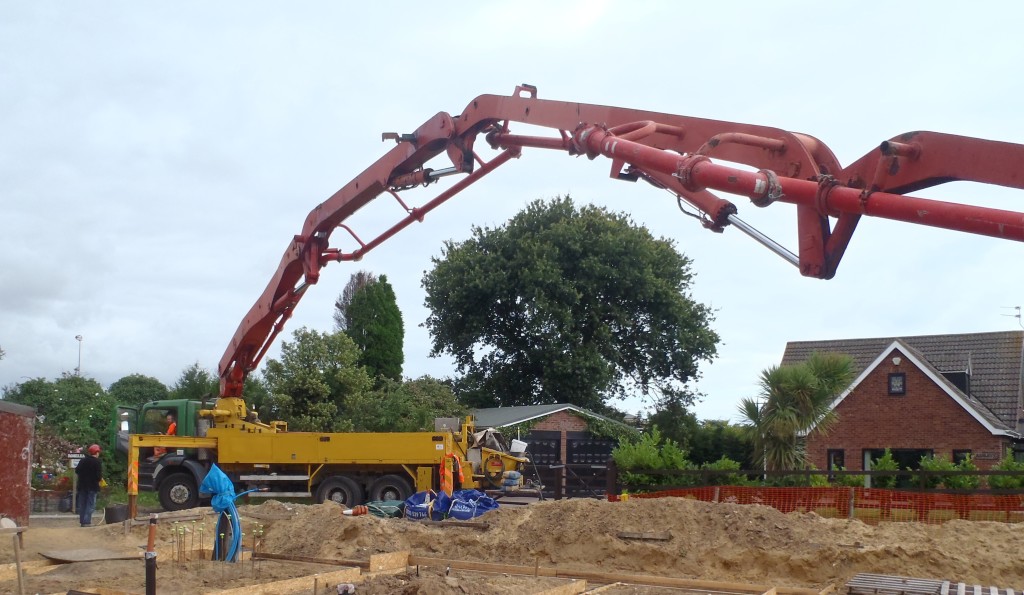
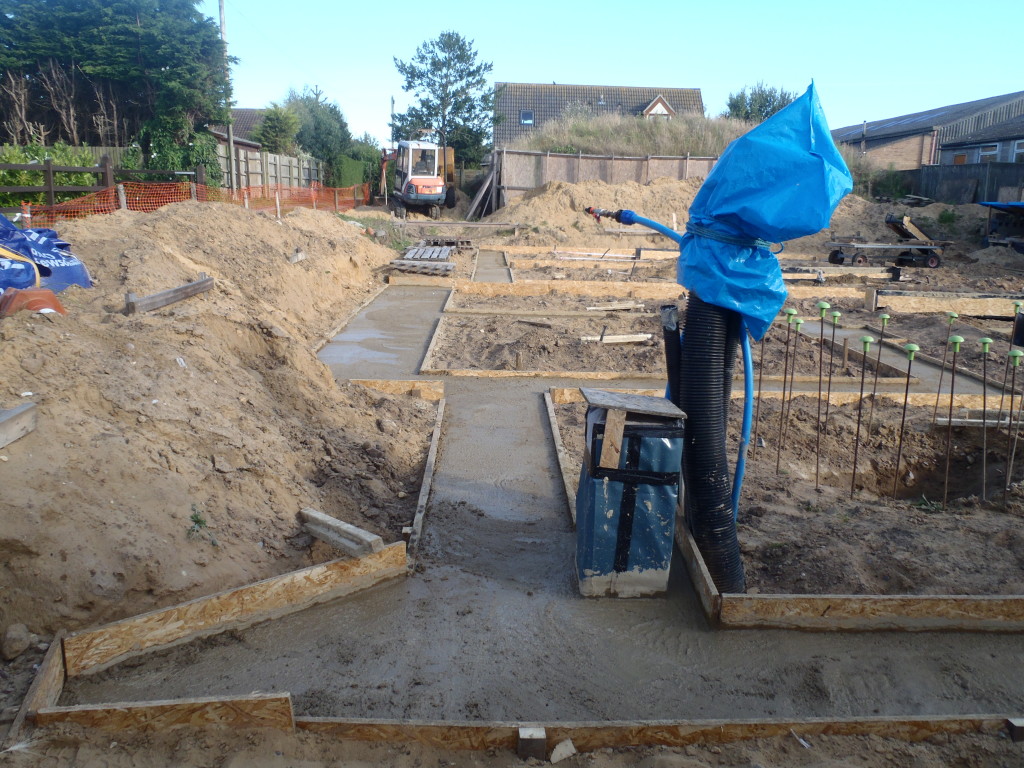
Our day started at 8:30 am with the arrival of the concrete pump lorry (half an hour early) ..
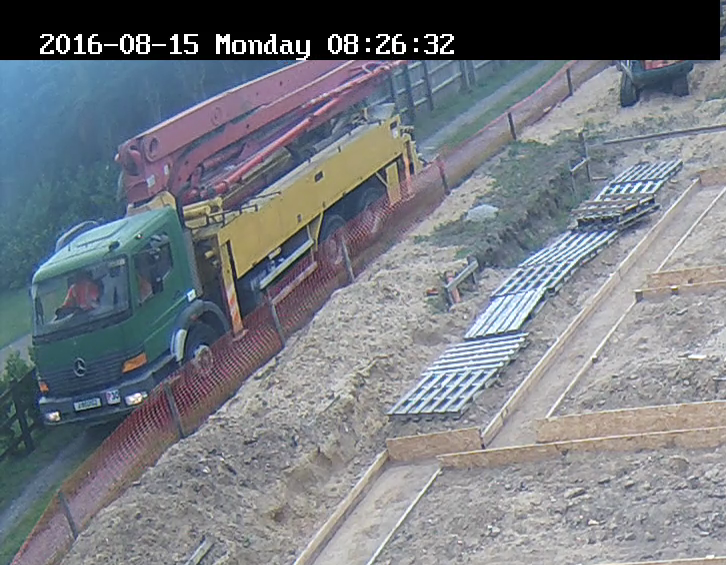
Concrete-lorry-arriving
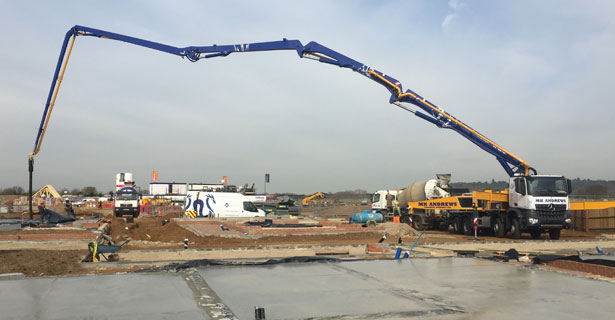
The pump operator Alan set up his equipment including orientating the lorry, putting out the support arms, priming the pump and putting down tarpaulin sheets to protect the Loke surface against splashes etc.
The boom arm is made of 4 segments, each being 8 metres (26feet) long so stretching across to our outermost trench was no problem ..
Pump-Lorry-with-Legs-Extended
Pump-Boom-fully-extended-1
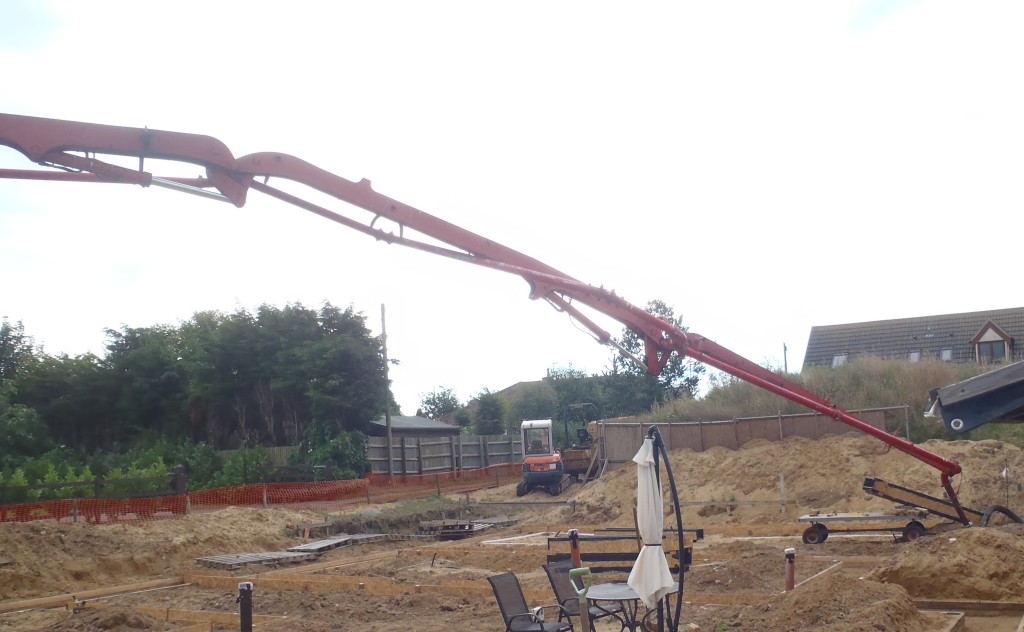
Pump-Boom-fully-extended-2
Then at 9:40 am, the first load of concrete arrives and our work commences in earnest! We started by the Great Room and went around all 4 sides, then around the kitchen and bedroom 1, then around the back of bedroom 2 and bedroom 3 going along pass the side door position, around the Utility room and turn along the front and finally around the Entertainment room. Our first two loads of concrete (each being 6 cubic metres) got that far so we had to order an some more concrete, we had a quick measure and estimated we needed about 2 cubic metres to do the large front extension area of the Entertainment and Hall sections and the two pads in the middle. But when we finished had rather a lot of left over so we could have cut down on the extra quantity to about 1.5 cubic metres and got away with it, but we had to make a quick decision and we didn’t realise that the pump itself had more concrete in it’s the hopper and pipes too!
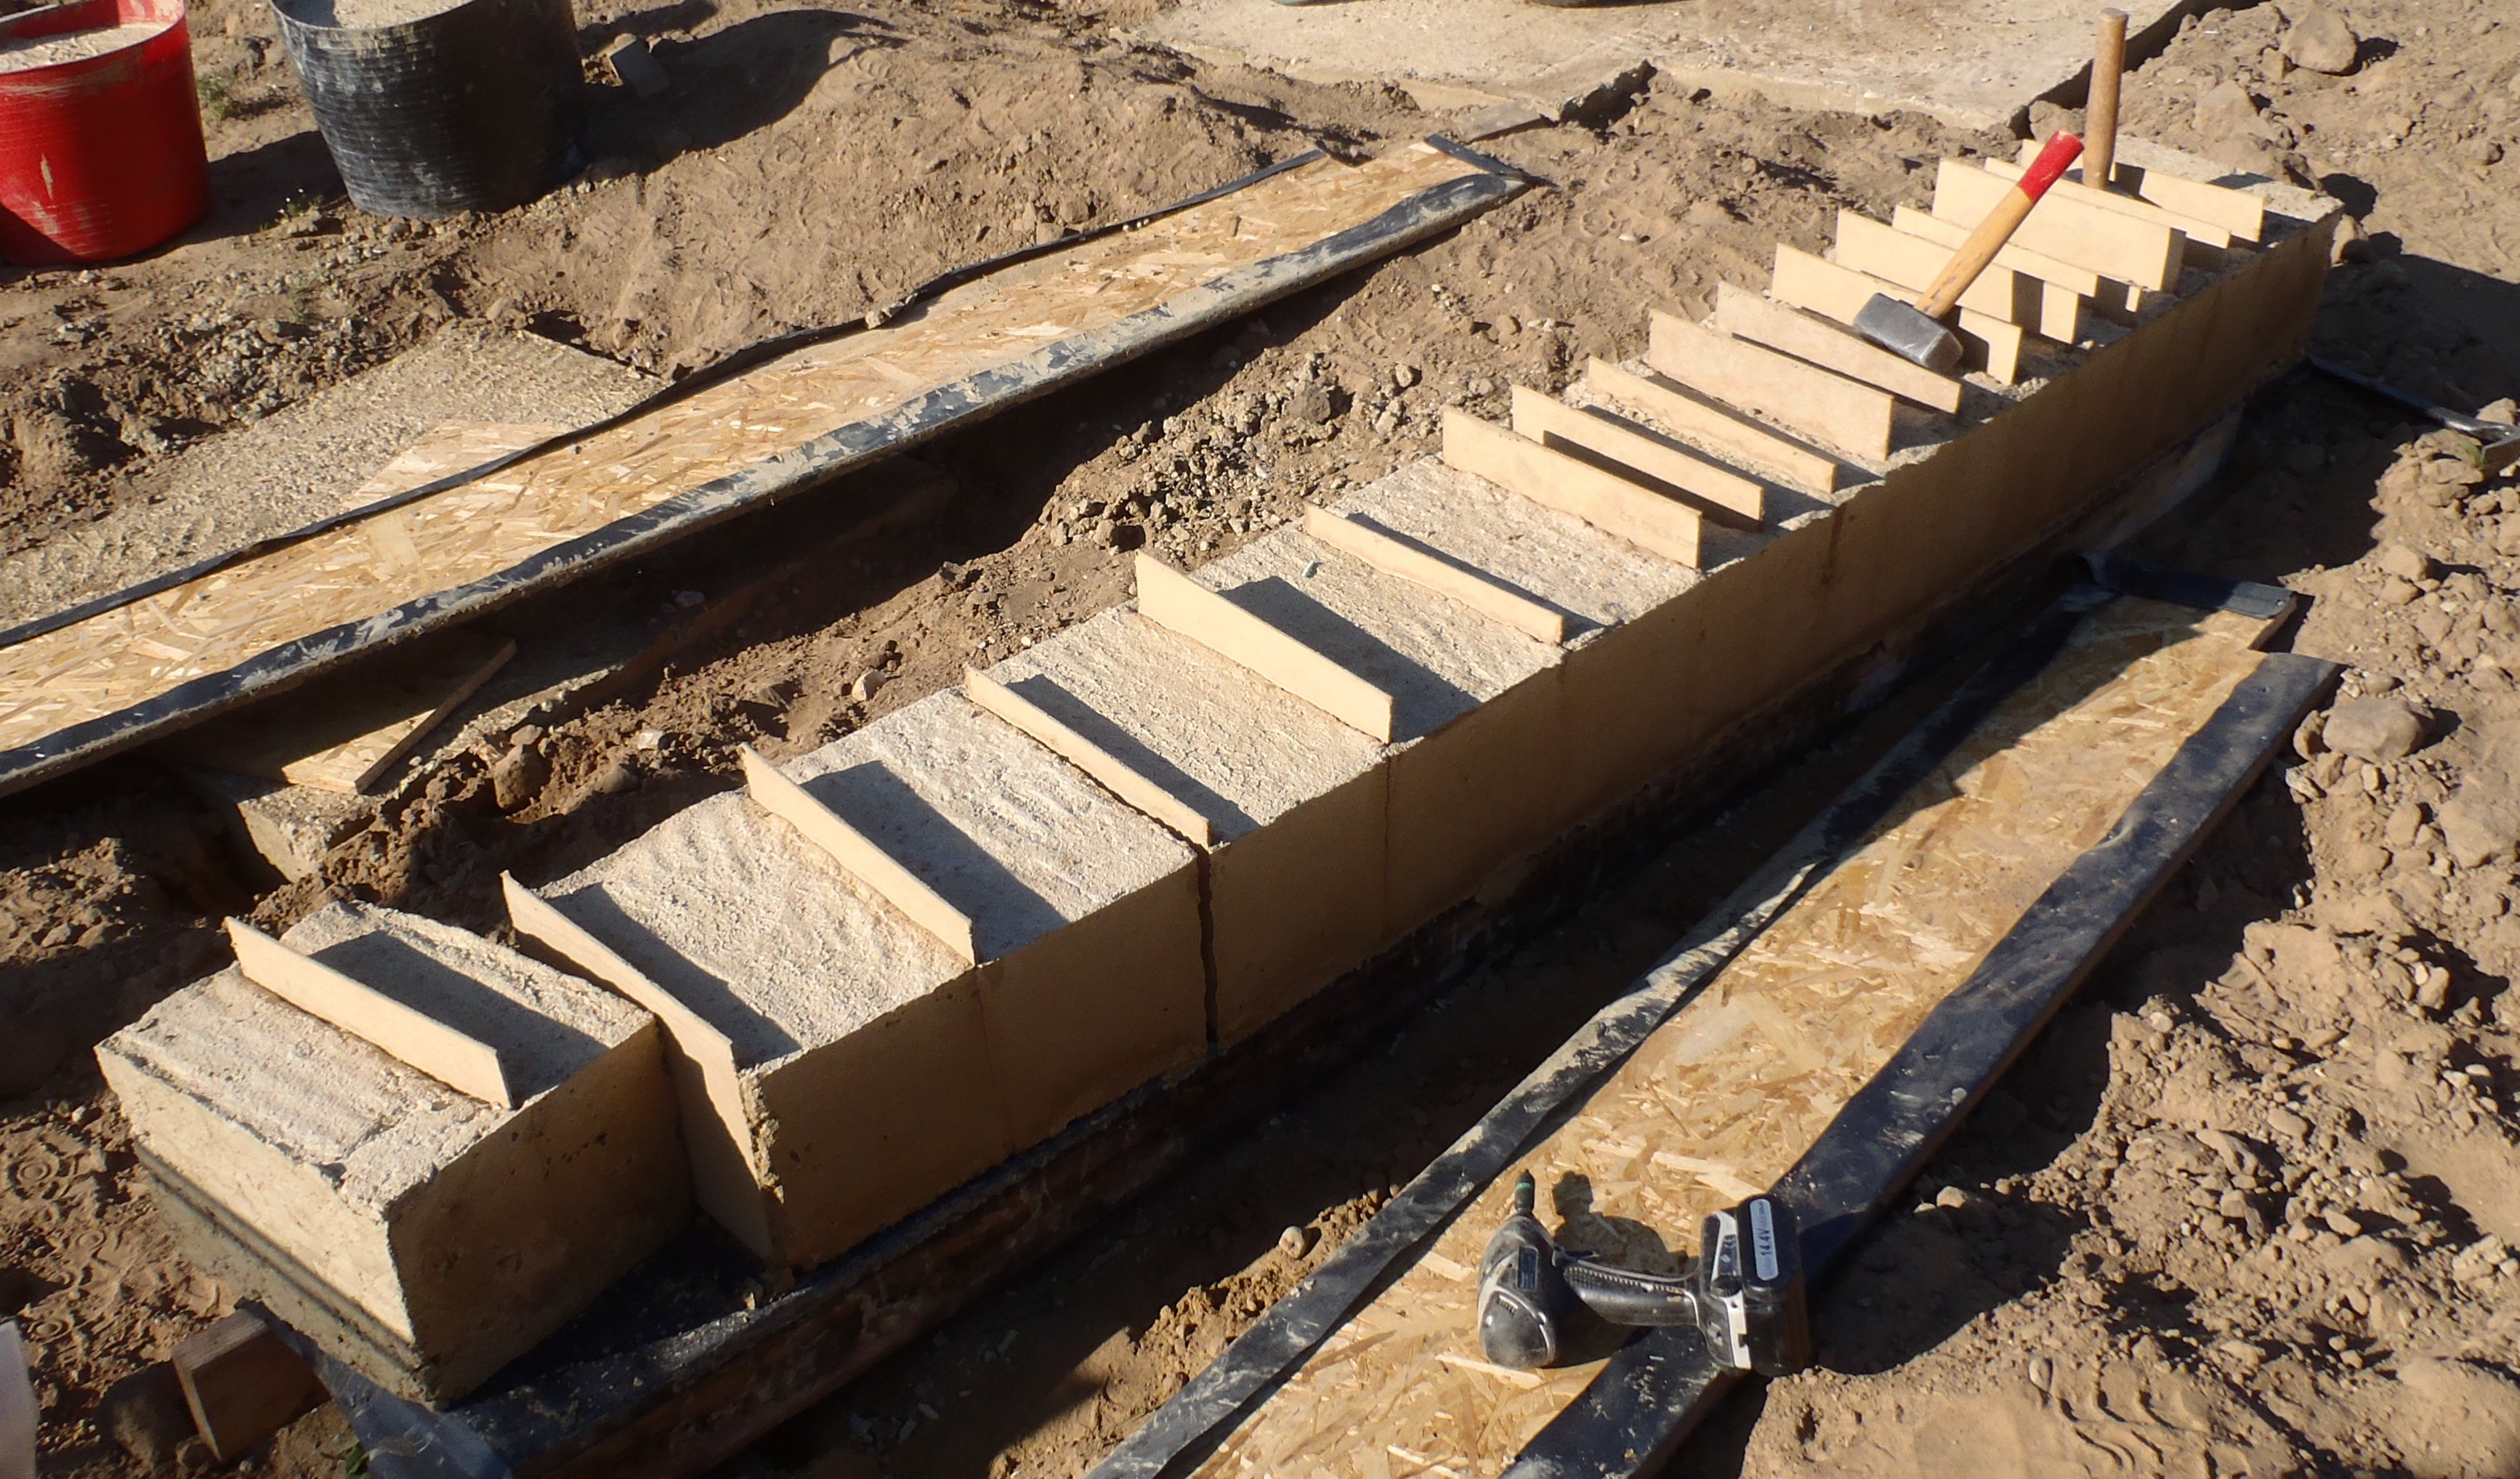
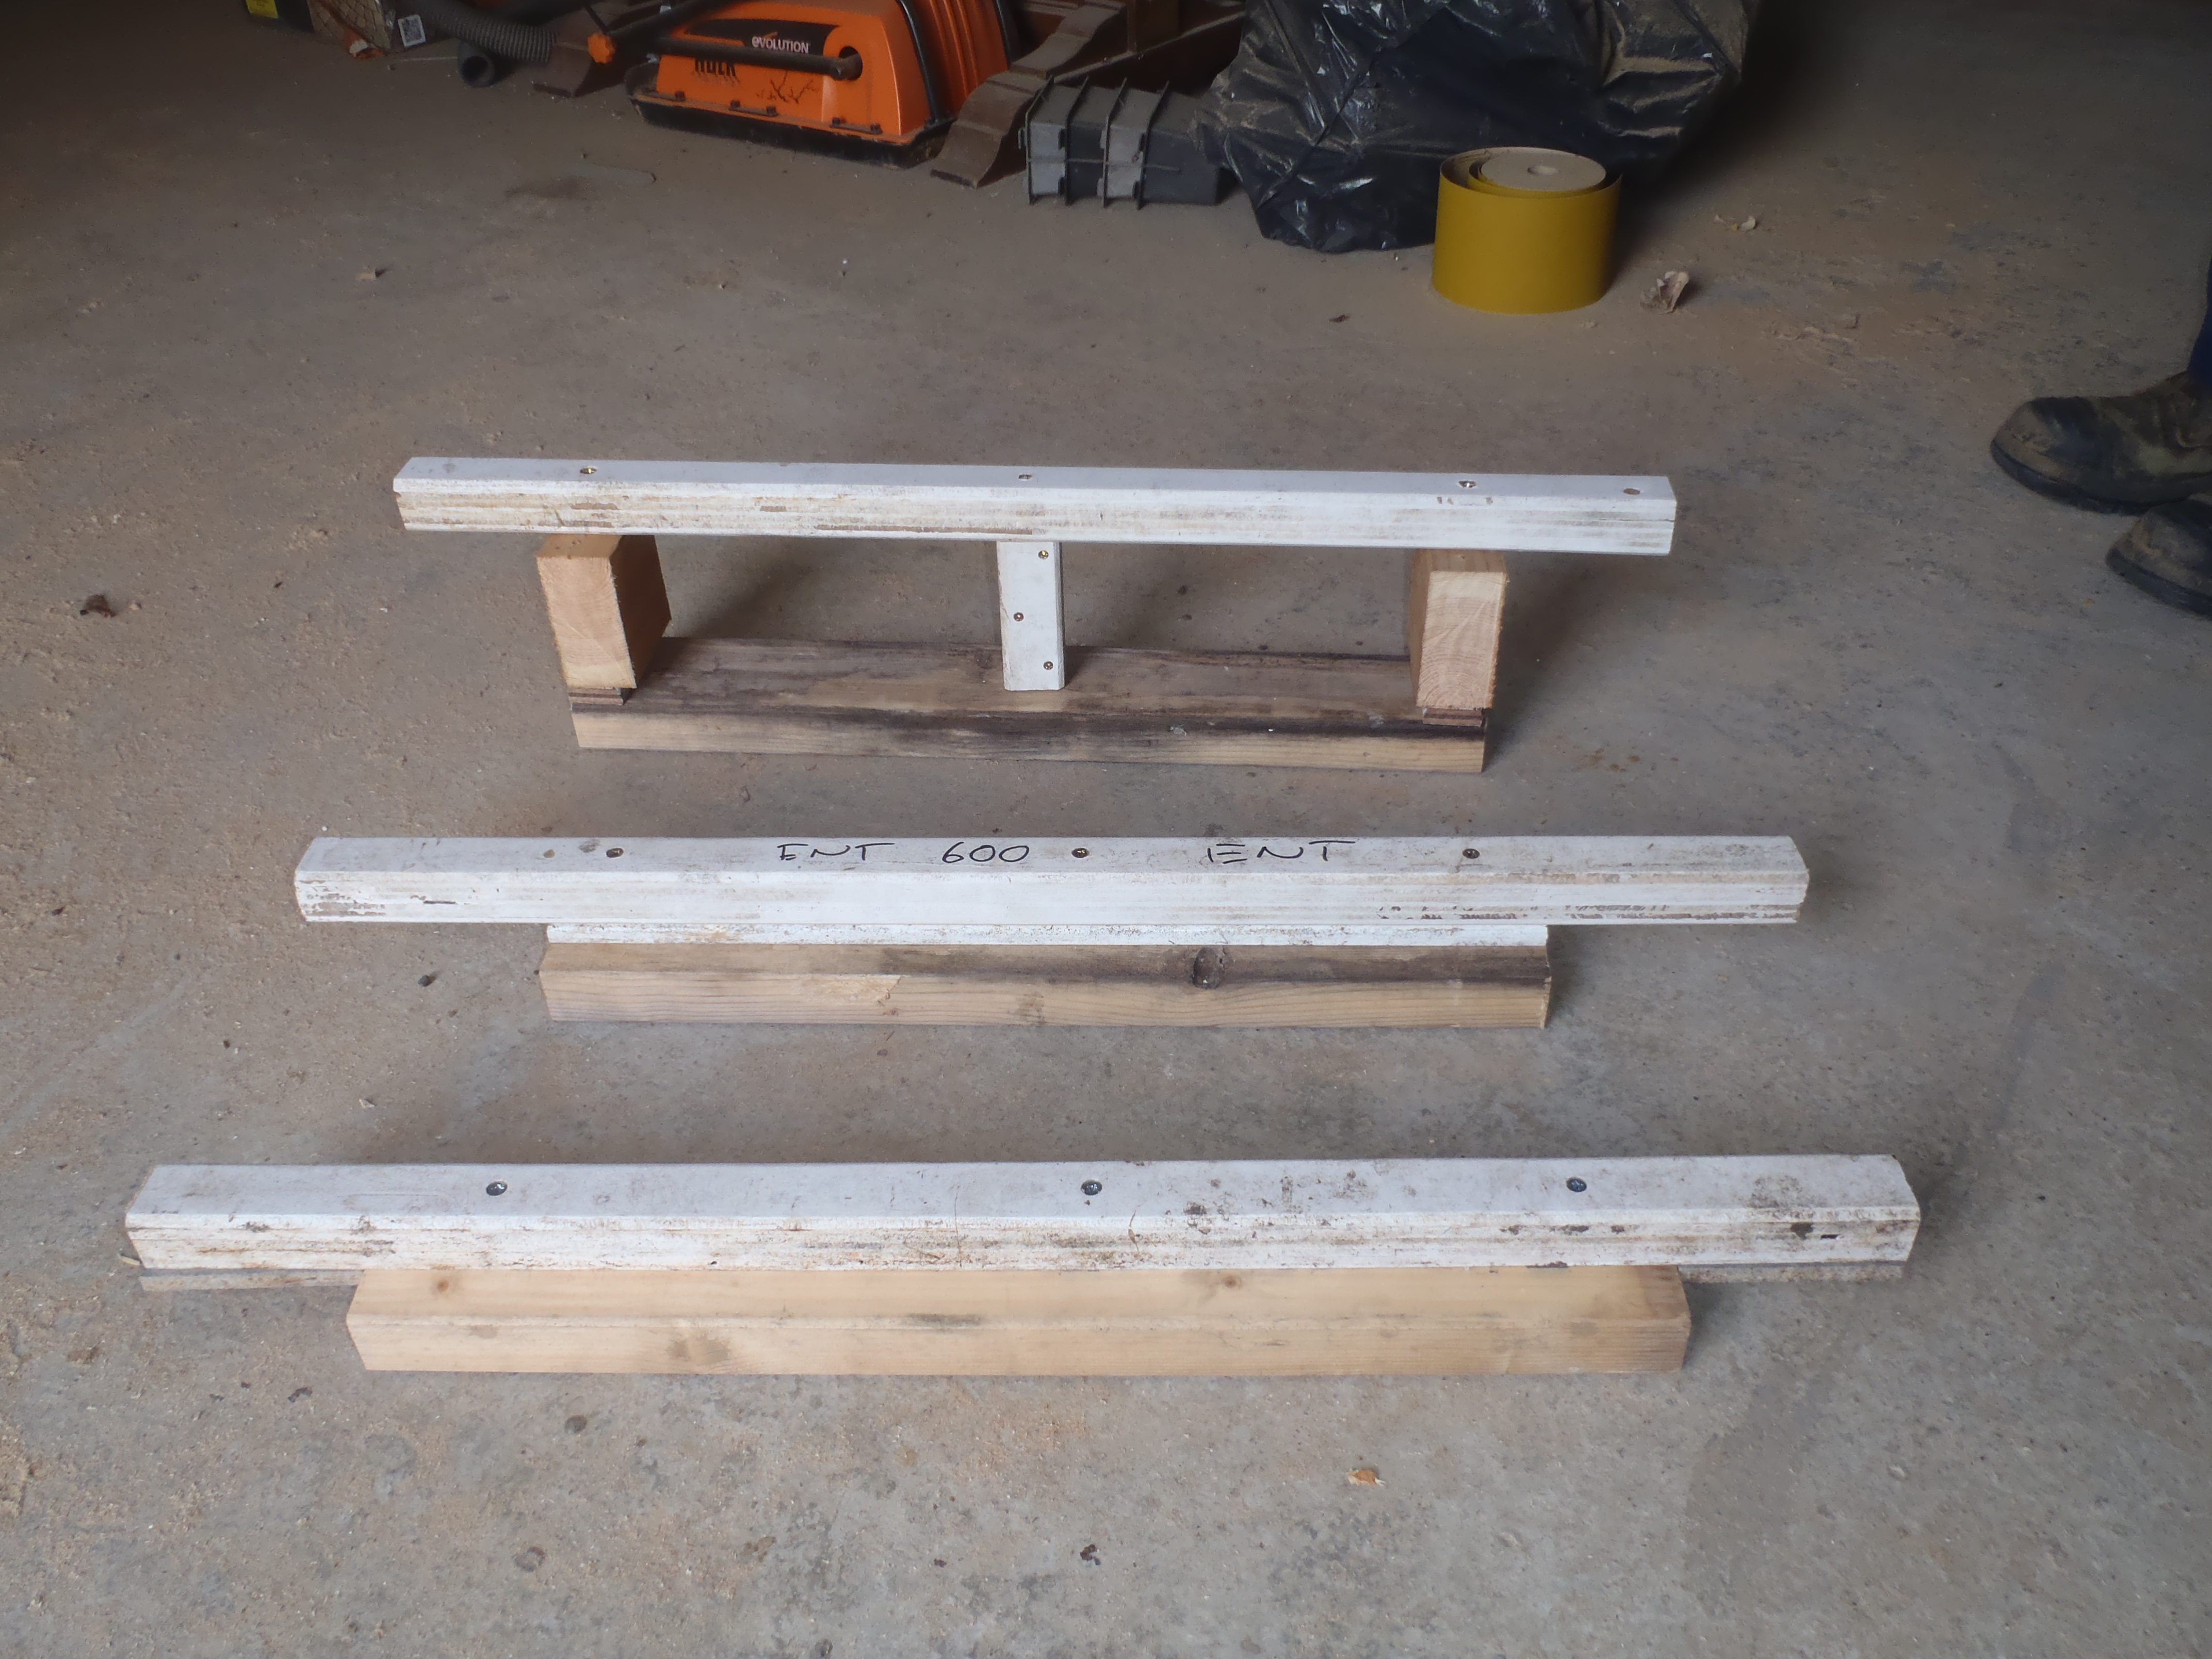
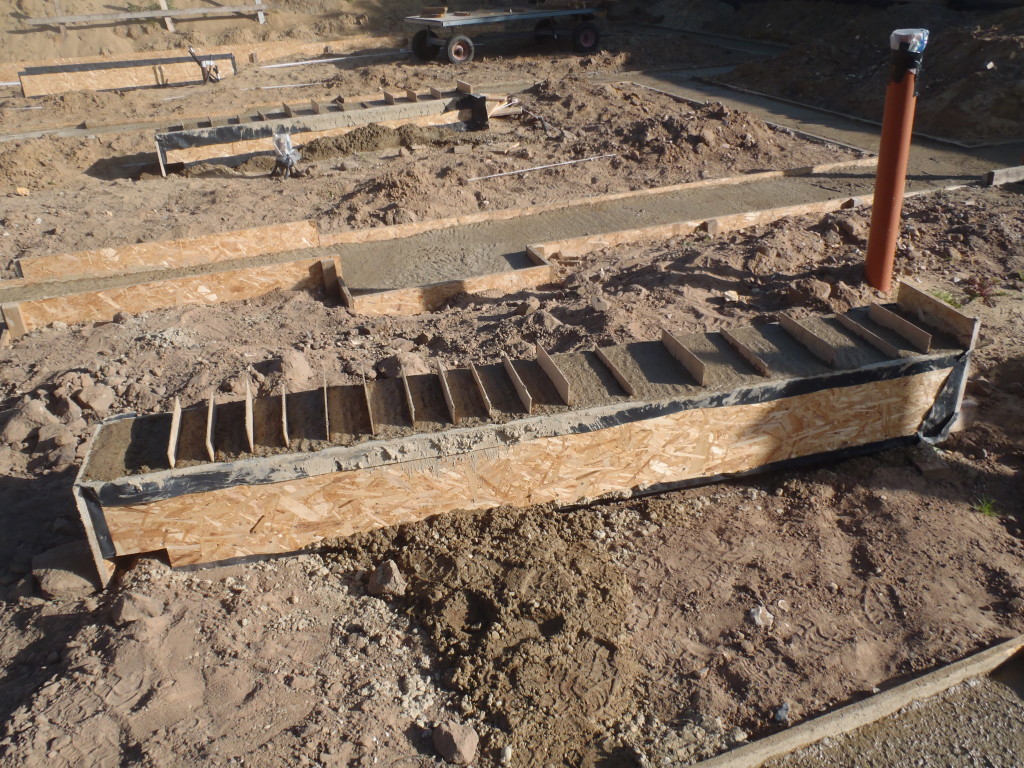
We poured the most of the extra into two of our ready made viaducts (which we had fixed ends on whilst the last load of concrete was being mixed) and slid in thin dividers to make square blocks that we might use in the garden (as stepping stones?) or act as weights . The rest was loaded into some ‘Trugs’ and will may be used as all weather seats?
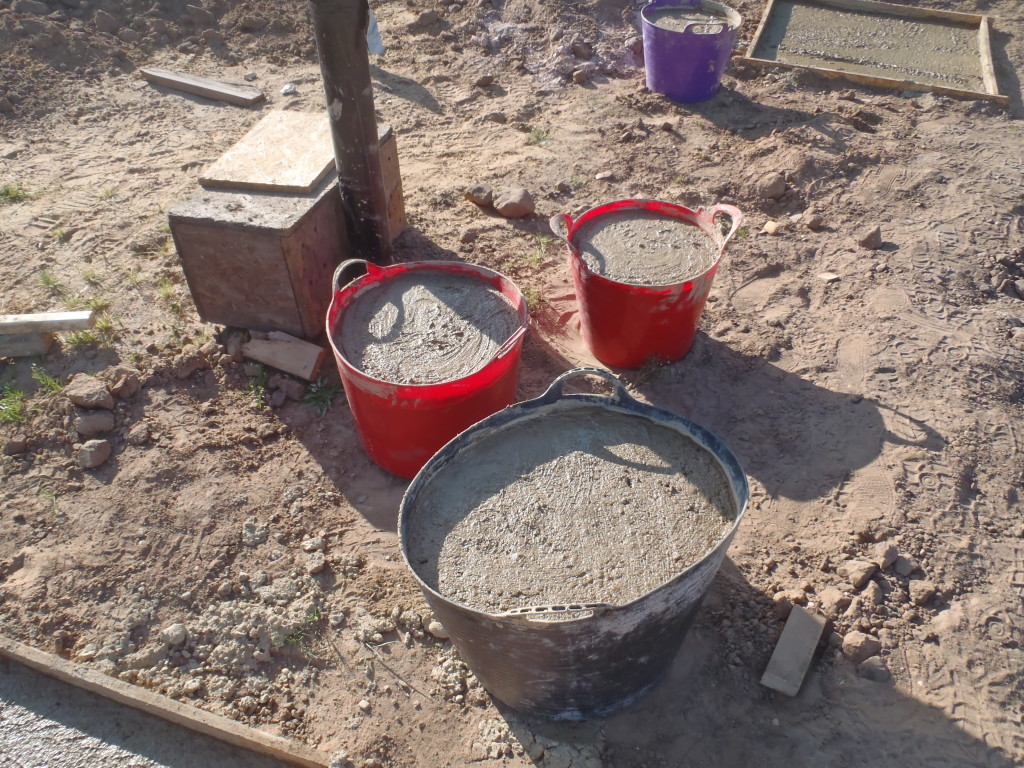
Excess-concrete-in-impromptu-moulds-2
Excess-concrete-in-impromptu-moulds-1
Then, we went around smoothing all the edges and especially the corners and junctions to make sure that there wasn’t any lumps sticking up. The air tunnel corner by the Utility room was especially tricky but with careful checking with a spirit level, we scraped and smoothed it out ok.
Aug-15th-The-site-after-foundations-poured
Foundations-Poured-1
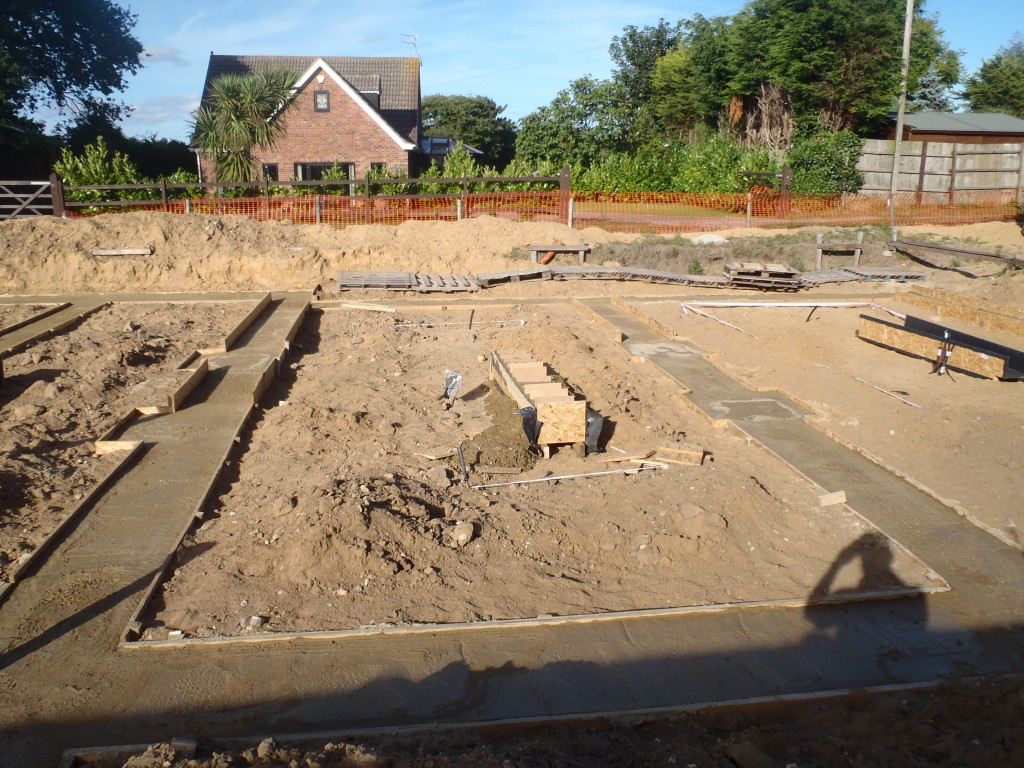
Foundations-Poured-2
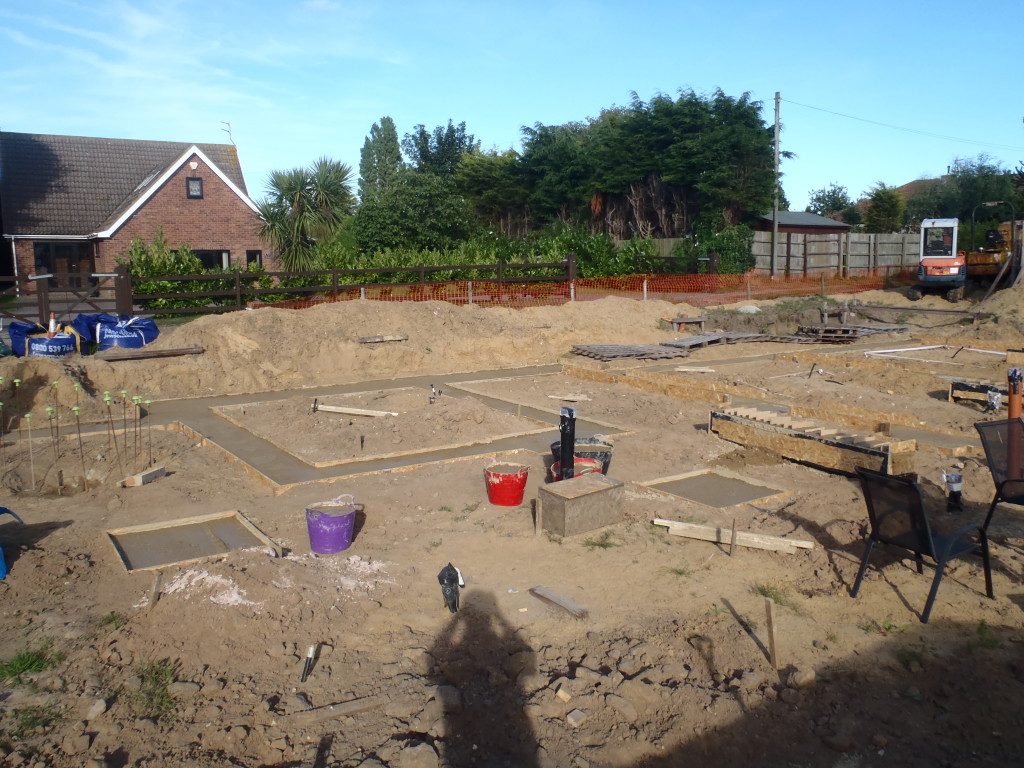
Foundations-Poured-3
We didn’t stop for lunch and had only a couple of water breaks during the time when the concrete lorry had to go and get more concrete. It was a long single session but there was not much choice in the matter when you are dealing with concrete !!
Here is a time lapse of the days work (it’s high resolution – press the full screen button at the bottom left of the movie to see)
This is a major step forward for our house building project, having the foundations actually poured and setting! We are getting out of the ground at last!