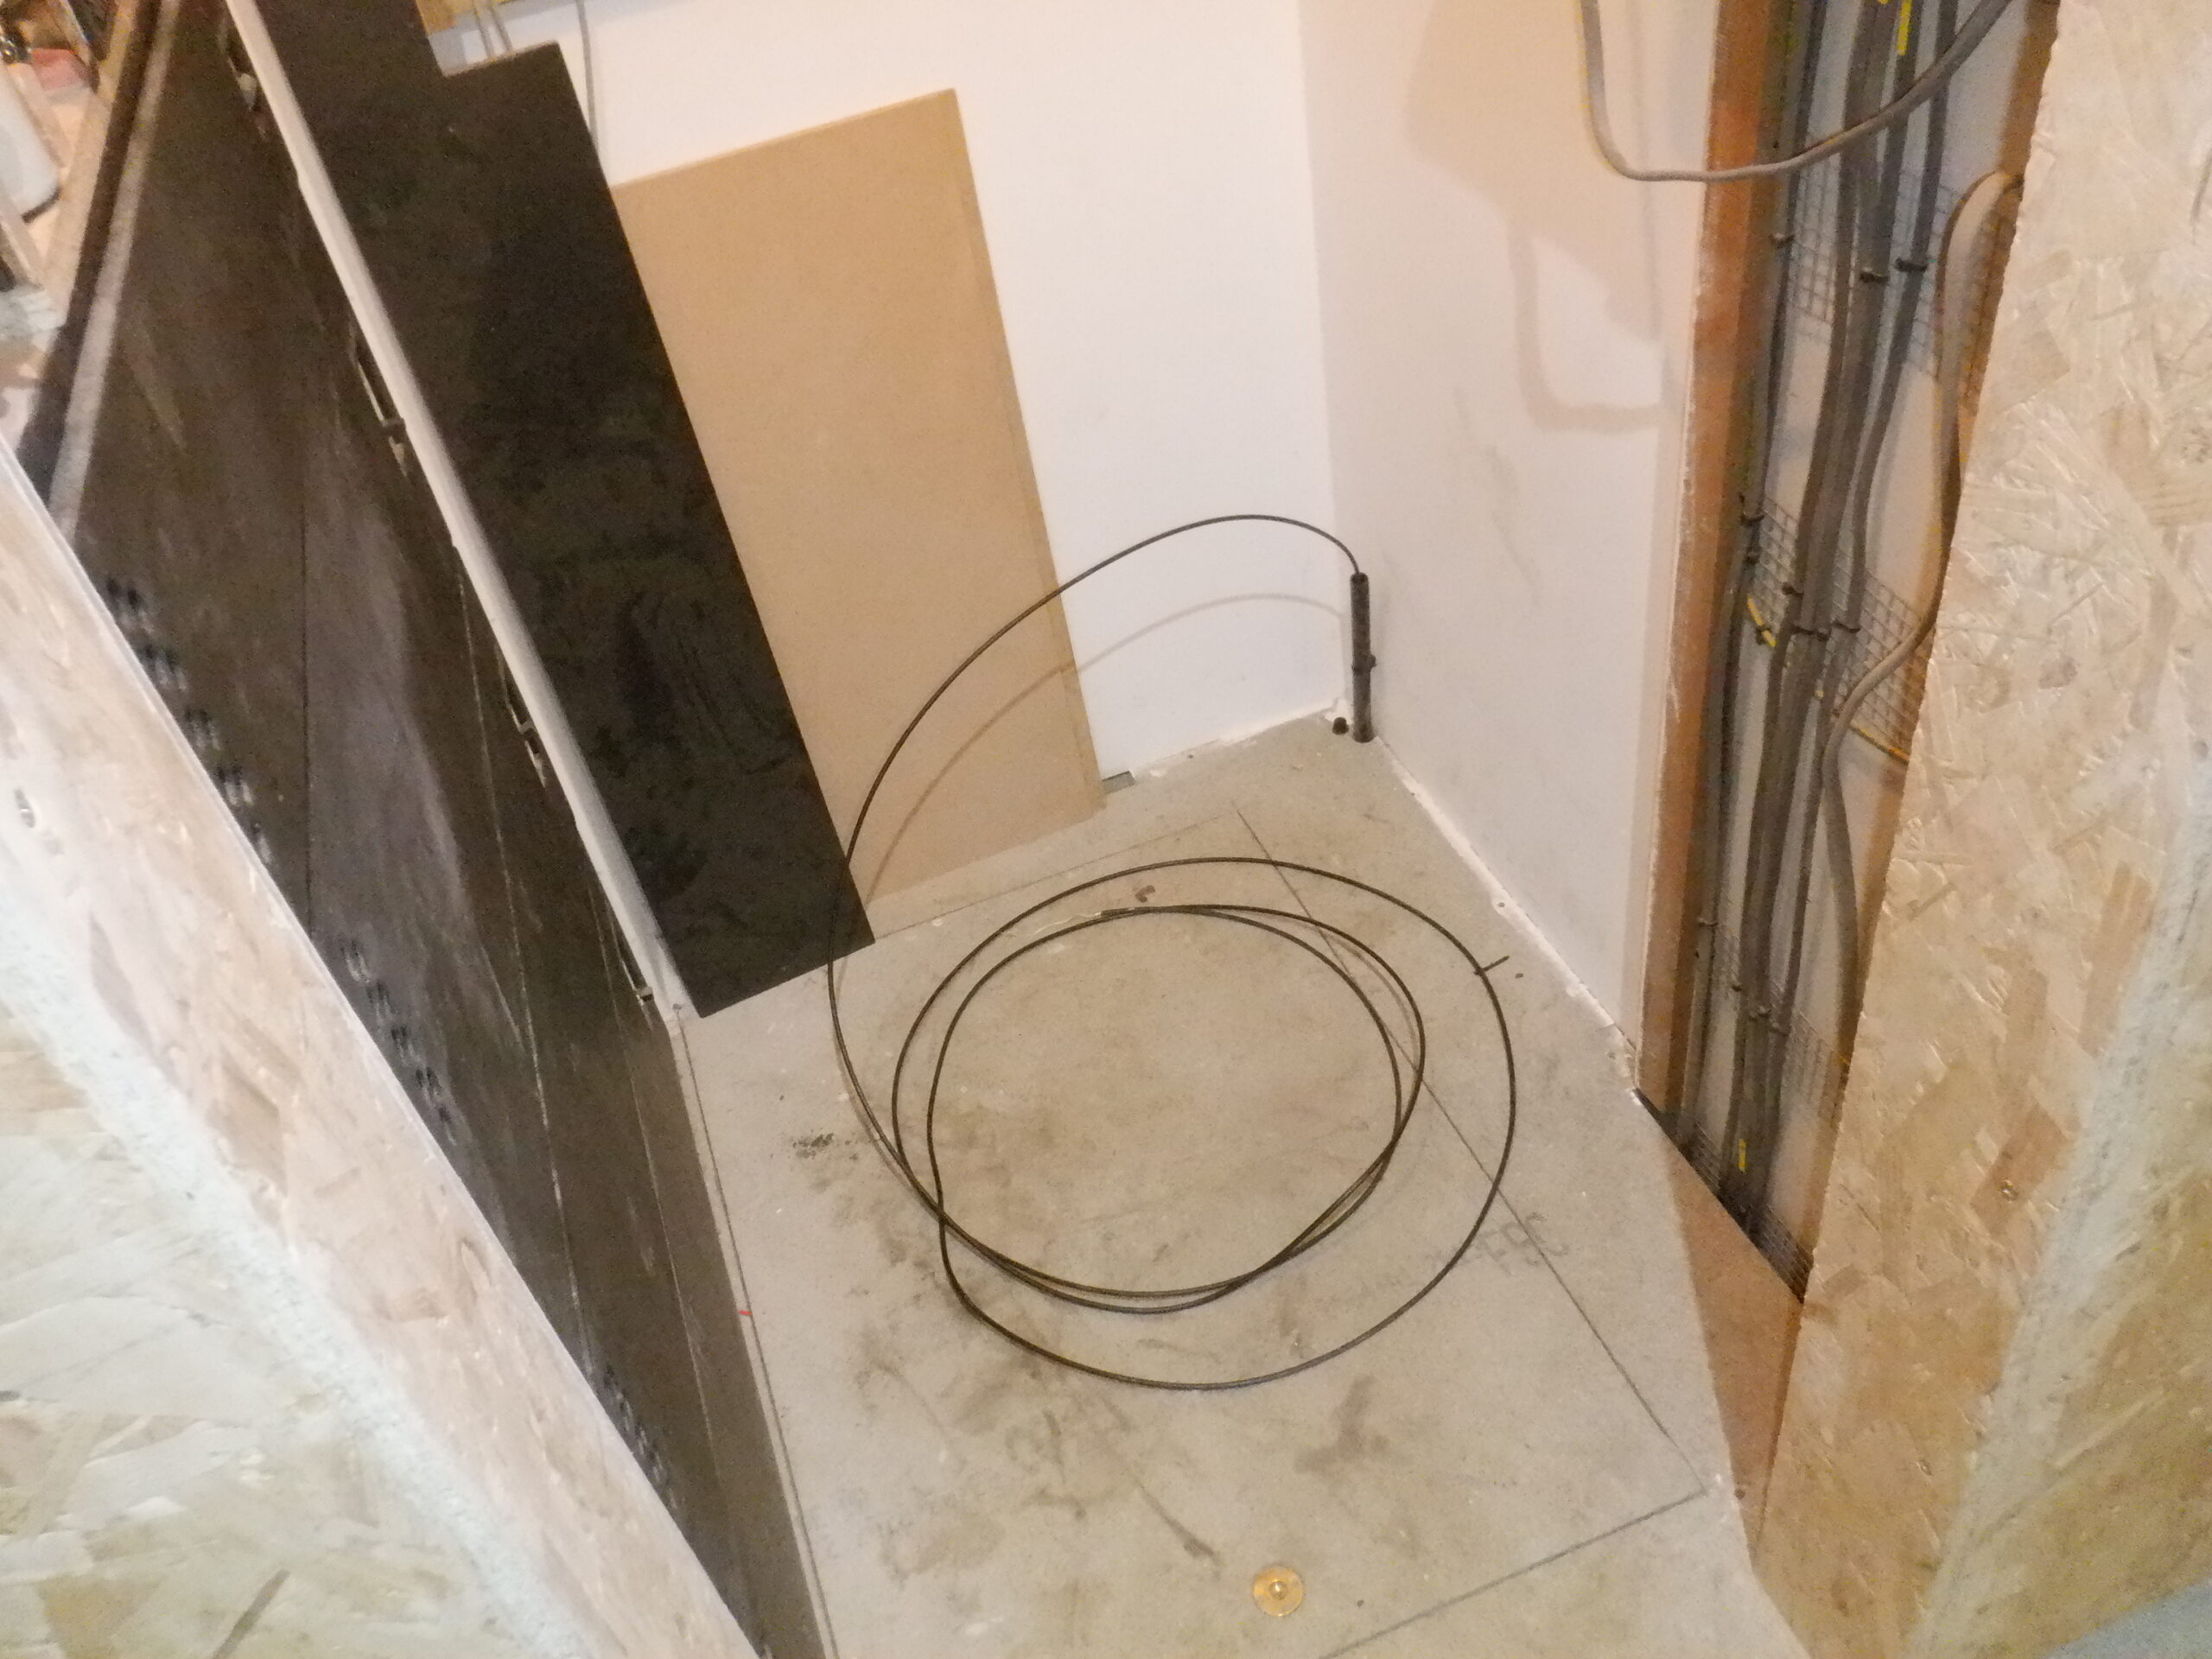
So, over the last four days, we decided to lay in a brand new conduit, a black 20mm thick walled plastic pipe, from the Tech Cupboard, under the floor in the Hallway, around into the Utility Room and through the Utility Cupboard and through the wall to the outside, all below the floorboards, right down near the concrete level.
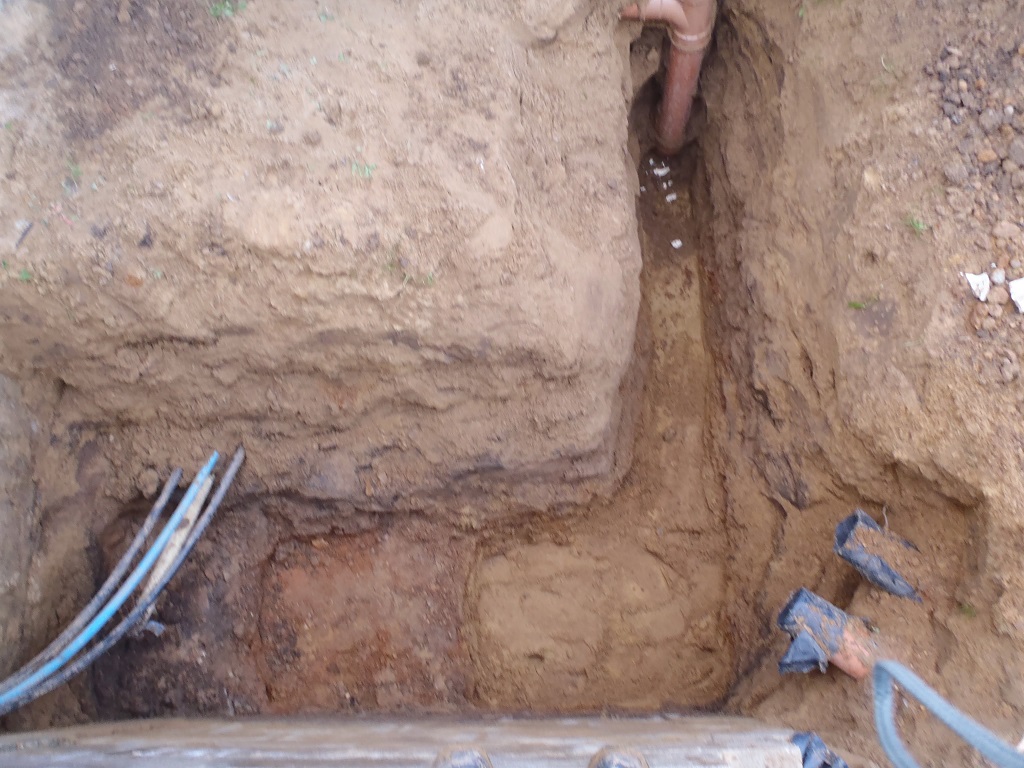
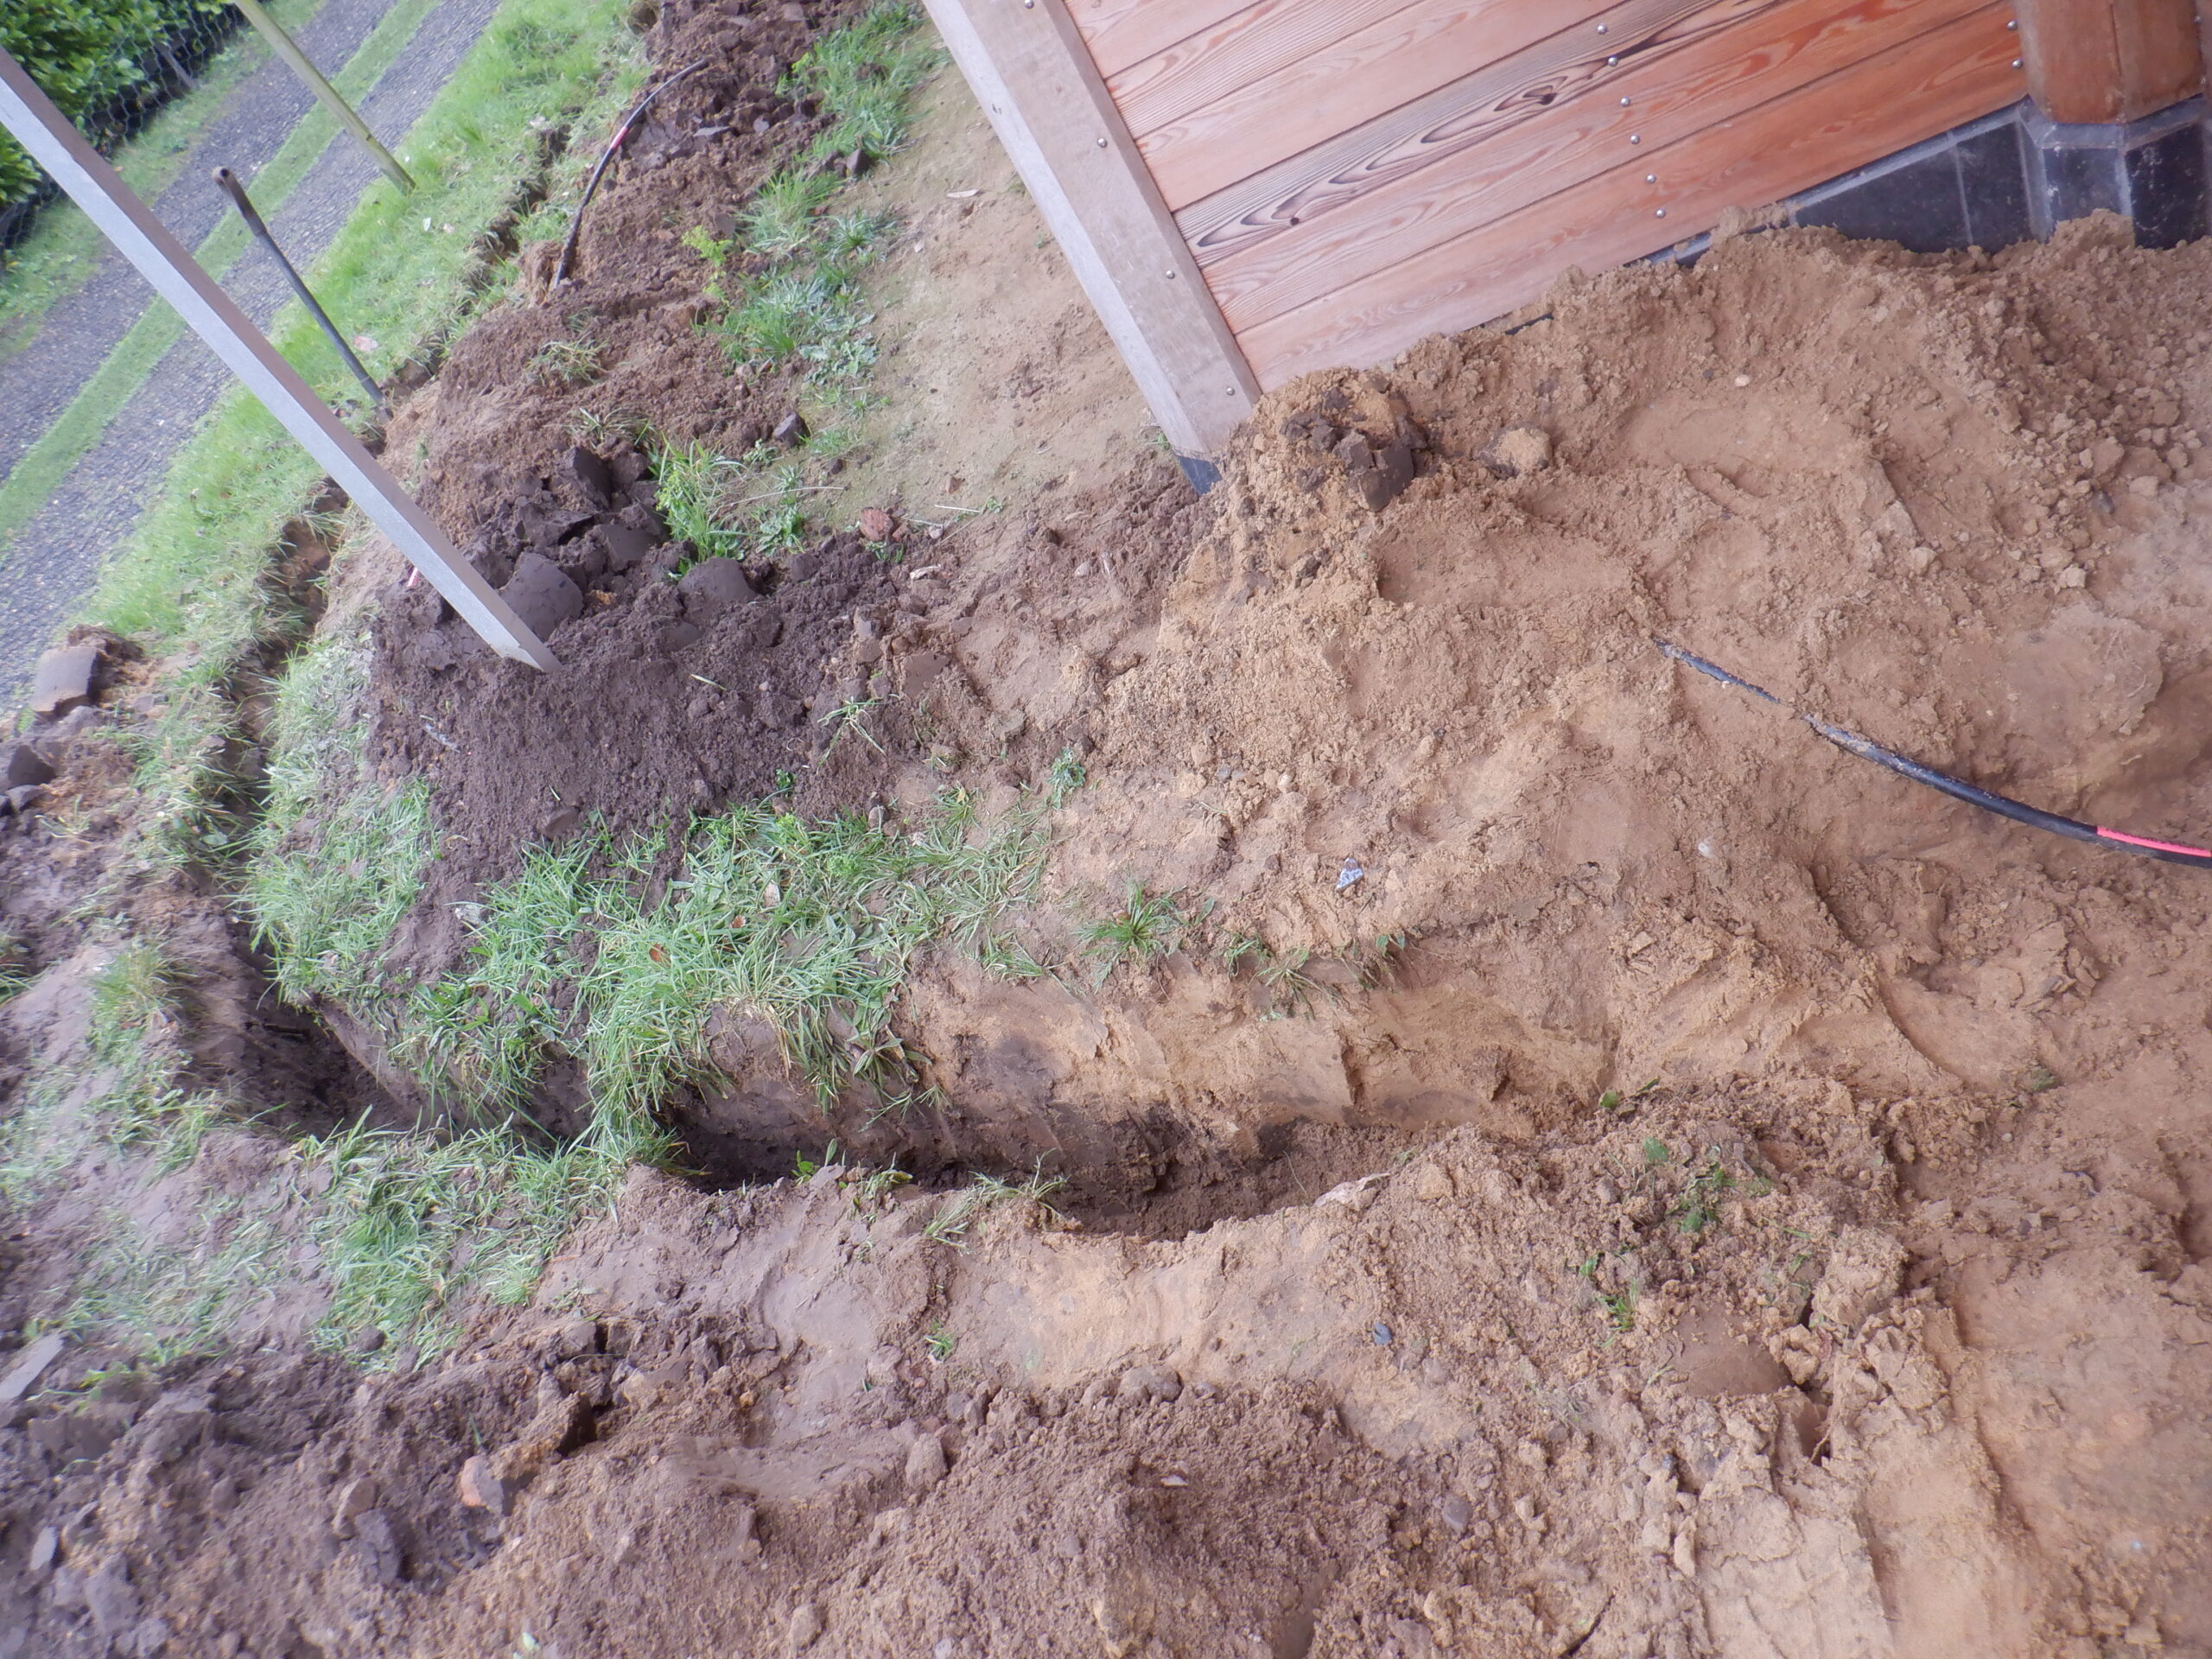
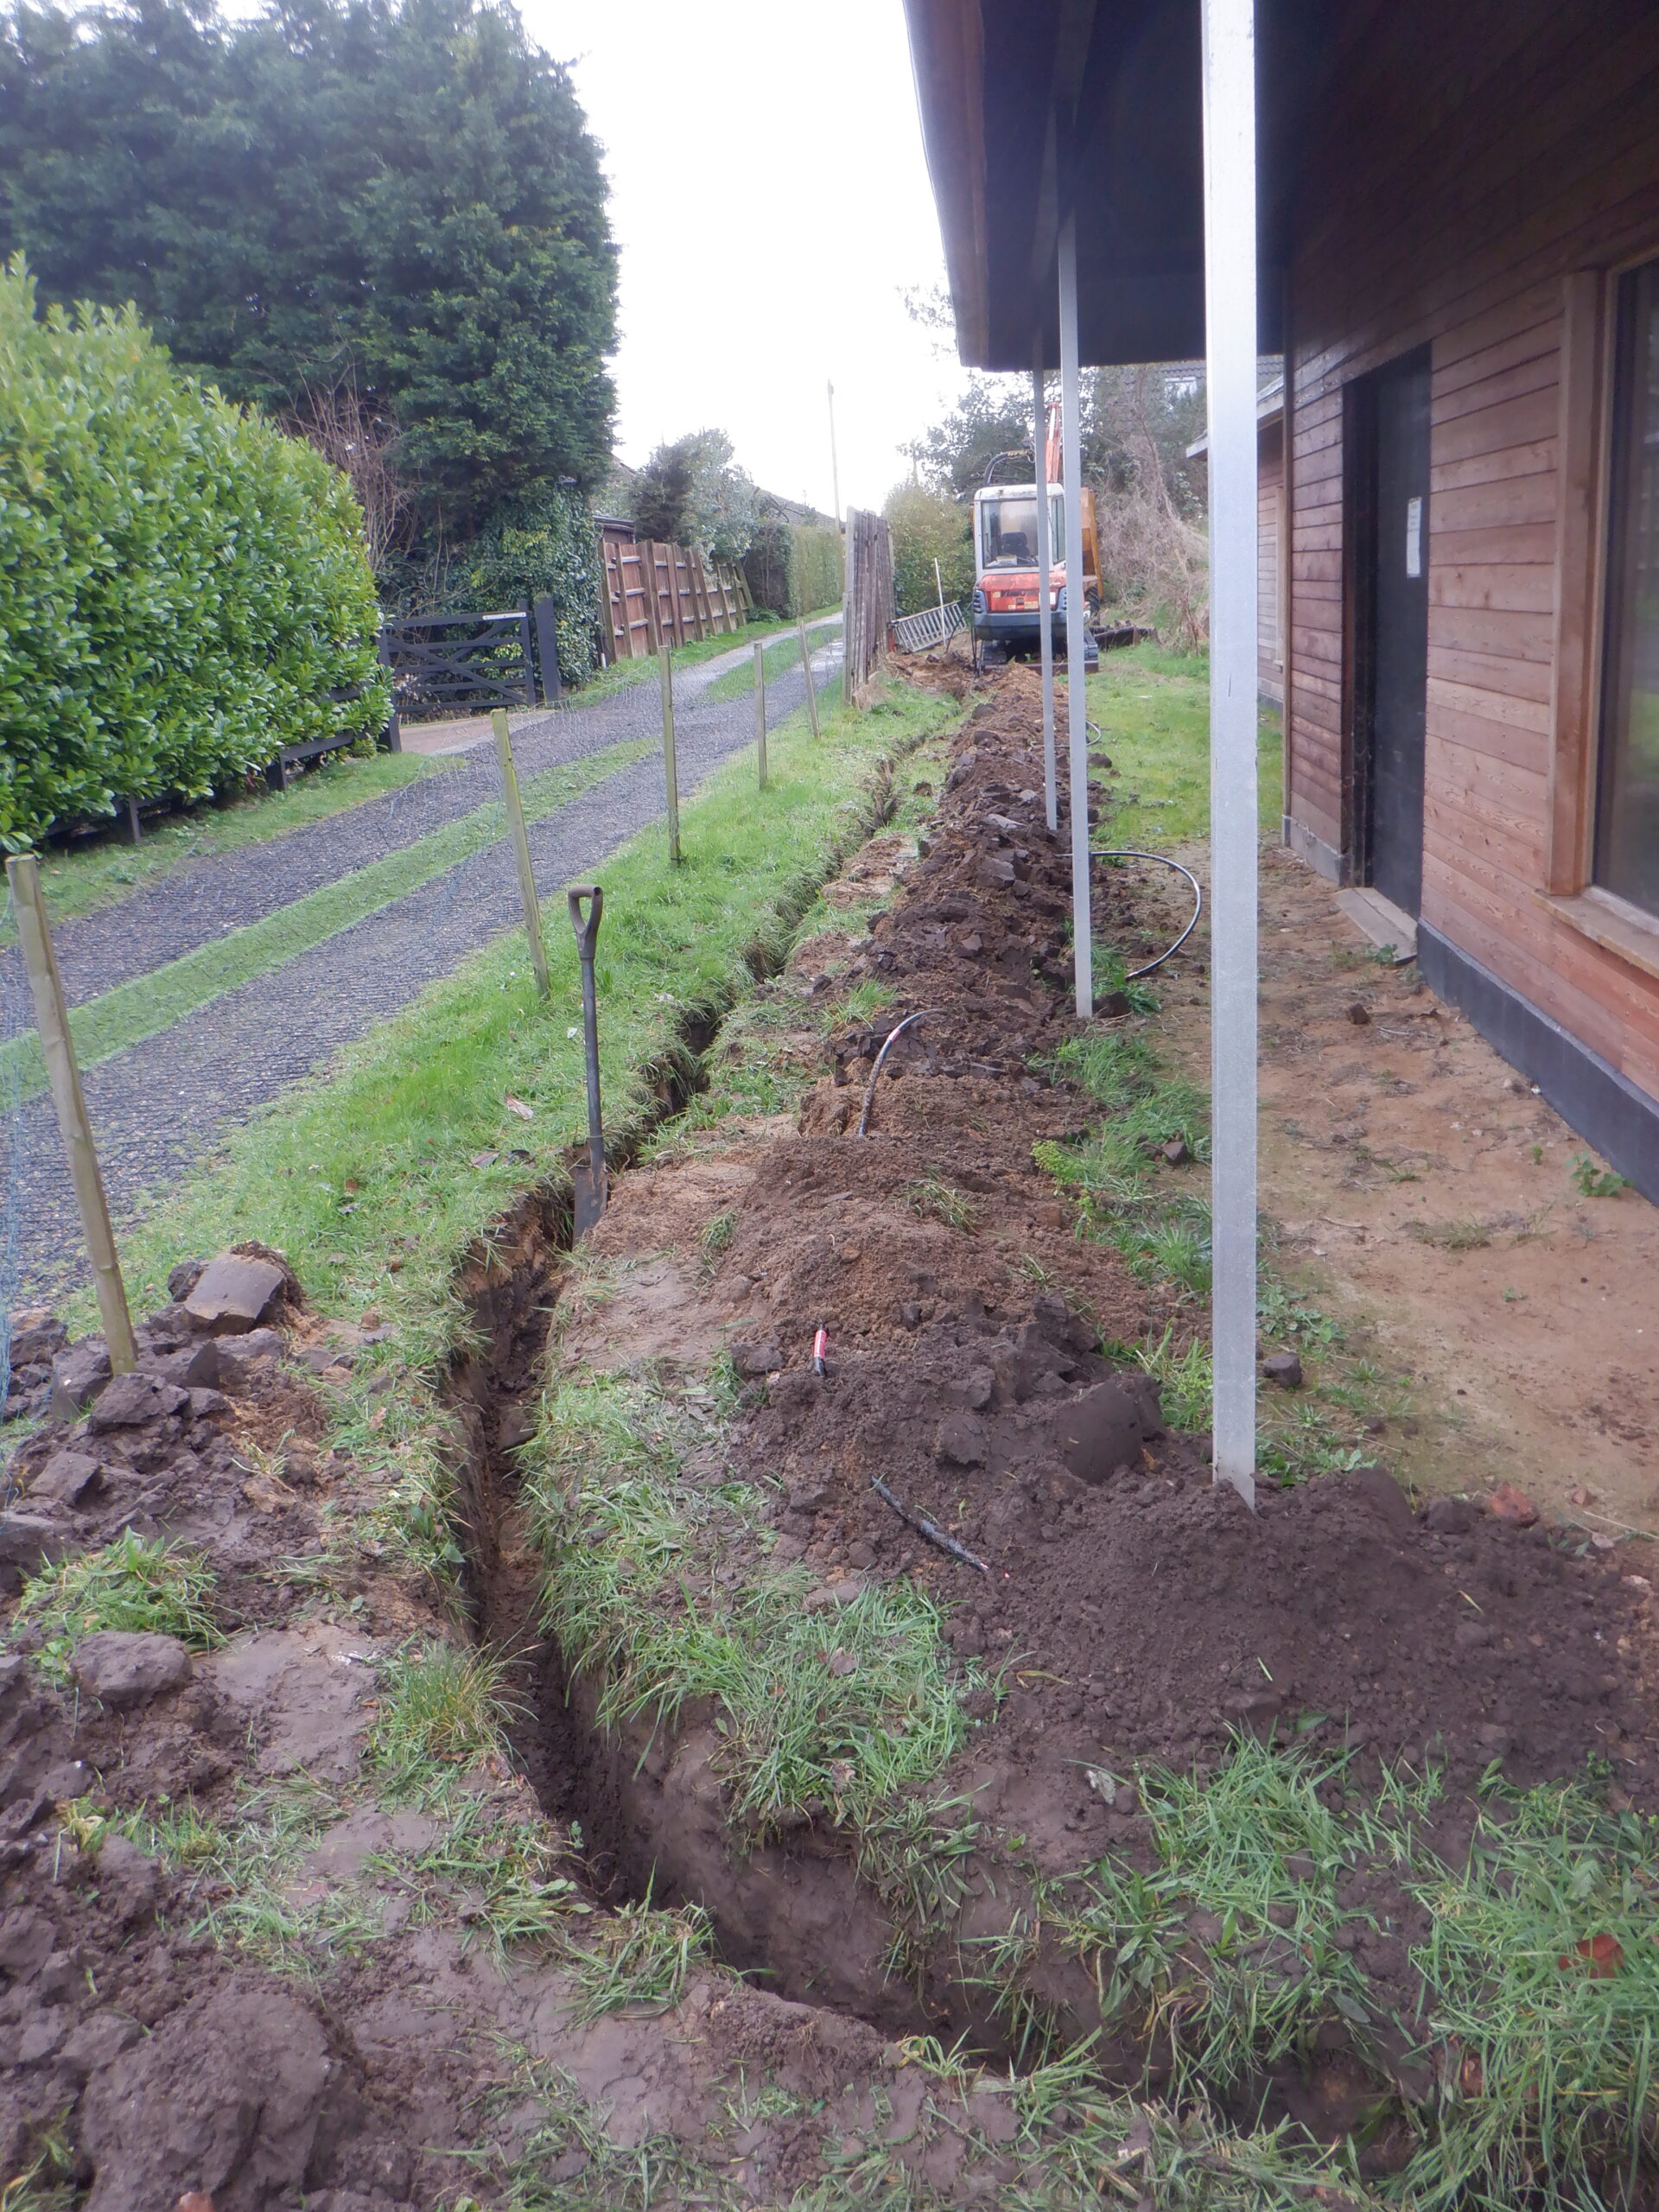
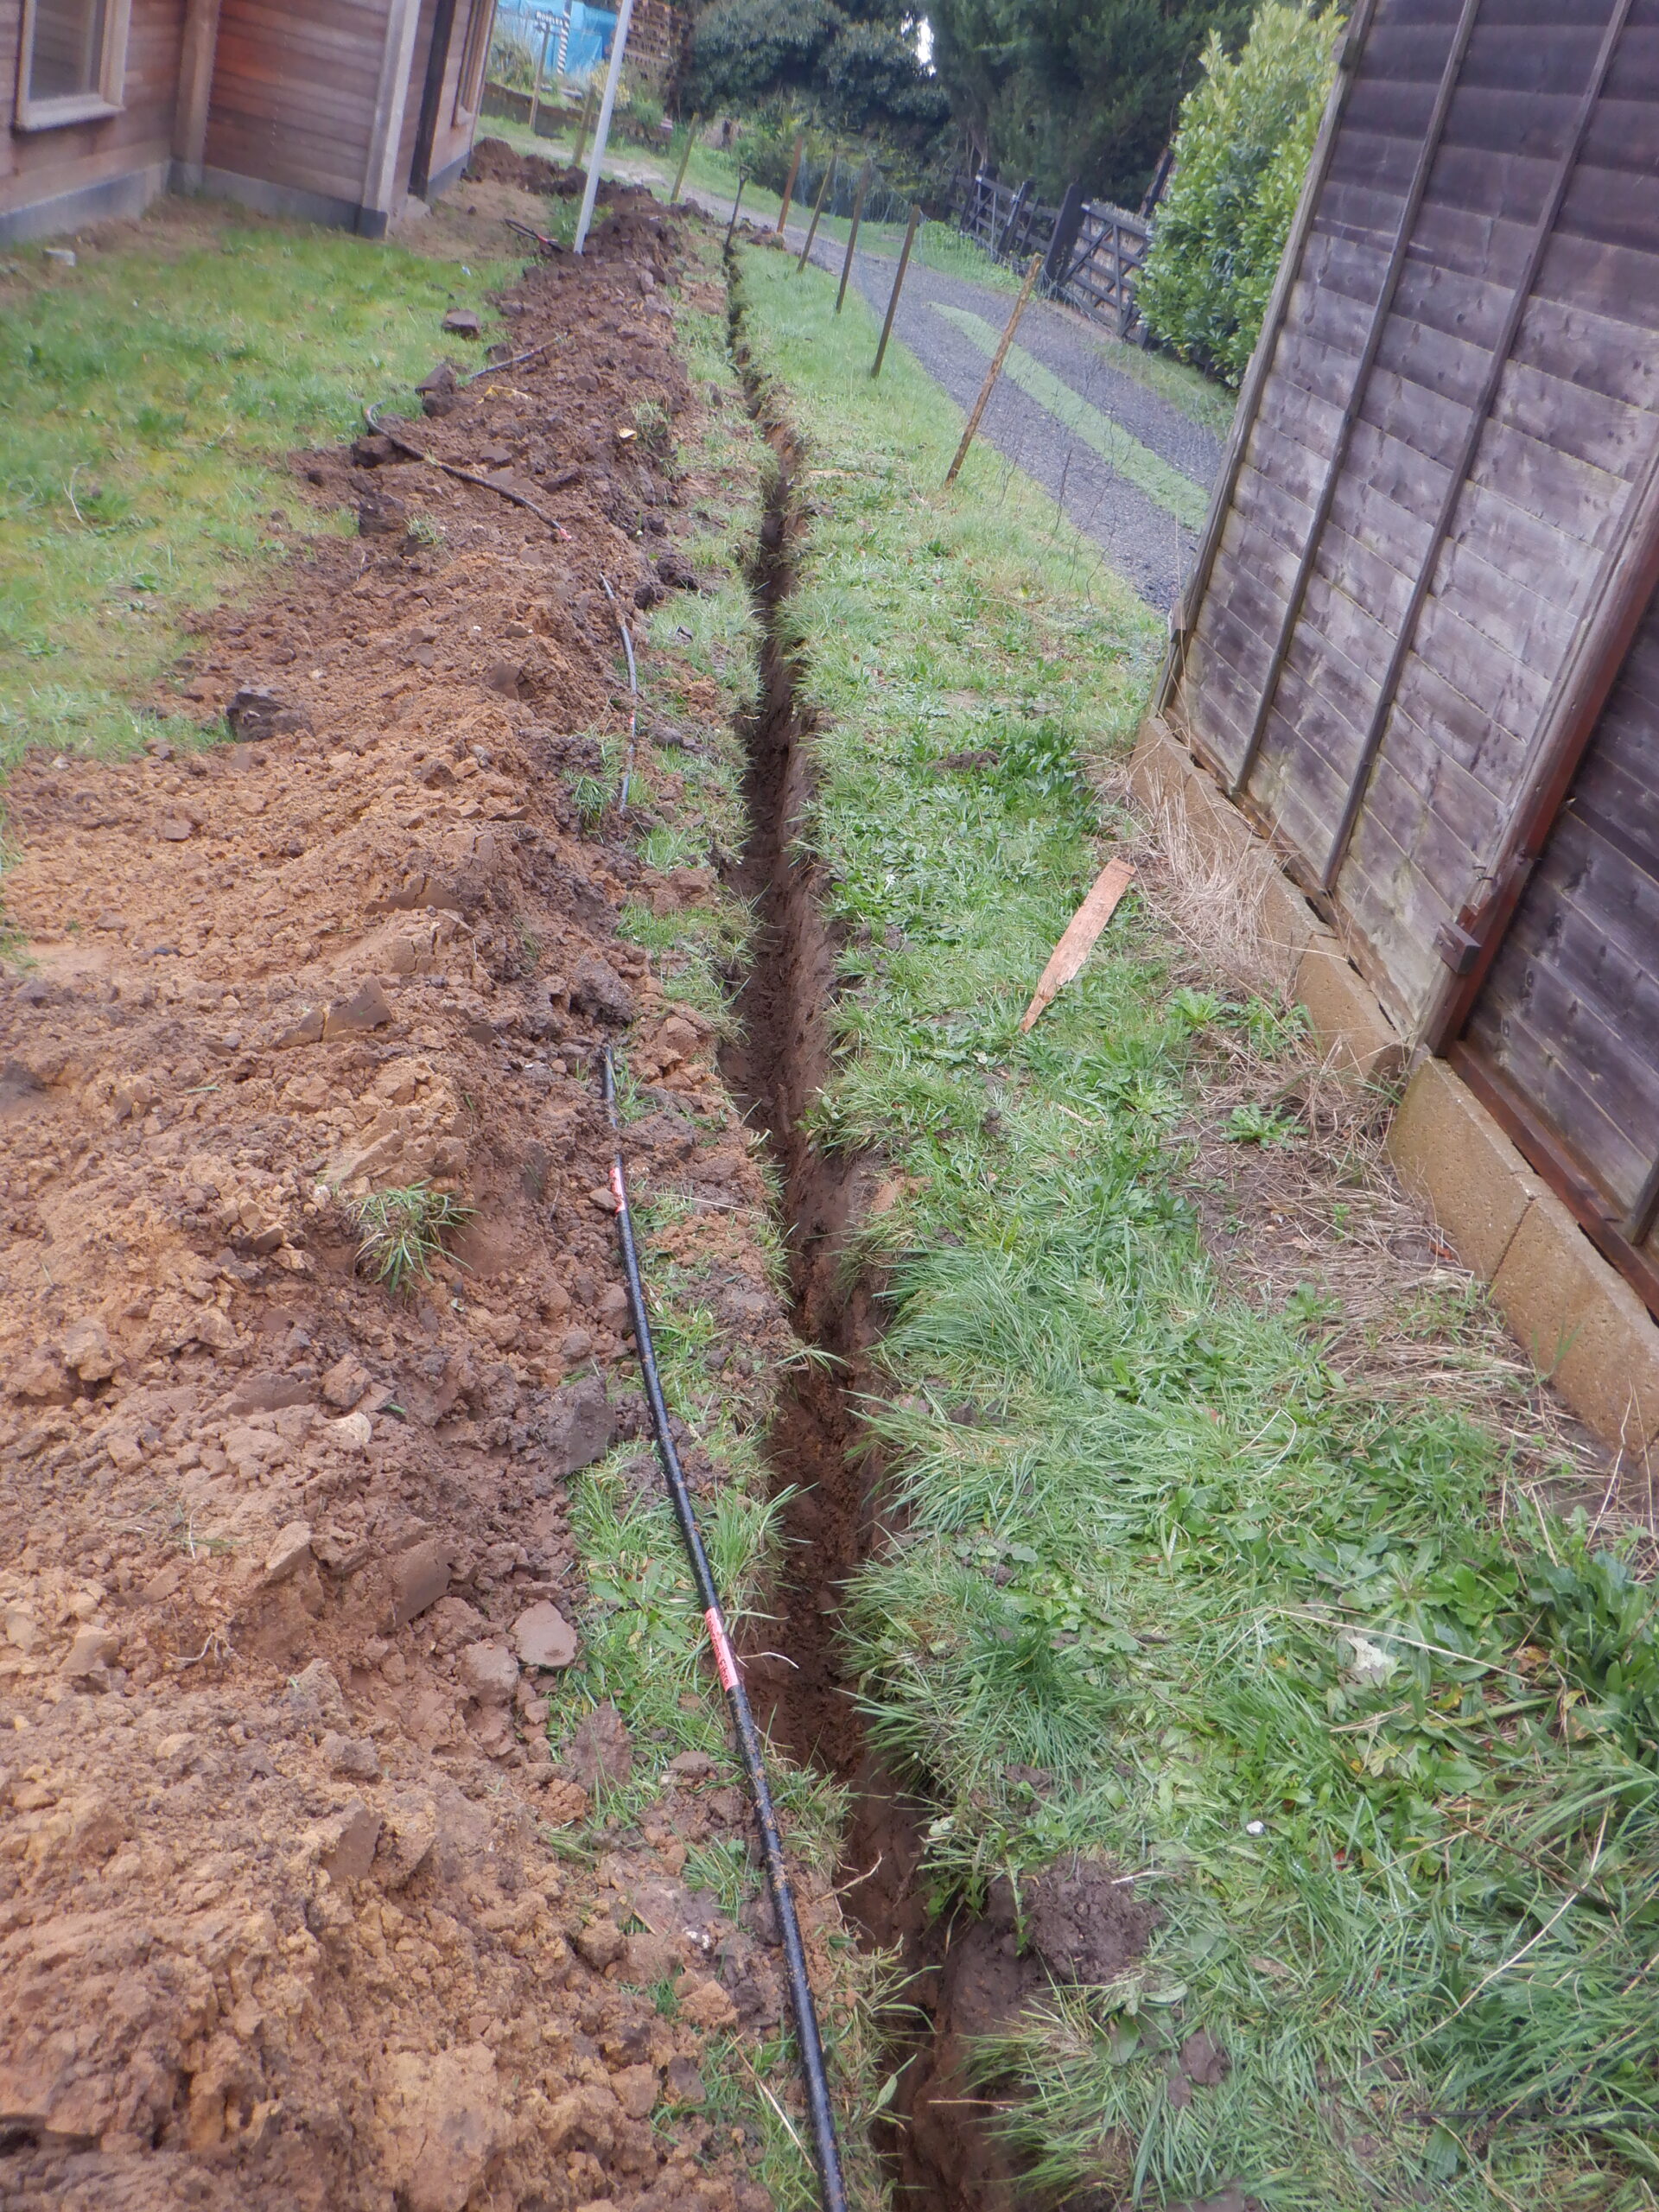
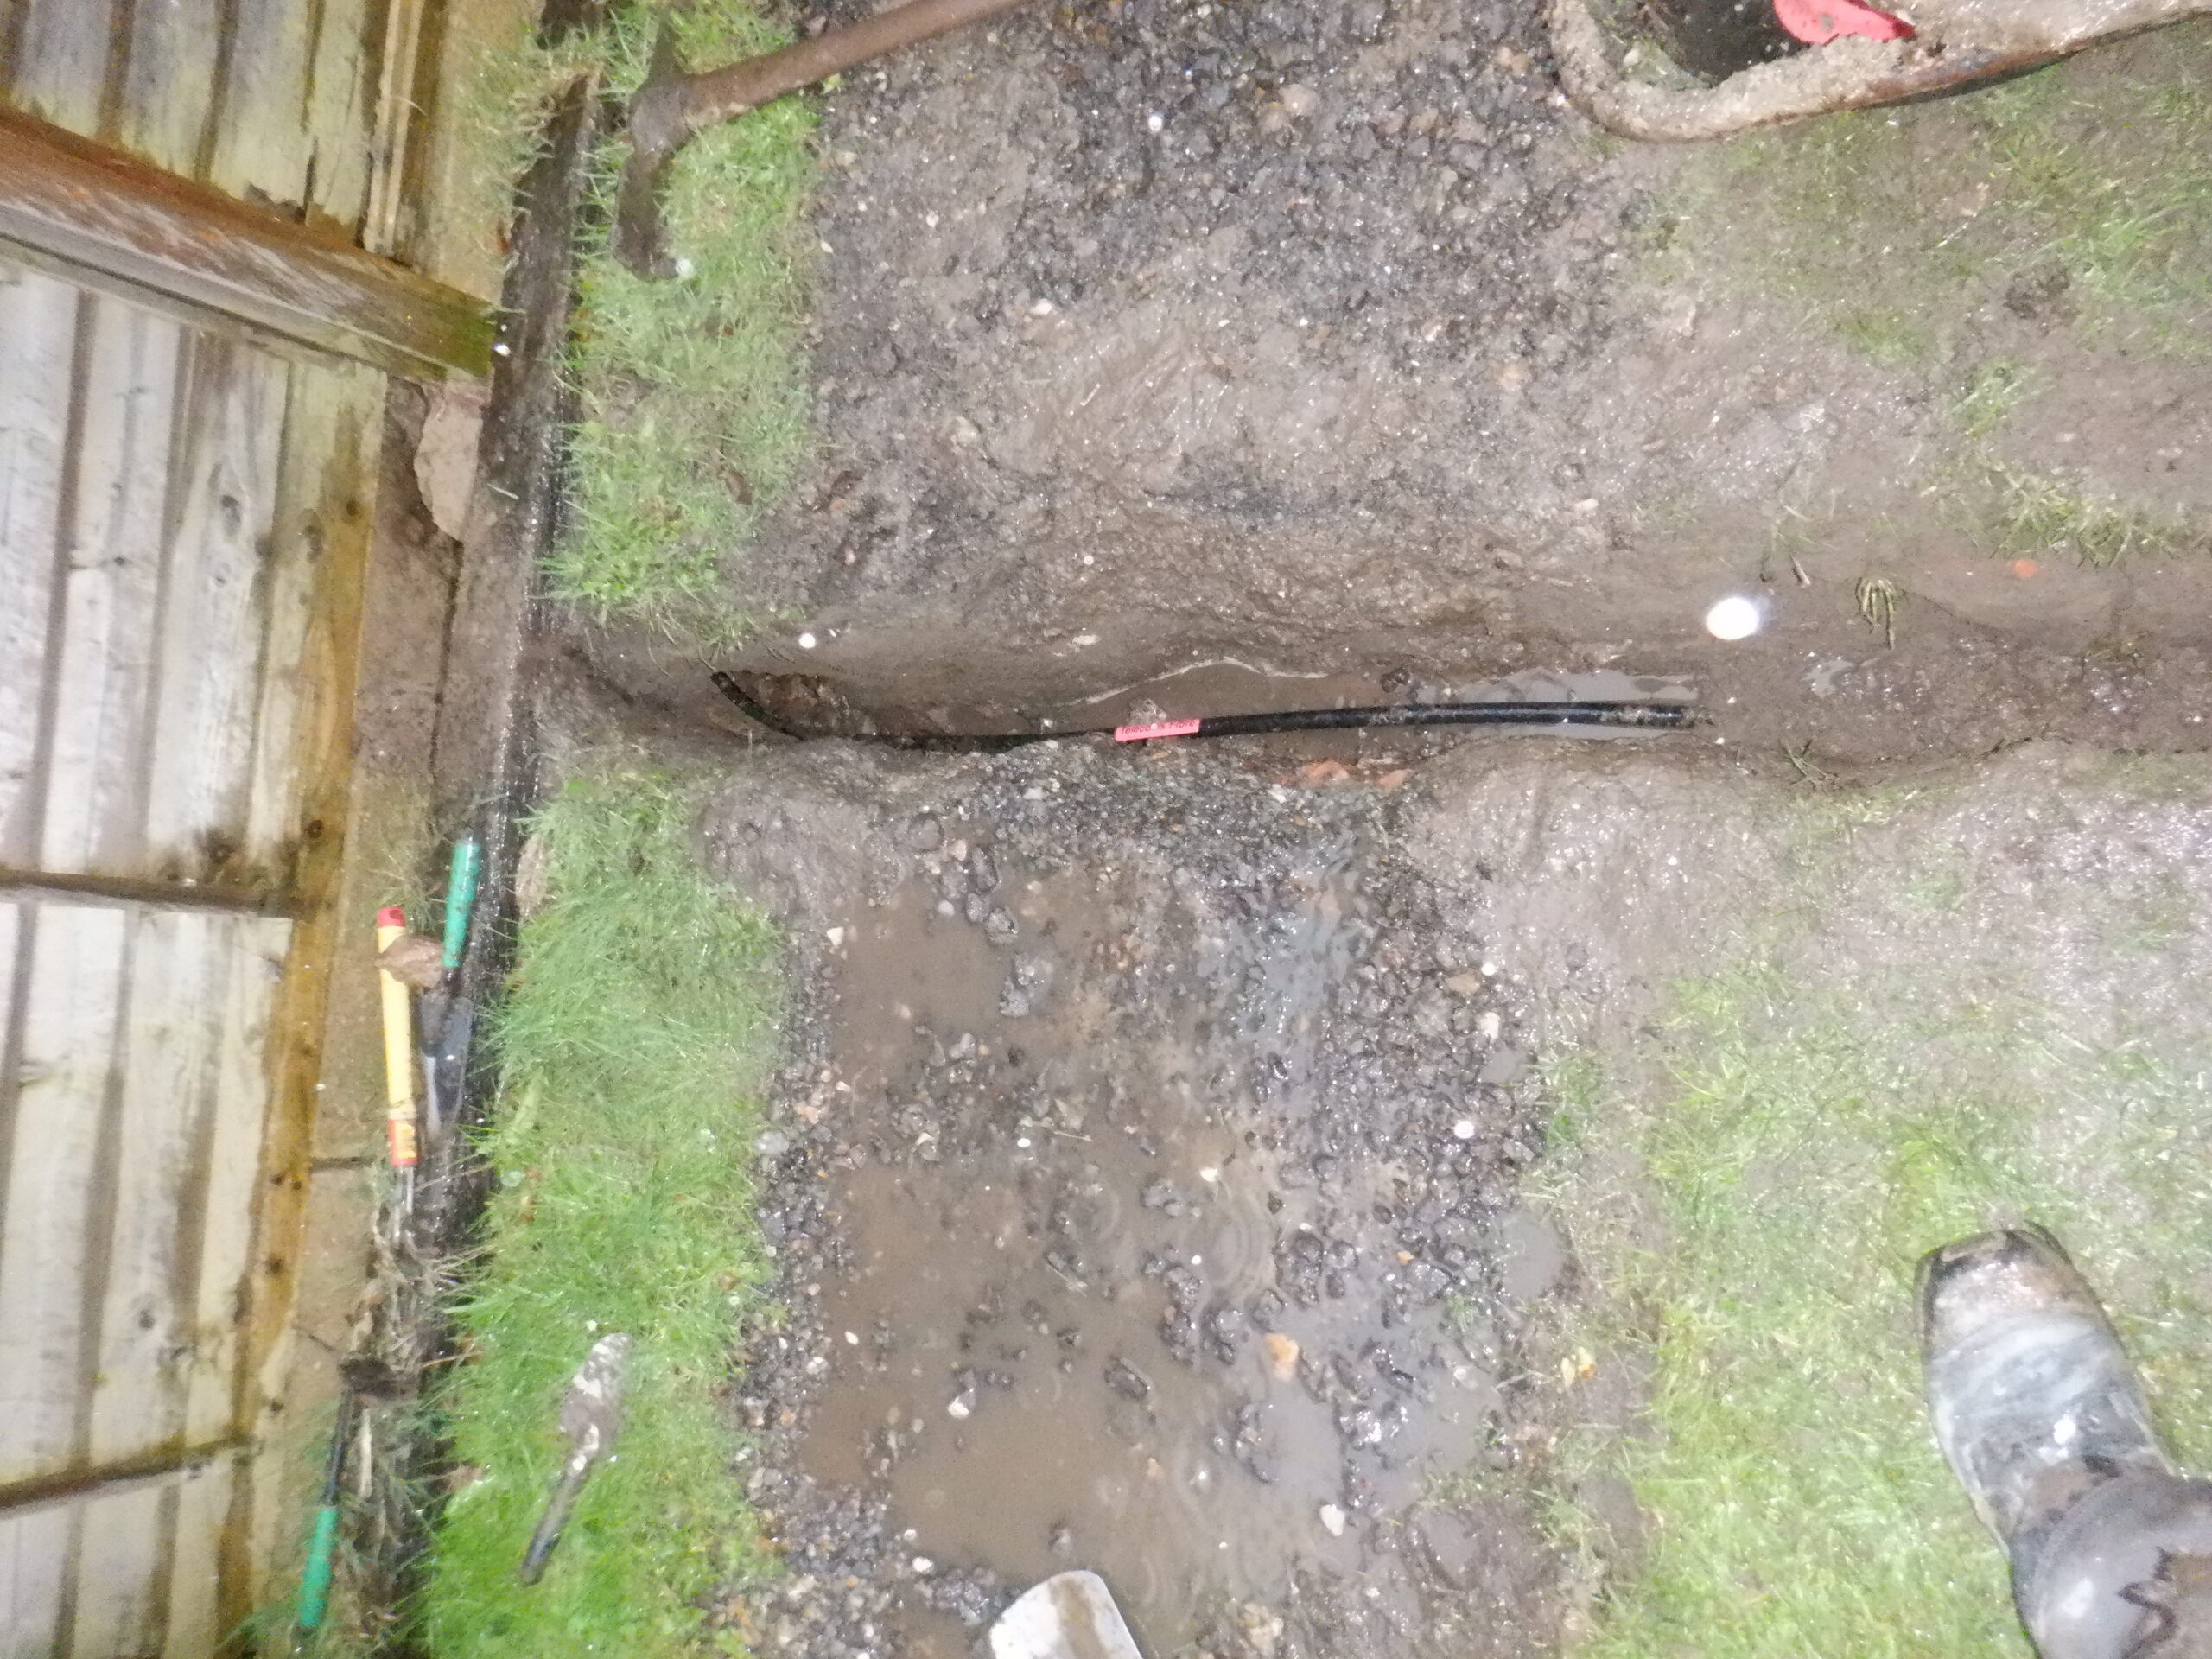
Then, outside, we cut a 18inch 450mm deep trench, using a narrow long bladed spade, coming away from the building at right angles, curving around in front of the front porch legs and near the fence line, continued all the way past our house and eventually, reaching opposite the telegraph pole that is located on the other side of our Loke.
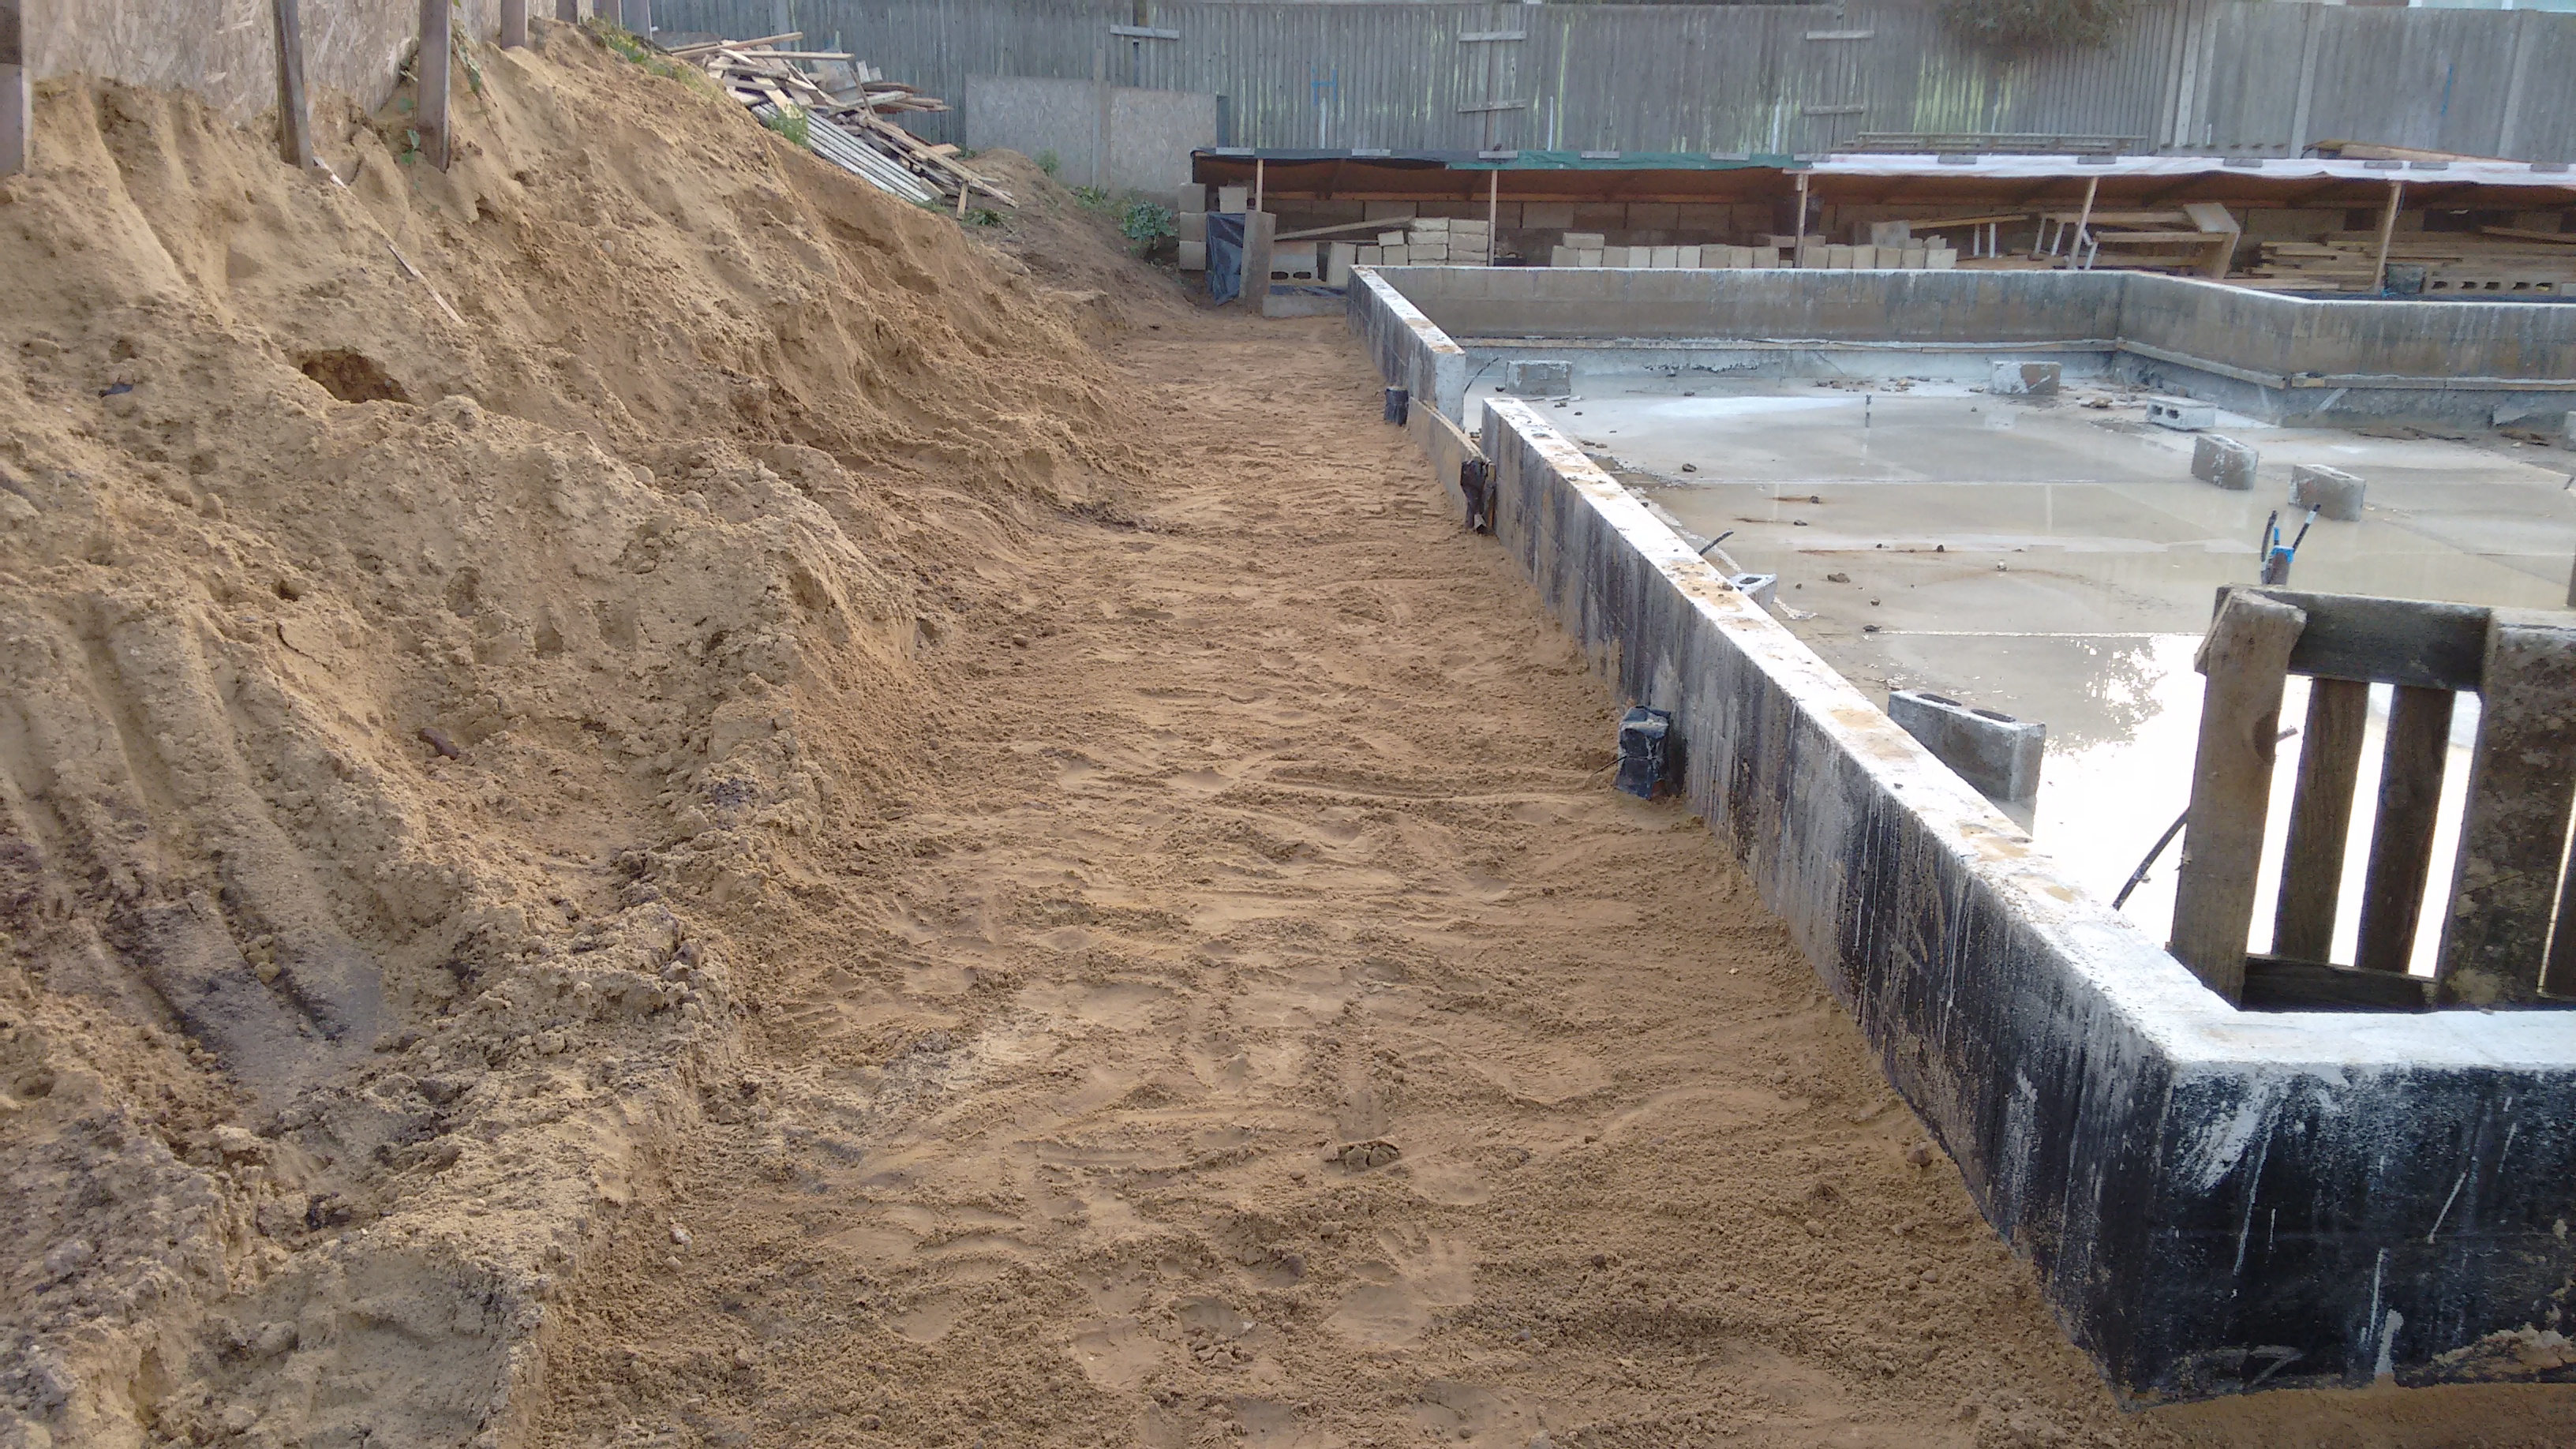
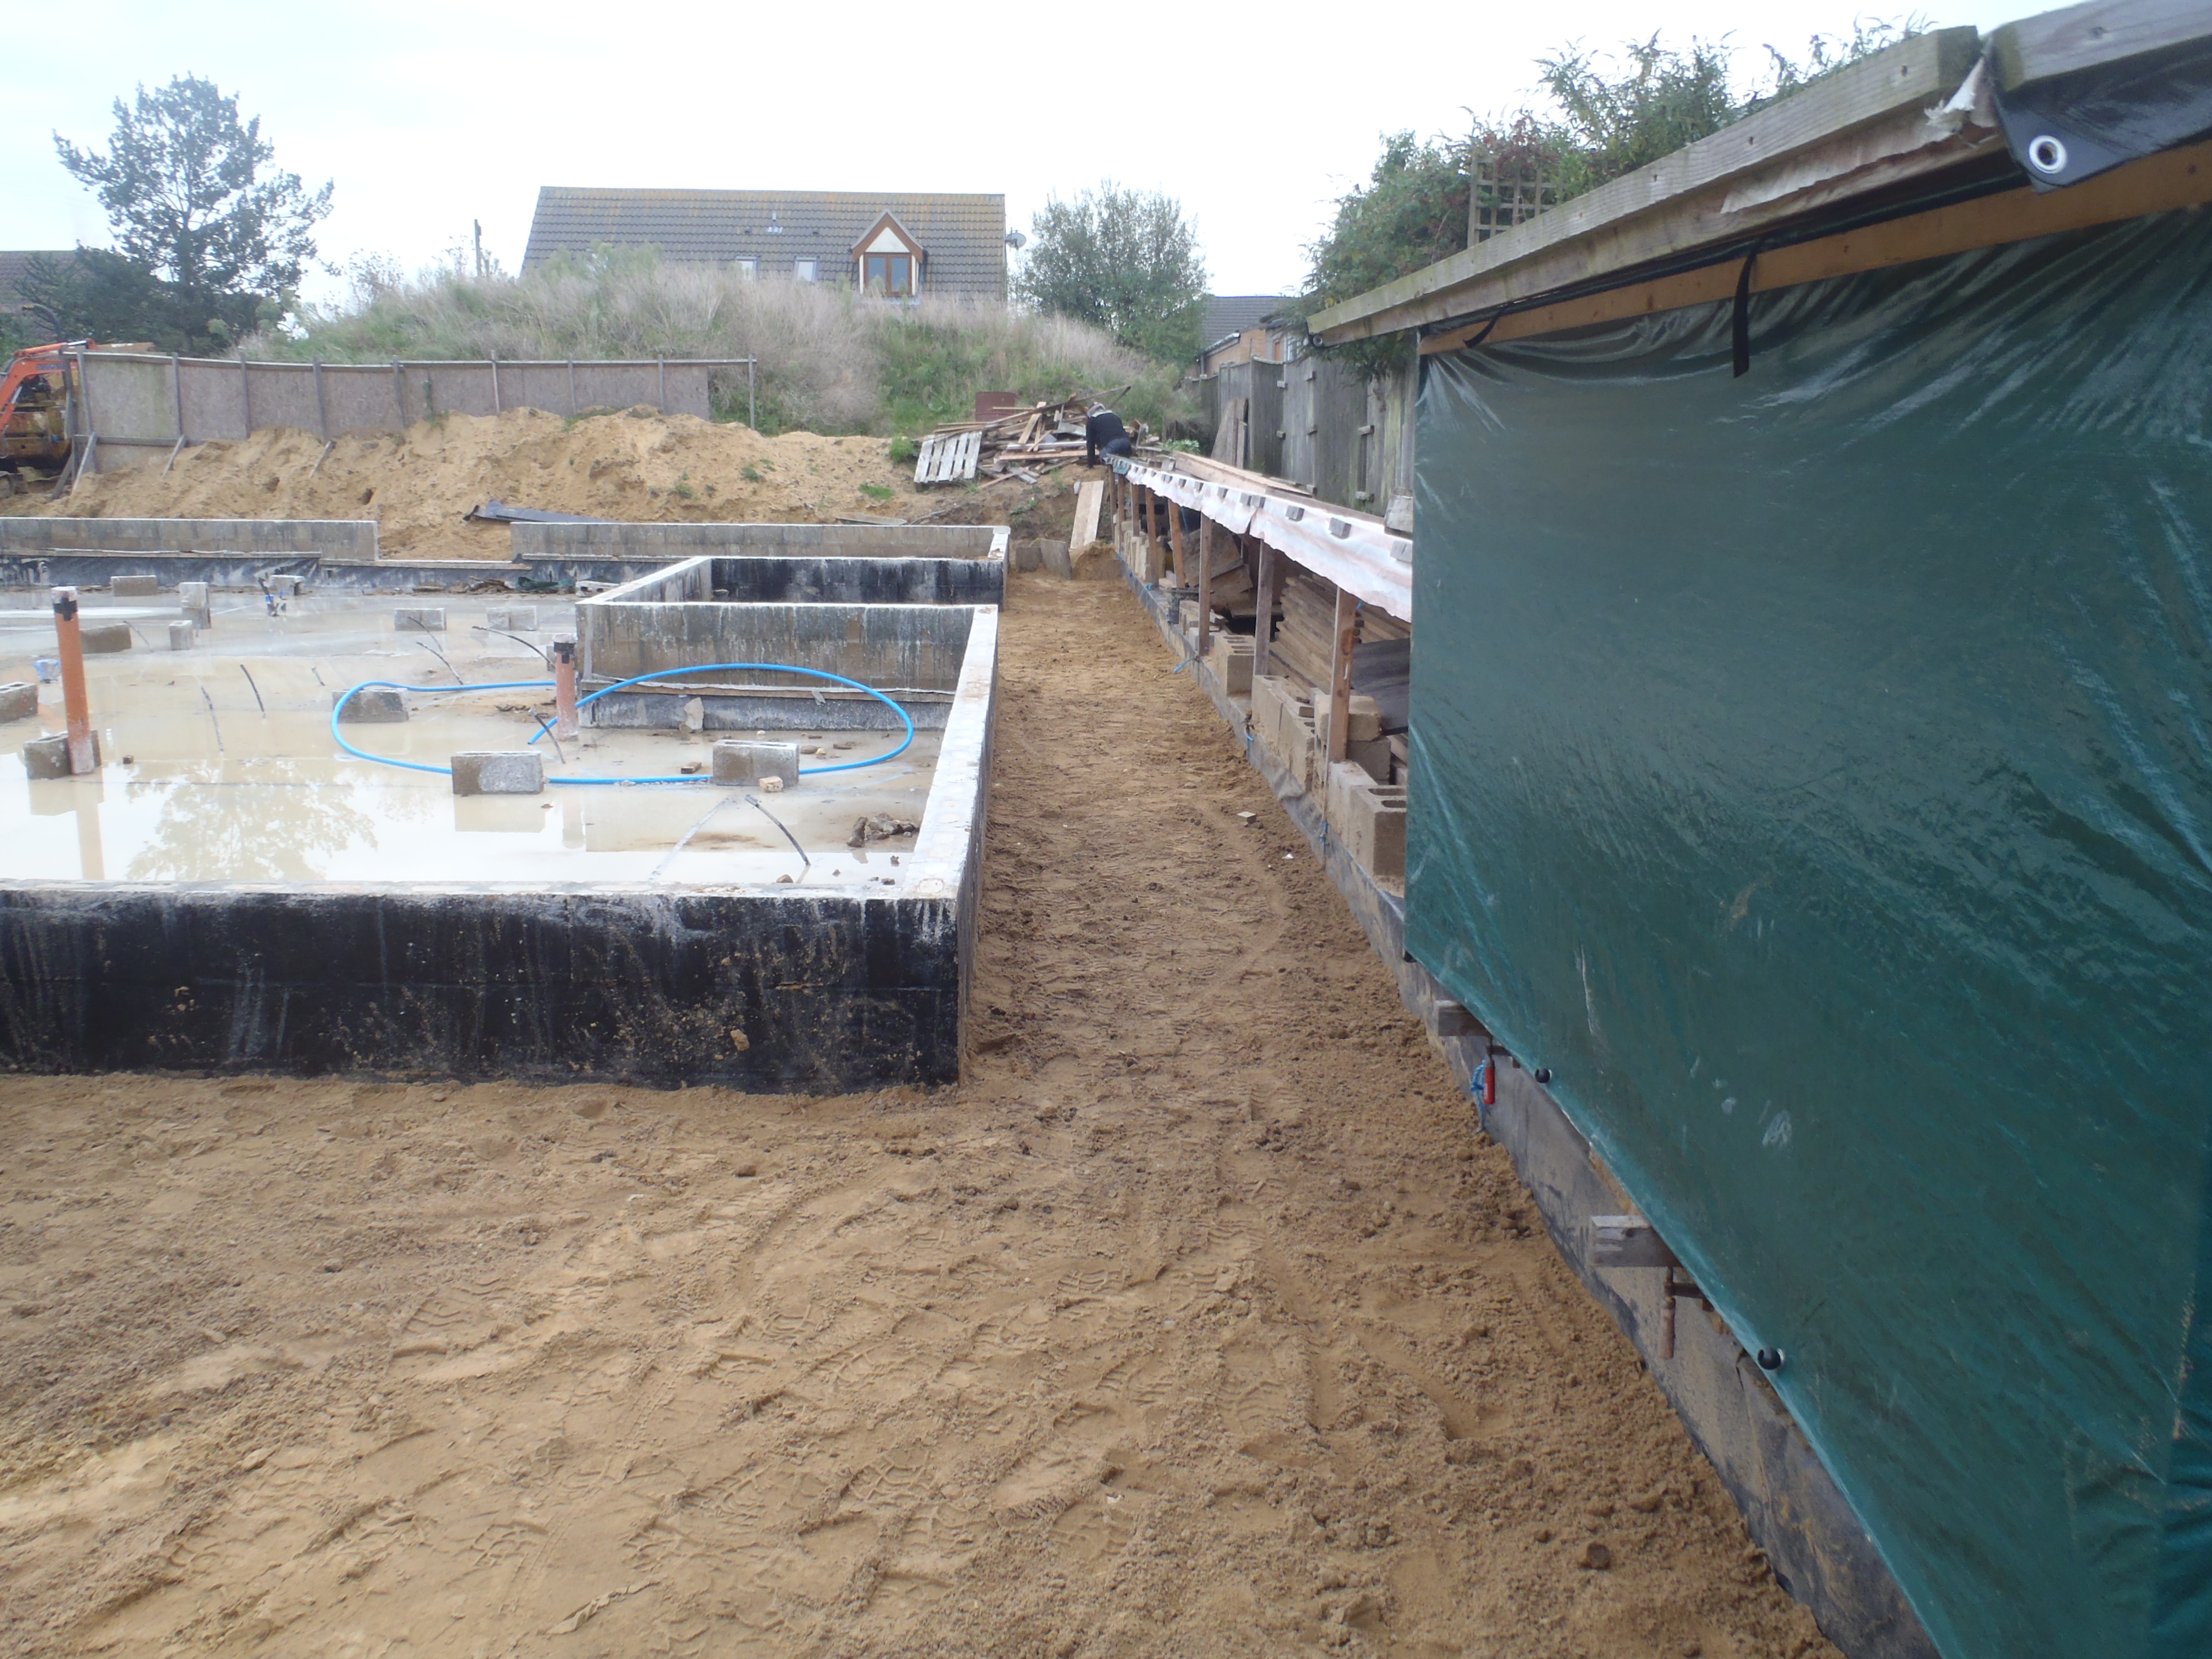
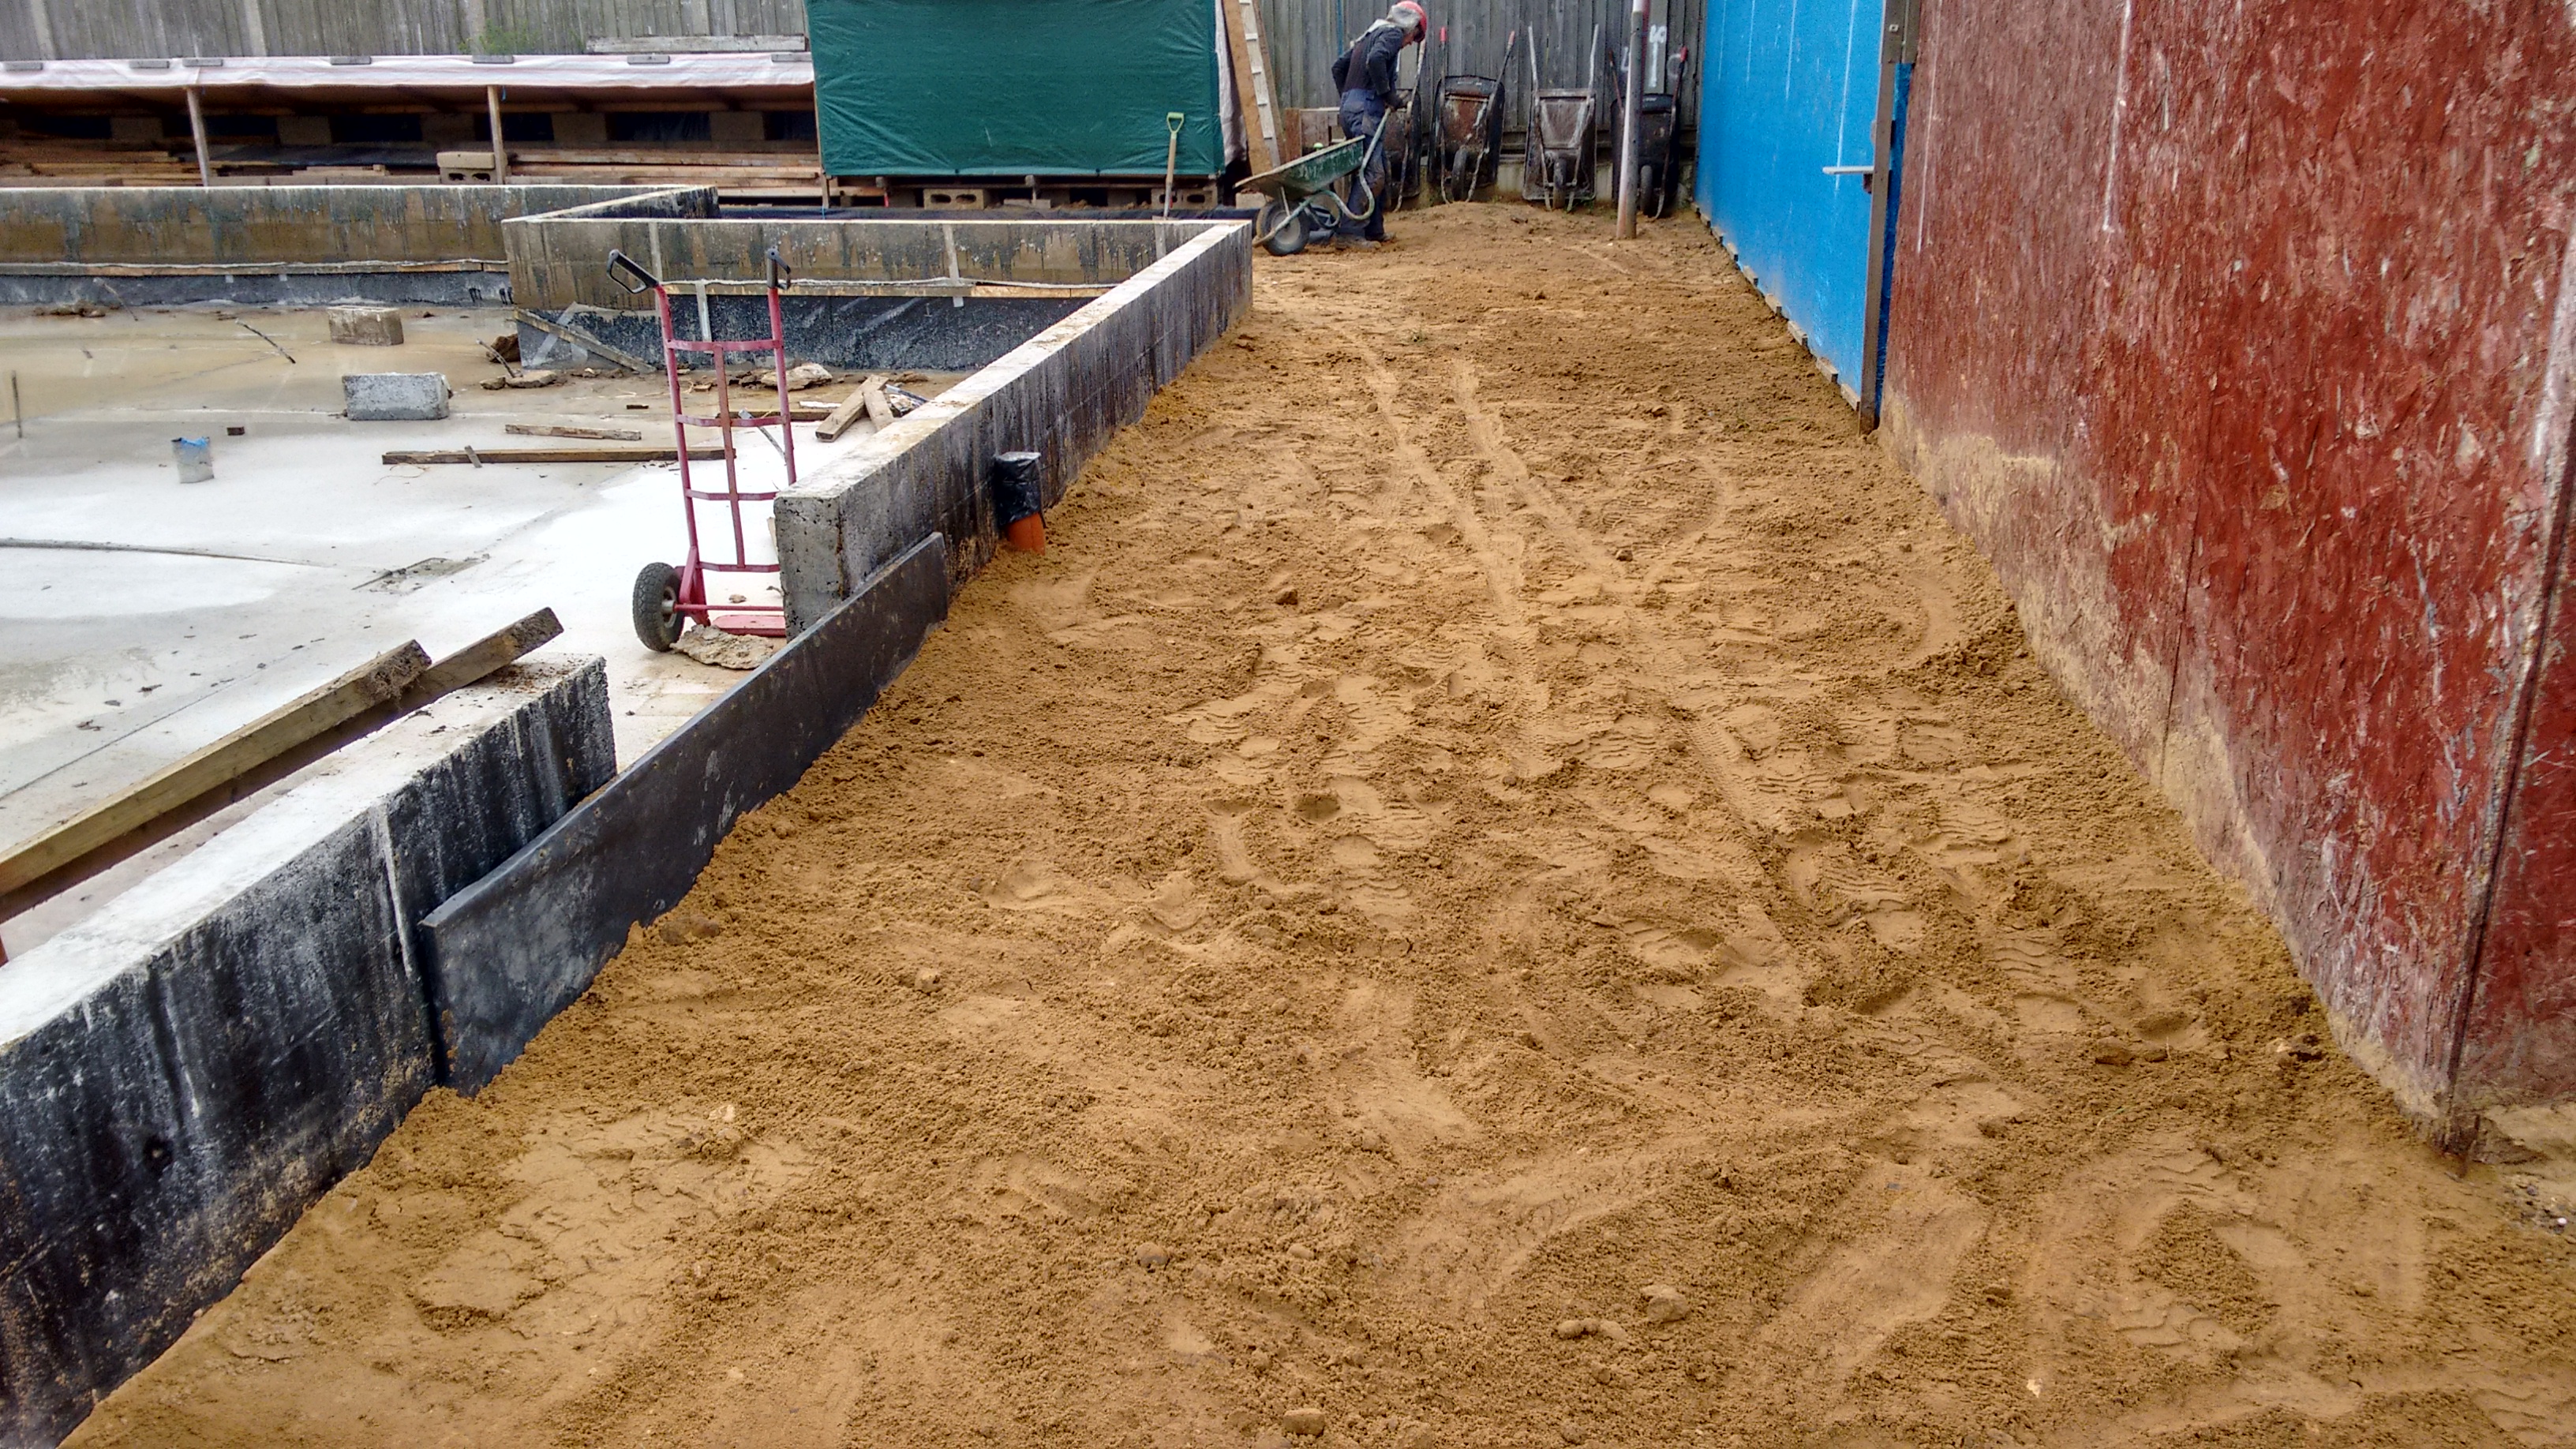
Fibre Conduit trench (1)
Fibre Conduit trench (2)
Fibre Conduit trench (3)
Fibre Conduit trench (4)
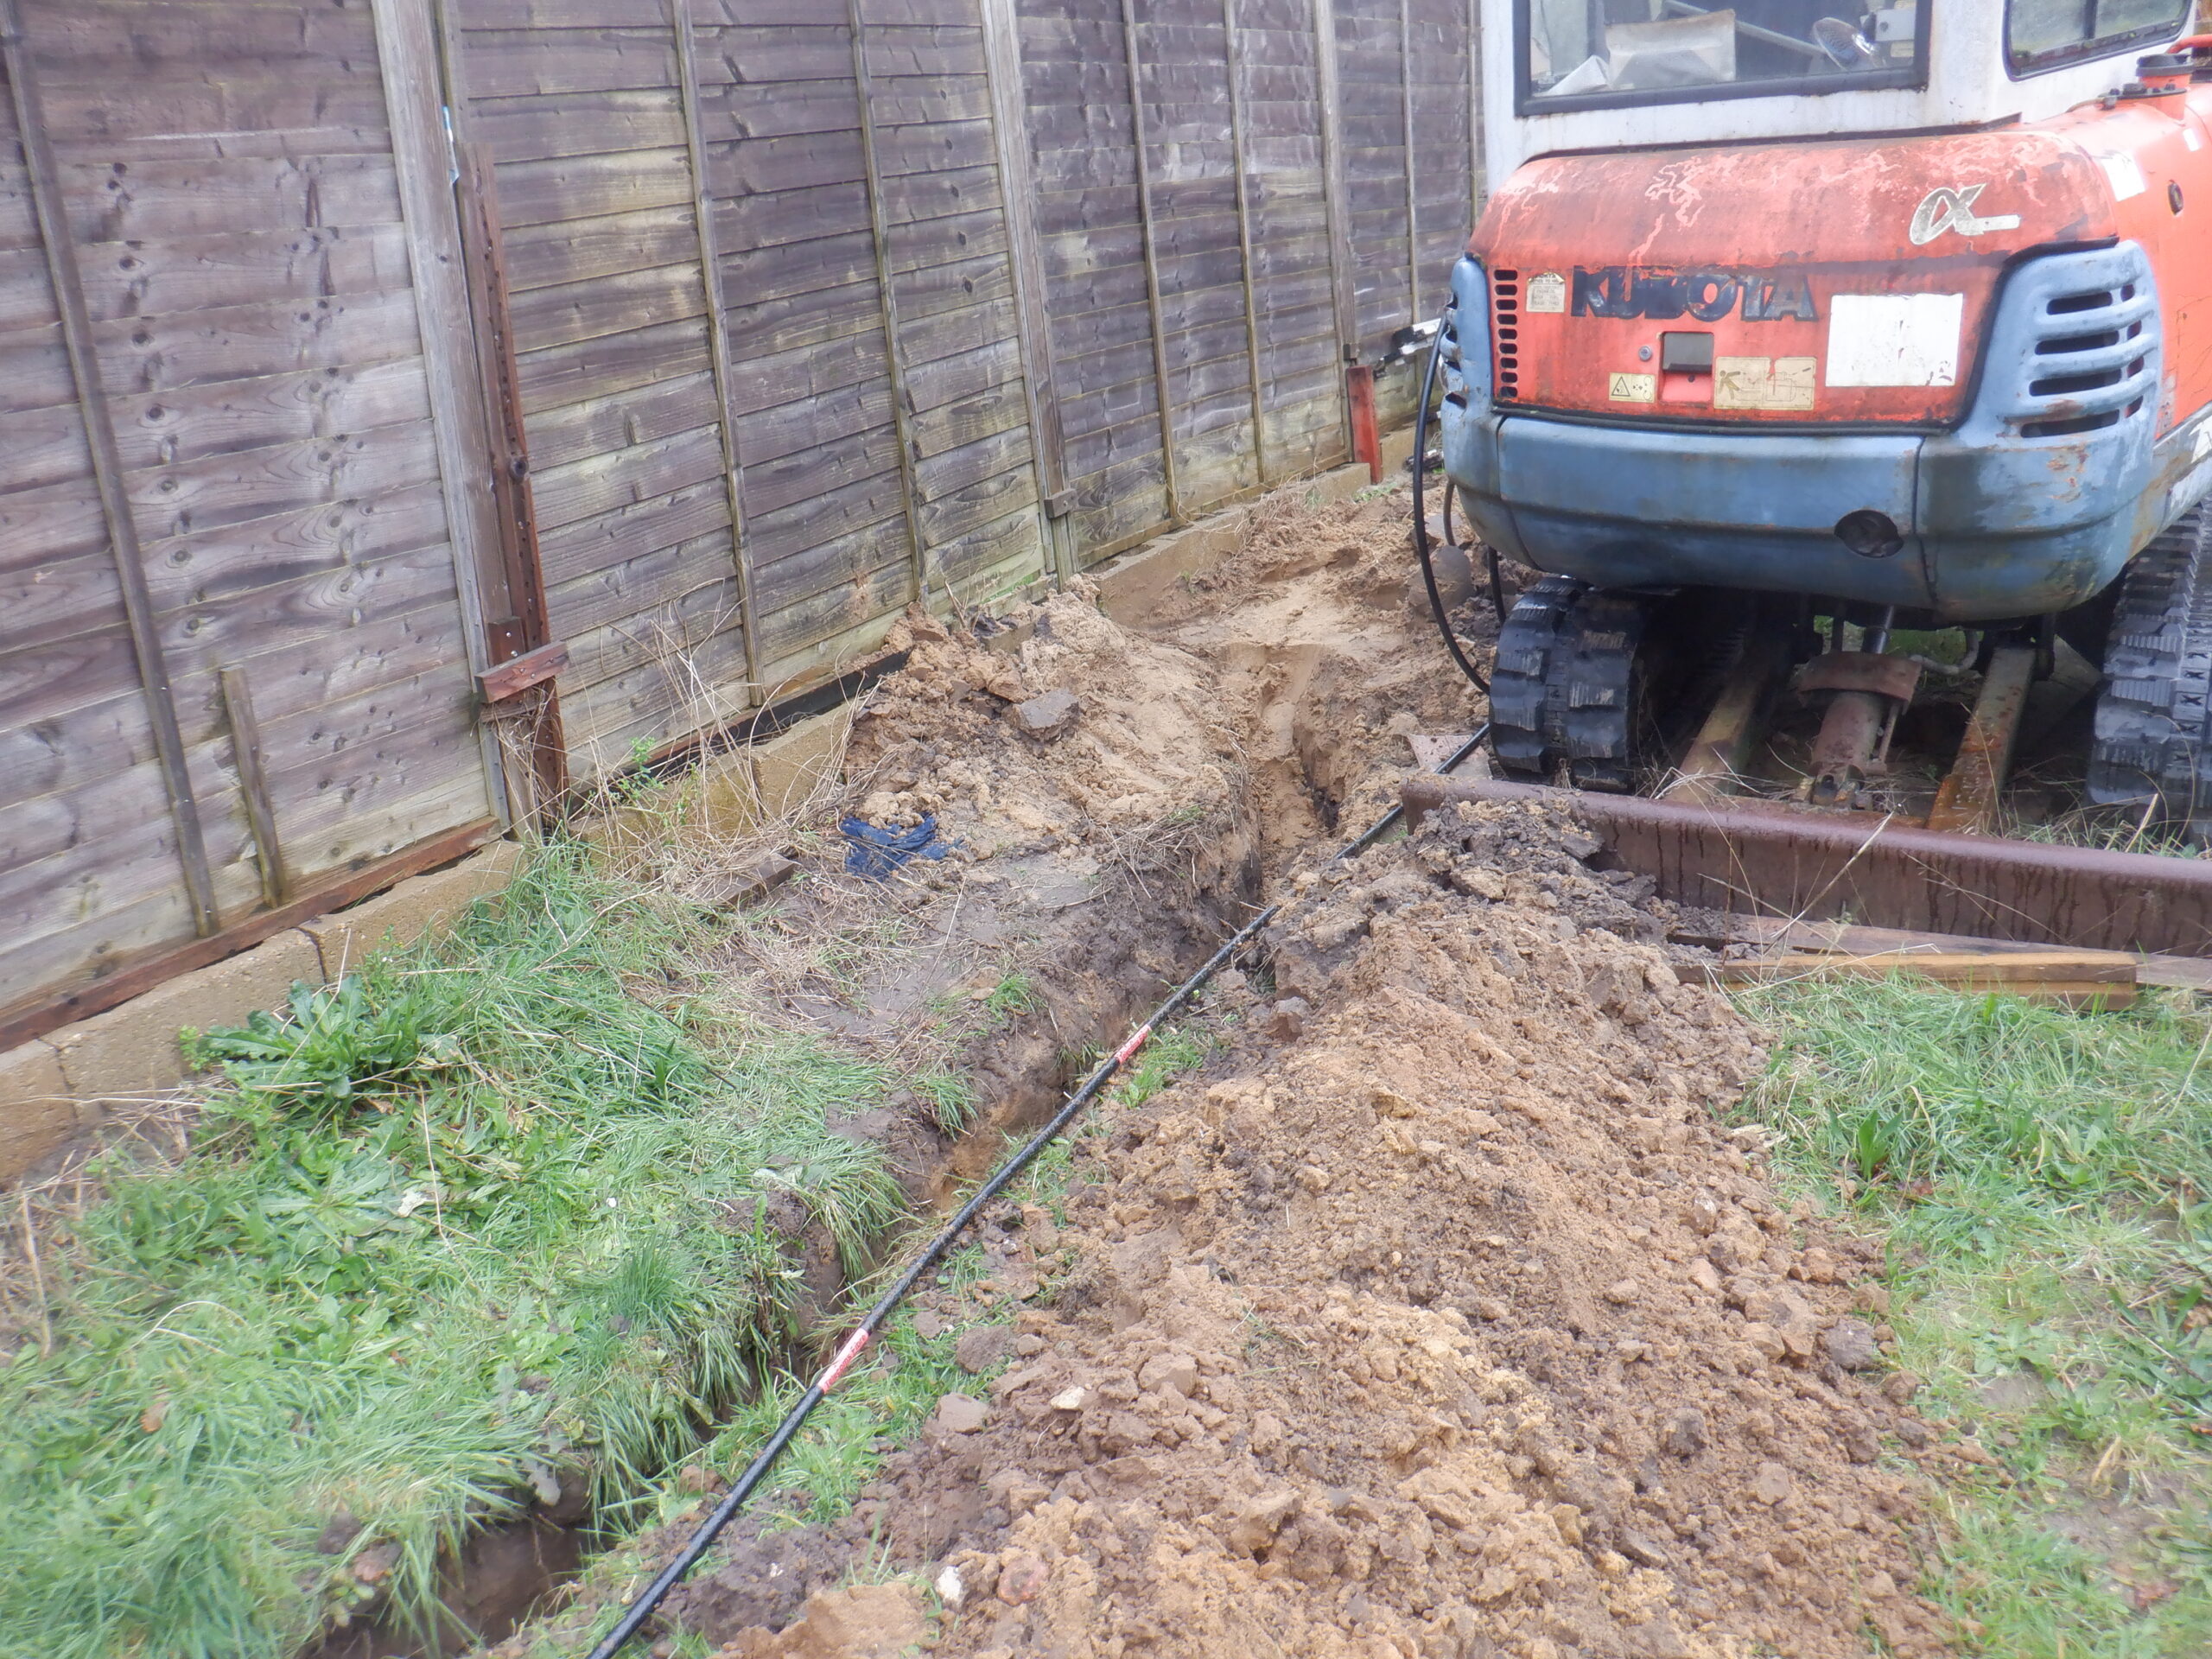
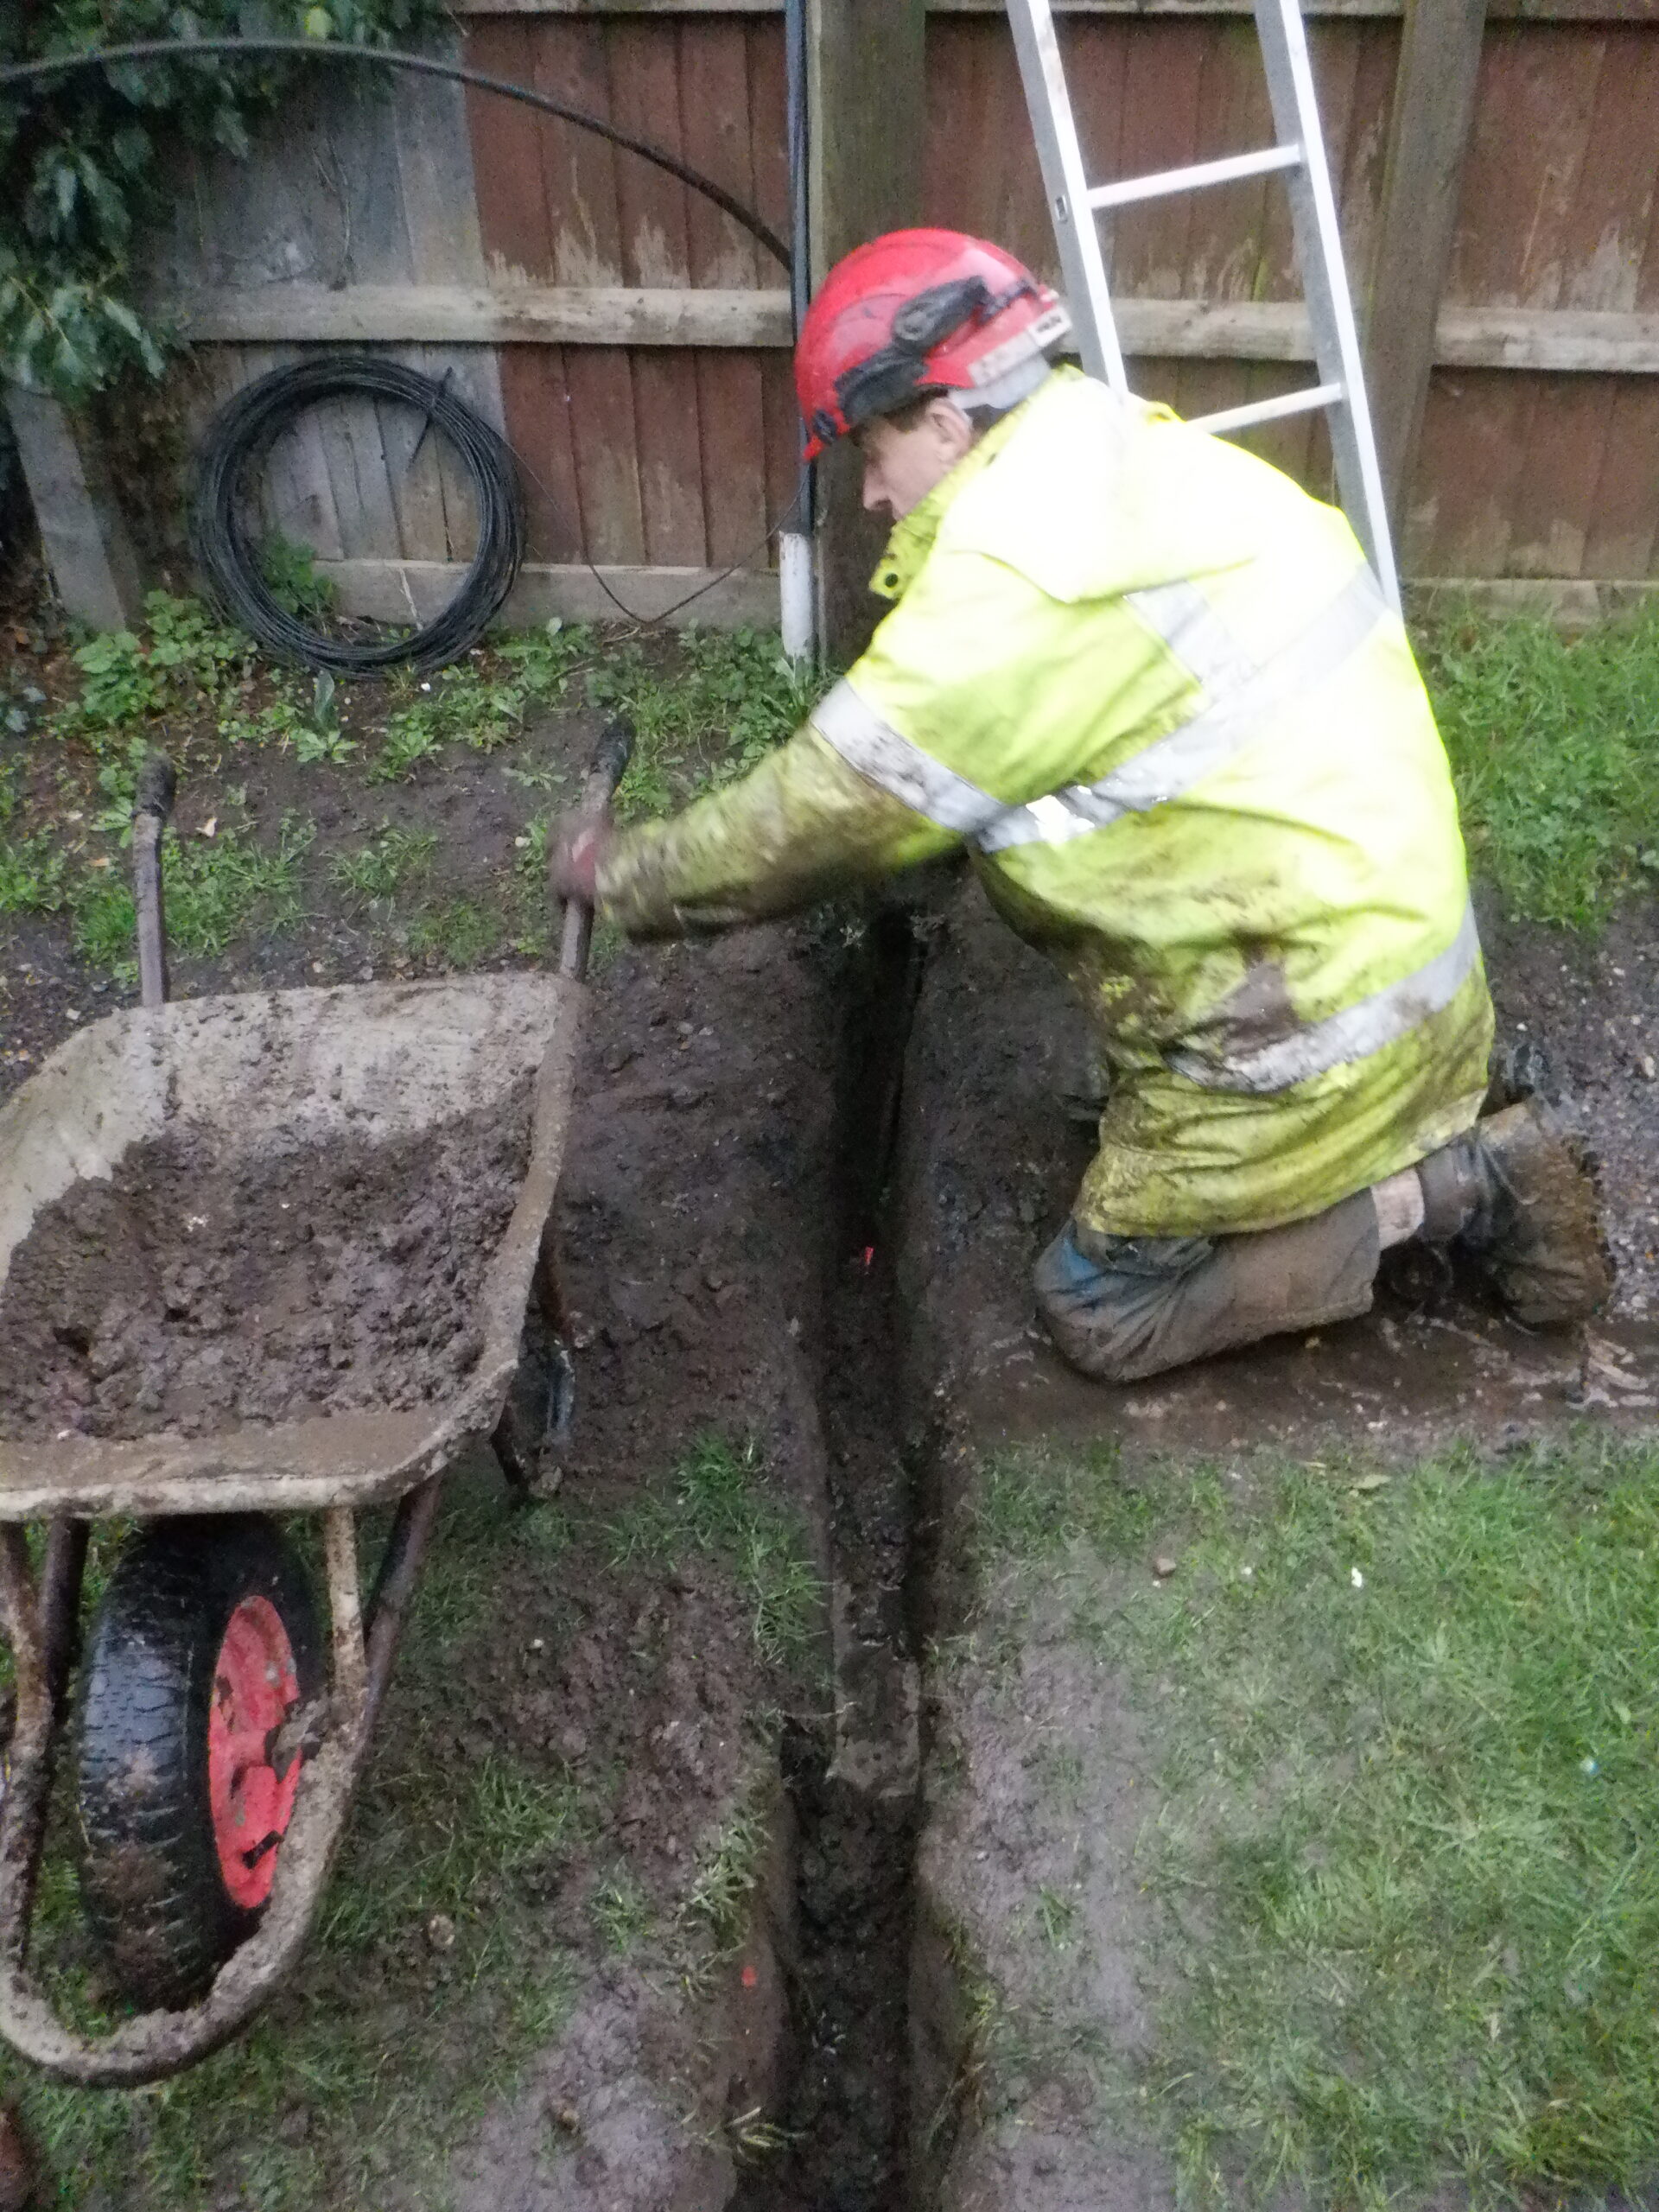
We then had to cut our way across the Loke, using our electric super heavy “kango” road breaker machine, to cut through the highly compacted tracks, to reach the telegraph pole. We were careful during this segment because there are existing utilities running up and down the Loke, so we only went down 12inch 300mm, to make sure we avoid accidentally hitting a gas pipe, mains electricity and water. We did find a virgin media conduit and also we did discover our own previous conduit for our telephone and we skipped underneath both of those ones.

Fibre conduit across Loke (1)
Fibre conduit across Loke (2)
Fibre conduit across Loke (3)
The conduit pipe snaked around to the back side of the pole and then climbed up another 3metres, held on using three copper pipe clips and stainless steel screws.
The next task was to thread the fibre optic cable that was coiled up and left behind by the engineers, waiting for someone to thread it into our garage. So, we did the job for them!!
We sucked a length of string through the pipe using our most powerful vacuum DIY cleaner machine and join the end with the fibre optic cable and reversed the process by pulling the string back. We had measured forty-three metres of conduit that we used to go from the Tech Cupboard, all the way to ten feet up the telegraph pole! It was hard work pulling that length of cable back through the conduit, but, slowly, and finally, we made it !!
Fibre comes into Tech cupboard
At this point, there was a pause of some days while we waited for the OpenReach engineers to come back with the necessary fibre optic junction box and modem which will convert the laser light into an electrical network signal and that point, we can plug it into our network, and it is all done .. Just Like That !!
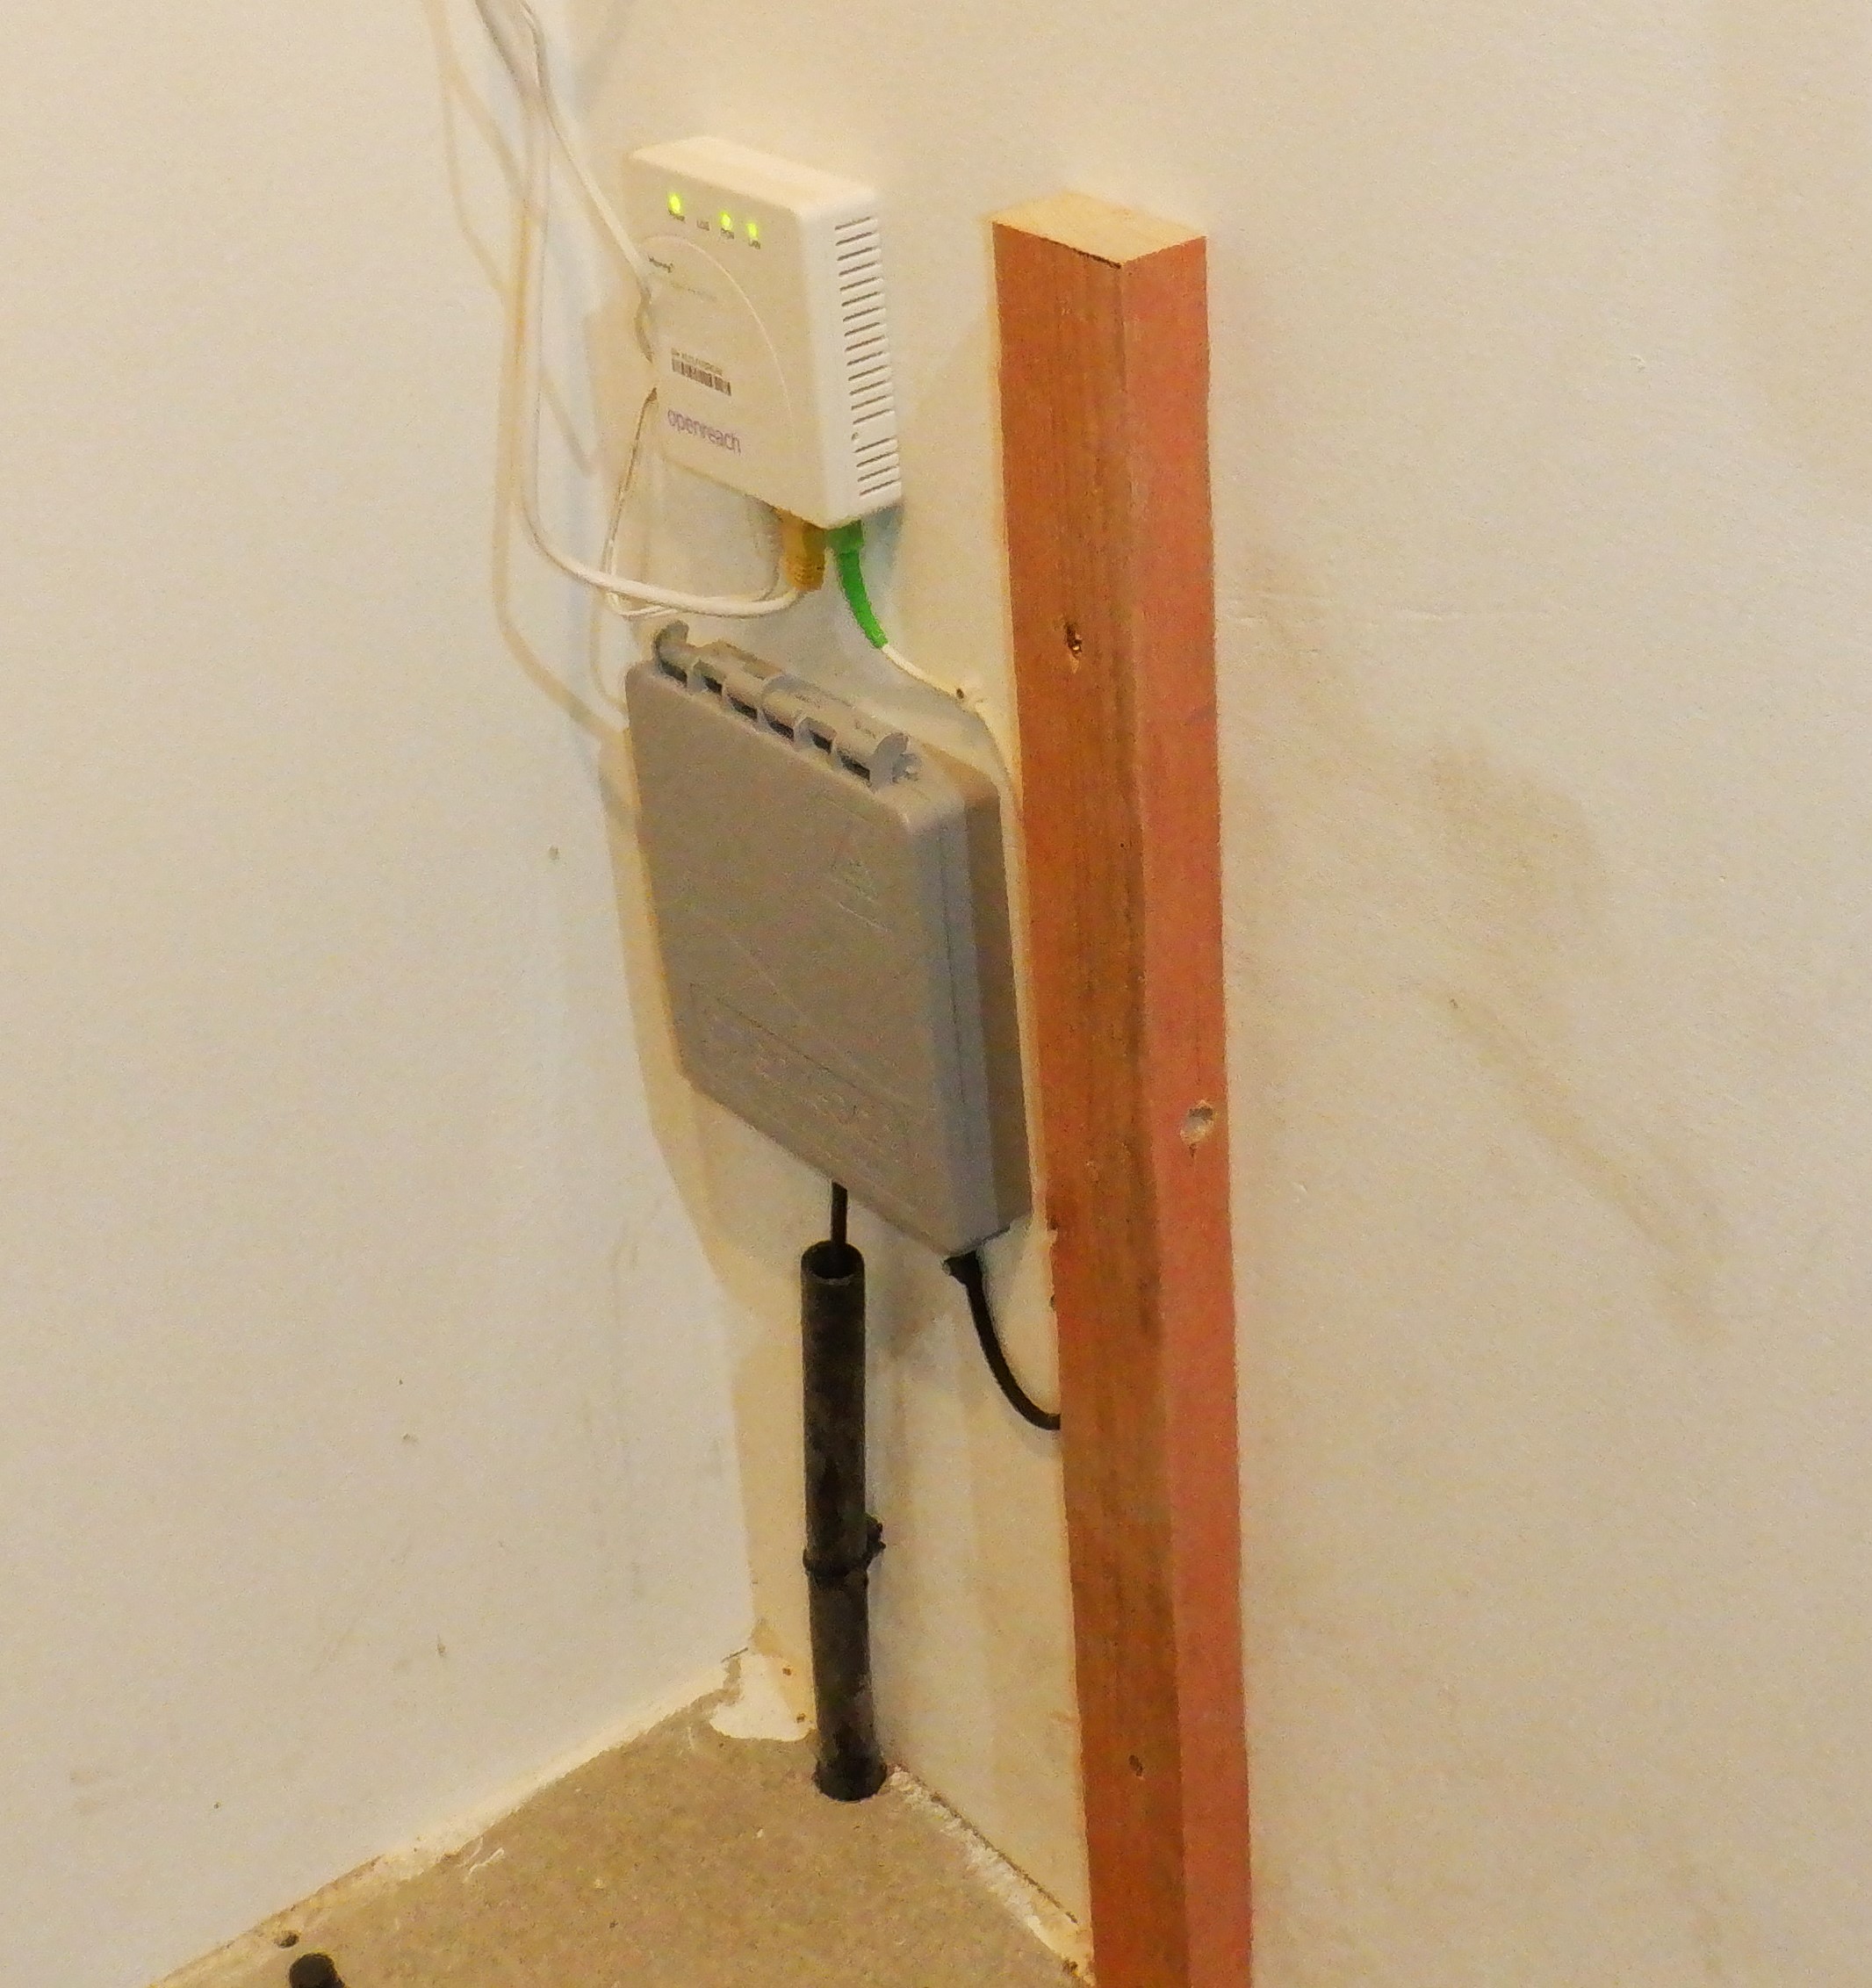
Broadband Fibre all connected
We now have 500 megabits download speeds and about 75 megabits of upload speed, all only costing us a very similar price to our old broadband connection! Amazing!