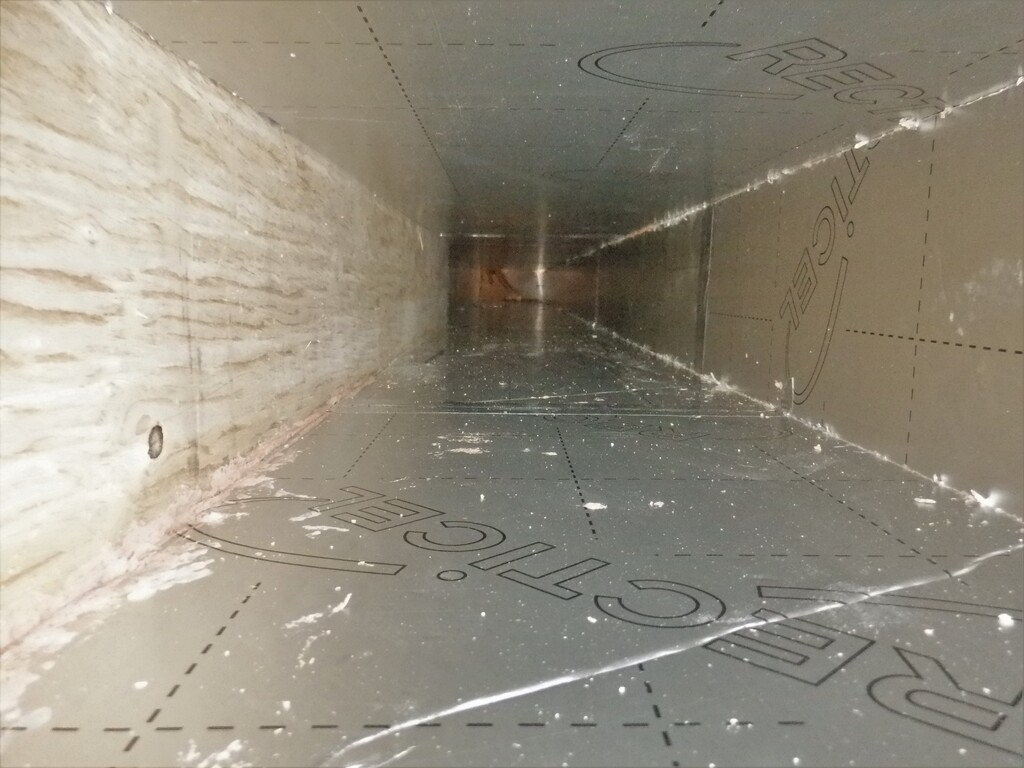
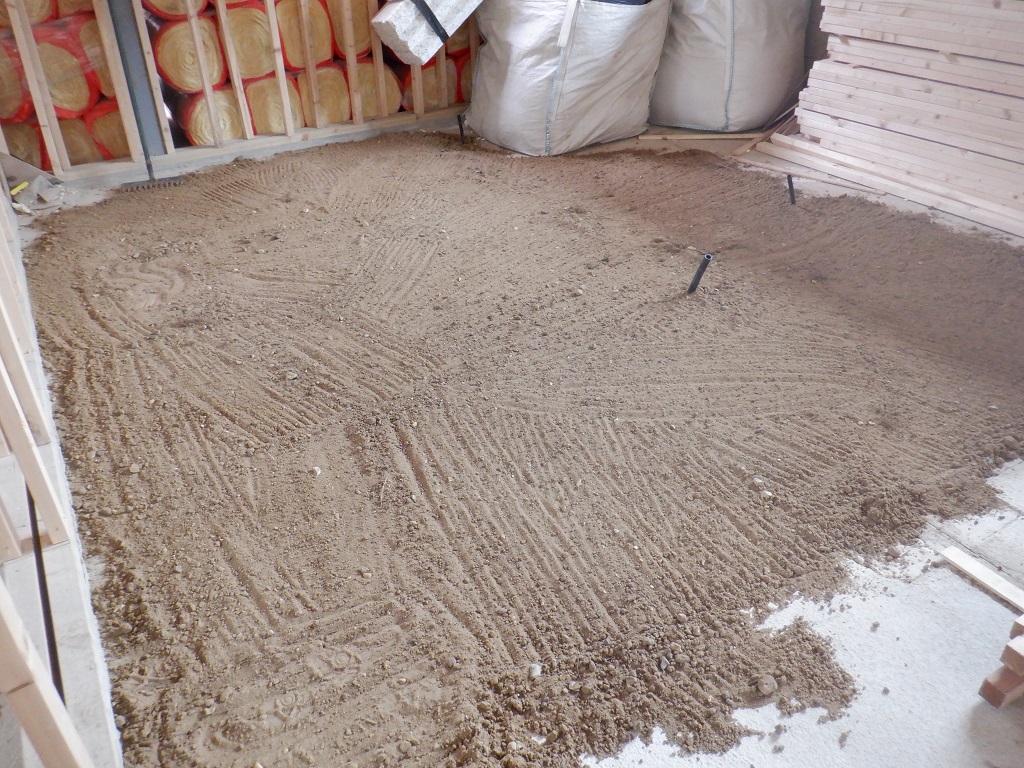
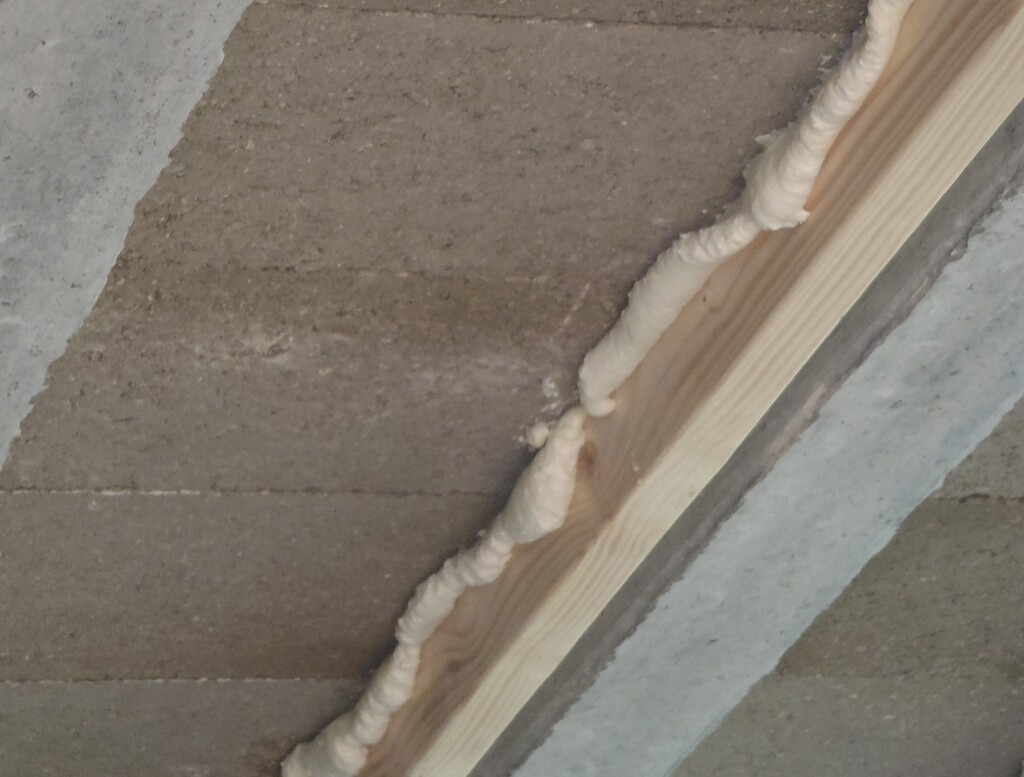
We resume the week by collecting up the sand we had spread across the kitchen to dry and sieved it through the finest mesh we had and lugged up six trug full of fine sand, to pour into our sand box surrounding the air duct pipe coming out of the Entertainment room. We estimated the amount almost exactly correctly .. Wow!

Box-full-of-sand
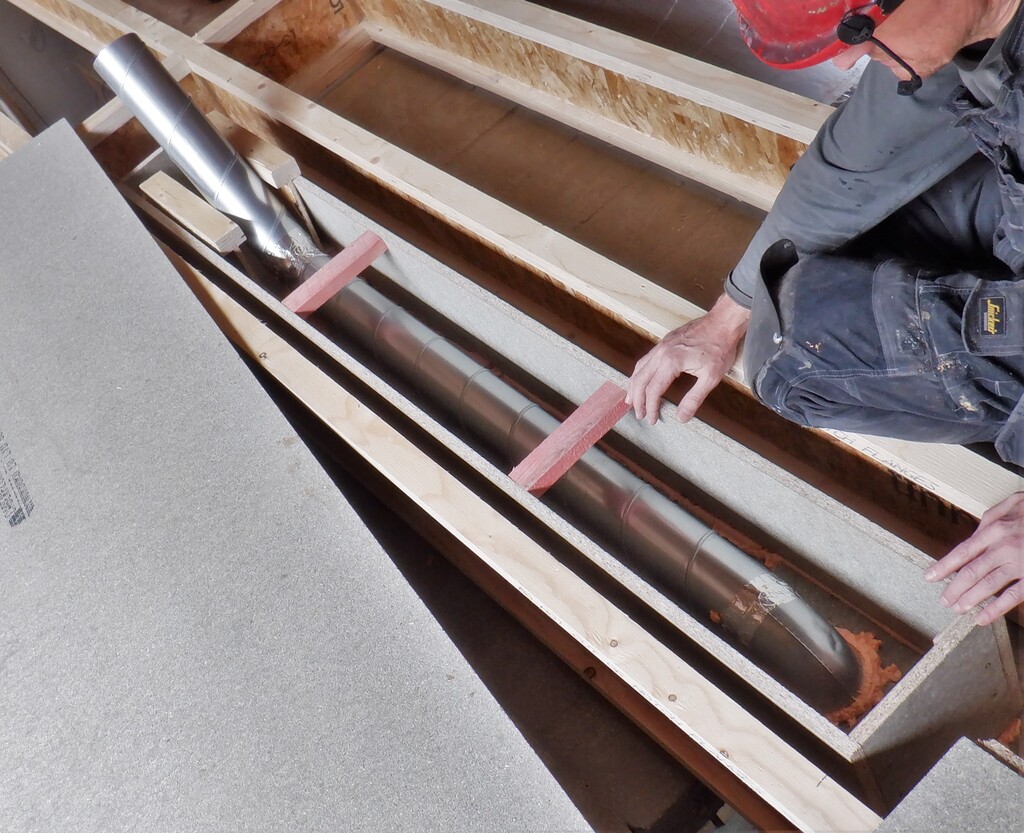
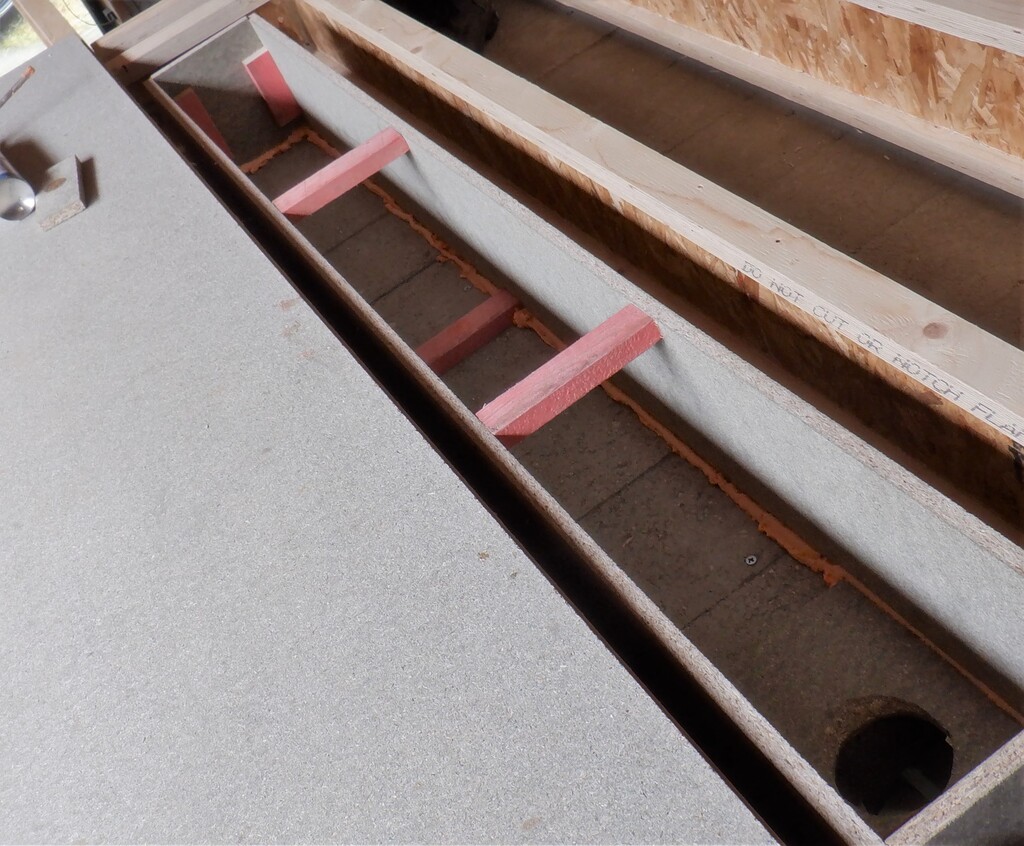
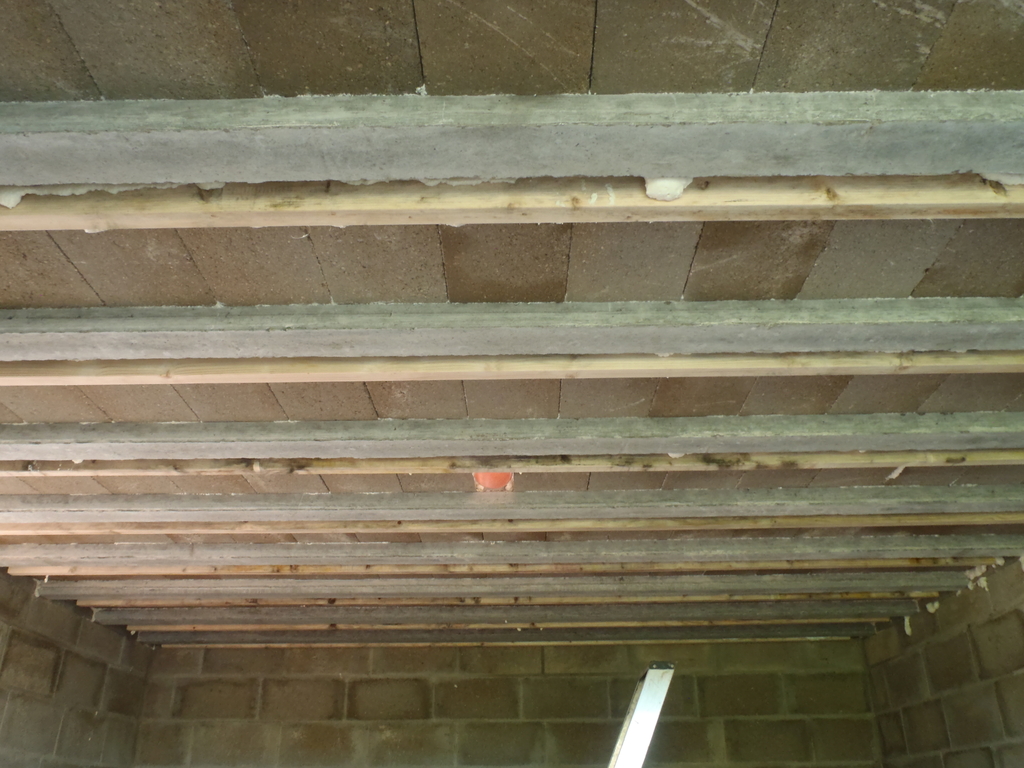
Then filled in the space between the joists with 200mm thick glass wool, we did this now because we won’t be able to access this space after the floorboard goes on. The glass wool is there to provide some additional sound dampening effect between downstairs and upstairs.
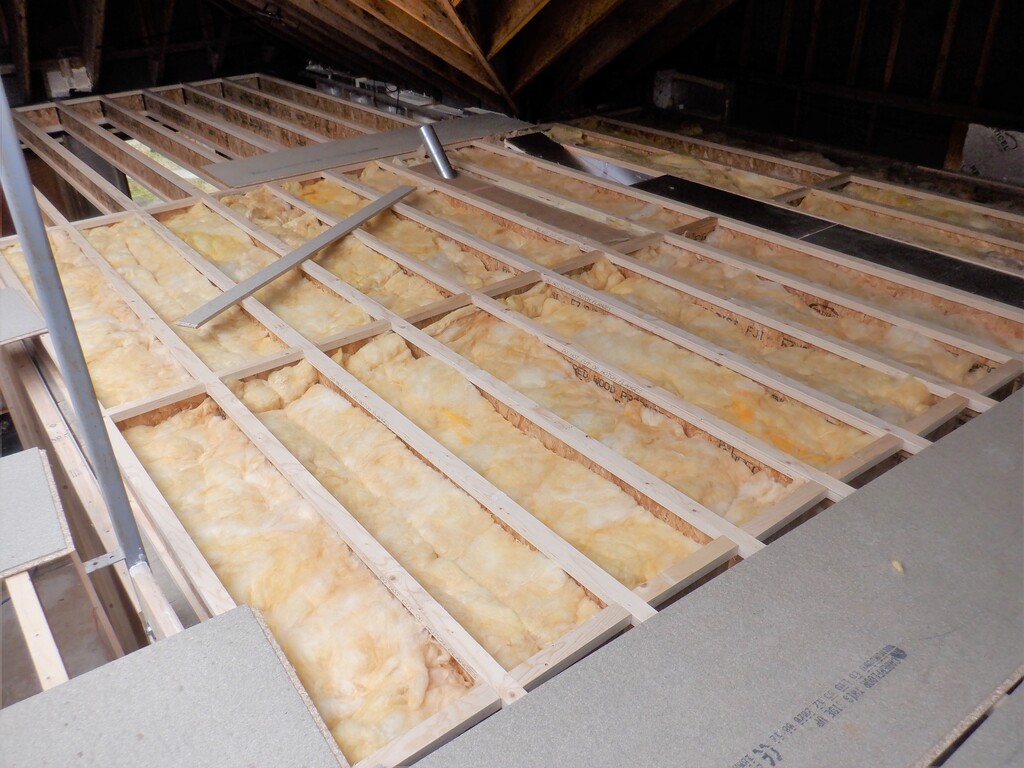
Sound-insulation-over-entertaiment-room
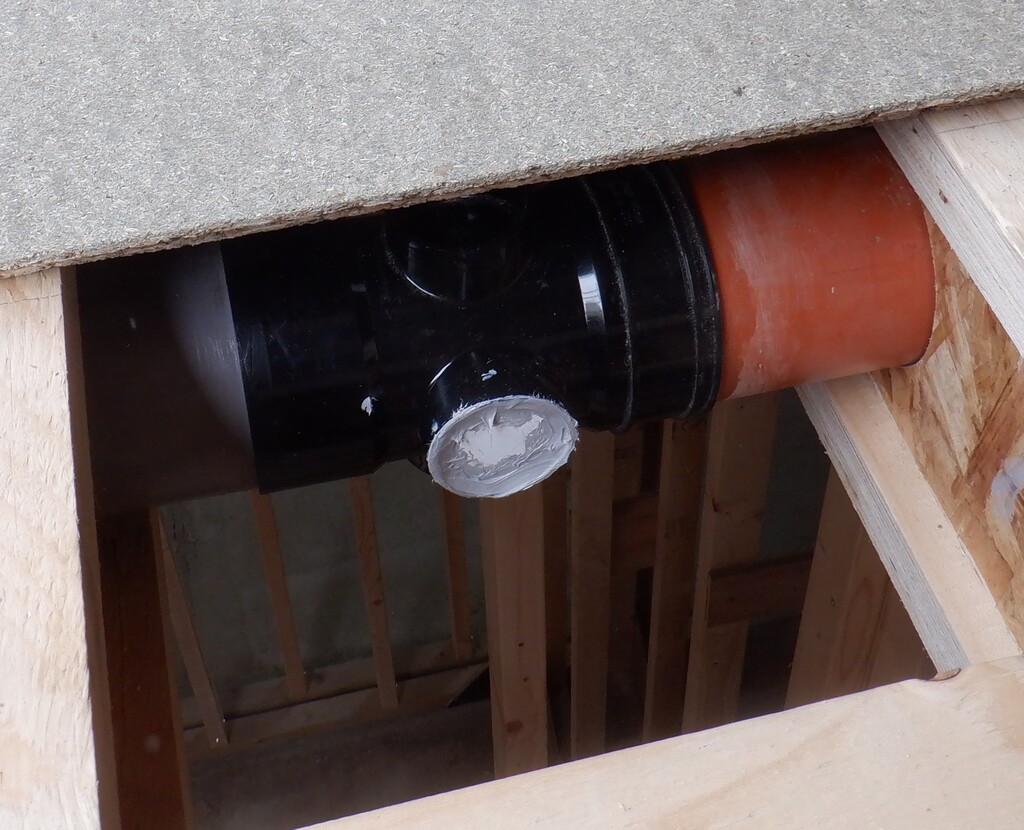
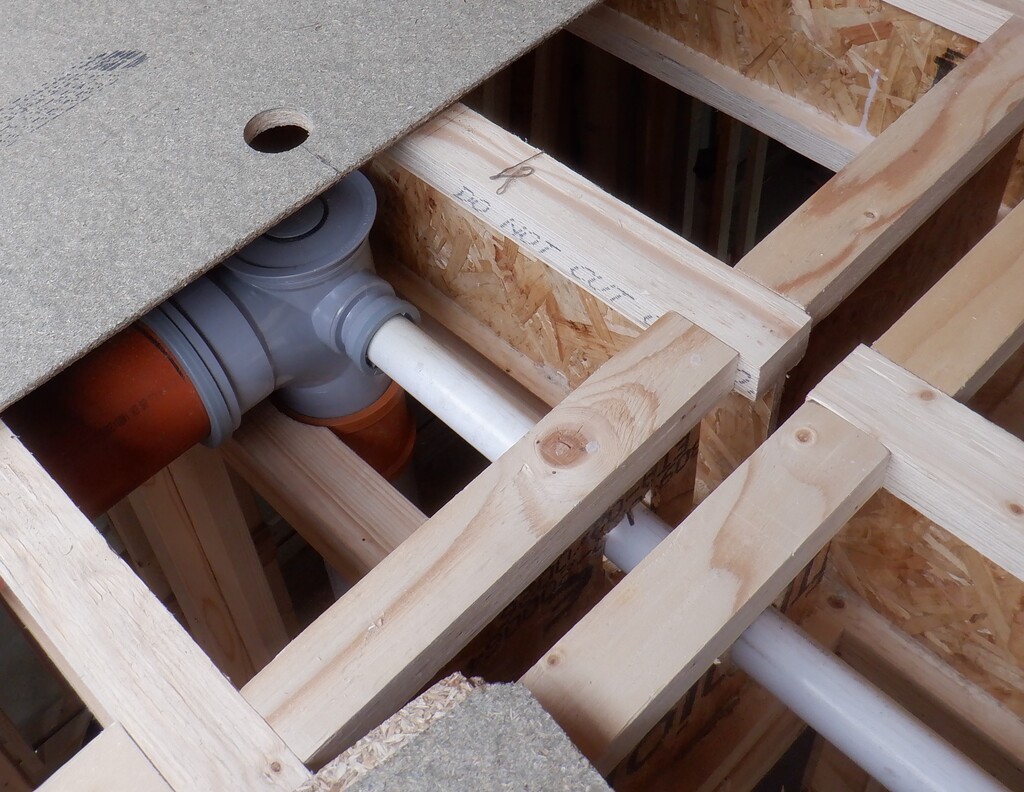
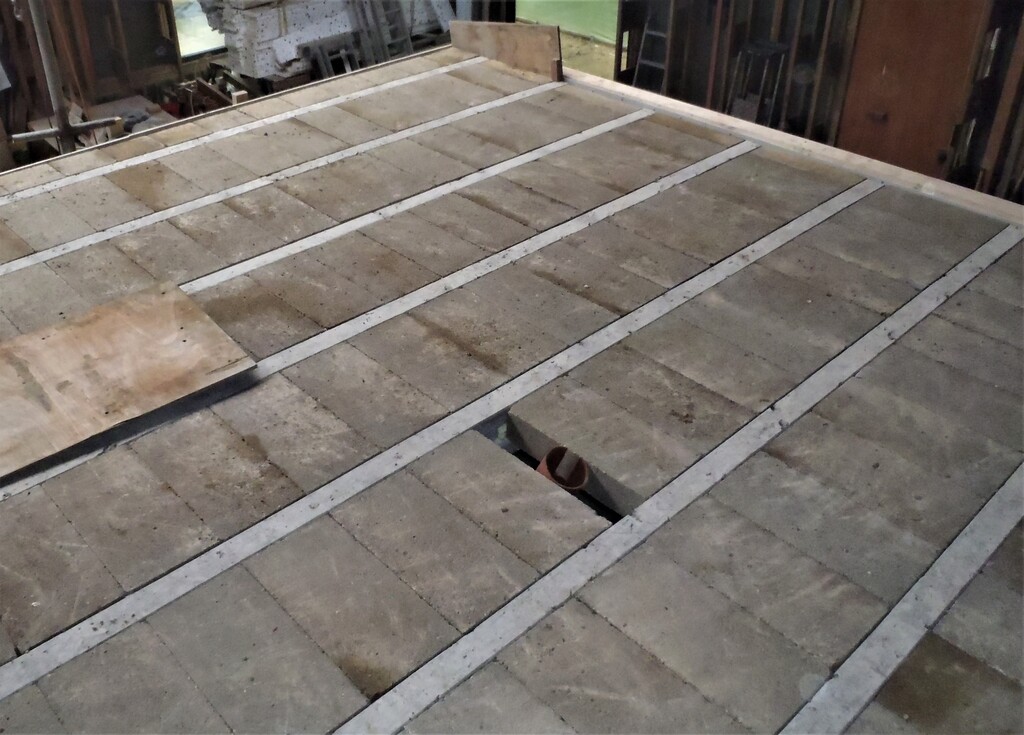
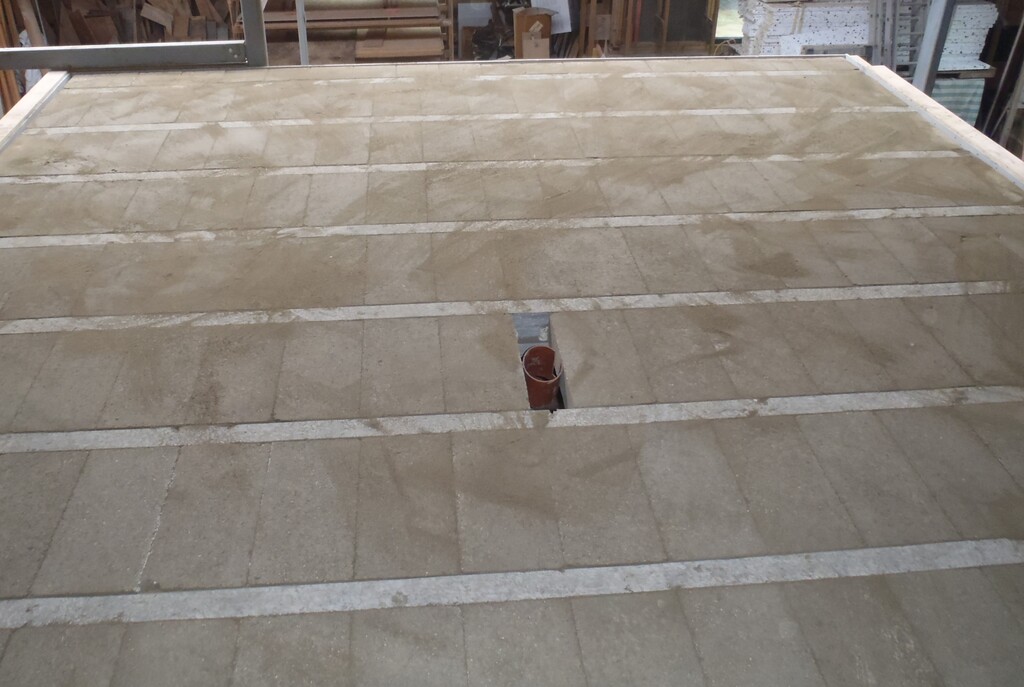
After that, we had one more little job to do, that is to test for water leaks in the new sewage pipework running through the joists and we fitted our adjustable bung to the bottom of the stack at a convenience T-junction to block the pipe against the water. We started filling the pipework up using the garden hose but suddenly the rubber bung lost its grip and flew down the pipe and splash water all over the place! But fortunately, we had tied a piece of string to the winding wing nut mechanism of the bung and it stopped it from completely disappearing deep down in our sewage pipes. But unfortunately, we couldn’t reach it by hand and pulling the string didn’t work either so we had to cut into the vertical stack to dismantle the T-junction piece which allowed us a better access. After rescuing the bung, we reapplied the bung but this time, much higher up at the top of the stack and poured in the water .. and after all that, we had no leaks! We put in a new piece of 110mm pipe to replace the one removed and using a inline slip connector, we got everything back together again. That was a unwanted diversion! Phew!
Then we drilled hole through some joists and installed a waste pipe from Workshop 3 to the bathroom.
First-floor-wate-pipes
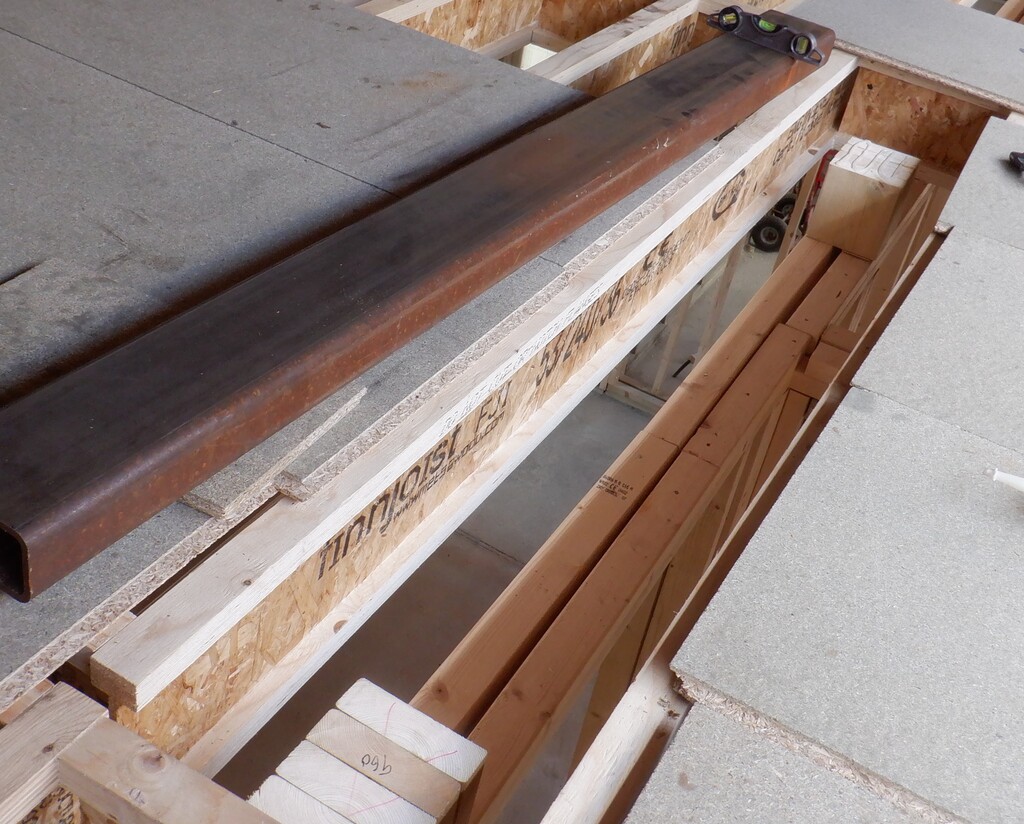
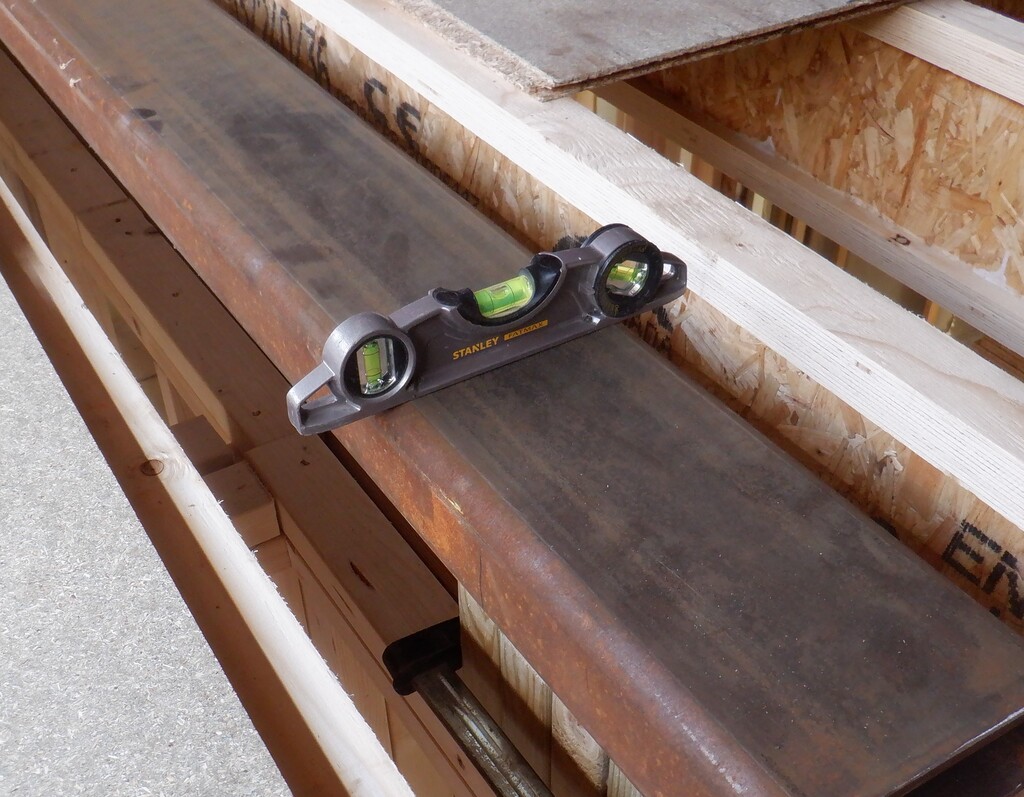
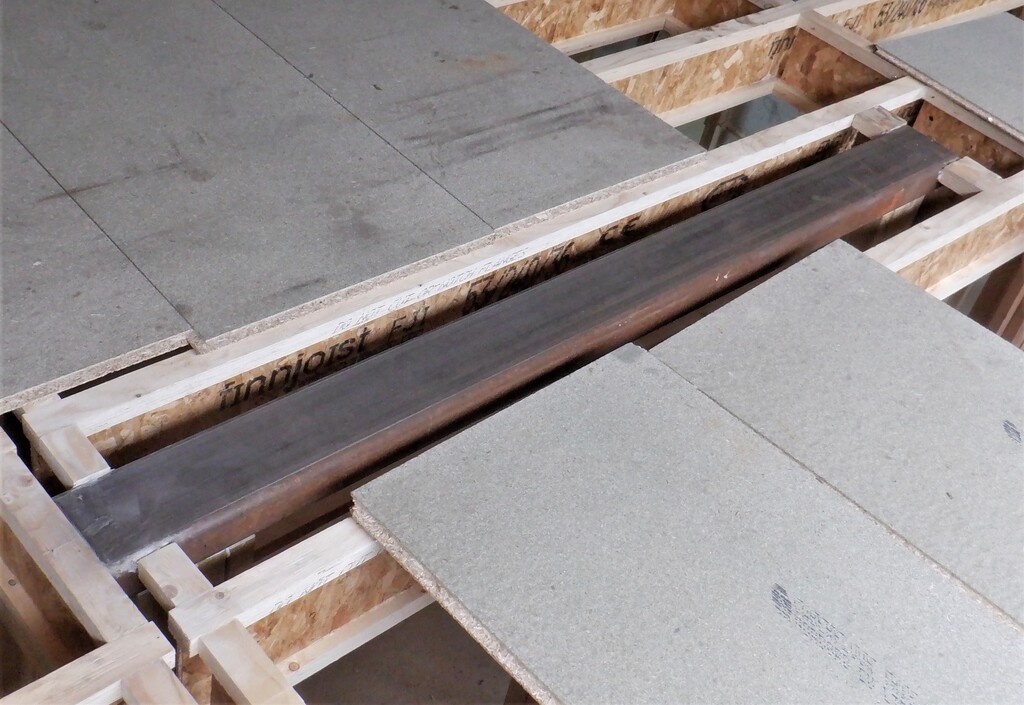
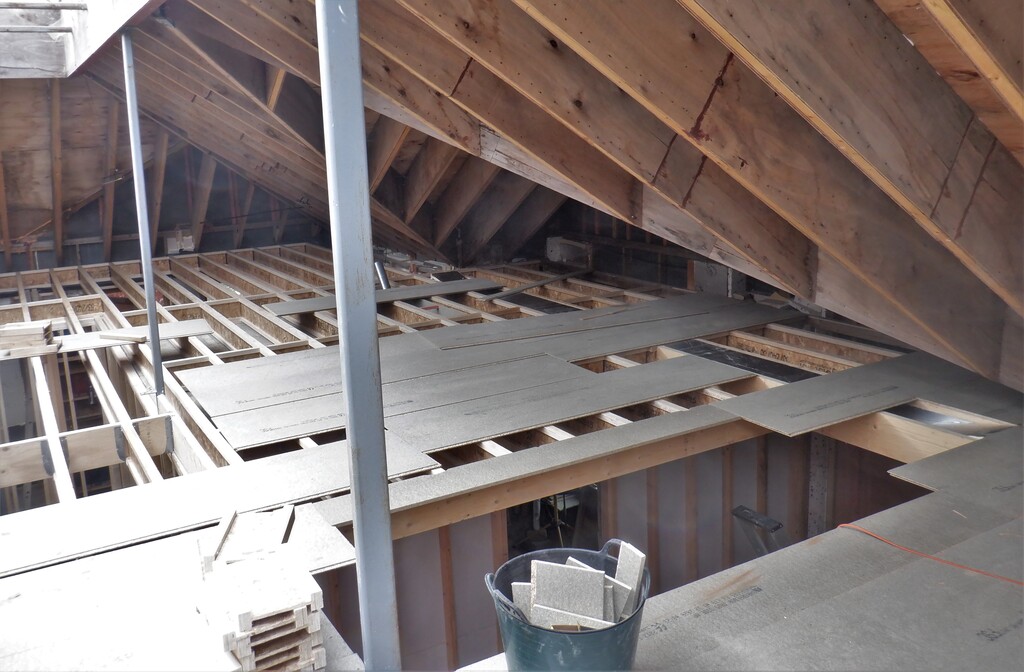
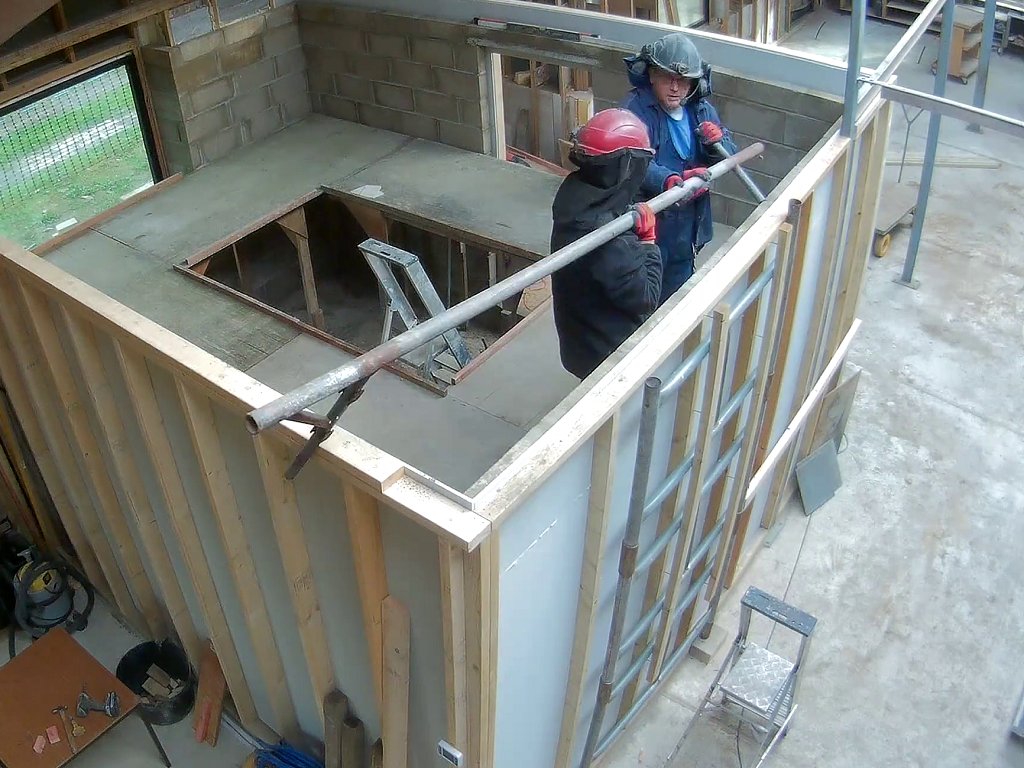
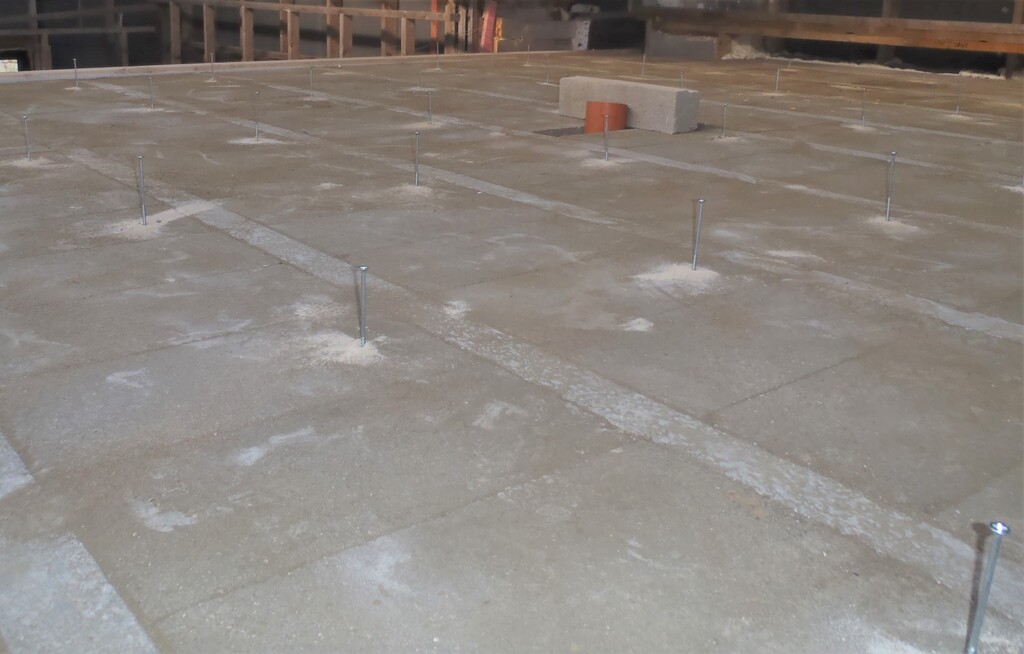
Oh yes, we glued and screwed down a restraint bar between the middle pair of the steel Skylight legs as required by the structural calculations and instructions. It is a 5mm thick metal bar, 50mm wide and 2.4metres long and it is bolted to the steel legs on sticking out tabs that we welded on the legs years ago which we had designed to line up to the surface of the floorboards and hey presto .. there was only a 3mm or 4mm alignment error! The floorboards were slightly too high so we just put in a couple of steel washers on the bolts and everything came nicely together.
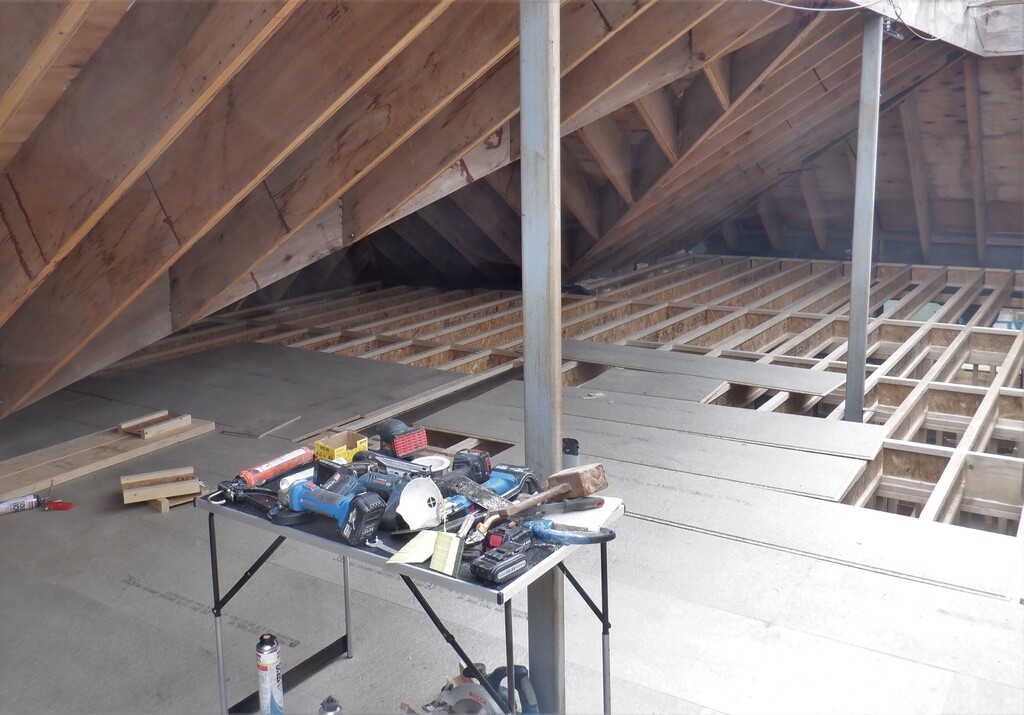
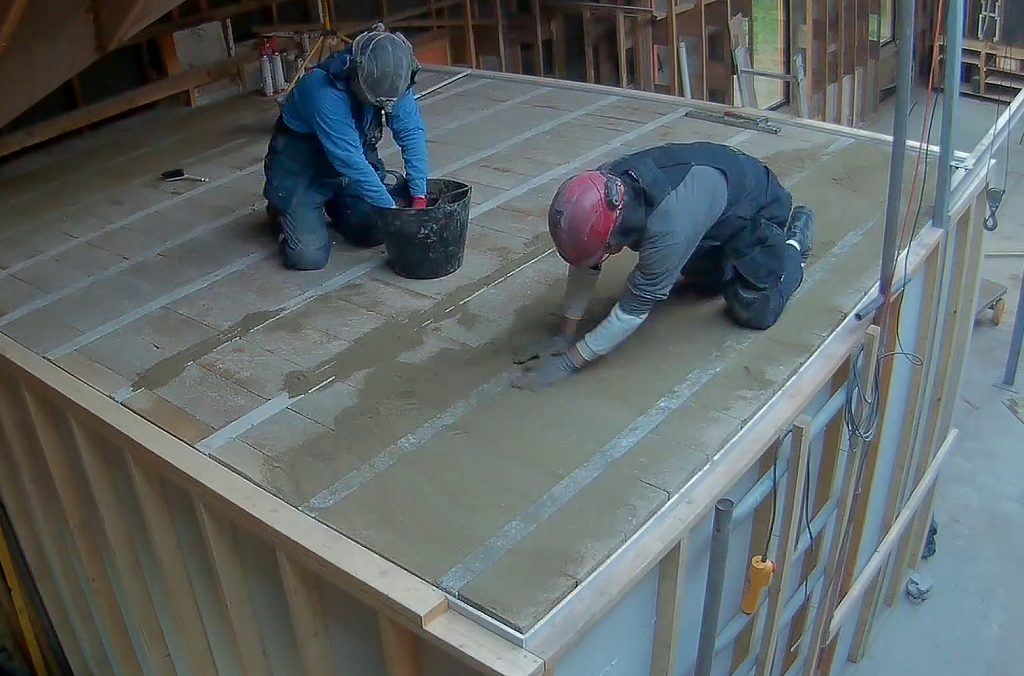
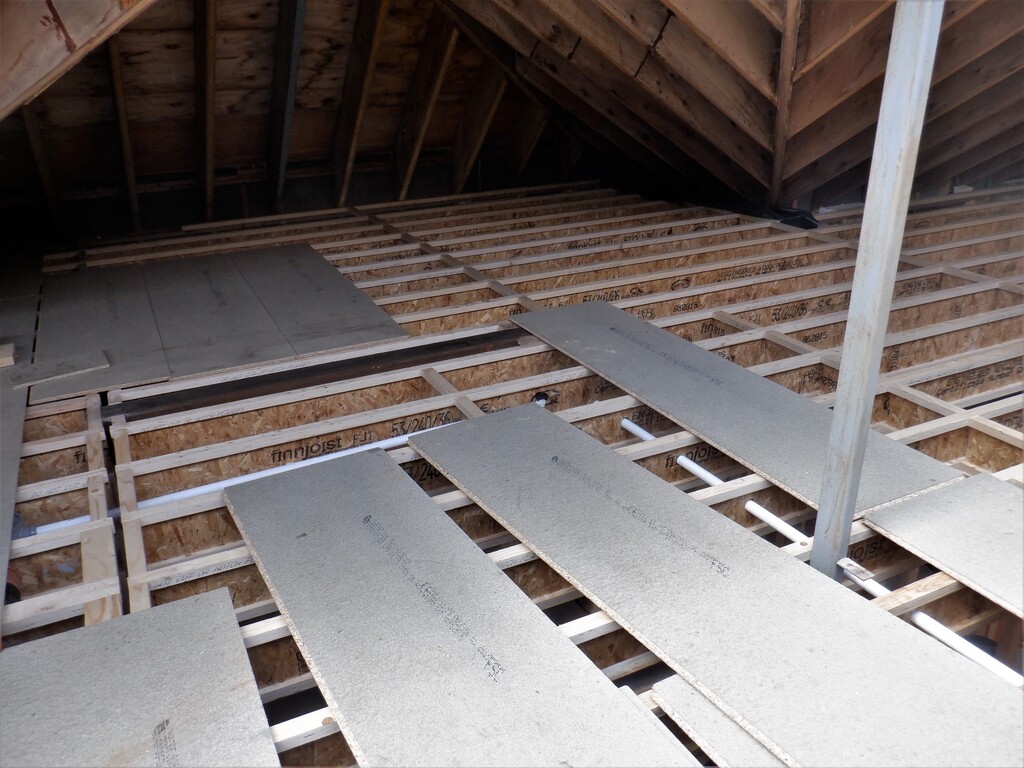
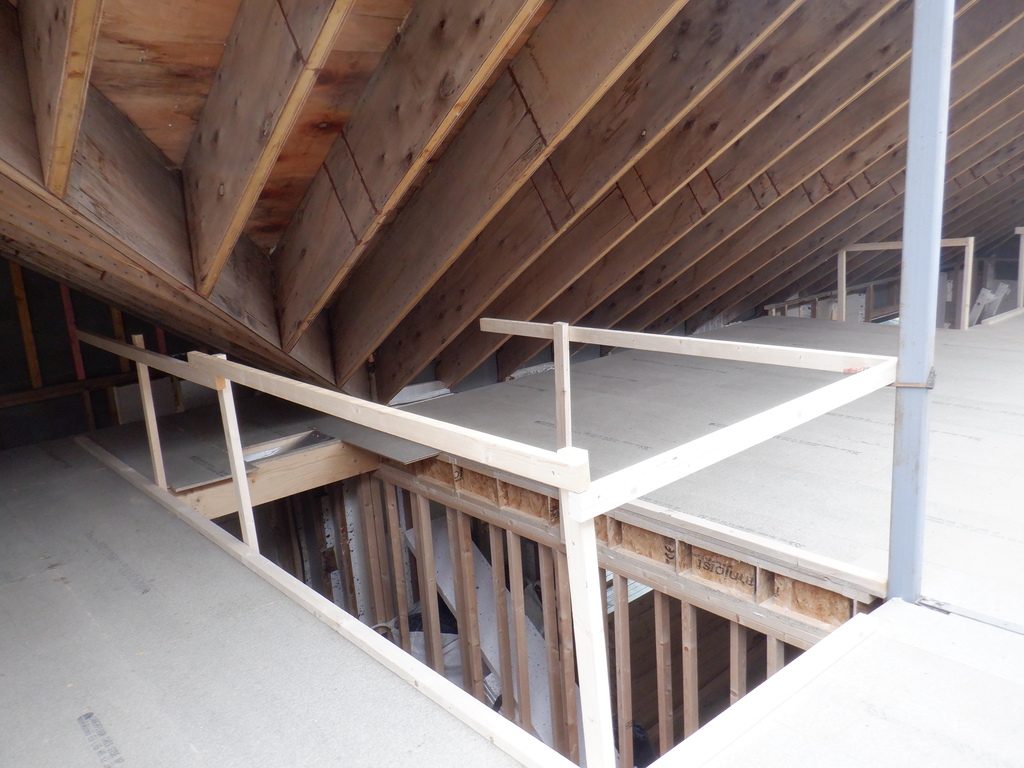
At last, we could resume laying down the tongue and groove chipboard and we proceeded by continuing around the stair hole where we got to last week and completed a dozen more rows, making several adjustments to clear obstacles like air ducts, steel skylight legs and arrive at the next major transition point in the house design.
For safety reasons, as soon as we done around the stair hole, we screwed down a ring of CLS timber and mounted a hand rail to protect us from falling down the open gap in our floor.
Plus also, we installed the second restraint bar between the third pair of the skylight legs like before.
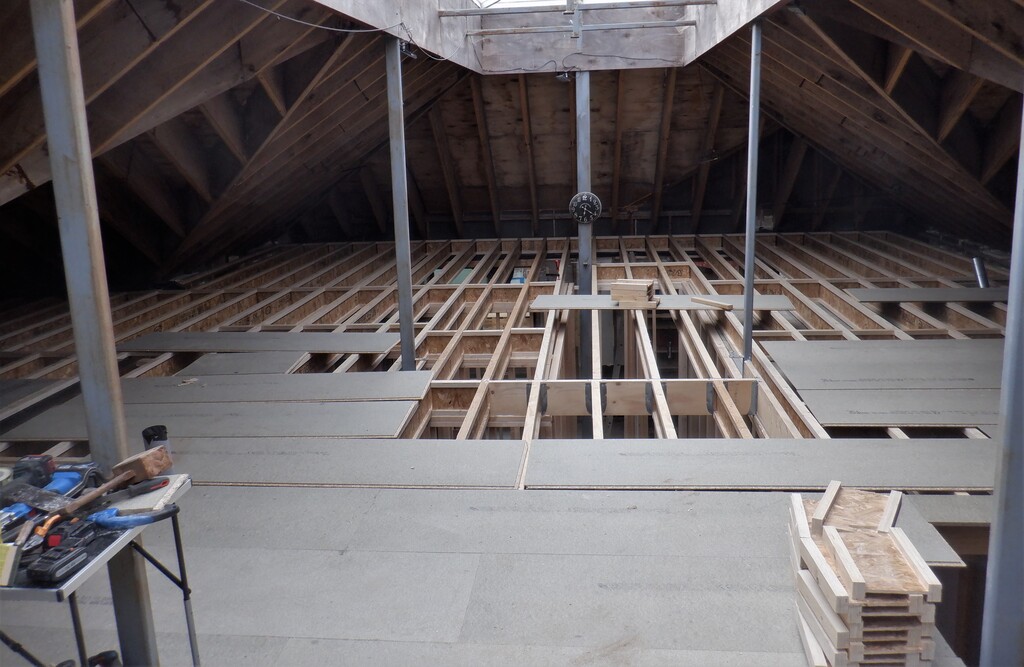
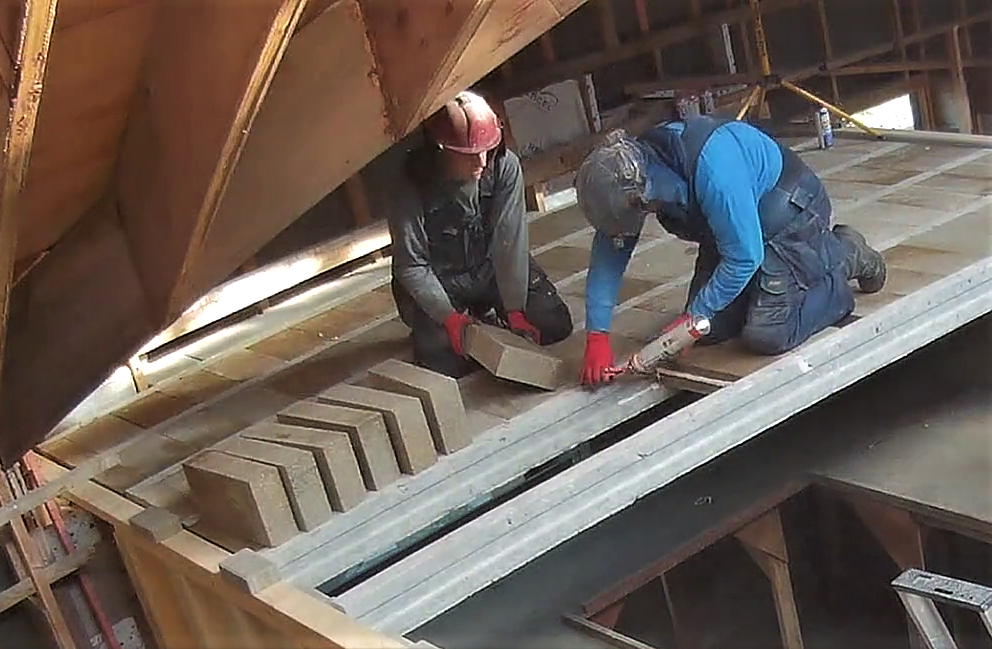
The last section of the first floor, situated over Bedroom 3 and Utility rooms, had a line of noggings put down the middle to do the usual job of stiffening up the wobbly joists and then we proceeded to finish off all the remaining floorboards.
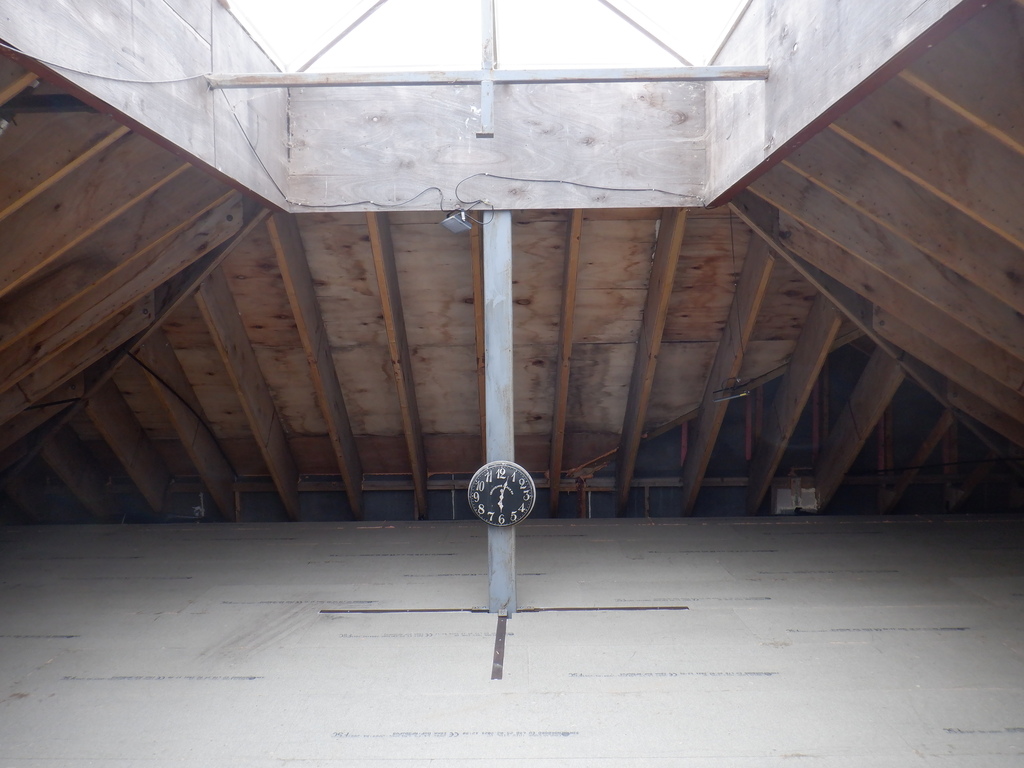
The next job was to install the four restraint bars around the thick skylight leg that is holding up the far end of the Skylight, the structural calculations requires this leg to be restrained too so we put on the prepared metal strips in the four ordinal compass directions, with the longest one pointing towards the external wall. These were again glued and screwed to the floorboards and bolted to the steel leg itself.
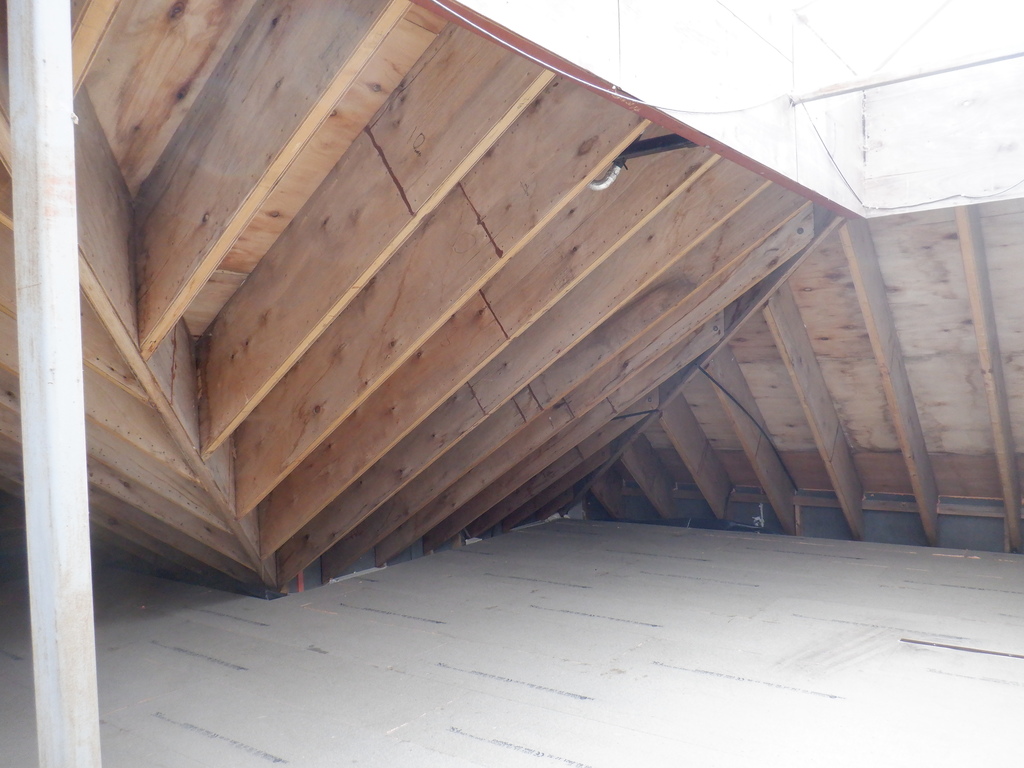
The final task of the day, and of the week, was to tidy up everything off the flooring, all the tools, cut off pieces etc and sweep all the sawdust and glue fragments too.
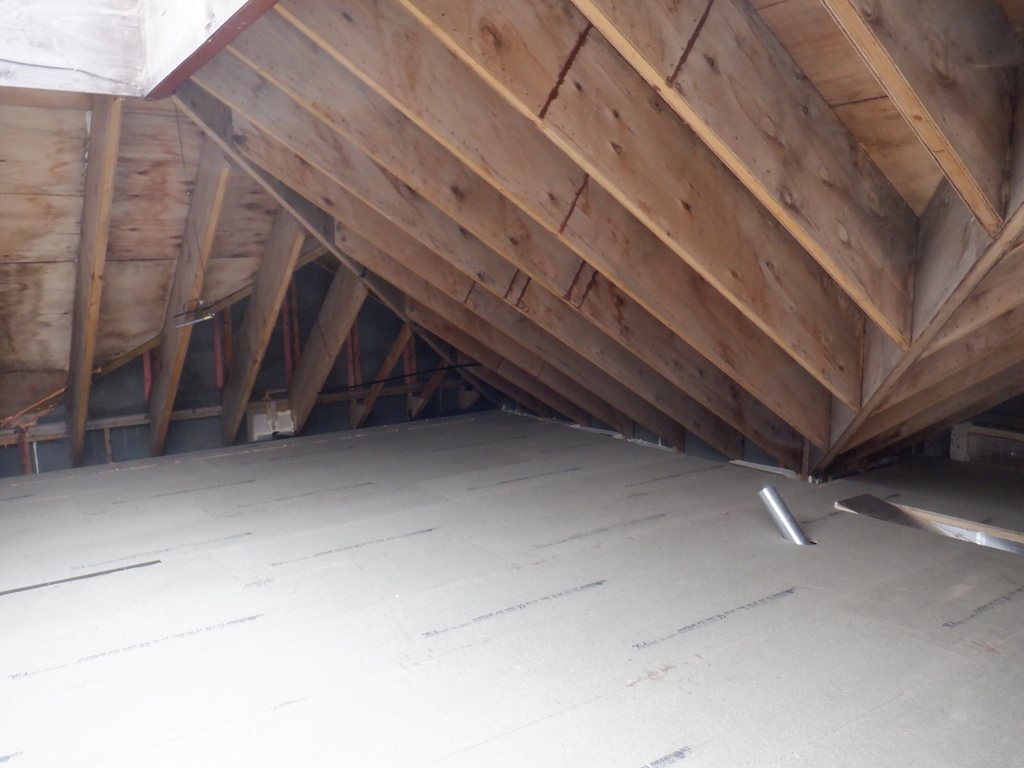
The-complete-first-floor-1
The-complete-first-floor-2
The-complete-first-floor-3
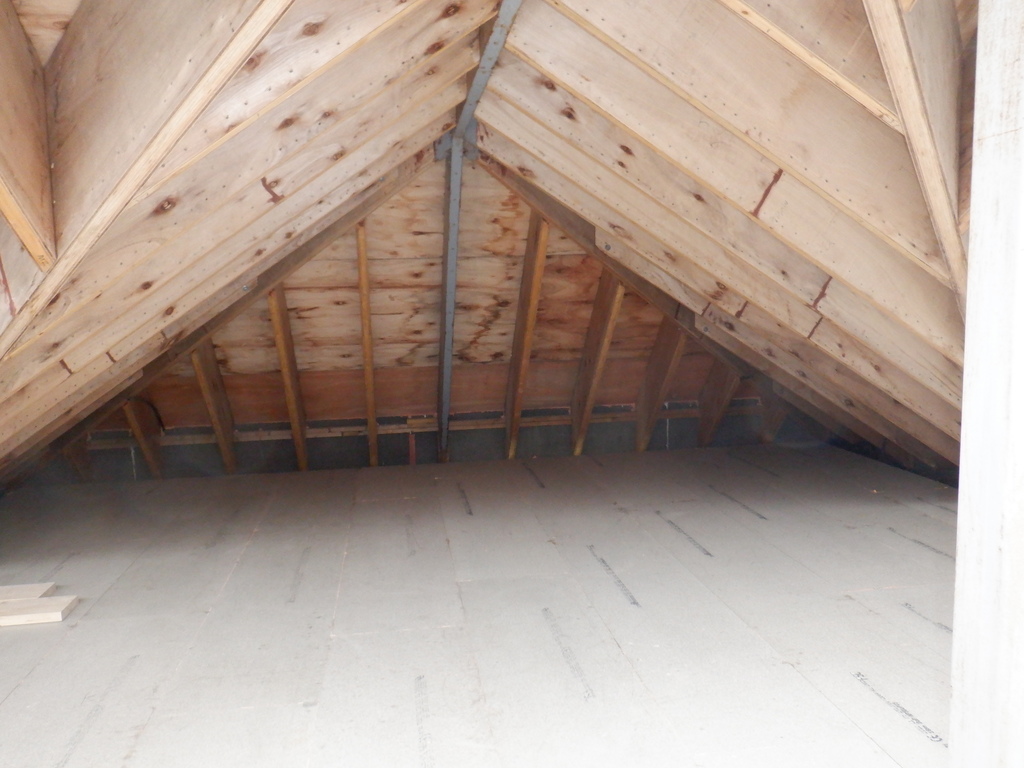
The-complete-first-floor-4
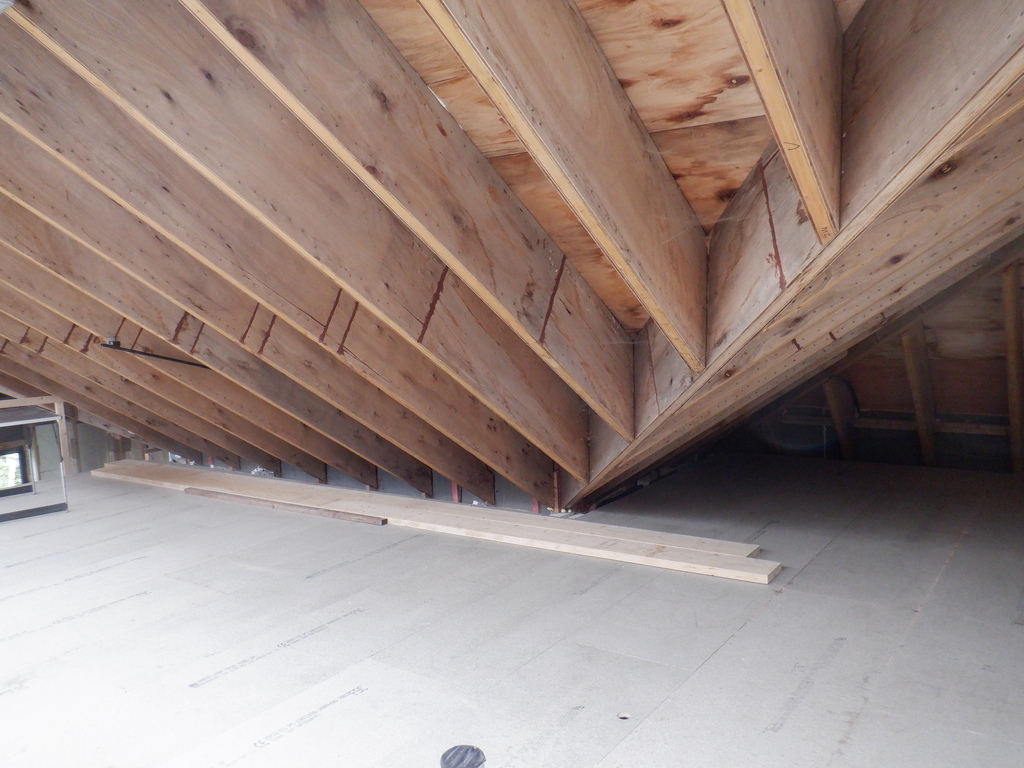
The-complete-first-floor-5
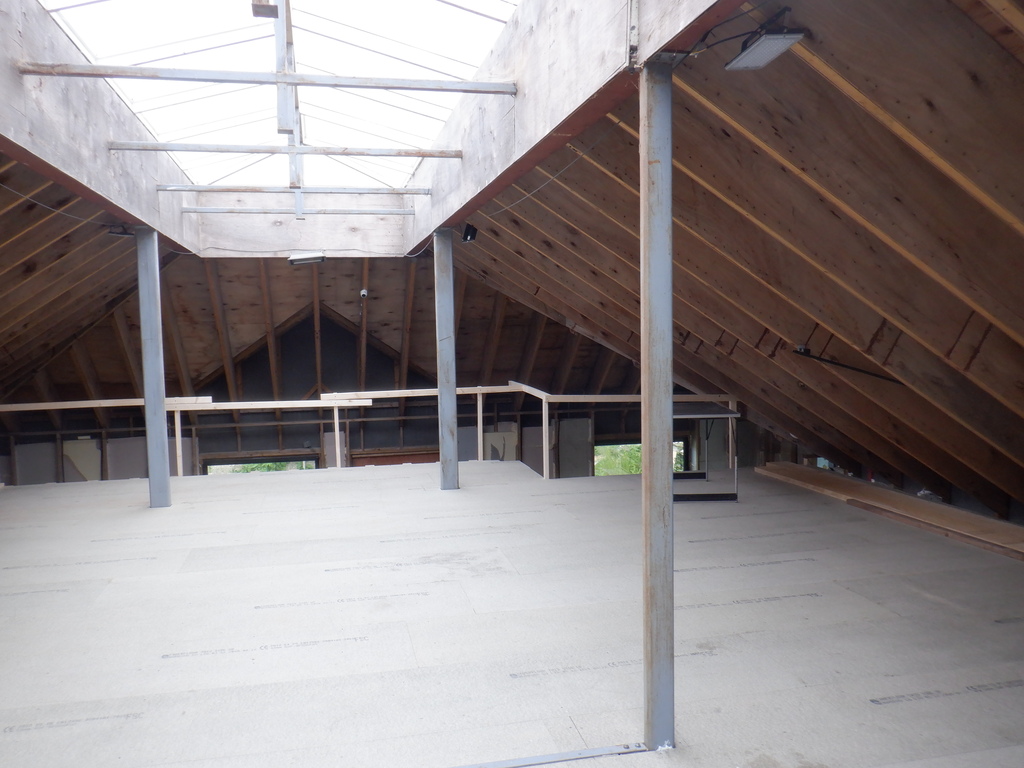
The-complete-first-floor-6
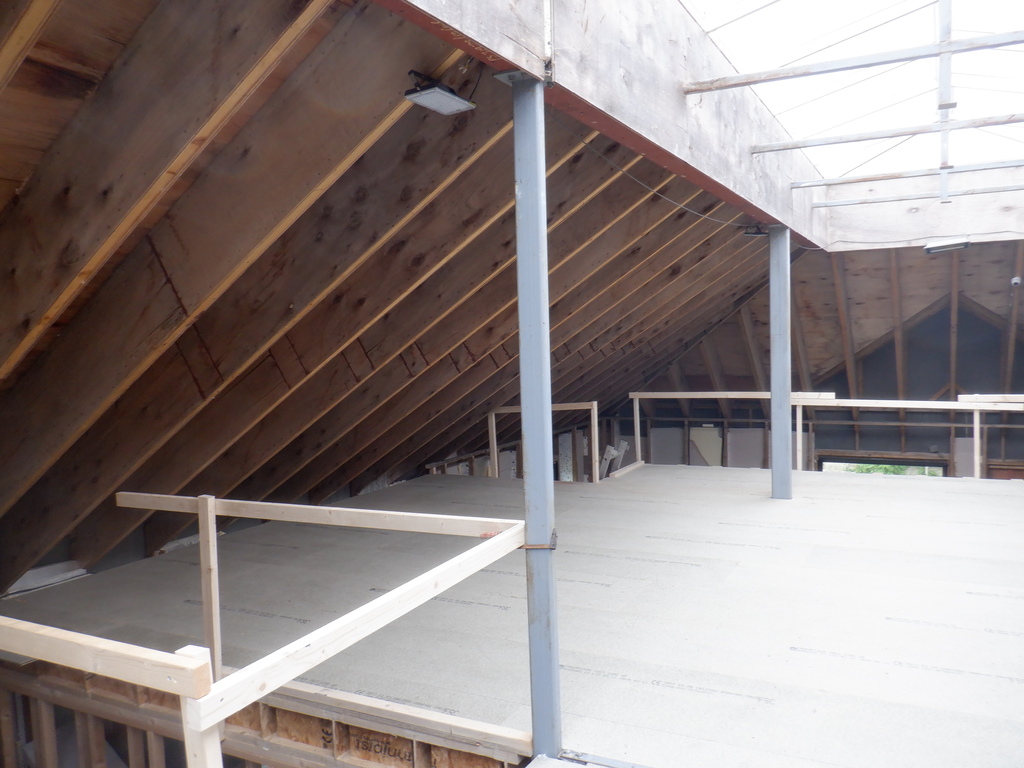
The-complete-first-floor-7
The-complete-first-floor-8
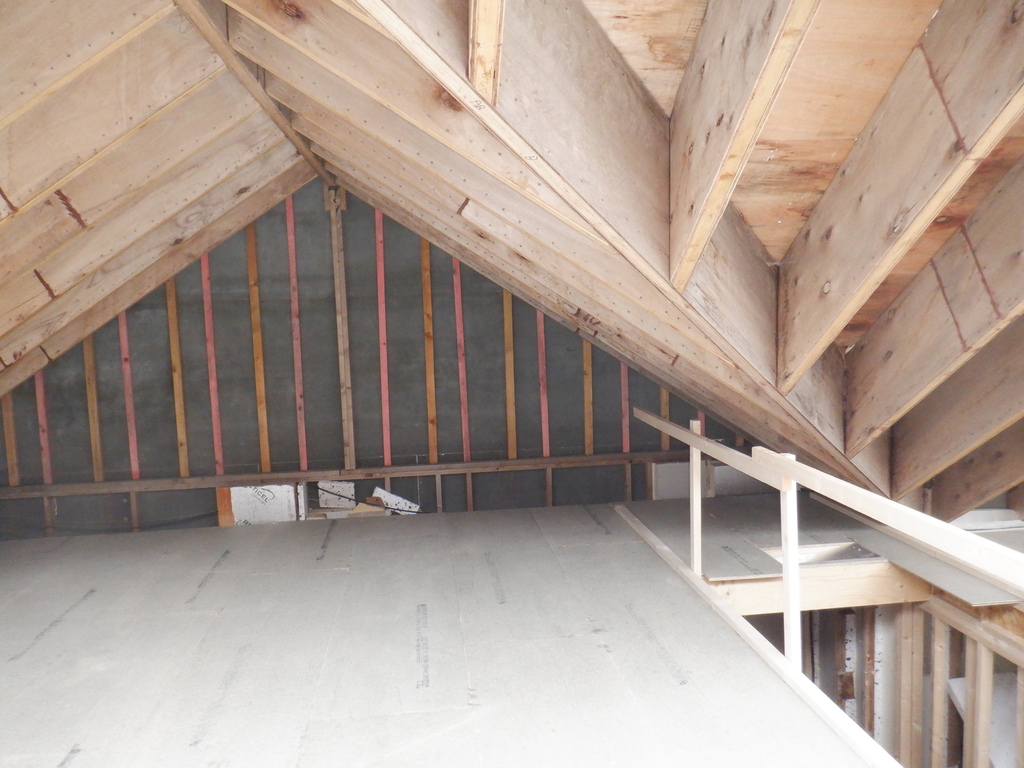
The-complete-first-floor-9
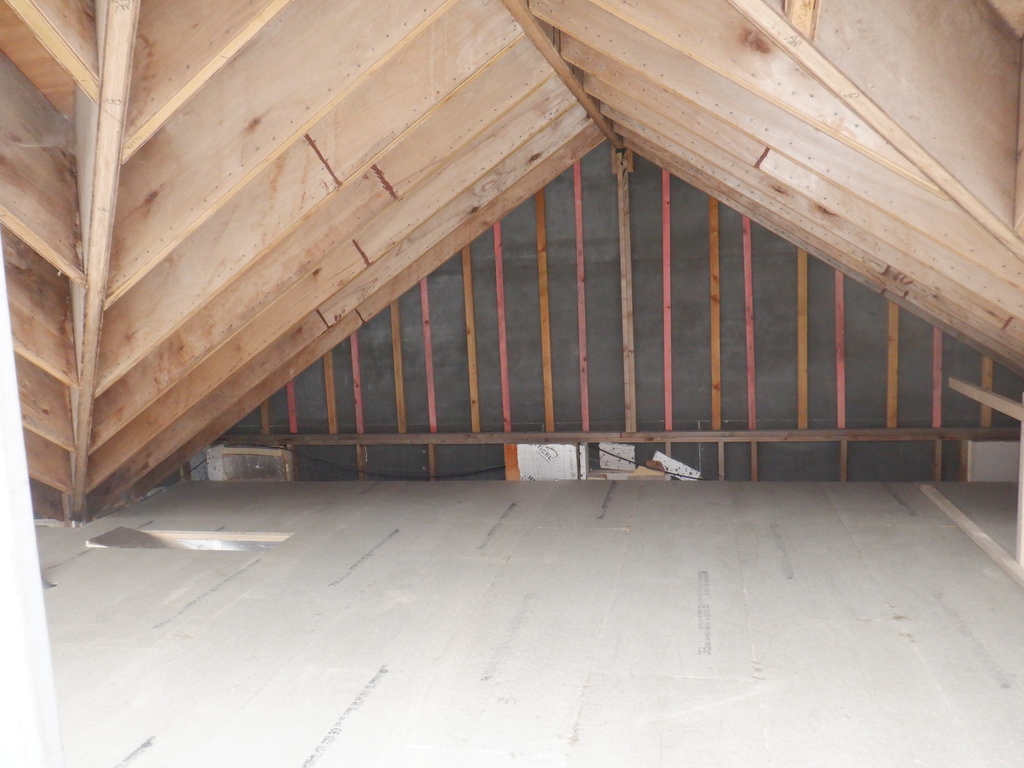
The-complete-first-floor-10
This concludes the construction of the First Floor, its joists and its floorboards. We have about 19 sheets left from our original 150 sheets we ordered. We didn’t have much in the way of cut-offs as we managed to re-use many pieces again. We are planning to use these 18mm thick chipboard material to make our return air ducting channels that goes around the edge of the house on our freshly laid first floor, but that is for later on.
and for your enjoyment the whole month in a few minutes…
Next is to install the glass wool into the walls downstairs and put on the vapour barrier membrane and that will clear away the pile of glass wool rolls, at which point, we can build the staircase, if we can get hold of some nice quality plywood material to make the steps and risers. There is a world wide shortage of this kind of wooden material due to the Covid and high demands in USA! Phew!