What A Day!
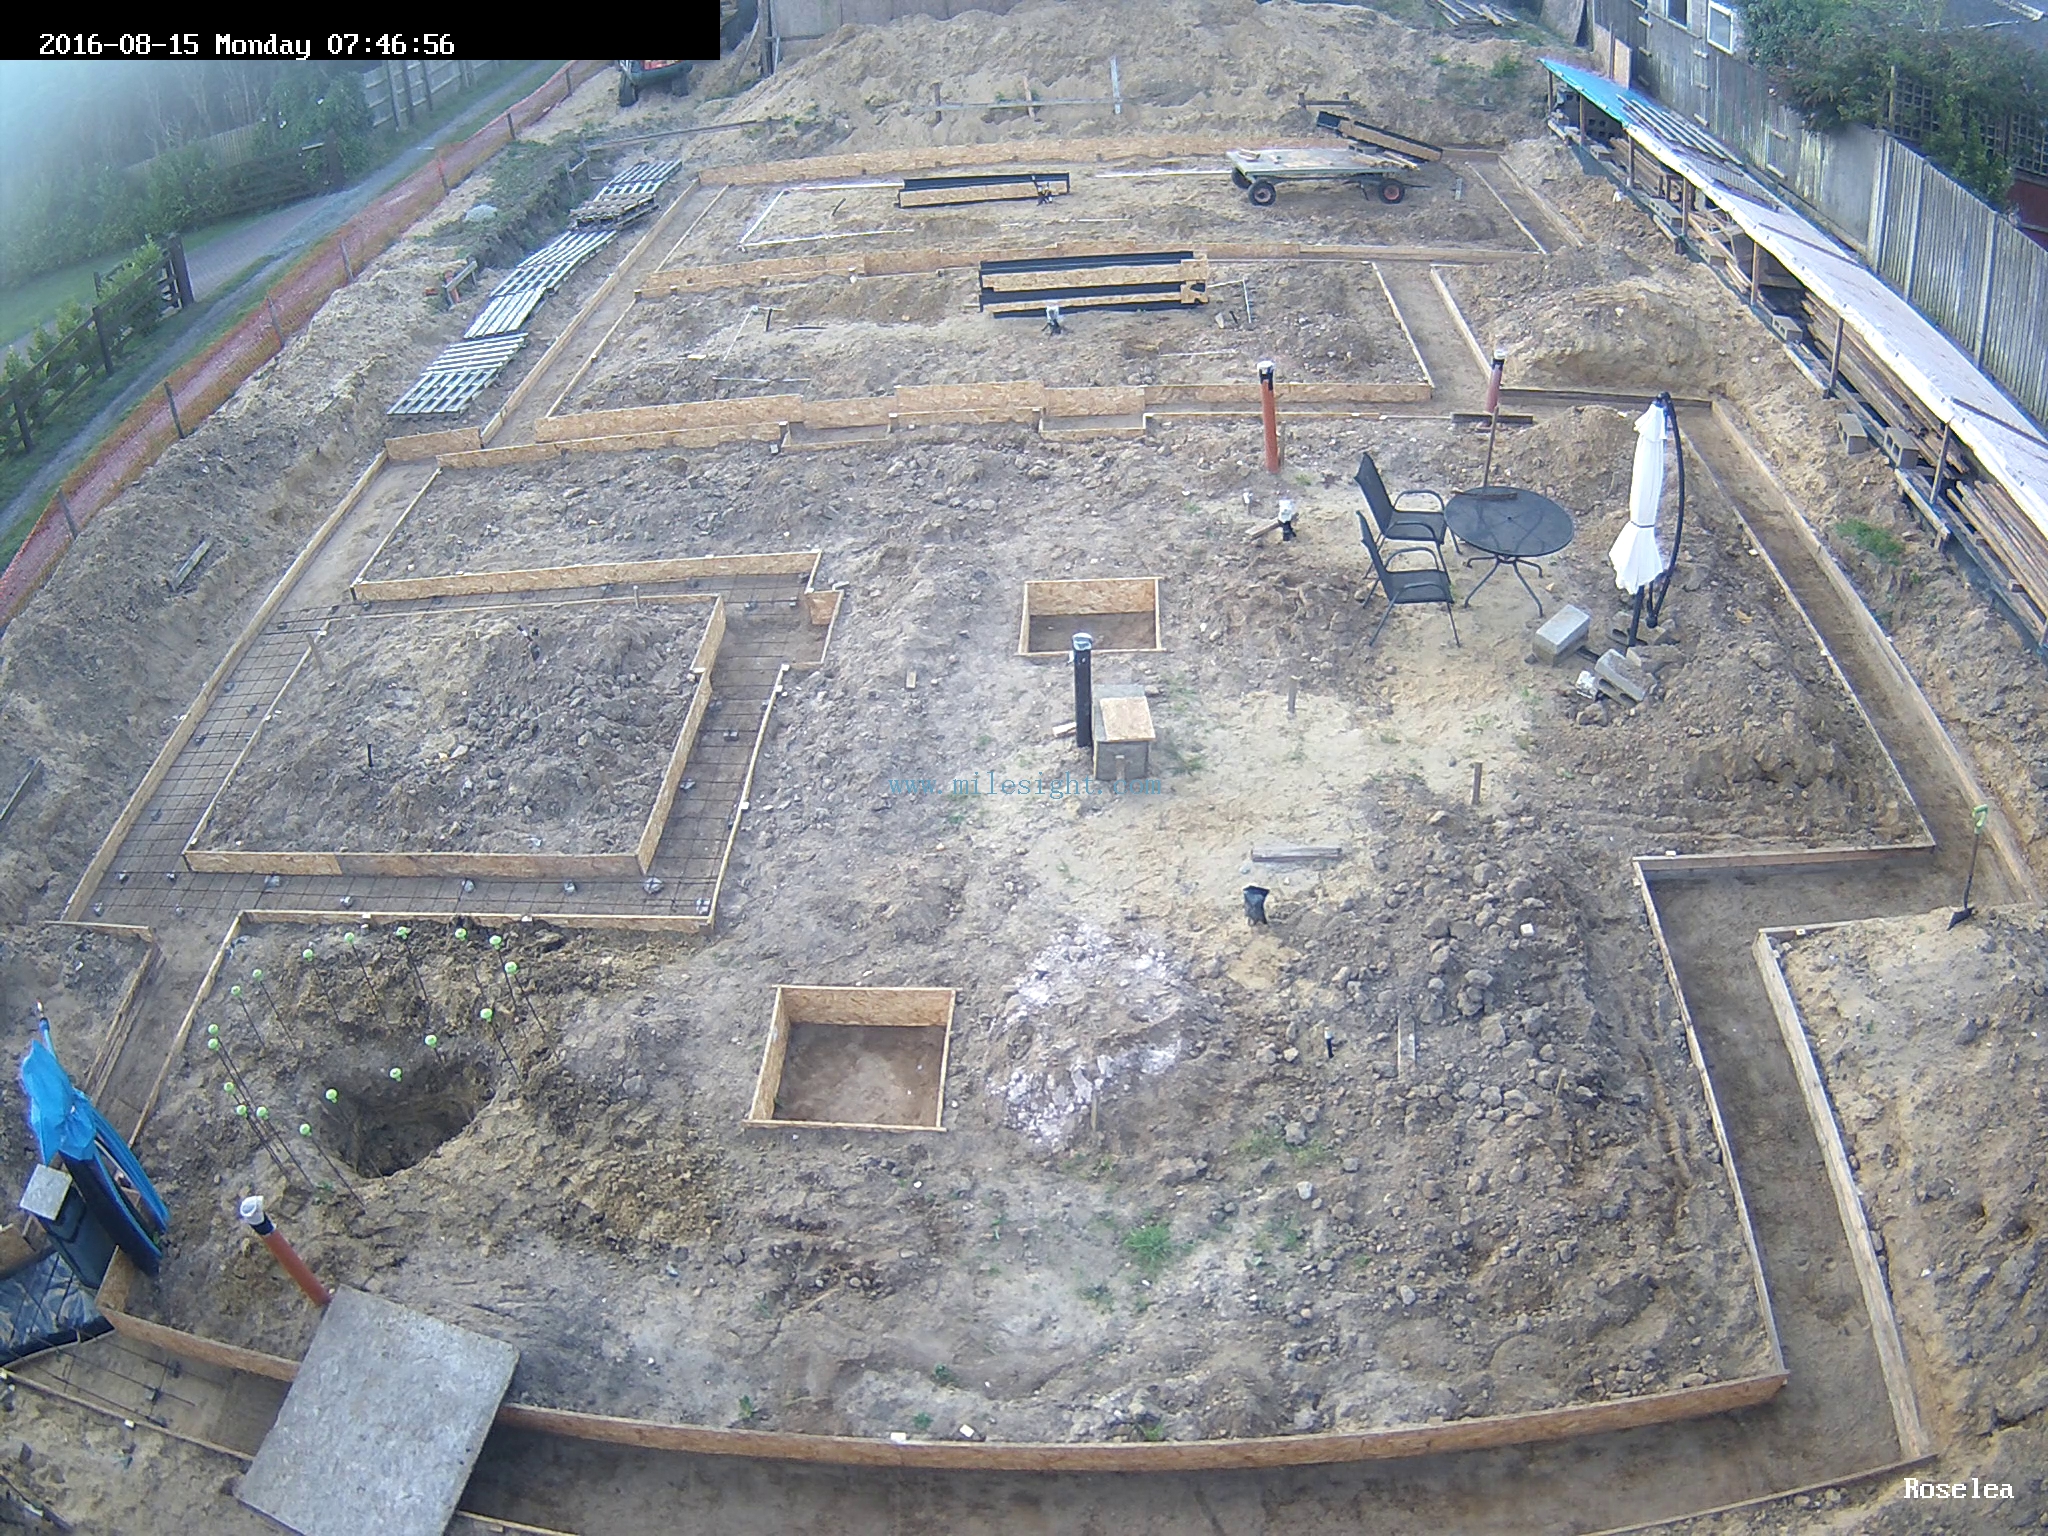
7 AM
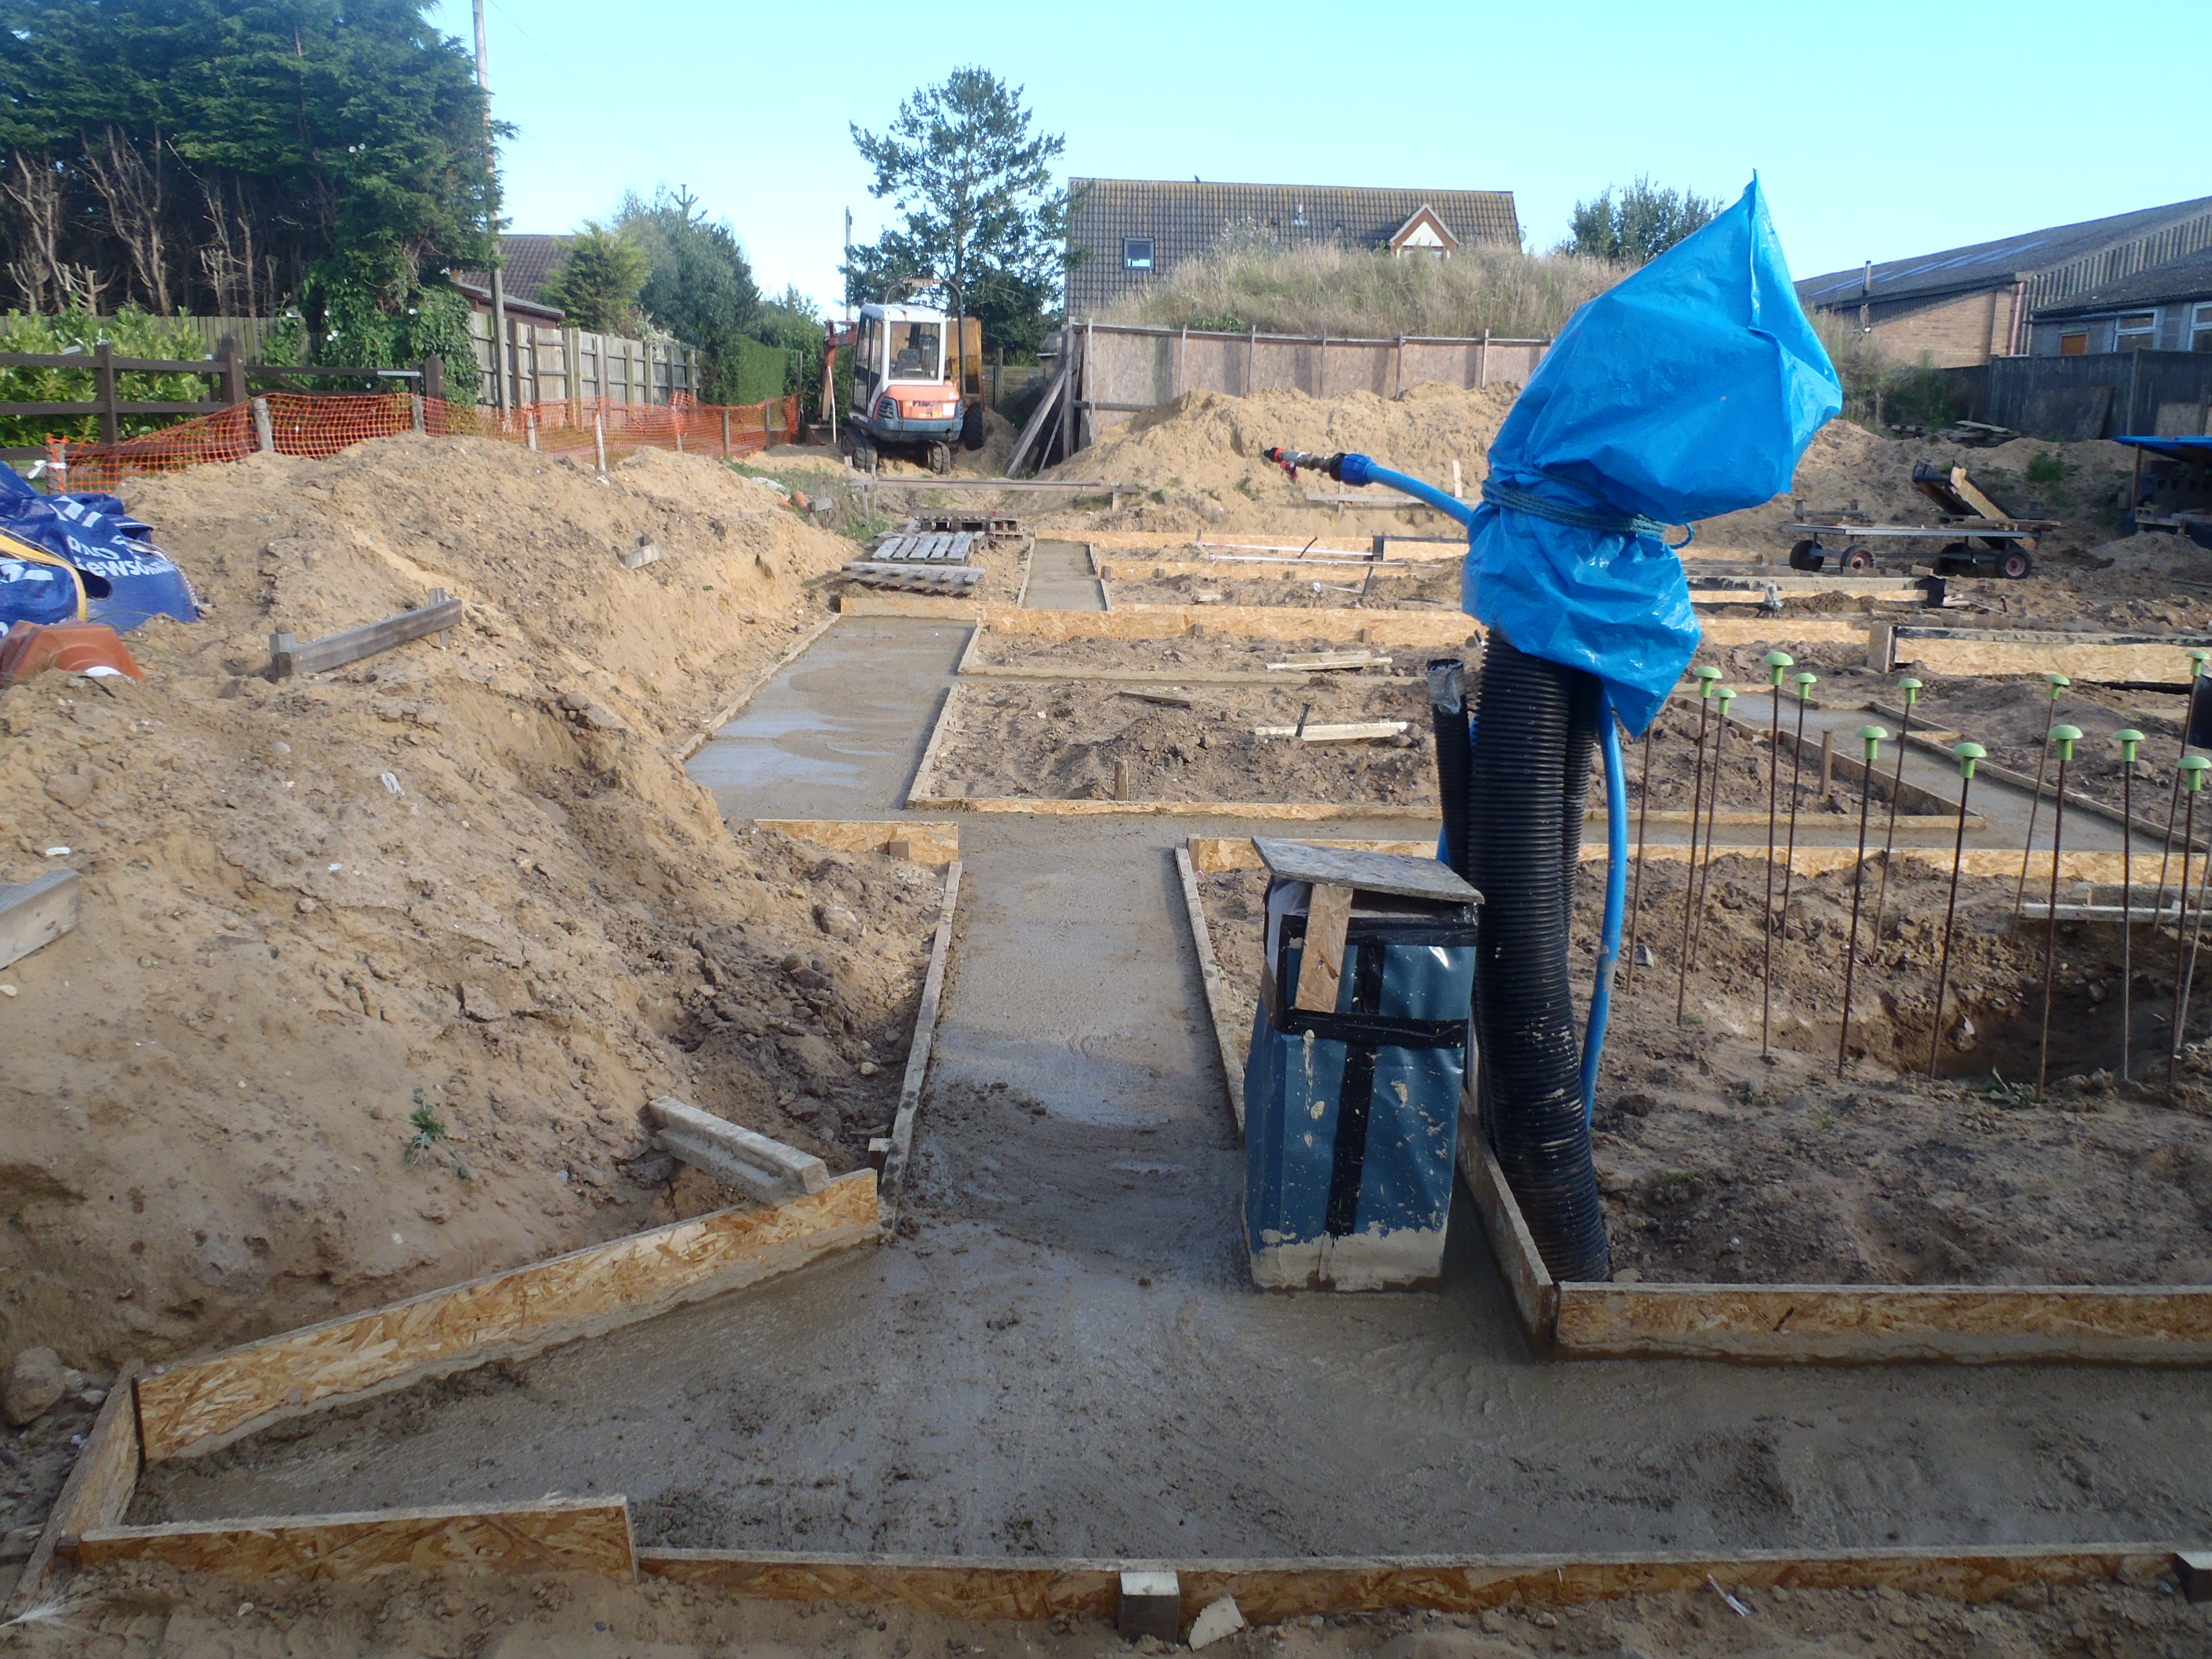
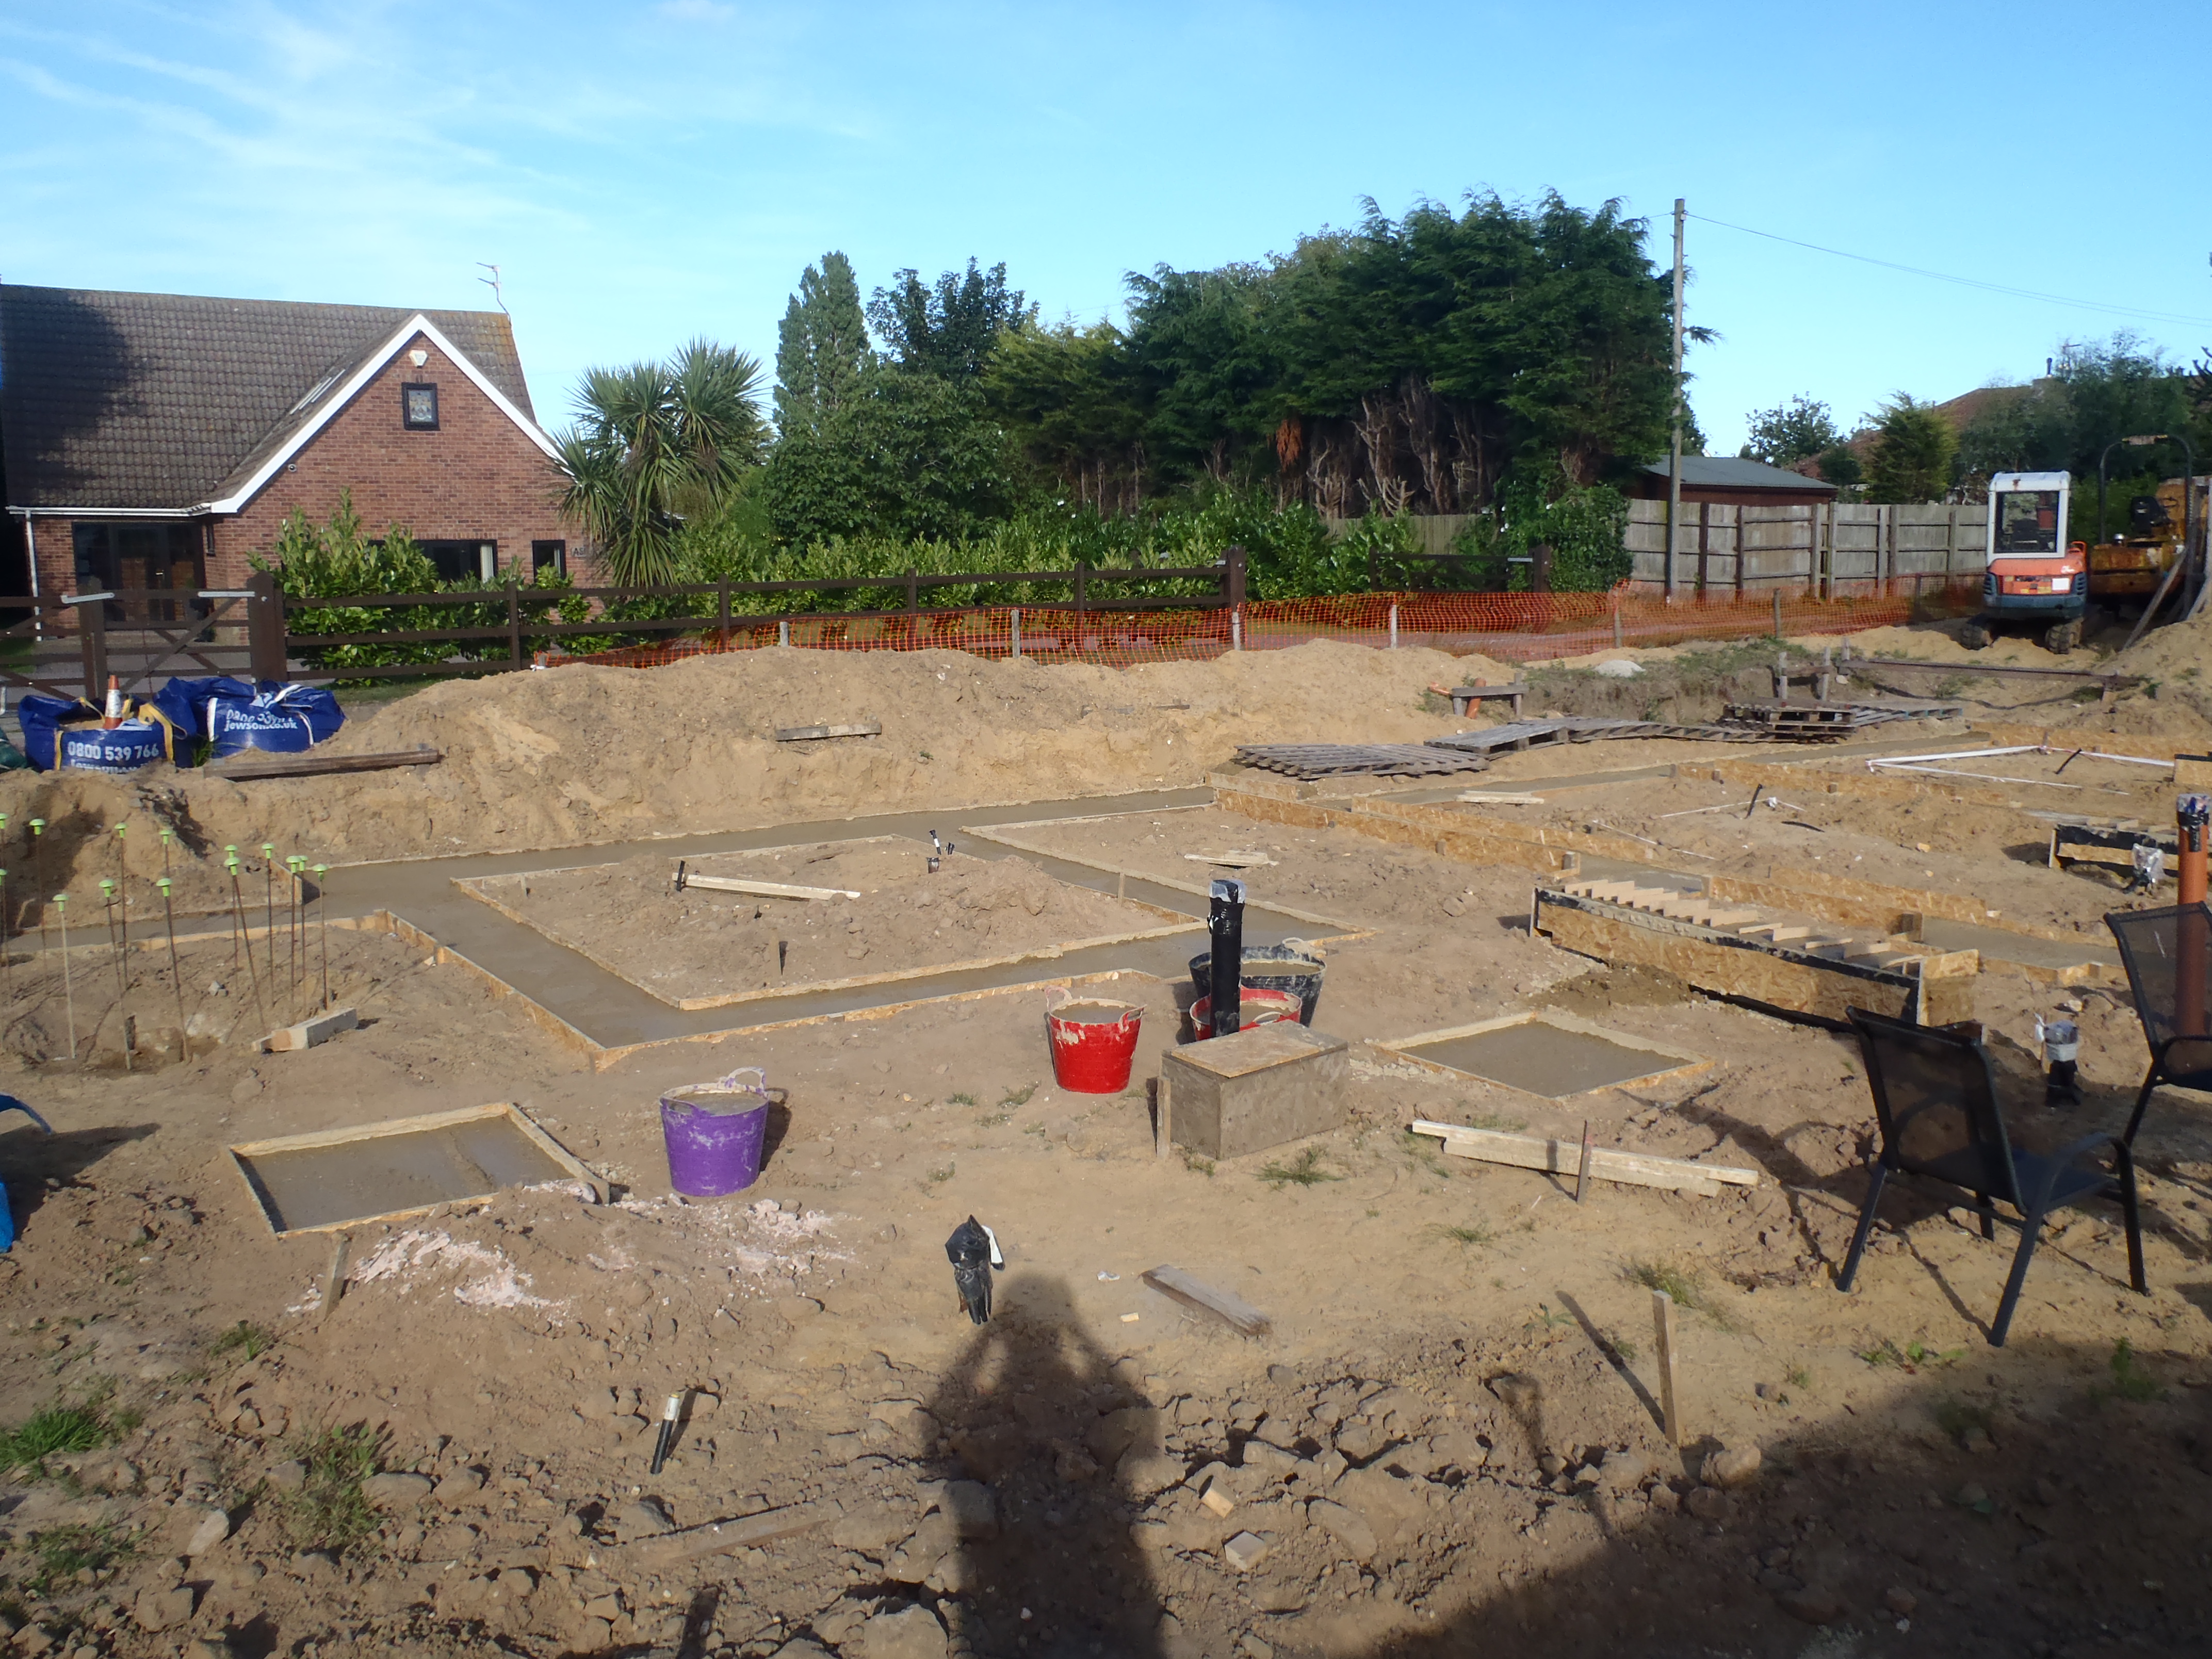
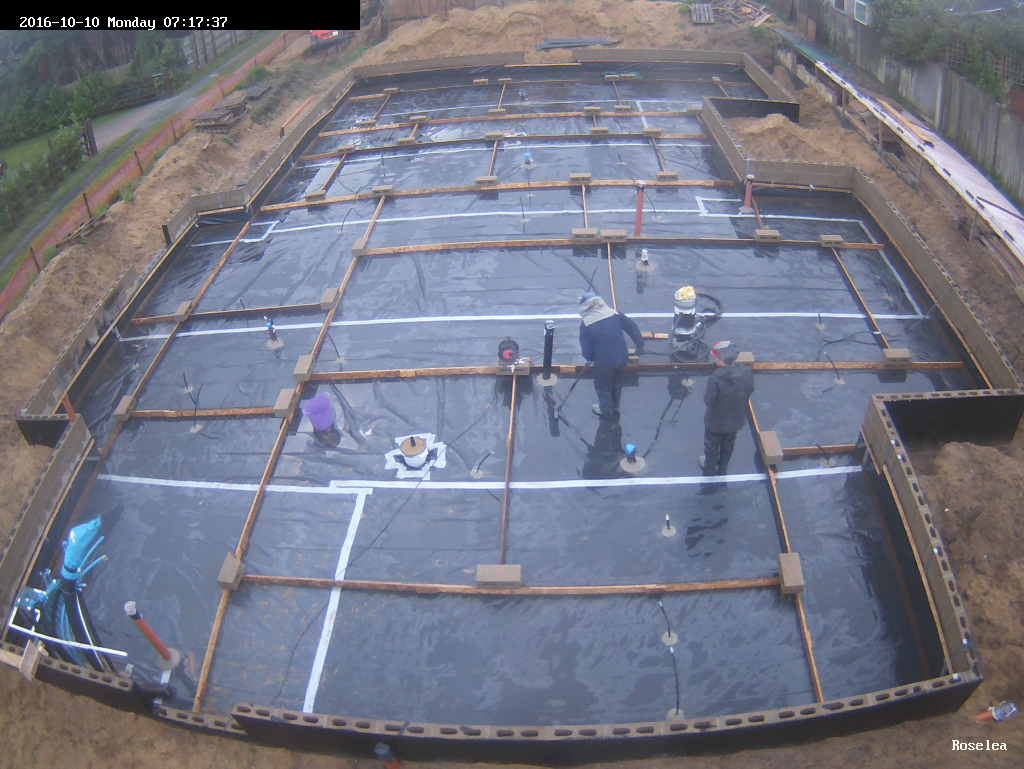
We started at 7am at the crack of dawn to clear away as much as possible the rain water still puddling on the DPM plastic by using our home made contraption, a blend of a vacuum cleaner extended upwards with a powerful water pump sitting inside it!!
Pouring-the-floor-slab-1
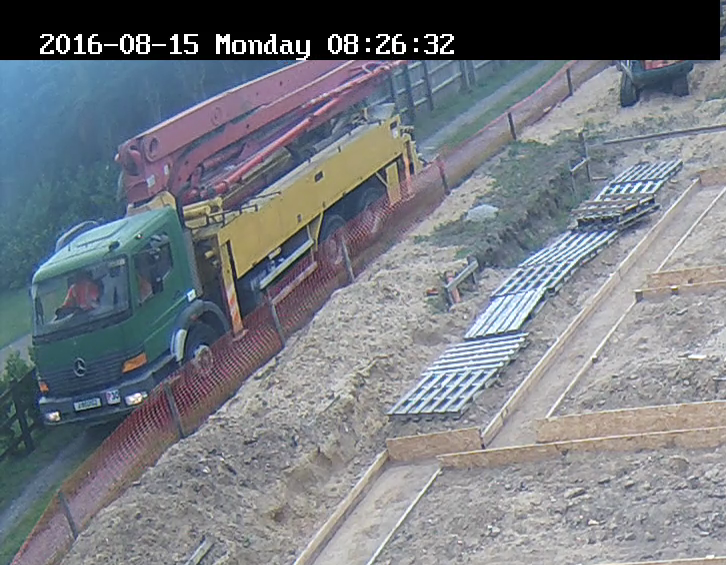
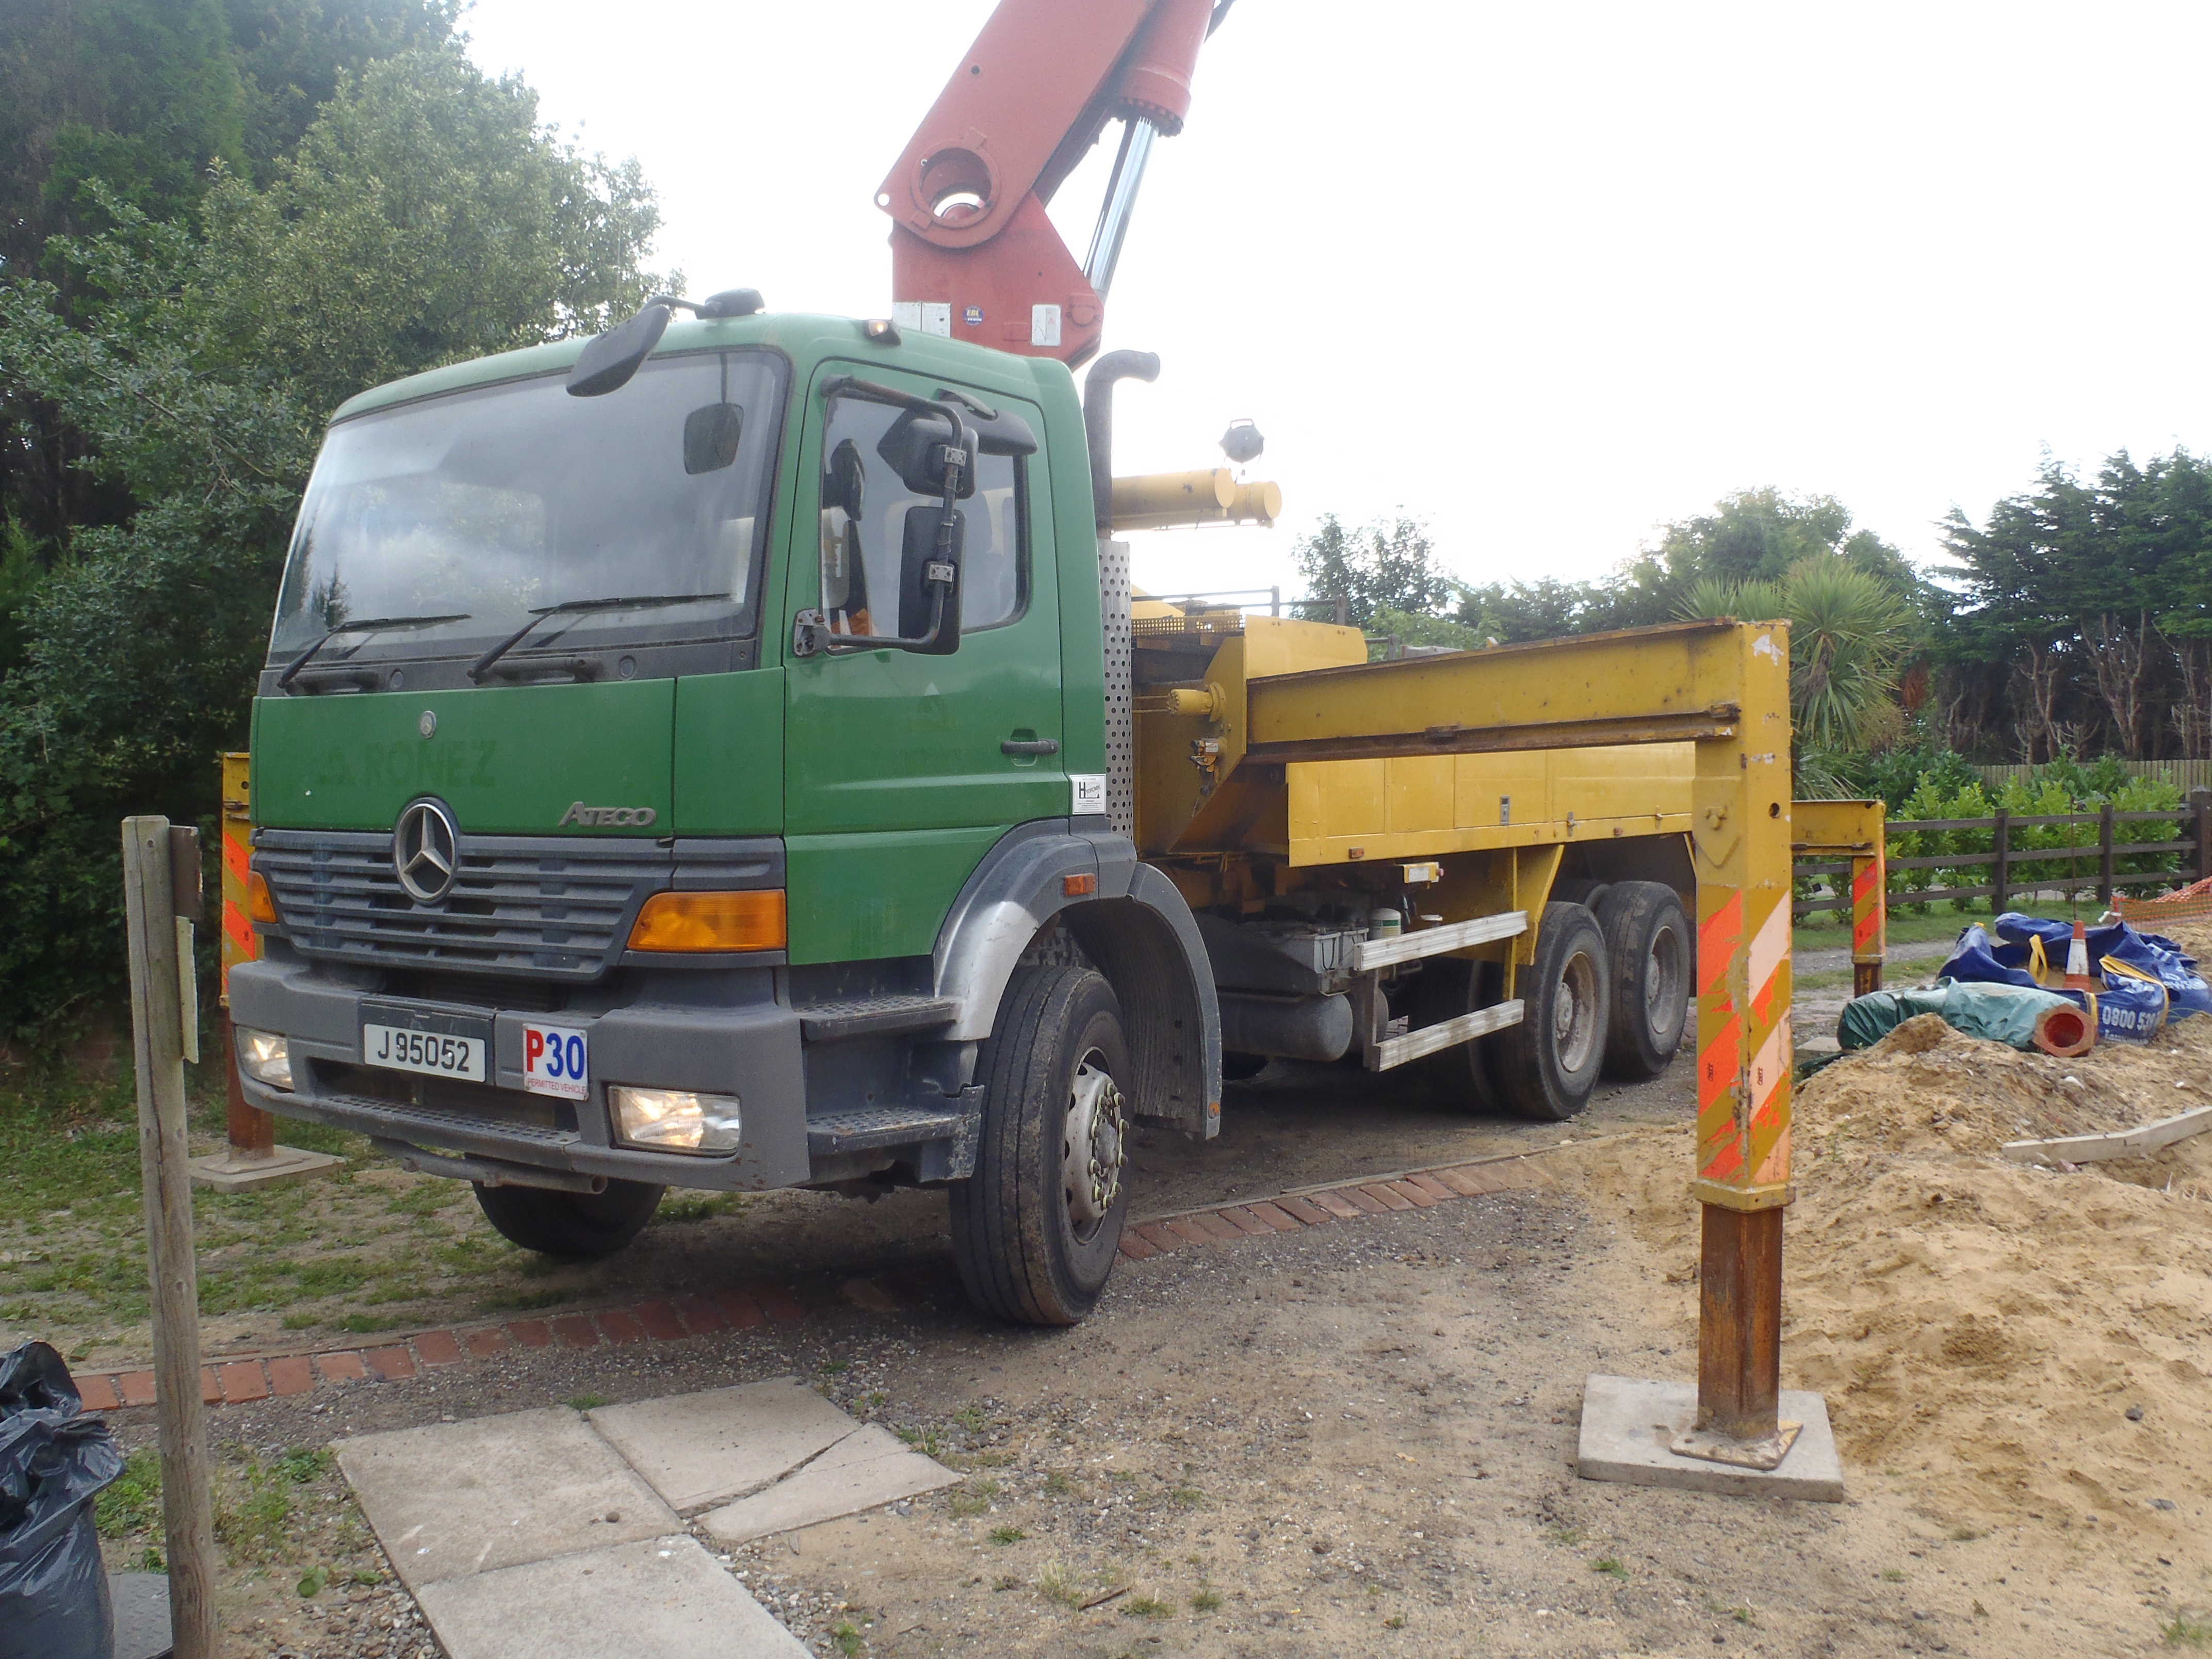
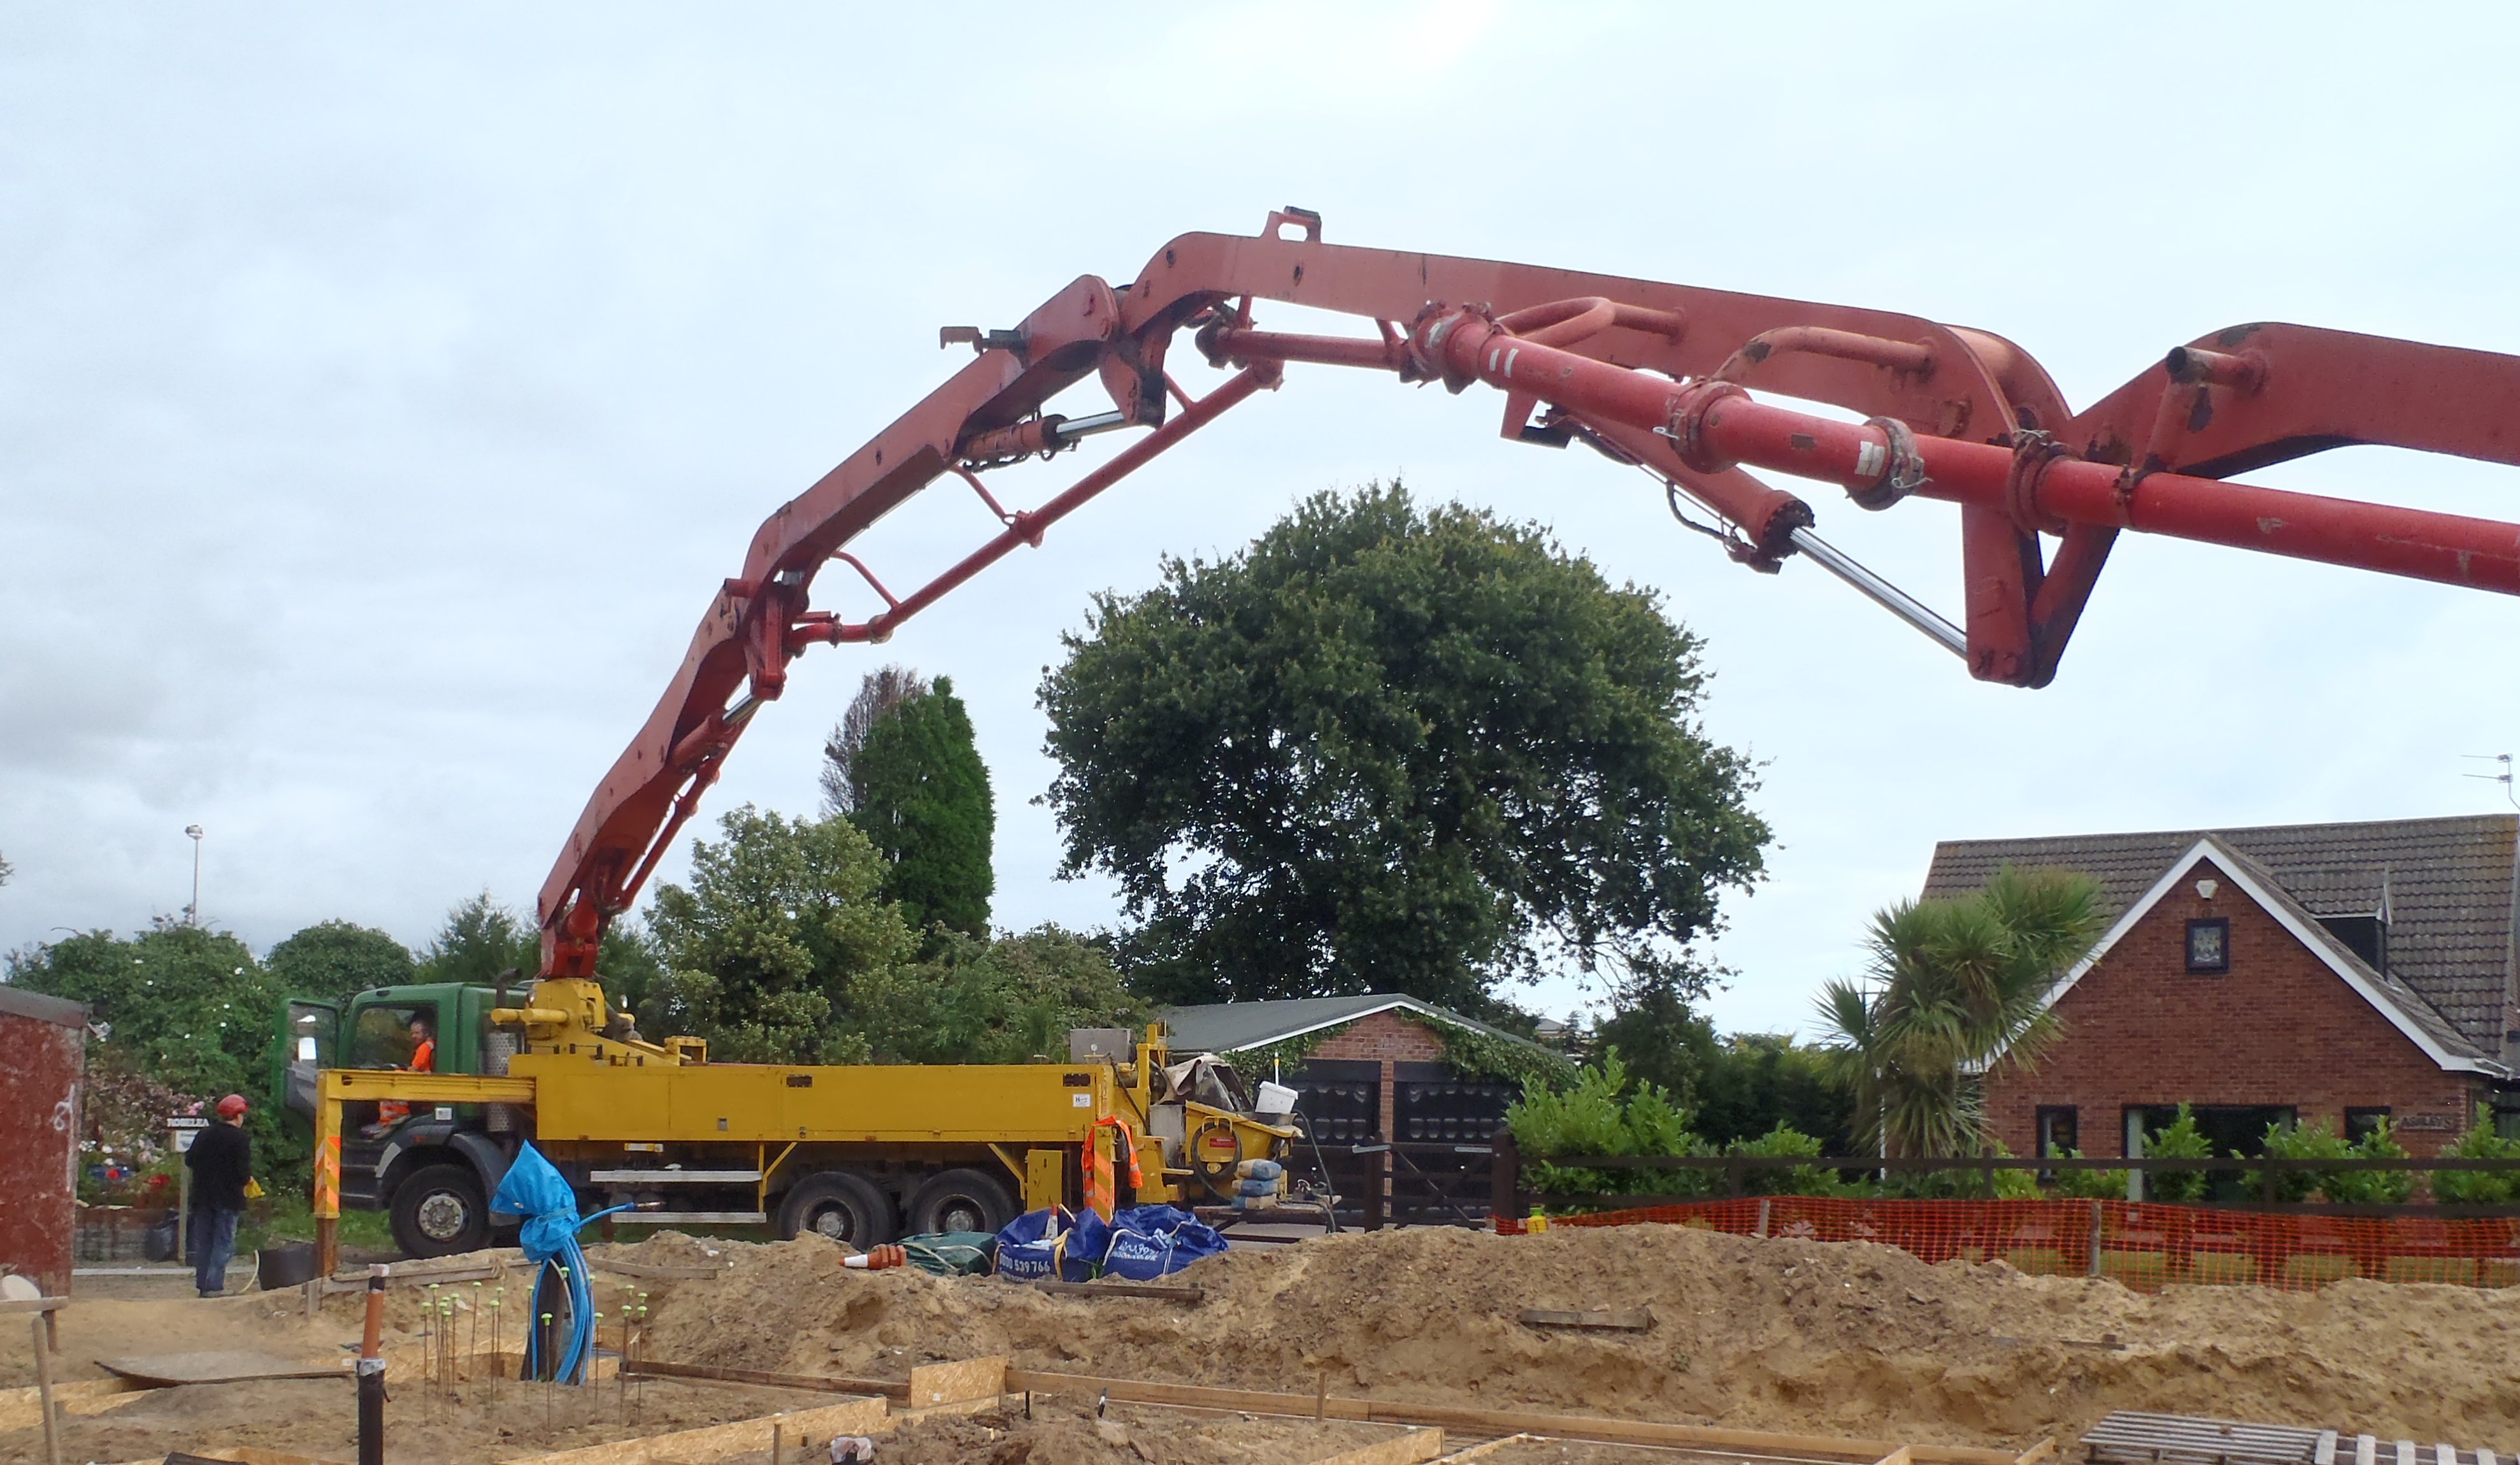
We got about two third of the area cleared before the first of the heavy vehicles arrived, the pump engine with its 30 metre boom arm (time was 8:21am) and soon after the technician chap also arrived in his van, closely followed by the first 6½ cubic metres of the special crushed granite with nylon fibre mixed in a high cement content and special emulsifiers to make a very liquid flowing mixture!
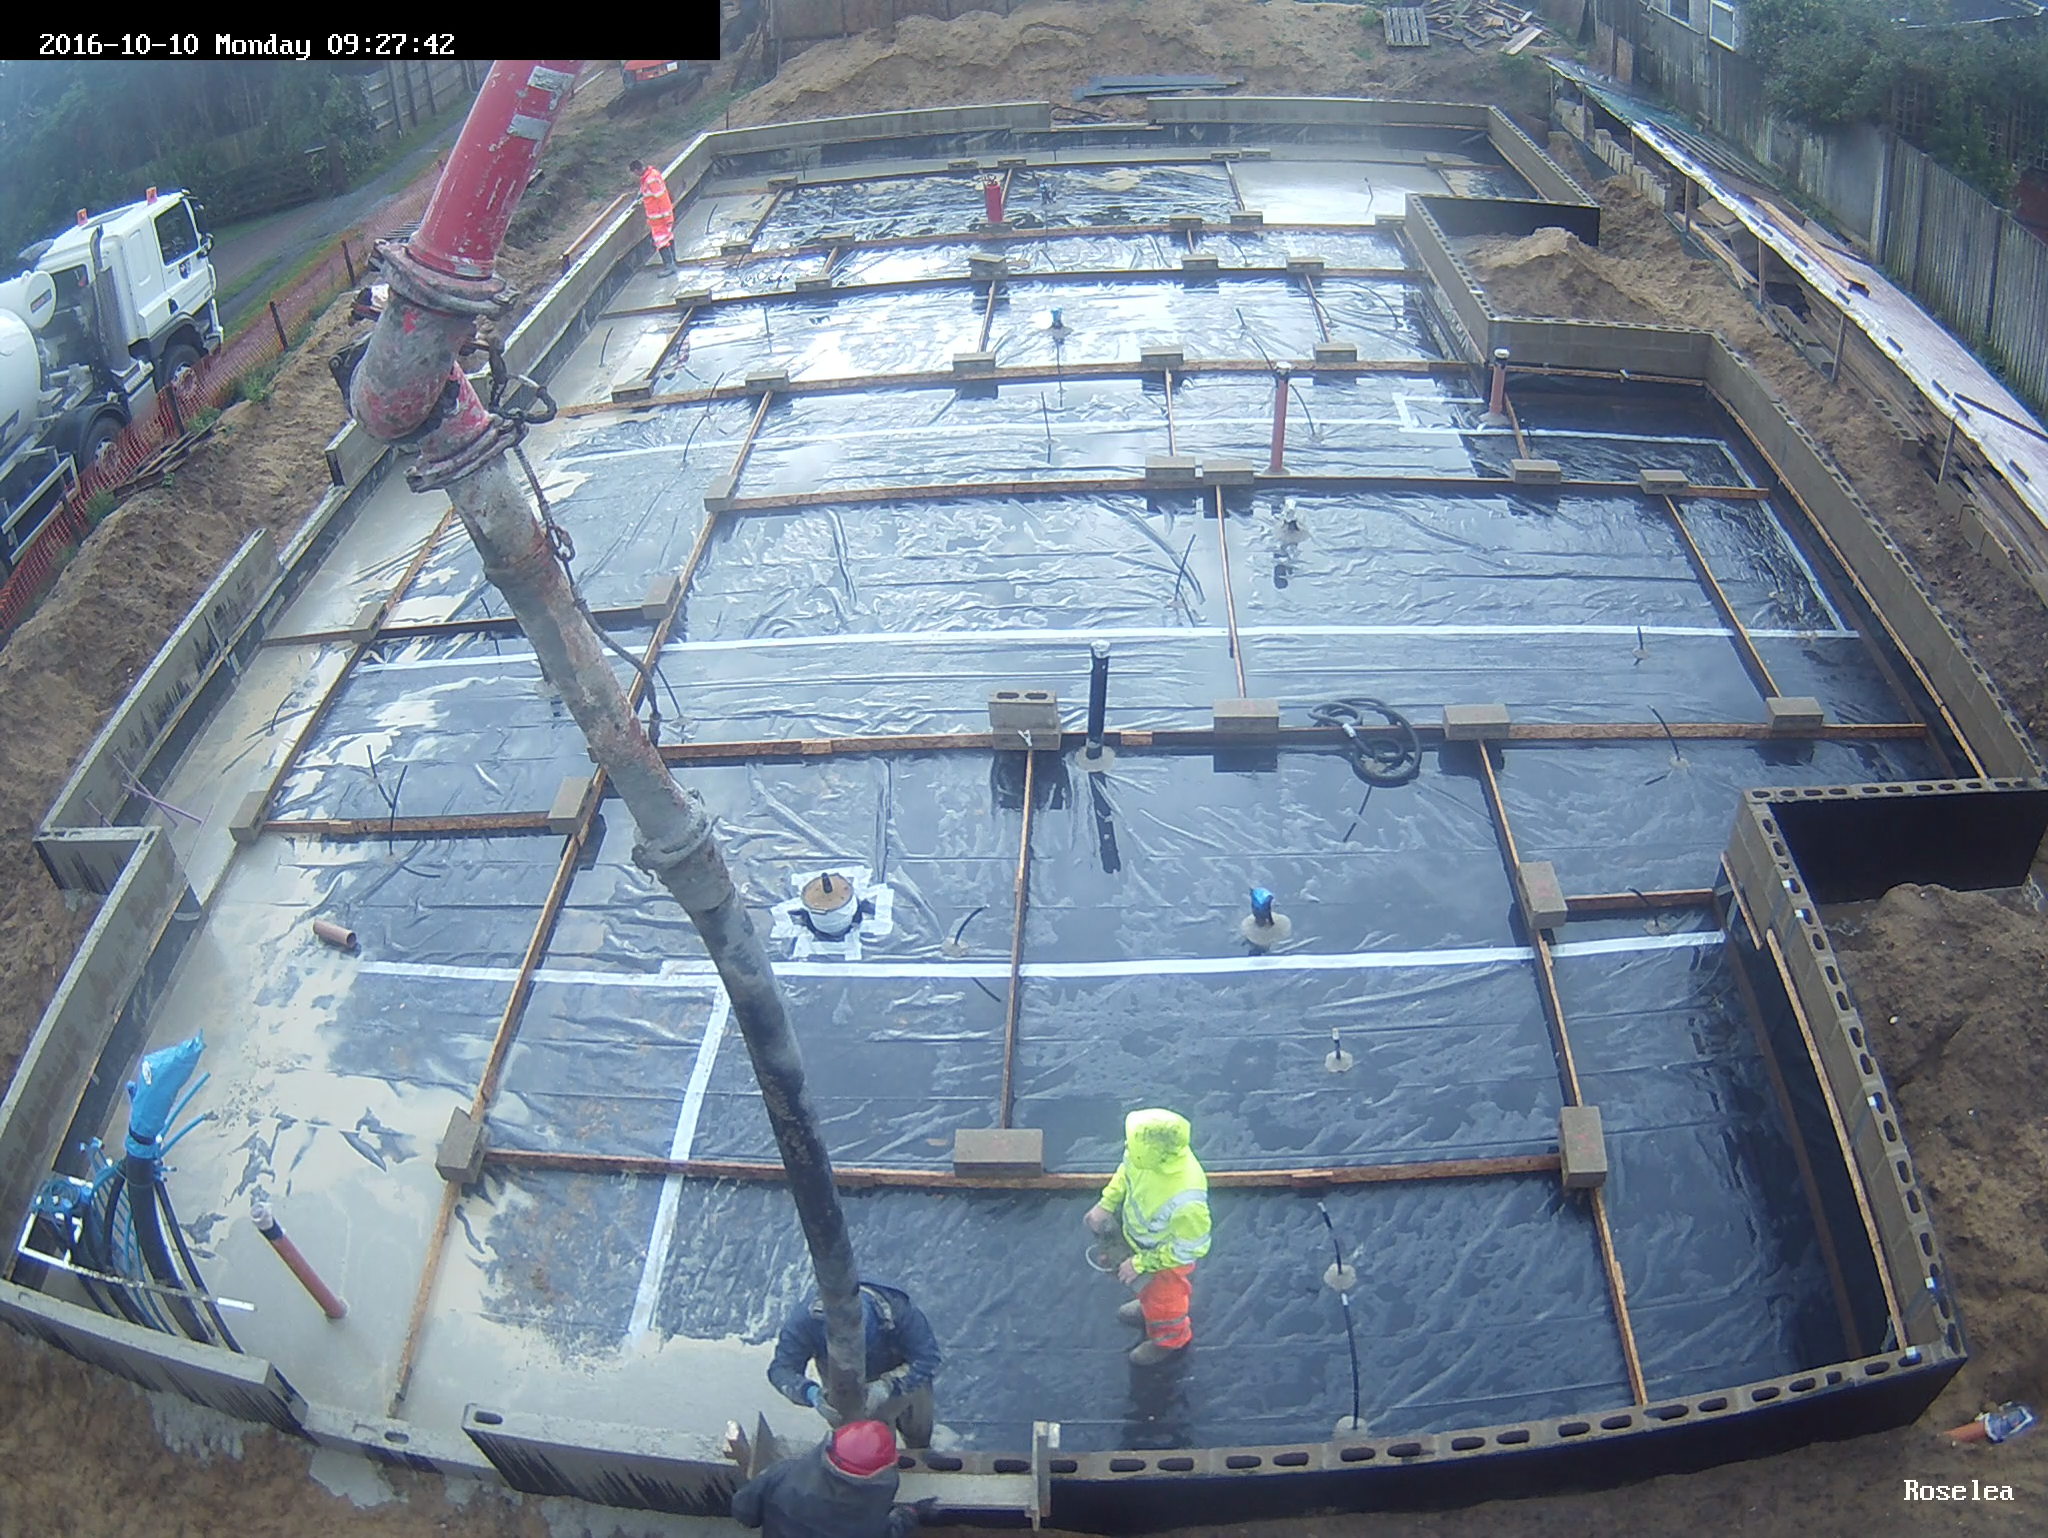
9 AM
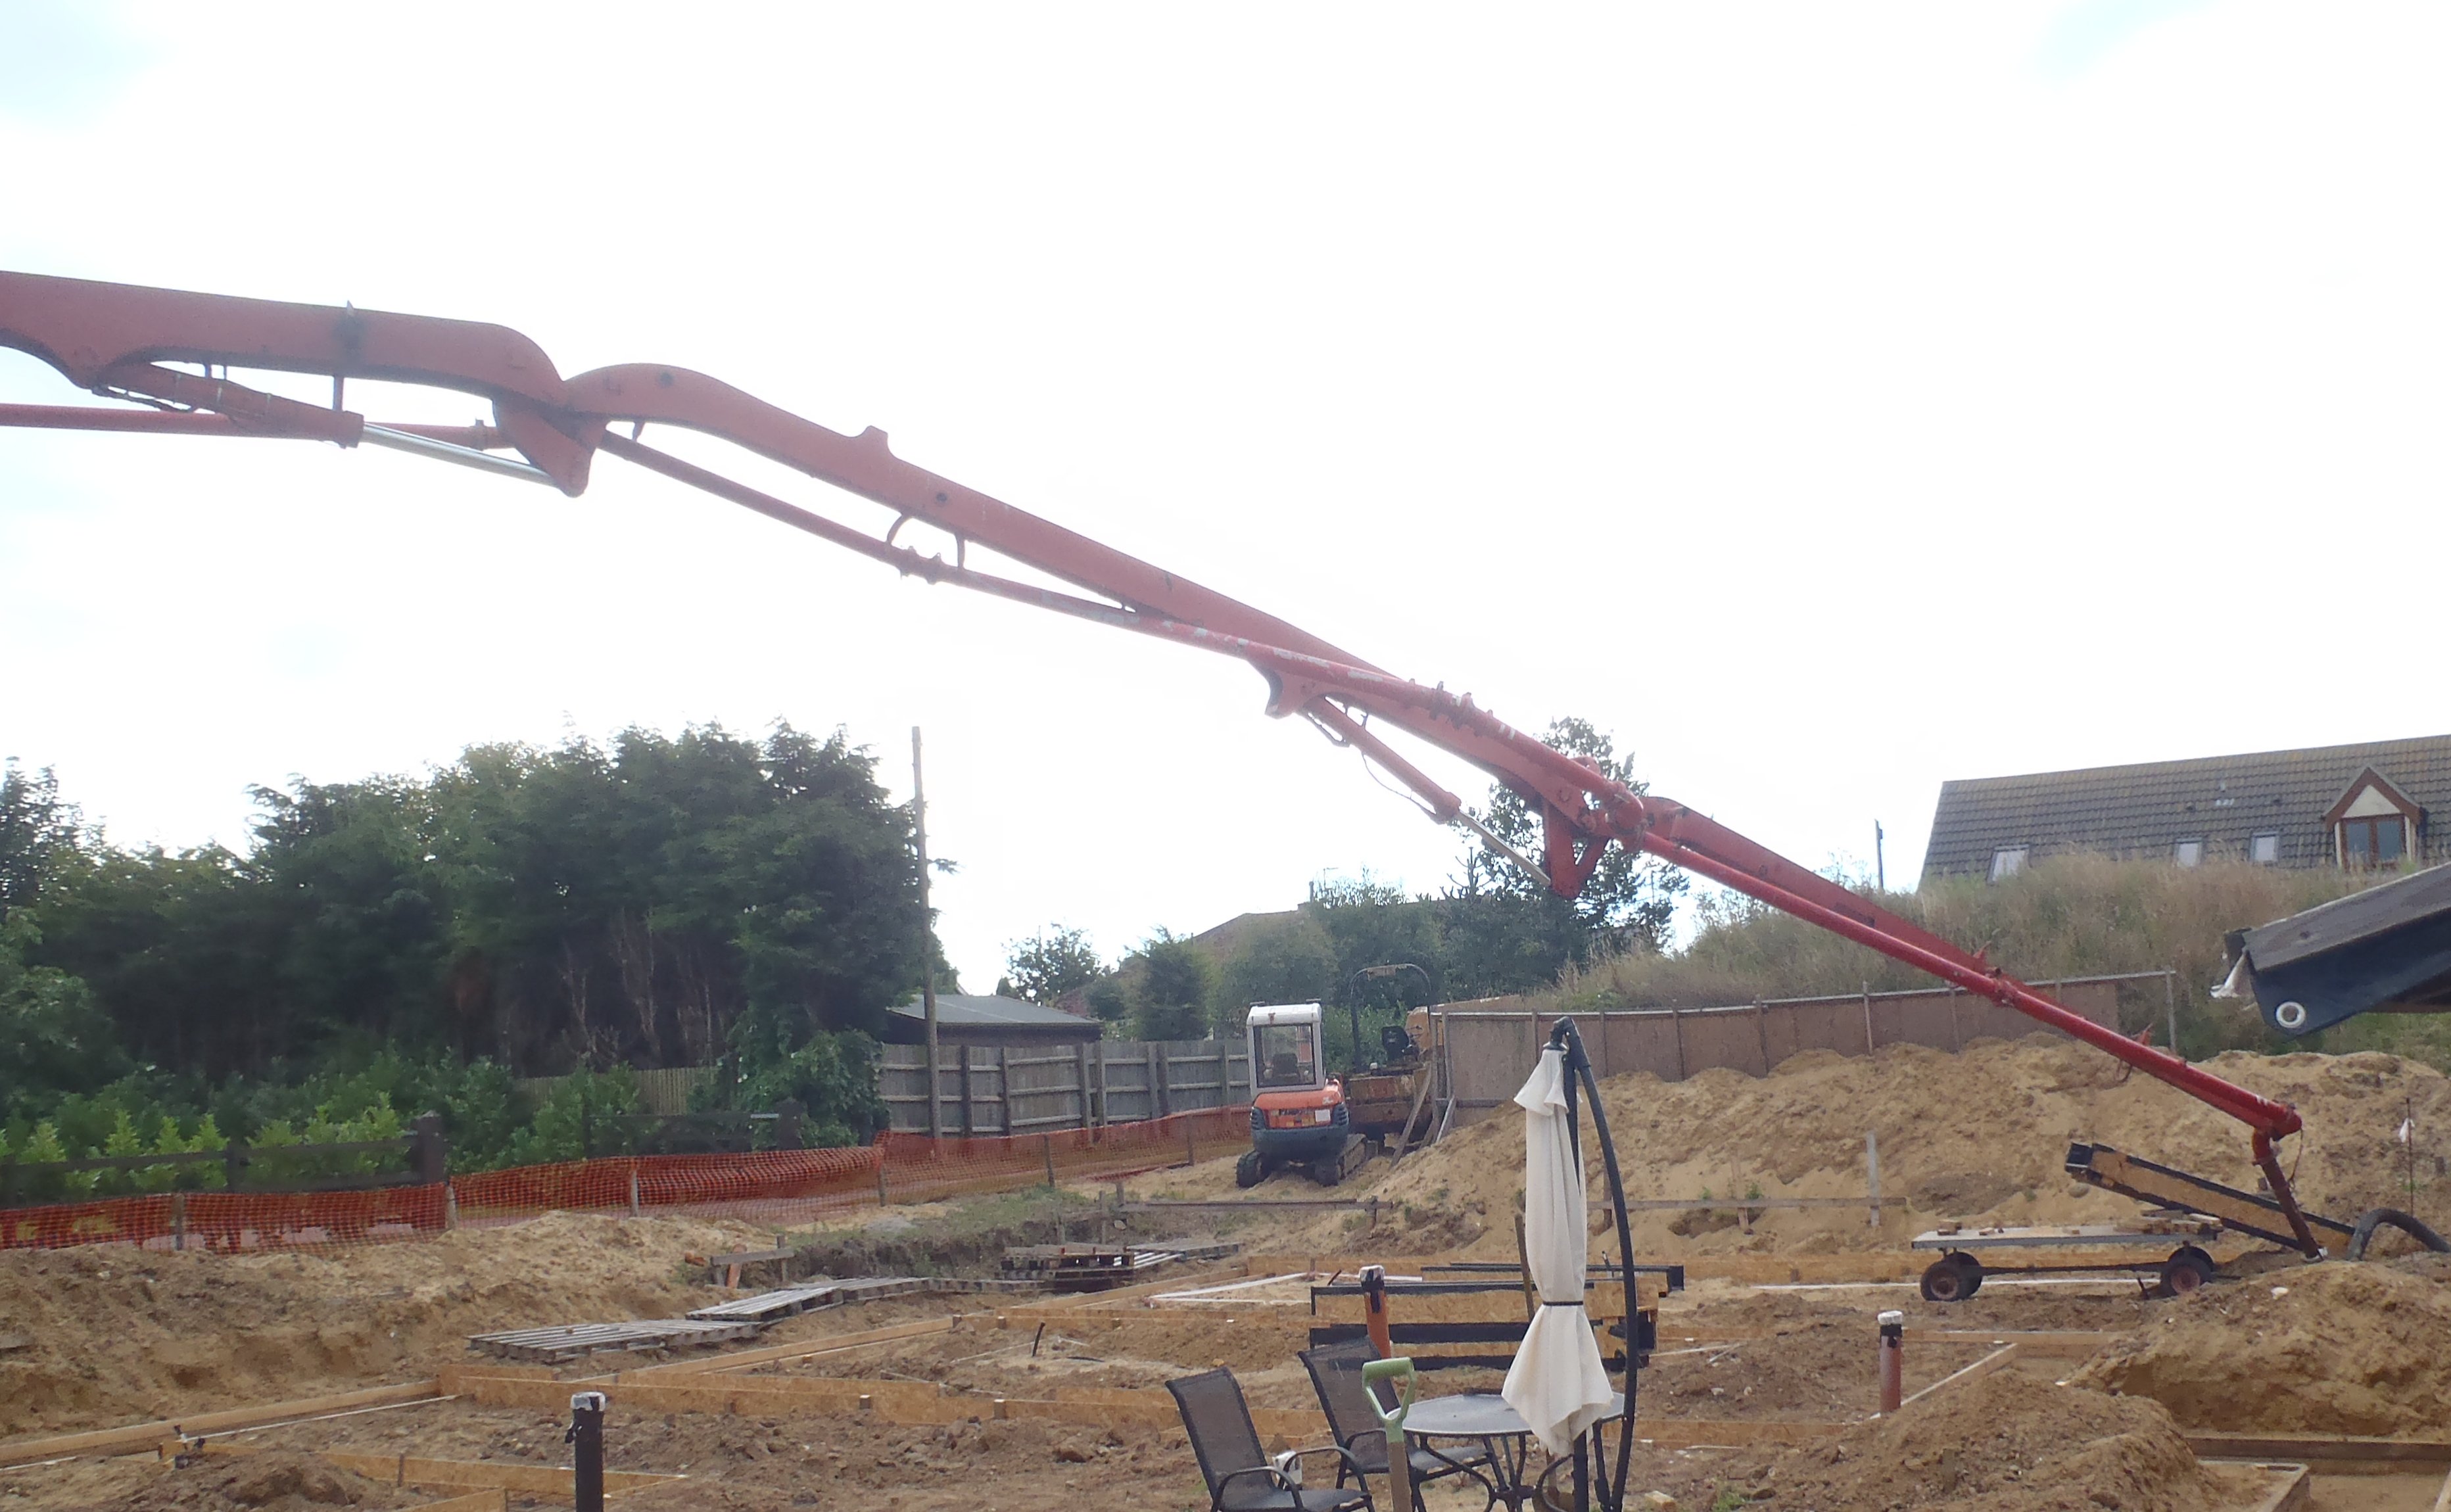
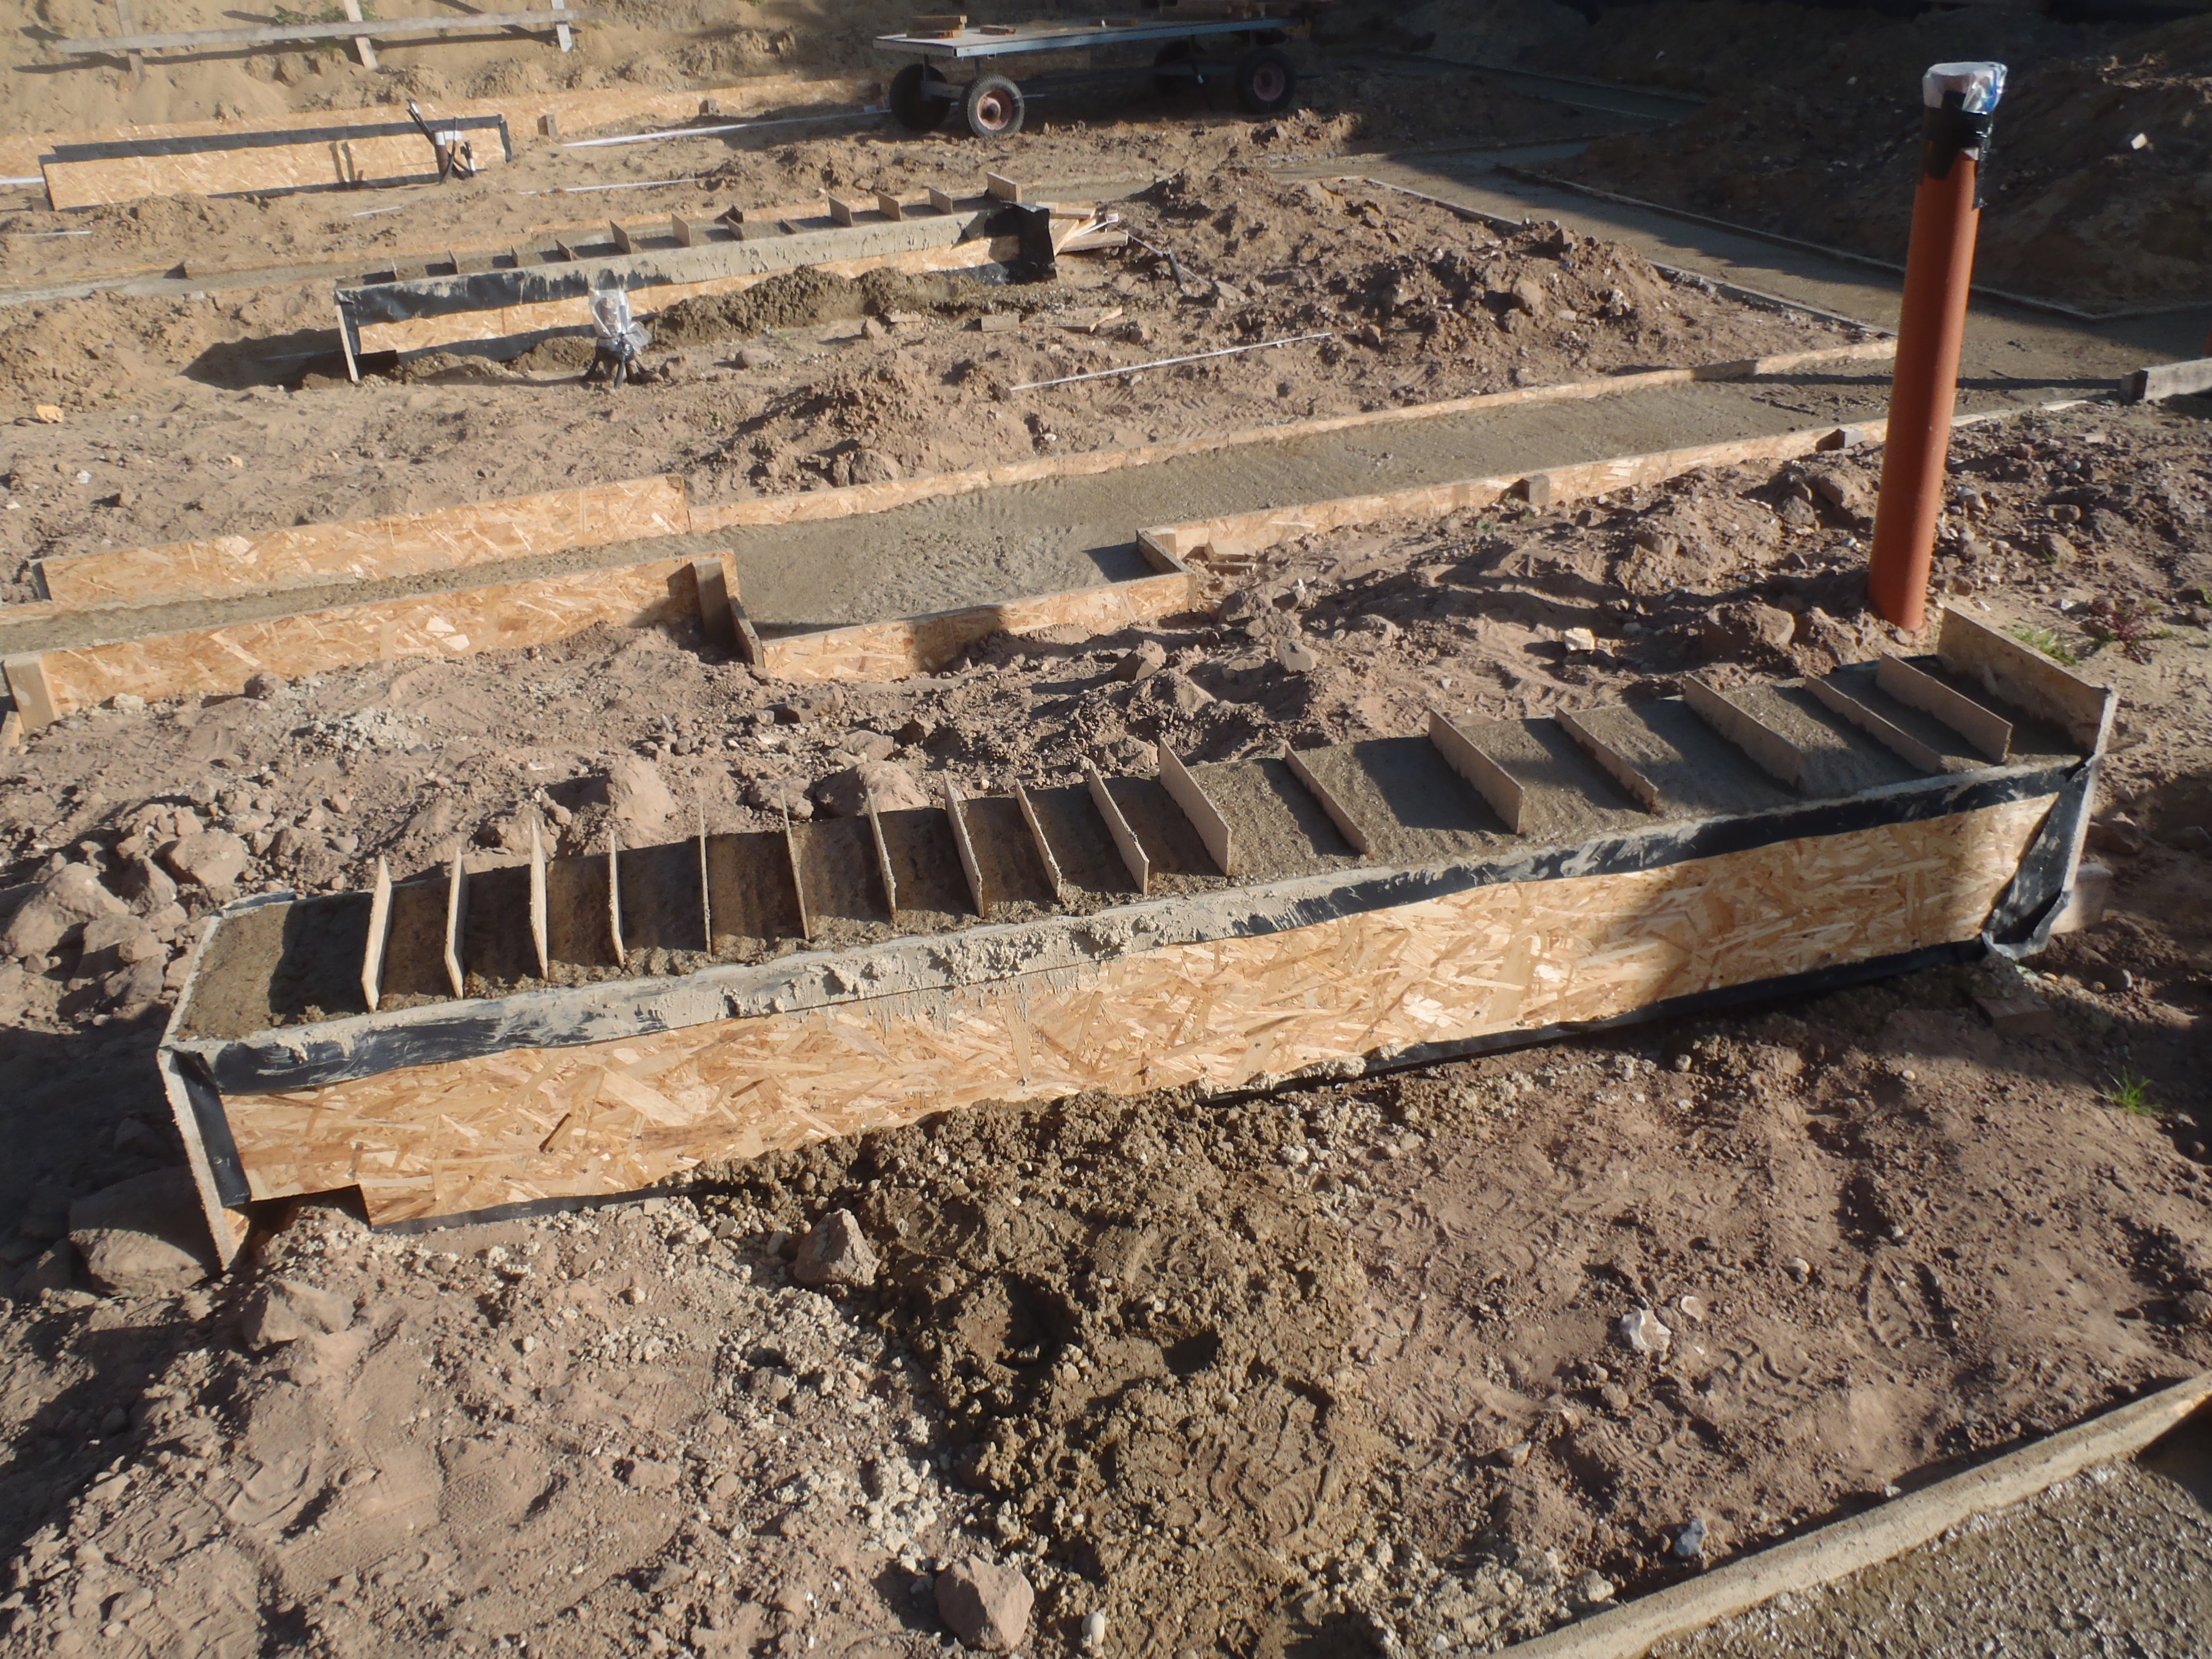
We started on the Perimeter Wall, filling all the hollow columns using our (another) homemade deflector tool. It worked rather well, with only small amount of dribbling cement and small crunchy bits escaping outside rather than inside the wall. We managed to do almost all of it using the boom arm pumping the concrete, only missing out about 15 hollow cores because the boom arm couldn’t reach that far!
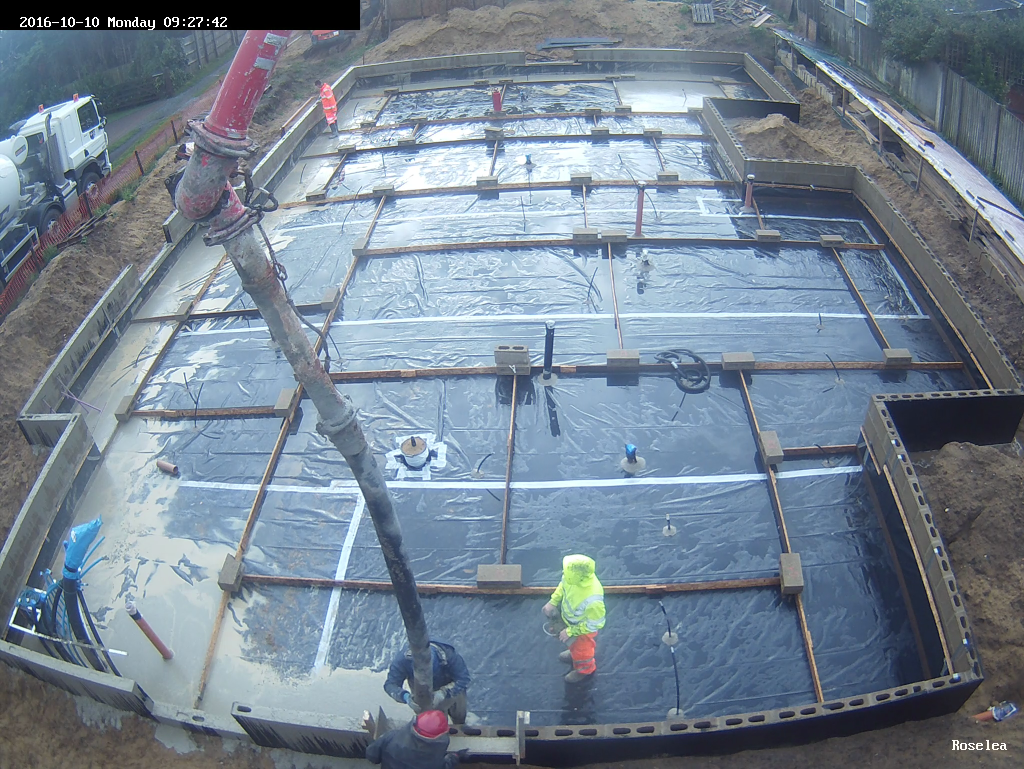
Pouring-the-floor-slab-2
That was also the end of the first load of concrete too! Most of it went inside and about half filled all the hollow columns.
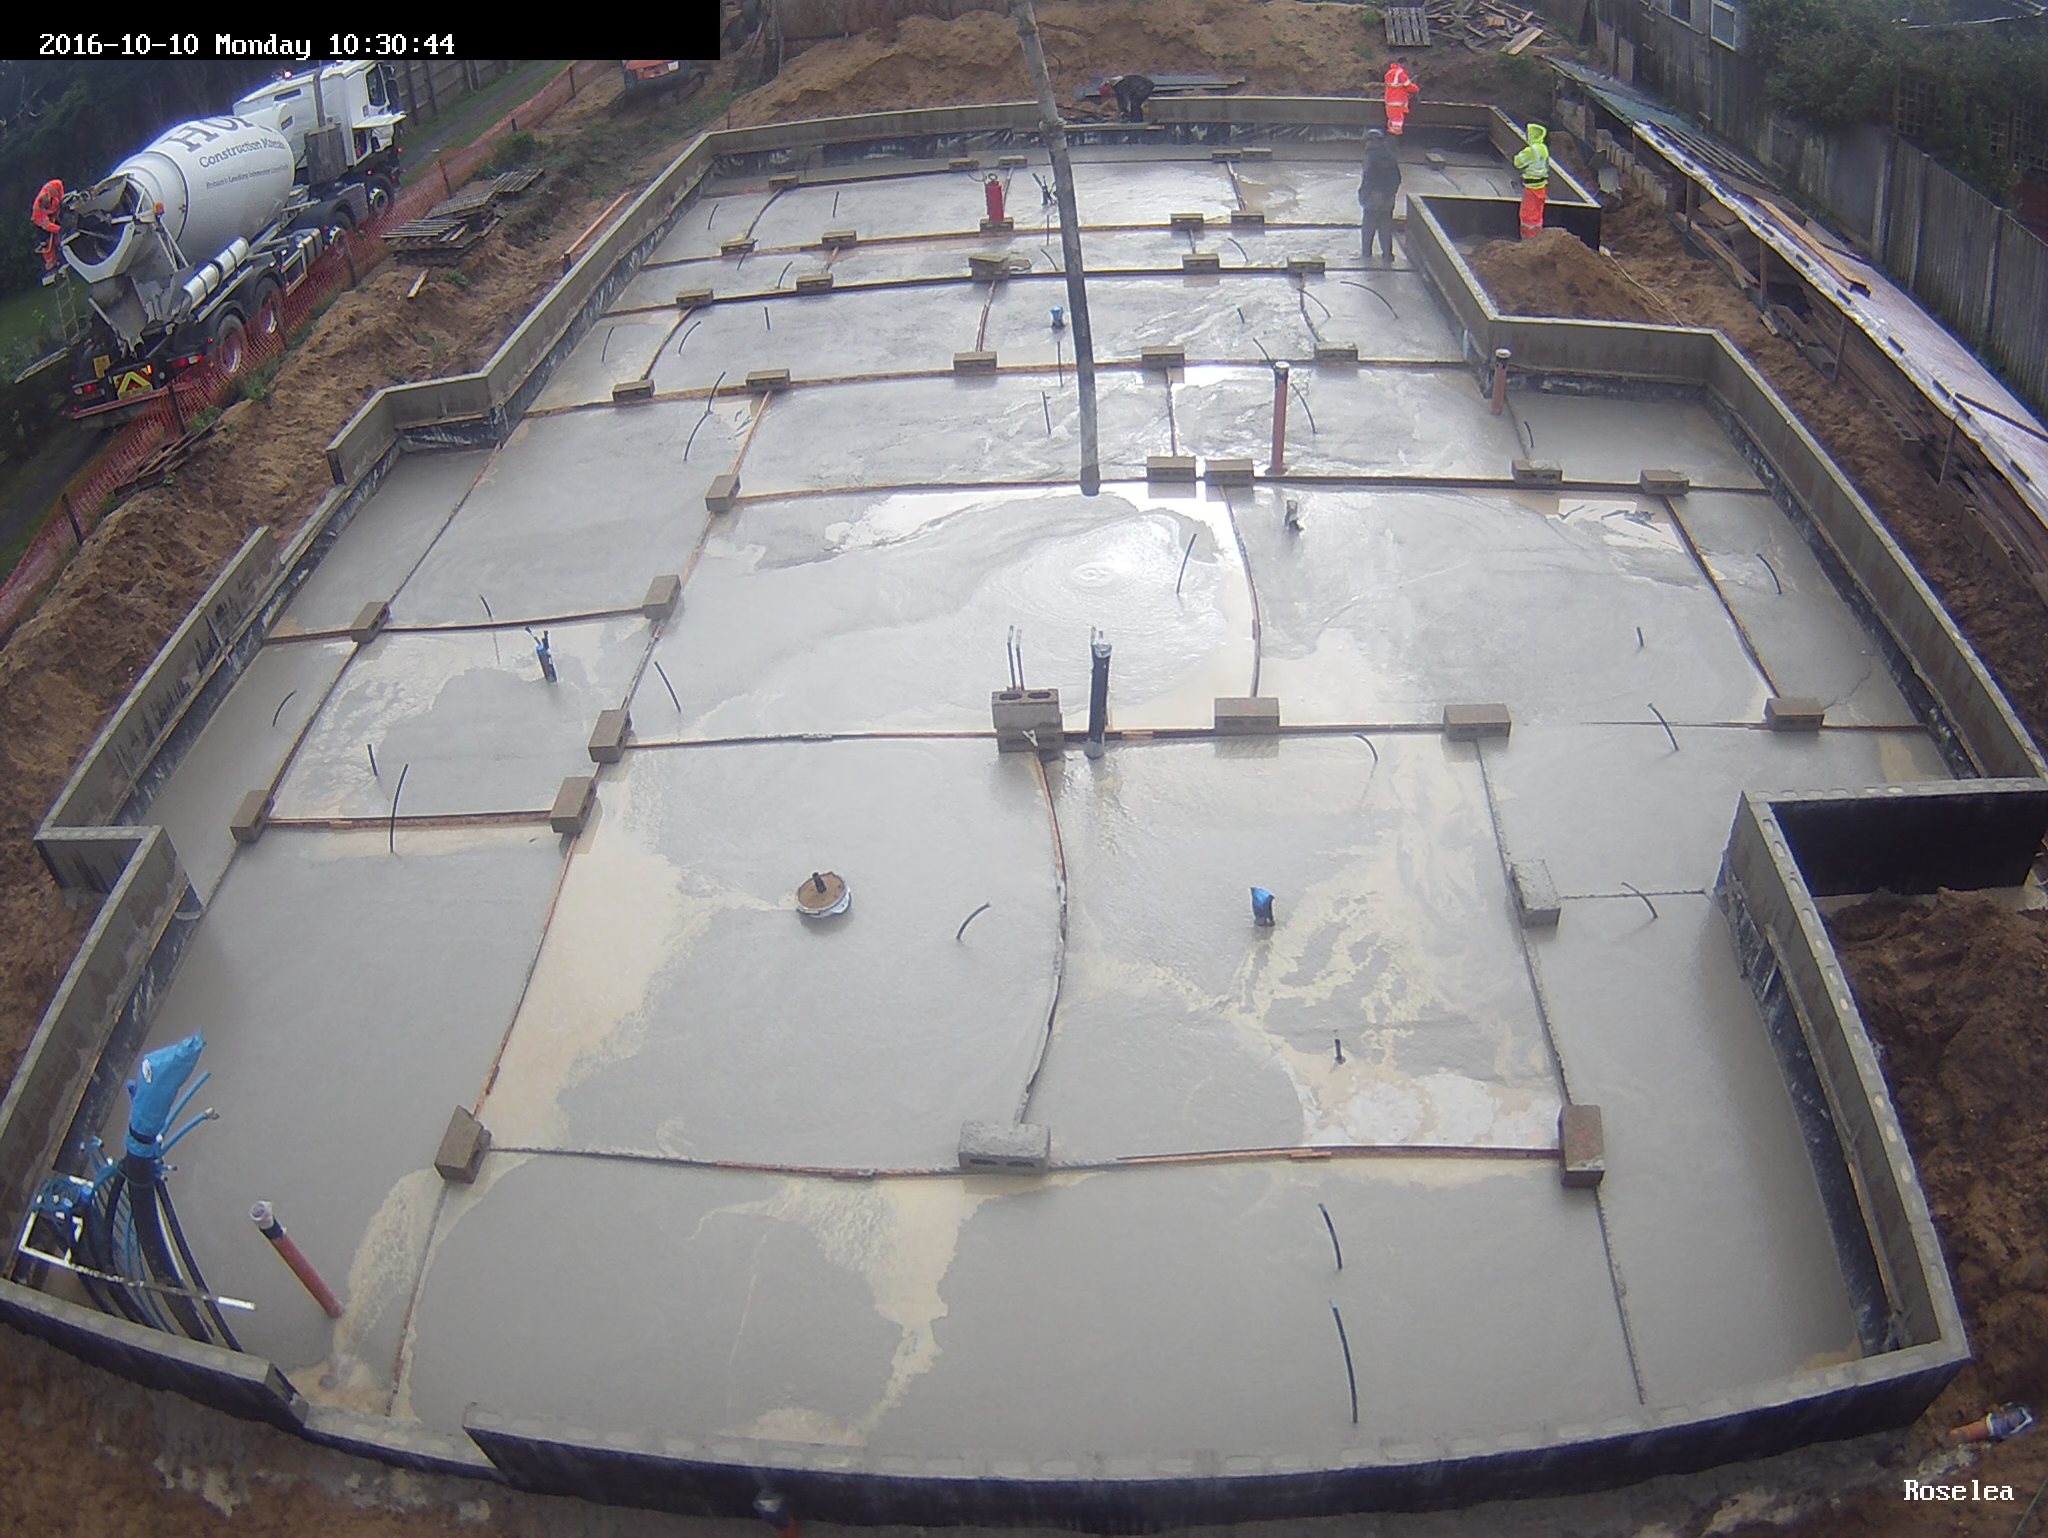
10 AM
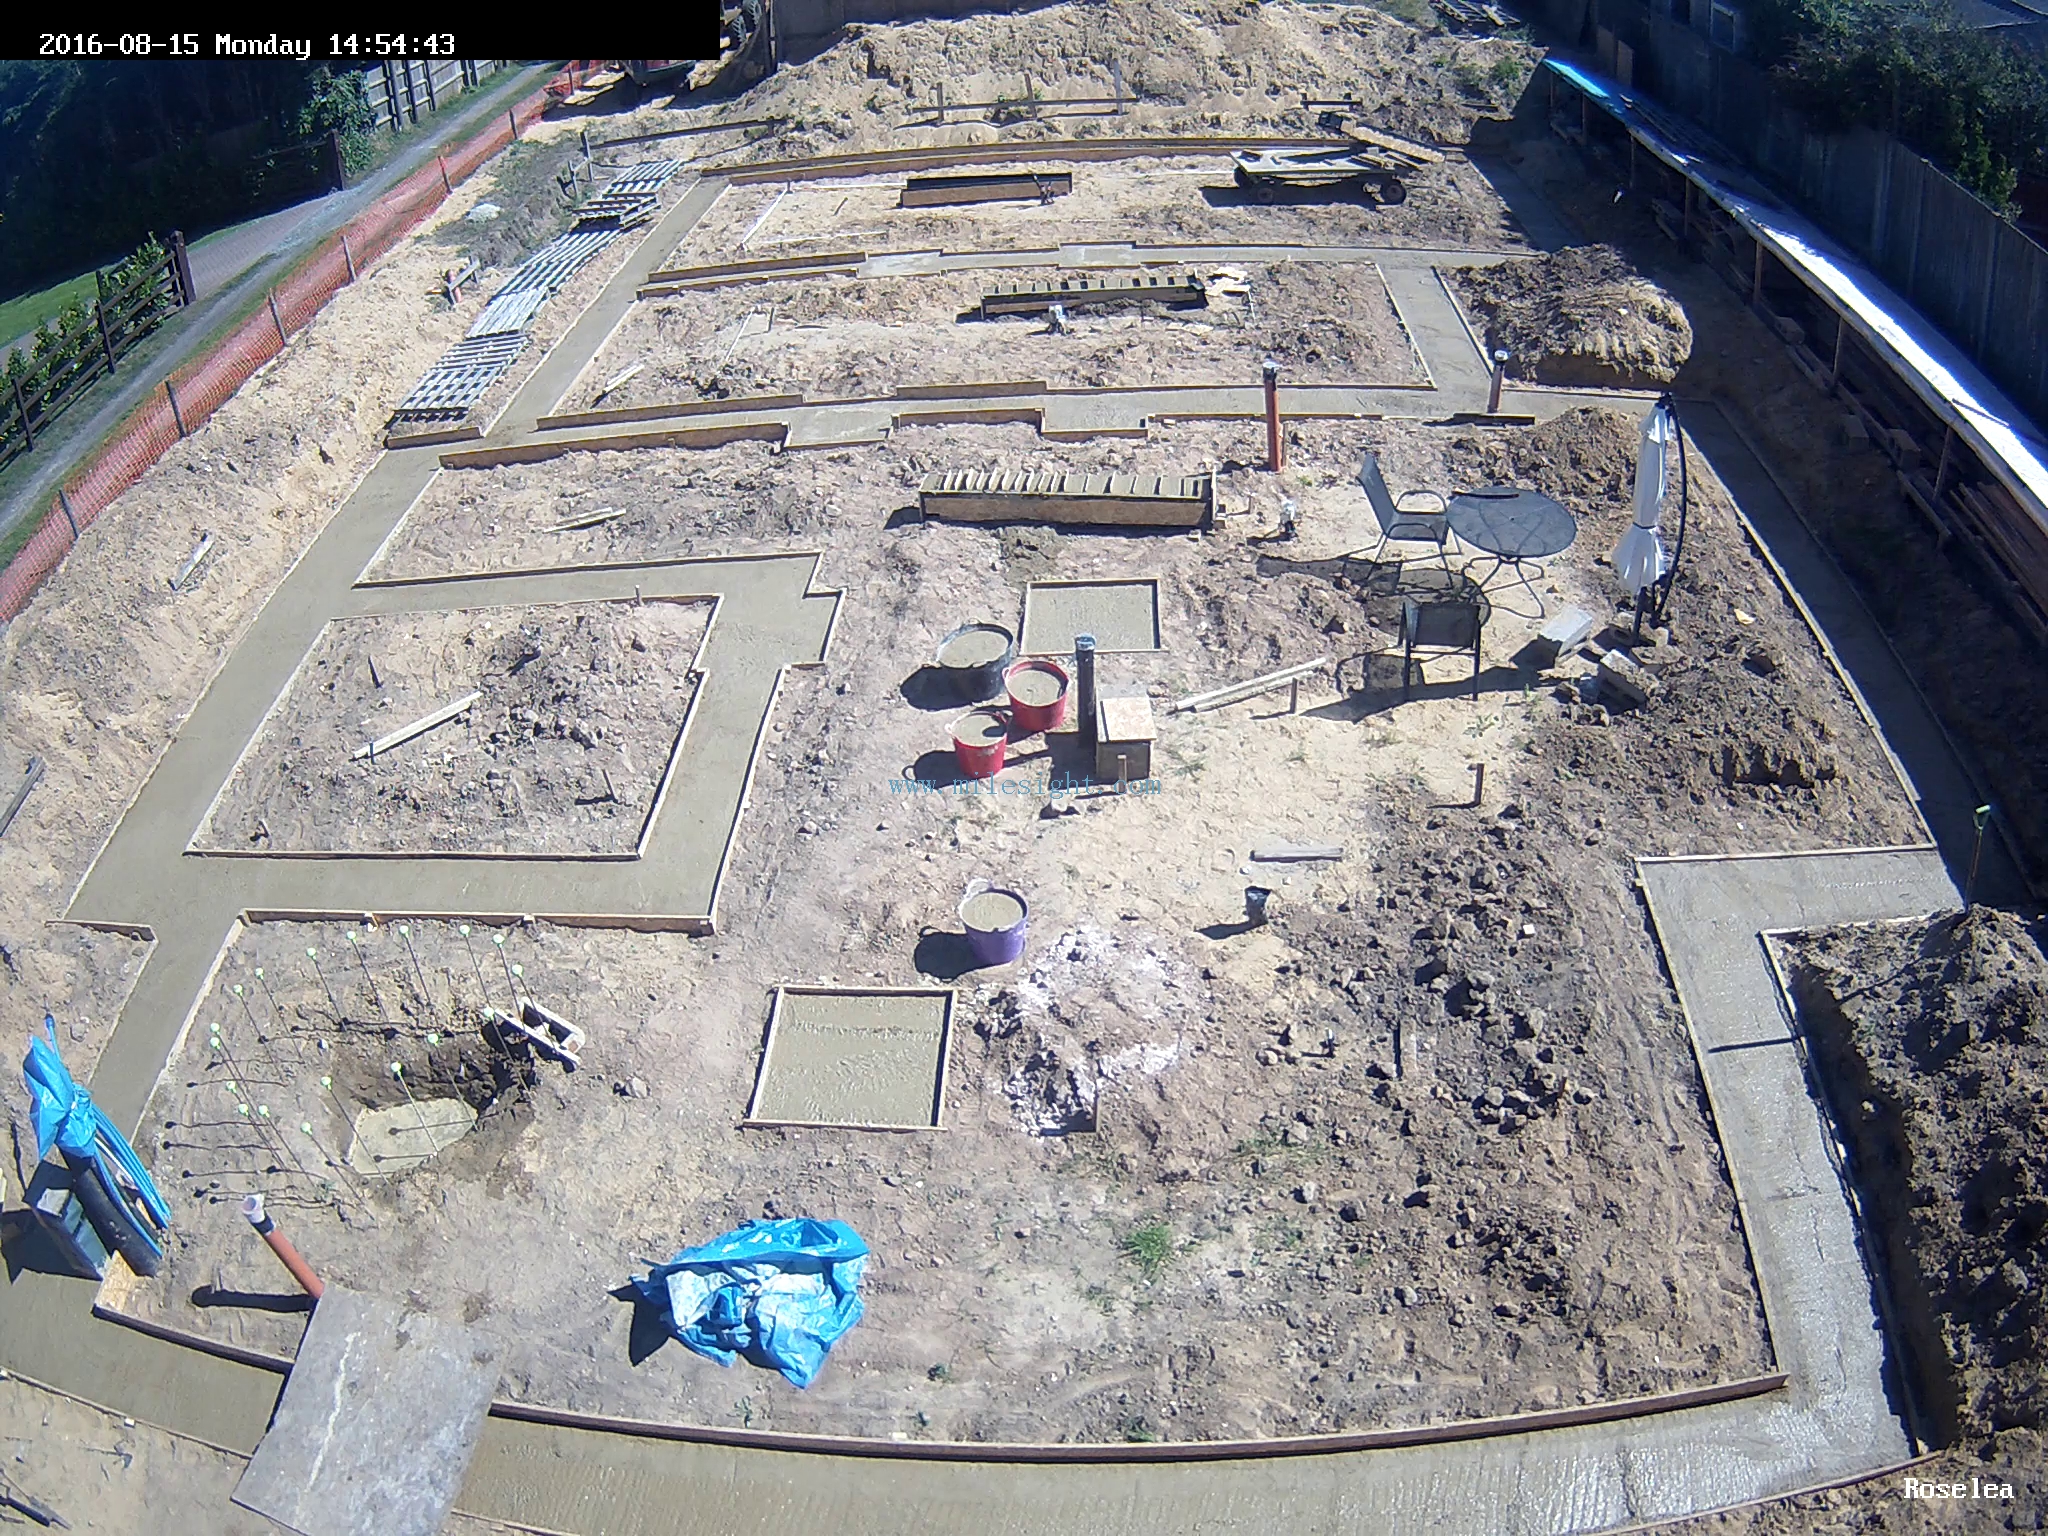
That was the slow bit done and now the pump could go much faster indeed, and when the 2nd lorry load of concrete parked itself next to the pump (this lorry and the 3rd lorry were already arrived and waiting up on Beccles Road!!), the whole content, another 6½m3 of it, came gushing out all in 10minutes flat!! The boom arm went around all over the place to try and load some concrete in each cellular region so the dividers won’t feel overstressed. The same happened to the third lorry load and by 10:30am they were emptied and gone!

Pouring-the-floor-slab-3
11am
While we were waiting for the next two lorry loads of the concrete, we went around cleaning off the dribbles of cement and the crunchy bits off the bitumen coated exterior surface using the garden hose with the spray nozzle. Our technician chap helped by filling in the last 15 hollows columns in the far corner of the wall too!
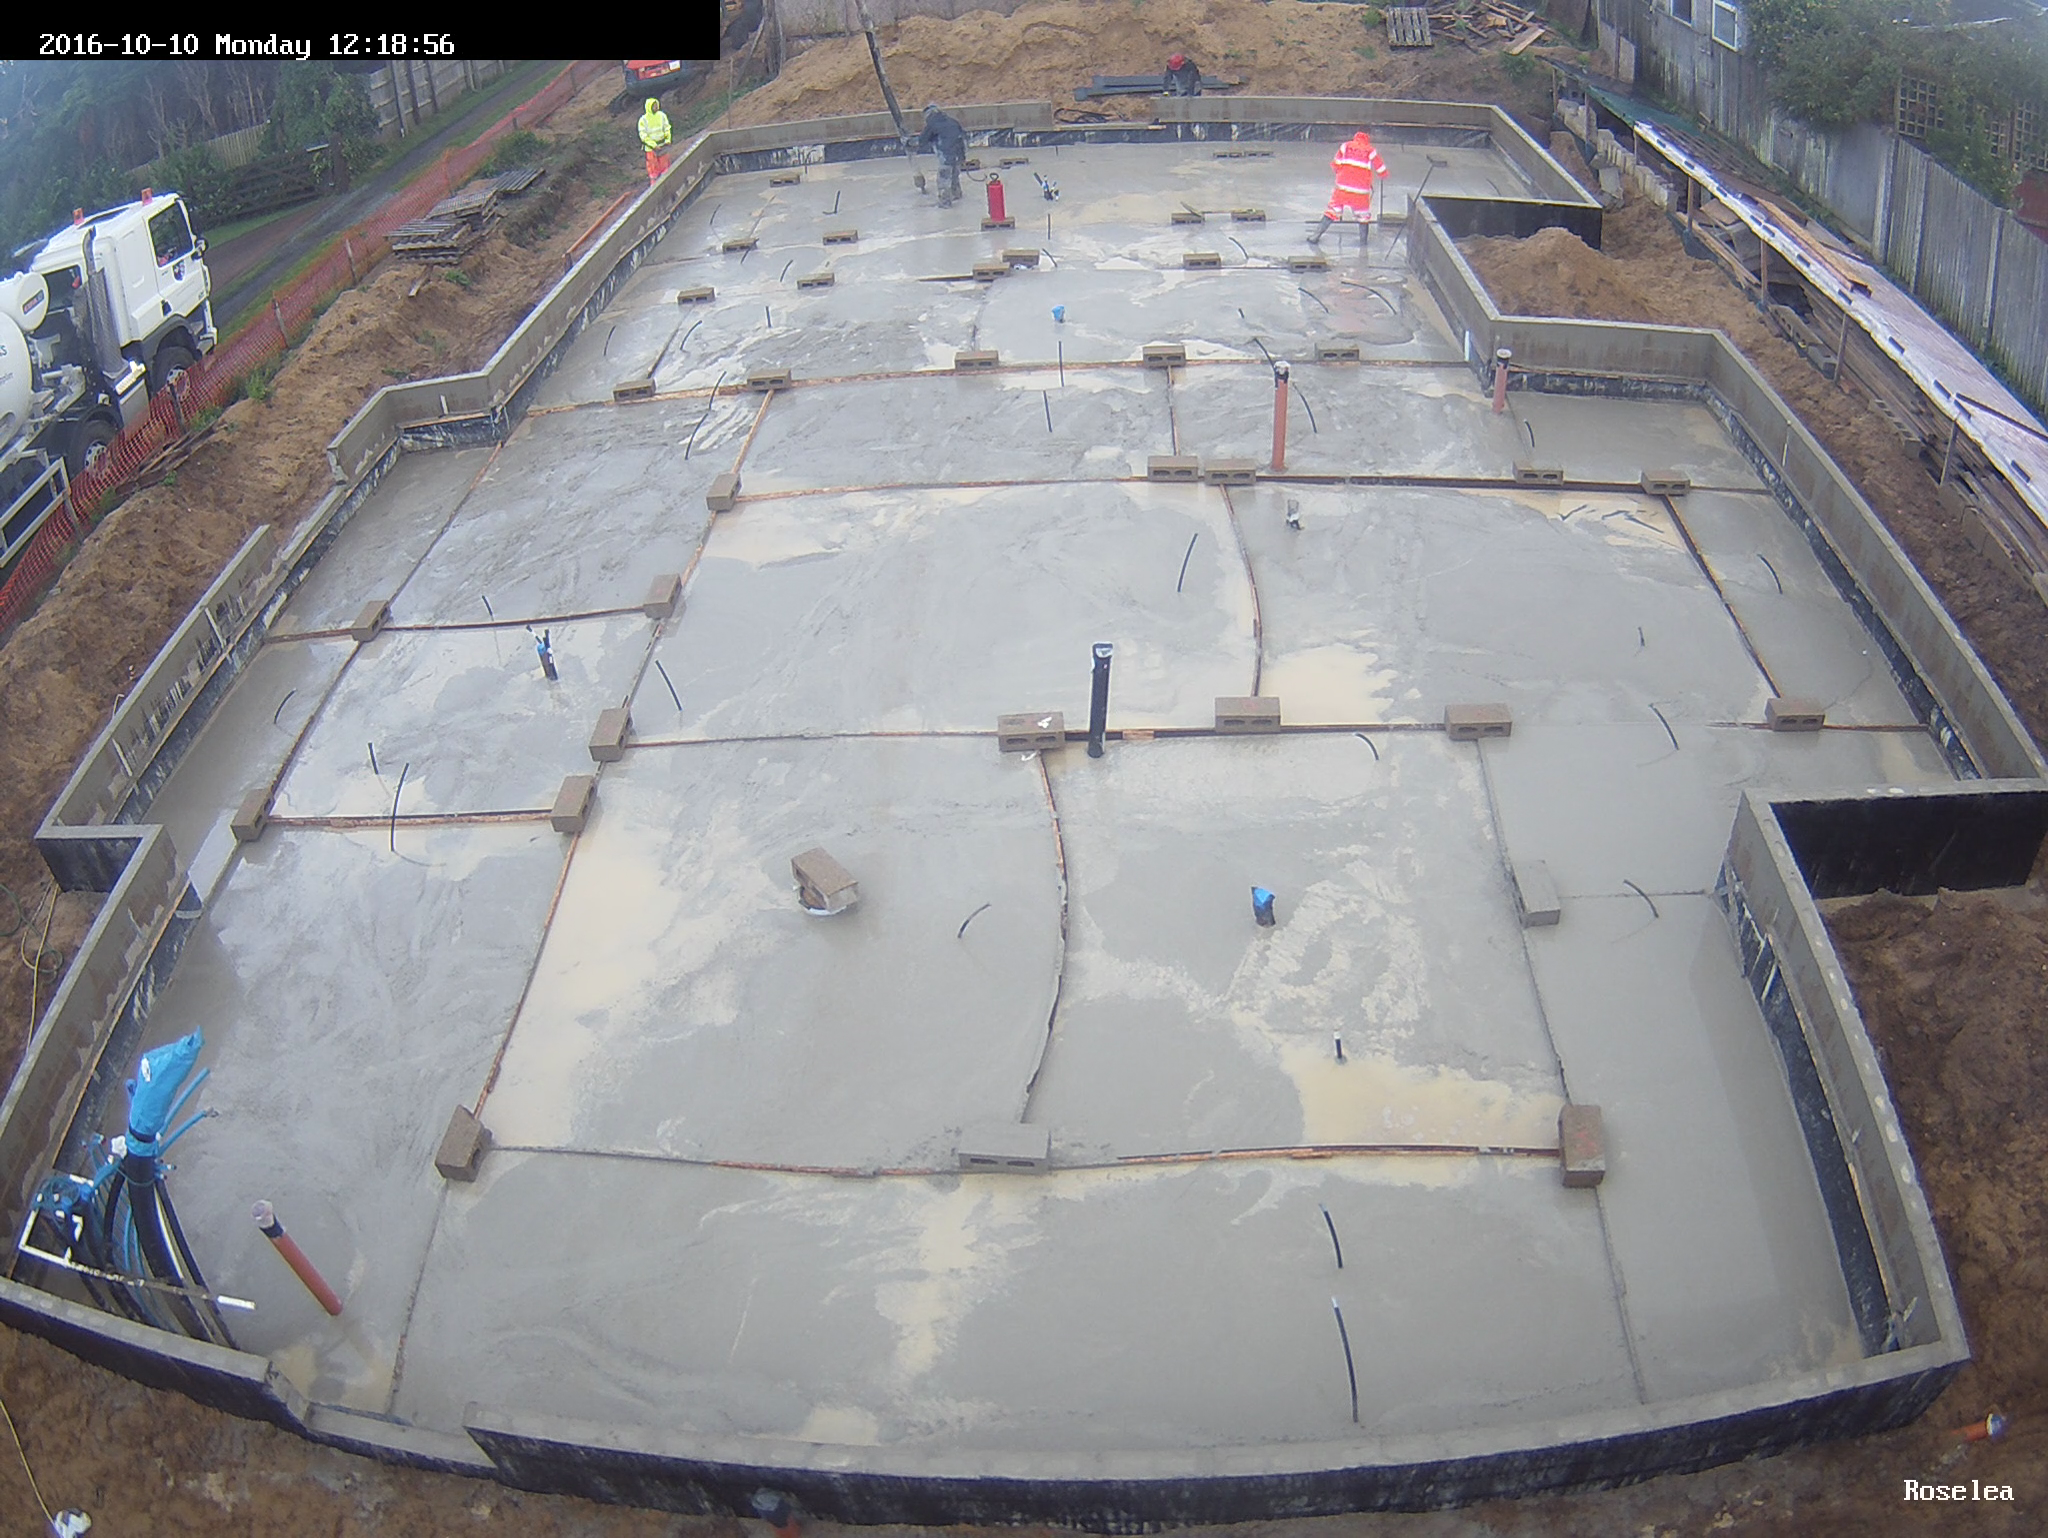
12pm
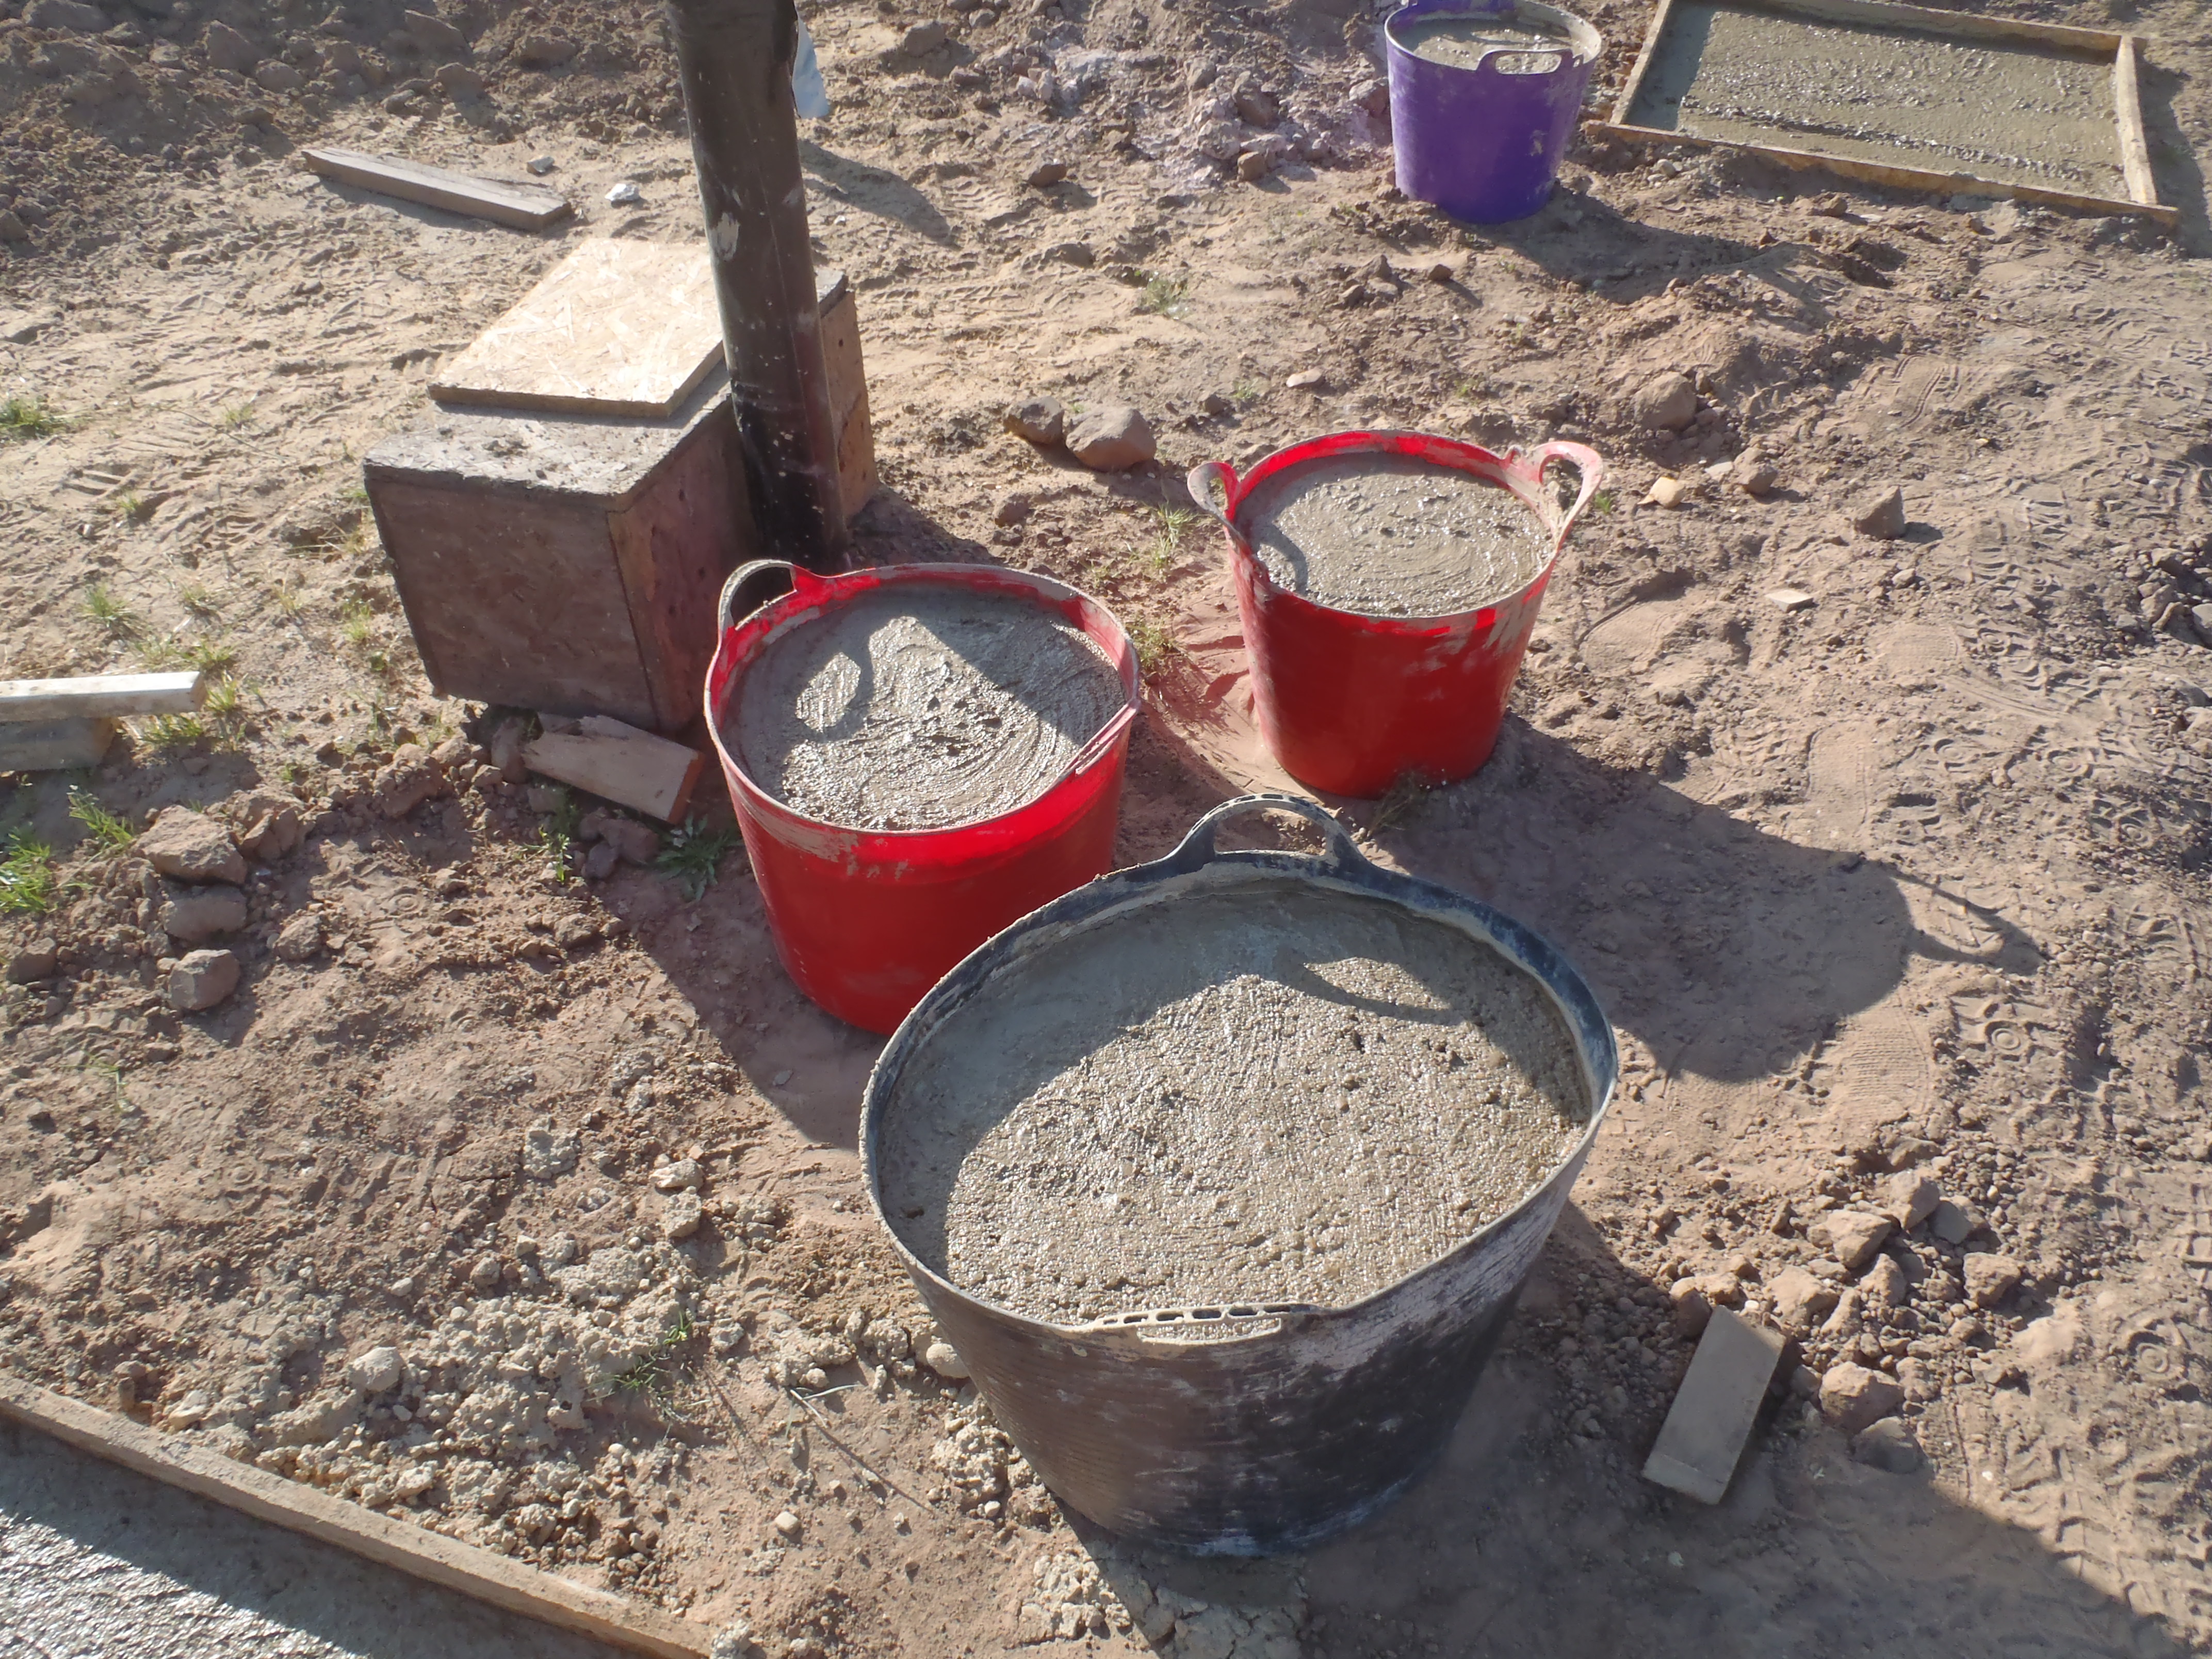
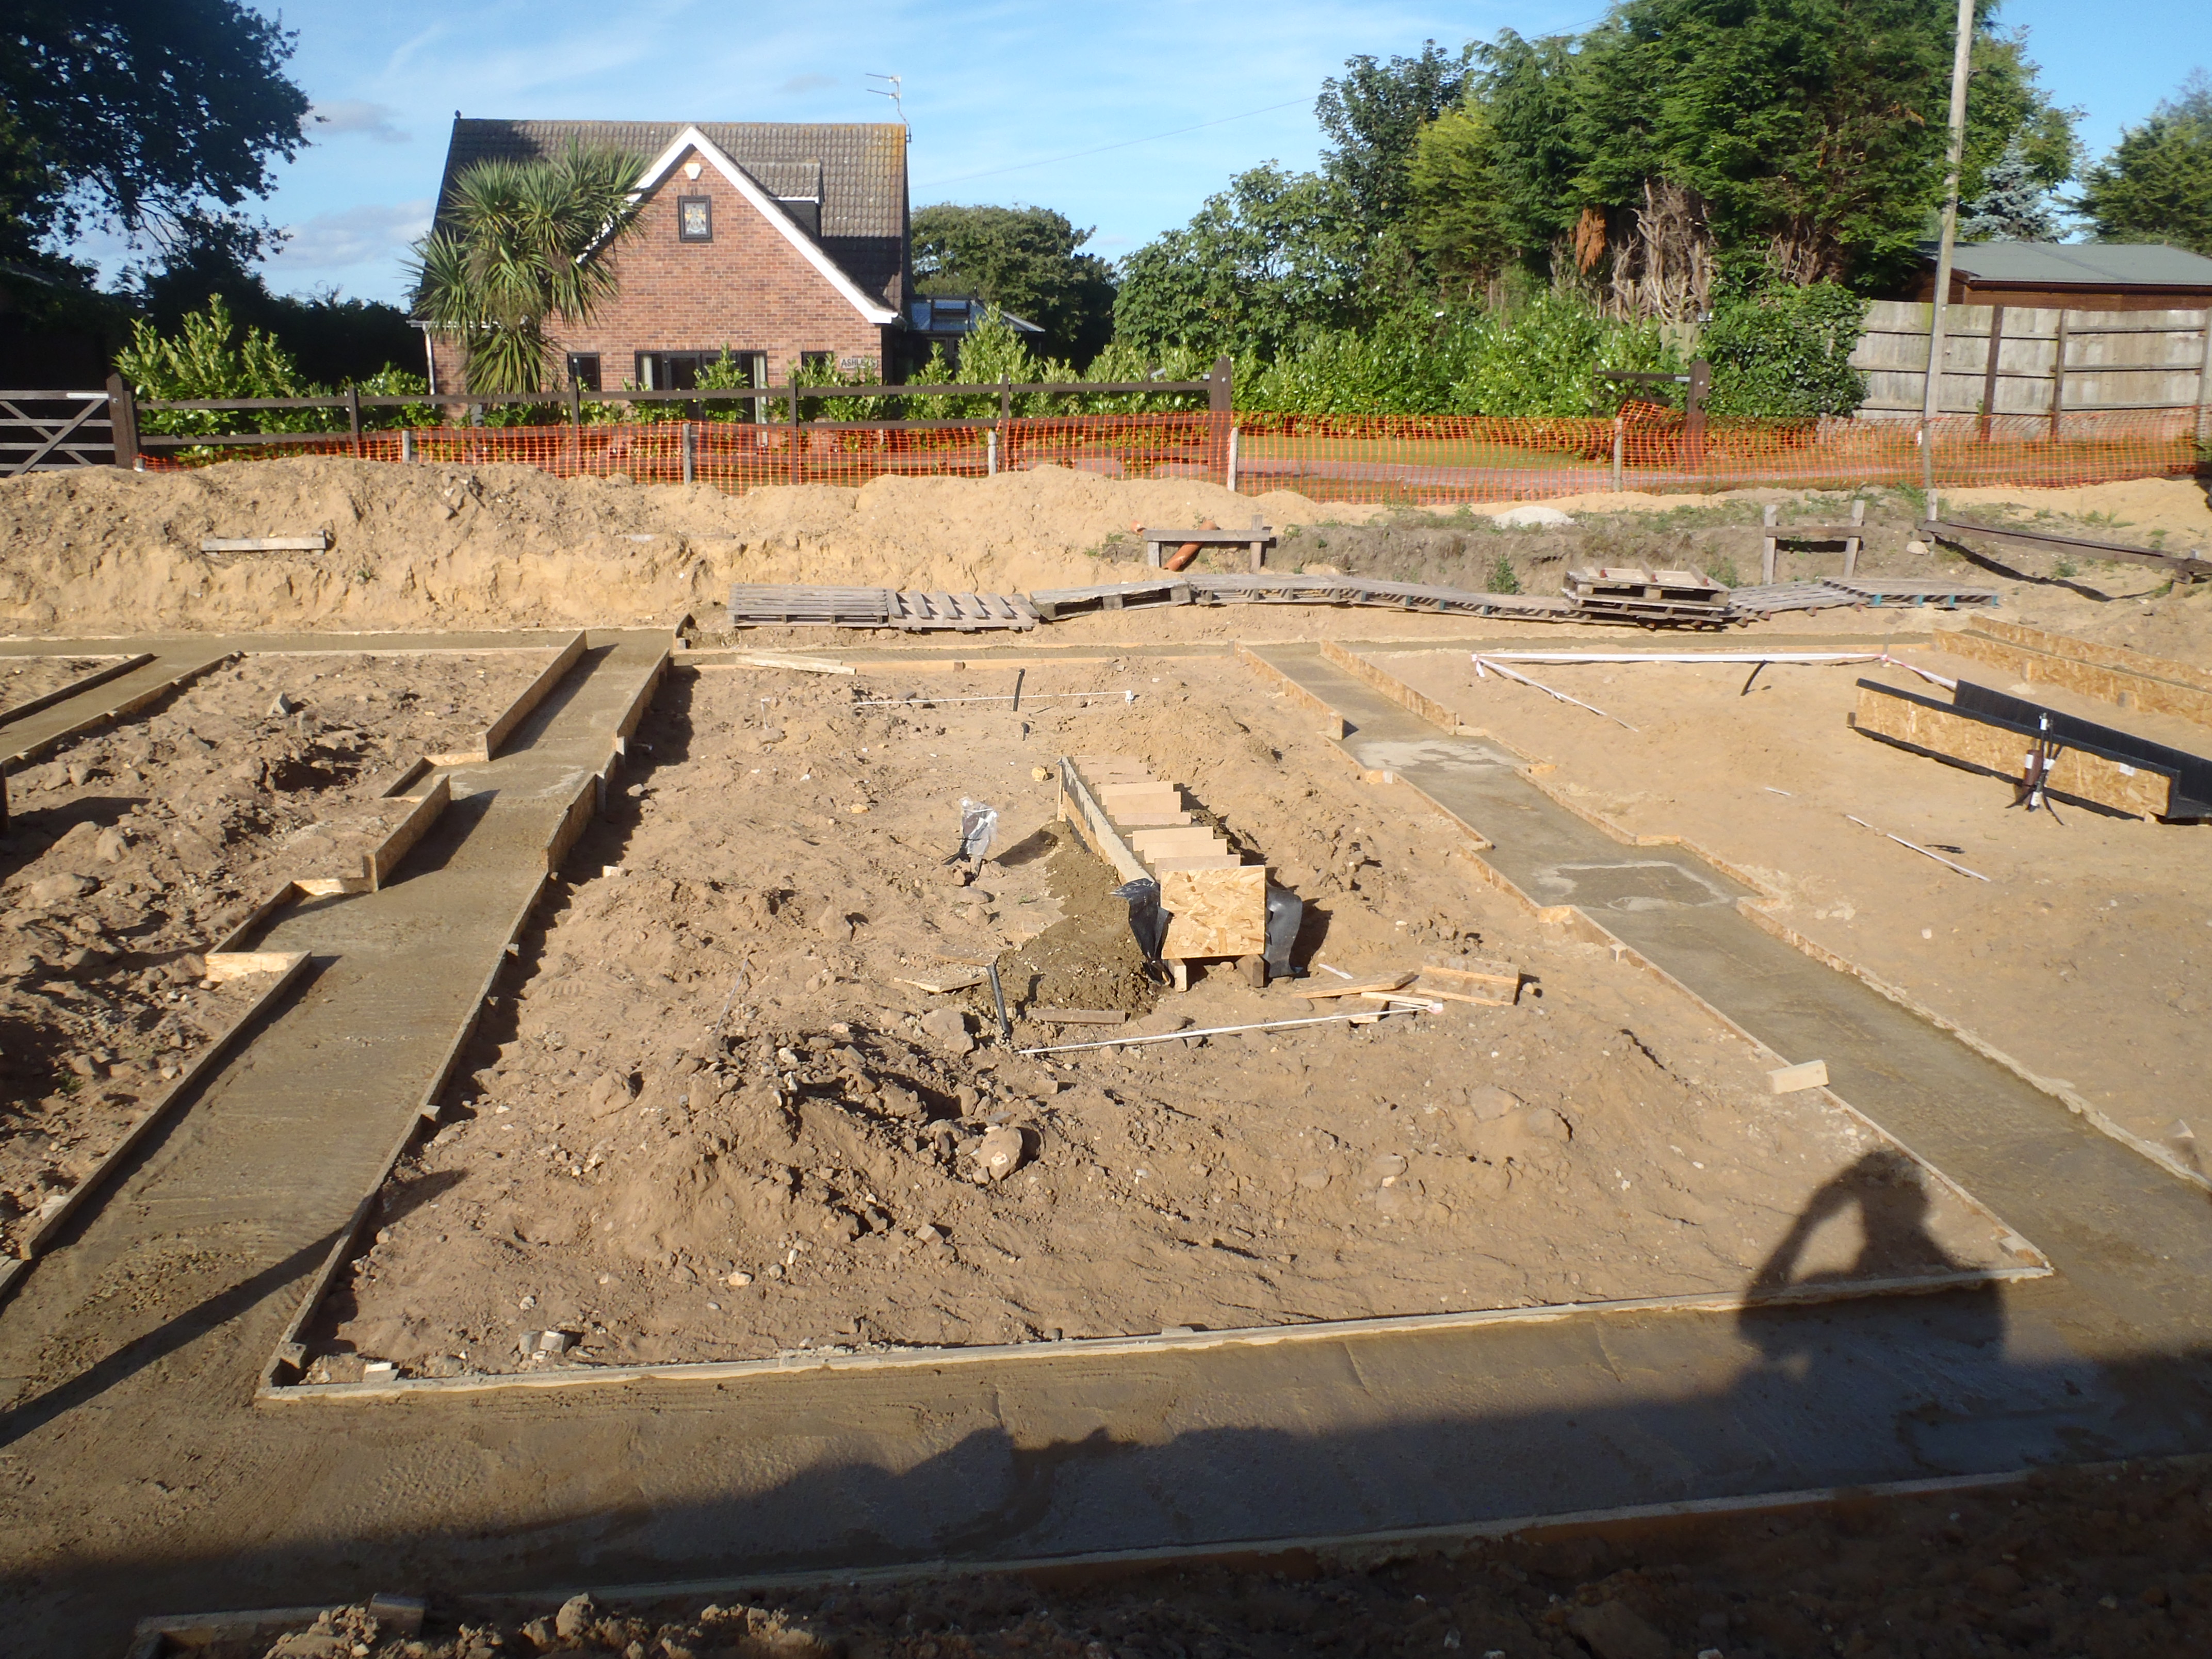
Finally, the next two lorry loads of concrete arrived, the 3rd 6½m3 and a 3m3 and started filling regions right to the top. Then we were getting worried that we wouldn’t have enough as it was looking rather the strong possibility that we would need extra but we also were wondering why this was. Then, we discovered that we had overfilled the Great Room and in some places it was more than 10mm extra thicker. Oops! This encouraged us to slow down and be more careful with the 5th load of the 3m3 load.

Pouring-the-floor-slab-4
The technician chap was working hard in dabbling the concrete to make it smooth out and find a good level, and then spraying the surface with wax to slow down the evaporation.
2pm
After we had levelled and smoothed the regions that has been filled up, we than calculated to approximately what extra amount of concrete we needed to finish off the job. It came to 2½ m3 so we phoned the Norwich office to order that and of course having to wait again for it to come all the way from Norwich.
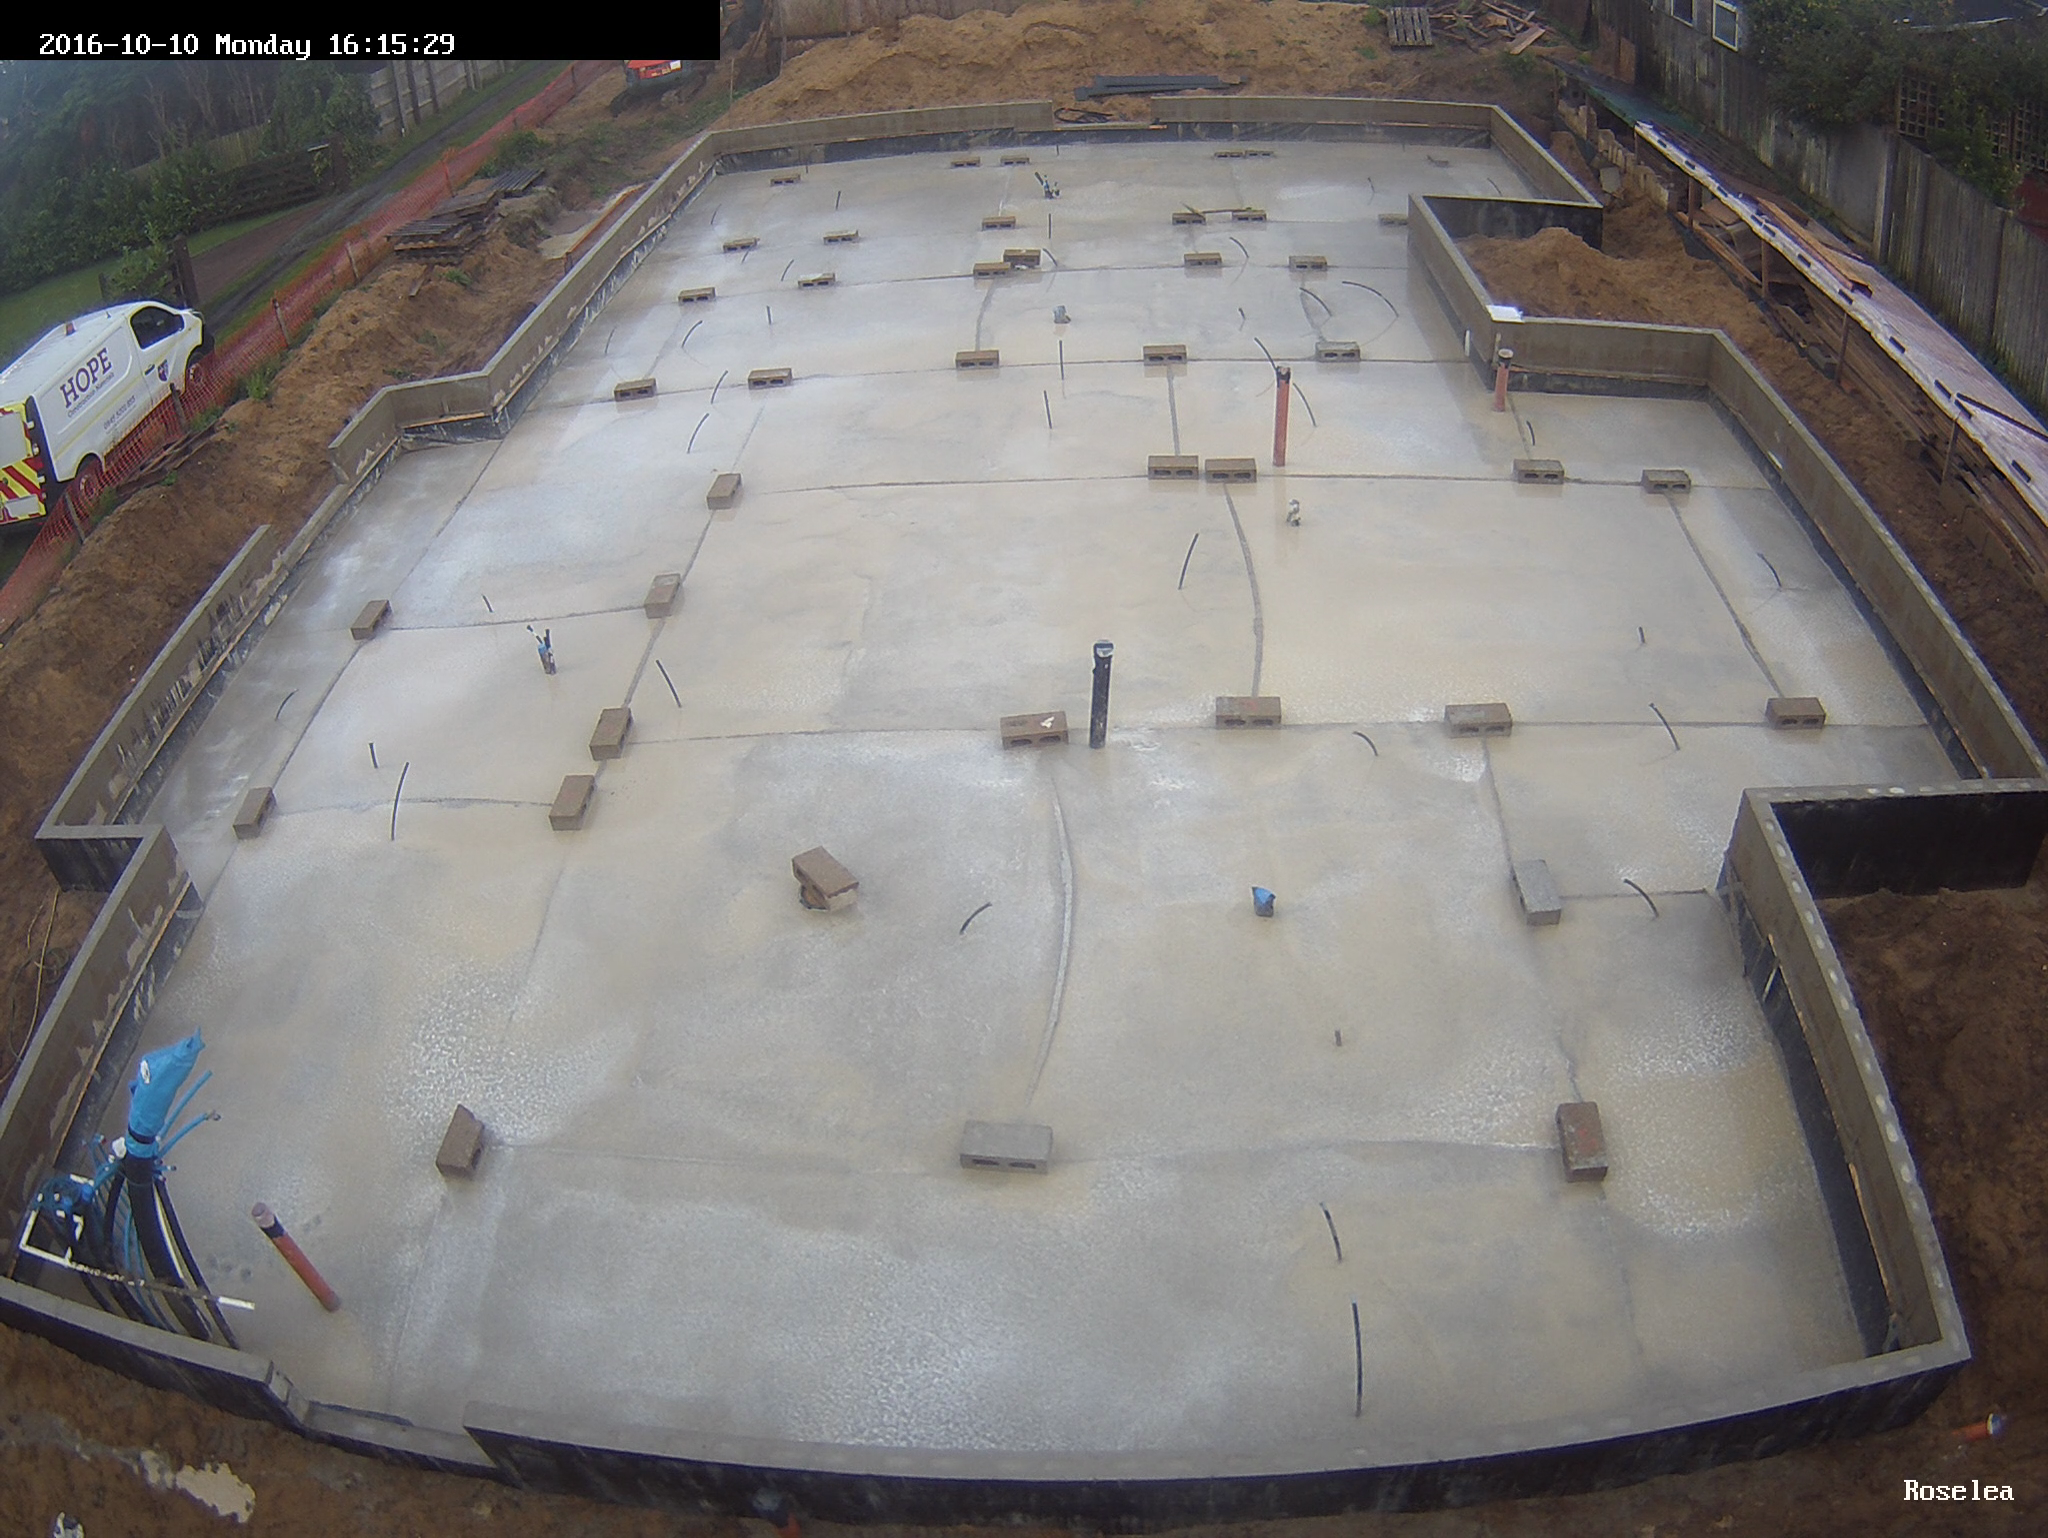
3:45 pm
Finally, the 6th and final load of concrete arrived and got the rest of the Floor Slab poured in, carefully making sure we didn’t overfill anything this time and it went well!

Pouring-the-floor-slab-5
4pm
All Finished!! The pump Machine cleaned itself and dumped it hopper load of concrete that it sucked back up it pipes, on the plastic we laid there just for that purpose, and using wheelbarrows, we scooped up about 7 loads and took it over to the front door region to tip it in to finish off the very final bit of filling up. Then, we washed down everything and coiled up hoses and washed our boots and staggered back indoors!!

Pouring-the-floor-slab-6
The Movie
Here is the time lapsed movie of our whole day compressed down to just a 20 minutes!!