Category: Groundworks

  • Finished Third Strip

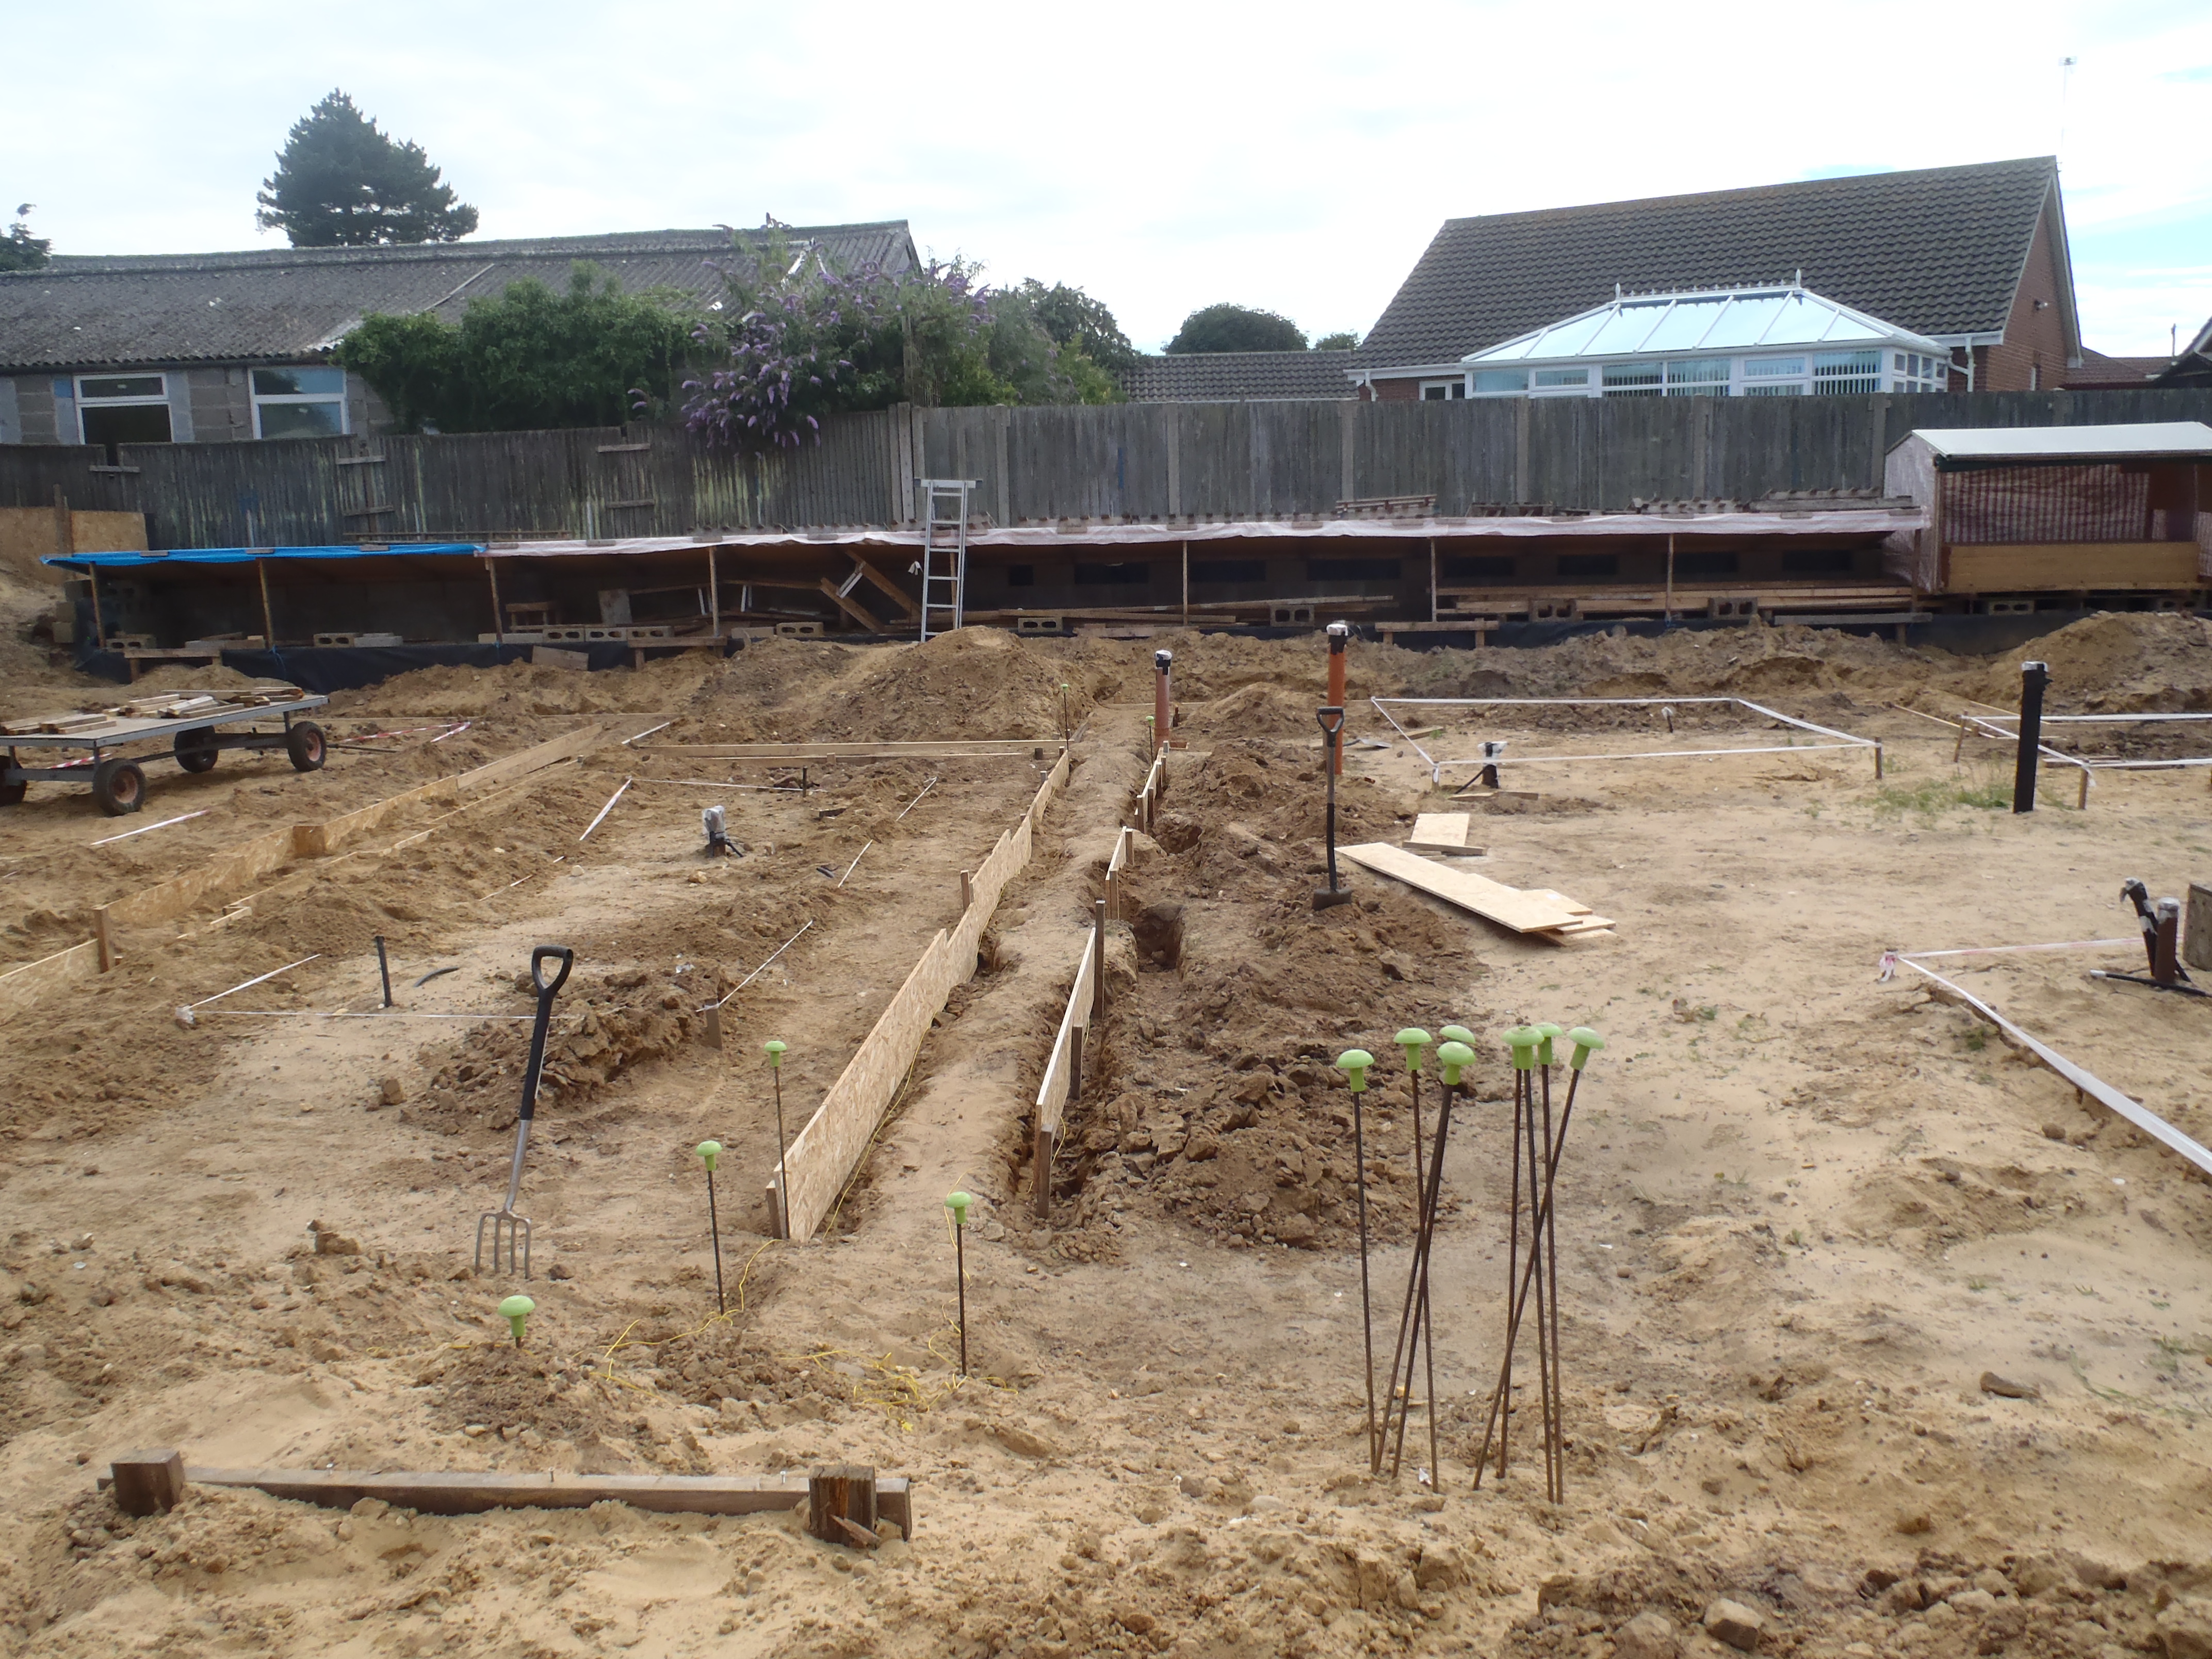
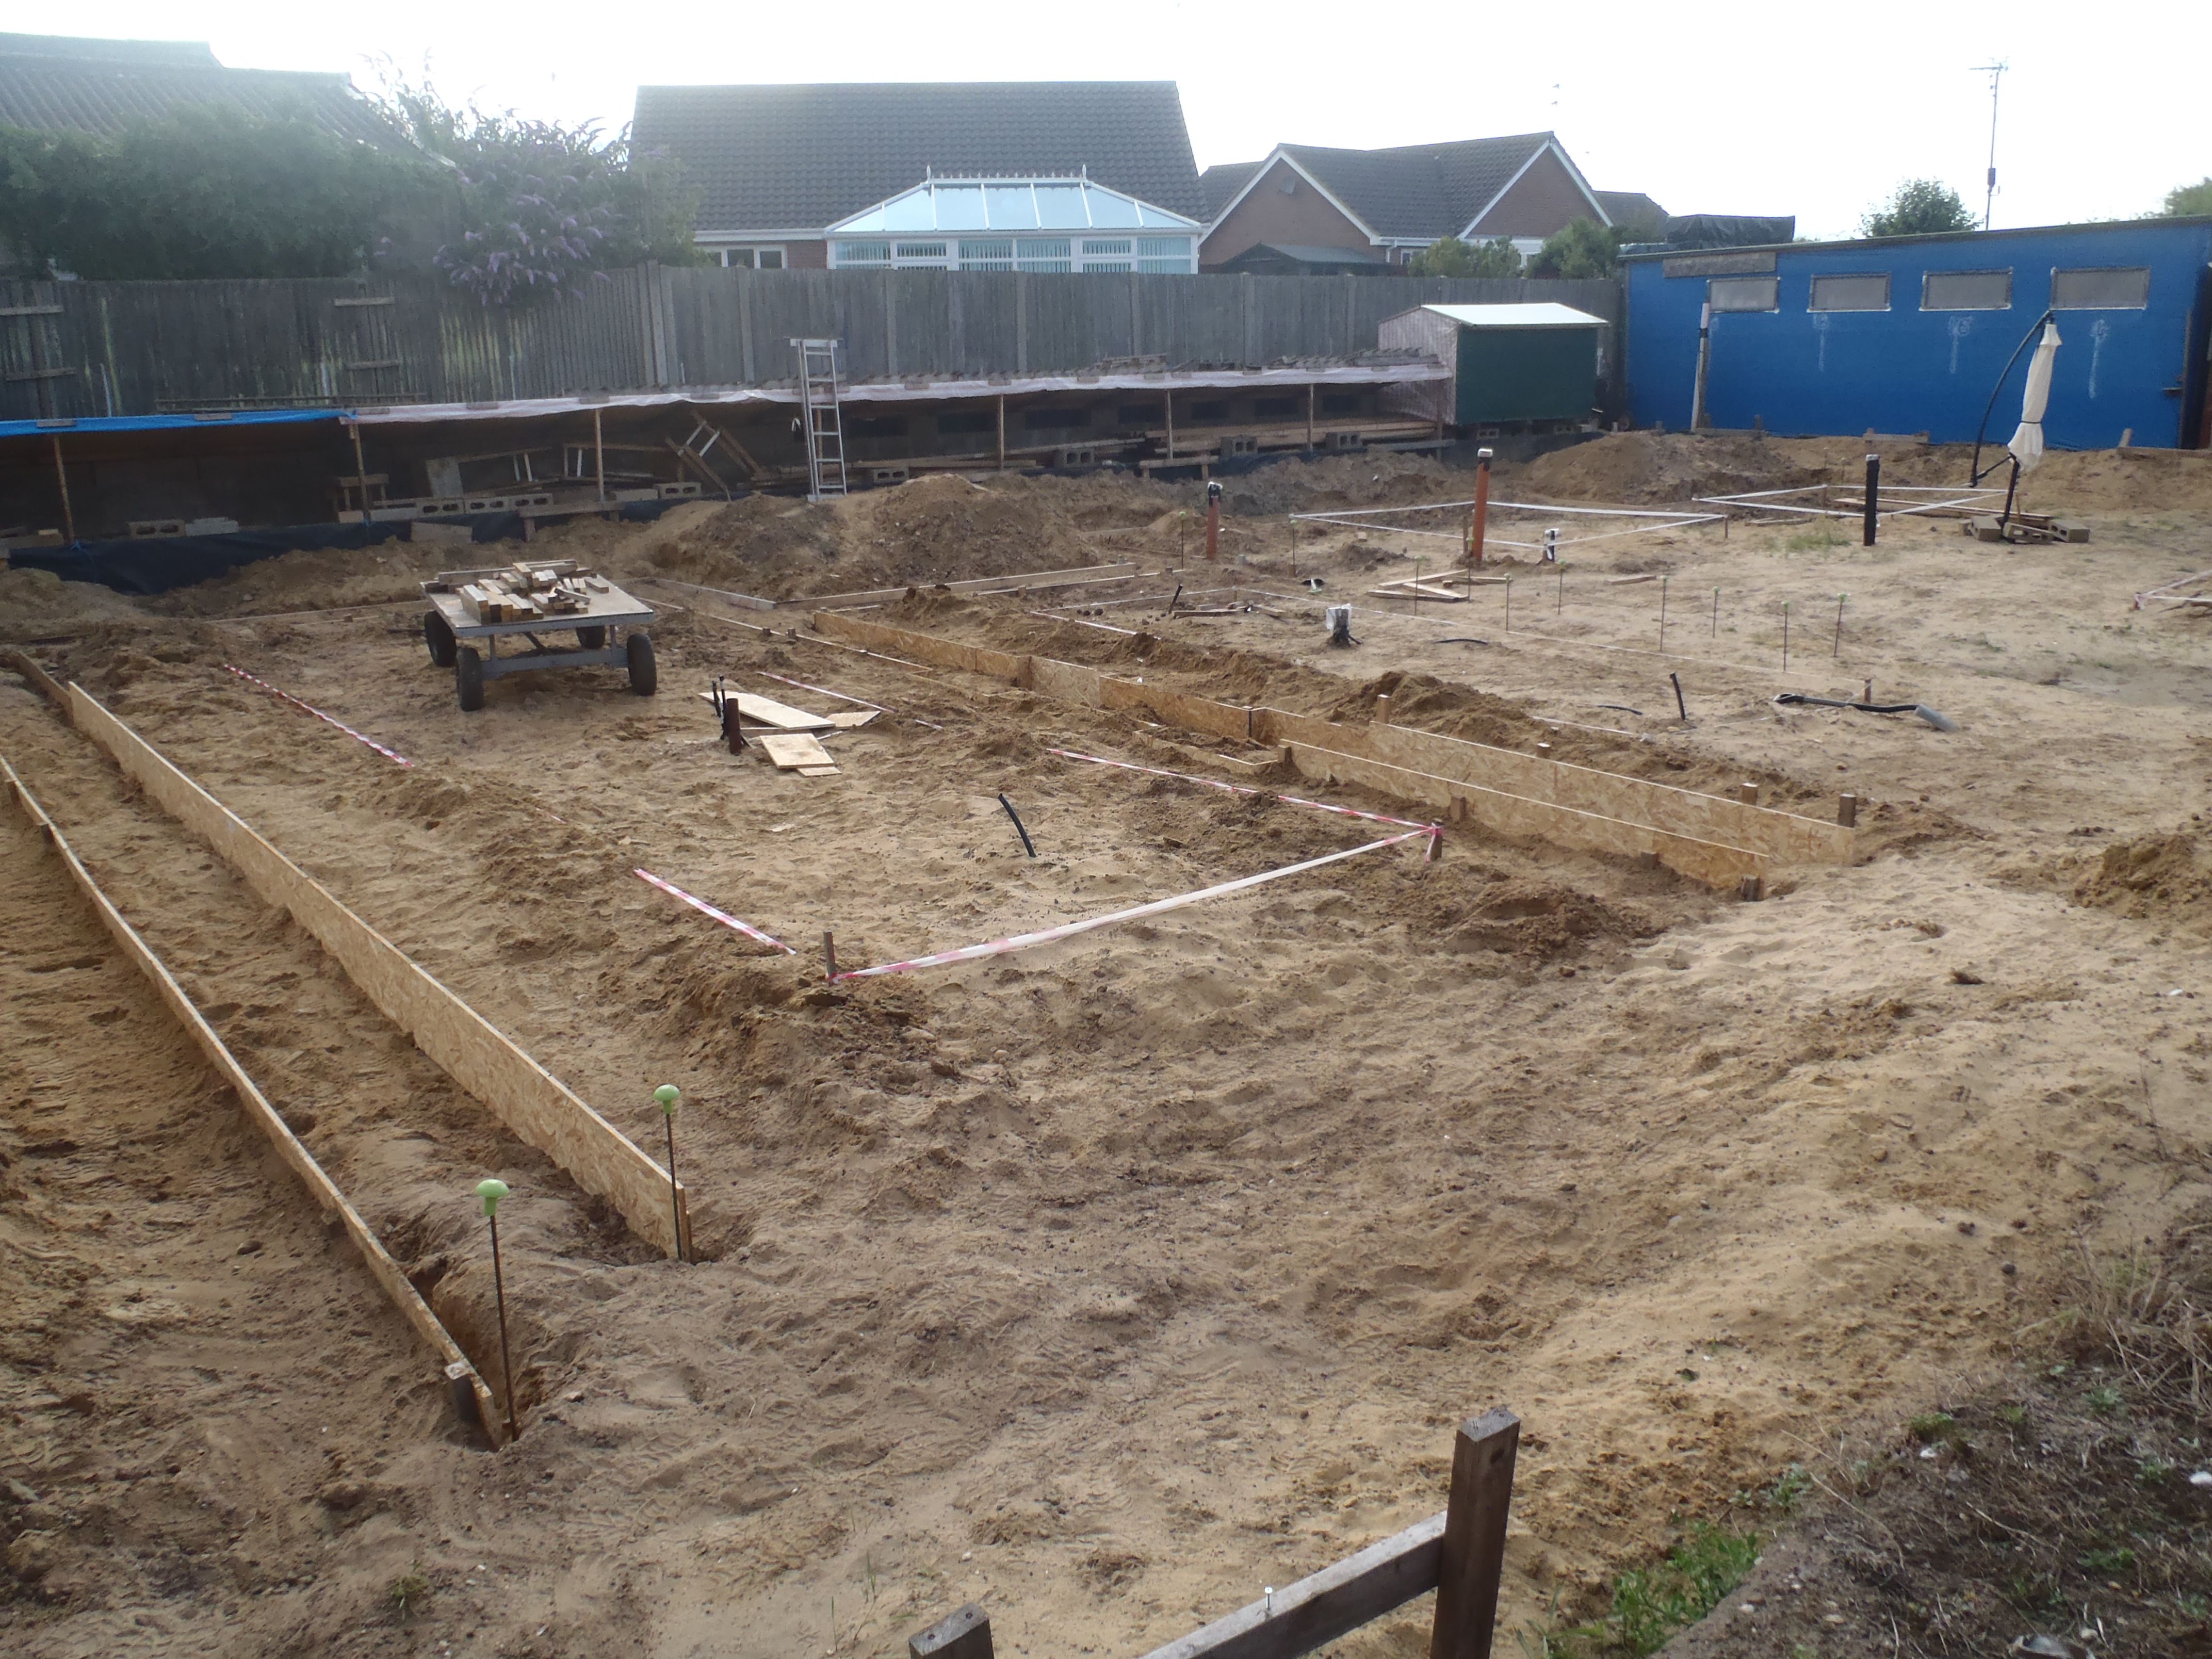
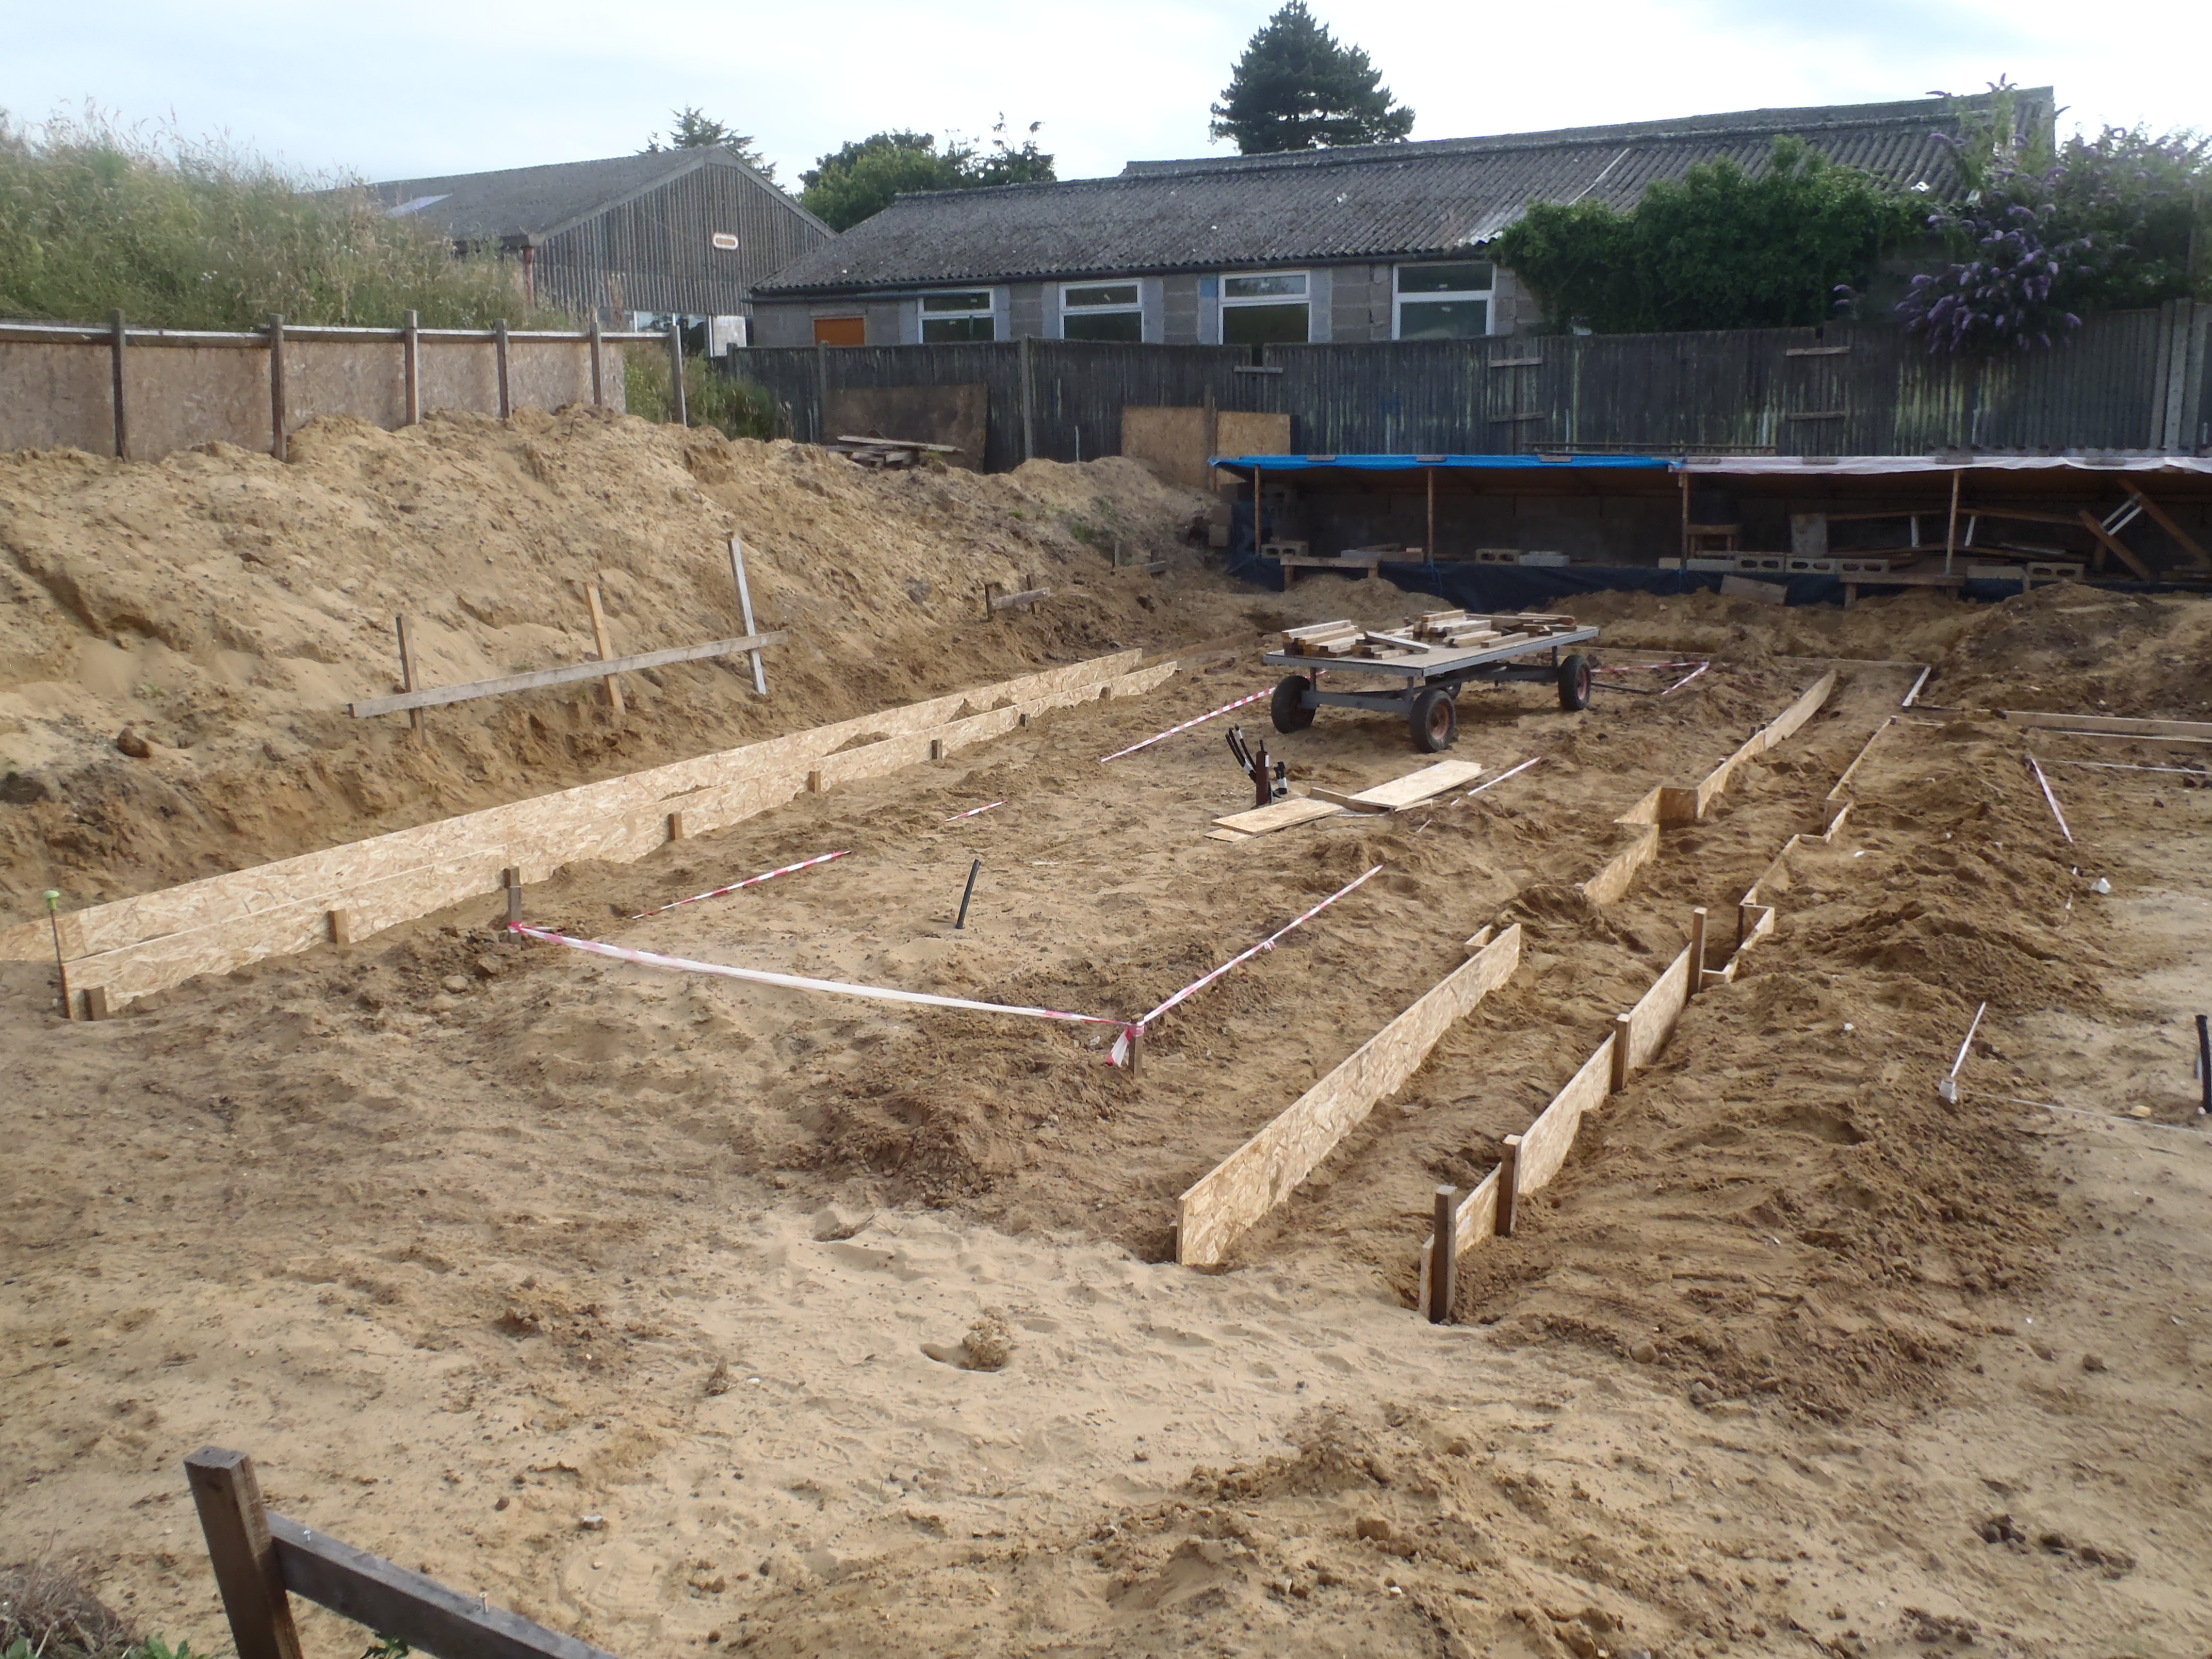
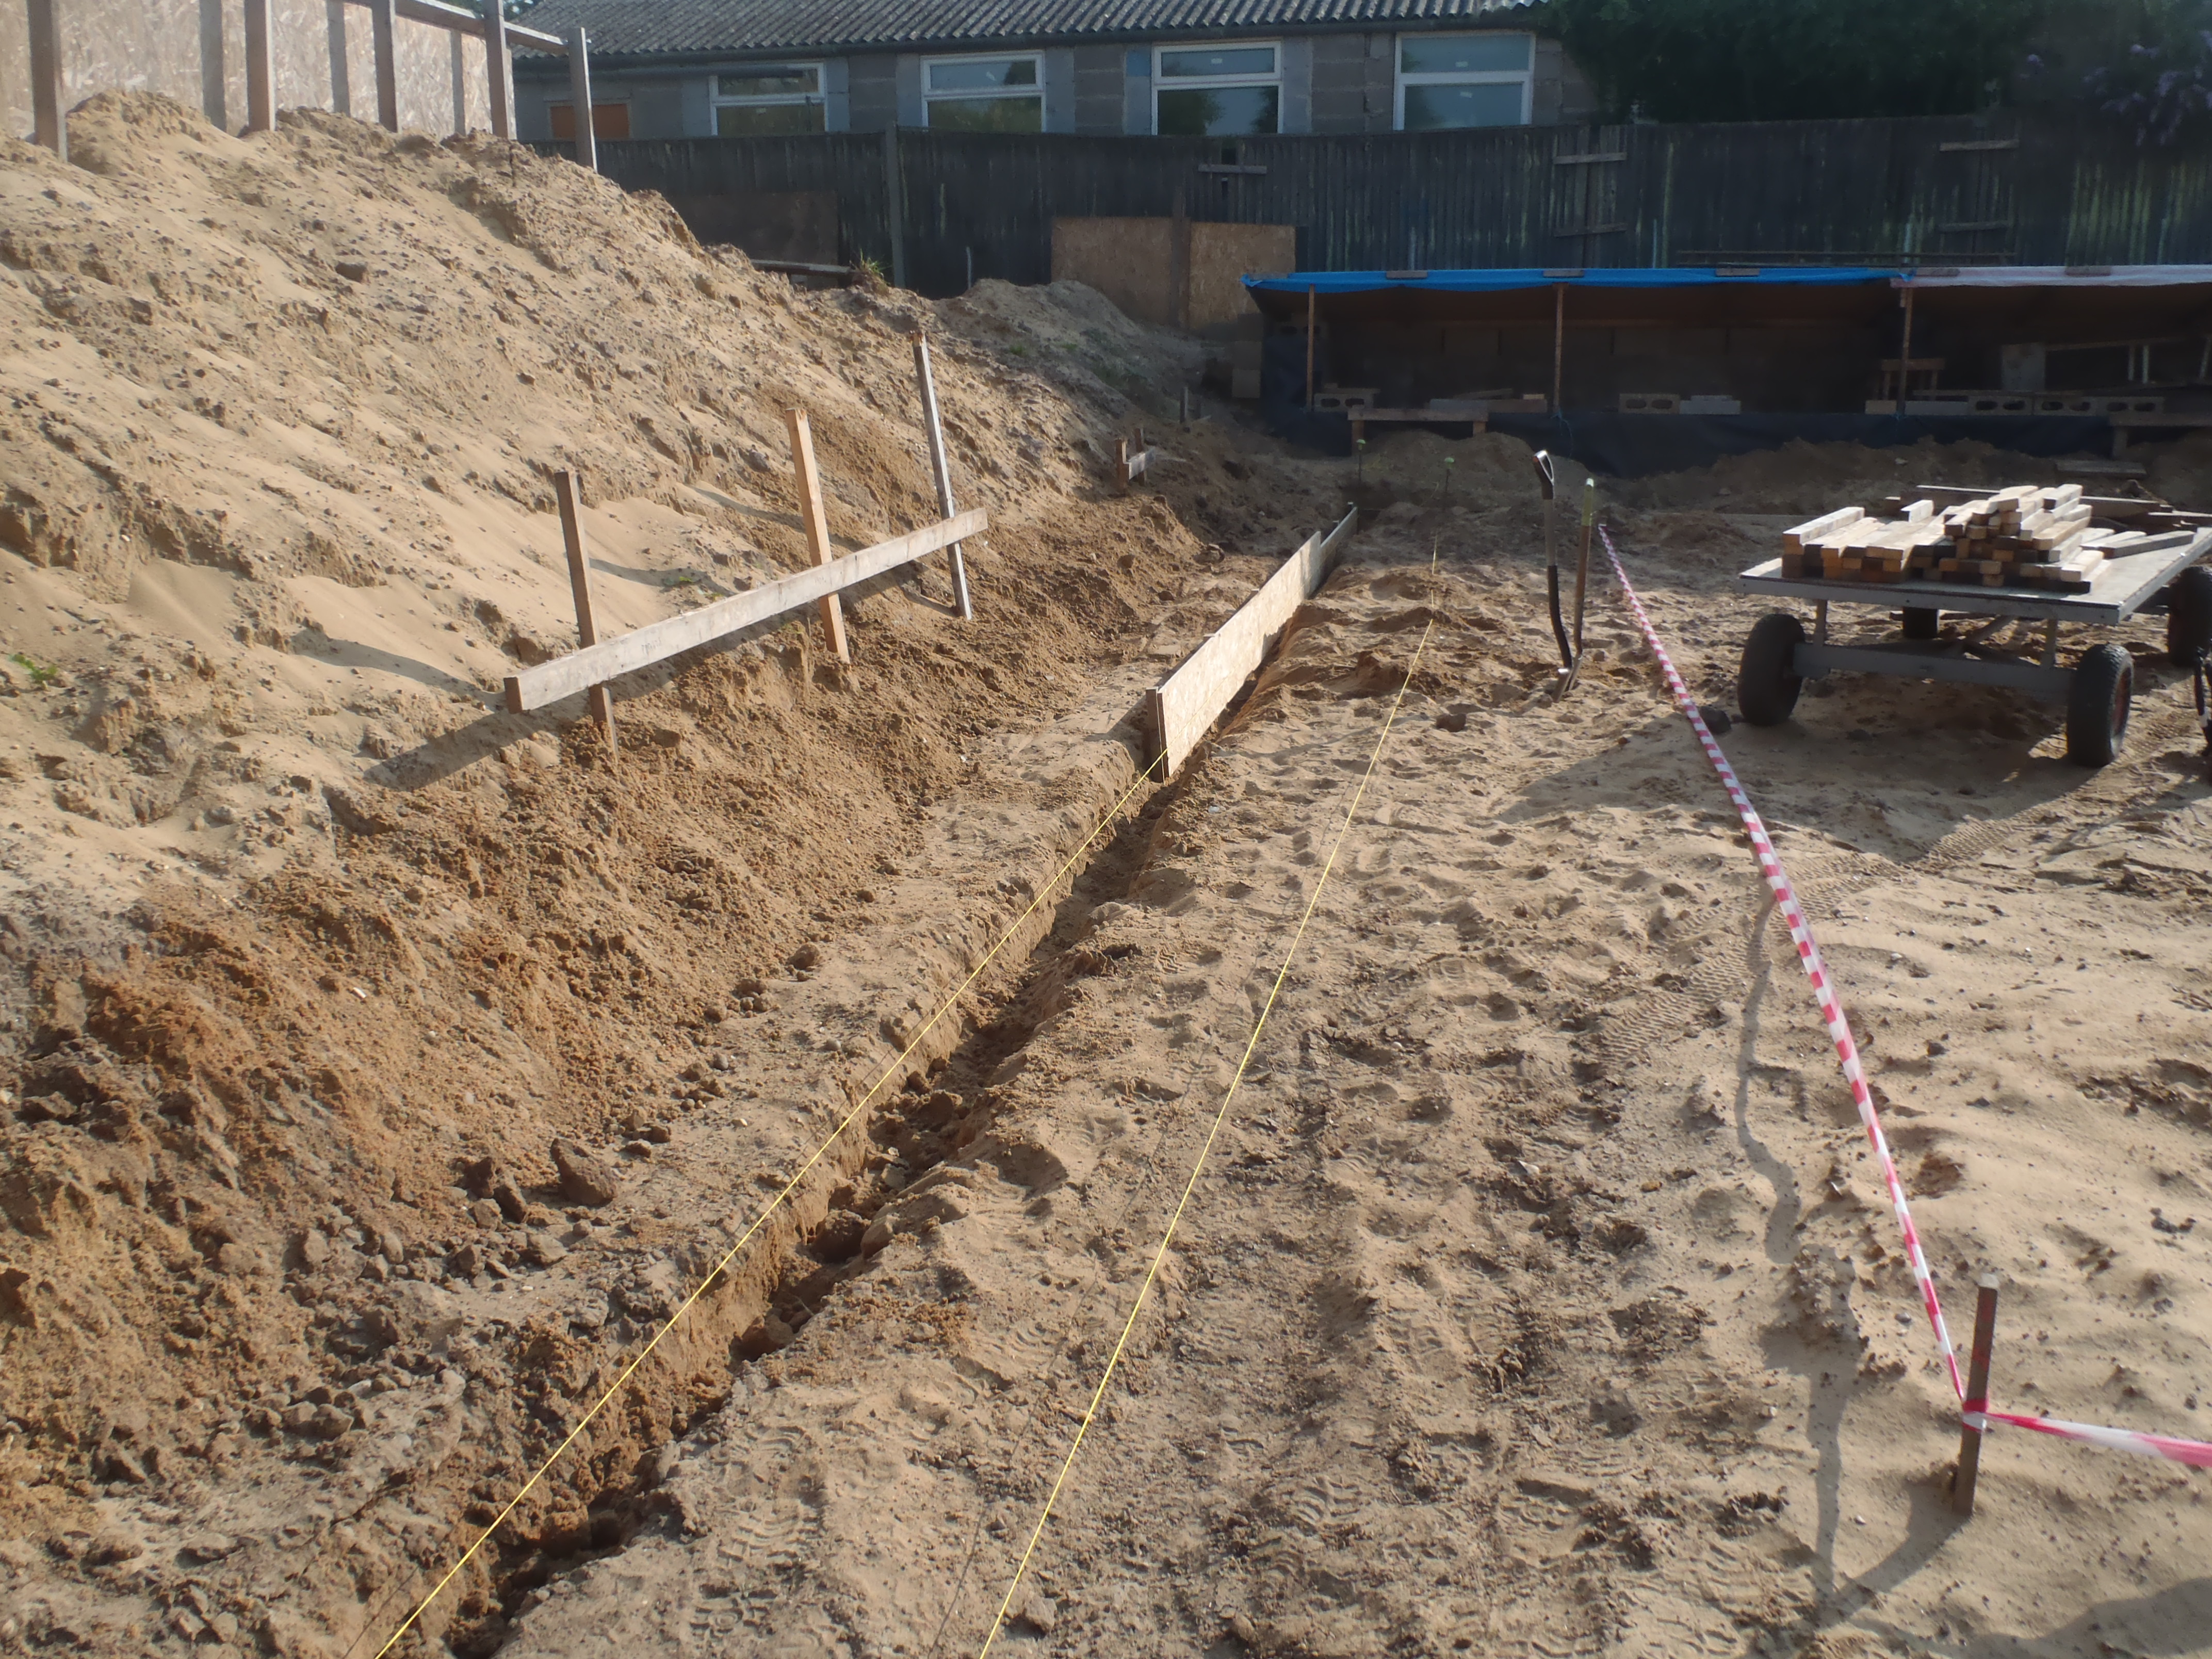
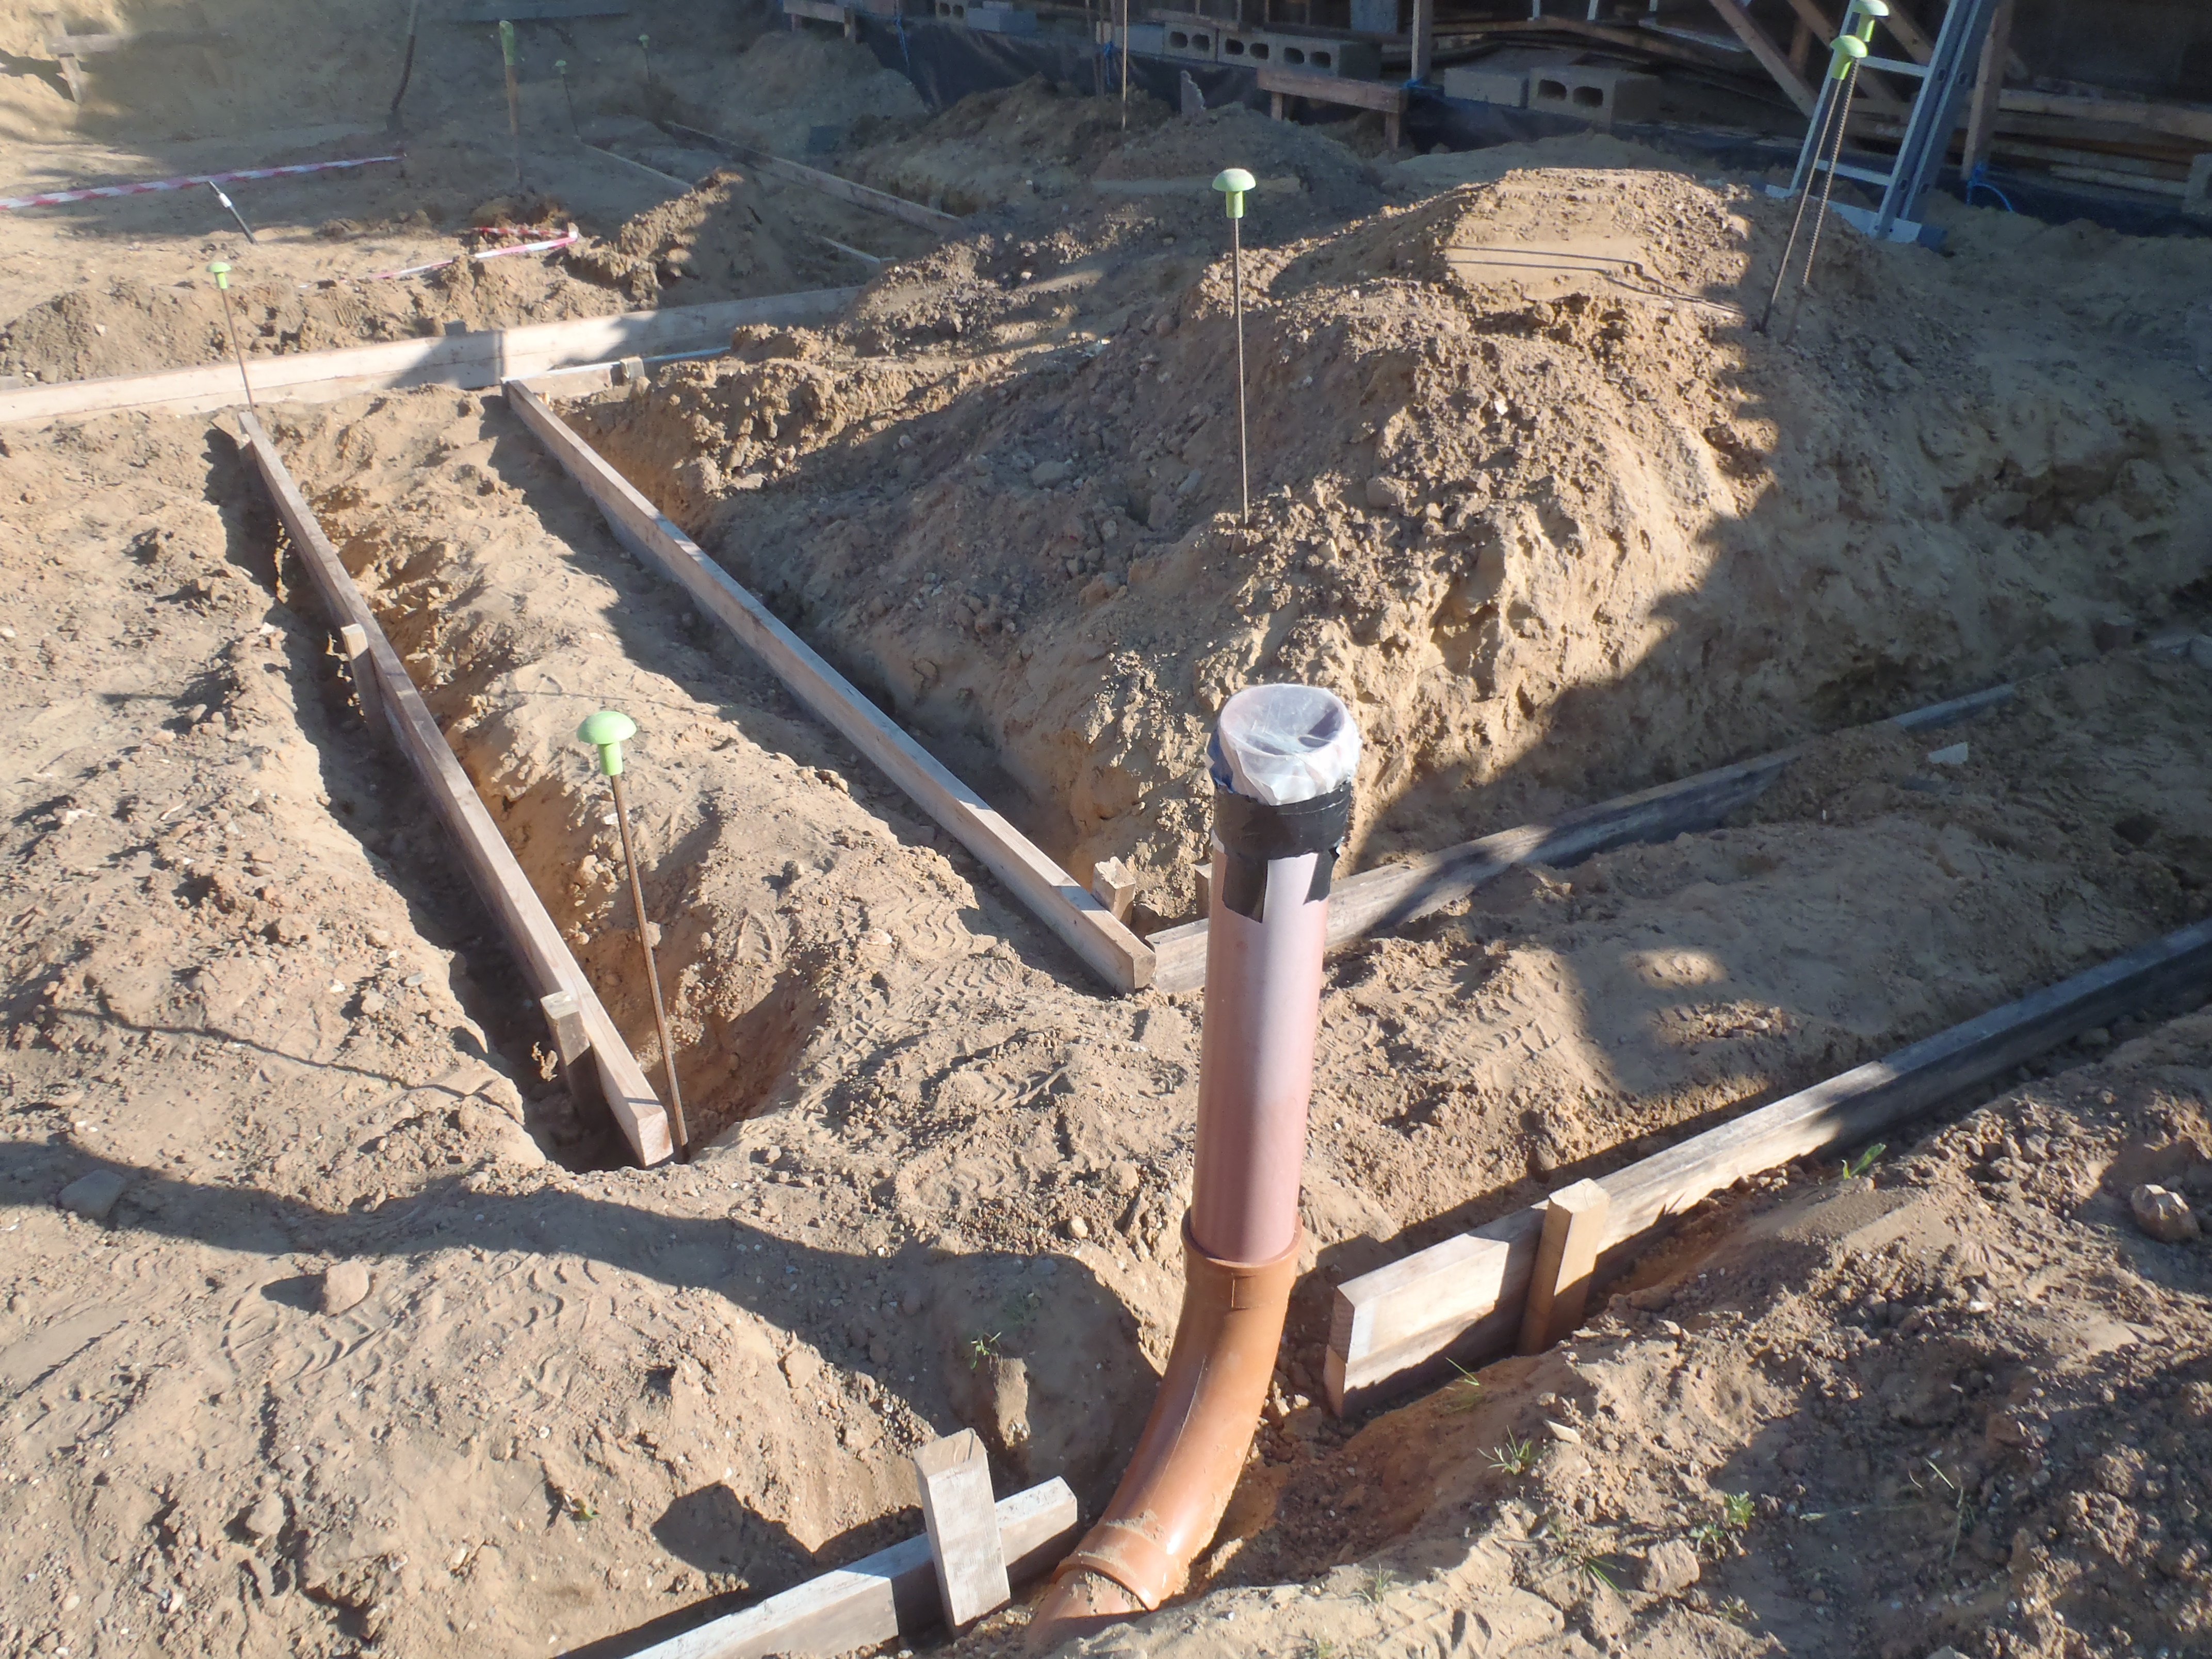
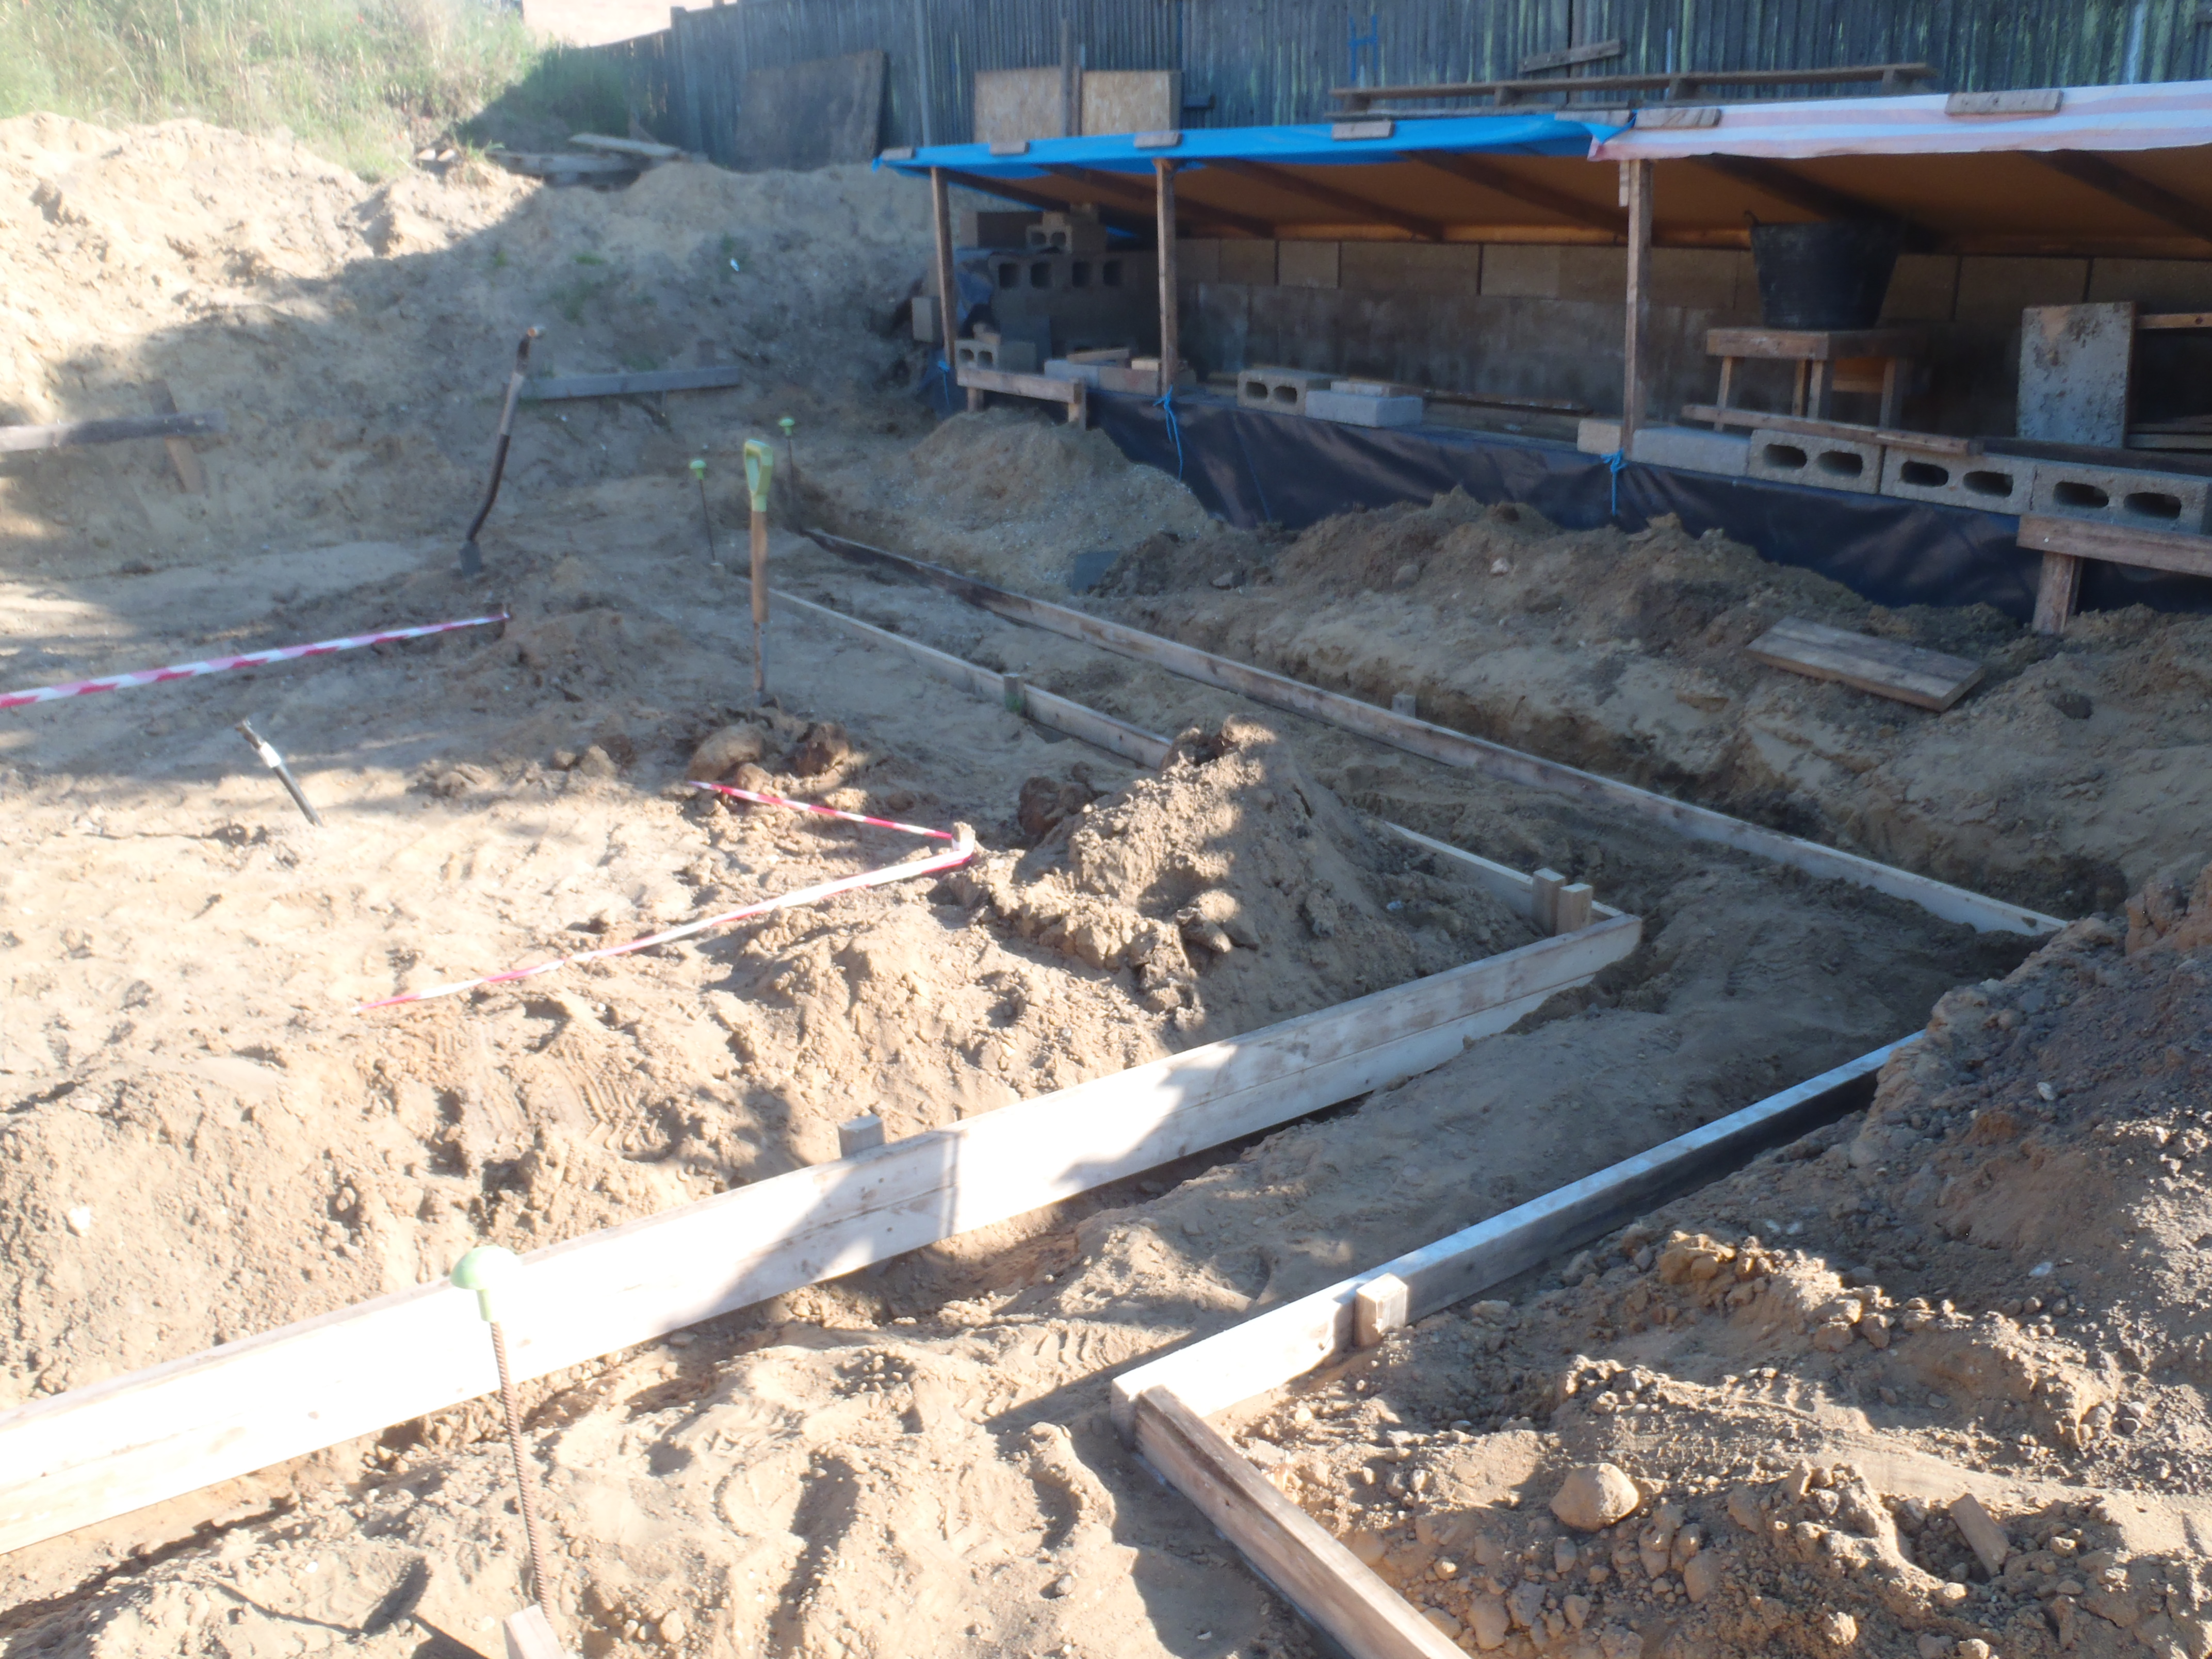
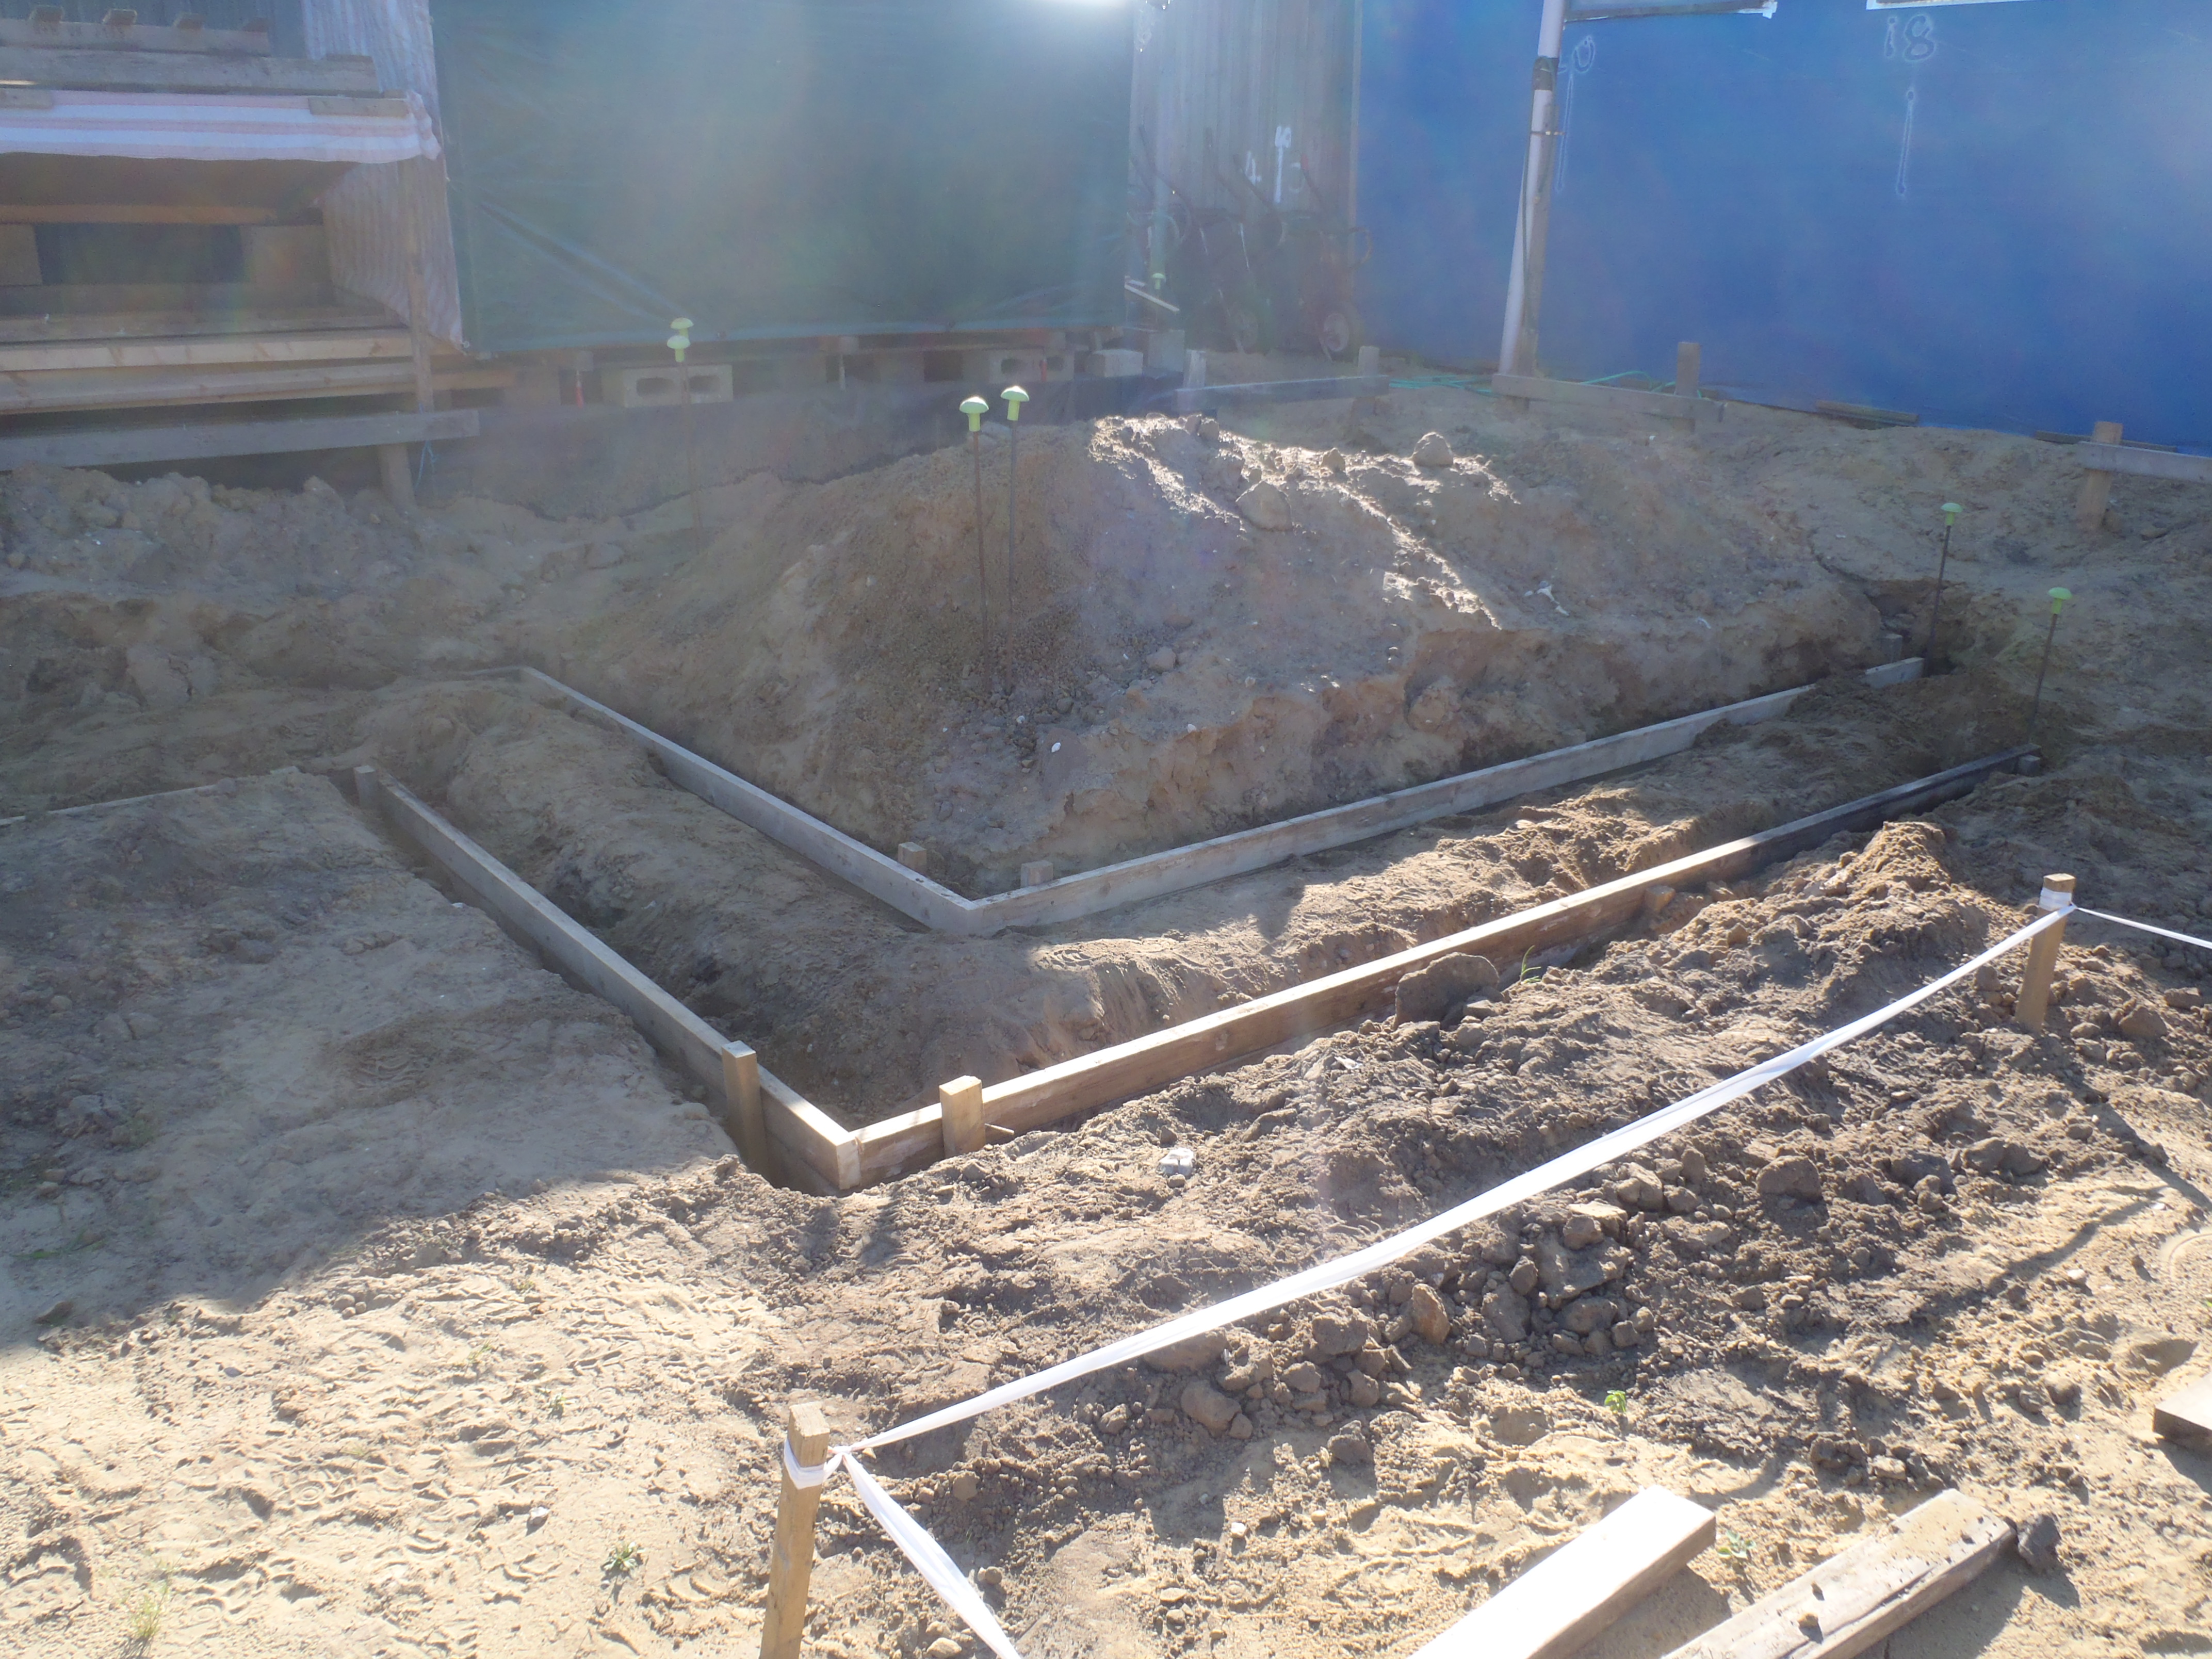
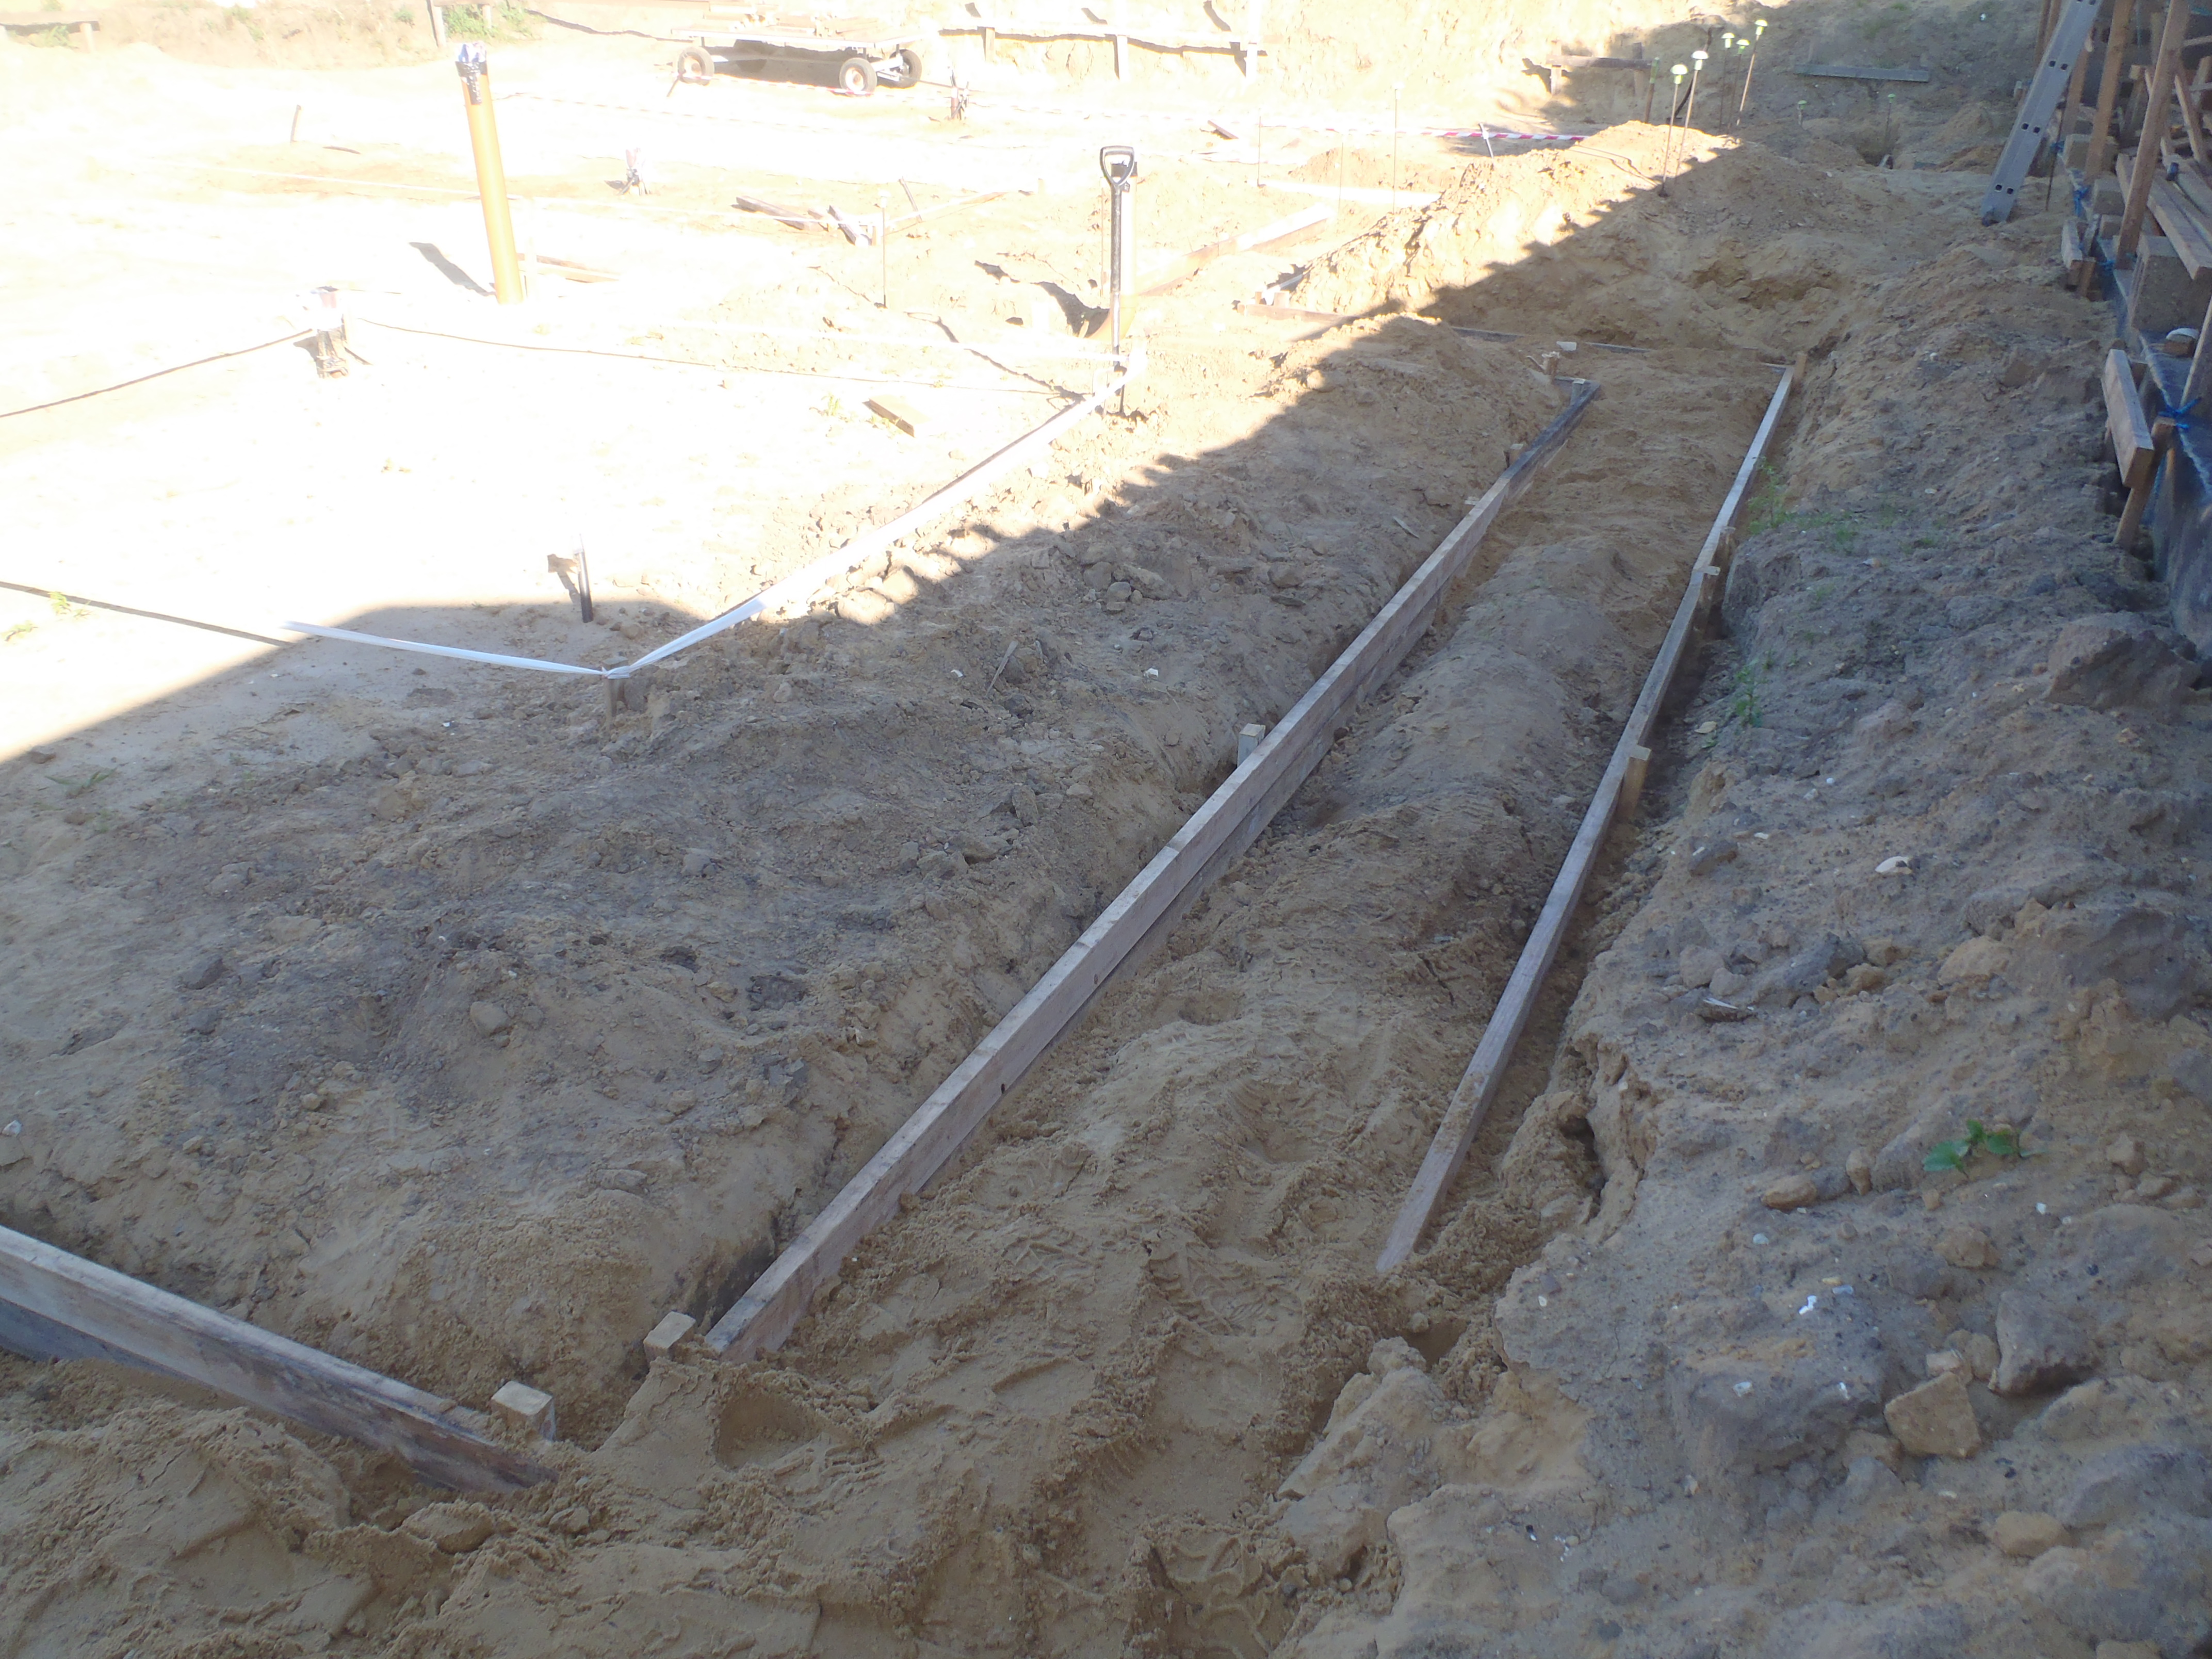
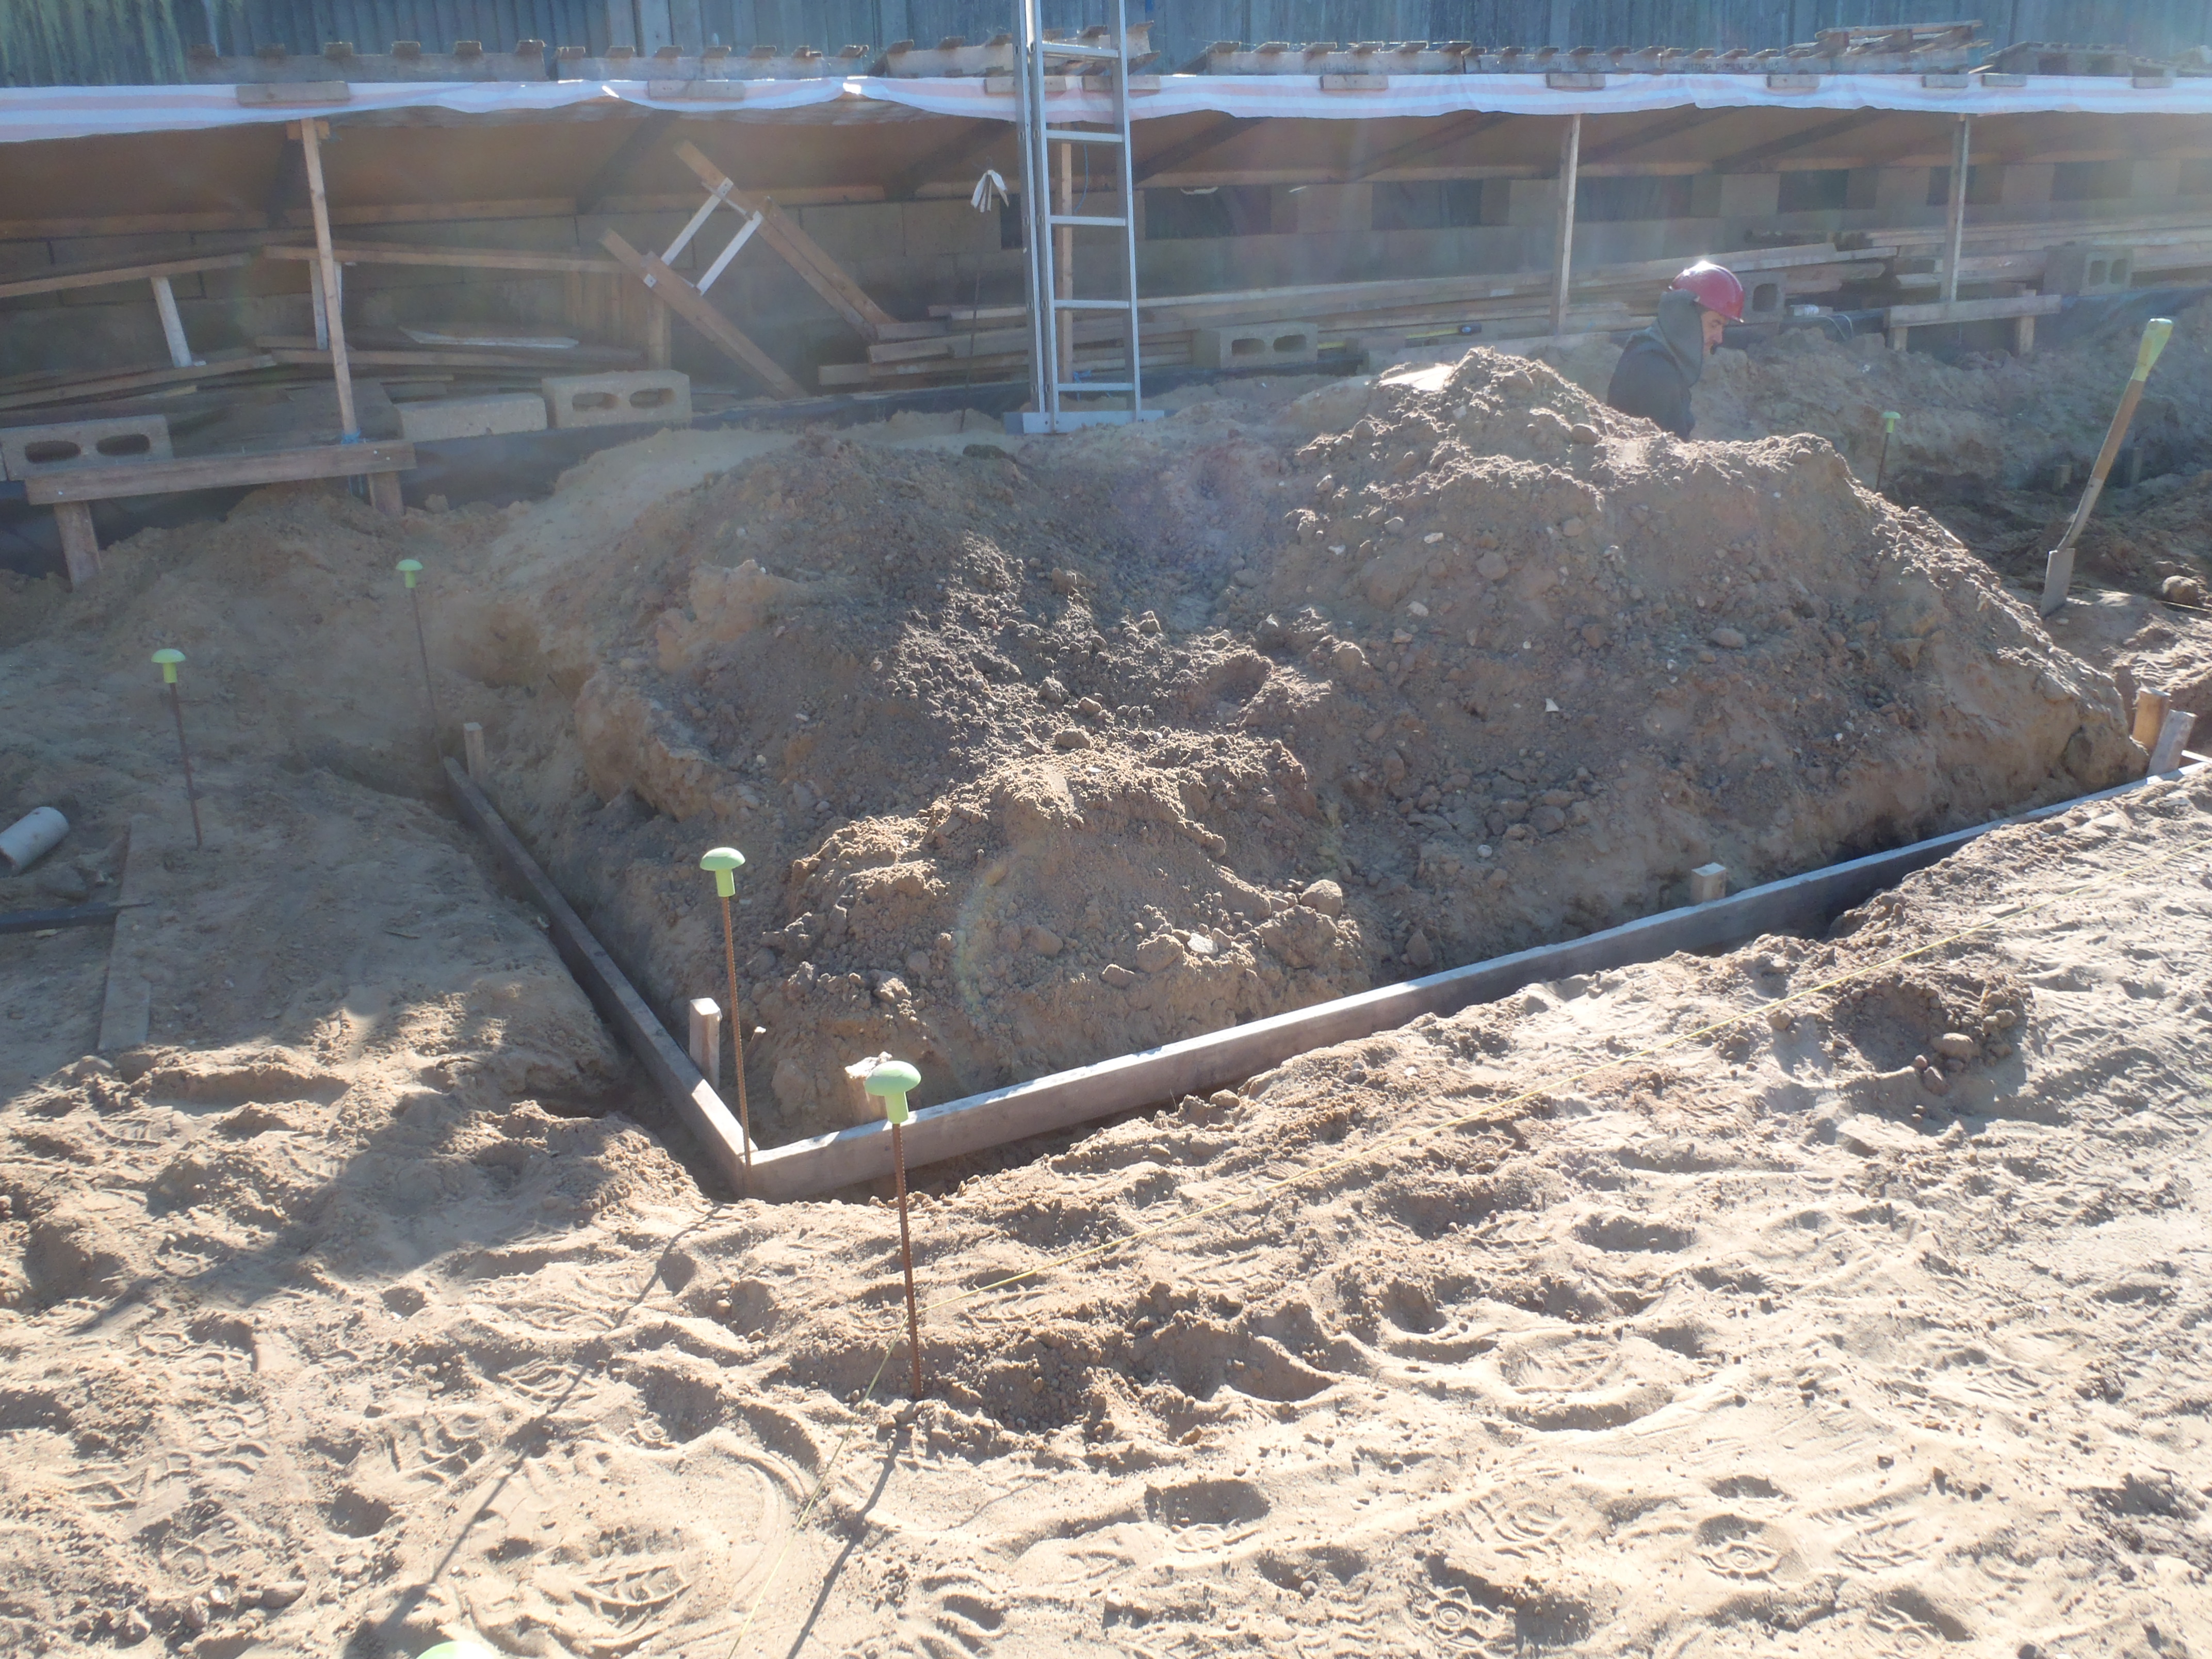
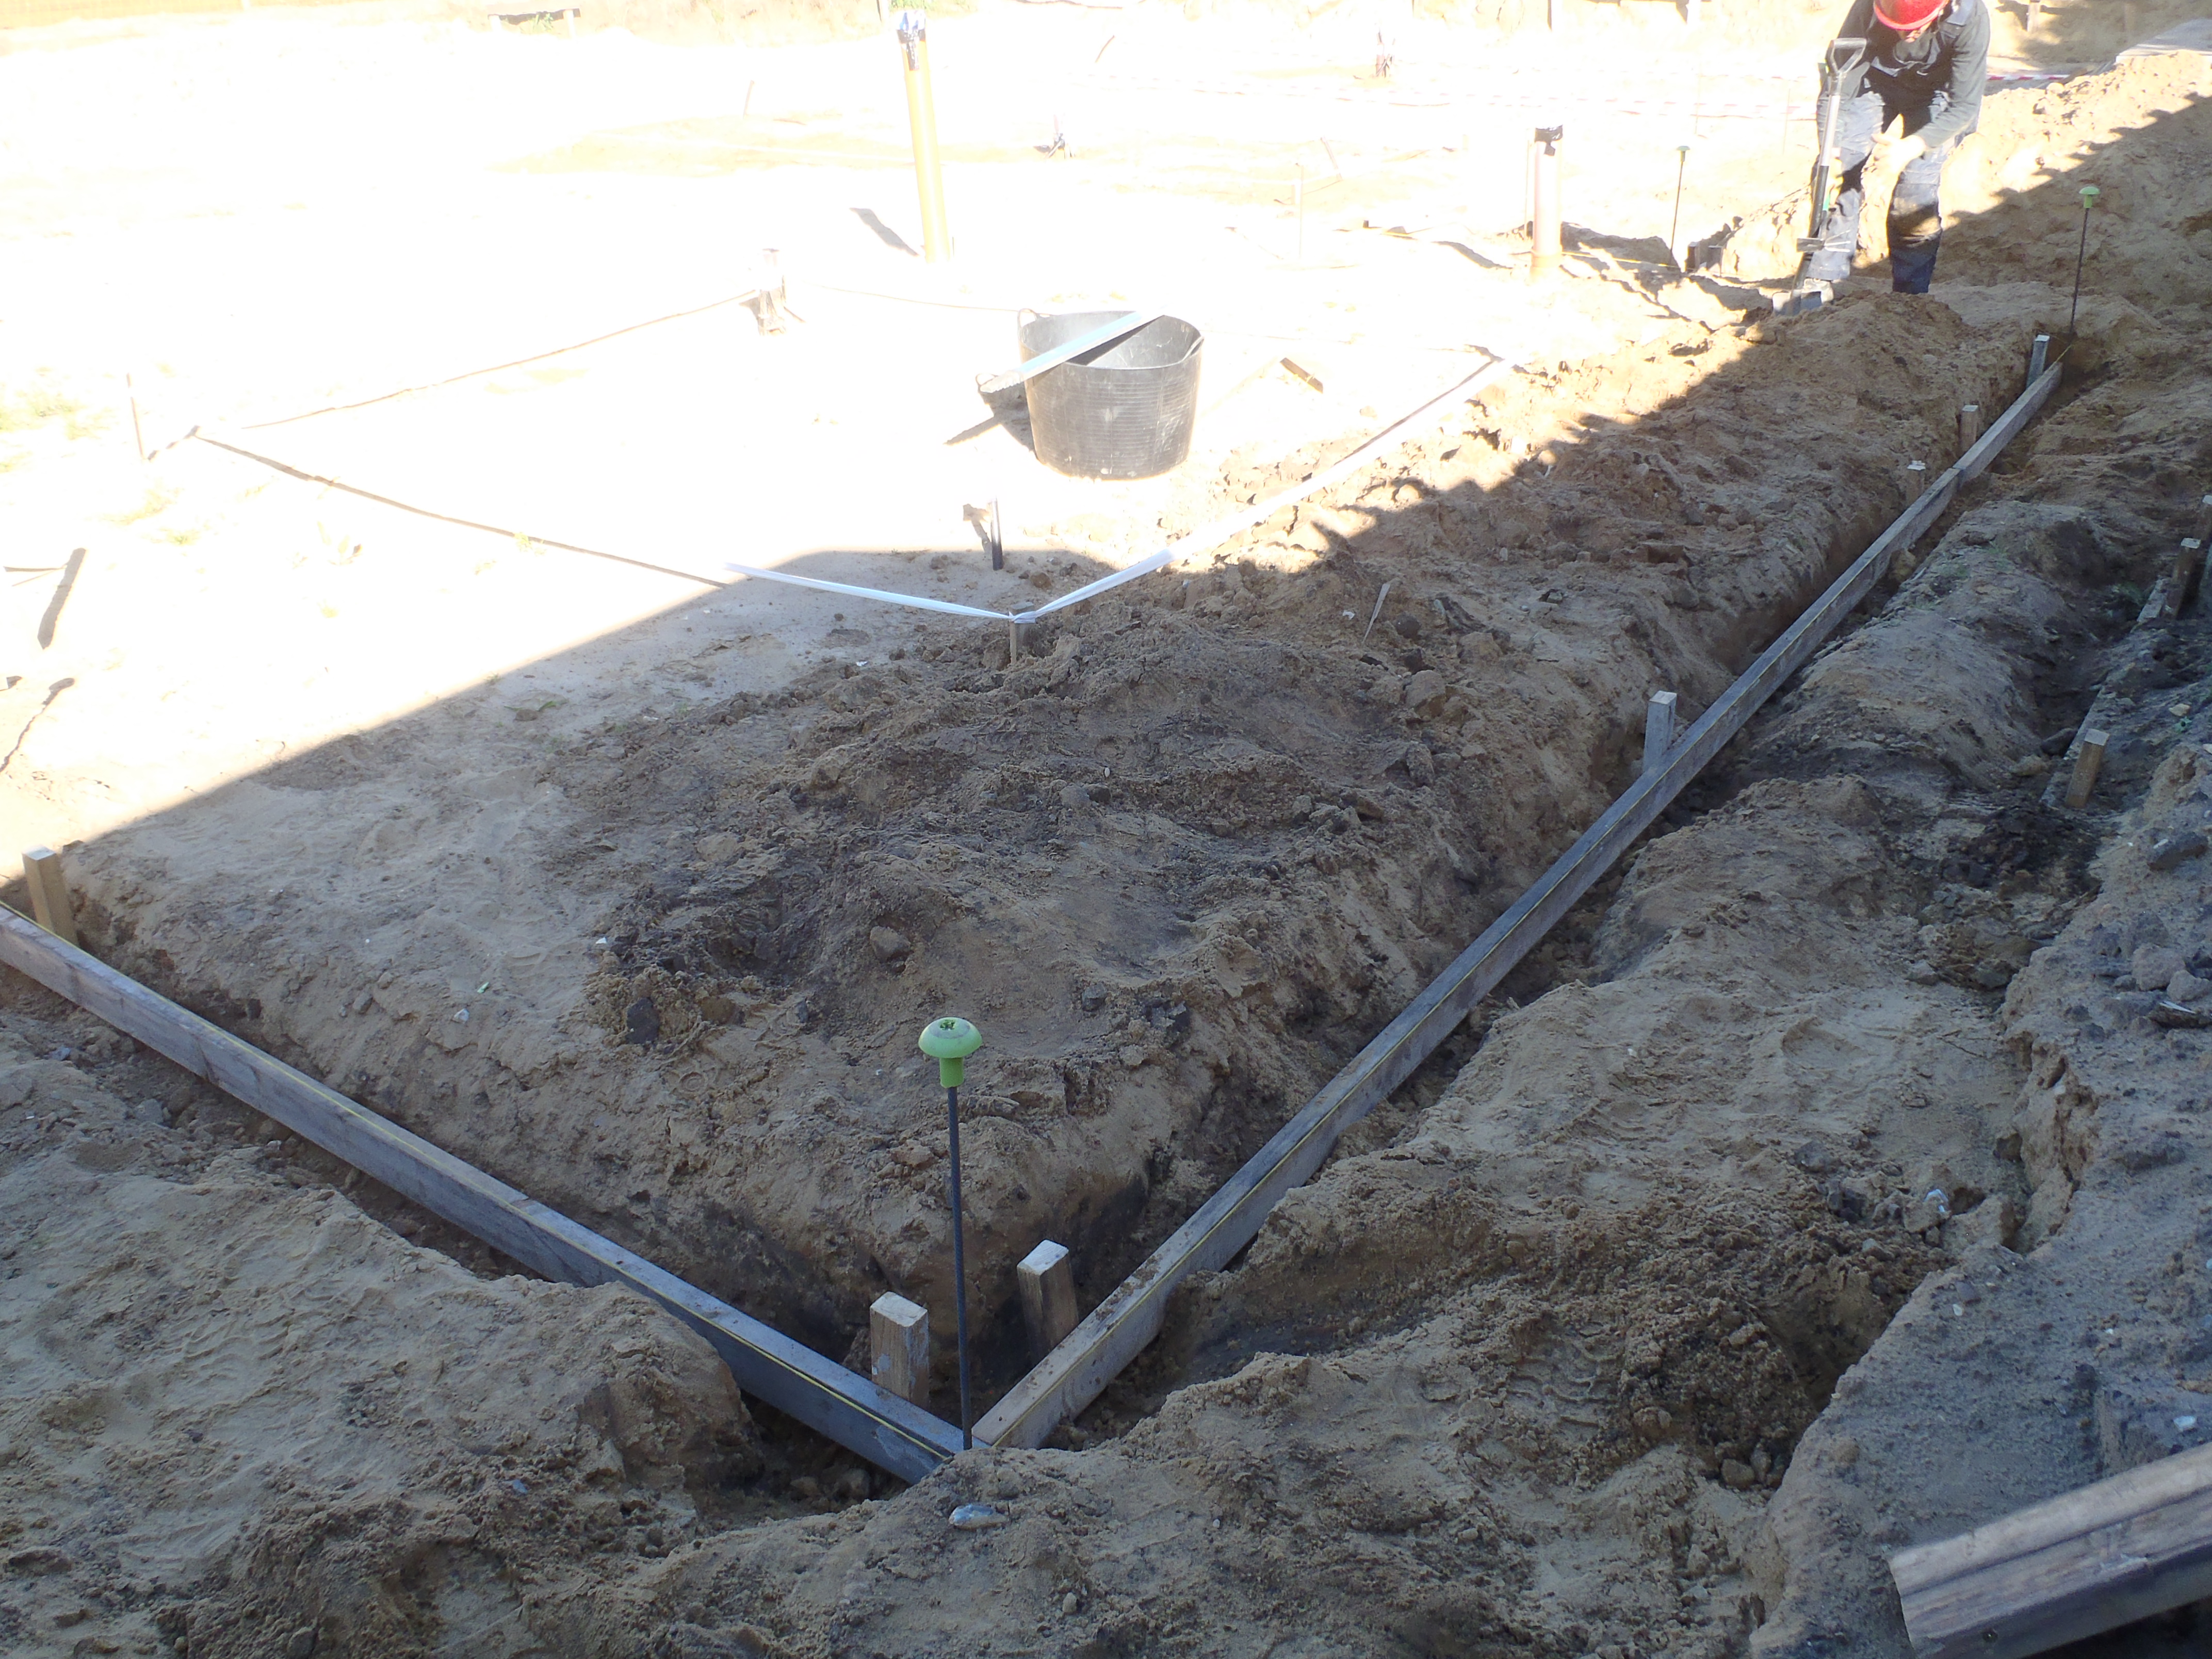
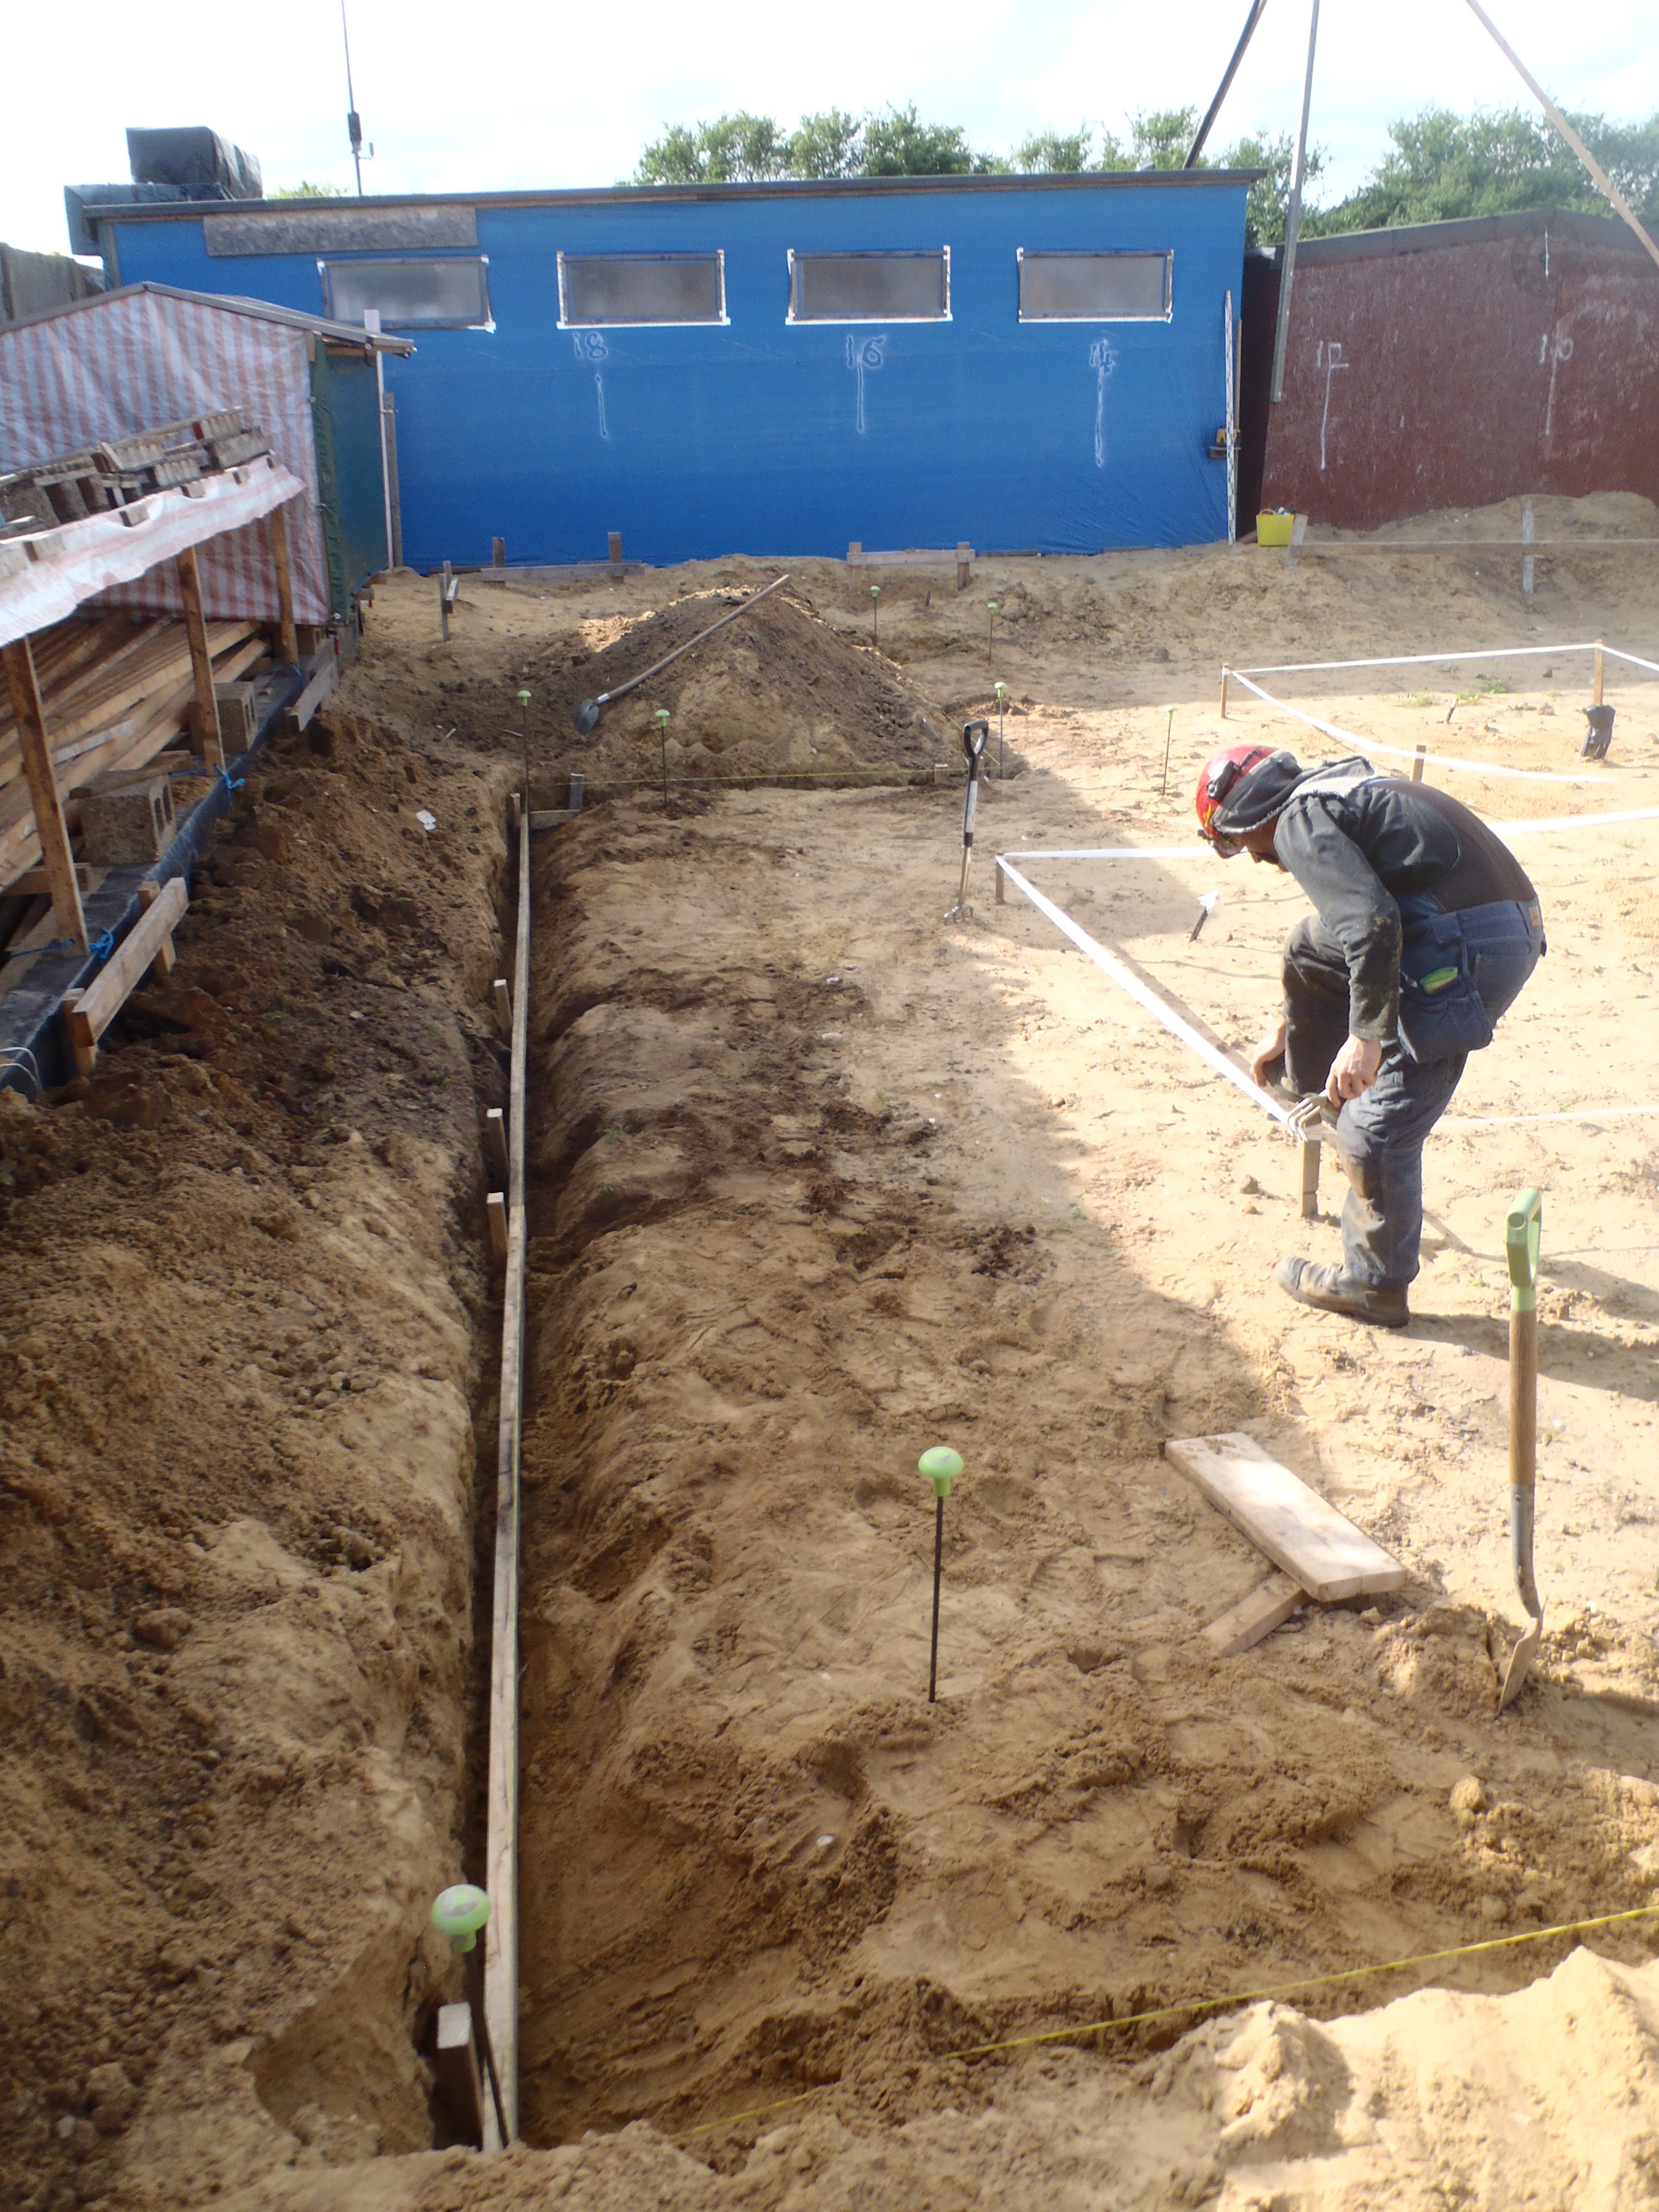
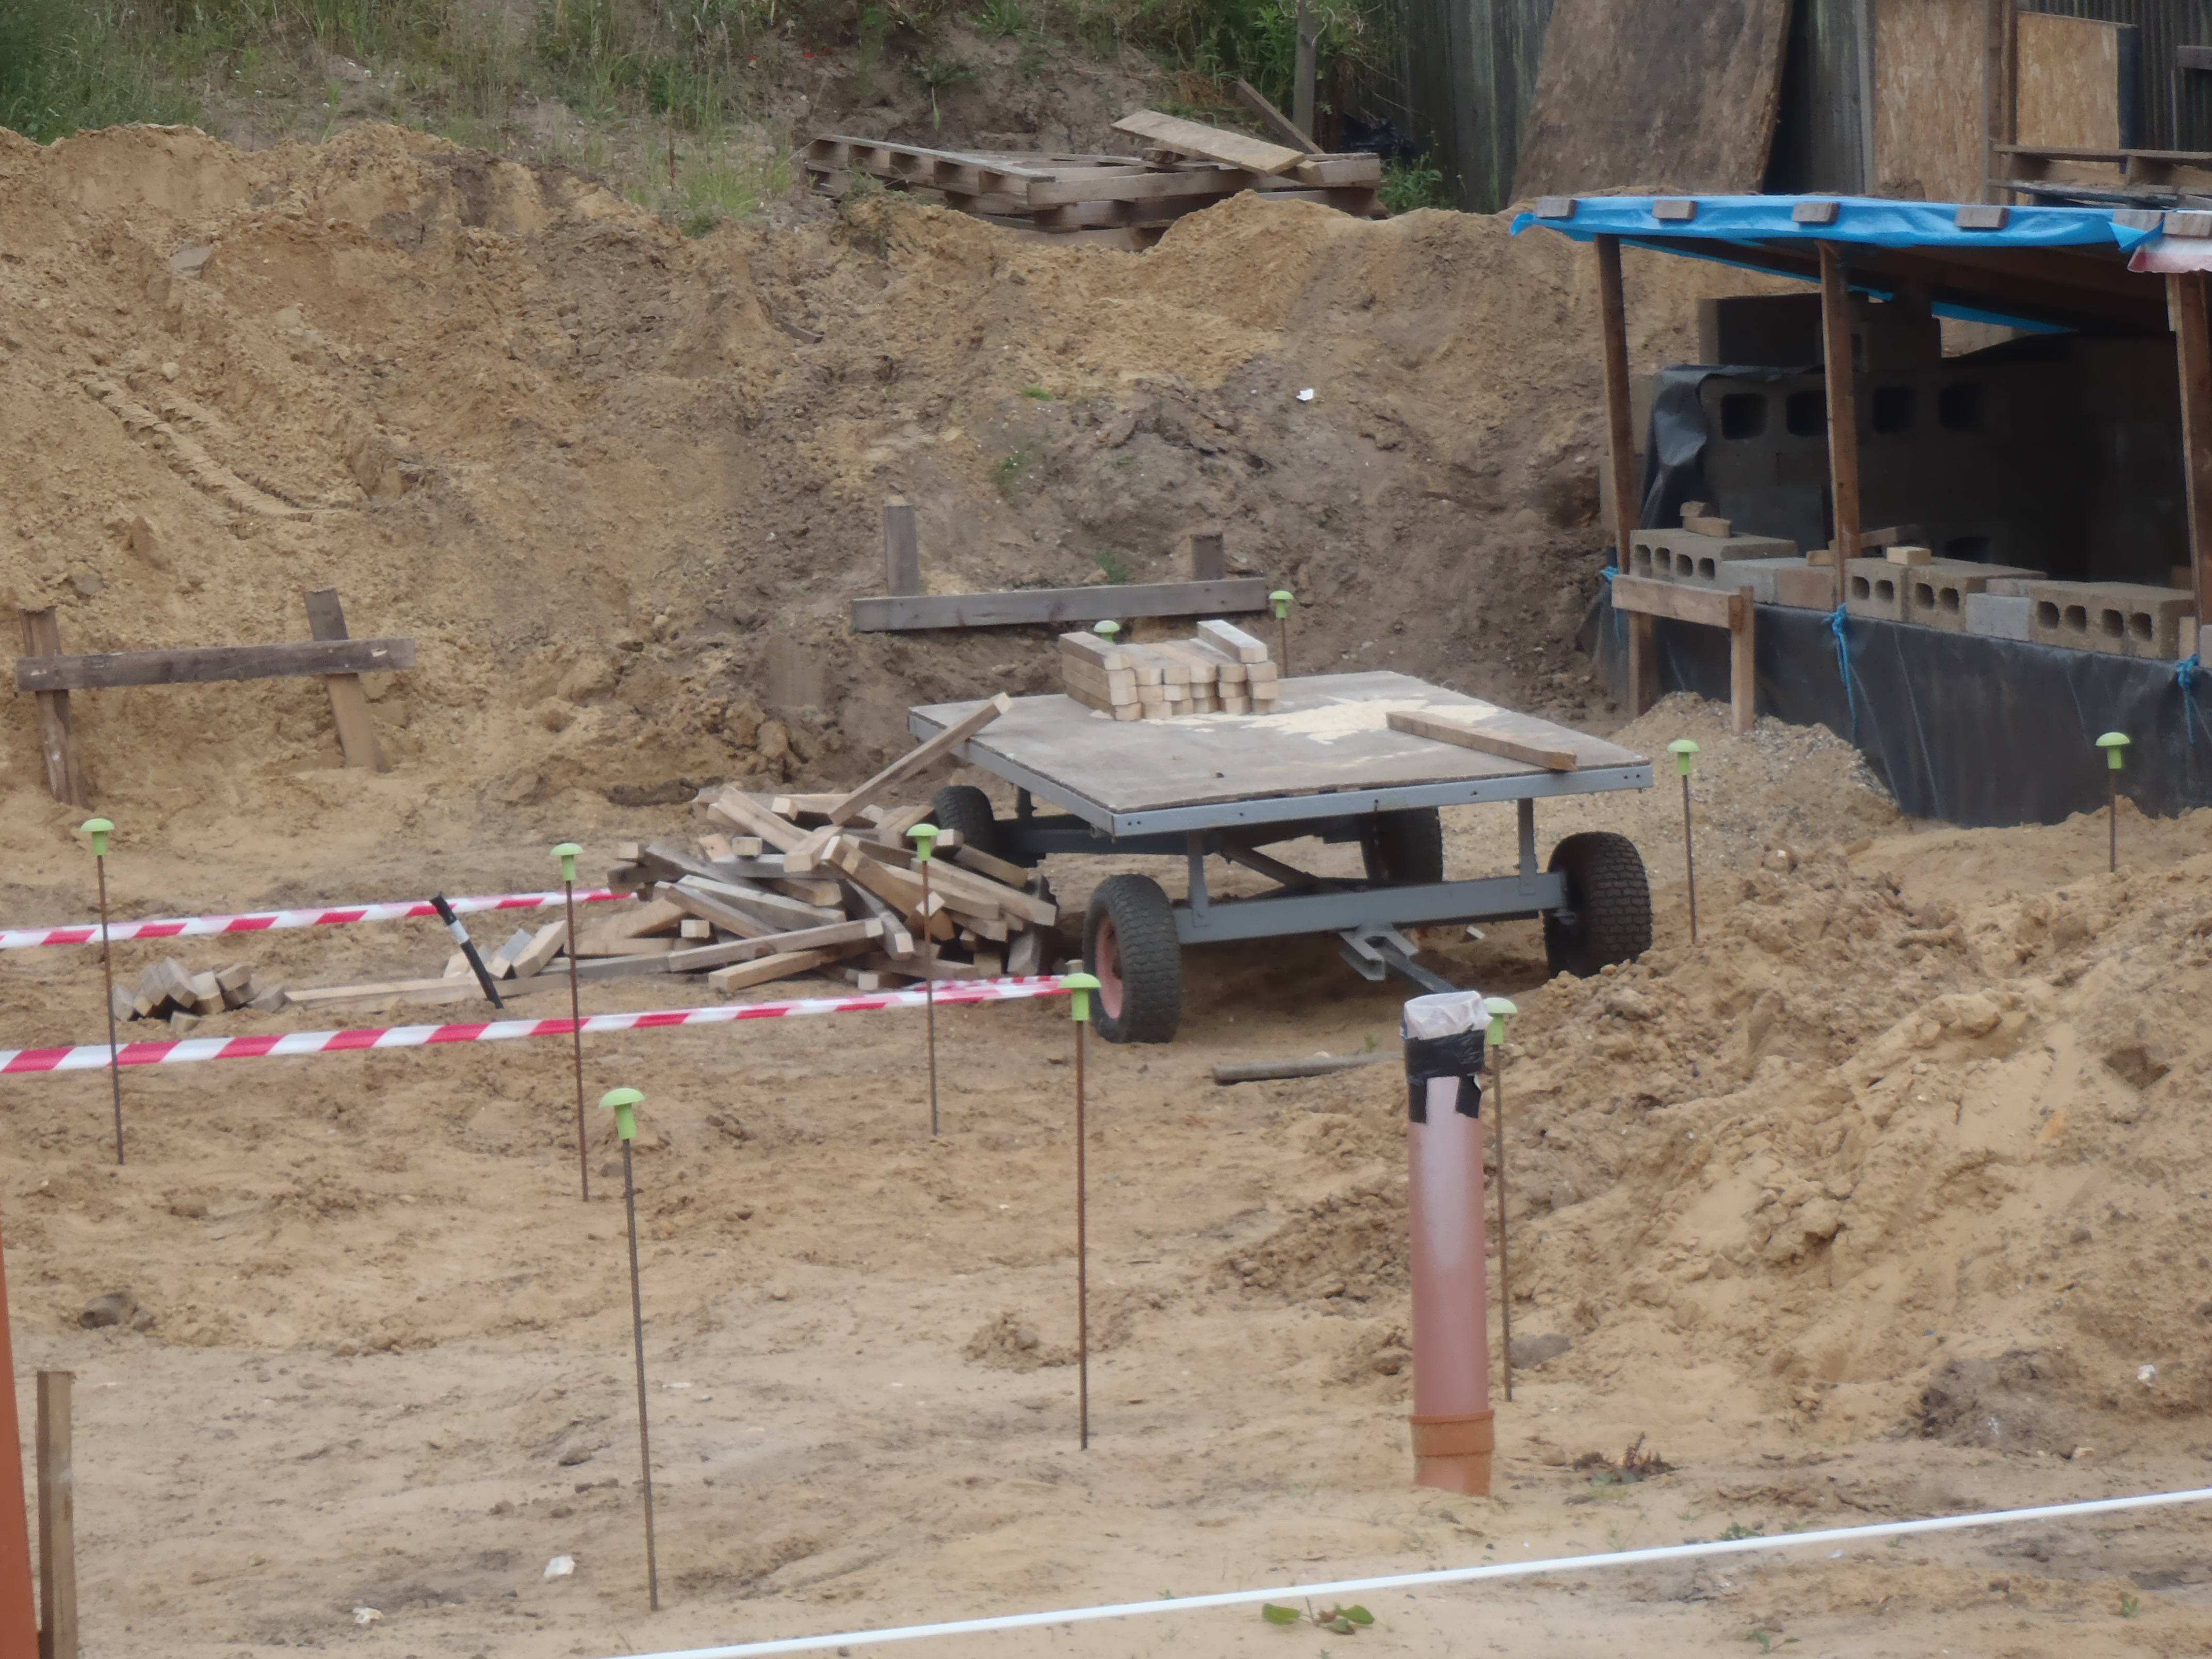
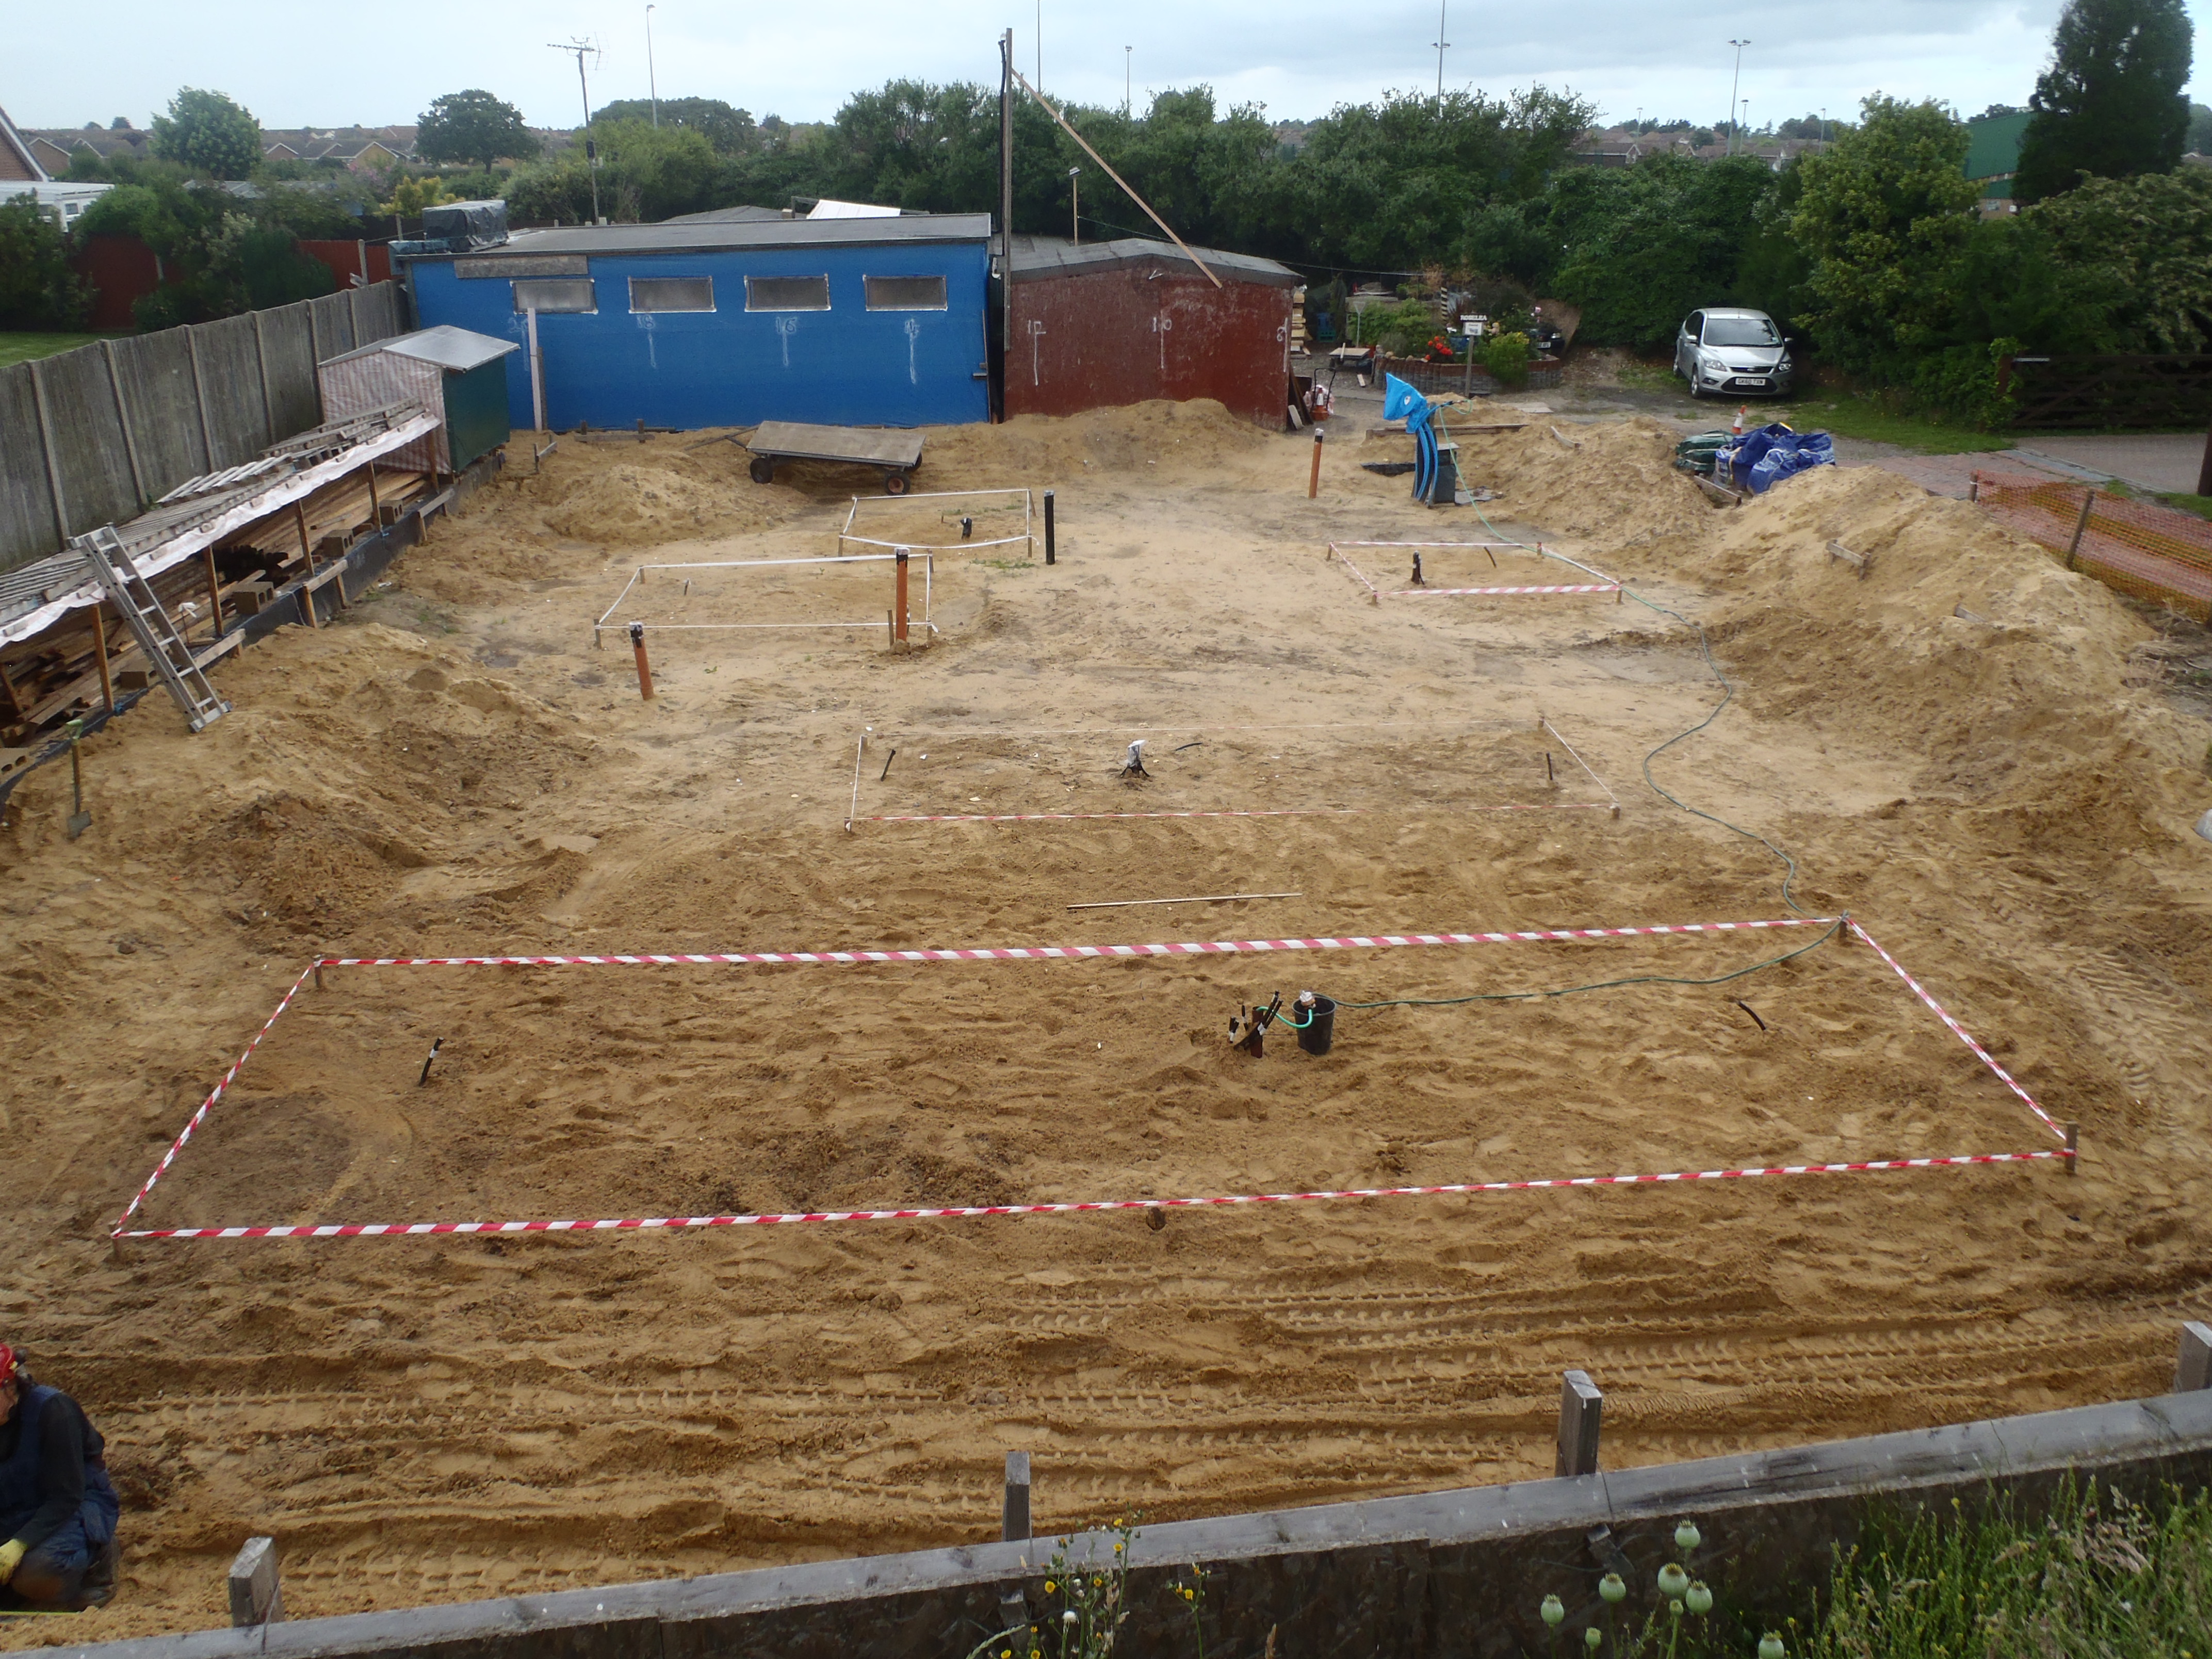
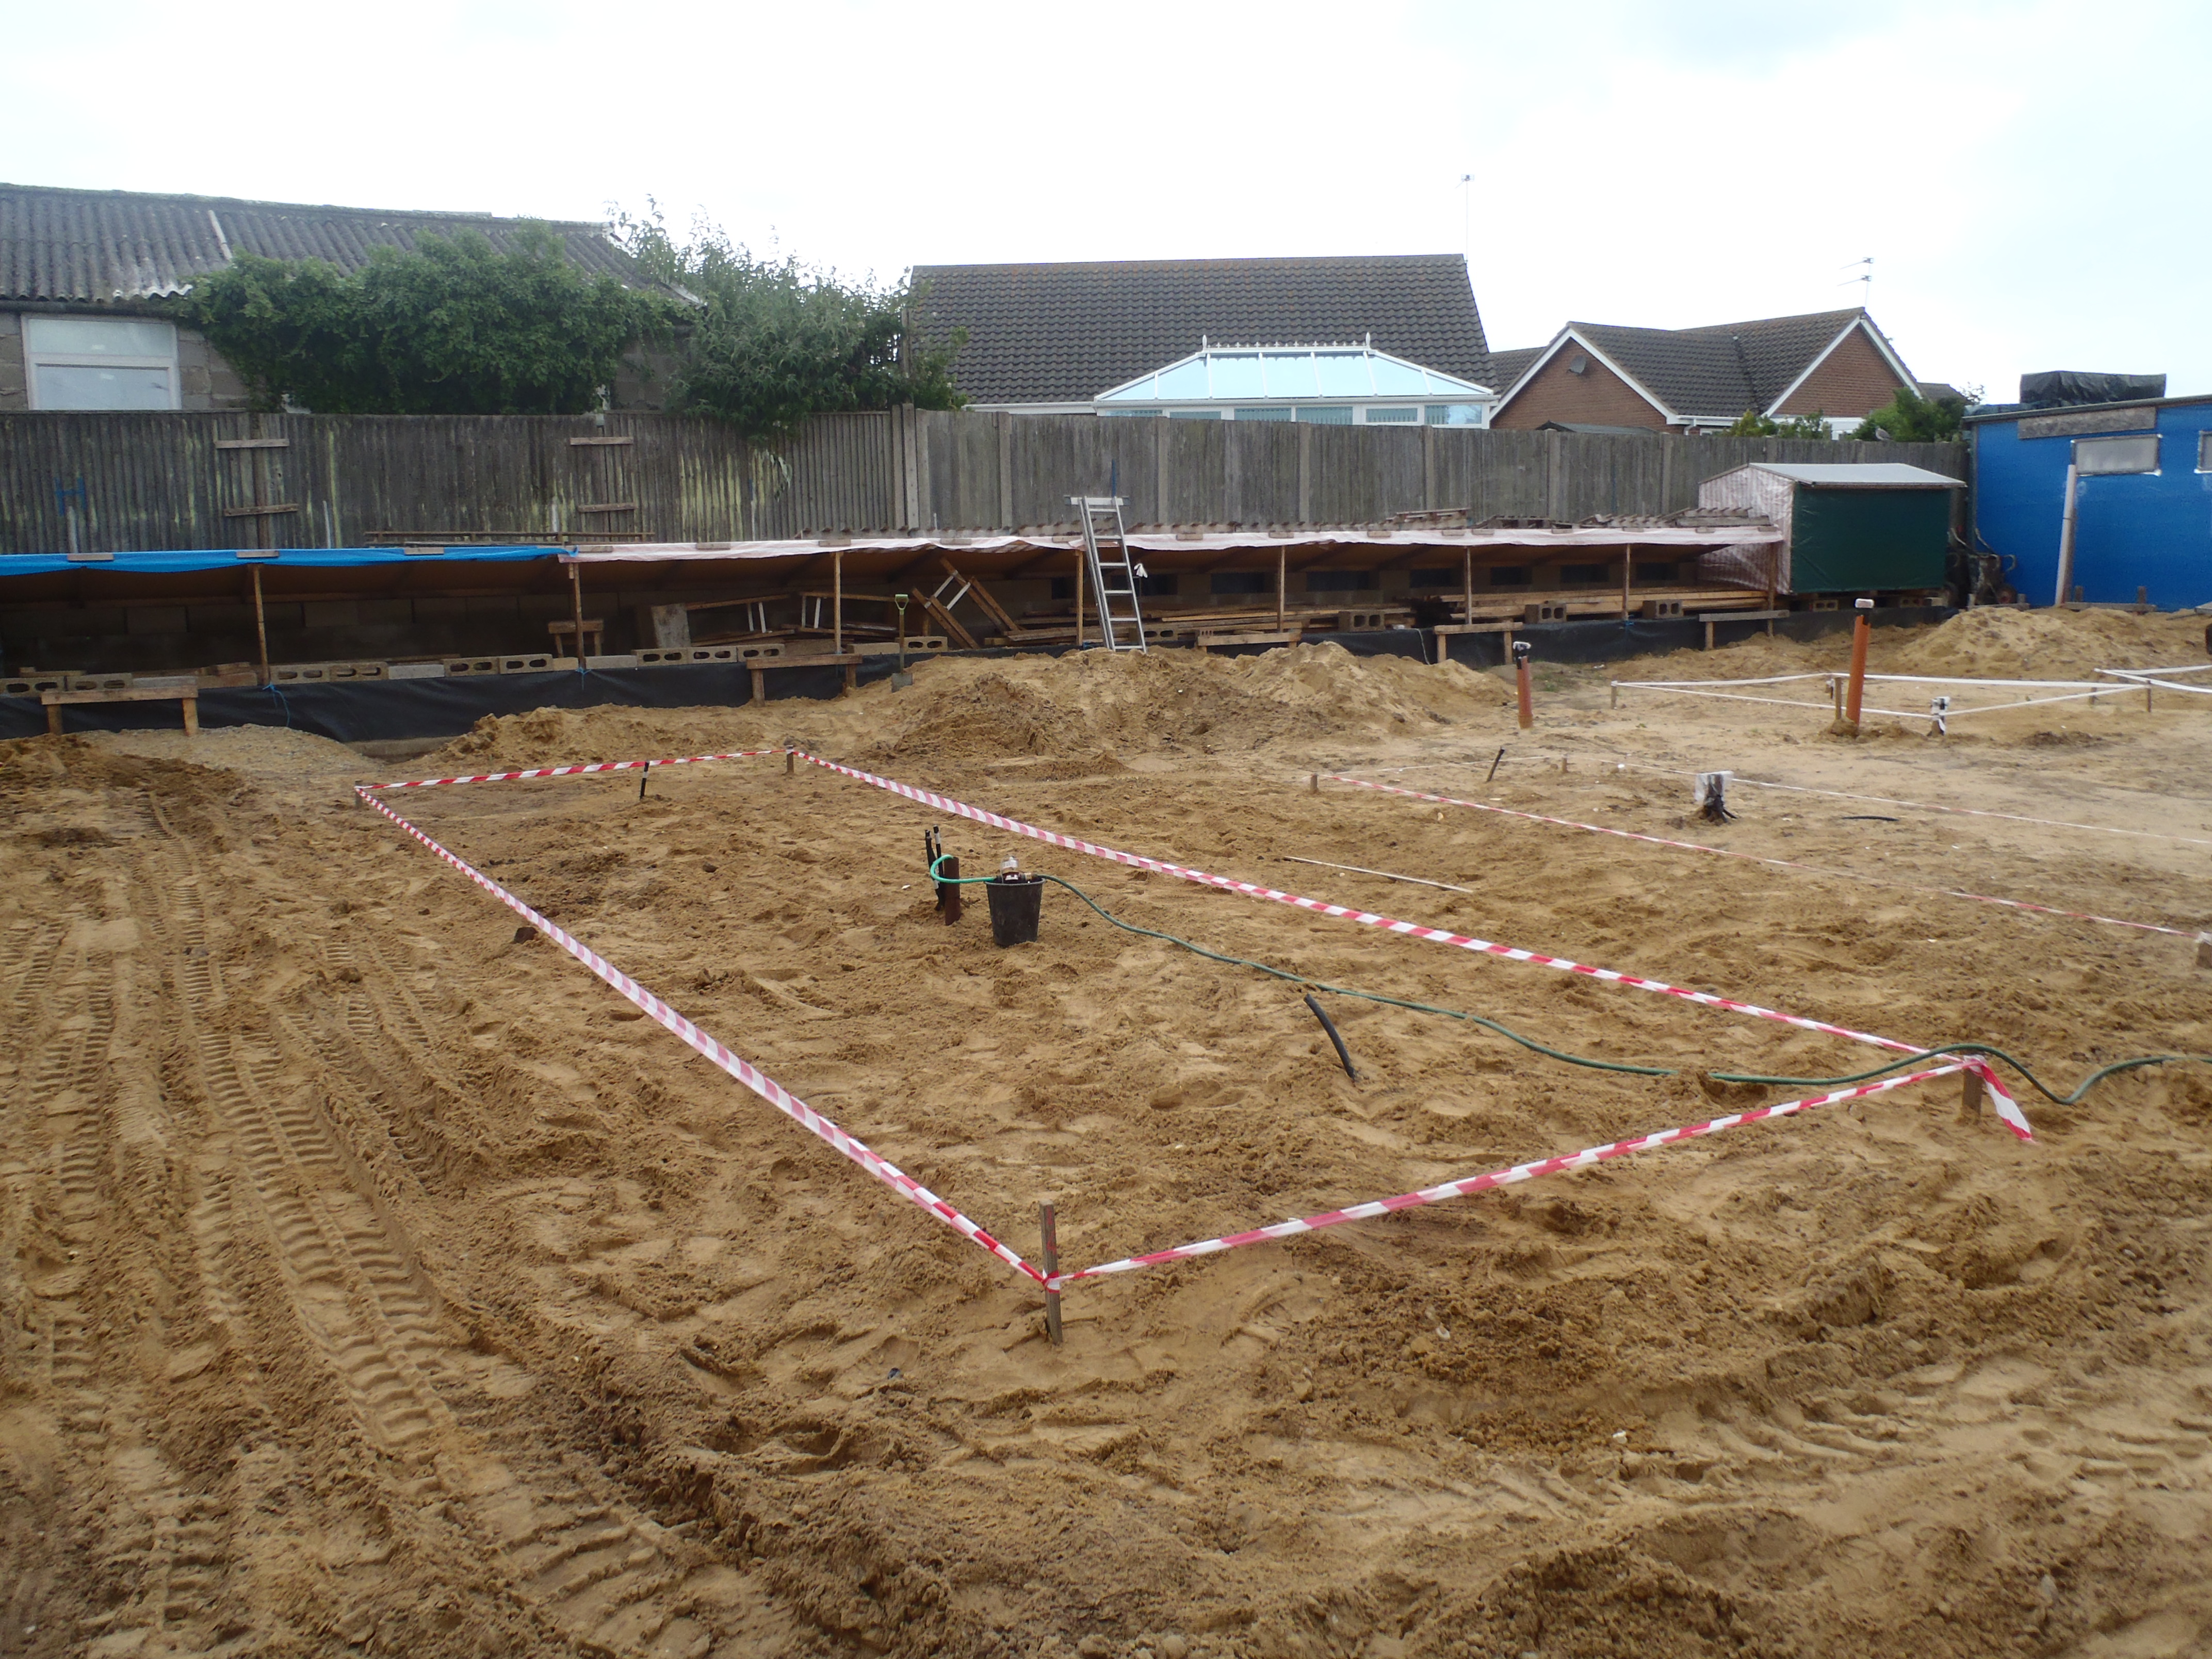
     This morning, we quickly finished off the 3rd front to back foundation strip we left over from yesterday. we then also moved some excess soil from around the front of the sticking out “front door” extension, using the mini-digger.

    Then we realized that we ought to repair the Energy Module number 4 first before doing the foundation strip along the front which might mean losing the use of the mini-digger during the repair chore. So we changed task in mid flow!!

  • Third Strip Almost Finished

     For our half day of work today, we almost finished the 3rd front to back foundation strip, with another 2 square pads incorporated in the line. The ground was jolly hard work in places with tough layer of large gravel stones to dig through!

    Foundation-Trenches-Day-6

    Foundation-Trenches-Day-6


  • Strip 1 and 2 finished and 3rd Started

     Today, in slightly barely cooler weather, completed the first front to back foundation strip shuttering, then completed also the 2nd strip which has two expanded areas to support the legs of the skylight. Then finally we marked out the position of the 3rd strip (working from left to right from F1/B1, F2/B2 and F3/B3).

    Foundation-Trenches-Day-5-2

    Foundation-Trenches-Day-5-2

    Foundation-Trenches-Day-5-1

    Foundation-Trenches-Day-5-1


    We are making good progress – despite the hot weather – Phew!

  • Shuttering Boards Cut and Started Next Section

     This afternoon, we sliced up 6 sheets of the 18mm OSB boards to make a collection of 2 different heights of shuttering. We made 12 pieces of 200mm tall and 16 pieces of 300mm tall.

    Foundation-Trenches-Day-4-Boards

    Foundation-Trenches-Day-4-Boards

    Then we drew out the string between the front and back batter boards at the number 1 position (the left side of the Great Room) and string across the number 3 line running along the front of the house (Great Room and Kitchen), the L3 to R3 batter board position. Two more metal pins were bashed into the soil at the intersection point.

    Lastly, we sweated ourselves in the boiling heat (it got to 31°C today!!!) in digging a narrow trench to make room for the shuttering and we have placed a 200mm high piece at the back  and 2 further 300mm high boards touching all together, coming towards the front of the house.

    Foundation-Trenches-Day-4

    Foundation-Trenches-Day-4

    We carry on with that foundation strip tomorrow and then do number 2 (the Great Room come Kitchen / Bedroom 1 divide).

  • Back Section sides all Completed

     Today, we finished off the shuttering for the back section of the building’s foundations.

    We put the two layers of the 89mm Timber to form the necessary height to hold the 150mm thick foundation strip.

    Part of the job was to dig out some parts of the shuttering where it got buried in our flood we had last week. Phew!

    Tomorrow, we will work on the front to back foundation strips, using 300mm wide pieces of 18mm thick OSB sheets This will allow for us to push the concrete harder along these channels without it spilling over the sides.

    Foundation-Trenches-Day-3-4

    Foundation-Trenches-Day-3-4

    Foundation-Trenches-Day-3-1

    Foundation-Trenches-Day-3-1

    Foundation-Trenches-Day-3-2

    Foundation-Trenches-Day-3-2

    Foundation-Trenches-Day-3-3

    Foundation-Trenches-Day-3-3


  • Work Continues on Back Section

     We resumed the work on the construction of the foundation trenches shuttering along the back section of the building. The ground in several places is very hard and one place looks like an old fire pit with dark coloured very hard material.

    Foundation-Trenches-Day-2-1

    Foundation-Trenches-Day-2-1

    Foundation-Trenches-Day-2-2

    Foundation-Trenches-Day-2-2

    Foundation-Trenches-Day-2-3

    Foundation-Trenches-Day-2-3

    Foundation-Trenches-Day-2-4

    Foundation-Trenches-Day-2-4


    We should have this section done tomorrow and then we can work on doing the front to back strips.

  • Started Construction of Edging of Foundation Trenches

     We started on the long job of constructing the Edge Strips for the Foundation Trenches. We went from the back right hand corner and went along the back section, running parallel to the Swimming Lane. This section will use two layers of the 89mm CLS timber planks on top of each other to form a 178mm high  shuttering.

    Foundation-Trenches-Day-1-2

    Foundation-Trenches-Day-1-2

    Foundation-Trenches-Day-1

    Foundation-Trenches-Day-1


    We cut a narrow gully to fit the bottom layer of the 89 mm timber and will add the 2nd layer when we have done everywhere first. We managed to complete in just the afternoon session since the morning was interrupted by rain, 3 segments (a total of 13.6 metres), another 4 more segments (about 16 metres) to go. It is quite hard ground and we are using manual labour to do the job, using spades and trowels!

  • Inserted More Batter Boards and Anchors for all Foundation Trenches and Pads

     Today, we finished off chopping and slicing points on about a hundred pegs, carried over from yesterday. They are short 500 mm long pieces using spare 63mm by 38mm timbers from our stock pile.

    The-pile-of-about-100-pegs

    The-pile-of-about-100-pegs

    Then, we inserted two more batter boards which defined all the foundation square pads to support the metal legs for the roof light complex.

    One-of-the-Batter-boards-for-Pads

    One-of-the-Batter-boards-for-Pads

    These were on the Left and Right sides of the house.

    Then, we went around all the batter boards screwing in all the anchors needed to allow string to be hooked on and strung from front to back, or side to side, to form the layout of the foundation trenches themselves.

    We actually started doing this on the back portion of the house footprint, using four set of strings to define the back two foundation lines and moved a pair of string from each of the front to back batter boards, which then overlapped the other 4 strings and we drove in steel rod at the appropriate intersection. These steel rods, with their protective green caps on, will be used to guide us when we start laying in the shuttering, starting tomorrow.

    The-pins-marking-Back-wall-foundations

    The-pins-marking-Back-wall-foundations

    We will use our old stock of 89mm CLS timber to form the shuttering for the back section of the house (we will have 2 of them stacked upon each other to form a 178mm high sides), but for the front to back foundation trenches, the shuttering will be 300mm high OSB boards to provide “channels” to make it easier to push the “free flowing”  concrete ready mix down towards the back section.

    Here’s a timelapse of today

  • All 5 Modules Now In Place!

     At Long Last, we have finished all 5 energy modules, all buried in the ground and all full of water. The only signs of their presence is the red white hazard tapes marking out the locations and thin pipes sticking out of the ground.

    Plot-after-all-Energy-modules-finished

    Plot-after-all-Energy-modules-finished

    It has been a long haul, which included the repair of Number 3 (it got lifted by a flood of rain water), some 50 days of work to install all these Energy Modules, they contain a total of 35,000 litres of water, which can store about 10GJ (giga-joules) or about 2700 kWh of free energy from the sun. It is a big investment of time and money but we should see a payback quite quickly over the first few years of operation once the house is built.

  • Day 8 of the Great Module Number 5 – All Done At Last!

     This morning, we finished off burying the last of our Energy Modules, Number 5, with sandy soil and covering it up too.

    The warning red/white hazard tape was wrapped around the perimeter of the module to keep our heavy machinery off that area.

    Module-5-Finished

    Module-5-Finished

    So We are All Done At Last! Phew!