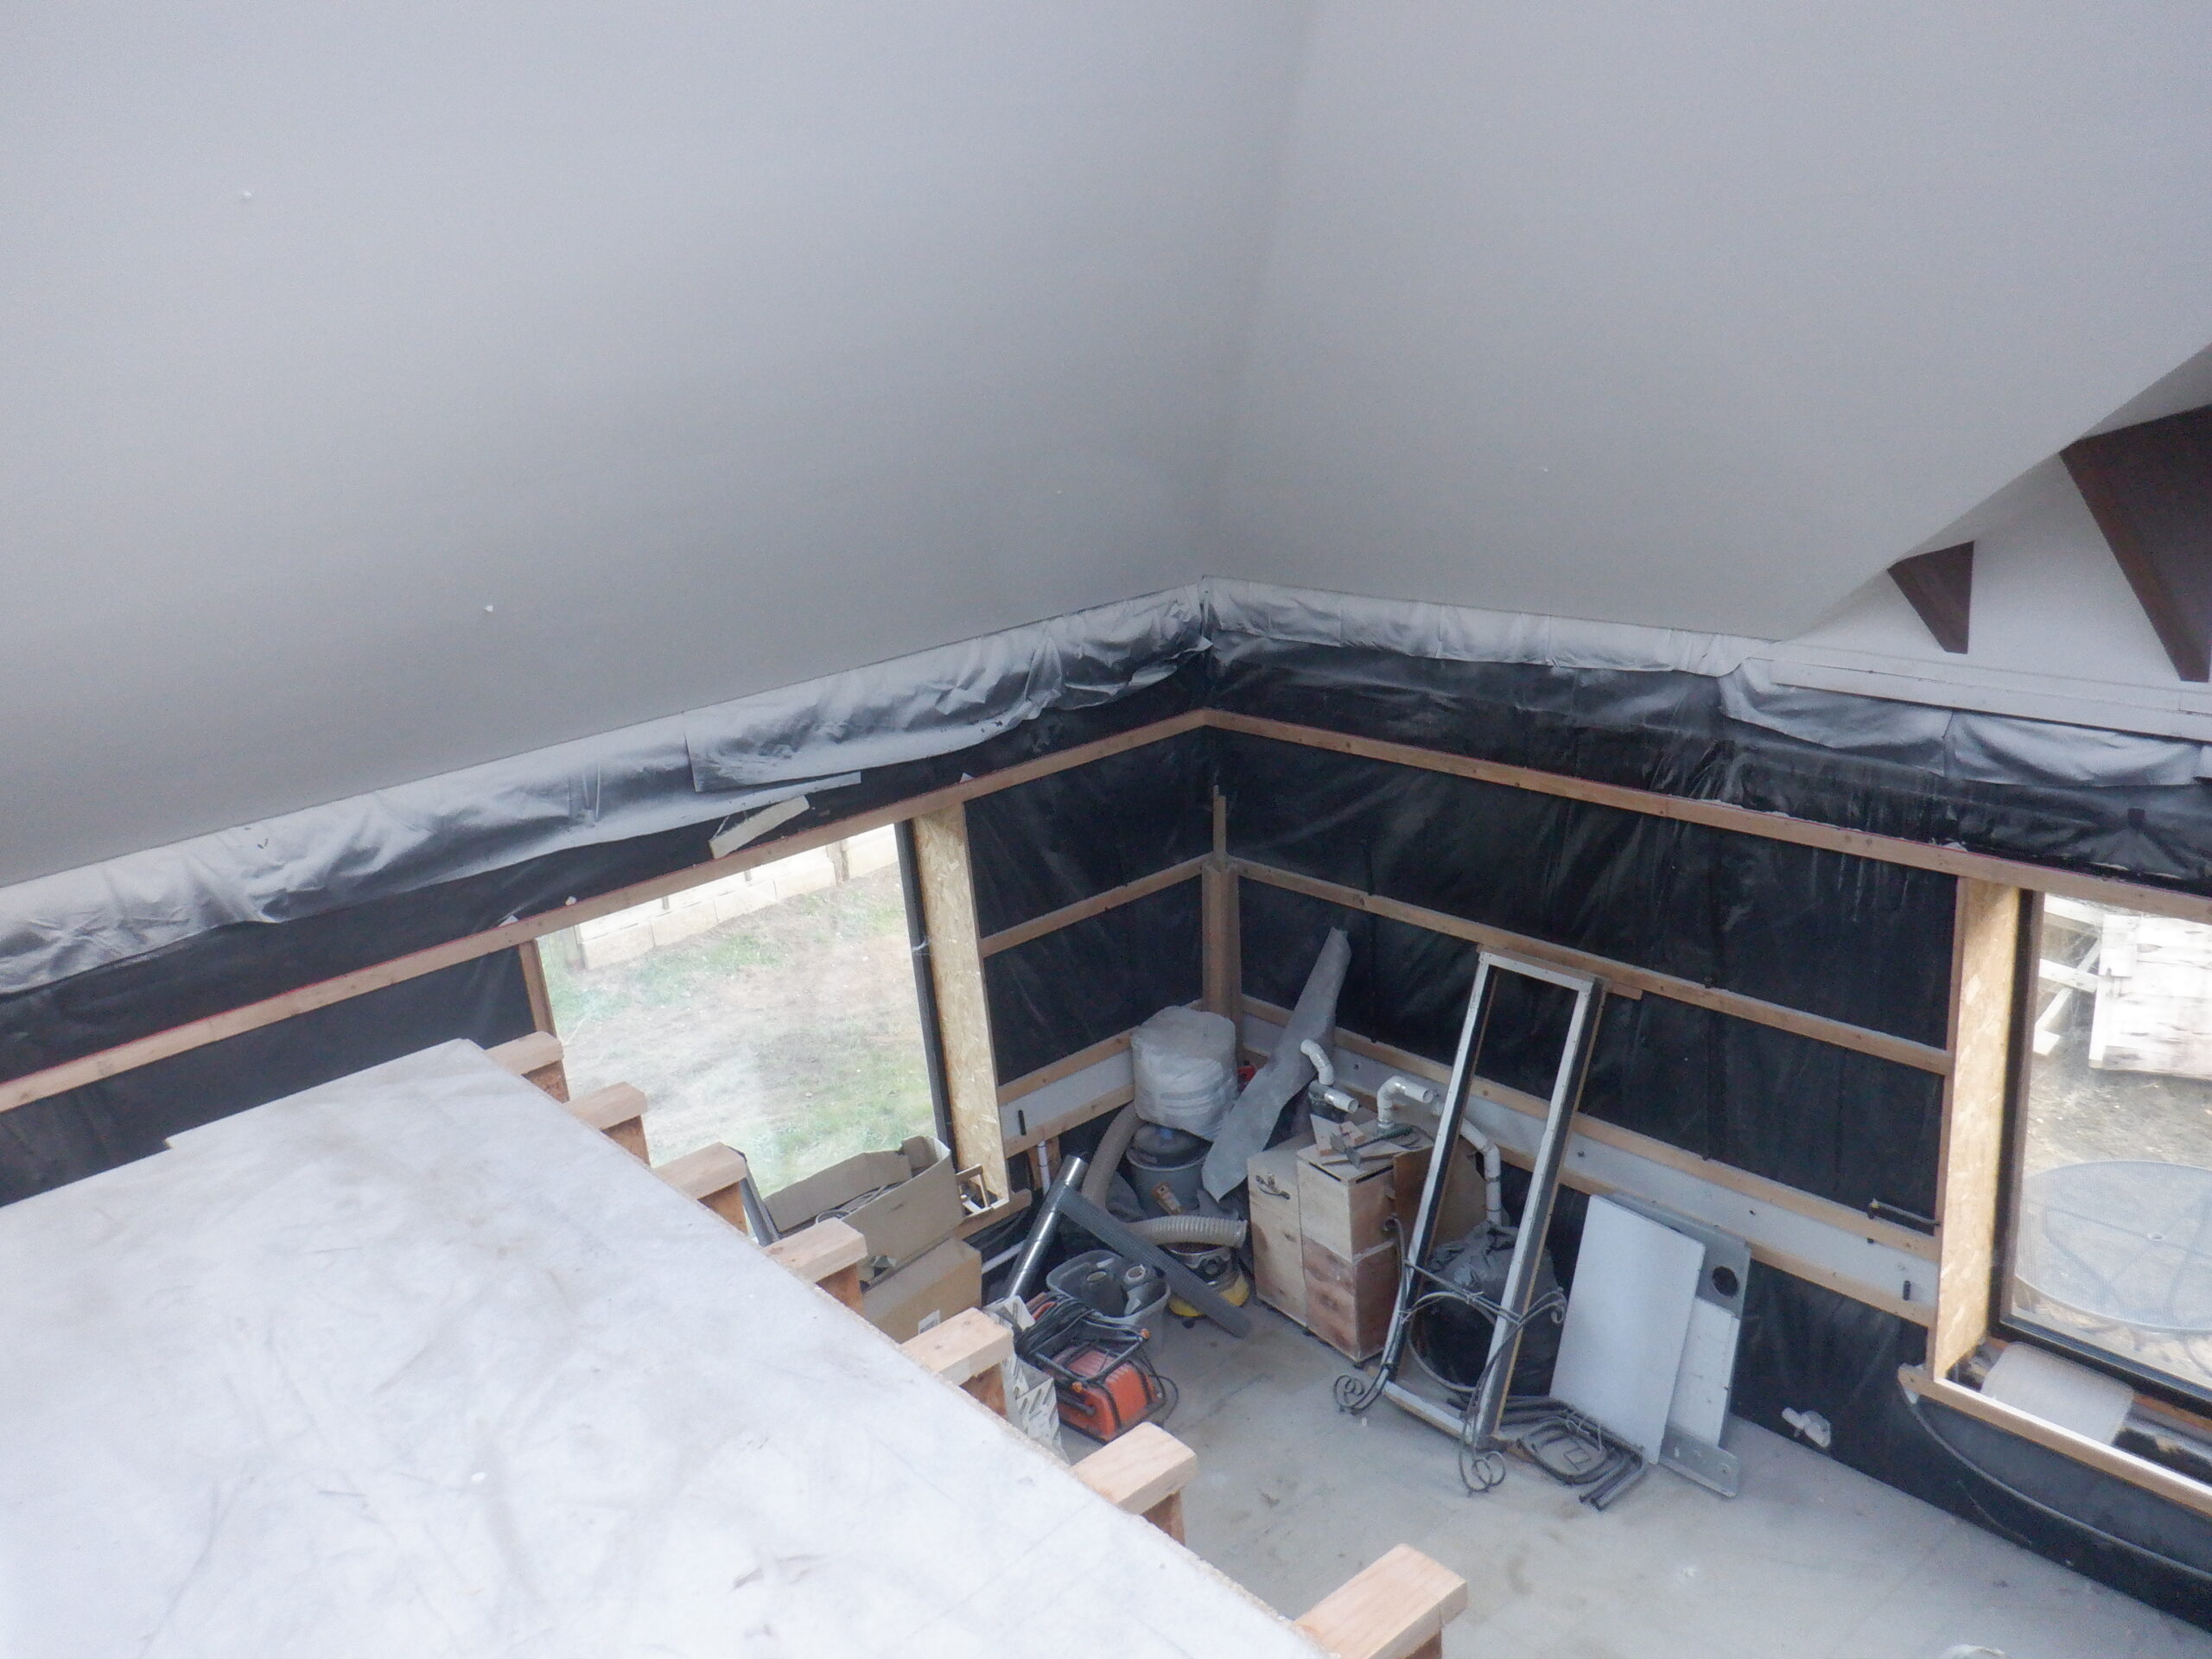
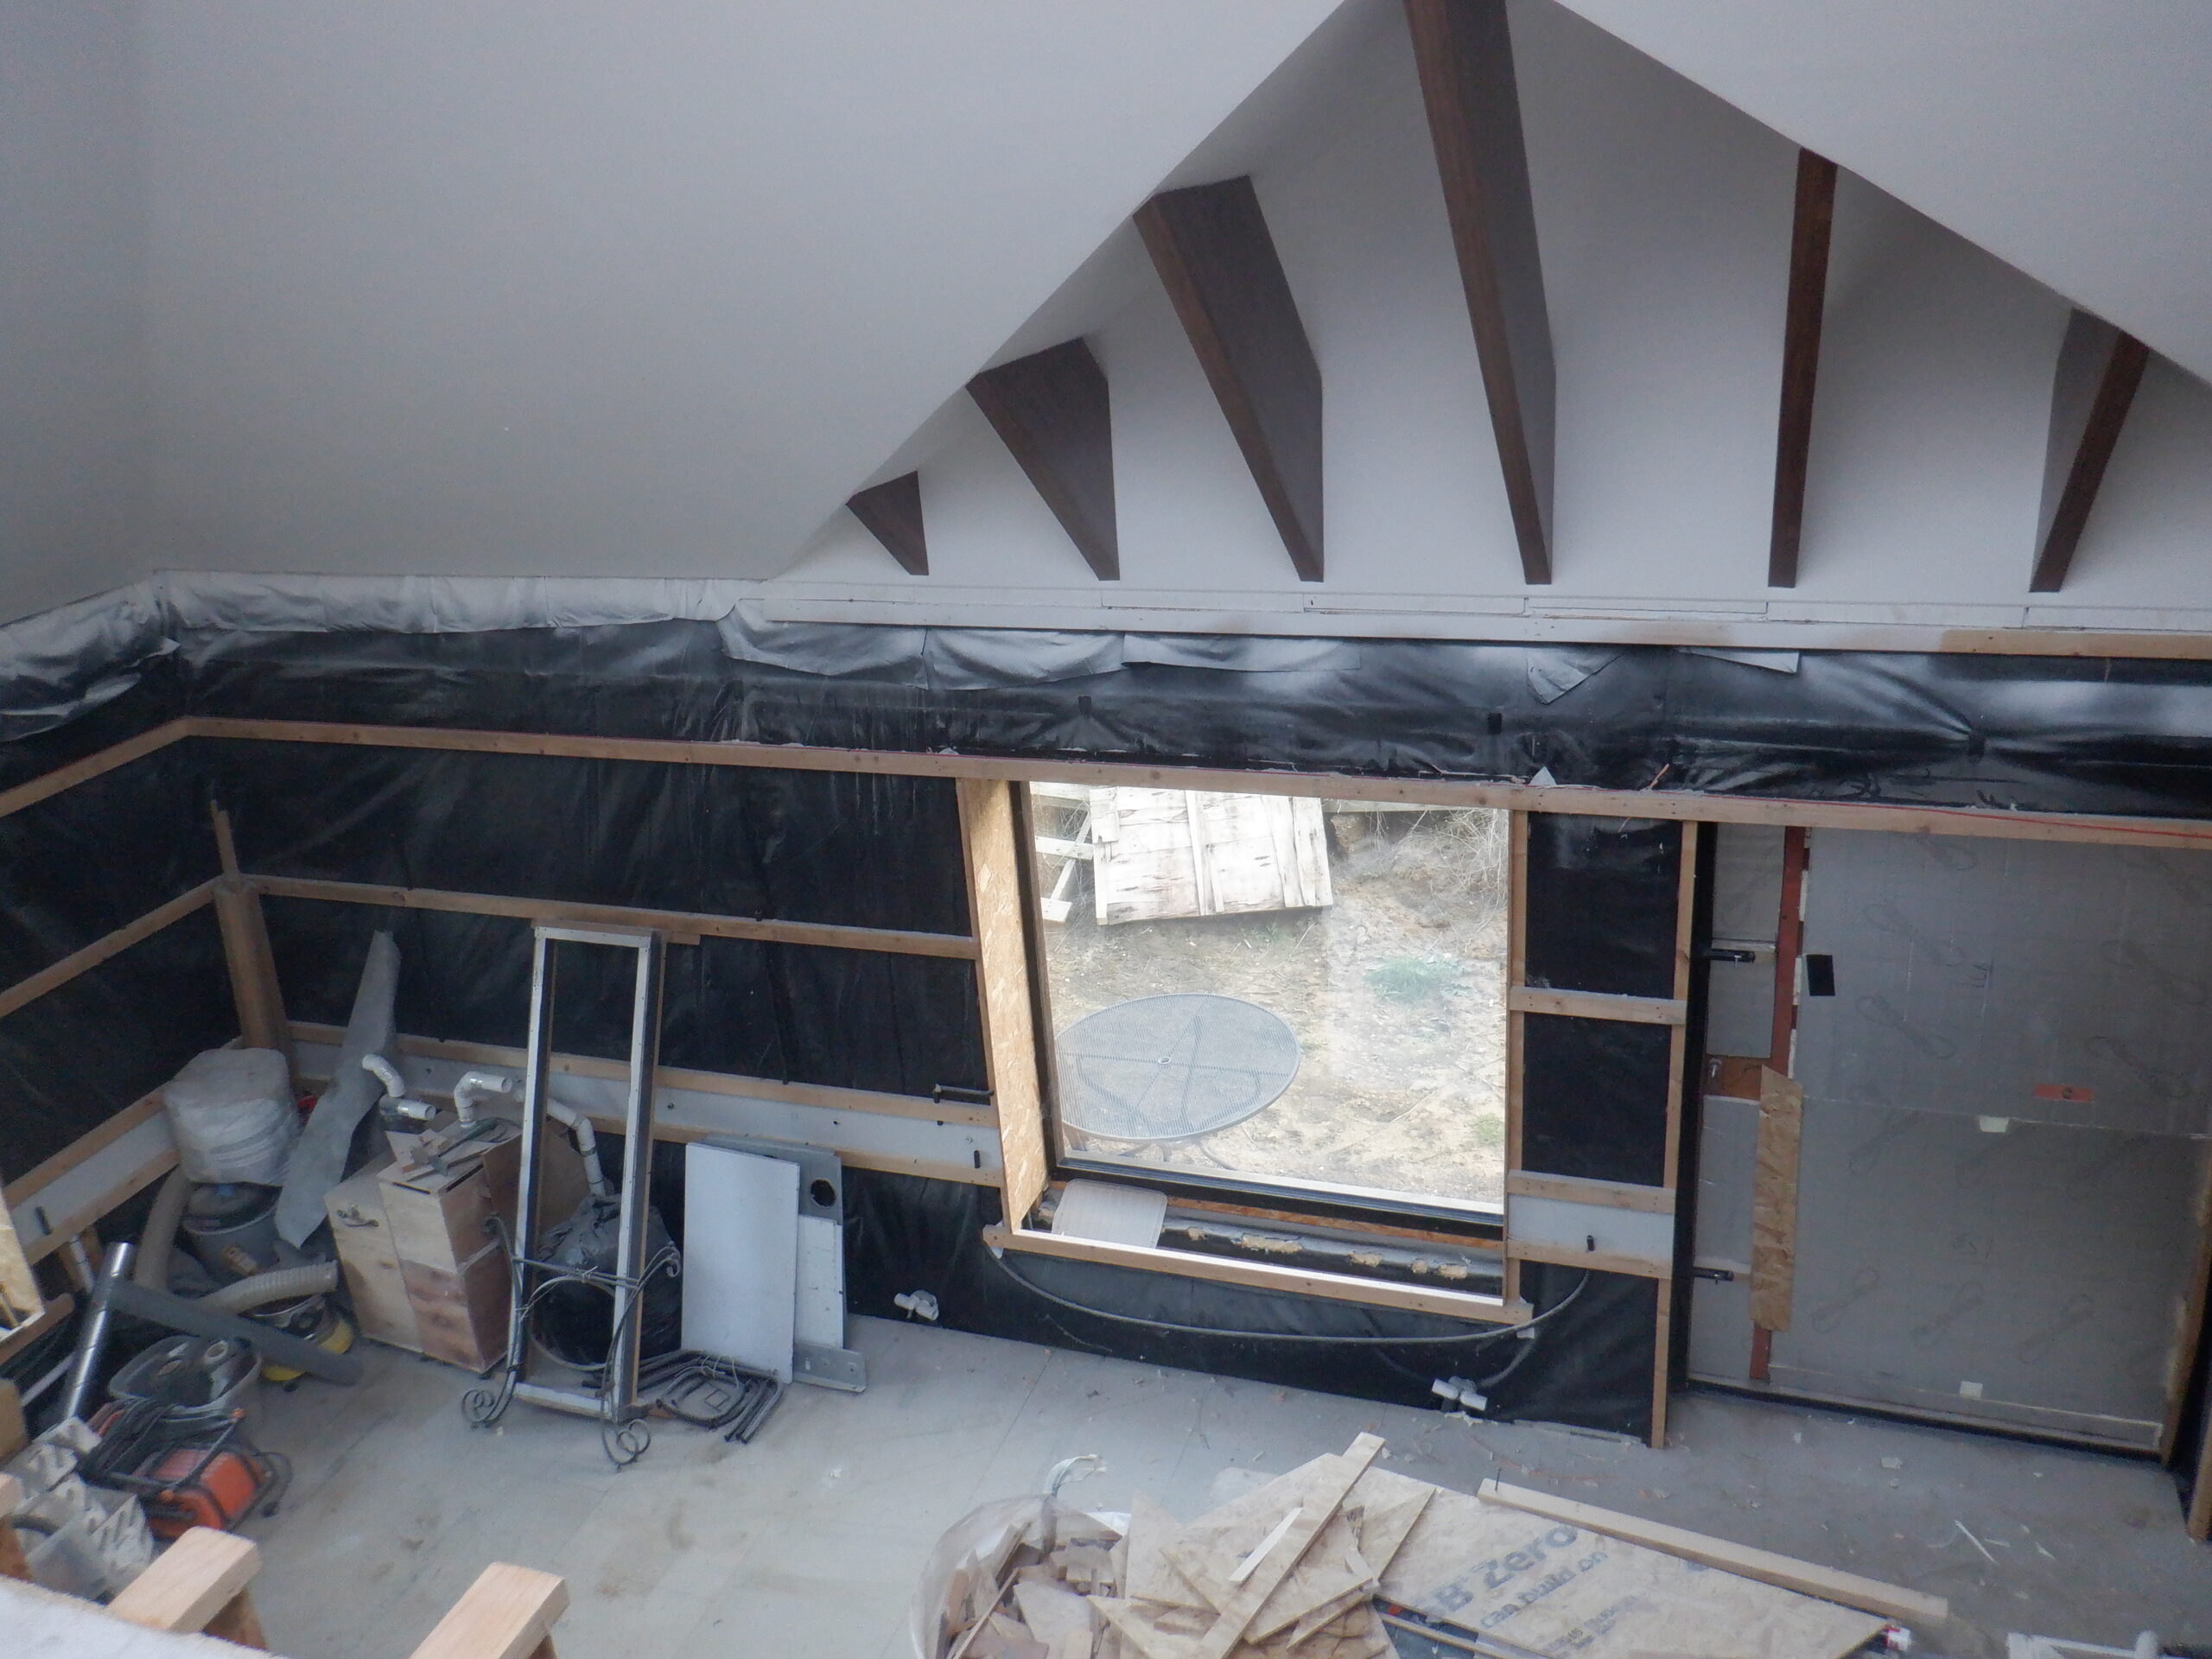
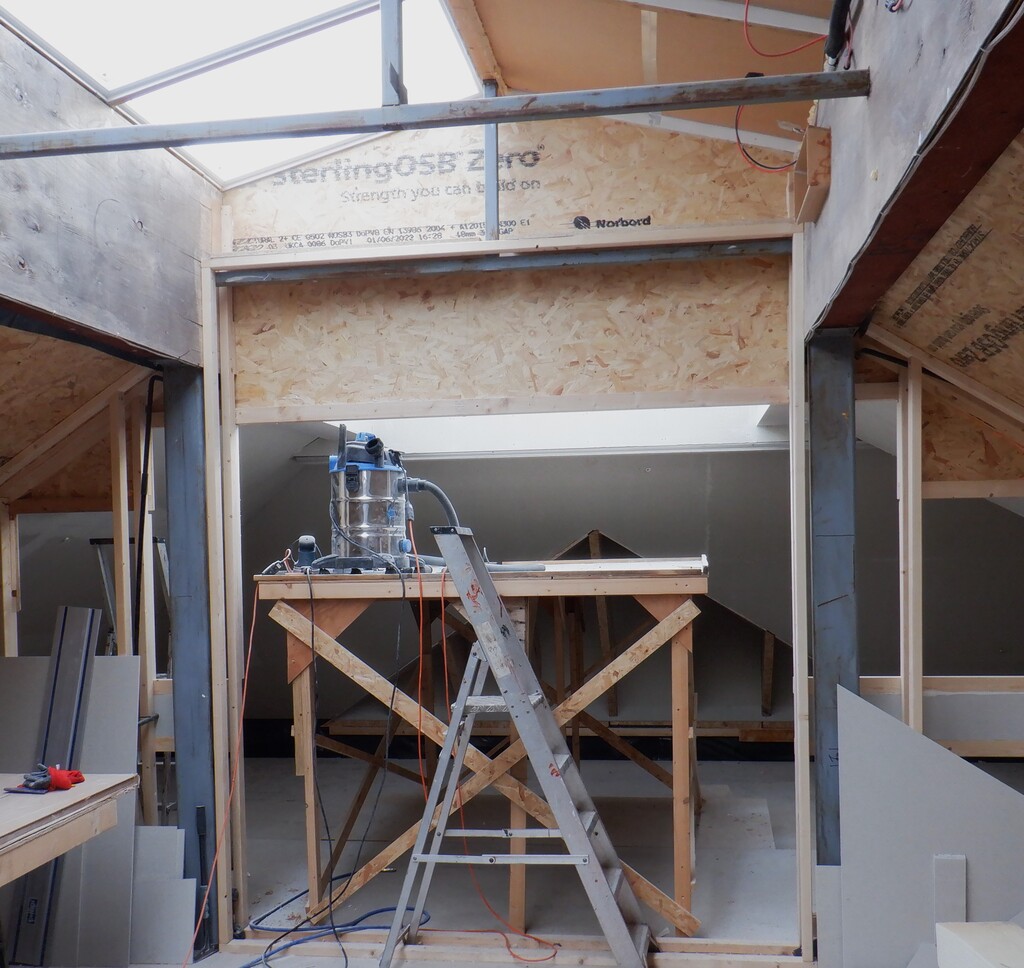
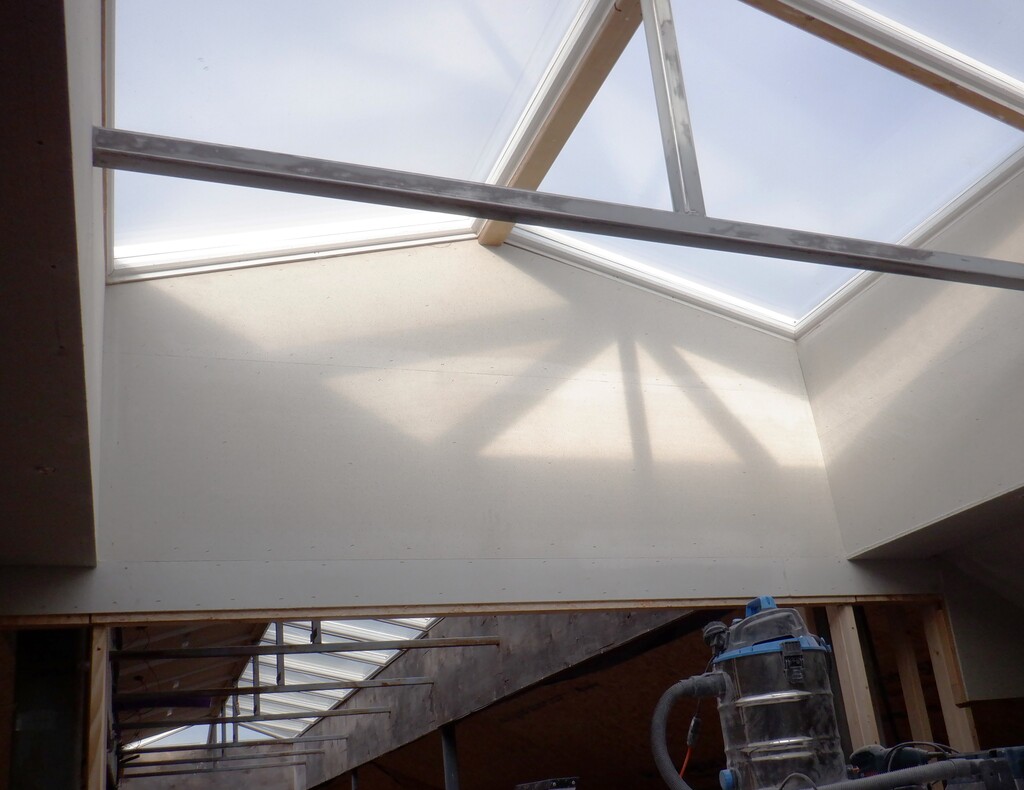
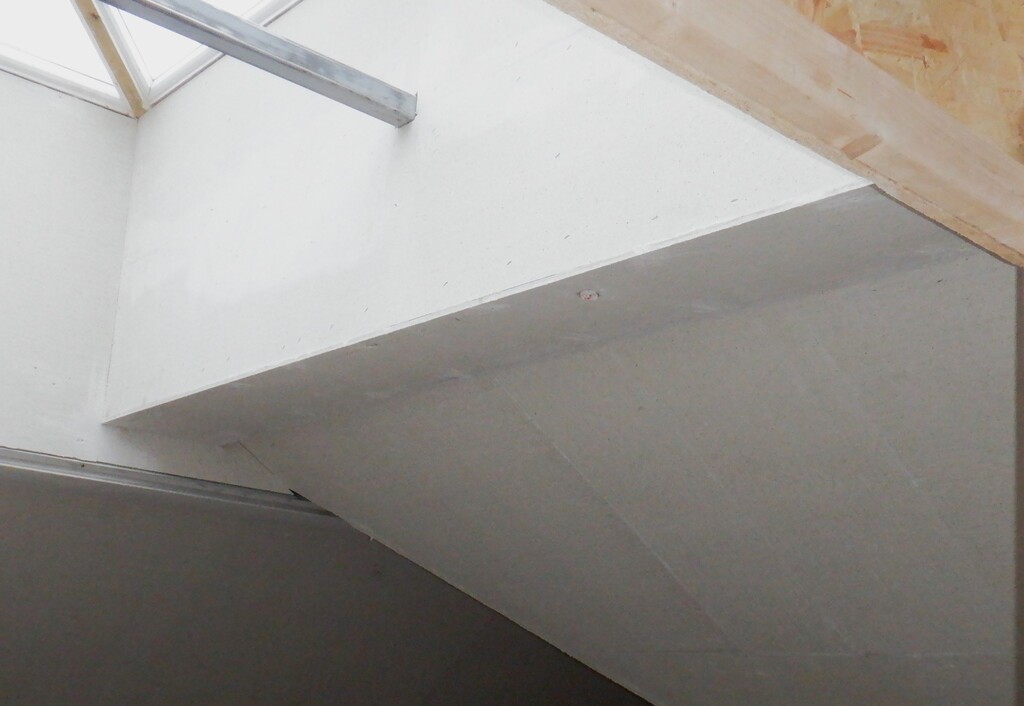
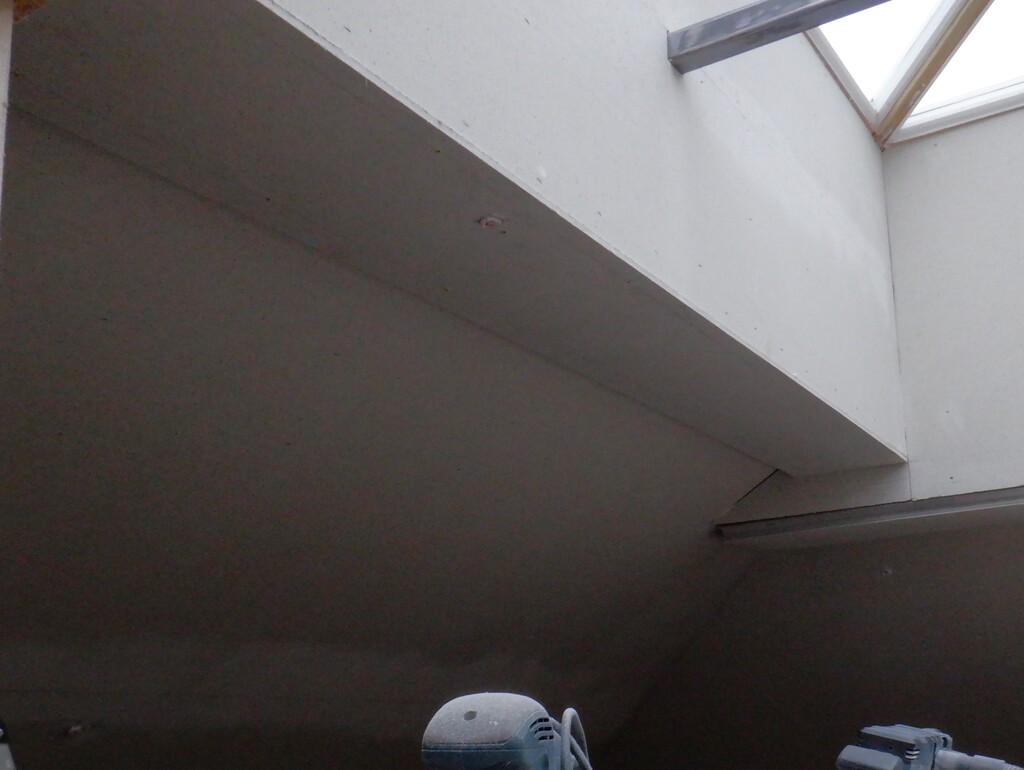
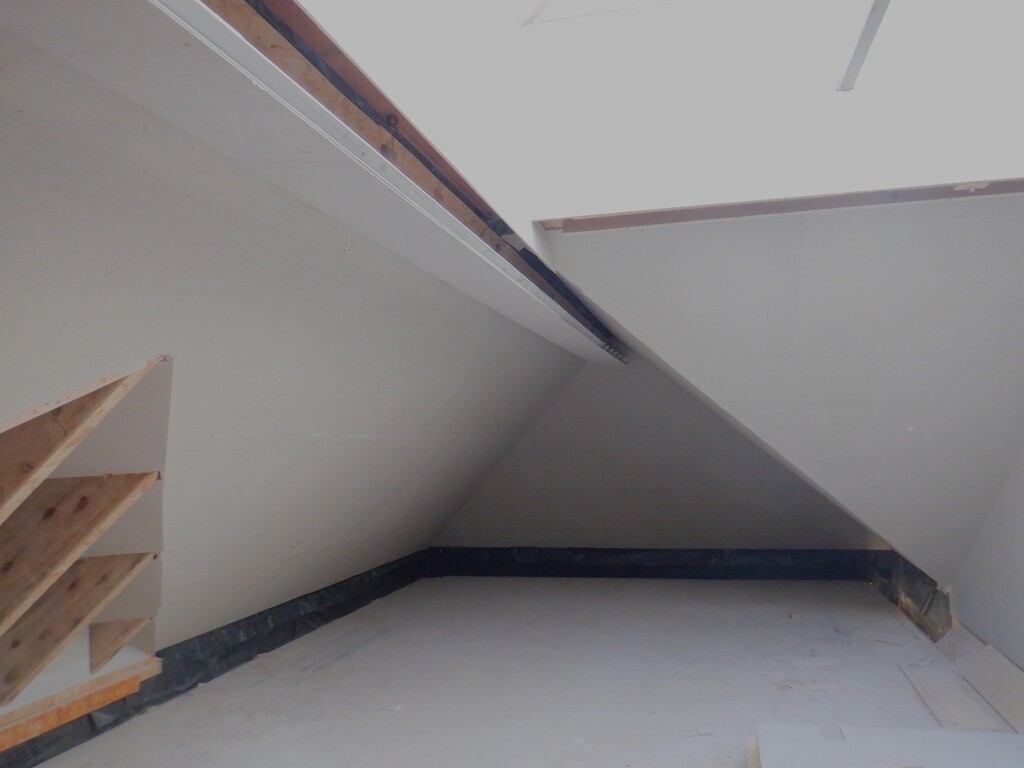
These last few days had us covering our rafters we have exposed, seven of them, situated over the section where we have our Conservatory, like a Dormer sticking out of the roof and will eventually join to a glass structure that will be our Conservatory.
We never intended to have exposed rafters in our original design but the idea came along when we were building up the ceiling in the Great Room and we wondered how to “fill” in that Dormer section and it came to us that we could leave it open and have exposed rafters, to make it a talking point for the room, especially if we also installed discrete lighting to light up inside the Dormer as well.
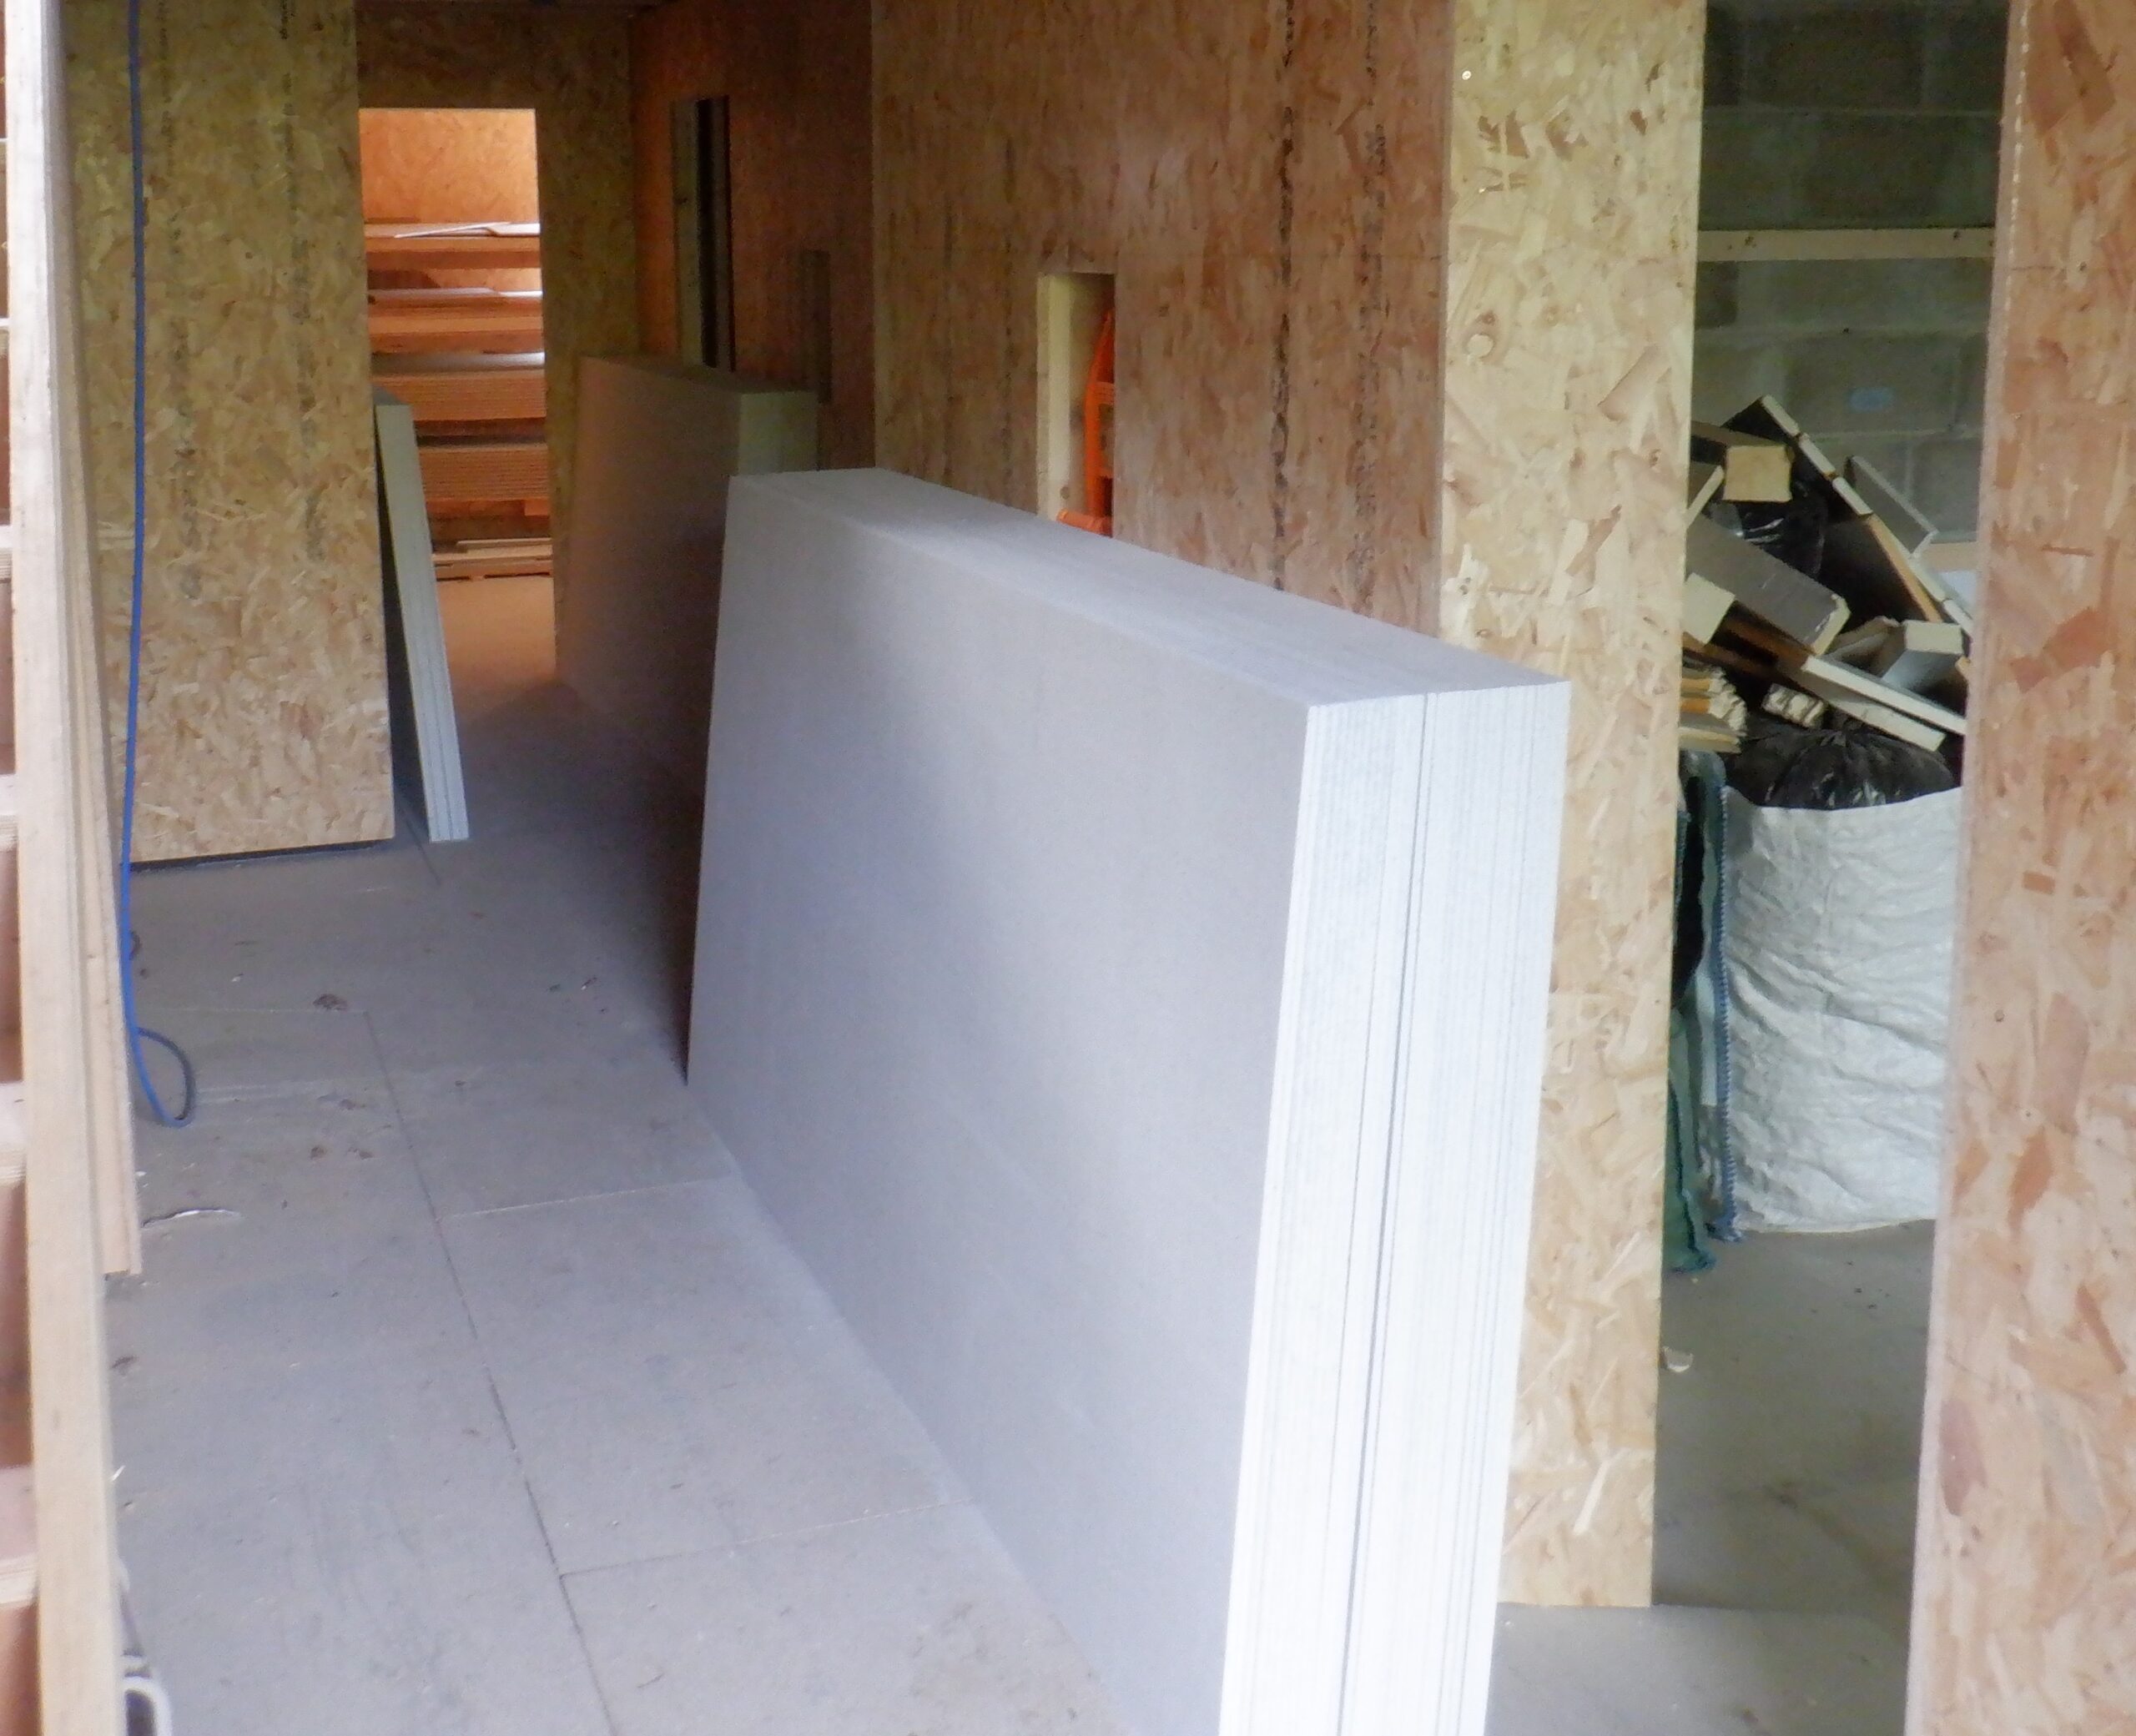
This means that we need to cover up the exposed rafters, which were never designed to be visible and rather ugly to look at. We found some natural looking wood effect veneers and bought three sheets, each measuring 3000mm long by 1300mm wide, and only 0.7mm thick.
They are resin coated paper, just like the original Formica products are.
The rafters are 400mm wide, plus 11mm for a strip of OSB strip that has been fixed to the front to cover up a rough edge, which might have made it difficult to stick our veneer to.
This means that we can get three strips off a sheet, measuring 433mm wide. One of the sheets came damaged on both edges (we got a 50% discount on the price and that is a bargain as we can easily use the major middle portion and only lose about 5%!).
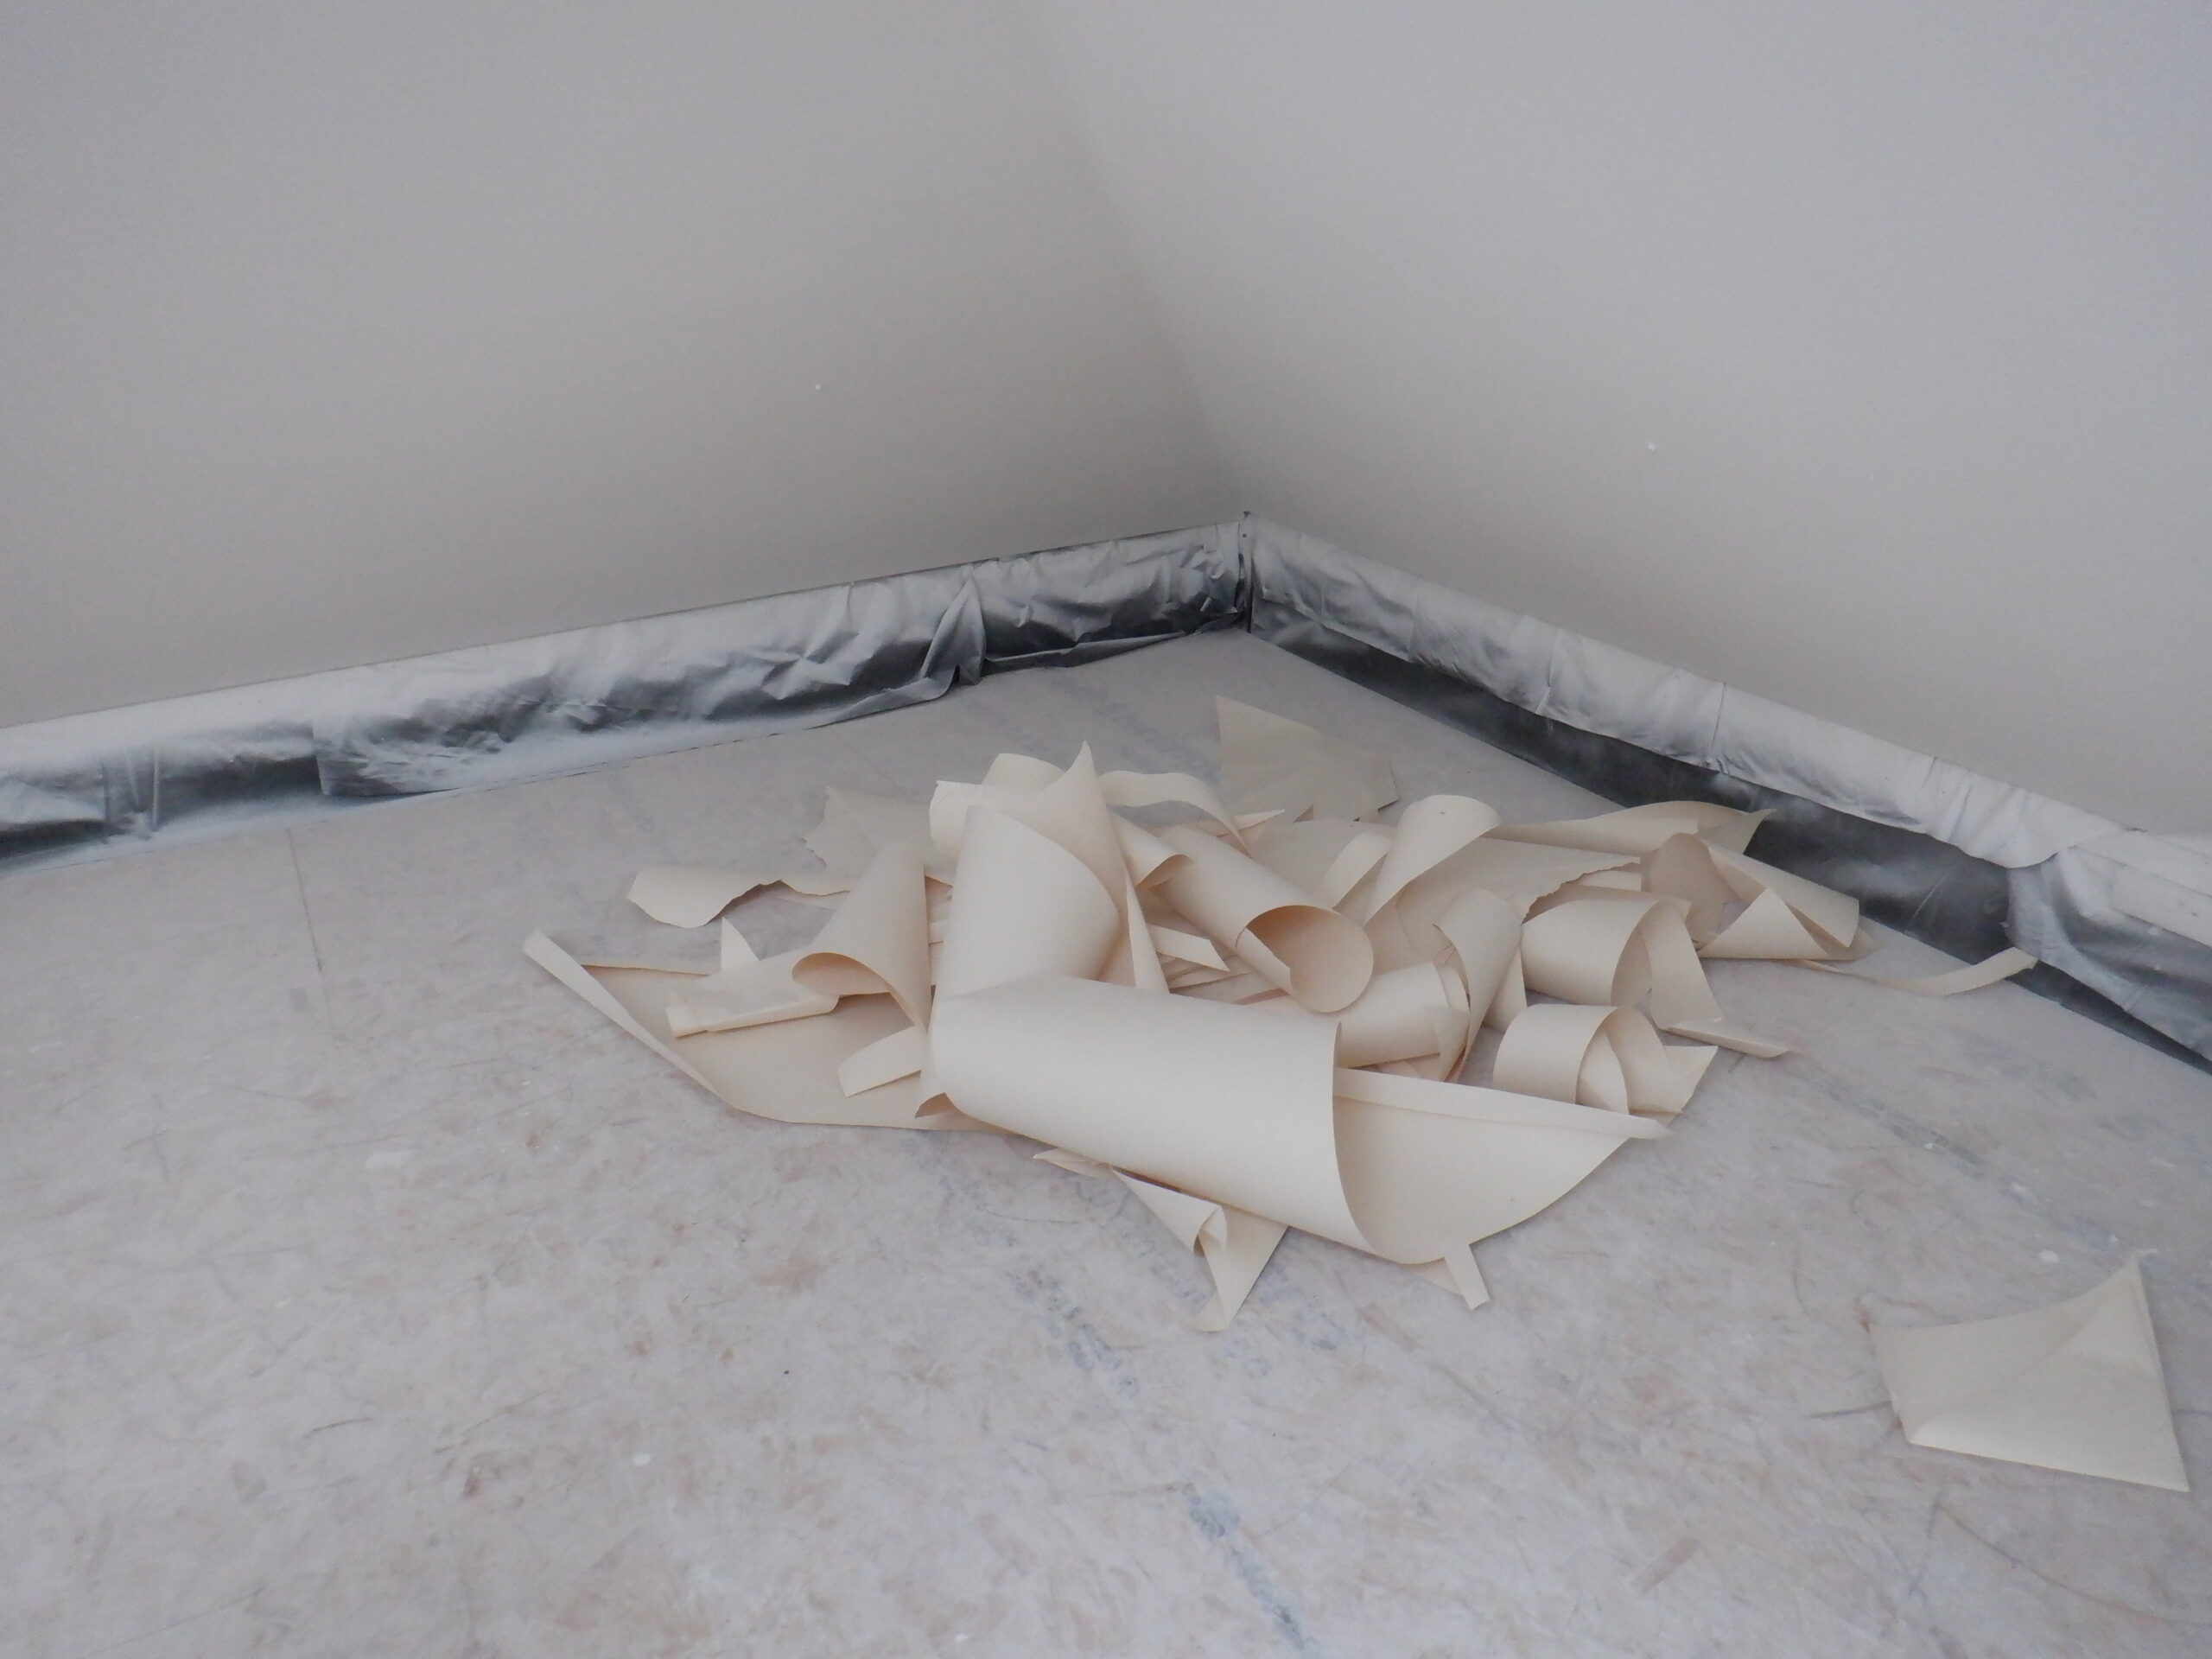
We then found an old roll of backing wallpaper we had loads of, in our garden shed and this provided a stiff thick pieces of paper to place on each rafter and fold the ends at where the rafters disappears into the surrounding plasterwork. Our first attempt didn’t work out too well but we were able to reuse the cut veneer on another rafter, after trimming it down so the angles became closer together against the wall and ceiling.
We joined all our track saw segments together to form a single 3.5metre long track and that allowed us to cut the sheet into the 433mm strips. We also changed the circular saw blade to a fine tooth one, having lots of tungsten carbide teeth on it, to minimise the force on the cutting process.
Another aspect of our first attempt that we forgot to recognise, is that the paper template needed to be put on backwards because we are cutting the veneer strips with the face side downwards, to also minimise any chipping on the cut edges as the rotating saw blade always comes around and cuts upwards.
We had measured rafter number 3, on the right hand side of it and therefore our first attempt was able to go over to rafter number 5 but on the left hand side instead .. phew!
Our second attempt, we thought that we were being careful enough but we discovered that one of the ends didn’t align very well, and unfortunately this time, we could not use it on the other rafter because it turned out to be too small as well. This meant that we needed to slice up our third sheet for another 433mm wide strip. Oh Dear! But Thank Goodness that we bought a spare third sheet!!
We change the method of placing the thick paper up on the rafters and this time, we used the straight edge to align it along the bottom edge of the rafter, stapled it on to the rafter, making sure it was nice and flat. Then, we bent the two ends carefully one at a time. This time, it was much more successful – Phew!
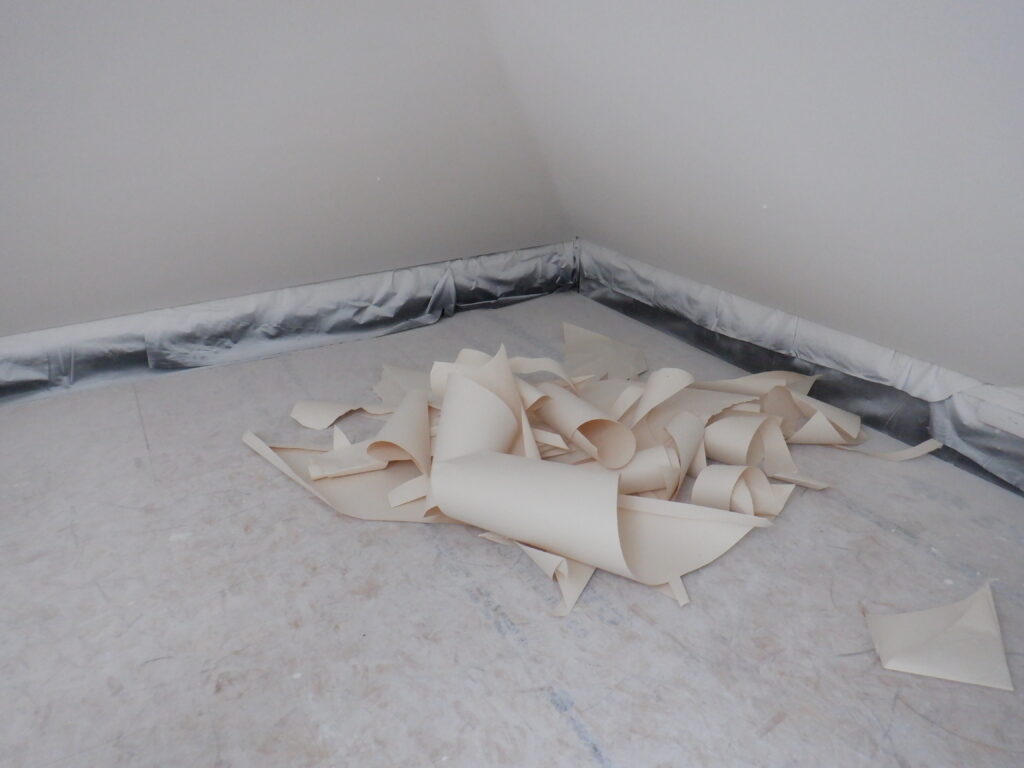
Paper used fror templates
As you can see, we now have a large pile of backing wallpaper in a heap!
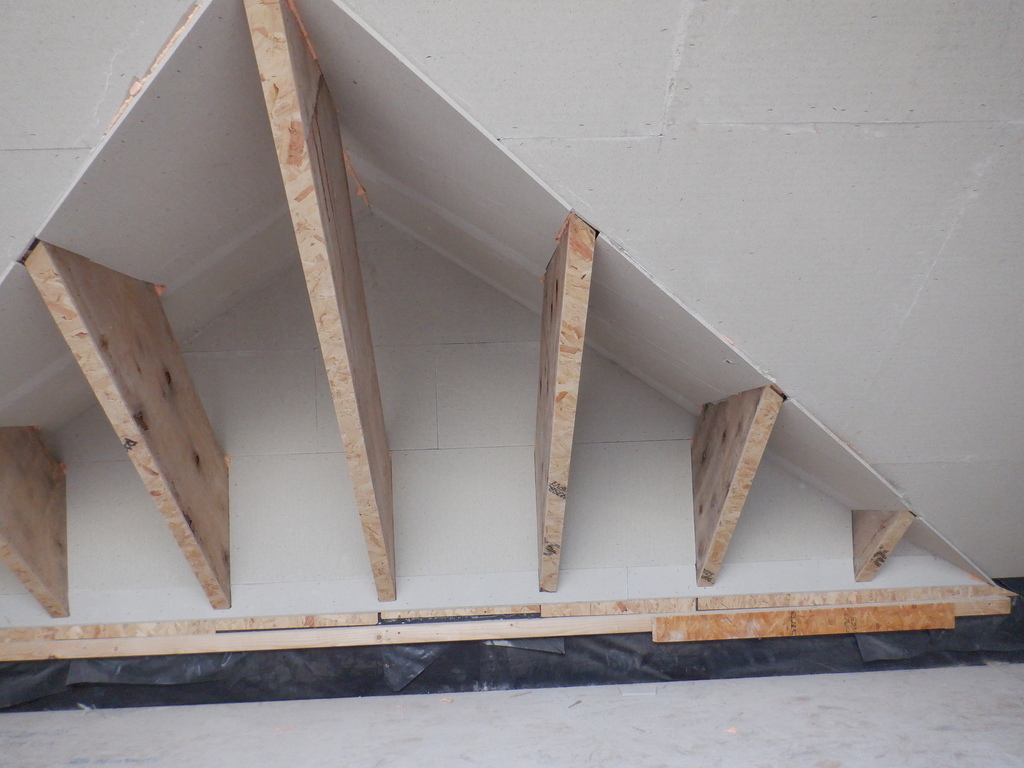
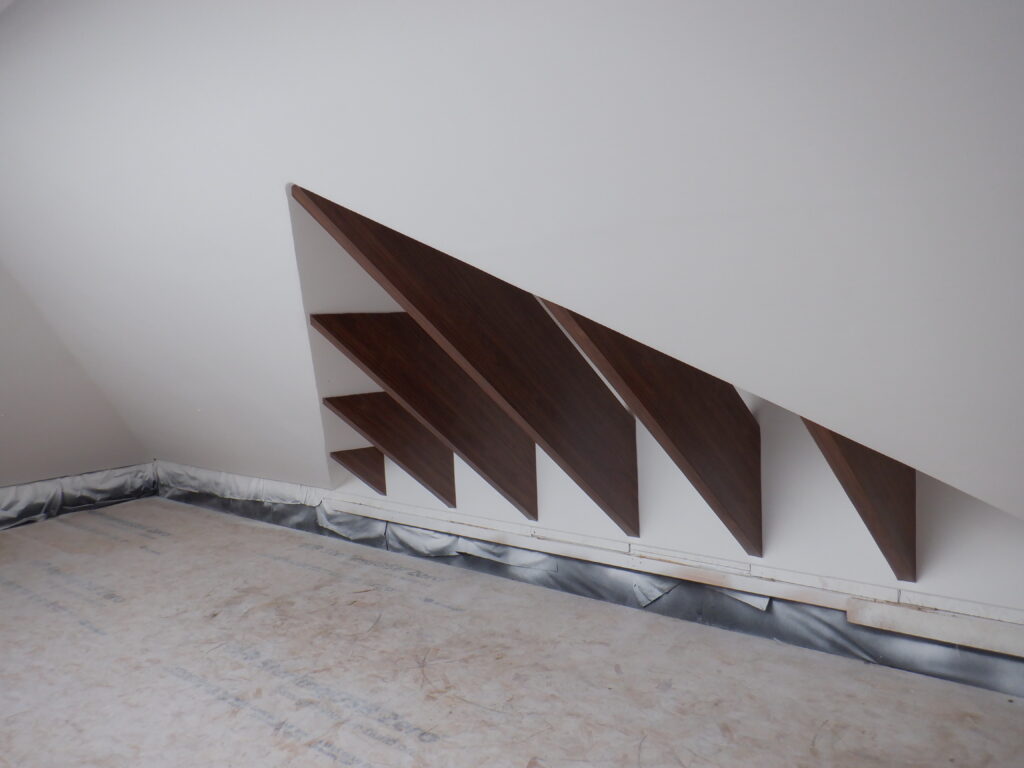
We now have a collection of veneer pieces, ready to go on the seven rafters, ranging in size from two tiny little exposed bits of a rafter, right up to the longest single rafter in the middle of the Dormer.
Next, is to glue them into place. We are using a brown universal “stick-all” glue that has proven to be very good at sticking many types of materials together. So using a fine tooth notch trowel, we coated the sides of the rafter with a complete covering of the brown glue, pressing the glue hard into the wooden surface, which we had blasted with our compressed air to get rid of as much dust as possible. We carefully placed the veneer piece into place and then pressed hard to work the glue into the veneer as well. Each piece still got it protective plastic film stuck on so we could press hard with our fingers and occasionally leave behind little blobs of brown glue. Mind you, we had to be very careful not to touch the surrounding “beautiful” white surfaces and alas, we have accidentally did leave tiny blobs there too, which we dealt with later on.
We made sure that the veneer pieces were big enough to overlap the bottom edge of each rafter because we had noticed that some of them were not completely straight. This meant that we wanted to trim the veneer so that is follows the ever slight bend of the rafter as closely as possible. We also ran a bead of the brown glue behind each edge of the veneer and used a small scraper to carefully fill in and smooth the surface.
We bought a trimming router bit that is a solid tungsten carbide blade that has been grounded into a sharp spiral shape, so it actually will slice the thin veneer some what like a pair of scissors would do, making sure that it cuts downwards into the veneer.
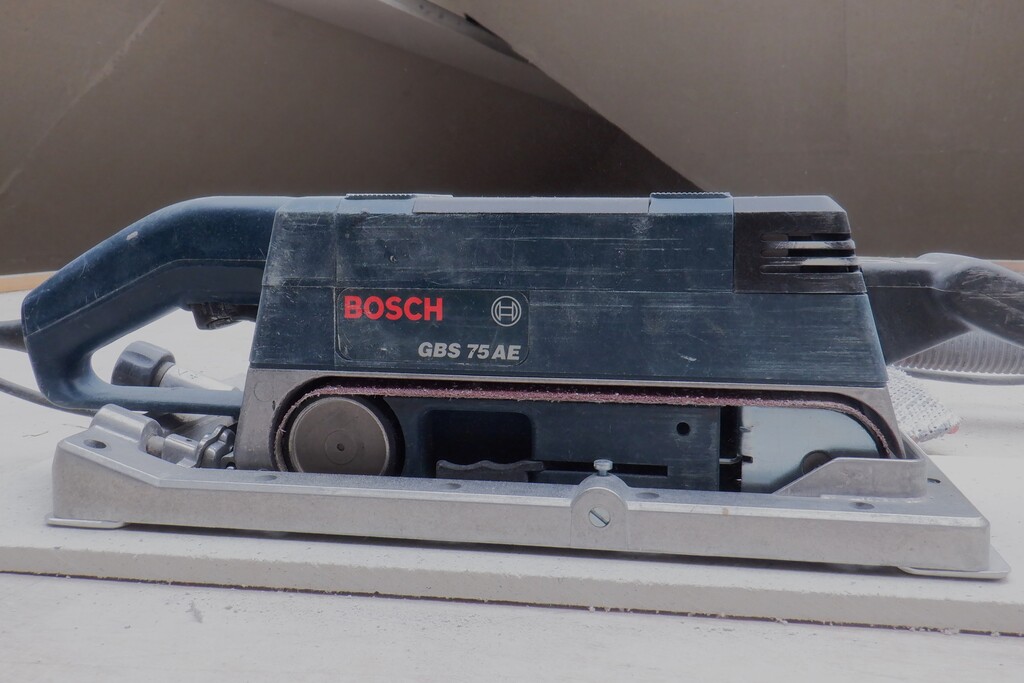
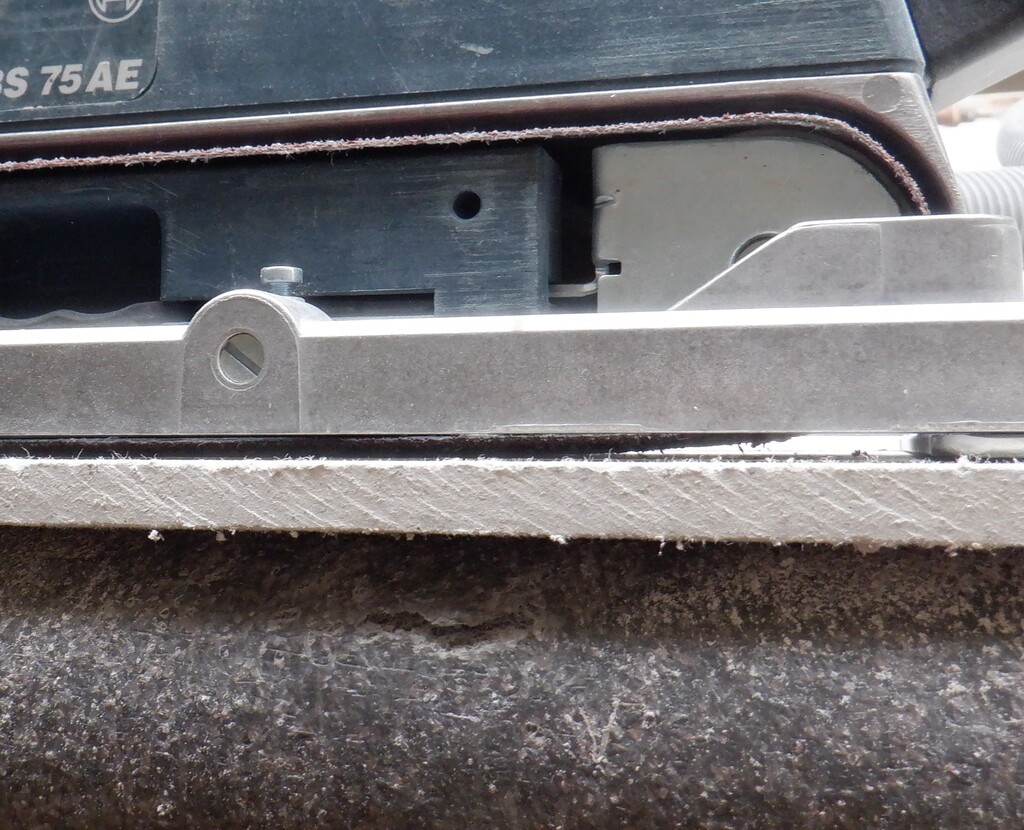
It went very well indeed using our smallest router machine and finished off the trimming with our wiggle saw that has a very fine teeth blade and also the blade is designed so it is flat against the surface you wished to slice to. We then sanded the front facing surface to remove any excess glue and ever so slightly wavey edge.

Rafter sides laminated
The final task was to cut narrow strips to go up on the front of each rafter. The rafters are approximately 63mm wide, but just in case they varied, we sliced 75mm wide strips off our remaining 3metre piece and covered the seven exposed rafters, the two smallest ones on the outside, measuring 500mm on the front, then the next two inwards measuring 1200mm, then the middle pair measuring 1750mm and finally the single central strip measuring 2400mm. Then, we had a small left-over piece where we used a pair of heavy duty scissors to cut the top end at the correct angle, making slight adjustments until it fitted nice, and transferred this little template to the strip being fitted to that particular rafter. Then carefully, measured the exact length, added 10mm and cut the bottom end. The extra 10mm then allowed us to slide the front covering strip sideways so that it overlapped both sides and ready to be trimmed later on. We proceeded to do the other six strips and the last one, the centre one, had a more complex shape for the top end to cut, but we managed it.
And finally, we cleaned their back sides with methylated spirits, put a thin layer of the brown glue all over it and then rolled each strip onto the rafters, to dry and cure overnight.
The final step was to trim them using our router again with that fancy cutting bit and very carefully cut the tops and bottoms where router couldn’t reach, using the wiggle saw. Then, using a metal file and a fresh fine sanding paper stuck to a length of CLS timber, we rubbed the edges to take off a tiny bit of excess material and make it all smooth. We pulled off the protective cling film and doubly made sure that the edge was nice and neat.
The final job was to scrape off blobs of the brown glue that we had managed to get on our beautiful white wall by using a razor blade and then paint over any remaining colourations.
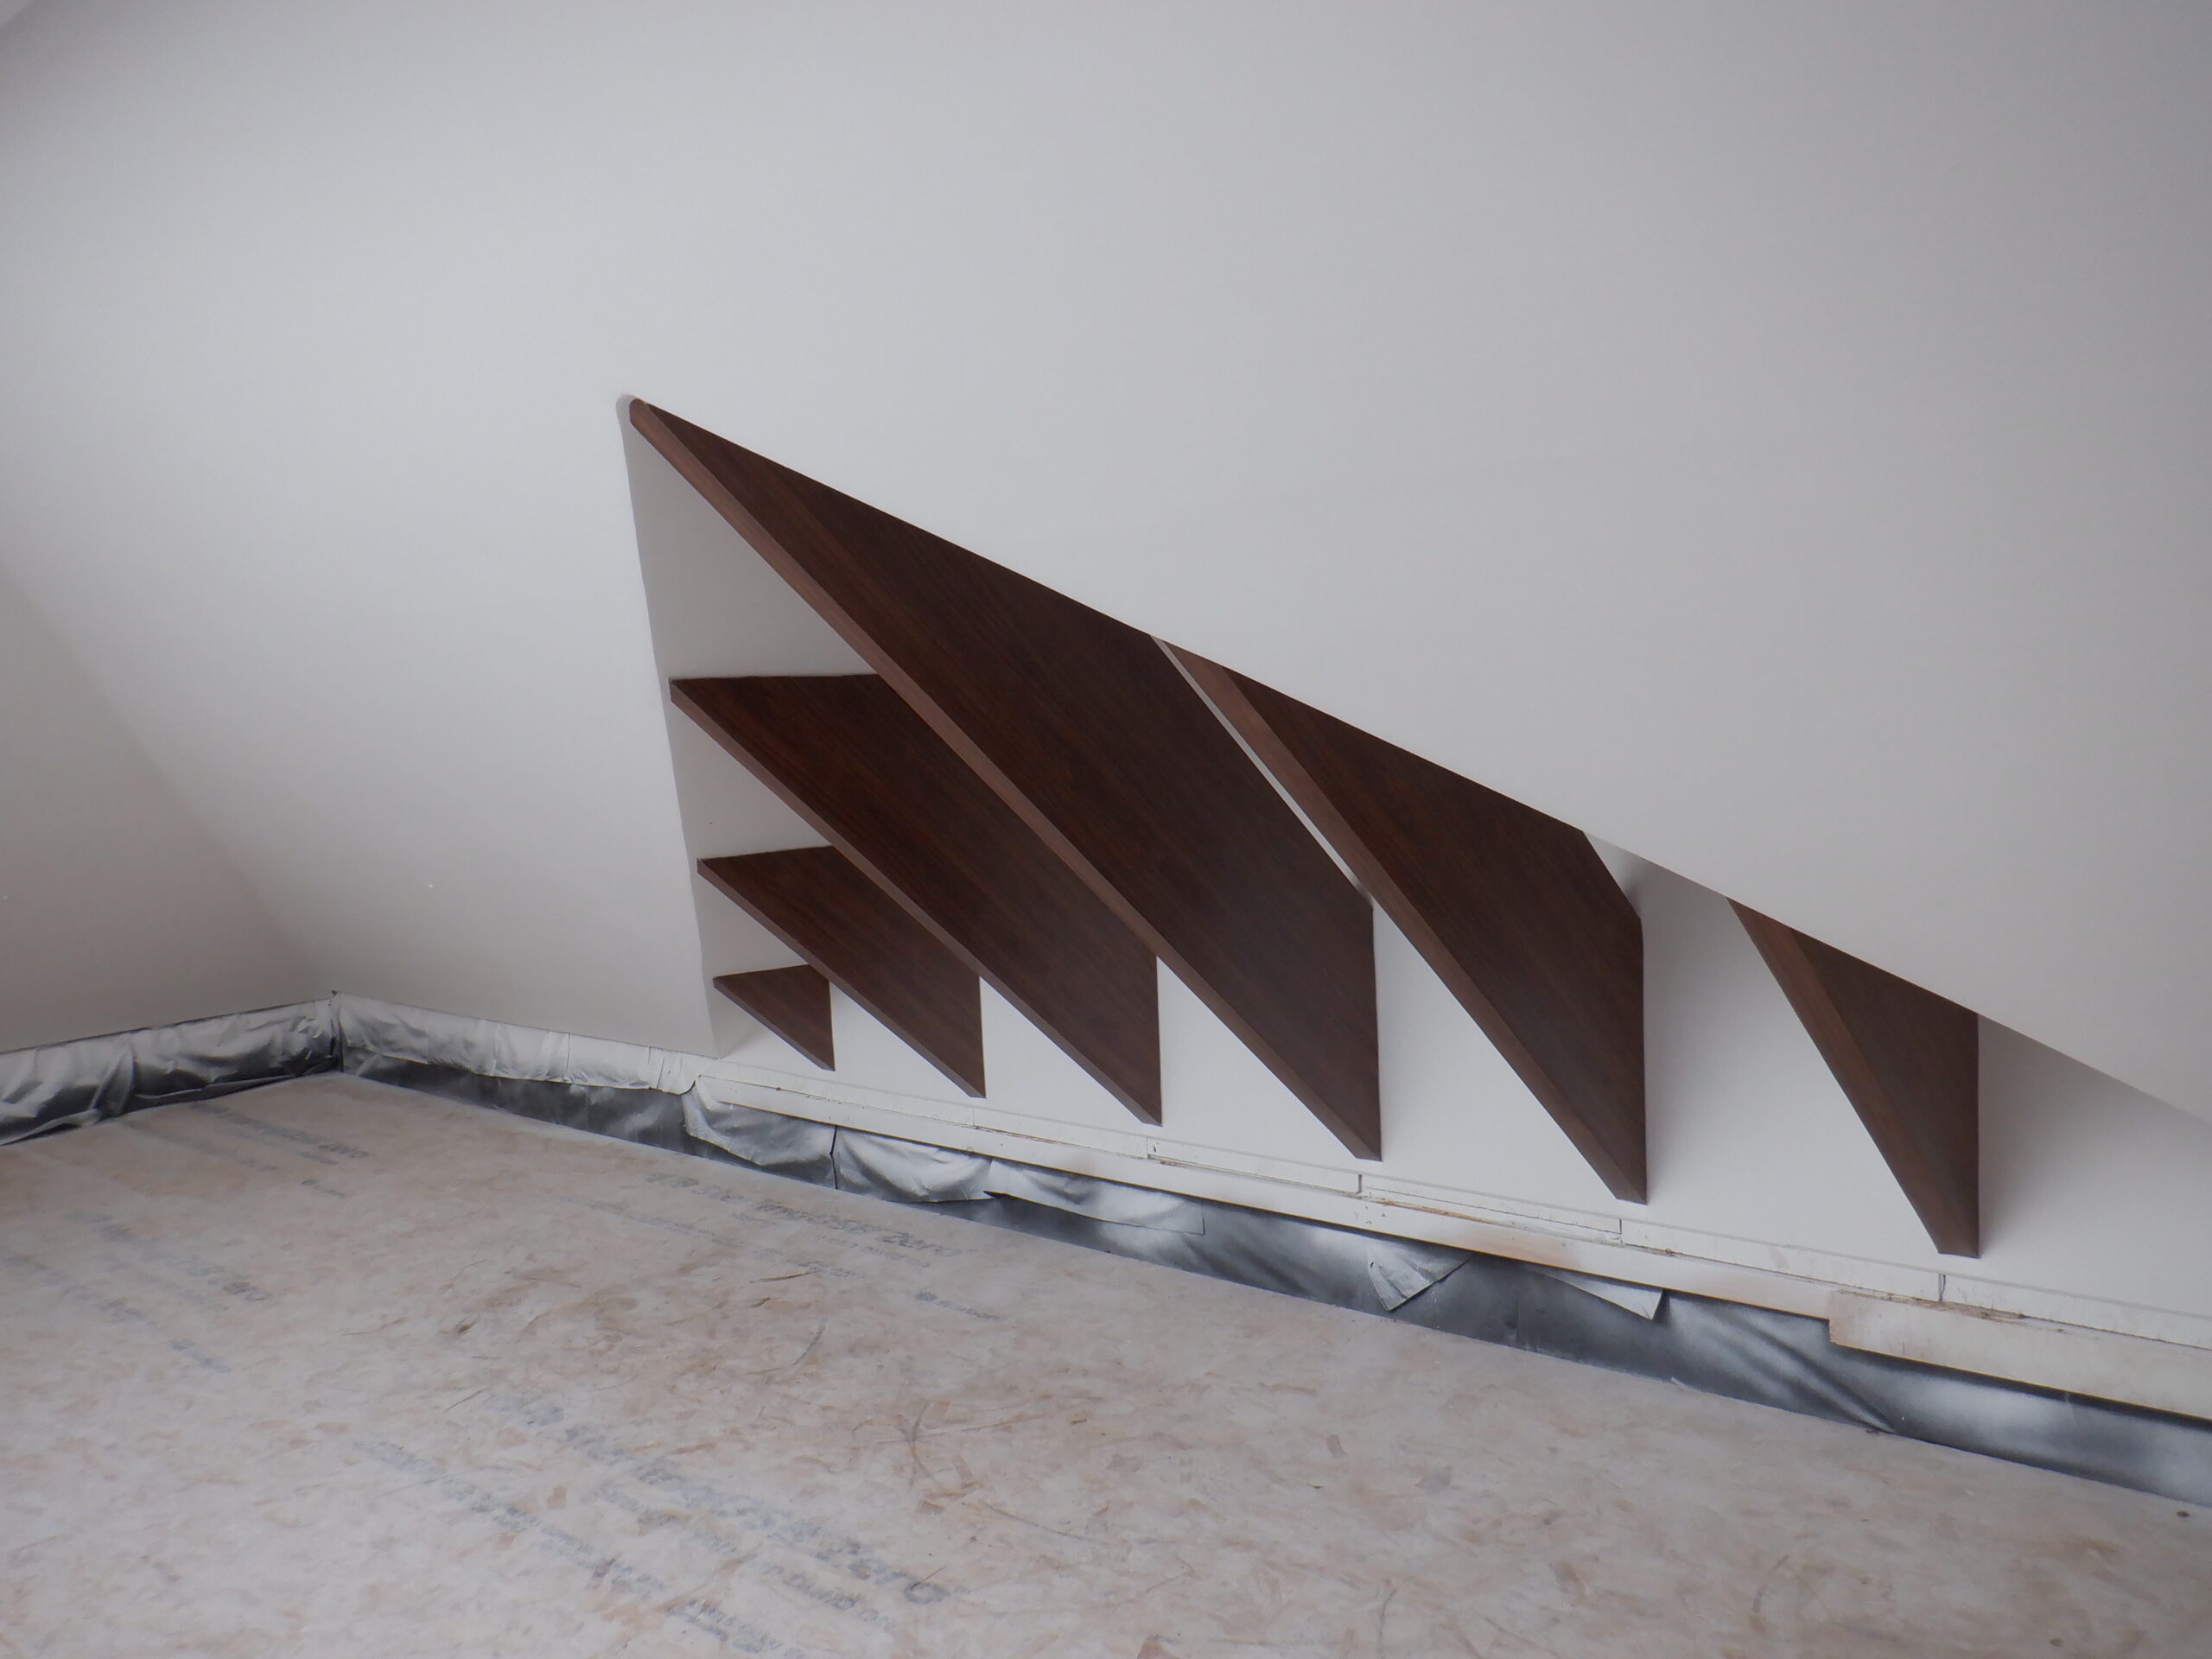
Dormer rafters complete 1
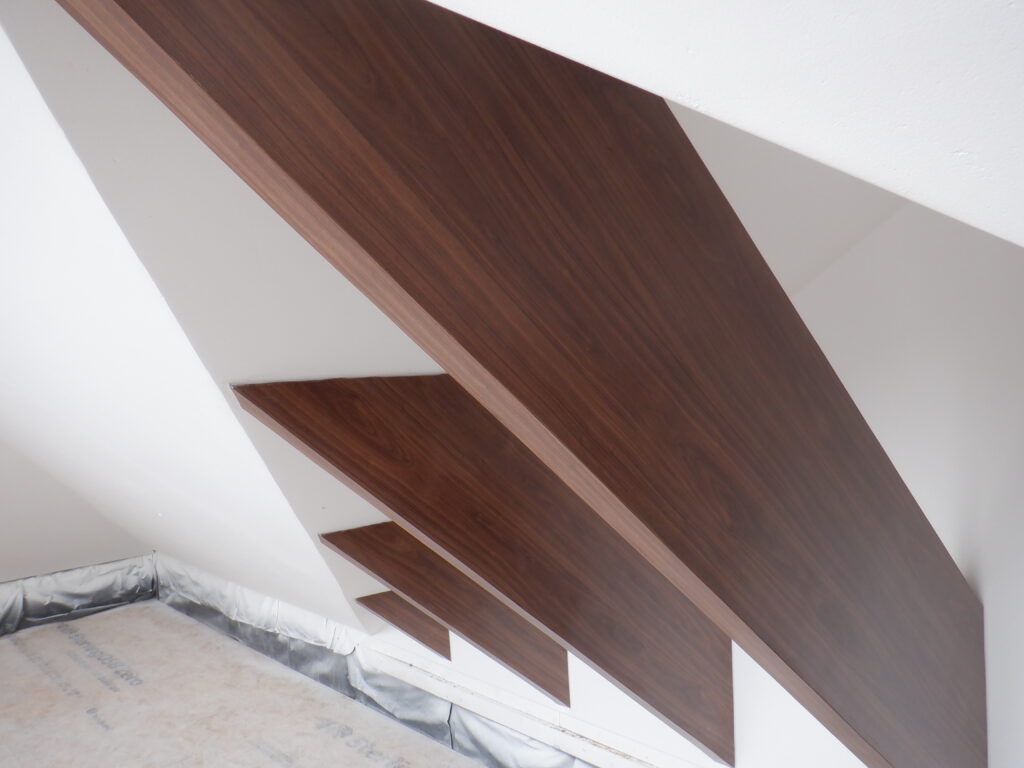
Dormer rafters complete 2
This complete the coverage of the three visible sides of all seven rafters and turn them into “look-alike” solid wooden plank of timber.
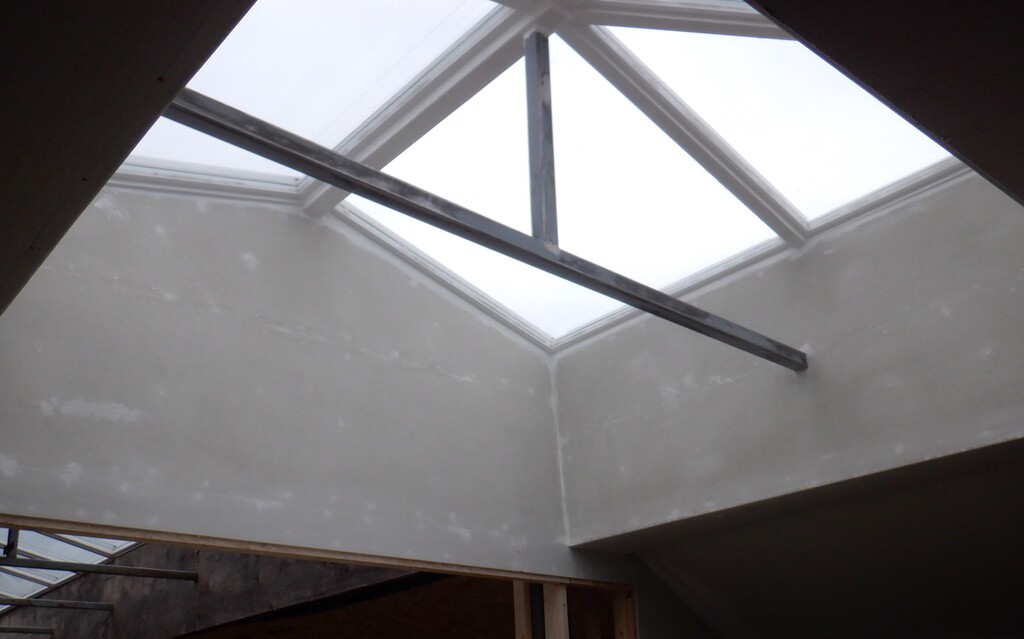
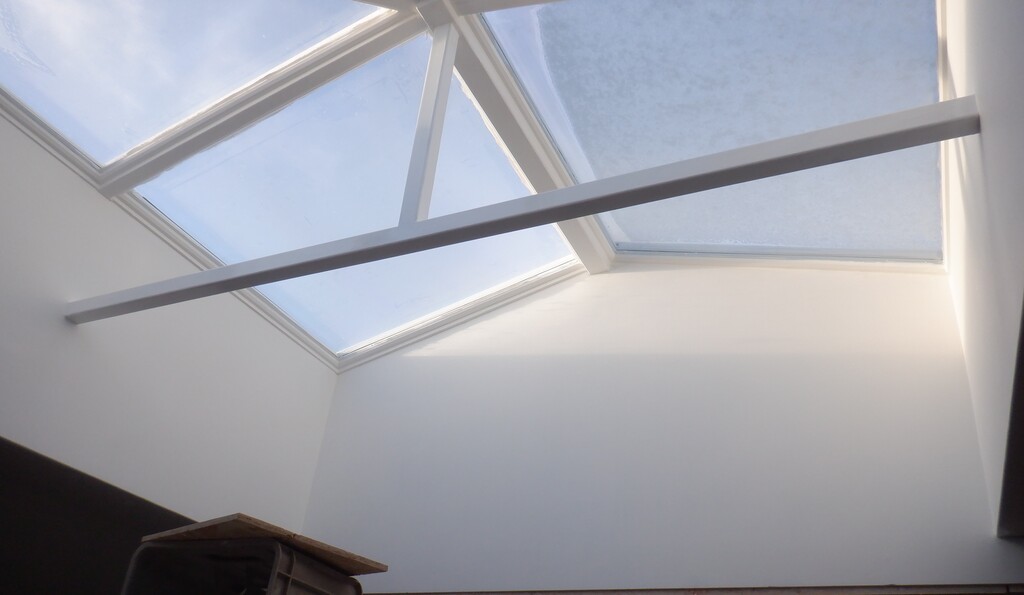
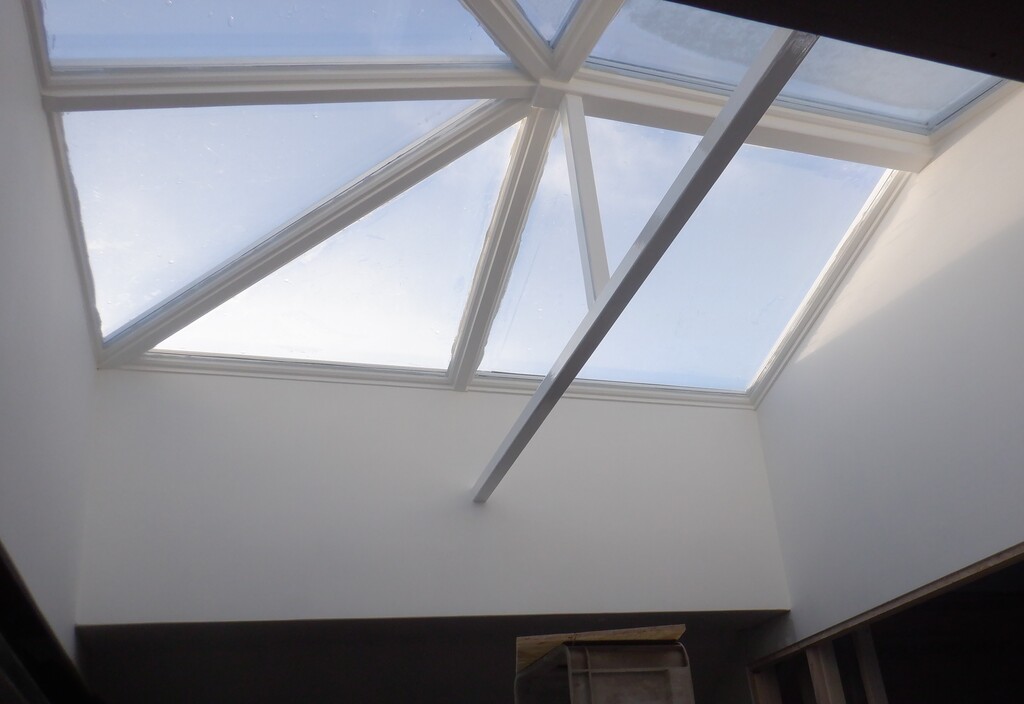
This concludes the work on getting the upper half of the Great Room completed and now we can dismantle the working temporary platform and start work on the lower half of the Great Room!!