The first job before we unscrewed anything, was to give the surface a thorough clean by sanding the OSB boards using our 9inch rotating sanding machine with a 40grit paper loaded on the head. It cleaned away plaster blobs, paint blobs, PU glue blobs and allsorts! It did a very good job!
Next, we removed the 18mm thick OSB boards, unscrewing each one at a time and carefully removing the sheet back to the Gallery and brought through the doorway and stacked up to one side, to be reused later on when we build the First Floor rooms. We had to blast each the screw heads to clear out any rubbish. We worked our way from the furthest boards around the Gallery, taking up the last few sheets right next to the Gallery.
Then, downstairs, we tackled the job of dismantling the forest of wooden legs using ladders, and then unscrewing the long horizontal wooden beams as well, including the horizontal rails we mounted on the walls too.
We put back these CLS planks back into our stock pile, ready to be reuse for construction of the framework of the First Floor rooms.
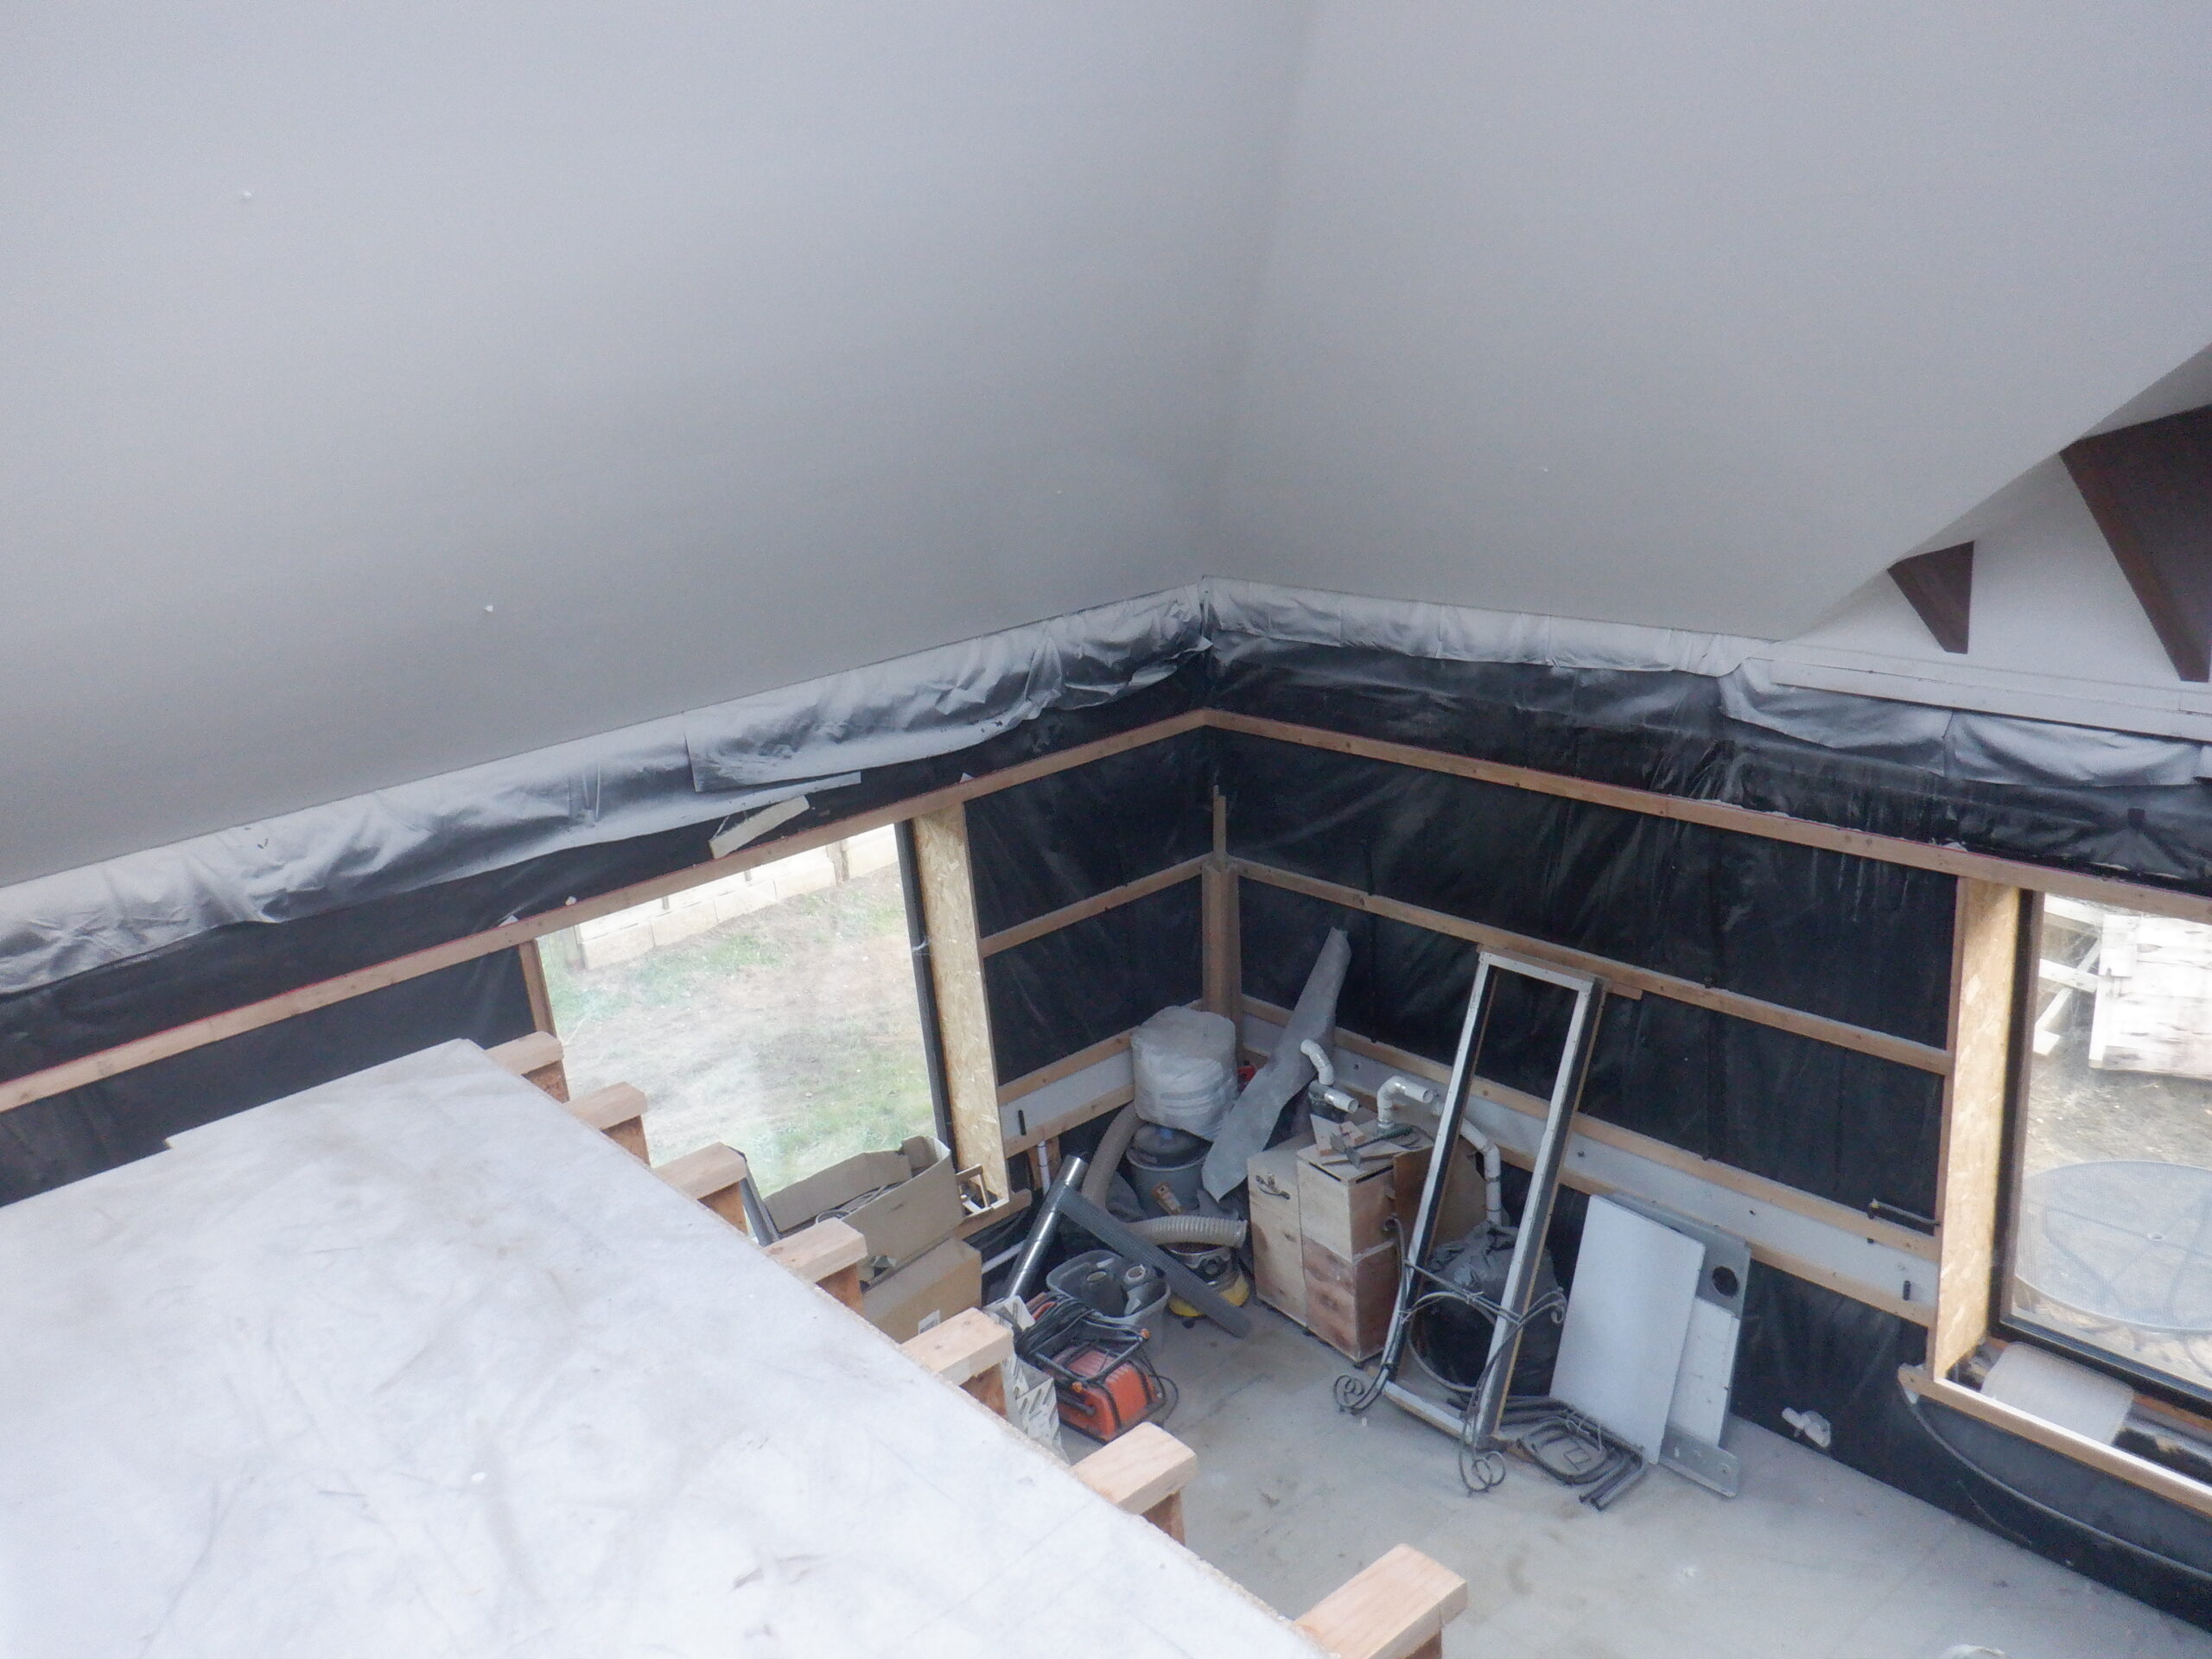
Temporary floor removed (1)
Temporary floor removed (2)
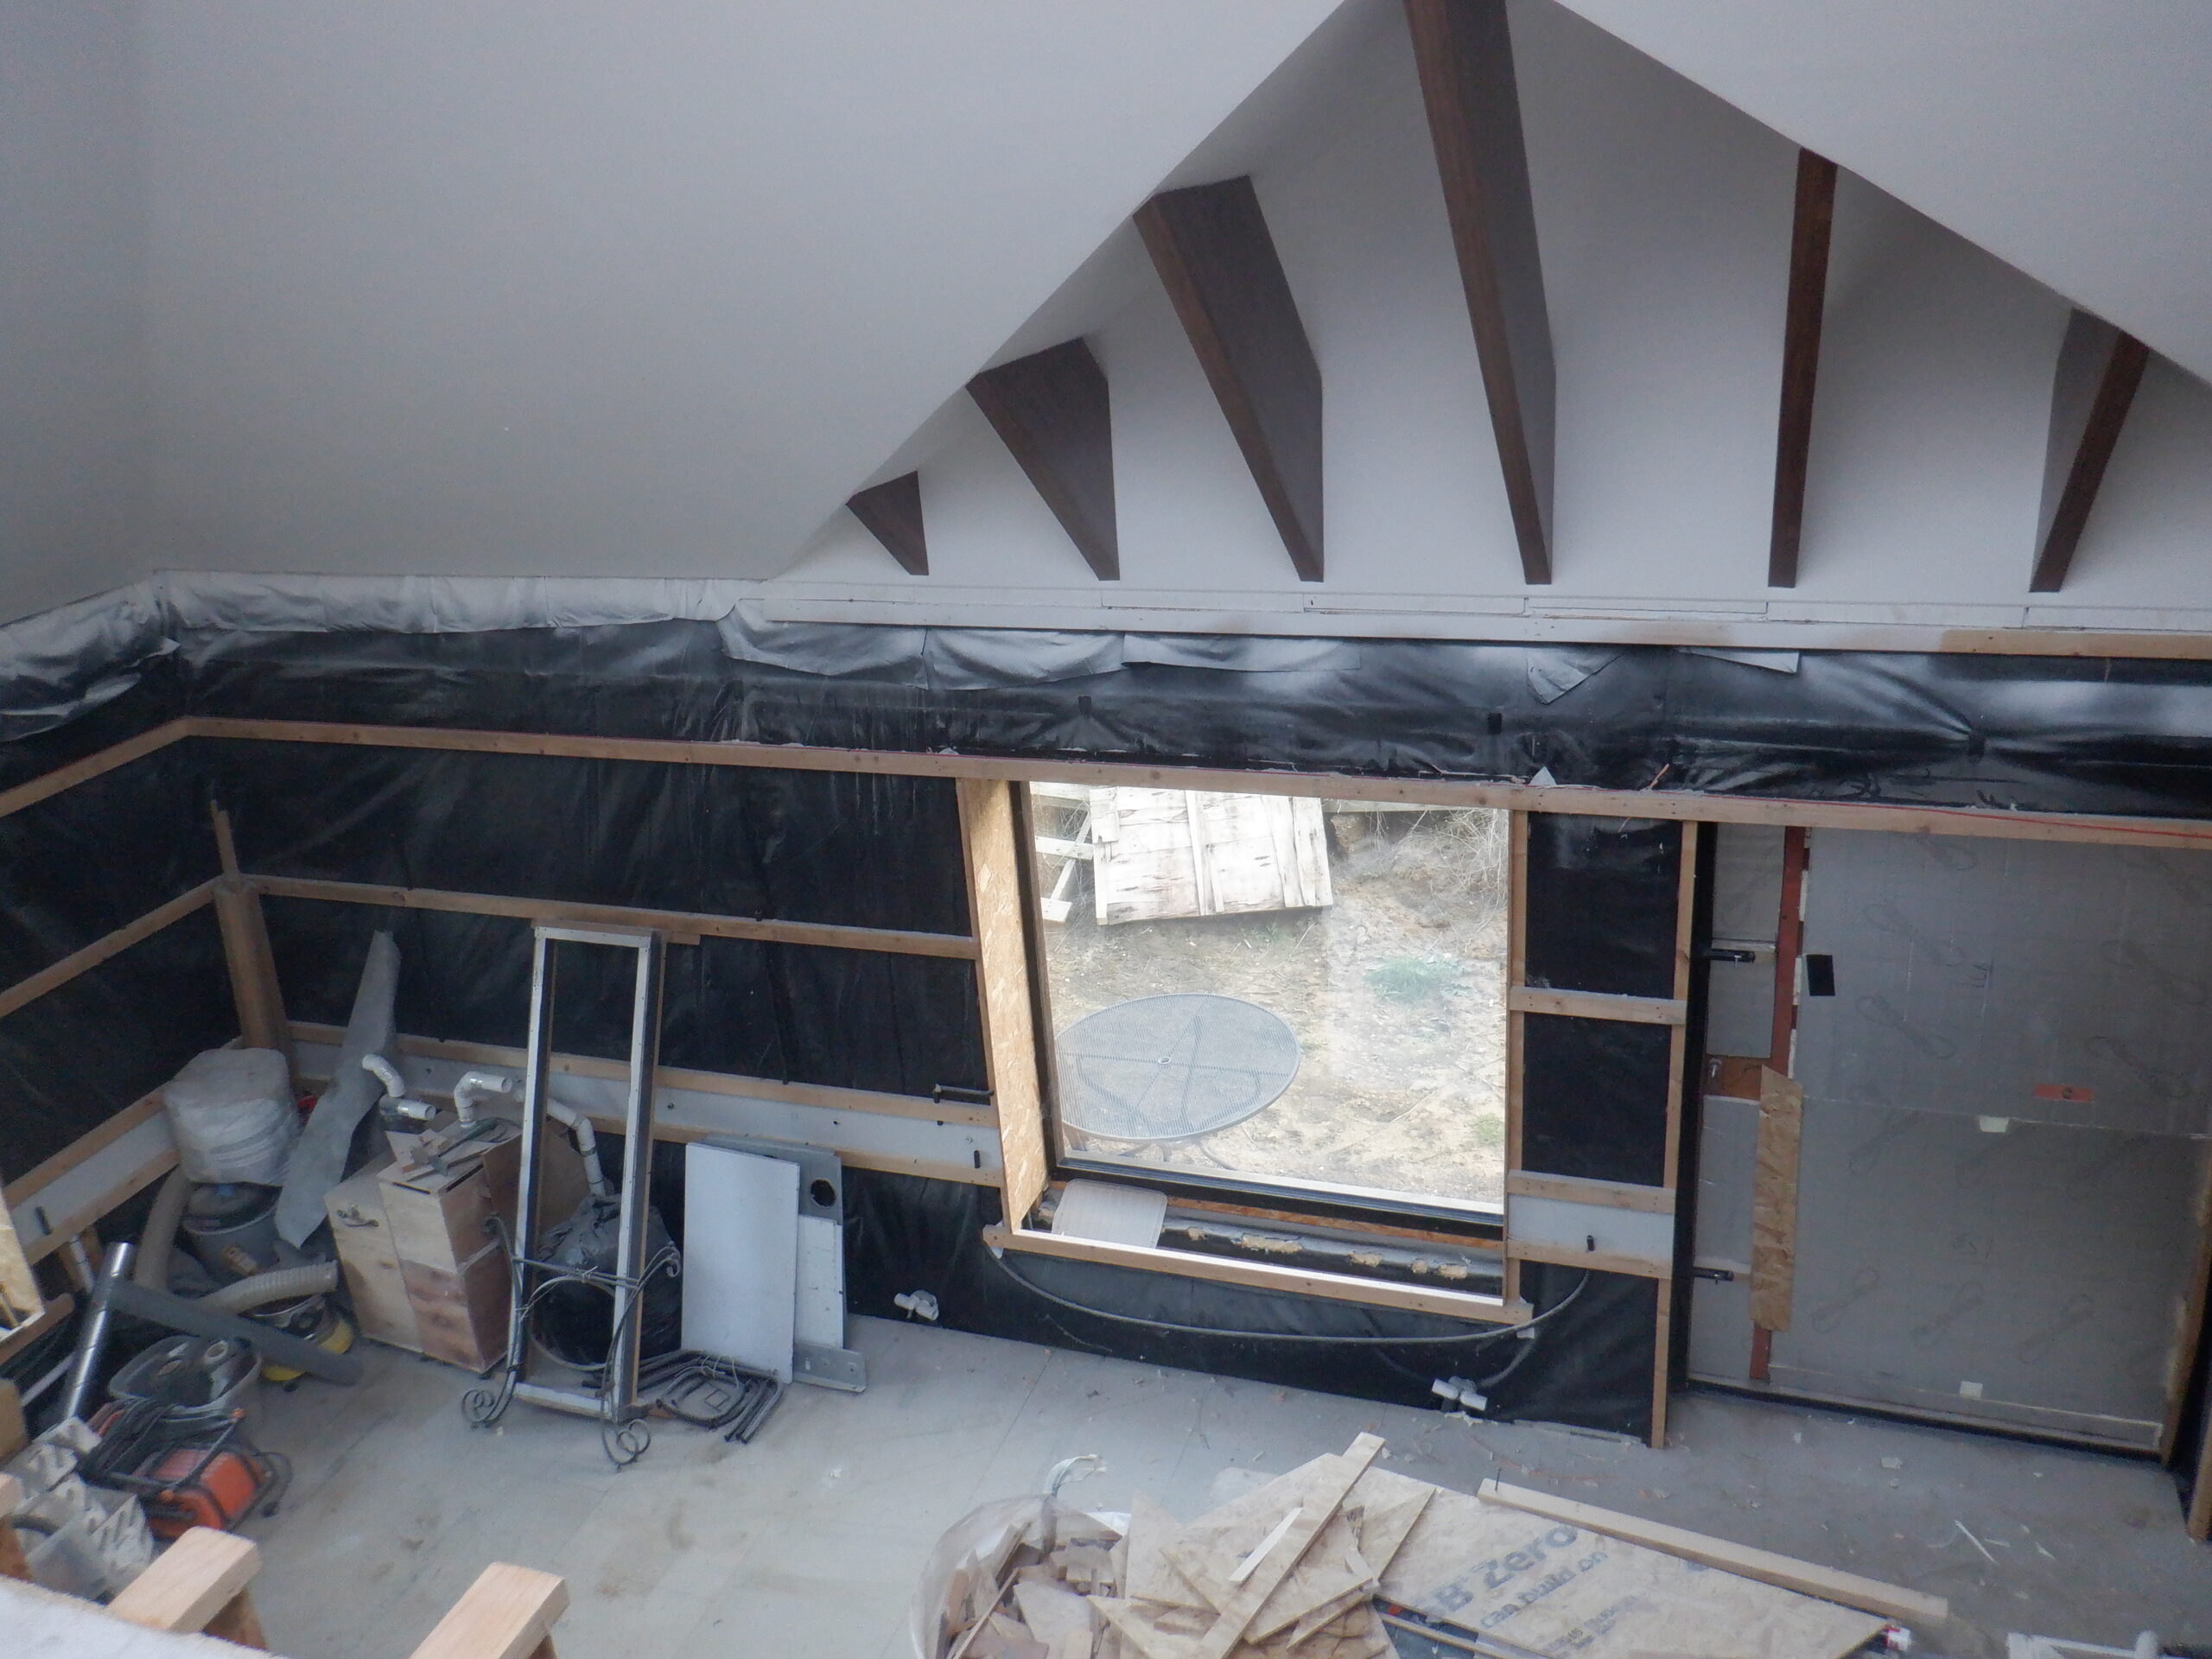
Temporary floor removed (3)

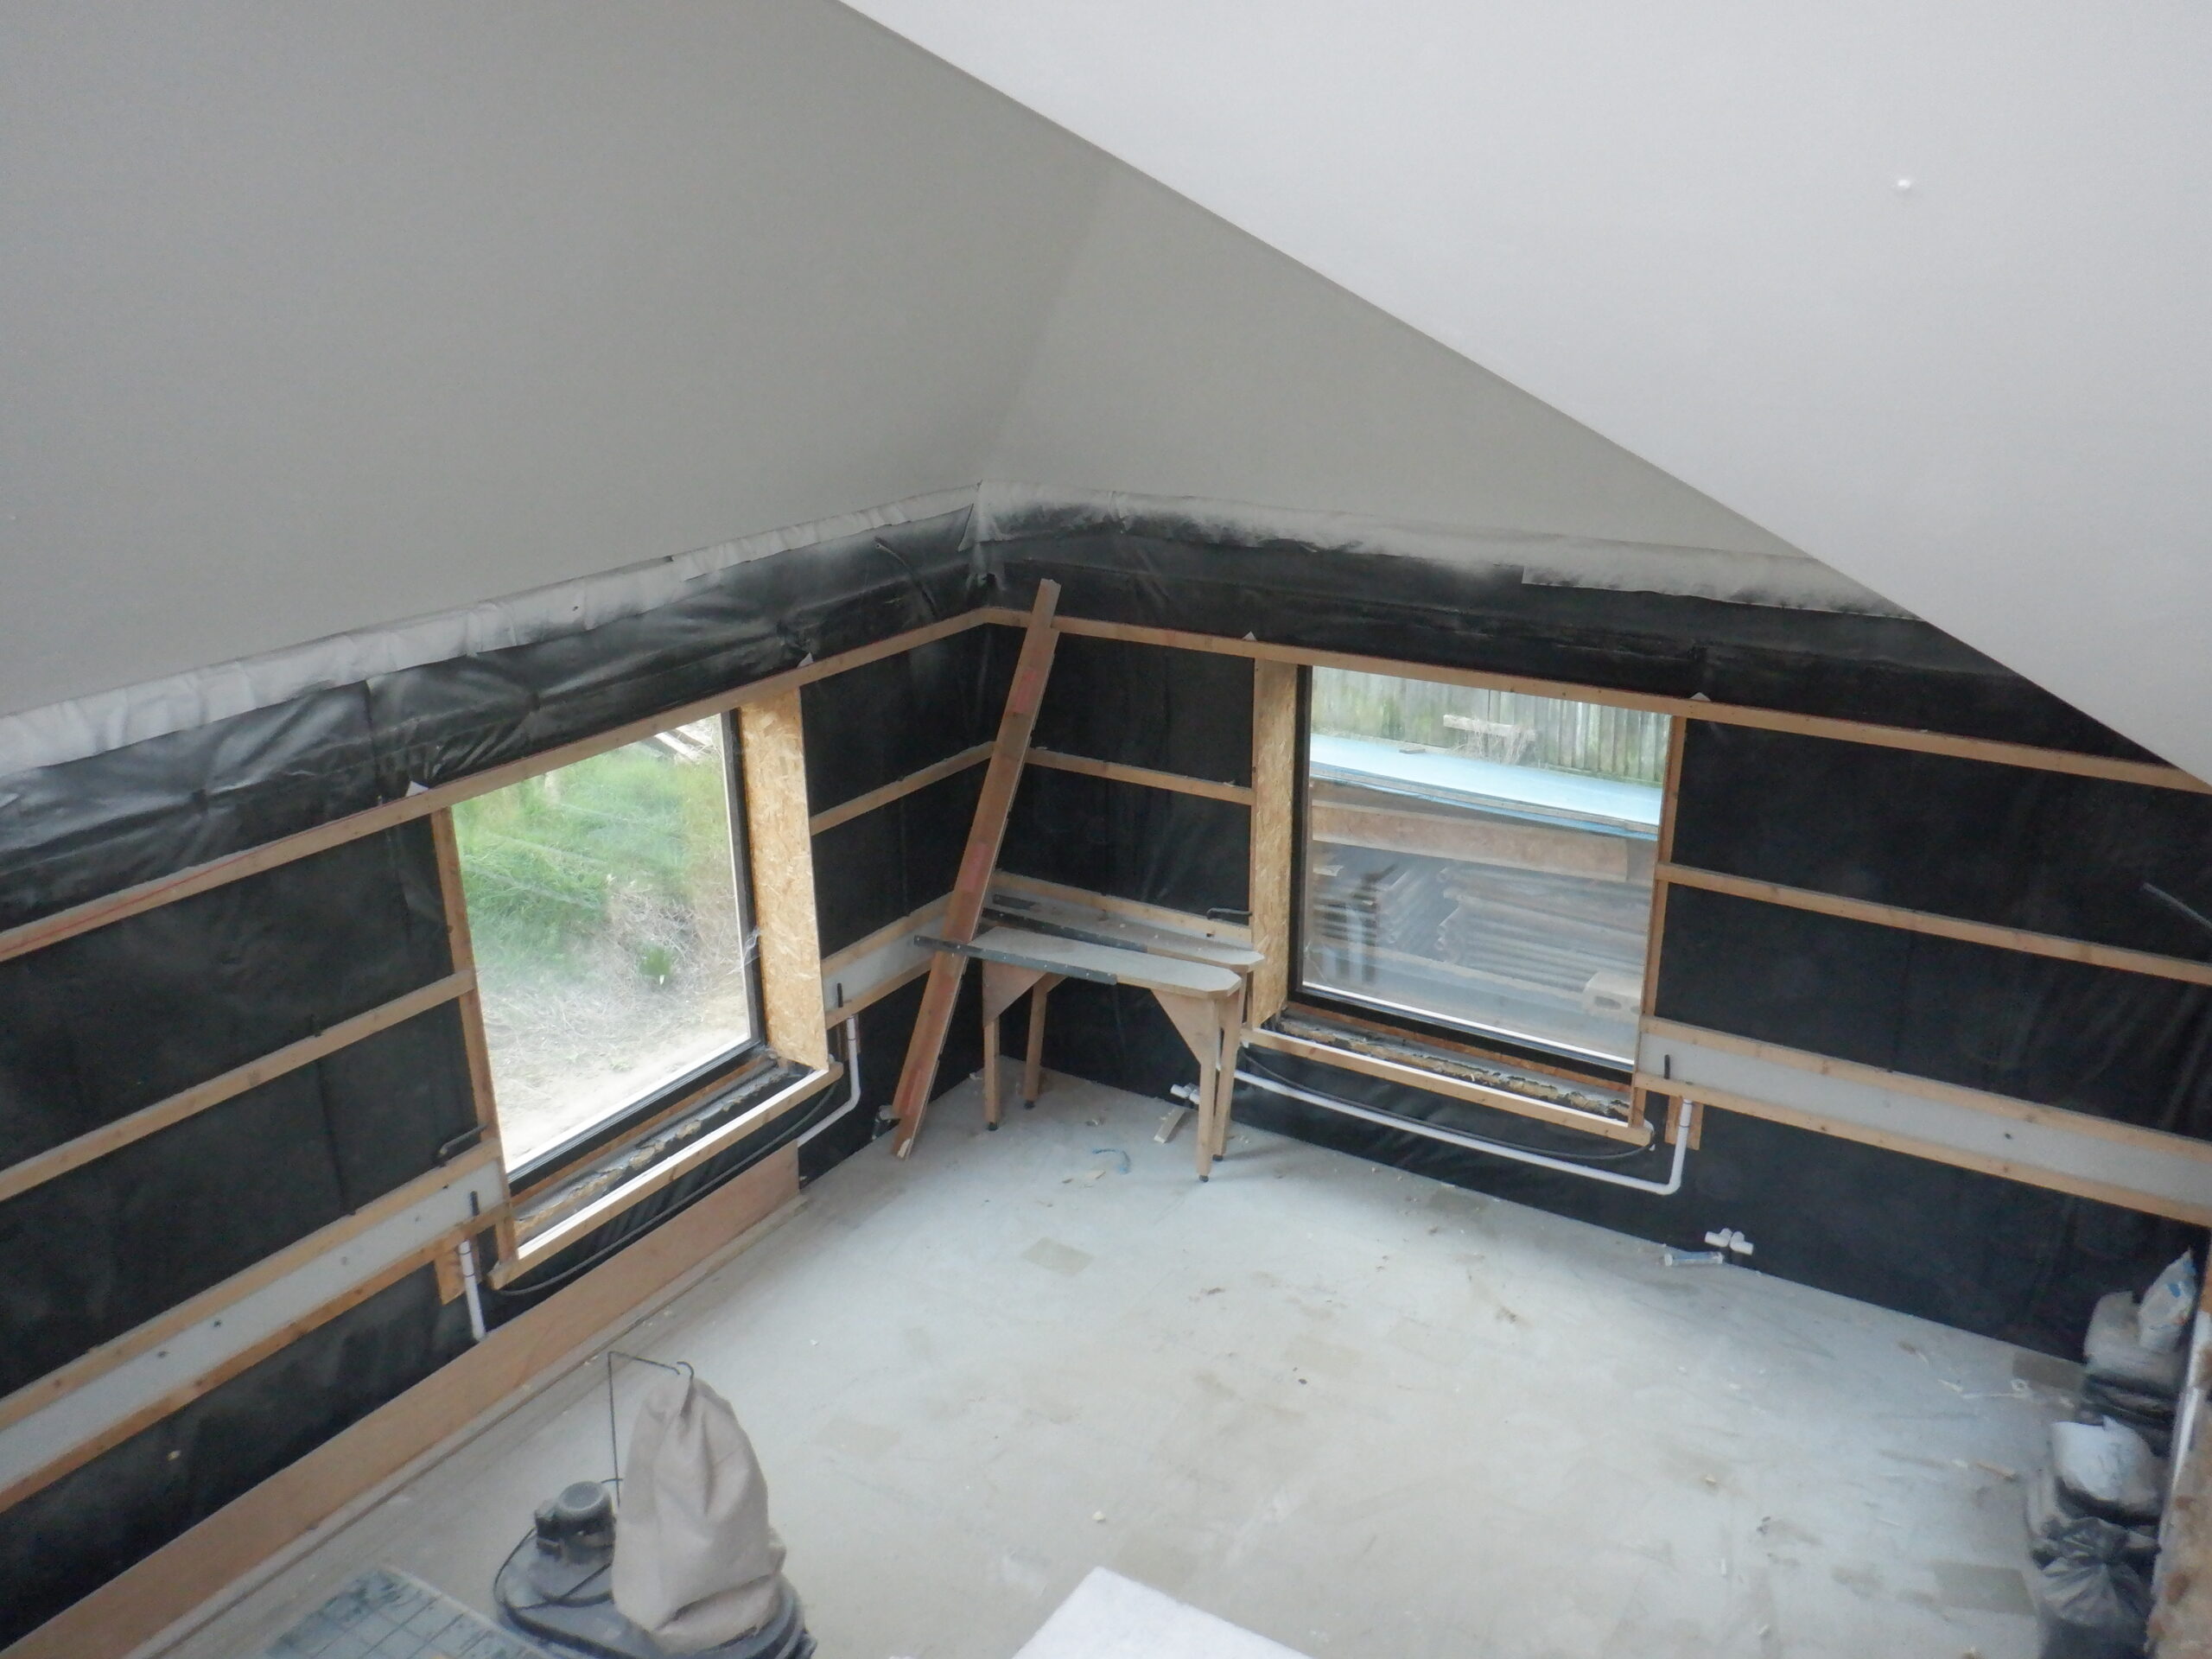
Temporary floor removed (4)
That concludes the massive and complicated job of getting the upper half of the Great Room finished including putting in the foam insulation, vapour barrier, plasterboards, painting, veneer on rafters and building of our lighting gantry plus up inside the Skylight too!!
Leave a Reply
You must be logged in to post a comment.