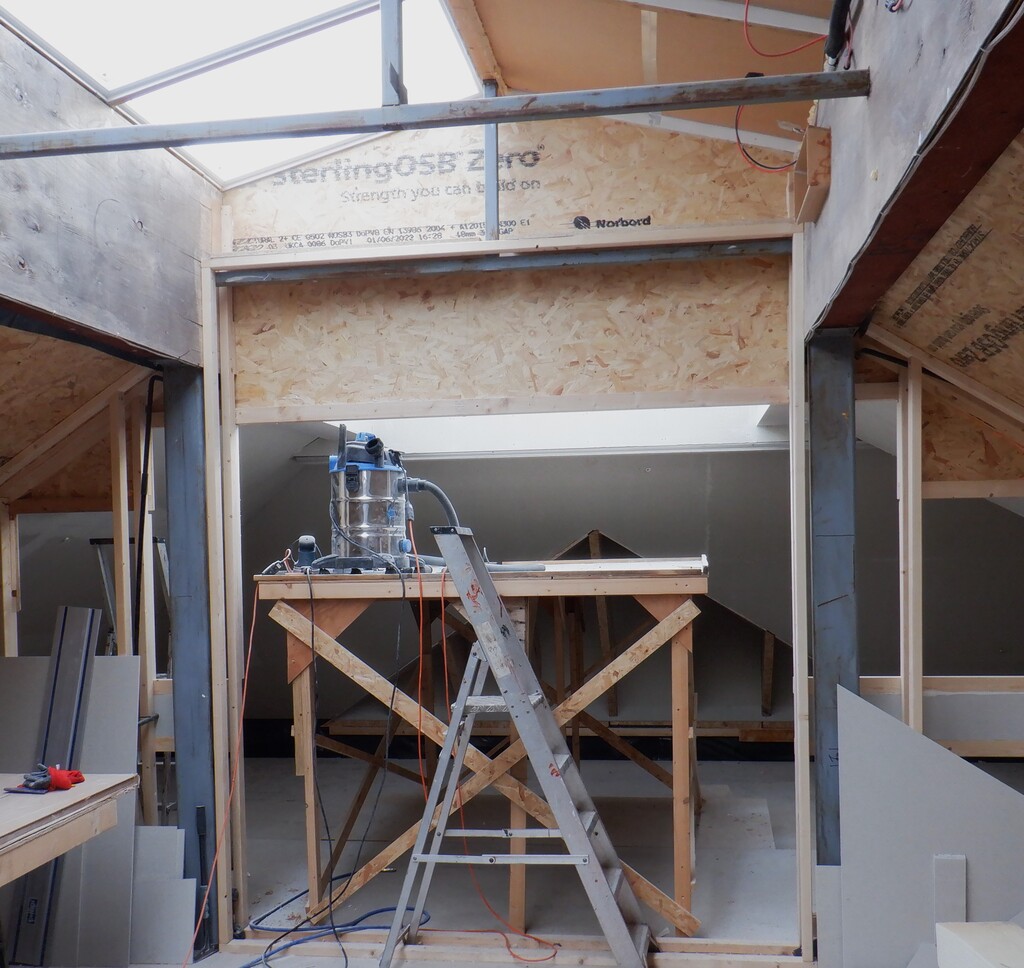
One of the areas that need to fully completed, including painting the woodwork, steel cross ties and the walls with paint, is our Skylight in our Great Room. Because this section of the Skylight stretches over beyond the Gallery, we had to extend the Gallery temporarily so our mobile working platform was able to be employed so we didn’t have to keep climbing up and down ladders. It was far safer and much quicker to do the various tasks.
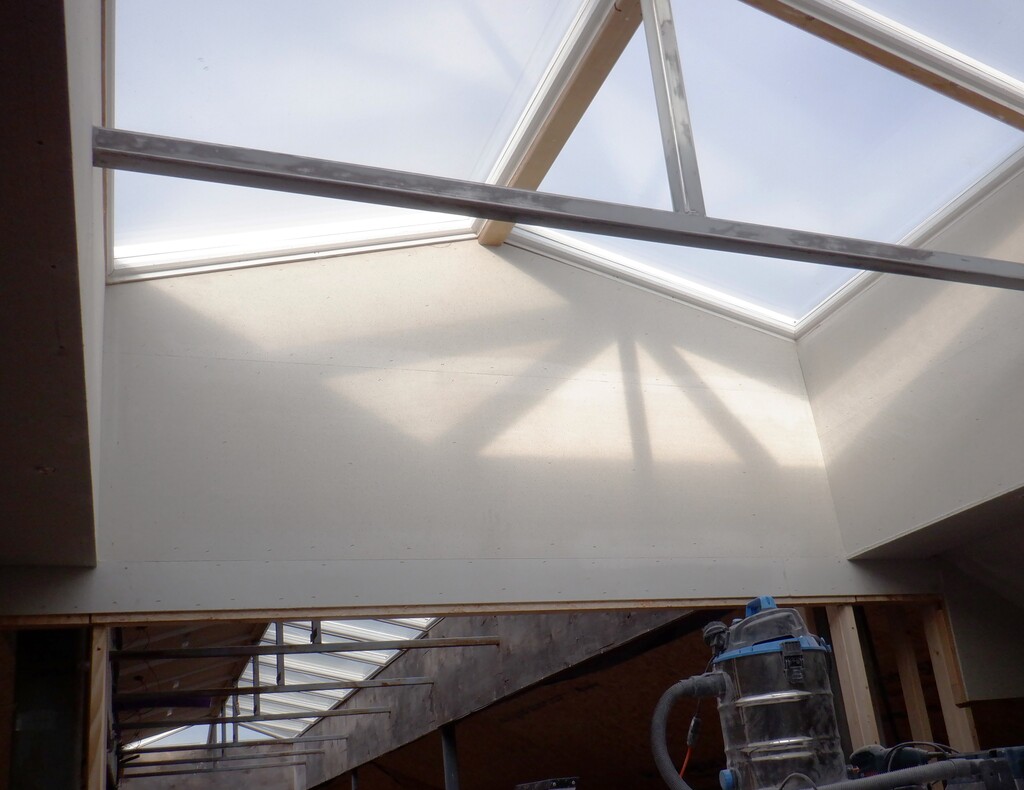
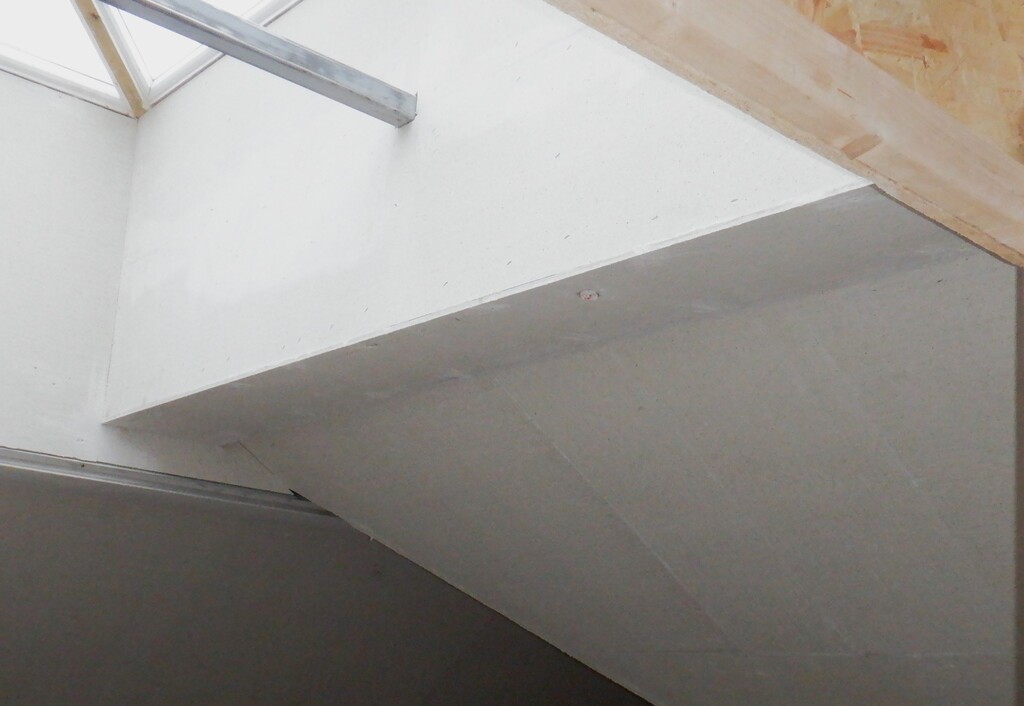
One of those tasks, was to build a blanking off wall, to extend our Gable wall, all the way up to the Skylight window frames themselves. Our interior Gable wall is aligned to the edge of the First Floor and it is thick enough to hide our large 6inch steel legs that are supporting the Skylight and we have designed the alignment to coincide with the Skylight Windows themselves, and it turned out to be very close to what we wanted. We had to lean backwards, very slightly, our vertical piece of wall, to meet the wooden framework of the window. We could have gone up perfectly vertically but we would have had a small 40mm “shelf”, collecting dust and dirt, hence we went for the gentle slope instead, which also will help reflect more light down to the Gallery and the Great Room.
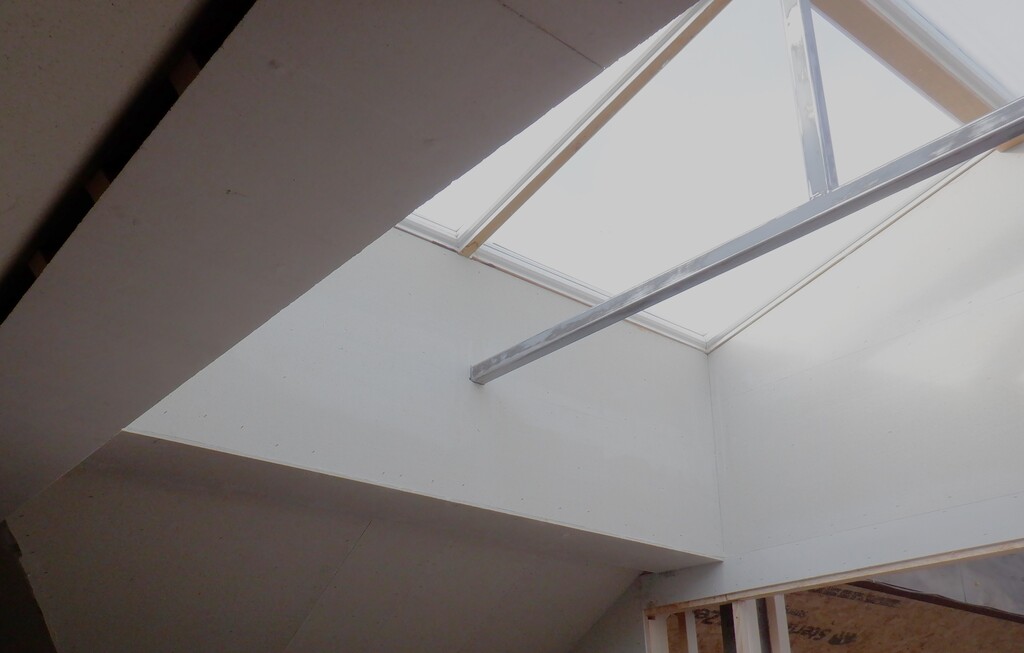
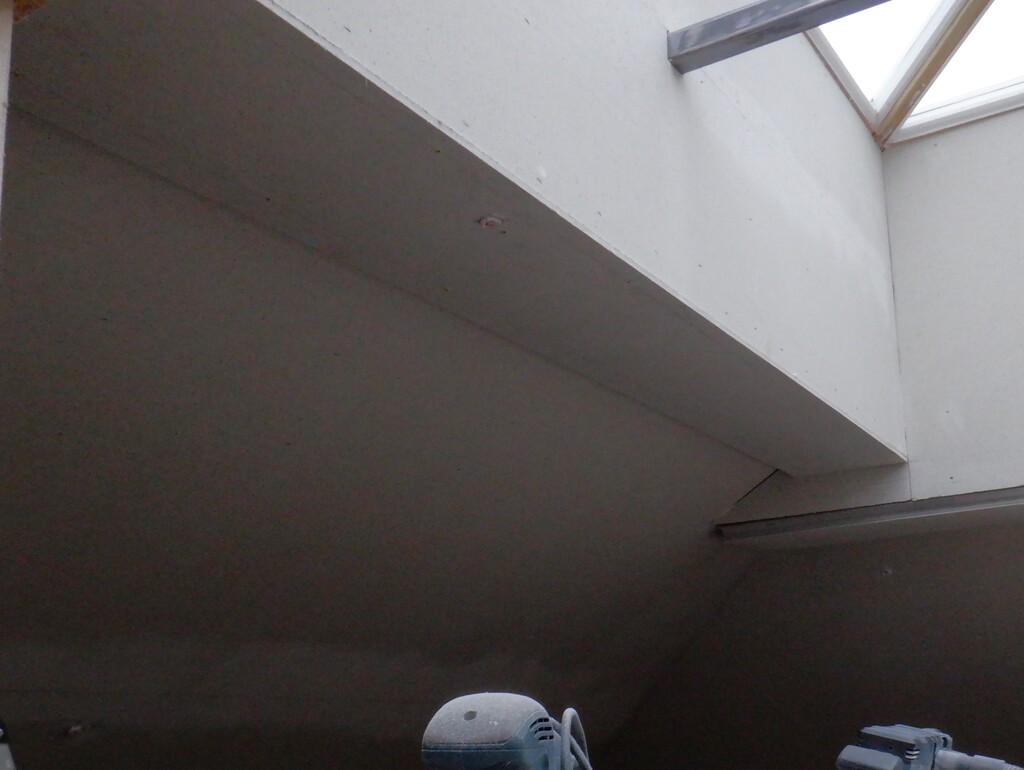
We then turned onto the two sides of the Skylight vertical walls and proceeded to give them a good hard sand, to get rid of years of weathering and make them ready for gluing and stapling up more of our fermacell boards. We had to do these sections in two halves because we got a steel cross tie that is half way up inside the Skylight, which is there to support the ridge beam and rafters of the windows themselves.
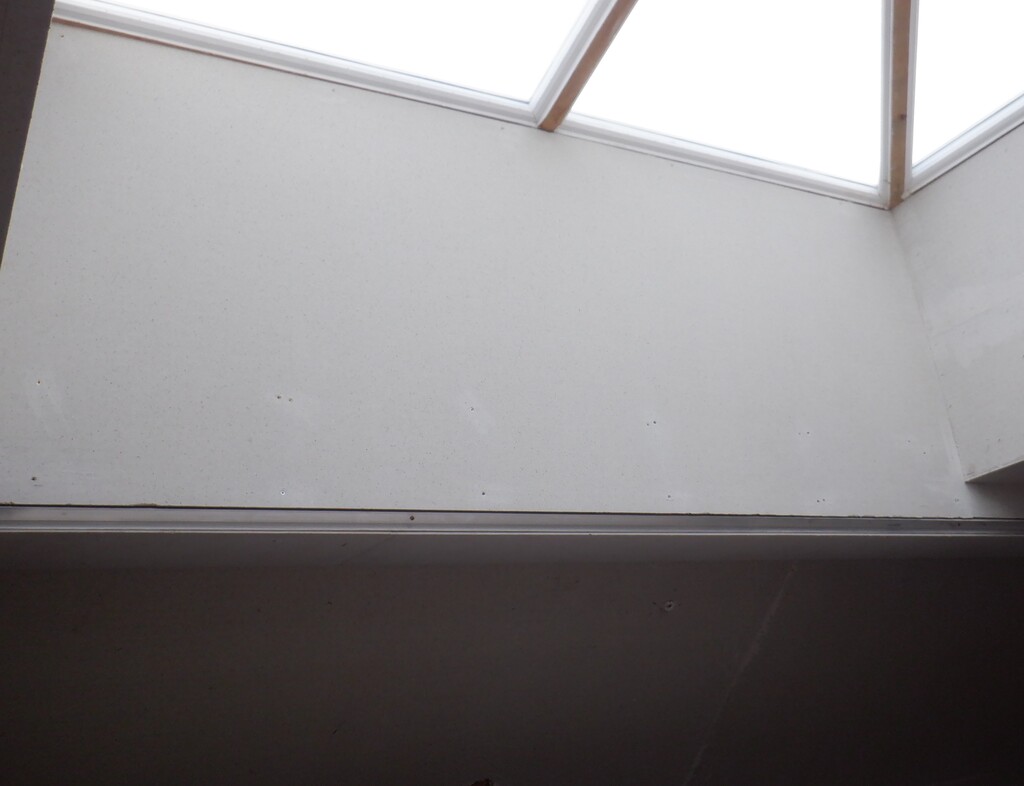
Now, we tackled the last side of the Skylight, the one that comes down to align with our mobile lighting module. We wanted it to come down to our aluminium lighting channel that we got running around on all sides of the lighting module so we had to extend this fourth side further by another 150mm, making a total of 900mm. We also had to add an 18mm spacer, to bring out the surface, to align it with our aluminium channel. This meant that we had two “wings” to build as well, going underneath the edges of the Skylight and meeting up with the slopes of the ceiling. It was quite tricky to get everything measured and cut to the correct shape and size, but we managed it.
The next task was to put a narrow strip of fermacell just above the doorway in our gable wall, going from left to right so that we could then install a flat piece of “ceiling” board under the Skylight two edges, coming perpendicular out from the Gable wall. These will have further lighting units installed, to help luminate the Gallery etc.
One job was to put on a “pretty” cover on the ridge that is holding the windows and we used a piece of oak plank we had left over from doing the guttering. We trimmed it down to a 80mm wide piece and then created a “jigsaw” like joint, to go around the metal post. We chamfered a small 45degree bezel around the three edges and then screwed and glued it up. 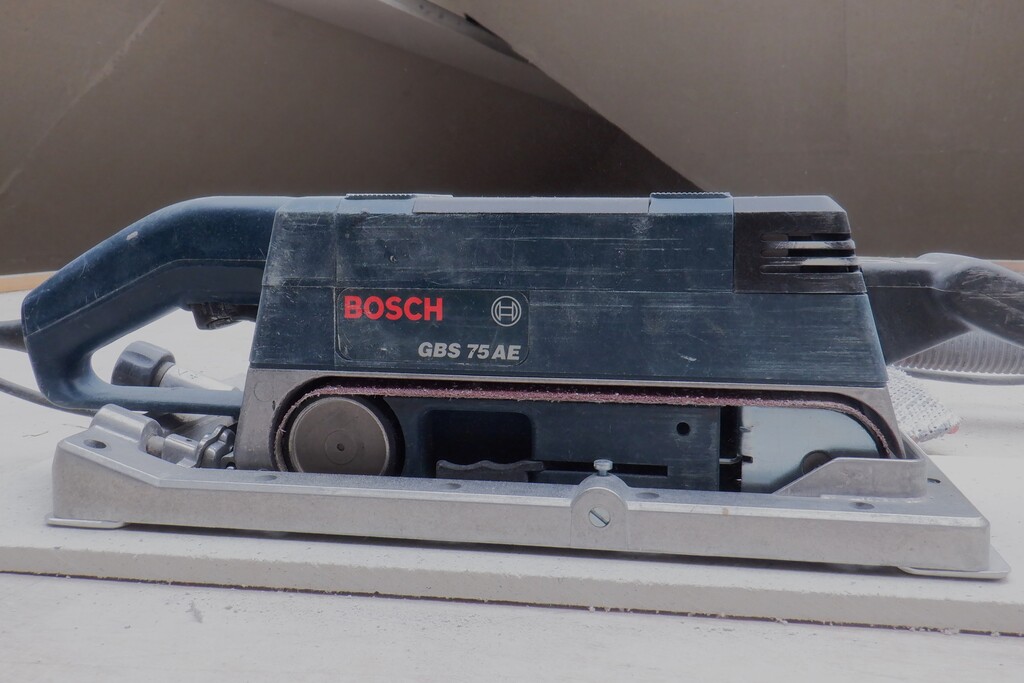
We put on a very rough sanding belt so it didn’t take too long to tackle the job of removing the steps in the joints, which indeed it didn’t! We went around everywhere in the skylight area quite quickly which is good because we will have to tackle the rest of the sloping ceiling surfaces everywhere.

That concludes this first part of getting the skylight finished. We will have a Christmas break now and return in the new year for part two.
Merry Christmas !!
Work platform on Gallery
One of those tasks, was to build a blanking off wall, to extend our Gable wall, all the way up to the Skylight window frames themselves. Our interior Gable wall is aligned to the edge of the First Floor and it is thick enough to hide our large 6inch steel legs that are supporting the Skylight and we have designed the alignment to coincide with the Skylight Windows themselves, and it turned out to be very close to what we wanted. We had to lean backwards, very slightly, our vertical piece of wall, to meet the wooden framework of the window. We could have gone up perfectly vertically but we would have had a small 40mm “shelf”, collecting dust and dirt, hence we went for the gentle slope instead, which also will help reflect more light down to the Gallery and the Great Room.
Skylight walls (2)
We then turned onto the two sides of the Skylight vertical walls and proceeded to give them a good hard sand, to get rid of years of weathering and make them ready for gluing and stapling up more of our fermacell boards. We had to do these sections in two halves because we got a steel cross tie that is half way up inside the Skylight, which is there to support the ridge beam and rafters of the windows themselves.
Now, we tackled the last side of the Skylight, the one that comes down to align with our mobile lighting module. We wanted it to come down to our aluminium lighting channel that we got running around on all sides of the lighting module so we had to extend this fourth side further by another 150mm, making a total of 900mm. We also had to add an 18mm spacer, to bring out the surface, to align it with our aluminium channel. This meant that we had two “wings” to build as well, going underneath the edges of the Skylight and meeting up with the slopes of the ceiling. It was quite tricky to get everything measured and cut to the correct shape and size, but we managed it.
Skylight walls (3)
Skylight walls (1)
The next task was to put a narrow strip of fermacell just above the doorway in our gable wall, going from left to right so that we could then install a flat piece of “ceiling” board under the Skylight two edges, coming perpendicular out from the Gable wall. These will have further lighting units installed, to help luminate the Gallery etc.
Skylight wings (1)
Skylight wings (2)
One job was to put on a “pretty” cover on the ridge that is holding the windows and we used a piece of oak plank we had left over from doing the guttering. We trimmed it down to a 80mm wide piece and then created a “jigsaw” like joint, to go around the metal post. We chamfered a small 45degree bezel around the three edges and then screwed and glued it up.
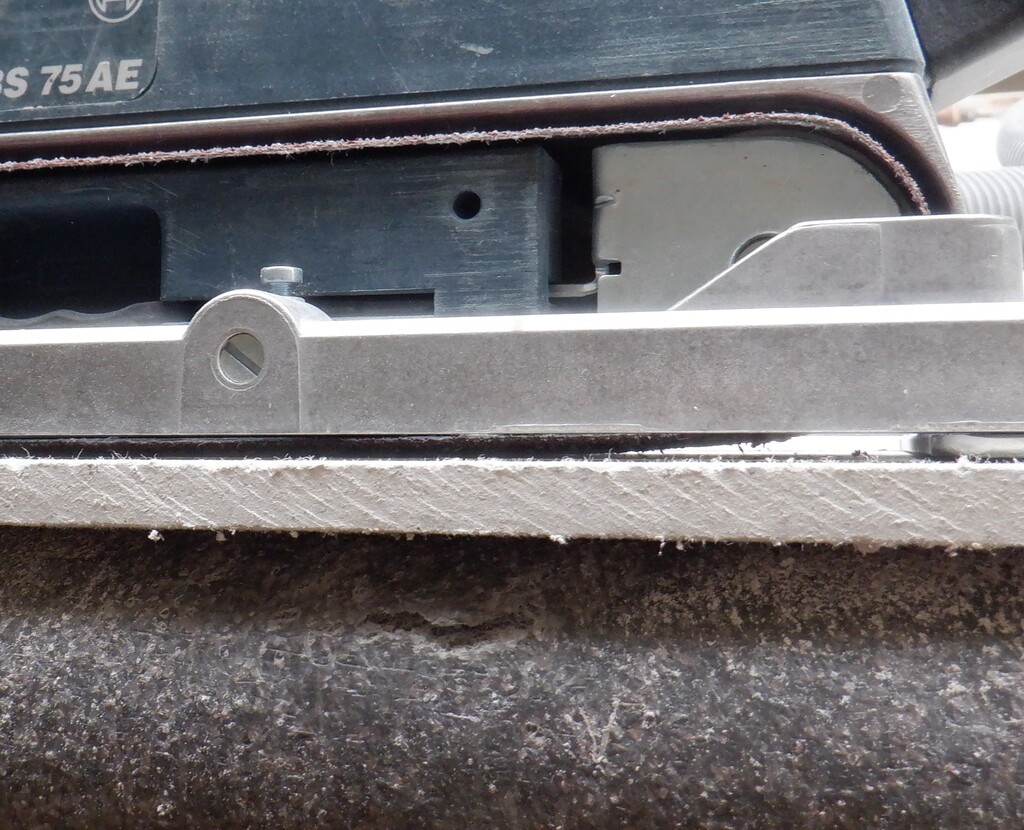
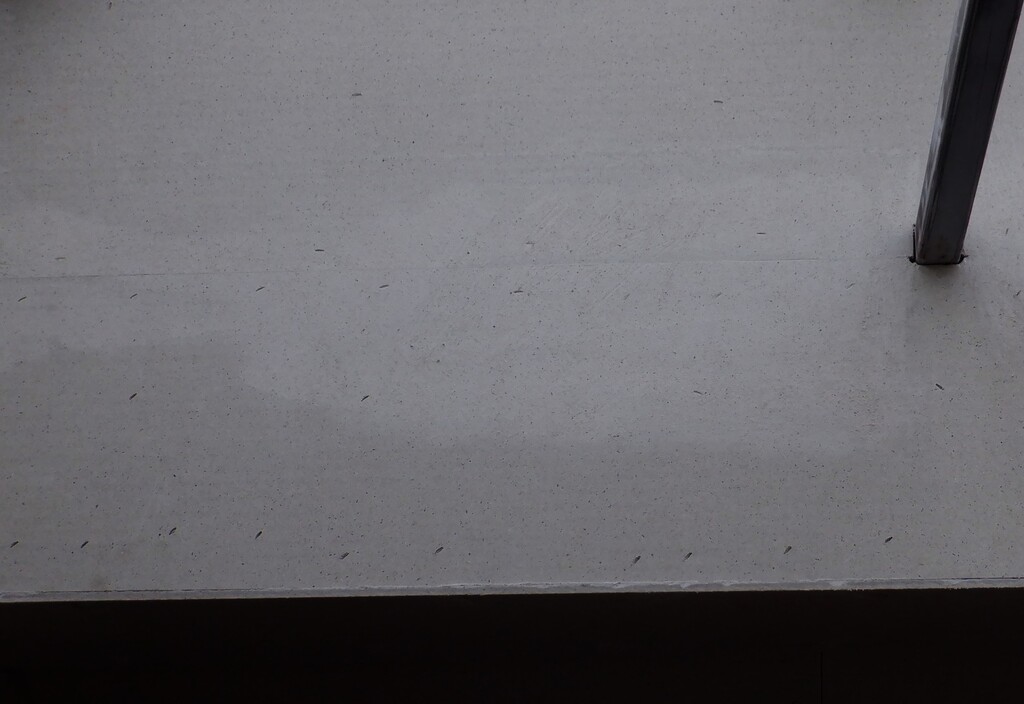
We then, modified our belt sander machine, to provide a method of sanding the finished fermacell surfaces, especially all the edges and joints. We used the existing frame that came with the machine and we added two 3mm thick aluminium bars to sit top and below the sander. The sander is then adjusted so that it is just skimming the surface when the machine is flat on the surface, without digging in at all.
Surface sanding system (1)
We put on a very rough sanding belt so it didn’t take too long to tackle the job of removing the steps in the joints, which indeed it didn’t! We went around everywhere in the skylight area quite quickly which is good because we will have to tackle the rest of the sloping ceiling surfaces everywhere.
Surface sanding system (2)
Surface sanding system (3)
Wall after sanding
That concludes this first part of getting the skylight finished. We will have a Christmas break now and return in the new year for part two.
Merry Christmas !!
Leave a Reply
You must be logged in to post a comment.