Category: Rainwater

  • Preparation for the Installation of Guttering Downpipes and Underground Pipeworks

    This morning, we got on with clearing the sandy soil material away from the base of the Perimeter Wall around the house so we can collect and transport the Rainwater coming off the roof, using 100mm pipework and sent to our filtration unit at the end of the Swimming Lane.

    There will be a complete circuit around the whole house, with seven downpipes from the guttering, each of these downpipes are located in each of the “inside” corners, like the front extension, the Conservatory, and the back extensions.

    We managed to do about half the circuit so far in this shortened session this morning.

  • Locating Pipe to Soak-away

     We wanted to confirm the exact depth of our rain water 100mm pipework that goes off to the main soak-away module. So after lunch, we dug down over beside the garage at the end of the Swimming Lane and went down until we found the bottom of the currently terminated pipe.

    The-feed-to-the-rainwater-soakaway

    The-feed-to-the-rainwater-soakaway

    Using our laser site measuring machine and siting pole, we got a measurement of 2300 mm on the pole (using the laser detection unit) which translates to 1.3 metres below ground level. So this means that our rain water connection from the filtration unit for dealing with all our water off our roofs, can go as deep as 1.3 metres. This is good as it gives us more options in the design of the filtration module.

  • Water, water everywhere!

    Well we had 10.9mm of rain since we finished the DPM Yesterday. That’s over 800 litres of water to get out of the garage slab DPM.

    The job was not as easy as we thought when we started at 9 o’clock. First we tried the submersible pump – no go, the water was not deep enough. Then we used the drill pump successfully for 1/2 an hour before it overheated! At this point probably half the water had been removed. Third try was using sponges and towels! – this worked but was very slow. Then Shaun remembered the wet and dry vacuum cleaner – this worked well, better than any of the other things.

    By this time it had started to rain again! and Kevin (Lafarge man on the spot) said we had got rid enough water! So it time for the concrete.

    Ready for Concrete

  • Its raining !

    According to the weather meter we have had 3.5mm of rain in the last hour…

    This is nearly 270 litres of water in our slabs DPM ‘tank’ . We will have some bailing to do in the morning.

  • Service trench completed

    Service trench completed

    Thursday 30th

    Installed all the pipes and conduits into the trench after sliding 2 x 22mm plastic plumbing pipe with foam insulation (25mm on flow and 19mm on return) into the large conduit (tried insulating with rockwool and gave it up as a bad job!).

    Service Trench All conduits in place

    They are from left to right :- Data, rainwater1, compressed air, rainwater2, mains water, central vac, spare, solar water & electricity.

    Friday 1st Oct

    Started by filling trench to approx 300mm above conduits then placed warning tapes (100mm wide polythene printed with warning messages about water & electricity below) along the trench. We then filled the trench to the top.

    Service Trench Filled

  • Rain Tank Capacity

    The Rain Tank!

    Dimensions

    5m (16feet 3inches) long
    3m (9feet 9inches) wide
    1.2m (4feet) deep

    Capacity:

    Hole dug out = 18 cubic metres (635 cubic feet) about 38tons of sand and soil
    Water inside is 95% of hole size = 17.1 cubic metres – due to the plastic construction of the crates
    Overflow starts 50mm below top surface of tank so will never fill to maximum therefore subtract 0.72 cubic metres.
    Plus the pump cannot reach right to the very bottom of the tank as the plastic crates has structural flanges which will contains a certain amount of water. The highest flanges are 50mm high so therefore that is another 0.72 cubic metres of unuseable water!
    Total Storage for rain water is 15.66 cubic metres
    That is 15,660 litres
    or
    3,445 gallons (UK measurements – its 4,137 US Gallons)
    Or
    27,558 pints !

    Now that is a big water butt!
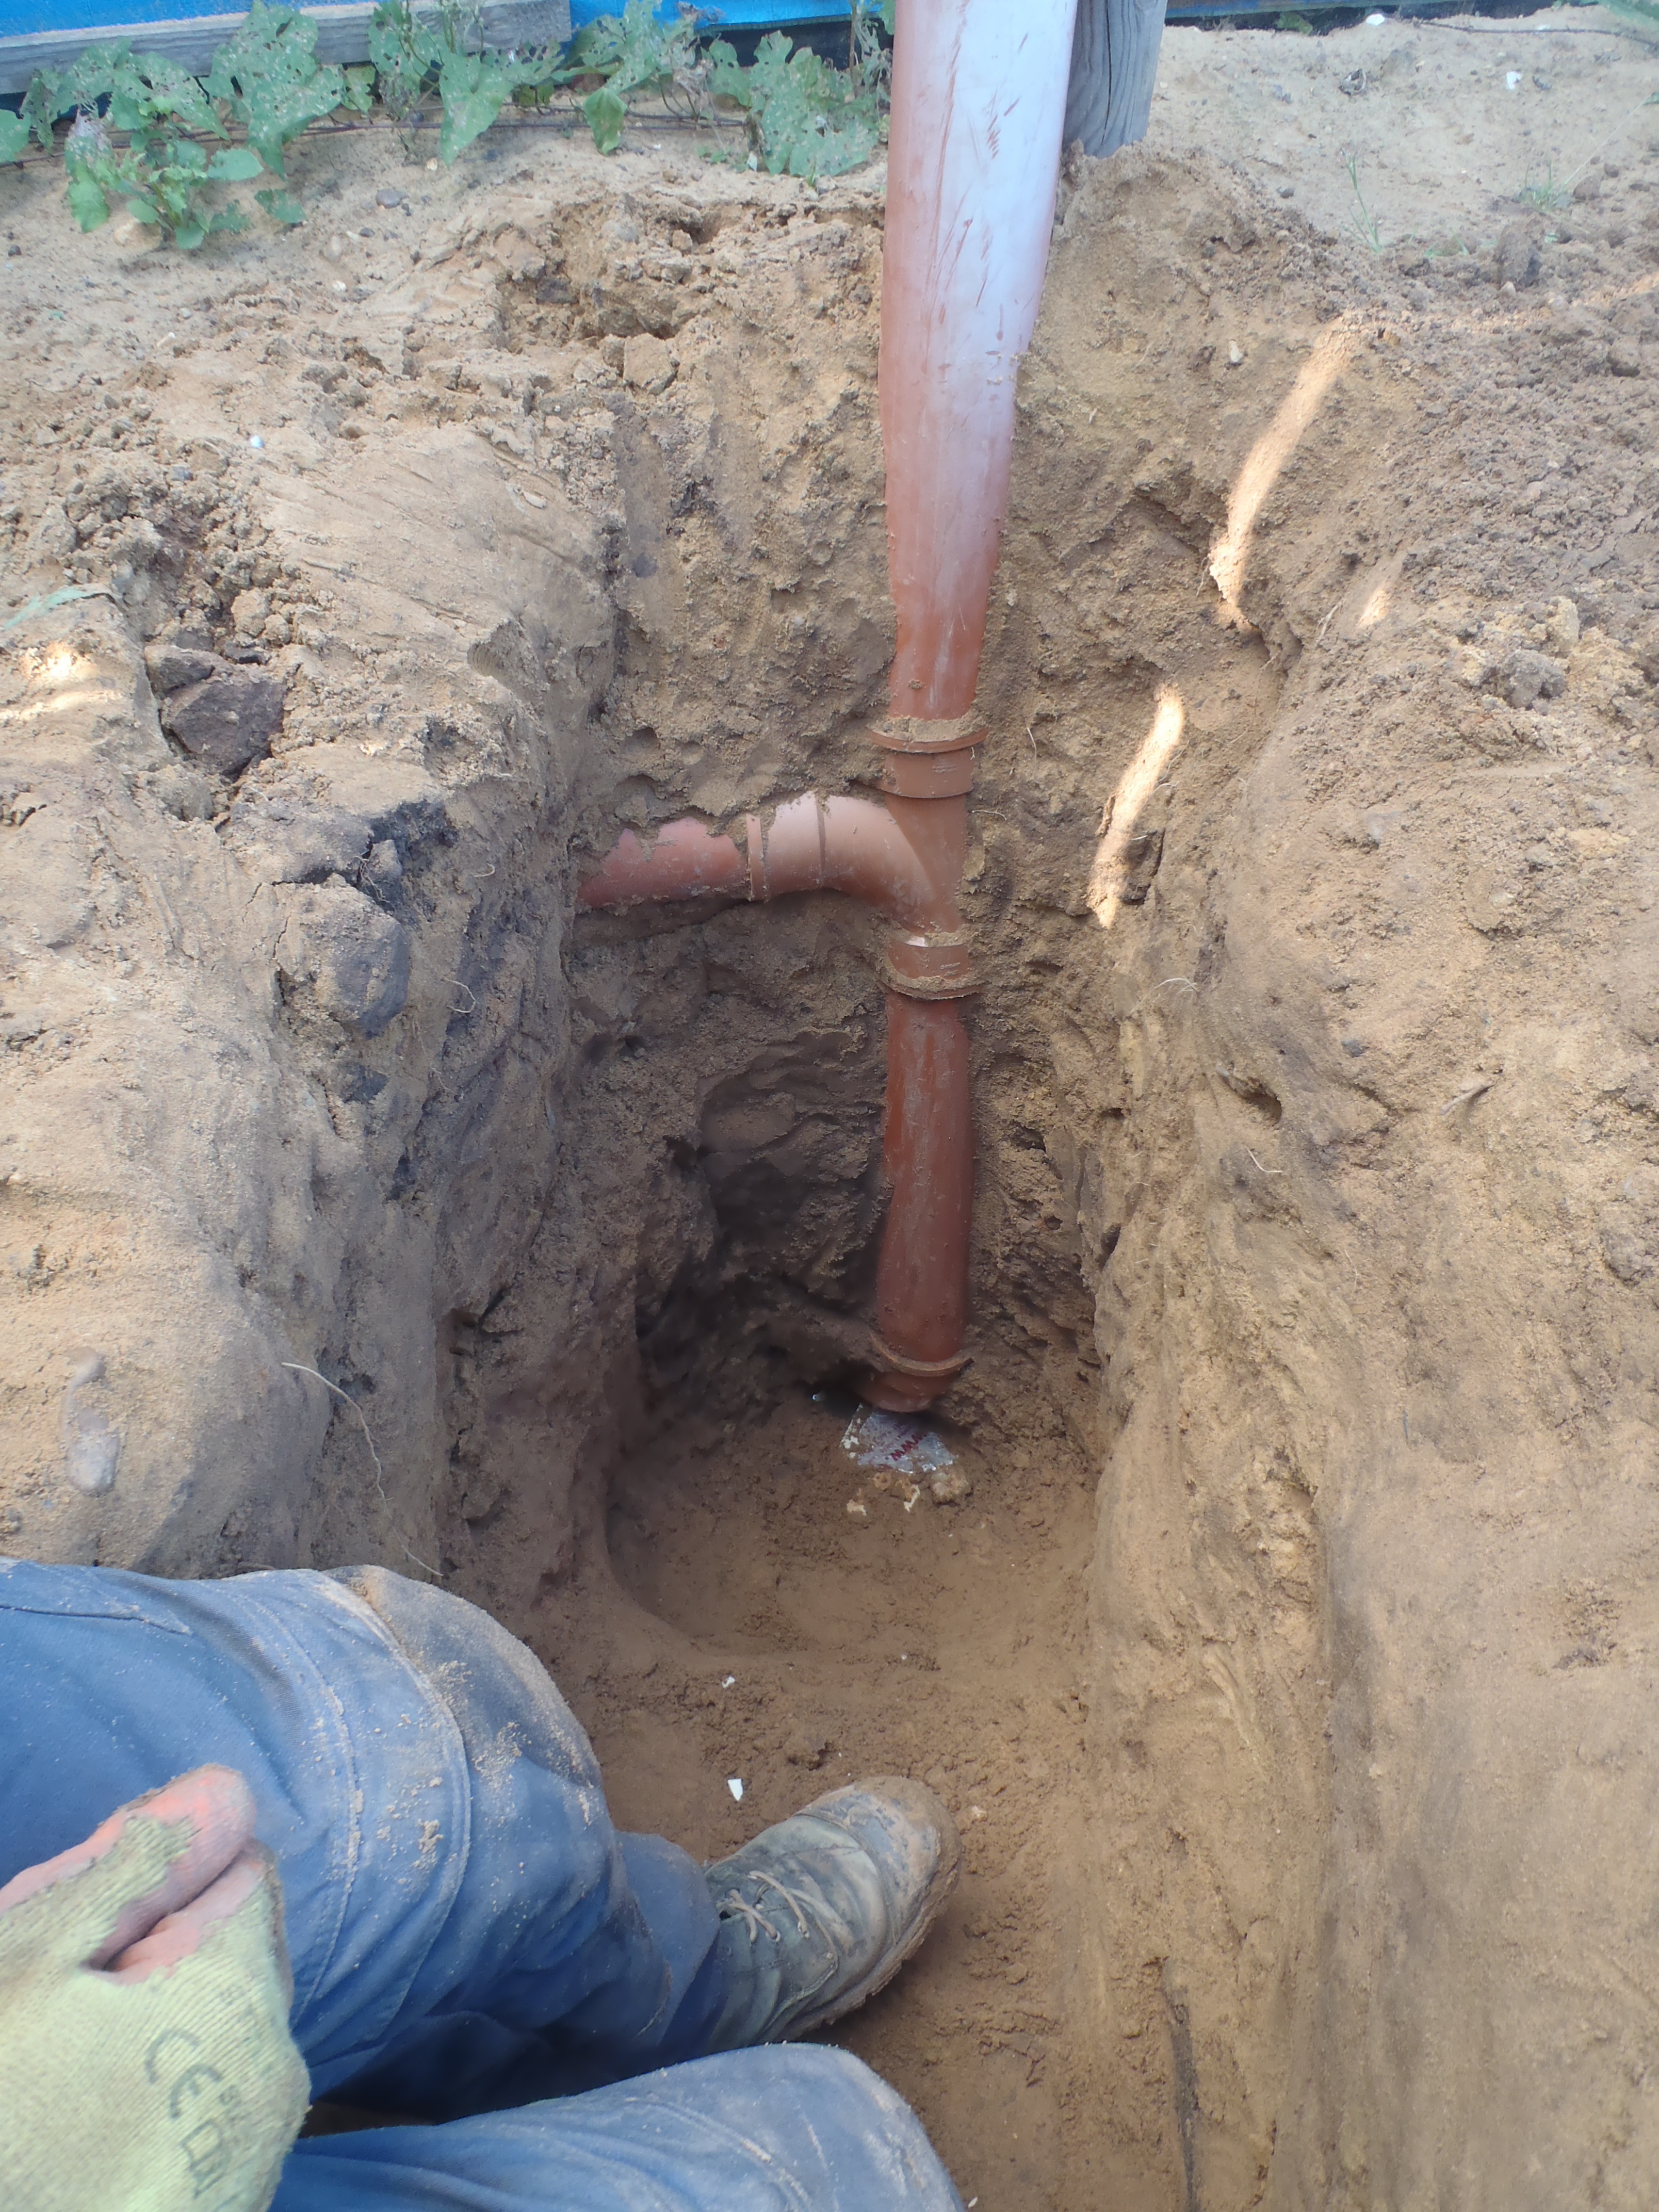
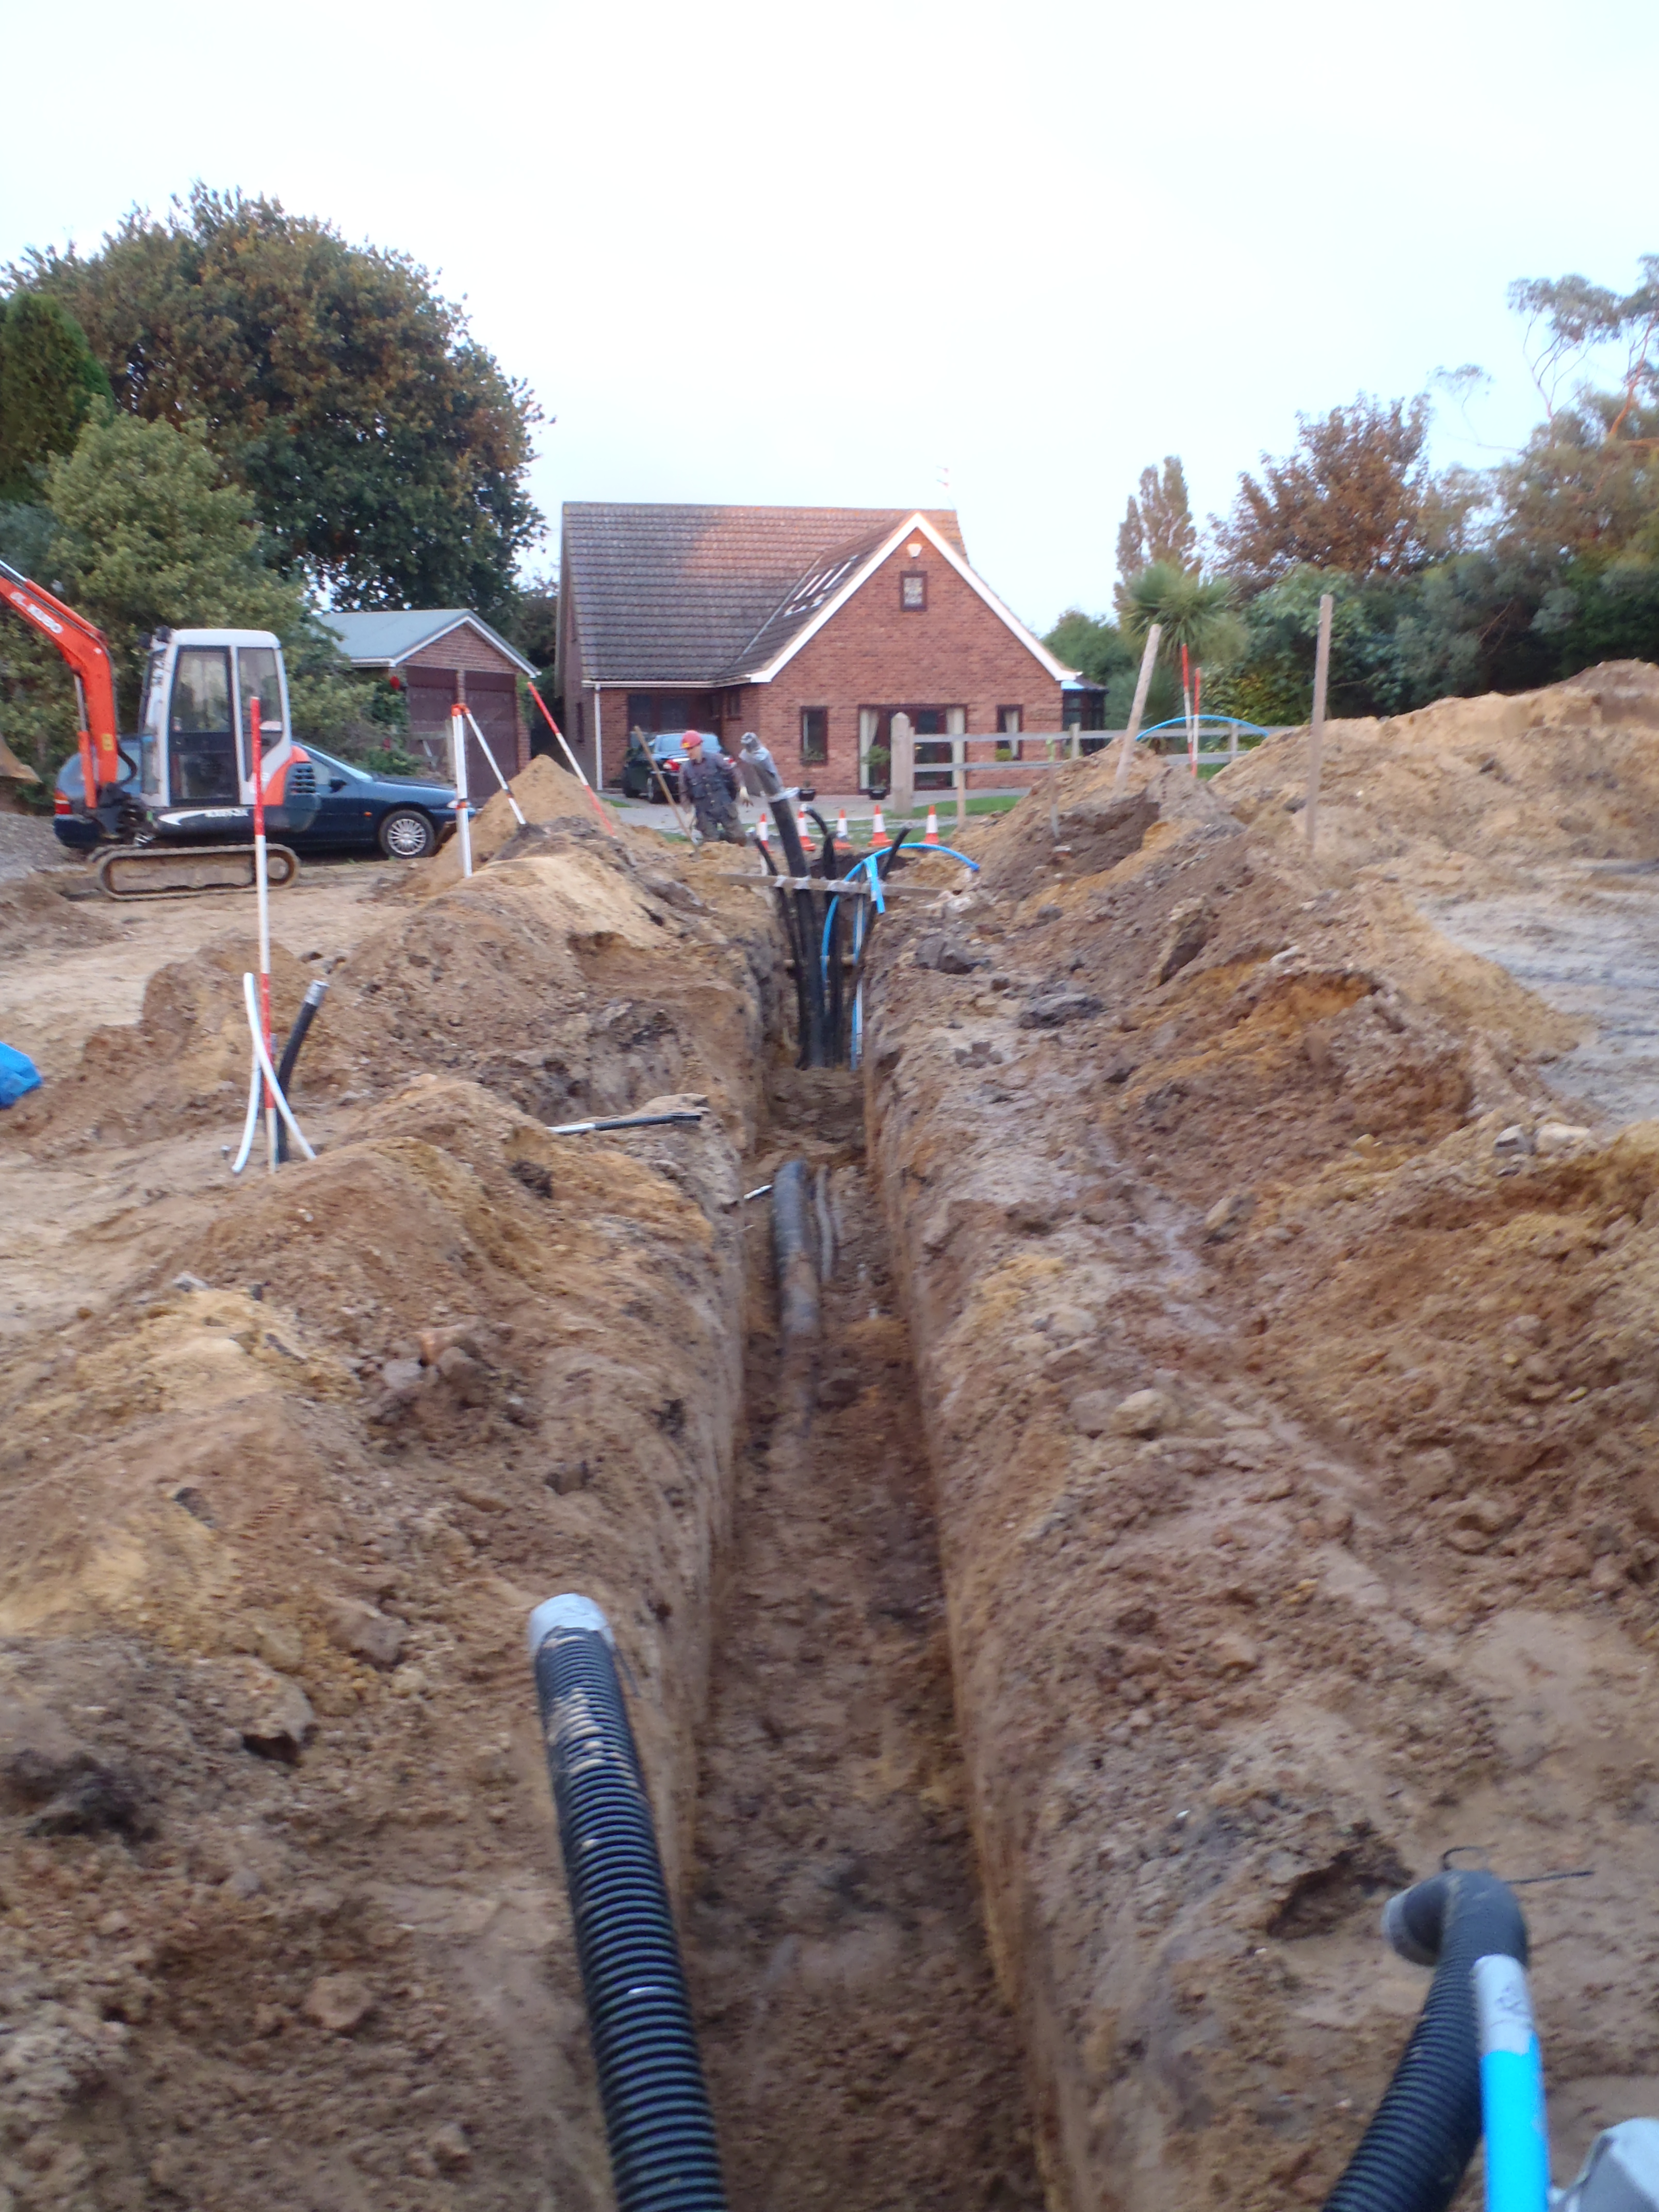
    Construction

    There are 90 crates each measuring 1000mm by 500mm by 400mm (well actually it is 390mm high – the manufacturer states that each crate is 200litres capacity but in reality it is only 195litres!) made of a polyproperlene materials. We layered 15 crates on each layer and rotated them around to provide maximum loading spreading. There are 4 layers altogether. Then a thick geotextile (measured as 250gsm) is put on first to soften the edges of the crates (we also sanded the edges and especially the corners). The rubber membrane is the next layer (the rubber is a man-made material with long life stability, we decided to buy the 0.75mm thick grade. You could have 0.5 or 1mm thicknesses) and finally on the outer most an another layer of thinner but tougher geotextile (about 150gsm) to keep the sand and soil from wearing or puncturing the rubber!

    So far we have 200mm of water in the tank and it is still there after a week! phew!

    Applications

    We can use it to flush our toilets, wash the car, have showers, provide automatic watering for the garden and even use it for the washing! We of course will have the normal Mains Water taps in the kitchen etc. for drinking.

  • New Rain Feed is installed!

    Right, the new diverted feed from the rain filteration system is now installed to the other corner of the rain tank. Hopefully we have avoided any leaks !

    The old hole in the manhole access tube is blocked up with geotextile so no sand and soil can get in!

  • Modifying rain Water feed to Tank

    In the light of conversation about filtering the rain water and how small (or large) the particulates would get through the
    filtration system, we have decided to re-route the feed pipe from its first placement which is going into the manhole access chamber
    where the pump is situated which means it would immediately suck up any “bits”.

    The feed pipe will now be routed across the rain tank to the diagonally opposite corner and make its entrance!

    We are off to buy some extra fitments to join the 40mm pipe together for its new route!

  • Rainwater Overflow pipes

    Installed the final section of pipe in the great hole. This is the overflow from both the filter module and the tank to the soak away.
    rainwater overflow pipe in place

  • Rainwater Tank Day 4

    Placed the last layer of crates …

    solid block of blue crates sitting on the white polyfelt

    Time for Christmas Eve! Well we have a lot of wrapping to do…. Wrapped, folded and trimed the polyfelt first. Next the rubber was folded up the sides and the extra rubber in the corners folded neatly.

    a giant elastic band around the crates

    We formed a couple of pipe connections for expansion at the bottom right and overflow at the top left. These were sealed by cutting a half-sized hole in the rubber and stretching it over the pipe. This formed a ring of rubber about 2cm along the pipe which was covered in a stip of geo-textile and clamped with a stainless steel tie. The overflow level is 40mm from the top of the tank.
    expansion port connectoroverflow pipe

    Finally we wrapped up the outer geo-textile and added more geo-textile as a lid. The access shaft was installed last.
    crates wrapped up for christmas