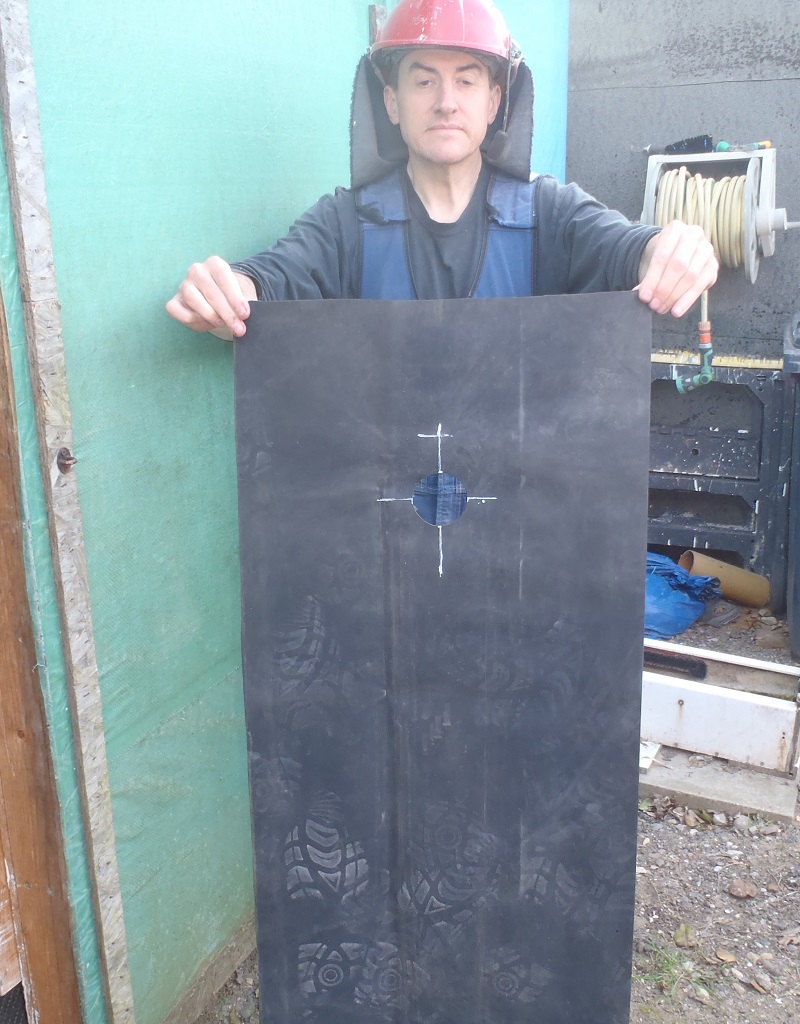
This morning, we analysed the plans to work out the total length of the rubber membrane we would need for the guttering and the valleys in the roof. There are eight valleys in our roof structure (our roof also has twelve hips and five ridges too) and about eighty metres of guttering. This adds up to just over 150metres in total and our supplier has 20metres rolls so we ordered eight rolls!
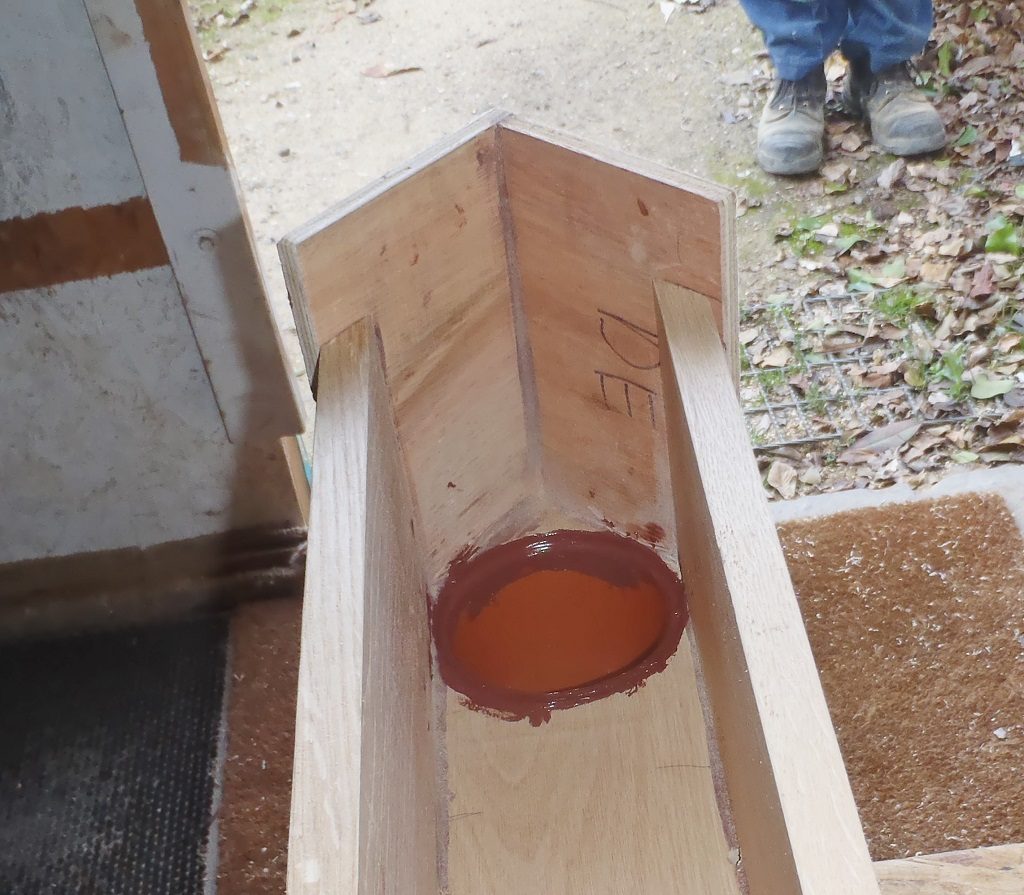
The afternoon was spent building the fifth Downpipe Channel for the diagonal corner between Bedroom 1 and the Great Room. We didn’t stick the rubber membrane into the previous channels we made yesterday as we realised that we needed to do a test of our glue sticking two layers of the rubber material and we wanted to make sure the glue will cure properly while being sandwiched by these two impermeable surfaces. The glue may need access to the air or moisture to set the chemical reaction going and cure the glue properly.
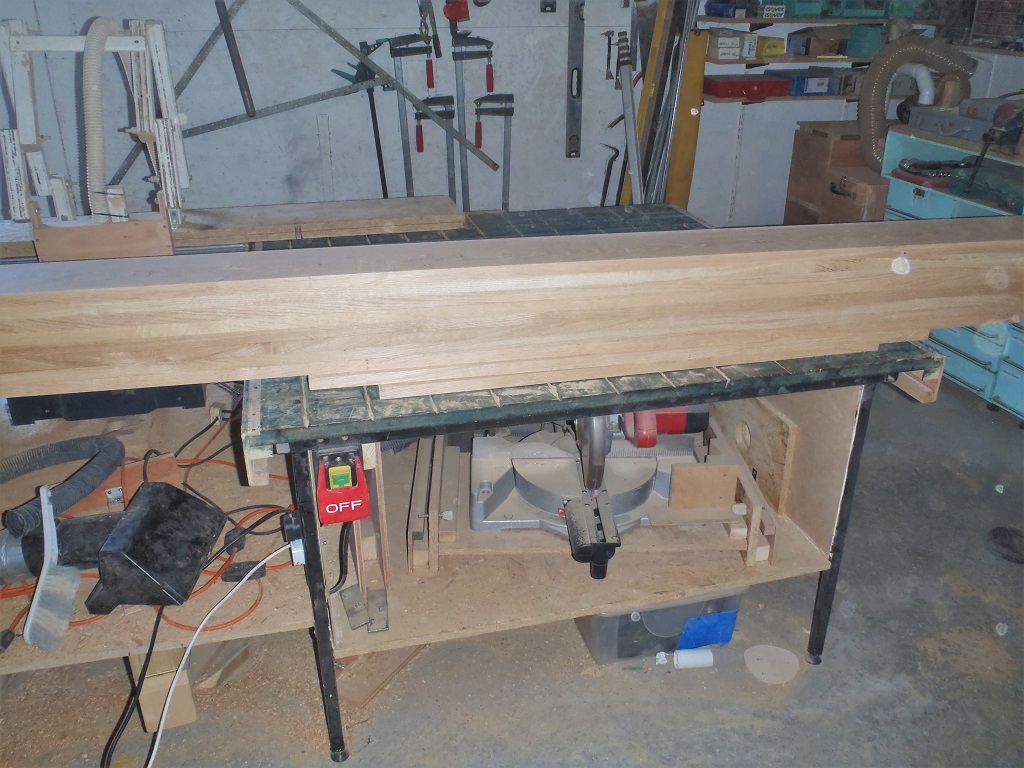
So we measured and cut the pieces for the fifth channel, took it outside to set it against the real world and proceeded to complete it by late evening to dry and cure overnight.
The last proper channel we will make is for a straight one for the Side Porch which we will do on Saturday and then we can start putting up the Fascia boards.
Category: Guttering
Everything to do with the Guttering including facia etc.
-
Rubber Membrane Ordered and Fifth Downpipe Channel Created
-
Downpipe Channels Acquire Plastic Pipes
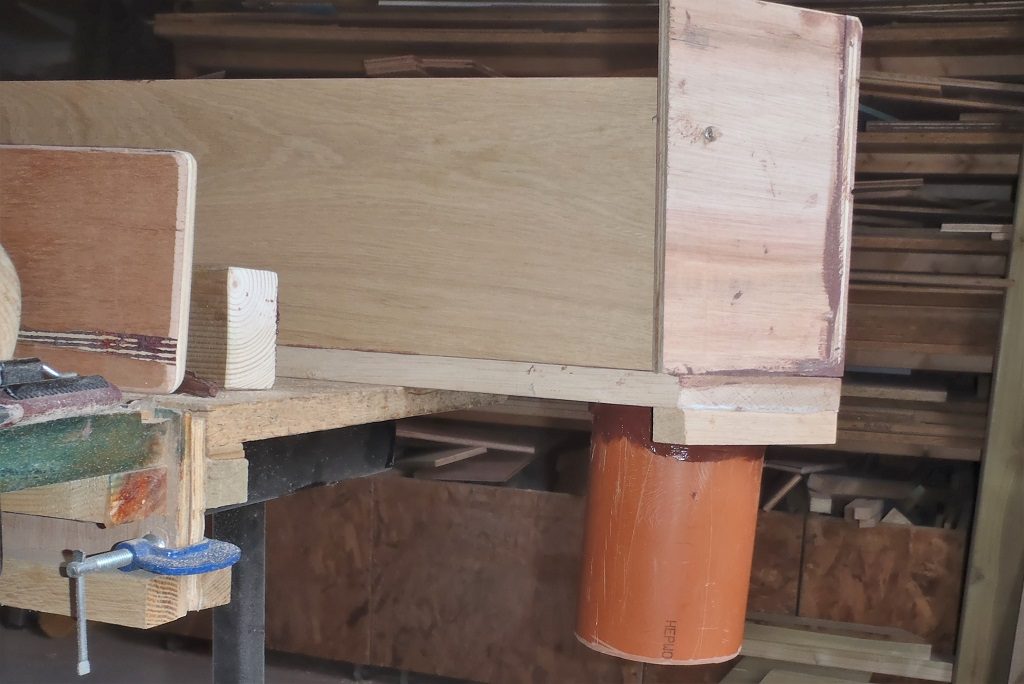
Today, we carried on with the creation of the Downpipe Channels by having a large 110mm diameter hole cut into the base boards at the bottom of the sloping drainage channels. We took some left-over plastic rain water underground pipes and cut them up into about 180mm long pieces so it will stick downwards underneath these chutes and connect to the main downpipe that is going down into the rain water collection pipework.
But we had to reinforce the surrounding area around the large hole (with another 20mm thick half circle of Oak) so the plastic pipe will be securely held by the glue and survive being push about when we connect all the pipes together.
We also got out some spare left-over rubber sheet and cut this up into two strips of 500mm wide by 3metres in length. Using a spare smaller piece, we tested to how small a hole in the rubber we could go down to and still push in a modified plastic ring (cut from more of the same 110mm plastic pipe but also a vertical chunk missing so it becomes like a springy C clip) which allows us to squeeze the rubber down inside the main pipe and securely hold (with friction and glue) into the top of the downpipe.
Pipe-sticking-down-out-the-channel
The-hole-is-as-far-into-the-end-as-possible

Rubber-lining-with-Hole
We finished off the day by having all four of our wooden Oak channels fitted with their little plastic pipe segments.
And tomorrow, we will stick down the rubber membrane inside these channels and that will be that! -
Four Downpipe Channel Created
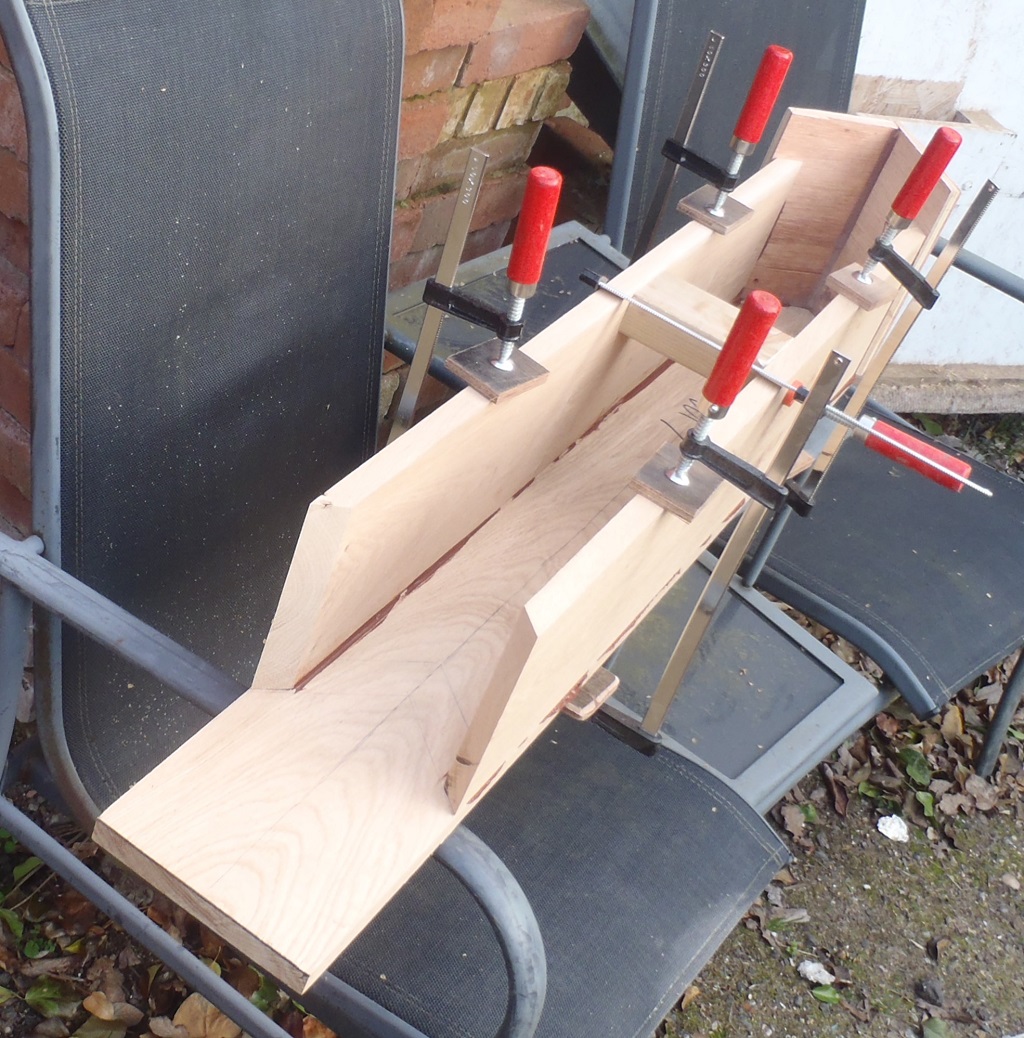
The last two days have seen the development and creation of the first four Downpipe Channels or chutes. Using our lovely Oak timber we planed last week, we made the base boards with a 44° and 46° angled “arrow” on one end, then took them outside with some straight metal bars (to act for the Fascia boards) and measured the real world situation regarding exactly where these Downpipe Channels are positioned in relation to the main Fascia boards and the gutters.
Then, we made a simple plywood end caps, and sliced a compound angle of 45degrees and 1degree angle on both ends of each side wall of the channel (another Oak timber piece).

Corner-gutter-channels-assembled
The biscuit joiner was employed to help keep the two side walls neat and locked into position and then all was glued together using our brown silicone glue. Everything was clamped together and left to dry overnight.
Tomorrow, we will drill a large 110mm wide hole into the base board right at the bottom end of the channel and then wrap and glue a piece of rubber membrane inside surfaces to provide the waterproofing layer for the wood. We are using rubber as it is far more flexible than fibre-glass resin as any timber constructed building will have a bounce and movement in its structure and hard resin will crack eventually. -
Downpipe Channels Designed and Required Oak Timber Planed
Today, we processed nine pieces of Oak Timber, this being the results of some design work a couple of days ago in order to provide a path for the rainwater back from the main guttering channel and feeding the water to the down pipes in the corners of the building. These horizontal Downpipe Channels are made up of a base board 160mm wide which has two vertical sides also 160mm high sitting on the outer edge, and these pieces are all 20mm thick.

Newest-pile-of-planed-20mm-Oak-1
Newest-pile-of-planed-20mm-Oak-2
The pile of planed Oak Timber, which originally started off being 26mm thick rough sawn of variable widths (from about 170mm to 200mm wide) and all 2metres long. The planer (with help from the circular saw too) did a great job of generating nine flat and straight planks. Lovely!
On Monday, we can start making these Downpipe Channels which will allow us to then start putting up the Fascia boards – At Last! Hurray! -
Analysis and Quantifying of Oak Timber for the Facia Boards and Gutters
With the wet weather suddenly dropping on our heads, we went back to the task of analysing and quantifying what we will need to put up a facia board right around the whole house and also to build the gutters too, all using Oak Timber.
The approximate measures are as follows:
. 77 metres of Facia – 150mm high by 25mm thick
. 85 metres of gutters – 100mm wide by 19mm thick
Then the downpipes which are 100mm wide types, needs to be covered up in the corners so that is another quantity of Oak Timber.
This set of numbers all gets added to the next analysis task of quantifying the amount we would need to do the window and door frames plus covering up the outside corners and also the porch pillars too. -
Quantifying the amount of Oak Planks
Today was spent on the computers, looking at the guttering, the facia and the windows, to decide on what kind of Oak we will need, what size and how much. The items we are examining are as follows:
· Facia: This would be 150mm high and at least 27mm or 40mm thick.
· Gutters: These will be 100mm high by 100mm wide and probably 20mm to 25mm thick.
and for windows ..
· Vertical frames: 40mm to 50mm thick by 75mm wide
· Lintel and sill: 50mm thick by 150mm wide.
It seems that the prices for Oak comes in a variety of different packages, bundles where width can be a little random but all the same thickness and length which is about £1200 per cubic metre of total Oak, or more precise and controlled width along with thickness and length will cost more at about £1500 per cubic. These are for seasoned Oak, but there are green waney boards that comes in at a starting price of £750 per m³.
It is an interesting choice and we have to decide on what level of work we want to do ourselves, what chance we will take to what comes in a package and what the quality of the supplied Oak is too.
More analysis and calculations are needed before we can send off the final shopping list to these timber suppliers and get a final quote.