In these two weeks, there was a big disruption and stoppage to our work. The first week had only one successful day of work and that when we got the “D” section of the roof completed and got started on the “E” roof. The rest of that first week was spent recovering from the flooding we suffered during a very heavy rain storm, see Rain, Rain, Rain. for more details!
The second week was more successful thank goodness .. ..
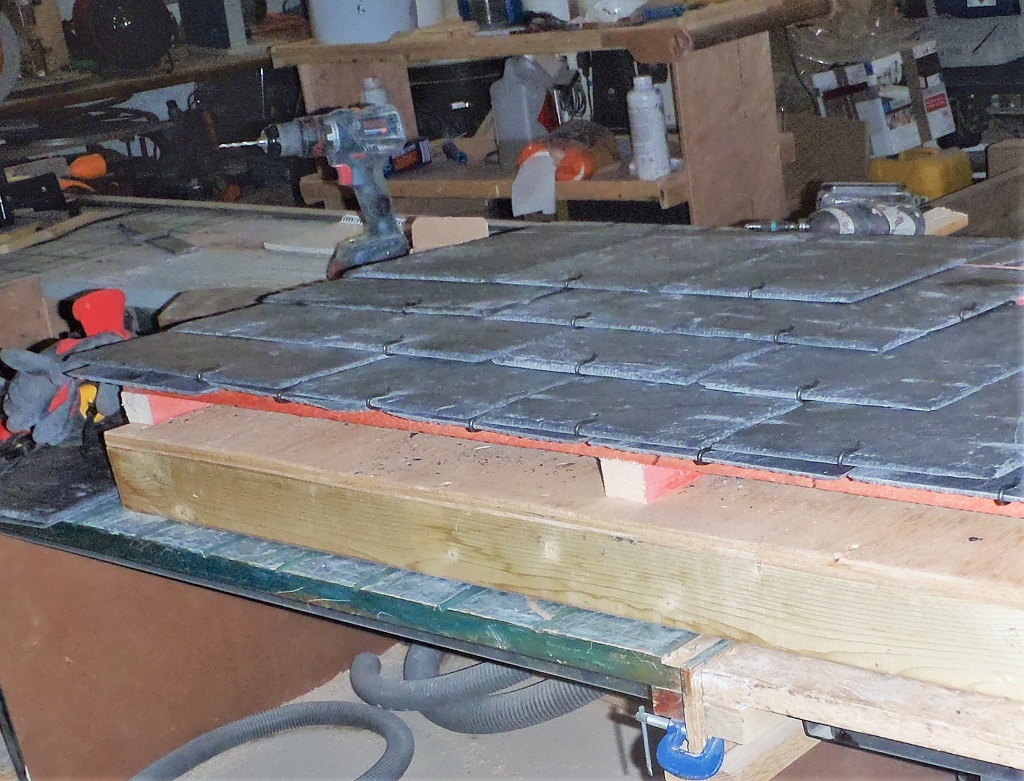
First day, Monday, was spent in the workshop processing five more oak planks to make the remaining guttering pieces. We were short by three base pieces and two front ones. We had some of each type left over so we used those ones as our template to duplicate the extras. It was a 4 stage process to cut the various tongue & groove edges, bevelled angled edge and making the tongue to fit the fascia slot. We finished this task with a morning session on Wednesday.
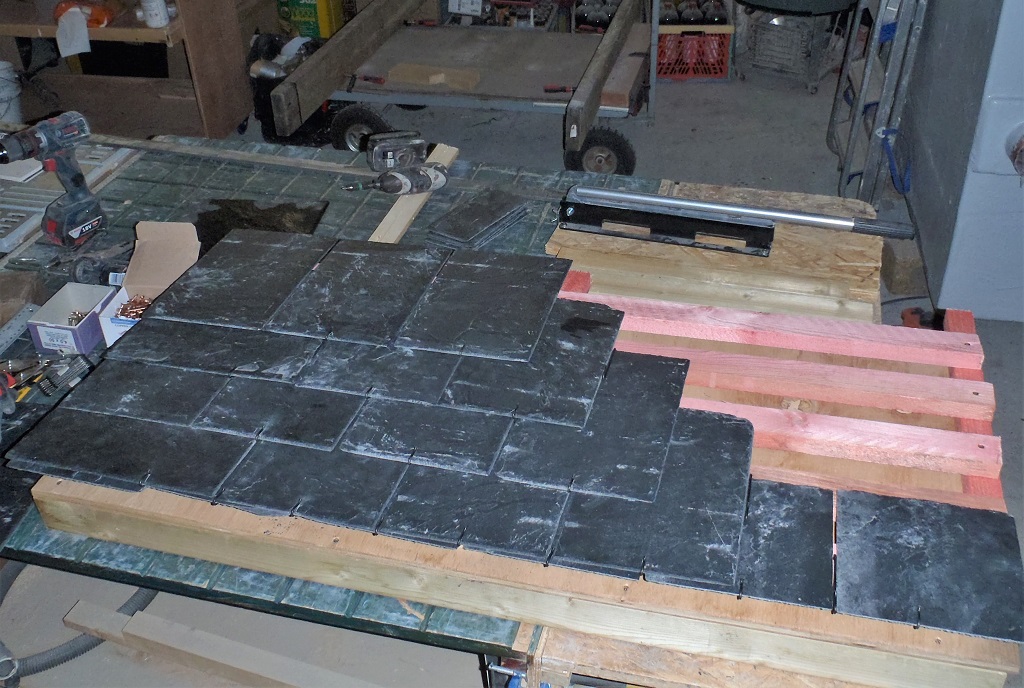
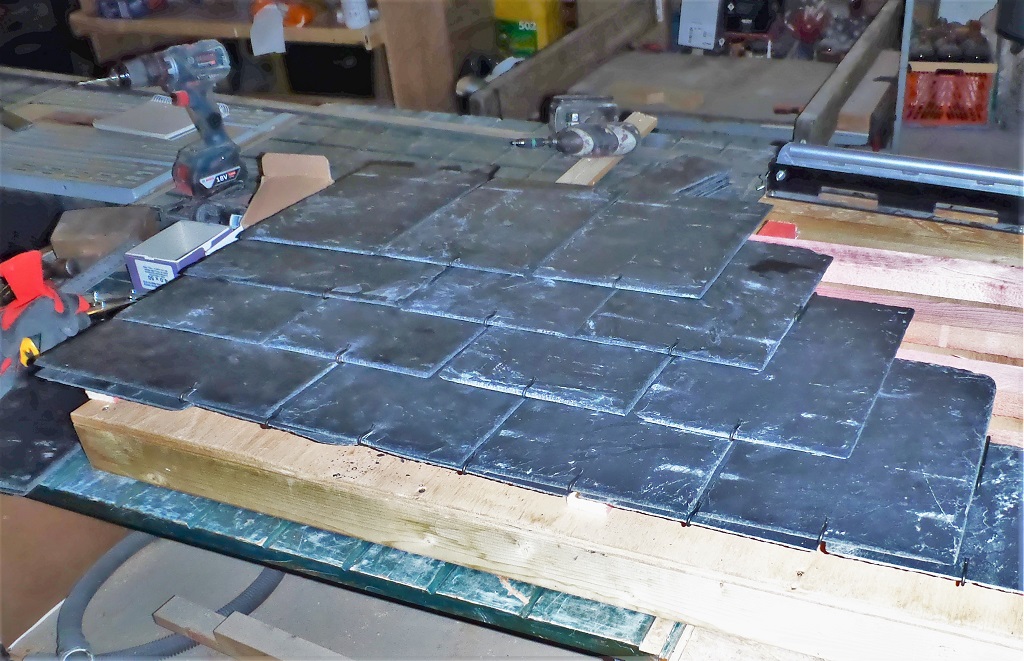
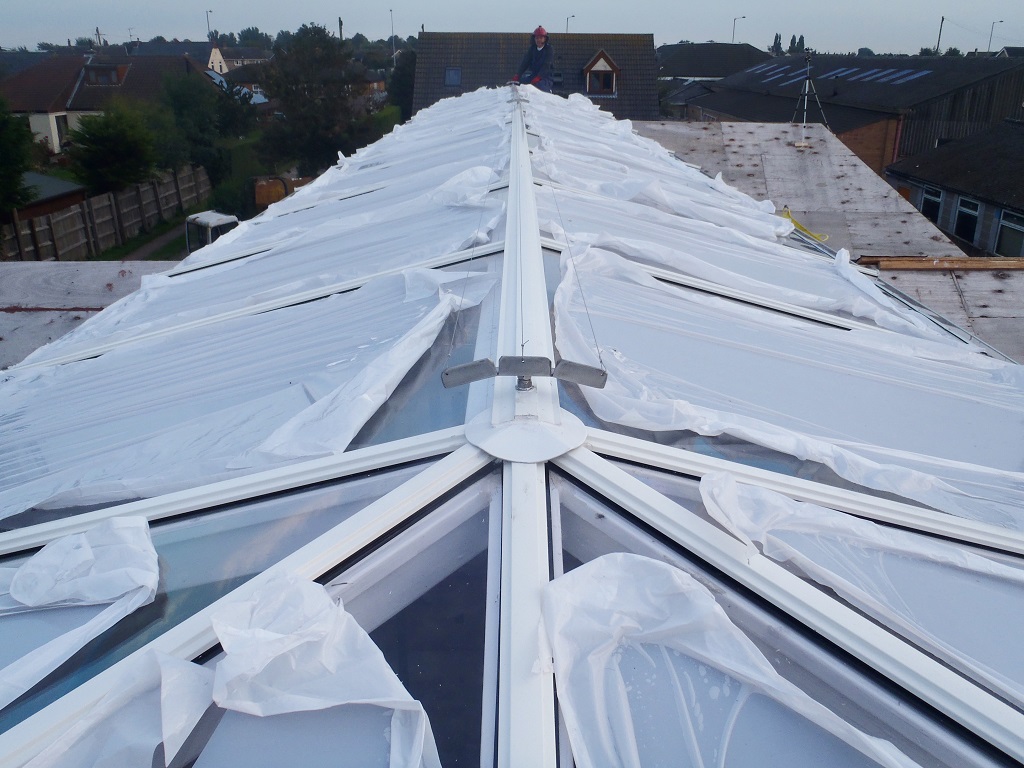
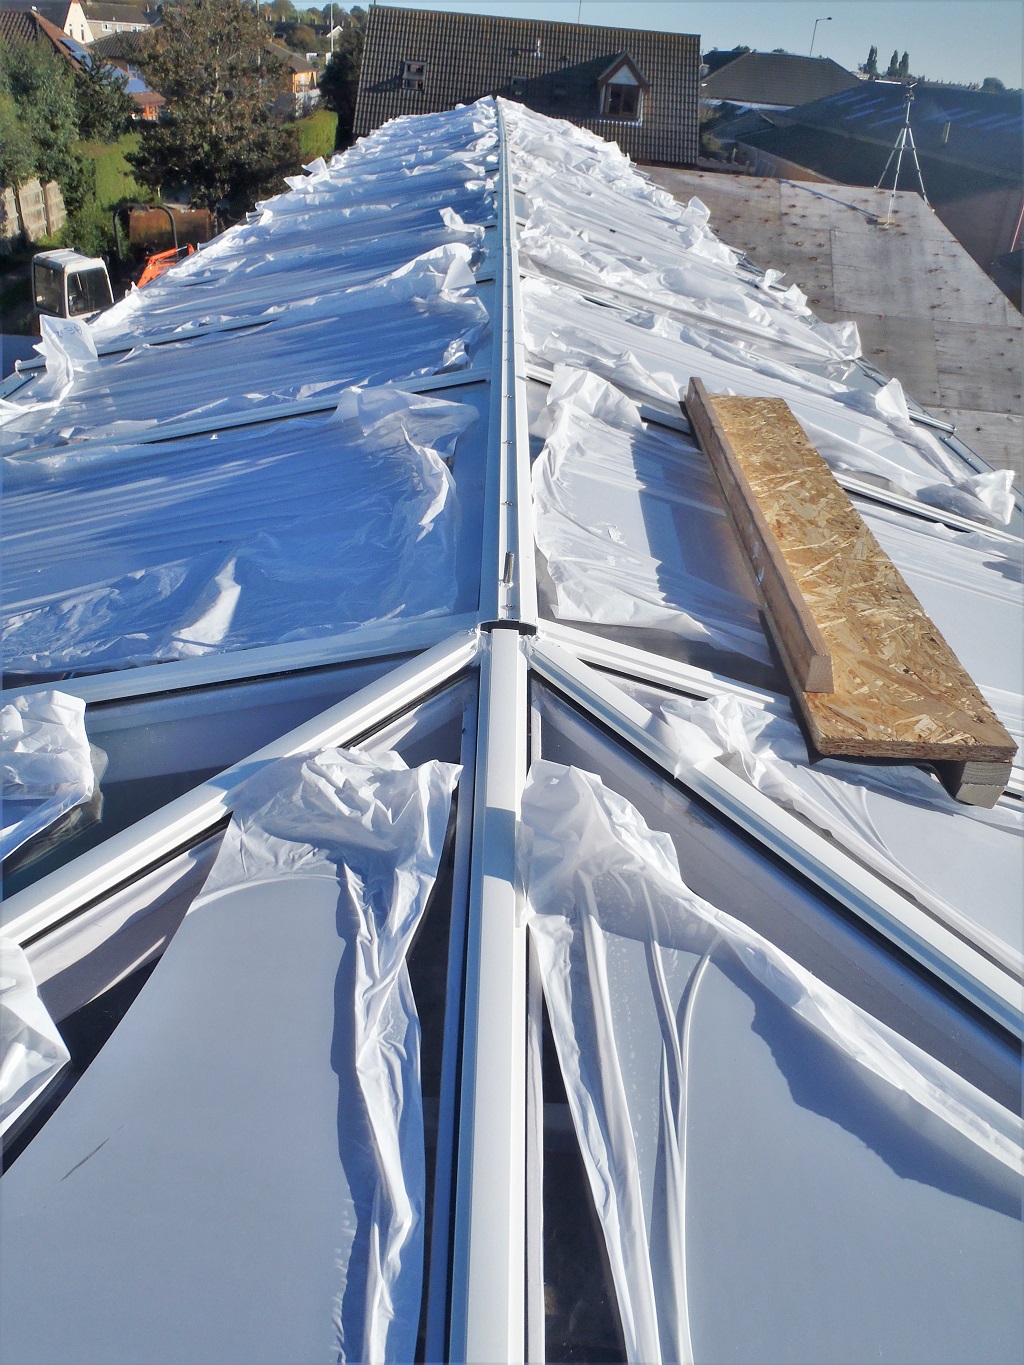
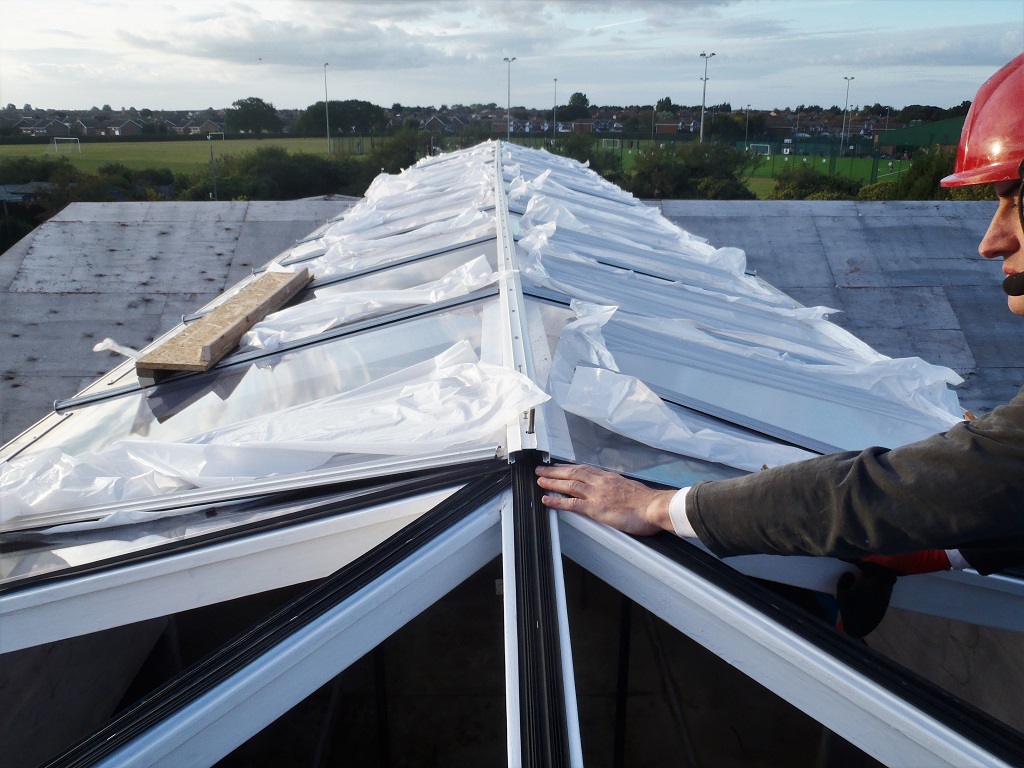
Fortunately, we had some dry days remaining so we got on with putting up slates up on the “E” section of the roof and got most of it covered by Thursday. We couldn’t go any further as we don’t have any access (safe access) from the other roof surfaces to finish off the section.
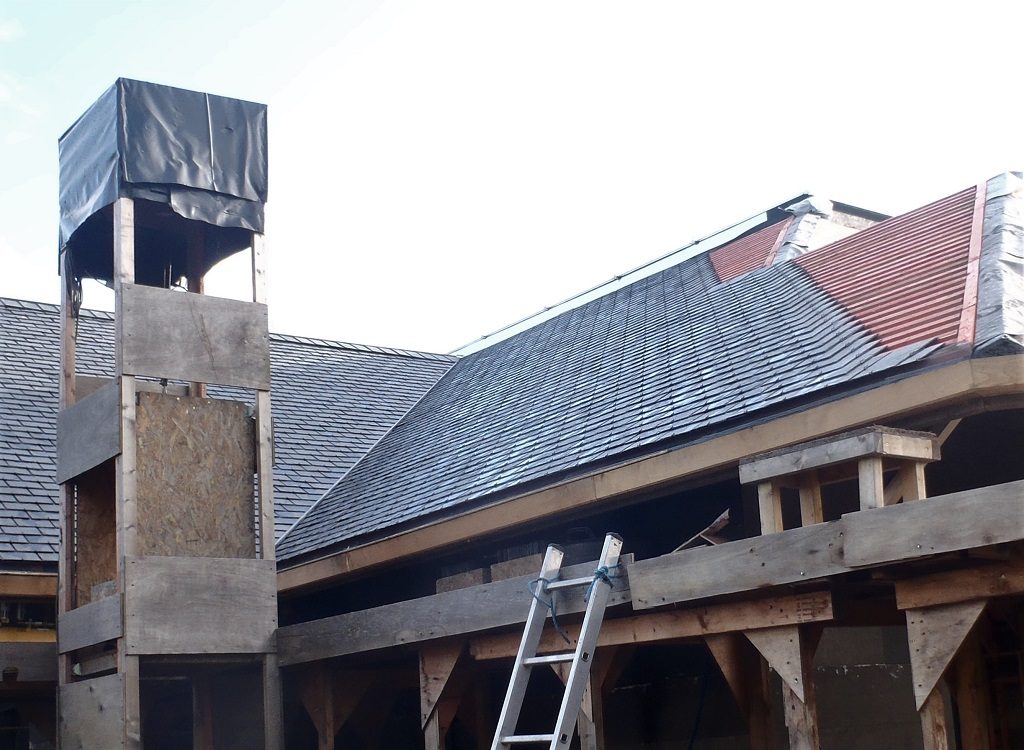
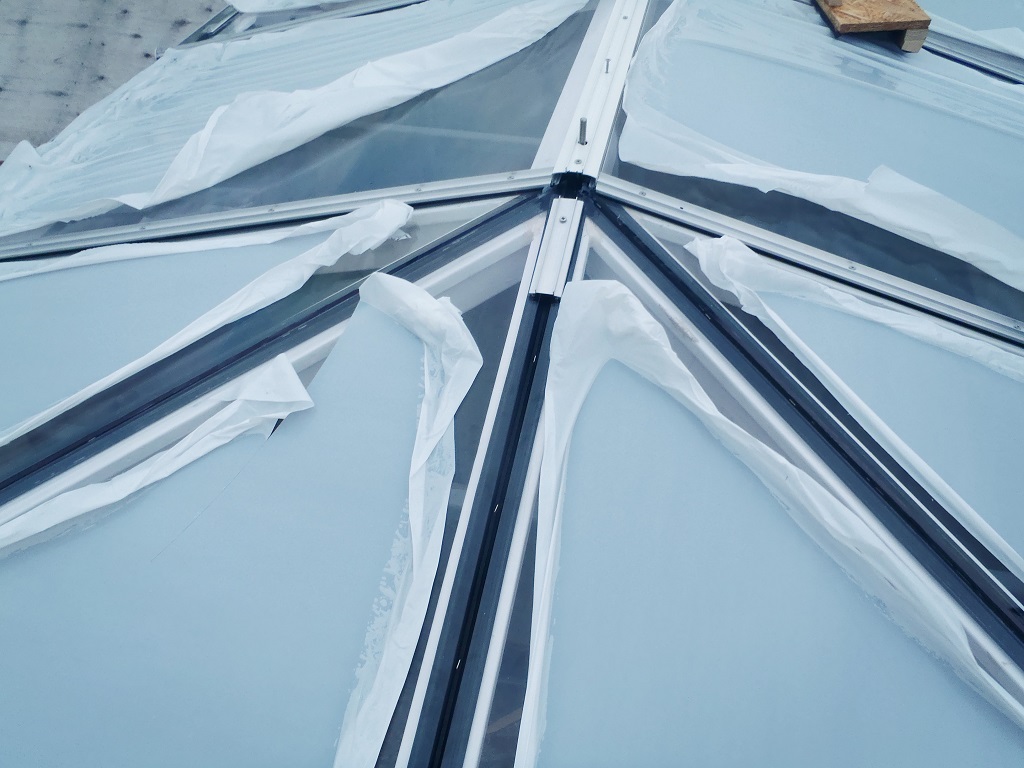
E-mostly-slated
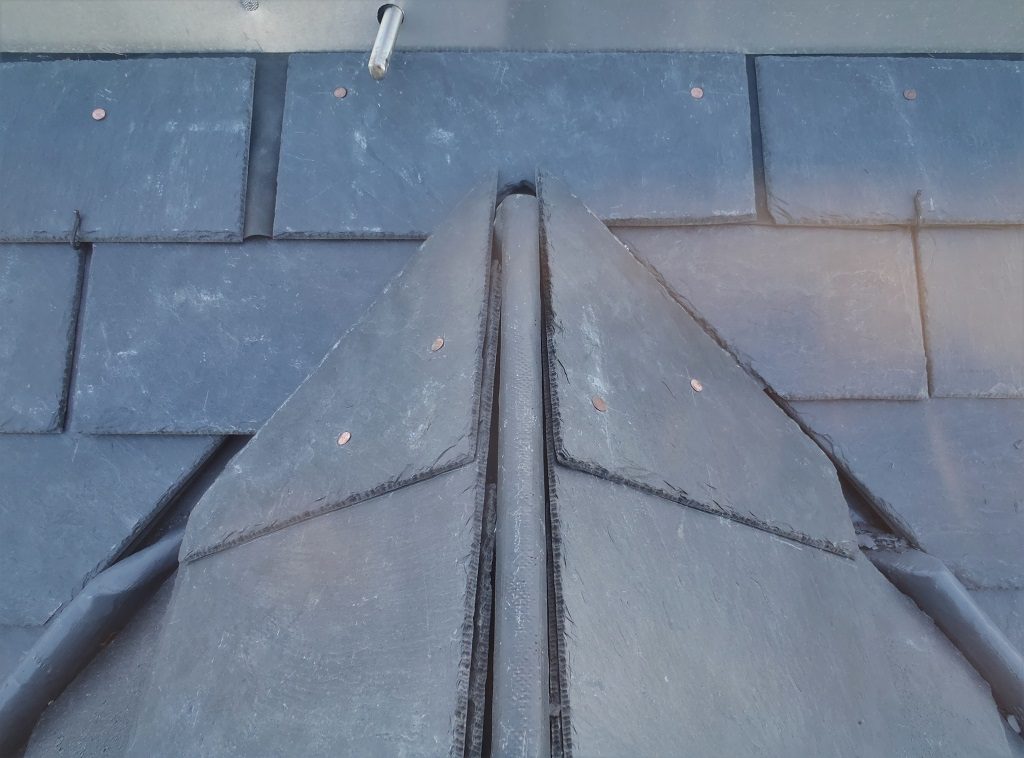
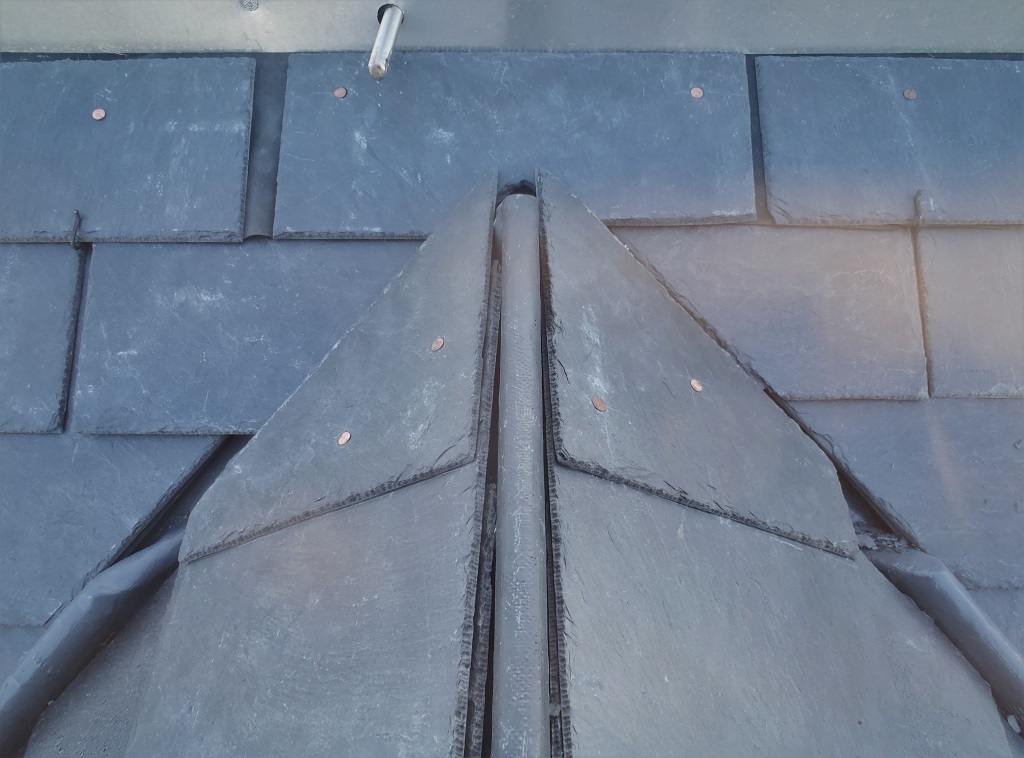
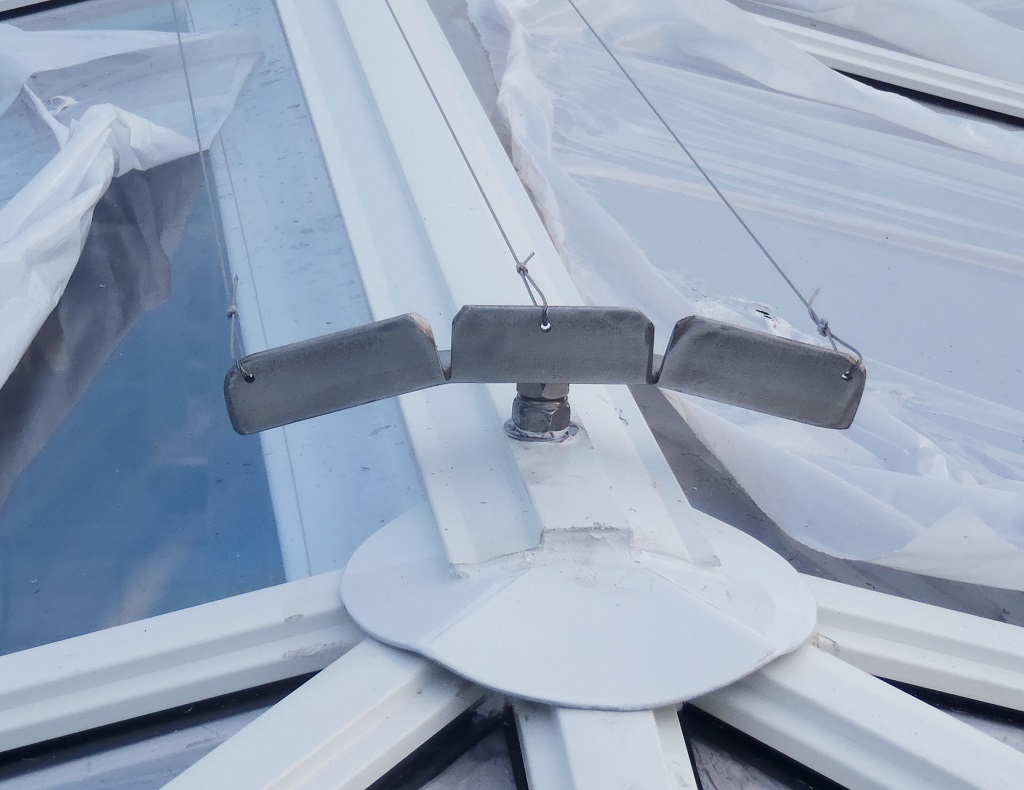
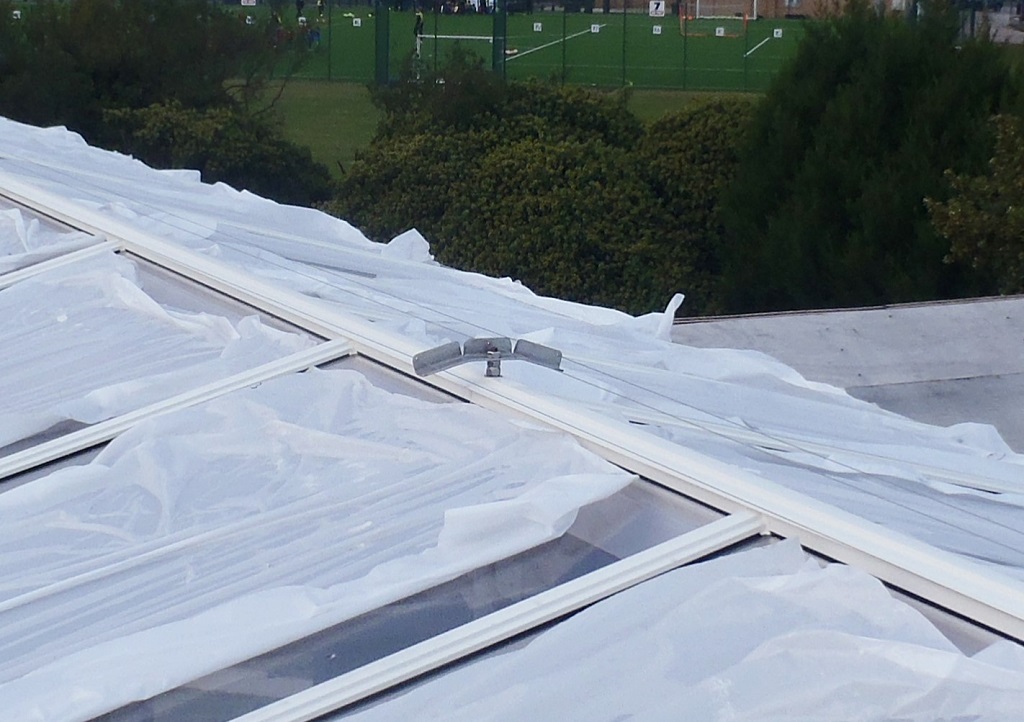
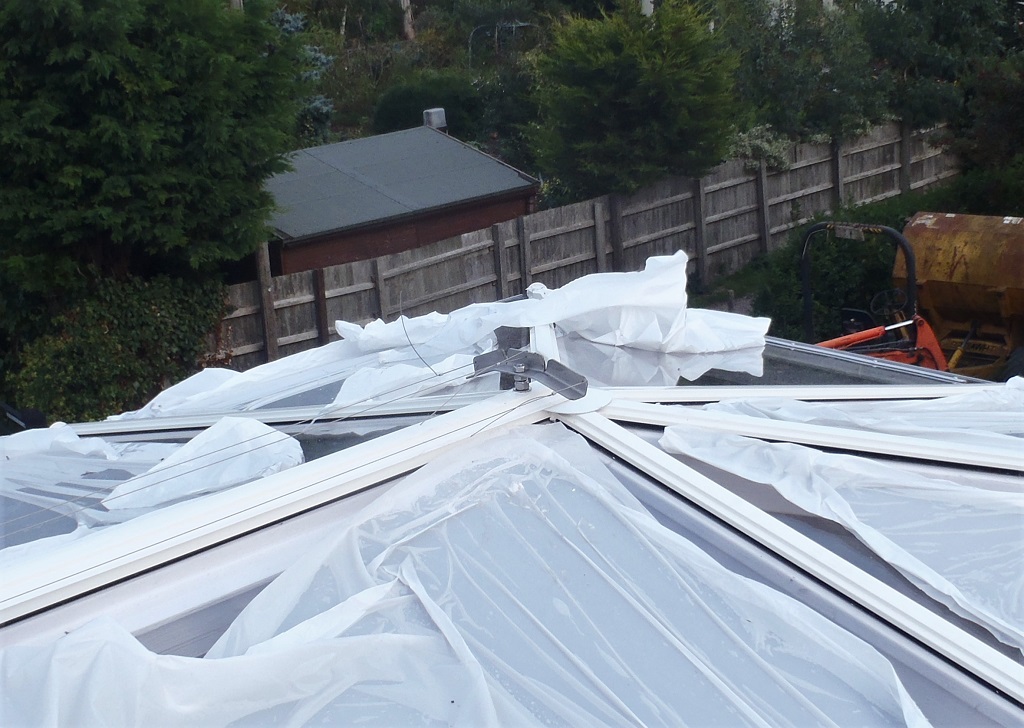
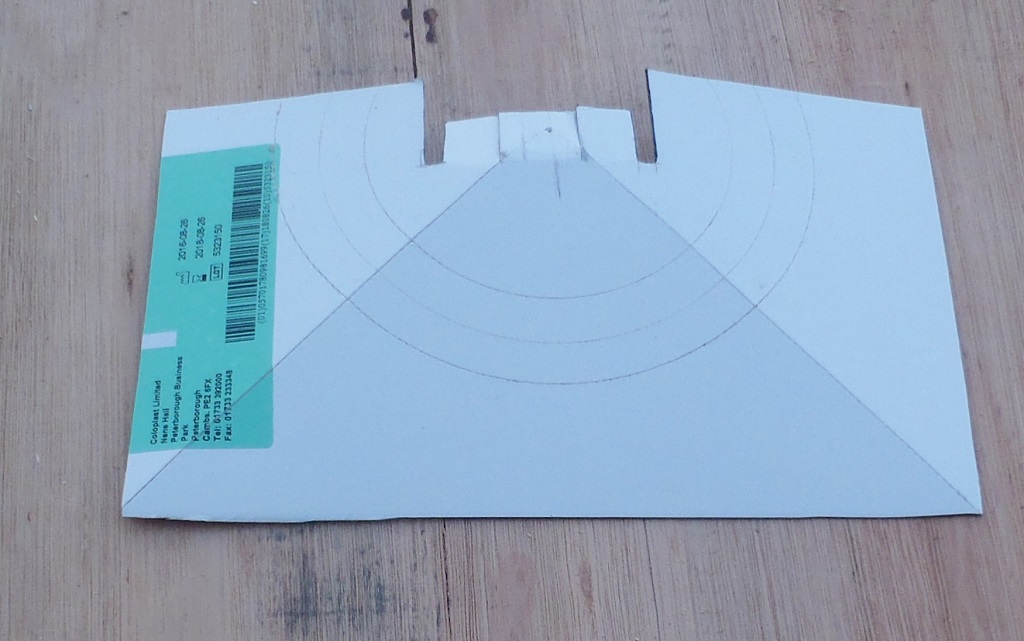
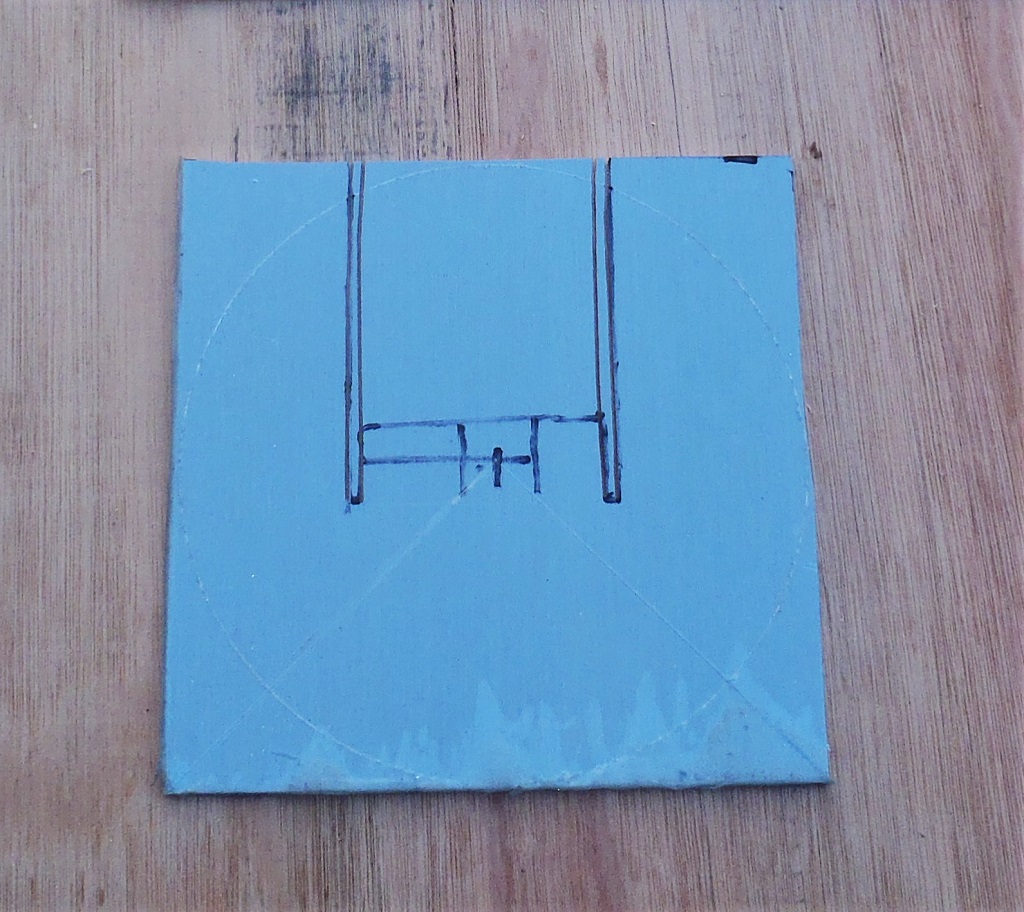
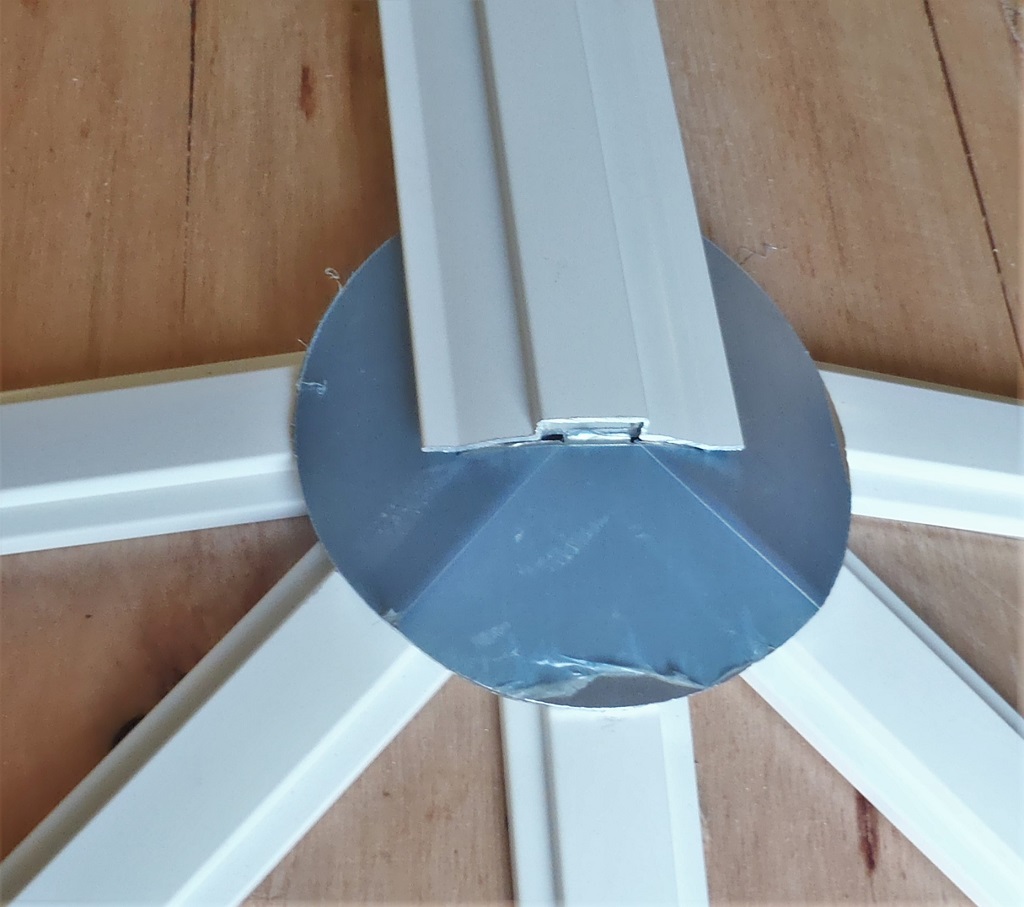
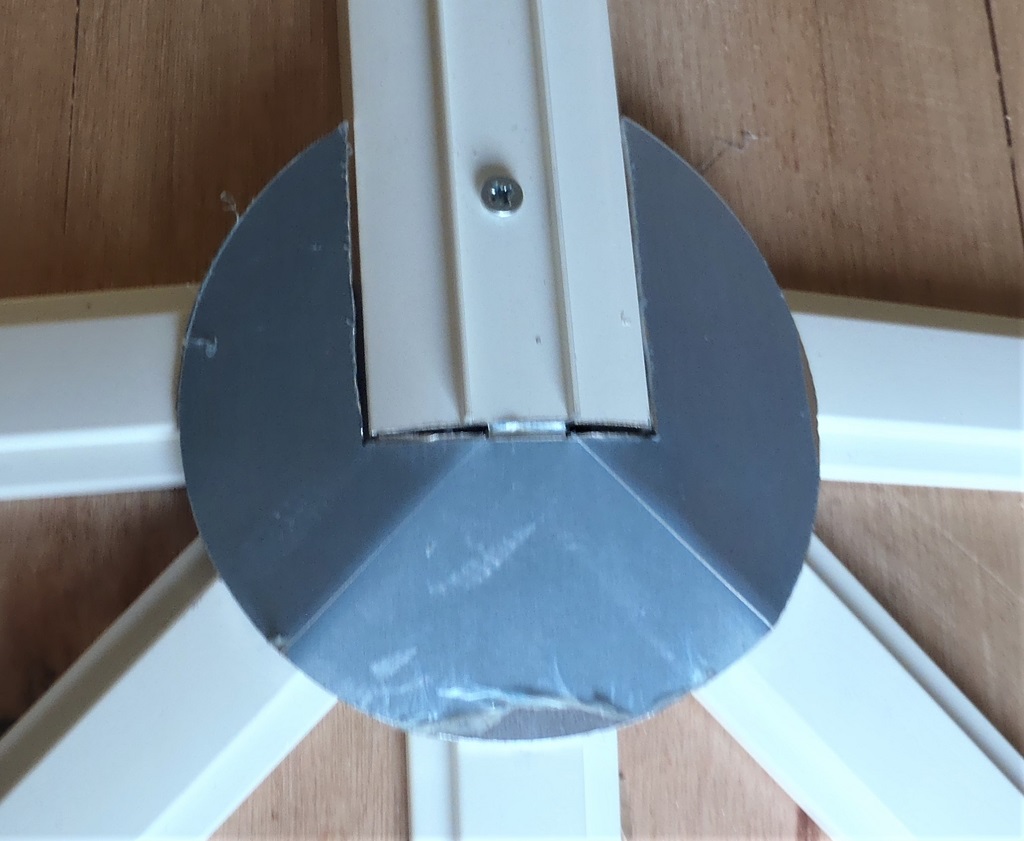
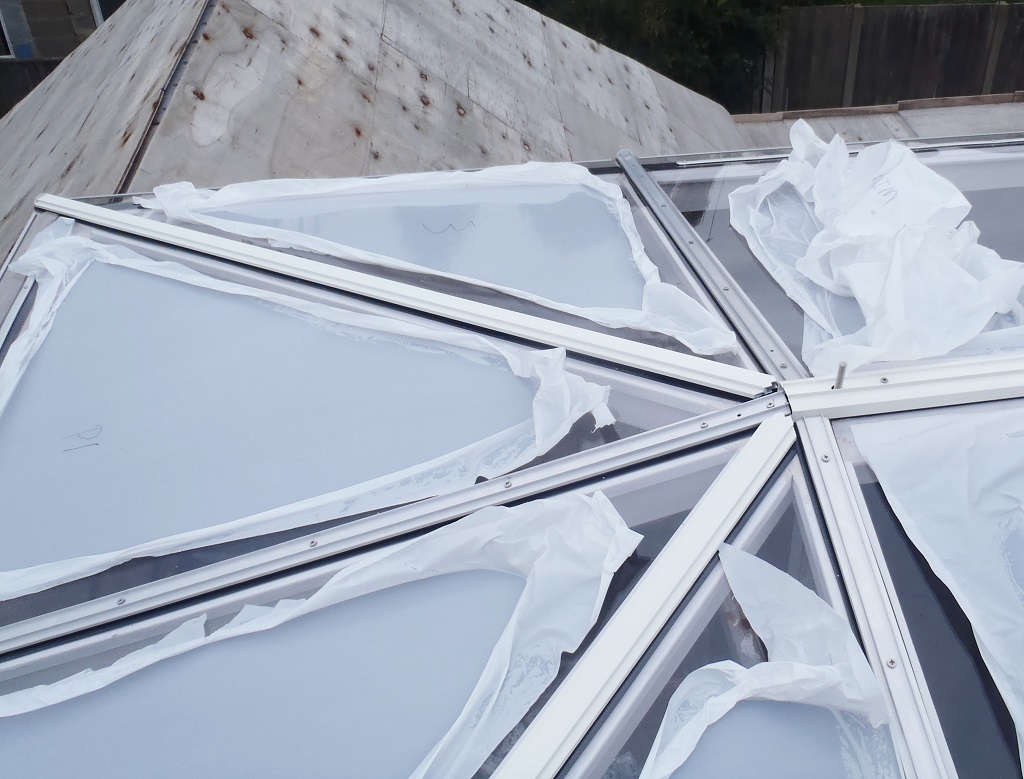
The-ABDE-Junction
Friday was an alternative day of work doing a hand rail for a family member and fitting it to their stairs. We made it using a 3metre plank of 27mm thick oak timber and planed it down to about 80mm wide with a gentle horizontally curving profile. Also we made a 45mm square post with another oak piece we had left-over from a previous job (the window sill).
And finally, on Saturday, we rearranged two platform modules to extend our walkway and working platform to reach the remaining “H” section of the roof and a bit of the original “I” section where we started this whole job.
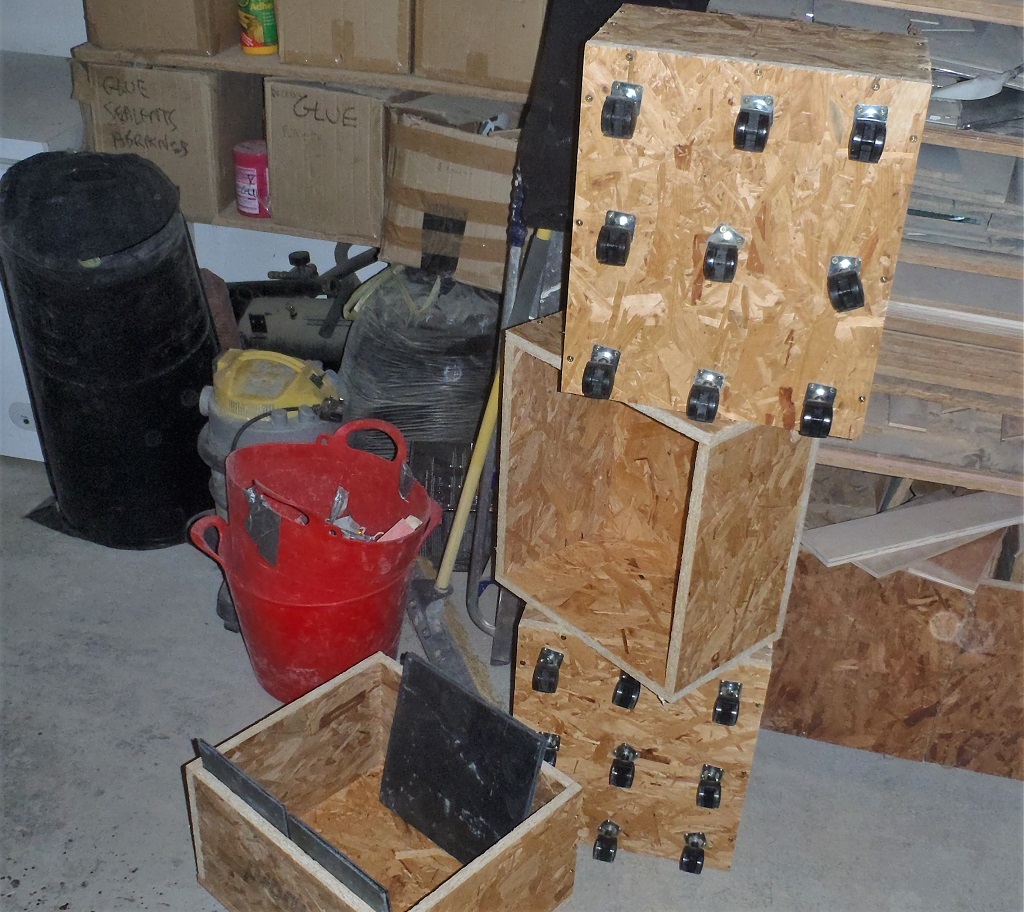
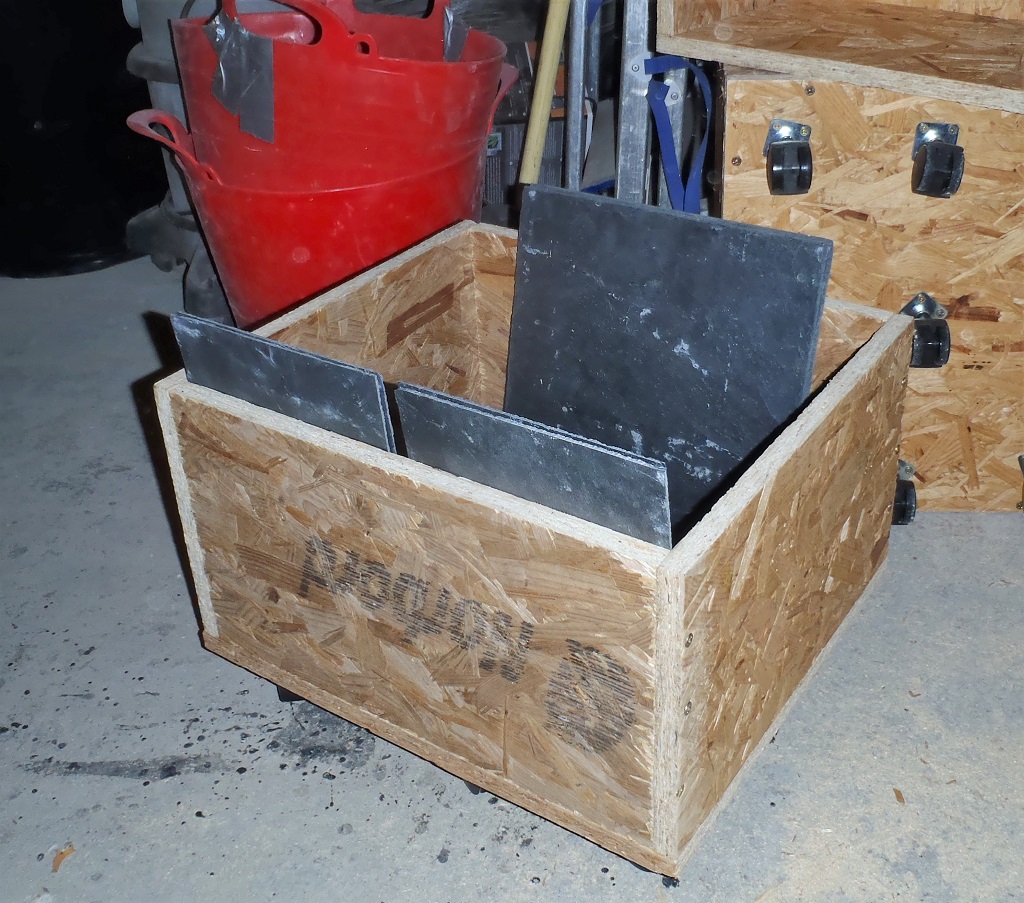
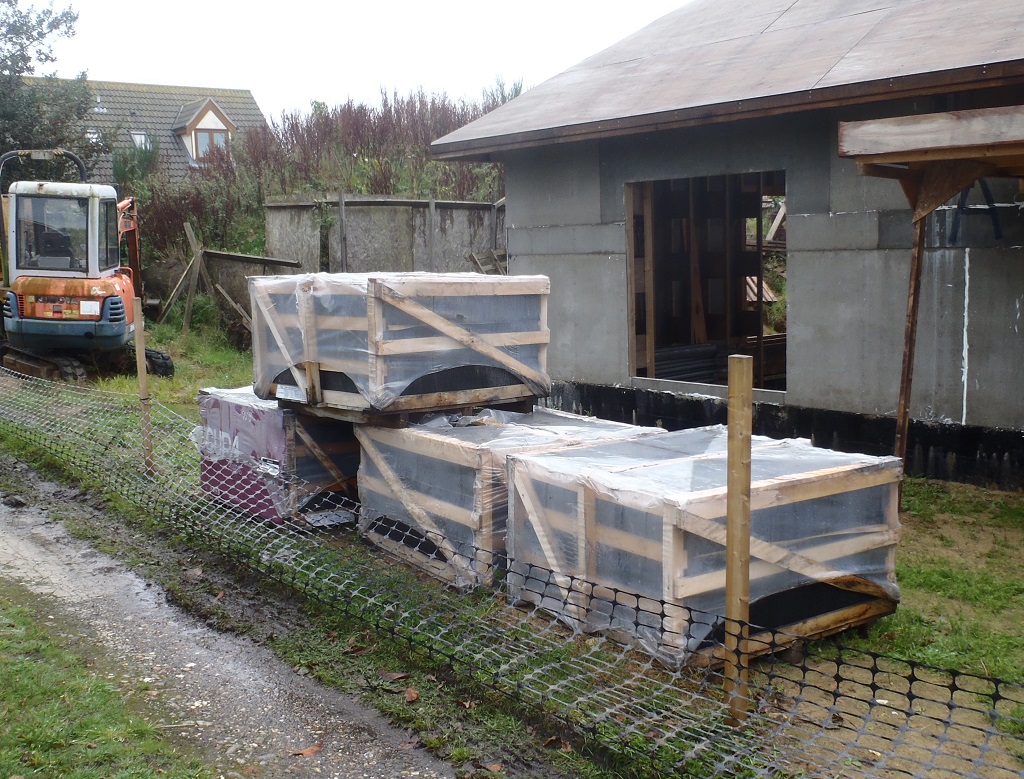
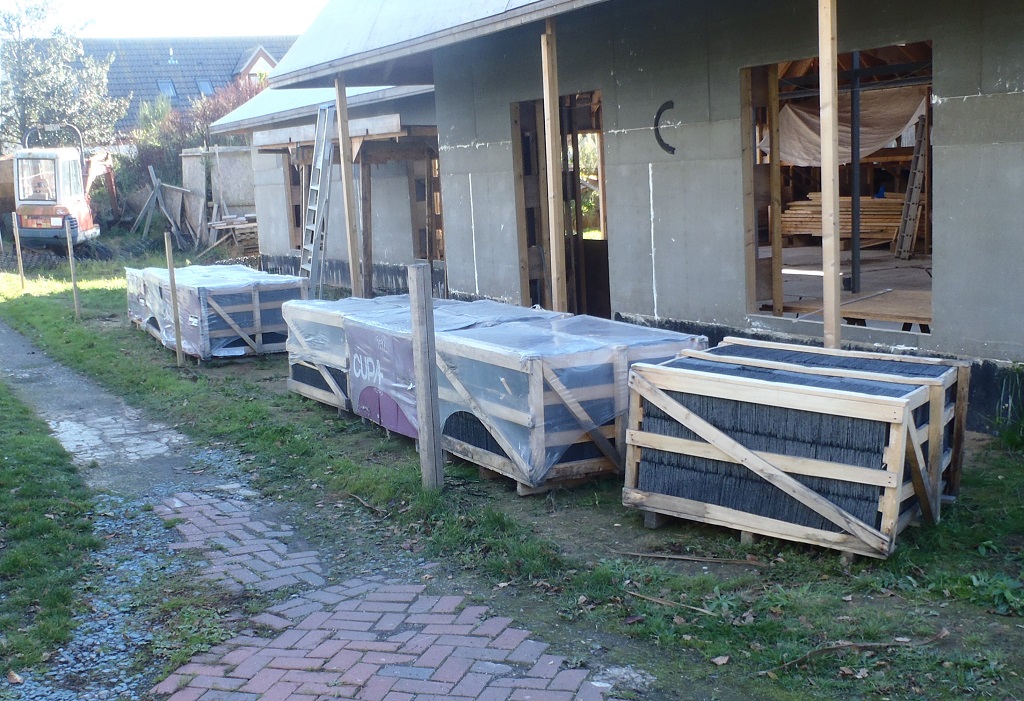
We had to move some empty slate crates and also coiled up two plastic conduit pipes that had been buried underground along the back of the house for various old functions in the past.
The afternoon saw the base pieces of the guttering cut and test fitted (but not glued) to section “G” and “H”, to rejoin back to where we started all those months ago!
What was quite odd and amusing is that this last section along “H” saw the most wobbliest stretch of our fascia we have had in the whole of the roof and we had to make some minor adaptions to our base boards to make them fit in a straight line. Nothing complicated.
(no picture as it got dark!)
So next week, we will get the gutters finished, fibre-glass and black resin the final three corners, put in the rubber liners and then put up the breathable membrane and wooden battens up the roof.