We carried on making the second of the two special end caps for the ridge bar, shaped to cover over the five rafters all coming into one point at the end of the central ridge bar. After filing and rubbing the edges smooth, we then sprayed them both with several layers of metal white paint and, to speed up the process, put them into our oven at 50°C to dry them quickly.
Meanwhile, we took up the white rain guard covers for the ridge bar and using the two longest lengths, we fitted them at each end (making a clearance hole for the threaded rod) and loosely fitted them. We weren’t ready to snap them down just yet. The next piece was measured to meet (and go just beyond) the middle threaded rod position but we discovered that about 1metre (3feet) was slightly distorted at one end and when it met its sibling piece, they were obviously mismatching.
So after lunch, we decided to used a another piece of the rain cover, left over piece from doing our fourth and final piece and replace the ‘damaged’ section with a fresh and clean piece. It now aligns up very nicely!
Then we went along the whole length of the ridge bar and using a pair of pliers, we twisted very slightly the metal edge at every 500mm, this edge being what locks the rain cover down. It was too loose and then bends make it tight (we had to hammer it in place!), we don’t know whether it is a design flaw or the manufacturer expected us to do the trick of ‘denting’ the metal edge, we don’t know? shrug shoulders!
Now we were ready to apply the white PU sealant to the end caps (these were screwed into place) and then proceeded to snap the rain guard covers into place for the final time. The joints had some further white sealant applied and this included around the holes that had the threaded rod poking through too.
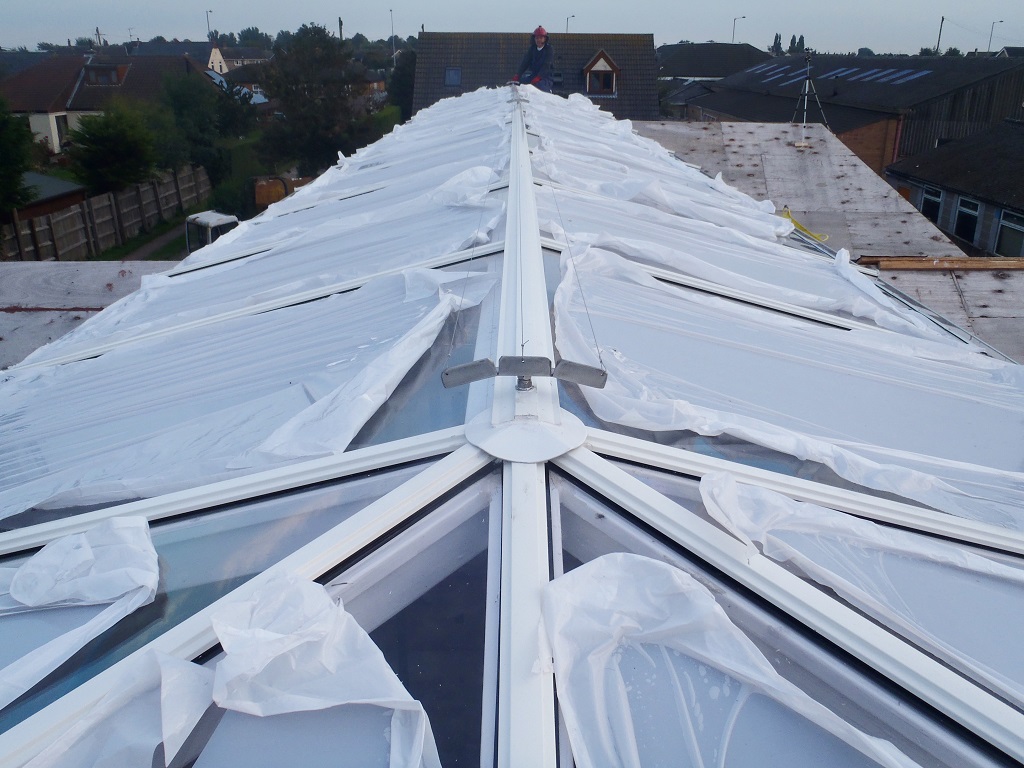
Skylight-construction-complete
Next, we returned to our workshop to create our Bird Disruptor (We have noticed the bird’s really liked perching on the skylight so we decided to add some deterrent in the form of 3 fine wires stretched just above the ridge to give birds a scare when they try and land on the ridge) . We made three 200mm long supports, using stainless steel angle iron and then drilled one big central hole (for the 10mm threaded rod) and another three tiny holes (for the thin wires) and cut half way through one flange at 66mm (third the way in from the ends) and this allowed us to bend the piece with a 15degrees angle, to follow the slope of the roof. After grinding and rubbing all the edges and corners, to make it smoother and softer, we then took them up to install it on our skylight, along with three length’s of 1mm thick stainless steel twisted wire and stainless steel nuts and washers to clamp them into place on the three threaded rods.
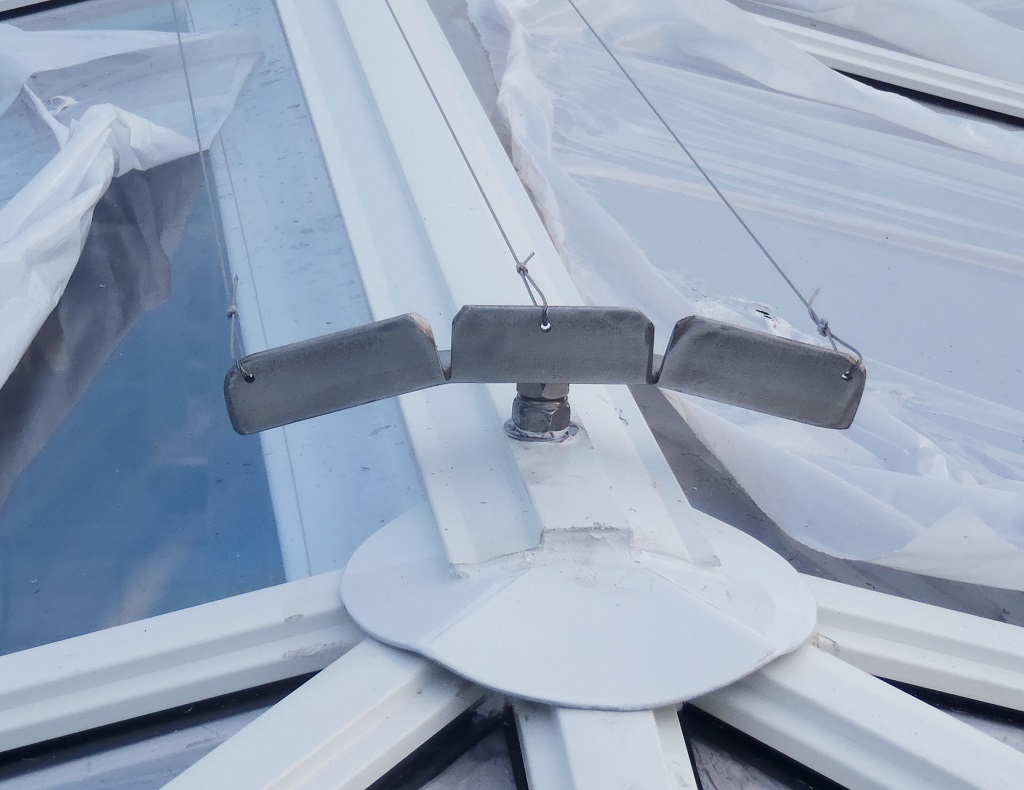
Bird-deterent-system-One-End
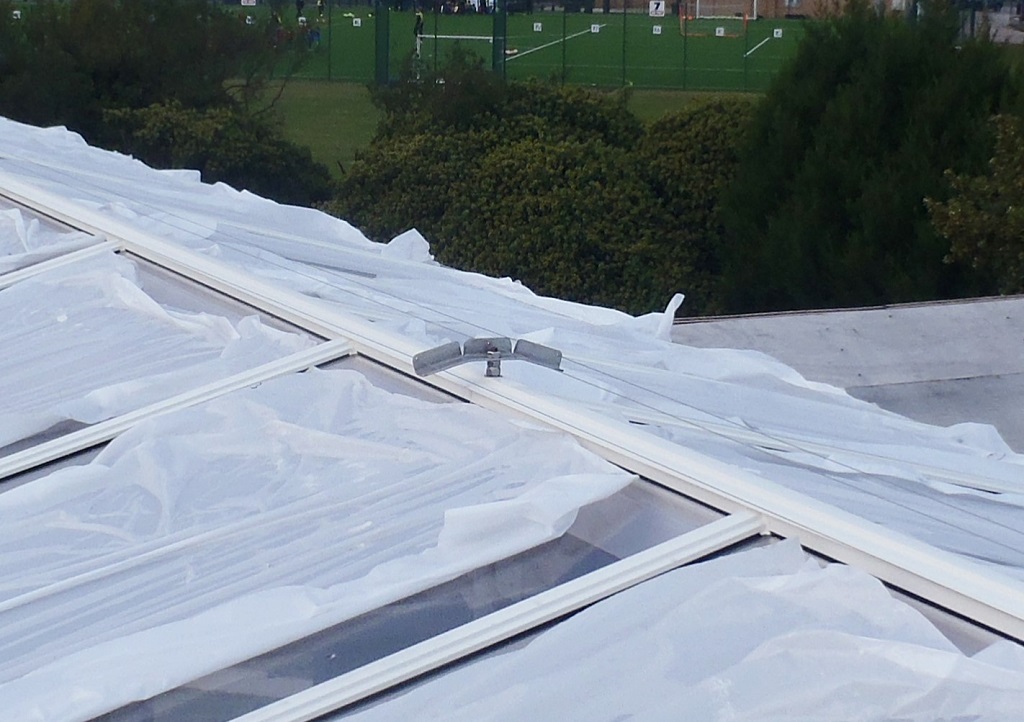
Bird-deterent-system-Middle-support
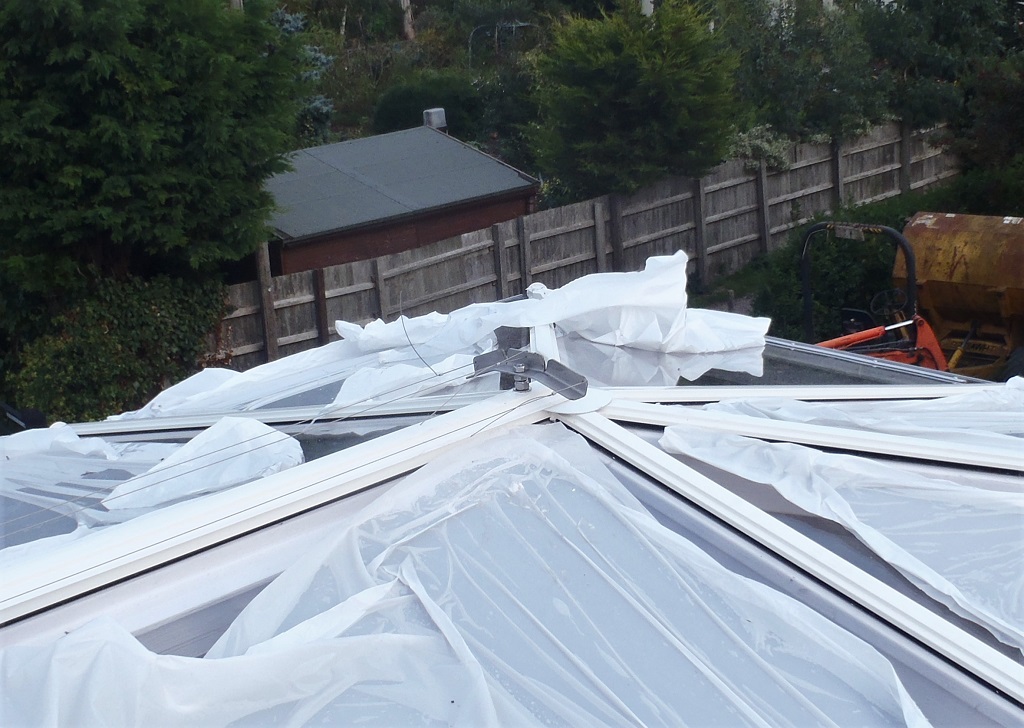
Bird-deterent-system-Other-end
Tomorrow, we will then do the final ‘grand reveal’ by going along and pulling off the last of the protective cling film covers on the polycarbonate panes and give everything a clean and polish to make it sparkle! Hopefully we will have some good sunny weather!
Leave a Reply
You must be logged in to post a comment.