Category: Roof

  • Roof Nailed and Covered with Rubber!

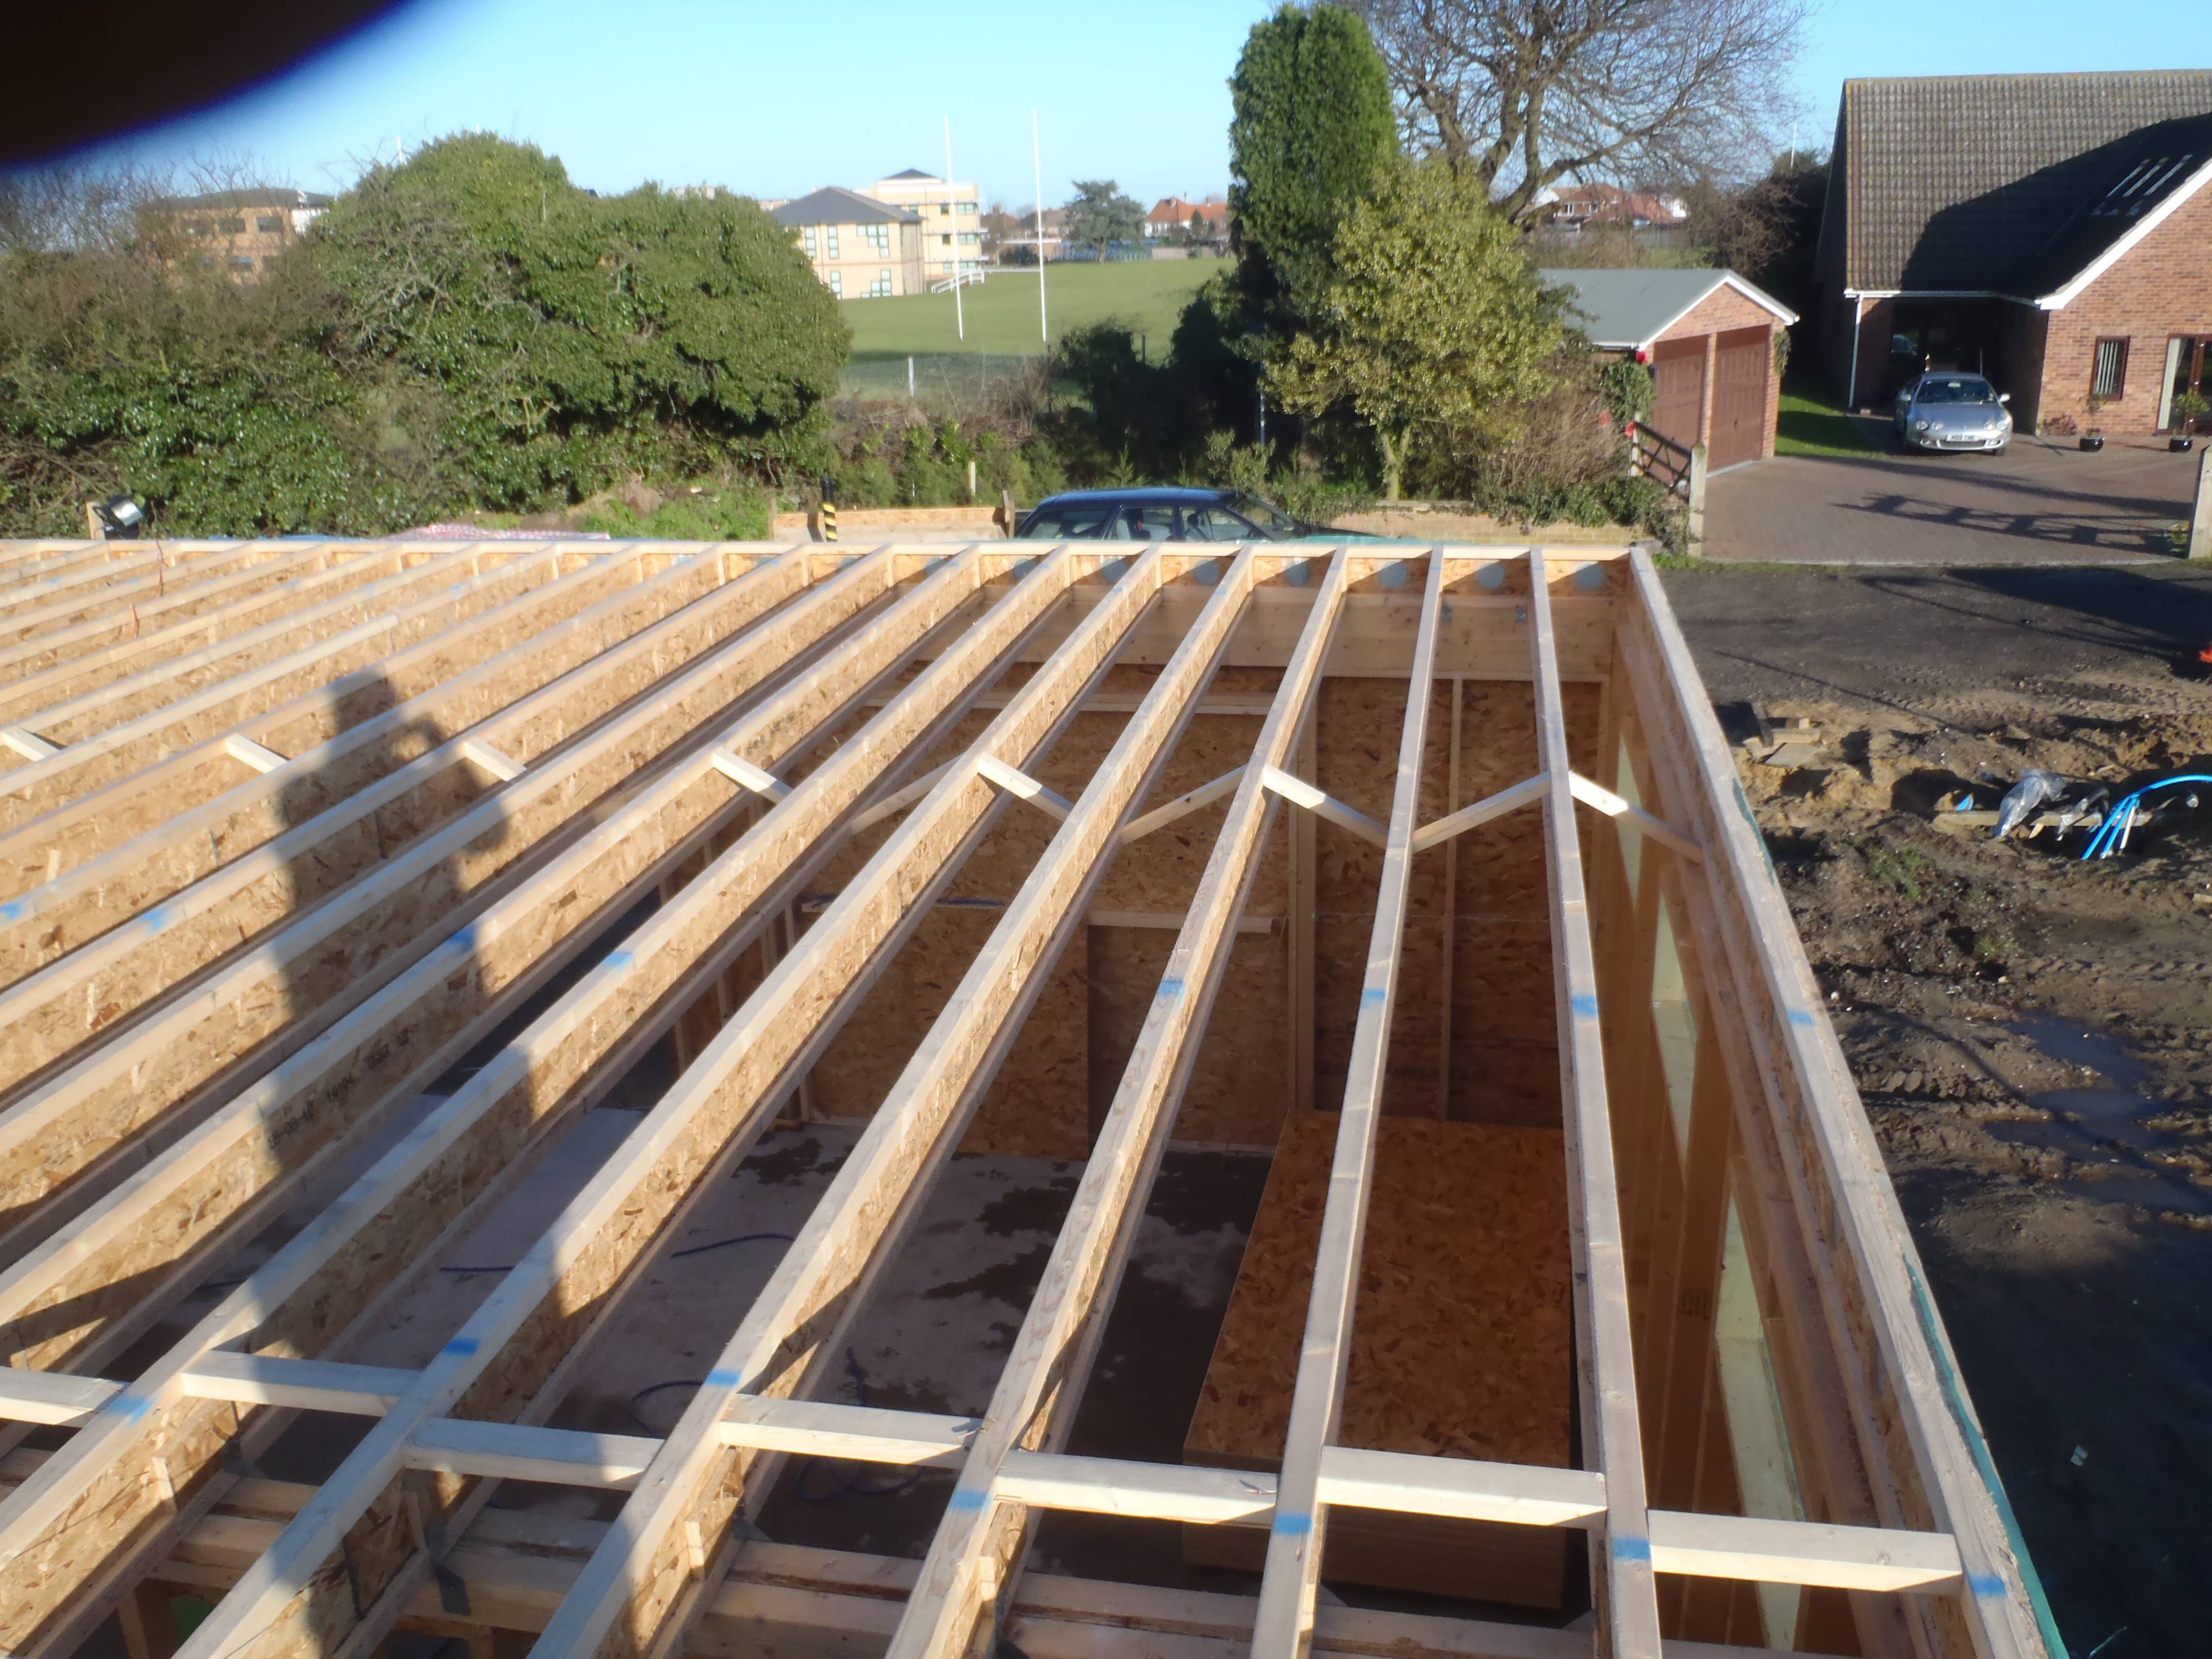
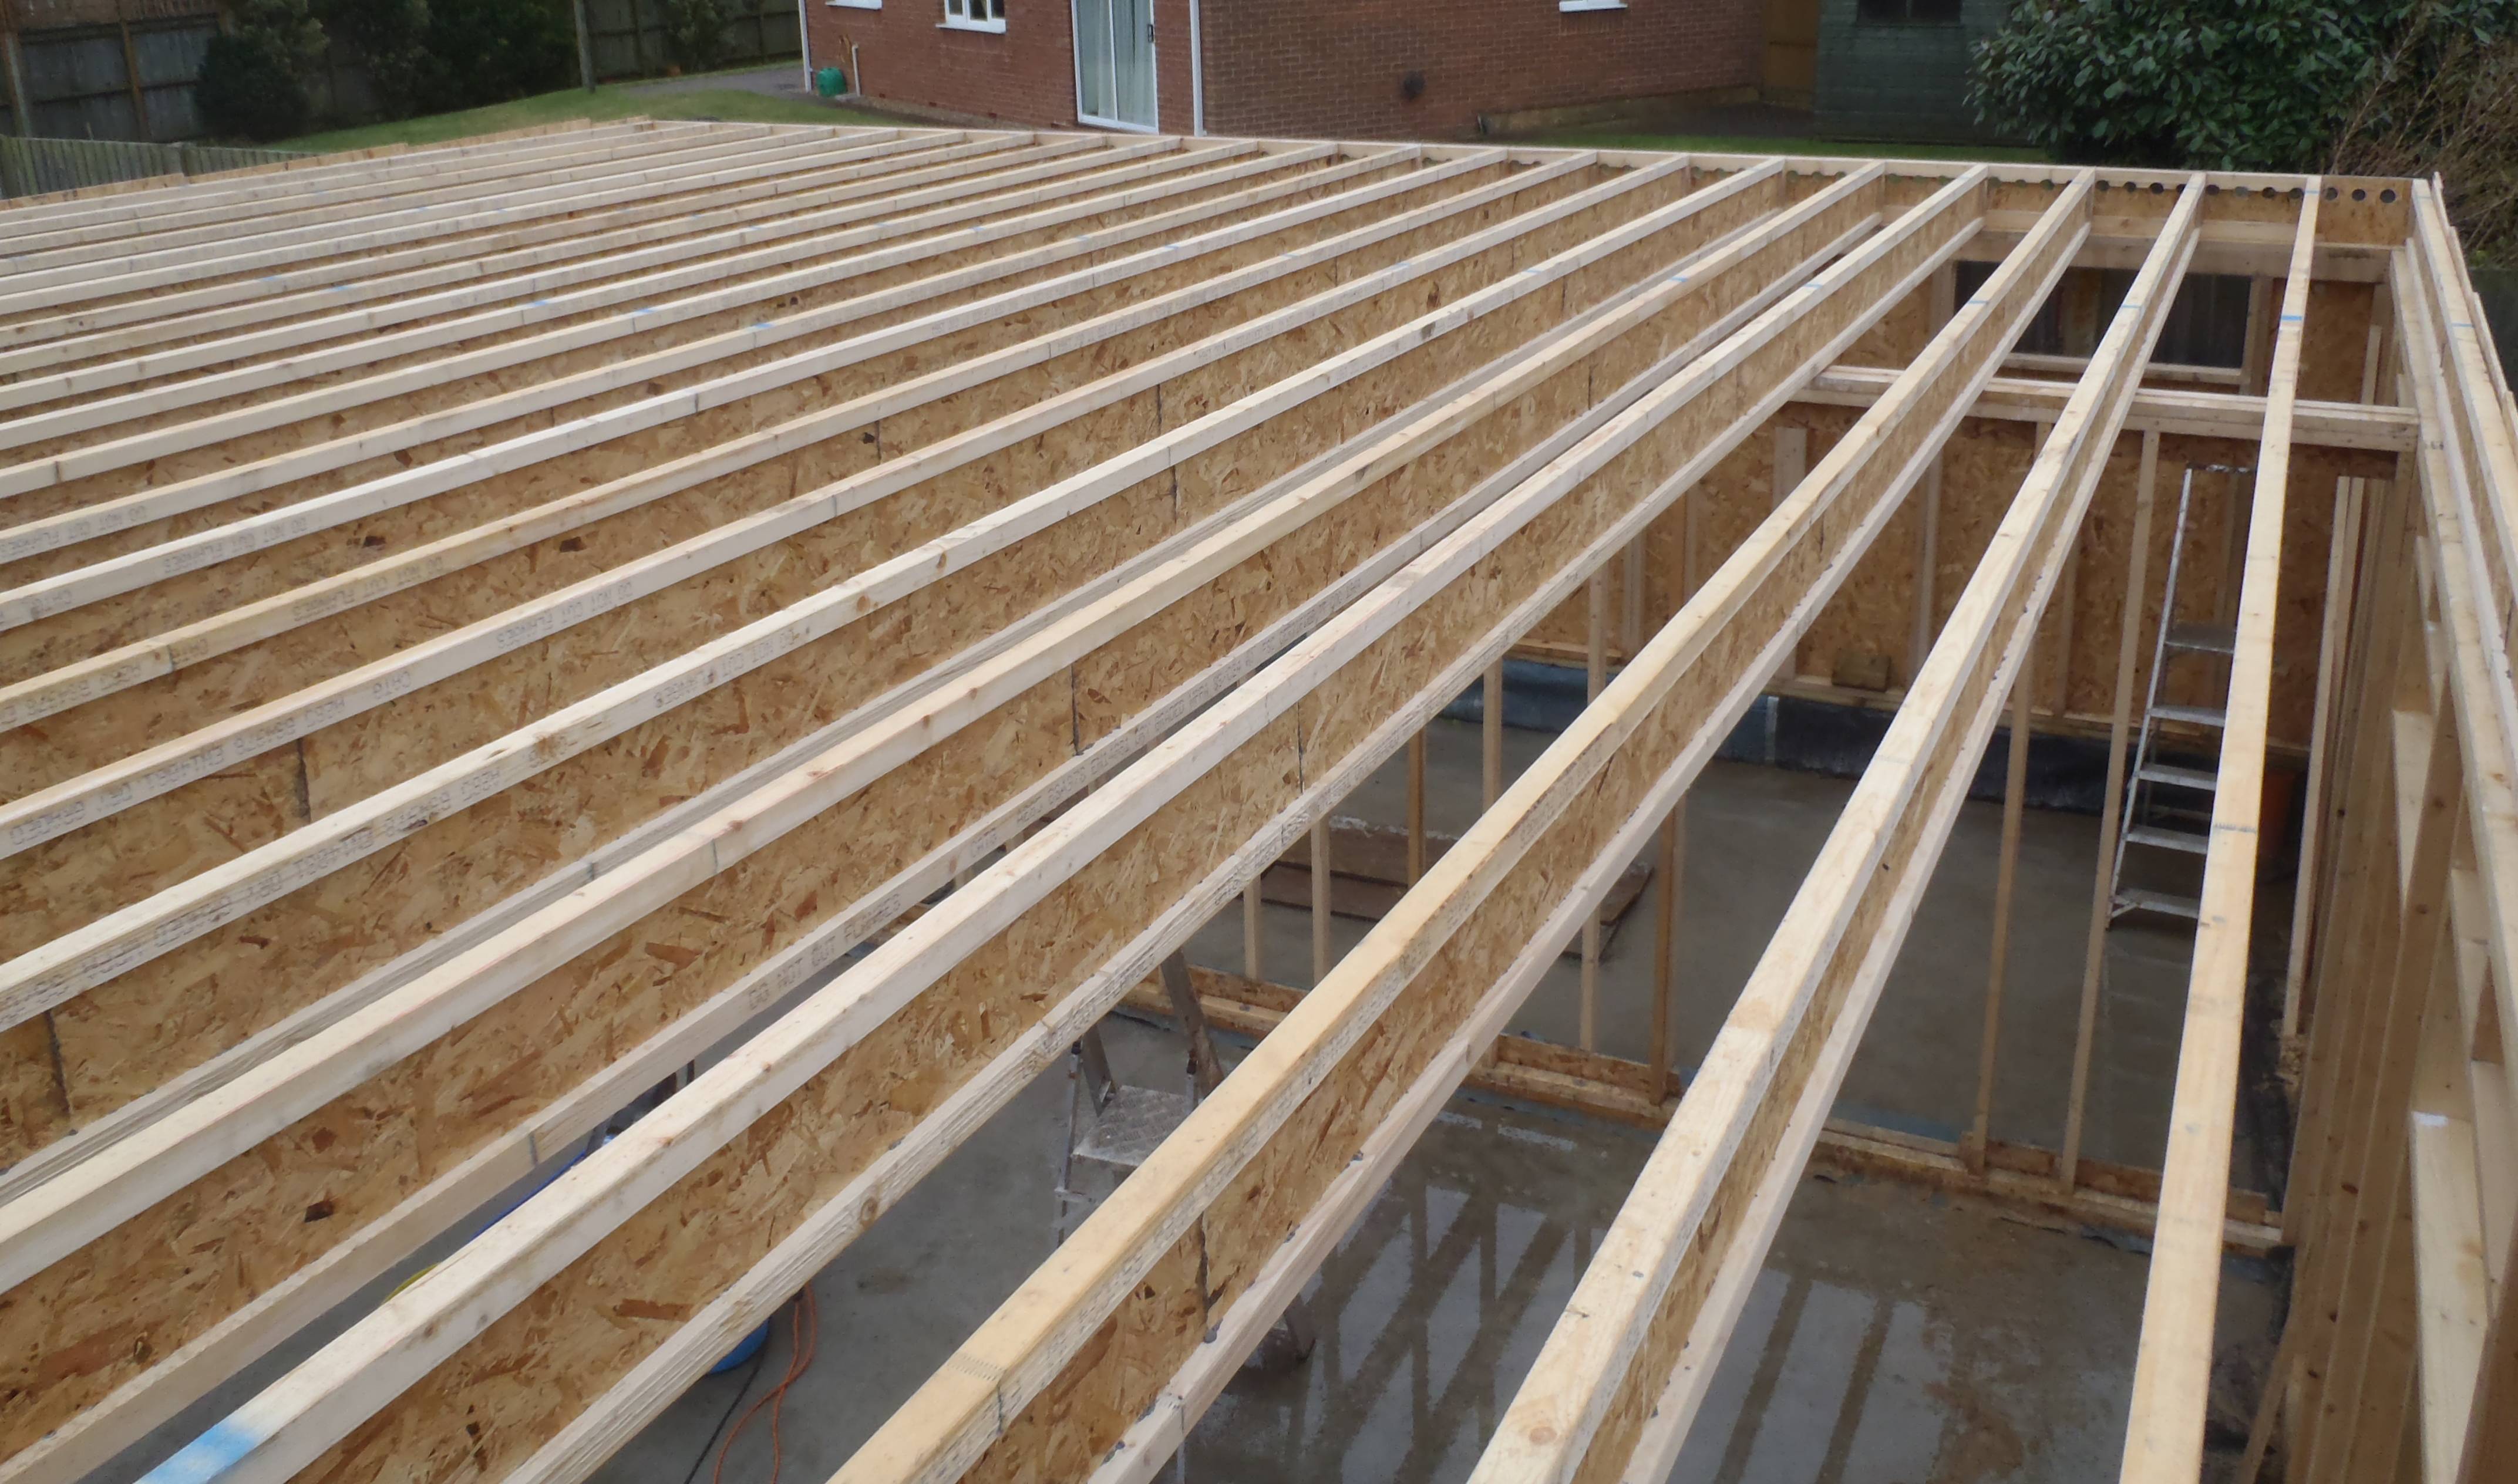
    It was a nice day again so we finished off the nailing requirement as specified in the structural engineer’s report. It was very nice having a compressed air nail gun to do the job! There were approximately 500nails in total! But with the bump trigger selected, it was quite easy to just go along and “bump” the gun down and it fires a nail, move along and bump another nail in and so on!

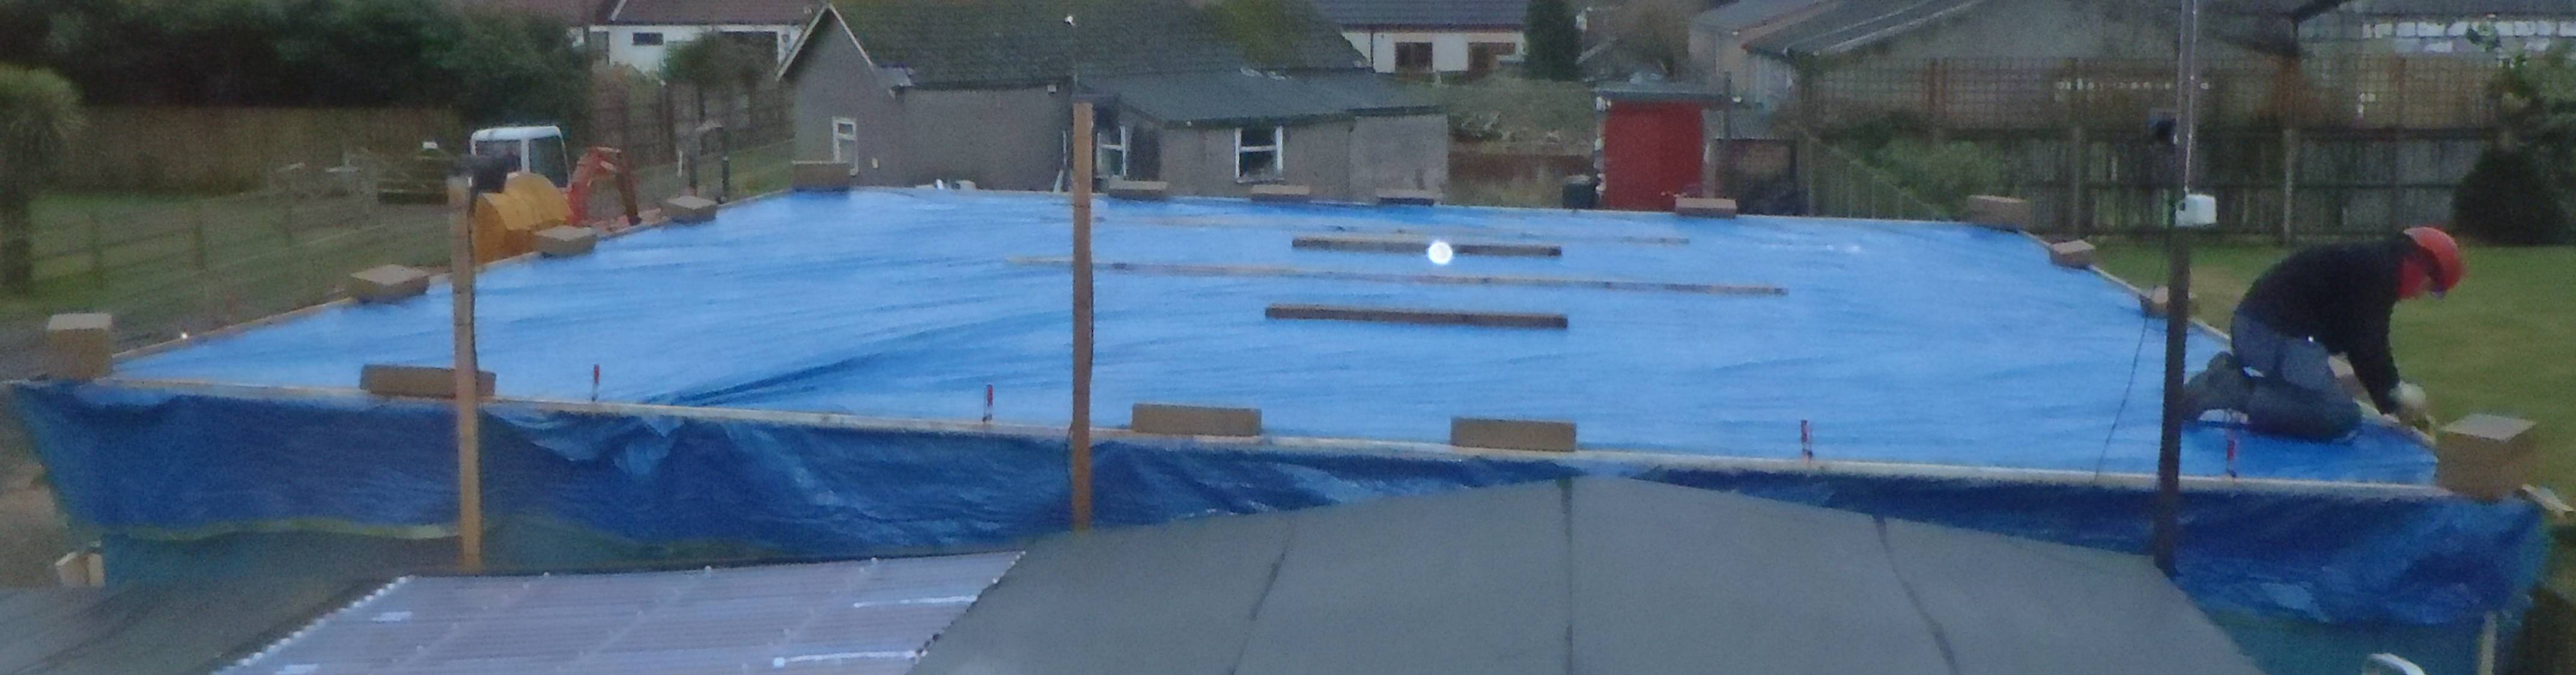
    We decided to put up our long term rubber sheeting to solve the water leaks! The tarpaulin we bought for the temporary job of water proofing didn’t work! It was too short in the first place, this was amazing as the packaging stated that the size was 10metres by 10metres and it simply didn’t do the 9.3metres direction!! This is typical of cheap tarpaulin! But in the second place we think the cheap tarpaulin was also too thin and was being punctured too easily with us walking on top of it!

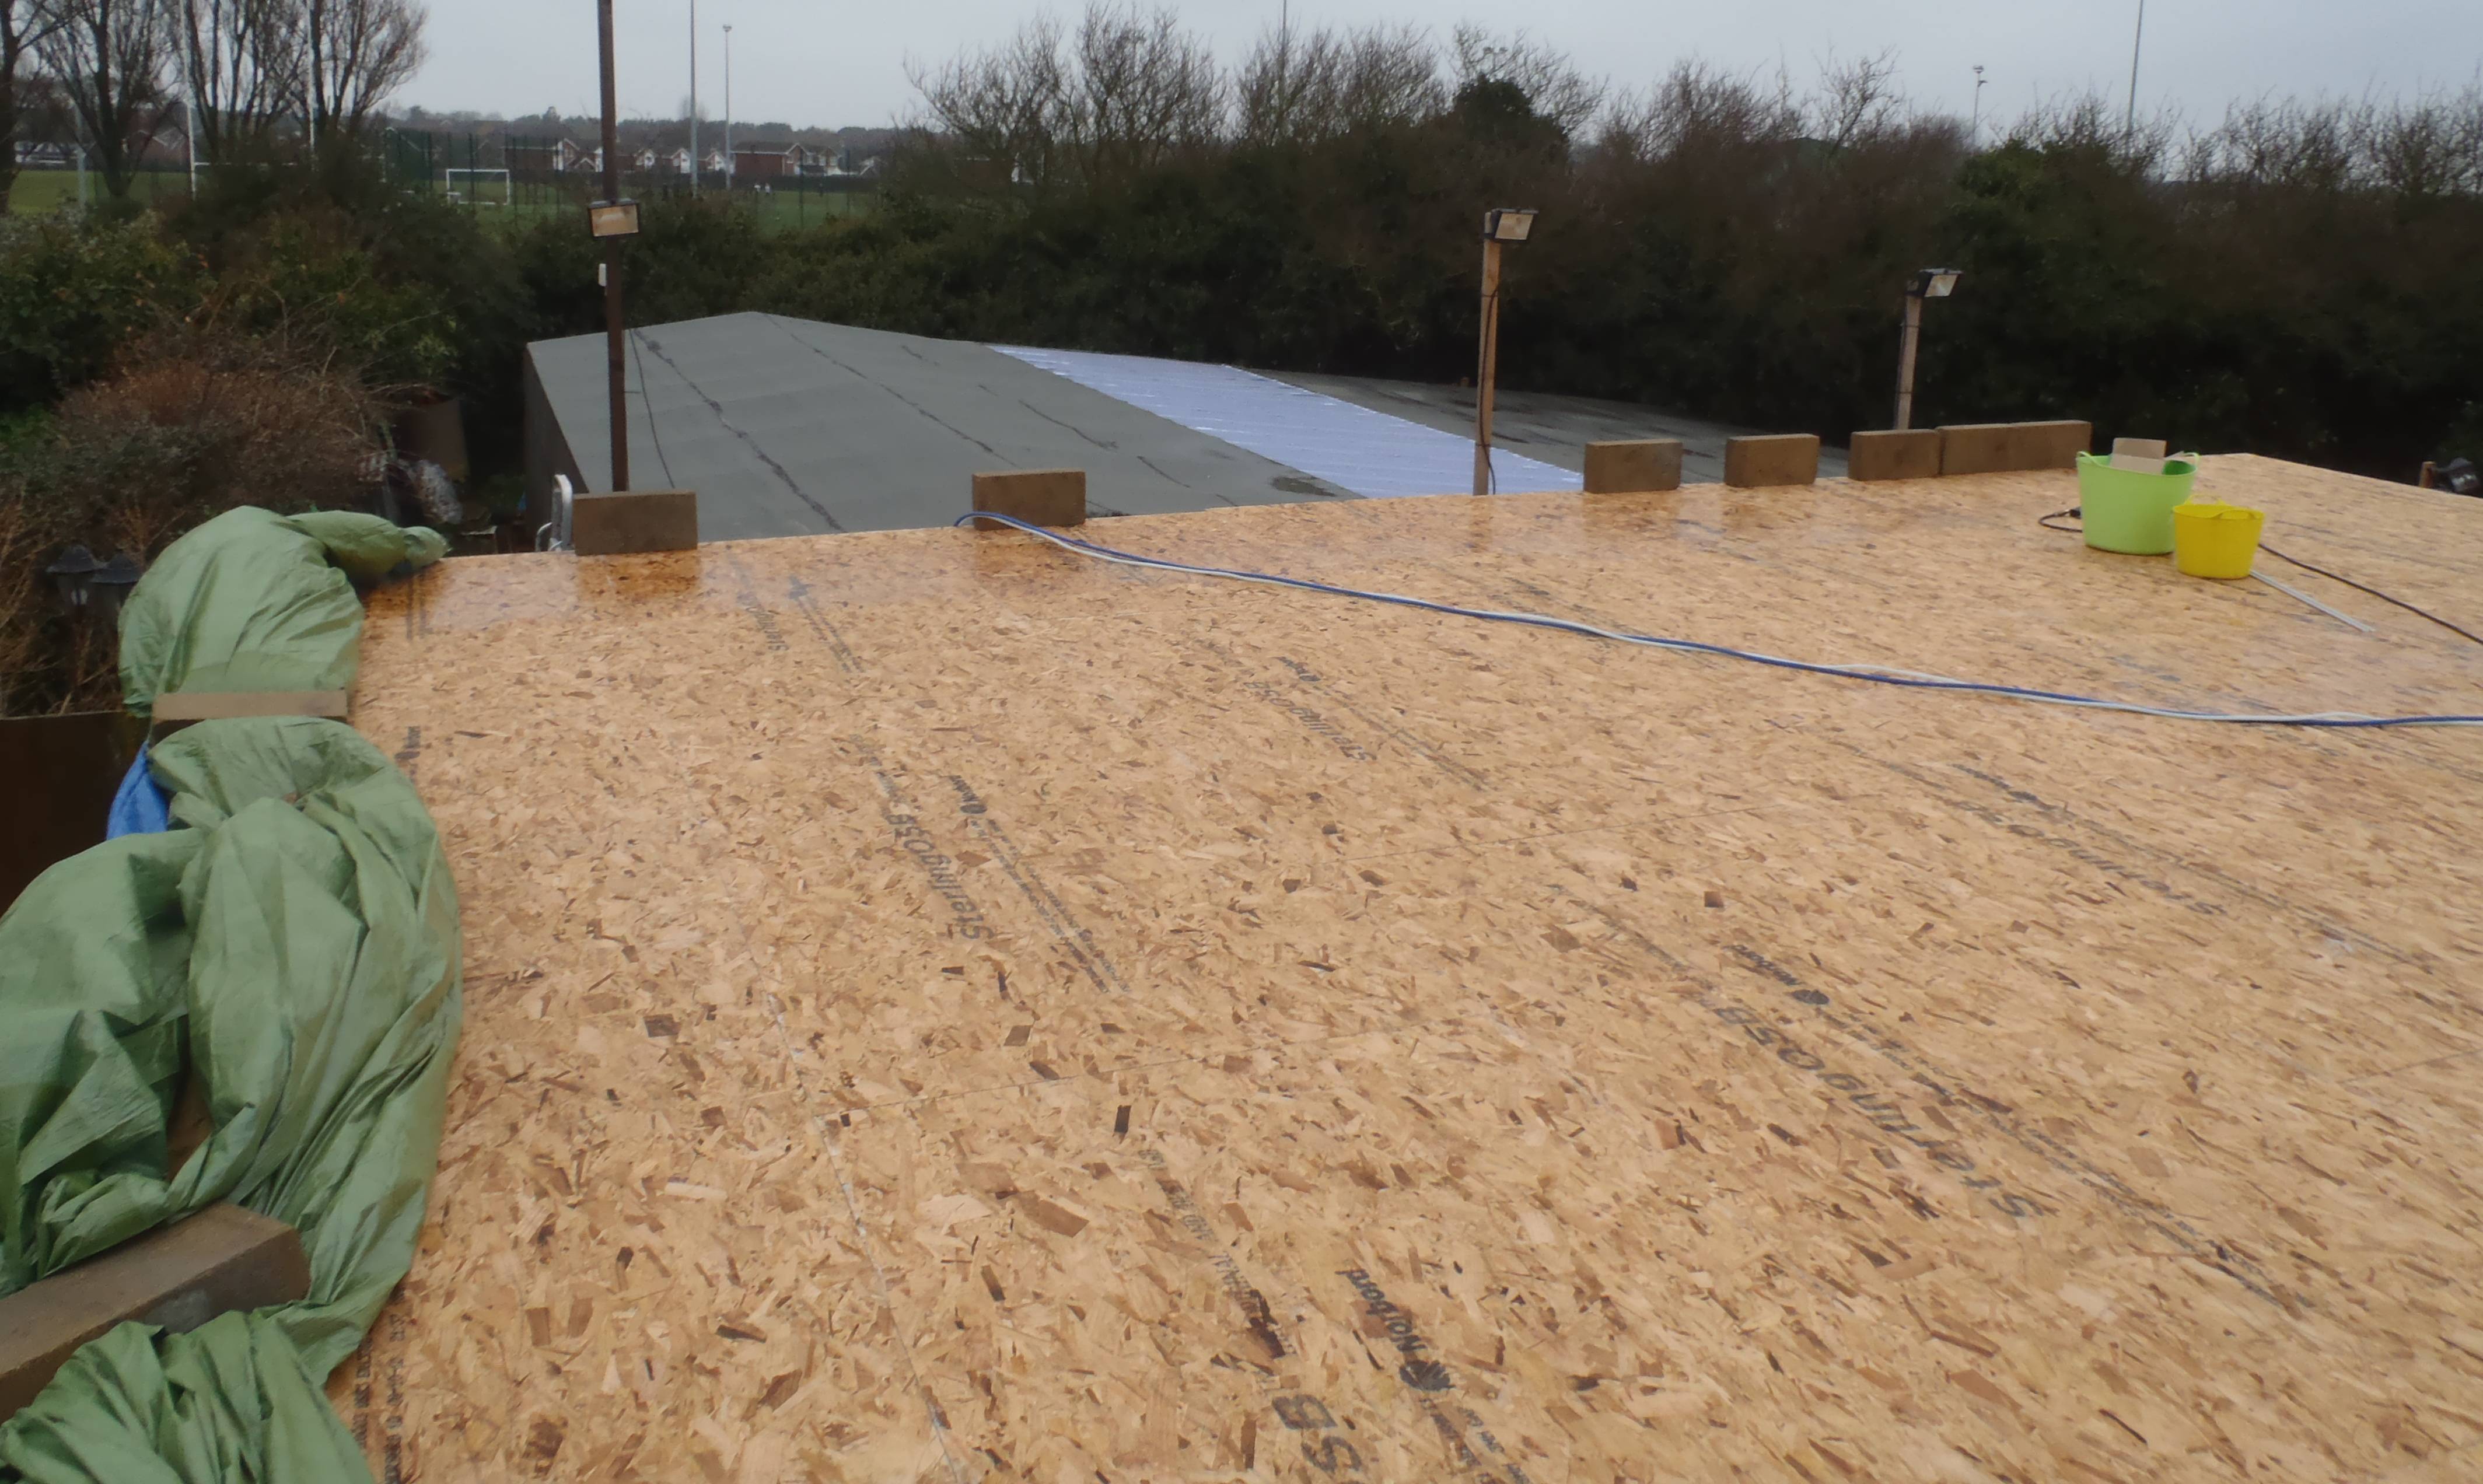
    So after the nailing, we spent the afternoon cleaning the whole roof, smoothing out any sharp edges and lumps, making sure no nail heads were sticking up and sweeping all the crud off!

    Then using our mini digger to lift the rubber bundle up (it was very heavy indeed!) we pulled, pushed and unfolded it out to nicely cover the whole roof. We used a set of double battens to grip the edges of the rubber top after it was folded over the edge of the roof. We used loads of clamps to hold it in place until we have another dry day to make the proper designed edging. Finally we loaded the middle of the roof with 20 concrete blocks lying on small protection pads to stop any possible damage. These will stay there until we have a good chance of 2 or 3 days of dry and warm weather to glue the rubber down properly.

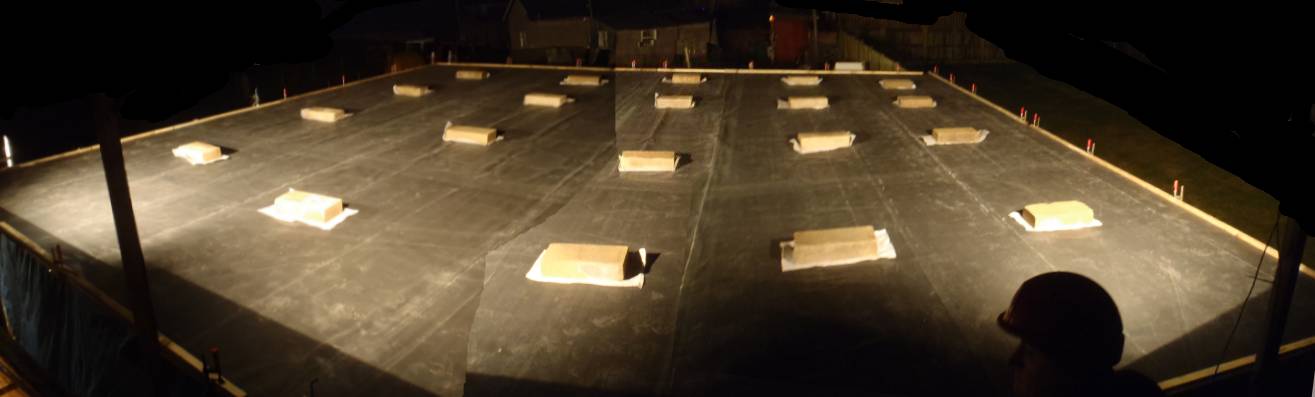
    (rubber sheet laid out with 20 concrete blocks to hold down middle)

    Now we will see if we have any leaks!! Blooming well hope not!!

  • Finished roof boards

    Finished off the last row of boards after the rain stopped this morning… We thought we would get all the nailing done but the rain returned! So we recovered the roof with the tarpaulin until another day (may be Saturday -looking at the forecast).

    Roof boards all on

    Roof boards all on

    Roof boards all on

    Roof boards all on

    Tarpaulin day 3

    Tarpaulin day 3

  • roof Boards are on!

    The last two days we have been humping up 30 sheets of 18mm OSB boards on to the Garage roof, grabbing the fine dry weather! This was to ensure that the builder’s construction glue sticks properly to the rafters! The iBeam manufacturer recommended using this type of glue to stop creaking noises!

    Day 1 – Sunday 9th January 2011

    Starting very early (9:30am), we first had to deal with the heavy frost we had overnight by wiping all the rafters and allowing them to dry off in the lovely sunshine! Then using a chalk line to establish a starting line for the first row of boards and proceeded from that point. The tongue and groove joints were proving more difficult than we thought.

    Starting to cover the roof rafters

    Starting to cover the roof rafters

    Starting to cover the roof rafters

    Starting to cover the roof rafters

    Starting to cover the roof rafters

    Starting to cover the roof rafters

    (first row completed)

    We managed 3 rows of completed glued and nailed boards.

    It was dark at this time and the dew was already quite heavy and even freezing which made it very slippery! We decided to cut and put up all the remaining boards onto the roof ready for the next day and finished off by covering the entire roof with our 10metre by 10metre tarpaulin to protect the remaining rafters and boards against the frost. We put up 6 concrete blocks to hold down the front edge but fortunately there wasn’t much wind!

    We staggered home 8:15pm!

    (all the boards up but only half fixed down)

    Day 2 – Monday 10th January 2011

    We got going a bit later today, at 11am! We resumed where we left off yesterday and managed 4 more rows to take us to almost the front of the garage! We have only 600mm (2feet) to go, a half a board width!

    We re-covered the roof back over with the tarpaulin and this time tossed up a further 13 more concrete blocks to hold down all four edges against the wind and the forecast of heavy rain overnight!

    http://roselea.co.uk/wp-content/uploads/2011/01/Roof-Nearly-done.wmv
    (Tarpaulin covered roof and concrete blocks)

  • Noggings and Roof Boards Preparations

    Today we sawn 22 more noggins made from our stock of “spare” 63mm by 38mm CLS timber , to brace the middle part of the iBeams over the front portion of the garage. These were diagonally fitted to create a triangle structure to stop the roof sheering sideways. The whole roof now has four separate points of structural bracing to support the roof; front, middle, middle and back.

    Next we prepared 32 sheets of the 18mm OSB boards by cutting a finger joint in all edges except the outer most edge where the roof overhangs the walls. We generated at least 30litres (one large tub) of sawdust!

    It was quite difficult to get the finger joint to be exactly in the correct position as we discovered that the OSB boards vary in thickness! We have managed to keep the “offset” down to approximately 1mm!

  • All Metal ties are in place

    Today we resumed our work on our Garage after a 3 day break for Christmas! We finished putting on the metal bracket pies holding down the iBeams(the rafters) across the middle wall.

    We also put a couple extra brackets at the bottom of the door posts (the big front doors) to ensure full structural tie down around each of the large openings. There would be quite a considerable uplift force during strong winds especially if someone opens both doors at the same time!

    We are almost ready to put up the OSB boards but first the last row of noggins across the middle of the front portion of the garage. This is to connect and stiffen up all 22 rafters into a single structural unit. We have already done this for the front, middle and back positions over the walls, so this is the last row to do.

  • Begin the Metal tie downs!

    We started installing the metal brackets on the iBeam rafters. We have done the back and front walls. We are using hardened nails, 38mm long ring shank for extra grip and zinc plated! The nail gun has a special nozzle to allow Stephen to place the nails accurately into the tiny holes in the metal brackets! But even then a couple of times, the nail missed the hole and bounced off! But one actually punched a new hole through the metal and hammered the nail into the wood!

    We then nailed up small pieces of 18mm OSB fillers on the webbing part of the iBeams over where the middle wall is. This is because the metal brackets needs something to fix on to. Very fiddly work, going up and down ladders etc!

  • Remaining Roofs iBeams Are Up!

    The Snow and ICE have finally let up! We had a little bit of rain and that helped to melt the ice on the garage floor so we managed to scrape and brush out all the snow and ice out of the doors!

    The remaining 11 iBeam rafters have gone up!

    All I-Beams up

    All I-Beams up

    All I-Beams up

    All I-Beams up

  • Snow Has Stop Play! Again!

    We have a thick layer of snow over everything! It is minus four degrees Celsius (-4oC)!!

    Snow and Ice

    Snow and Ice

    (the garage)

    Snow and Ice

    Snow and Ice

    (down the garden)

    The concrete floor slab has a thick layer of crunchy ice which is uneven and a little slippery!

    So no Play today! Oops I mean Work!

  • Half a Roof!

    We got half the iBeams up! That is 11 of them. They are nailed into place. They are fitting very nicely!

    We are still having to walk each iBeam out of the garage, turning it around and then propping it up on the middle wall, climb the ladders and hauling it up to the top of the world! Fortunately each iBeam only weighs 20kg each but still it is hot work!

    Hopefully the weather will not be too bad tomorrow! Then we can finish the other 11 iBeams!

  • iBeams trimmed!

    The morning was spent trimming all 22 iBeams to exact lengths! We got out our chop saw on the bench and along with two extension benches proceeded to very carefully get the angle of the cut just right, at 1.3degrees which is the slope of the roof! Once the saw was set up and tested with samples, we carried each beam to the saw for one end and then spin it around to cut the other end! Well it wasn’t that easy, walking the whole iBeam out of the garage, turning it around and then walking it back in again! And remember each beam is 9metres (29feet) long!! We walked miles today!

    We also glued and stapled strips of fluffy geo-textile over the holes drilled yesterday in the first i-beam to act as a filter for the incoming air.