Today, we got out our Hot-Wire Cutting Machine to slice up two sheets of our 120mm thick polystyrene foam and also a scrap sheet we had lying around for years, a 100mm thick piece. We first sliced using a single wire on the machine to slice the sheets in the vertical orientation to make 245mm wide strips, ending up with a pile of seven + two strips in total.
Next, we then had the hot wire positioned much lower down at a distance of 45mm and then push through the machine the 120mm thick strips to produce two new pieces, one being 45mm thick (of course!) and the left over piece being 75mm thick which is just perfect to fill the inner flange of the heavy duty I-Beams. Finally, we added a second hot wire at the 90mm distance and ran through the two remaining 100mm thick strips to produce two equal pieces 45mm thick and a thin sliver of waste.
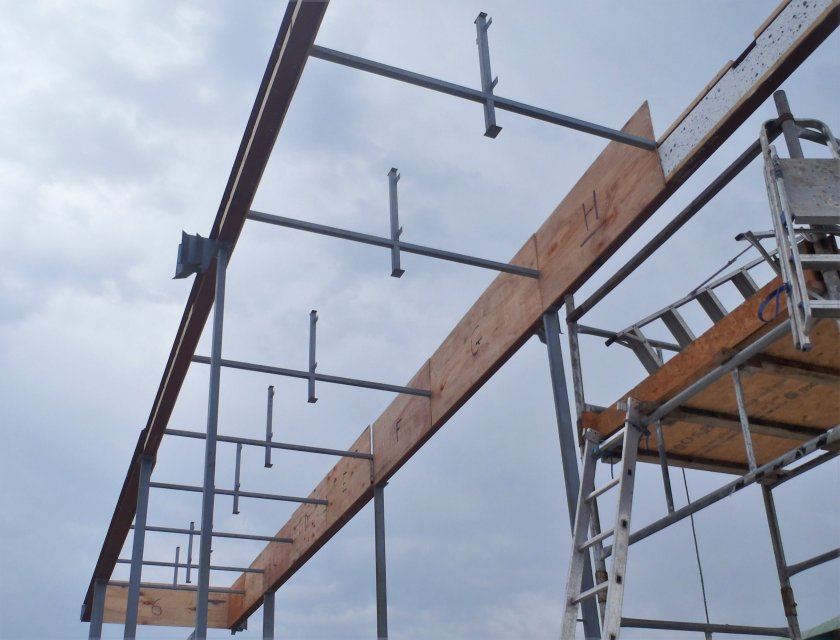
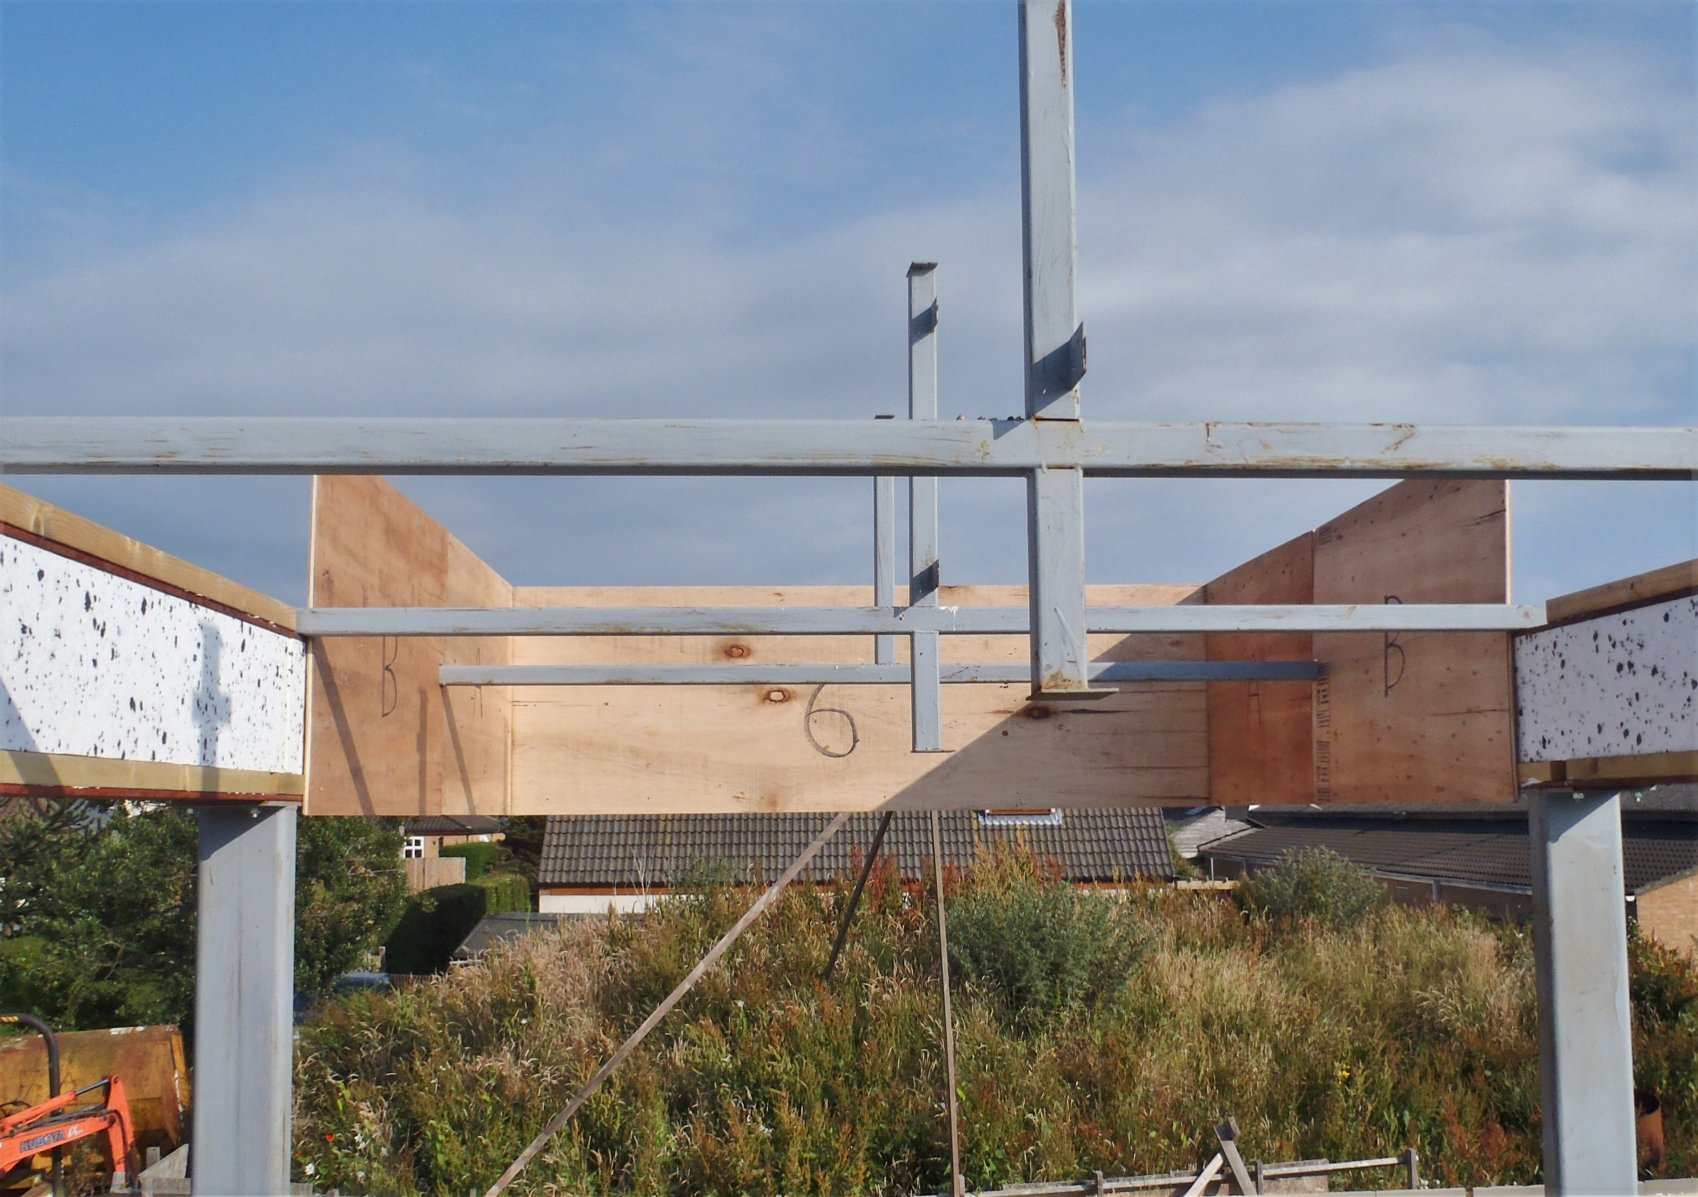
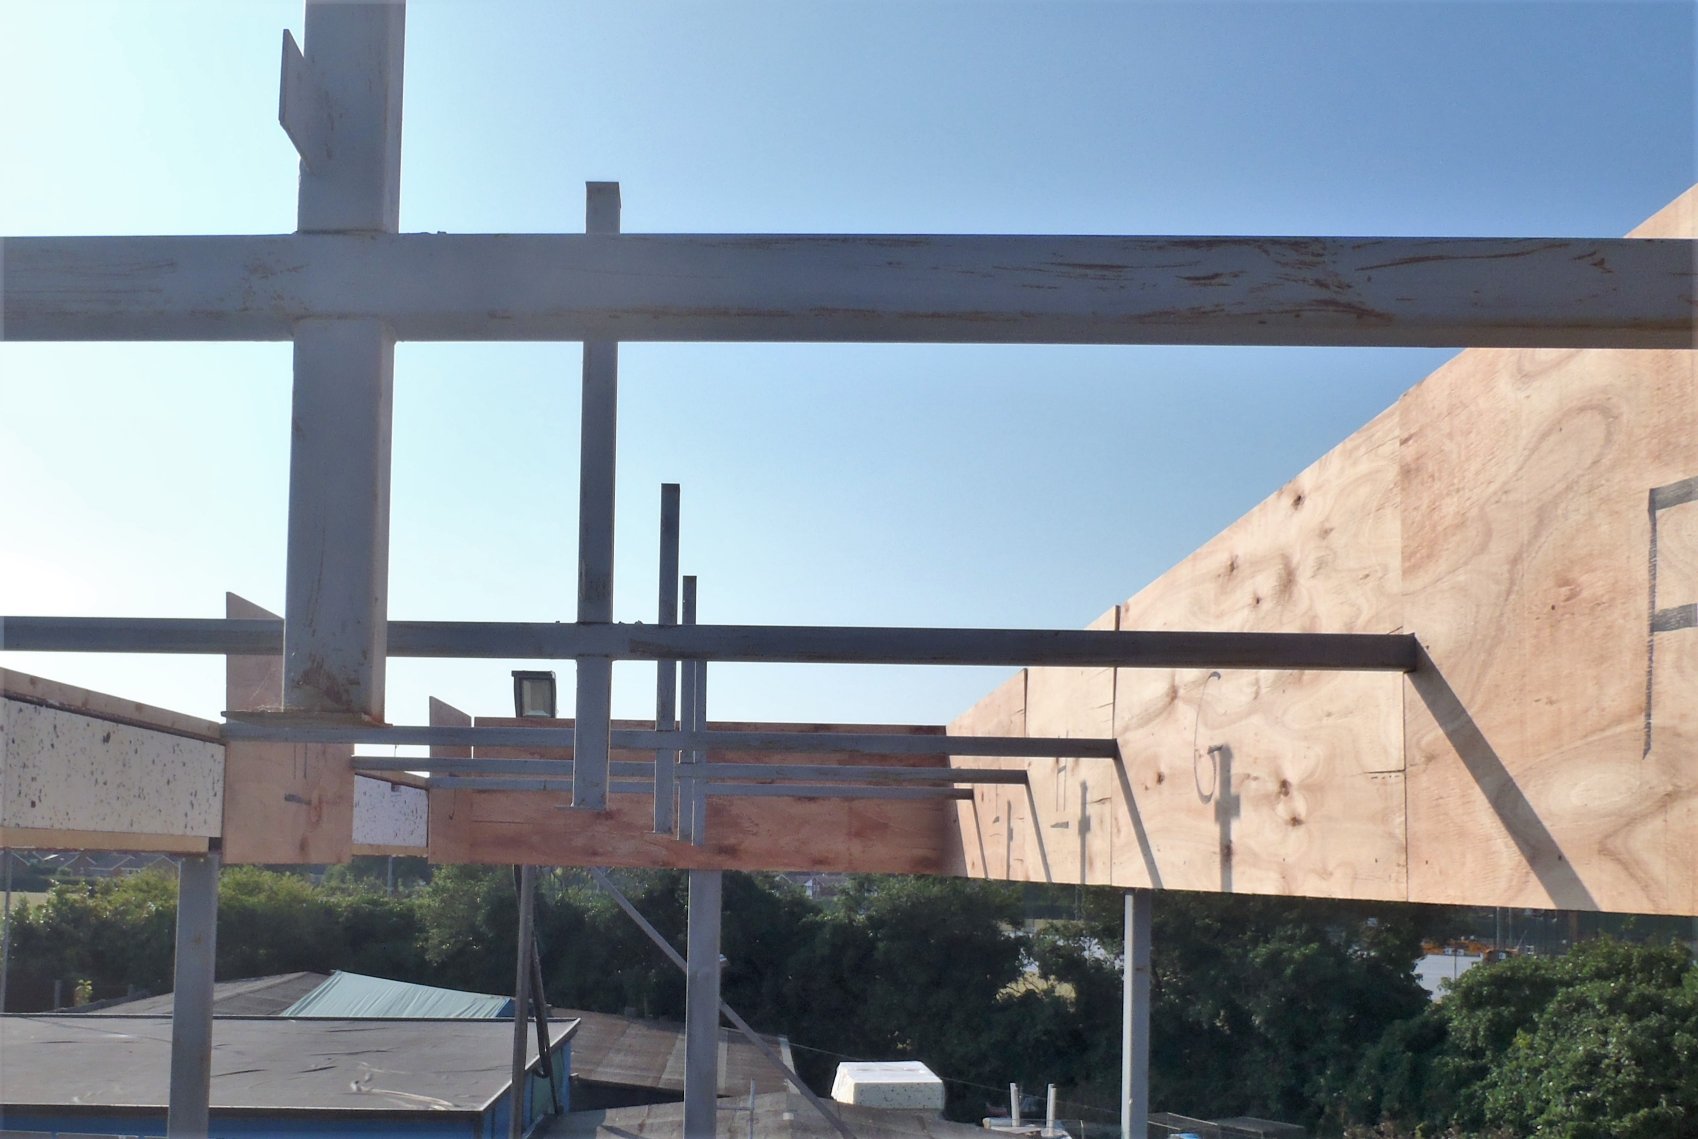
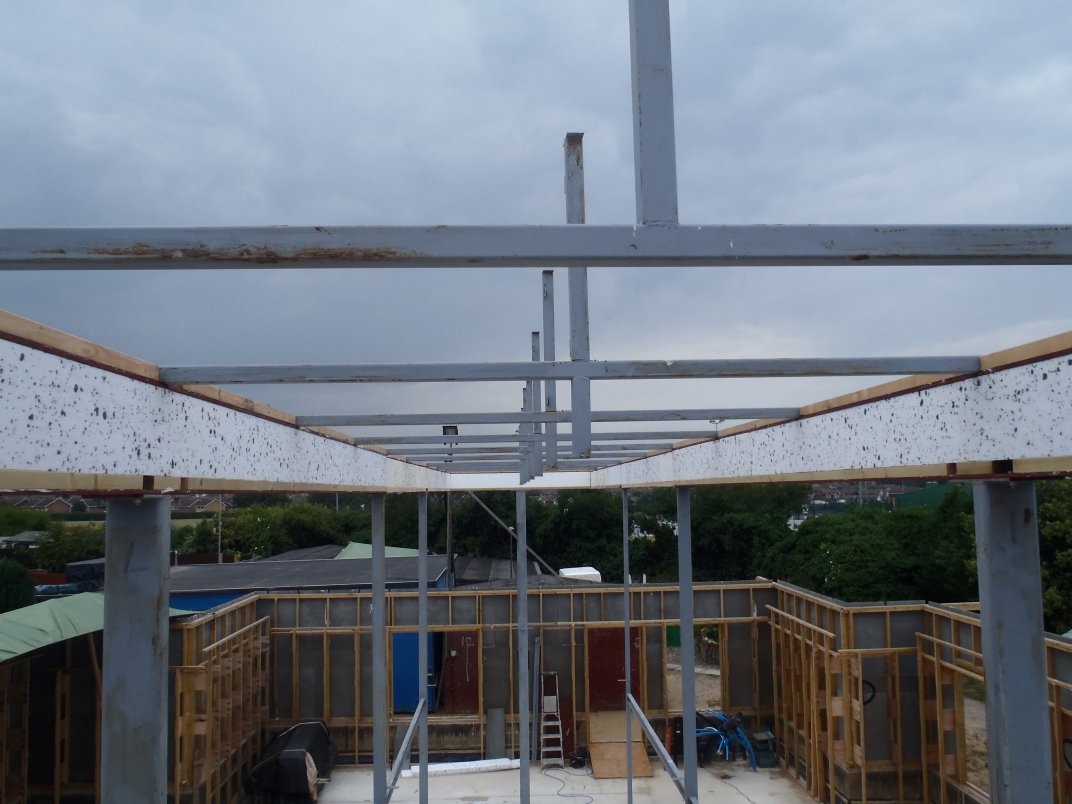
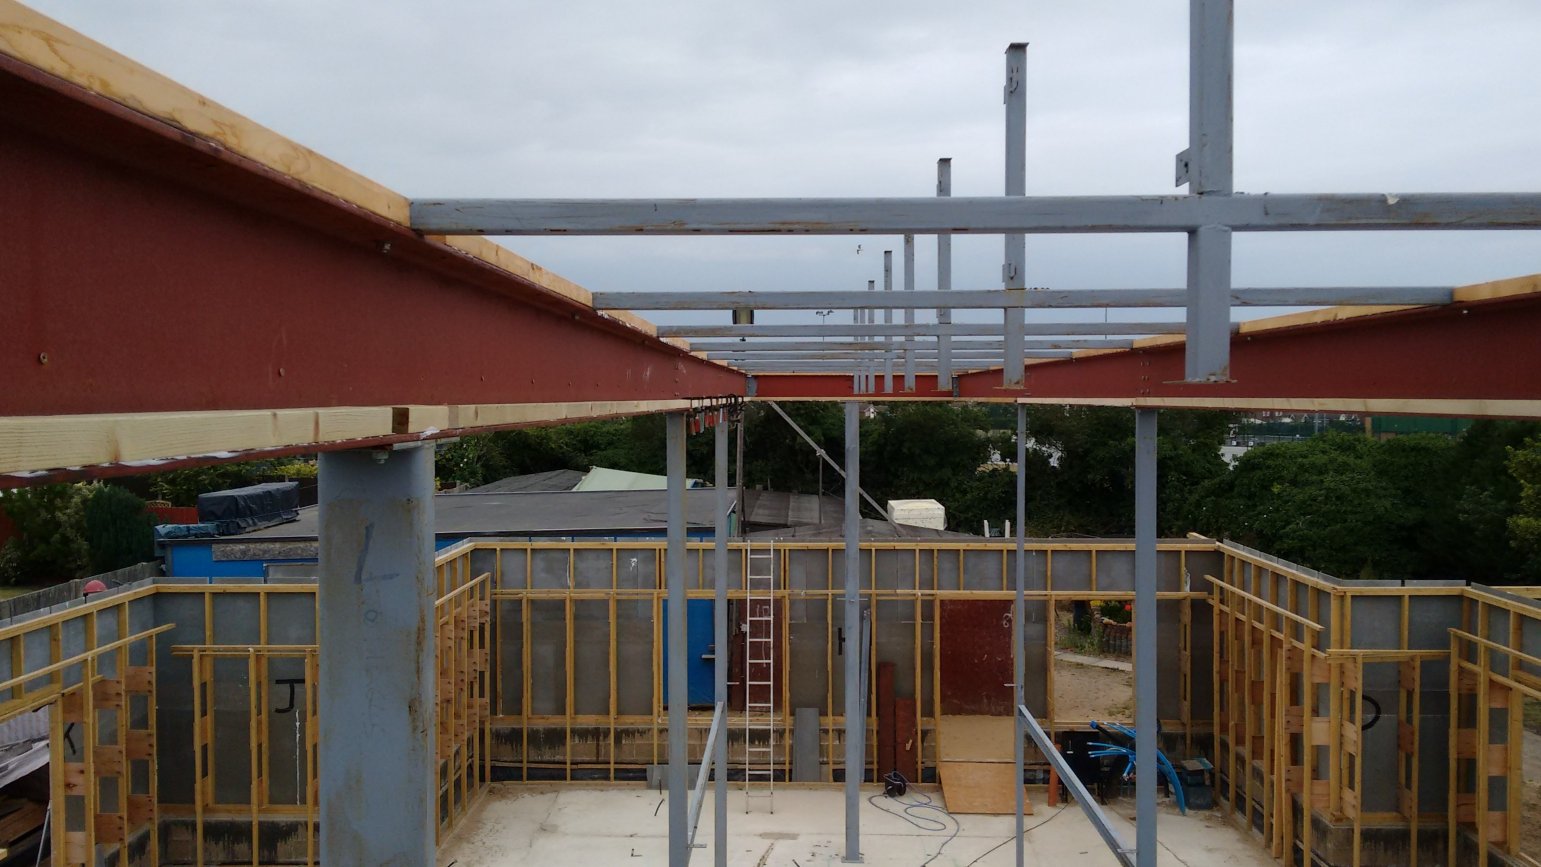
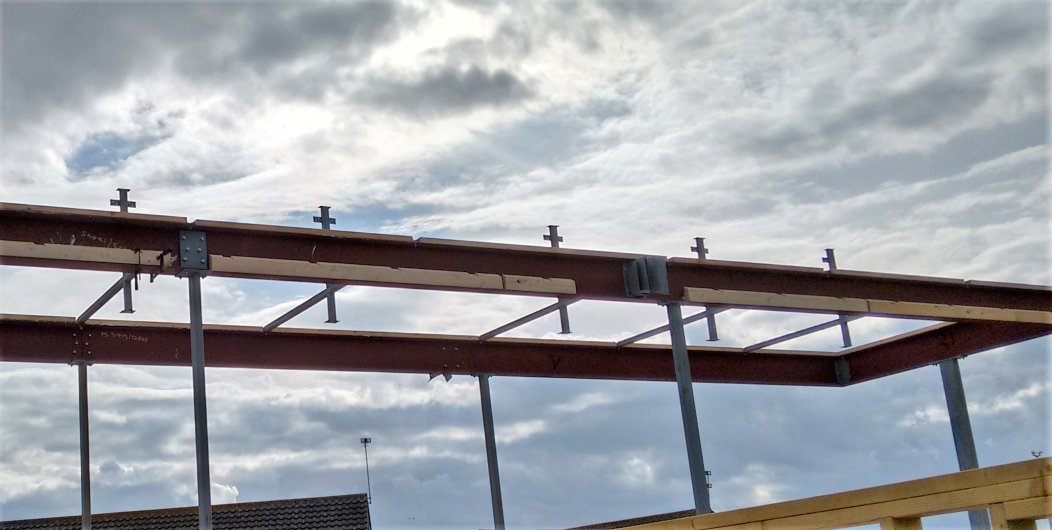
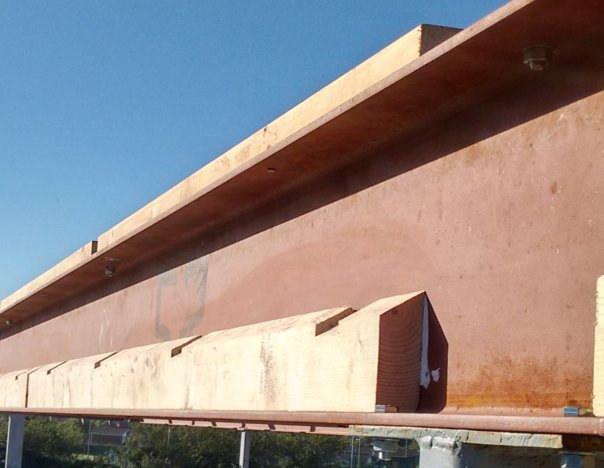
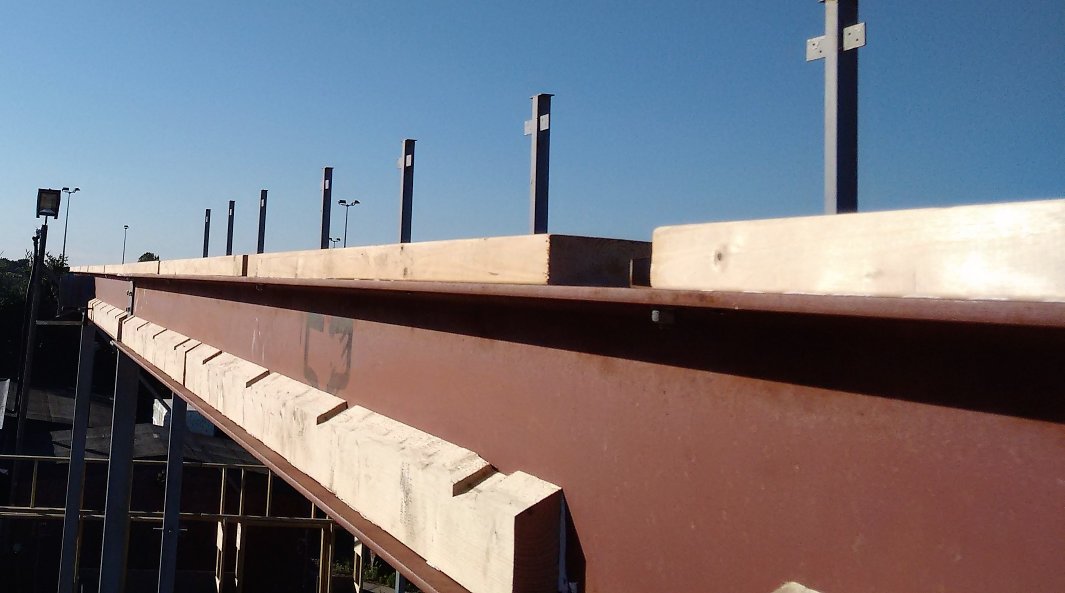
Now, taking all the foam strips (a total of 7 thick ones and 11 thin ones) outside with an old bread knife and tubes of the MS special glue and loaded up the scaffolding tower. We then worked our way around the inner circuit of the I-Beams, placing the thin ones in the 100mm wide I-Beams and the thicker strips inside the 160mm wide I-Beams. We used the glue to smear some on the vertical webbing behind the foam strips to make sure they will stay put for the short while before the whole thing is covered up with sheets of plywood later on this week.
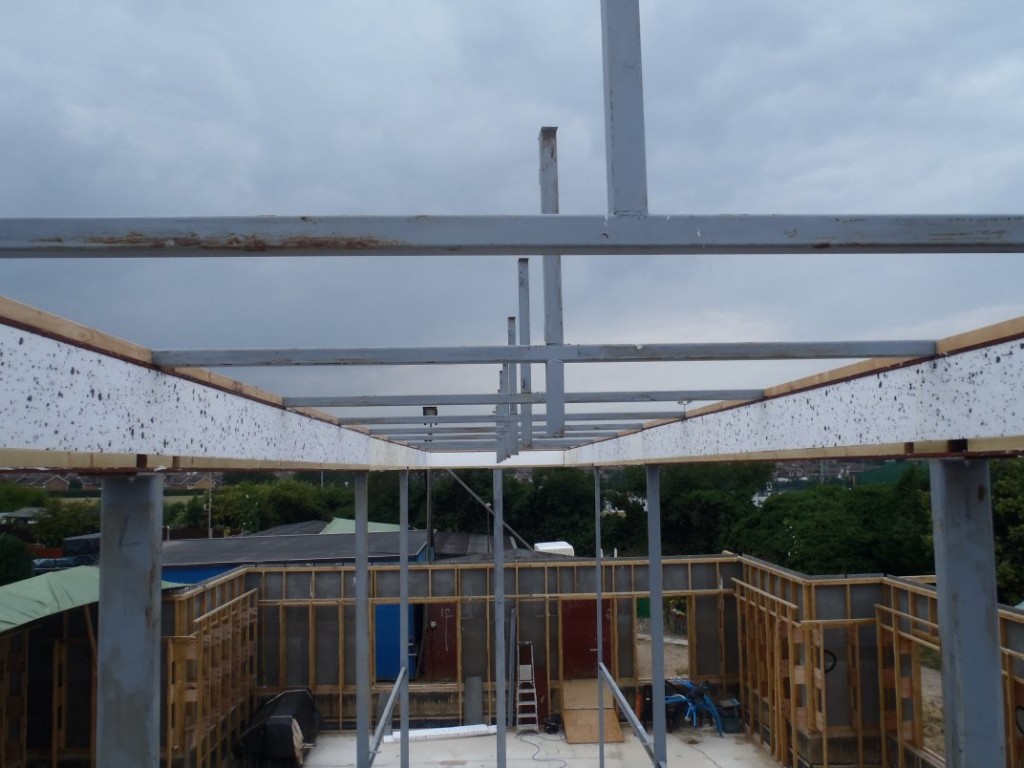
Inside-of-Beams-Insulated
It was a good day of work, before tomorrow which may find the day being washed out with thunderstorms, we will carry on in the workshop to make our steel chimney support arm! Good timing that! Grin!