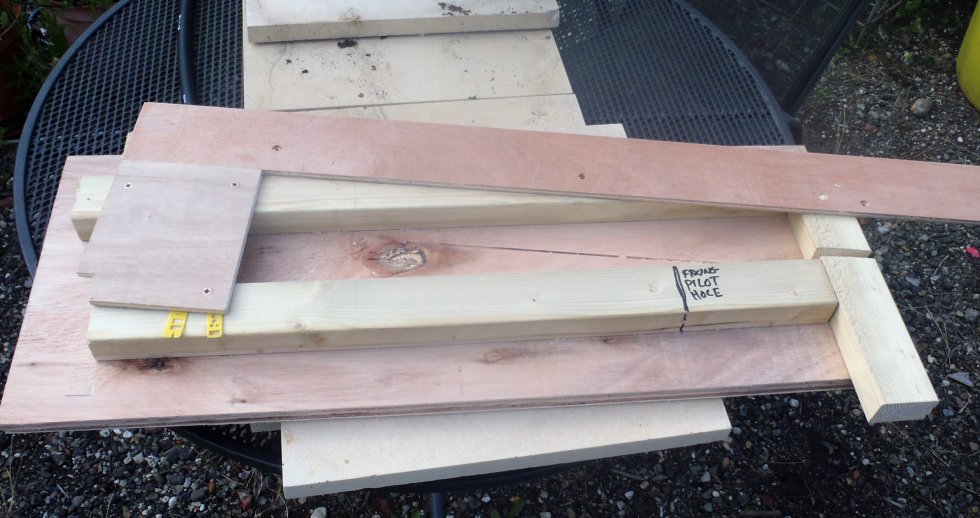
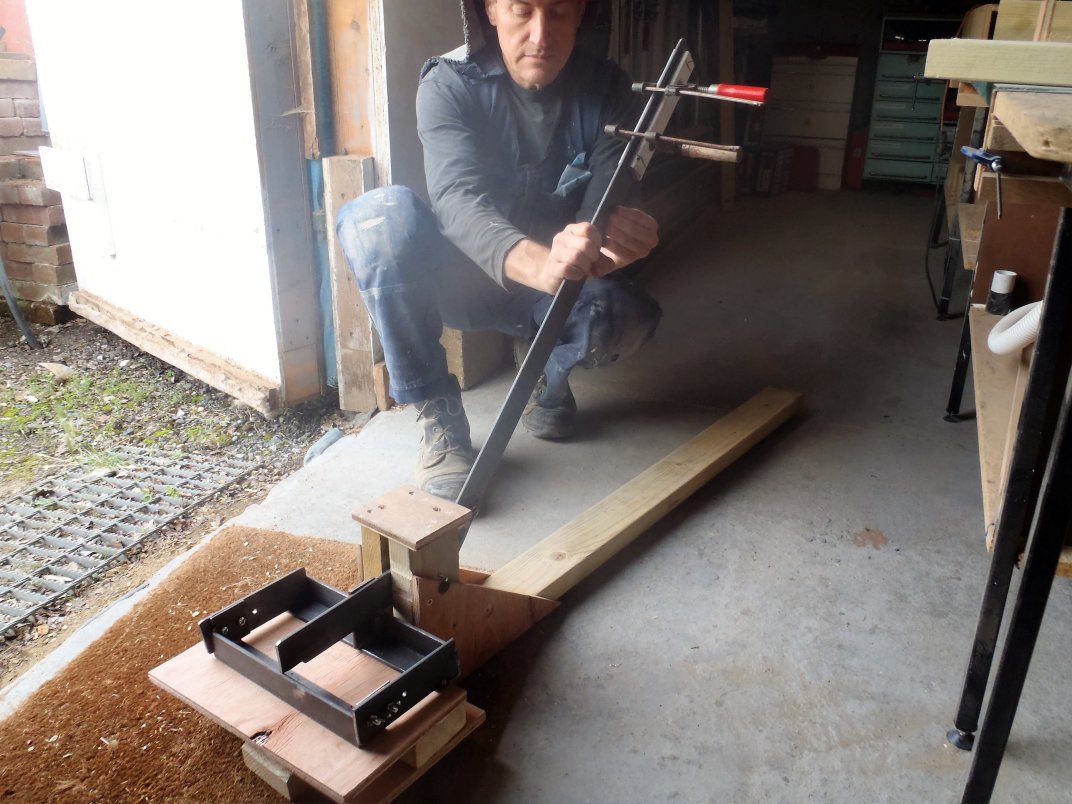
Today, we carried on creating more measuring templates, this time, the 40 degrees and 45 degrees versions. The 40 degrees one is a pair as there are a small number of rafters that connects up to the steel I-Beams (on the short ends of the Skylight).
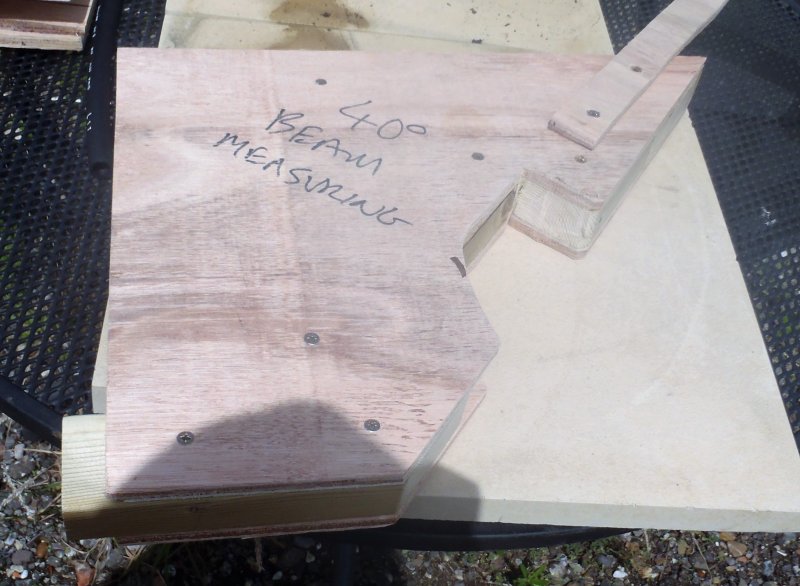
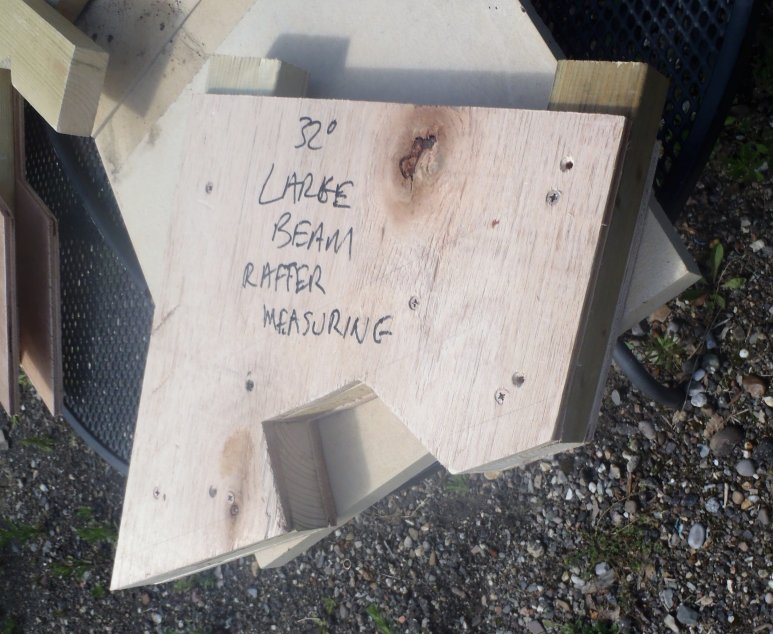
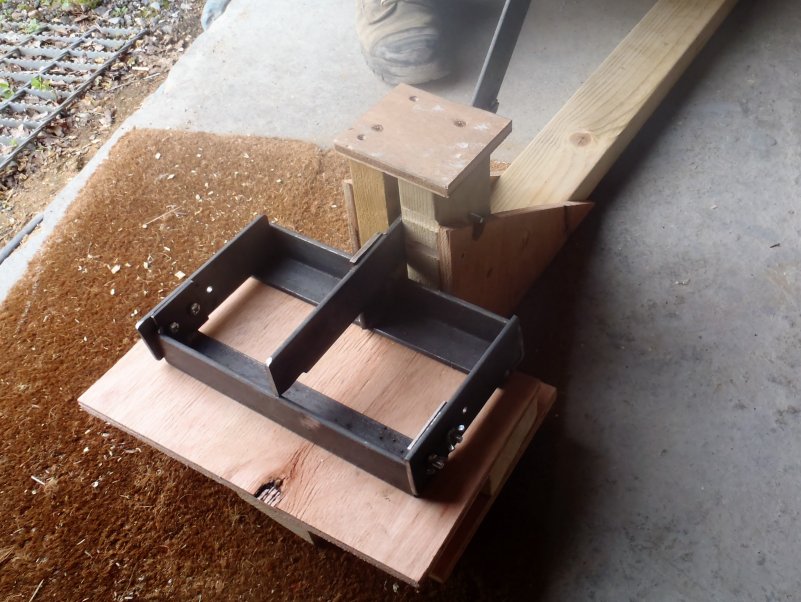
Steel-Frame-End-Measuring-Jig-40-Deg
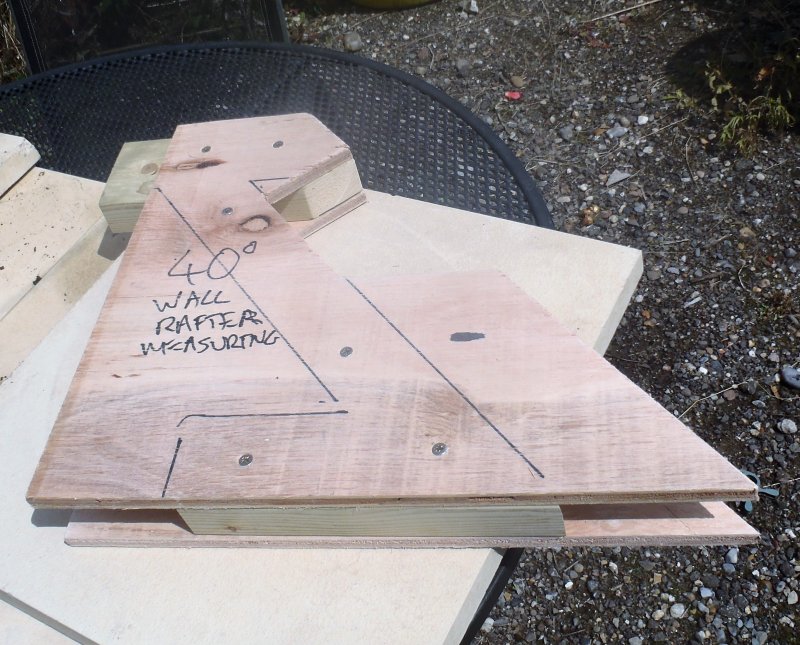
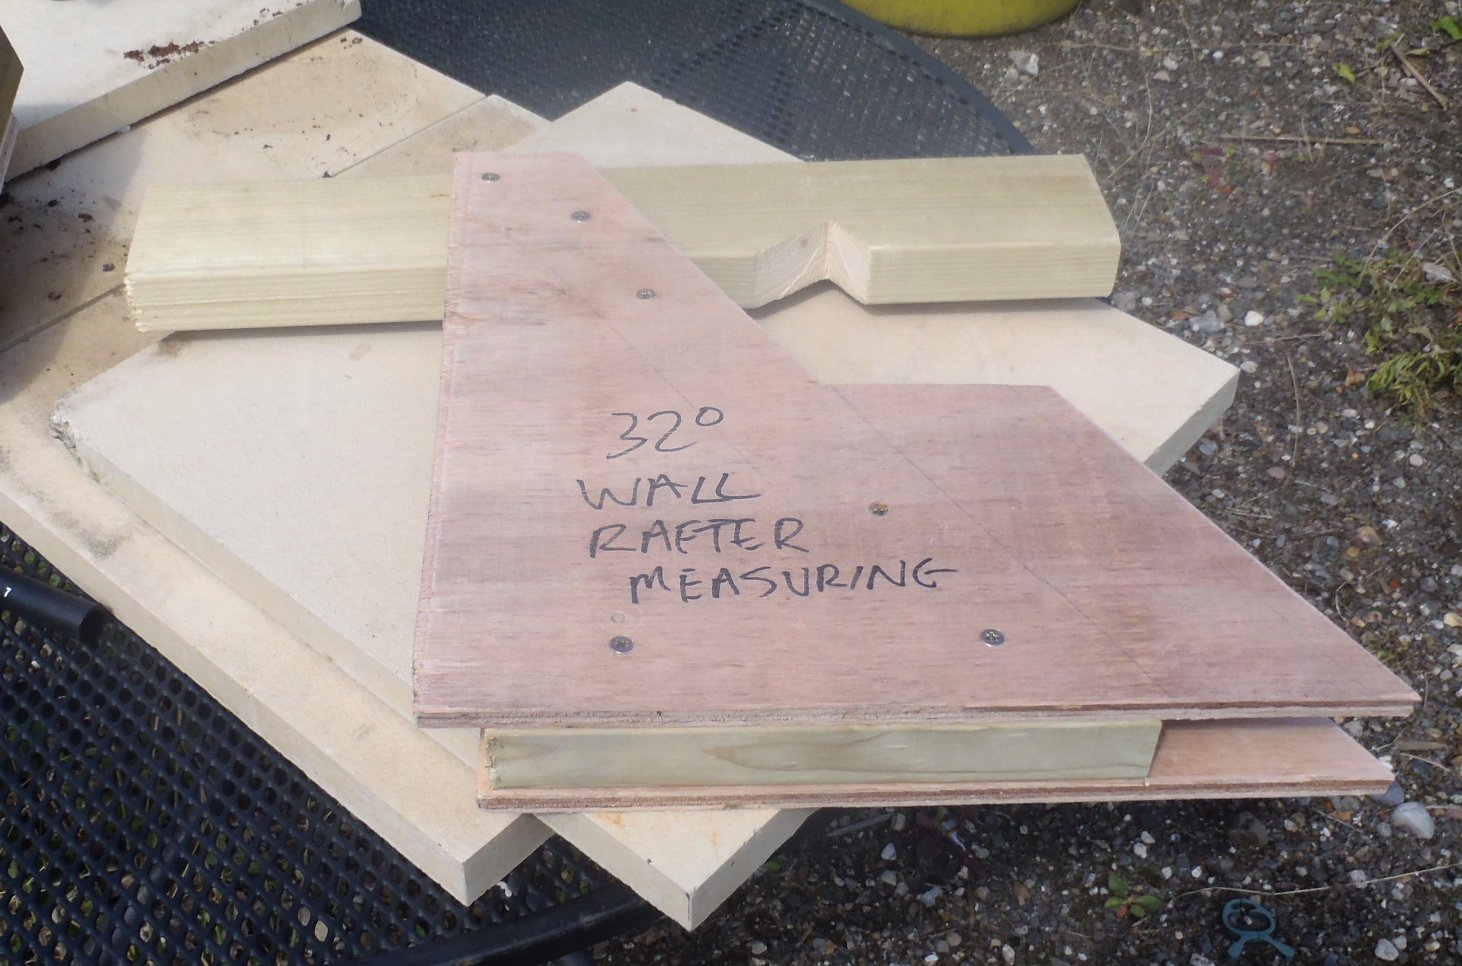
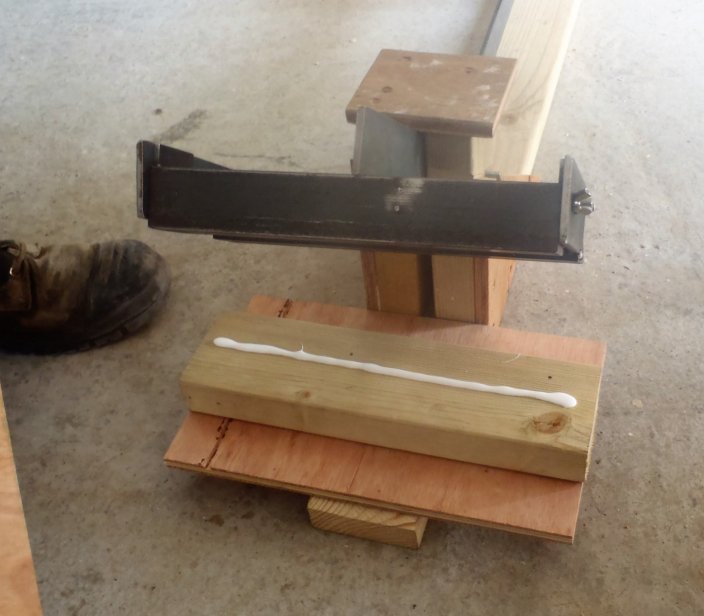
Wall-End-Measuring-Jig-40-Deg
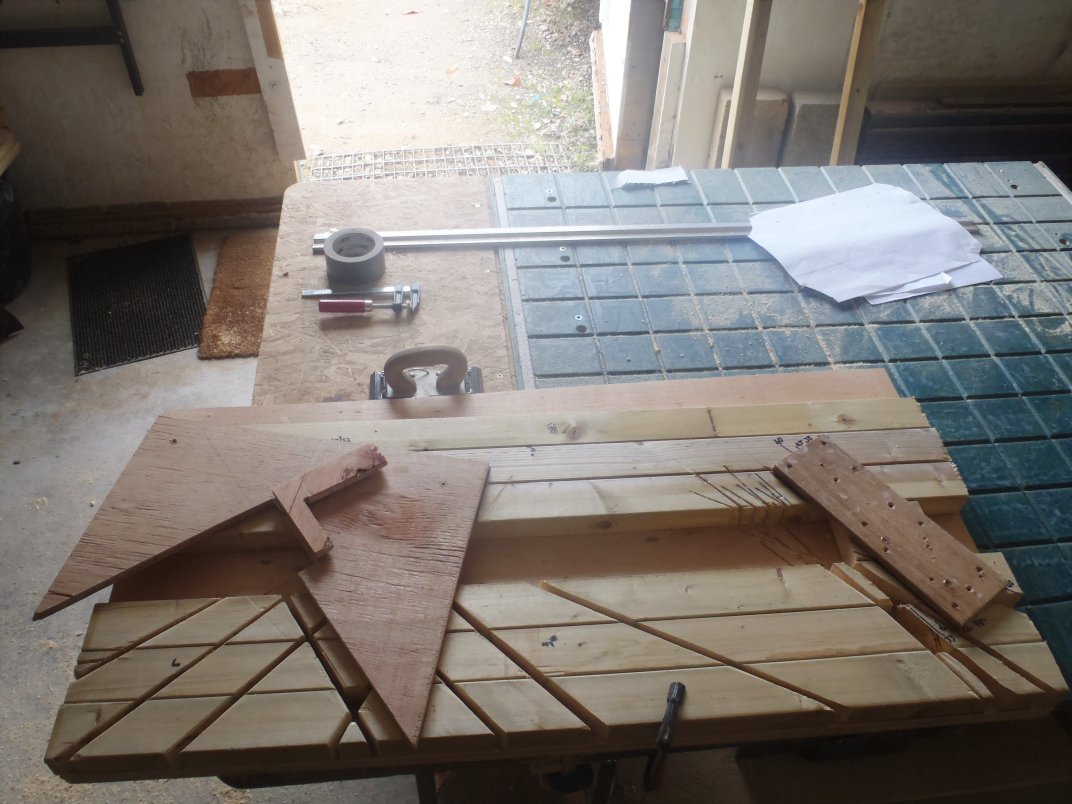
The 45 degrees version is only needed for the wall end as all rafters goes up to hip and valley rafters instead.

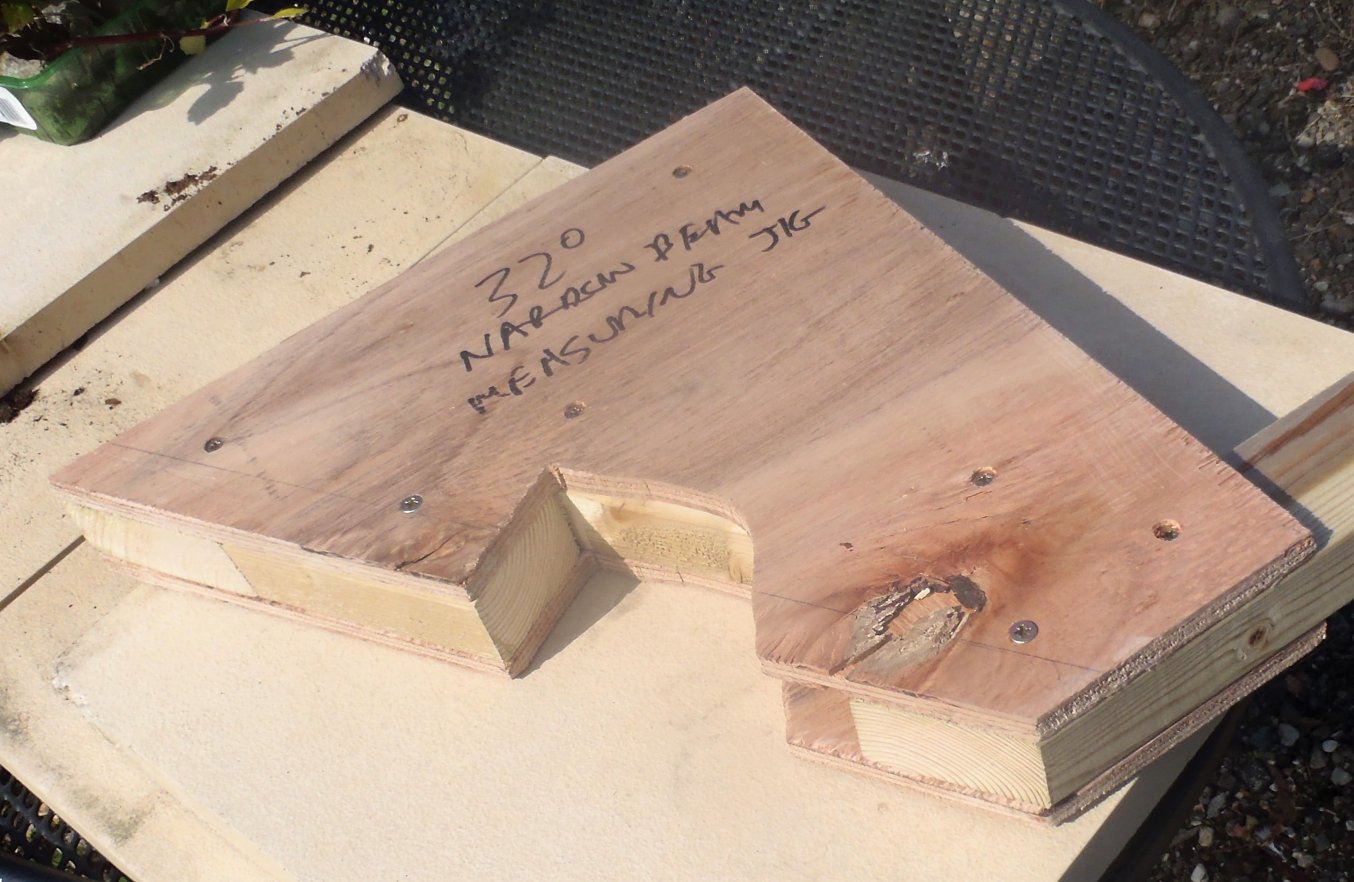
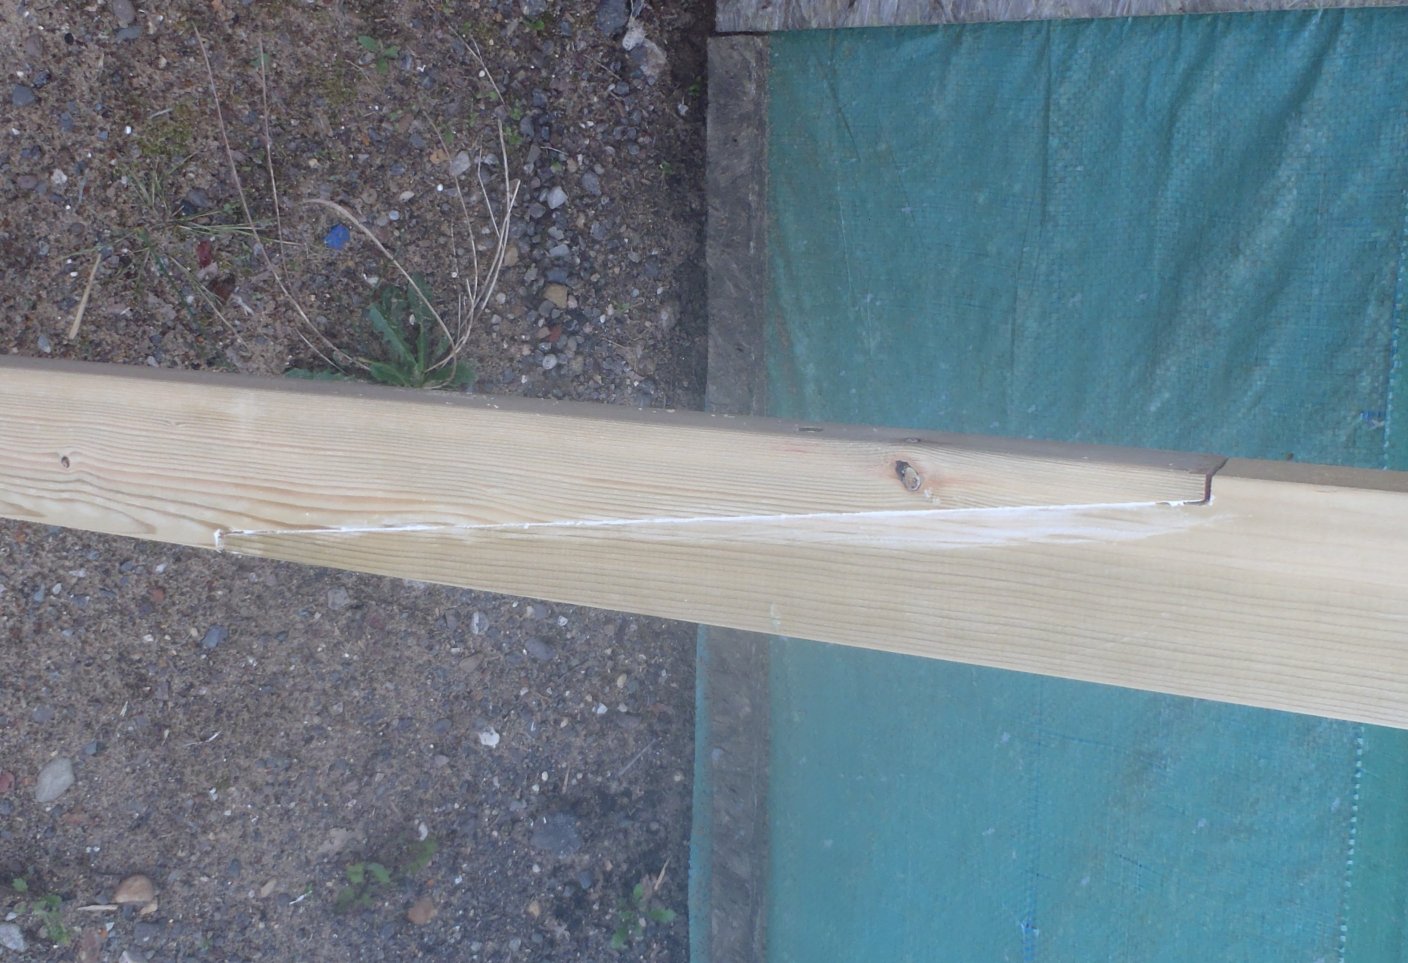
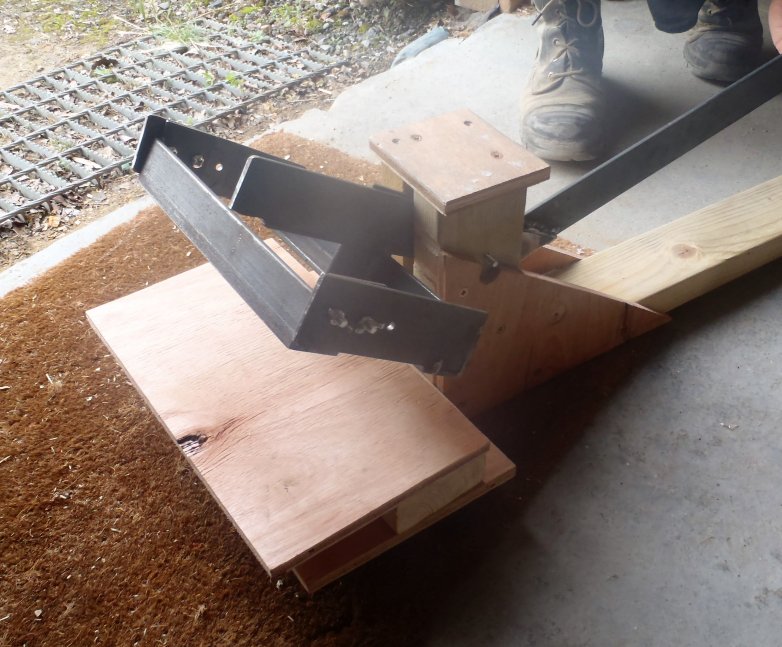
Wall-End-Measuring-Jig-45-Deg
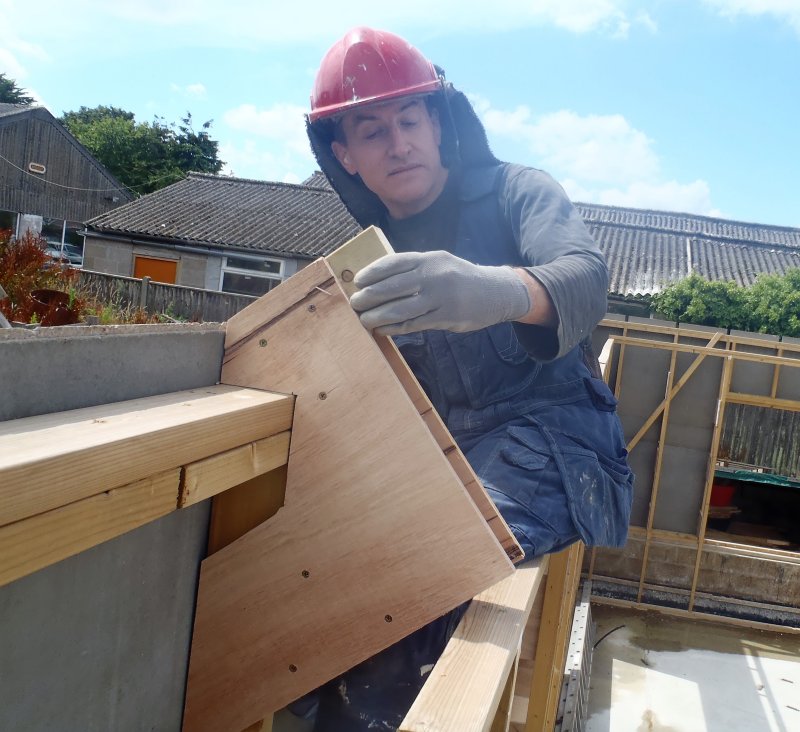
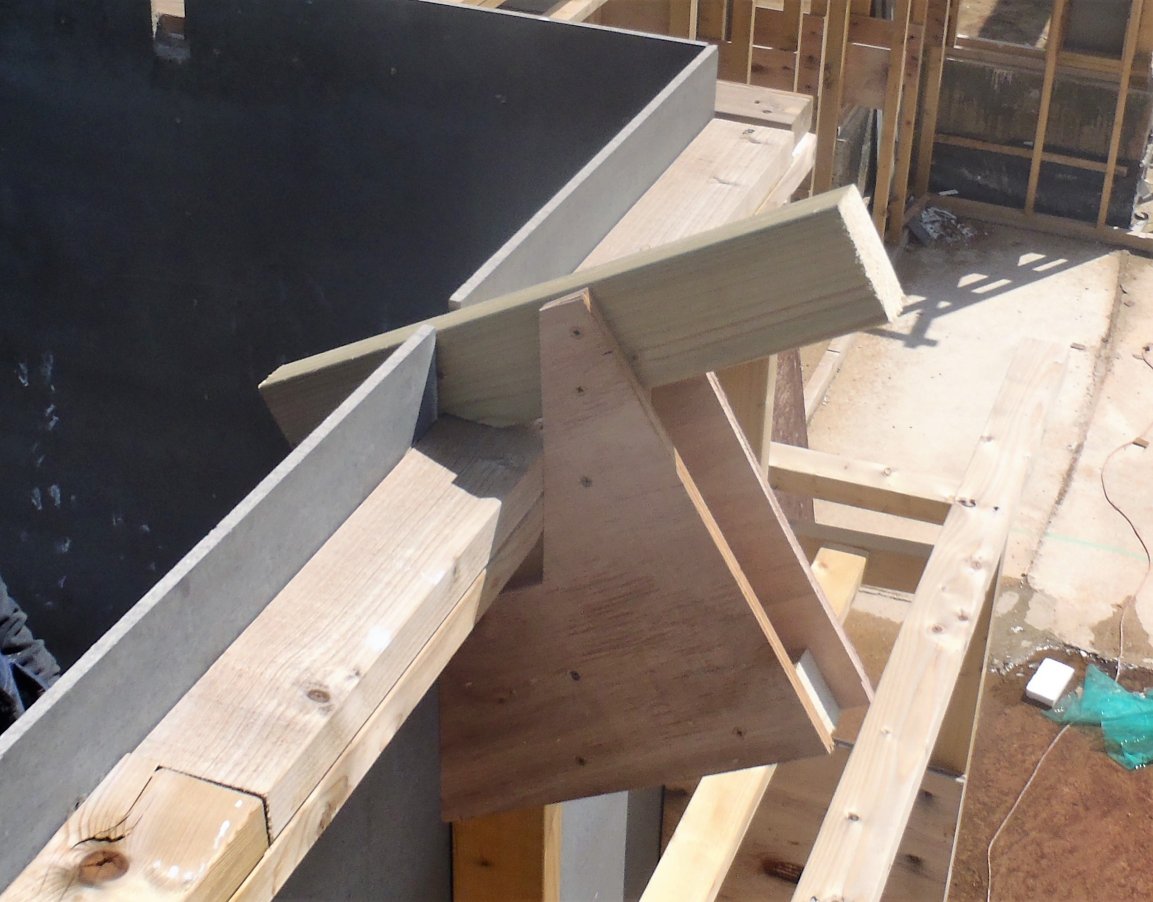
Wall-End-Measuring-Jig-45-Deg-On-the-wall
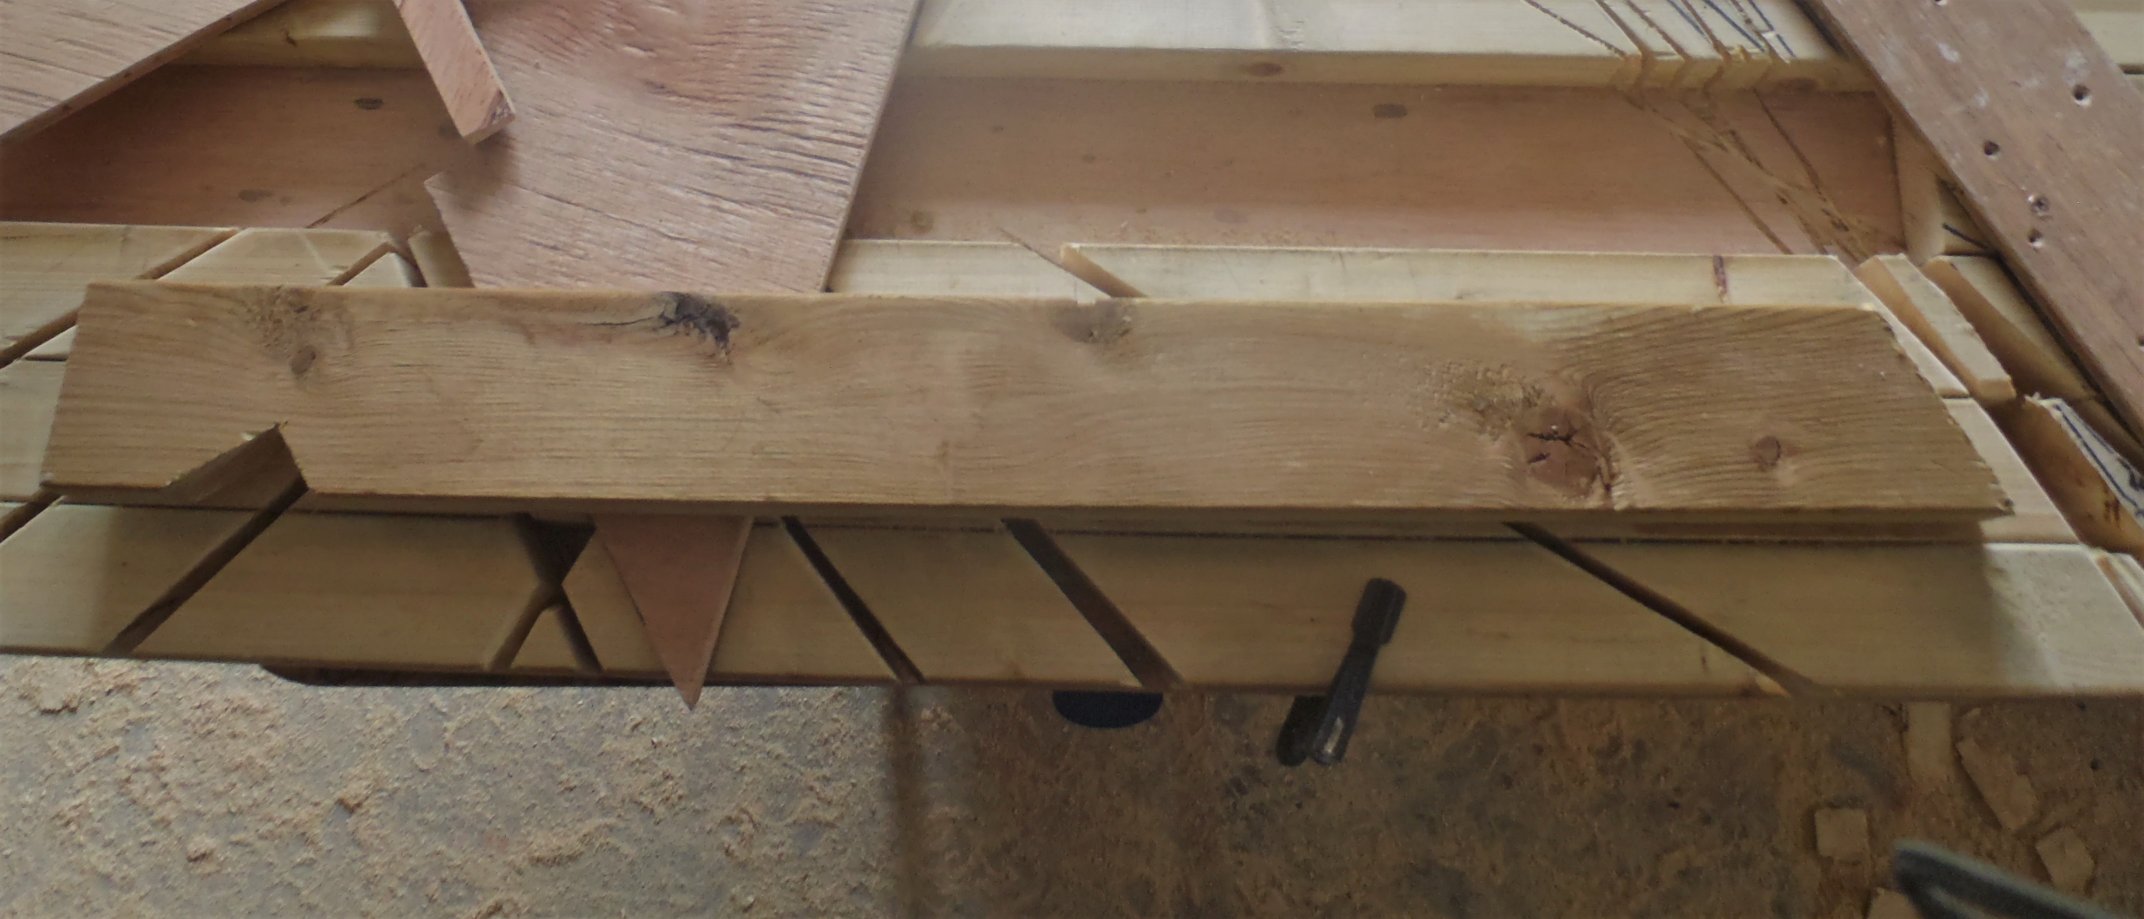
This concludes the collection of the measuring templates, a total 6 in all. The other angle of roof we got, the 60 degrees over the front porch, is just an ordinary straight forward CLS timber and we can measure the required lengths in situ at the time.
The rest of the day was doing necessary adjustments to the construction drawings to reflect the real world and the sizes of our newly arrived LVL timber which is bigger than the original drawing was done for. They are 108mm wide instead of 100mm, and also we decided to make life a little simpler and not have fancy crafted double slopes and valleys in the top and bottom edges of the LVL and just leave them flat. This means adjusting the overall height hence why we have sat down at the computer and did the work of updating the drawings.