A week of a mixed bag of lots of little tasks, jobs and errands, with a mixed bag of super-hot days, thunderstorms and a cool damp day to finish the week!
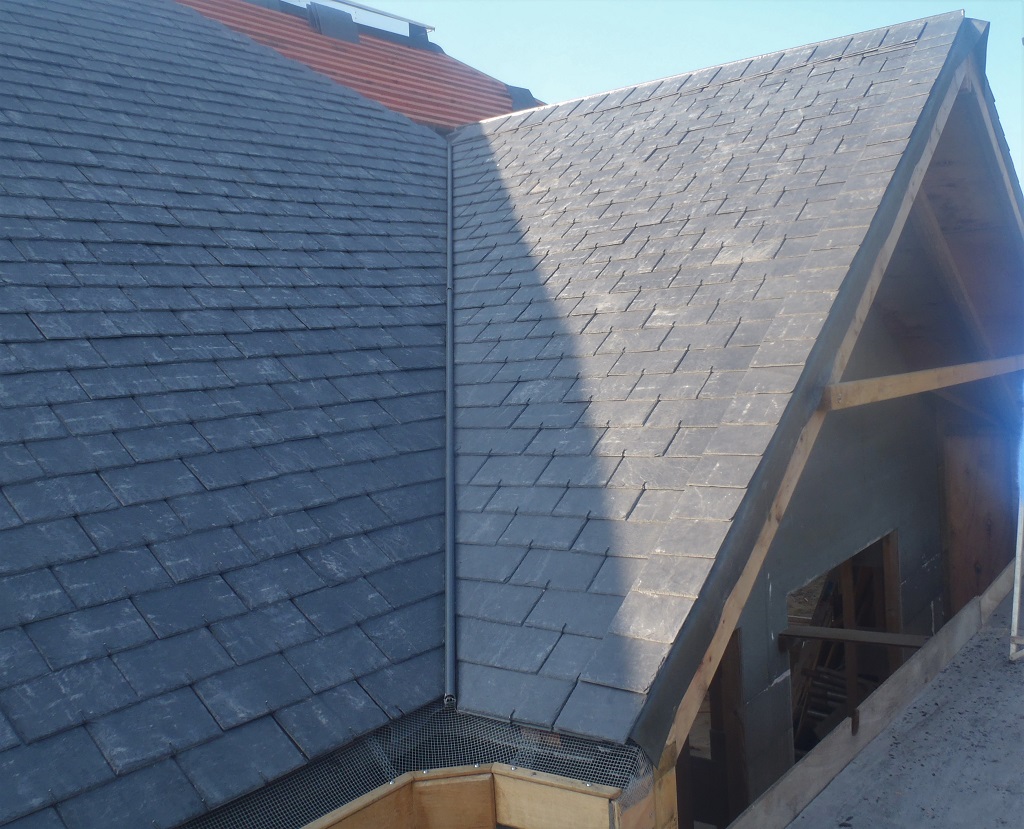
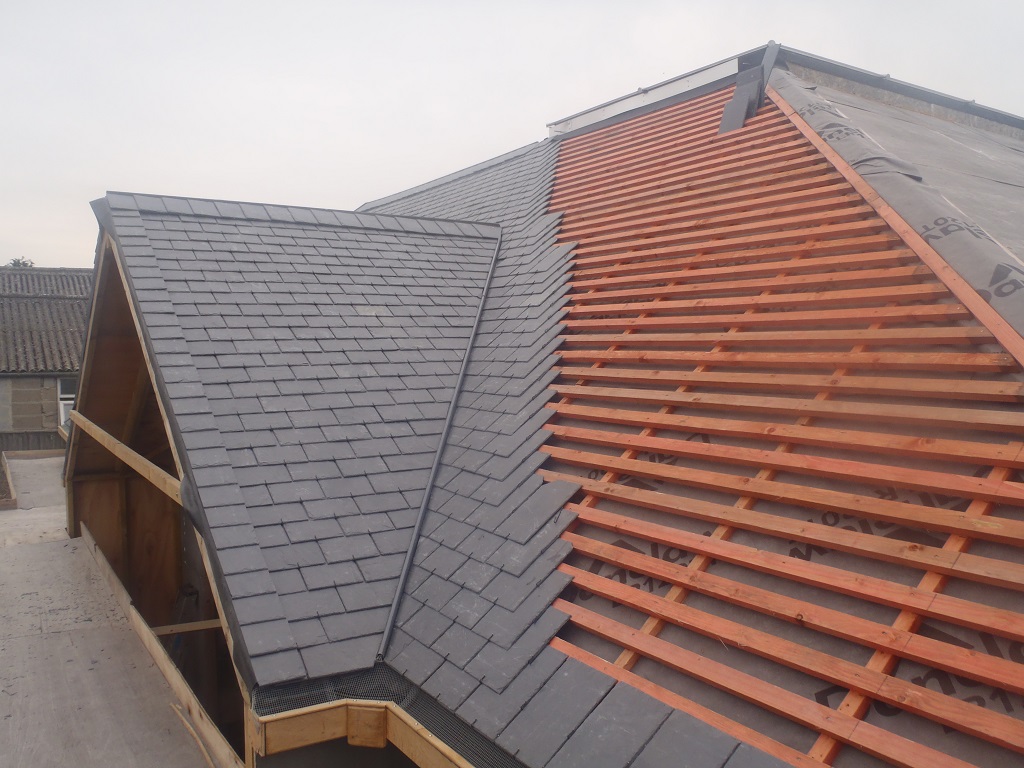
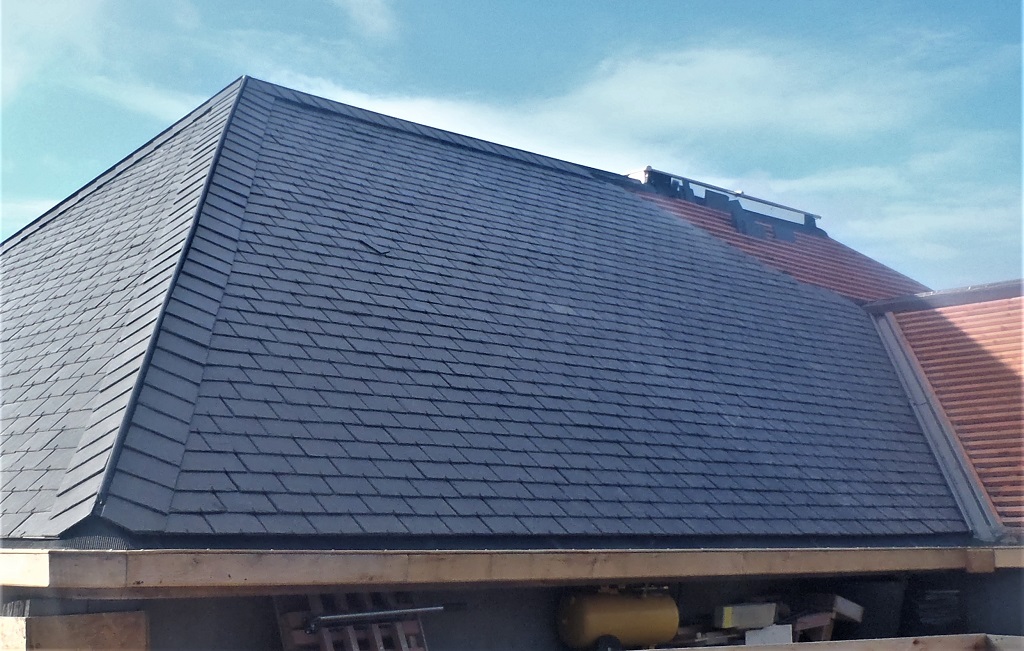
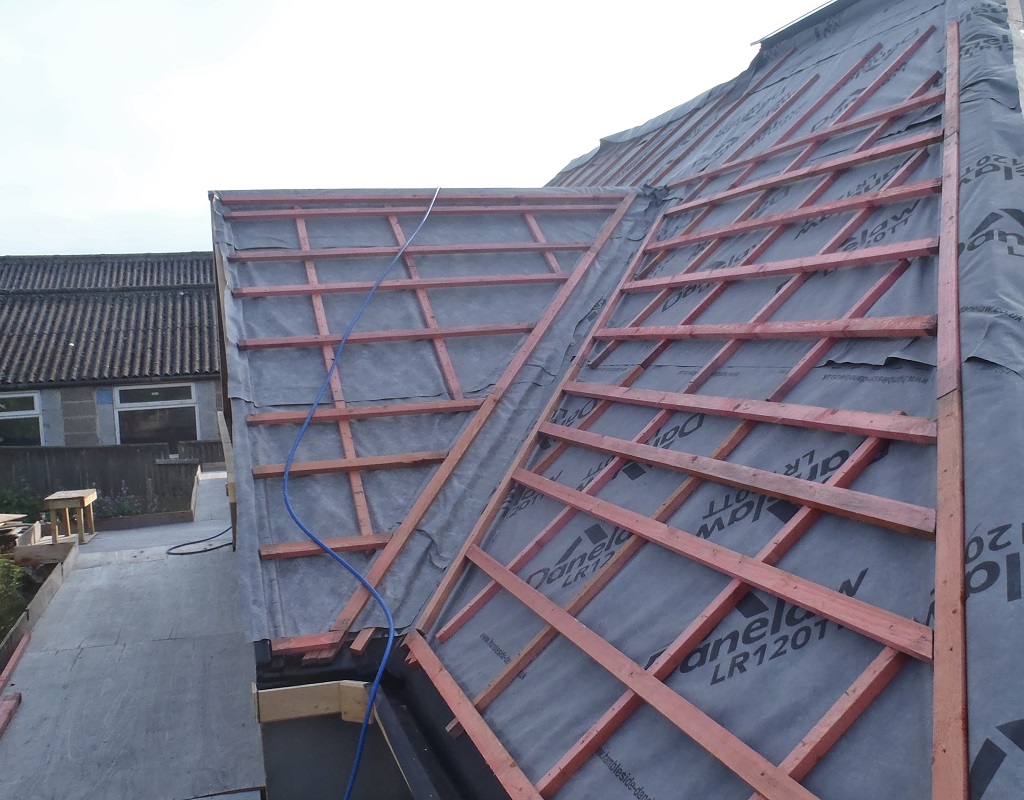
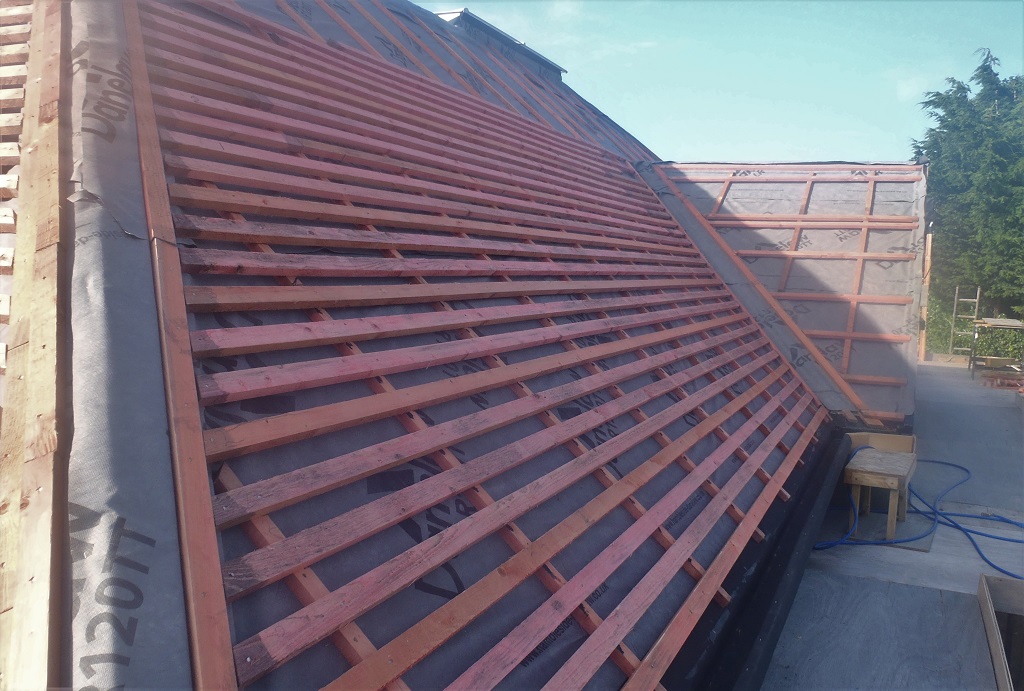
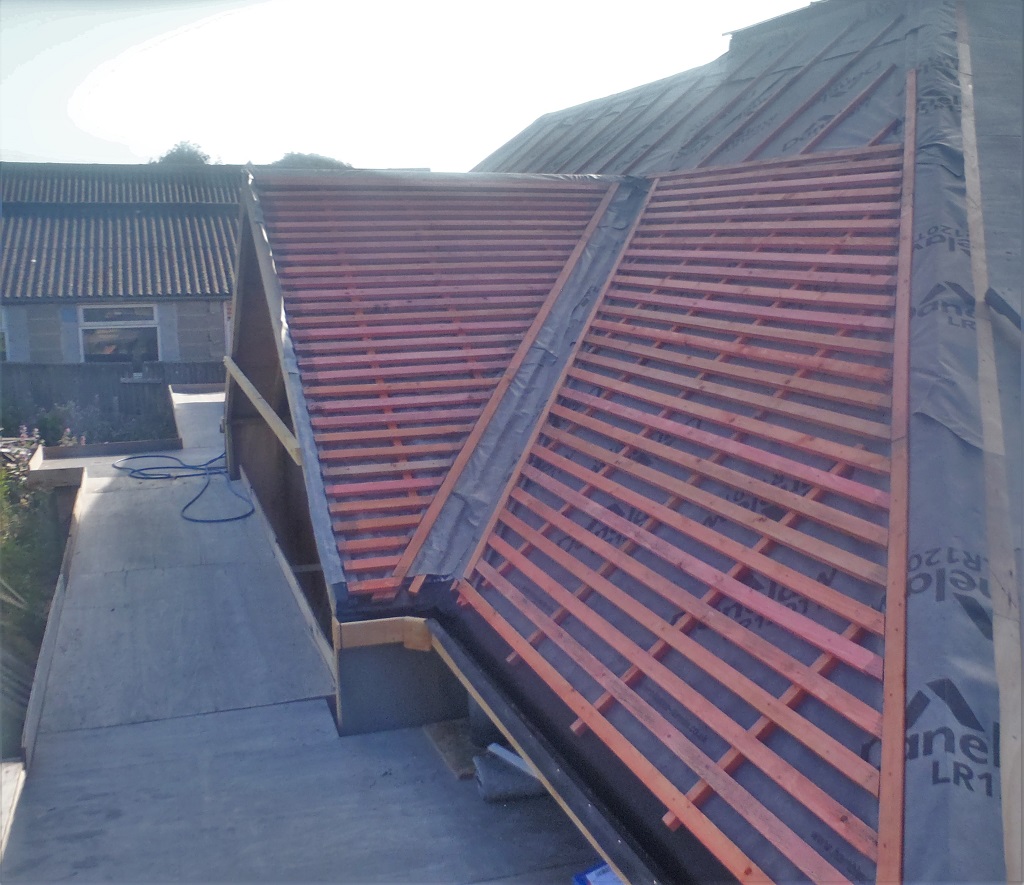
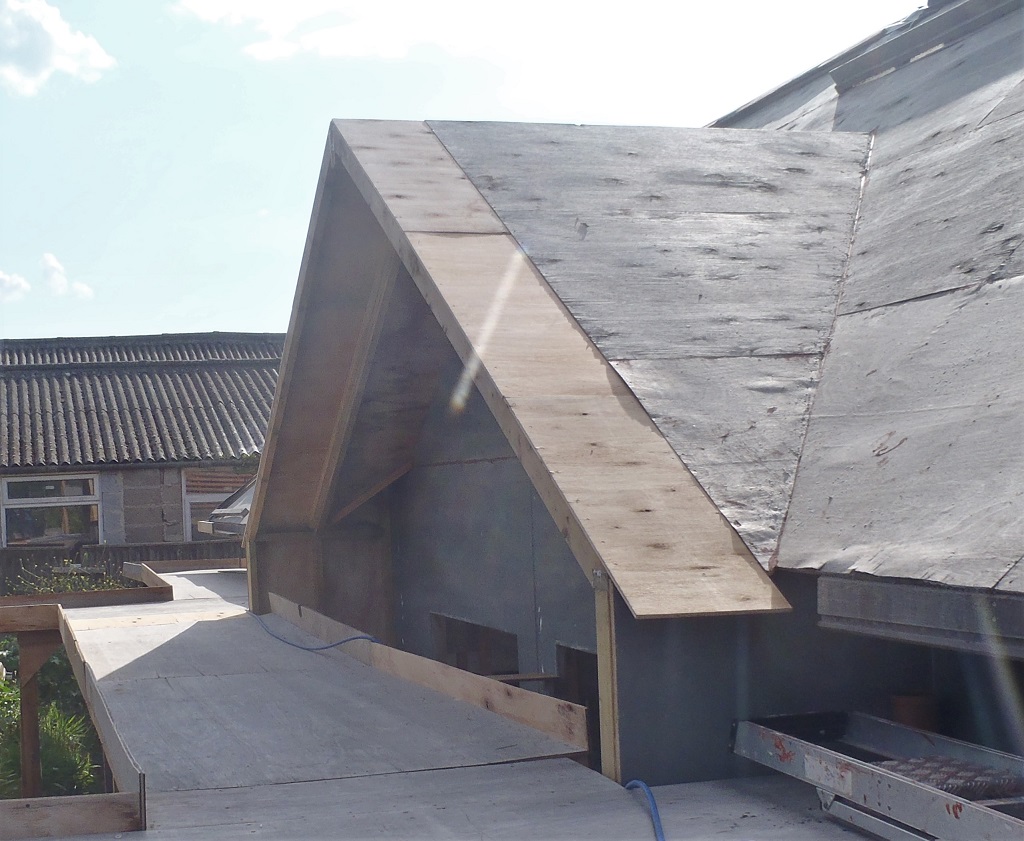
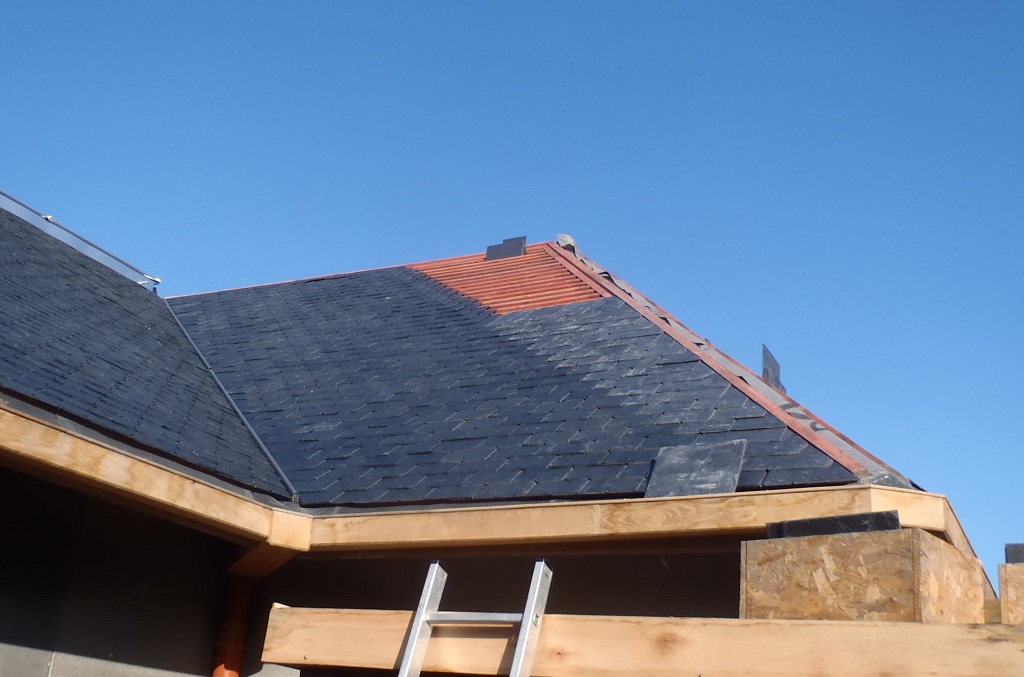
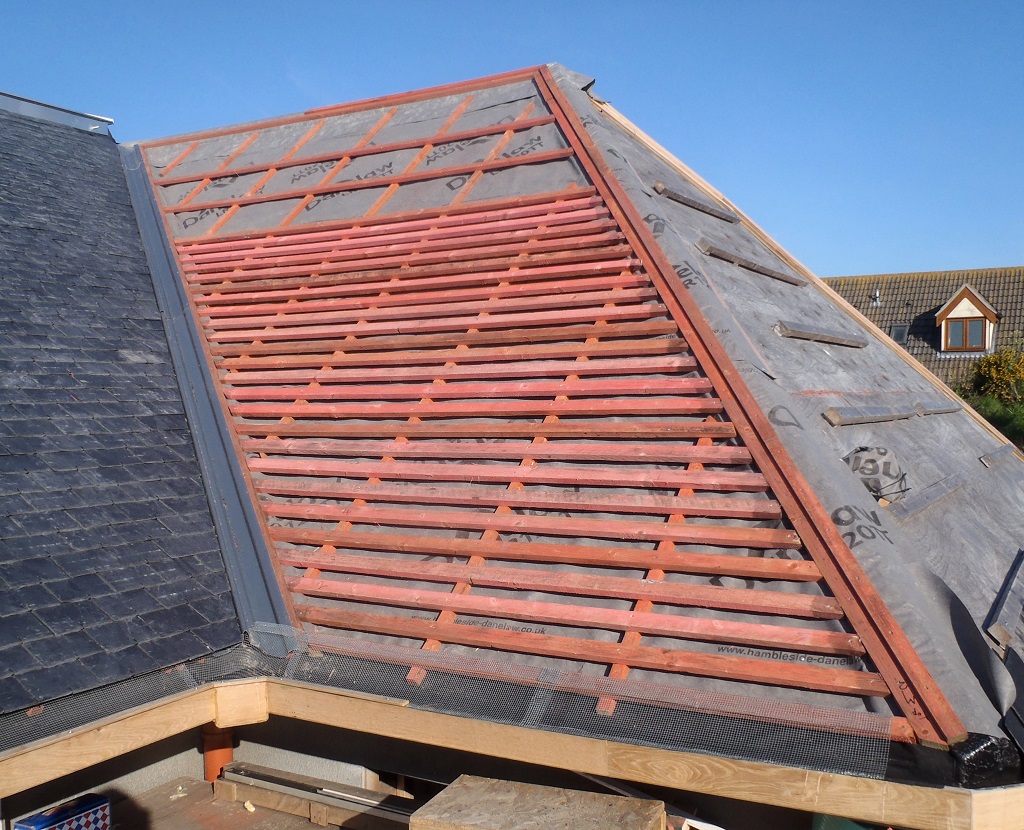
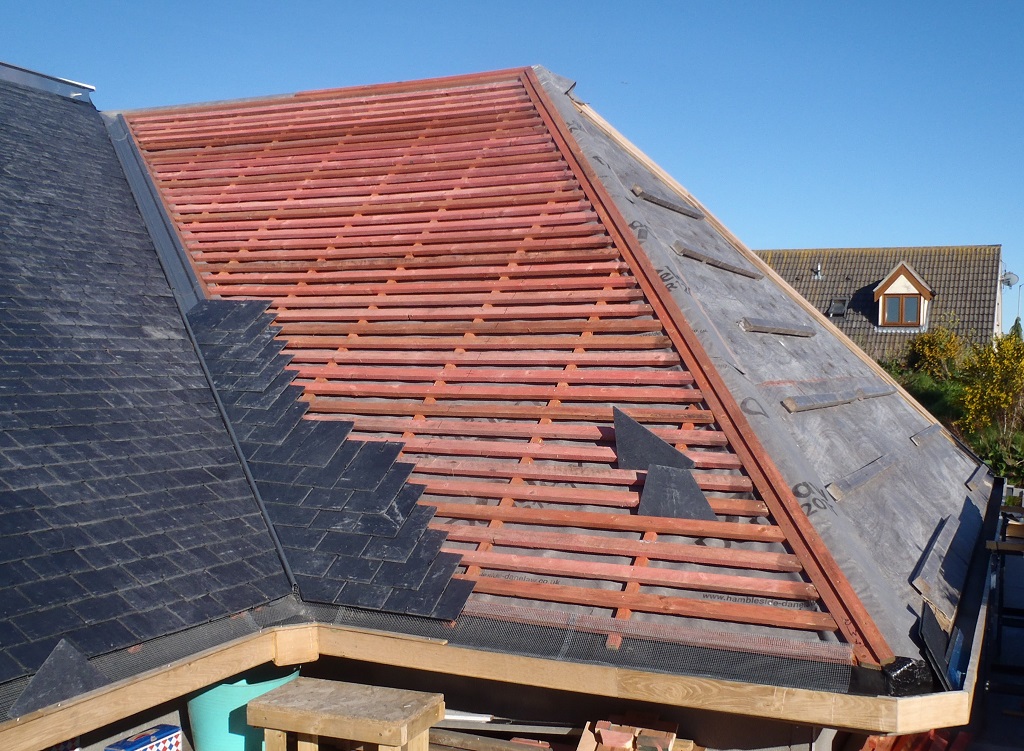
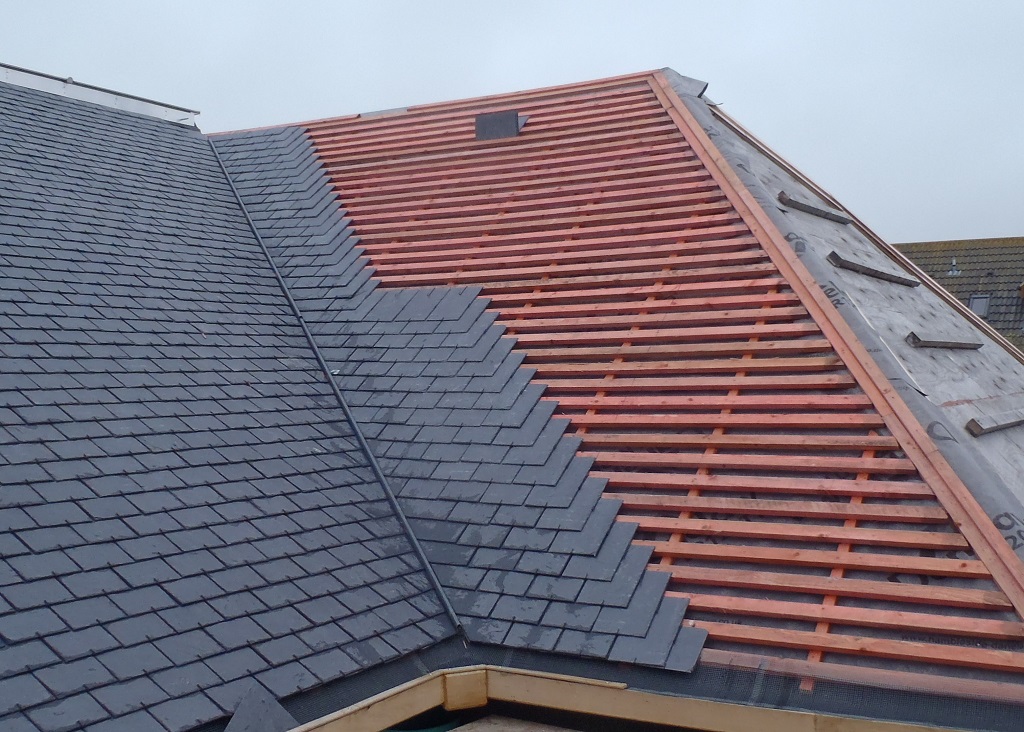
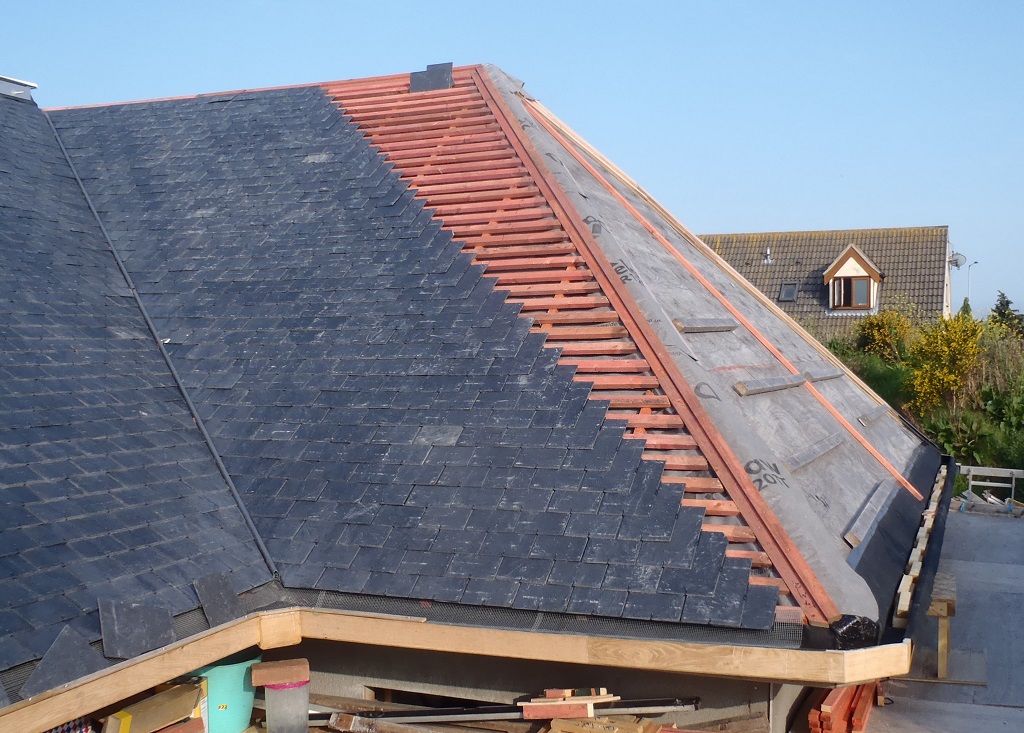
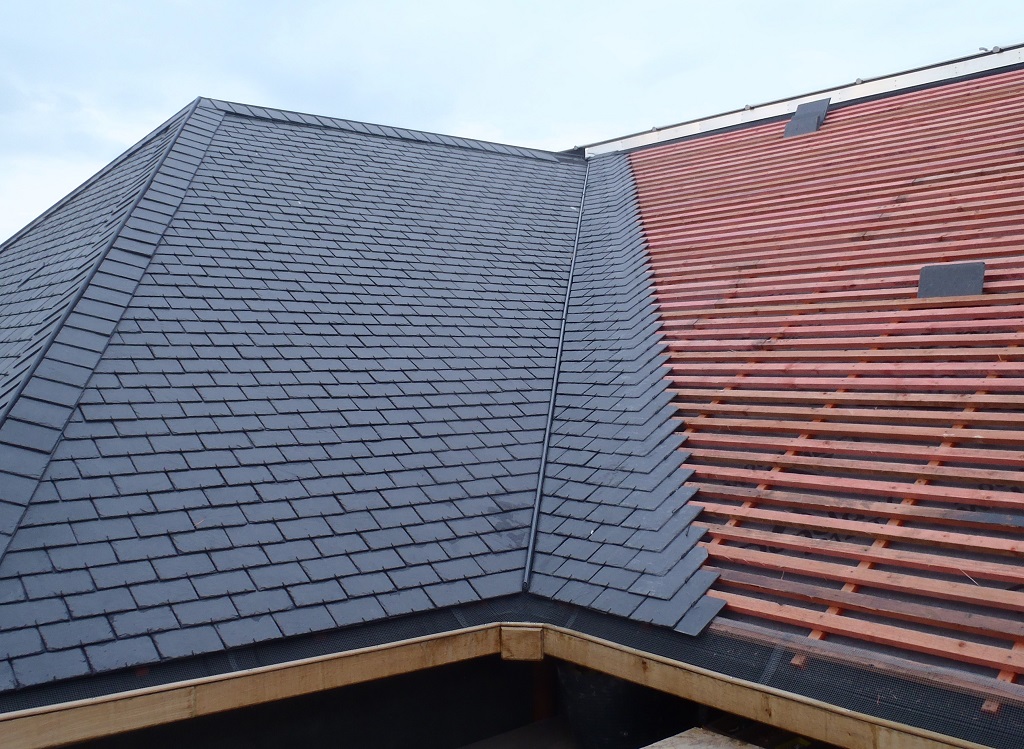
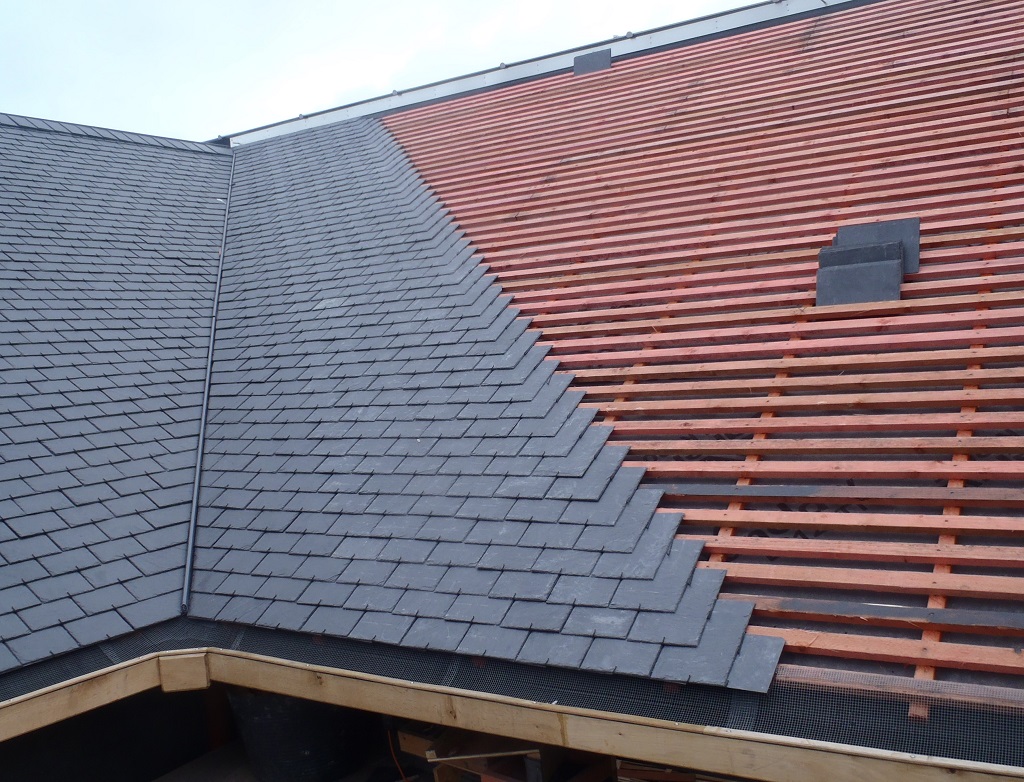
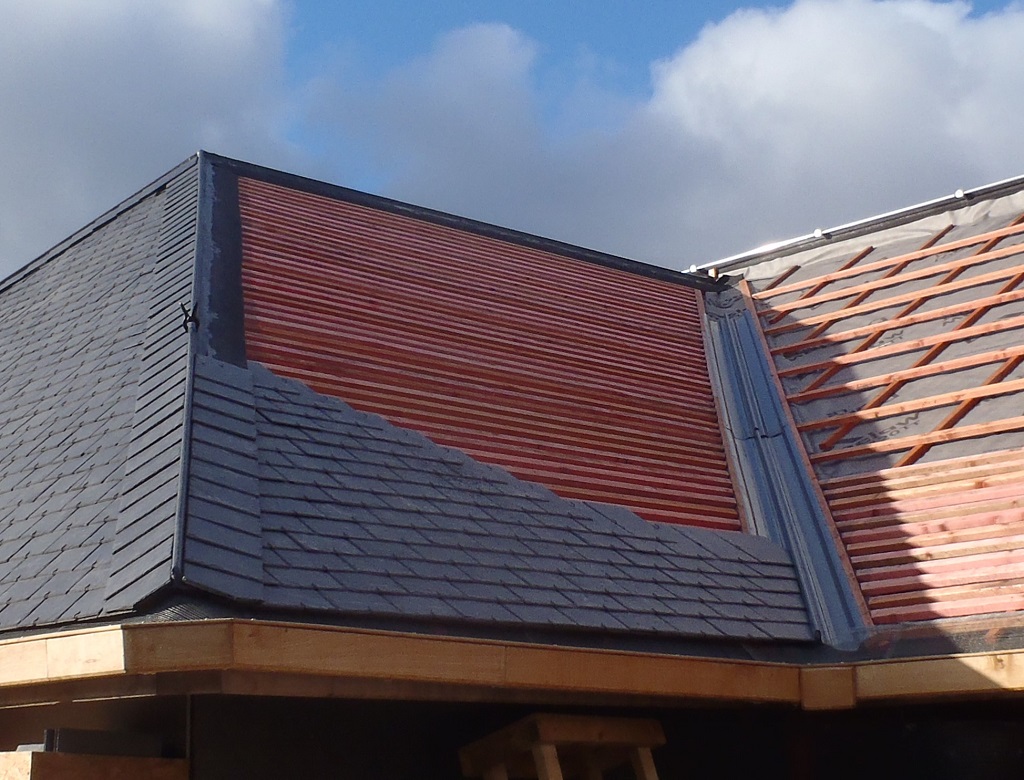
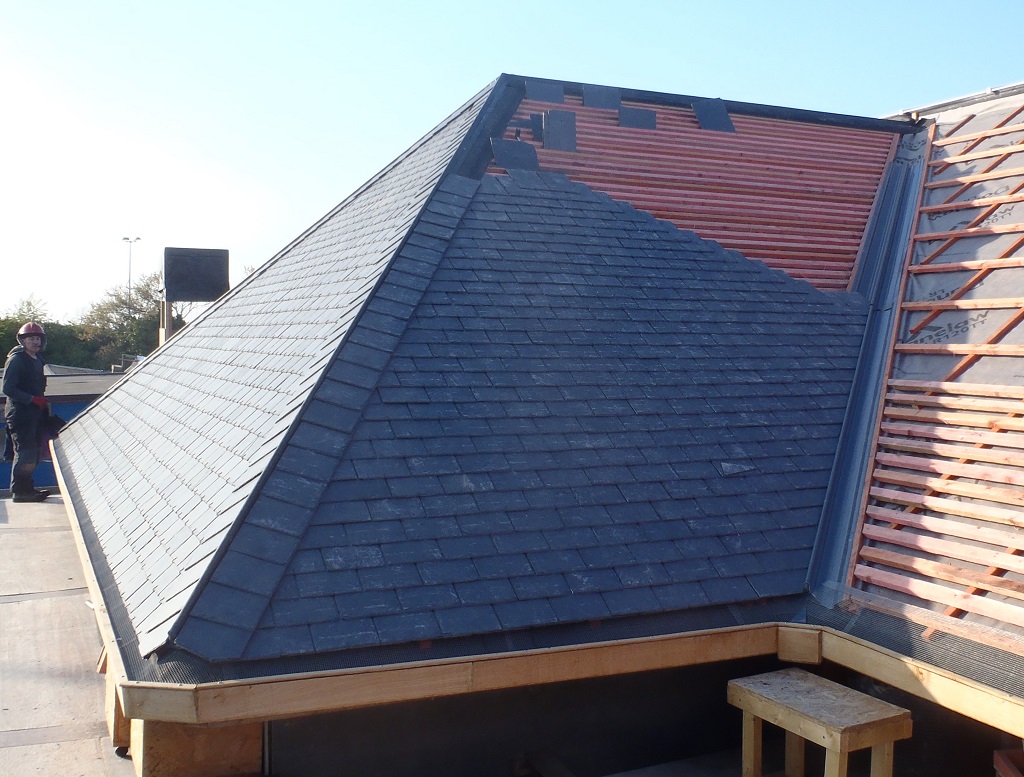
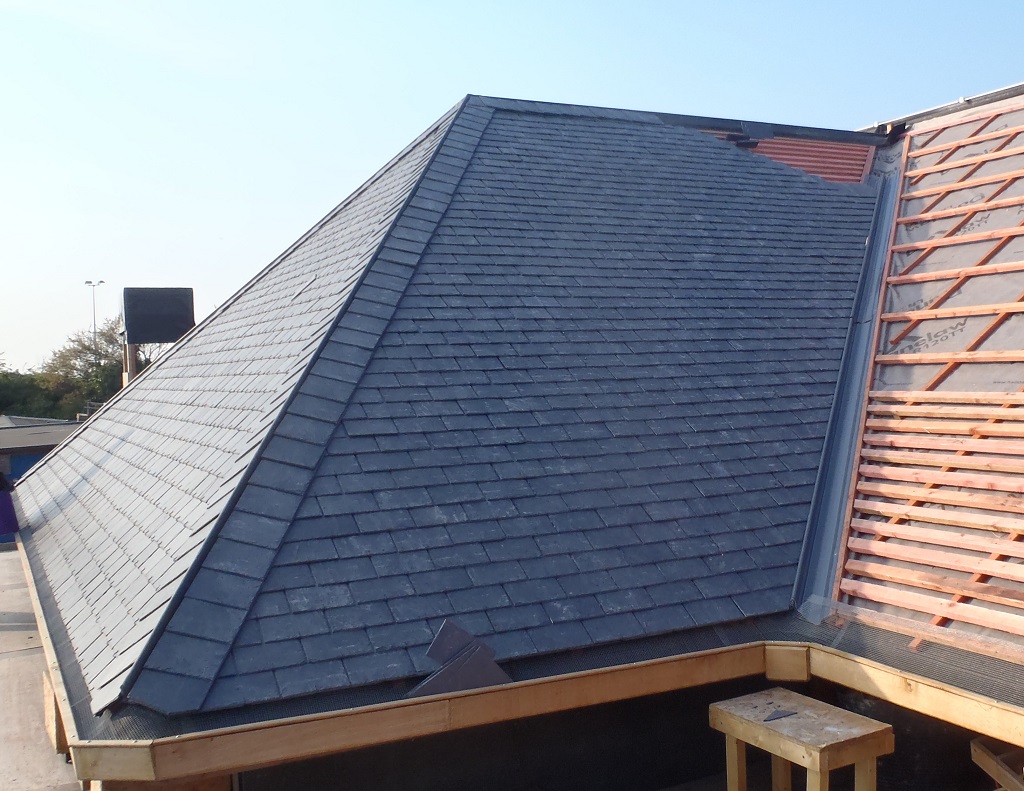
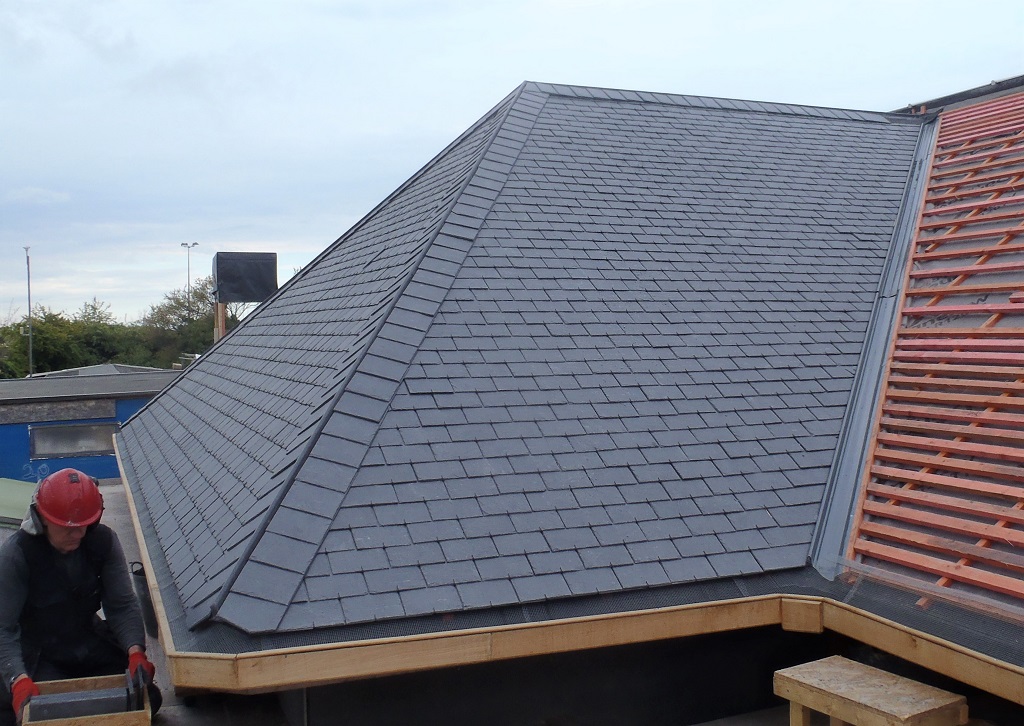
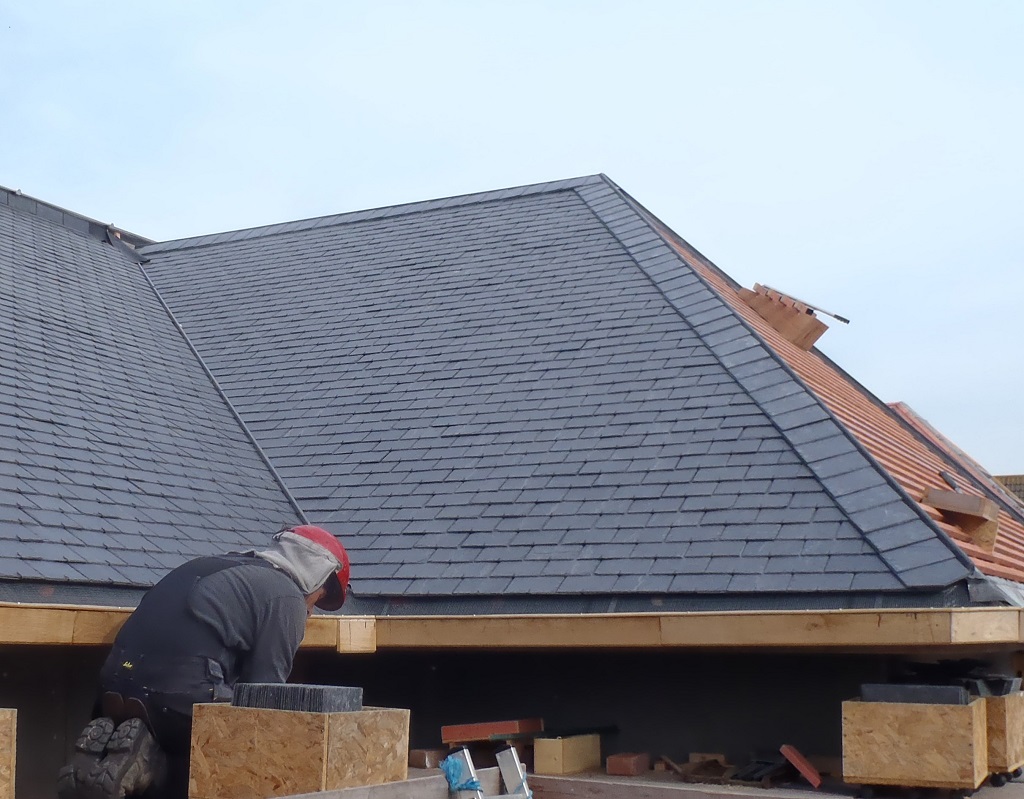
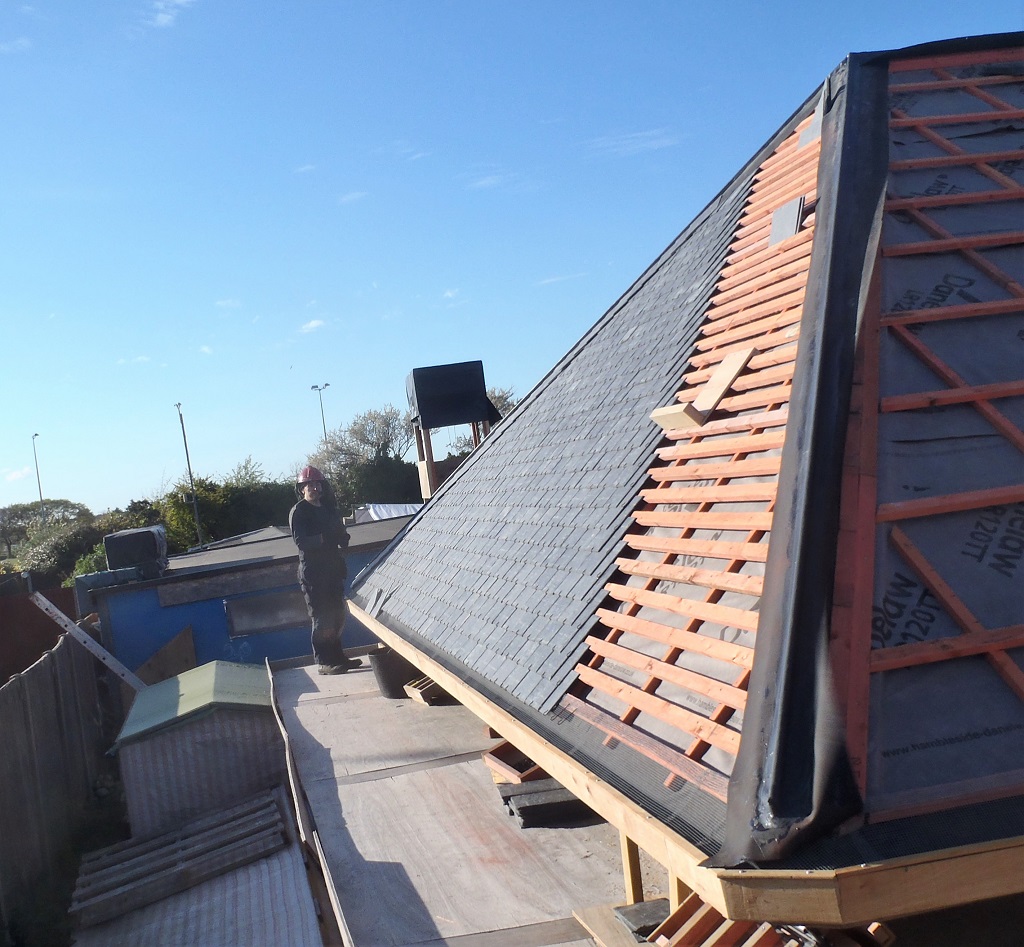
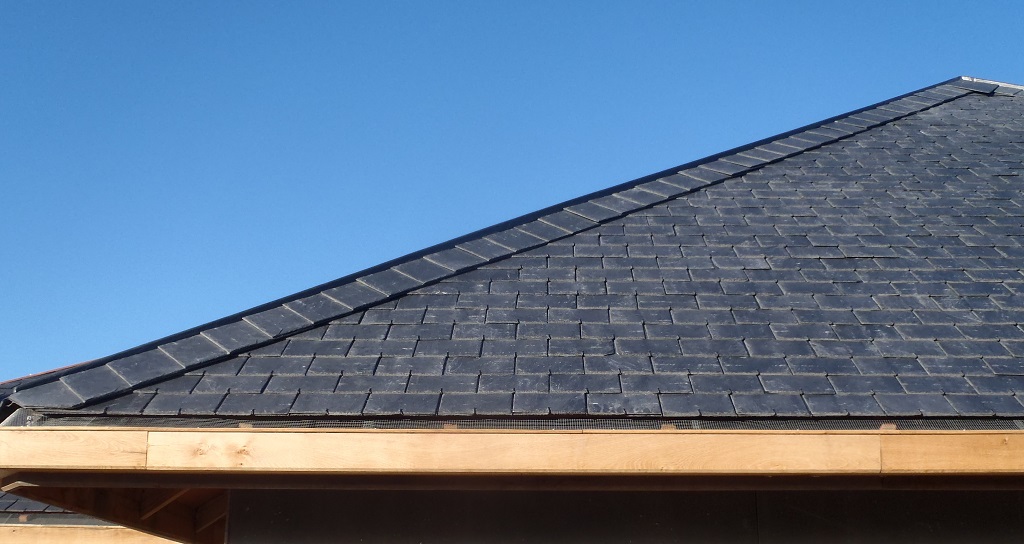
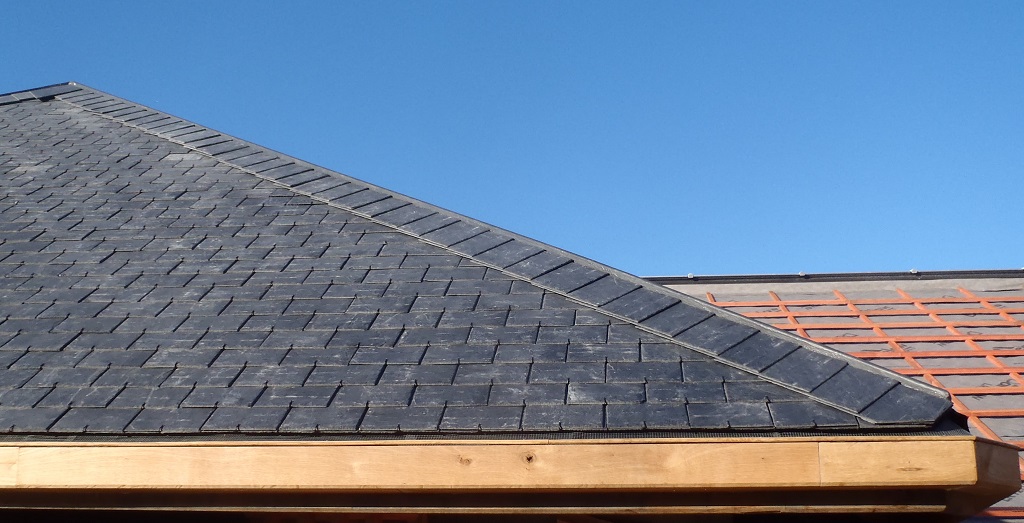
For the first job on Monday was to finish as much as possible the of the ‘P’ section of the roof, putting on several hundred more Slates. We couldn’t finish it as the last few columns need to have access from the other roof surface (the ‘A’ section along the front of the house) so we had to stop there and started the process of tidying up everything off the platform modules, ready for them to be moved.
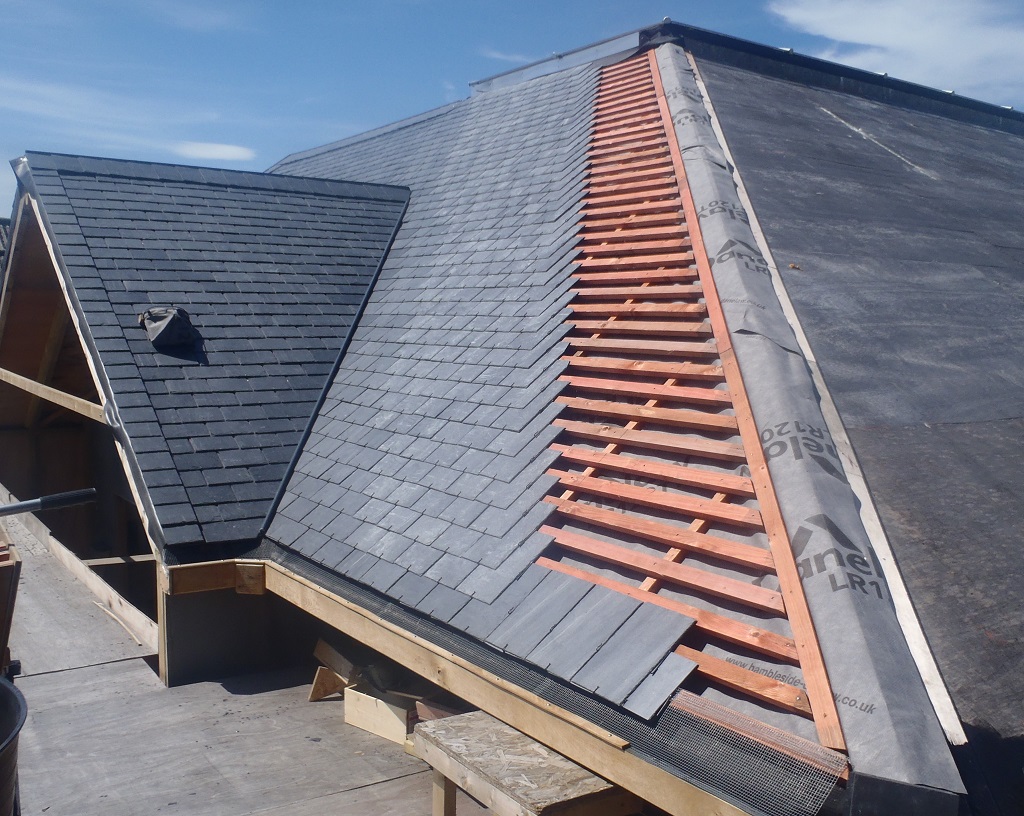
P2-Slated-as-far-as-we-can-go-now
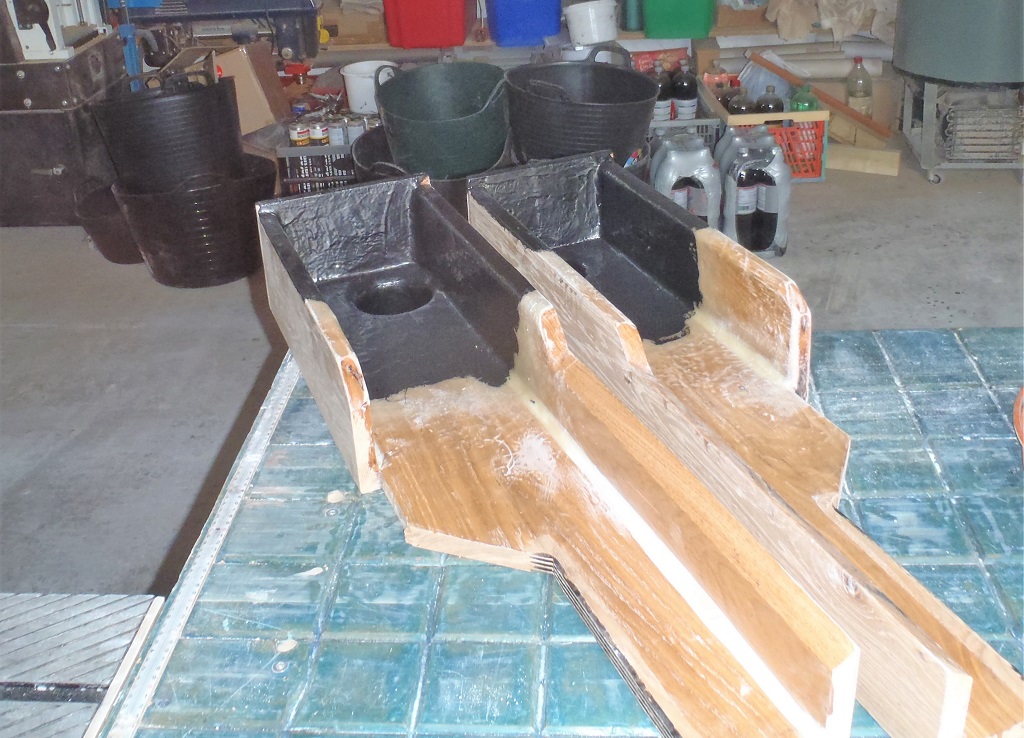
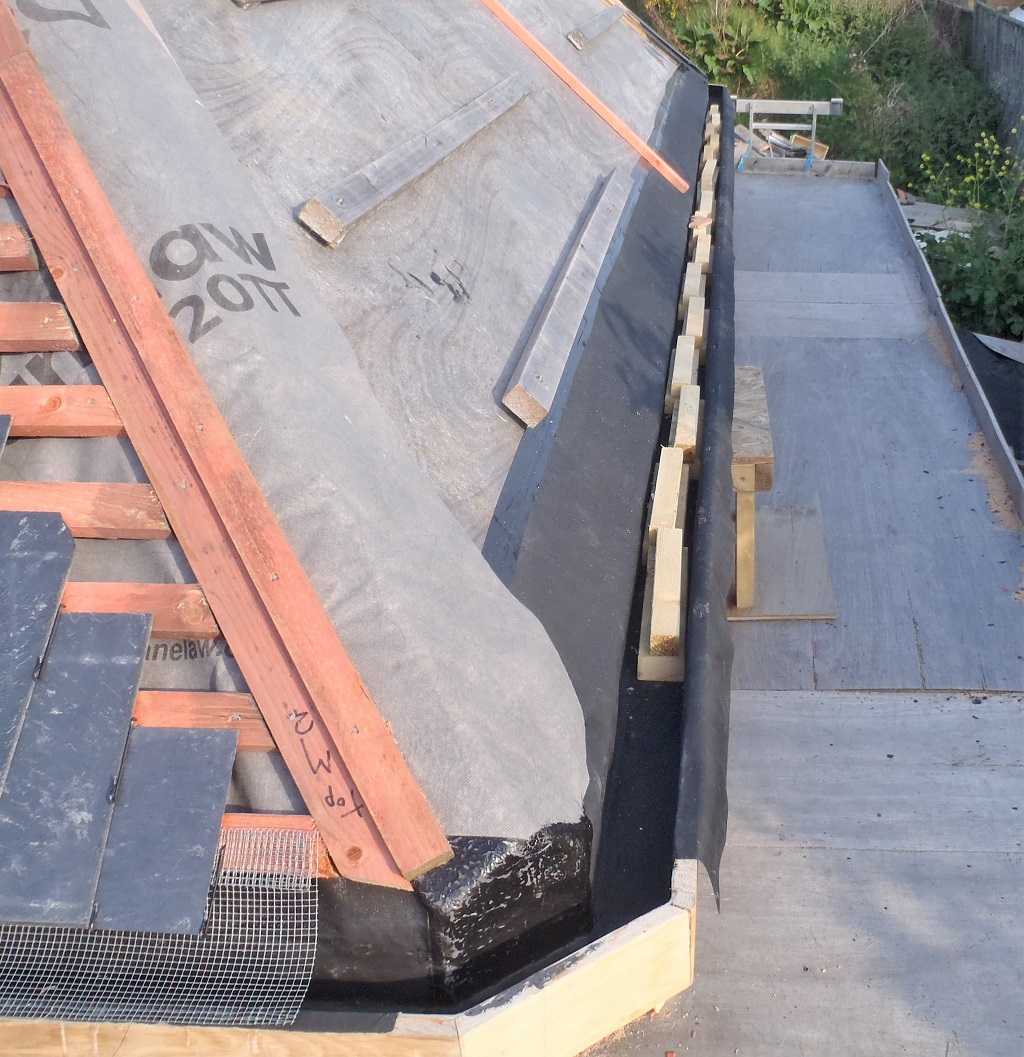
But first, after almost forgetting to do it, we washed out the finished gutters using the pressure washer and sanded smooth the joints (removing the expanded glue) and surfaces along the guttering. Then we removed all the edging plywood strips off our working platforms, removed all the screws joining the modules (there were eight of them) together and released them from the walls of the house too.
But we couldn’t move them for two reasons number 1 was that we had two crate’s full of Slates were in the wrong position, or rather, they clashed with the need to locate the line of our working platform to go along the front of the house and secondly, the old little covered storage hut (containing sheet materials) was blocking the route when we needed to move the eight modules around to the front.
So the next job was to make a new storage rack inside the house, this time, a four layered construction with room for a large pallet on the concrete floor for the cement boards.
After the external storage hut was emptied, we took it apart and recycled some of the bits and screws but most of it was beyond use and carried away ready for burning or other items put into the rubbish bins.
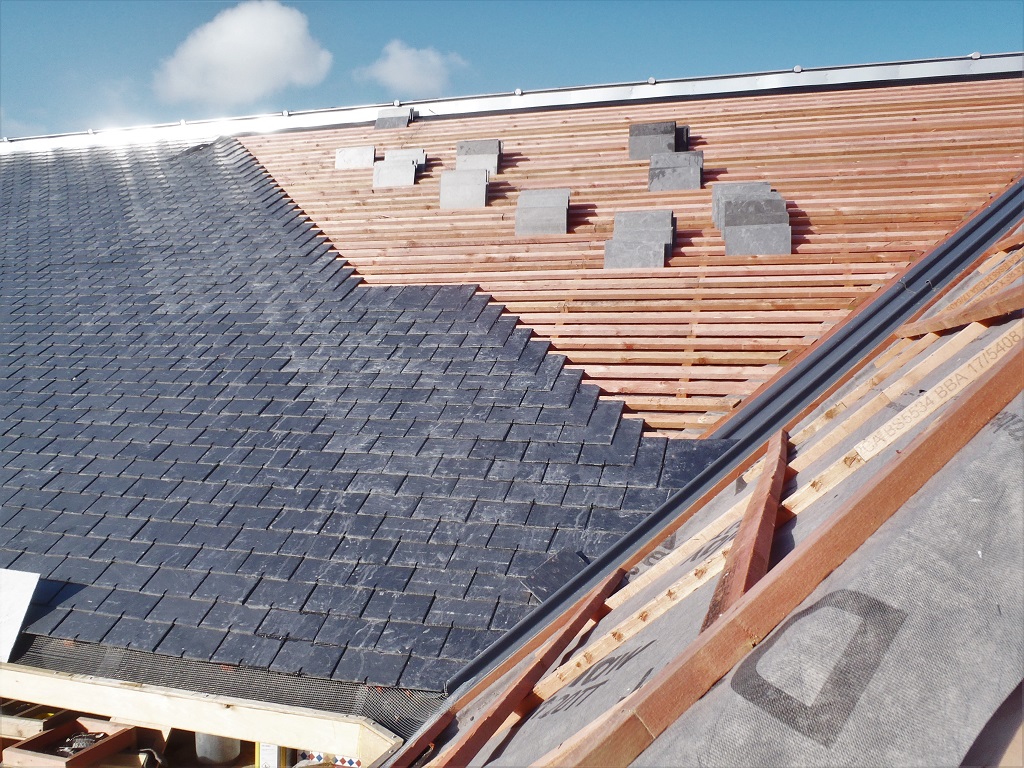
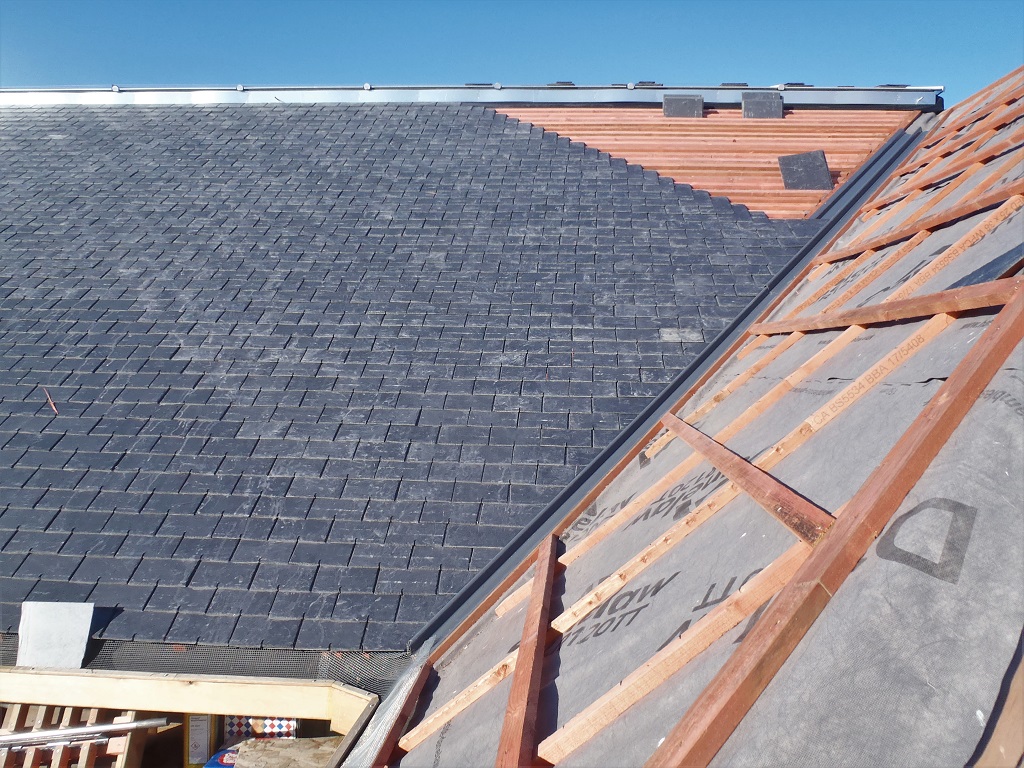
Now the next job was to empty two crates of Slates and we moved about 3200 of them and piled them on top of our other four crates. We used our large flat bed trolley to help us with that massive heavy job!

Slates-moved
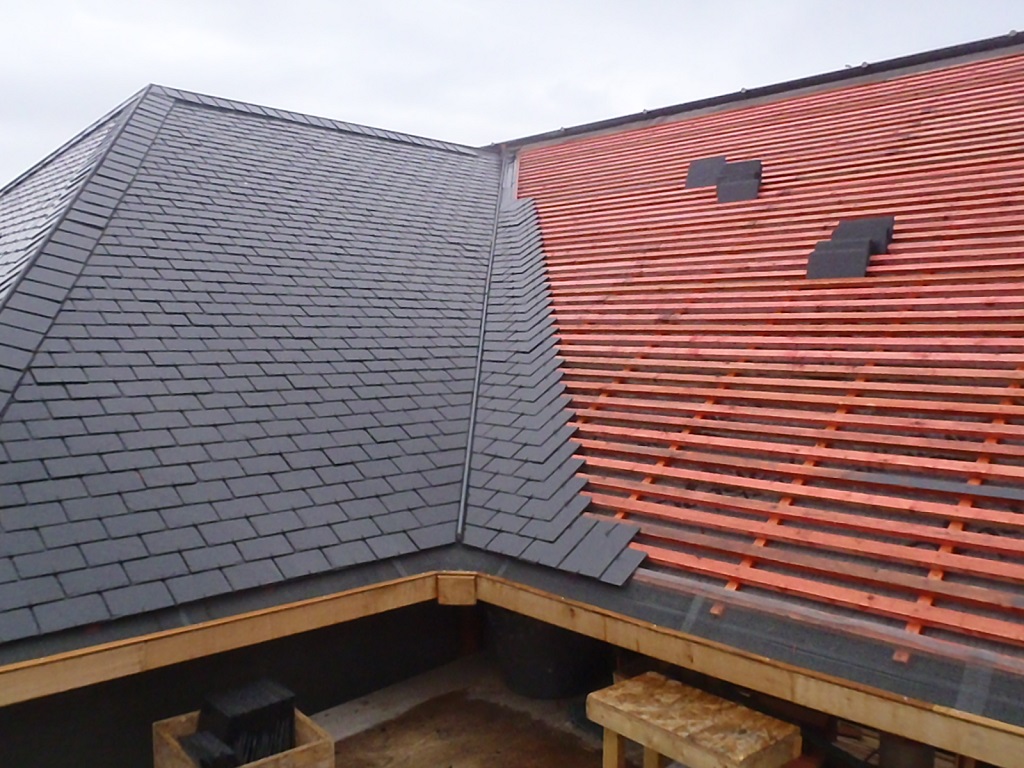
Now at last, we could move the eight modules, one at a time. We made it easier for us by clamping a wooden bar across the legs and carrying each one the long way around the house. The eight modules gave us the scope to work on all the ‘A’ section, all the ‘B’, ‘C’ and ‘D’ and the first bit of the ‘E’ sections of the roof, this is nearly all the sections along the front of the house. We will have to move two more modules to enable us the access to the rest of the ‘E’ section to the corner with ‘F’ but we will do that later on.
That was the end of Wednesday and we finished a little early too because it was very hot (our air temperature was 33°C and the ground was reading 40°C on the sandy soil but our slates on the roof was reading 50°C!!
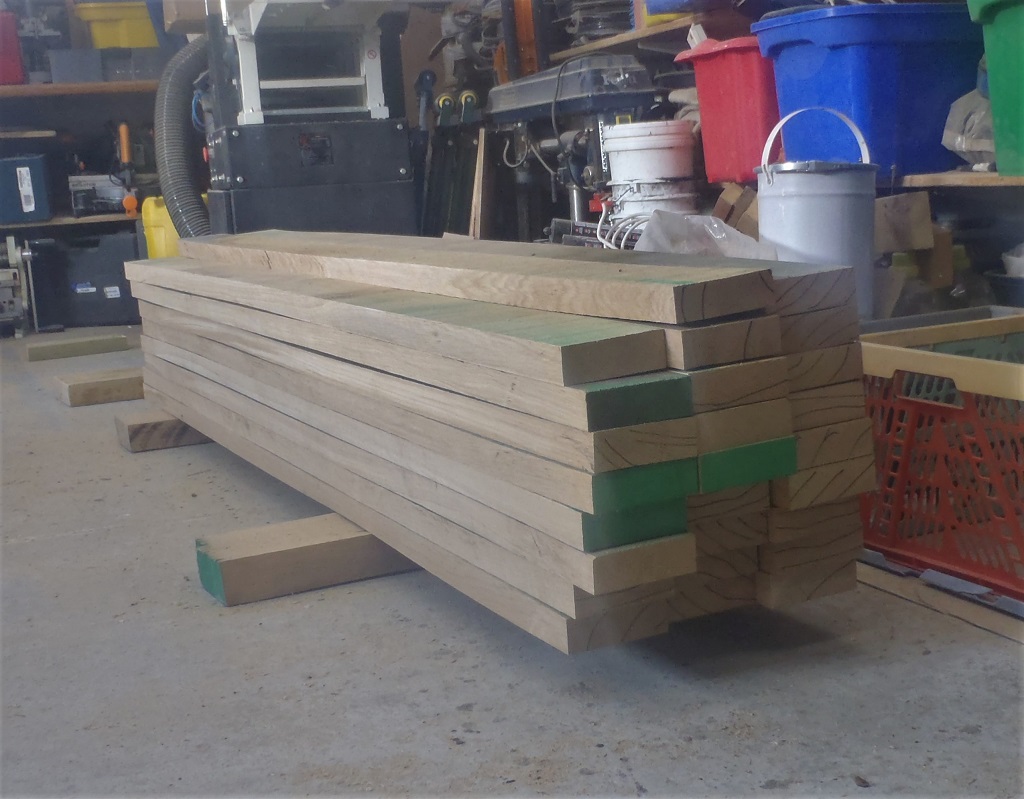
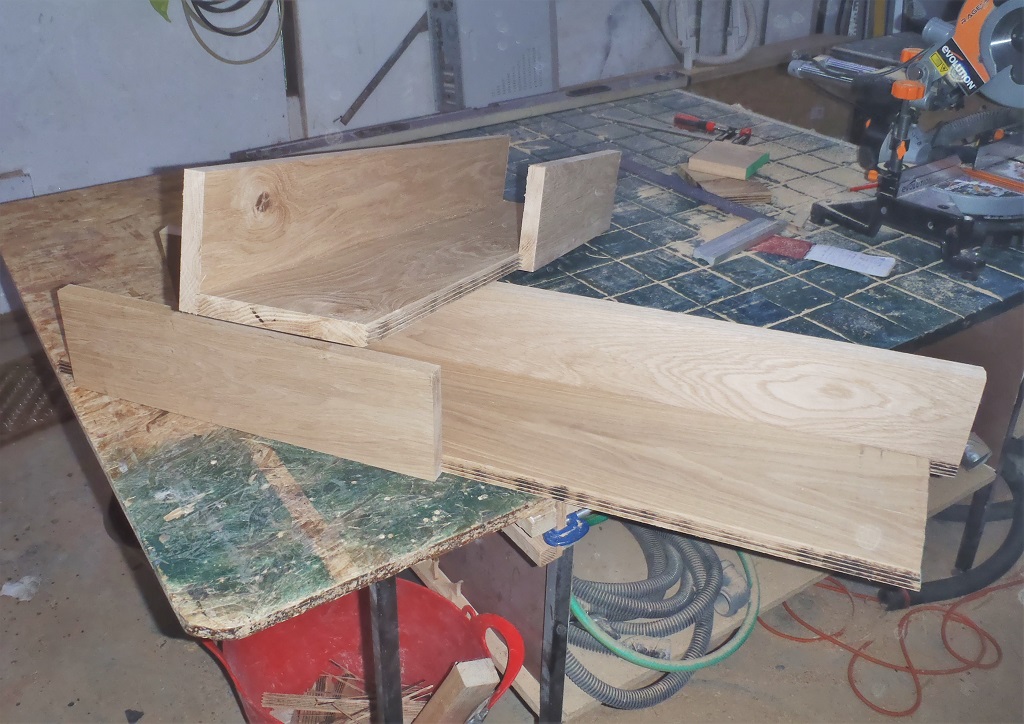
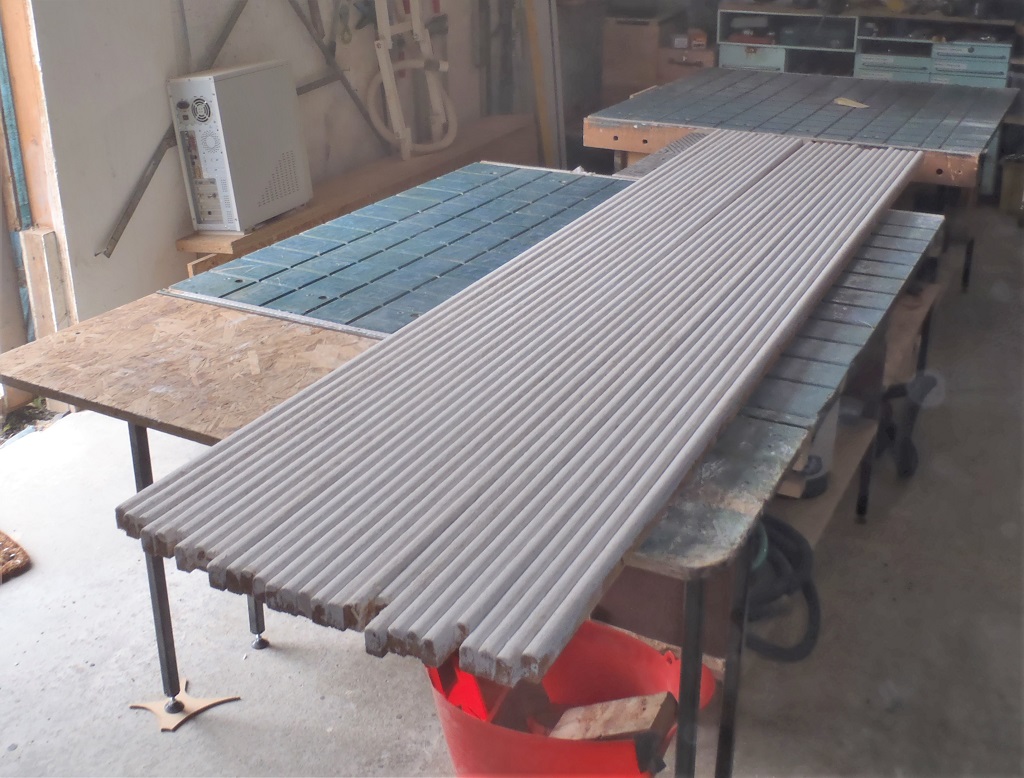
Thursday, we avoided the hot sun by working in our workshop to process the next set of Oak timber planks, to make a series of narrow flat vertical pieces to form the octagon shaped pillars on each side of the windows. We brought in all the 27mm thick by 2metre oak planks, about 75 in total. We will only need some of them as we are making a set of 100mm wide parts and a set of 70mm wide parts, 26 of each (we should be able to get two parts from many of the wider planks). We would like to pull out the nicest quality ones so we try to avoid those ones with knots and twisted grains. We first chopped all the ends, removing any split ends and other defects and got started on slicing one straight edge using our track saw. We managed about 25 planks so far.
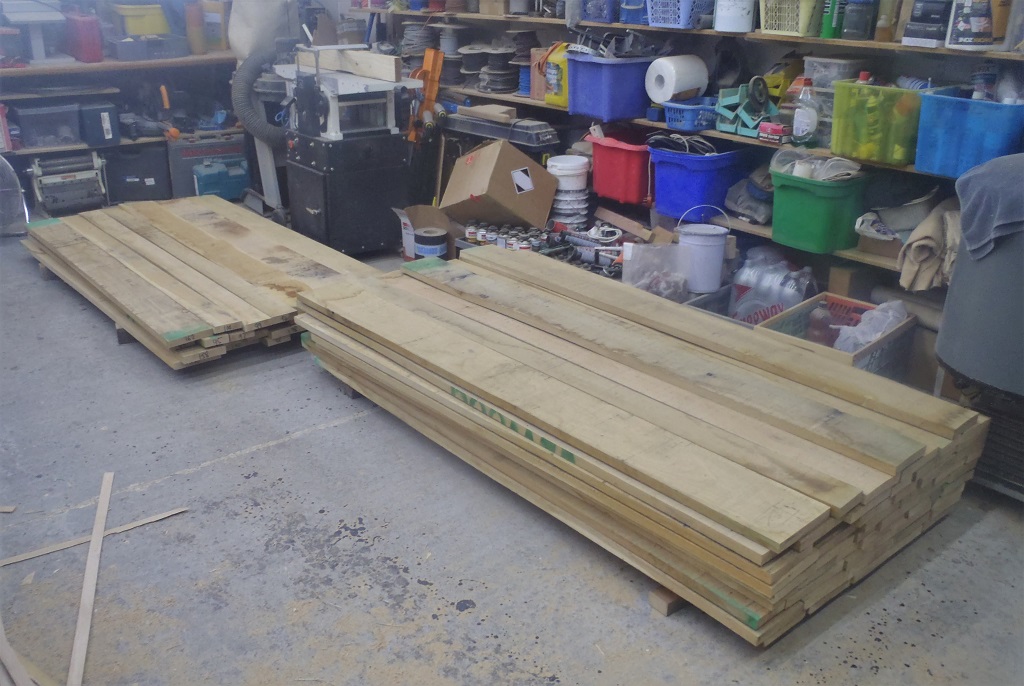
Lots-of-Oak-planks-for-window
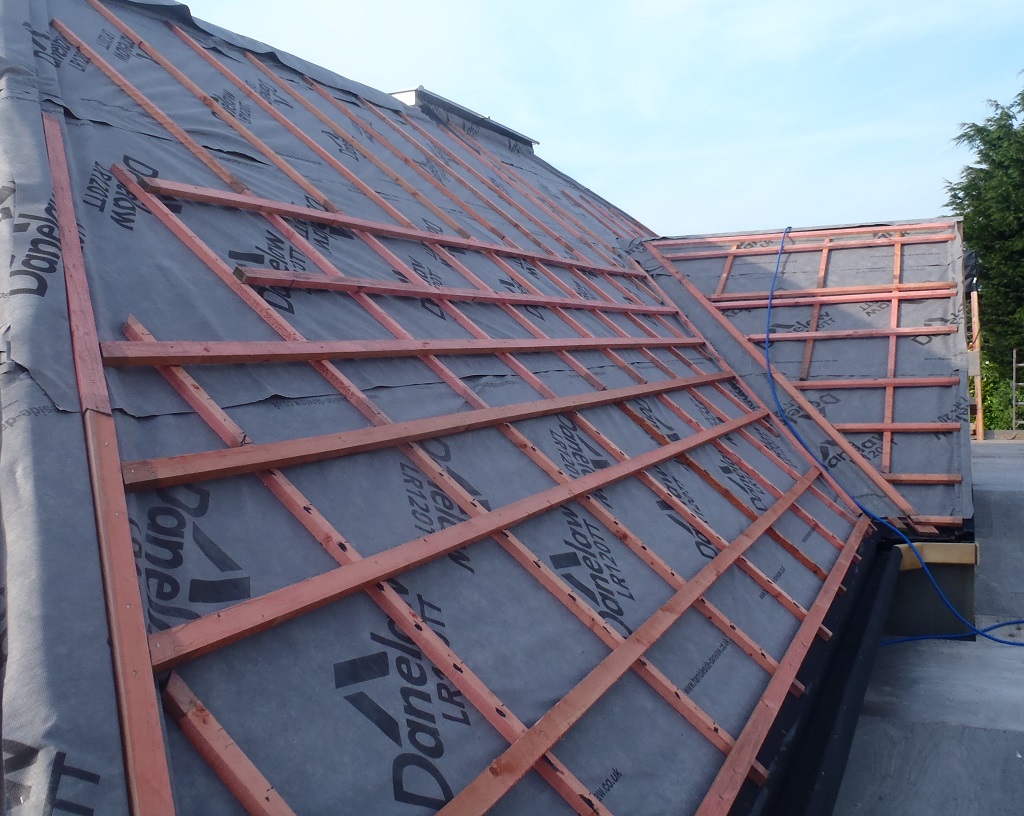
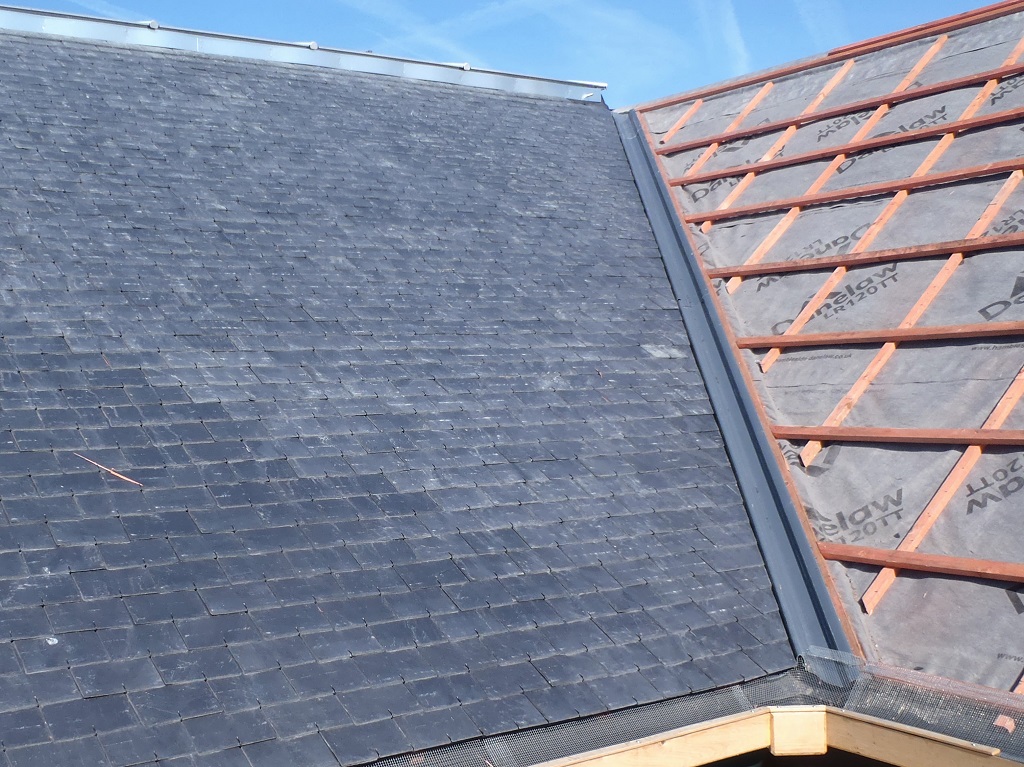
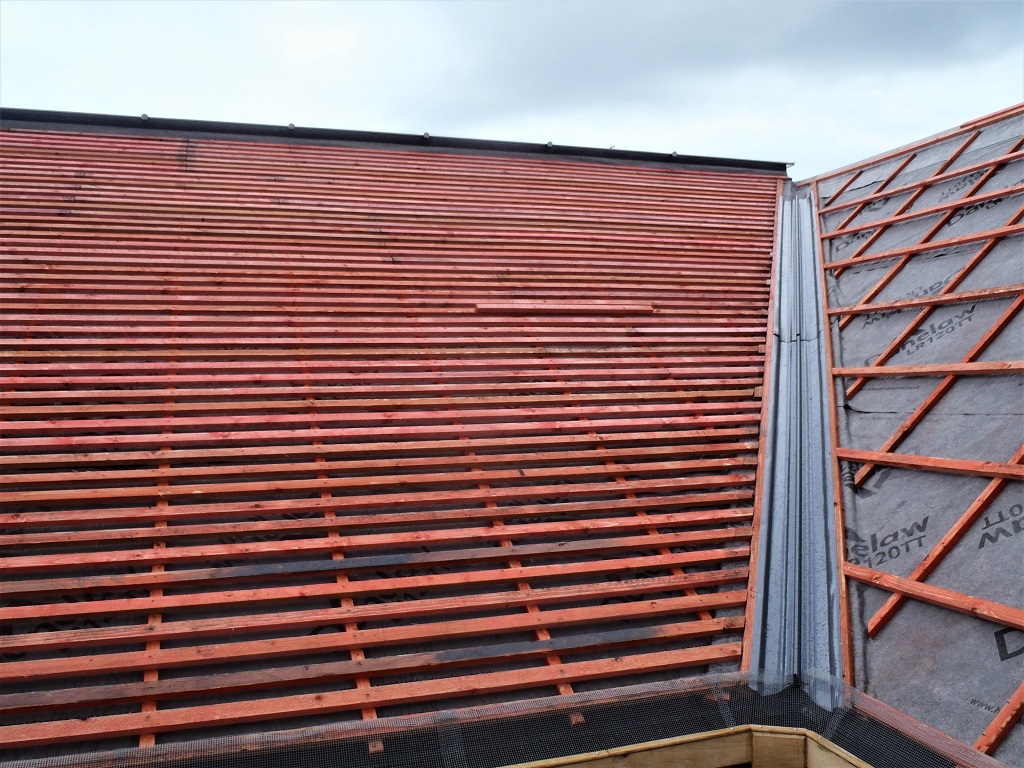
We had Friday off because of other commitments but we resumed on Saturday and catching a break in the rainy weather, we went out to fix and join all the eight platform modules together and anchor them to the building, also putting on the edge plywood edging strips too.
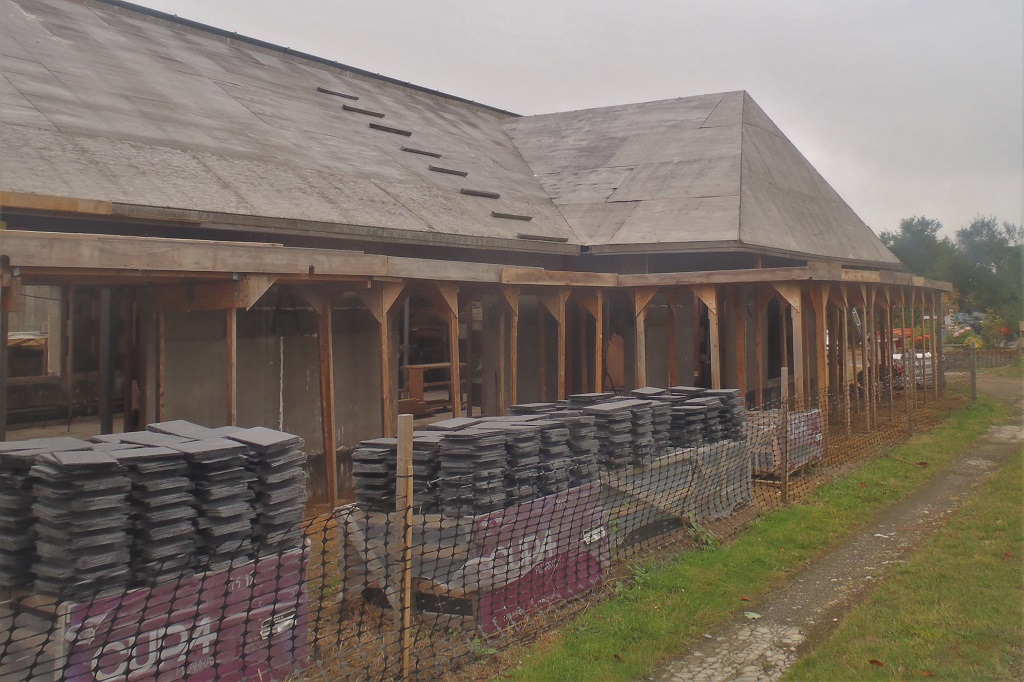
Scaffold-platforms-along-ABC
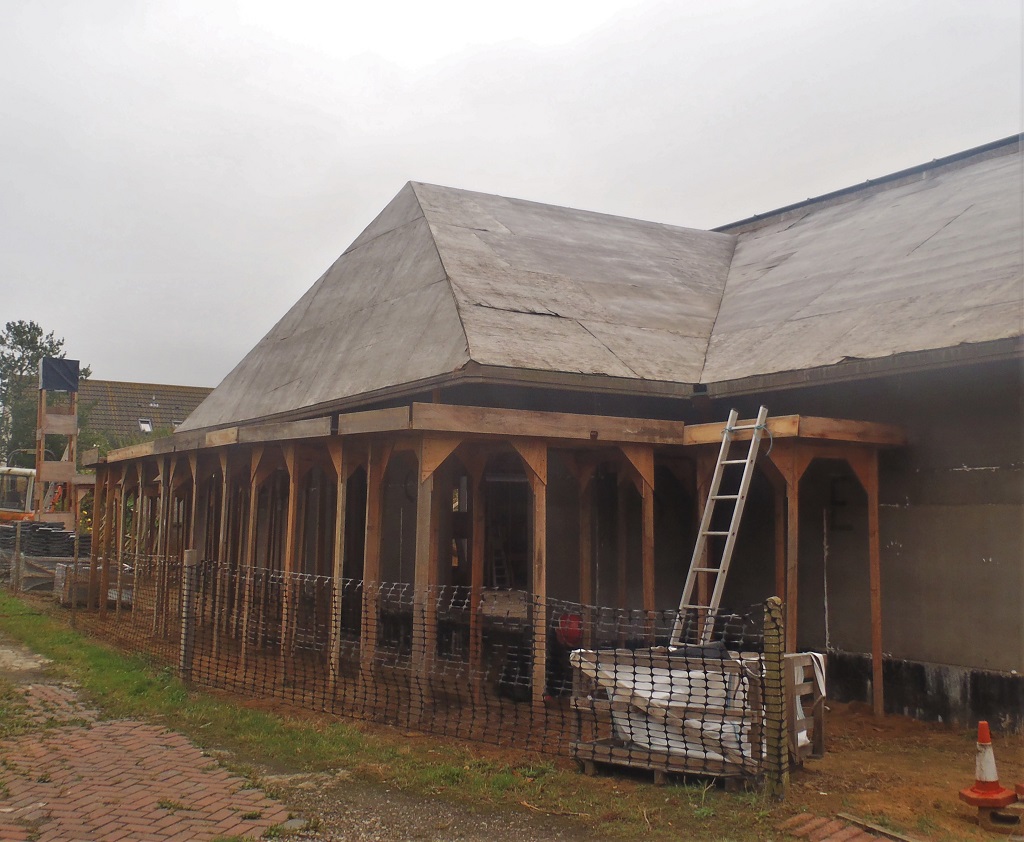
Scaffold-platforms-along-CDE
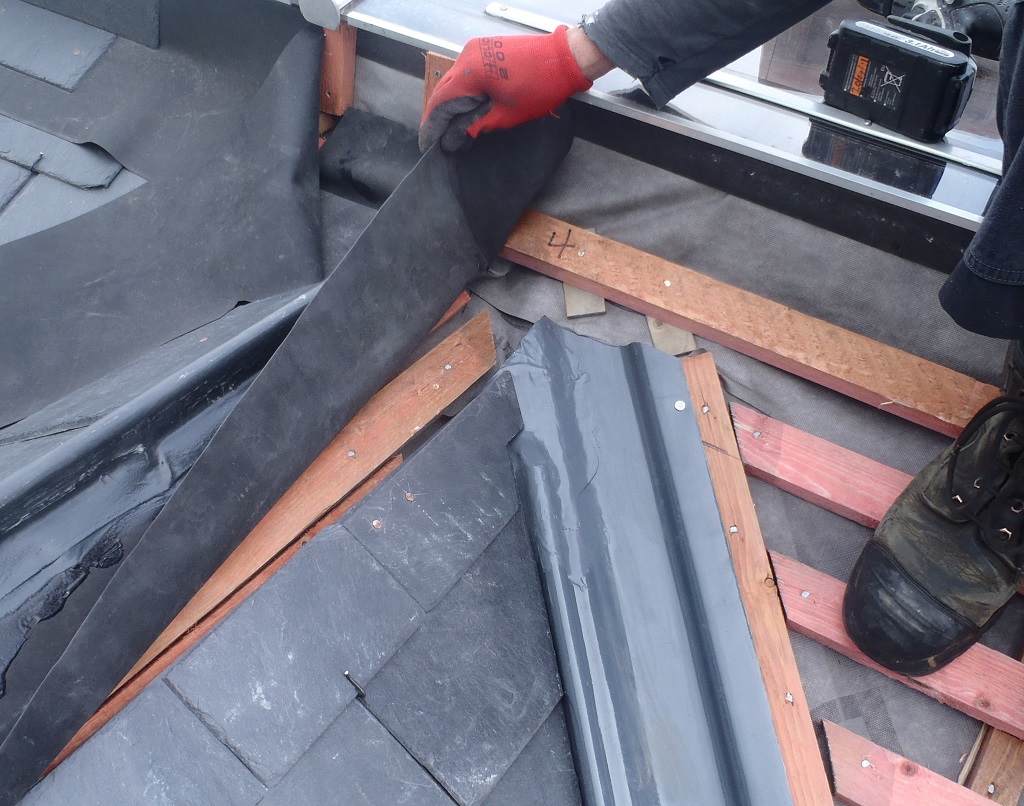
That concludes the mixed bag of things we did this week, but at least, we now have everything ready so we can resume work on the roof, this time along the front of the building where we continue putting on the gutters, fibre-glassing the corners, inserting the rubber and then the membrane and everything else!