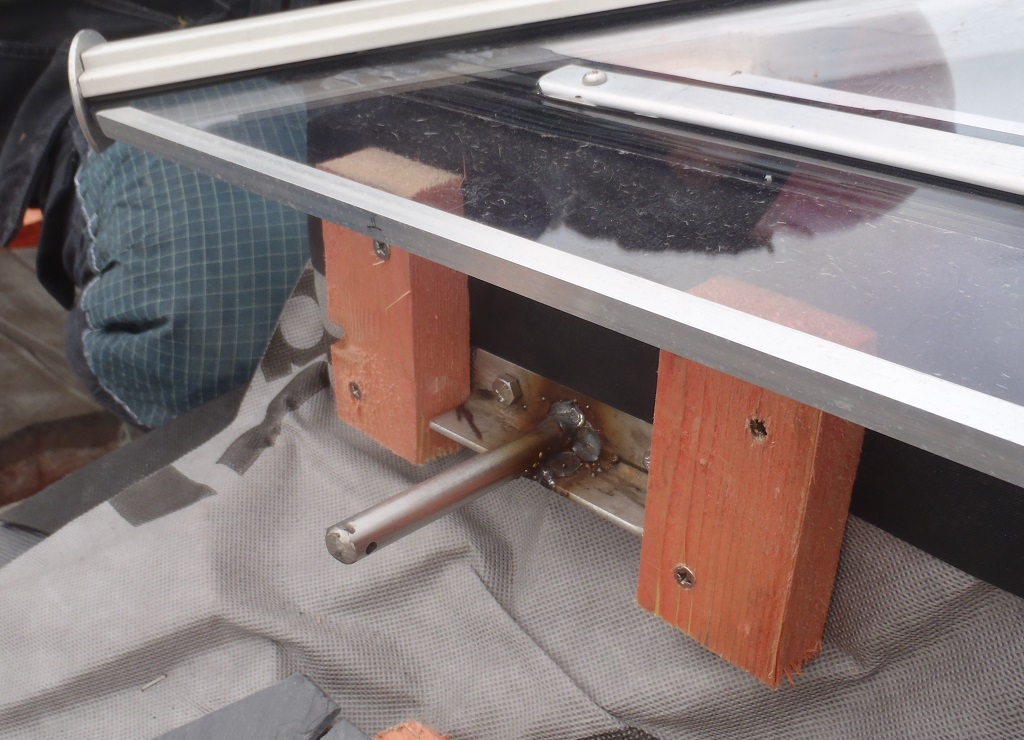
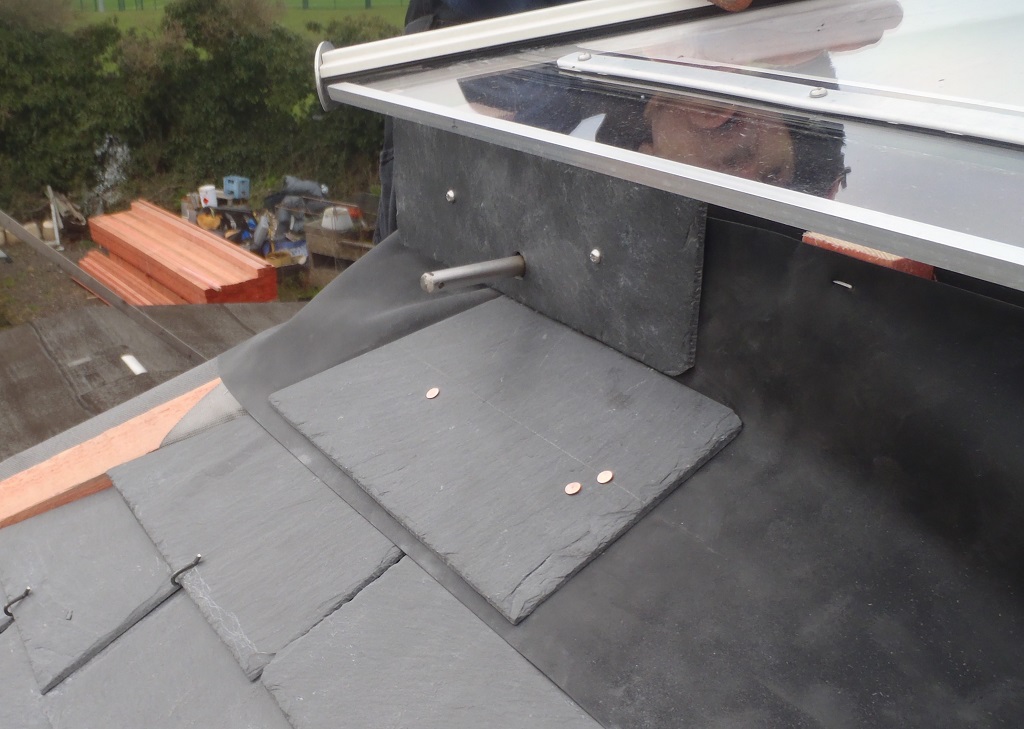
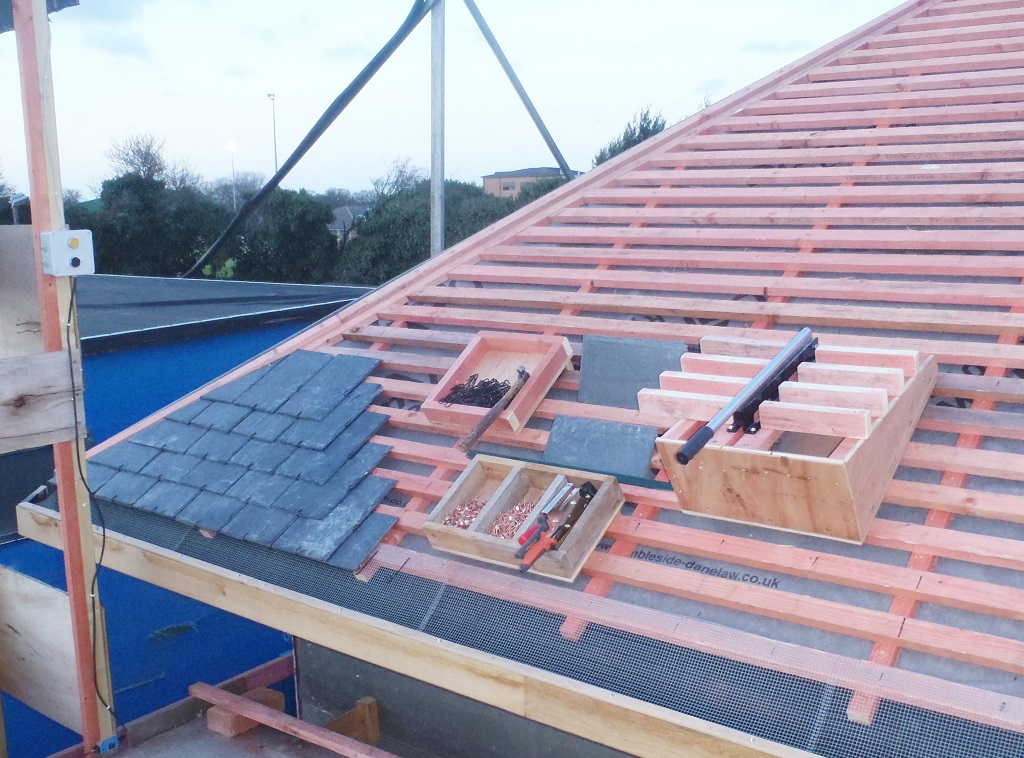
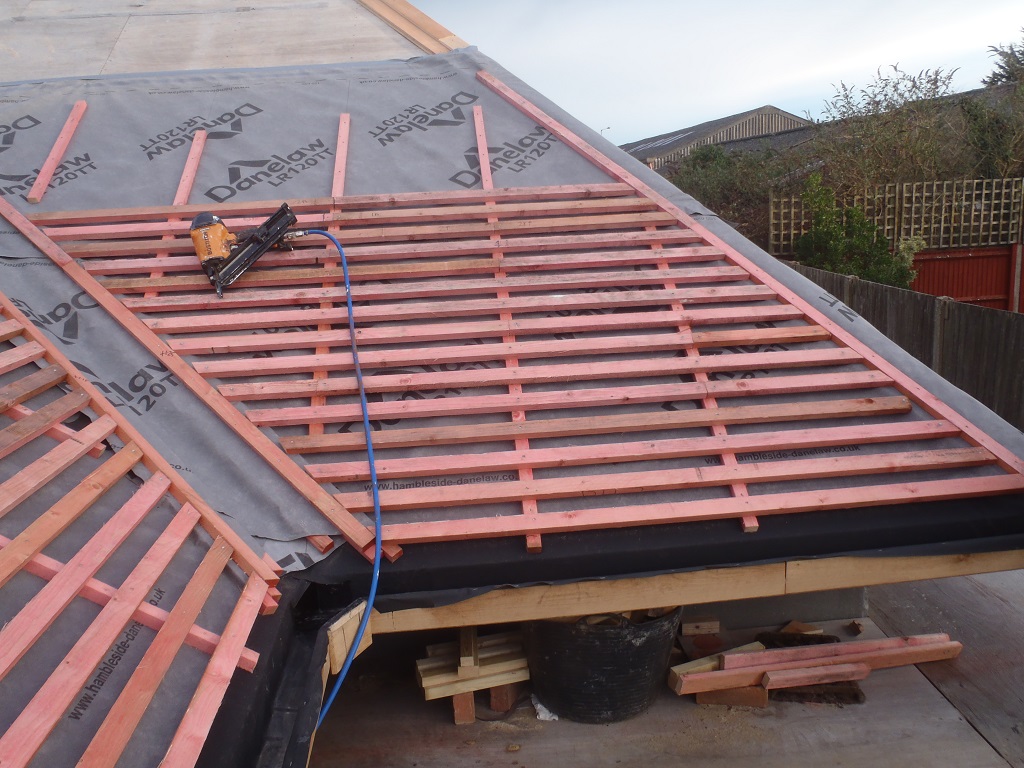
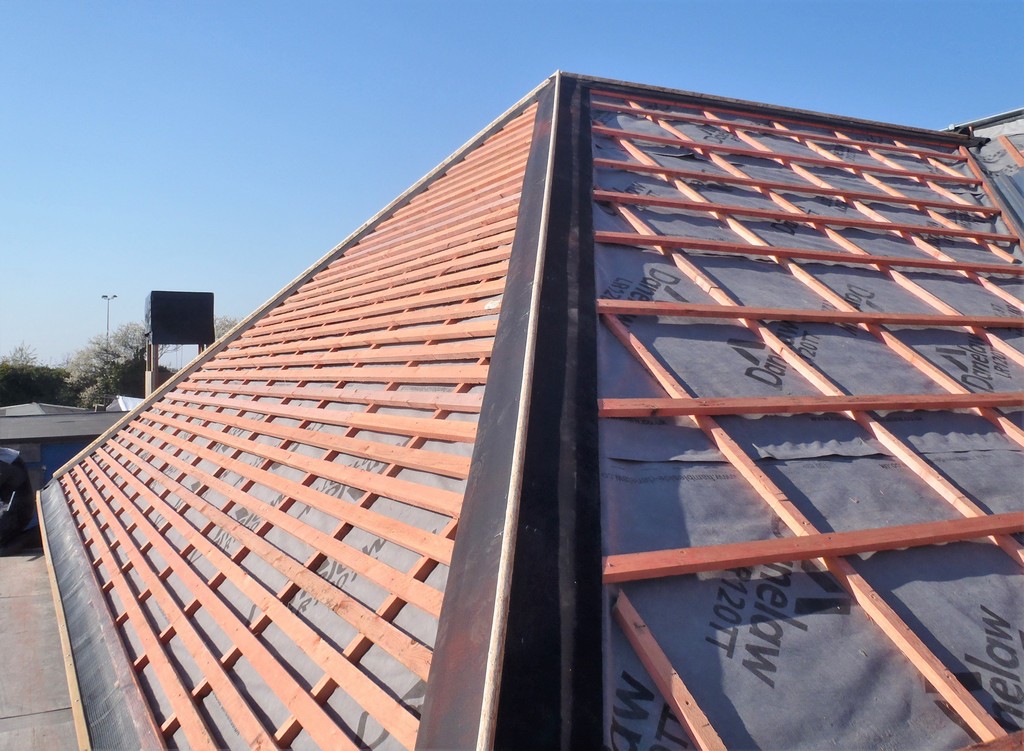
It was a week of lovely dry weather. We started the week by tidying the workshop and completing the making of the Ladder Support stainless steel brackets and setting out strings to get the hip flashing straight (The roofs wobble a bit).
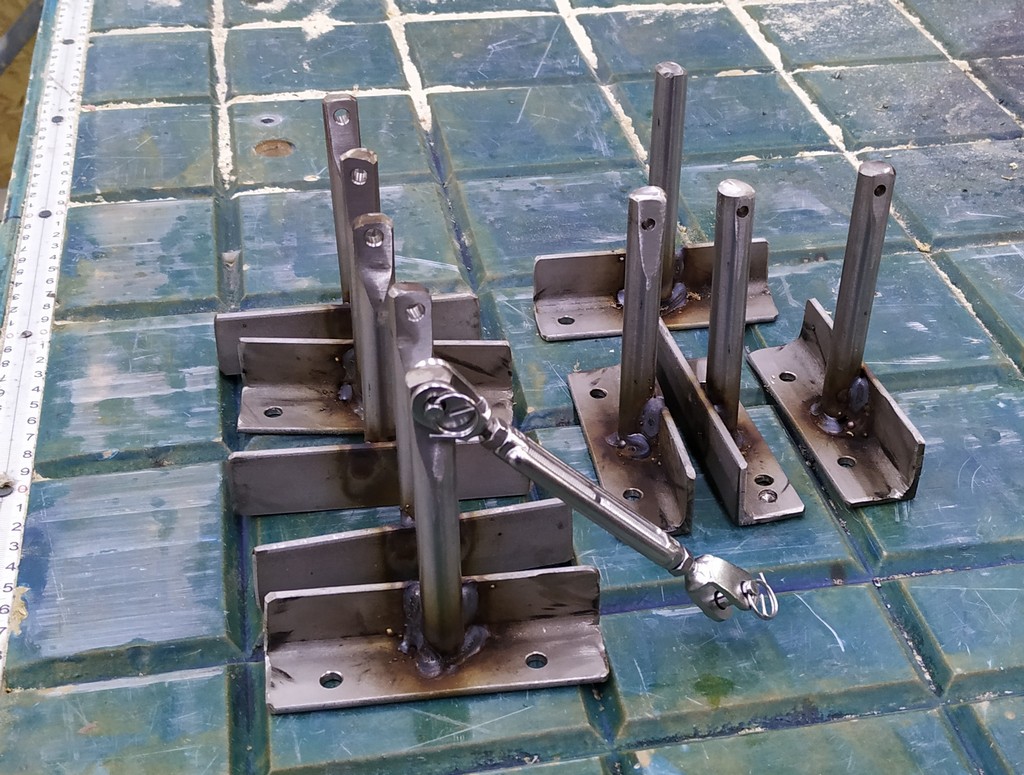
Skylight-safety-wire-supports
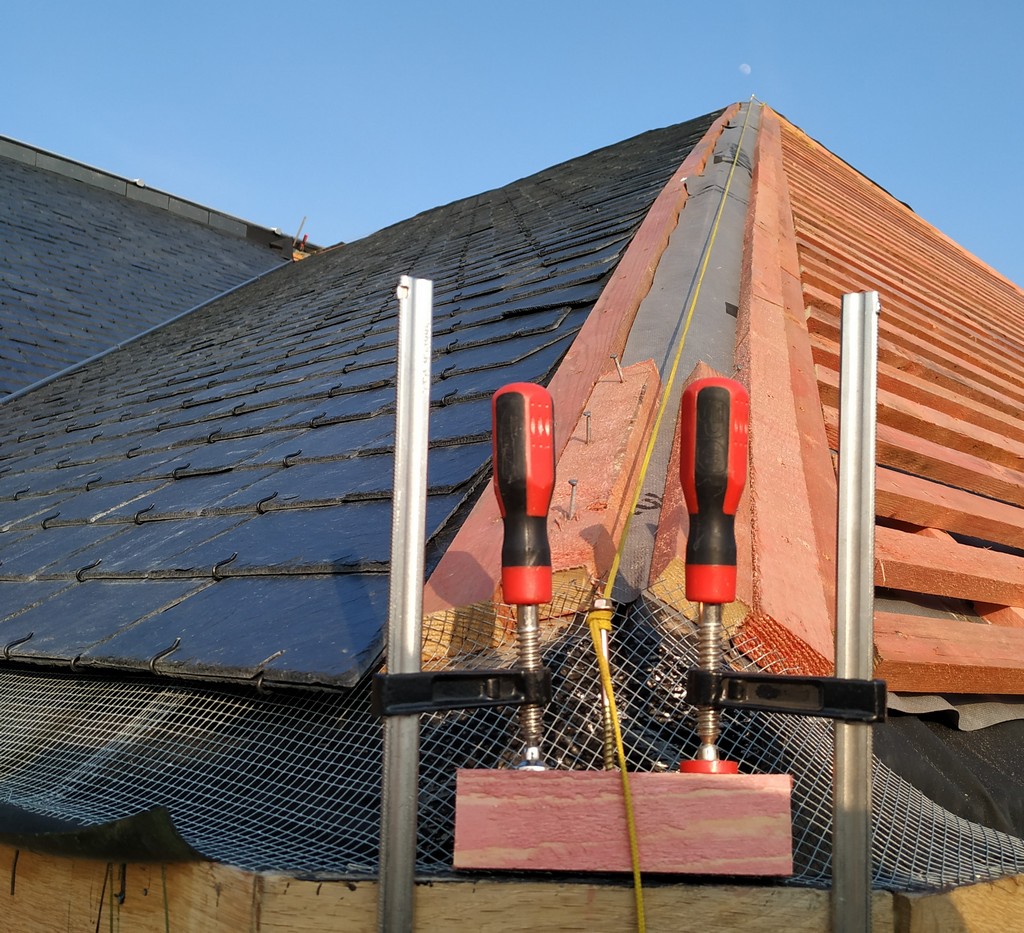
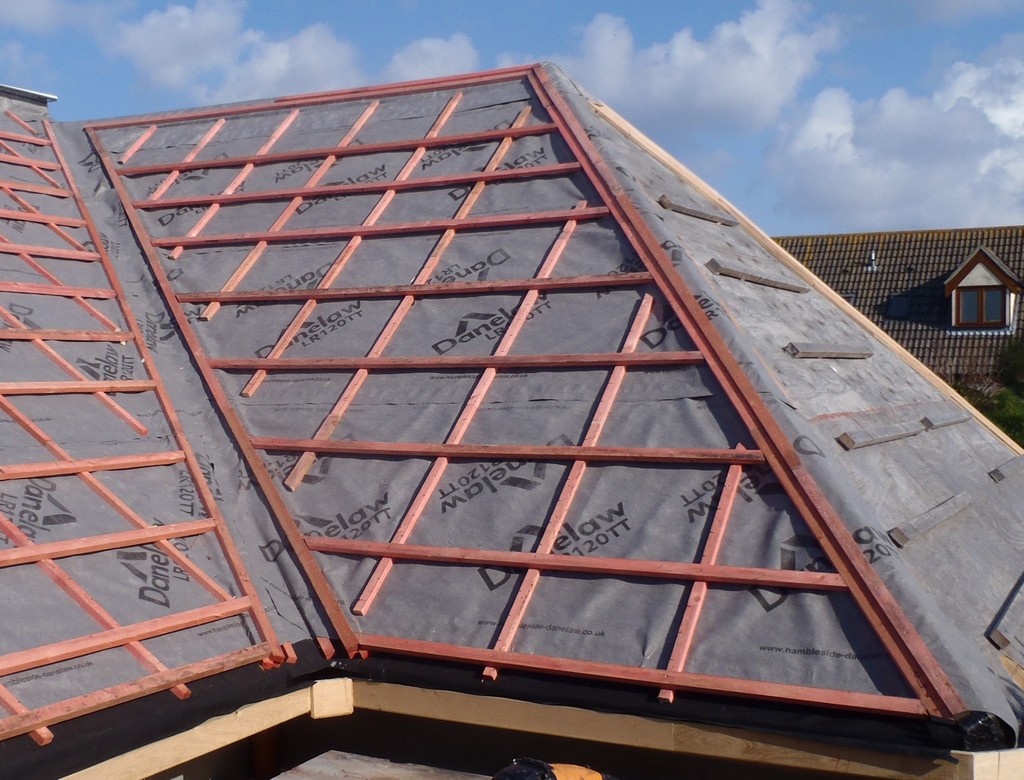
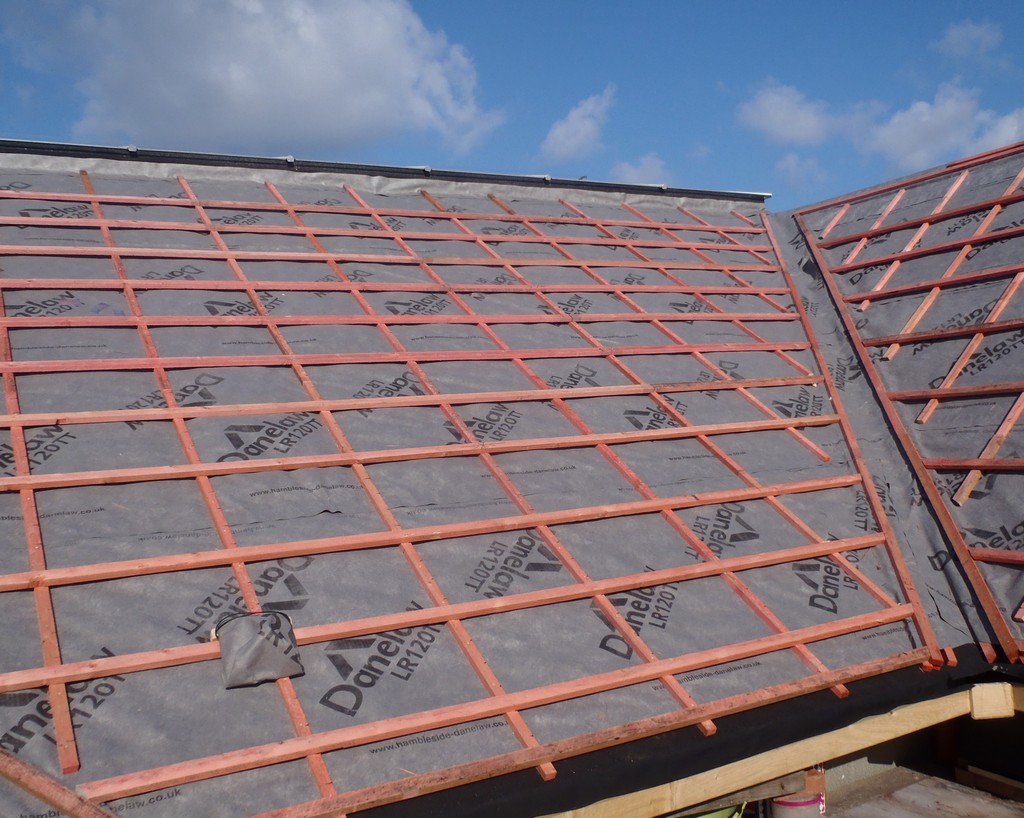
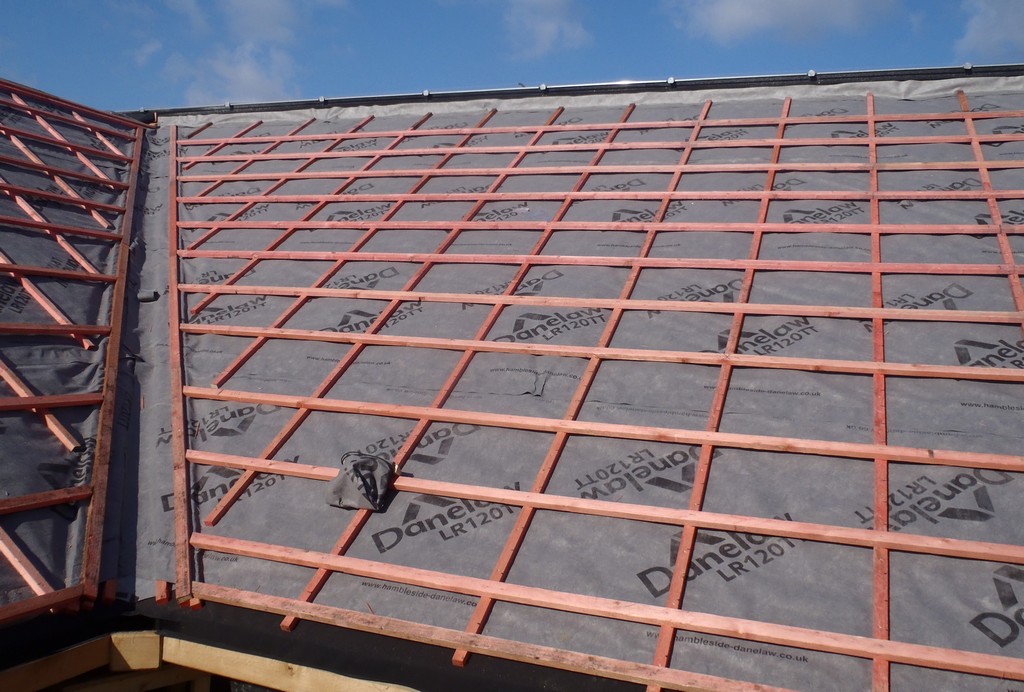
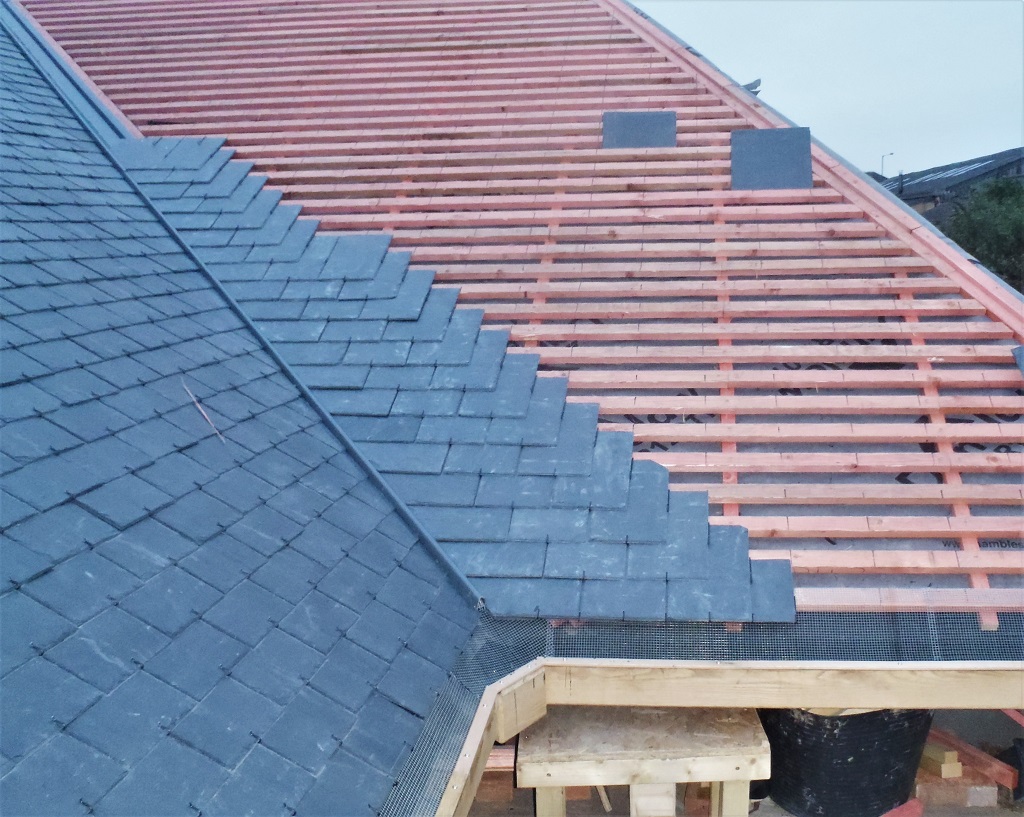
String-to-align-hips
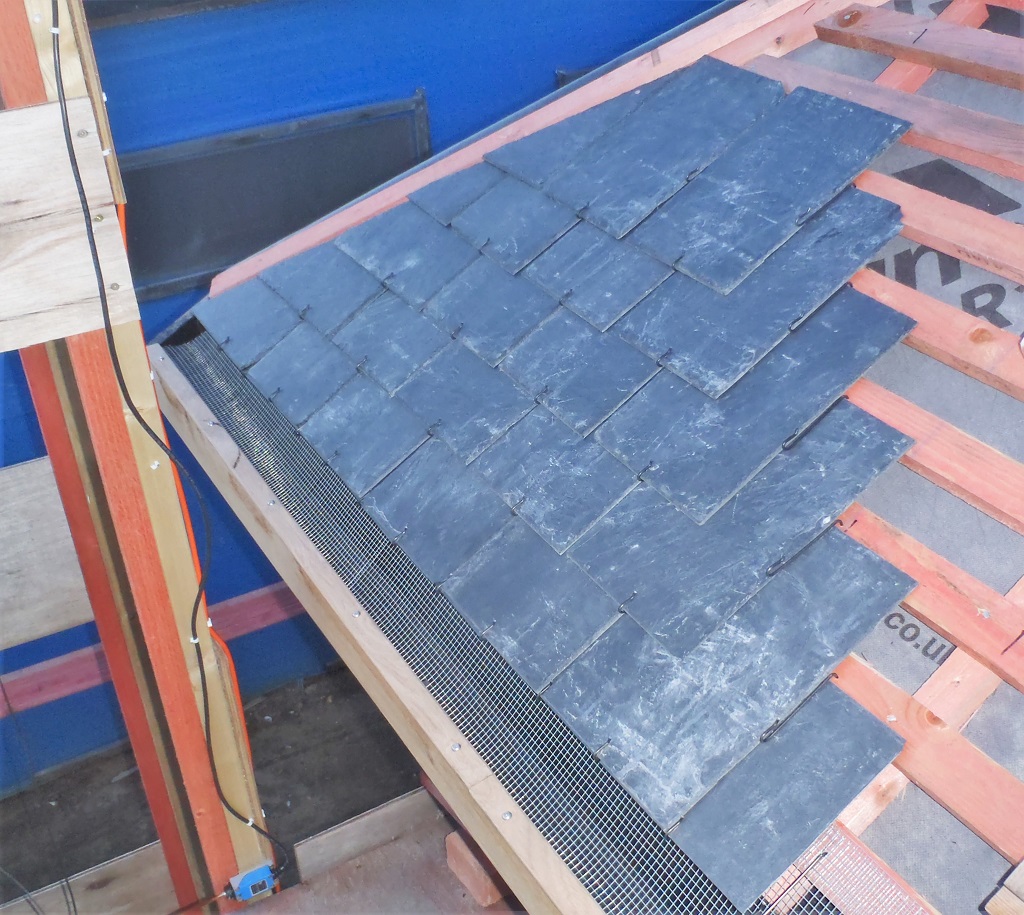
We tackled the next job of putting on the metal Mesh Protector over the guttering where we went along the K section, round the corner into L. Then from one valley (L-M) to the other valley corner (M-N) .. ..
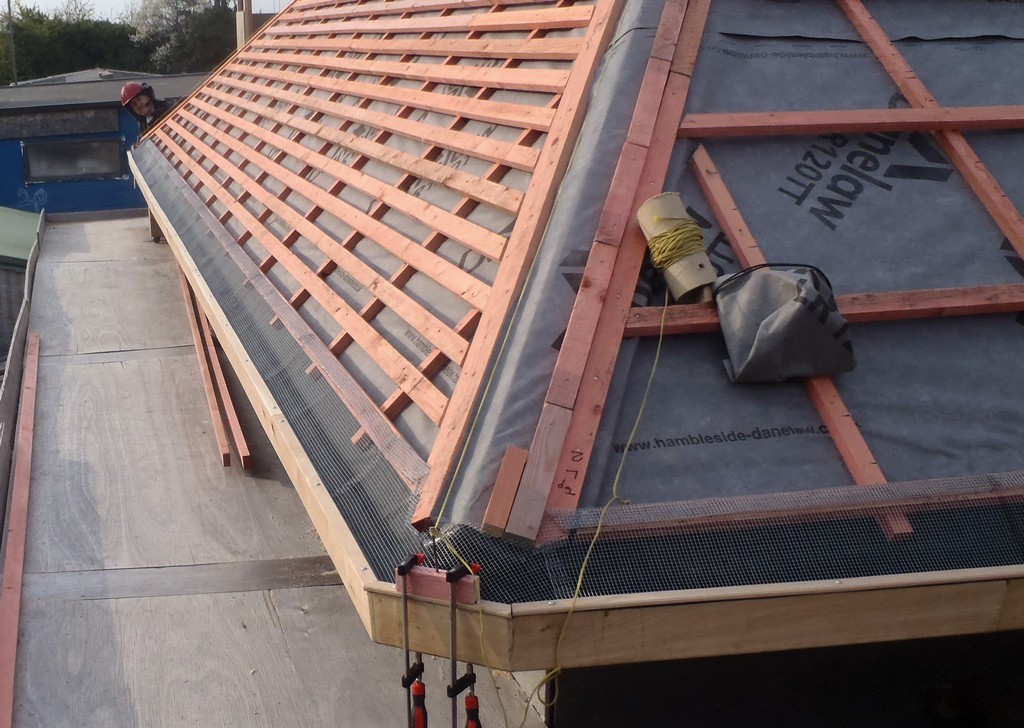
Gutter-complete-on-K
Gutter-complete-on-L
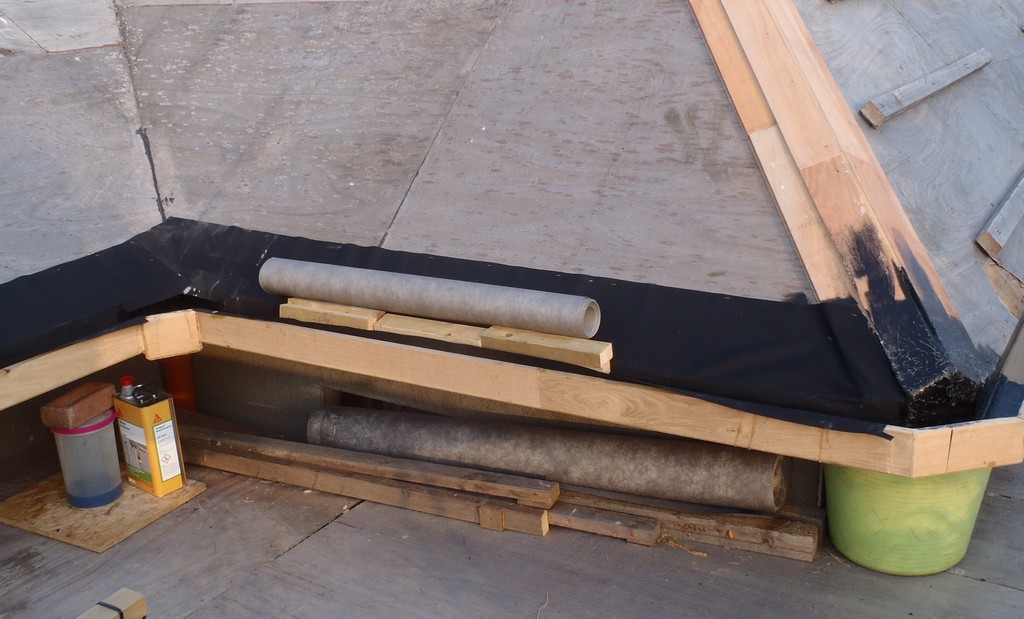
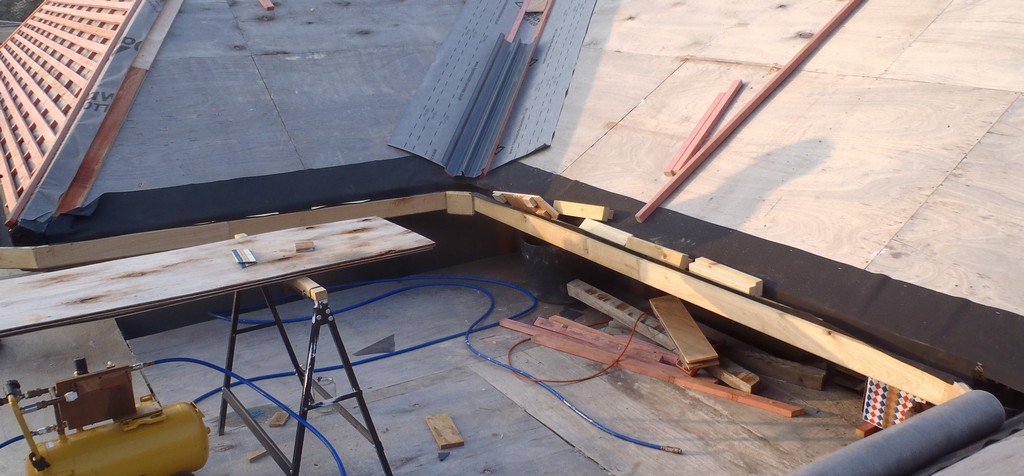
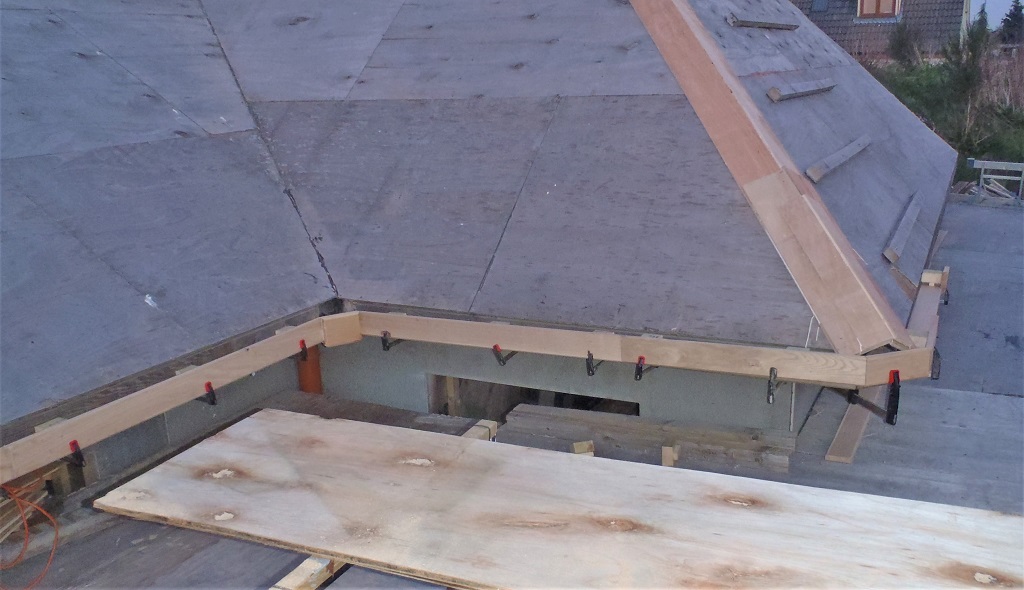
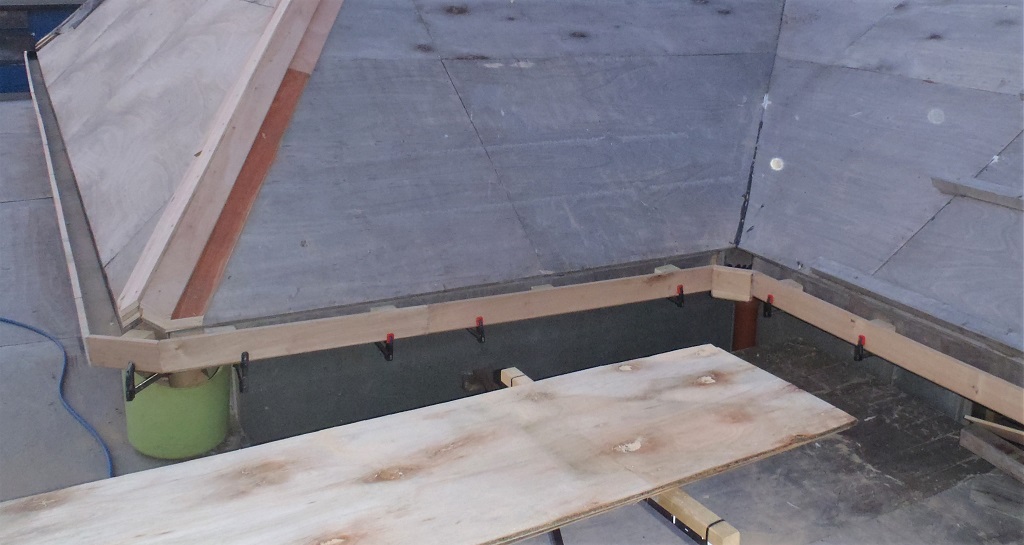
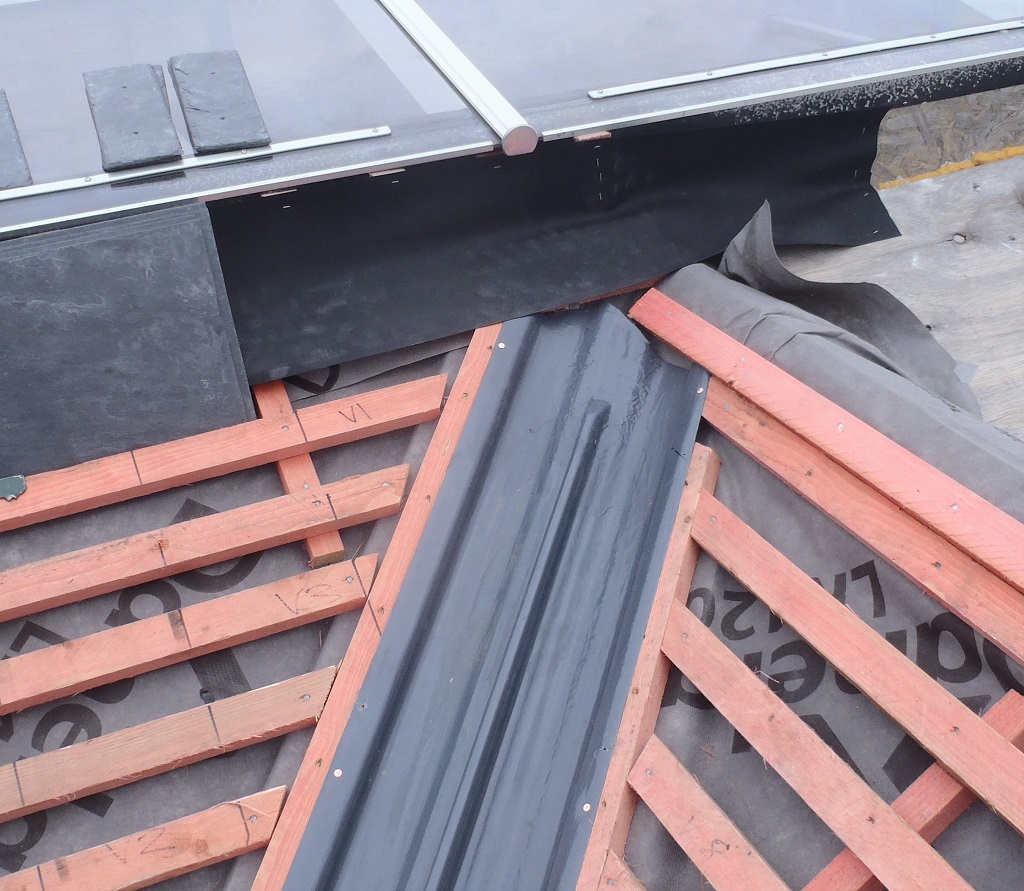
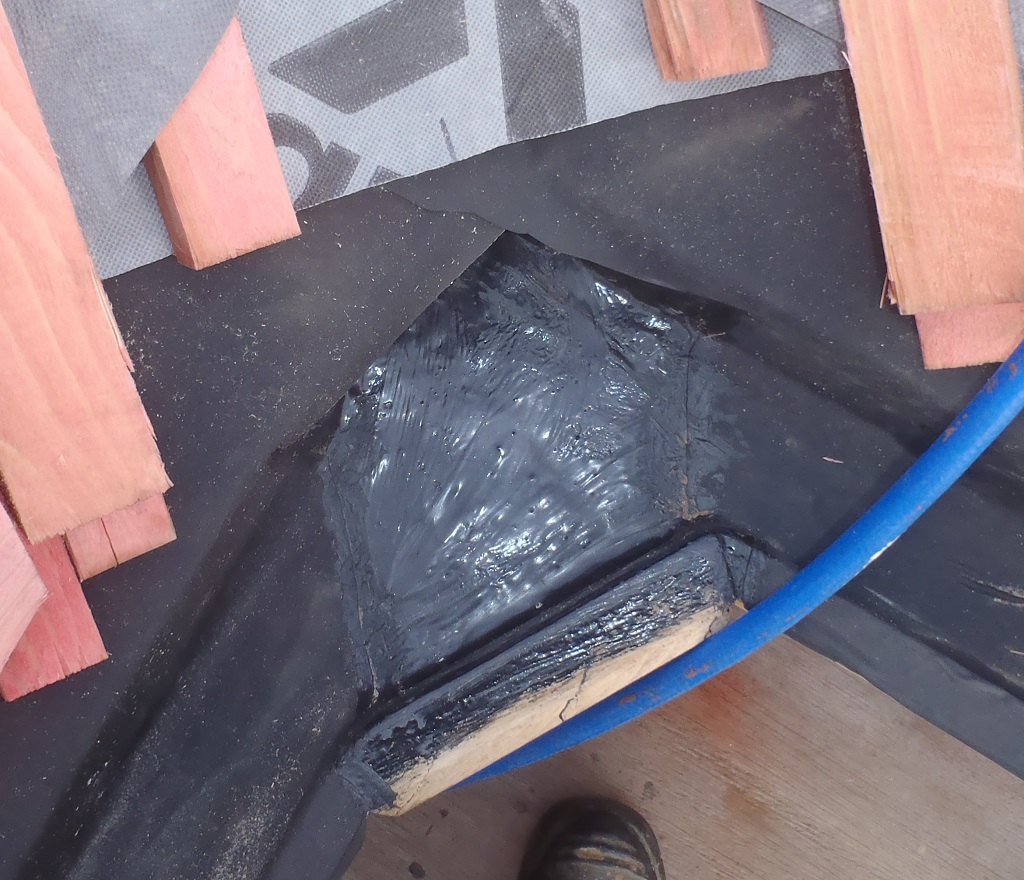
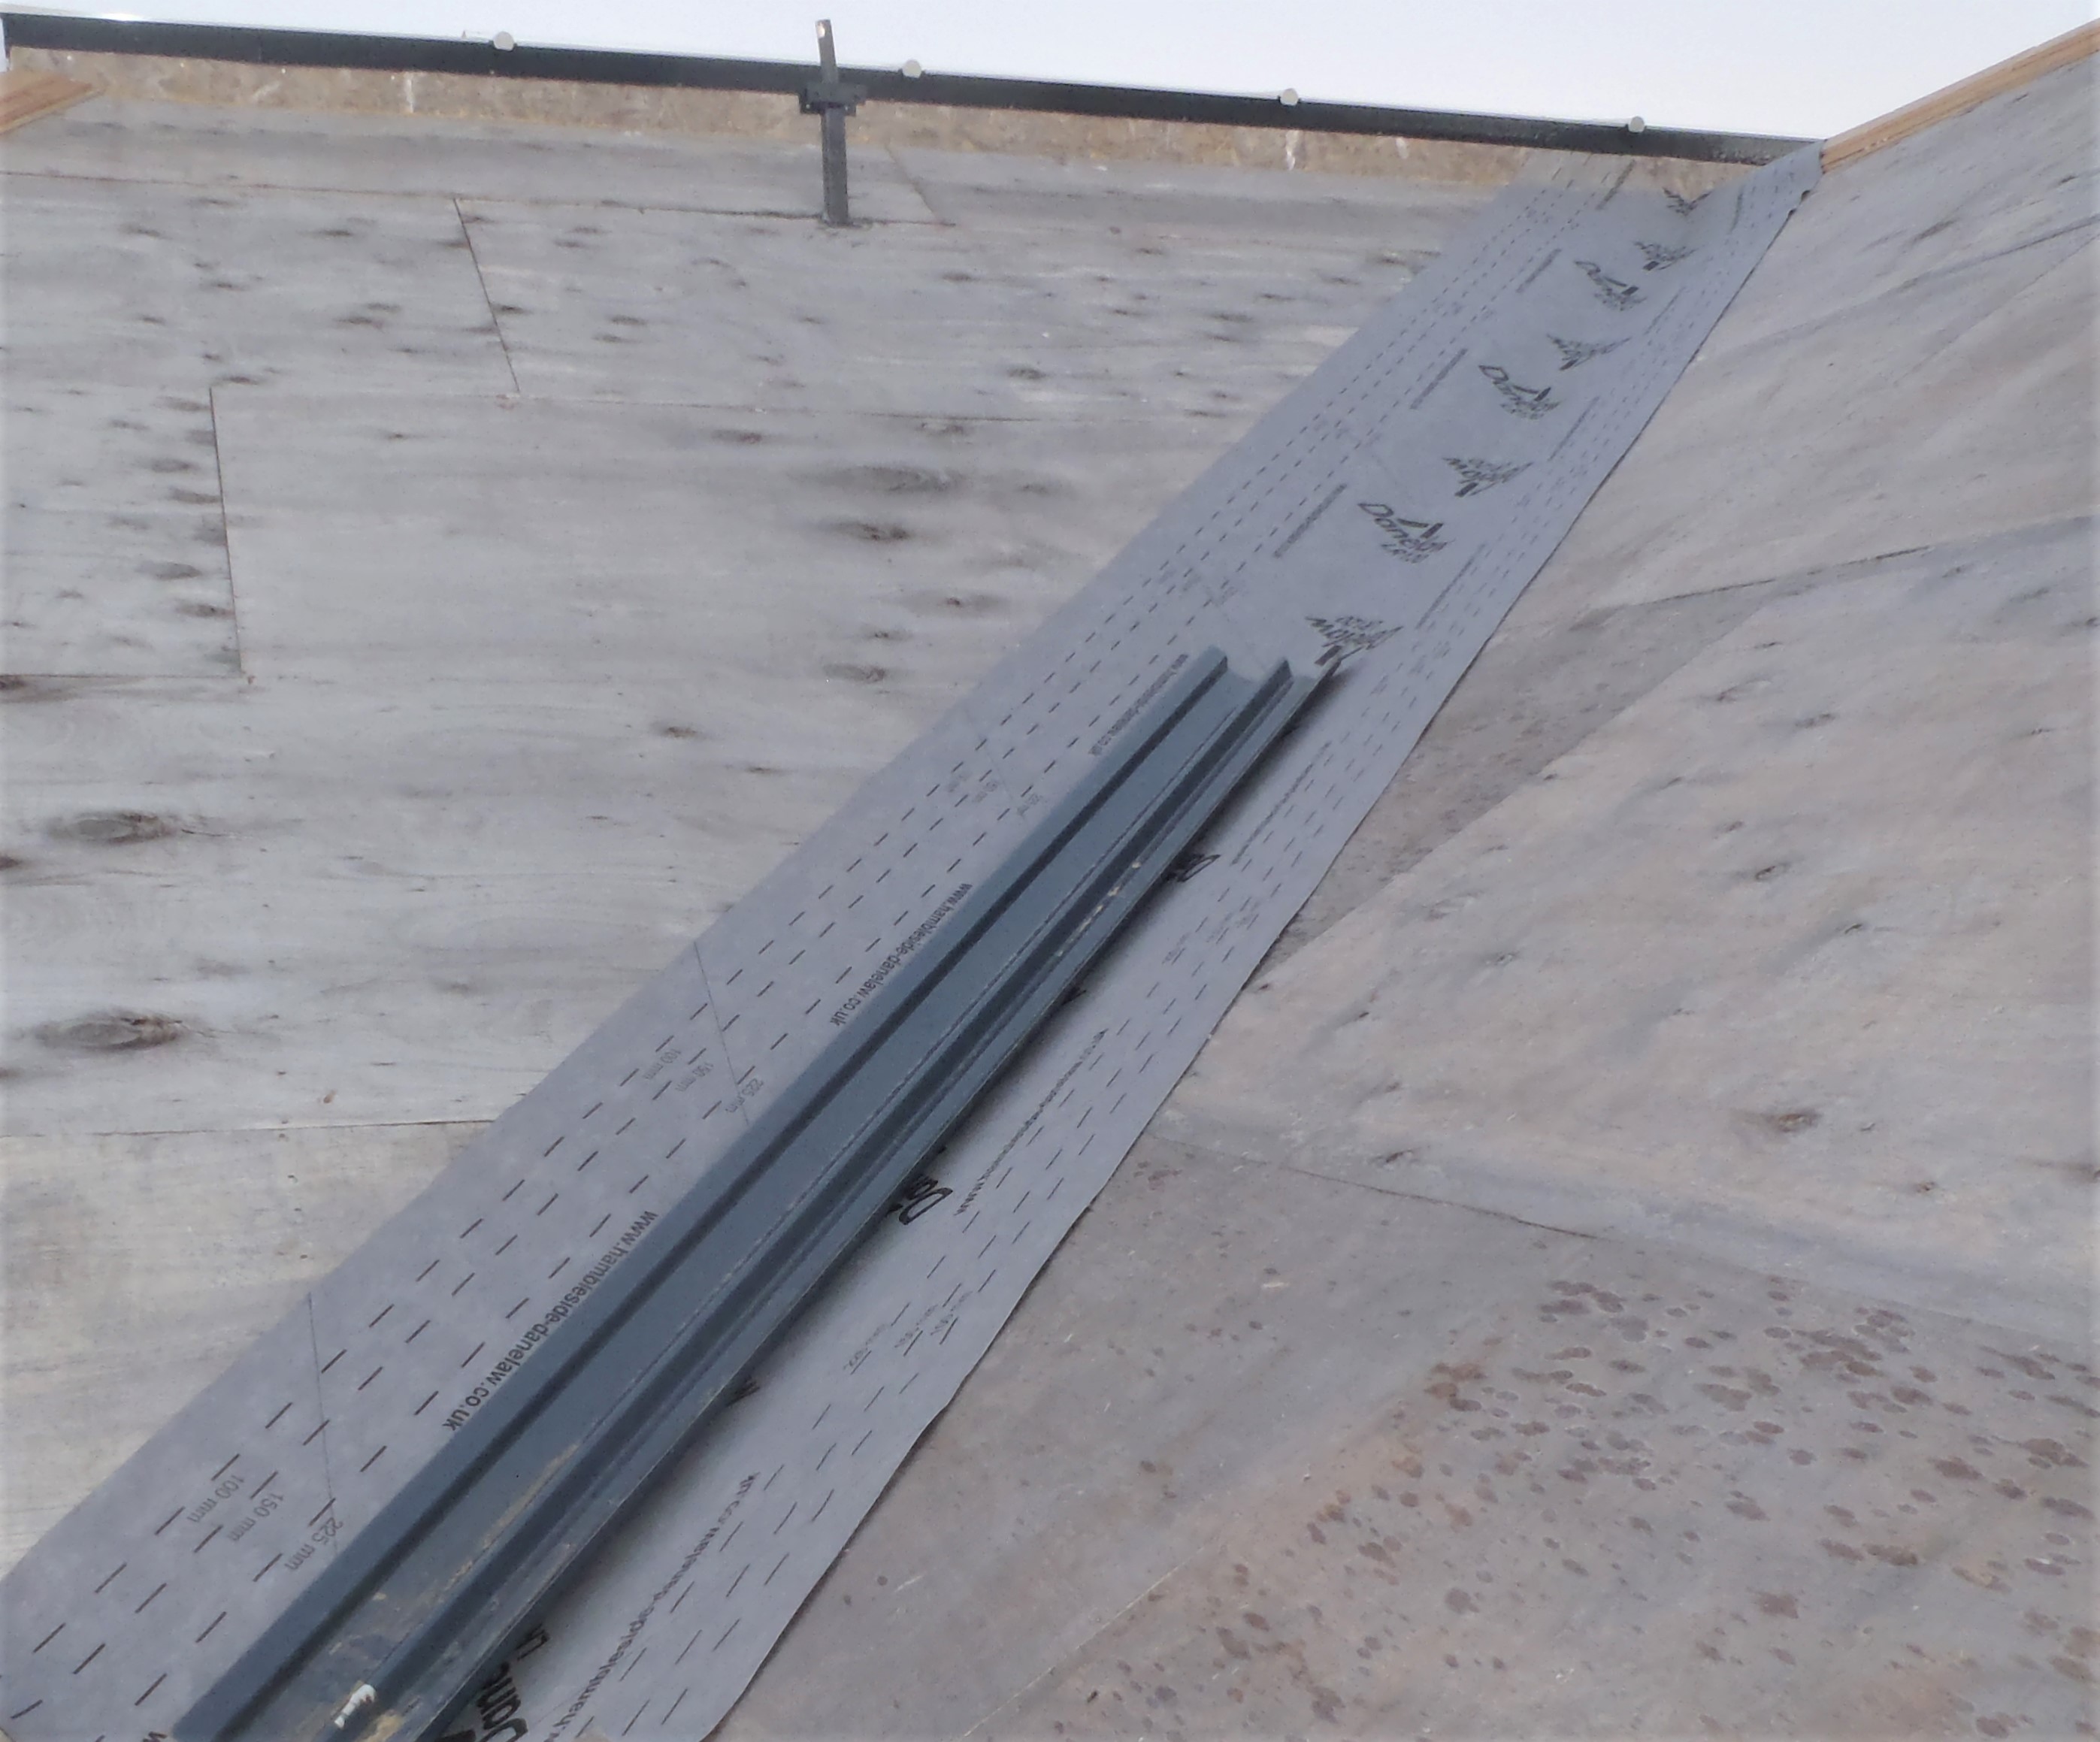
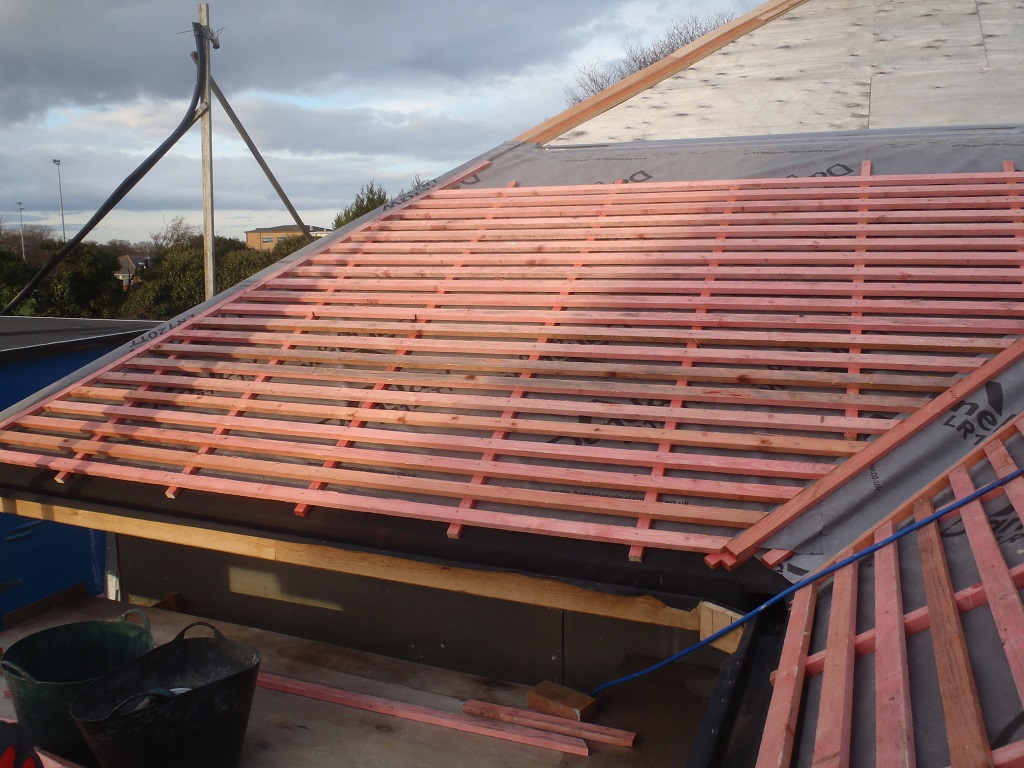
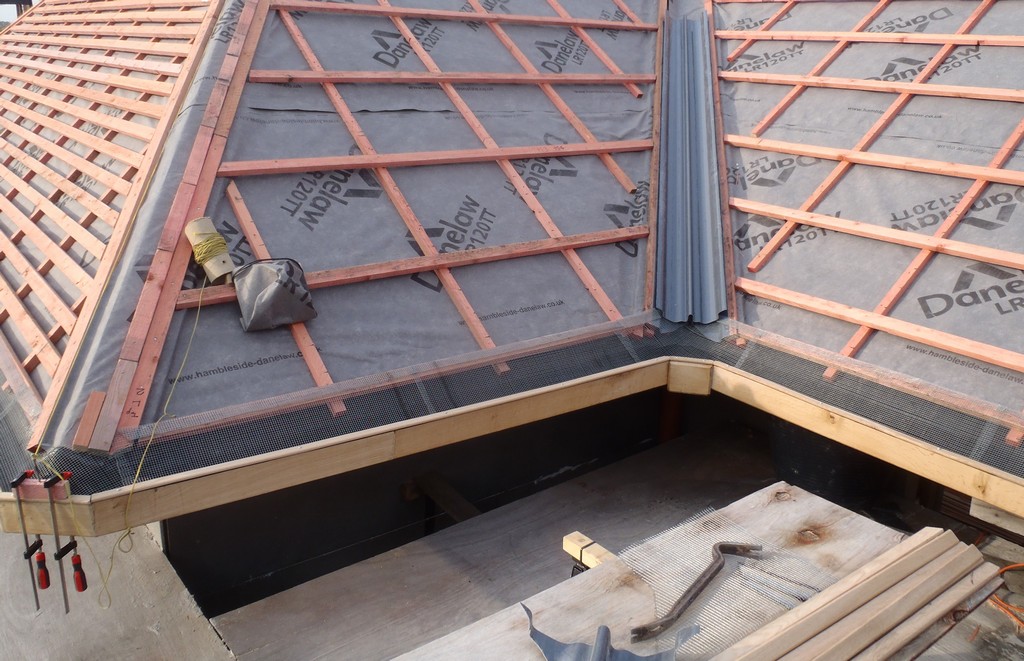
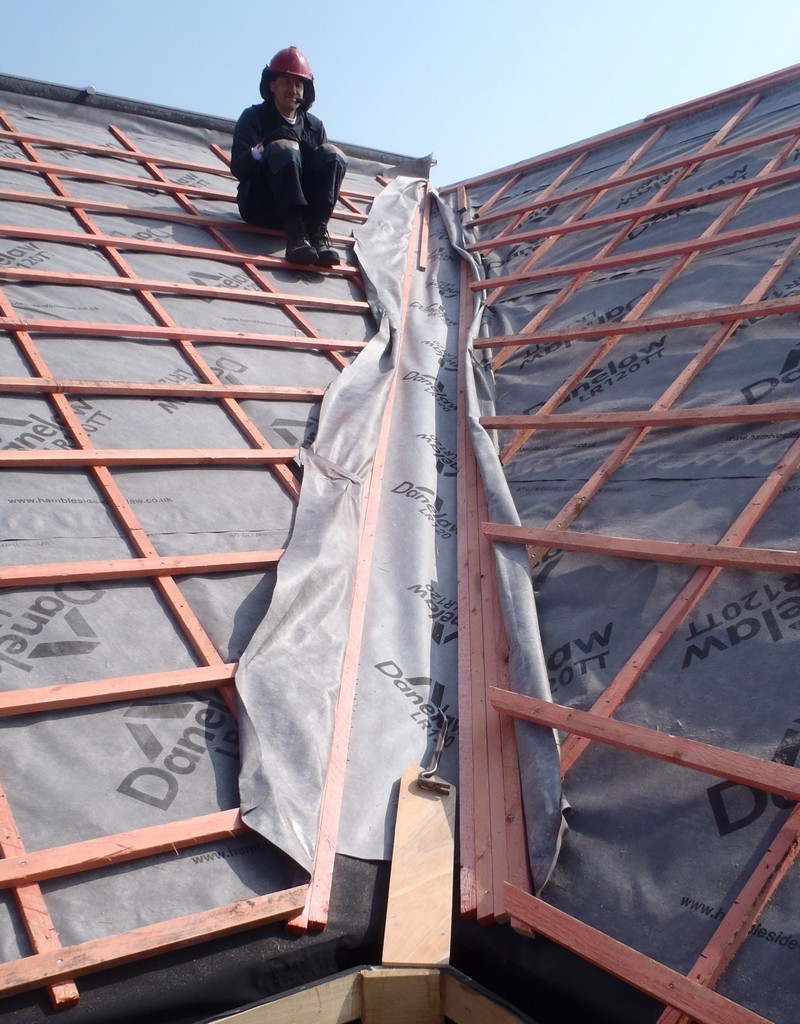
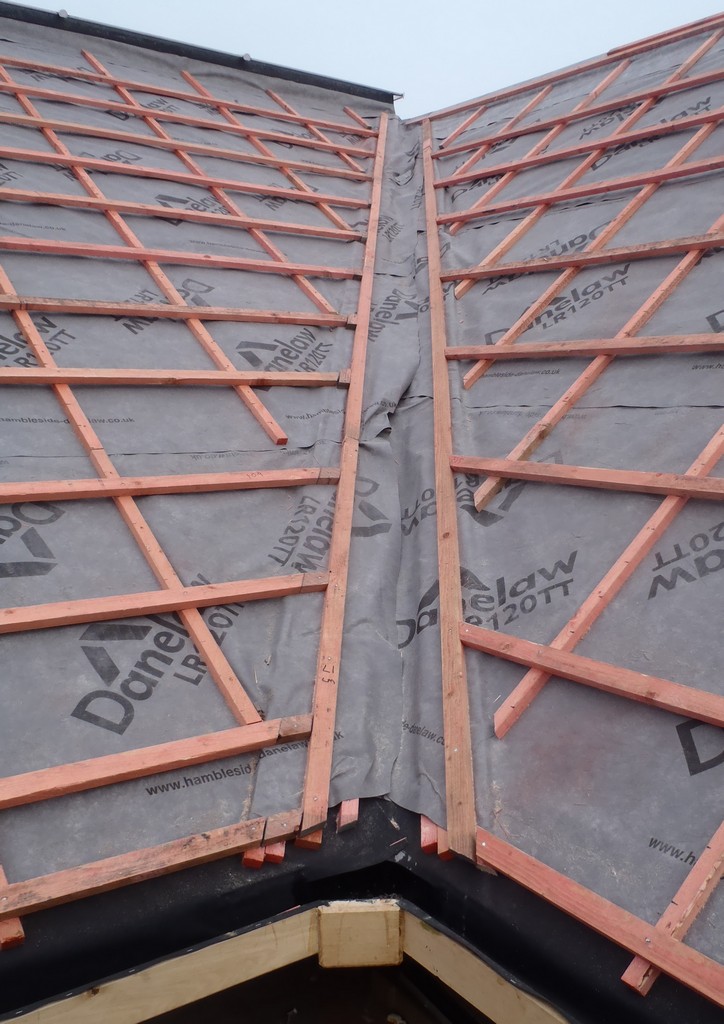
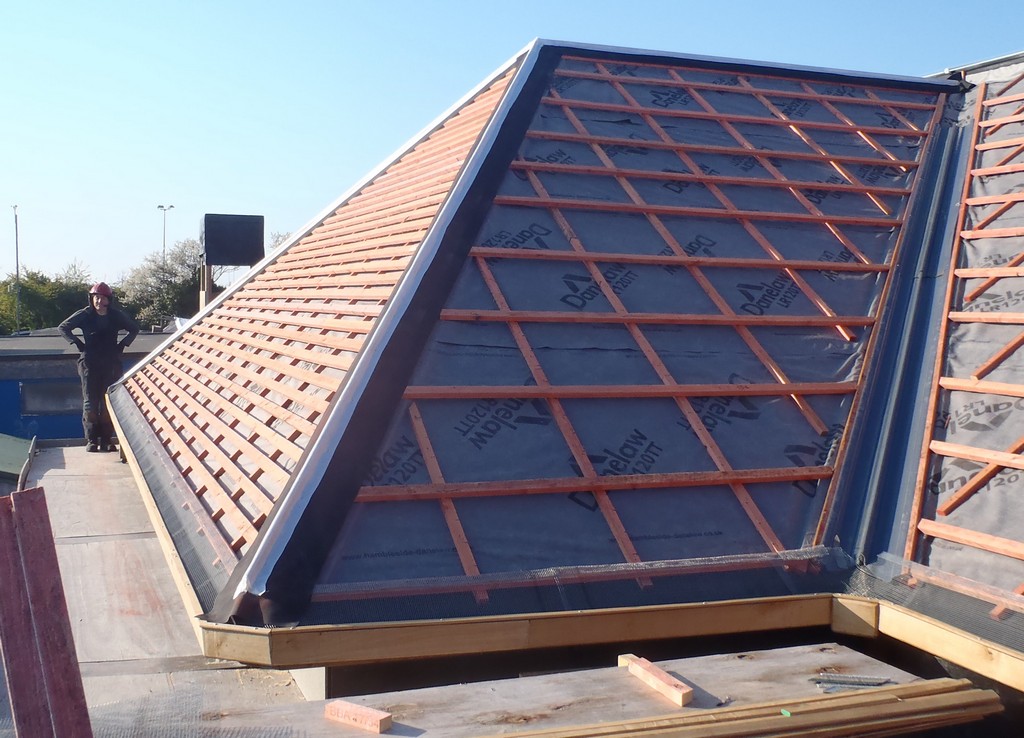
But before the mesh went down in around the bottom of the valleys, we had to nail into place the glass-fibre trough modules, the first section at least. But we discovered when we came to do the M-N valley that the angle was all wrong. We tried to be too clever when we laid down the counter battens to support the trough, but our lack of experience, and lack of double checking the theory, we shifted the position sideways so that the valley line would be centred to the gutter and downpipe channel! This was Wrong! it made the intersection of the slates different heights… So we spent the morning doing some open surgery on our roof, peeling back the layers of breathable membranes, moved the wooden battens and realigned it.
Incorrect-MN-valley-Before-work
Incorrect-MN-valley-All-opened-up
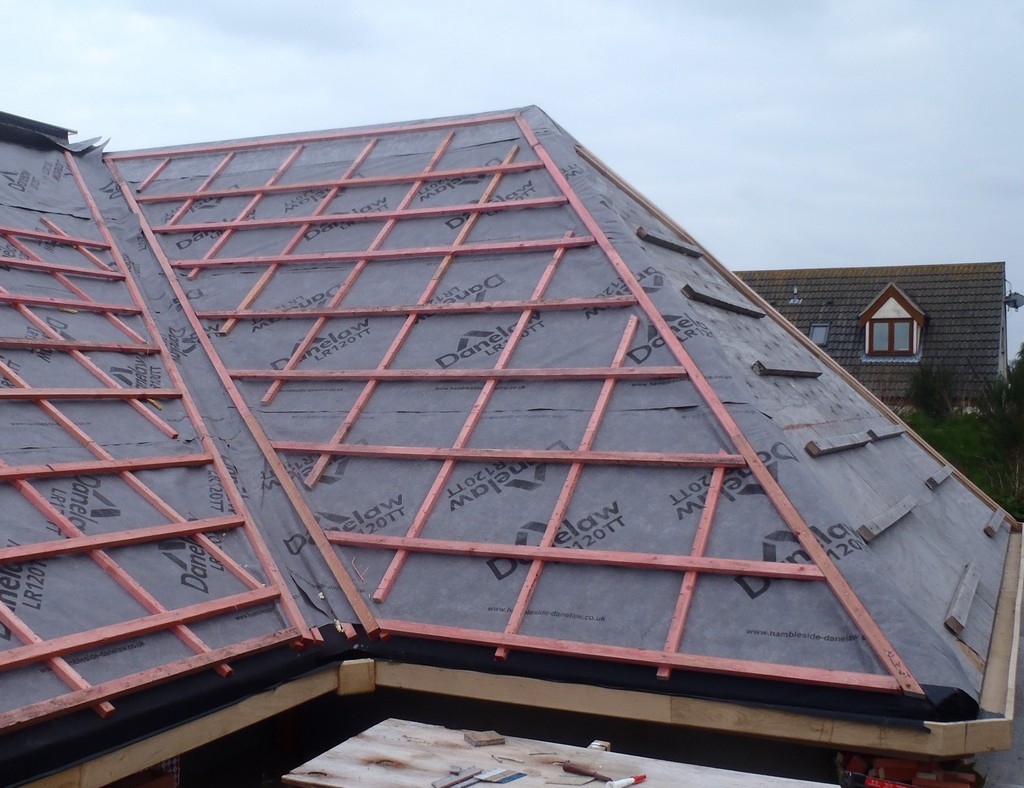
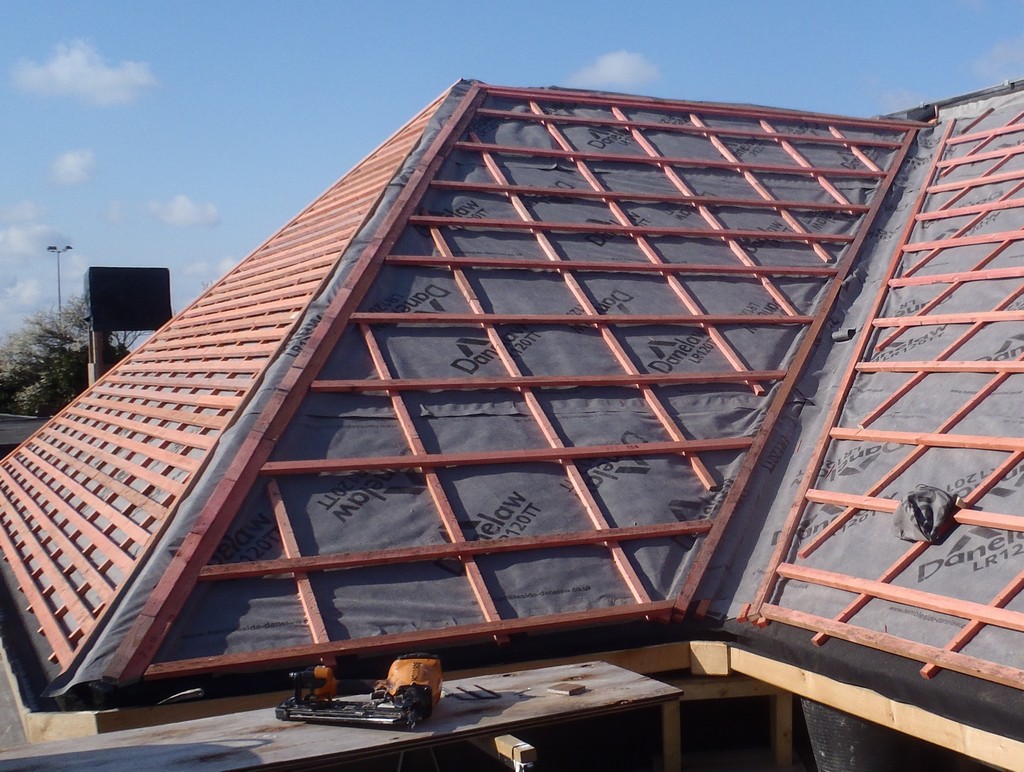
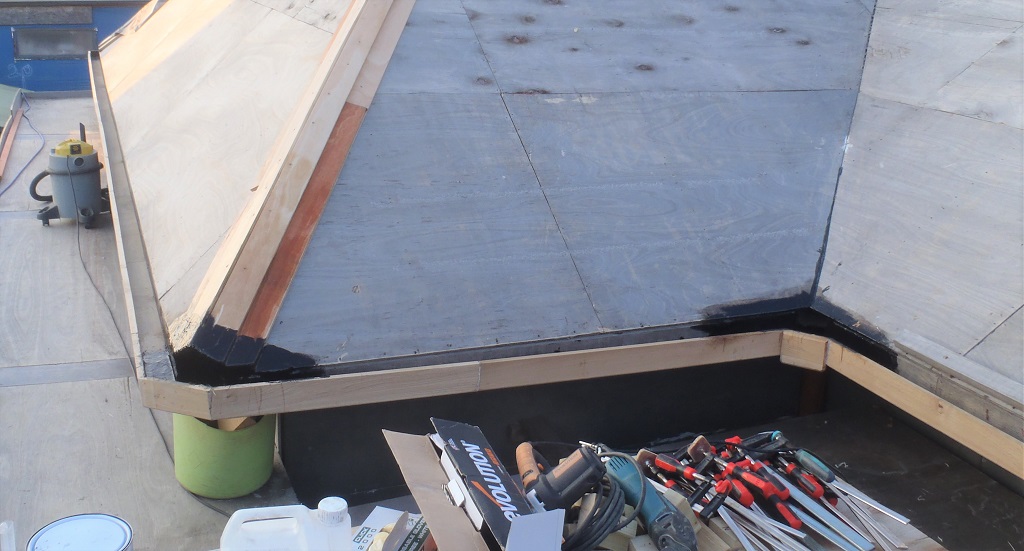
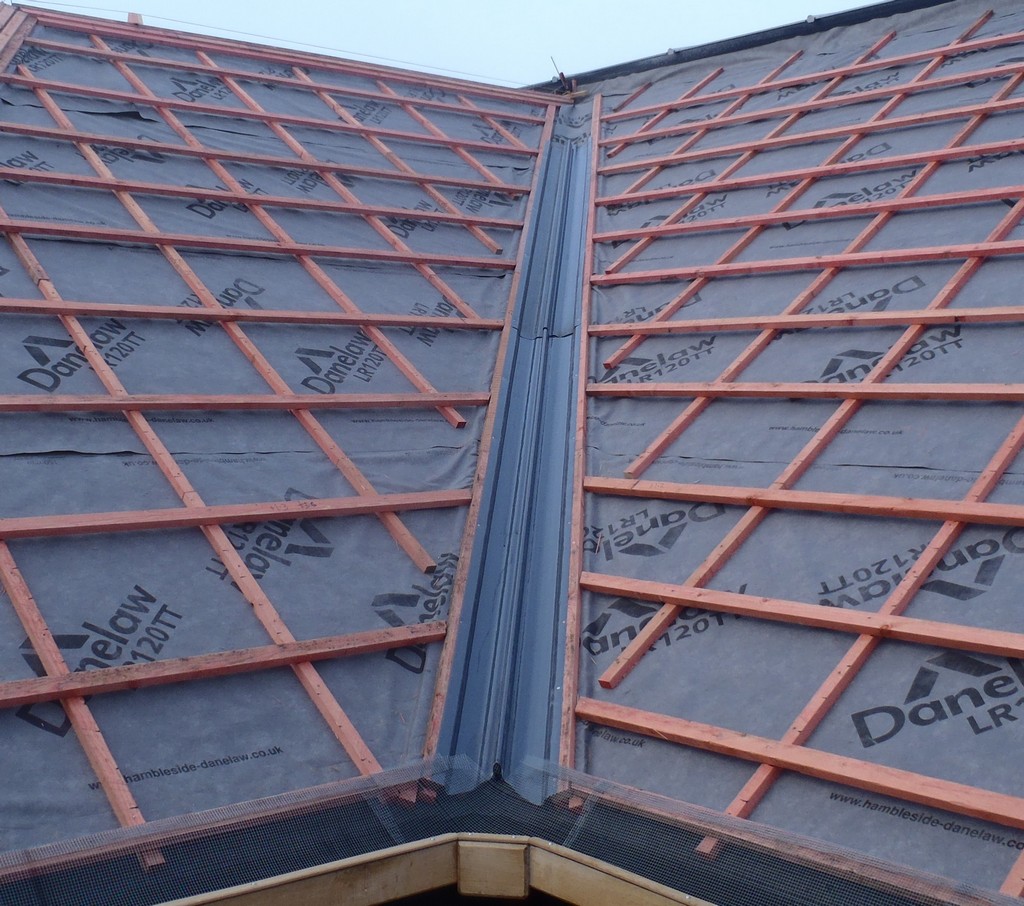
Incorrect-MN-valley-Fixed
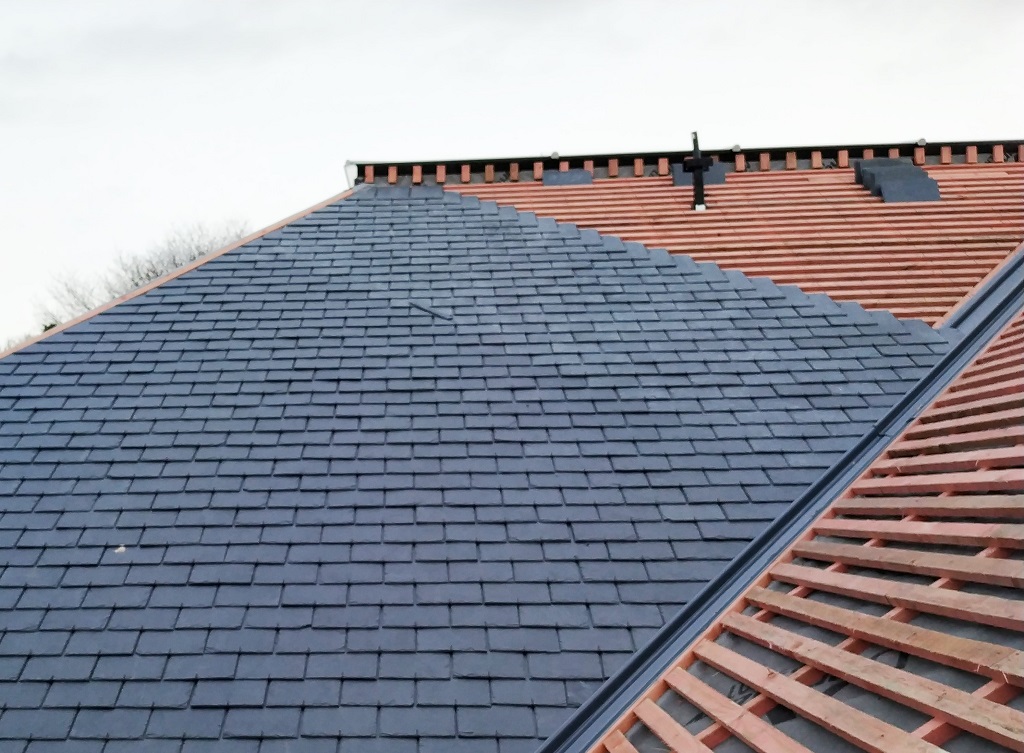
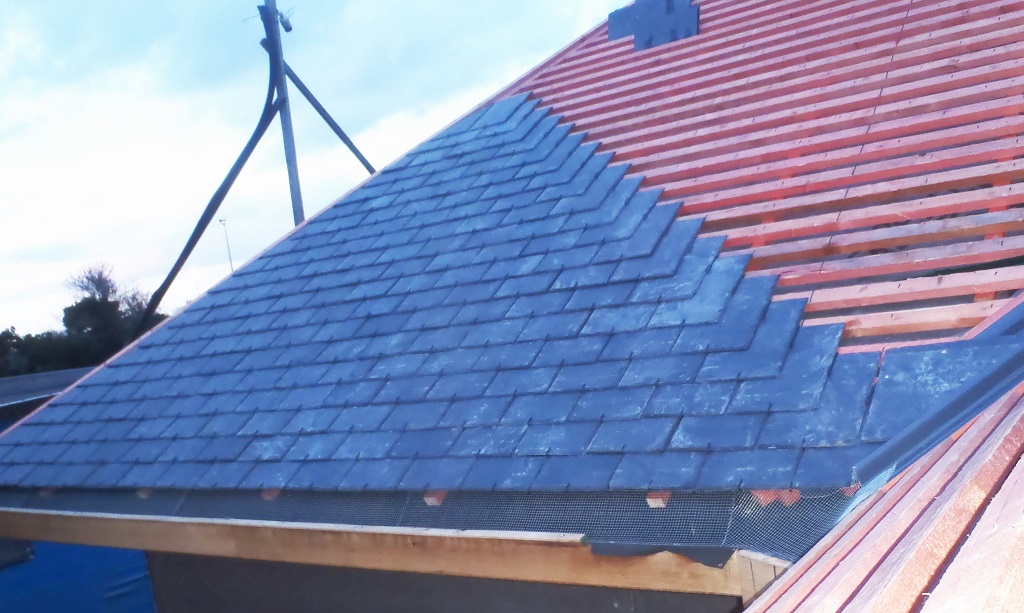
The new angle of the trough now means that the two roof surfaces of the slates coming in towards the valley point are both at the same height and meeting point and makes (will do) a neat line down the valley.
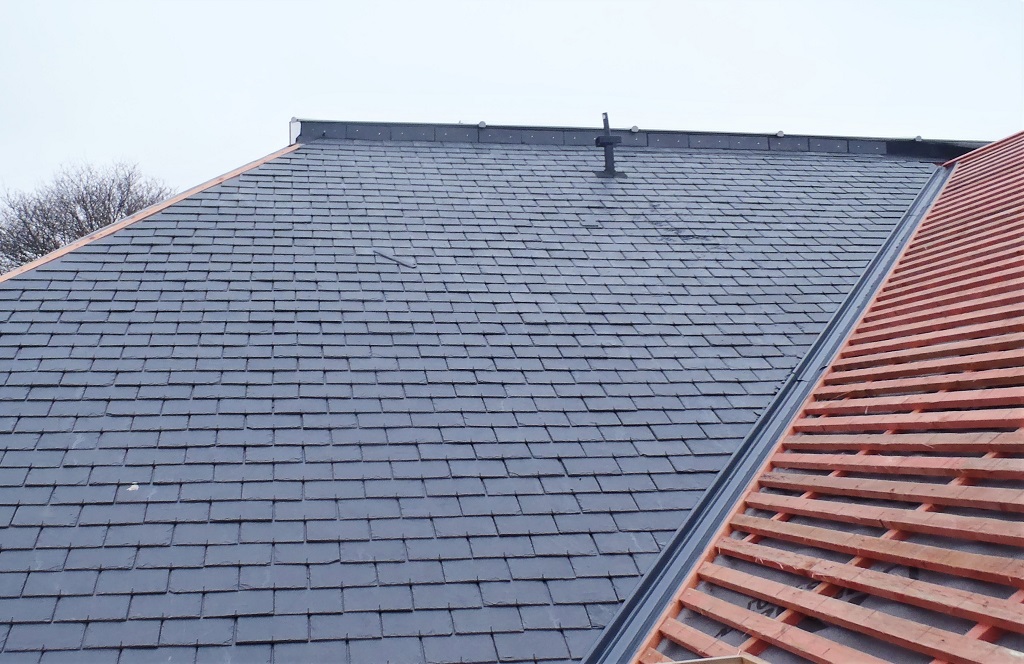
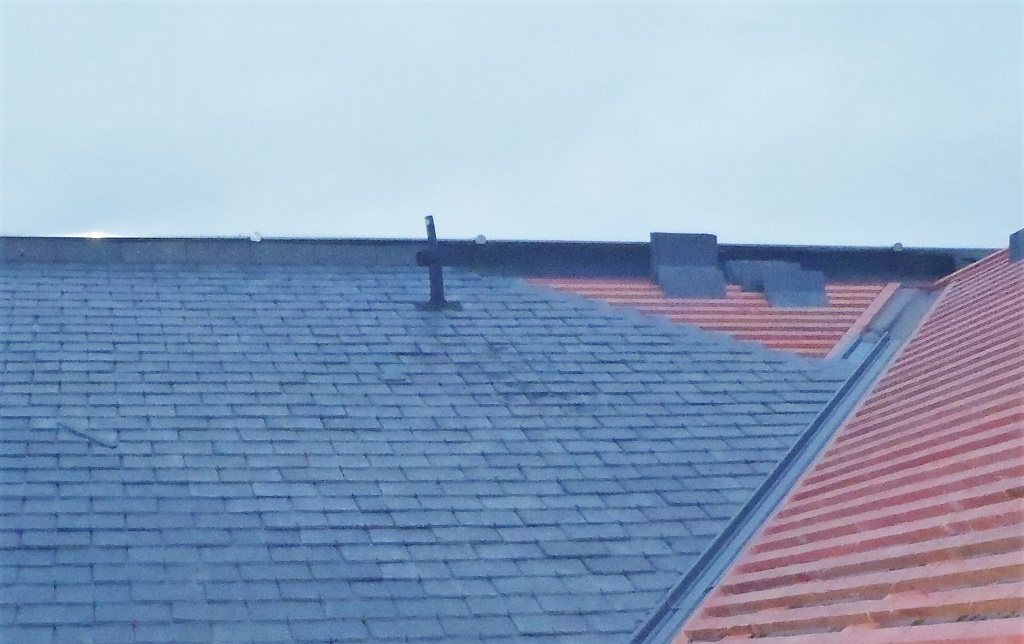
We resumed the interrupted task of covering up the gutters with the metal mesh and finished three quarters along the N section just before the N-O outside corner. We haven’t done the O gutter with its rubber liner yet.

MN-Valley-installed-and-gutter-finished
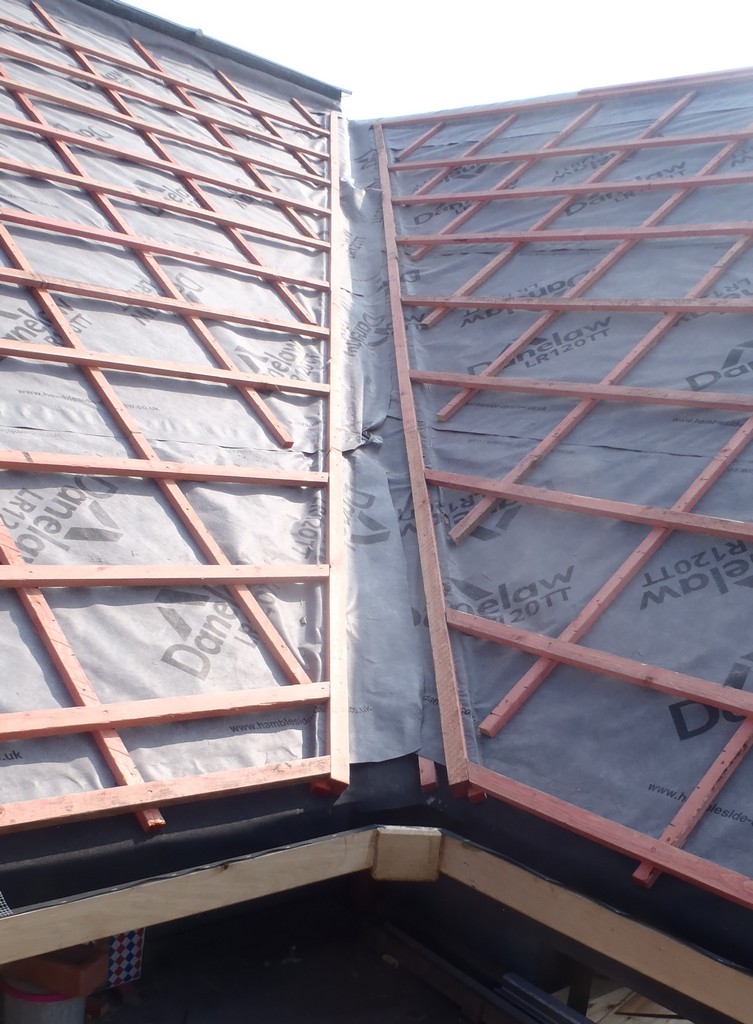
LM-Valley-installed
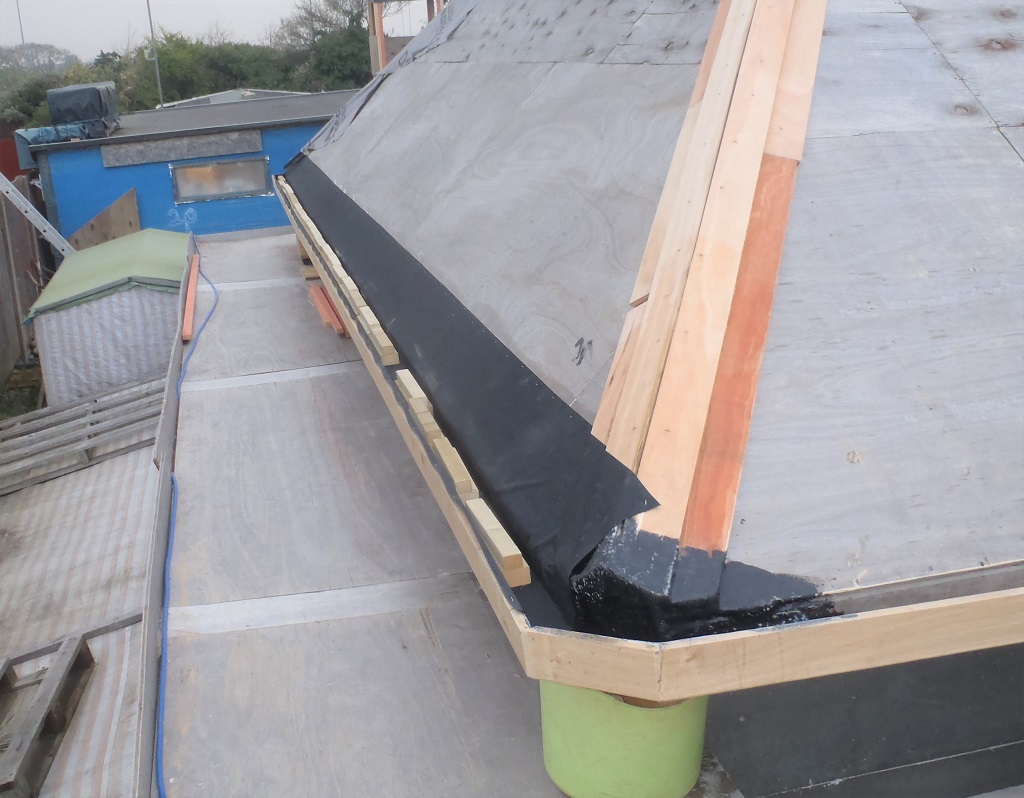
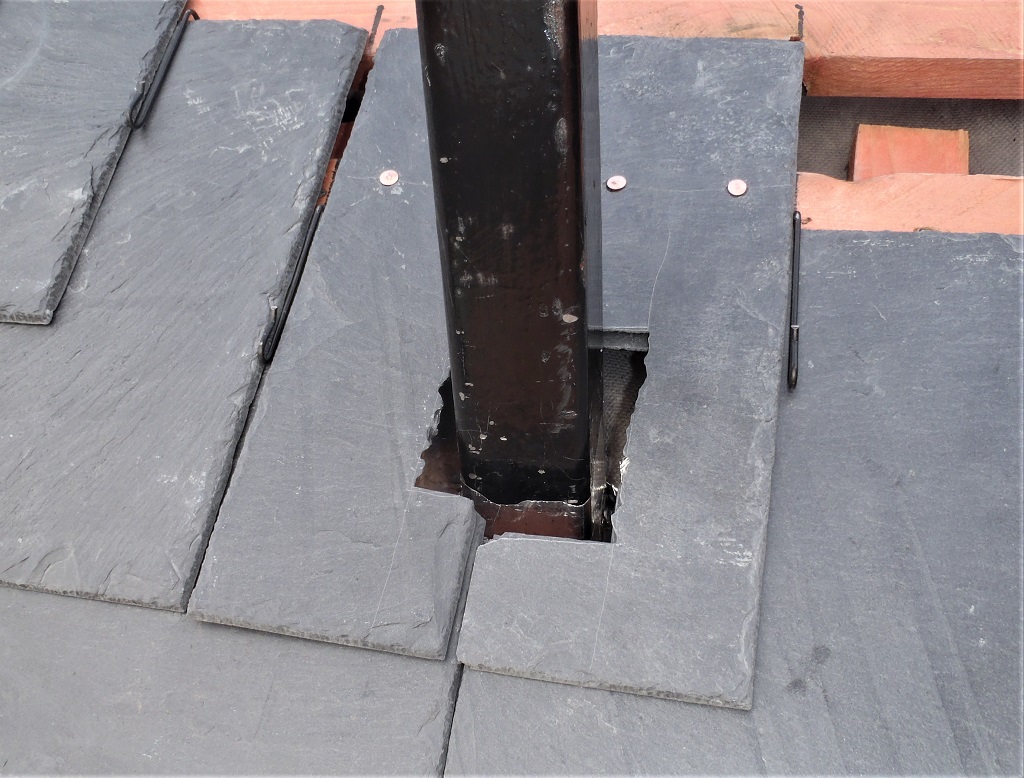
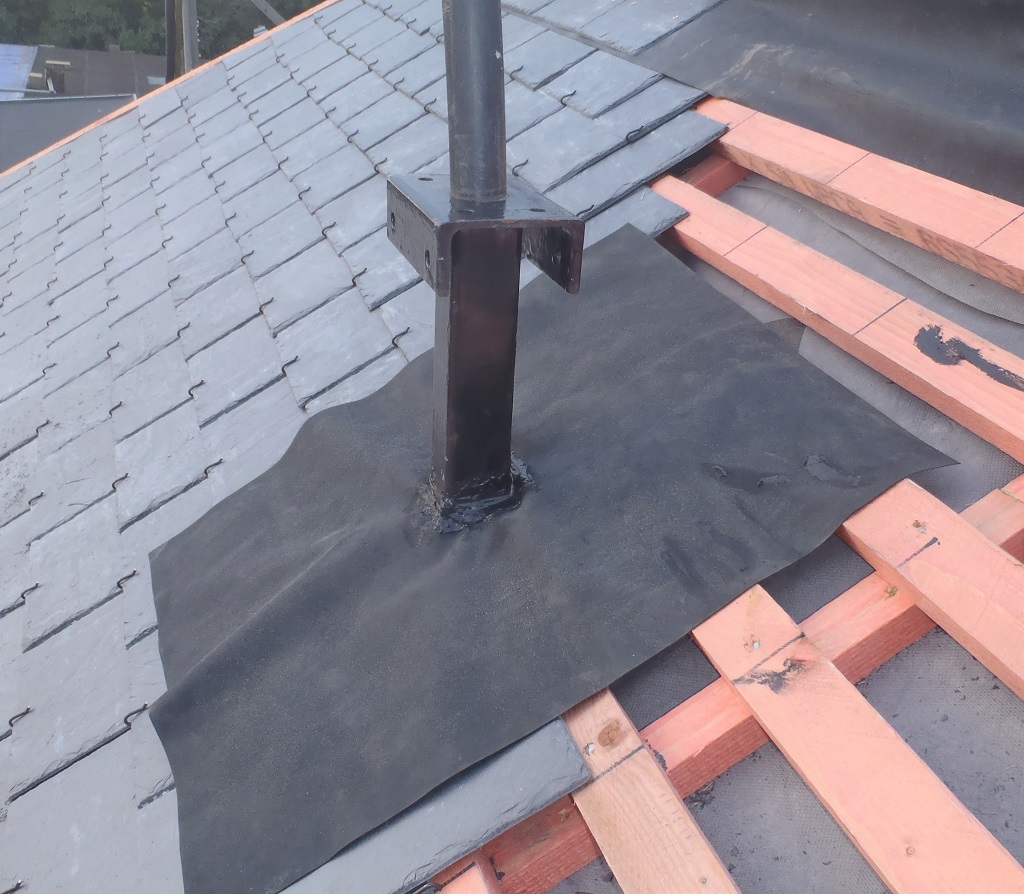
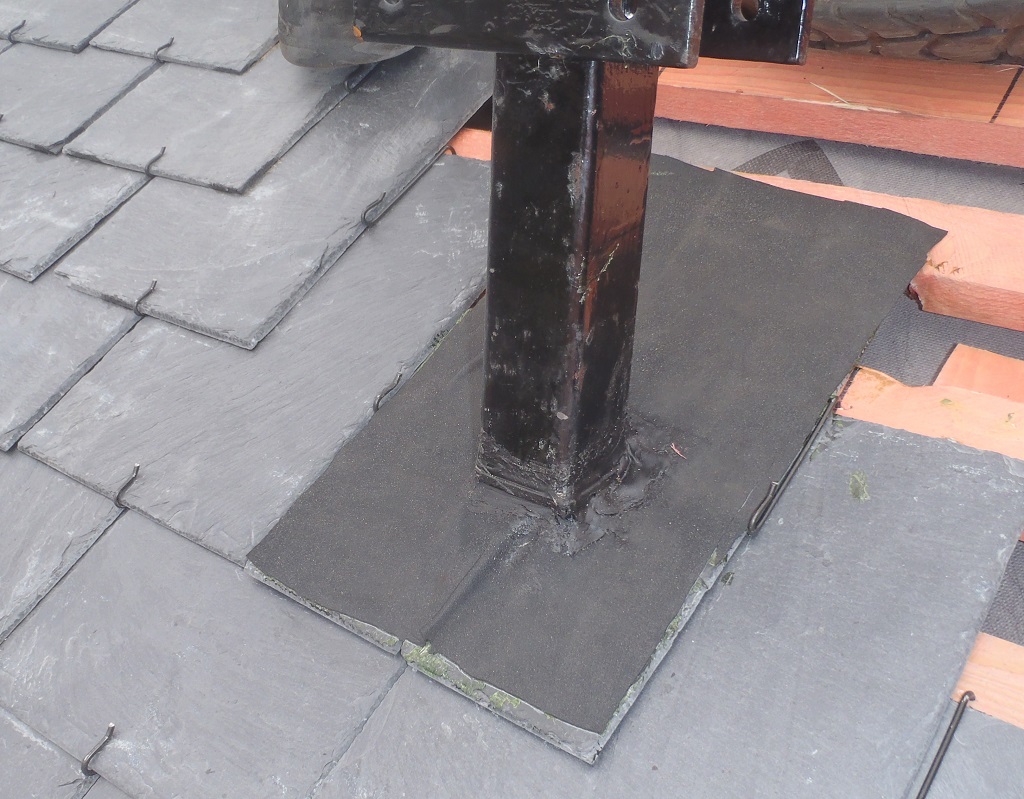
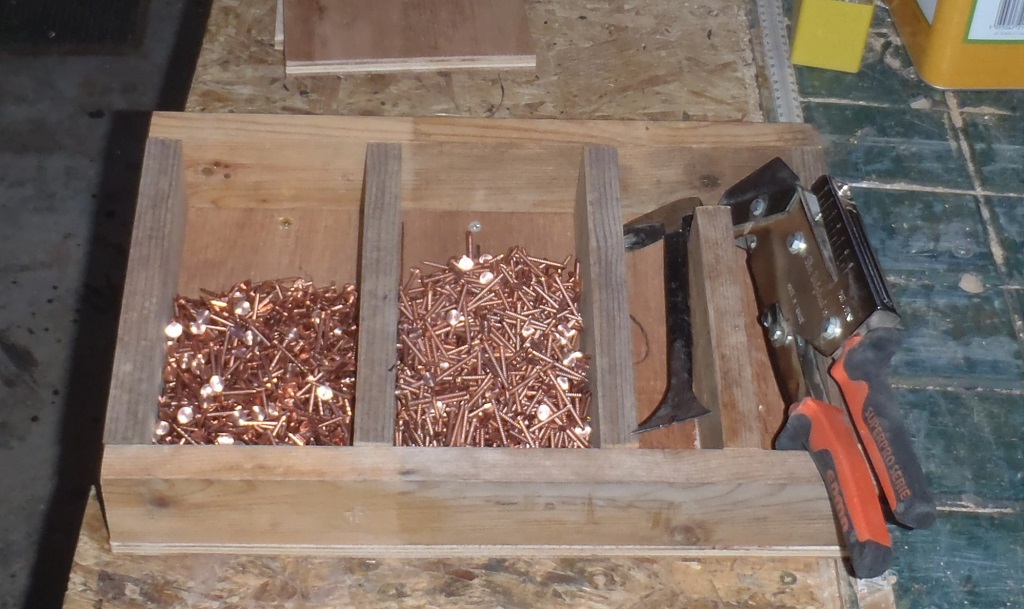
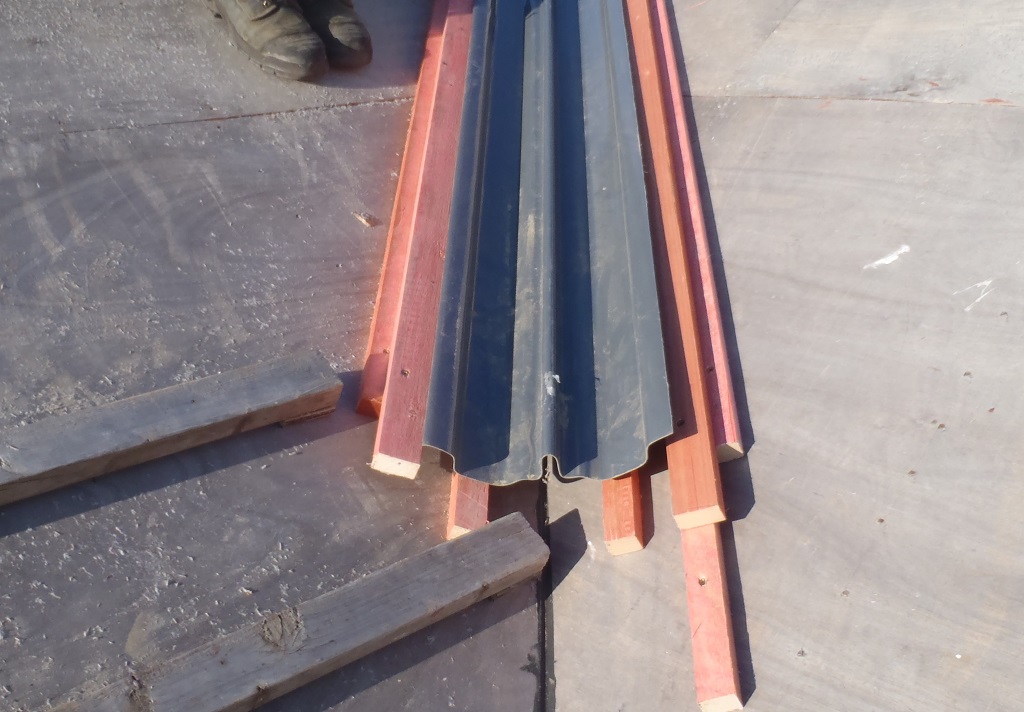
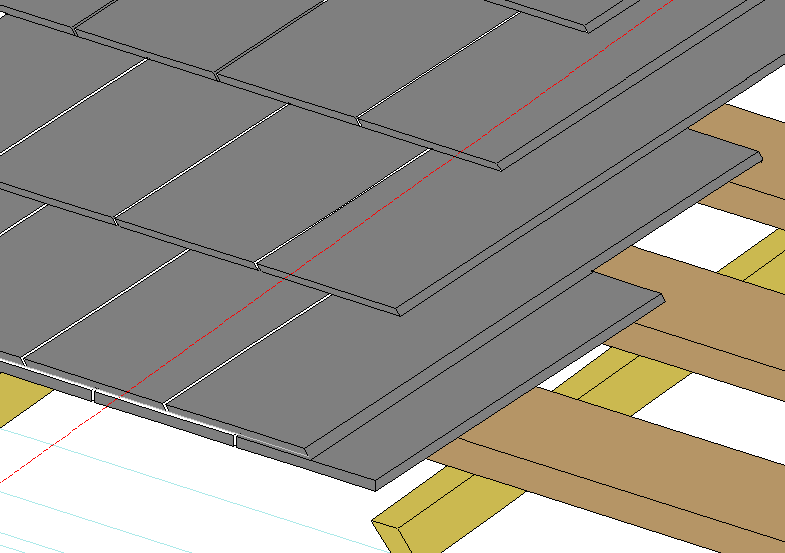
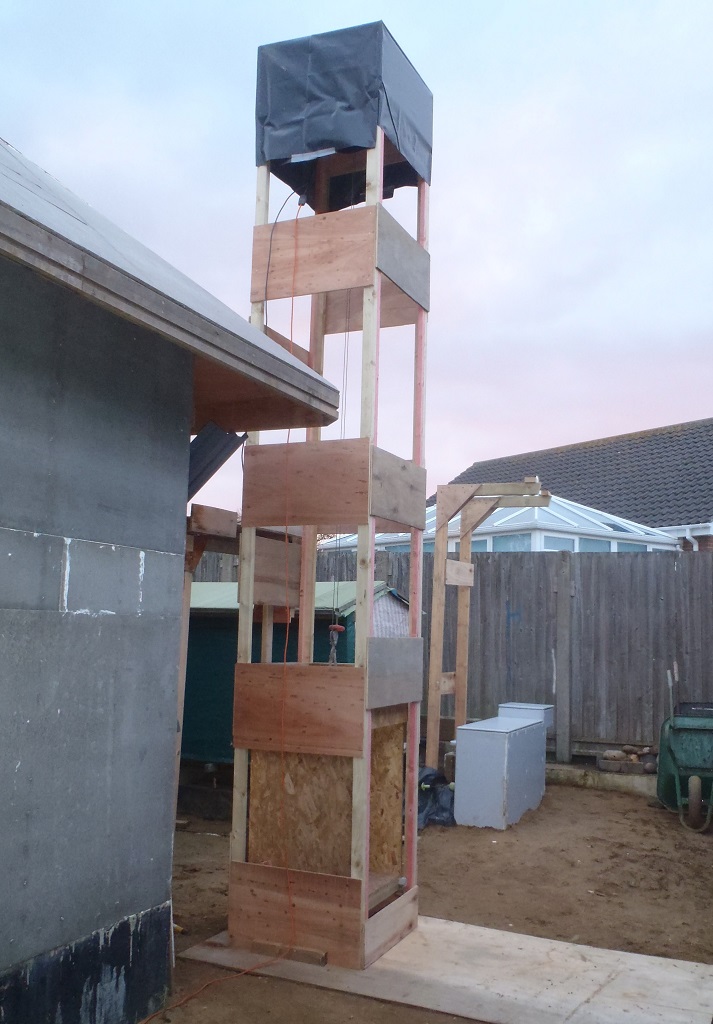
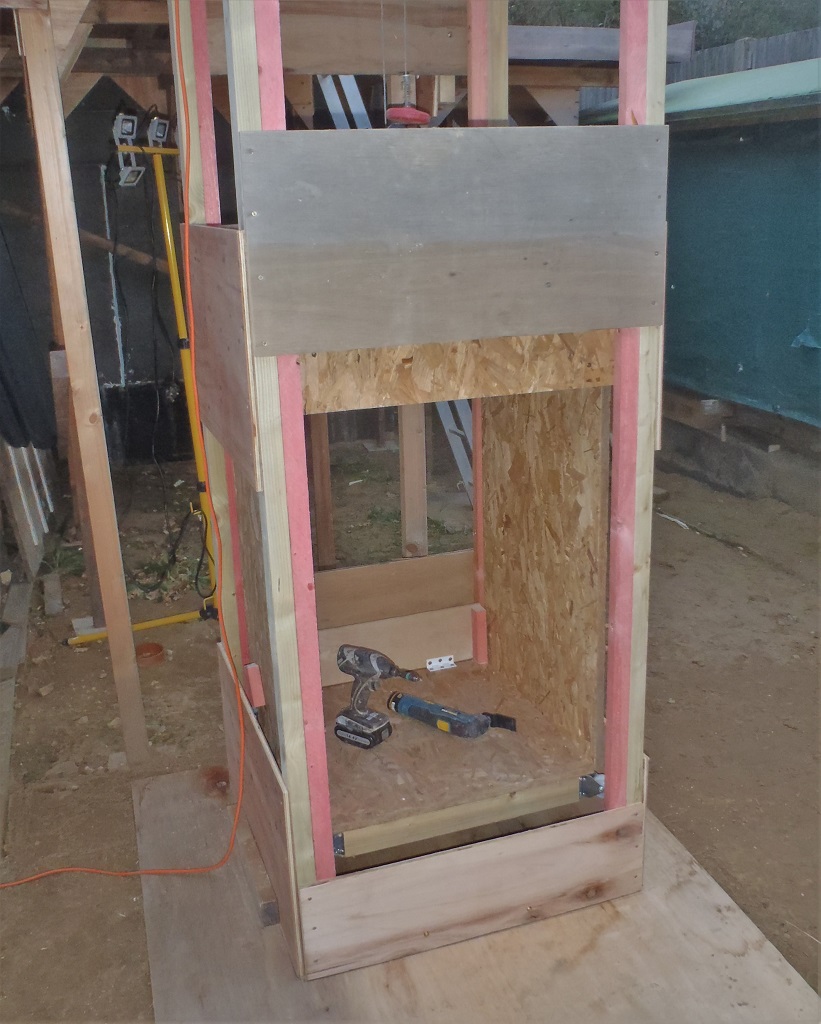
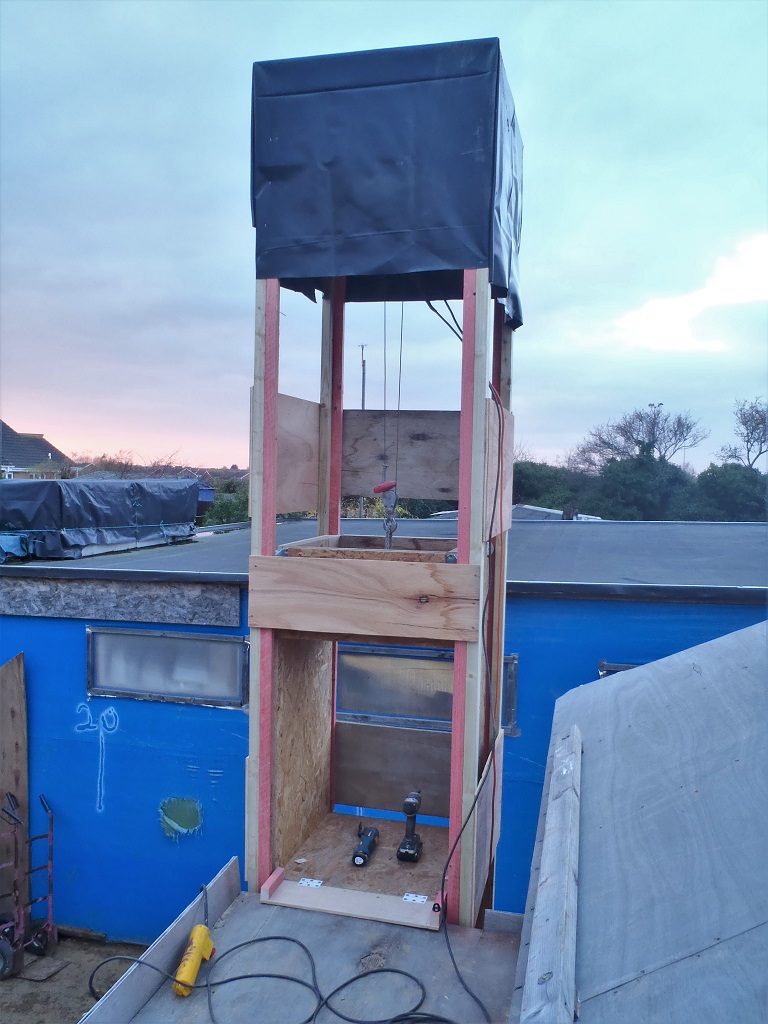
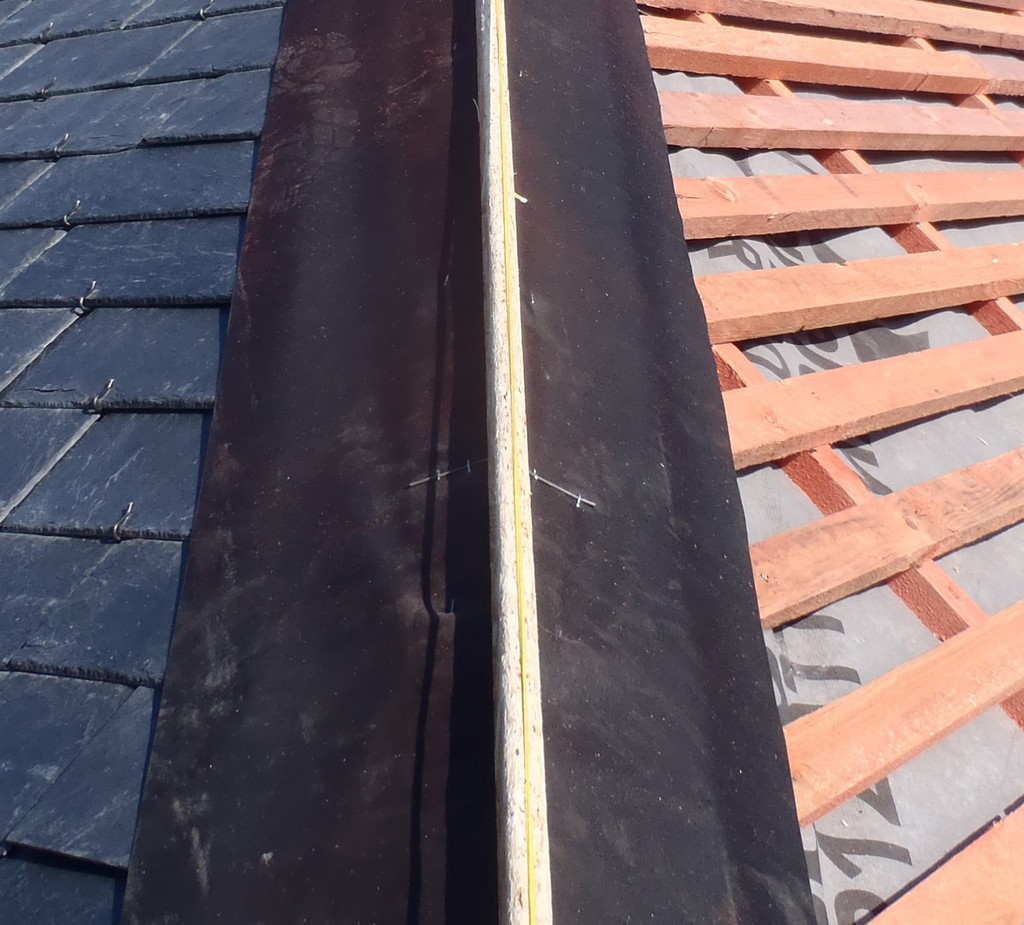
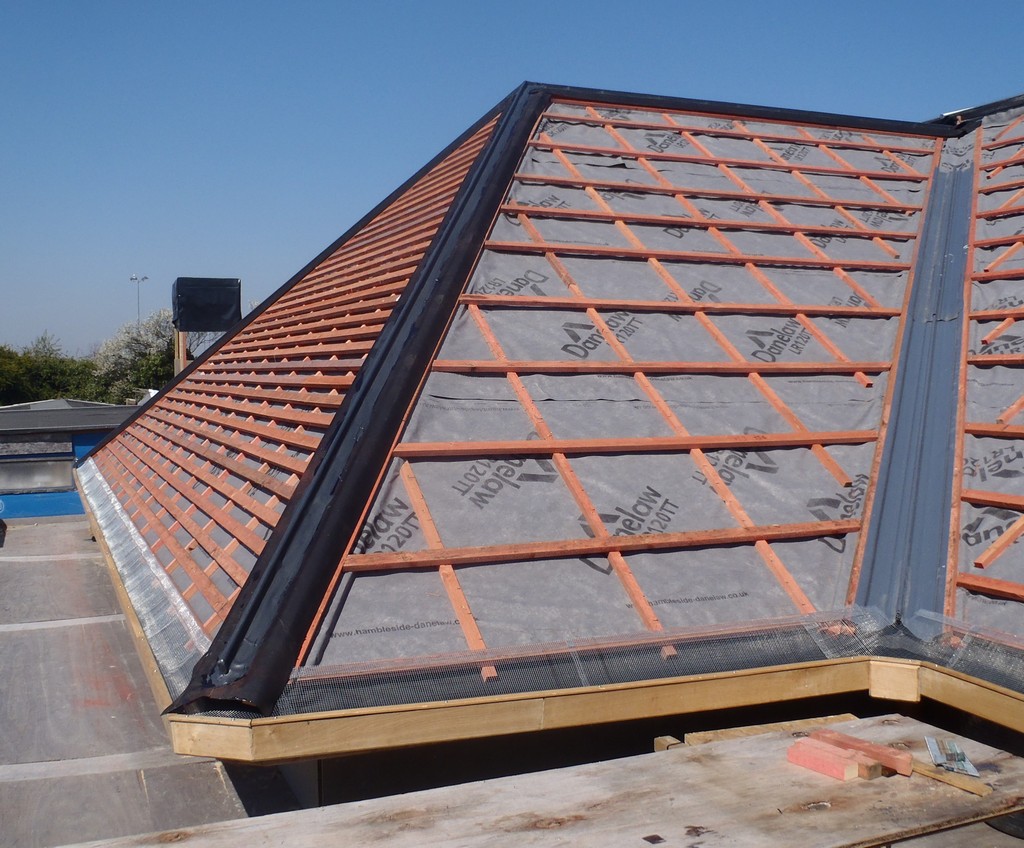
We had one day of interruptions with a meeting in the morning and putting up the sun shield on our temporary living quarters but we resumed the work, this time, making a rain protective “Hat” for all our Hips and Ridges around the house, we have twelve Hips and five Ridges in total! This is part of providing a flashing system using slates and a layer of rubber membrane and this “hat”. We decided to go with this design because we needed to minimise the effect of the wobbly edges when they come together on the Hips and Ridges, which will be covered up the exposed cut slates of the roof surfaces, with a line of straight slates running up the Hips and along the Ridges. The hat will be a vertical piece of 19mm (¾”), strip with a rounded top (made from an OSB sheet). This is then covered over with a 150mm wide woven glass-fibre ribbon which will get coated in the dark grey resin. This combined object is sitting on top of a 400mm wide strip of rubber membrane.
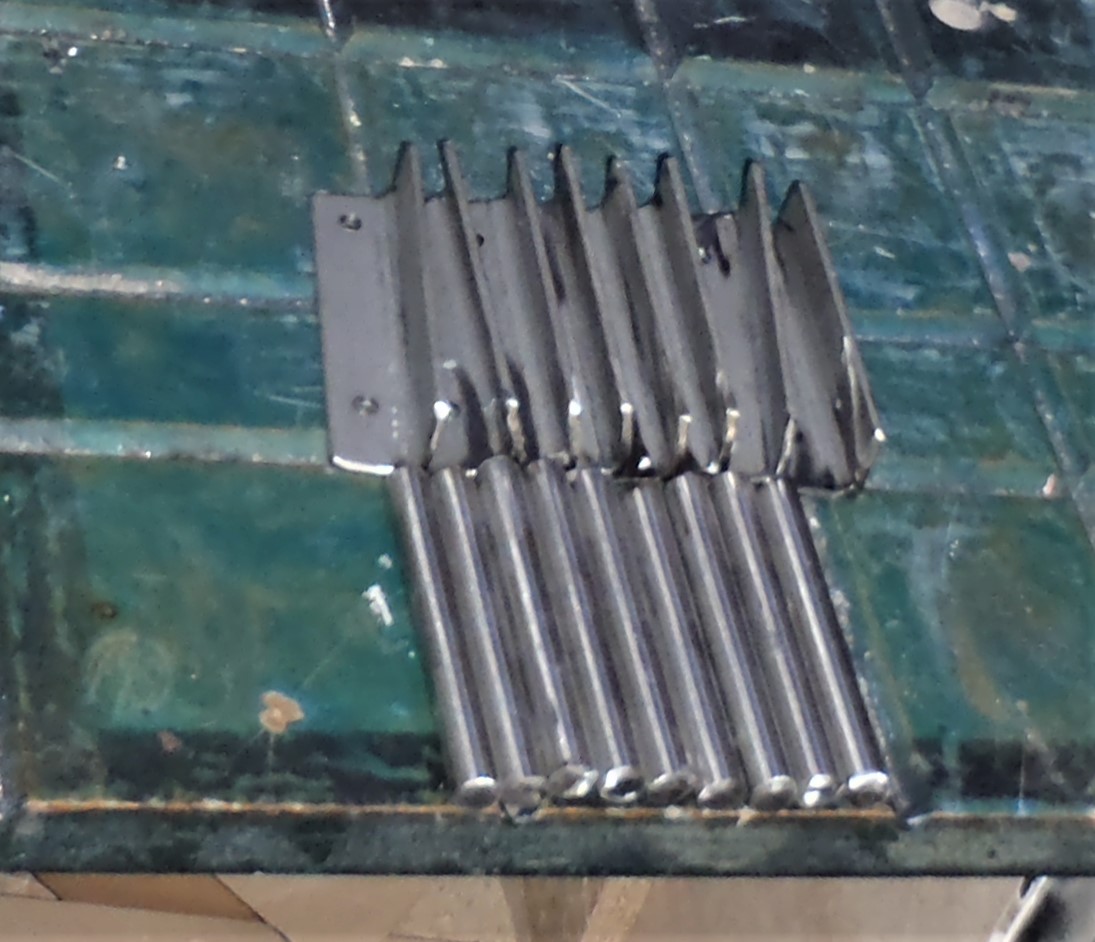
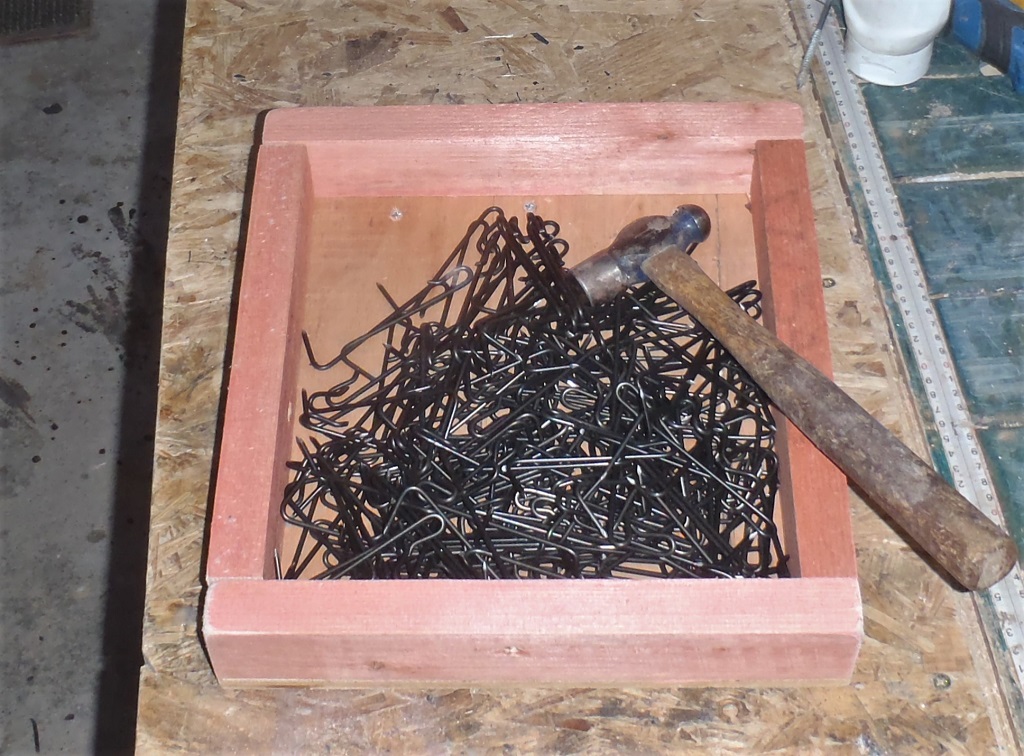
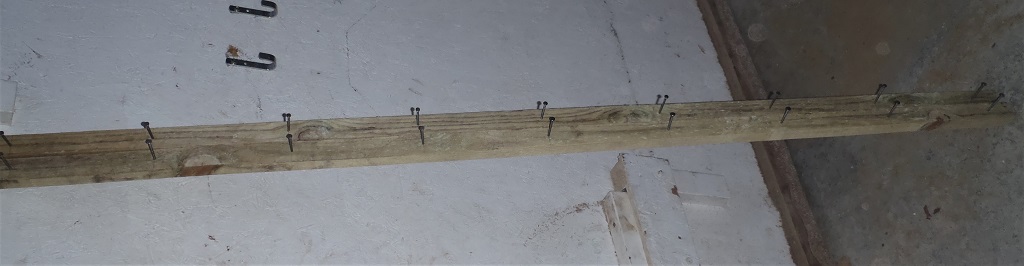
We stapled down each of the layers, then using short iron wire pieces, fixed to the underside of the bull nosed strips, was bent to provide a stiff anchorage method of holding the hat upright position against the various angles of the roof surfaces coming together.
Hip-hat-support-wood
Support-wood-installed
Fibreglass-tape-in-place
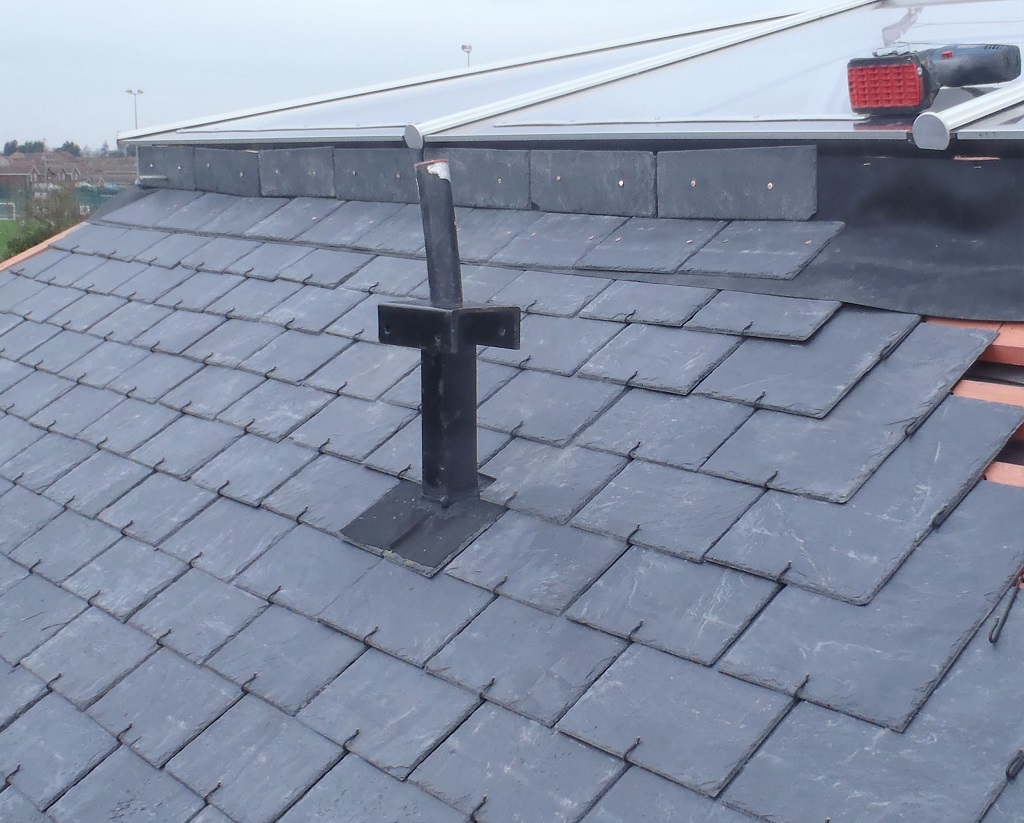
The whole thing then got coated with two applications of a flexible roofing resin before applying a top coat finish. Looking at the results, we think we ought to put on another coat of the finishing resin to make sure we haven’t left any pin holes behind to let rain water in.
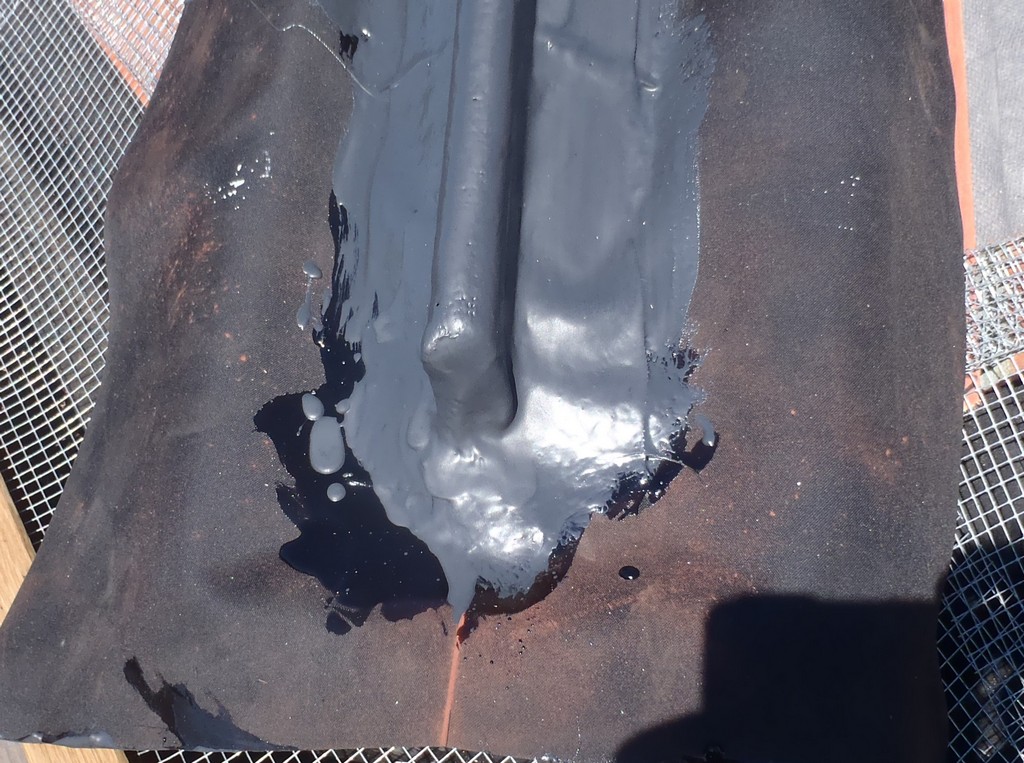
Hip-hat-finished-1
Hip-hat-finished-2
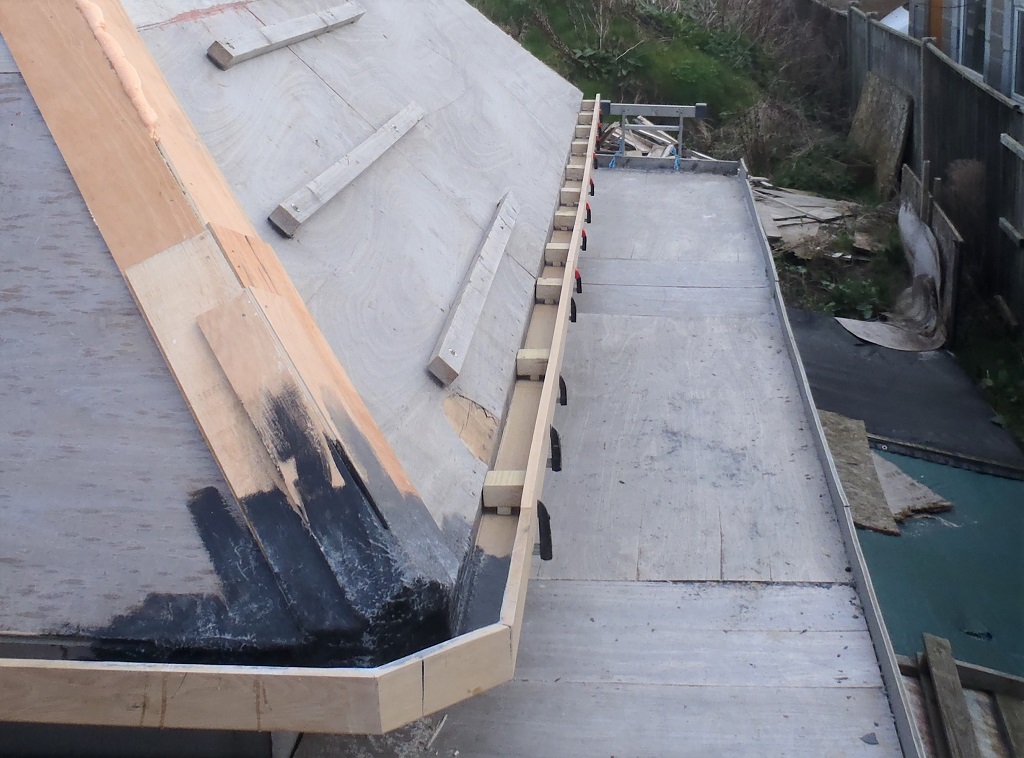
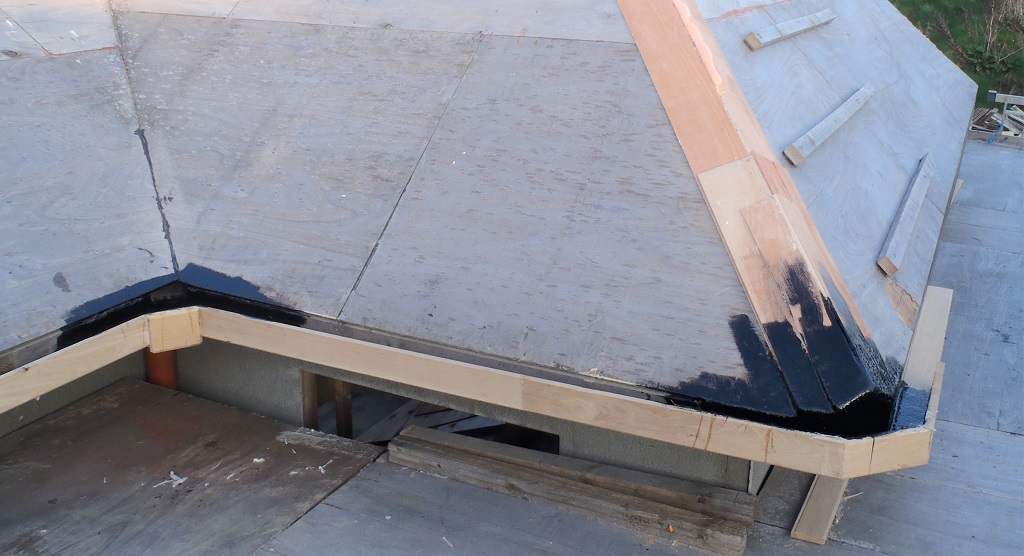
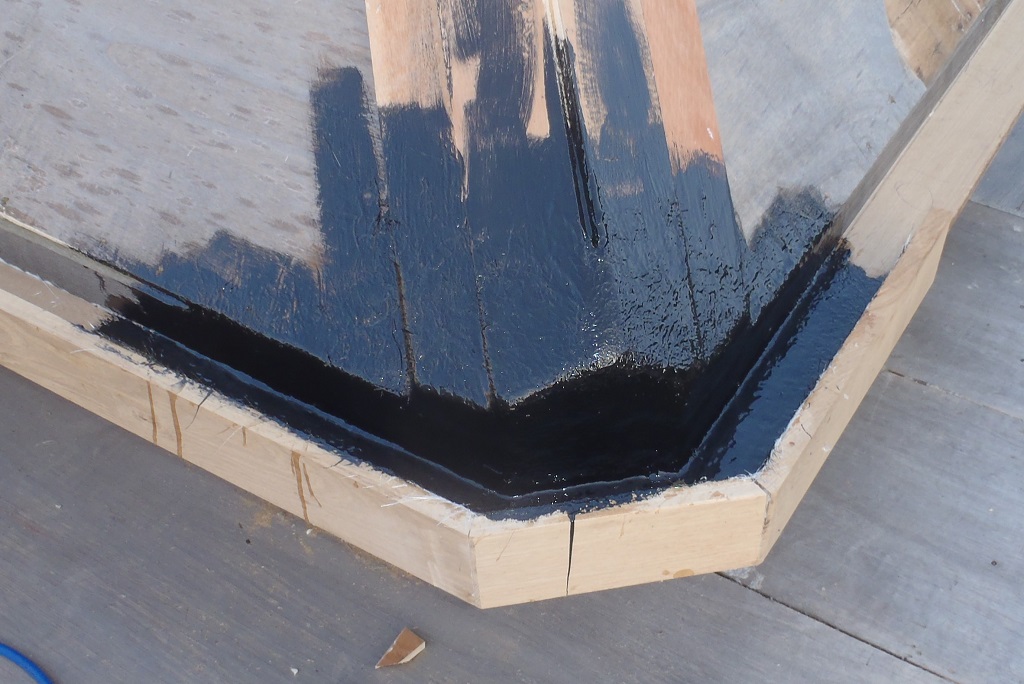
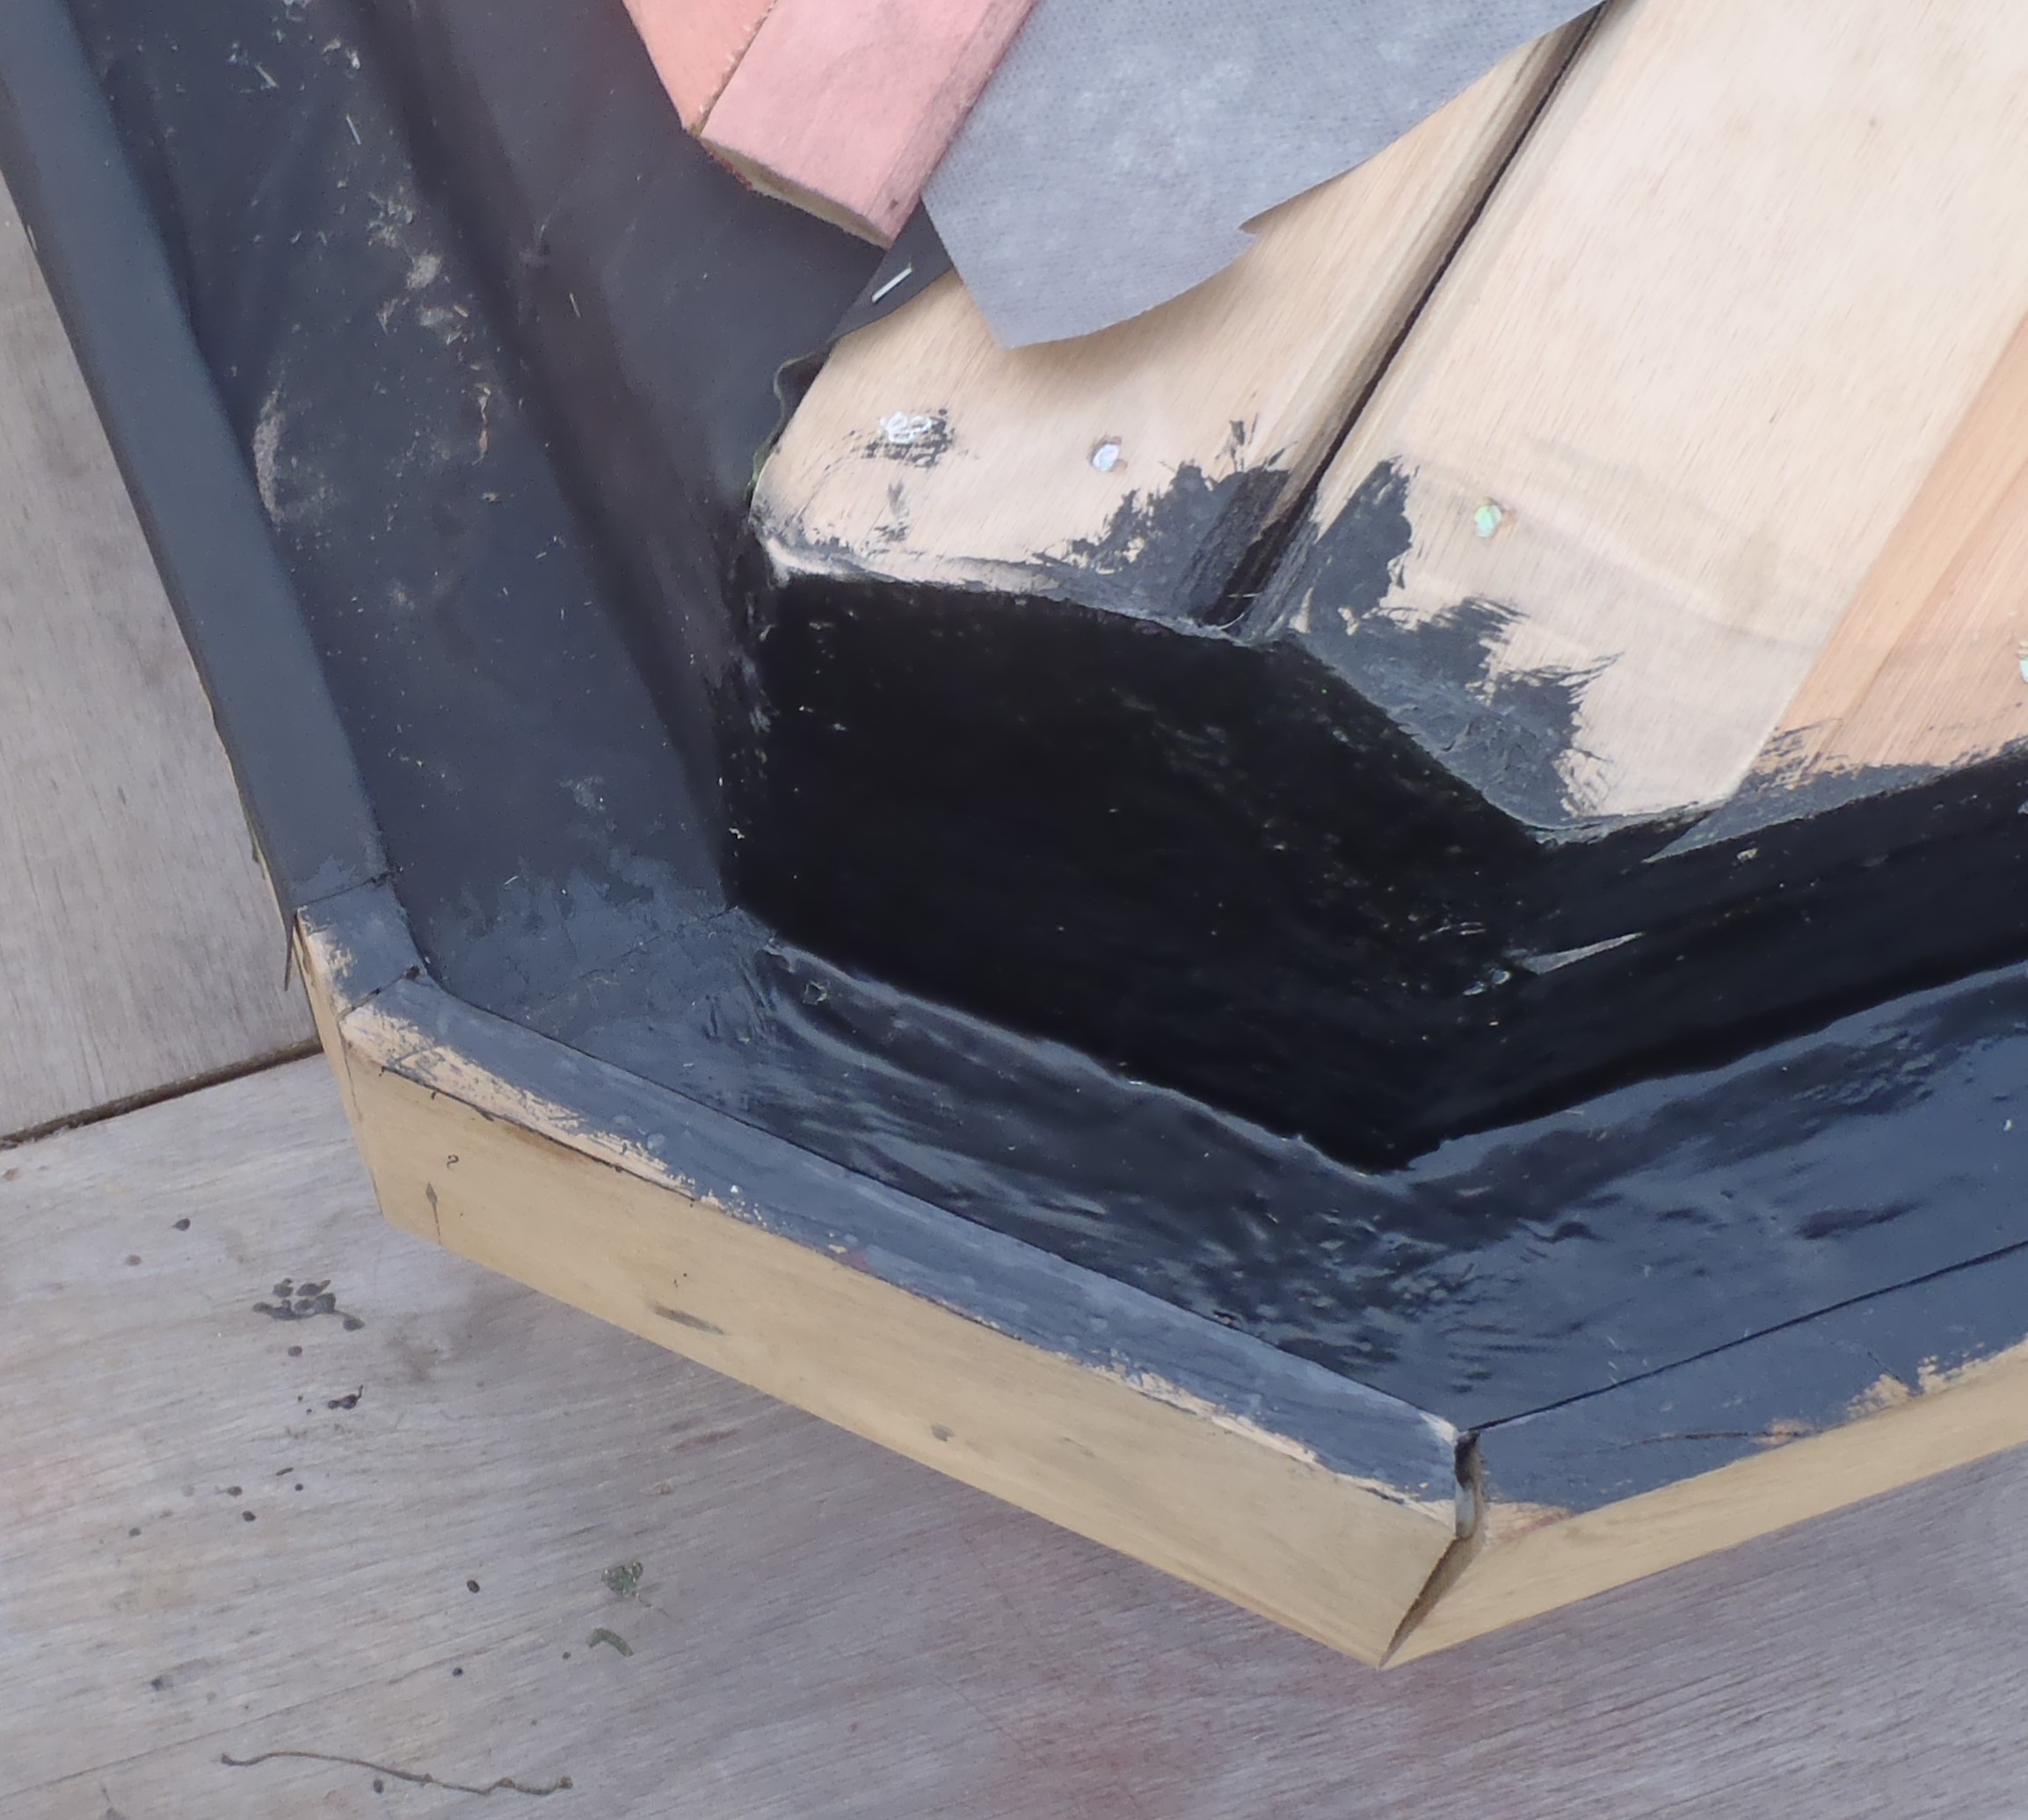
Finally, on the last corner of the back of the building, the O-P outside corner, we sliced off the layers of plywood that made up the hip support, put on a layer of heavy glass-fibre matting and then coated the whole thing with black top coat finish. All rubbed down and smooth, ready for going along the P section towards the Conservatory.
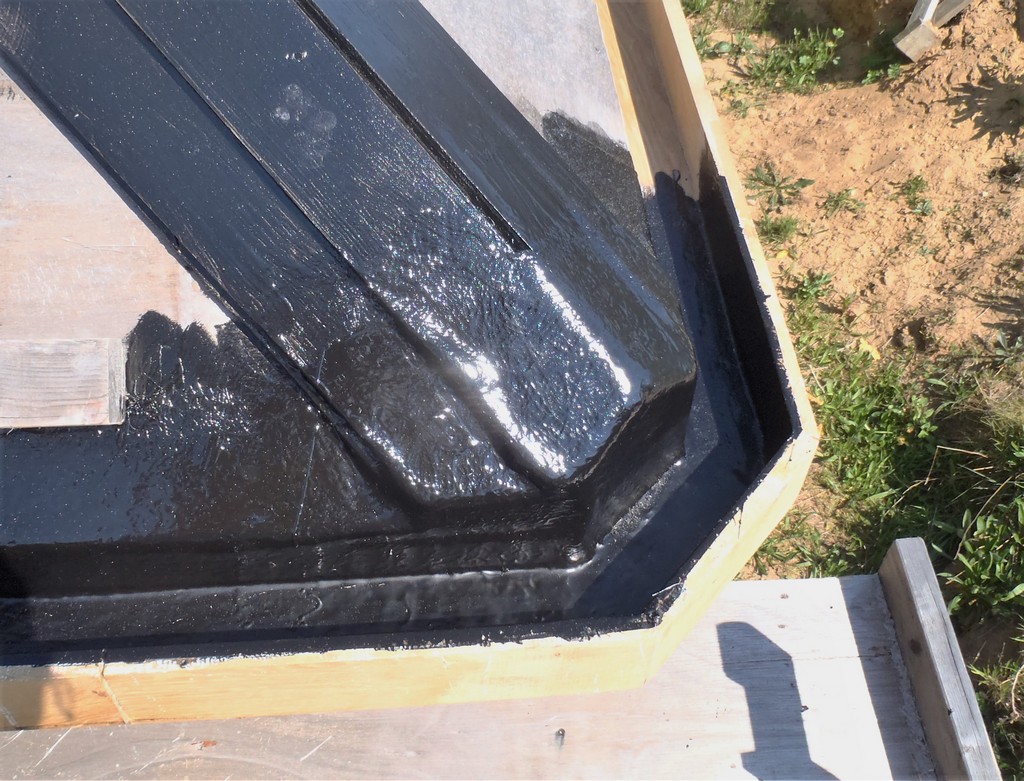
OP-Gutter-corner-fibreglassed
This means now that we can insert the last strip of rubber liner for the gutter along the O section and put on the breathable membrane and battens to have this section of O roof ready for slating too.
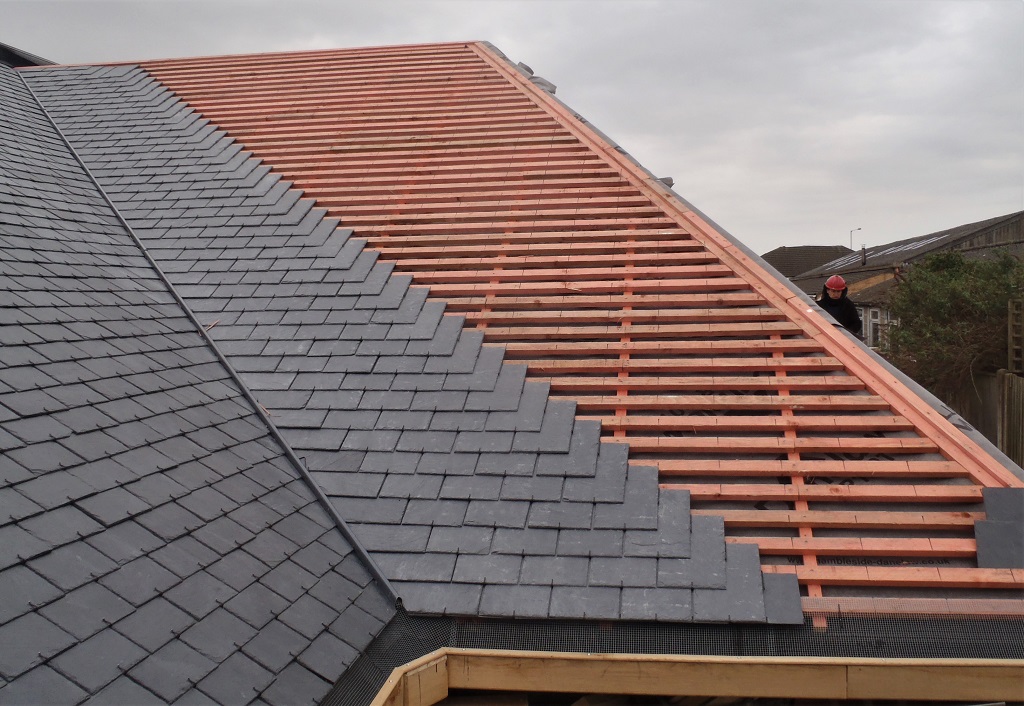
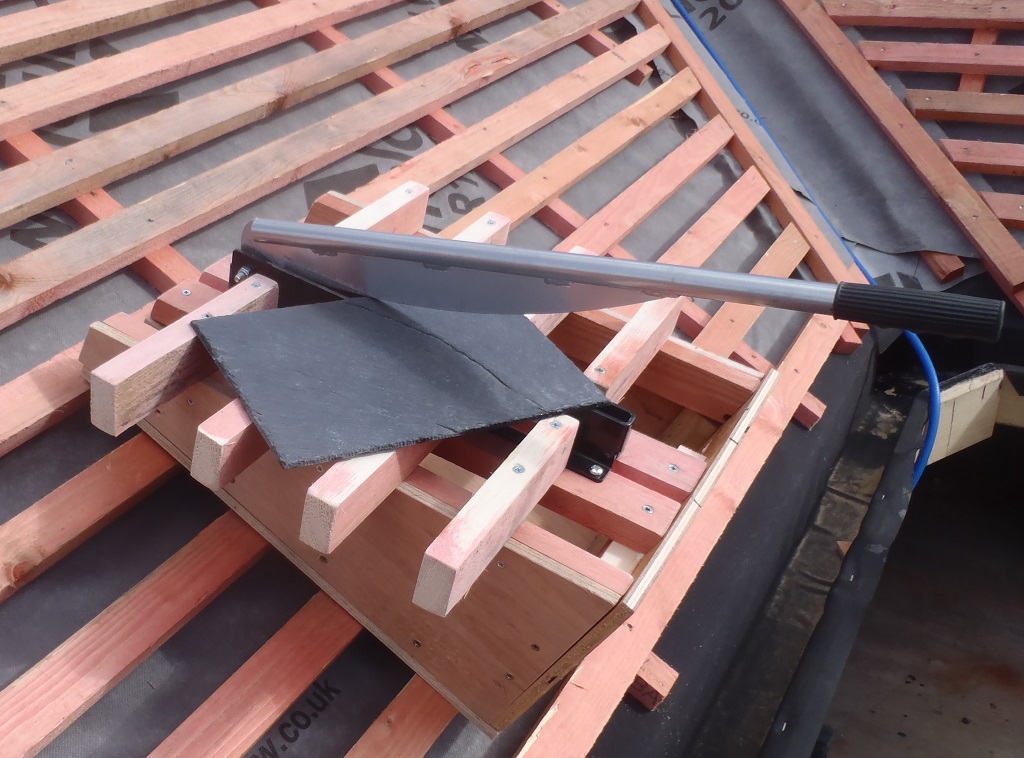
Next week, we can resume the job of putting up thousands of Slates for the K slope (and L, and M, and N, and O too!), and doing the flashing slates a the same time as we climb up the roof. We are Getting There!!