Category: Steelworks

  • Brackets Painted and Preparations starts on Legs

     The 6 steel brackets were hung up in our painting tent this morning and painted this afternoon.

    Shaun-painting-brackets

    Shaun-painting-brackets

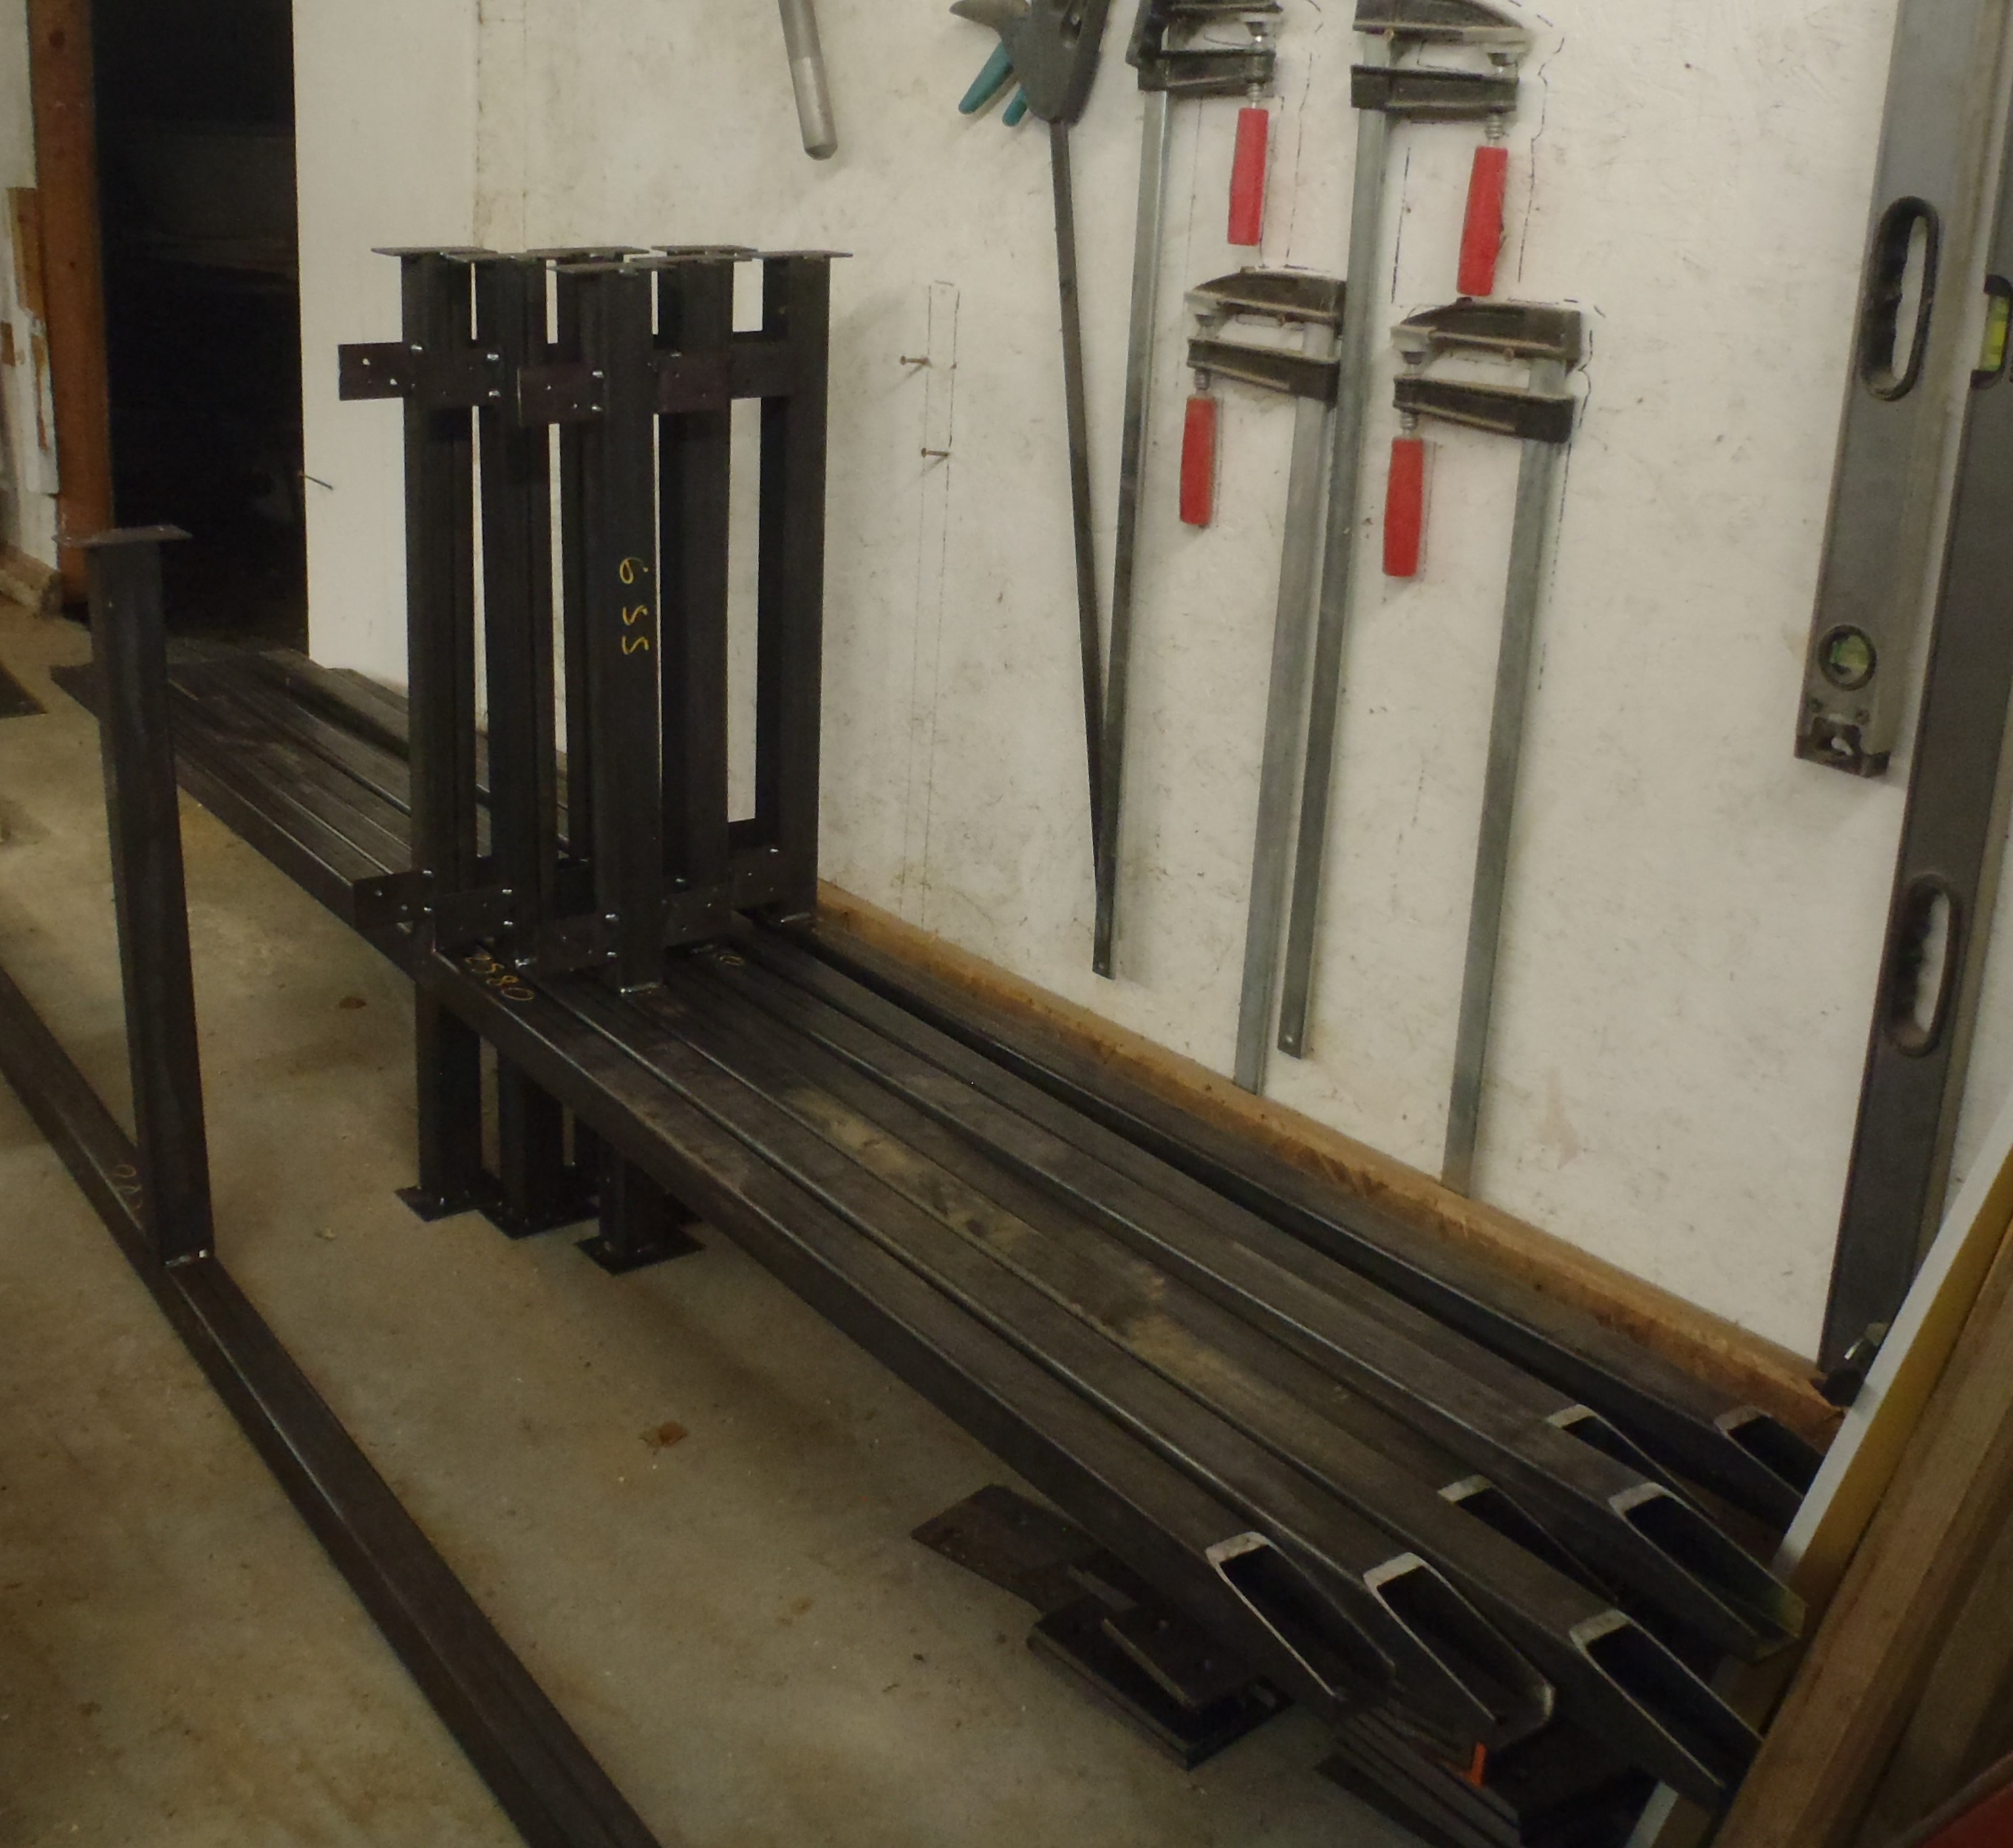
    Plus also the preparations for making the Steel Legs, all 7 of them, started today. First of all, we measured the height of the concrete floor inside the house at where the legs will be standing. The results of the laser level check-up were that 6 of them were within plus or minus 3mm and the 7th position was 15mm higher. This means that we will shorten that particular leg by 10mm and leave the other  6 legs alone as they are all within working tolerance.

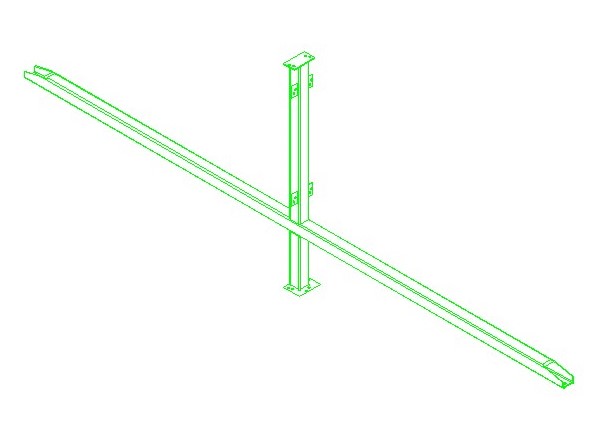
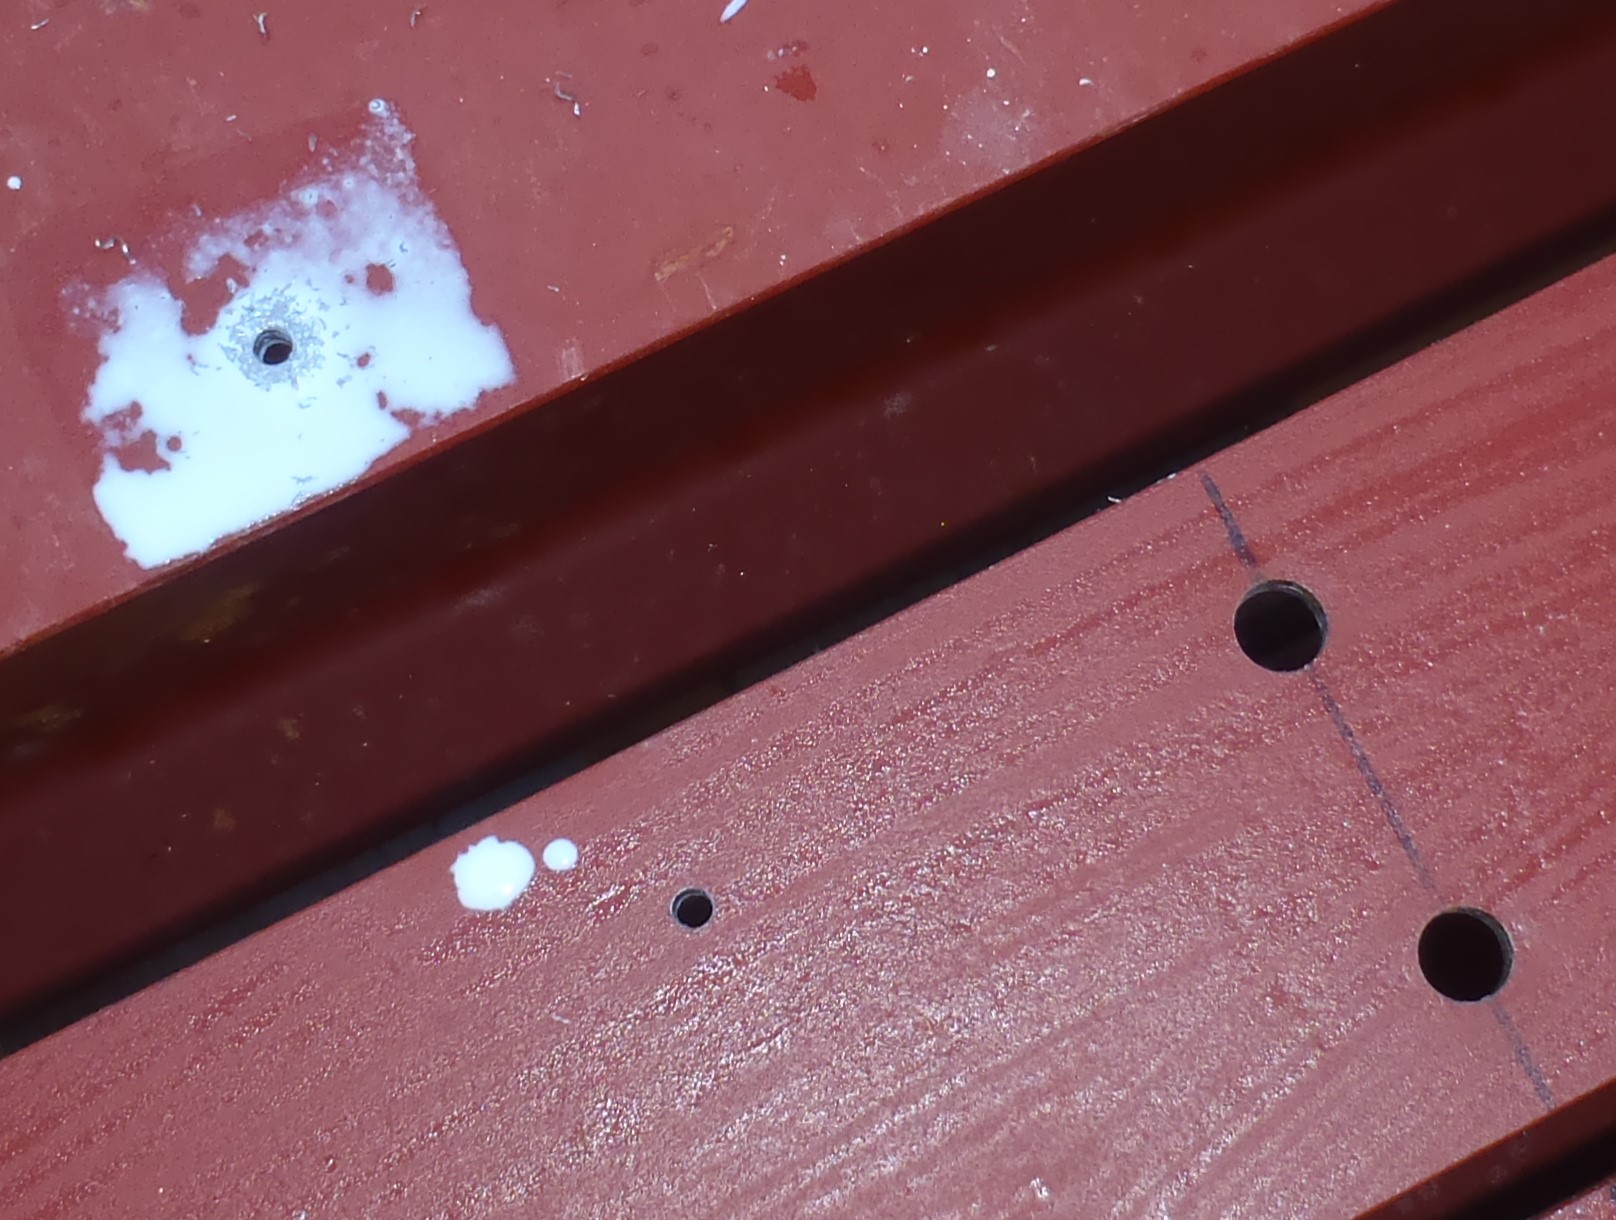
    Then the foot and top plates were orientated and marked out so they can be welded flat onto the ends of each of the 7 legs the right way around and that the bolt holes will line up with the I Beams.

    It will probably take another week to weld the final pieces of steel onto the 7 legs and have them painted too. Then we will be ready to assemble them all together into the massive rectangular box framework situated in the middle of our roof and house.

  • Ridge and Valley Support’s Construction Completed

    The task of the last two weeks (interrupted by a bought of illness), has been to cut and weld together pieces of 3mm thick steel plates into brackets. These are designed to allow the ends of main wooden box rafters (the Hip Ridge, Valleys and extension Ridges) to be securely anchored to the steel I beam central structure.

    There are 6 of these brackets of which 3 just support a hip rafter at the corners of the building and the other 3 support multiple rafters converging together.

    42 pieces of steel had to be cut to create a jigsaw of parts to be drilled and welded together to form the six individual brackets.

    Rafter-Brackets 1,3 & 4

    Rafter-Brackets 1,3 & 4

    Rafter-Brackets 1,3 & 4

    Rafter-Brackets 1,3 & 4

    Rafter-Brackets 2&5

    Rafter-Brackets 2&5

    Rafter-Bracket 6

    Rafter-Bracket 6

    Rafter-Bracket 6

    Rafter-Bracket 6


    Rafter-Bracket 6

    Rafter-Bracket 6

    Rafter-Bracket 6

    Rafter-Bracket 6


    Just a coat of the metal paint to protect against short term rusting and this fiddly and complex task will be done.

  • Last 4 Cross Struts Painted

    The last 4 steel cross strut members were painted this afternoon.

    Beam-restraints-painted

    Beam-restraints-painted

    The next job is to weld and make joist brackets to anchor the hip ridge and valley box beams of the roof. These brackets will be bolted onto the steel I Beam structure.

  • Steel “Cross” pieces Cleaned and Painted

    Today was the job of cleaning and painting the newly formed Cross steel framework pieces. All 9 were washed in hot soapy water to remove all the dirt and oil and 5 of them were painted with the metal primer protection paint. All this was done inside our workshop as it was a wet day outside!

    The last 4 will be done tomorrow, and then they can be moved outside, to make  room in our workshop to carry on with the preparations work on the remaining steel pieces.

  • Welding Commences on Roof Superstructure!

     Today, the first major welding task was done, putting together the 9 pieces of steel framework that will fix the two long side of the box shaped superstructure (the steel I beam pieces) to prevent lateral twisting, as well as providing a fixing for the ridge beam right at the top of the roof that holds the glazing units, plus a fixing point for the ceiling in the upper floor rooms.

    Beam-restraint-diagram

    Beam-restraint-diagram

    In the morning the plates and flanges were welded to the upright parts using a jig so measurements only need to be done once. Then after lunch the parts were assembled and welded into the complete restraint on another jig.

    Beam-Restraint-welded-on-jig

    Beam-Restraint-welded-on-jig

    Beam-restraint-x-9

    Beam-restraint-x-9


    On Monday, these 9 cross pieces will be cleaned and primed so that they will survive a relatively short time being exposed to the weather and prevent rust etc.

  • Work Continues on Steel Preparations

     This afternoon, more holes were drilled into the I beams, this time, the webbing received dozens of 5mm holes for wood screws to hold more timber in place.

    The I beams need turning over and these long chunky steel objects, especially the bigger ones, are very heavy indeed and we couldn’t do it without a handy tool that effectively acts as an extended lever!

    Tomorrow, we will work in the workshop as the weather forecast is for heavy rain all day!!

  • Day 7 of Steel Roof Framework Preparations

     The task continues to prepare all the steel pieces ready for assembly. Today, the big I beams sitting outside, got dozens and dozens of small 5mm holes put into the top flat flange. This will provide the ability to use ordinary wood screws to hold in place the timber planks that will act as an anchorage for nailing the rafters up.

    Small-holes-in-top-flange-of-beams-1

    Small-holes-in-top-flange-of-beams-1

    Small-holes-in-top-flange-of-beams-2

    Small-holes-in-top-flange-of-beams-2


  • Day 6 of Drilling Holes and Preparation Work for Roof Framework

     This afternoon, the task of drilling all the bigger holes (13mm in diameter) continued and was finished today, using the hired “mag drill” machine with its core drill bit.

    Drilling-both-the-top-plate-of-the-leg-and-the-beam

    Drilling-both-the-top-plate-of-the-leg-and-the-beam

    The core drill bit is actually a circular line of teeth, set in two rows, one slightly lower than the other. Also there is a central spring loaded spike up the middle of the core which is used to exactly position the drill!

    Plus also, it is where the oil/water mixture comes down and lubricates and cools the cutting action – very clever design!

    But this is not the end of the drilling operations as we still have plenty more holes to do, with lots of 5mm ones to fix the wood parts into place, ready for the nailing the rafters etc. when the roof is constructed.

  • Day 5 of Preparation Work on Steel Beams

     Finishing in the dark this evening, we had drilled dozens of 13mm holes in the I beam pieces standing outside on timber planks!


    We had to turn over the Steel I-Beams and the bigger pieces were very heavy indeed, but we copied a tool we saw in action by the delivery driver when the steel arrived last week, a lever to help with the moving of these massive pieces of steel!

    We finished under the floodlights to drill through both the 10mm plate and the I beam at the same time so that all the 4 holes will line up just right when the final assembly is performed!

  • Magnetic Drill

    We collected the rented Magnetic drill this morning. The drill has an electromagnet in the base so once you position the drill you turn on the magnet and the drill is fixed in position so you can drive the cutter into the work. The cutter is hollow and has a retractable center pin which allows the accurate positioning of the drill, cutting fluid also flows down this hollow from the bottle above the drill.

    The-Mag-Drill

    The-Mag-Drill

    Mag-drill-cutter-and-center-guide

    Mag-drill-cutter-and-center-guide