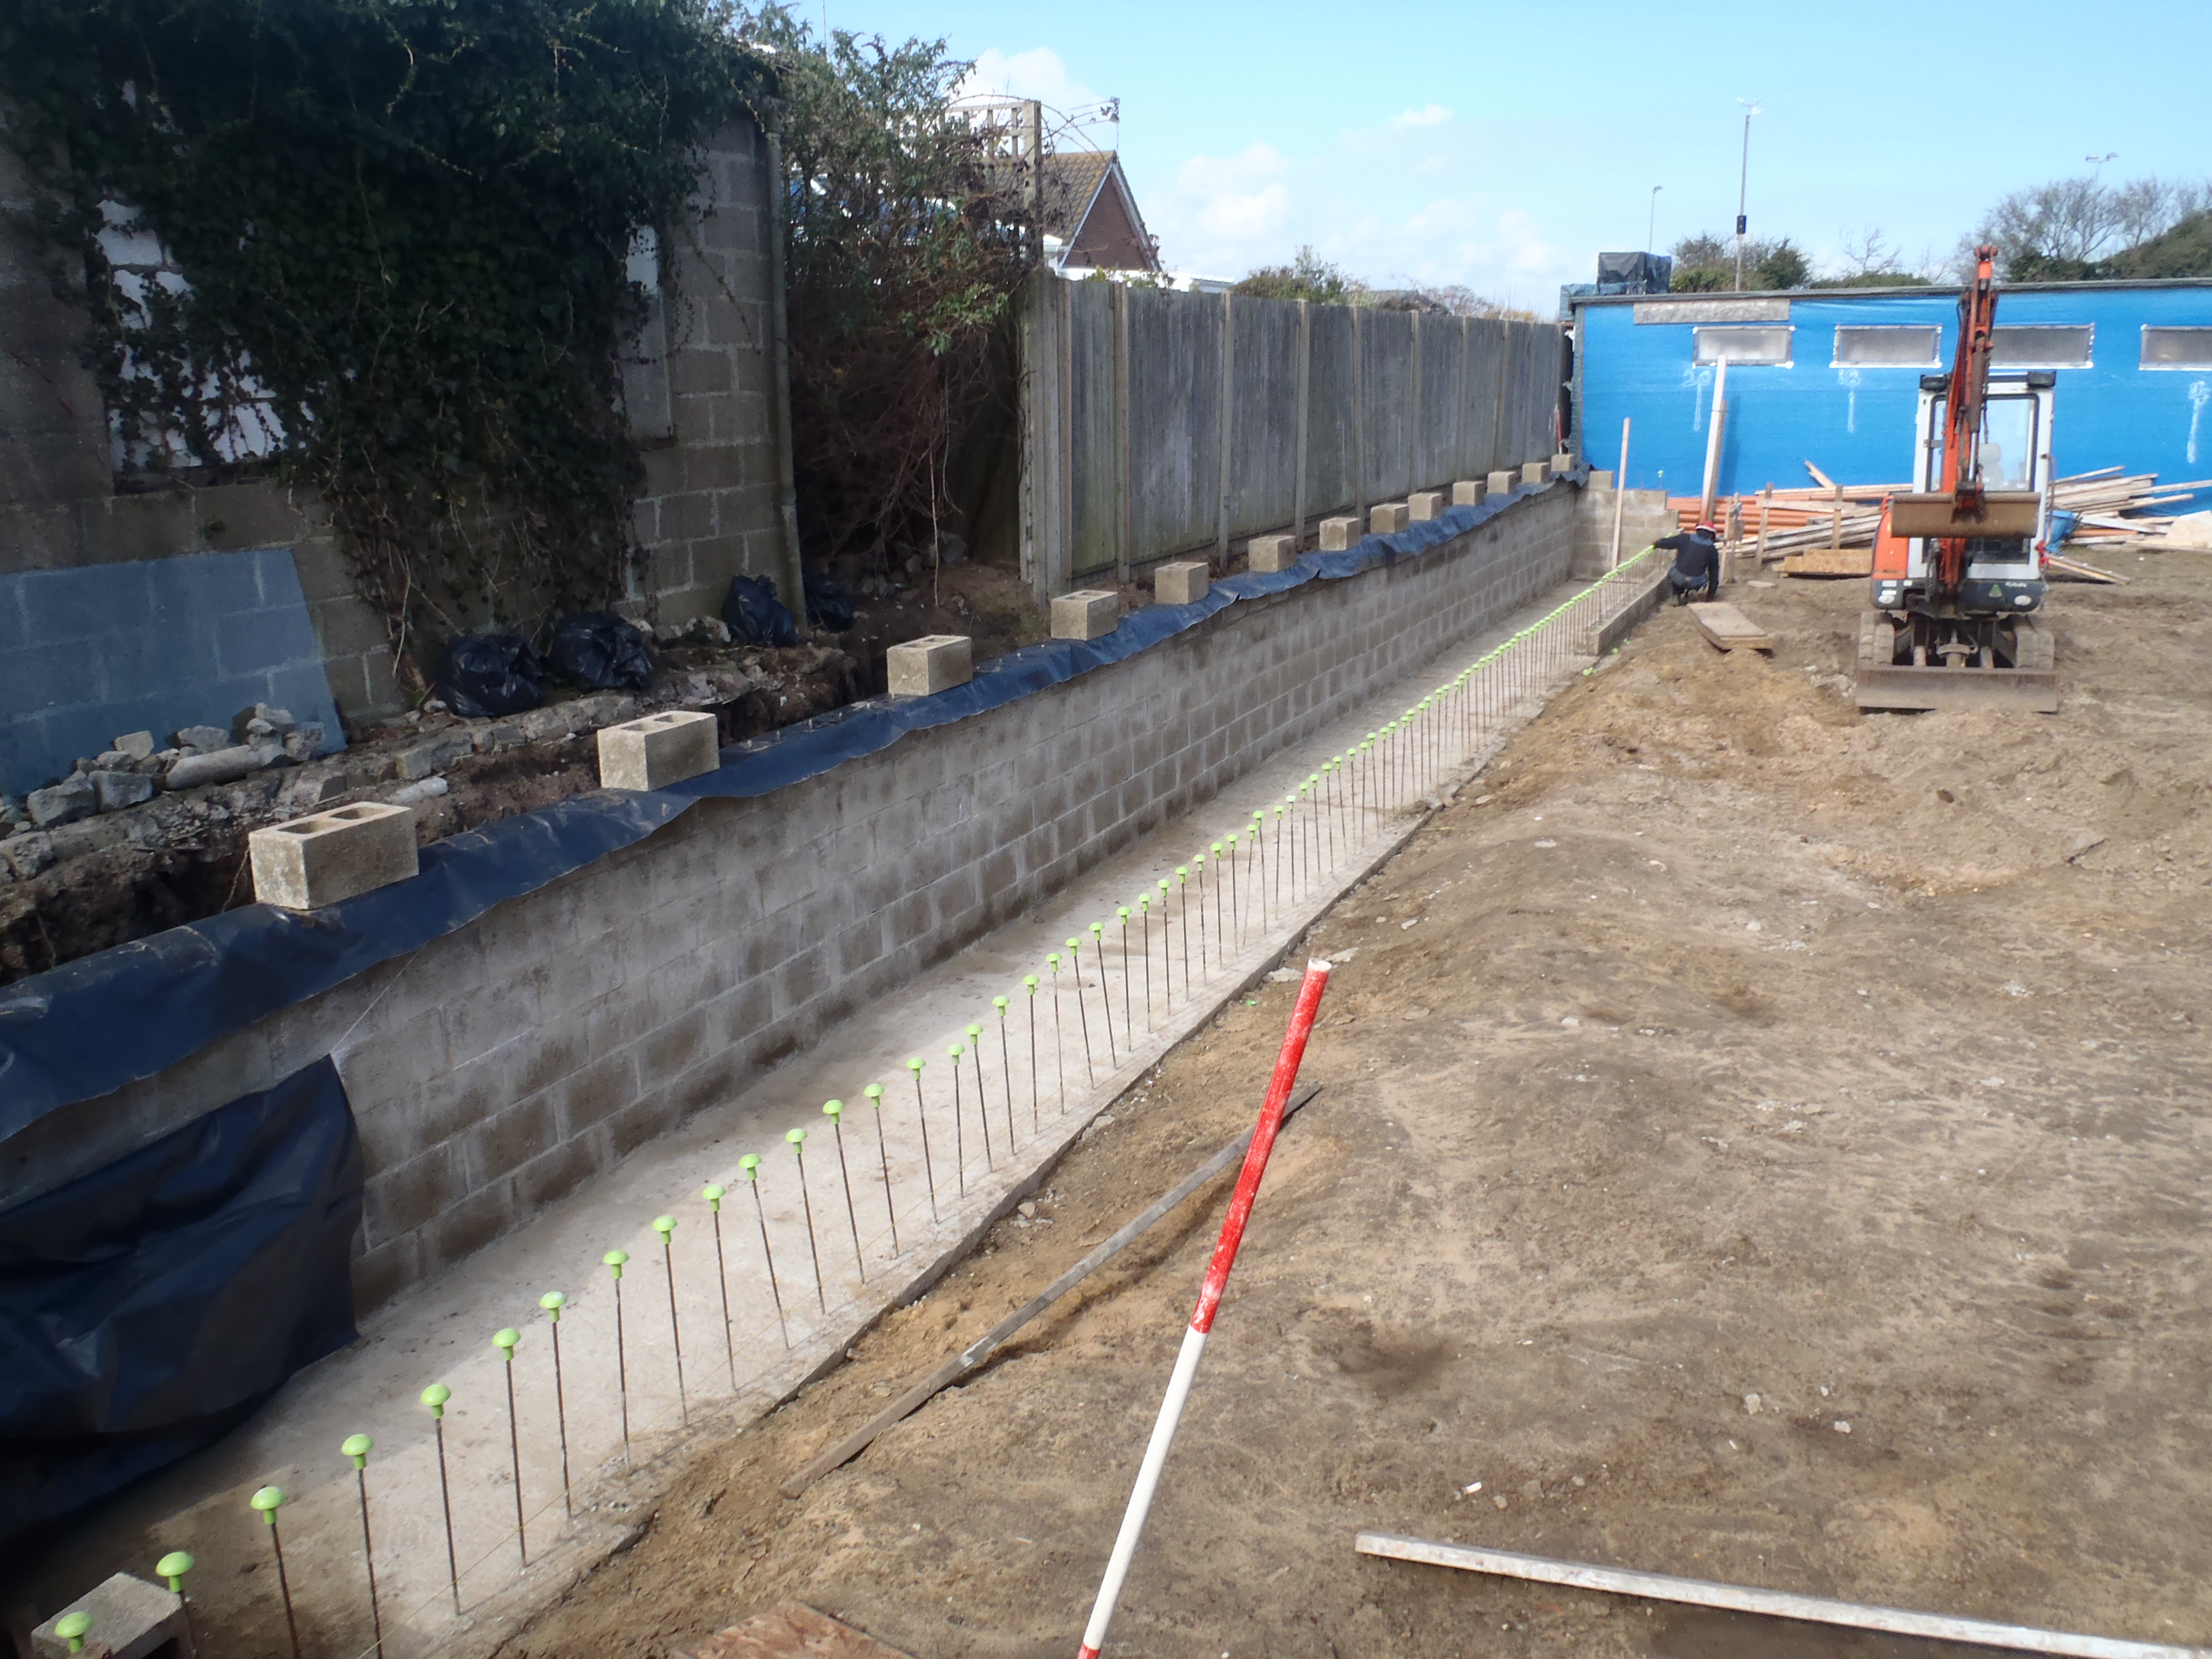
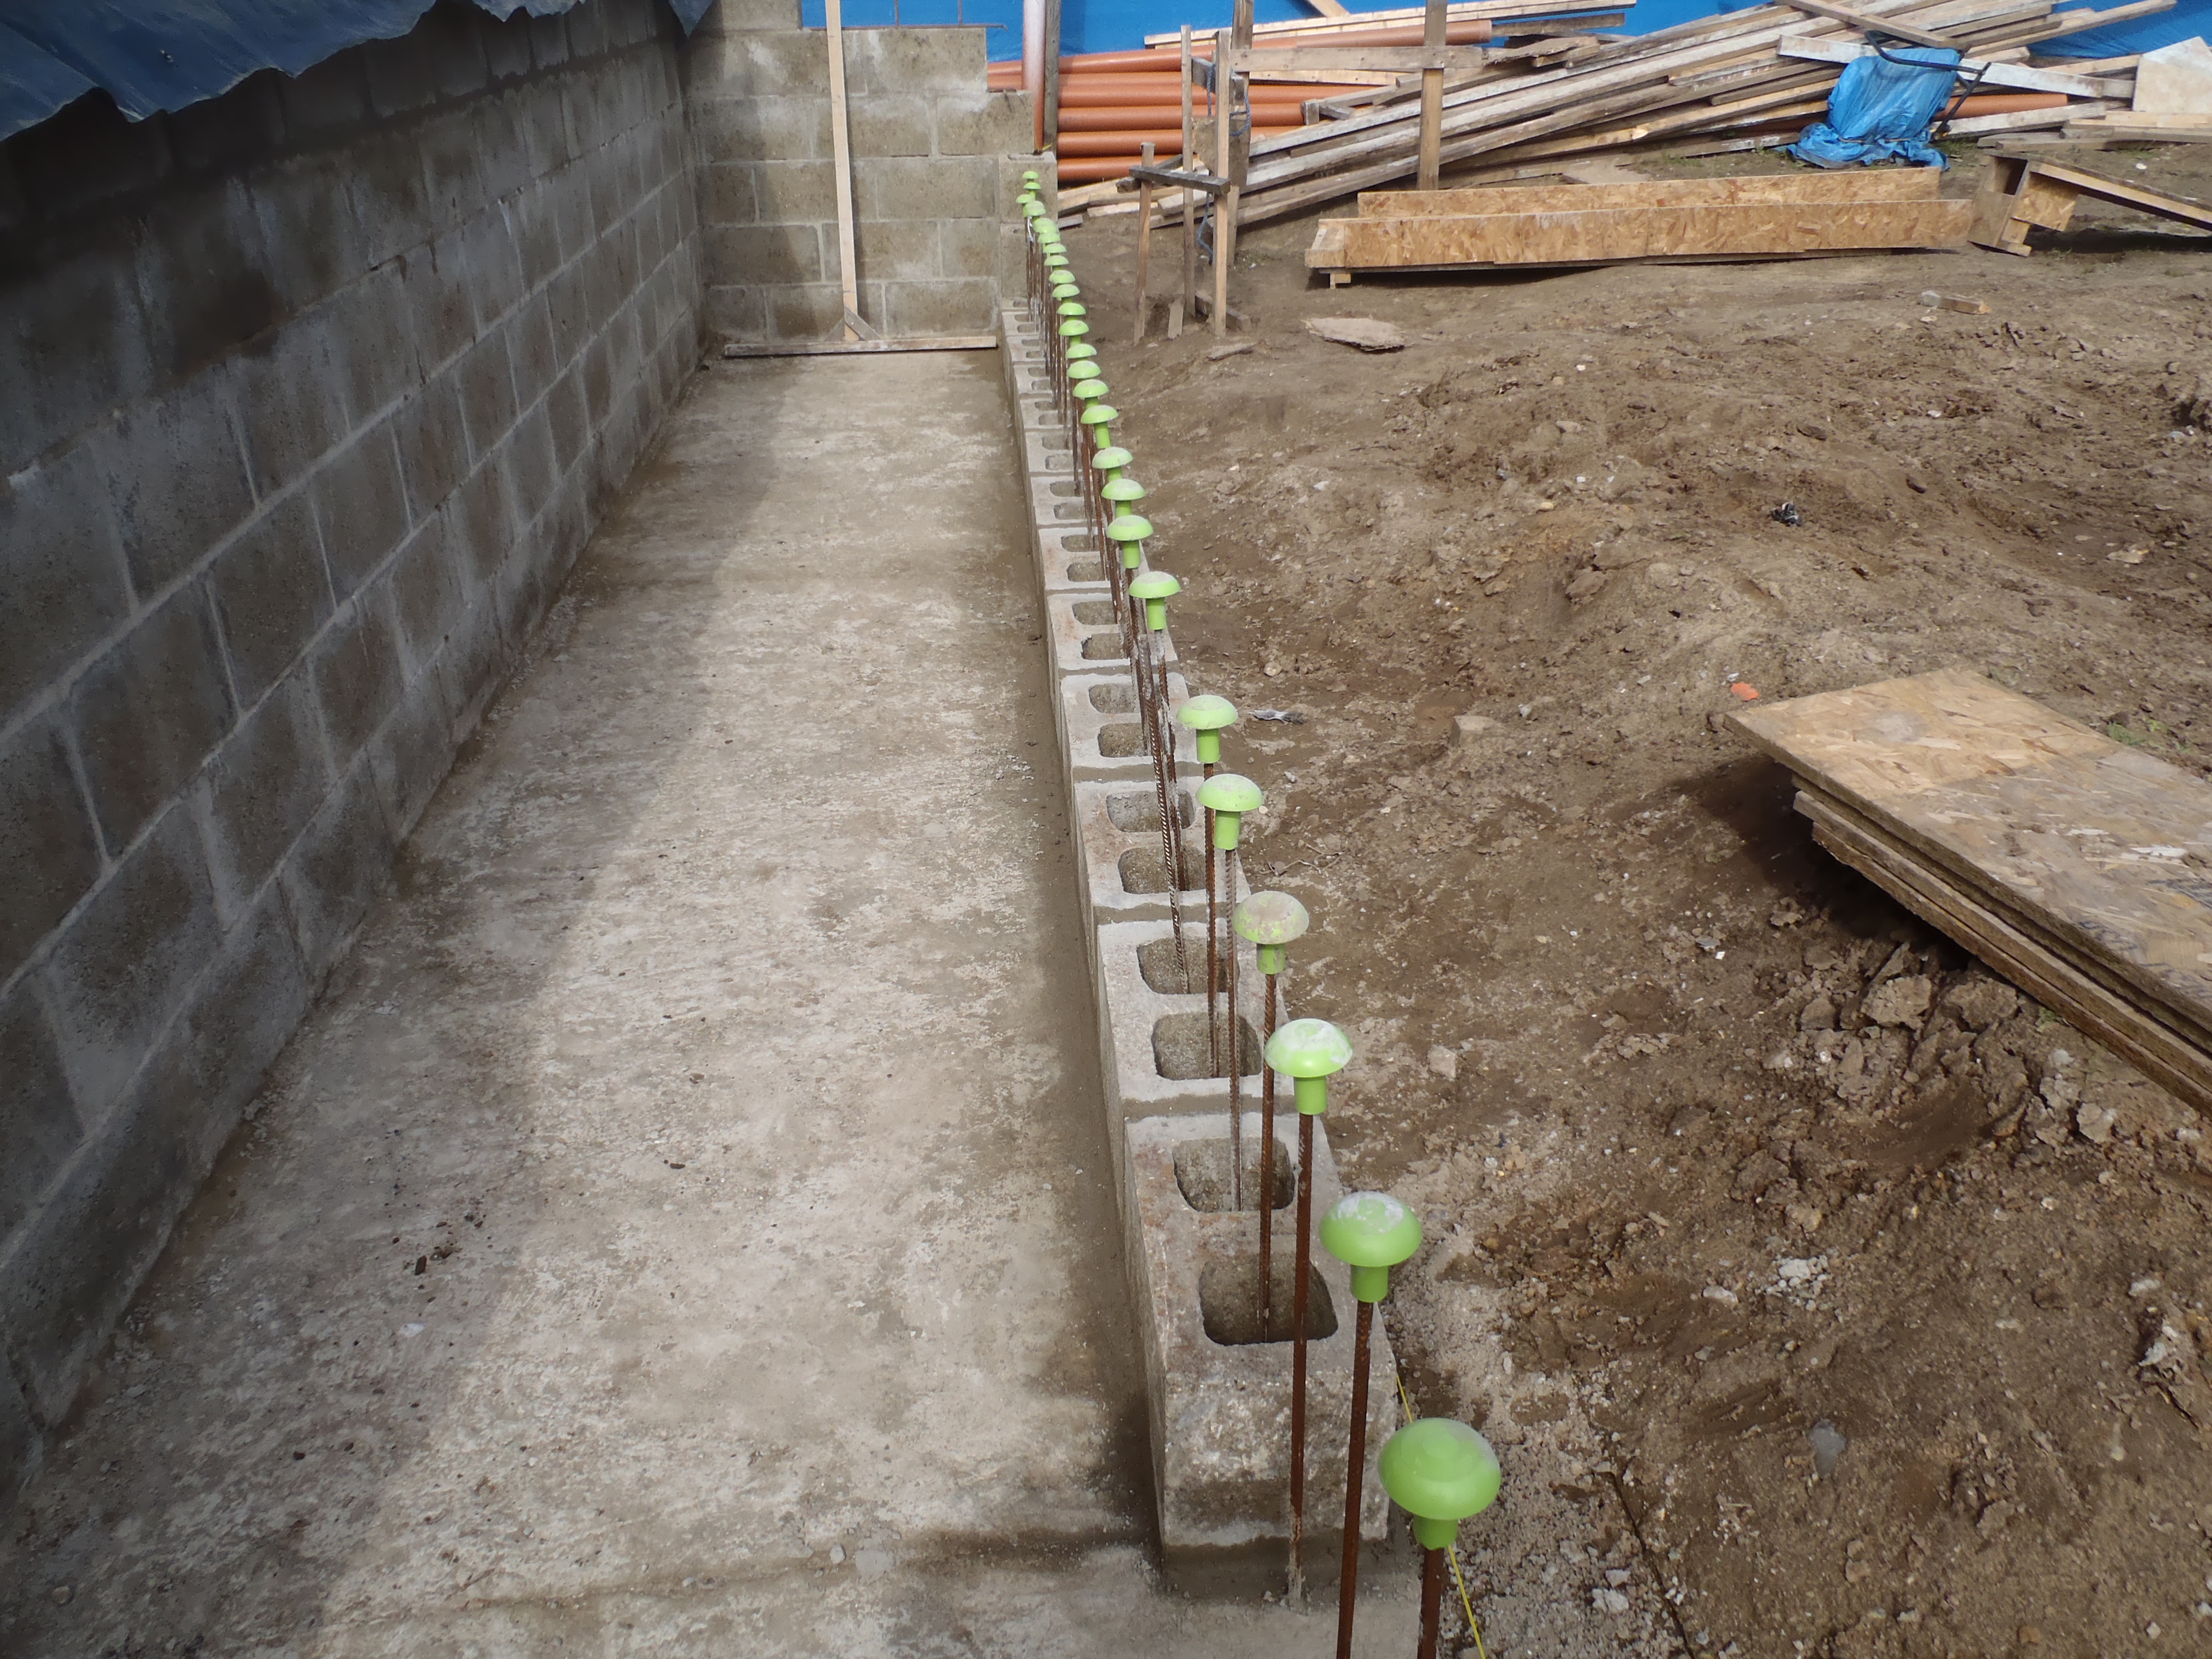
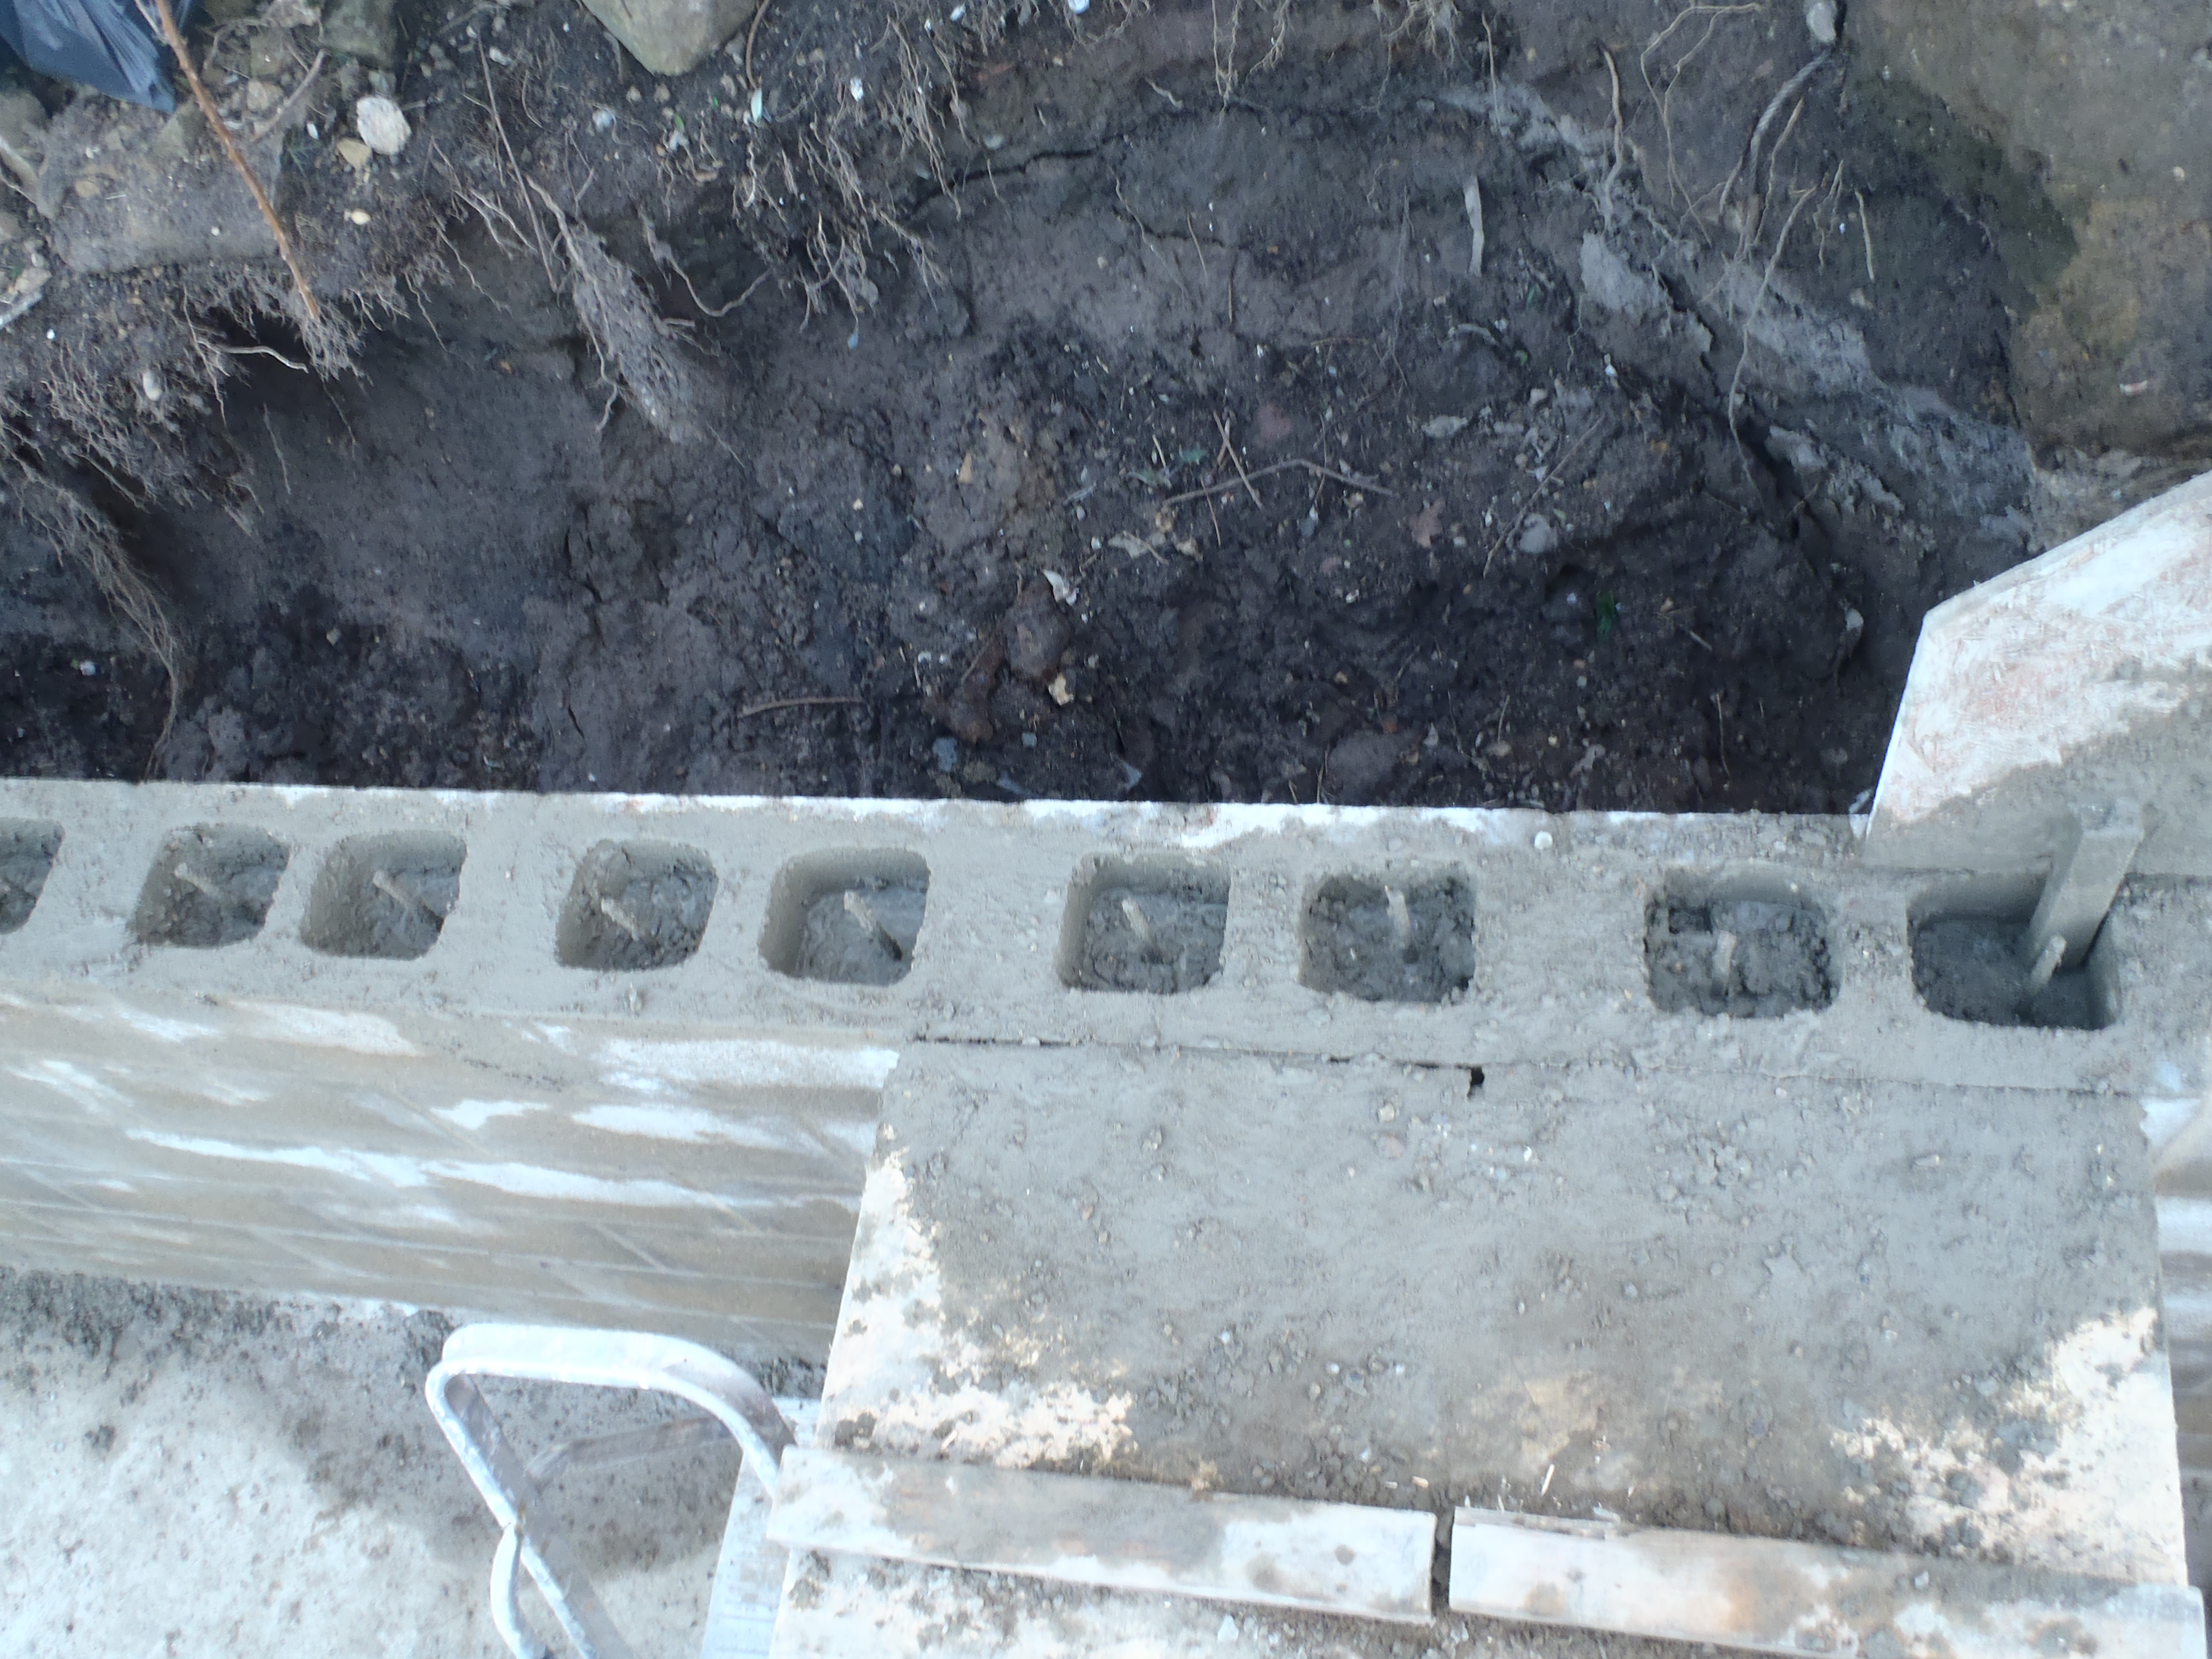
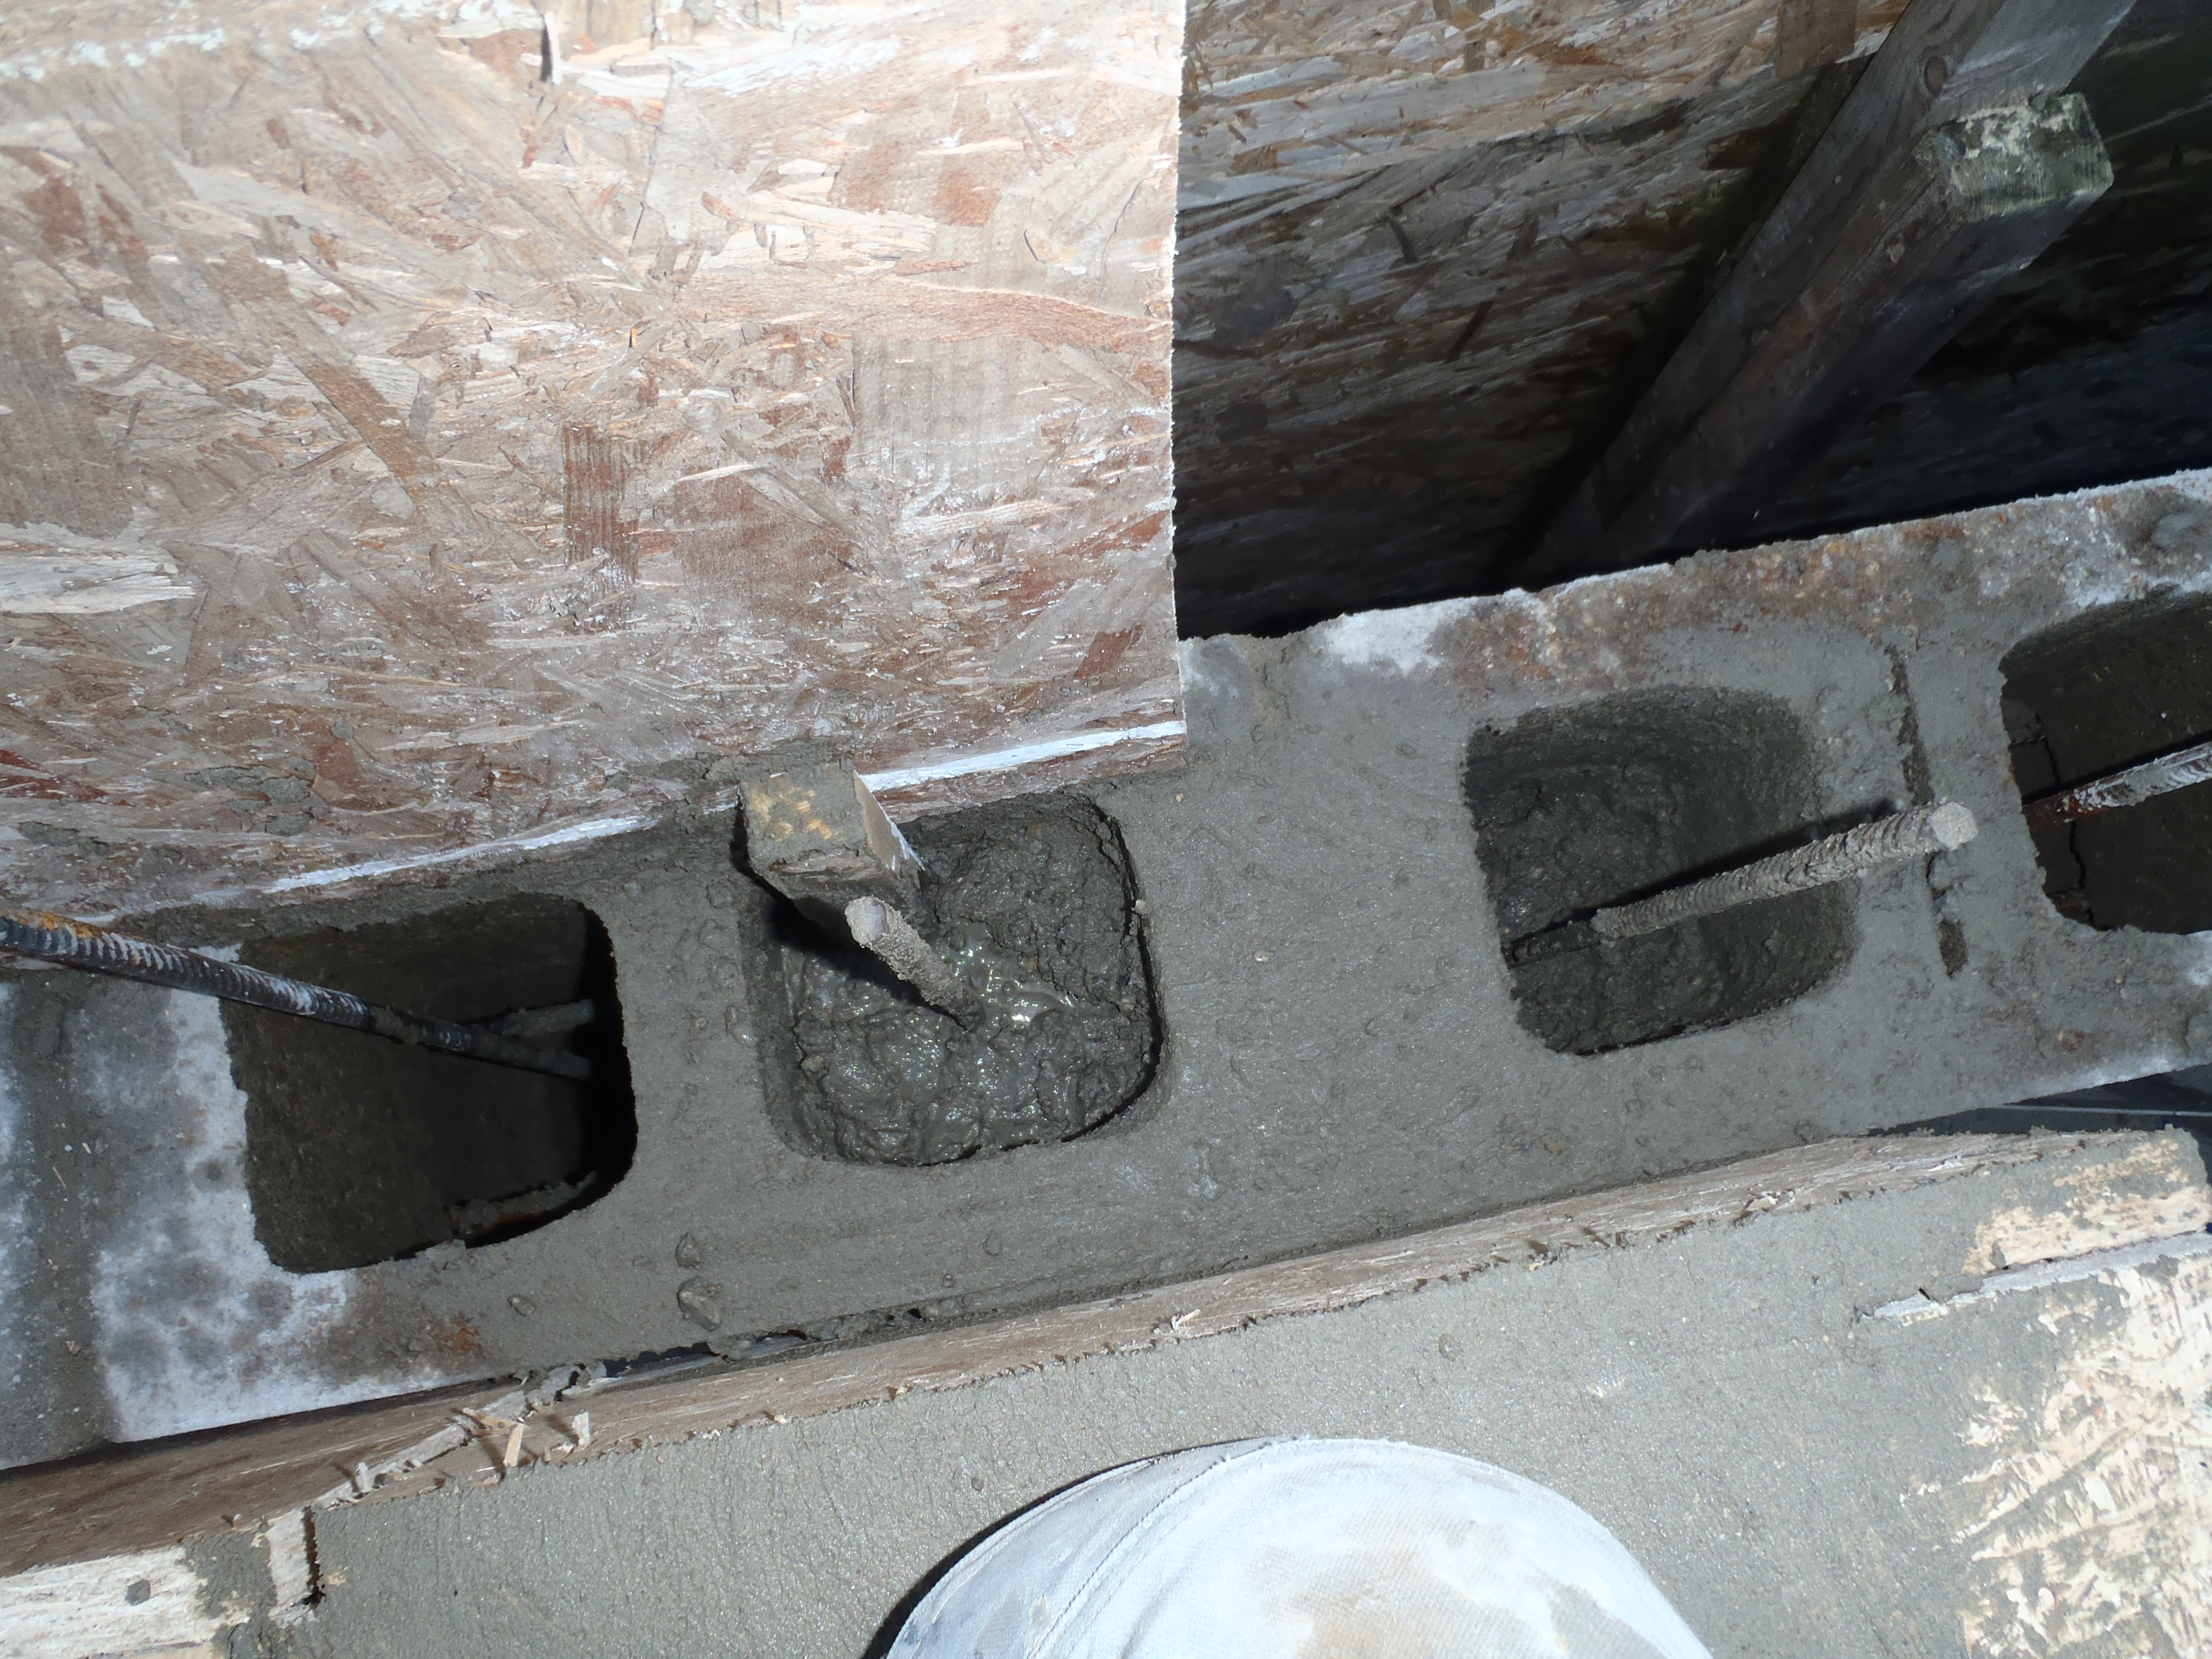
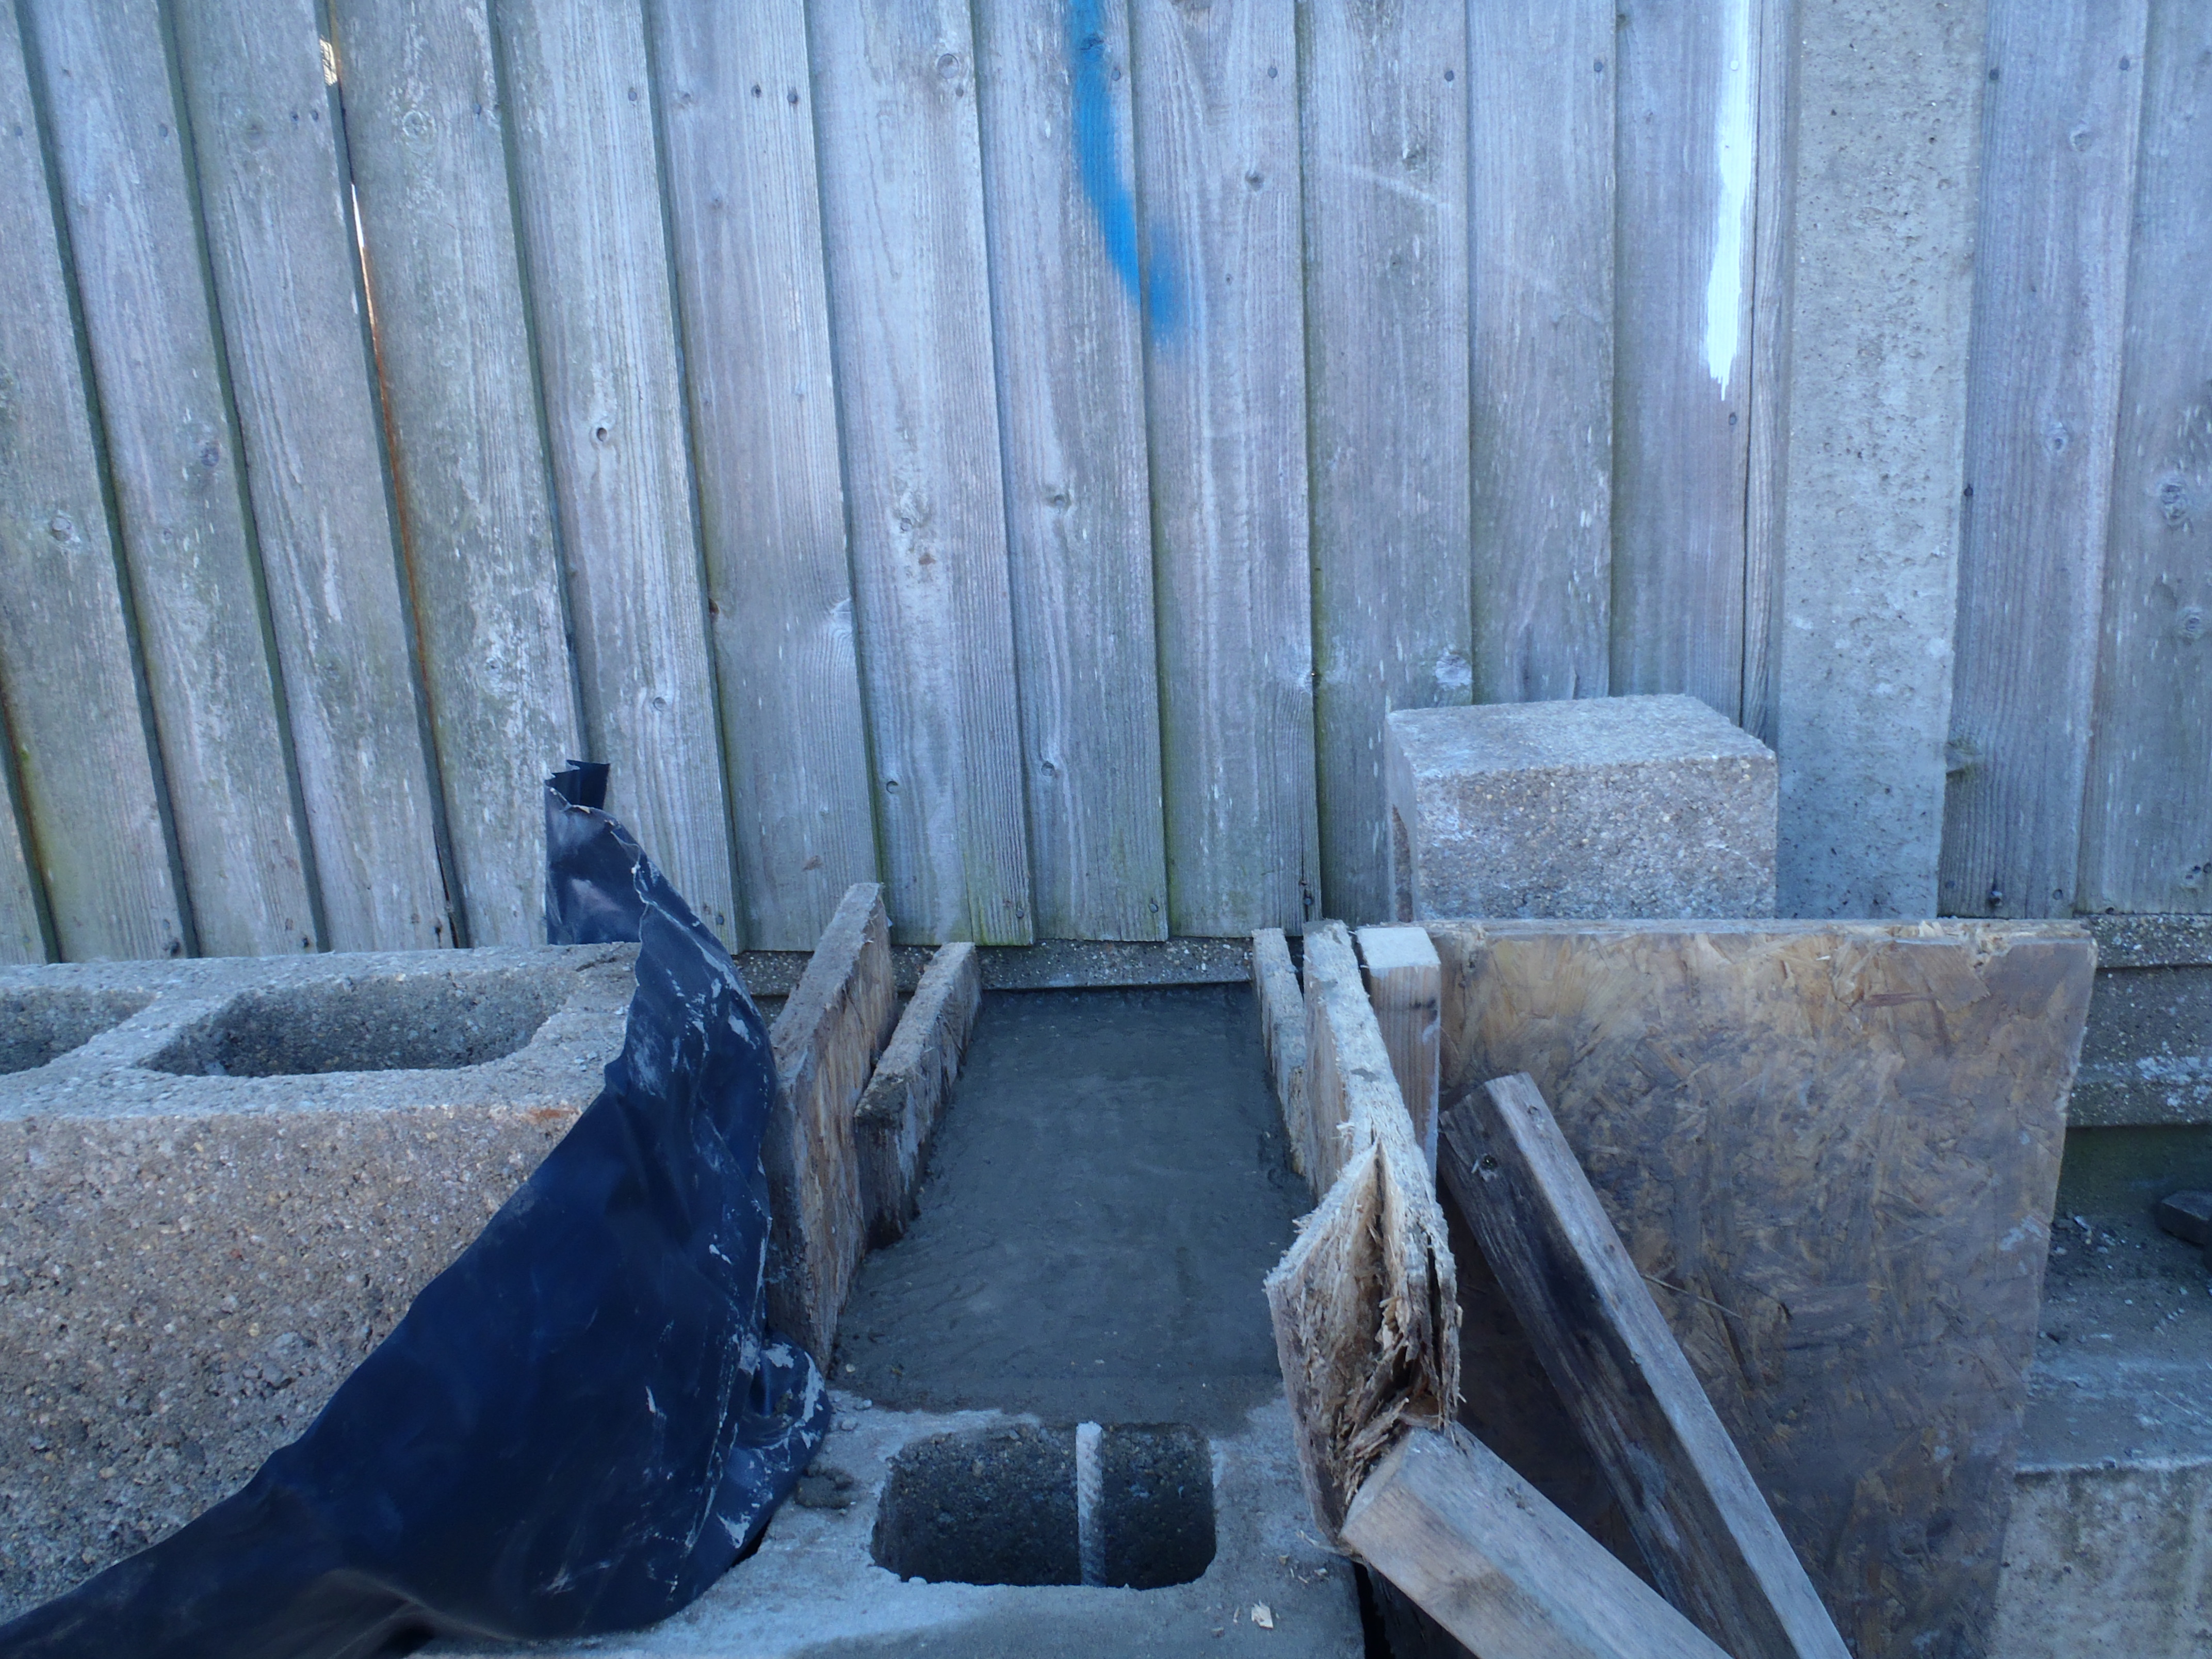
Today, we sealed the end of the gap between the swimming lane’s back wall
and the fence, by pouring in concrete into a mould. This End Cap was
necessary because the return channel needed to be built on a concrete
foundation which in turn sits on the hardcore / soil but near the garage end
of the swimming lane, there is going to be a filtration unit to “clean” up
the rain water and the soil would have leaked out from under the foundation
over time, so we capped it off.
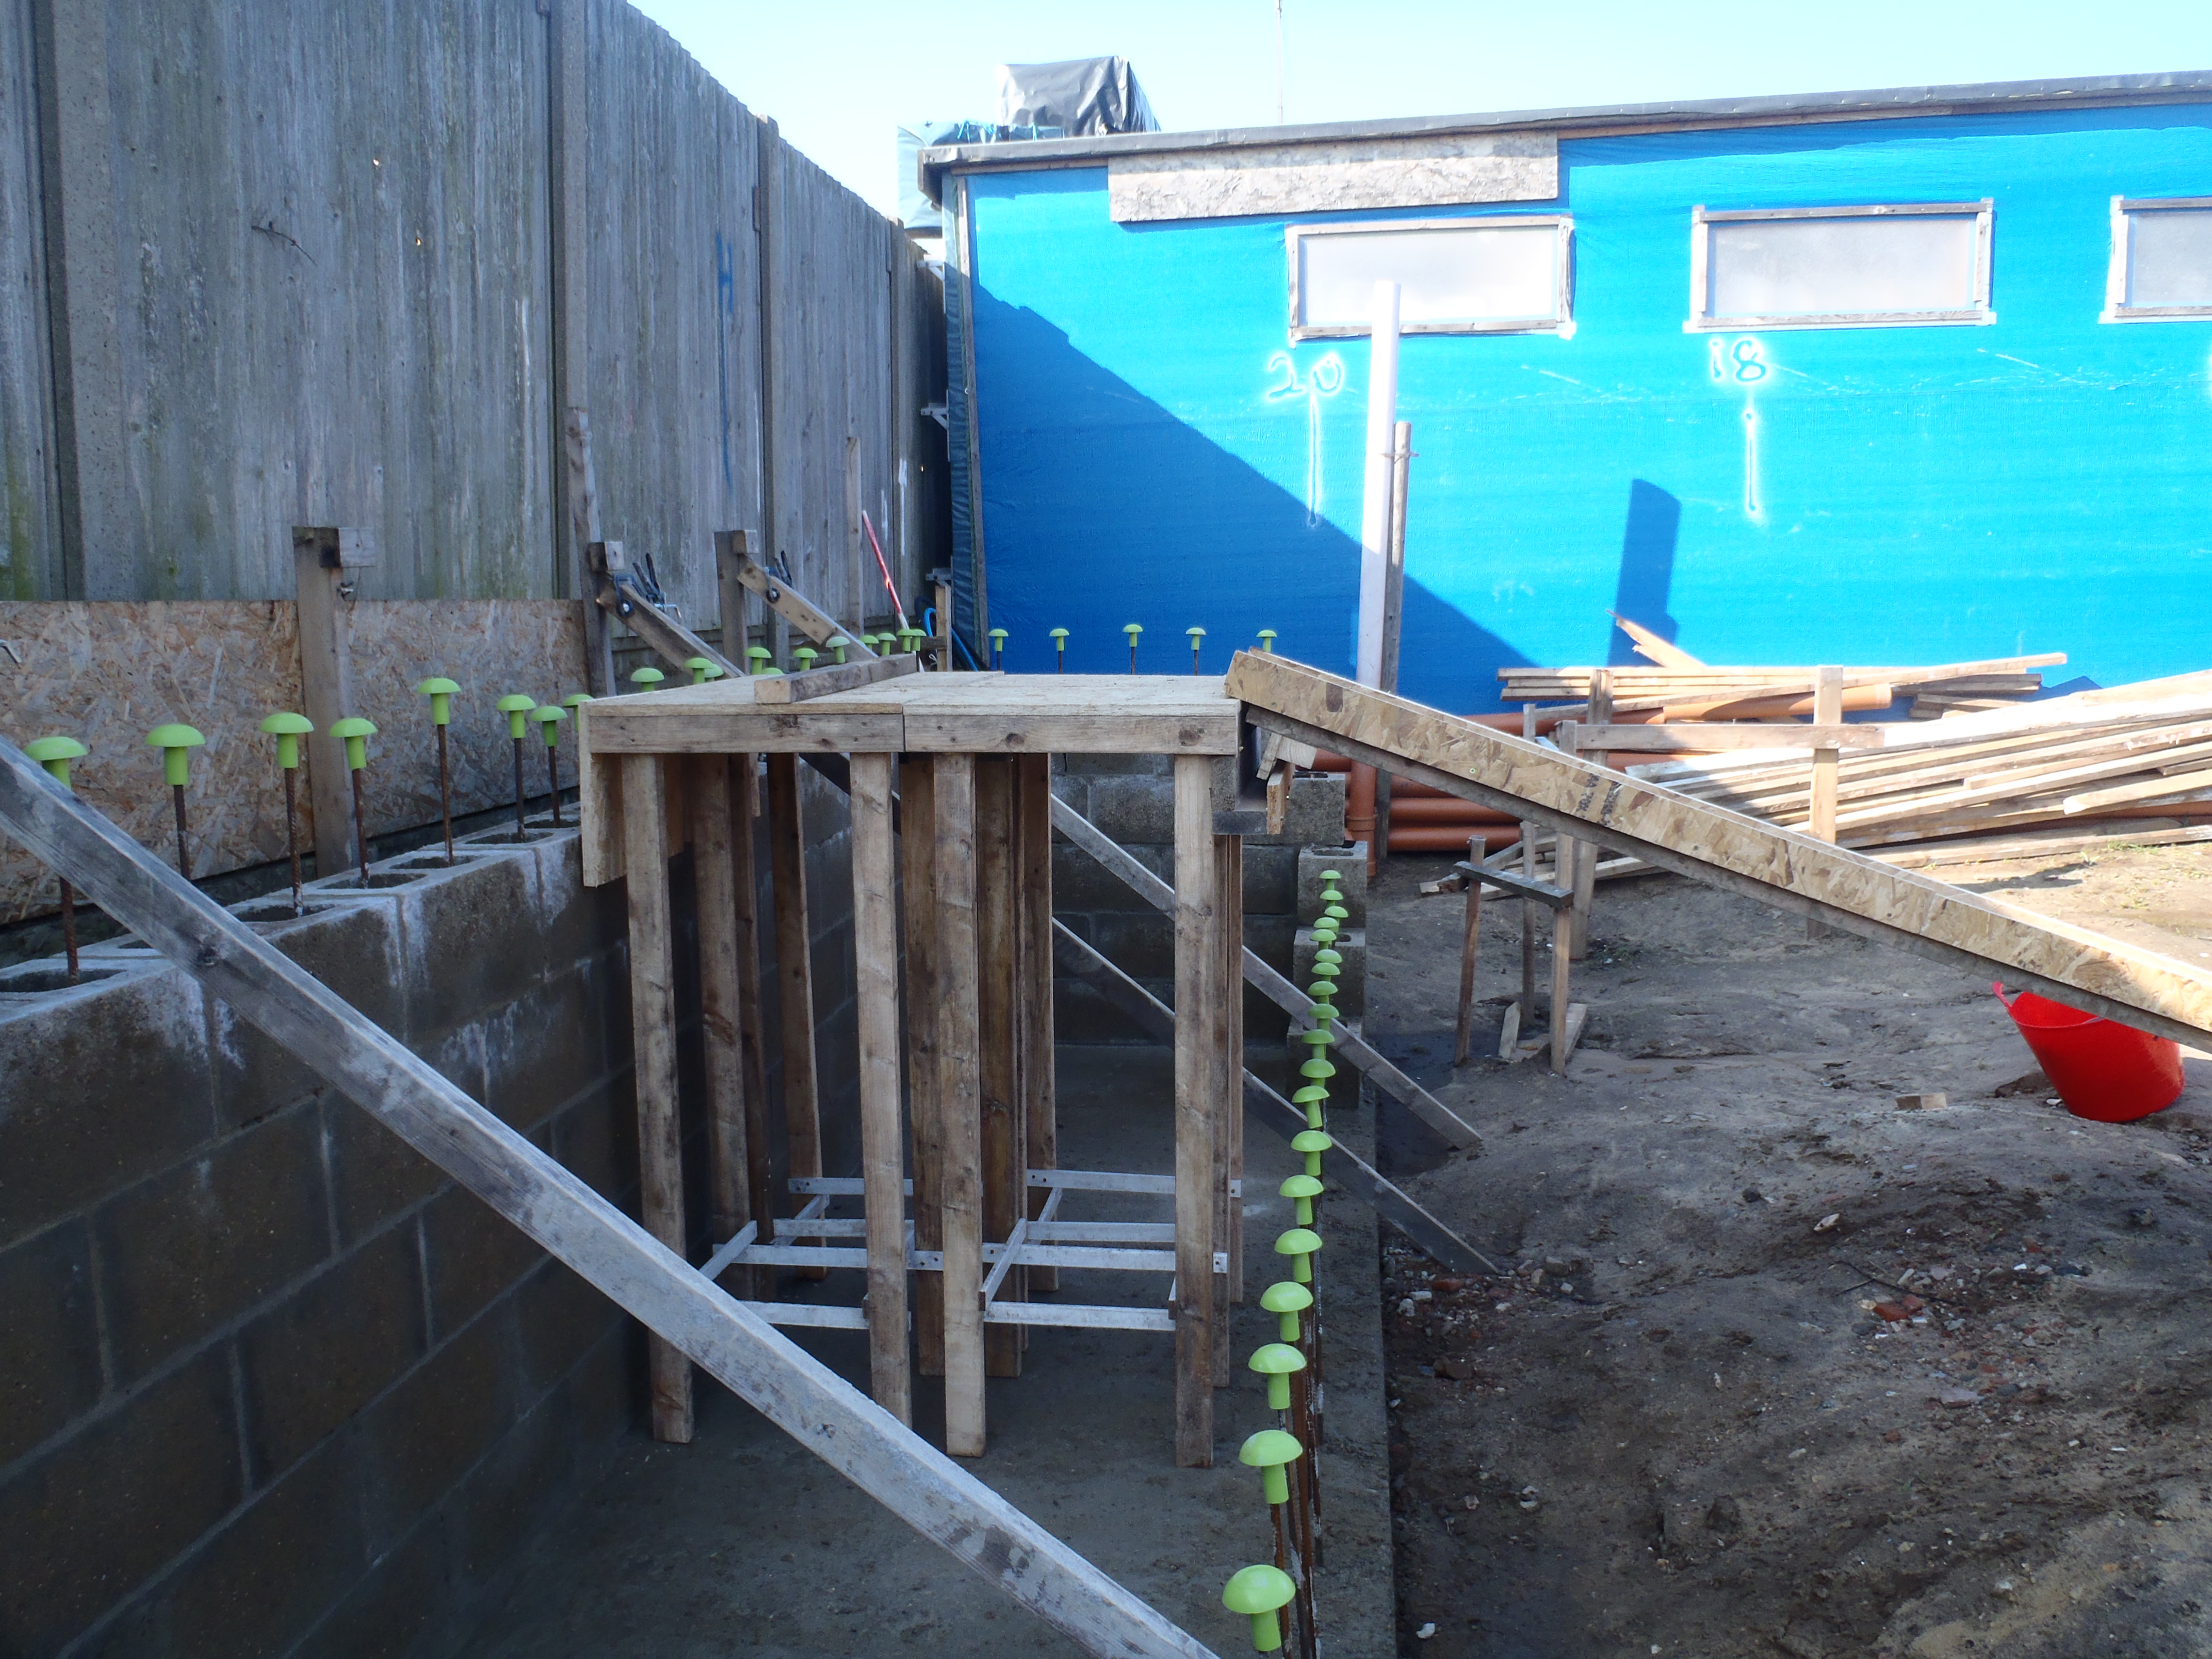
End-Cap-1
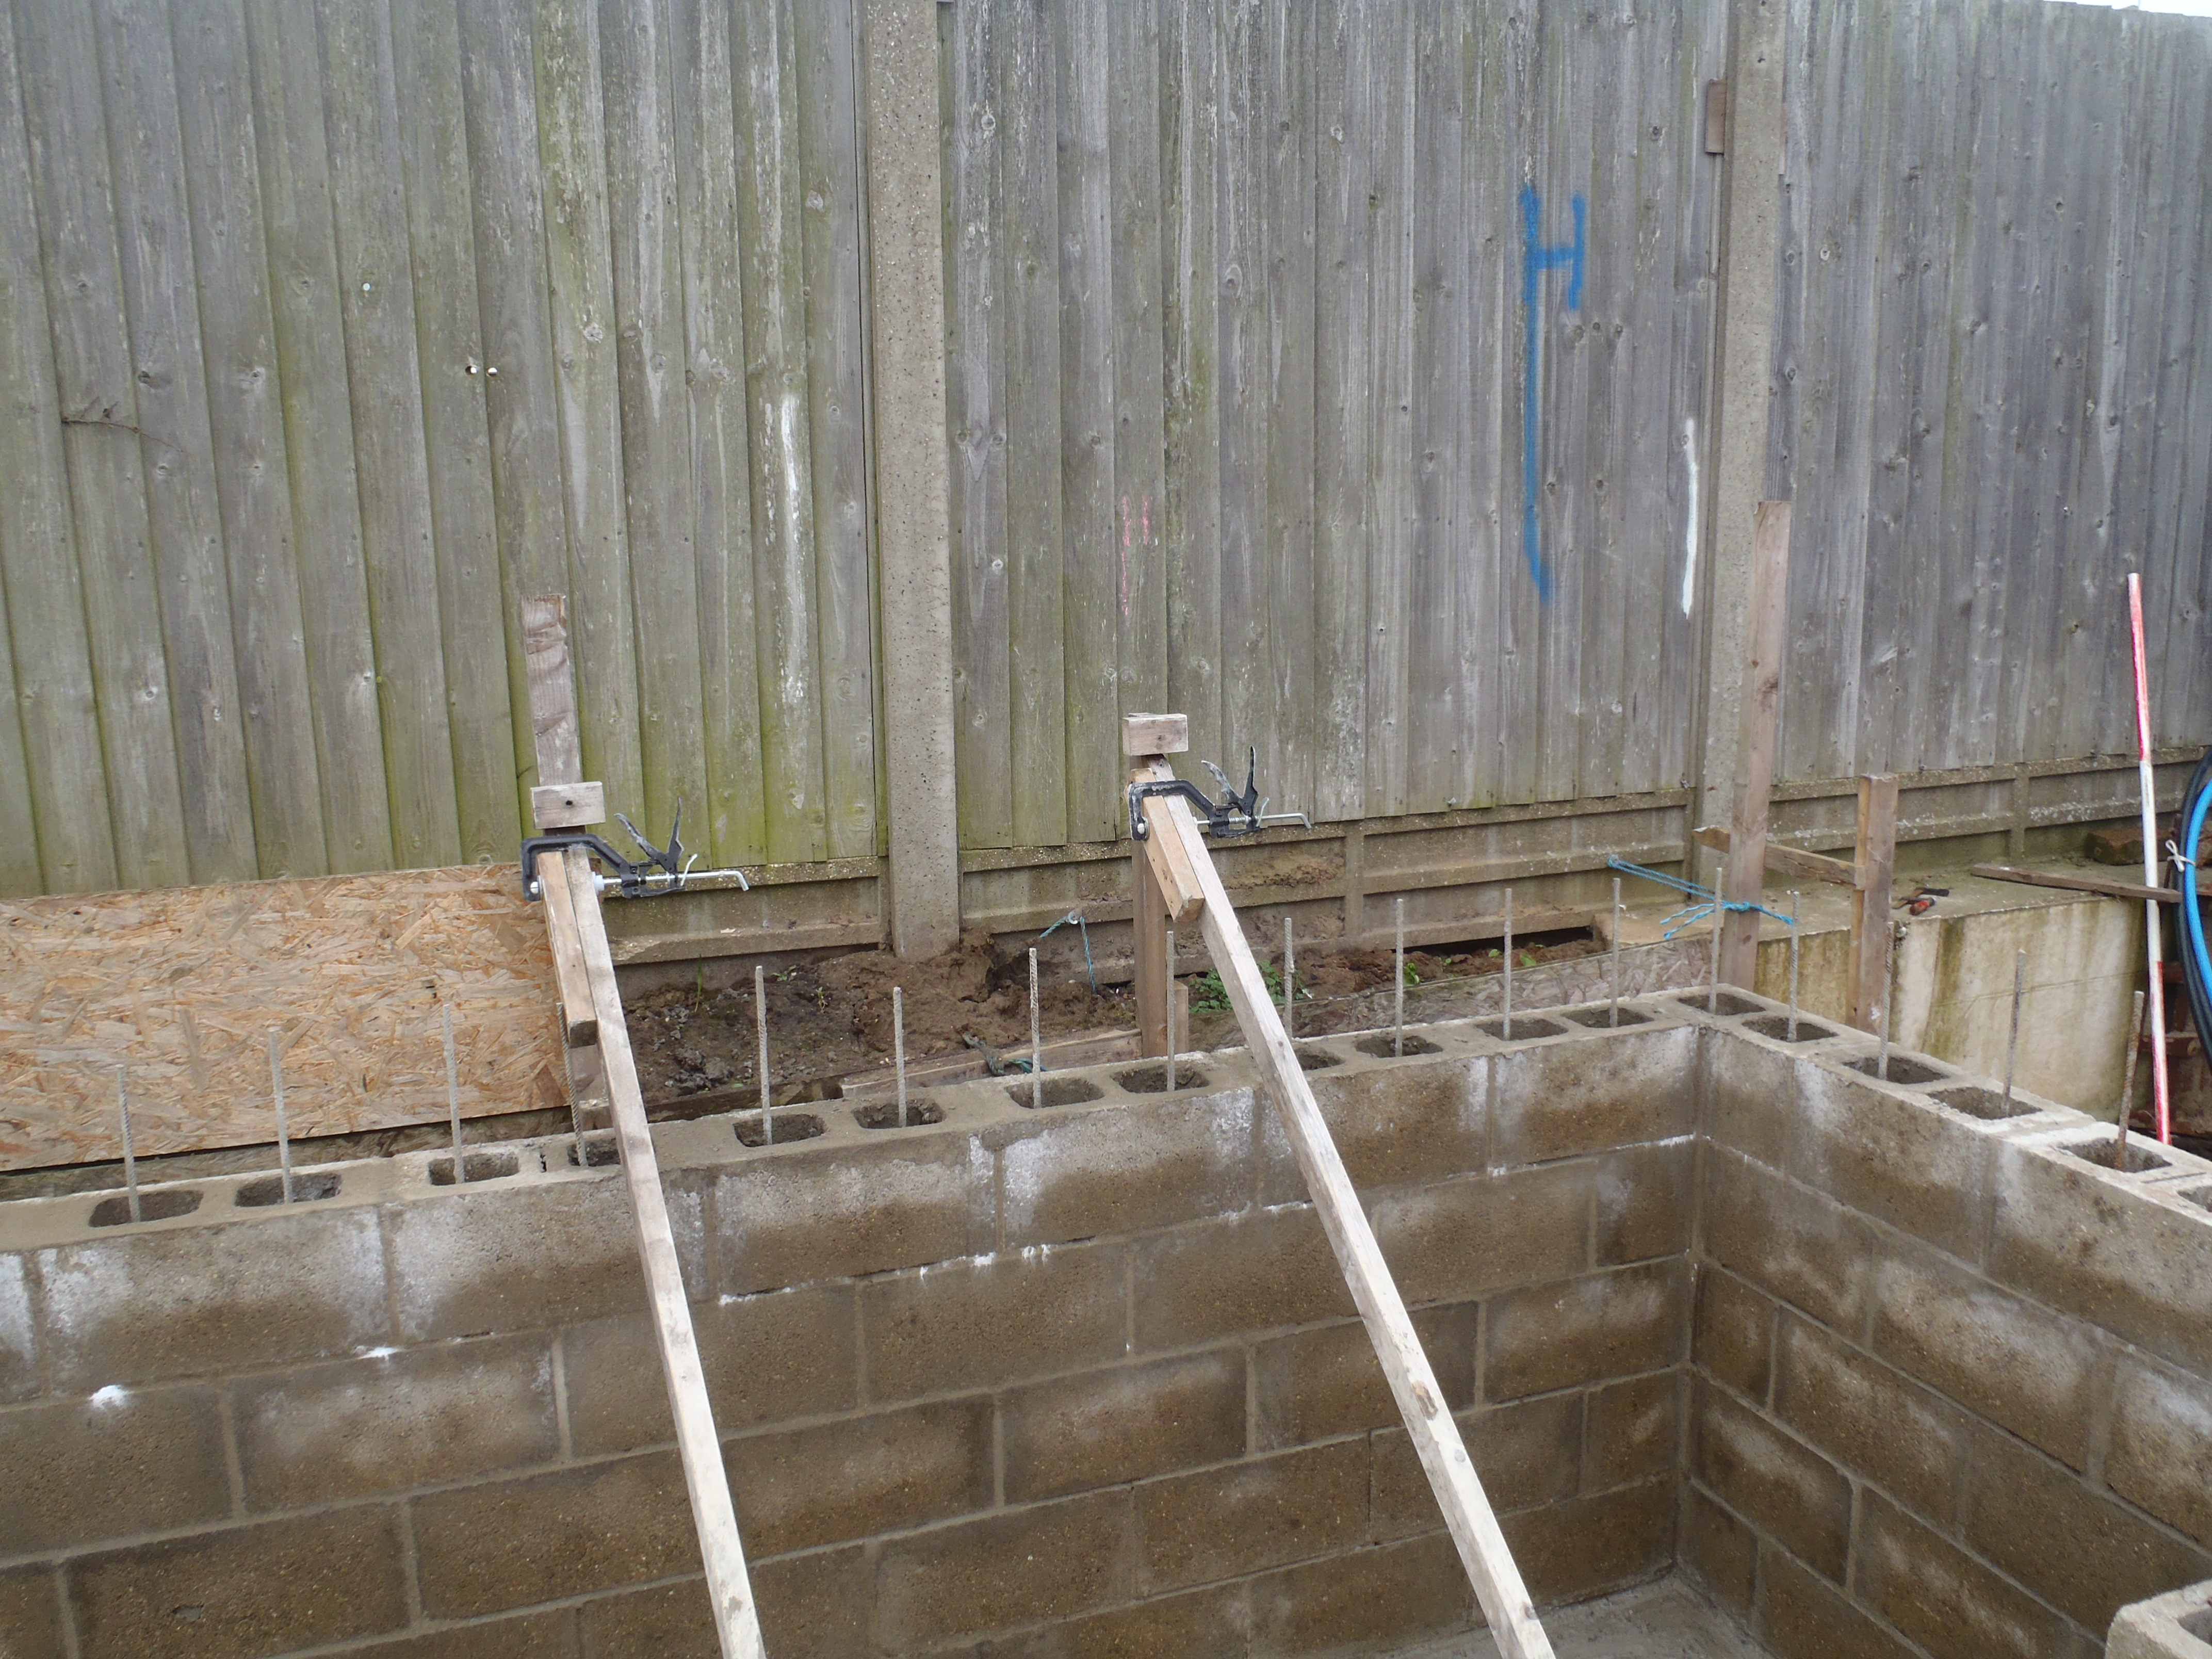
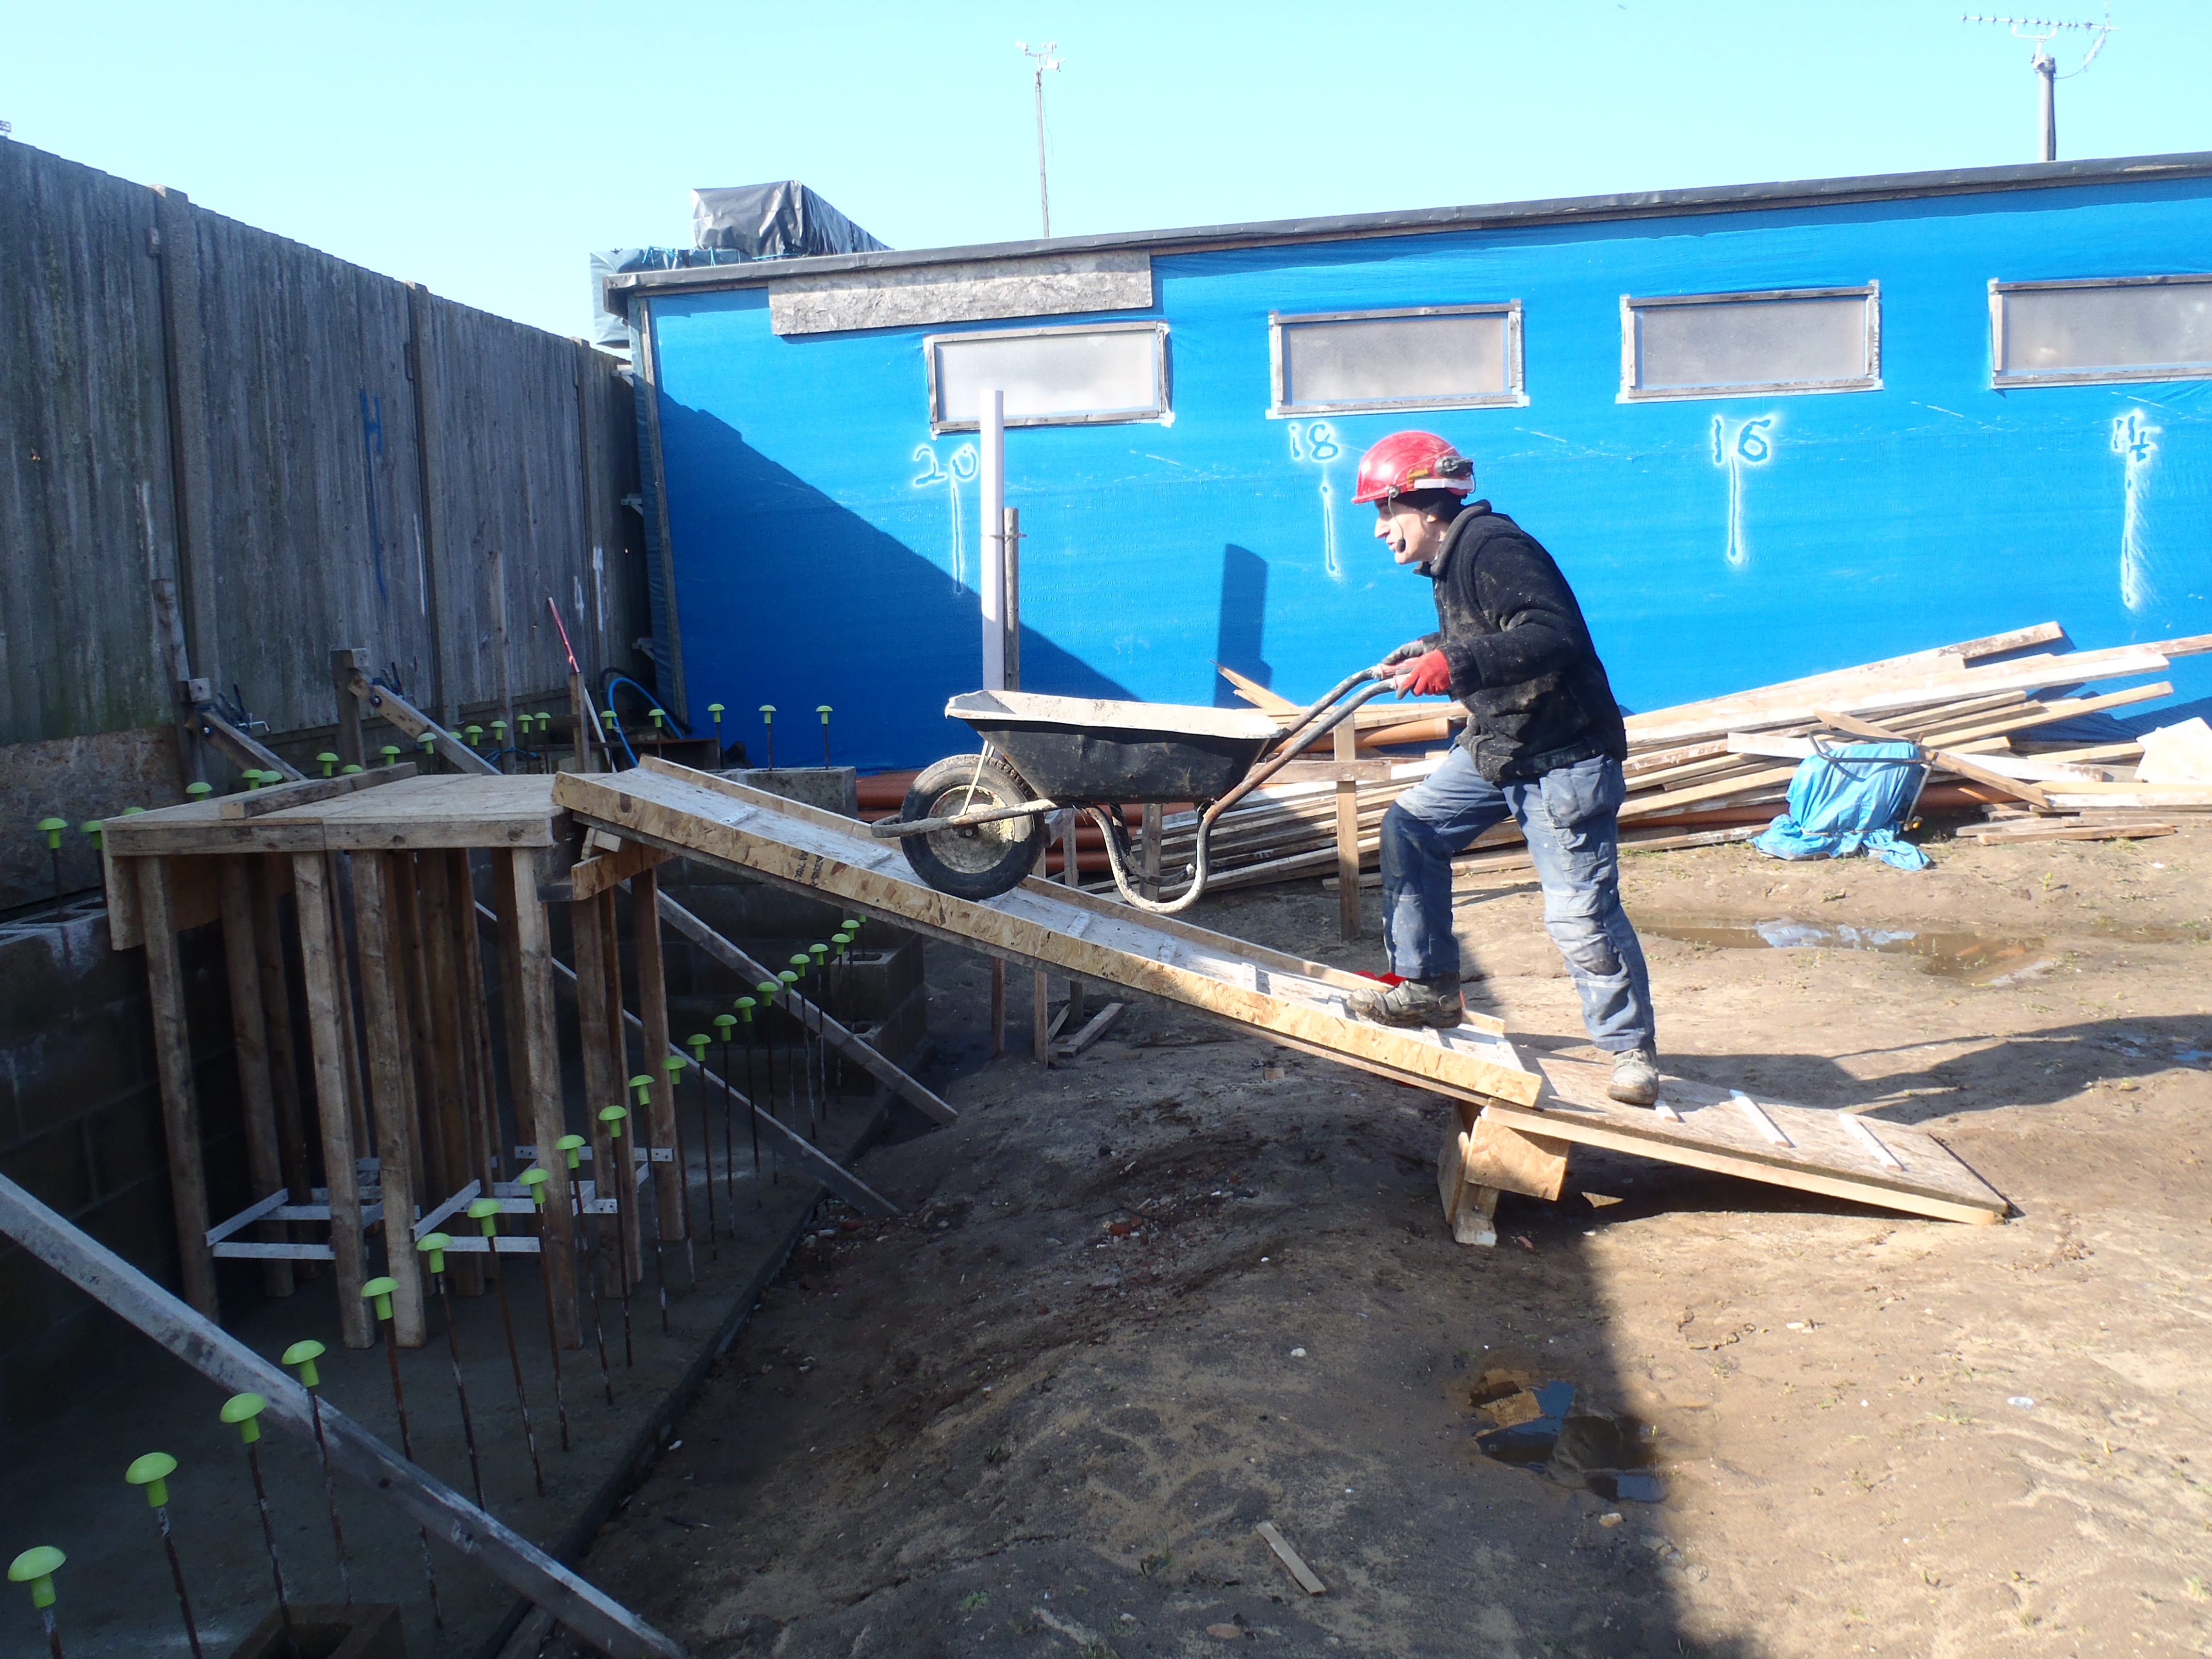
End-Cap-3
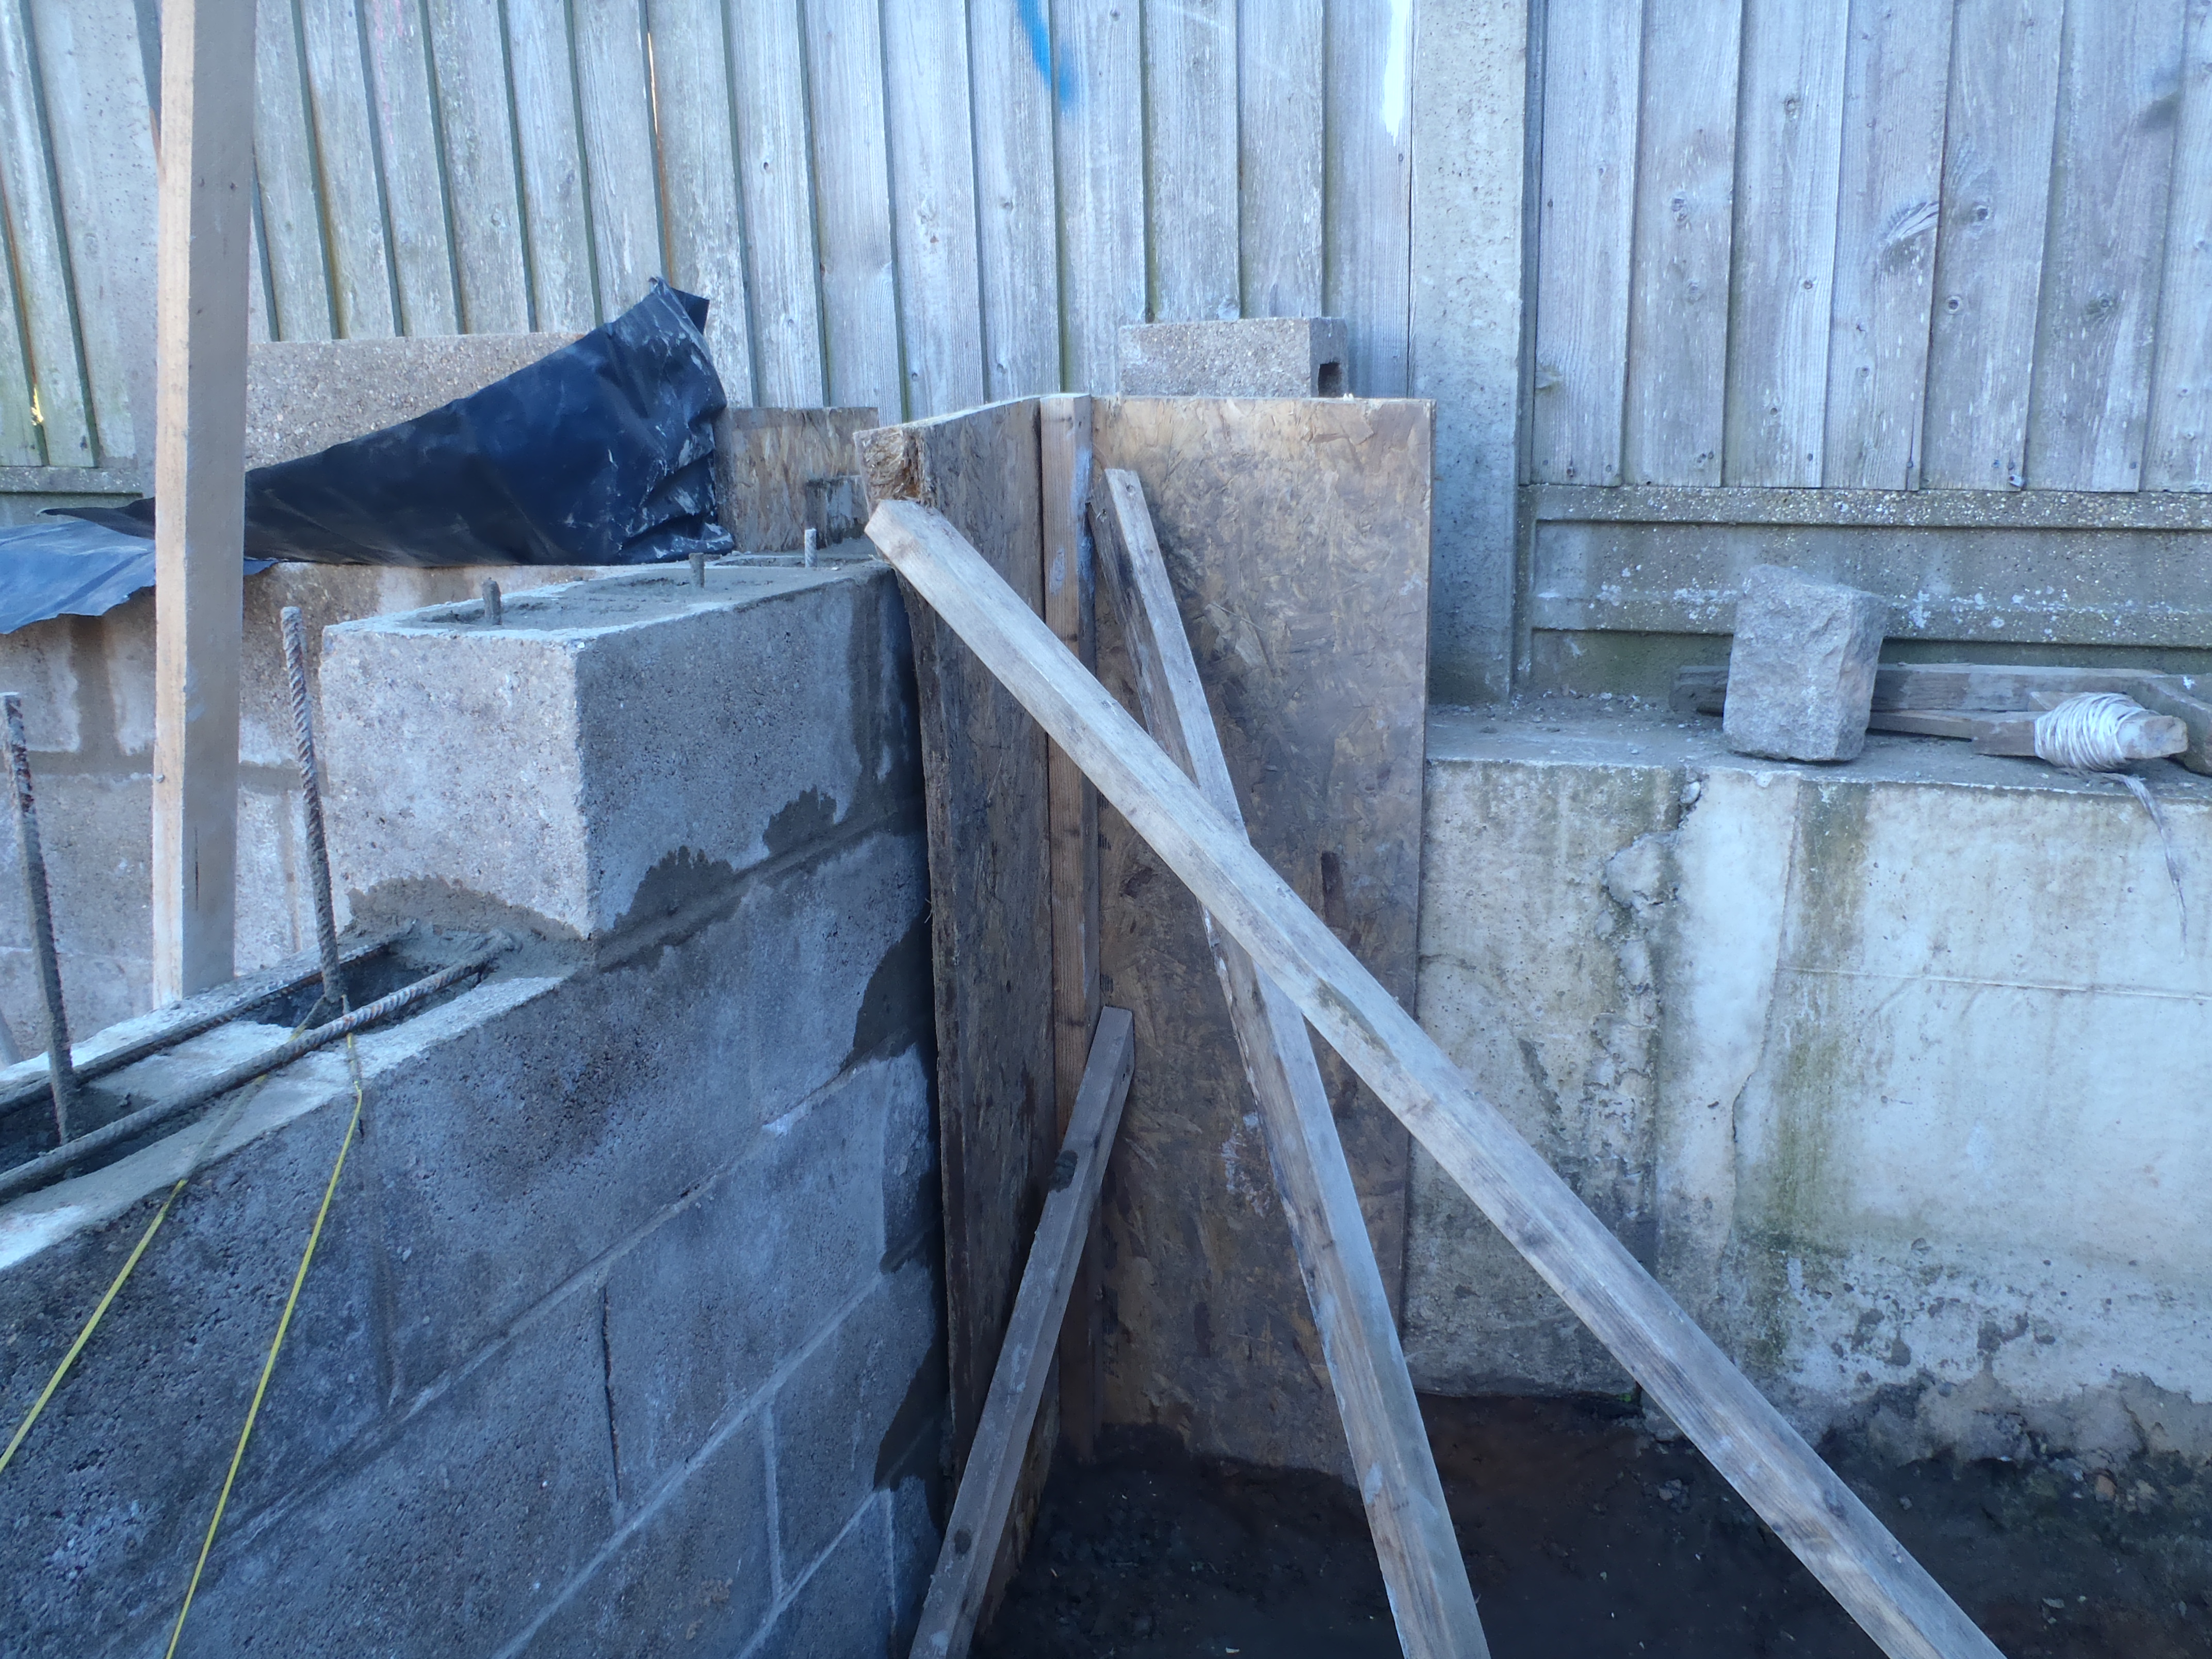
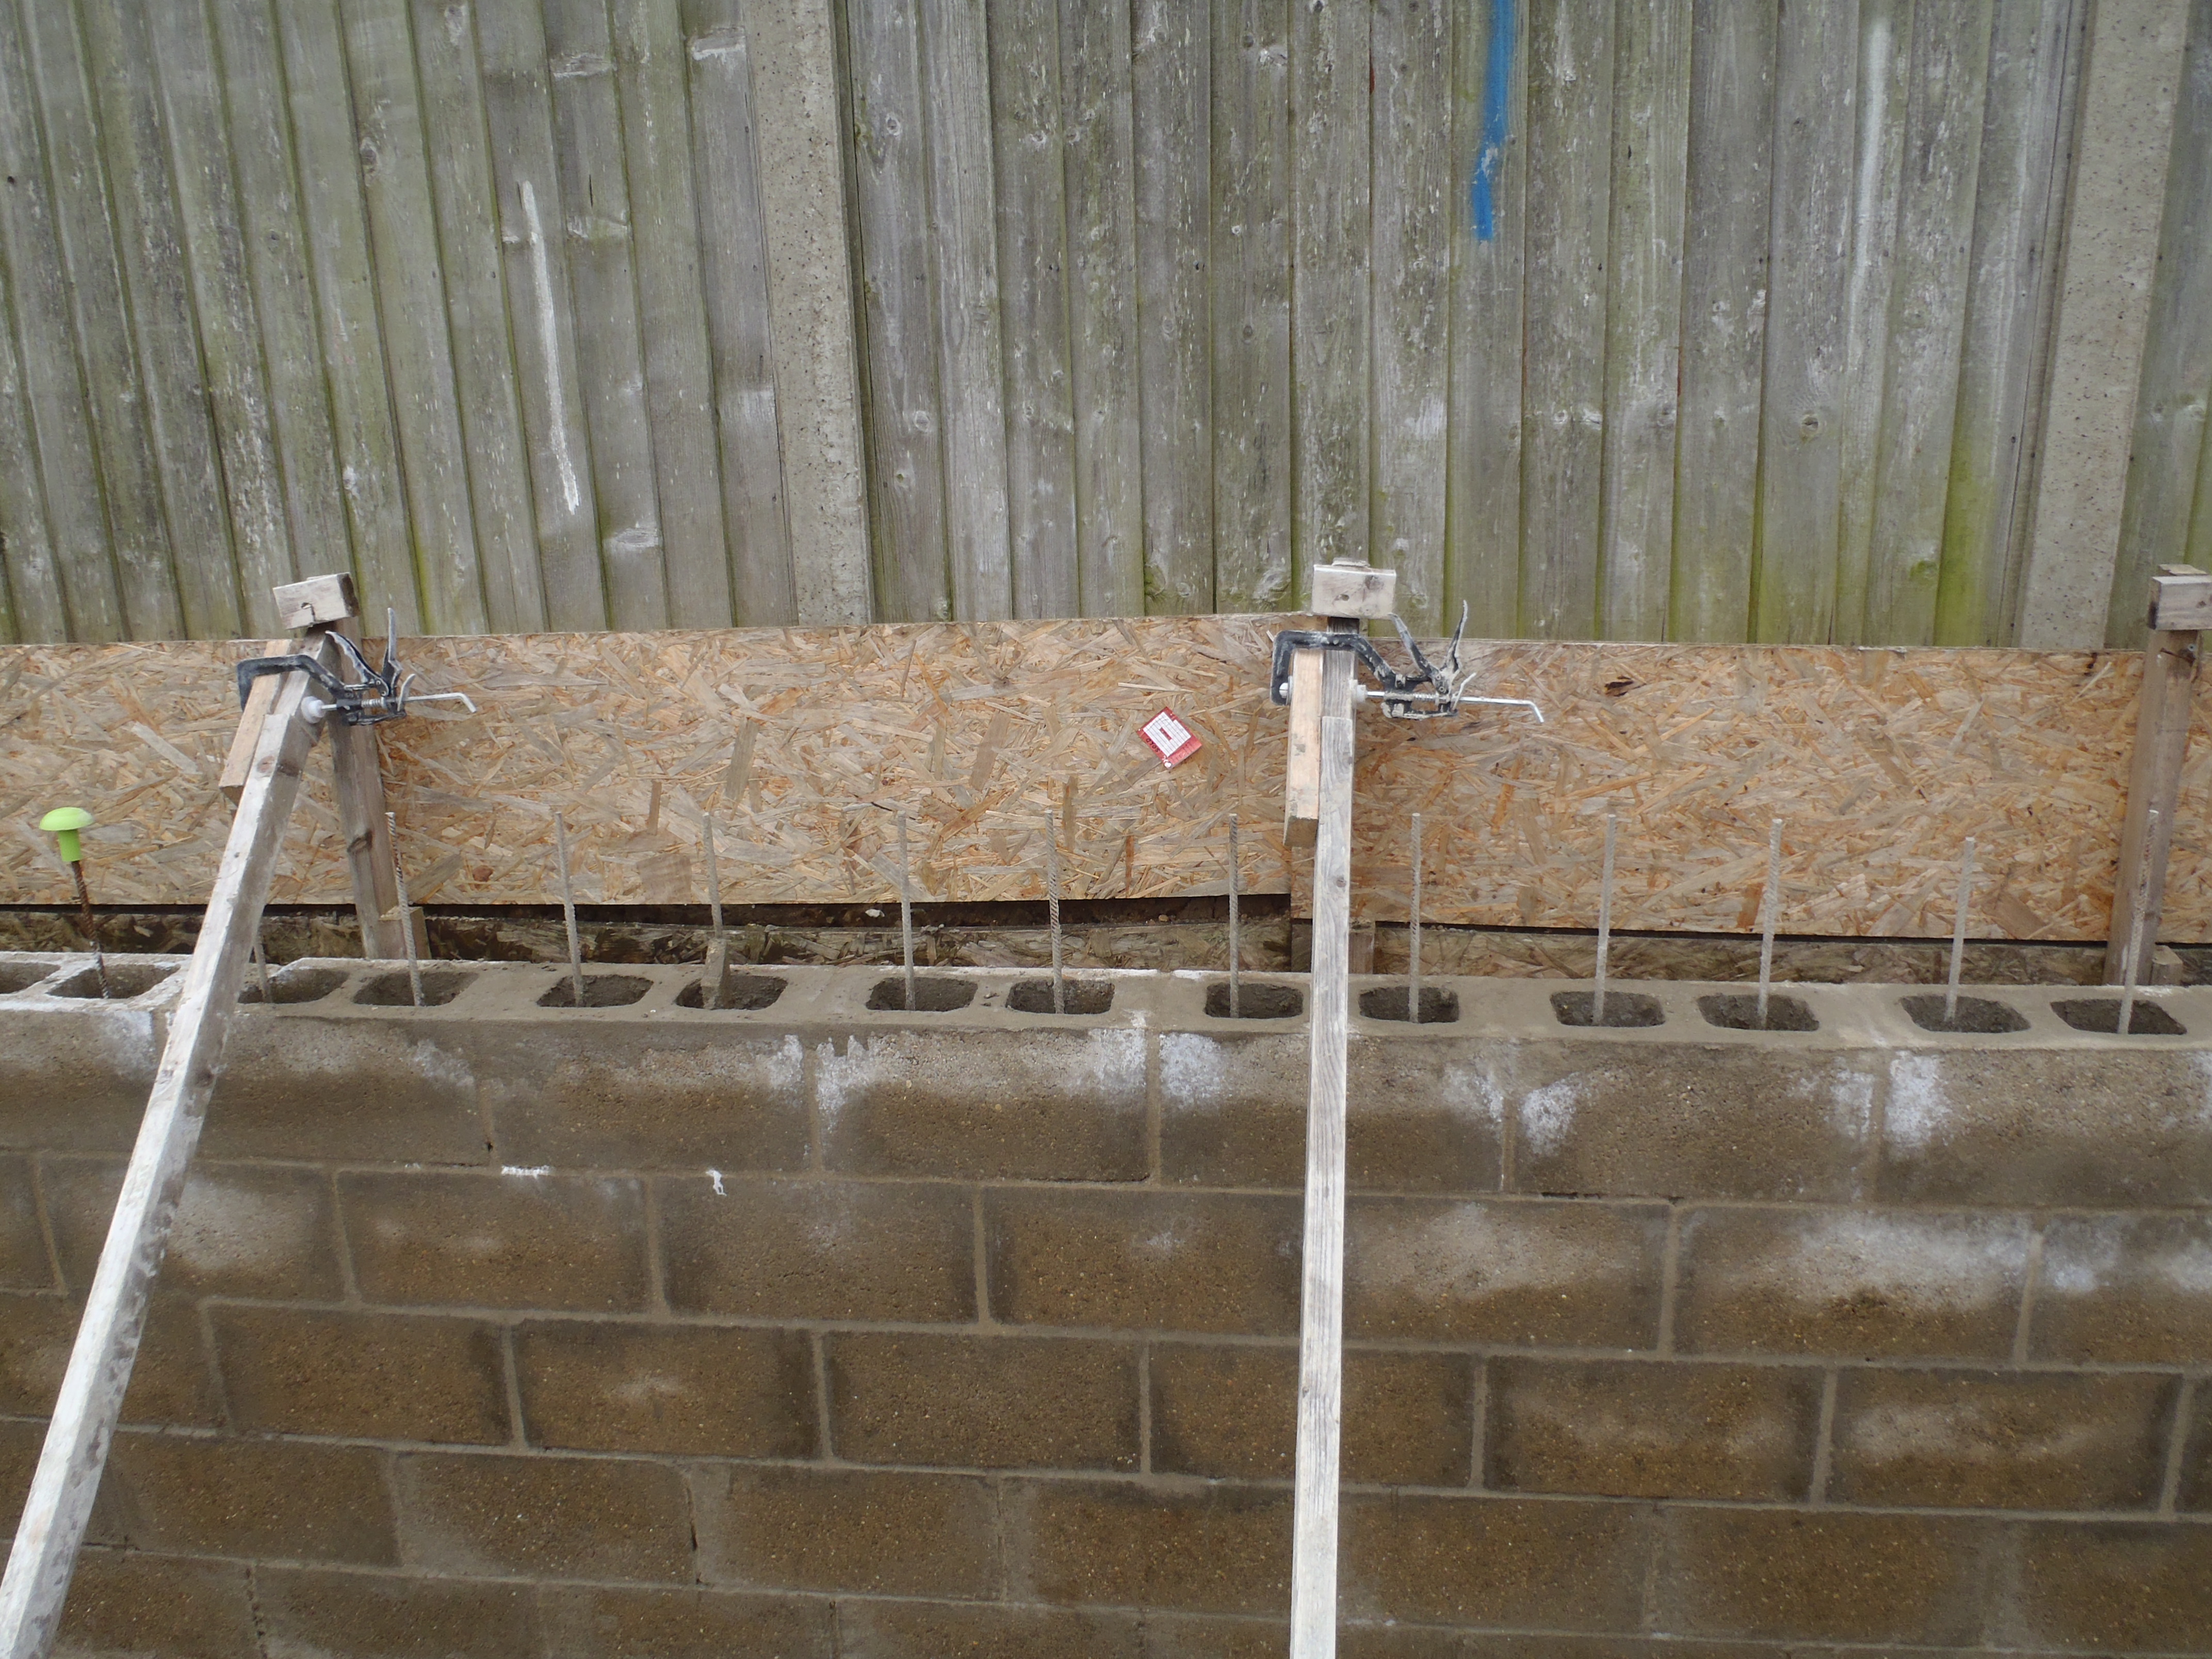
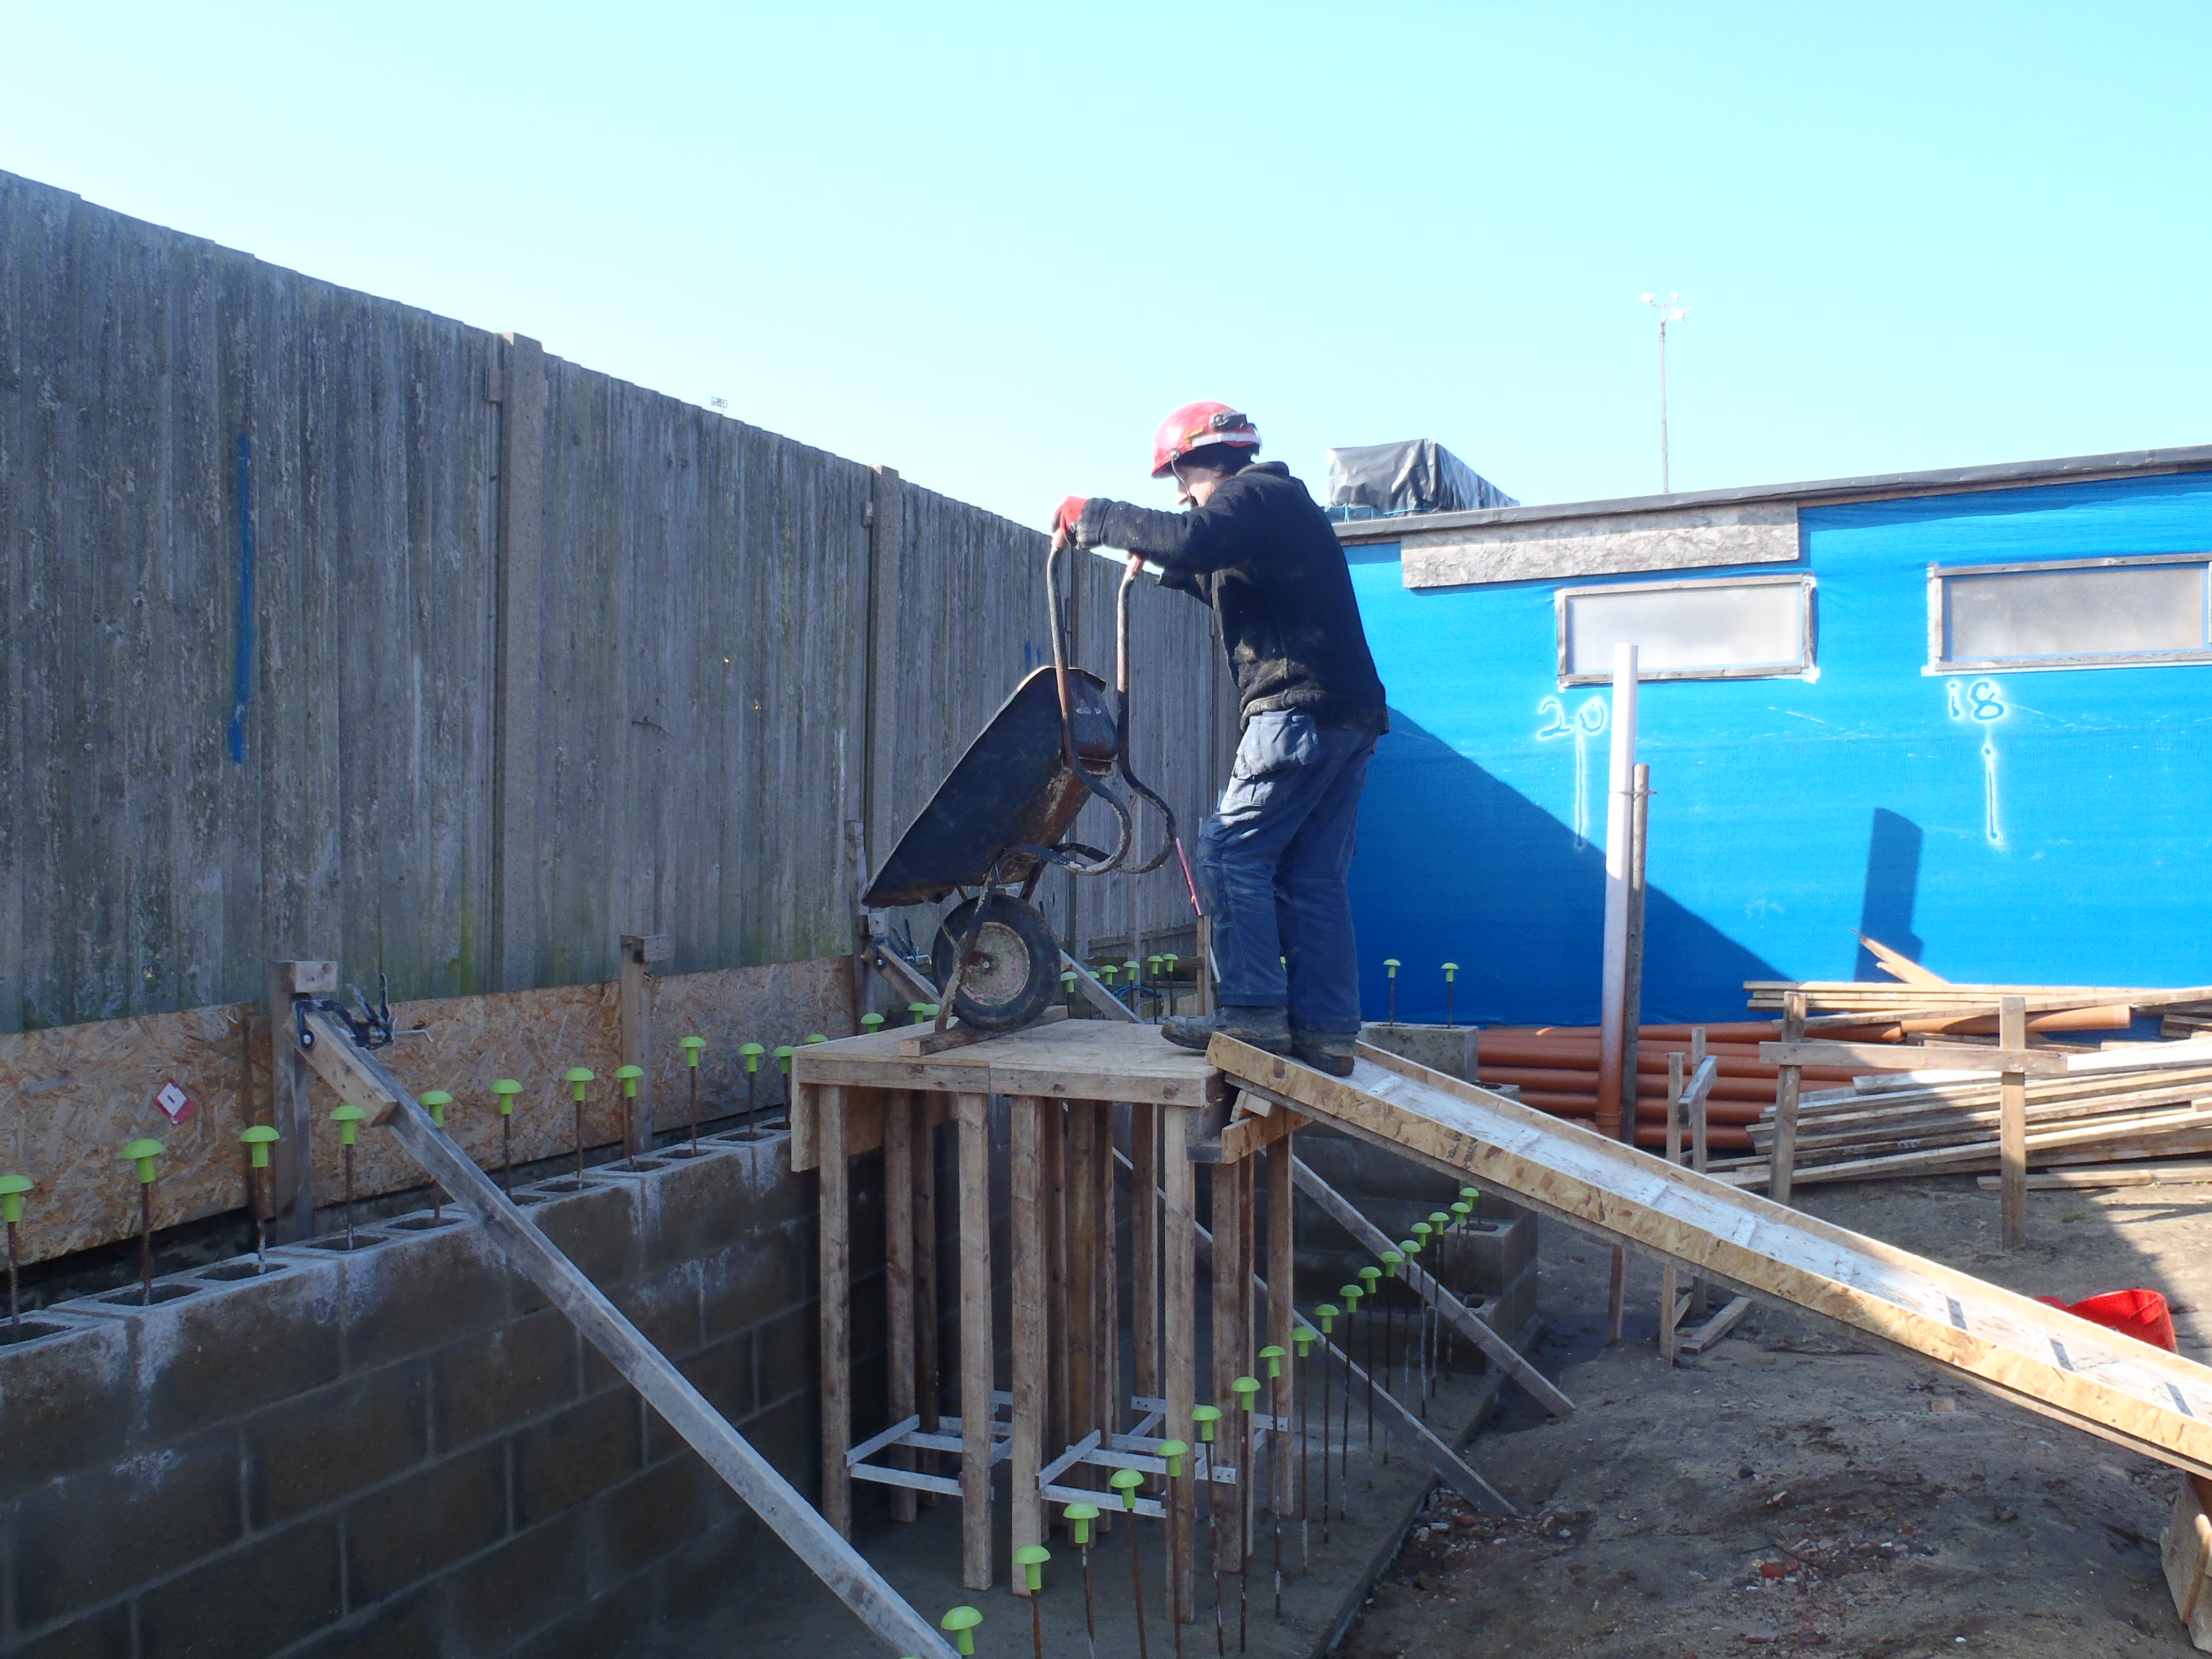
End-Cap-2
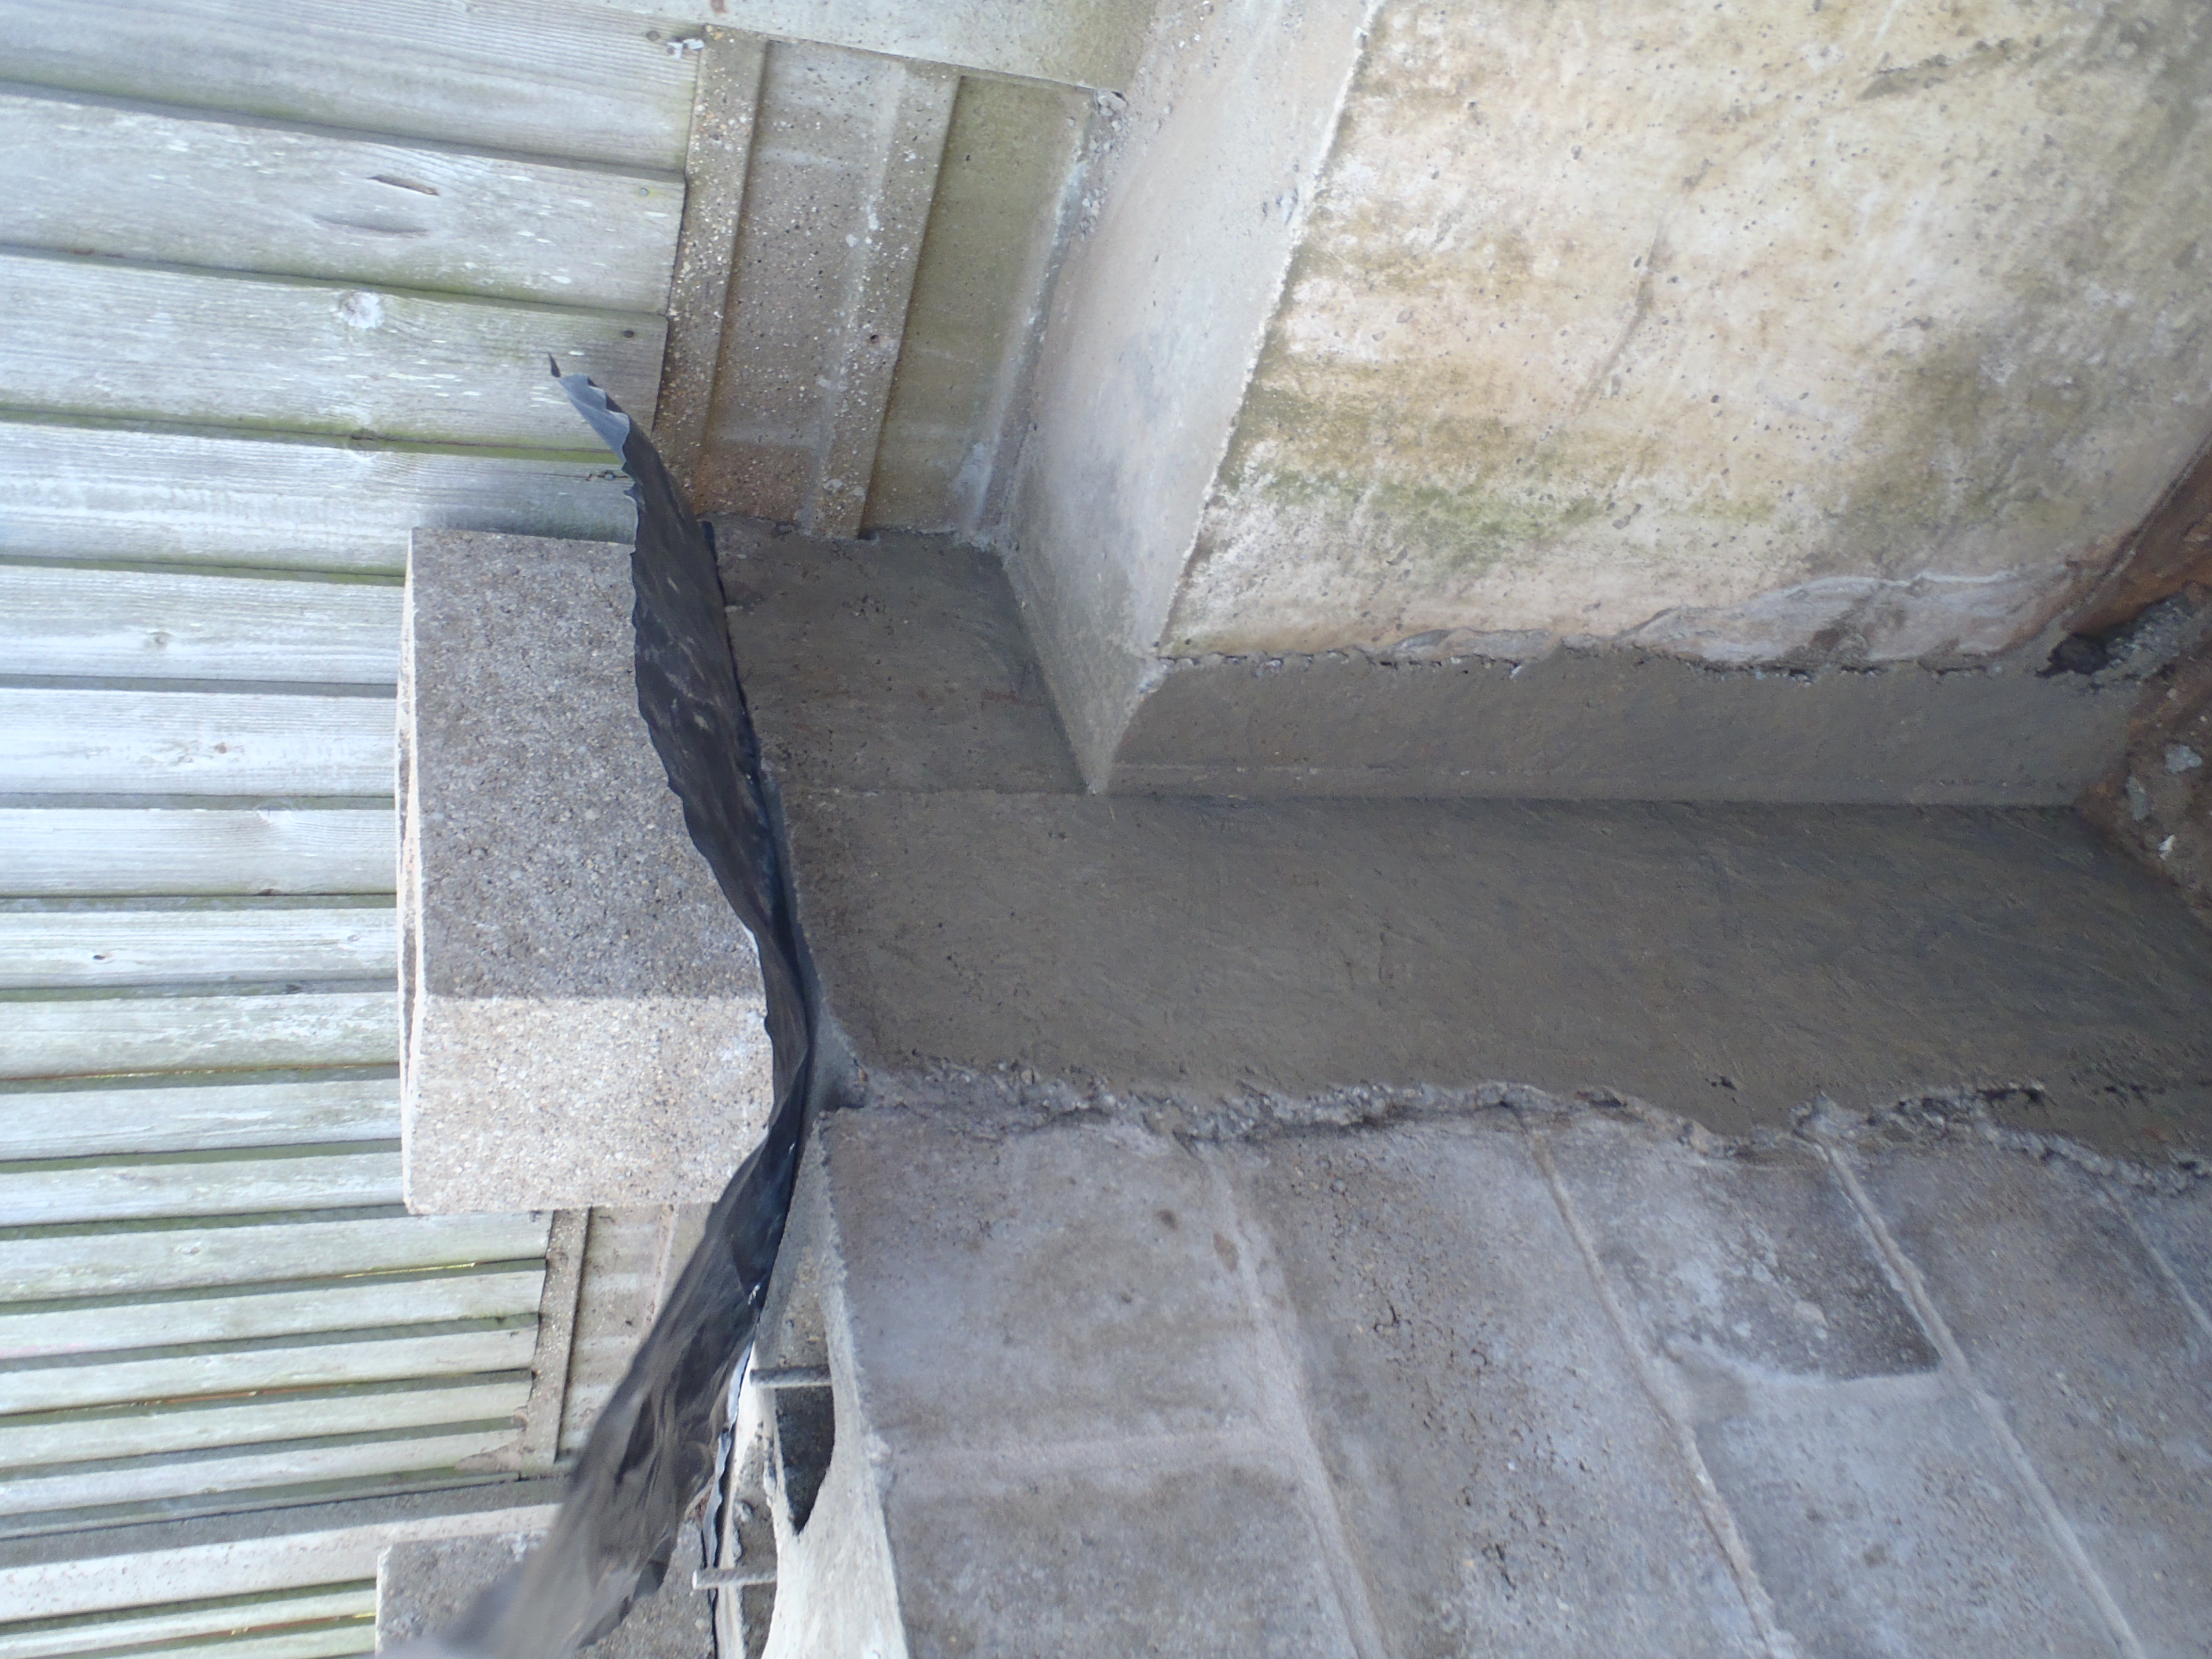
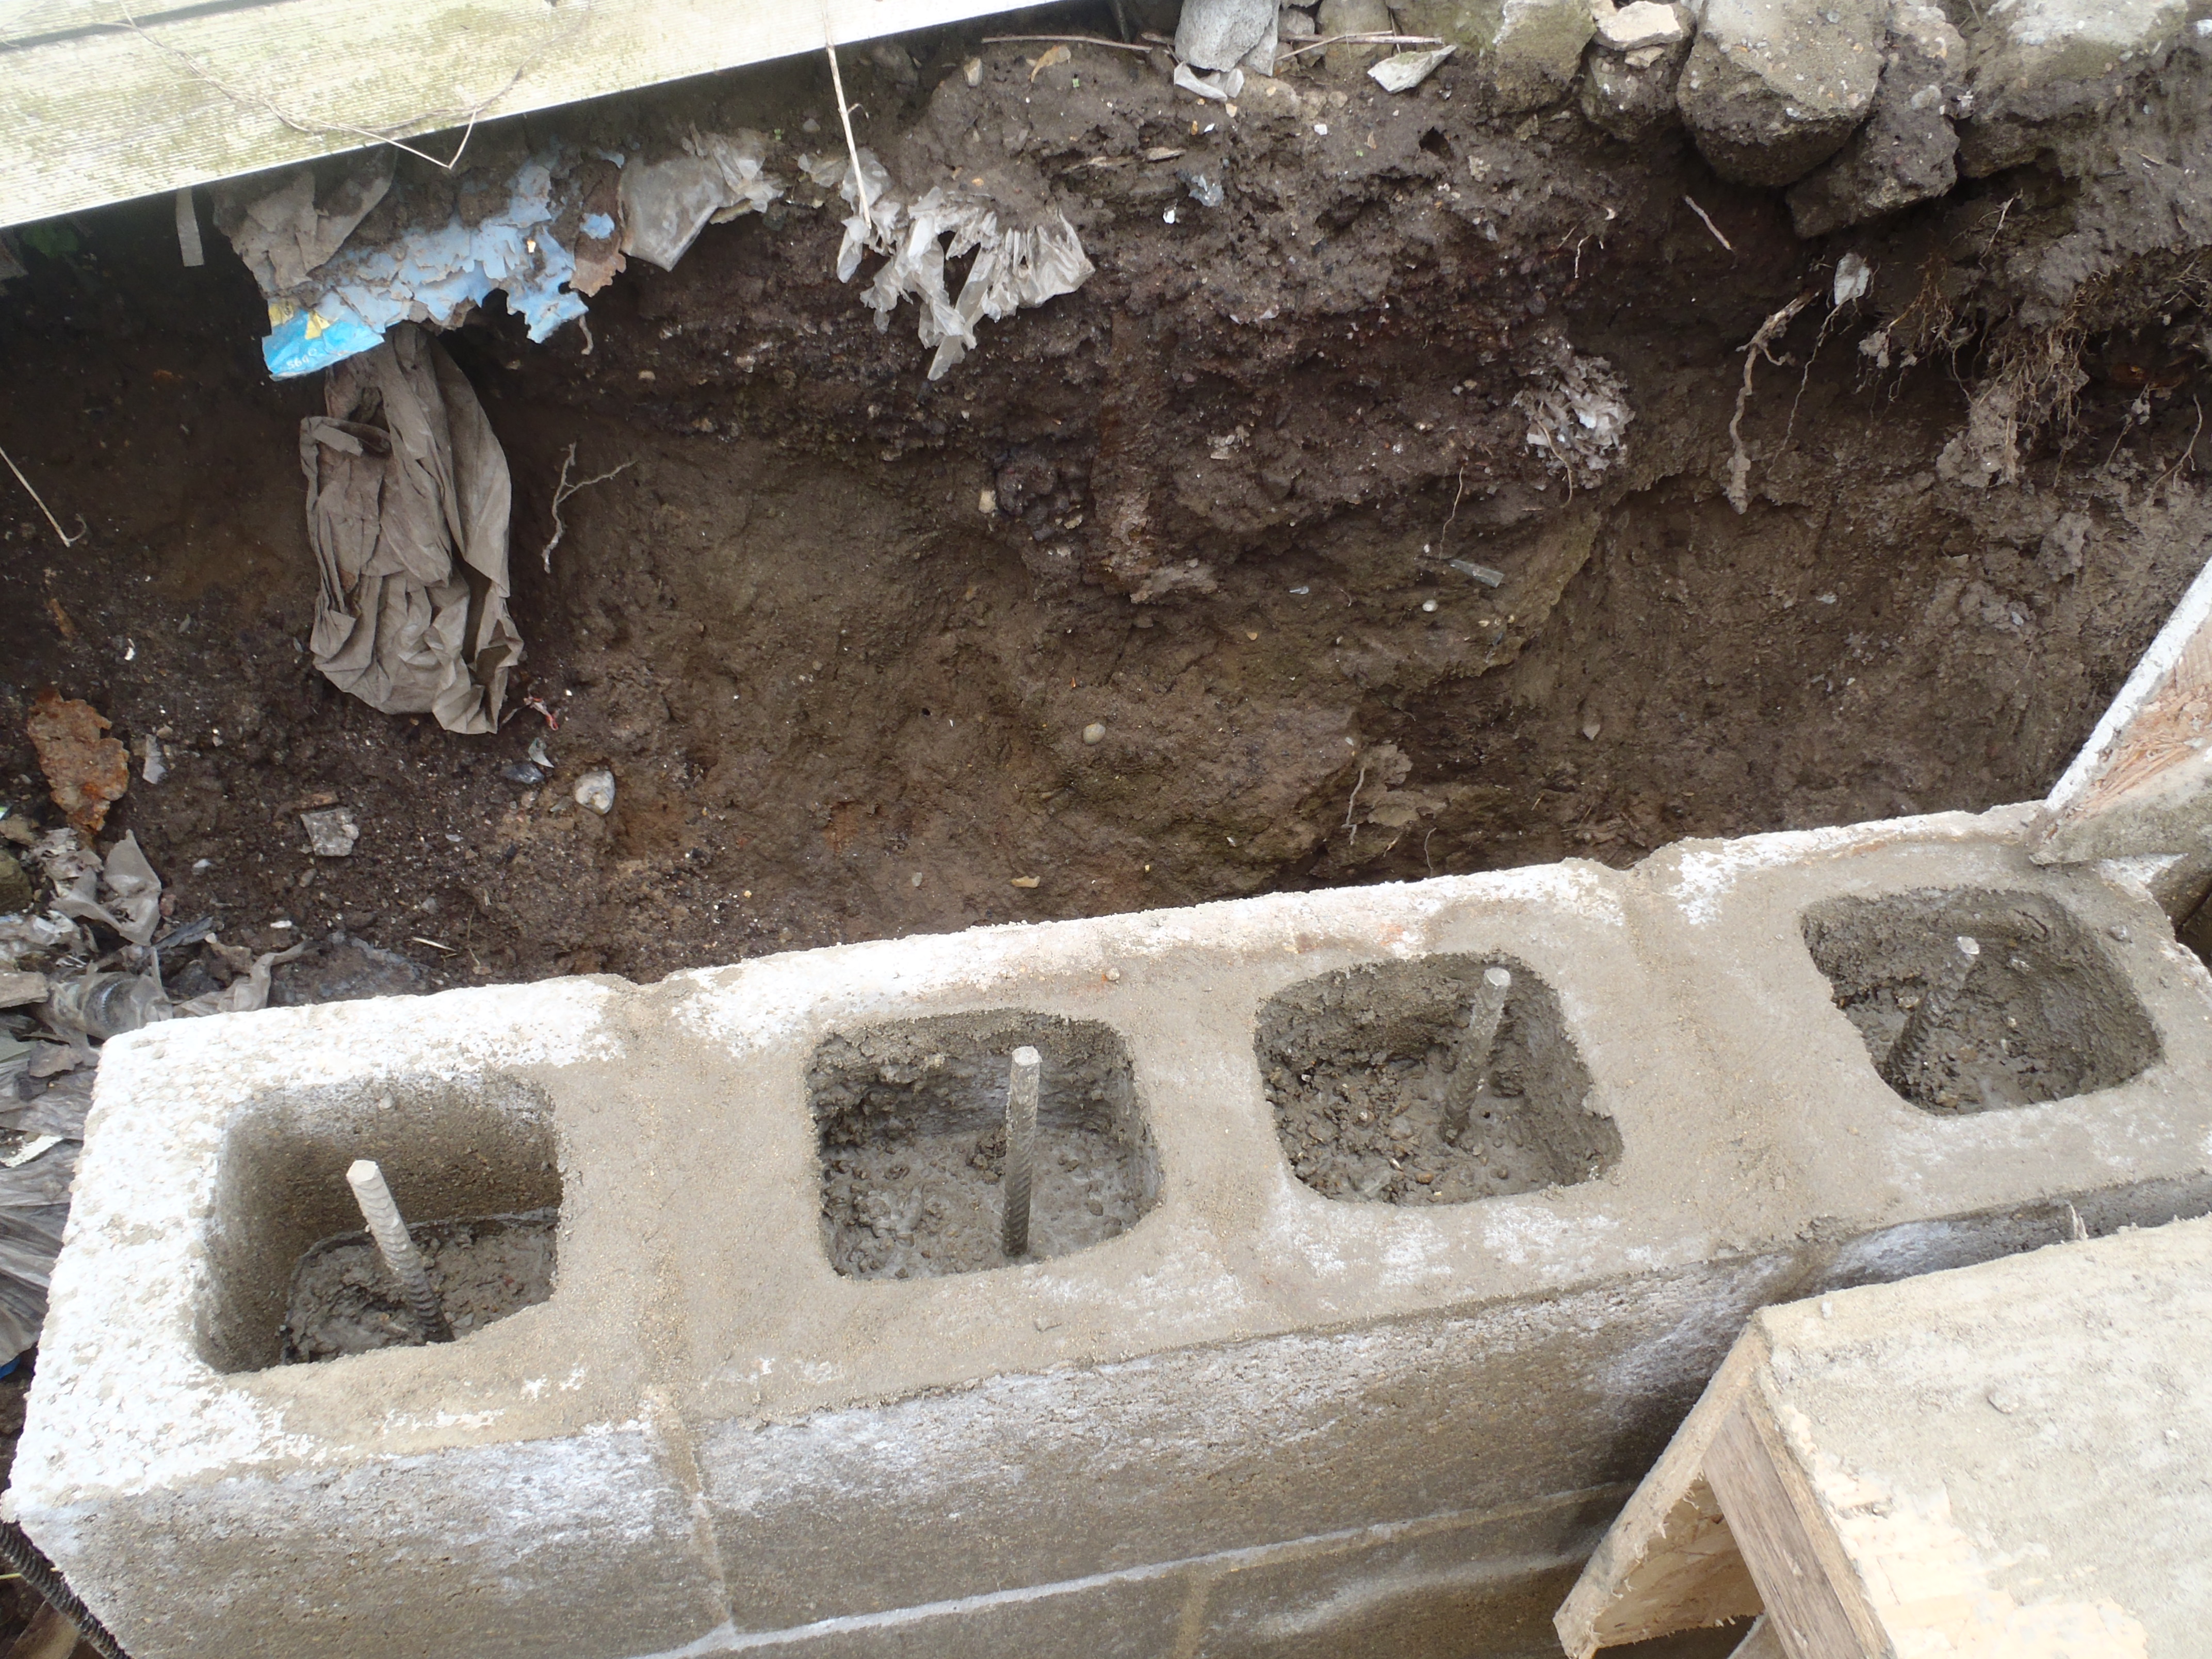
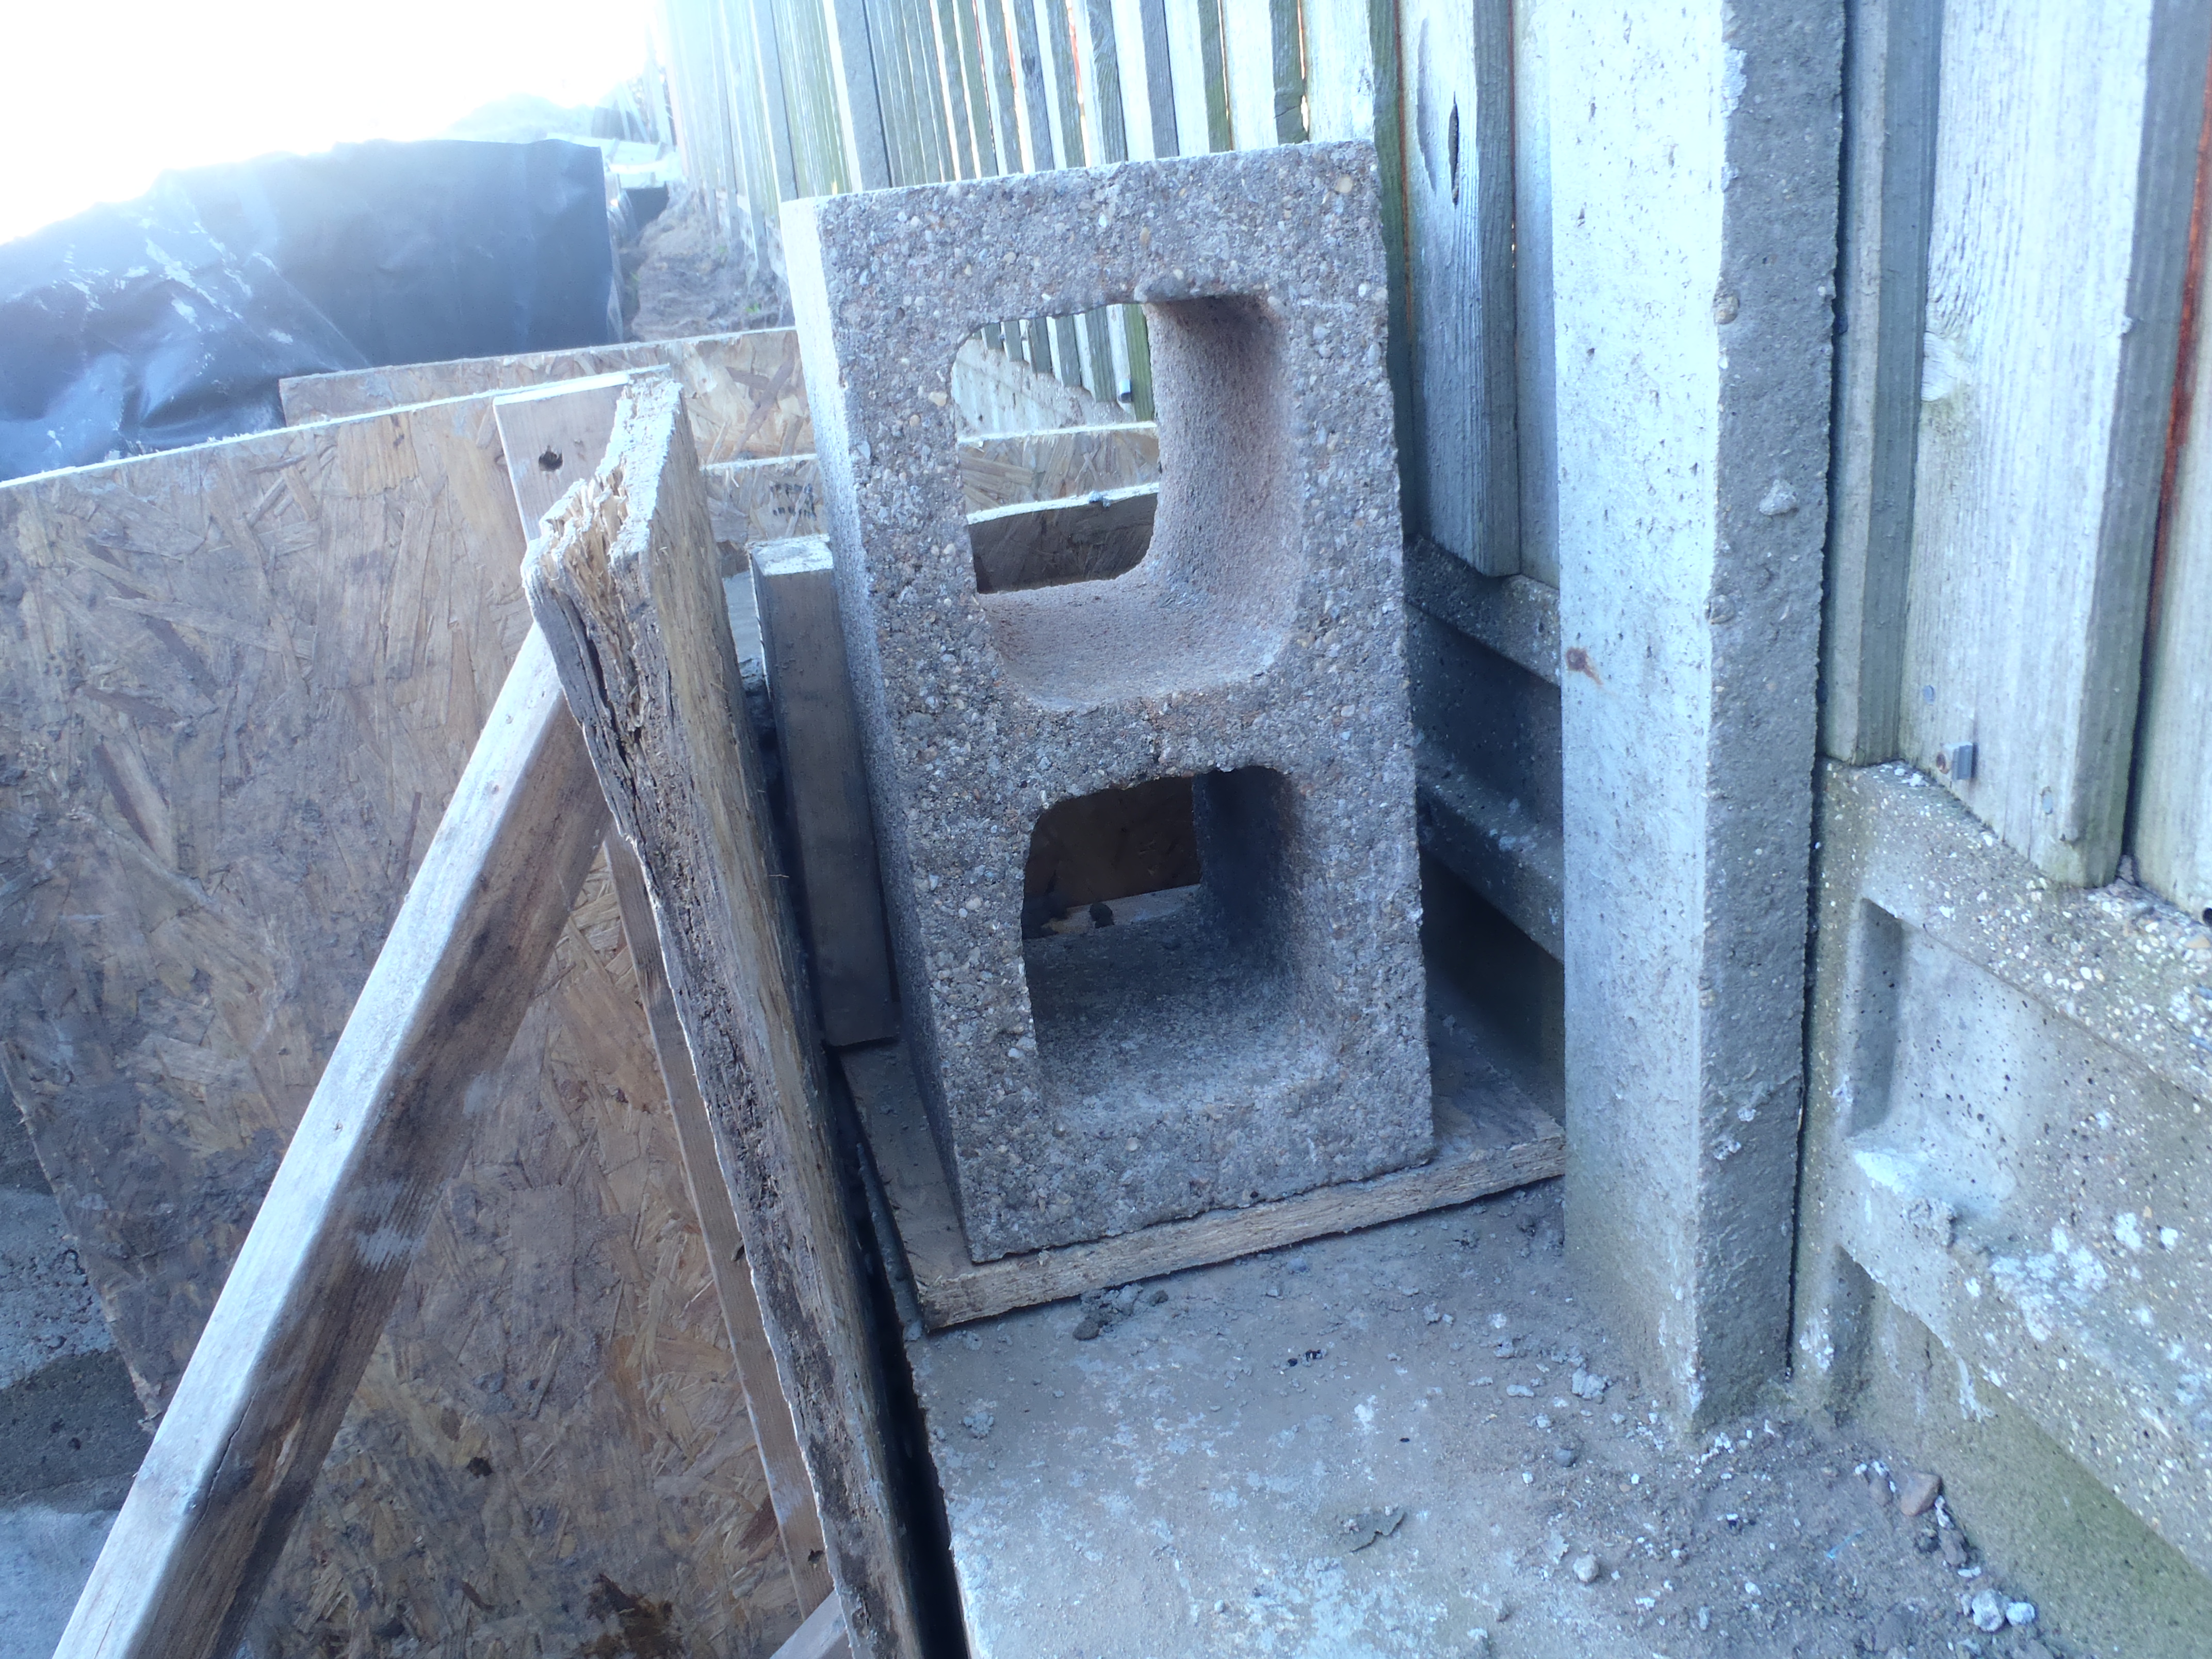
End-Cap-Finished
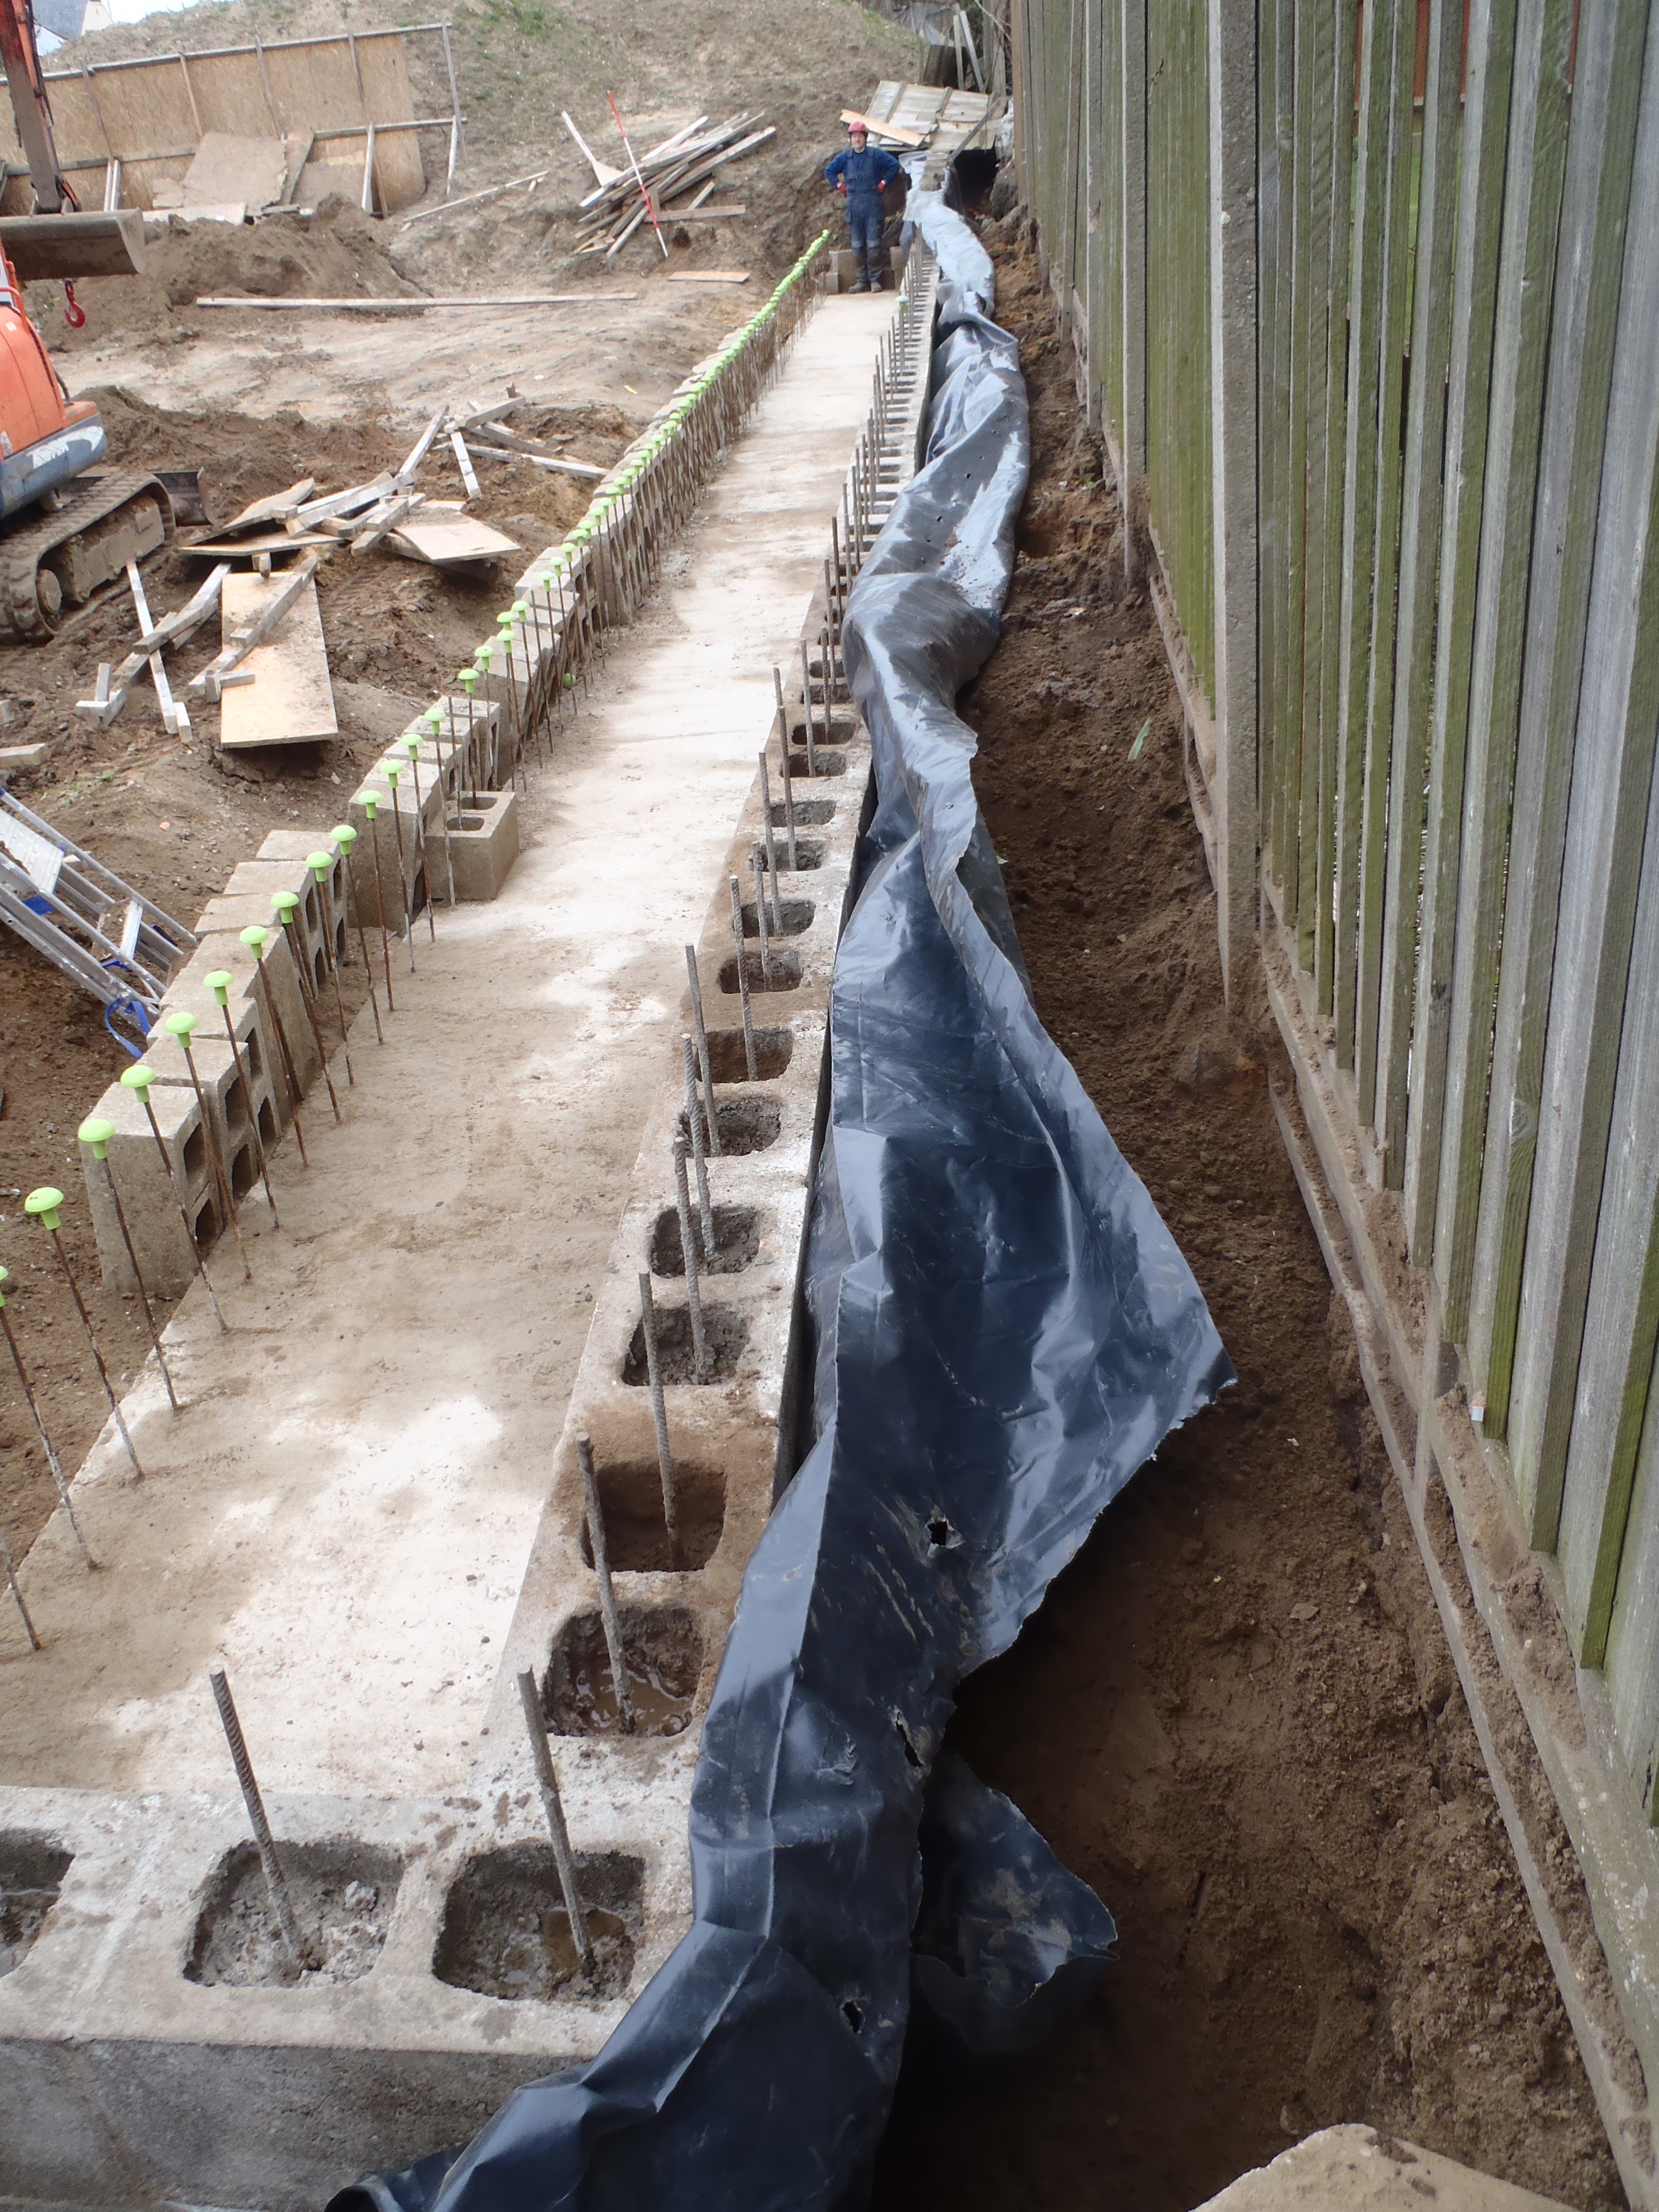
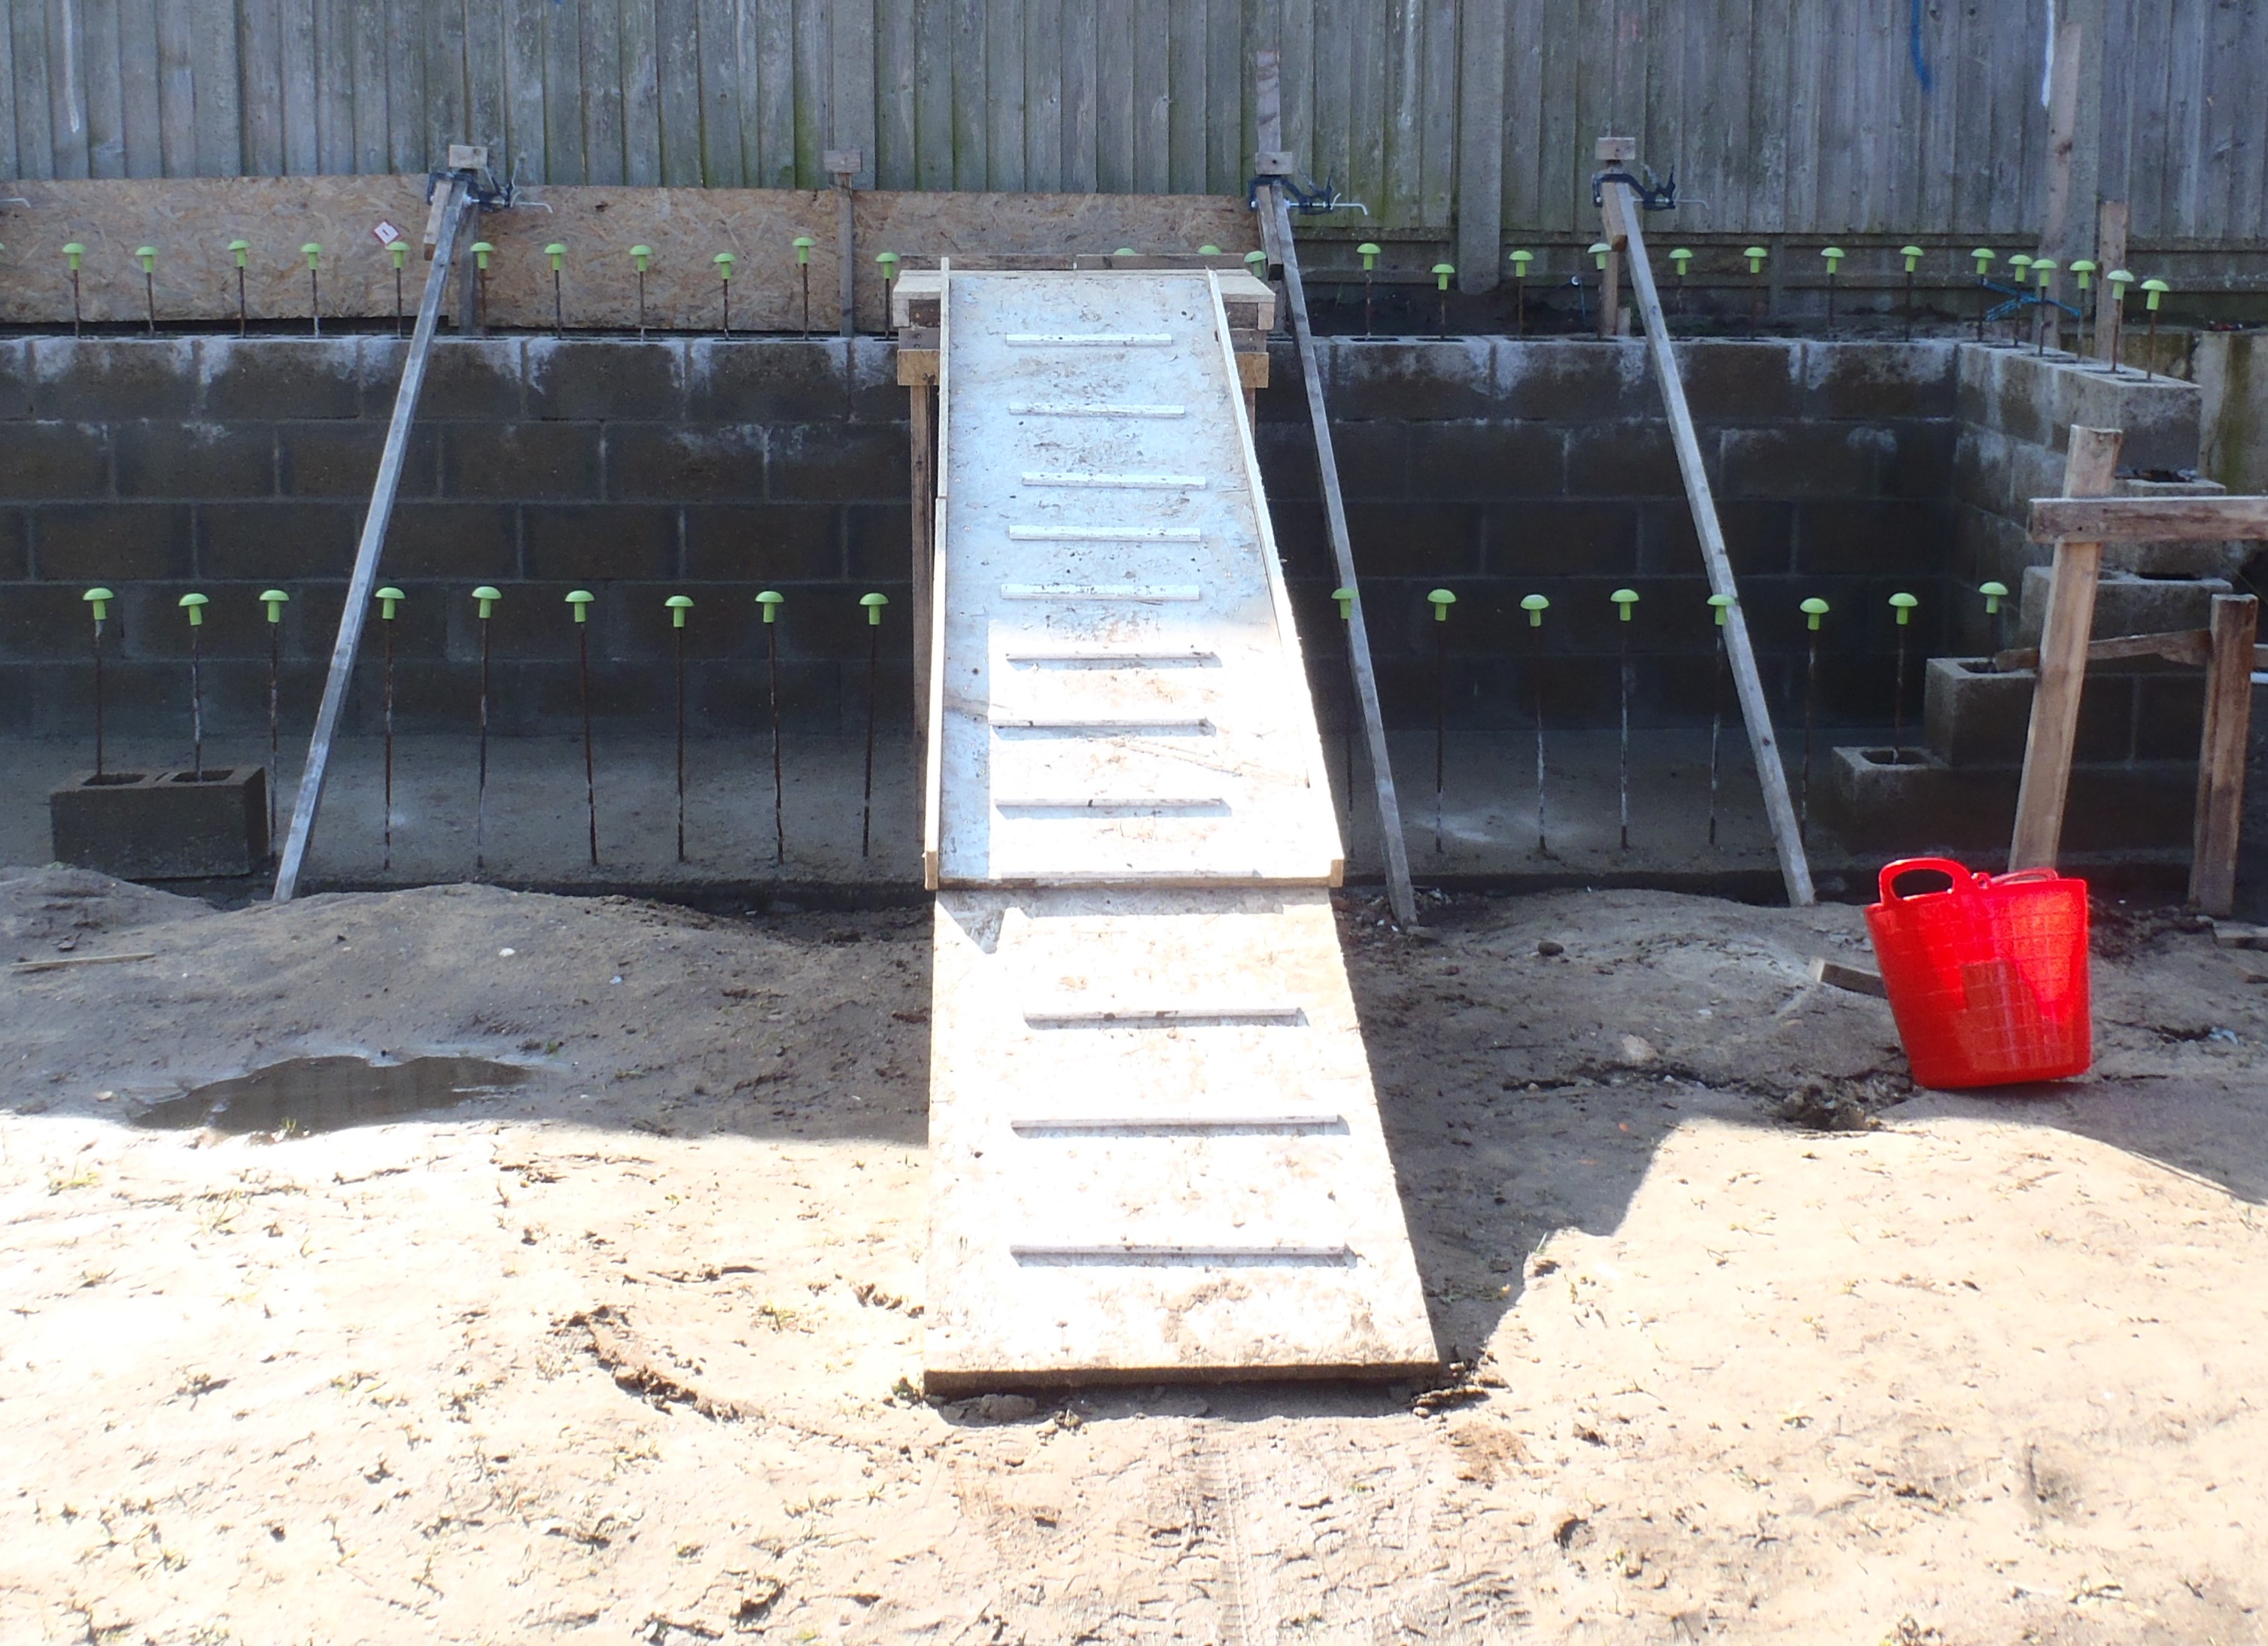
It took 3 bags of cement to produce 200 litres of concrete to make a 150mm
thick wall from the bottom of the mass wall and swimming lane wall and the
gravel board of the fence, some 1450mm high and 600mm wide, with a slight L
shaped extension to the mass wall (this runs along and under the fence and
right across the back of the garage).
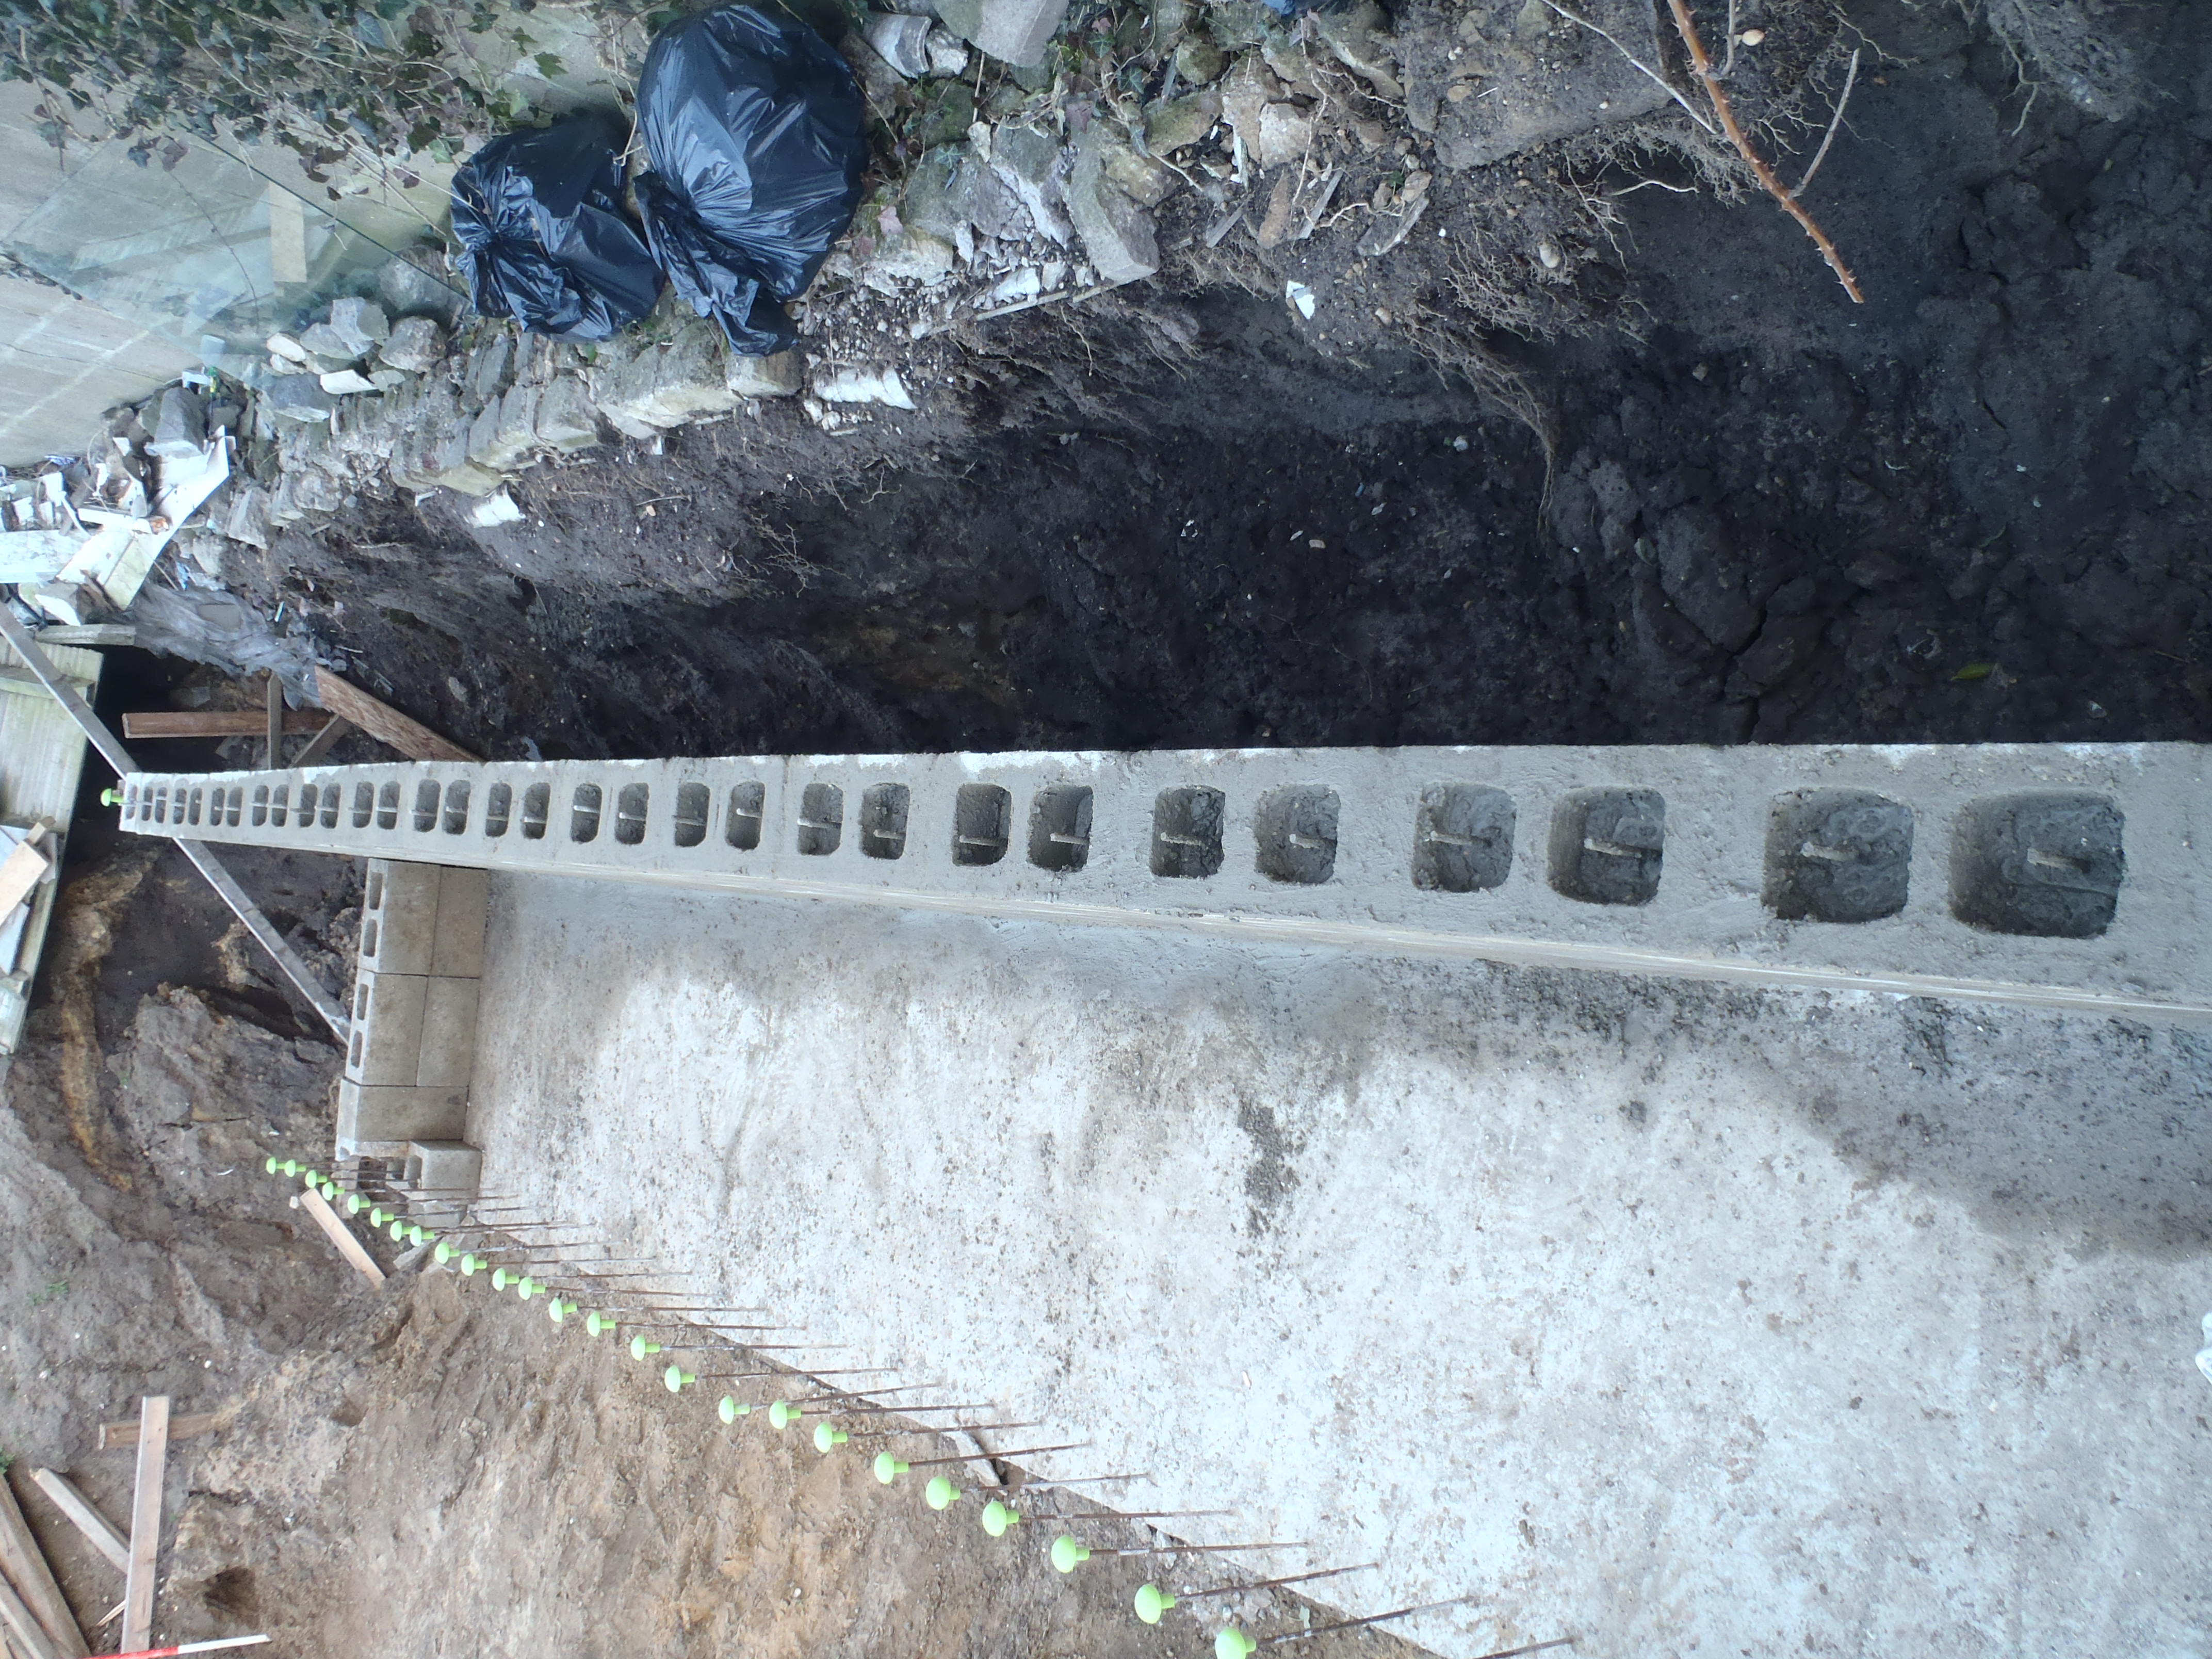
It will make a neat vertical wall, flush with the end of the swimming lane
and allow us to control what we want to install in that location without
worrying about the motions of rain soaked mud!!