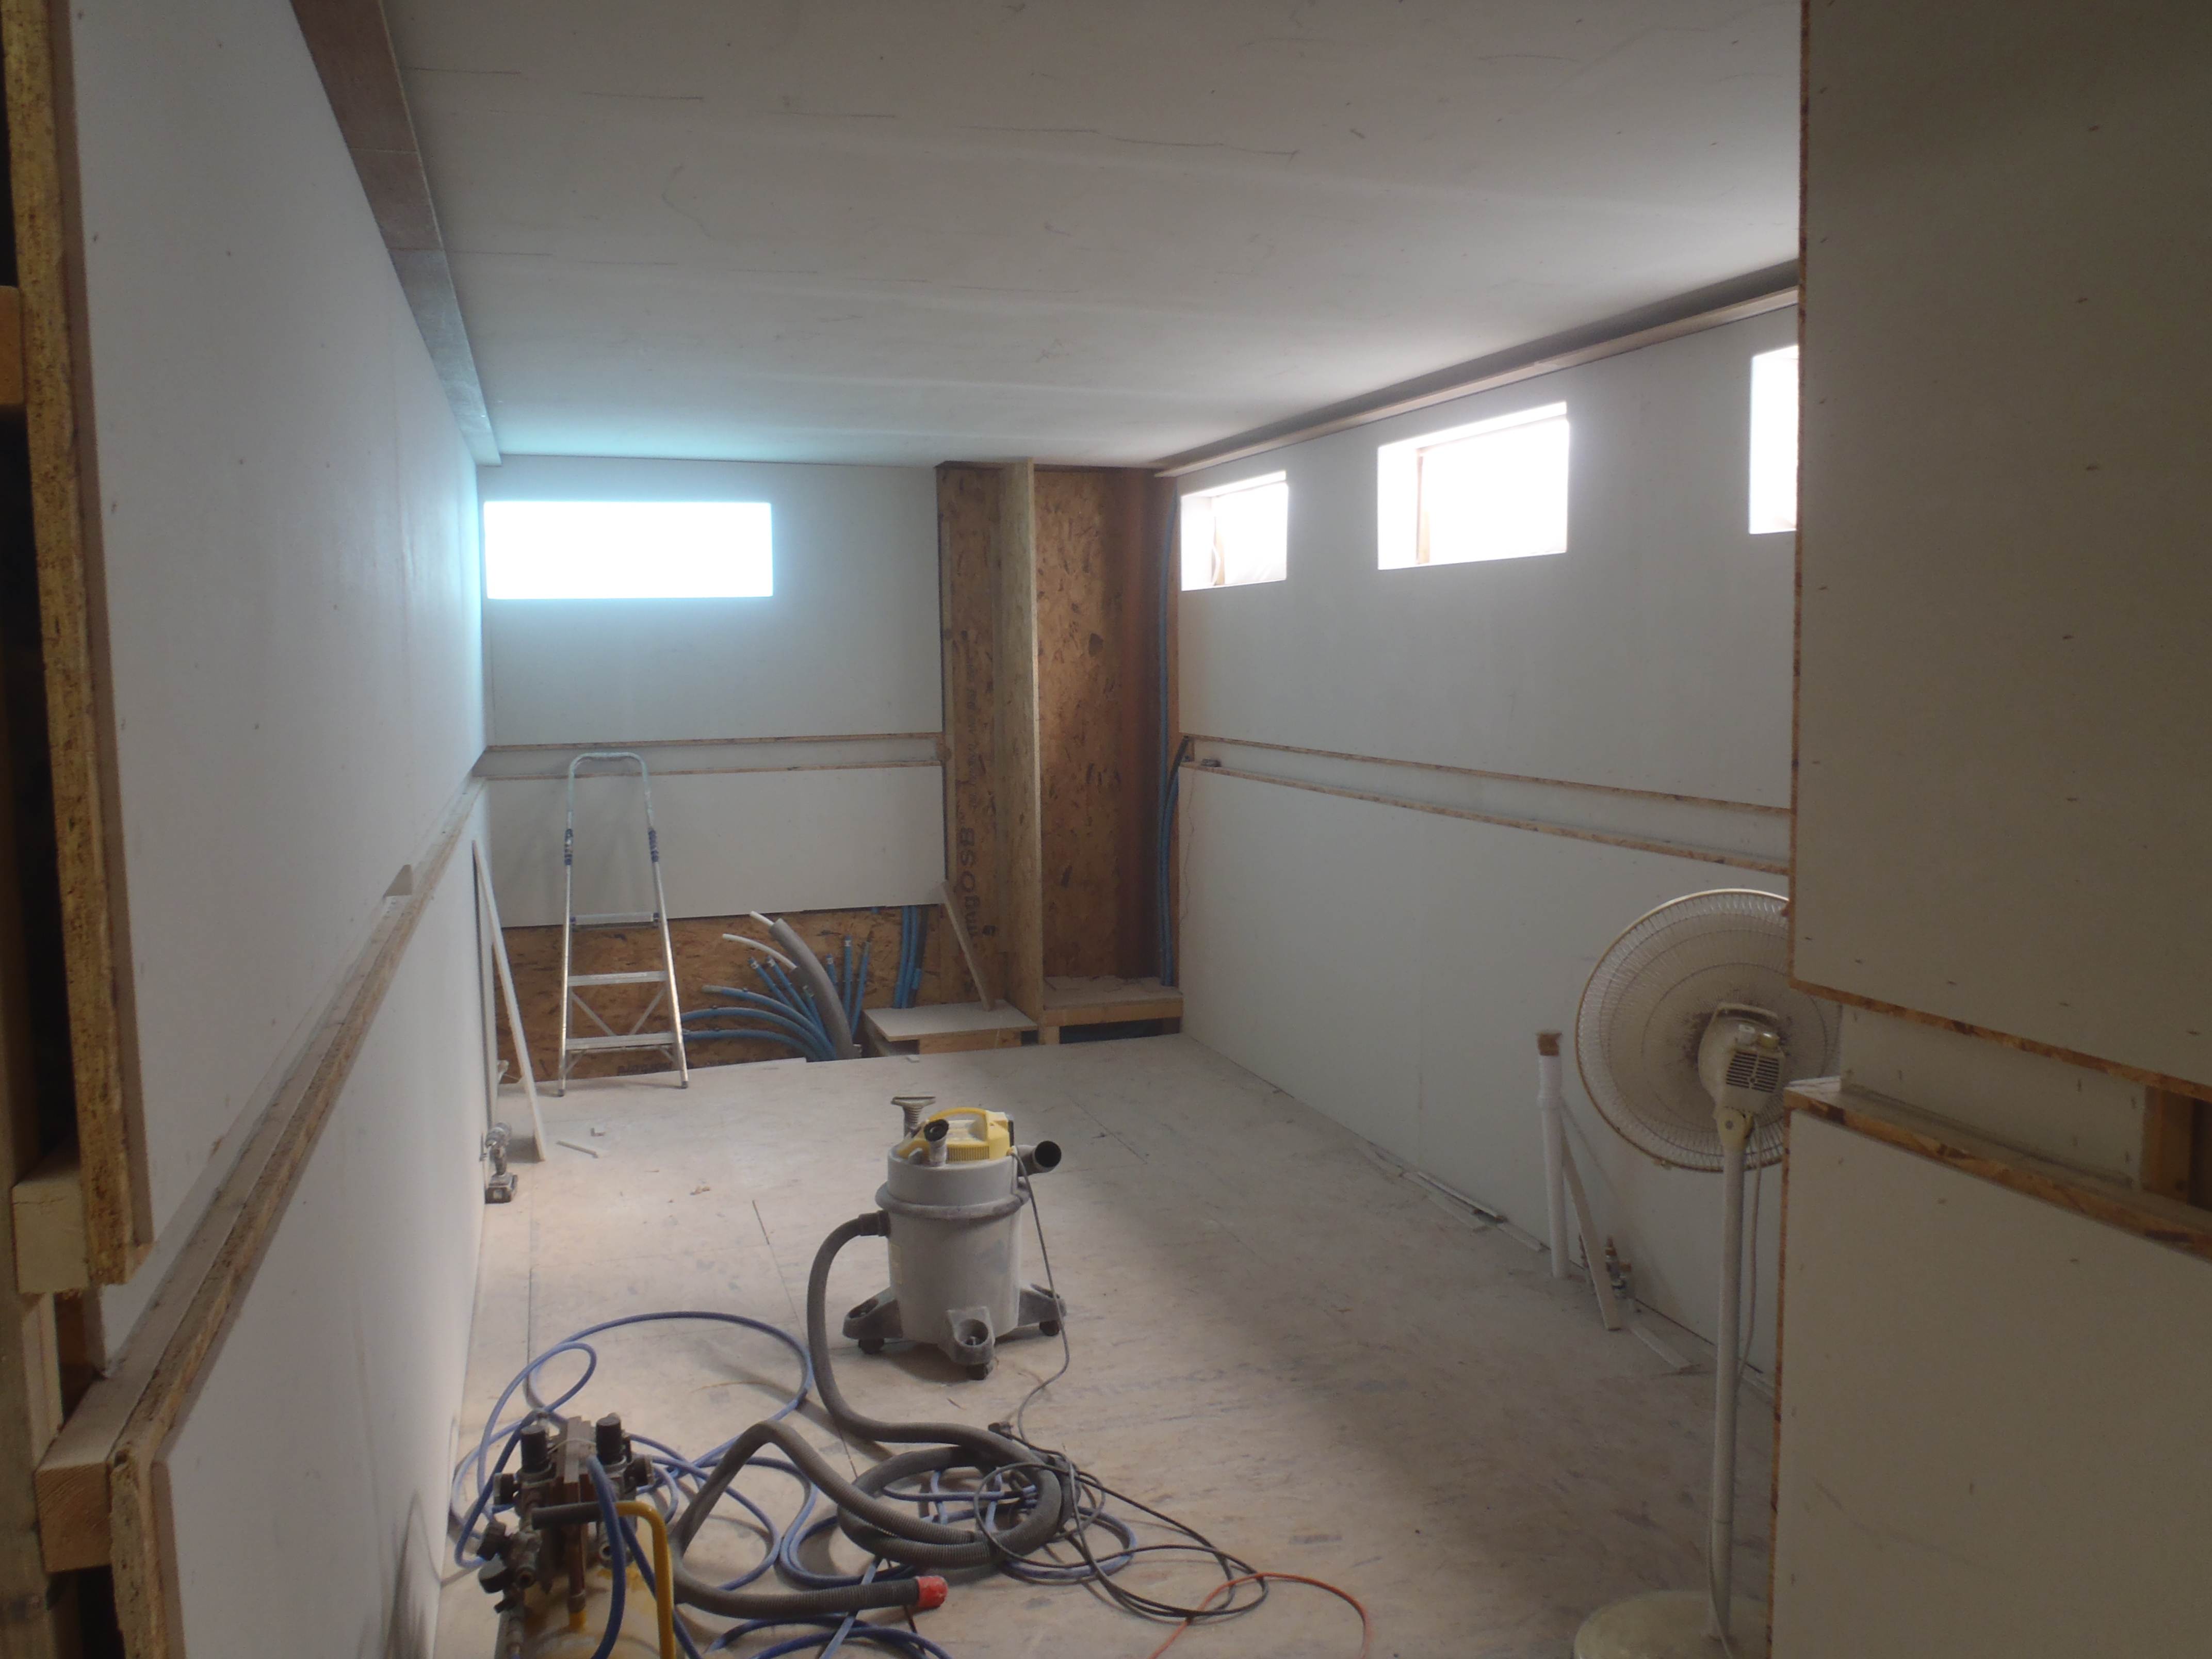
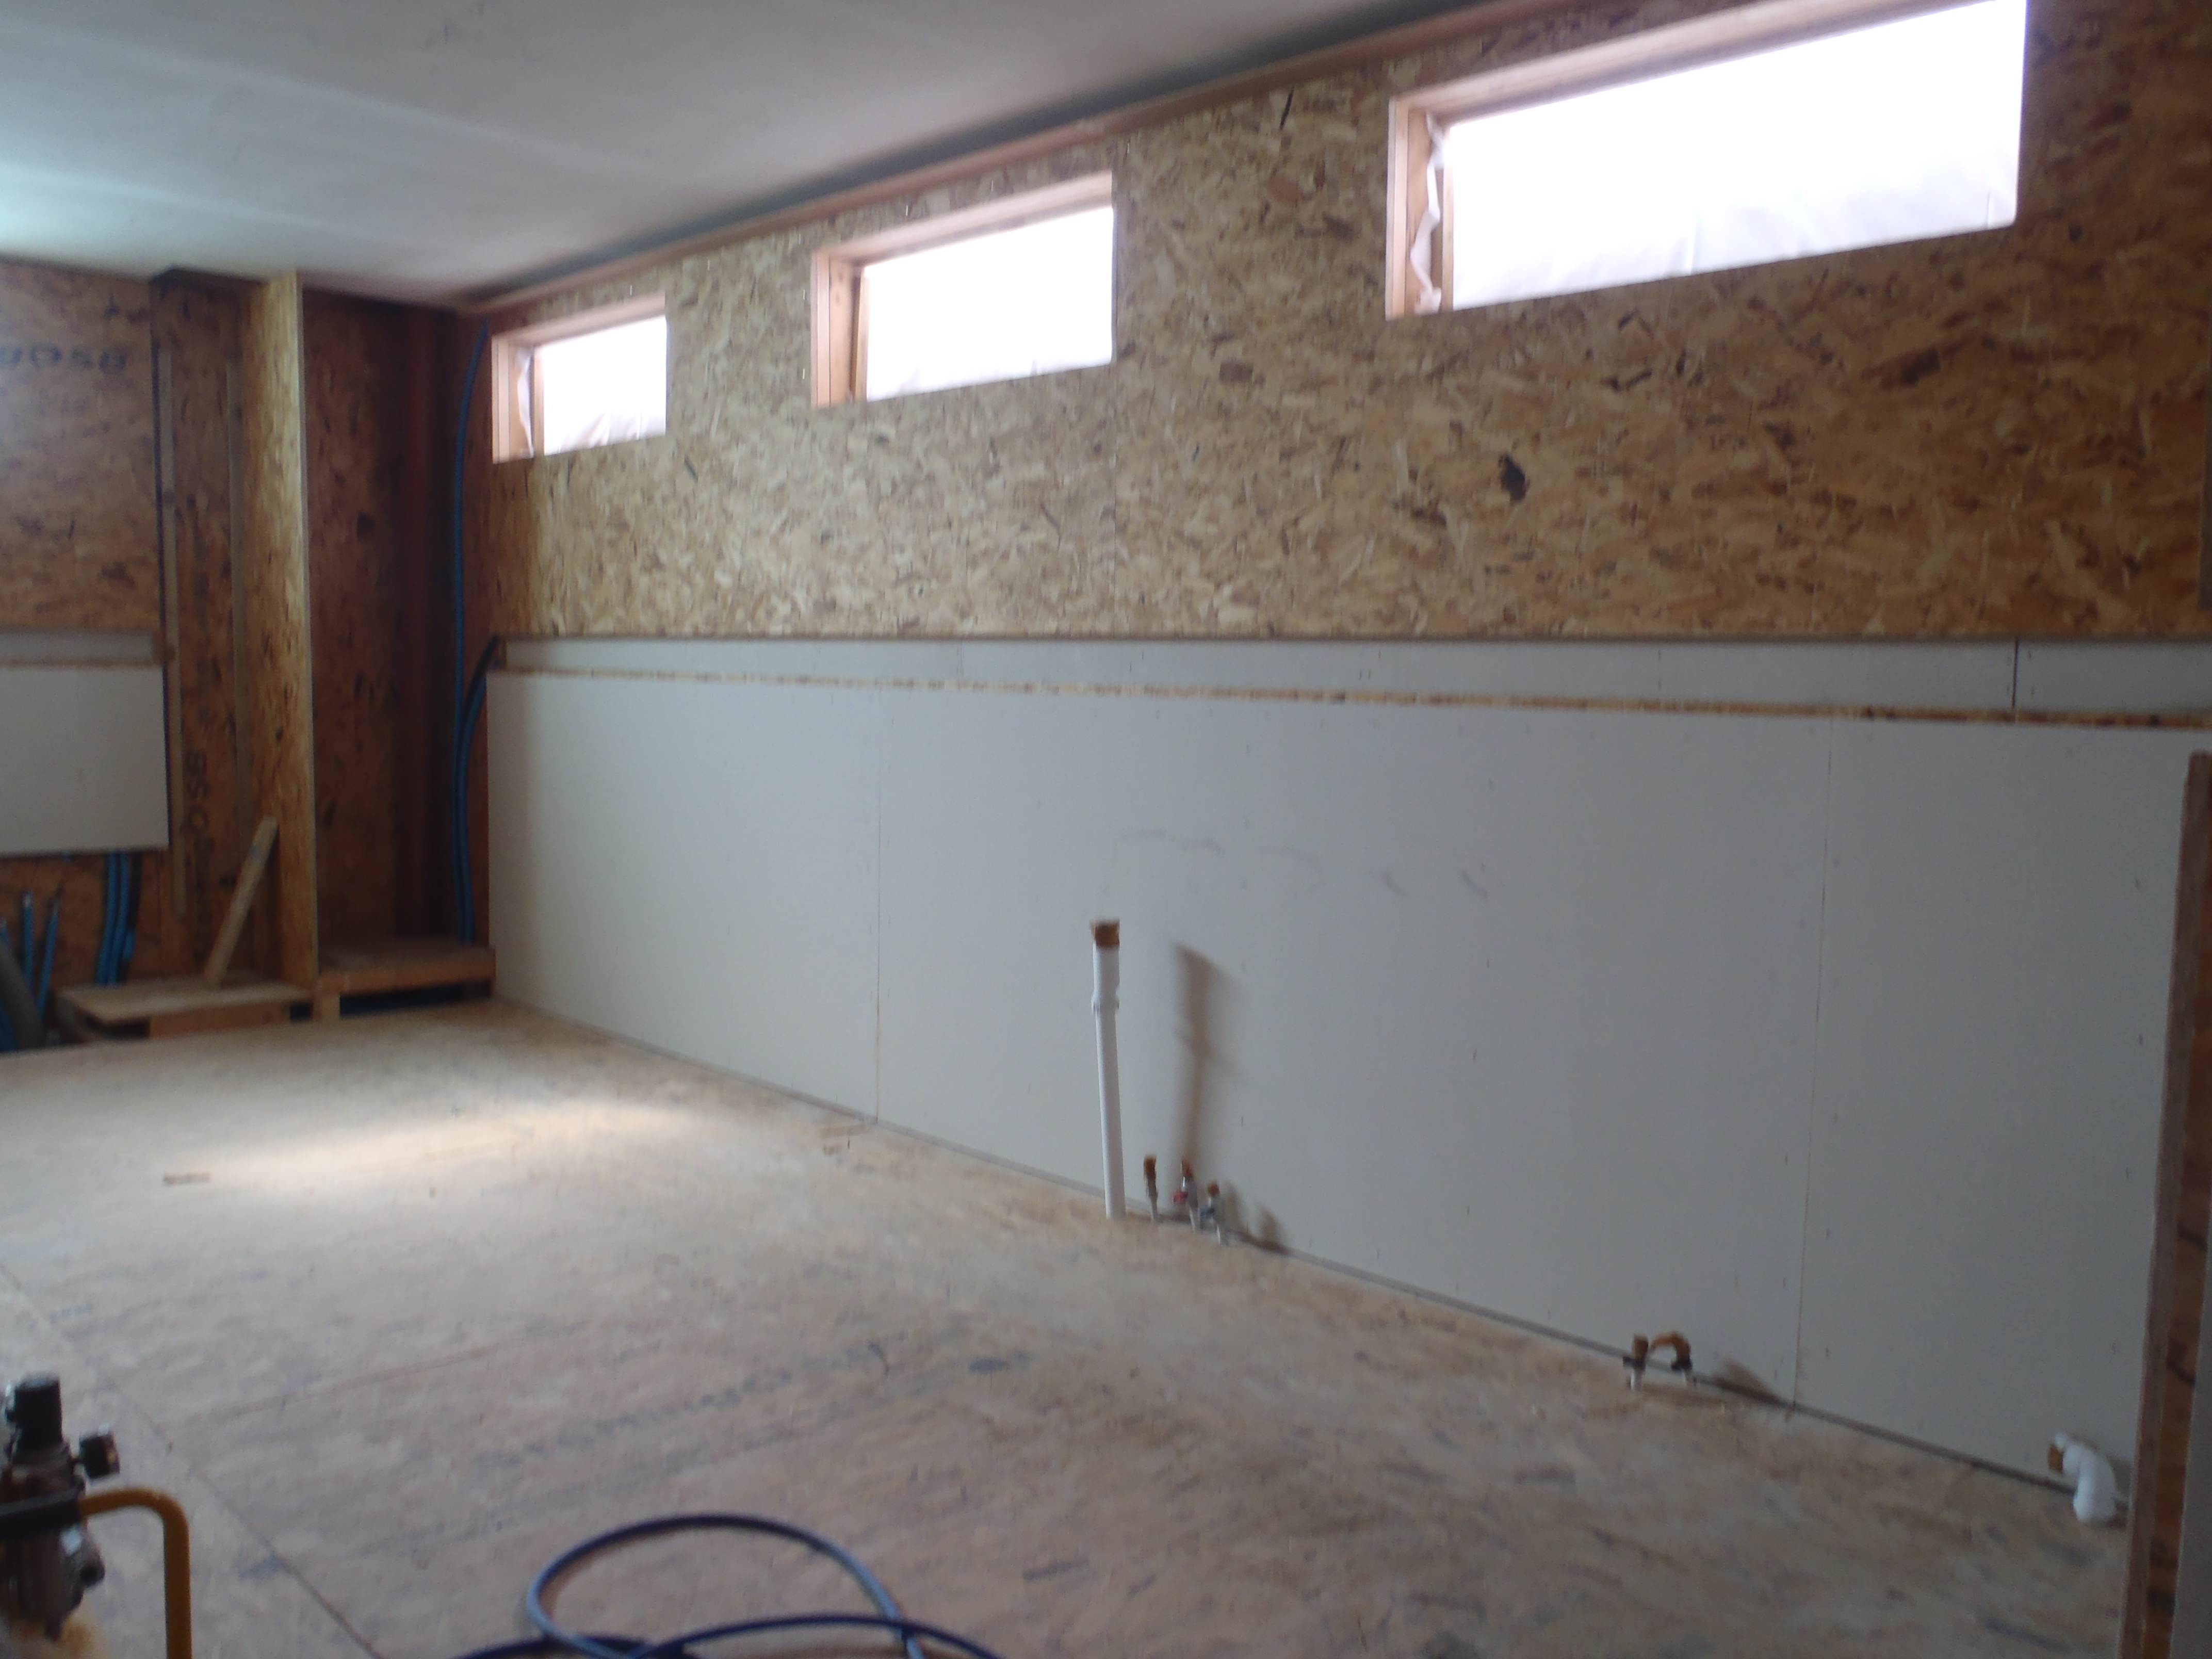
We have been spending the last couple of weeks on constructing the floor in the Garden Room. Plus laying and routing all the required pipes and conduits around the edges of the room under the floor. And again inserting the insulation in places, for example, the glass wool for floor sections that doesn’t have hot or cold air flowing through it, and 50mm thick PU foam for the cold Earth Tube air supply and a double layer of 50mm PU foam for the hot air going back into the WC, garage and into our temporary accommodations.
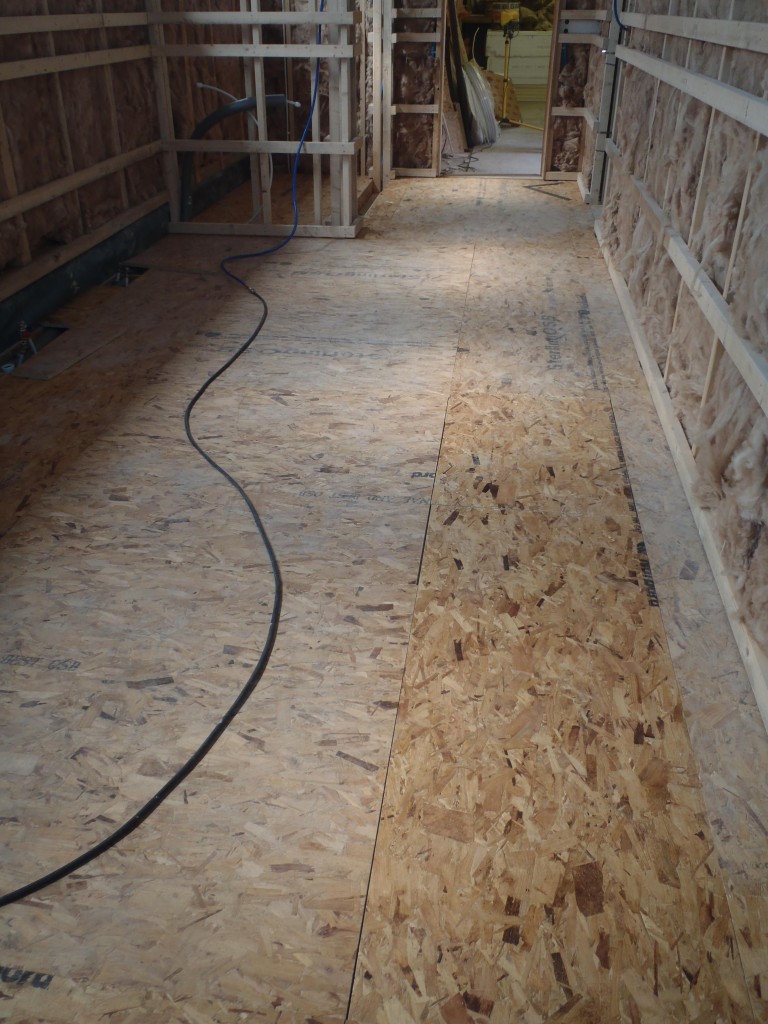
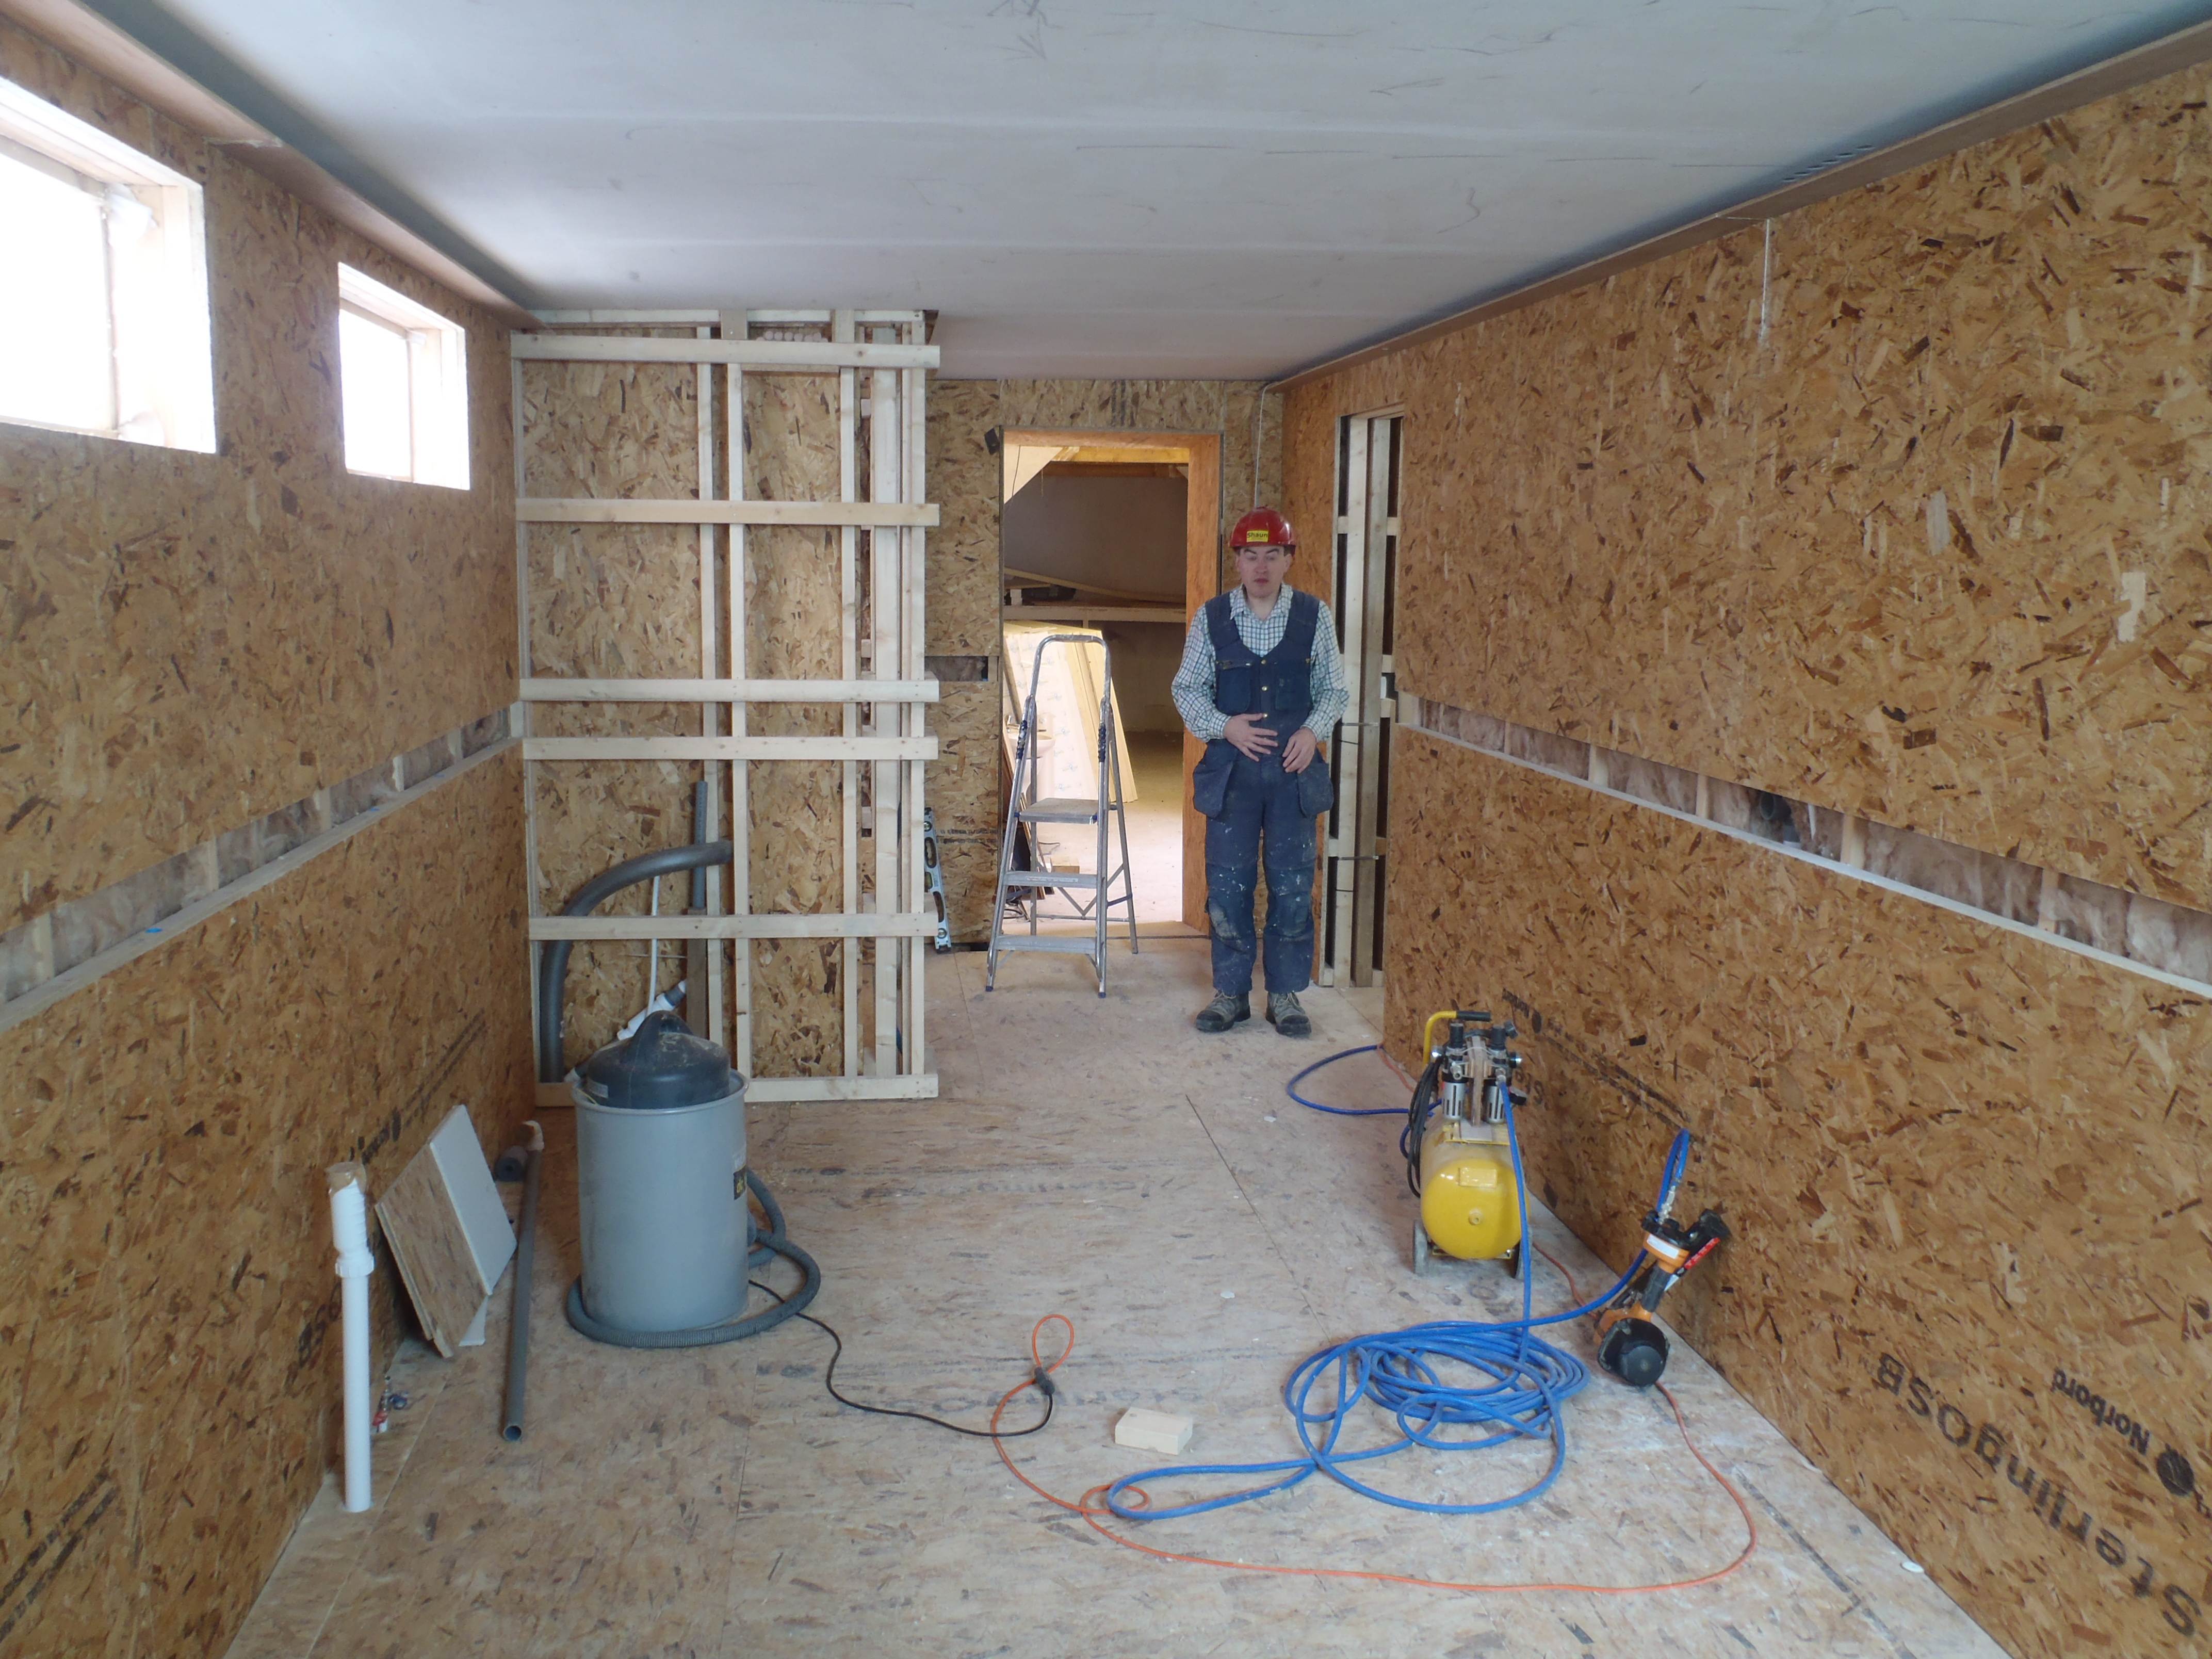
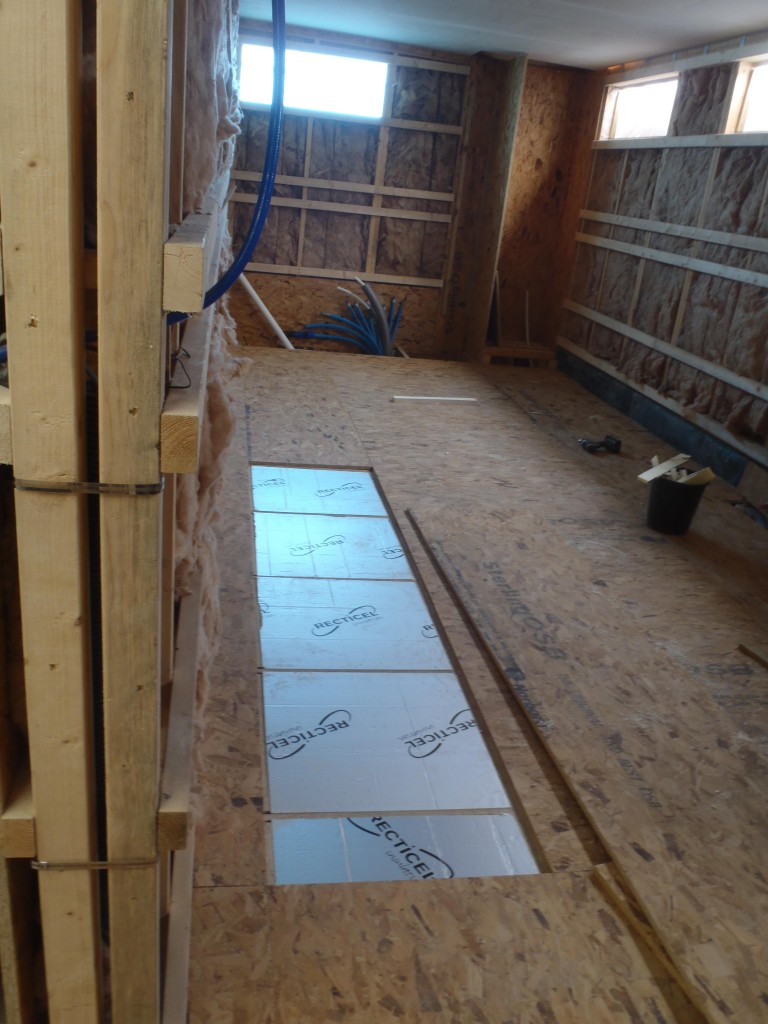
Garden room floorboards down
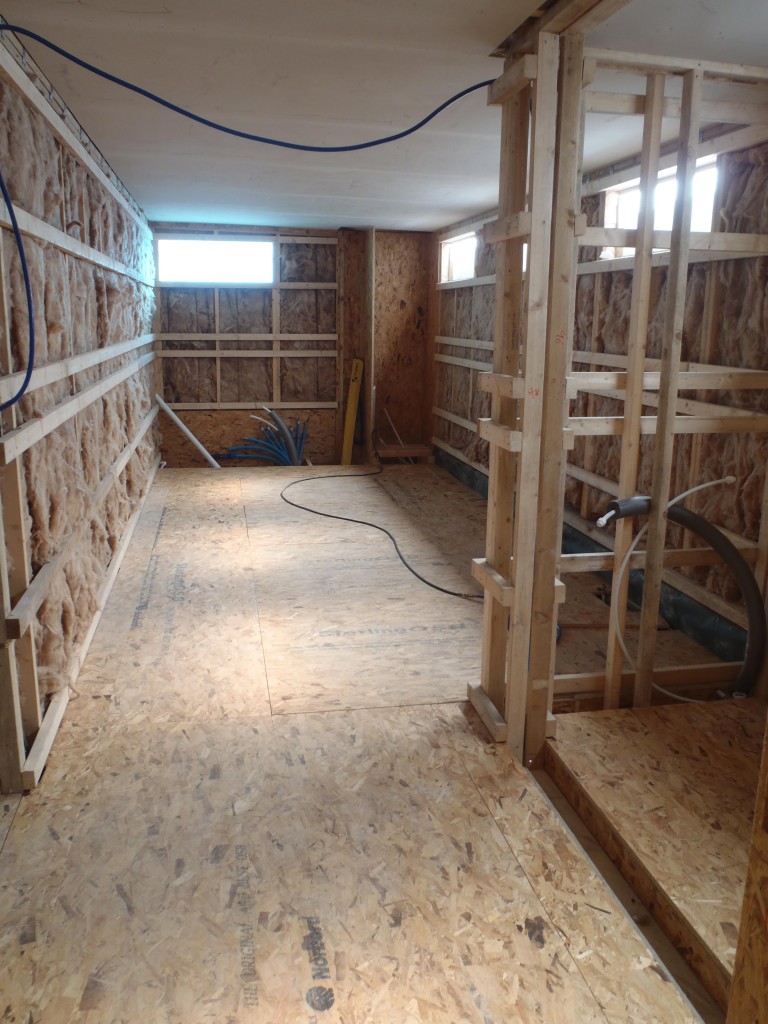
Garden room floorboards down
Garden room floorboards down
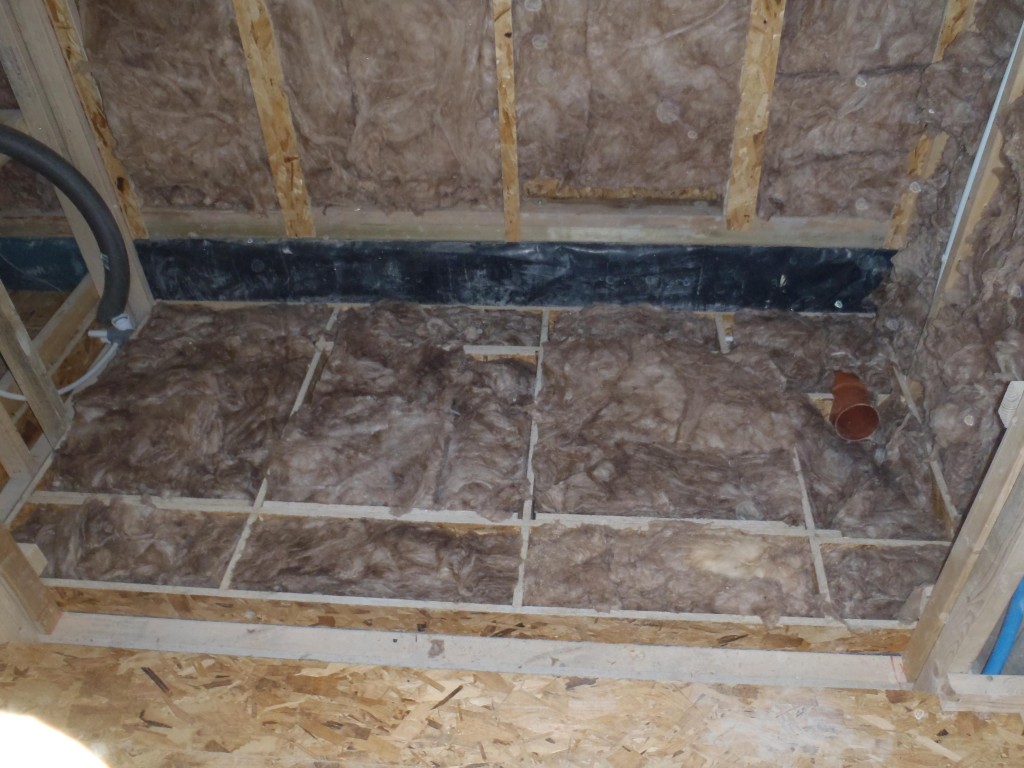
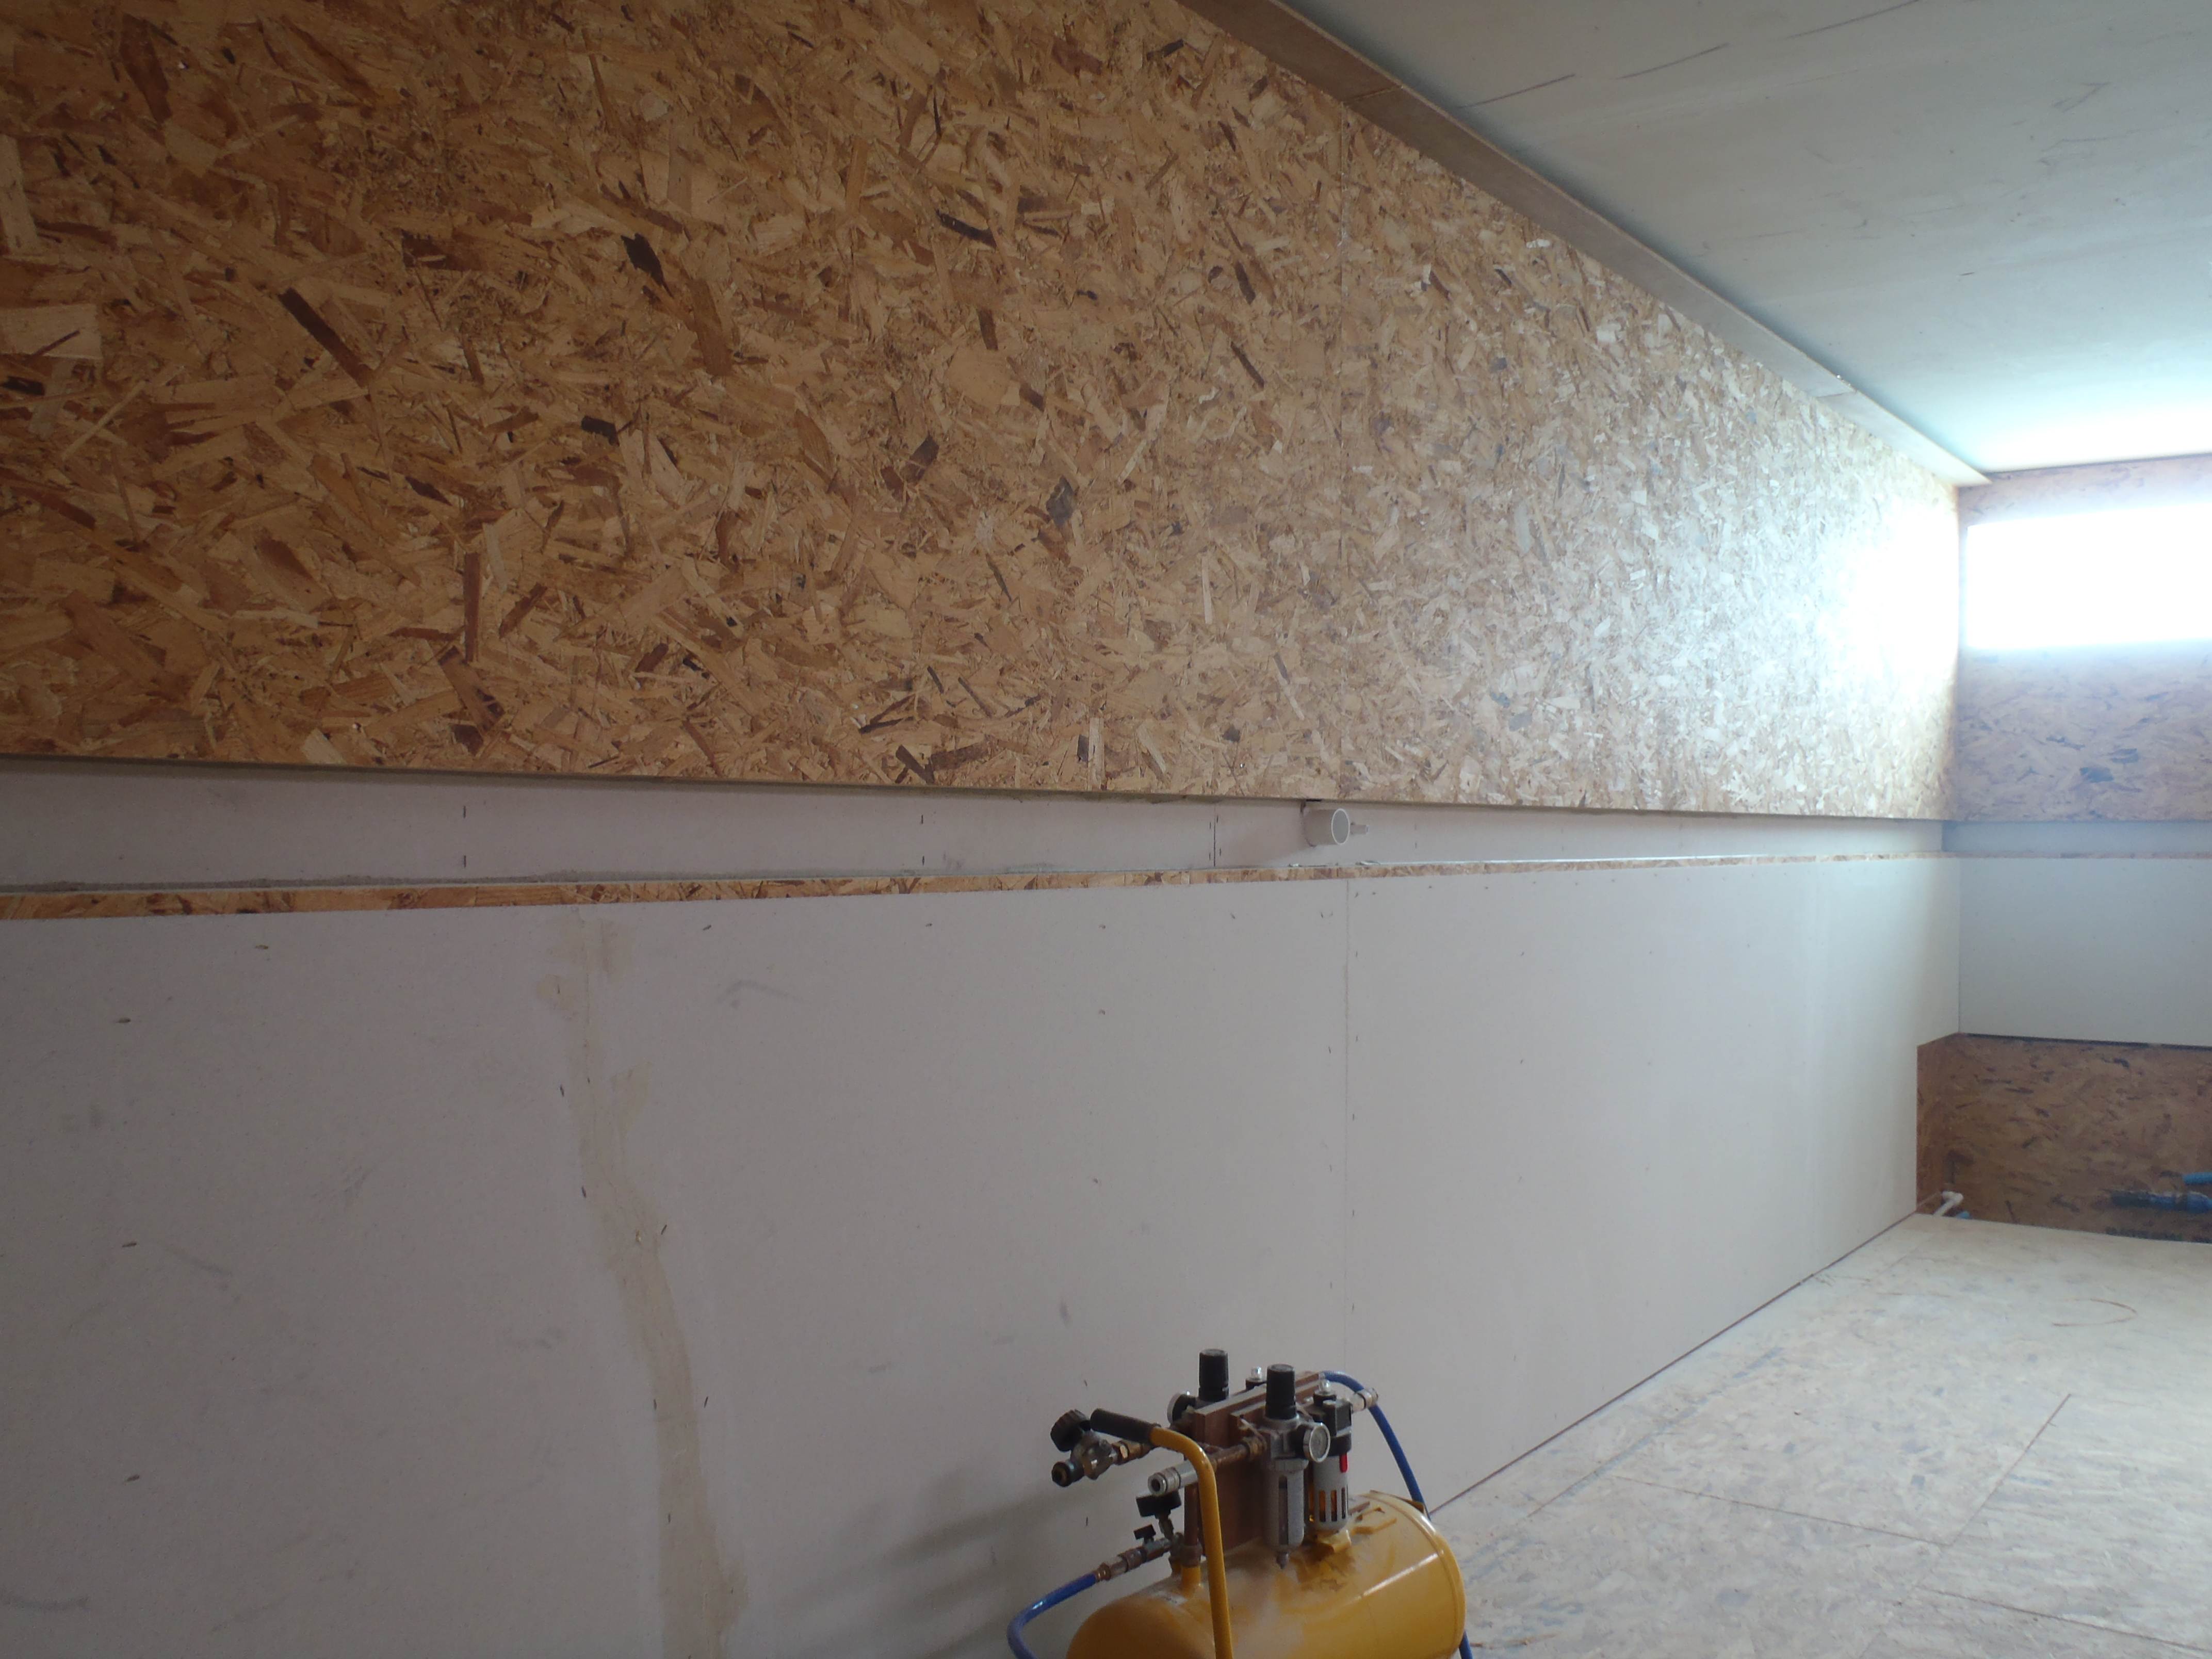
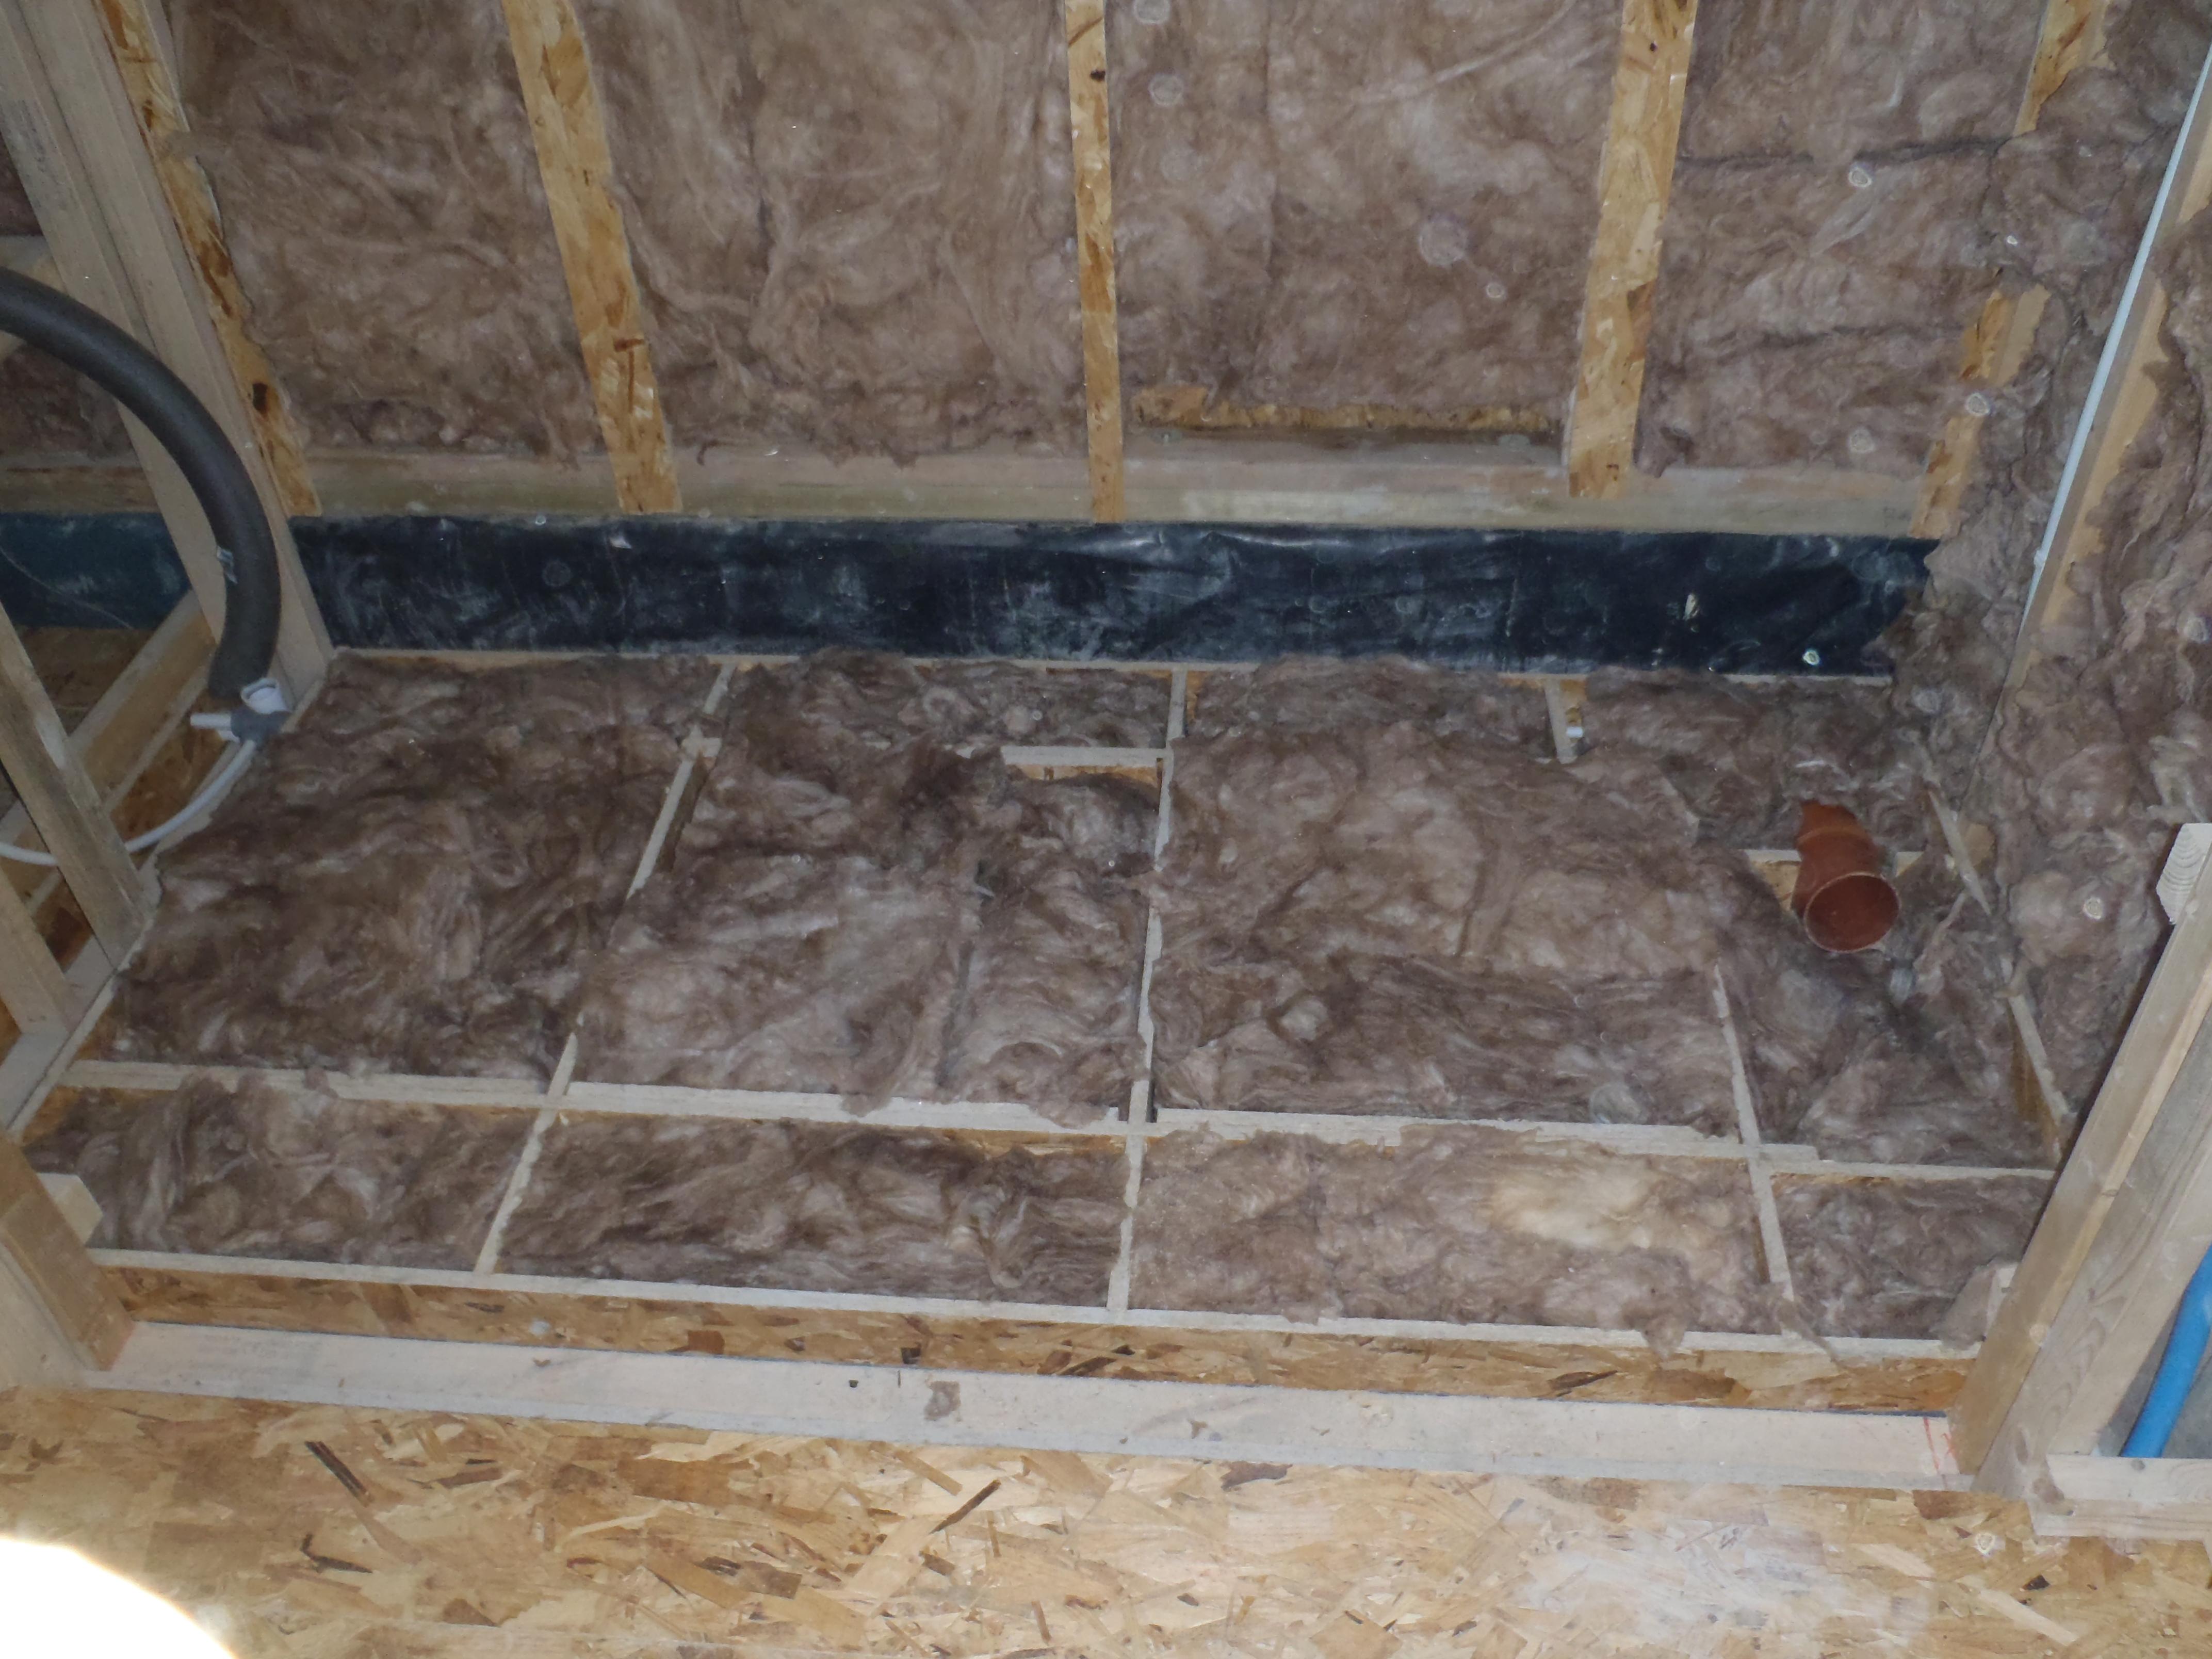
Garden room floor insulation
Garden room floor insulation
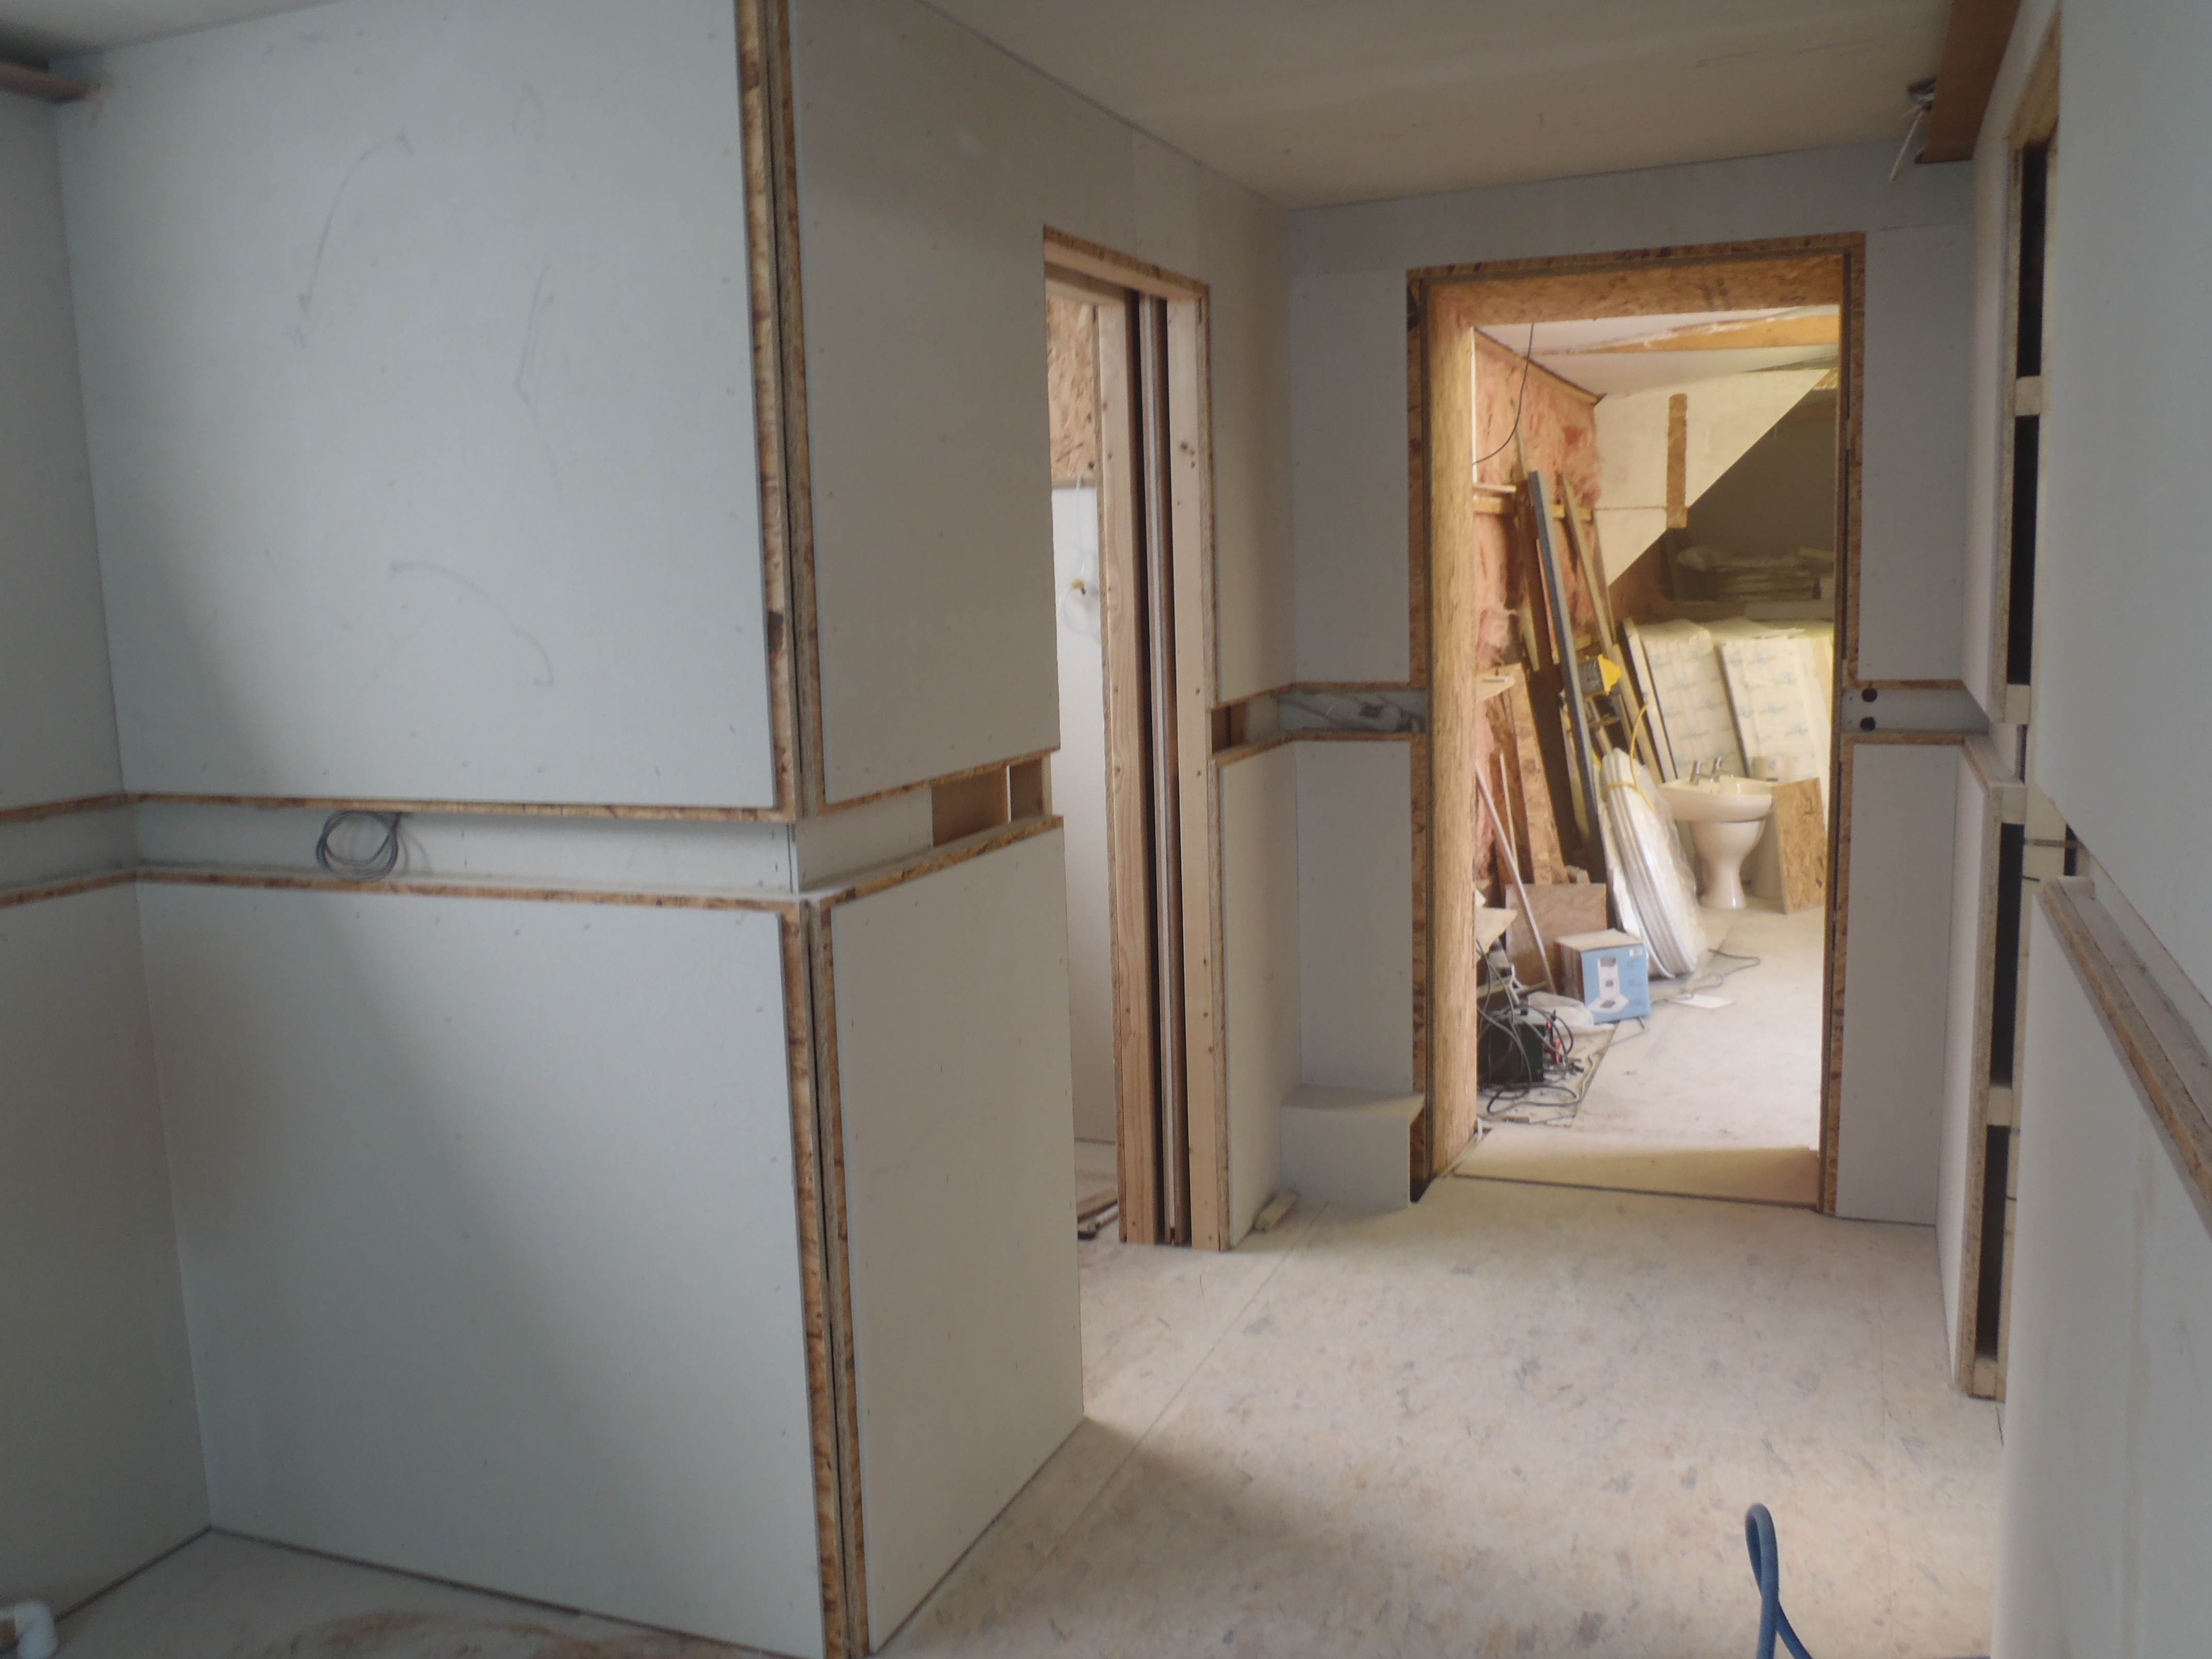
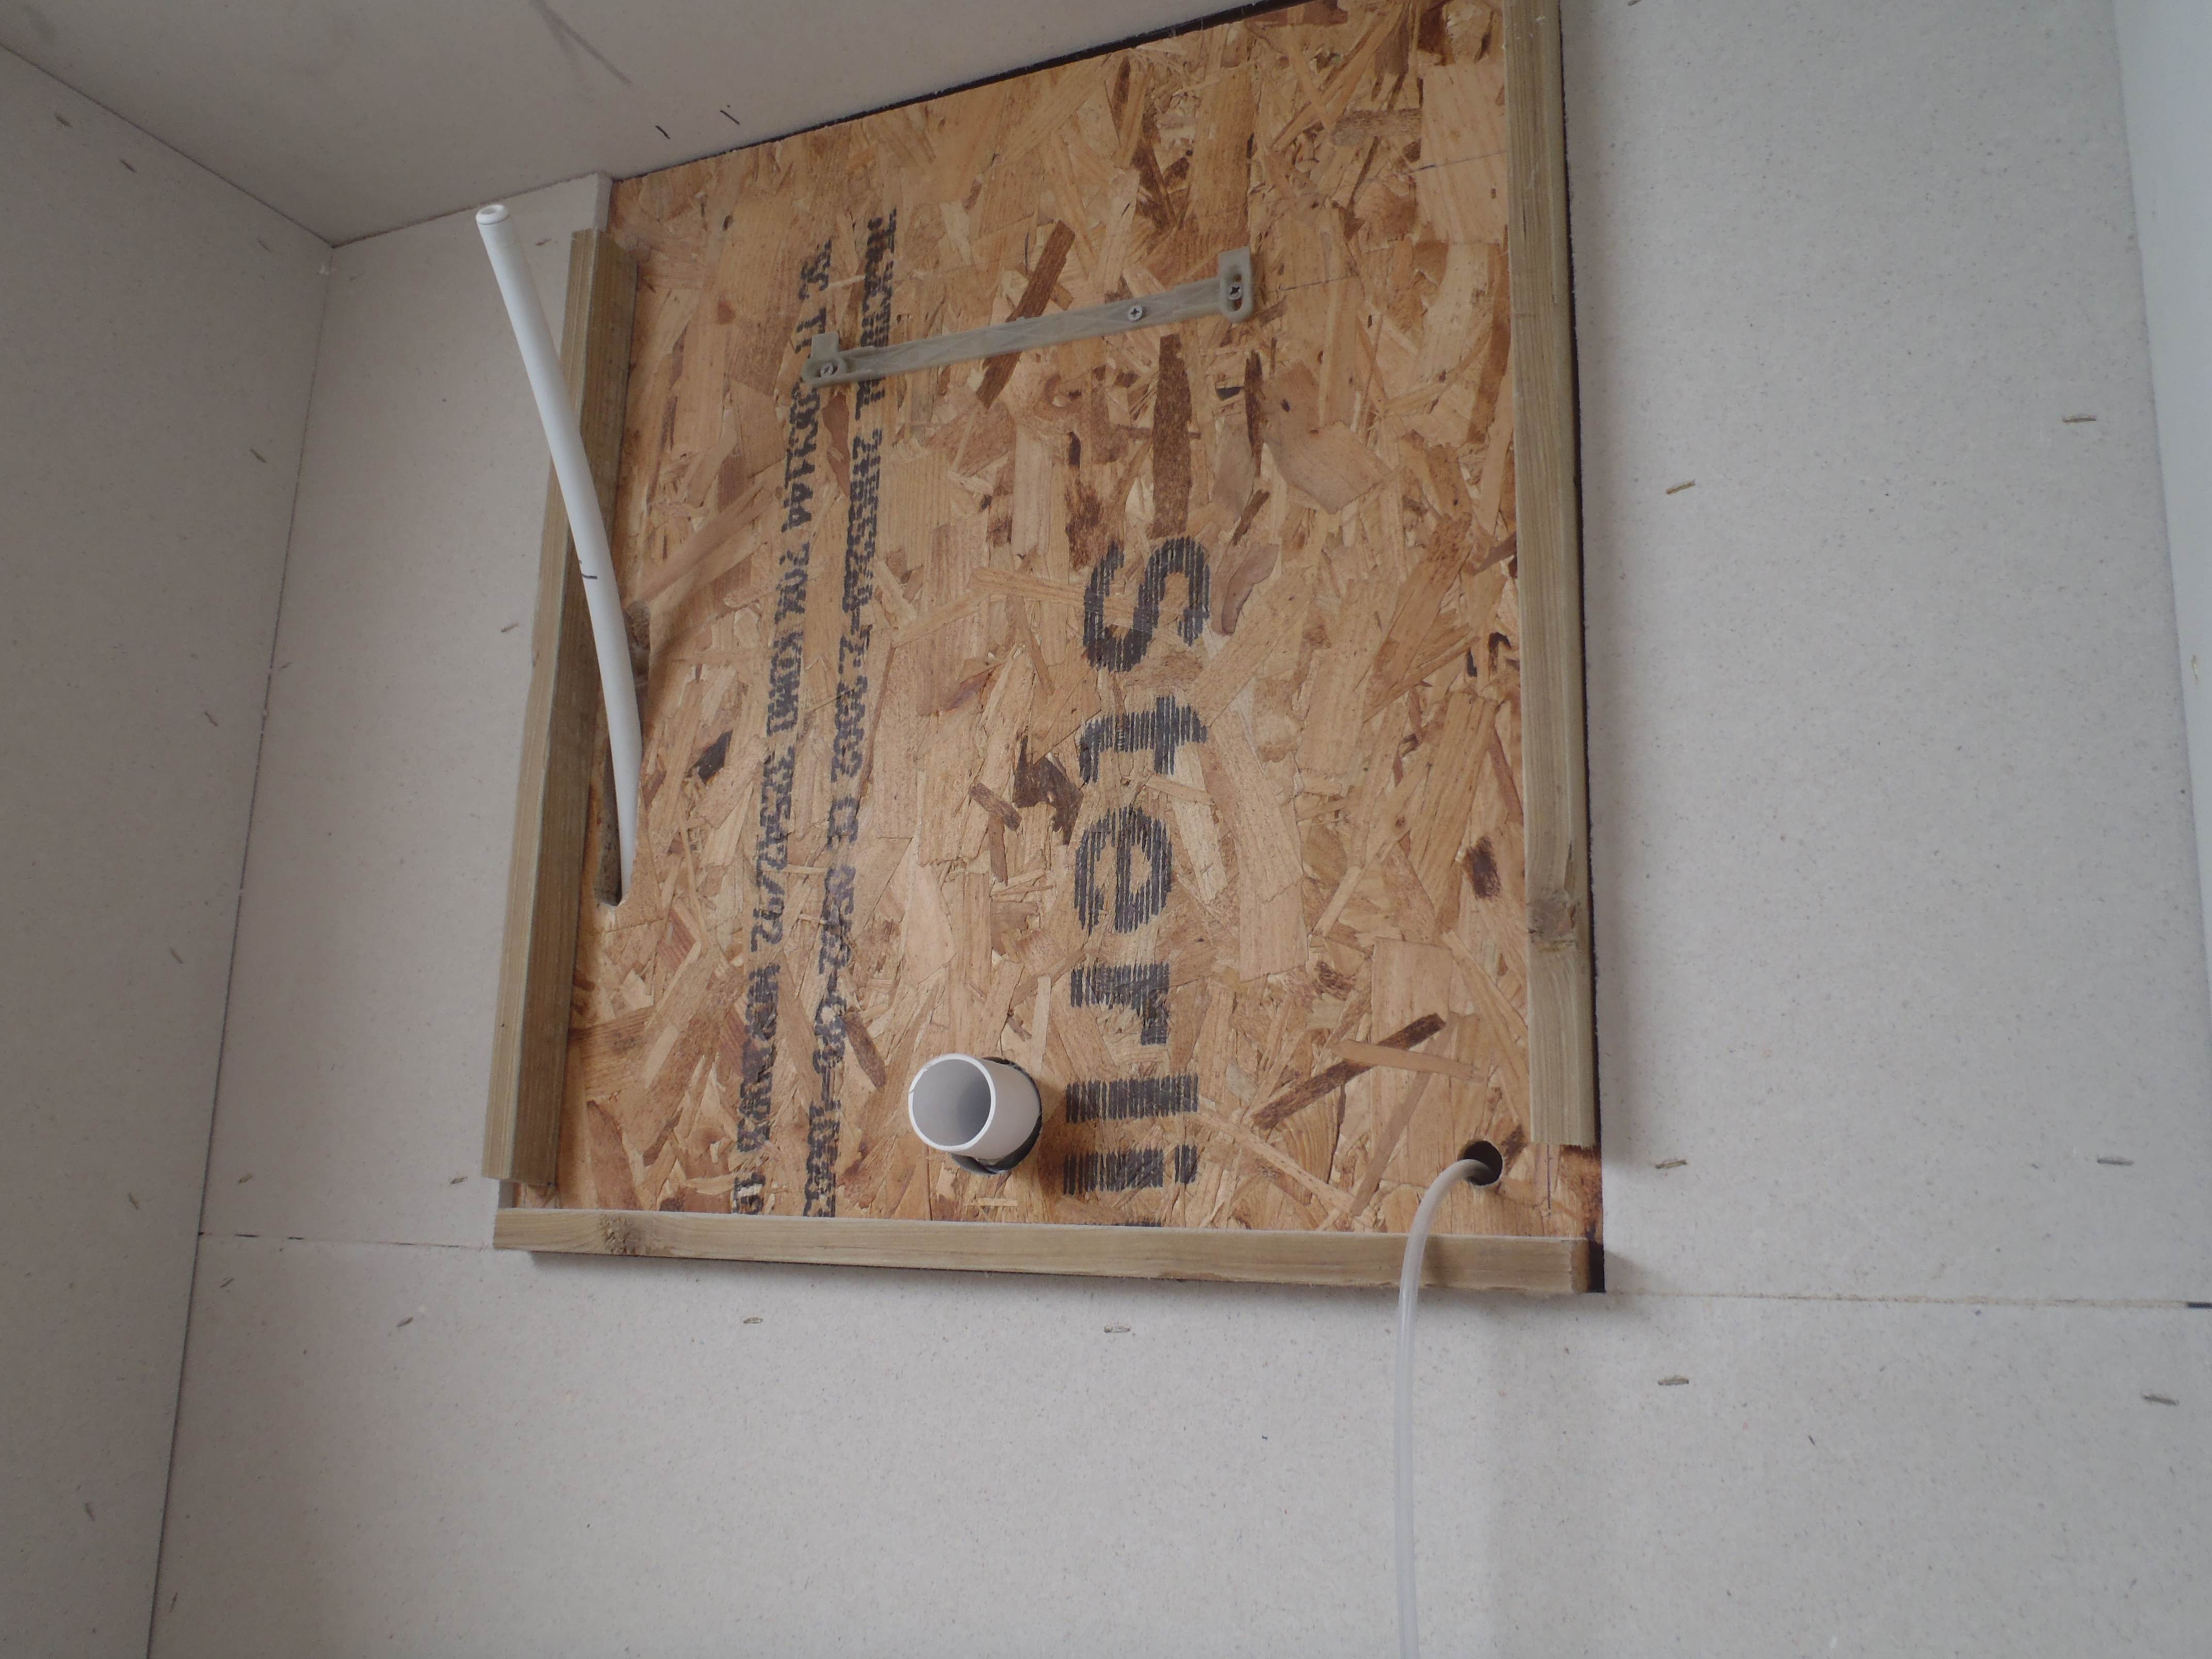
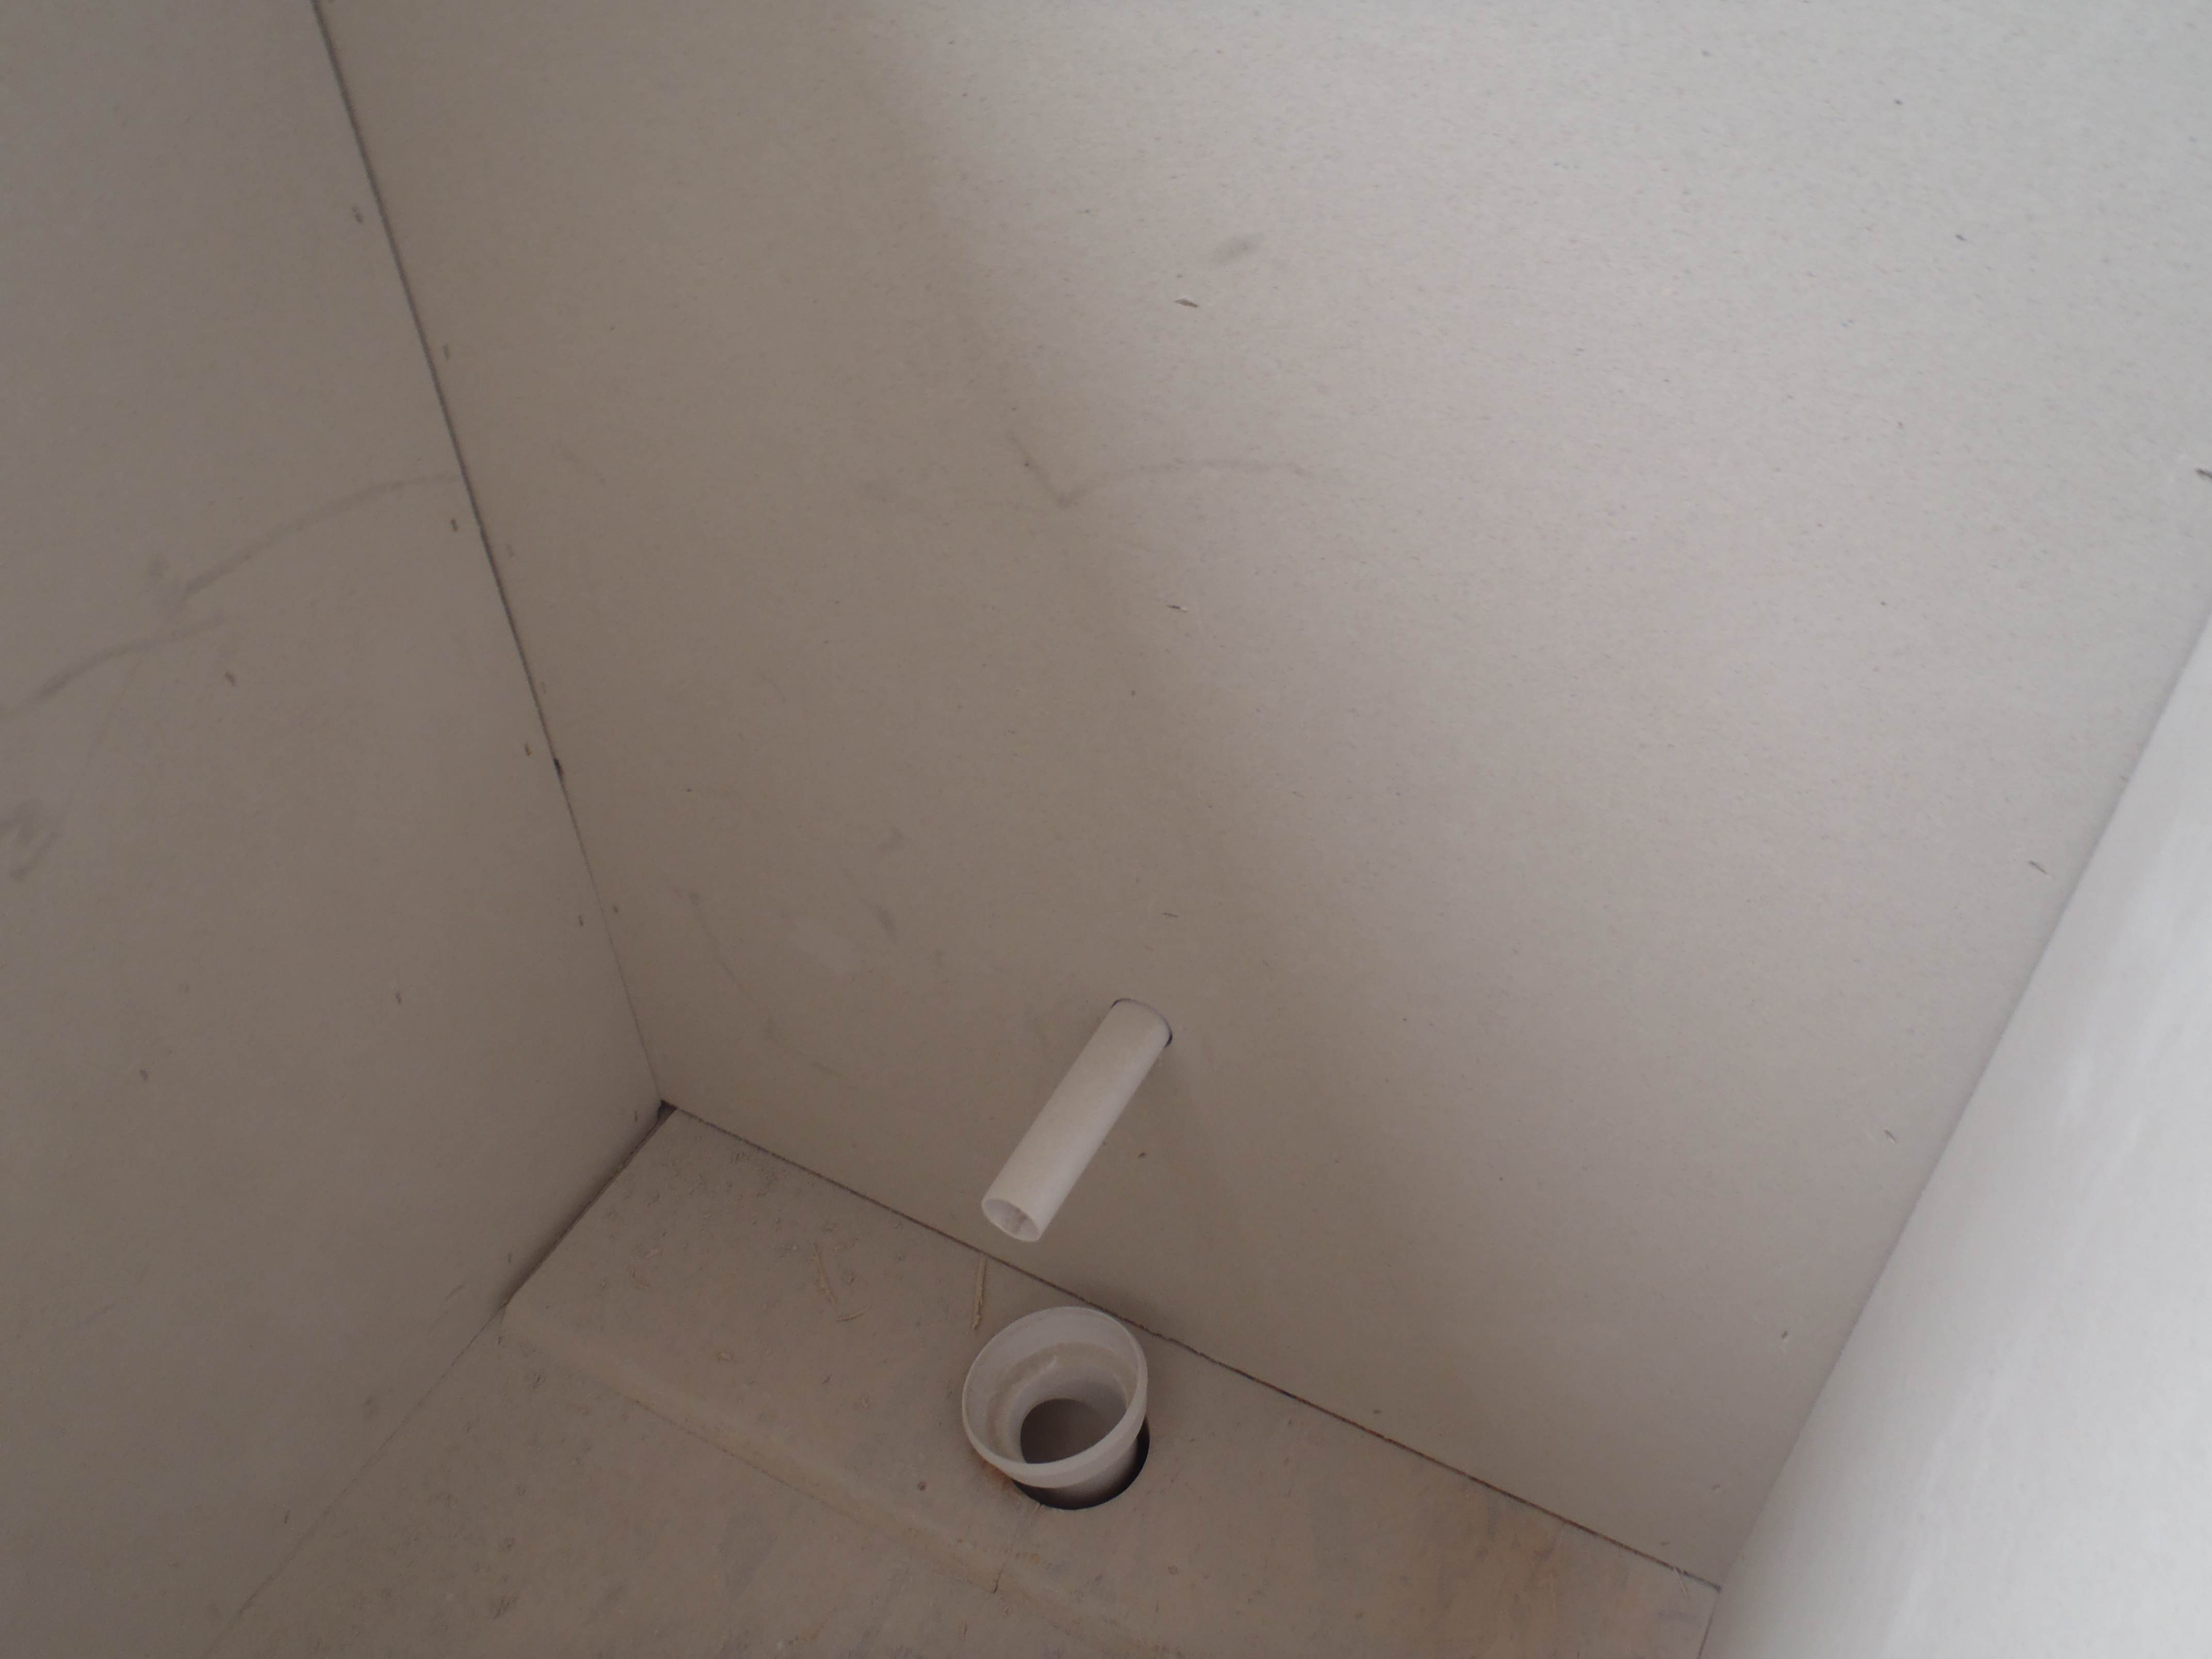
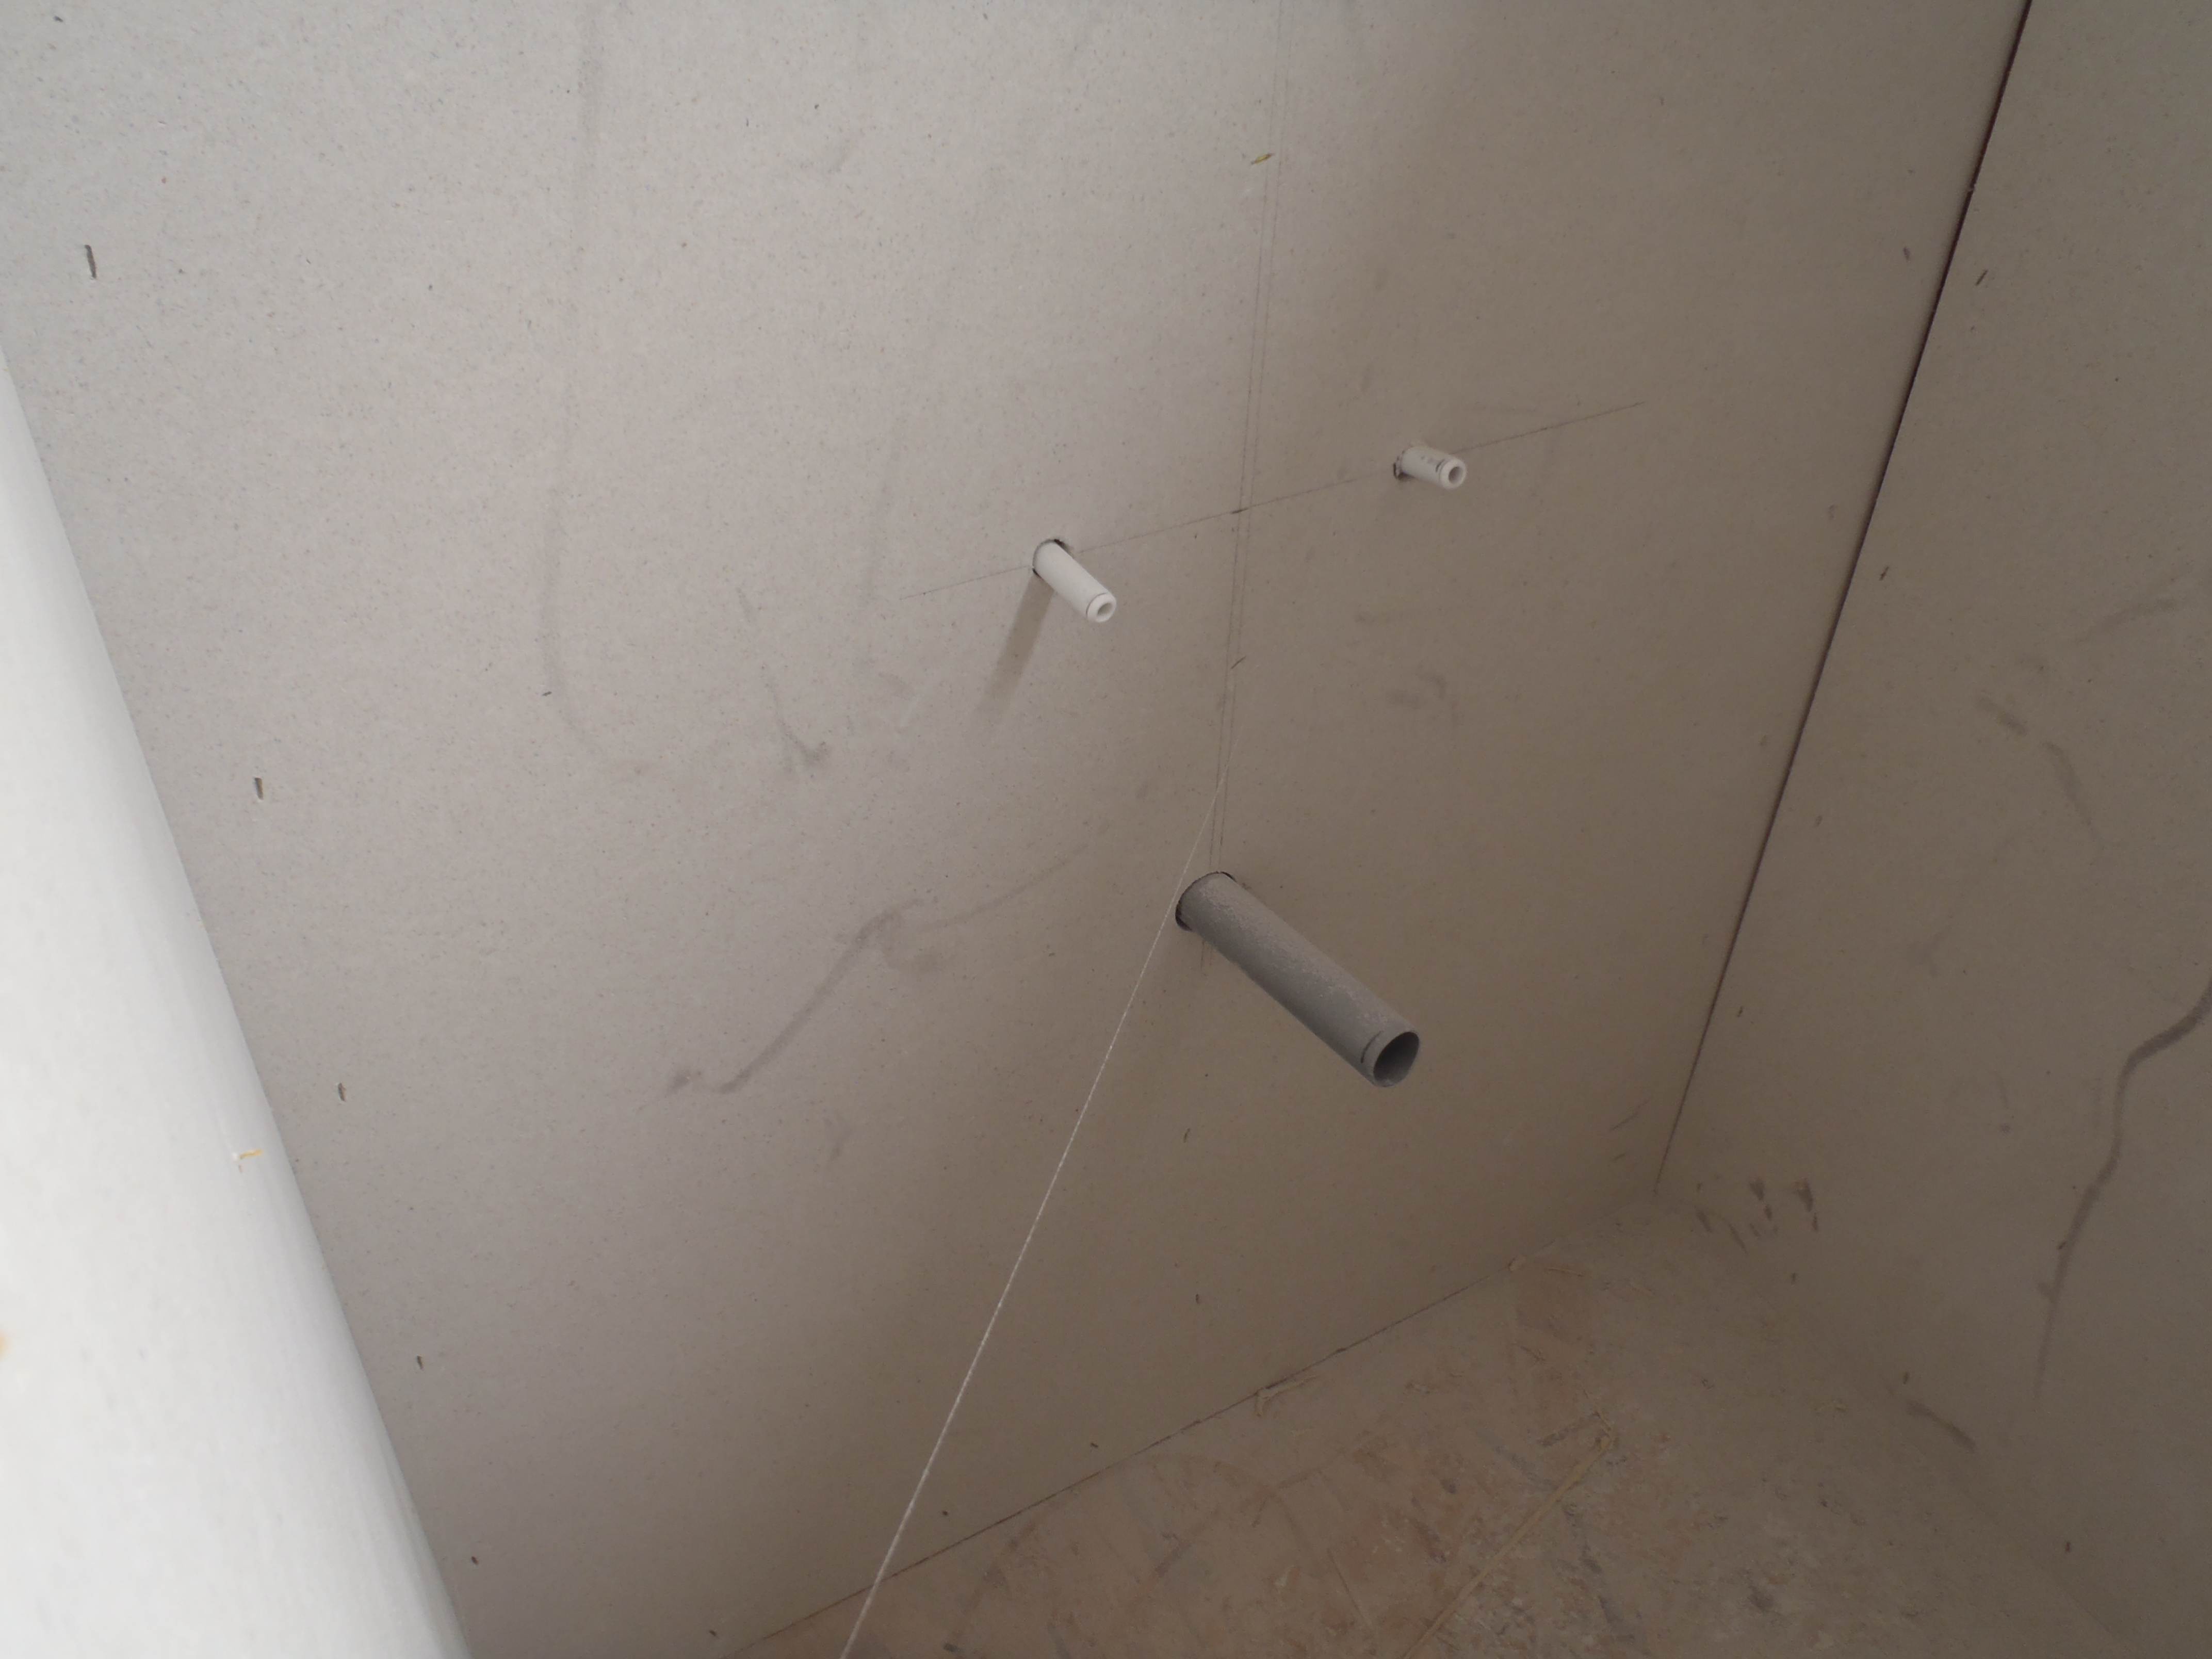
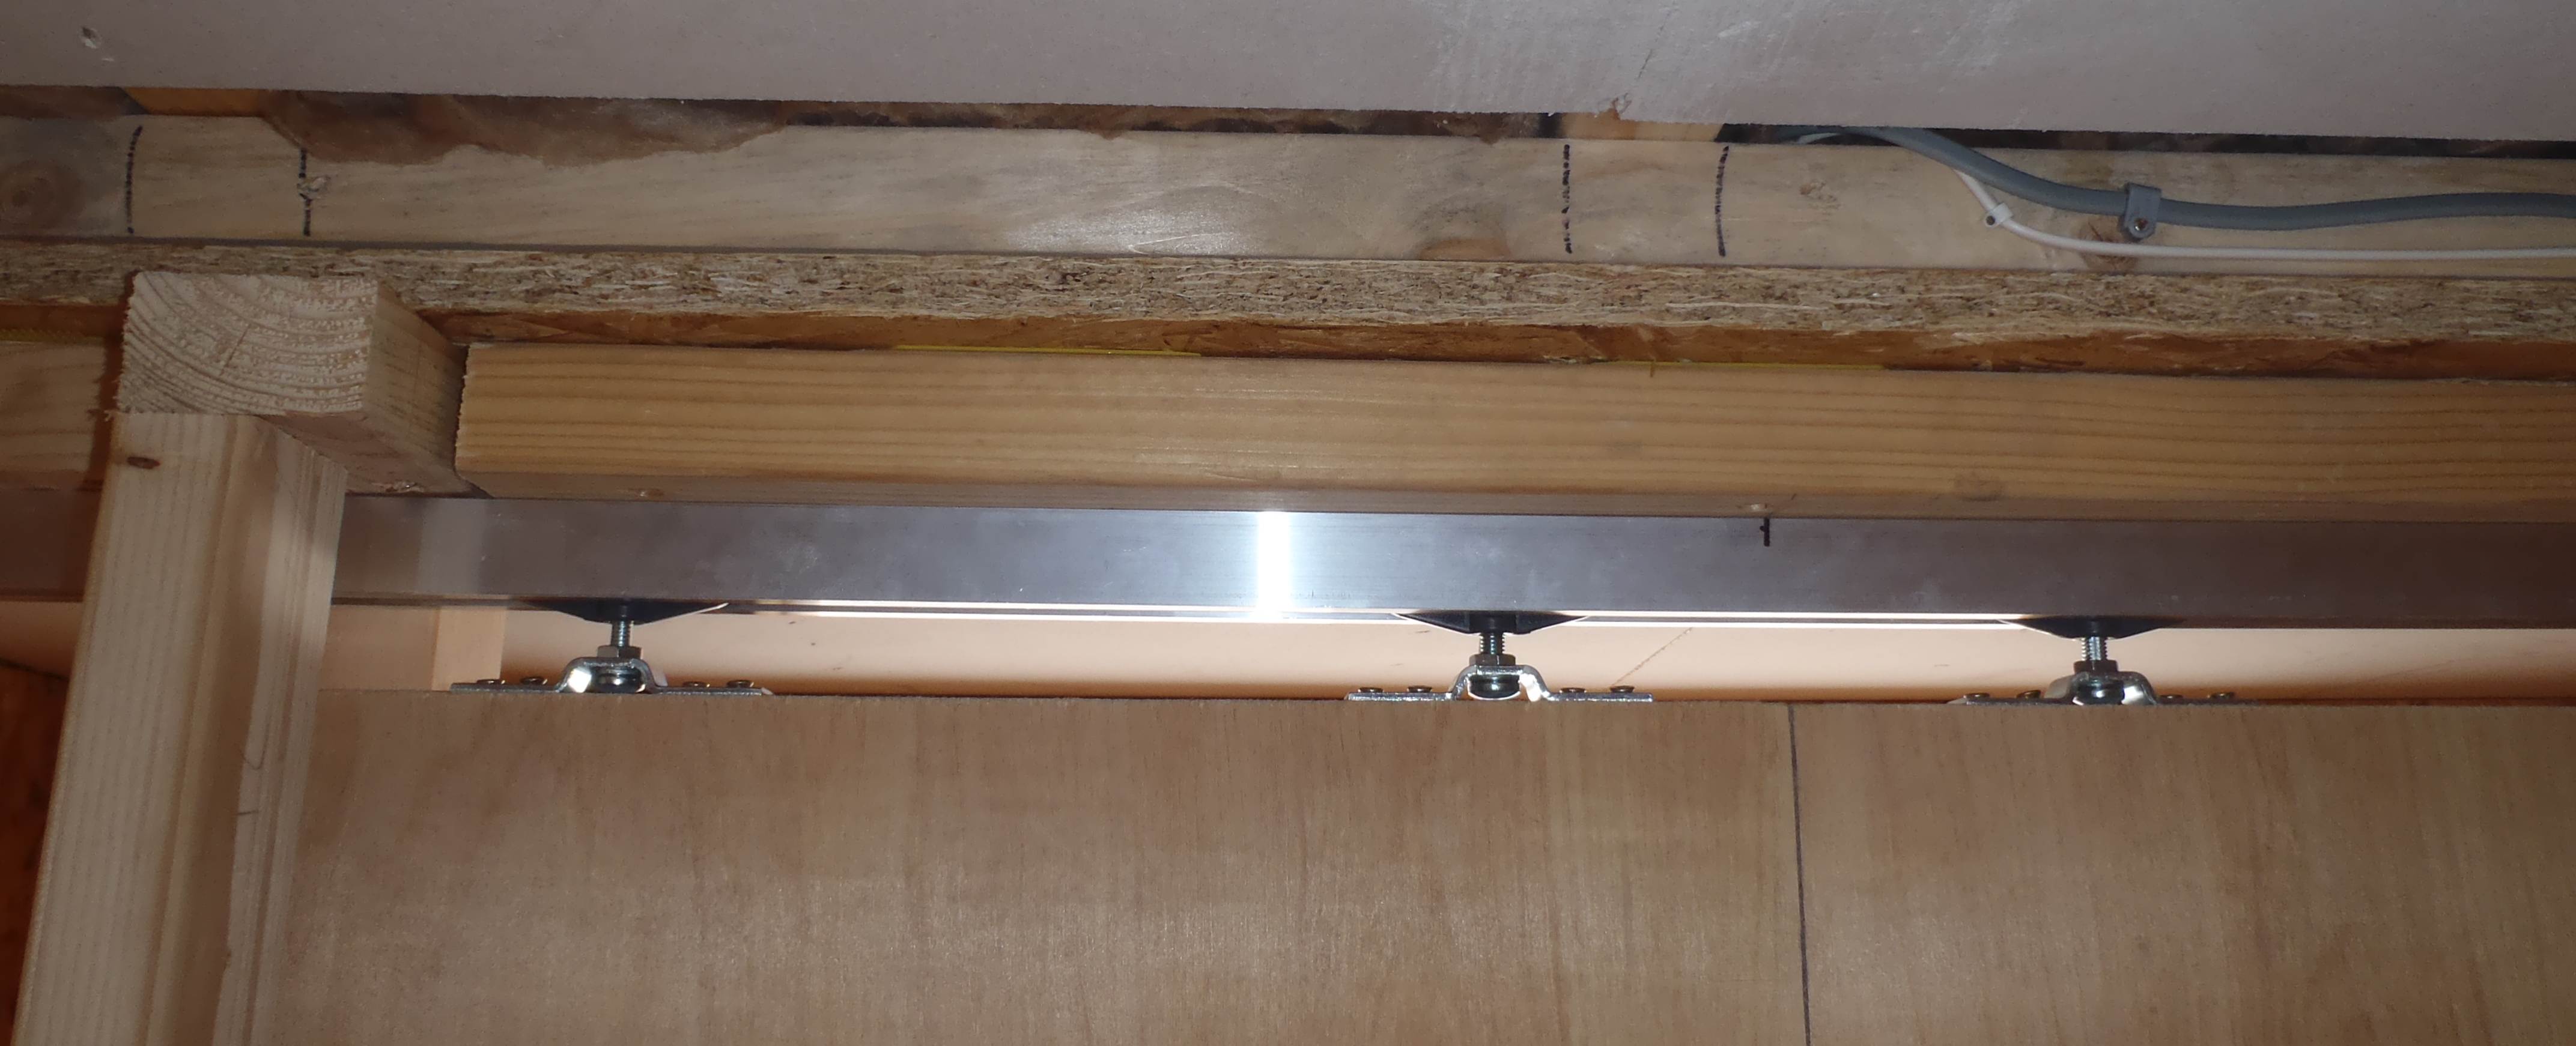
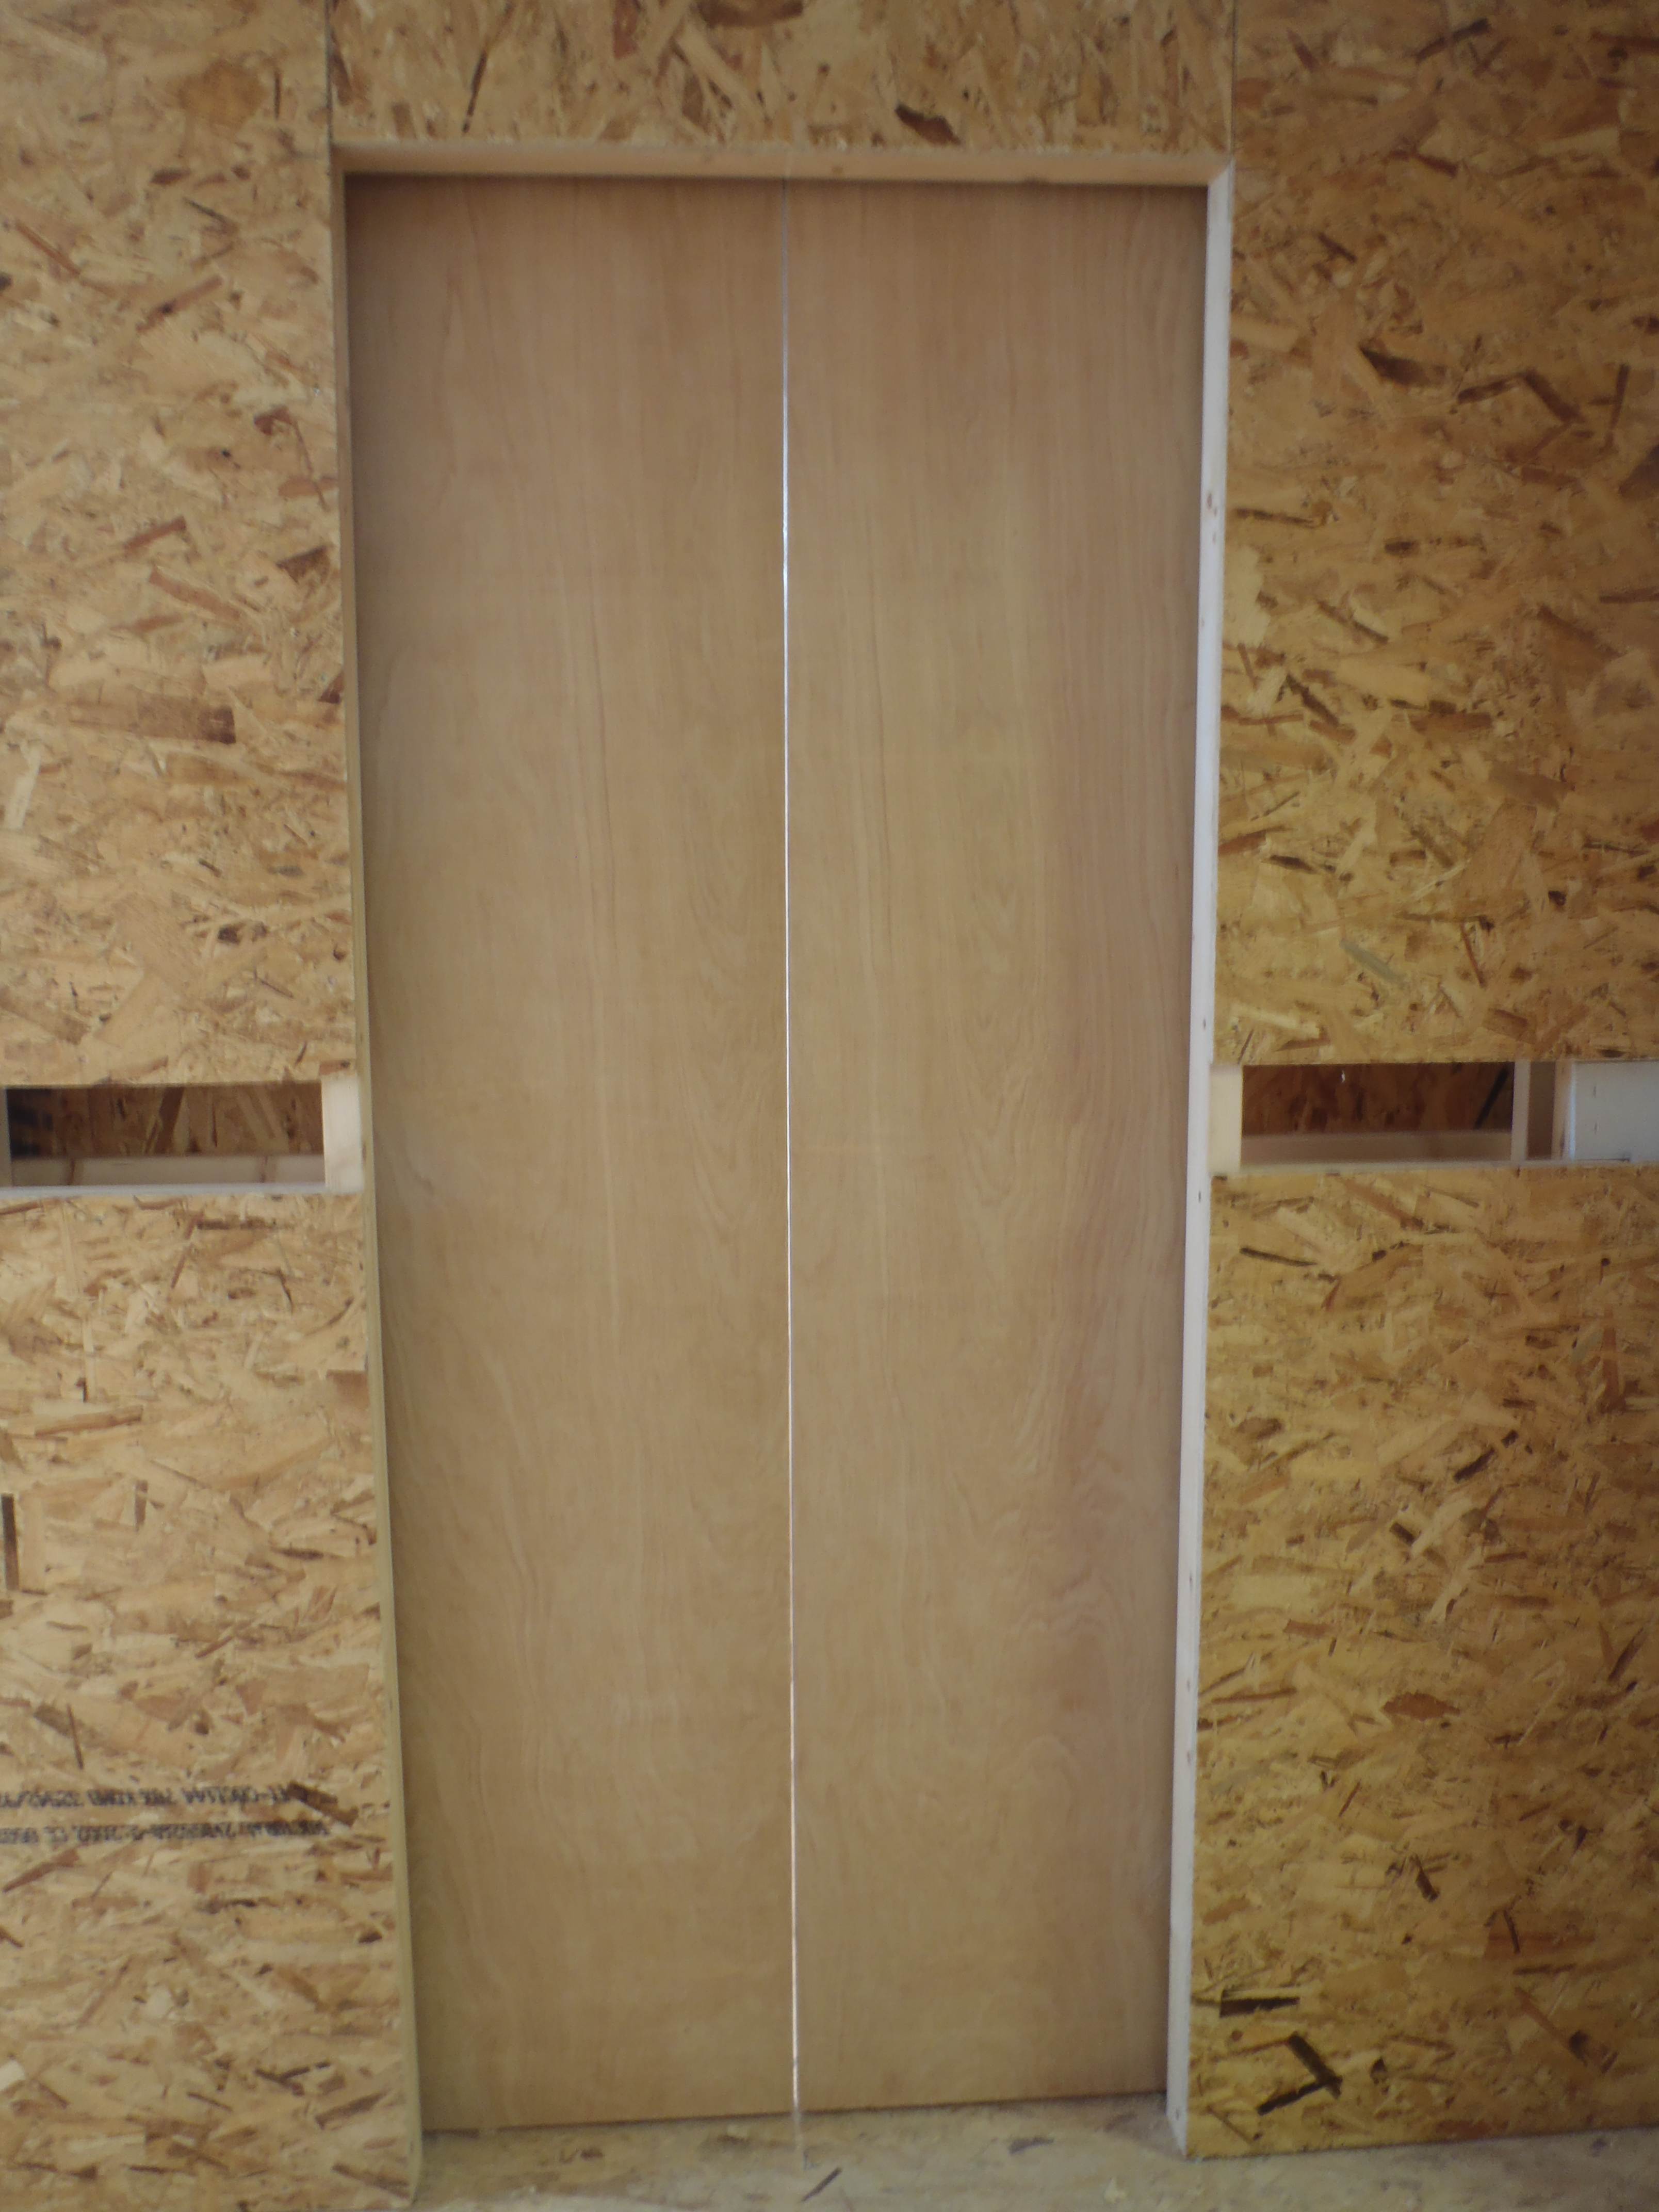
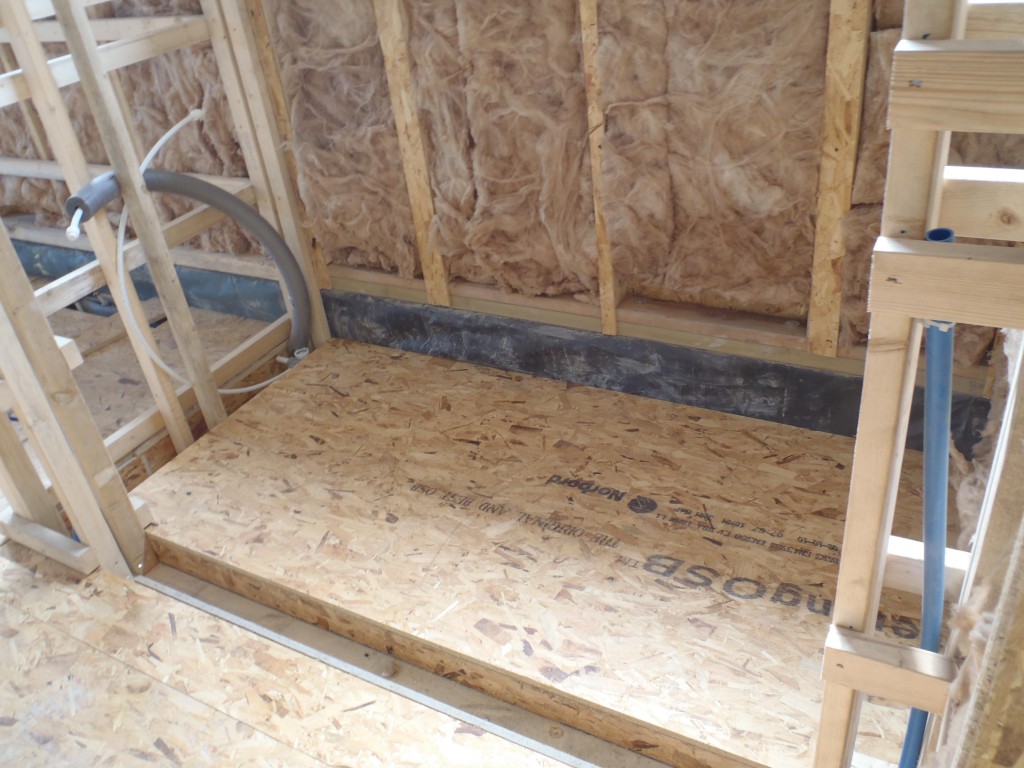
The WC (toilet room)has three walls up now, the cistern will be placed at the top of the wall, with the cold water feed and the flush downpipe hidden inside the wall. We are using one of those pneumatic air button flush system and the button is half way up the wall. It is ready for the toilet pan to be inserted after we have finished putting up the Fermacell, painted everything and laying down the lino flooring. We have test fitted everything of course and it is fine!!
~images
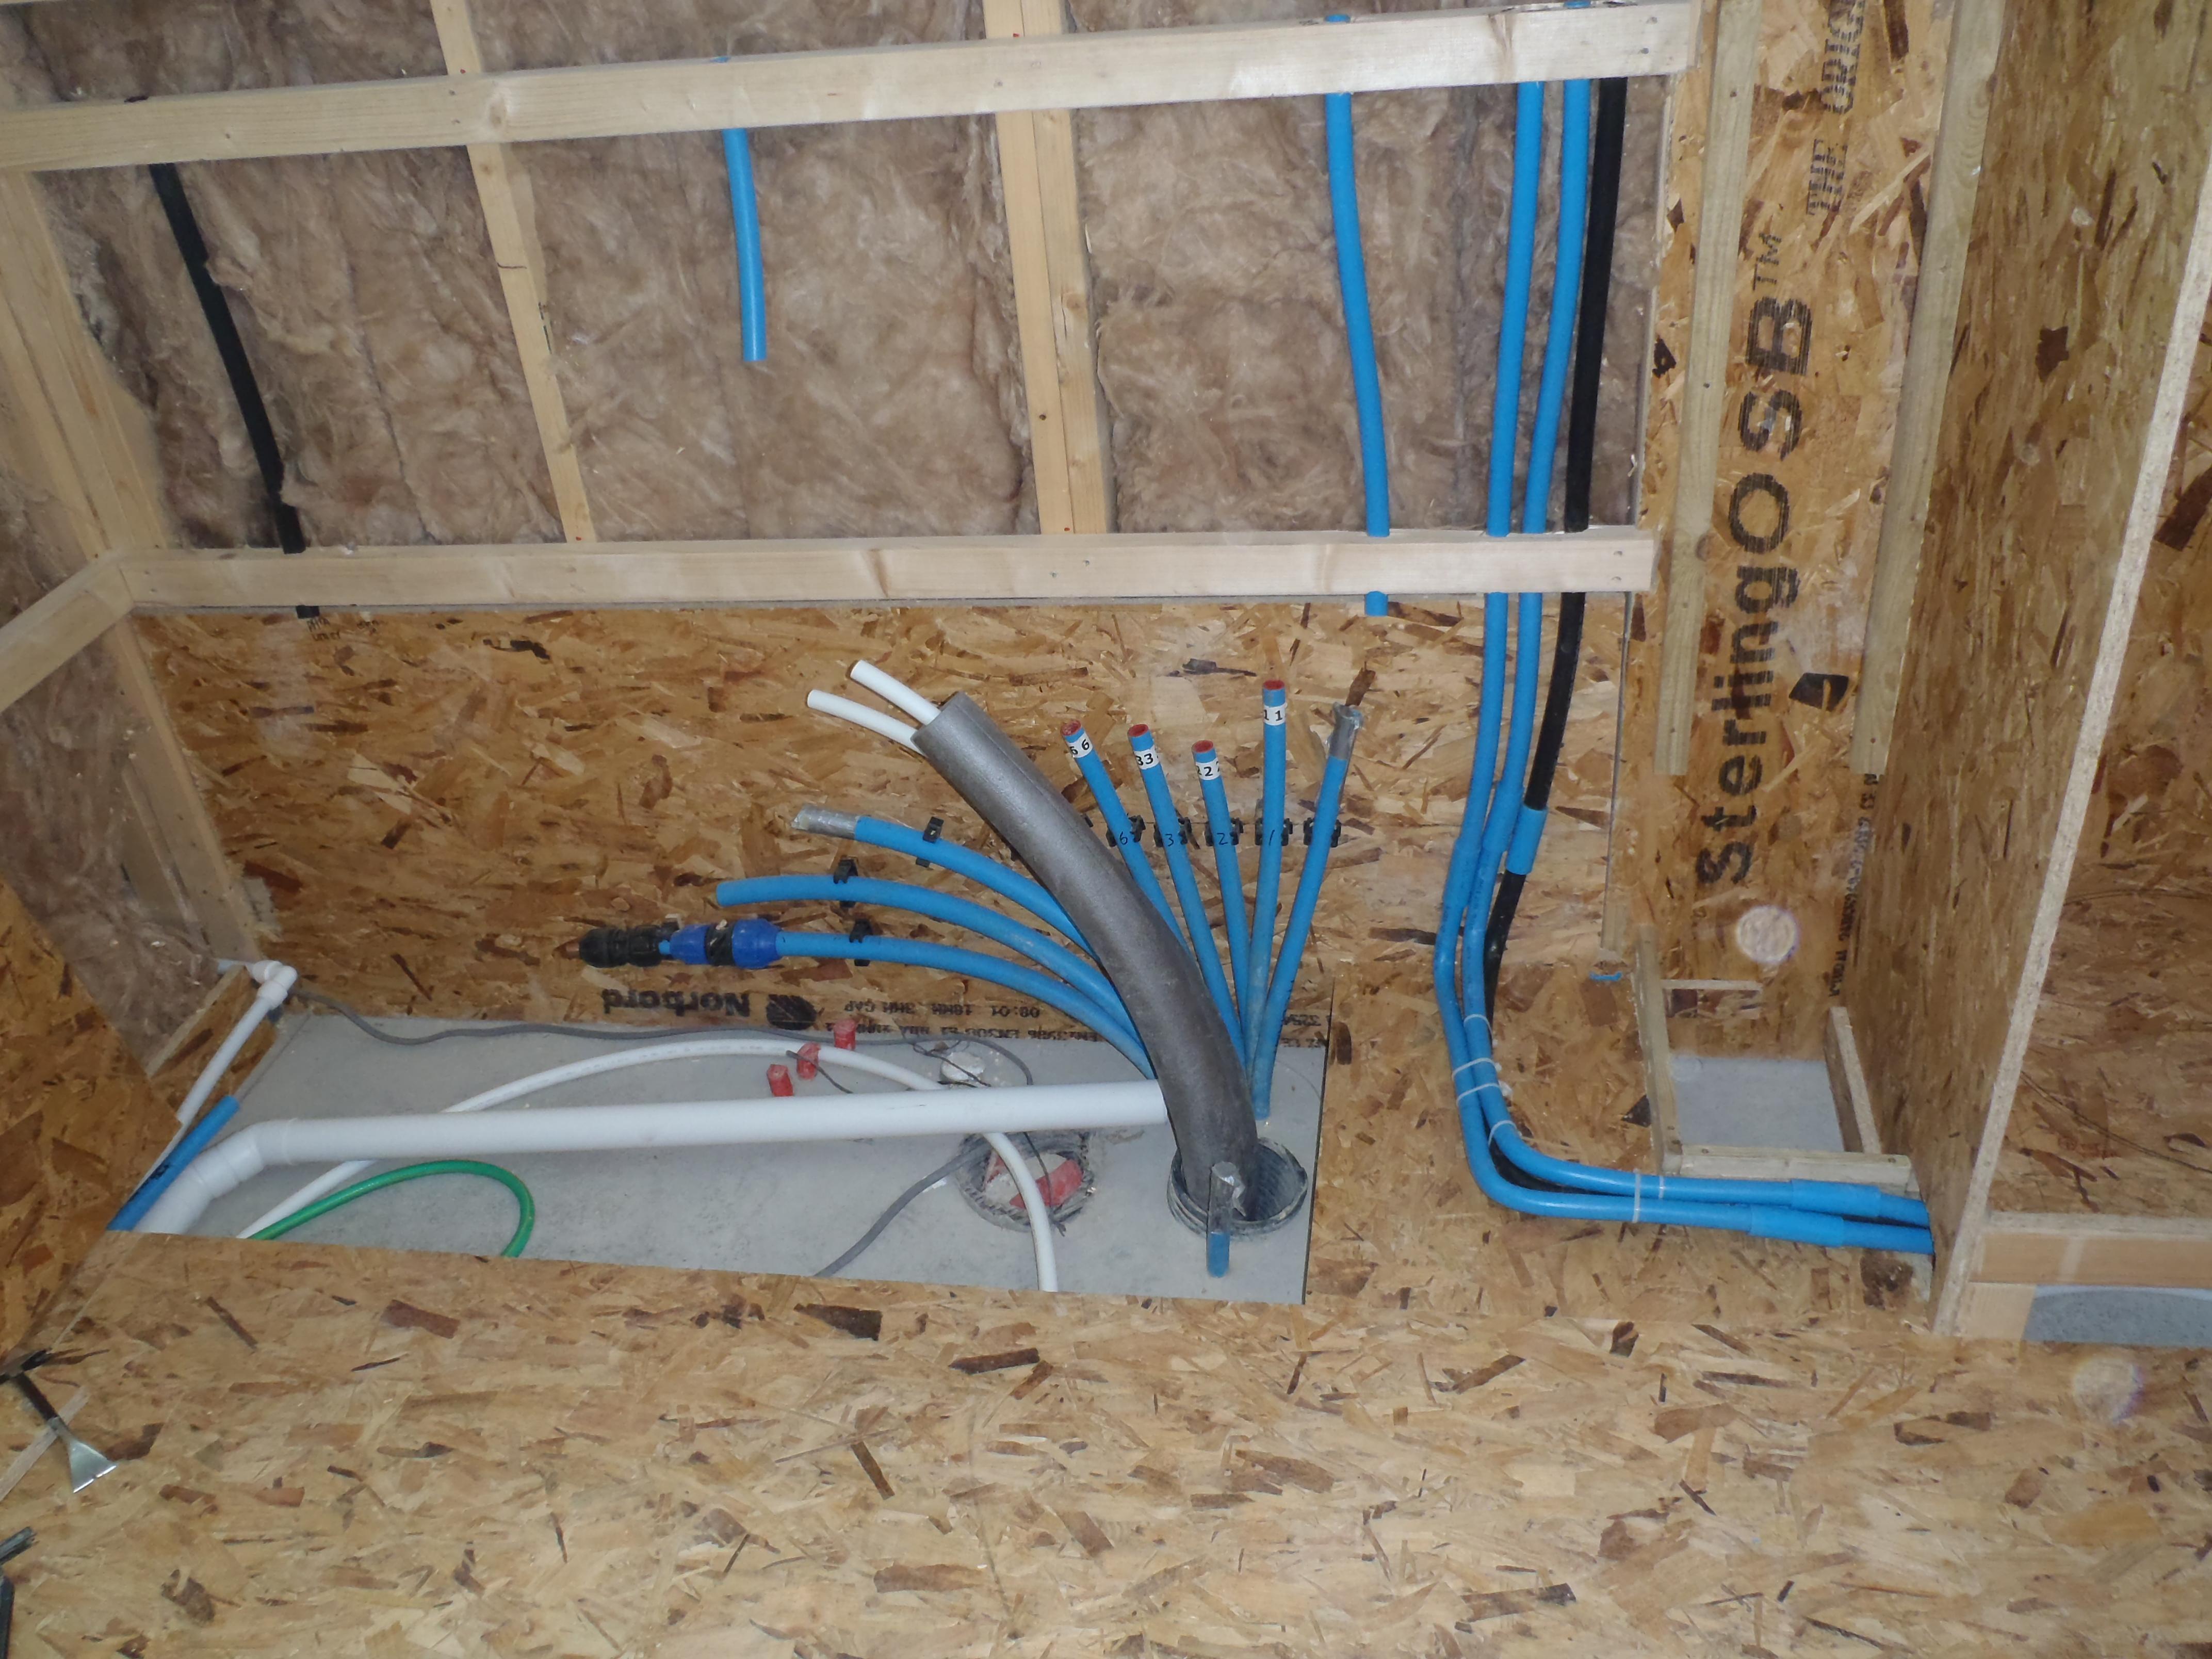
The main collection of pipes and conduits coming up into the garage has been sorted out and arranged in a neat order, clipped onto the back wall. The platform for the hot water tank has been assembled in the corner and we are waiting for the delivery of the tank itself (a 400mm diameter with 35mm thick PU foam and 1500mm tall – we are planning to put an extra 50mm PU foam around tank to reduce heat losses).
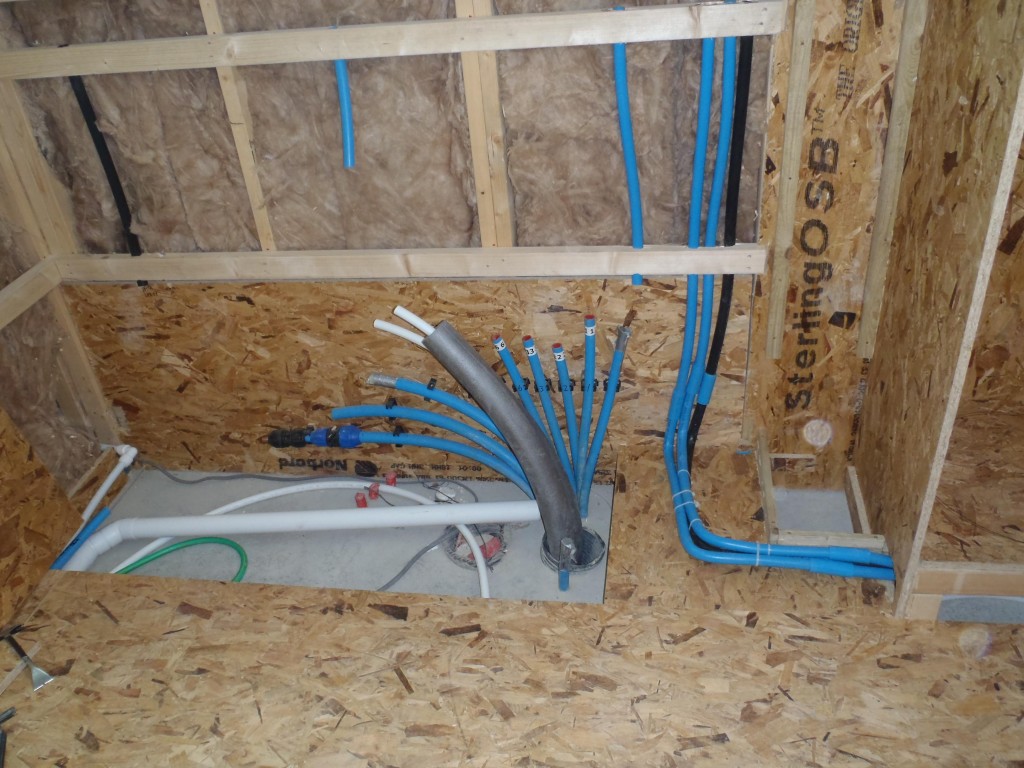
ducts & pipes tidied