All ten tubes are up and installed right around the Light Channel in the large front room of the Garage. Each T5 tube produces about 5000 lumens as stated on the manufacturer’s data sheet and consumes about 60watts using high frequency electronic ballasts. This gives an efficiency rating of 83 lumens per watt which is about double the required rating in the building regulations.
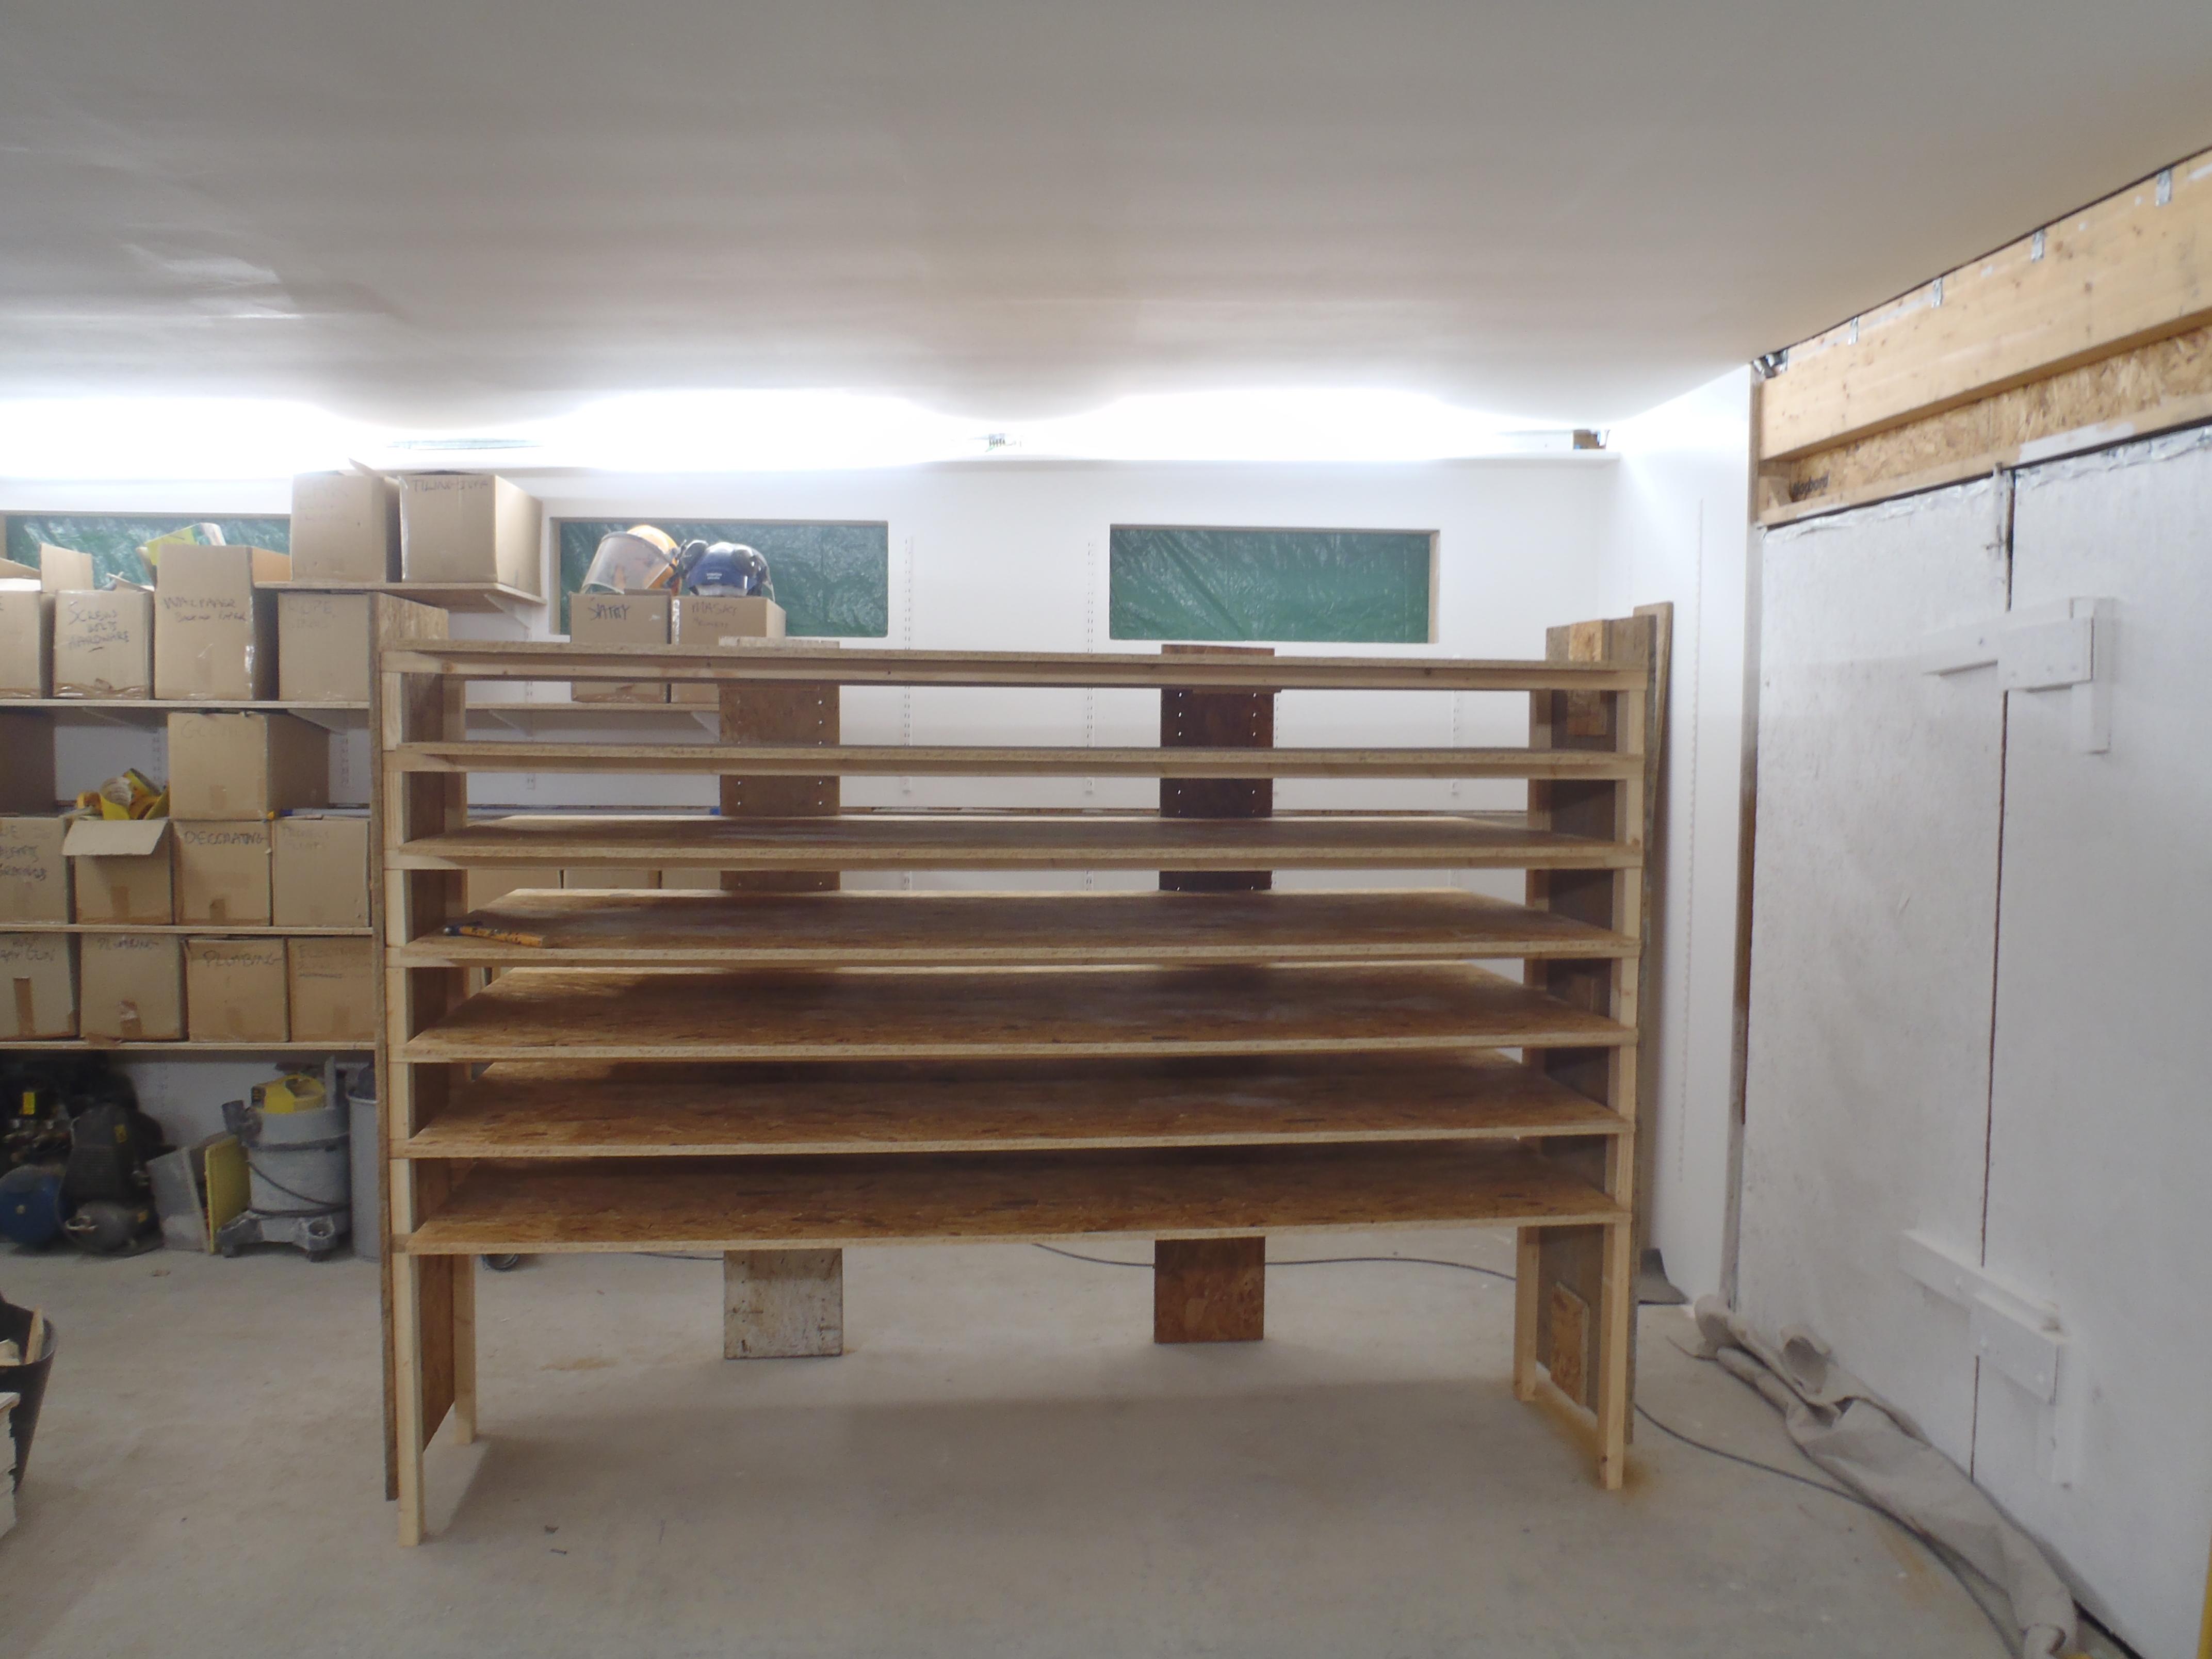
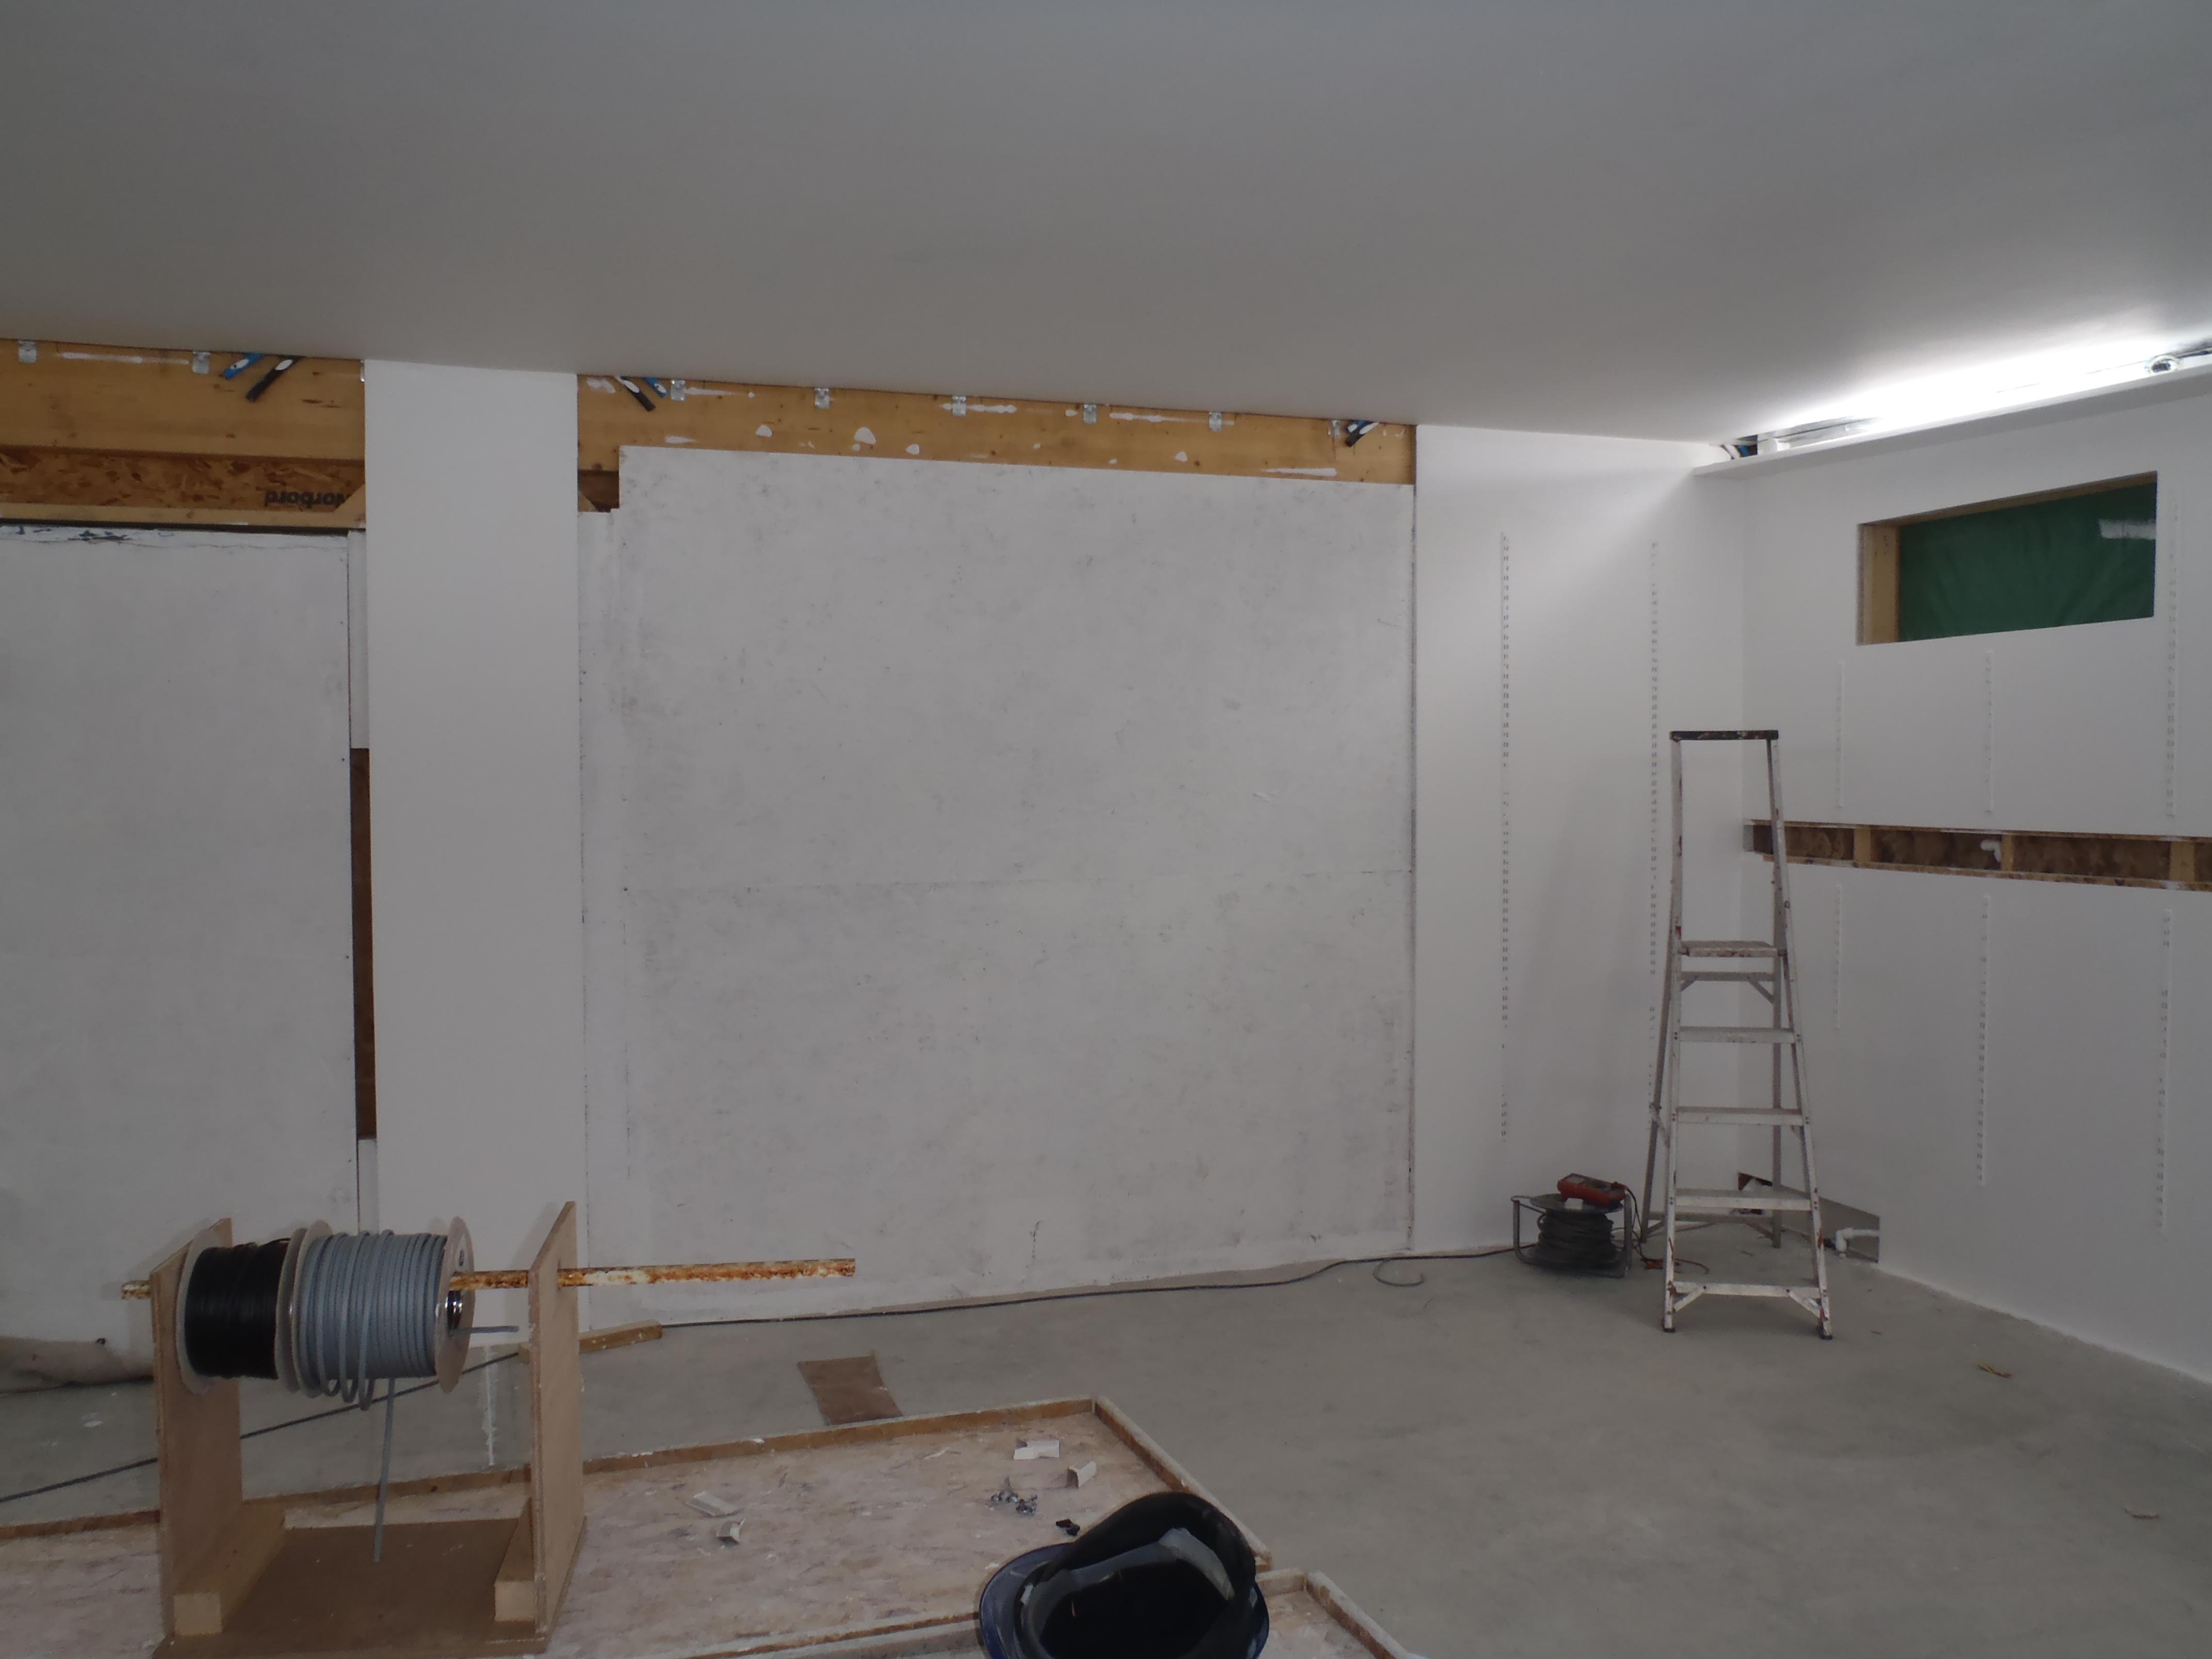
So in total there would be a maximum of about 50,000 lumens! The size of the room is 8.2metres (26.5 feet) wide by 5.75metres deep (18.5 feet) and the ceiling is 2.5metres sloping up to 2.6metres (over 8feet), which is a large room!
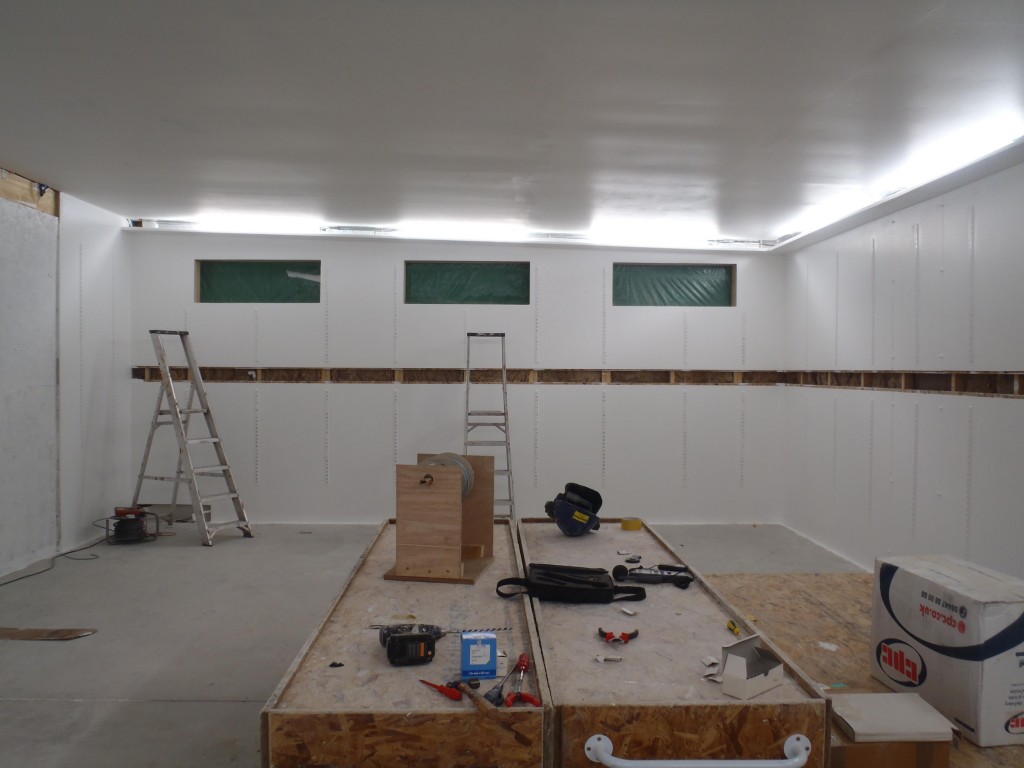
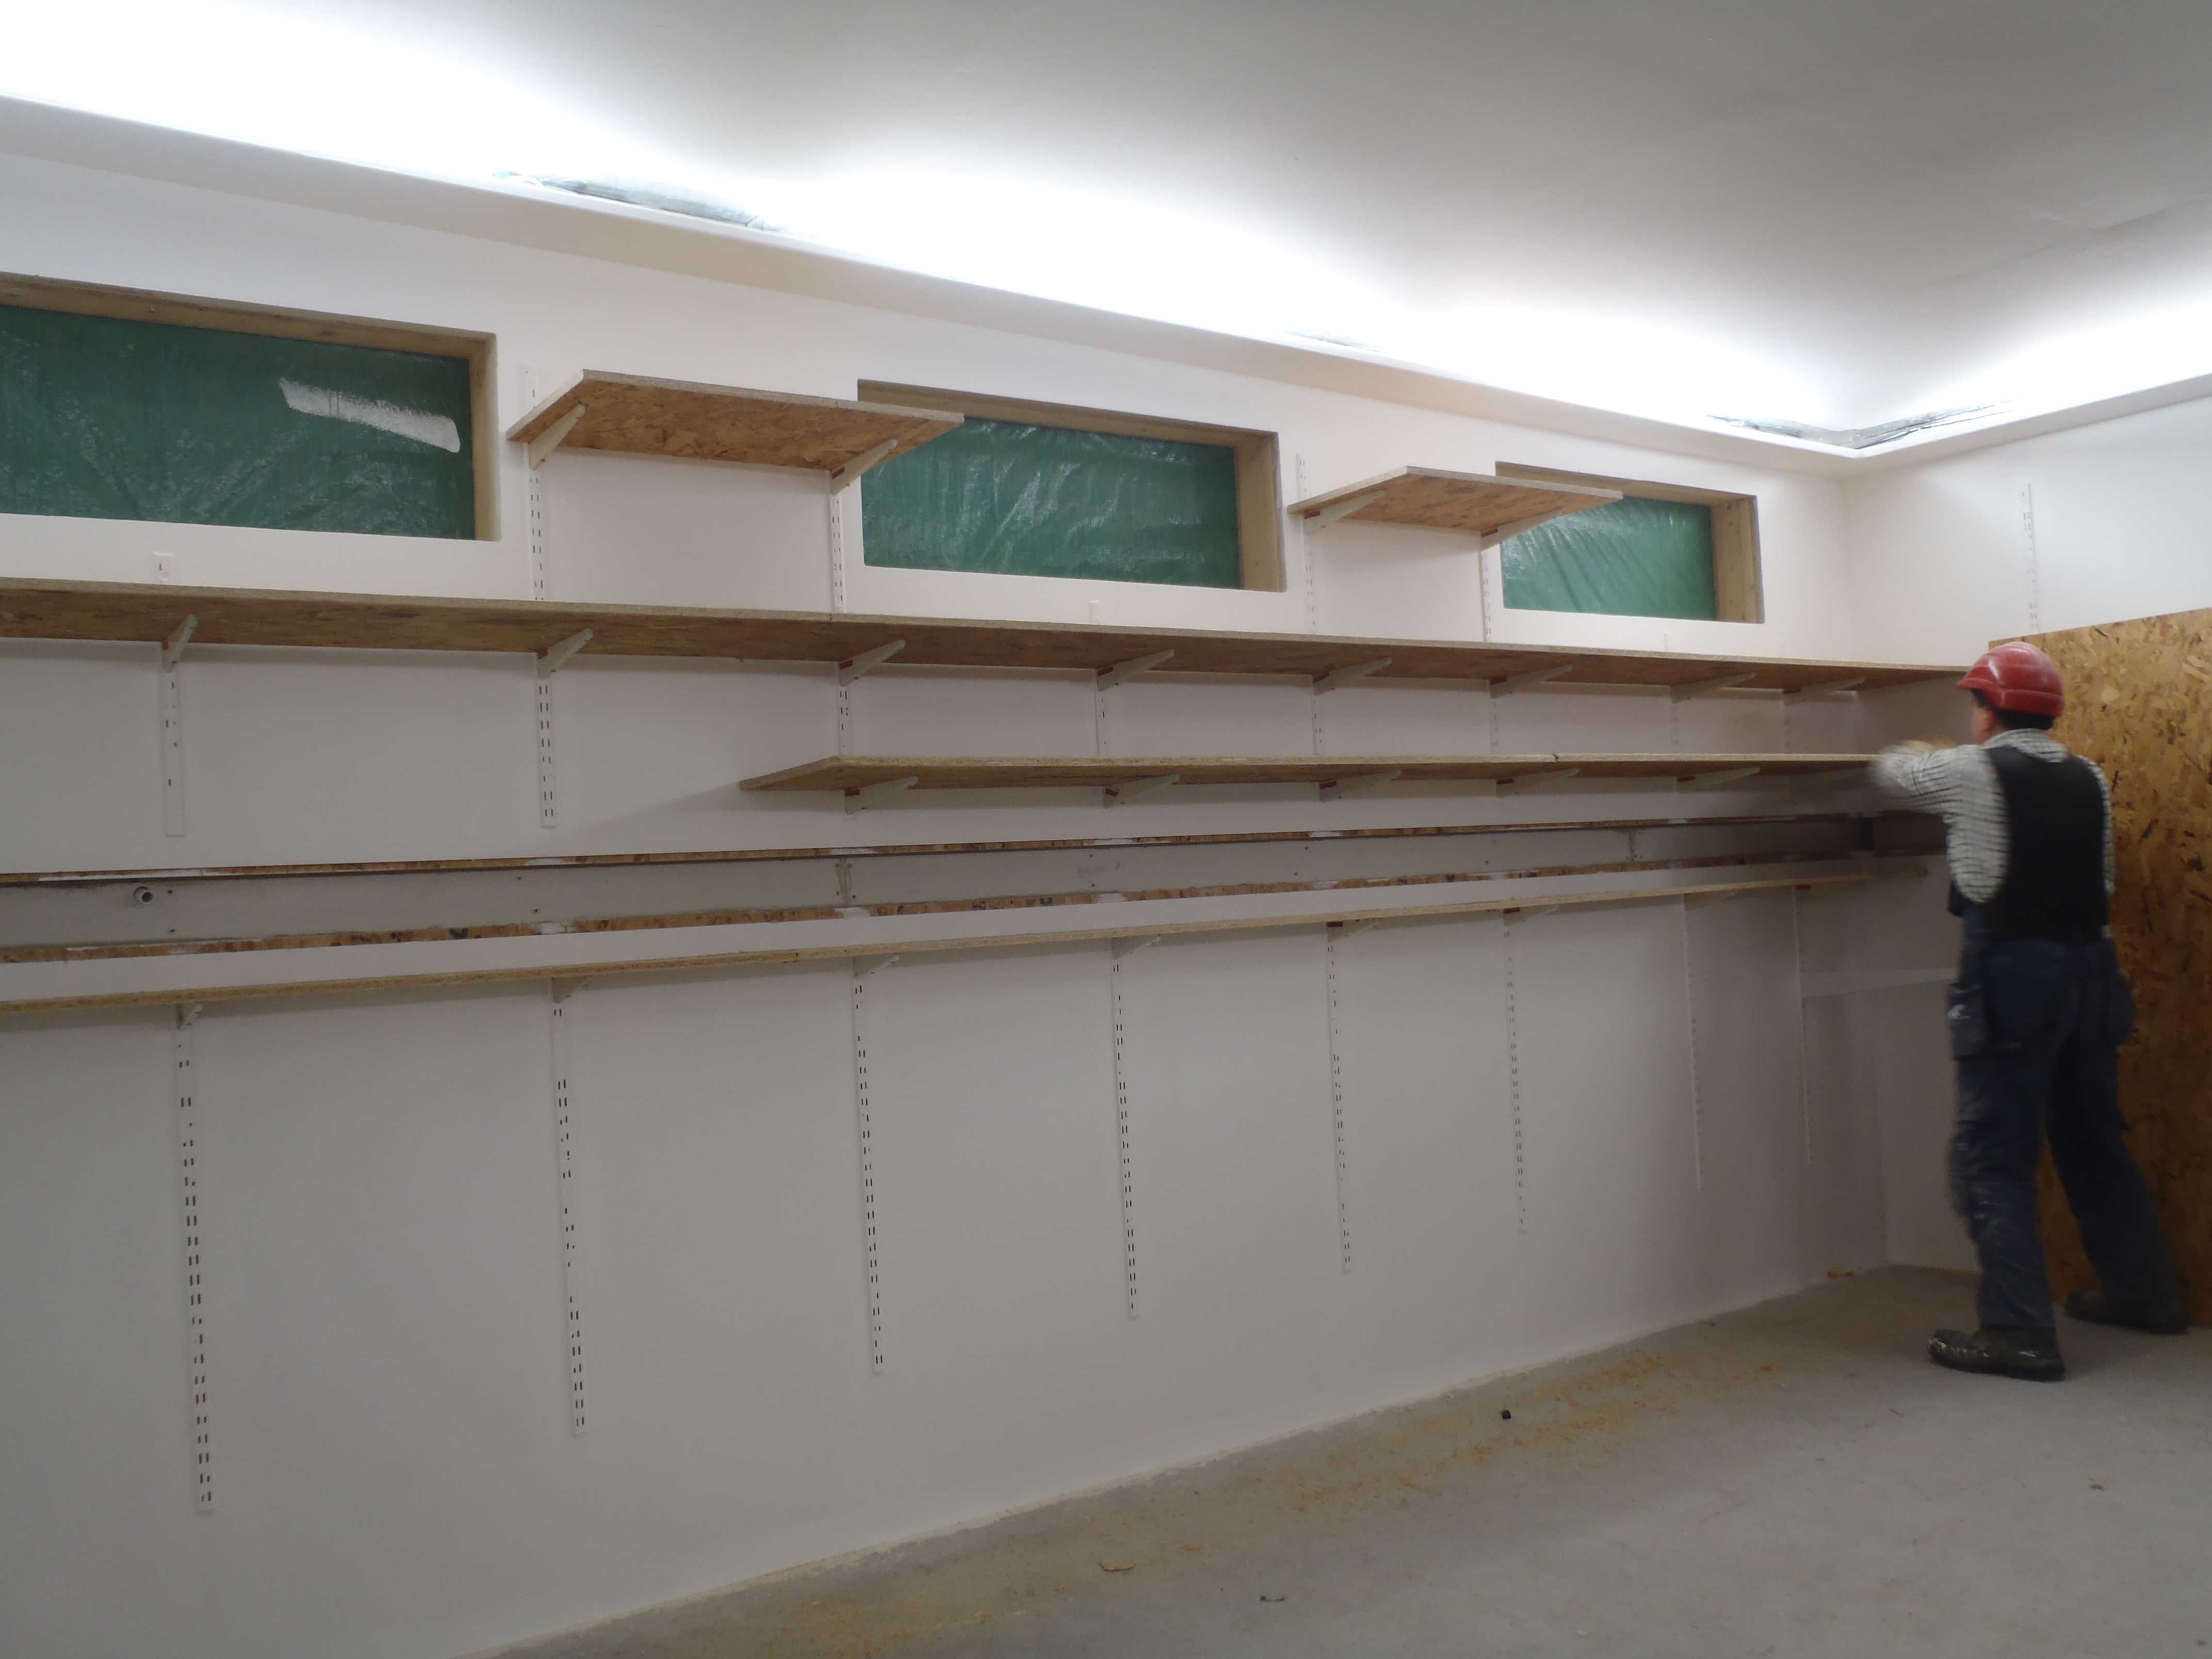
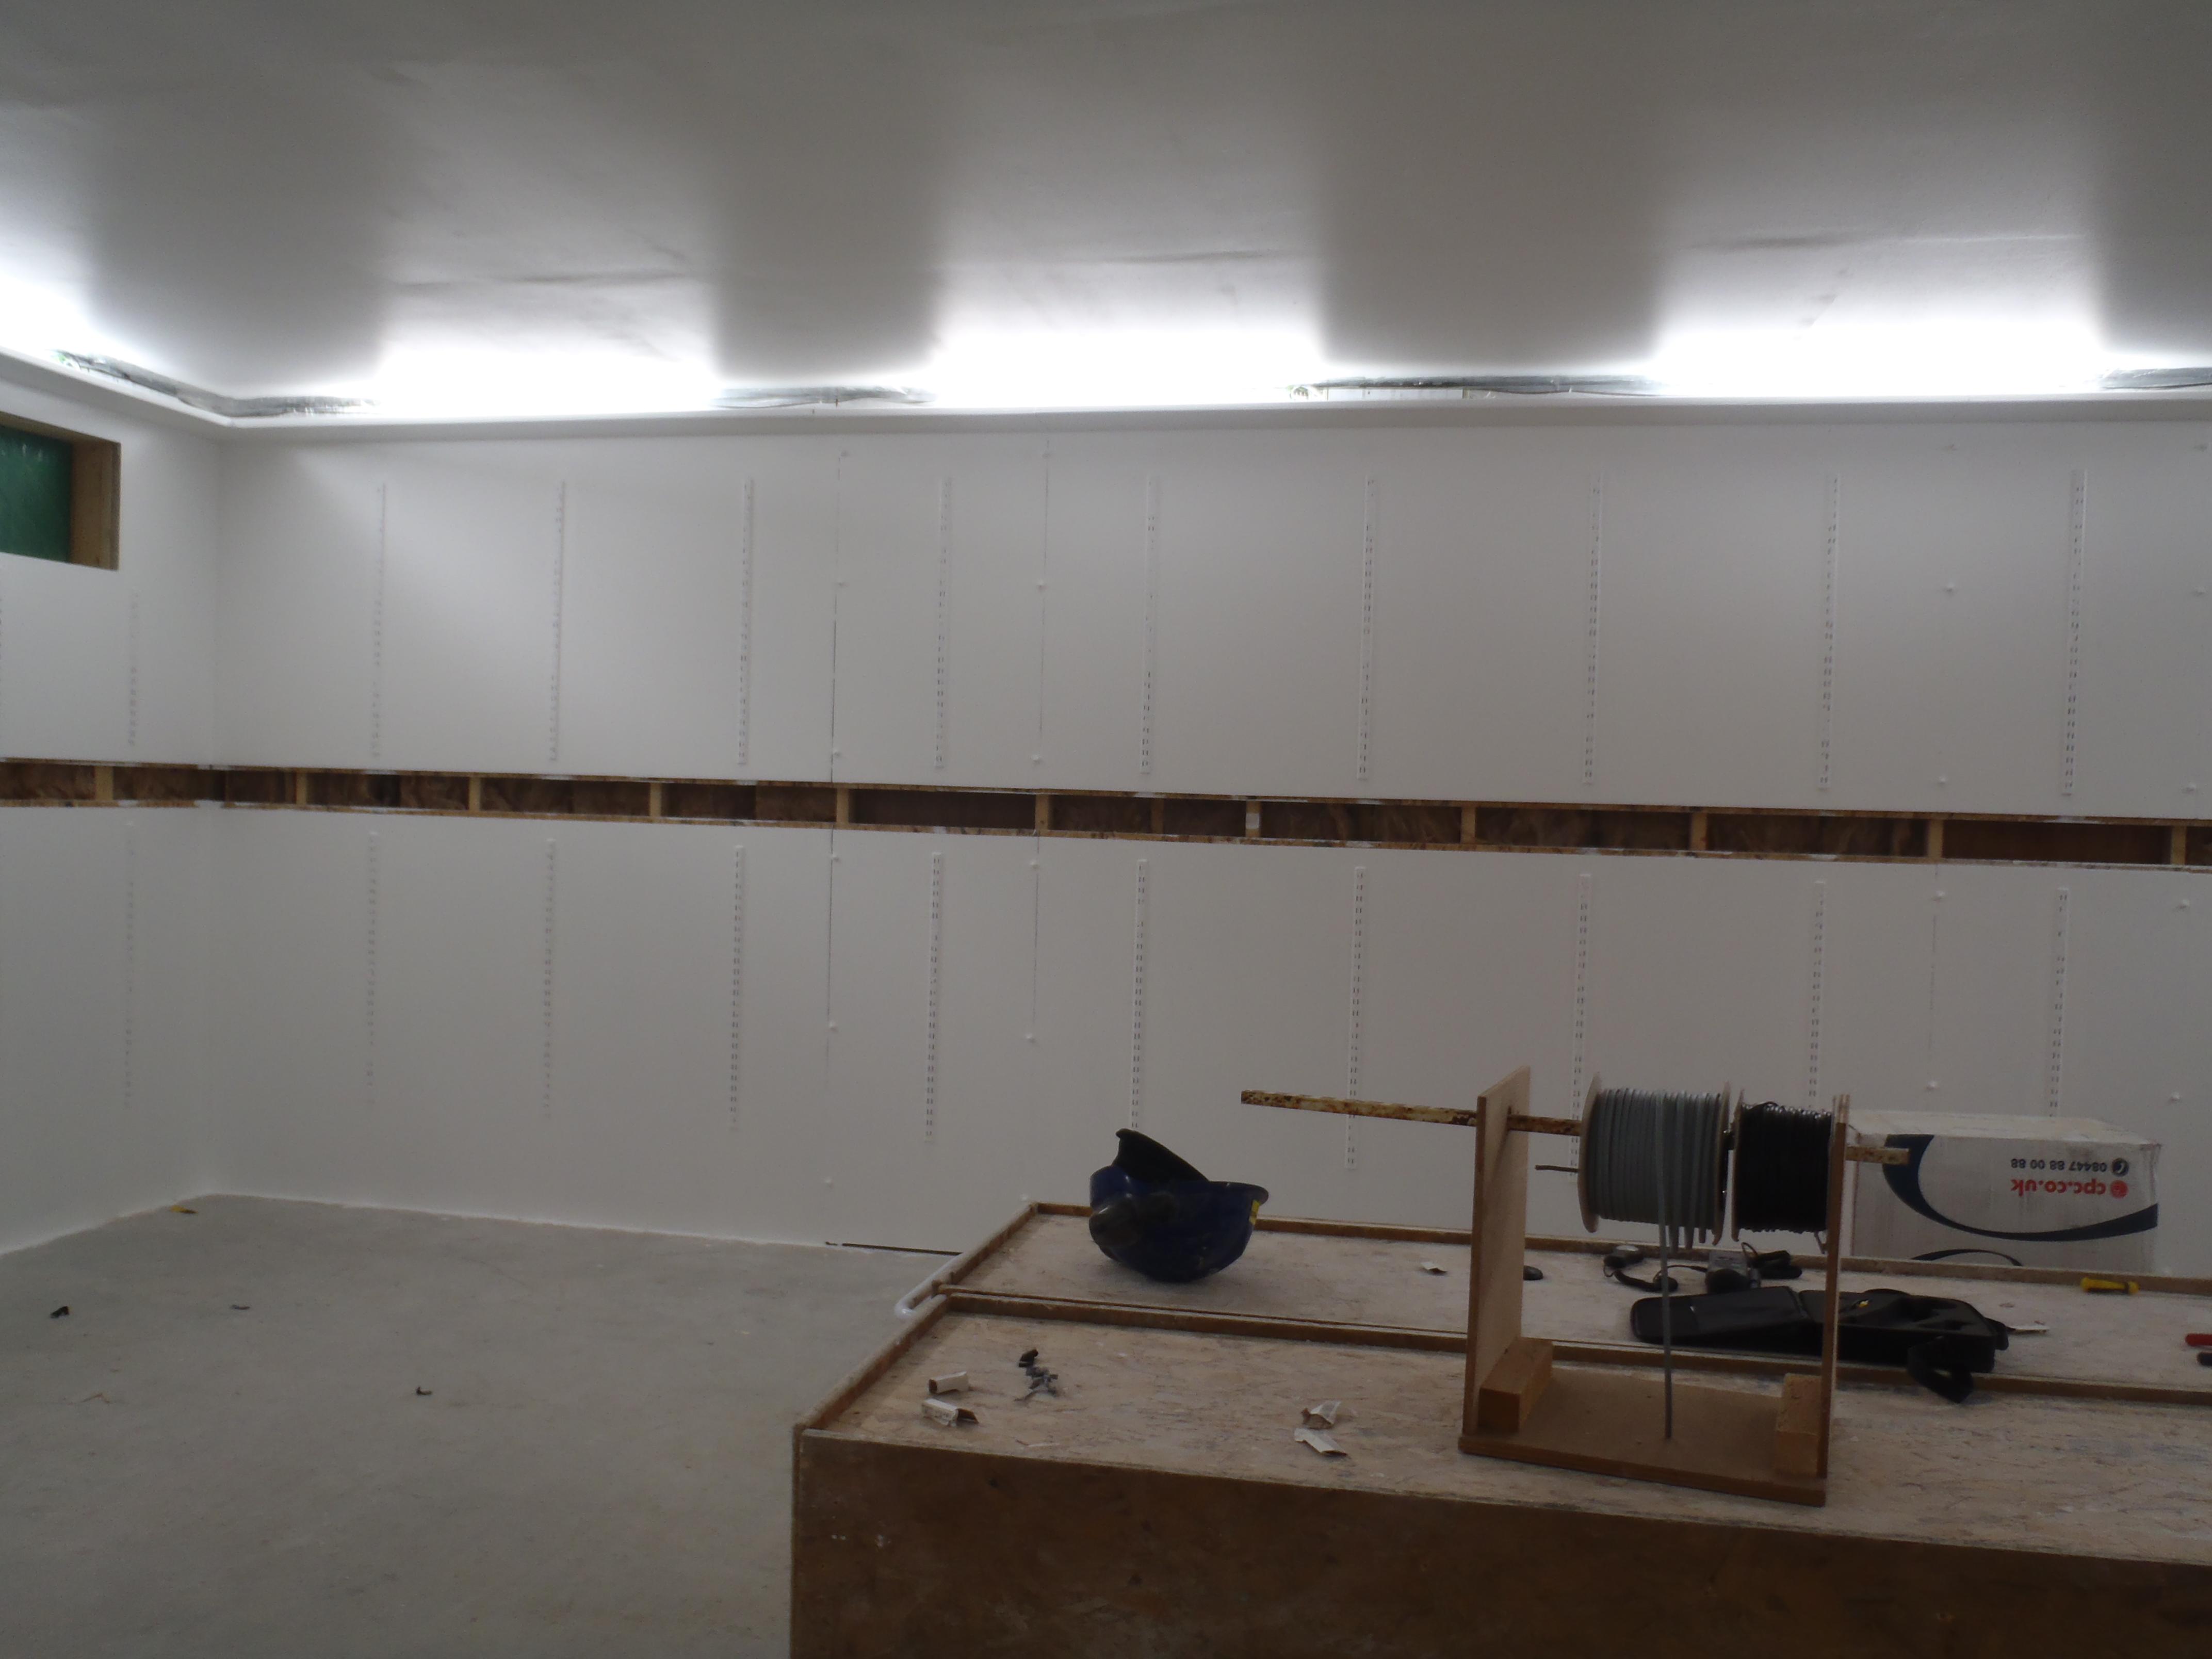
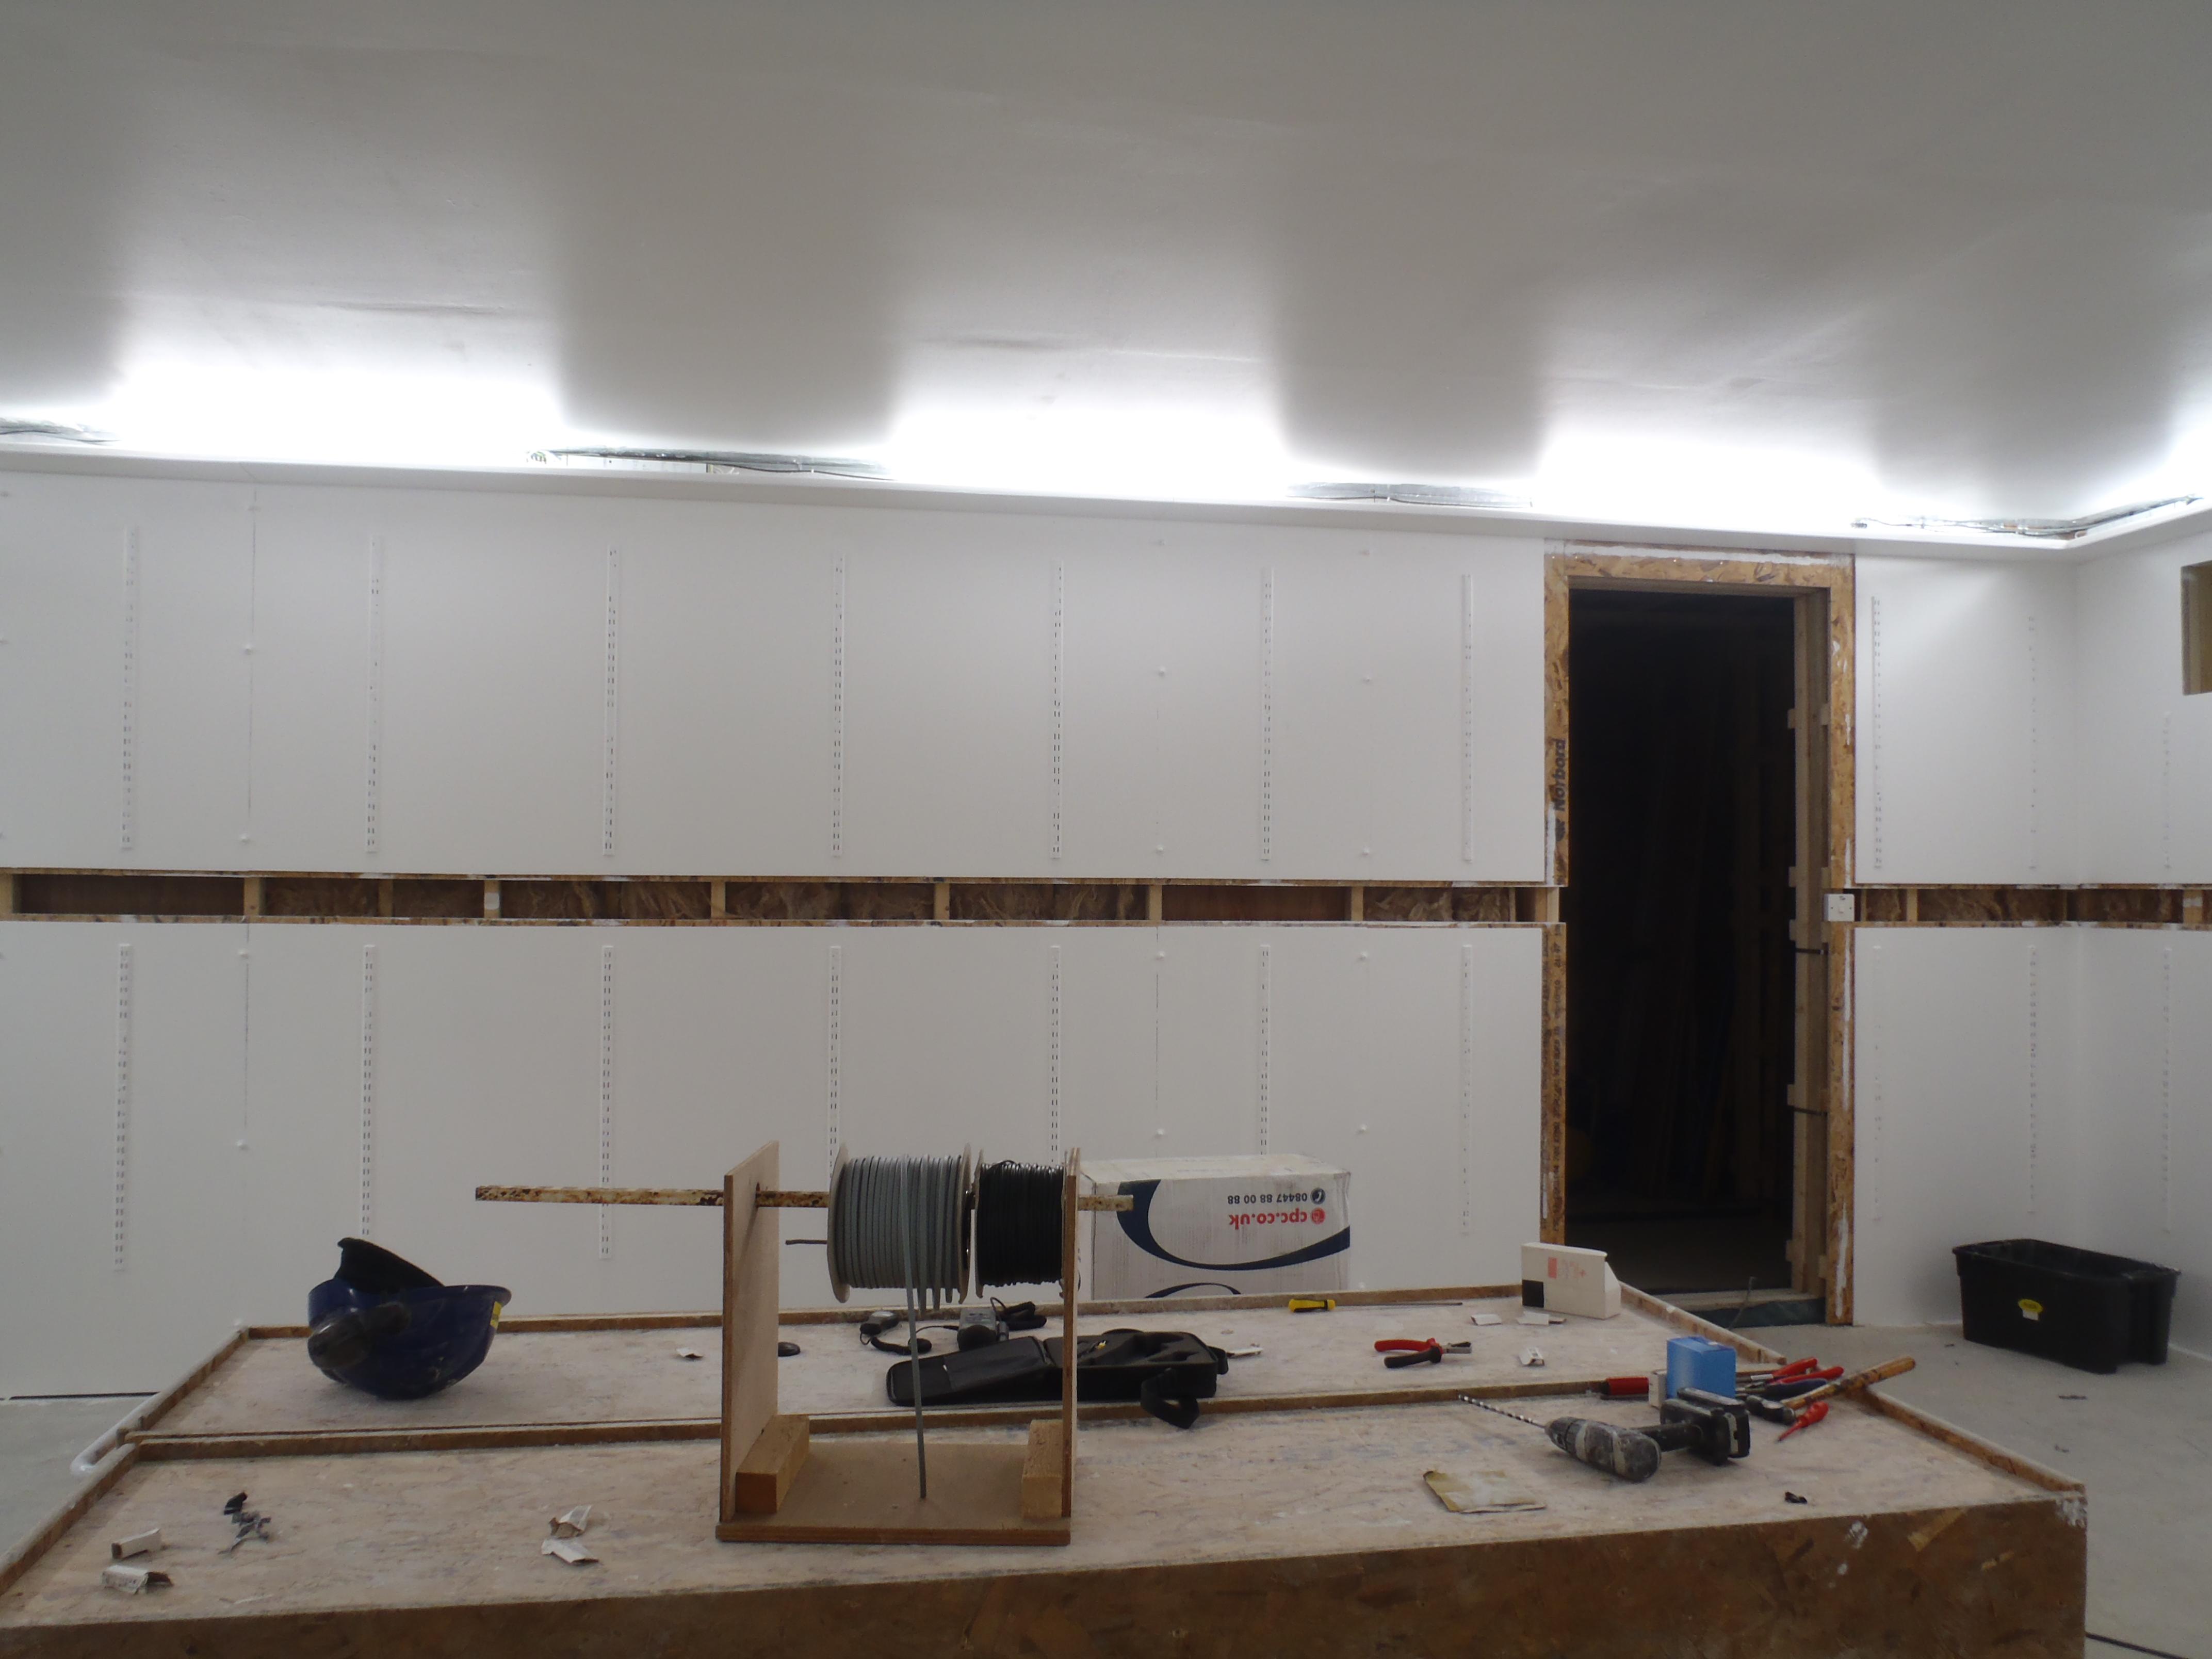
Garage Lights Finished
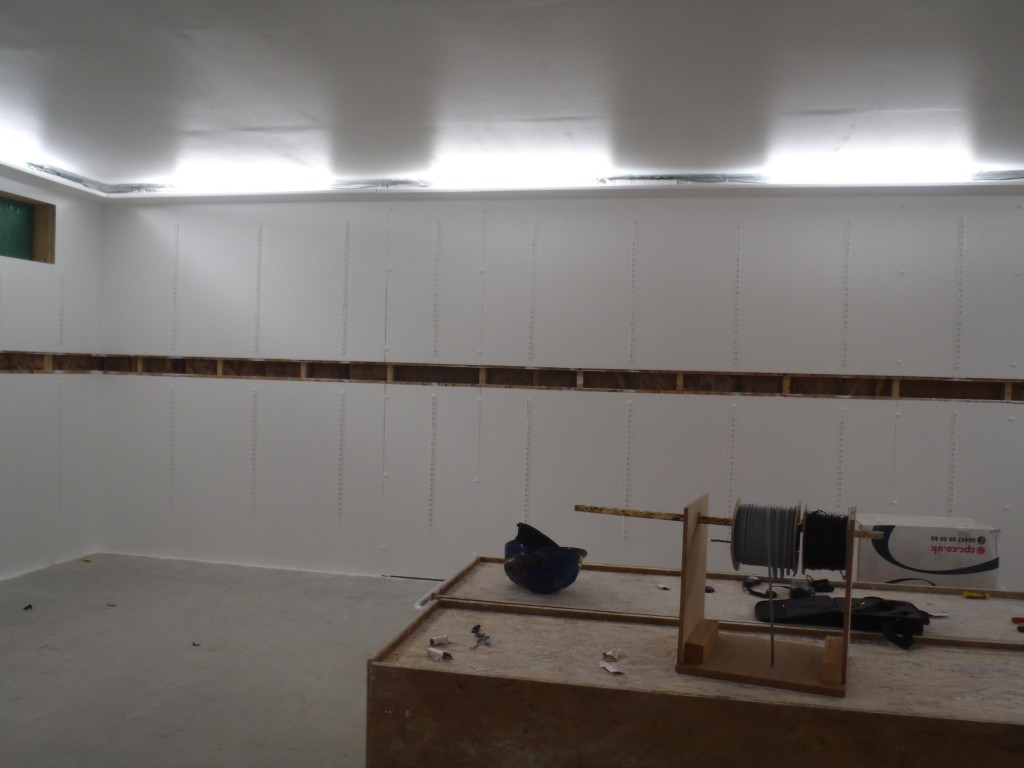
Garage Lights Finished

Garage Lights Finished
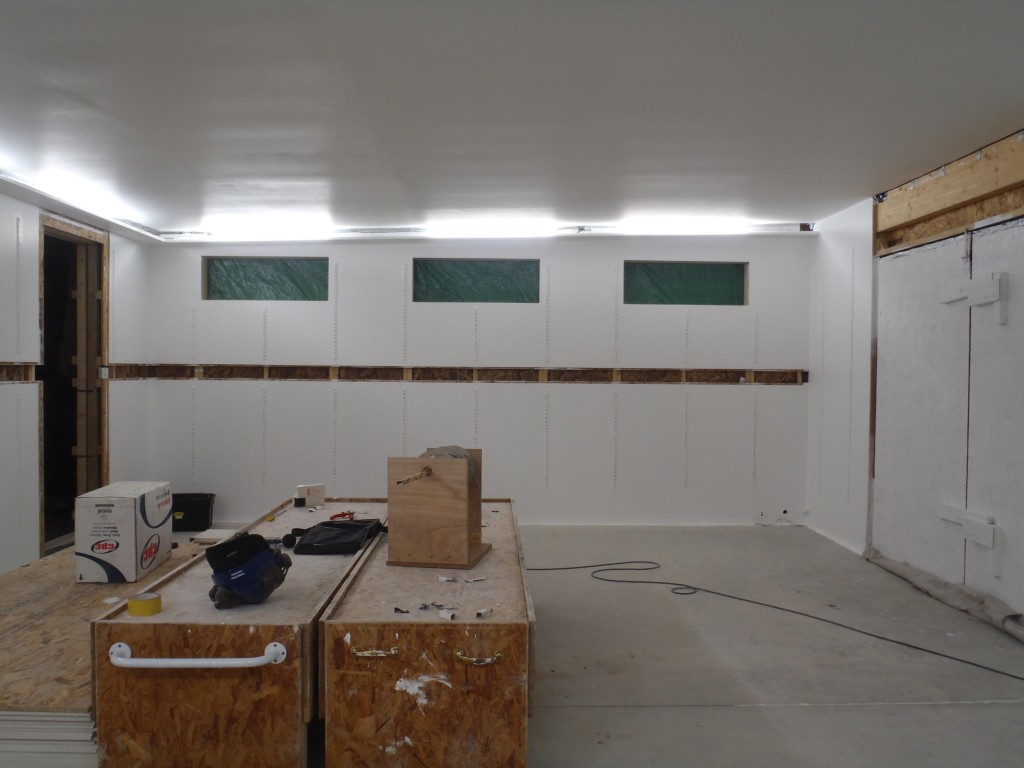
Garage Lights Finished
Garage Lights Finished
Garage Lights Finished
After dark, we did our light tests again and the light level this time is 330lux on exactly the same spot as yesterday but we discovered that even with us in the room, it changes the readings quite markedly so yesterday reading must be taken with a pinch of salt and probably a bit on the low side. Today’s readings were achieved using the built in feature of the light meter of recording the maximum value while we all left the room entirely.
Taking further measurements around the room at a fixed height of 1metre, the brightest (440lux) spot was in the corner next to the internal wall furthest from the small door, and the dimmest (200lux) was at the middle of the front wall.
Dimming the tubes down to their minimum level produces a low gloom measuring only 7 lux! But there is enough light for walking around but not to read by. Nice to relax in and watch TV etc.
There wasn’t any flicker at all at any brightness level.