Blog

  • Ten Sheets Of Plywood Is Up On Roof!

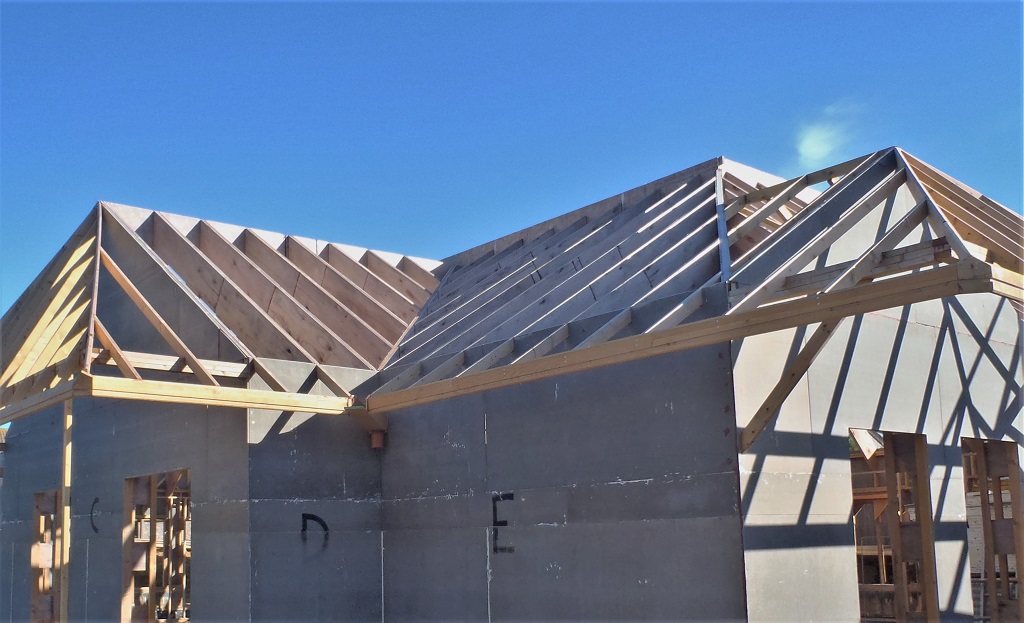
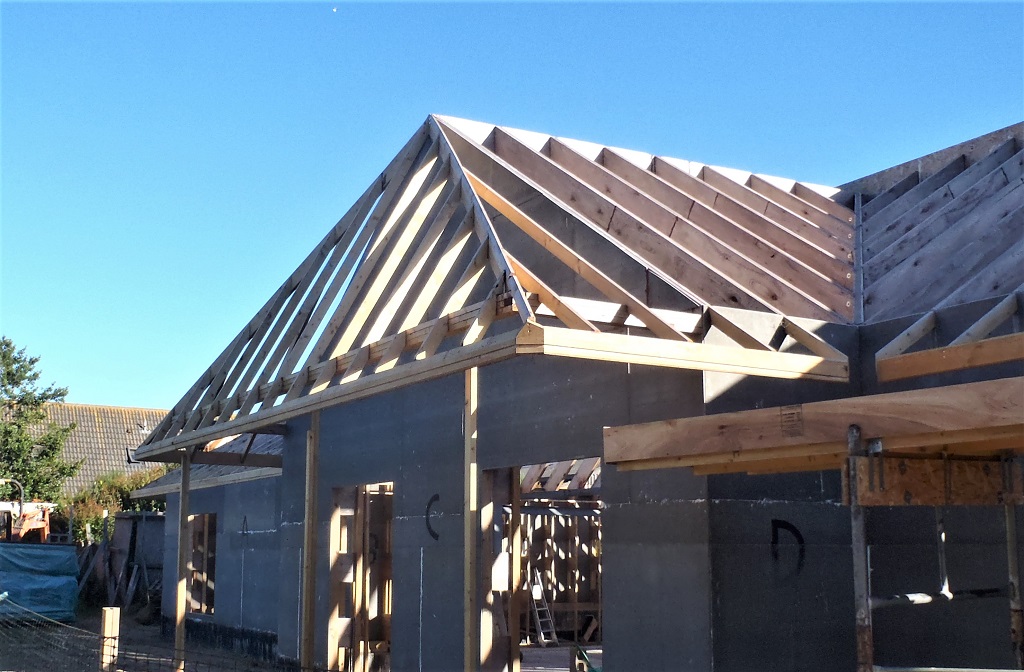
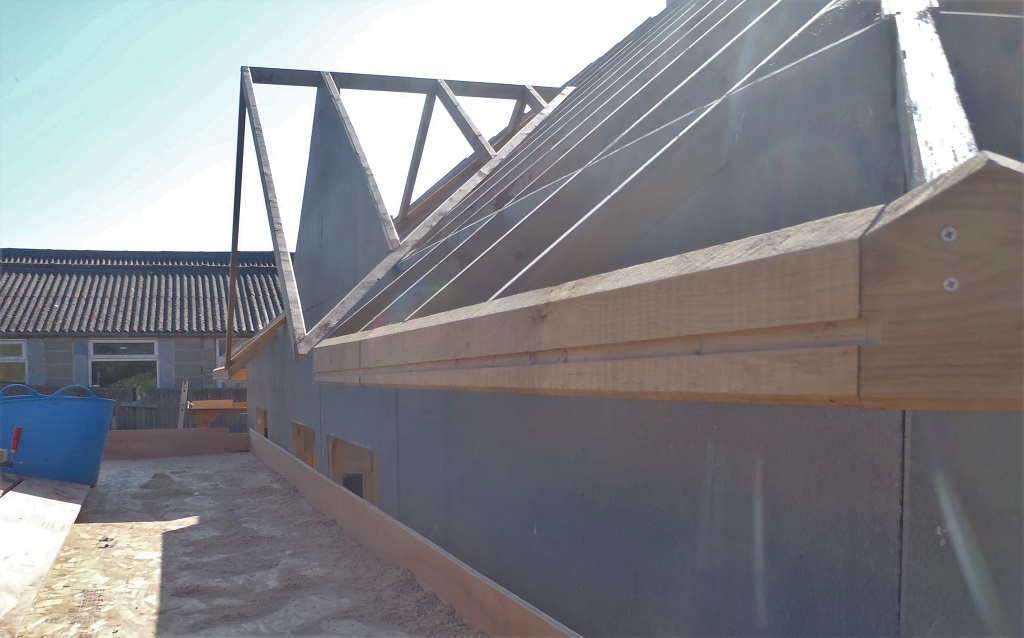
    Today, we started in earnest in putting up the roof boards all over the roof! We started on the “A” section and proceeded to do ten sheets of plywood (12mm thick structural grade) boards. We had four posh quality ones (with hardly any surface faults and also made from a harder timber plus having six layers instead of four!) went on first along the front edge of the roof, connecting to the Fascia board and hence being visible from underneath. The other six “ordinary” boards filled in the next three rows, going up towards the Skylight.

    Ten Sheets Of Plywood Is Up On Roof!

    Roof-boarding-Day-1-10-Done


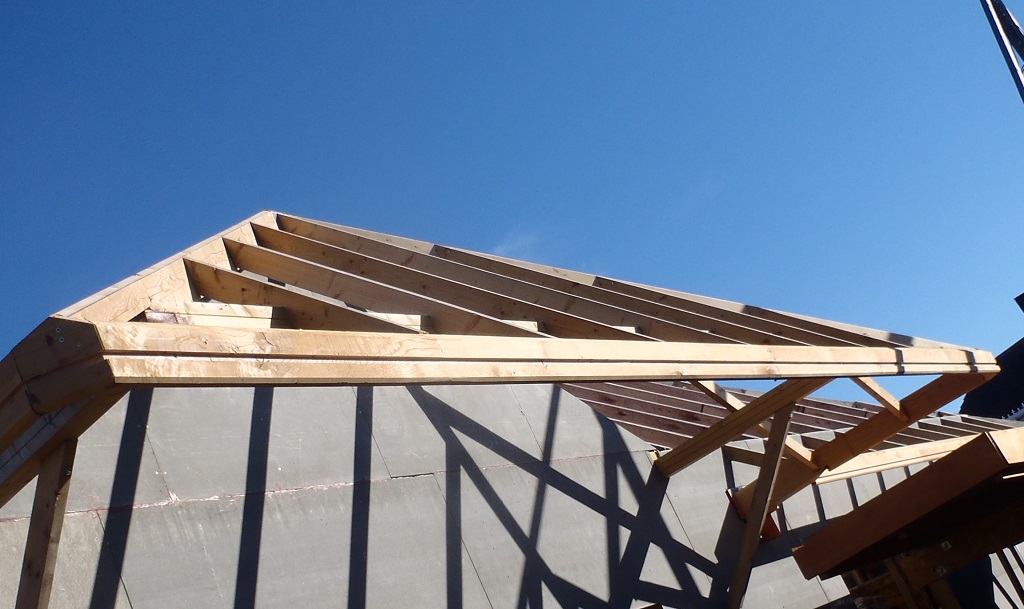
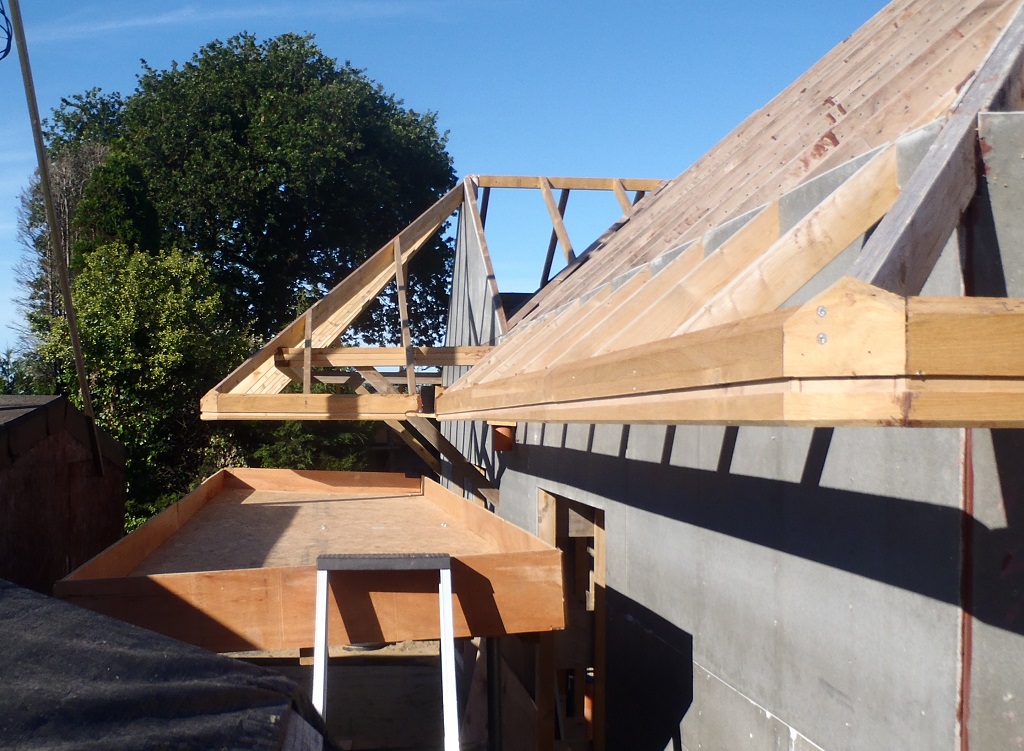
    Some of the rafters needed a little bit of work with the planer to get rid of a protruding plywood edge so the surface of the rafter is smooth and lots of area for the glue to spread over and provide a strong joint.
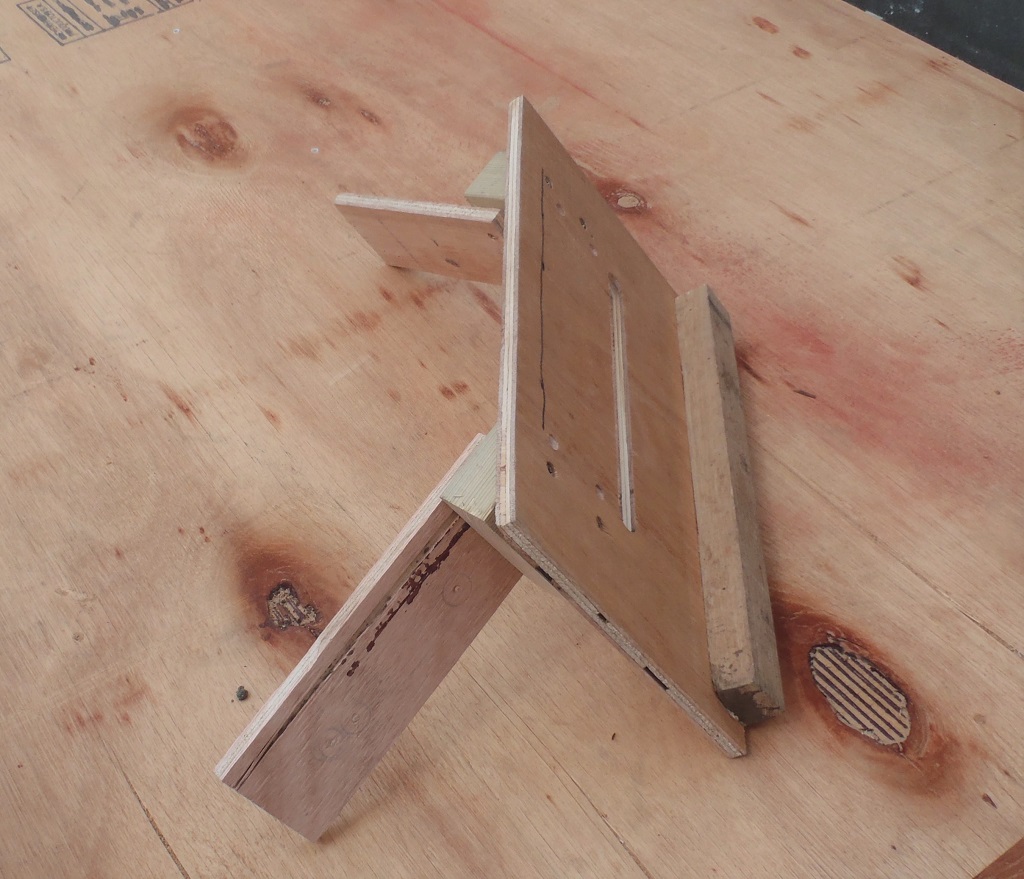
    We also made a heap of seven foot ‘foot rails’ that we have screwed down to each board so we can clamber up and down the roof safely with the other boards and tools etc.

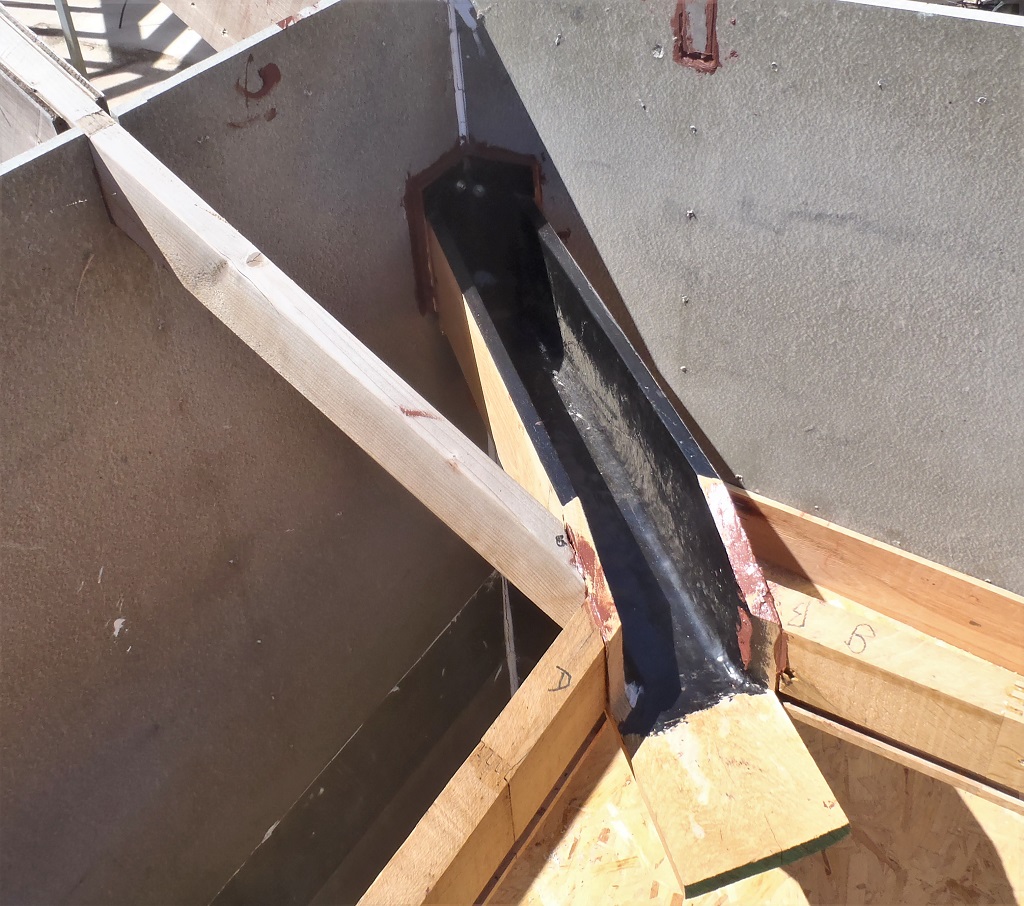
    Tomorrow, we will move the mobile platform right into the corner of the roof between “A” and “B” and start measuring and fitting appropriate pieces to do the valley and finish off the “A” section of roof and go around onto “B” and continue around the roof.

  • Preparation and Designing Work Flow Procedures to Start Covering the Roof with Plywood Boards

    This afternoon, we prepared the tools and equipment, like rolling the mobile scaffolding platform back to the beginning of the “A” section of the roof. Plus also get the compressed air buffer tank installed under the platform on its own little shelf so we can have several air-lines going up to the platform and have just one main feed from the compressor in our workshop. We brought out our planer, various cutting tools and also brought around a half a dozen of the “smart” plywood boards so we are ready to start covering the roof with lots and lots of sheets of plywood.
    First, we made sure that the rafters were not proud of the Fascia (by trimming any excess off using the planer), then cut a little notch just behind the Fascia board, on the end of each rafter timber itself to allow for the installation of a conduit or a watering system (to be done later on). And then planed off a thin layer of the weathered surfaces to maximise a good glue bond between the plywood and the rafters.
    That pretty much concluded today’s work, we have got a plan and know what steps to take to do the job and tomorrow, we will start in Ernest to cover up the roof – At Last!

  • Last Three Downpipe Channels Permanently Installed

    Today, we finished off doing the last three Downpipe Channels and permanently fitted into place with glue and screws. These were along the back of the building, on IJ, LM and MN corners.

    Last Three Downpipe Channels Permanently Installed

    MN-Downpipe-installed

    Last Three Downpipe Channels Permanently Installed

    LM-Downpipe-installed


    This concludes the six modules that are fully integrated into our building construction, fitting into the roof structure and the Fascia. The only other two Downpipe Channels are temporary and won’t be installed until we are ready to put on the roof boards around on the “P” and where the Conservatory would be constructed later on and hence why these two are temporary to provide an end cap to the guttering system in the meantime.

  • Final Fascia Boards Done With Slot Plus Two More Downpipe Channels Fully Installed

    We resumed the task of cutting the slot into the Fascia boards, the final stretch going from “E” to “H” sections to complete the full circuit.
    We also fully installed two more Downpipe Channels, one for the DE corner and the other one at the GH intersection.

    Final Fascia Boards Done With Slot Plus Two More Downpipe Channels Fully Installed

    Slot-in-E-and-DE-downpipe-installed

    Final Fascia Boards Done With Slot Plus Two More Downpipe Channels Fully Installed

    Slot-in-F

    Final Fascia Boards Done With Slot Plus Two More Downpipe Channels Fully Installed

    Slots-in-G-and-H-with-Downpipe


    Tomorrow, we will conclude doing the final three Downpipe Channels around the back of the building, on IJ, LM and MN corners and that will be that at last! We could be doing the roof boards and start covering up the roof next – yippee!!

  • Toilet in Garage Serviced, and Also Garden Shredder Fitted With New Replacement Cutting Shoe

    Today, for this hot Sunday. We tackled a long overdue job of servicing the toilet in the back of the Garage. There was an overflow problem and it seems to have gotten worse in the last few months. Our water bill said that our consumption has gone up significantly. So we inspected the water inlet valve mechanism and discovered a small lump of foreign material. We cleaned the valve and put it back together and all seems to be back to normal again. But we did have to replace the front plasterboard panel that made up the boxing surrounding the cistern.

    We also glued the old ceramic toilet bowl on one side where there was an old crack from years ago when we rescued this serviceable piece of bathroom ware from the outside toilet as it was then when we brought the property 17 years ago. It probably was the original toilet from when it was constructed way back in the 1945 approximately we think!!
    Then after the Formula 1 Grand Prix, we serviced the garden shredder, our heavy duty machine that chops up garden waste up to to 40mm thick fresh branches or 25mm dry stuff! The shredder needed a new “crunching” aluminium plate shoe that is adjustable to achieve zero gap between the slowly rotating steel blades and this shoe, ensuring that the plant material is chopped into pieces, no matter how small or thin it is. It has a clever trick of crunching the thicker pieces so the woody parts are slit apart to speed up composting.

    The old aluminium plate had a crack across its structure and that is probably what had caused the shredder to not work very well for a while now.
    We tested out the newly serviced machine with a large pile of holly clippings (recently freshly done) and a really old pile of ivy trimmings and produced about 6 very large trug loads of shredded material and a couple of trugs of leaves, all dumped onto our pile of sod at the top of our garden.

  • Working Along the Front ..

    For the last day of June, we had a long day of work, continuing the task of cutting the slot into the Fascia boards, this time, along the front. We did section “A” and section “B” then fitting very carefully, gluing and screwing the Downpipe Channel module, making sure the sloping bottom base layer is exactly at the correct height in relation to the two incoming gutter base boards (to be fitted later on) and going downhill towards to the plastic downpipe itself.

    Working Along the Front ..

    Slot-in-fasica-A

    Working Along the Front ..

    Slot-in-fasica-B

    Working Along the Front ..

    AB-Downpipe-Screwed-and-Glued


    After lunch, we had to level the sandy soil along the front of the Front Door Porch (section “C”) so we could get our mobile platform moved along there. we managed to move the platform sideways (at a 90degrees right angle) before resuming along the front. We did the “C” section alright, apart from having to remove some of the stainless screws that were right where the slot is going (we put them back afterwards!) but the fun started when we needed to “turn” the corner to do the “D” and “E” sections.
    We were running out of room to move the bottom half (the actual metal scaffolding part and its wheels), we needed to avoid the fence and the last fence post. It was tricky because the wheels are hard nylon 6inch castors so the plywood strips were needed to support them from digging into the soft sandy soil. We managed to do it .. eventually – phew!

    We concluded the day in doing section “D” (a nice short one!) and then the outer corner patch.
    Working Along the Front ..

    Slots-in-fasicas-C-D-


    So we now have done, almost, all three sides of the house and have only the last four sections (“E” to “H”) to go and put in the final downpipe Channels in and that will conclude the work on the Fascia board and the first stage of the guttering. We will be tackling the job of putting on the roof boards next – Hurrah!

  • Corner Template Created and Tried & Tested plus Started Cutting Slot in Remaining Fascia Boards

    This afternoon, we created another template to help us with the task of cutting slots into the Fascia boards, this time, for the outside corners. These 45 degrees corners are only 150mm (6inches) wide so the template is quite small. Our first version was to have the flat plywood plate with the guide rail and slot in it, plus with two arms sticking out at the 45degrees angle so we can clamp the template into place.

    Corner Template Created and  Tried & Tested plus Started Cutting Slot in Remaining Fascia Boards

    Corner-Template

    But we found that there are slight variations at each of these corners so we decided that the simplest approach is to just simply screw the flat plywood plate straight to the fascia section with two screws . the little holes will be covered up later on so we don’t mind this “kludge” to solve this problem!!

    We have used it on the back three corners we had waiting and all went well.

    Corner Template Created and  Tried & Tested plus Started Cutting Slot in Remaining Fascia Boards

    Corner-slot-cut


    Now we can do the remaining corners as when we get to them as we cut the slot in the other Fascia board.

    We then got our mobile platform around the corner (coming from the “A” section to the “P” section – the long side of the Great Room) and got it positioned right down the far end to continue with where we left off from yesterday’s morning work. We proceeded doing the two “P” sections plus also the corner connected to the “O”. We managed to get the tower back around the PA corner (back on the front of the house) before stopping for the day. the tower wasn’t too bad to move with all its heavy concrete blocks loaded on, we just took it easy and used lots of plywood strips on the ground to help support the wheels.

    Corner Template Created and  Tried & Tested plus Started Cutting Slot in Remaining Fascia Boards

    The-mobile-scaffold-ready-to-use

    Corner Template Created and  Tried & Tested plus Started Cutting Slot in Remaining Fascia Boards

    Slot-cut-in-both-parts-of-fascia-P


    We will continue with the slot cutting on Saturday, going along the front (“A” through to “E”) and down the right side to finish off (“F” to “H”).

  • Four New Adjustable Feet Created for Scaffolding Tower’s Wheels

    This morning, the various steel parts were welded together to form four new adjustable feet, much stronger than before.

    Four New Adjustable Feet Created for Scaffolding Tower's Wheels

    New-ajustable-Feet-finished-1

    Four New Adjustable Feet Created for Scaffolding Tower's Wheels

    New-ajustable-Feet-finished-2


    We can now have confident that our mobile scaffolding will support us safely, while coping with bumping up and down, going through heavy conditions in the areas outside our house, which are mostly sandy soil and rather soft.

  • Scaffolding Tower Gets New Adjustable Wheels

    This afternoon, we needed to replace the threaded rod that are currently employed on our mobile scaffolding tower to allow for adjustment for each wheels to balance and stabilised the tower. The problem we had was the original 20mm diameter rod was bending under the dynamic loading while trying to move the tower in semi hard sandy dirt, with the wheels digging in too much.

    Scaffolding Tower Gets New Adjustable Wheels

    Bent-thin-leg-adjuster


    So the new 30mm diameter high tensile steel threaded rod arrived yesterday and we proceeded to prepare all the parts including grinding the old 20mm rod off the foot plates, cut off the old nuts off the steel fat tube and then drill a new hole into the foot plates, cut up the 30mm rod into 200mm long pieces and get everything ready for welding.
    Scaffolding Tower Gets New Adjustable Wheels

    New-thicker-leg-adjuster-parts


    The welding will be done first thing in the morning and we can put back the wheels onto our tower and continue with the task of cutting the slot into the Fascia boards.

  • Courier Driver Comes to Apologise and Provides New Wooden Post

    At lunch time today, we had a visit from an unexpected person, the courier driver from UK Mail that had caused the damage to our Fence (see Fence broken by delivery driver) and he was honest and upfront to admit that he did the damage. He didn’t realise that he had done, hence why he didn’t stop. He also bought a replacement fence post and offered to install it as a token of apology as well, he also offered to get some replacement cones as well but we let him off on this as they were very old anyway.

    Courier Driver Comes to Apologise and Provides New Wooden Post

    Replacment-Fence-Post


    We were pleased that he came back, to be honest and gave us the wooden post. We consider this matter now resolved and closed.