Blog

  • Slot Cut in All Fascia Board Along the Back of Building

    This morning we resumed our task of cutting a slot into the Fascia boards. Using our new V2.0 template guide, we continued with the “J” section, then “K” and so on until we reached and completed the “O” Fascia board.

    We found that we could slice the full 10mm deep slot in one go if both of us were holding and helping the heavy router machine along. All went very well and we feel confident to tackle the rest of the Fascia boards on our mobile platform later on tomorrow.

    Slot Cut in All Fascia Board Along the Back of Building

    Slot-in-Fascia-J

    Slot Cut in All Fascia Board Along the Back of Building

    Slot-in-Fascia-K

    Slot Cut in All Fascia Board Along the Back of Building

    Slot-in-Fascia-L


    Slot Cut in All Fascia Board Along the Back of Building

    Slot-in-Fascia-M

    Slot Cut in All Fascia Board Along the Back of Building

    Slot-in-Fascia-N

    Slot Cut in All Fascia Board Along the Back of Building

    Slot-in-Fascia-O


    This is as far as we can get today as our mobile platform needs modifying to improve its wheels so no more slot cutting.

  • Slot Cutting Template Created

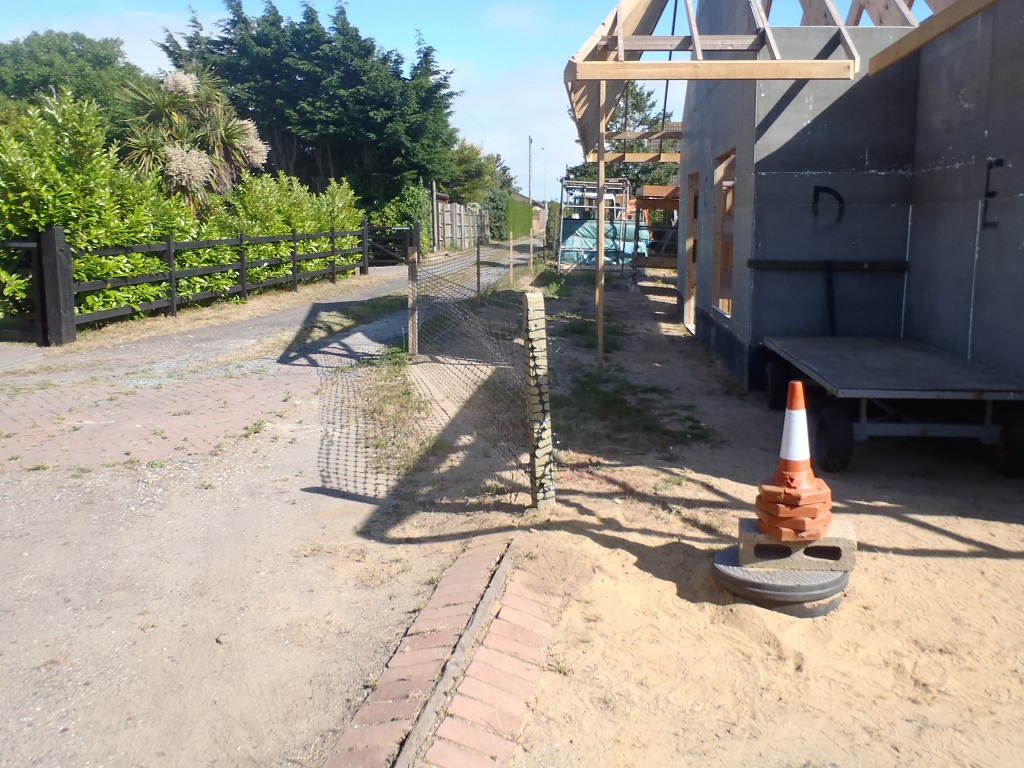
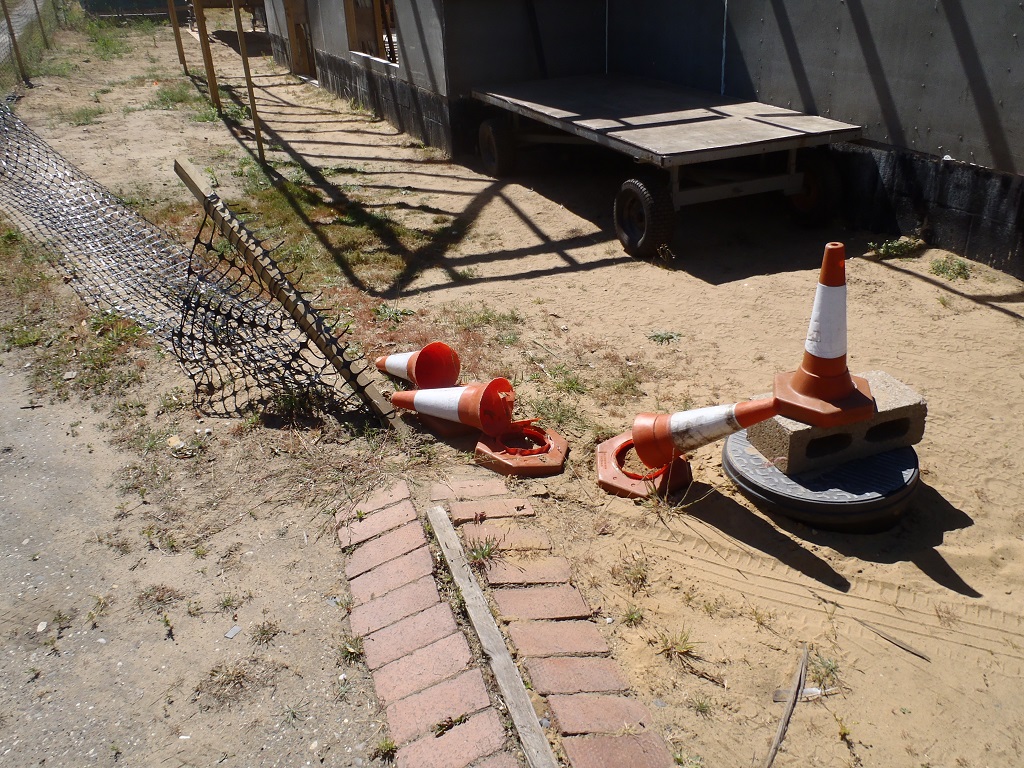
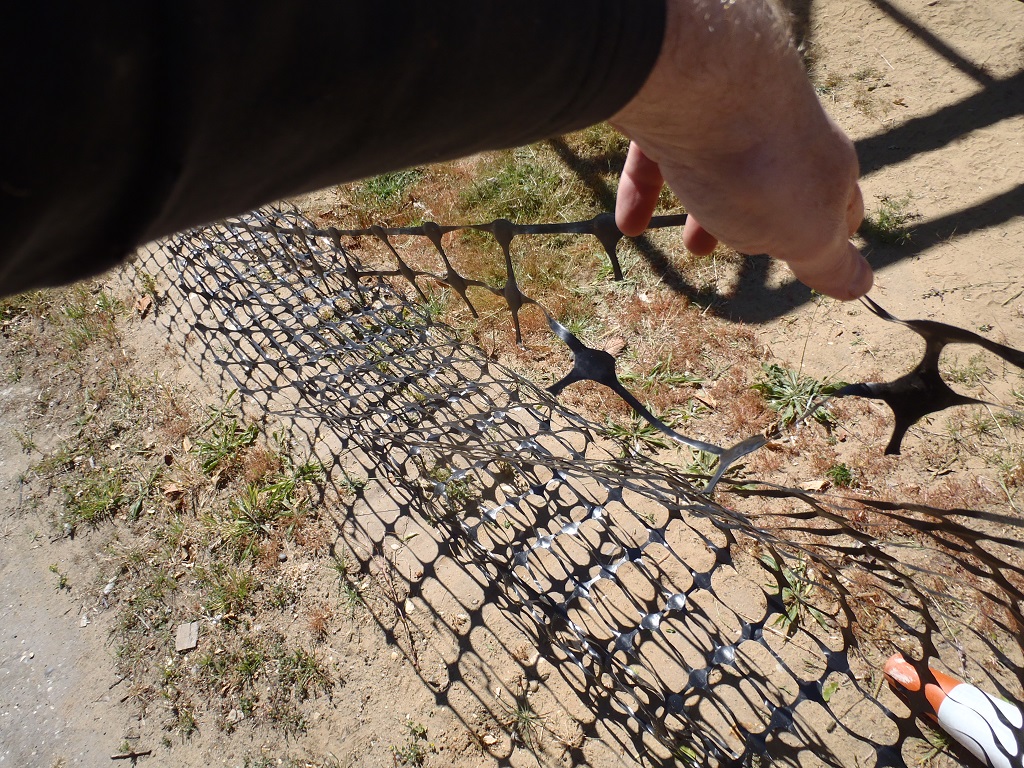
    We finished off making the Slot Cutting template with the additions of height adjustment screws and then was rudely interrupted by the bad driving antics of the courier delivering our steel order (see Fence Broken by Delivery Driver).

    Slot Cutting Template Created

    Completed-slot-cutting-template-1

    Slot Cutting Template Created

    Completed-slot-cutting-template-2


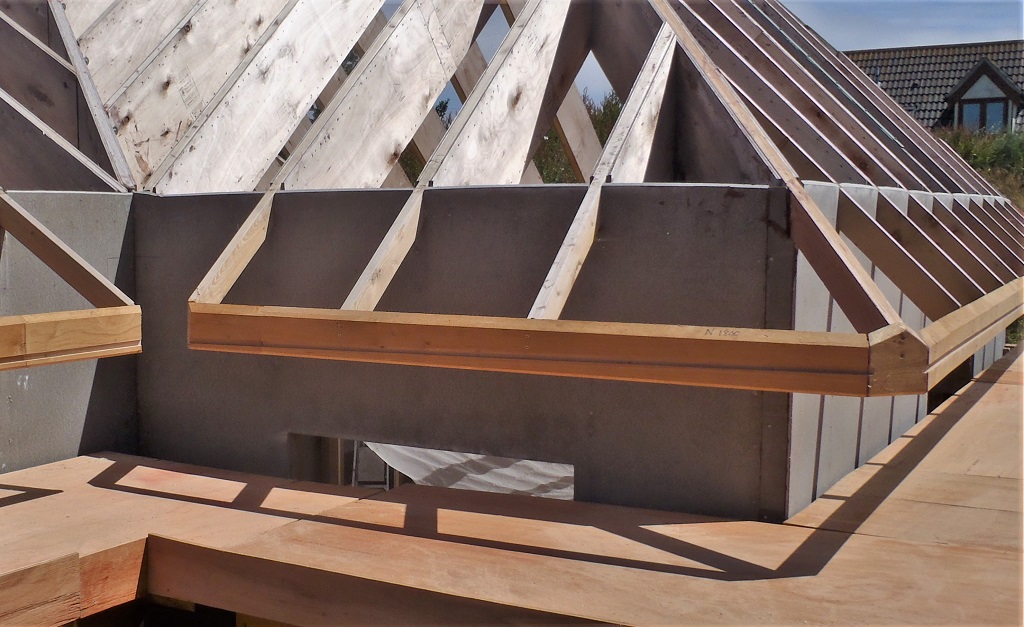
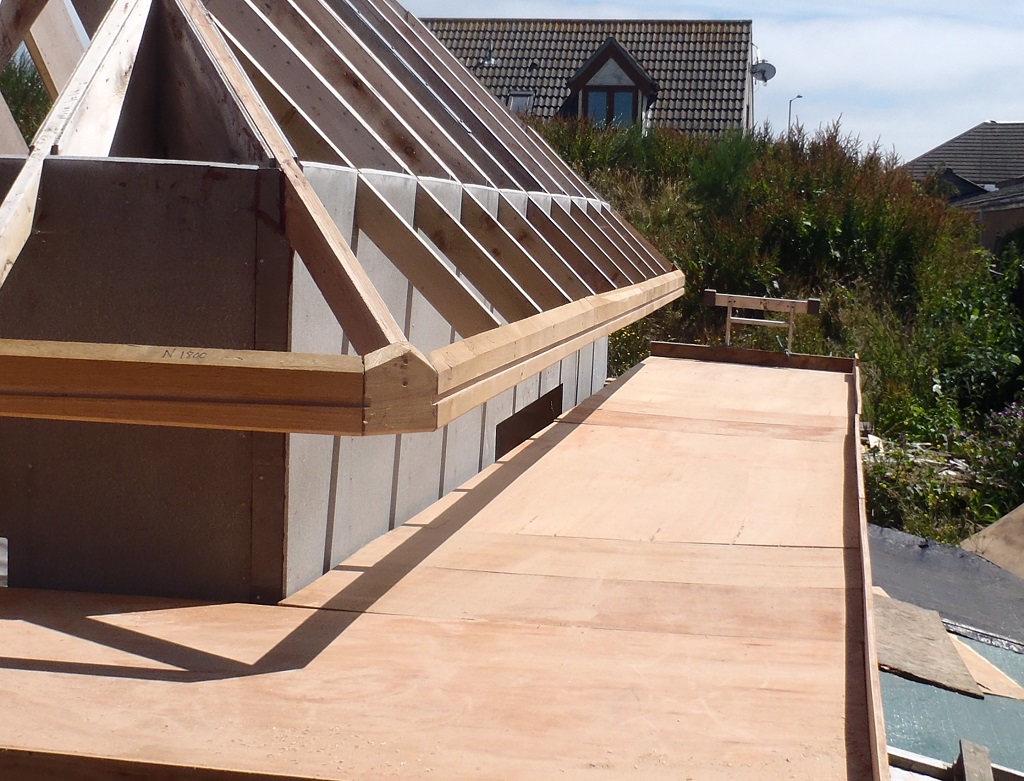
    After that little episode, we went outside and using the new calculated absolute positions of where the slot will be on each section of the Fascia boards, we drove in small panel nails at the starts and ends, ready for the chalk line to be snapped on later.

    Slot Cutting Template Created

    Nails-inserted-at-correctheights-to-snap-chalk-lines-too

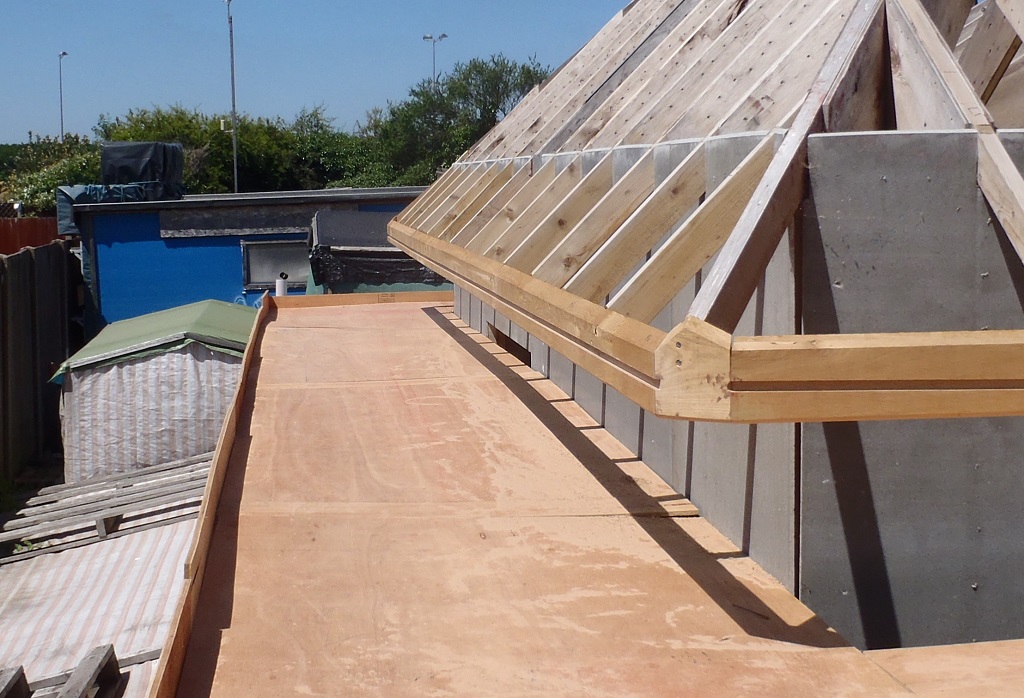
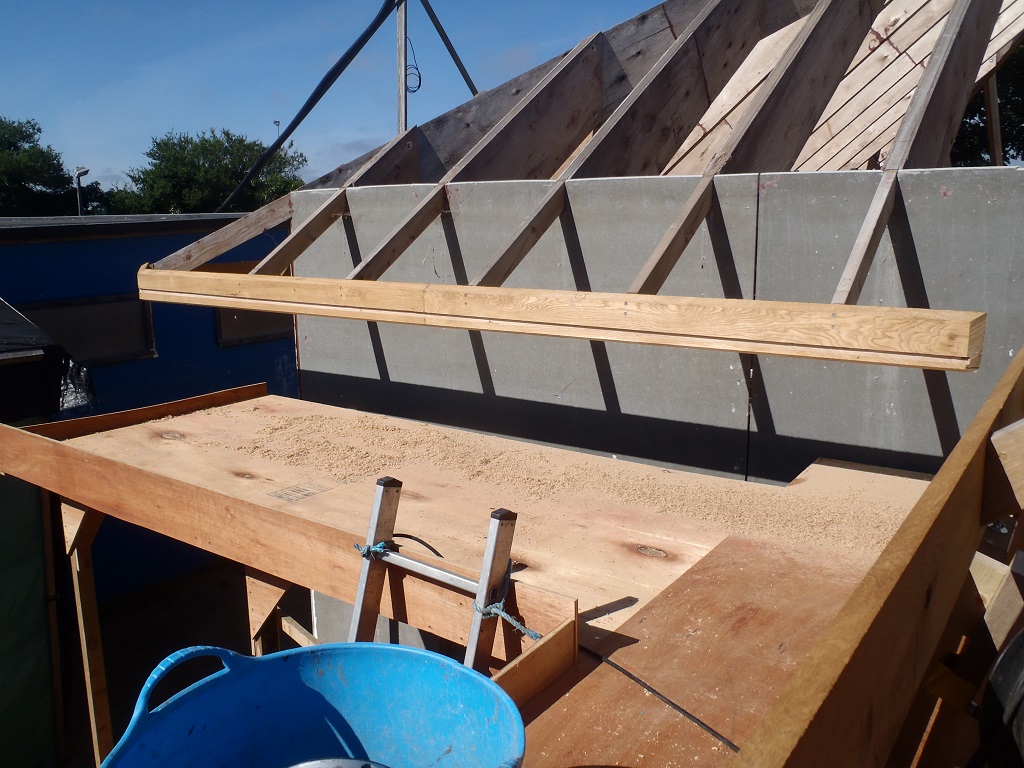
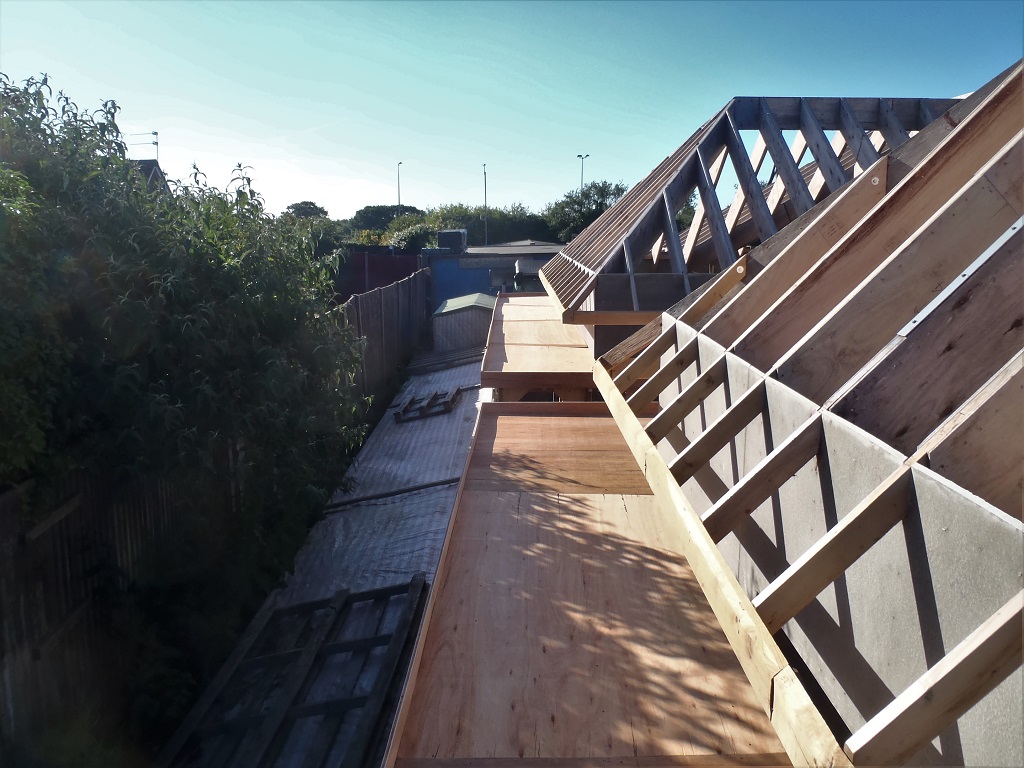
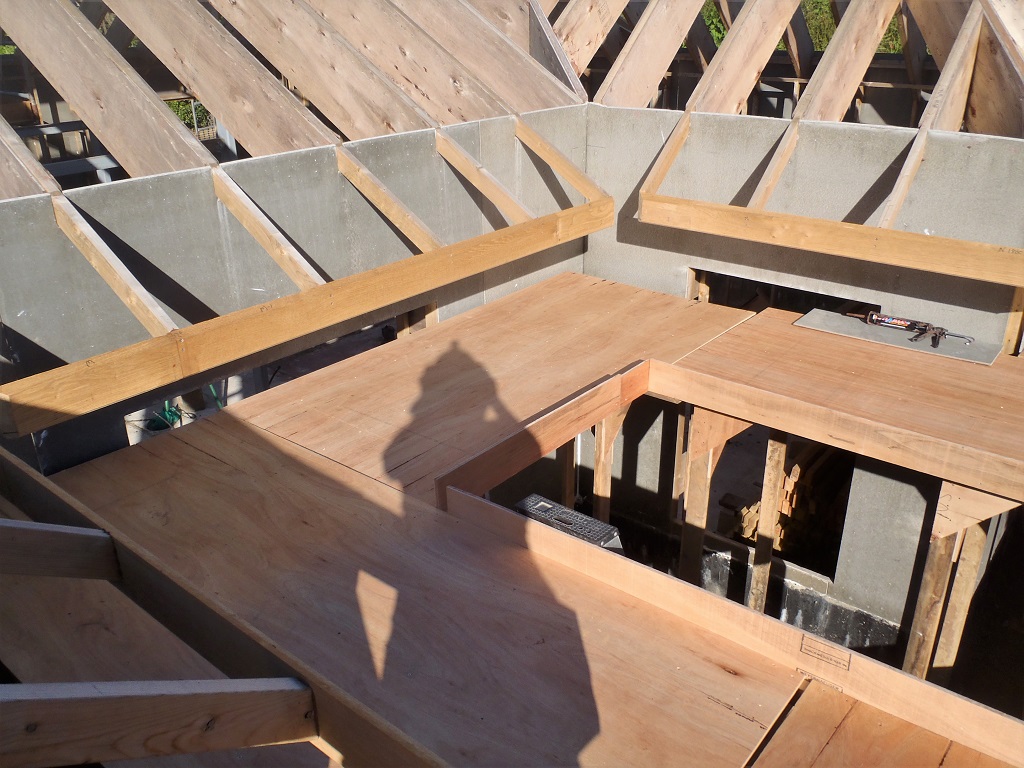
    After lunch, we took out all the equipment to have a go at cutting a slot into the “I” section of the Fascia (this being on the new raised wooden platform) using our new template guide ..

    We first use the red chalk string to snap a straight line ..

    Slot Cutting Template Created

    Chalk-line-snapped


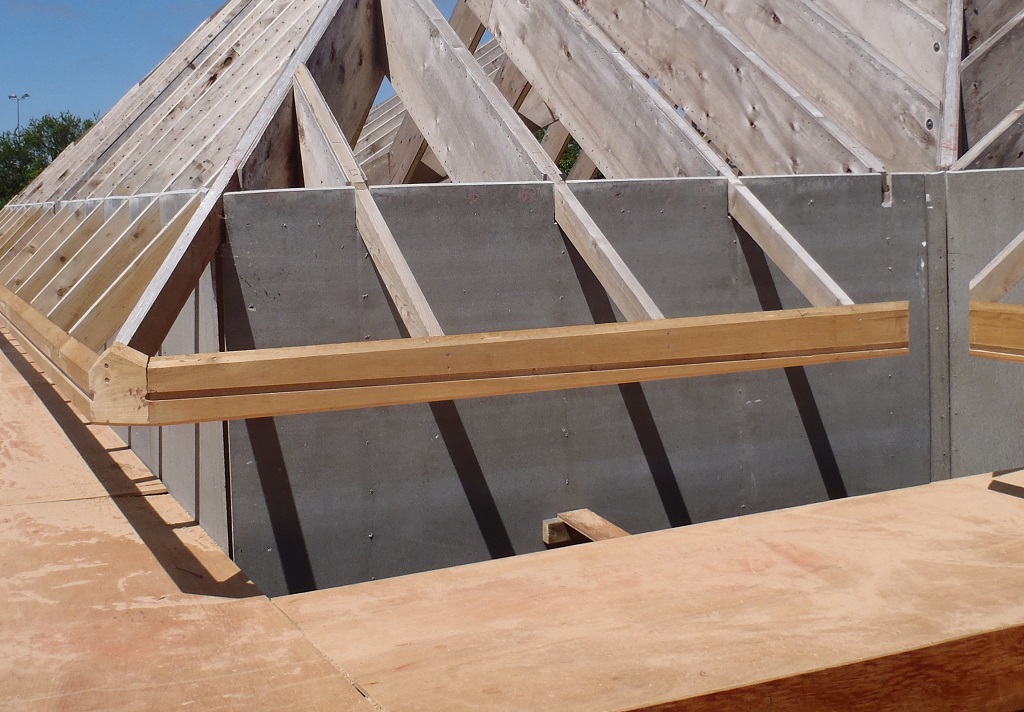
    Then installed the template at the right hand end of the Fascia (the router needs to work from right to left), got the height adjusted nicely and clamped it down. We had to do the cutting in layers, 5mm at a time as Oak is much harder than pine ..
    Slot Cutting Template Created

    Slot-partially-cut


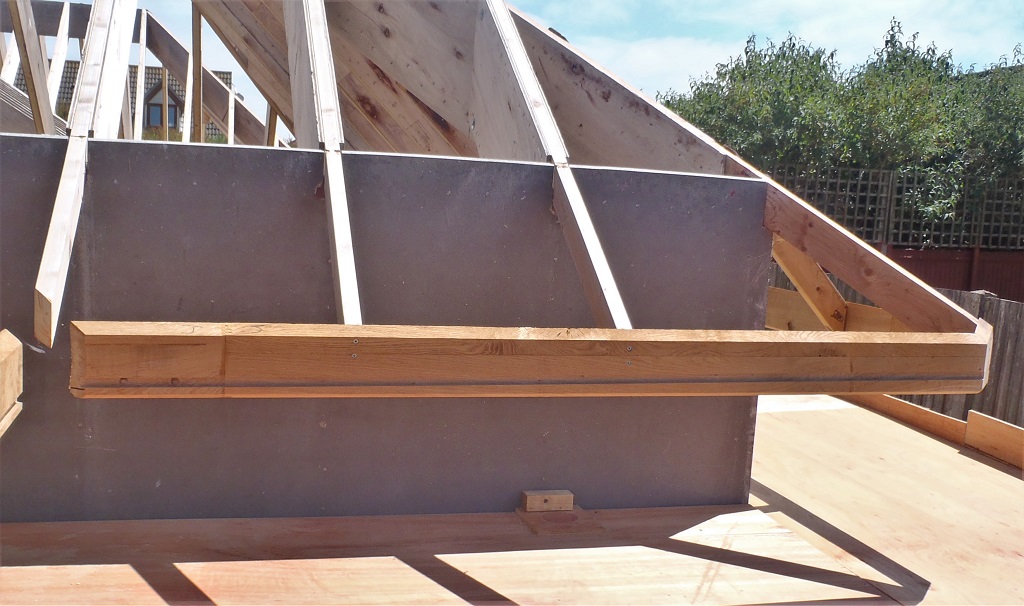
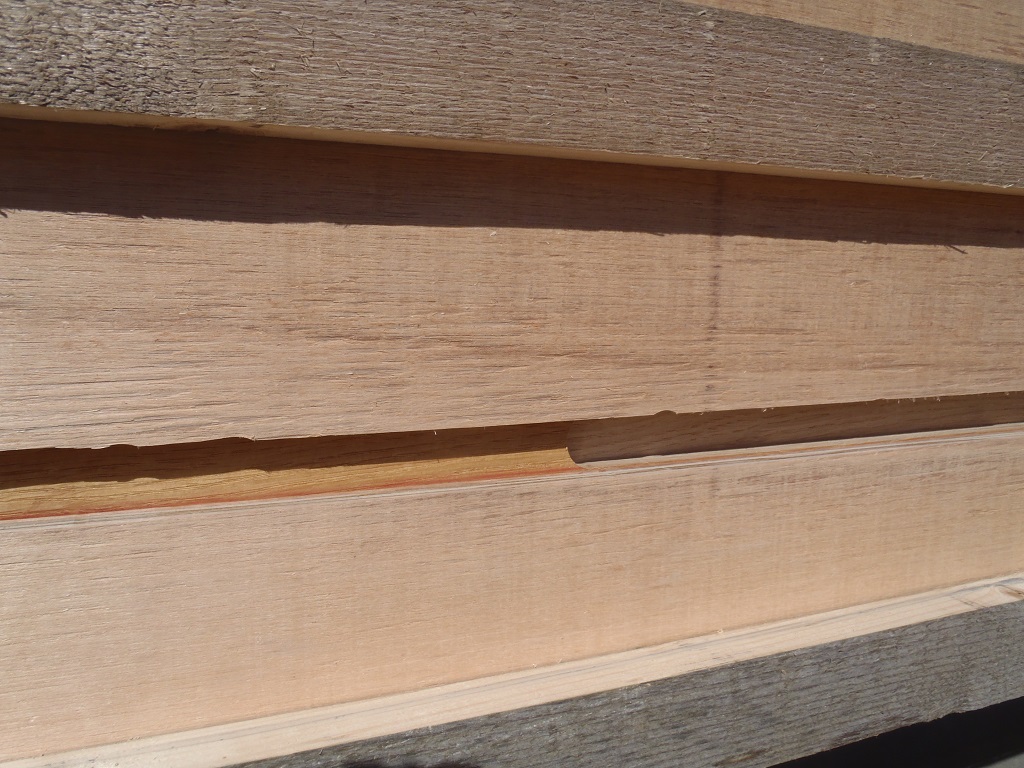
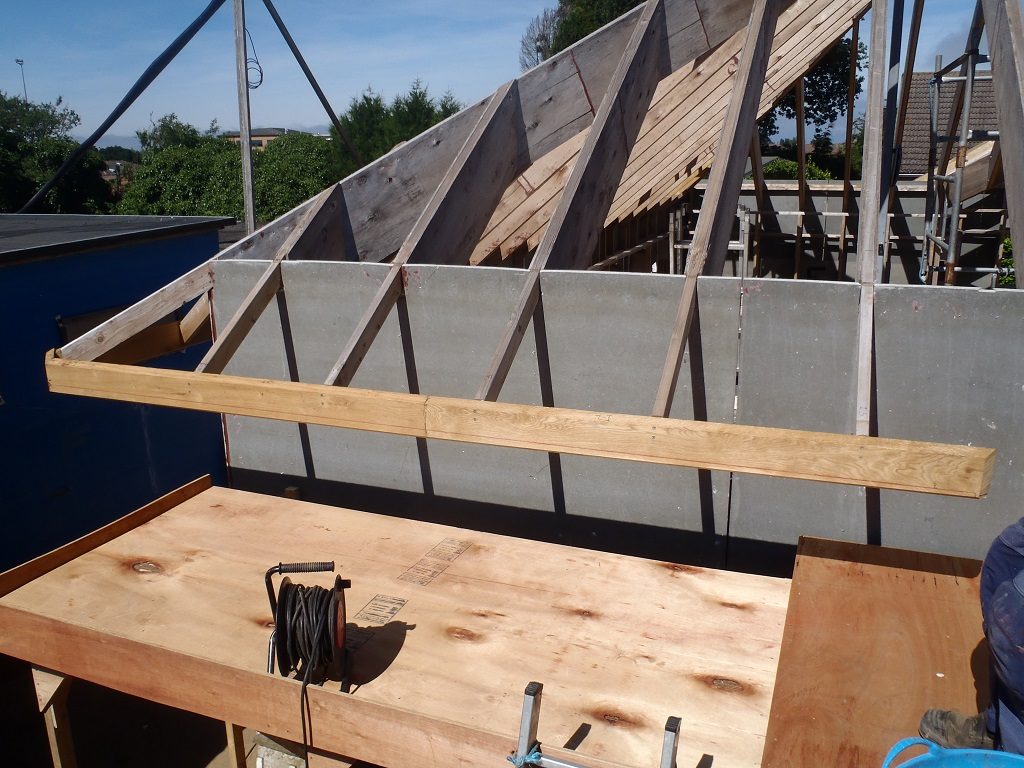
    And then slid the template along to do the last half up to the corner.
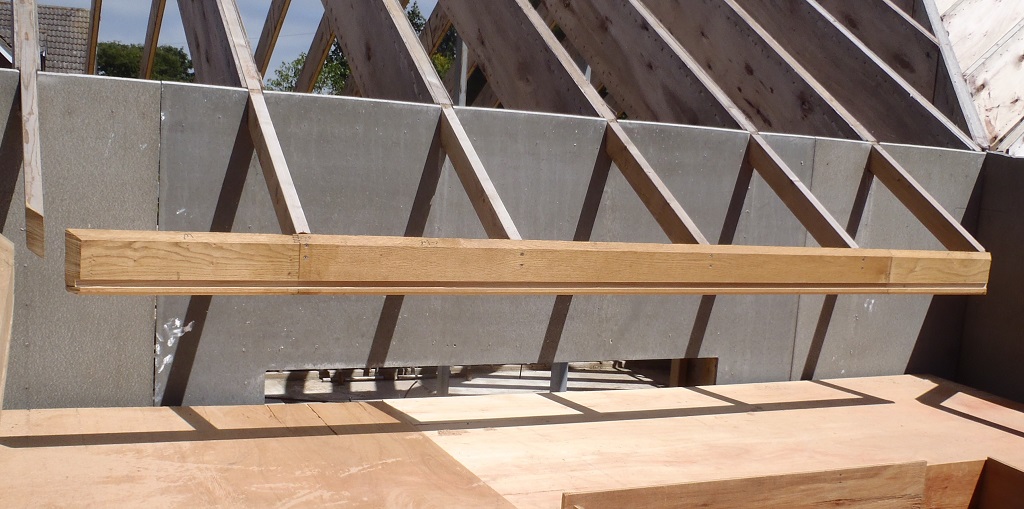
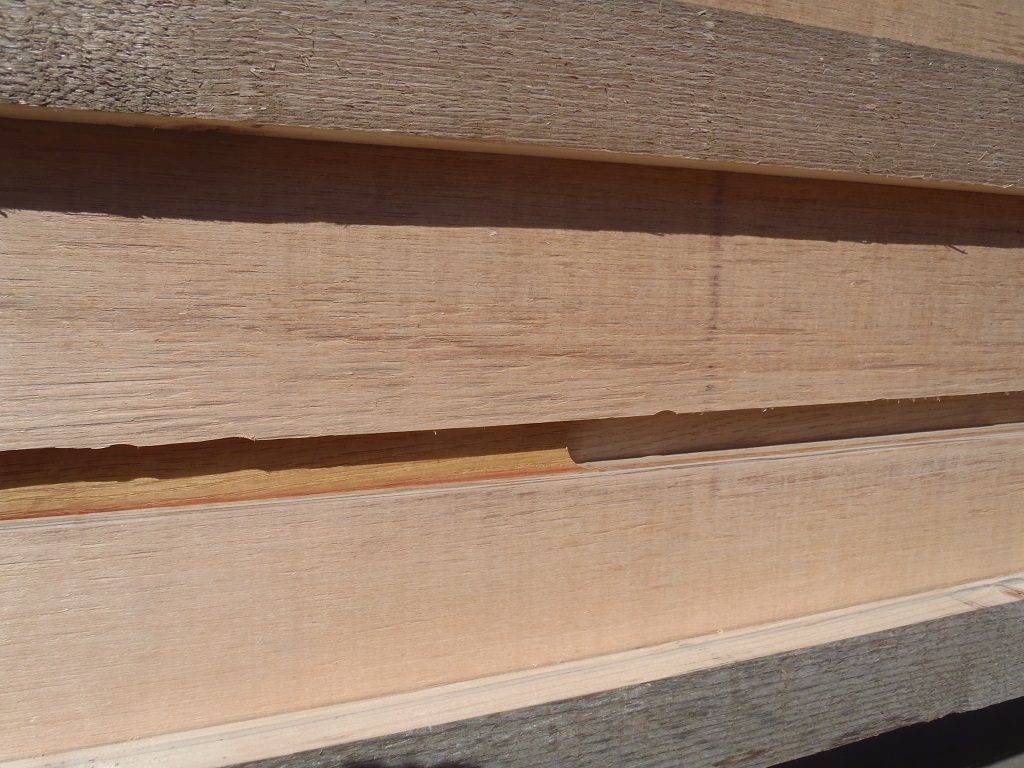
    Slot Cutting Template Created

    Slot-cut-in-I


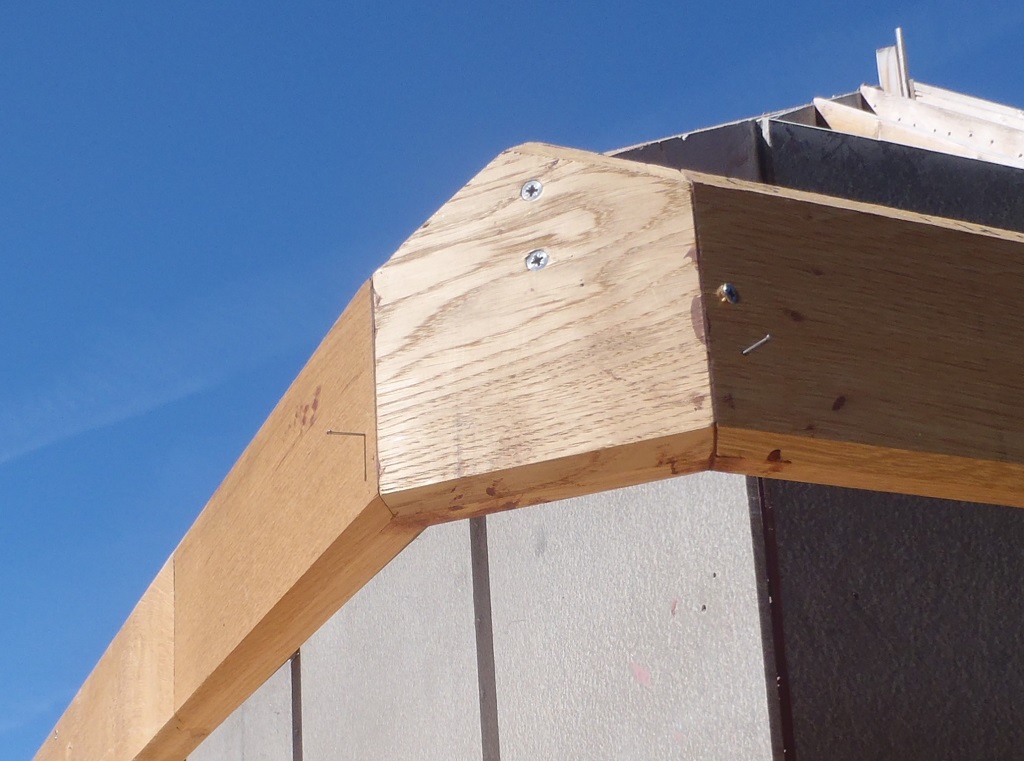
    We now have our first slot in place!
    But we decided that we will modify our template guide because of two issues, number 1 being the router would be easier to guide on its circle part of its base plate (and not the flat region) so there is more freedom to handle the router without it jumping out of alignment. The second issue was that the lower half of the template was not quite stiff enough to avoid bending very slightly under the weight of the machine. The second version now have a much wider lower section to stiffen it up and the guide now can take the machine on its circular parts of its base plate. We will try it out tomorrow!

  • Loke Post and Fencing Repaired

    After the UK Mail courier driver had smashed our driveway post and ripped a section of our fencing, we managed to find another post, this time a solid concrete post that we had lying around and replaced the wooden one. Then carefully reattached the plastic webbing fence to the new post, pulling tight and trying to minimise the torn layers in the mesh.

    Loke Post and Fencing Repaired

    Replacement-fence-post


    The “hi-vis” traffic cones were all pretty much destroyed so we will have to order some more and put them out to help drivers to see our boundary line and the posts!!! It obviously didn’t work this time!! Slow Shake Of Head!!

  • Fence broken by delivery driver

    We had a delivery from UK-Mail today and the driver hit our fence post and snapped it off! He appeared to hit the post and break it off as well as flattening a few road cones placed by the fence to warn drivers that it was there! We have contacted UK Mail and will wait to see what they say about it.

    Fence-post-snapped-off-by-delivery-driver

    Fence-post-snapped-off-by-delivery-driver

    Fence-torn by delivery driver

    Fence-torn by delivery driver


  • Mobile Scaffolding Tower Is Now Extended

    This morning, we completed the task of extending our mobile scaffolding tower and it is now has the capacity to provide a 4.8m (16feet) length of work platform by 1.2m (4feet) wide. The edges all has the same safety kick board and we have loaded eight huge concrete blocks (each weighing about 25kg), positioned at the bottom of the metal tower, four at each end near the wheels.

    Mobile Scaffolding Tower Is Now Extended

    Extended-mobile-scaffold-1

    Mobile Scaffolding Tower Is Now Extended

    Extended-mobile-scaffold-2


    It is very stable now and we cannot tipped it over, even with both of us trying hard by hanging our weight off the end of the platform!!!
    But we did hit a snag, we couldn’t roll it along the ground! The ground was too soft and the wheels kept digging in! We then used narrow strips of plywood to aid the wheels to roll smoothly but discovered that we had slightly bent the threaded rod that allows us to adjust the height to compensate for uneven ground levels (which we had done – of course!) and the 20mm diameter rod wasn’t thick enough to cope with the dynamic forces involved in us yanking and pulling the tower along in the dirt and getting it up onto the plywood. Oh Blow, What a Pain! So we ordered another threaded rod but this time it is 30mm thick and twice as strong in tensile strength too. That will come in a day or so.
    In the meantime, after lunch, we started working on designing and building a template to allow us to cut the slots into the Fascia boards to hold the base layer of the guttering channel. We think it will work if it “hooks” over the Fascia, has four evenly spaced out “arms” to hook behind the Fascia board and can be clamped down once the slope angle has been achieved. The slope angle will probably use a long bolt through a block of wood and that will allow us to adjust the height of the template on the Fascia boards at each end and thus achieve the slope we want.
    Mobile Scaffolding Tower Is Now Extended

    Gutter-base-routing-template-started


    We will finish that tomorrow and then we can start trying it out along the back of the building while we wait for the new threaded rod to arrive.

  • Mobile Scaffolding Tower Extended

    Today, we tackled the task of extending our mobile steel scaffolding tower so we can have a platform that is nearly 5 metres (16feet) long to work on our roof and Fascia without having to keep moving the tower along so many times.
    We used our good clean working set of scaffolding wheels that has proper locking mechanisms, which were bolted to two layers of the scaffolding elements and rolled it through the front door (yes it was big enough, being 5 feet wide and 7 feet tall!) and build two extra “lintels” to boost up the level of the final platform height so it misses the metal corner poles. This height being about 2metres up. The lintels were securely bolted to the end railing bars, one above and one below to lock it all together.
    We finished off the day’s work by putting on three 4.8 metres 95 x 45 mm timber planks and used metal joist brackets to nail down these “joists”, at both ends .

    Mobile Scaffolding Tower Extended

    Start-of-making-mobile-scaffold-platform-1

    Mobile Scaffolding Tower Extended

    Start-of-making-mobile-scaffold-platform-2


    Another little job we did this morning was to reinforced some of the joints in our wooden scaffolding structure so the edges will not dip under extra loads like a trolley carrying a large number of slate tiles.
    On Monday, we will go and put on two sheet of 18mm thick OSB boards and put in dozens of coach screws with large washers to make sure we very securely hold down the platform to the joist beams. We will also put on many concrete blocks to the bottom of the tower to improve the centre of gravity to reduce the chance of the sticking out platforms extending out beyond the scaffolding tower and plus we will put on support arms from the platform too, to screw on to the wall every time we stop at a position. This will maximise the stability of the whole 16feet length of the platform so we can just get on with the work while still having a reasonably easy process of moving it along and get safe again quite quickly. Oh Yes – Safety Rules The Day!!

  • Wooden Scaffolding All Complete, Fixed and Safety Features Implemented

    Today, we continued with the task of getting the line of scaffolding platforms installed and we got each of the eleven modules positioned so each corner had a full 4feet overlap to keep the outer edge all in line. We had to put in short filler pieces between some of the modules, especially along the “K” and “O” sections but we now have a continuous walk way tracing the line of the building from “I” corner (the back right corner near the Garage), all the way along the back until the last corner where the “O” finishes (the back left corner near the conservatory).

    Wooden Scaffolding All Complete, Fixed and Safety Features Implemented

    Timber-Scaffold-complete-2

    Wooden Scaffolding All Complete, Fixed and Safety Features Implemented

    Timber-Scaffold-complete-1


    We also installed a safety feature of a kick board mounted on the outer edge so that no one can accidentally step off or lose trugs of tools etc.
    We can now walk from one end to the other, all 30metres distance,

    This very useful structure will stay put until we have completed the roof and got the final guttering all done too. Yes we wish we could have it going all the way around but we didn’t have enough timber and we do have our mobile metal scaffolding tower which we will put on its wheels and extend the platform length so we don’t have to keep moving it so much. We will also have wall mounting points at regular intervals to lock down the mobile tower to make sure we are working as safe as possible. The extension will be done tomorrow and next week we then can start on putting the groove into the Fascia board that will hold the base board of the gutters.

  • Eleven Scaffolding Modules Created

    These last two days have seen the creation of new wooden scaffolding modules, eleven of them in total, each measuring 8feet by 4feet and 2.1metres (7feet) high.
    We spend half the day yesterday in creating the various parts, ready to be assembled, and we had time to make two modules yesterday.

    First-section-of-Timber-Scaffold-made

    First-section-of-Timber-Scaffold-made


    These two were also fixed to the building structure which made it very solid without hardly a wiggle when we stood on the platform.
    Today, we continued making a further nine modules ..

    .. and we now have a total of eleven modules, to allow us to build a complete walkway from one corner at the back of the building, to the other far back corner.

    Eleven Scaffolding Modules Created

    9-more-Timber-scaffold-units-made-1

    Eleven Scaffolding Modules Created

    9-more-Timber-scaffold-units-made-2

    Eleven Scaffolding Modules Created

    9-more-Timber-scaffold-units-made-3


    Tomorrow, we will adjust the positioning of all these modules and fixed them to the building itself to make it all rigid and safe, including mounting a 150mm high kick board on the outer edge to stop both “workers” and “tools” from slipping off the platform!!

  • Wooden Scaffolding Framework To Be Built Around Back of Building

    This afternoon, we decided that we needed to build a fixed scaffolding framework around the back of the house as our mobile scaffold tower will not be able to navigate down the back as the gap between the house and swimming lane is barely 1200mm wide and the tower itself is 1300mm wide in the first place but also we have tight corners and we won’t be able to move the steel scaffold tower around these corners either. So instead, we are going to build a fixed semi-permanent wooden framework of legs and struts to hold up a sheets of 8feet by 4feet plywood, and join them together to form a walk-way at about seven feet off the ground (about 2 feet below the Fascia level). We would be able to go from the “I” section at the start of the back of the house, along “J”, “K”, “L”, “M”, “N”, and “O”, the other end of the house. We using old CLS timber we have recycled from other jobs and cut them into the various parts to make 30 twin-leg modules to make five 8feet long platforms and three 16feet longer platforms. They will be connected together and also fixed to the building in lots of places to ensure that the whole framework is good and solid for maximum safety.
    This scaffolding will probably be there for most of the rest of the year while we work on the roof, getting all the elements done, including the Skylight. we will only take it down when the slate tiles are on and the guttering is all complete and fully working. It might take a few days to build it all but it will save many hours, or even days in not having to keep moving the mobile tower around all the time. We can afford this because we had recycled timber to hand and spare plywood boards but doing it properly using steel equipment would have cost many thousands to hire or buy, as we can only work so quick and we rather spend the money on buying materials like Oak Timber instead.
    Tomorrow, we will carry on preparing the old recycled timber, chopping it down into 30 pieces of 900mm lengths and 60 pieces of 2100mm lengths. Also make 60 triangular plywood pieces plus 60 flat “foot” (using more plywood leftover pieces) and then long 16feet (4.8metres) CLS timber, three of them for each long platform module which will have two full size sheets of plywood screwed down. All the platforms will have safety edges on them to provide some protection against walking off the edge or kicking a box or trug of tools over the edge too!

  • Analysed and Calculated Gutter Flow Direction and Angle of Slope

    This morning, we sat down and did some analysis on the rain collection quantity for each of our roof sections, which totals (including the proposed Conservatory) to 360 square metres. This includes the Skylight region as well. This means that for every 1mm of rain falling on our house roof, we would be collecting 360 litres of water. So for a 10mm rain shower, there would be 3600 litres of water (3.6 tons of the stuff!) pouring into our pipes and down into the rain soak-away modules (or into our rain storage tank when we have made the filtration unit!!).
    The eight down pipe connected to the guttering will handle this quantity of water and our analysis and calculations have assigned which section of roof is combined together for each given Downpipe channel. The other calculation was the angle of the guttering slope or fall. For the longest runs, there will be a 30mm drop from one end to the other (about 10 metres of gettering, making it about 3mm drop for every 1metre or in standardised units, about 1 in 300 angle).
    We then went around all the eight downpipe channel positions to measure the offset of each module again against the Fascia’s bottom edge so we know how much to add these “drops” in relations of that edge, at the start of a run.
    This now means that we have numbers assigned for all the corners of the roof and the next job is to snap a chalk line at the appropriate height and then cut a slot into the Fascia board, ready to receive the Oak guttering pieces.