This morning, we analysed the plans to work out the total length of the rubber membrane we would need for the guttering and the valleys in the roof. There are eight valleys in our roof structure (our roof also has twelve hips and five ridges too) and about eighty metres of guttering. This adds up to just over 150metres in total and our supplier has 20metres rolls so we ordered eight rolls!
The afternoon was spent building the fifth Downpipe Channel for the diagonal corner between Bedroom 1 and the Great Room. We didn’t stick the rubber membrane into the previous channels we made yesterday as we realised that we needed to do a test of our glue sticking two layers of the rubber material and we wanted to make sure the glue will cure properly while being sandwiched by these two impermeable surfaces. The glue may need access to the air or moisture to set the chemical reaction going and cure the glue properly.
So we measured and cut the pieces for the fifth channel, took it outside to set it against the real world and proceeded to complete it by late evening to dry and cure overnight.
The last proper channel we will make is for a straight one for the Side Porch which we will do on Saturday and then we can start putting up the Fascia boards.
Blog
-
Rubber Membrane Ordered and Fifth Downpipe Channel Created
-
Downpipe Channels Acquire Plastic Pipes
Today, we carried on with the creation of the Downpipe Channels by having a large 110mm diameter hole cut into the base boards at the bottom of the sloping drainage channels. We took some left-over plastic rain water underground pipes and cut them up into about 180mm long pieces so it will stick downwards underneath these chutes and connect to the main downpipe that is going down into the rain water collection pipework.
But we had to reinforce the surrounding area around the large hole (with another 20mm thick half circle of Oak) so the plastic pipe will be securely held by the glue and survive being push about when we connect all the pipes together.
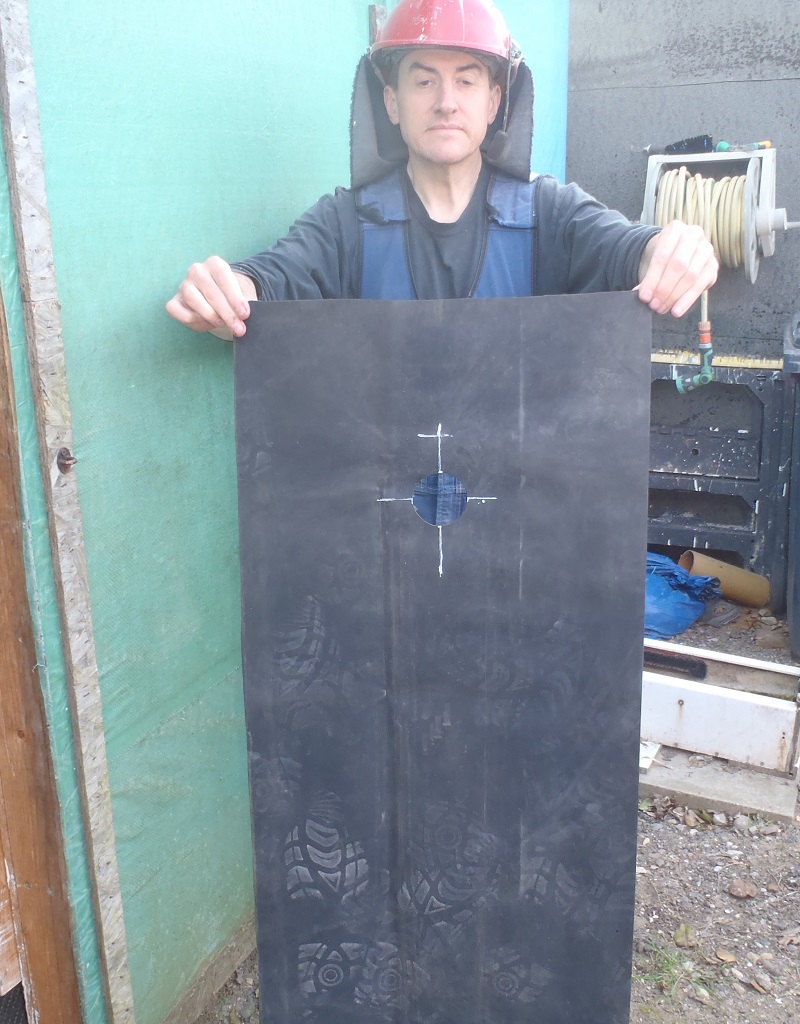
We also got out some spare left-over rubber sheet and cut this up into two strips of 500mm wide by 3metres in length. Using a spare smaller piece, we tested to how small a hole in the rubber we could go down to and still push in a modified plastic ring (cut from more of the same 110mm plastic pipe but also a vertical chunk missing so it becomes like a springy C clip) which allows us to squeeze the rubber down inside the main pipe and securely hold (with friction and glue) into the top of the downpipe.
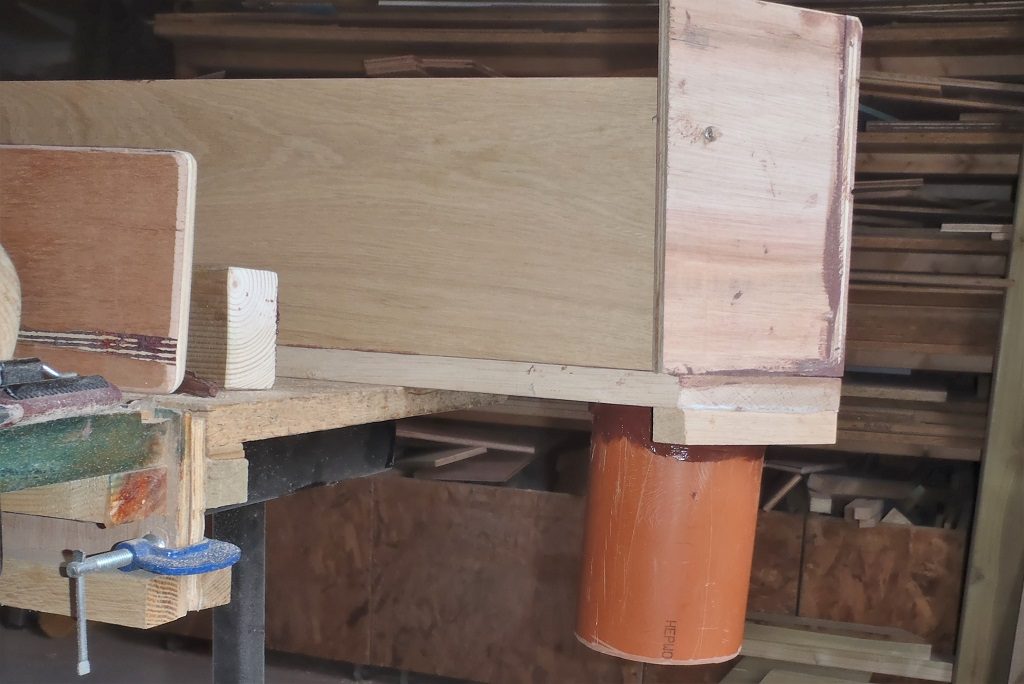
Pipe-sticking-down-out-the-channel
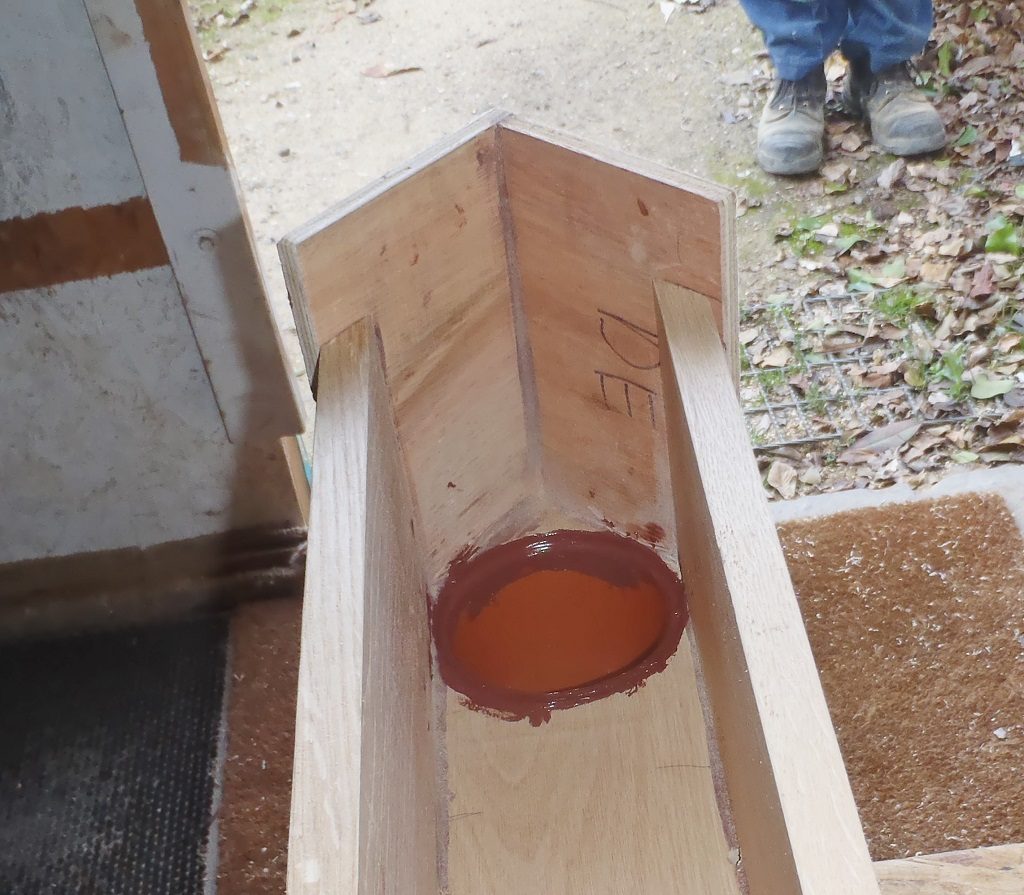
The-hole-is-as-far-into-the-end-as-possible

Rubber-lining-with-Hole
We finished off the day by having all four of our wooden Oak channels fitted with their little plastic pipe segments.
And tomorrow, we will stick down the rubber membrane inside these channels and that will be that! -
Four Downpipe Channel Created
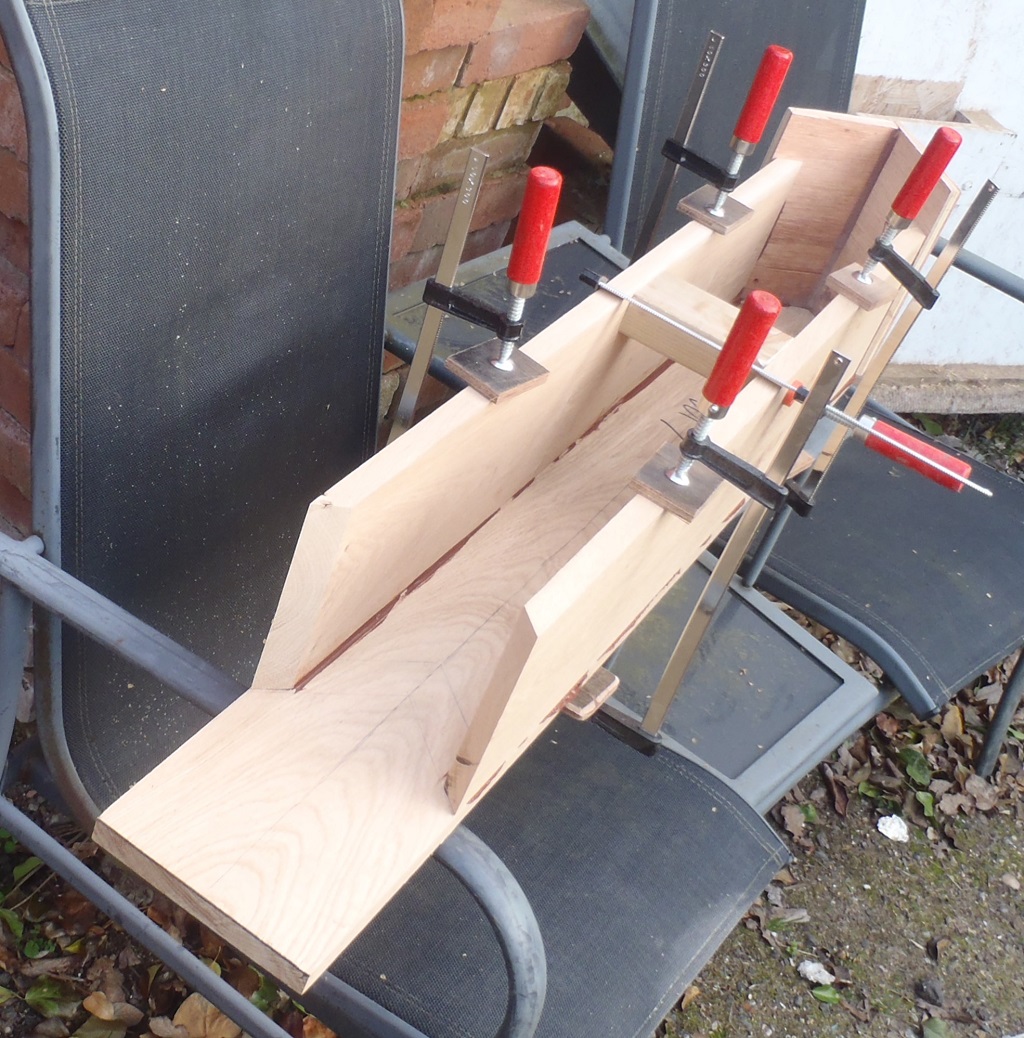
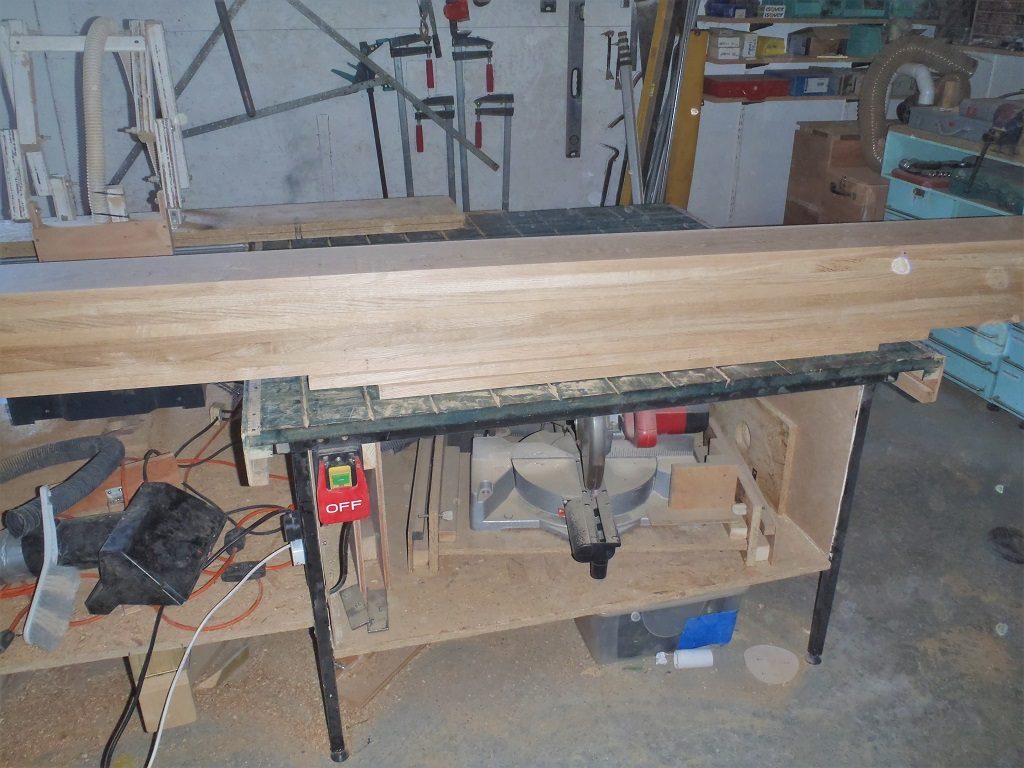
The last two days have seen the development and creation of the first four Downpipe Channels or chutes. Using our lovely Oak timber we planed last week, we made the base boards with a 44° and 46° angled “arrow” on one end, then took them outside with some straight metal bars (to act for the Fascia boards) and measured the real world situation regarding exactly where these Downpipe Channels are positioned in relation to the main Fascia boards and the gutters.
Then, we made a simple plywood end caps, and sliced a compound angle of 45degrees and 1degree angle on both ends of each side wall of the channel (another Oak timber piece).

Corner-gutter-channels-assembled
The biscuit joiner was employed to help keep the two side walls neat and locked into position and then all was glued together using our brown silicone glue. Everything was clamped together and left to dry overnight.
Tomorrow, we will drill a large 110mm wide hole into the base board right at the bottom end of the channel and then wrap and glue a piece of rubber membrane inside surfaces to provide the waterproofing layer for the wood. We are using rubber as it is far more flexible than fibre-glass resin as any timber constructed building will have a bounce and movement in its structure and hard resin will crack eventually. -
Downpipe Channels Designed and Required Oak Timber Planed
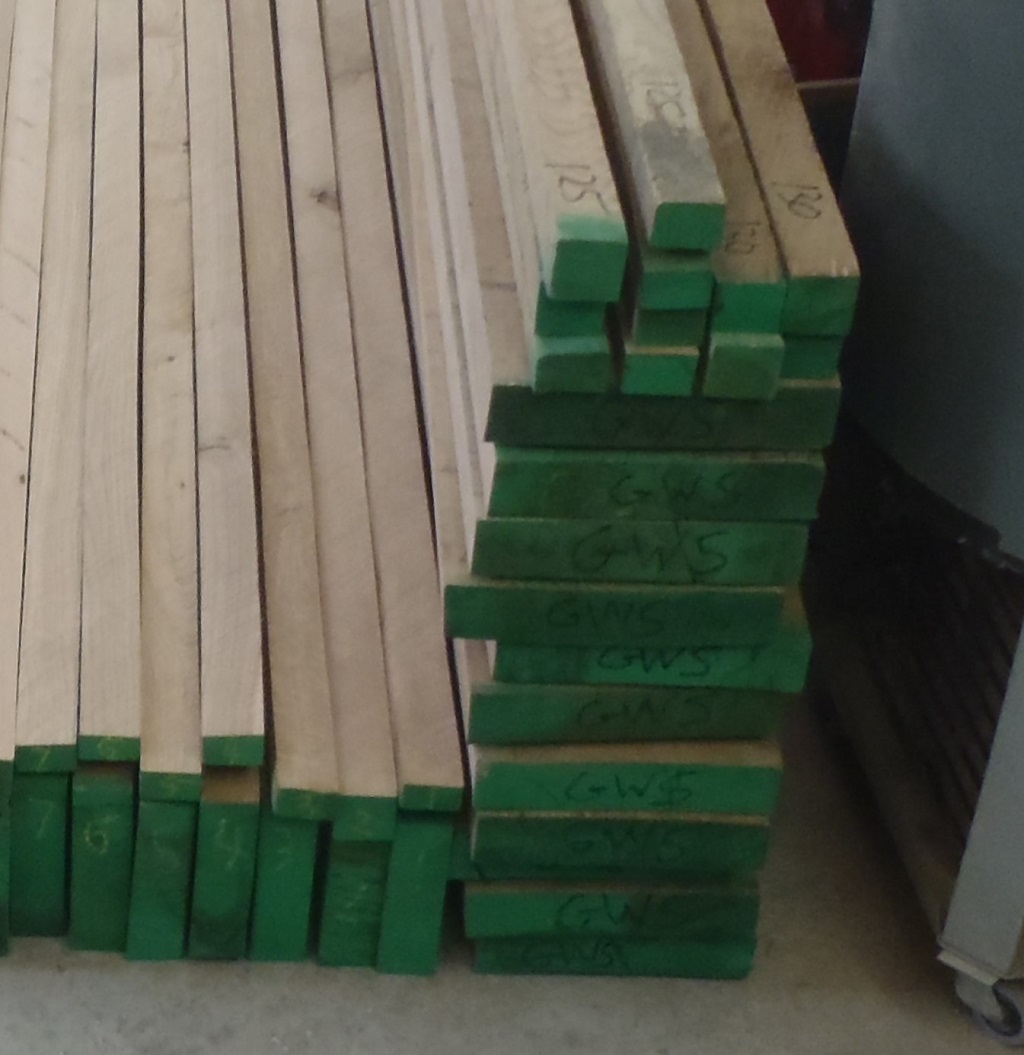
Today, we processed nine pieces of Oak Timber, this being the results of some design work a couple of days ago in order to provide a path for the rainwater back from the main guttering channel and feeding the water to the down pipes in the corners of the building. These horizontal Downpipe Channels are made up of a base board 160mm wide which has two vertical sides also 160mm high sitting on the outer edge, and these pieces are all 20mm thick.

Newest-pile-of-planed-20mm-Oak-1
Newest-pile-of-planed-20mm-Oak-2
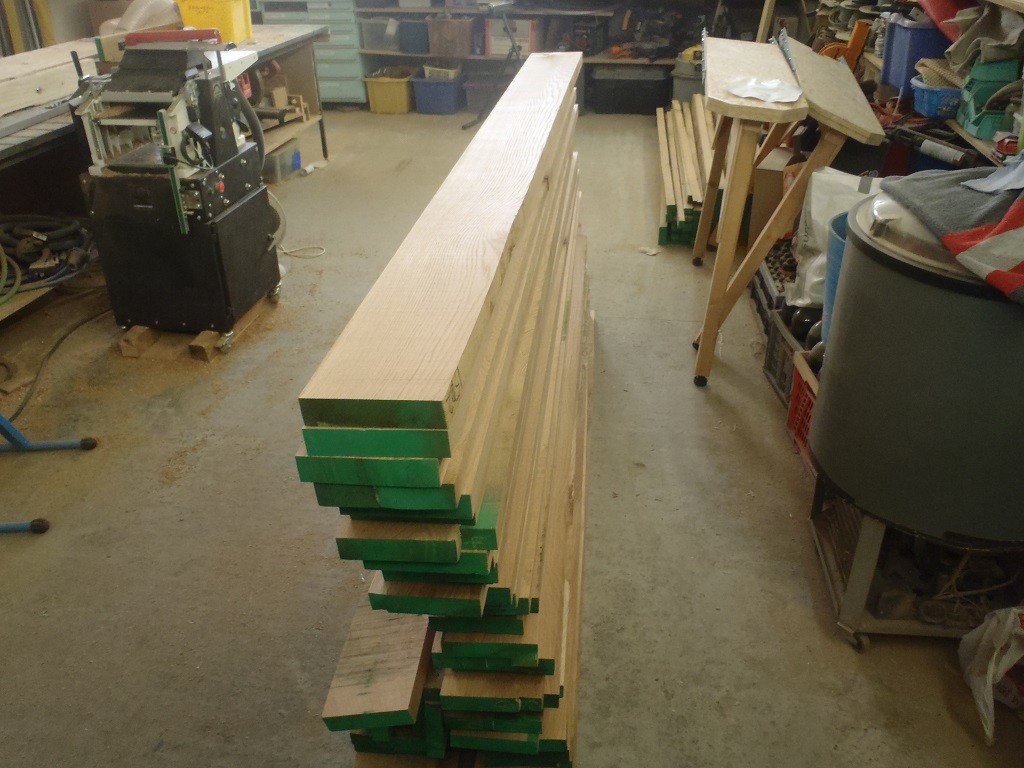
The pile of planed Oak Timber, which originally started off being 26mm thick rough sawn of variable widths (from about 170mm to 200mm wide) and all 2metres long. The planer (with help from the circular saw too) did a great job of generating nine flat and straight planks. Lovely!
On Monday, we can start making these Downpipe Channels which will allow us to then start putting up the Fascia boards – At Last! Hurray! -
Measured Real World Facts and Figures Plus Processed More Oak Timber
Today, in the morning, processed a couple more Oak pieces, one extra 150mm plank to add to our forty we have already, just in case we run out. The other one is much wider at 220mm which will be needed in making the special ten outside corners of the roof and the Fascia, as we wanted to have a 45° angle “chopped-off” the guttering etc.
Then after lunch, we went around measuring every single sticking out rafter (the eves) using our site laser level and surveying equipment. All the numbers got recorded and then transferred to a spreadsheet to reveal that we have a wobbly “random” positions for the ends of the eves (in theory they should have all been the same height), which is where our Fascia boards will be mounted on.The analysis shows that most of the individual rafters are a little below optimum level (the construction drawings requires the level to be 2.7metres above ground), the worse one being 25mm low but actually the average was only 3mm too low and most less than 8mm low. There are only a half dozen of exceptional ones being either too low or too high. This led us to feel more confident that we will mount our Fascia boards at exactly the 2.7metre point above ground and make the necessary modifications or adaptations to each individual rafter as required.
The end results of this decision is to allow us a much better control over the positioning of the gutters themselves so each section can have a proper “downhill” slope to encourage the rainwater to flow towards the nearest downpipe in a quick and orderly manner! -
Oak Timber All Planed
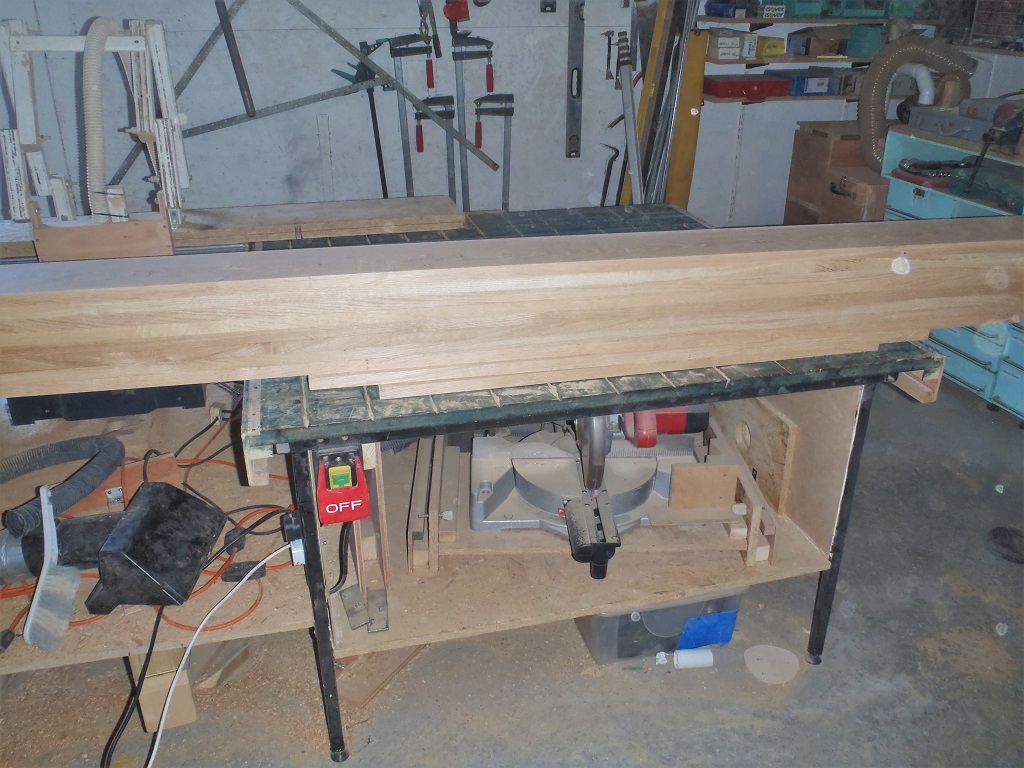
Today, we finished off planing the fifteen planks that were glued overnight to get rid of the glue colouring and any slight imperfections. Then we converted the planer machine into the thicknessing mode, connected up the vacuum chipping remover cover and started planing all forty planks for the first time, slicing them down to 38mm thick initally.
After lunch, we continued to slice off a thin layer at a time, millimetre by millimetre until we reached a product with good smooth surfaces.

All-40-planks-planed-to-thickness
The end tally was that we managed to plane thirty-five planks down to a thickness of 34mm and the other five down to 32mm thick. The last five had more “features” in the Oak timber which needed more removal. These slightly thinner planks will be used on our shorter sections of eves (like for example, “B”, “D”, “G” and “I” sections).
Next, we sit down with our construction drawings and find out what we will need for doing the five internal corners which has a downpipe to connect the gutters plus also the three oddity ones located with the side door porch and the conservatory. These eight “specials” needs to fit into the Fascia board so it allows the rain water to flow backwards from the Fascia board (which has the guttering fitted on), along a horizontal channel to a hole where the downpipe will be located. The other design requirement needed to be teased out, are the ten outside corners, which will have a 45° angle “chopped” off the them, which applies to the Fascia board and to the guttering too. -
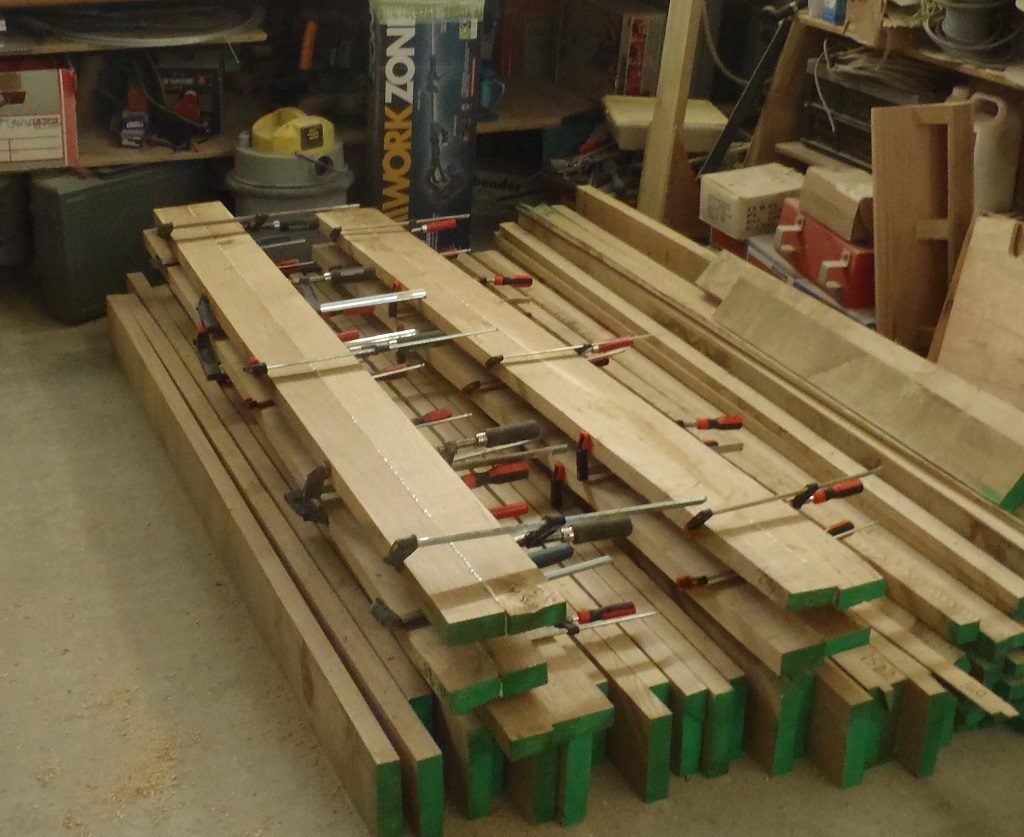
Rest of Oak Timber Glued
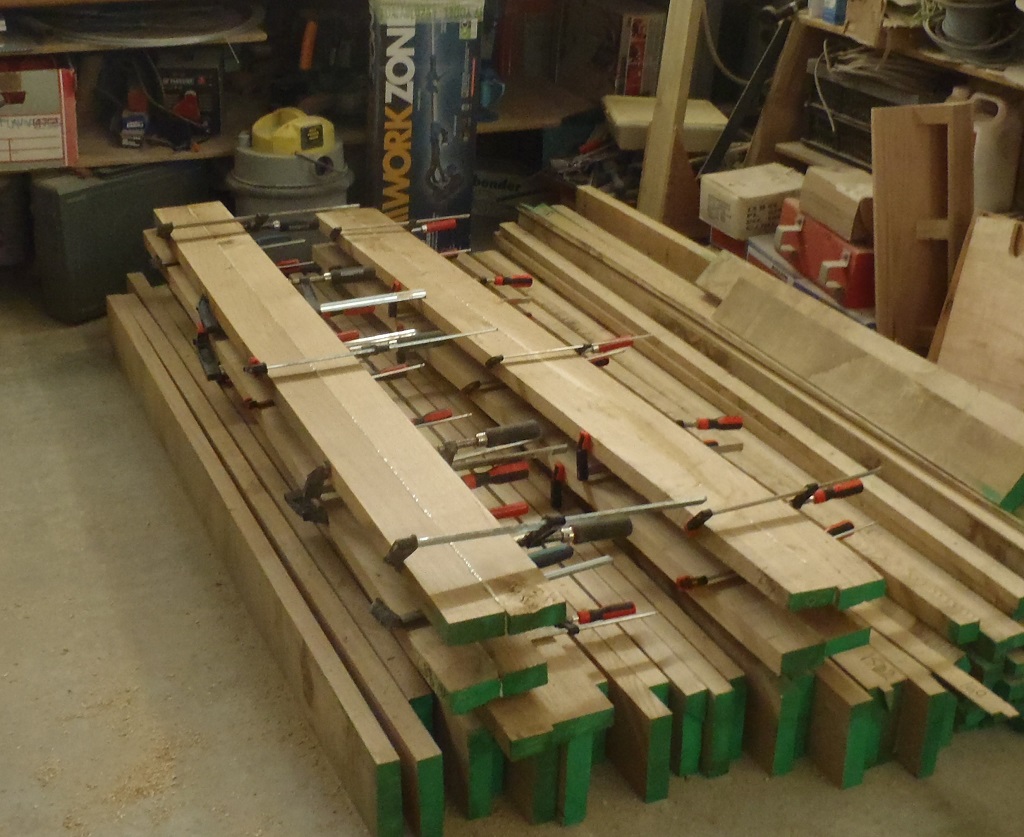
This morning, we finished gluing the last fifteen sets of Oak timber, only using 5 set of clamps (as our new ones haven’t arrived yet). We had to wait for the 30 minutes for the PU glue to reach first hardening stage but it wasn’t too bad as we were able to keep a cycle going with new freshly glued ones and be able to unclamp the oldest glued set which was just about at the 30 minute point.
Then after lunch, the five we had glued yesterday, we scraped off the excess glue and then put them through the planer to slice off a fraction of a millimetre to clean off the stain of the glue and any slight imperfections.

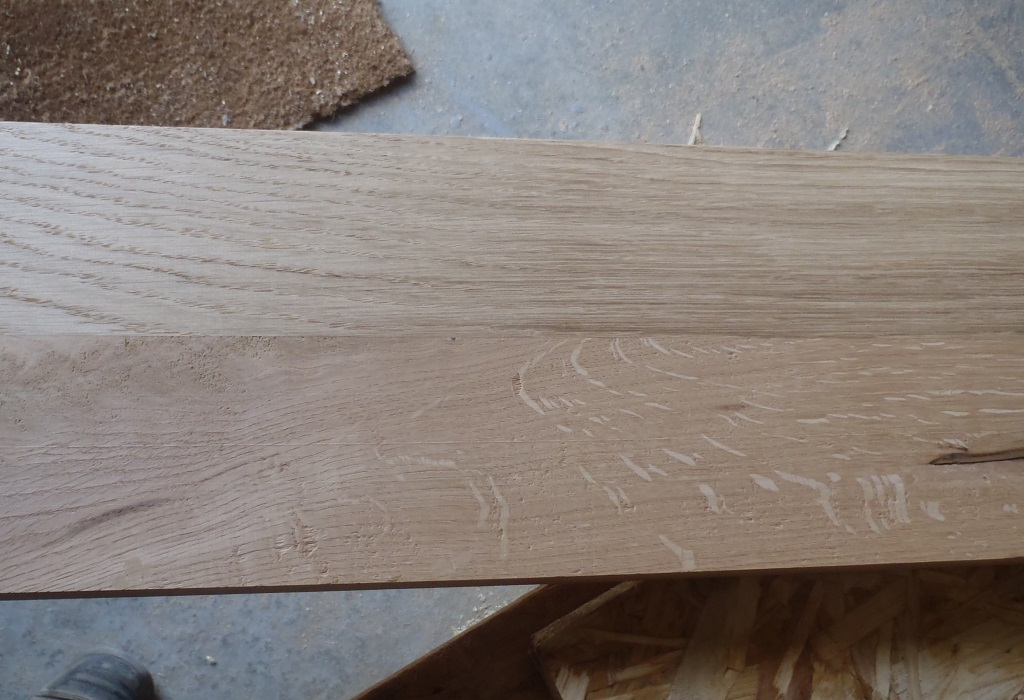
Spot-the-glue-joint-1

Spot-the-glue-joint-2
You cannot see the actual joint itself, but only by the fact that the two Oak strips have a very slight different in colour and of course the grain do not match up either.
But it is looking good and tomorrow, when we have done the same to today’s fifteen glued planks, we then will be ready to pass all of these twenty glued planks, plus the other twenty single Oak pieces, through the planer in its thickener section and achieve, hopefully, a set of forty Fascia boards with all the same thickness. We will see! -
CLS Timber Stack All Moved Inside House
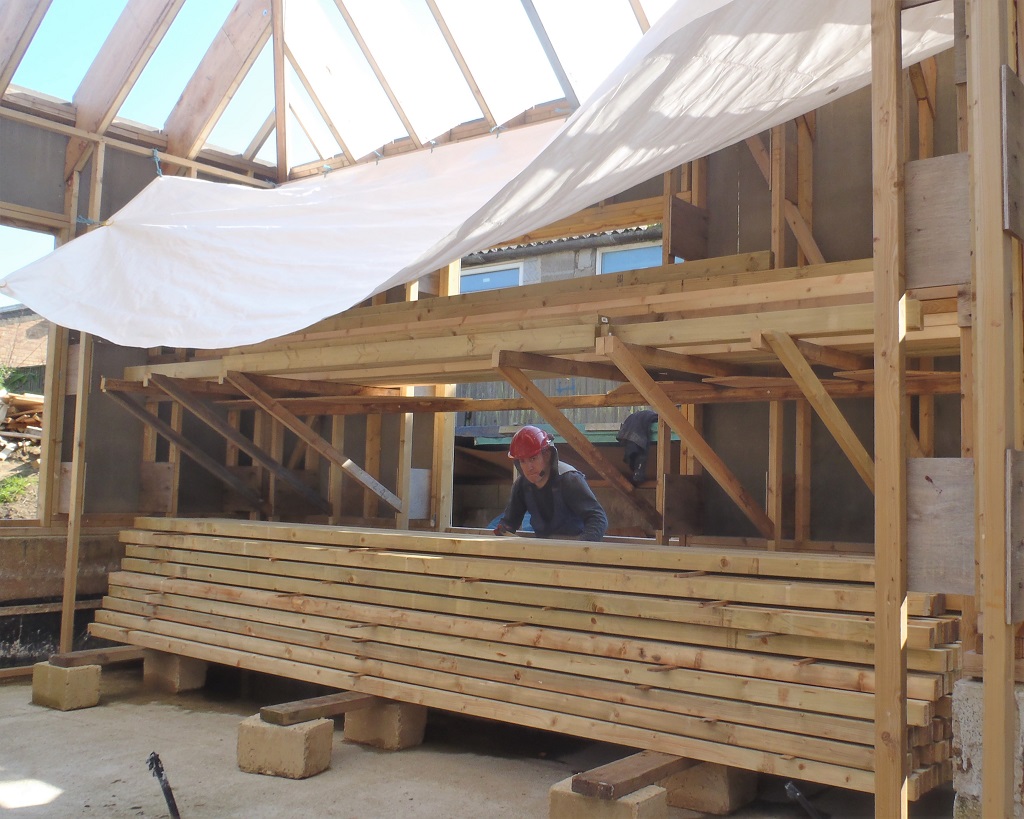
This afternoon, we moved all the remaining 63mm CLS Timber from its original pallet stack situated near our Loke and put the lot inside the house under a tarpaulin tent cover.
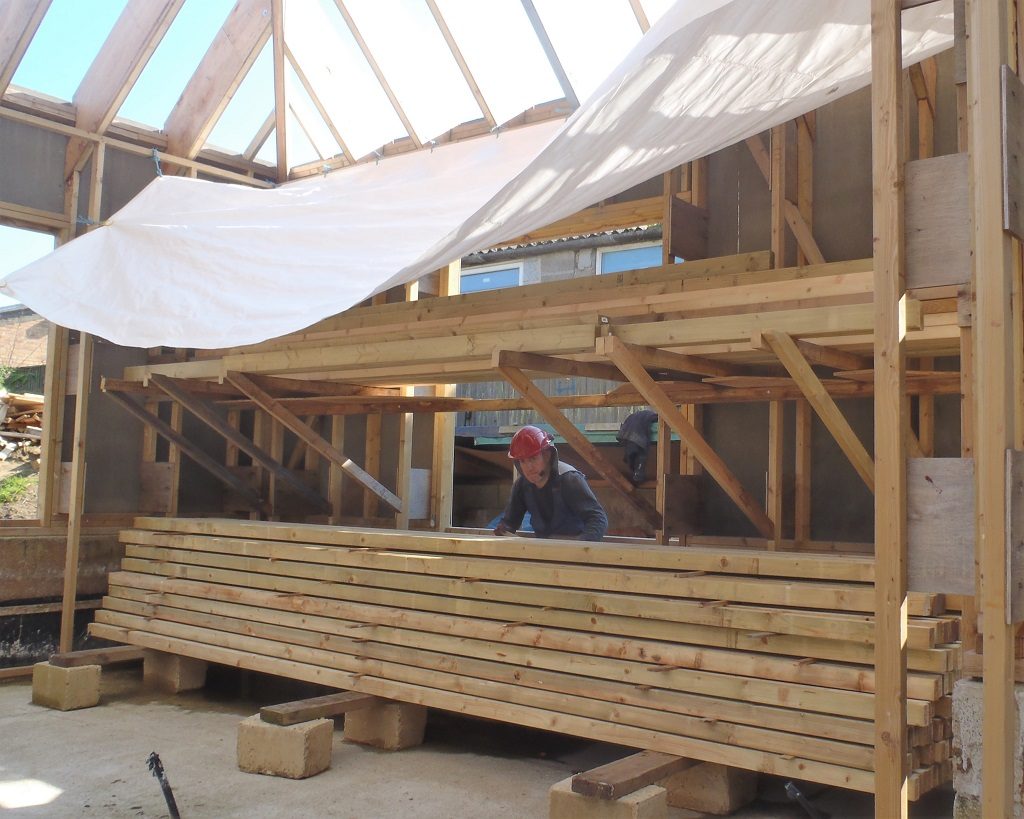
Indoor-wood-store-loaded-up-1

Indoor-wood-store-loaded-up-2
We also moved all the untreated 100mm by 50mm regularised timber lengths from the swimming lane and put them together with the rest of the timber, in order for them to keep dry and fresh but also to be accessible when we start building the Skylight structure. -
First Set of Oak Timber Joined
This afternoon, after lunch, we finished off planing the various pieces of the Oak Timber so they are ready for the job of gluing them together to form wide enough Fascia strips (needs to be greater than 150mm wide). Then using our biscuit jointer tool to help align the pieces, we proceeded to glue and join together five planks.
First-5-Glued-up-Facia-boards
We used a fast acting PU glue so we don’t have to wait eight hours to get maximum strength, this glue will reach working strength after only 30 minutes. We are planning to be able to clamp nine set of pieces together in a session and by the time we have done the last one, the first one will be ready to be unclamped and we can carry on with the tenth set and so on. Hopefully the new clamps will come tomorrow in the post! – or else!
After the twenty sets are glued and cured, we will very slightly plane the finished surface again to remove any trace of glue and any very slight misalignment’s, and then all forty pieces will be put through the thicknesser part of the planer machine (this planes wood to a fixed thickness) to get a final set of finished Fascia boards – at last! -
Oak Timber Still Continues to be Processed
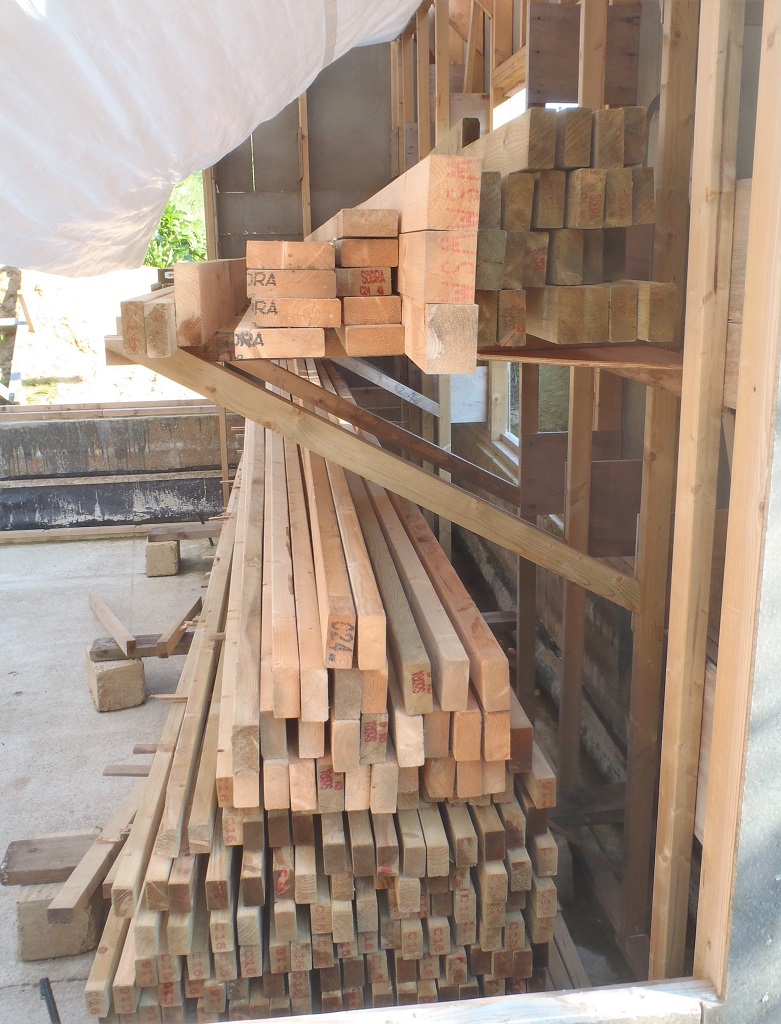
These last few days have been somewhat disrupted with various external meetings and other commitments and the work on sorting out, planing and processing the Oak Timber have been patchy. So far, after today’s full day, we have selected 32 narrow pieces and sawn them to 95 mm wide, then selected 11 pieces just over 180 mm wide. These pieces have now been put away back on the Oak Storage rack outside for later in the project.
The rest are the 40 mm thick oak is being processed into more than 75 meters of Fascia boards, we need 40 pieces of oak which are 150 mm high, we have enough planks to make 20 pieces from whole wood and parts to make another 20 from two narrower pieces glued together.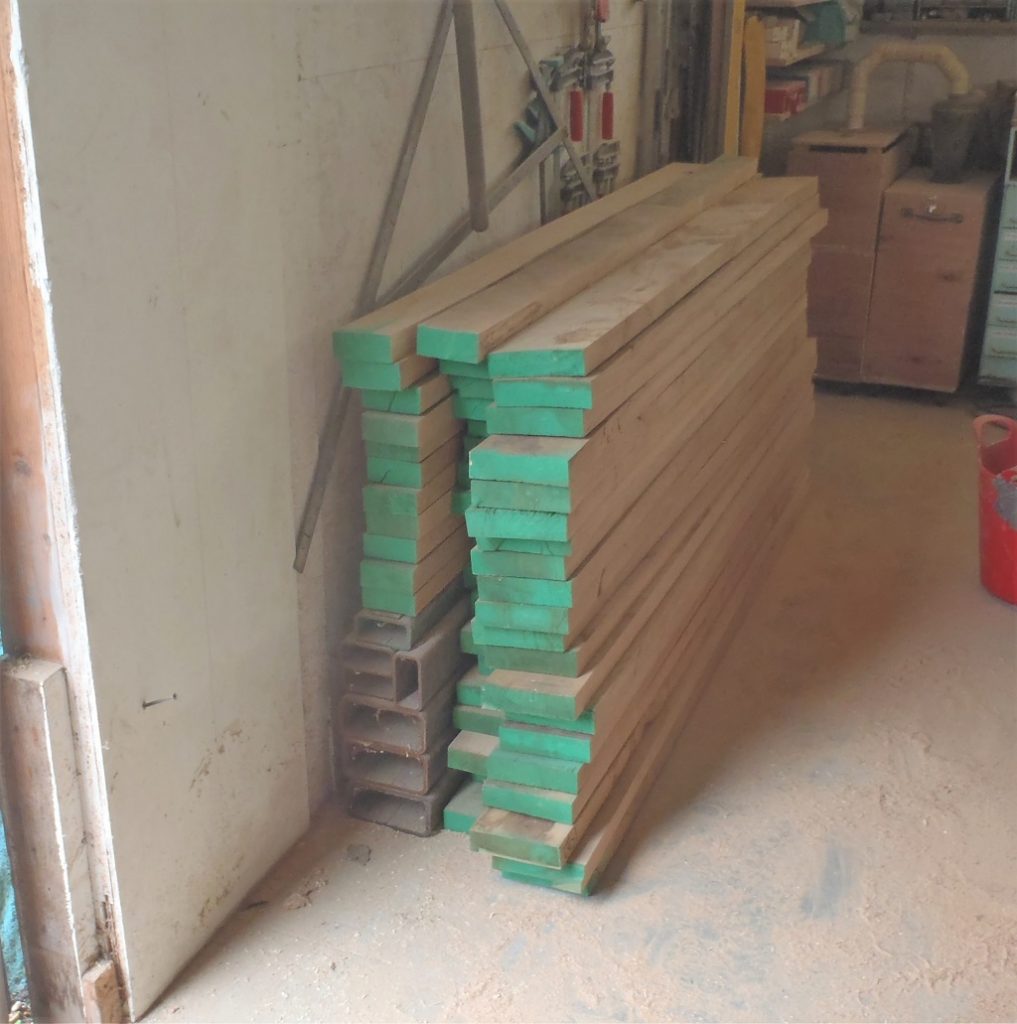
Oak sawn to size, 32 pieces@90mm and 20 pieces @155mm
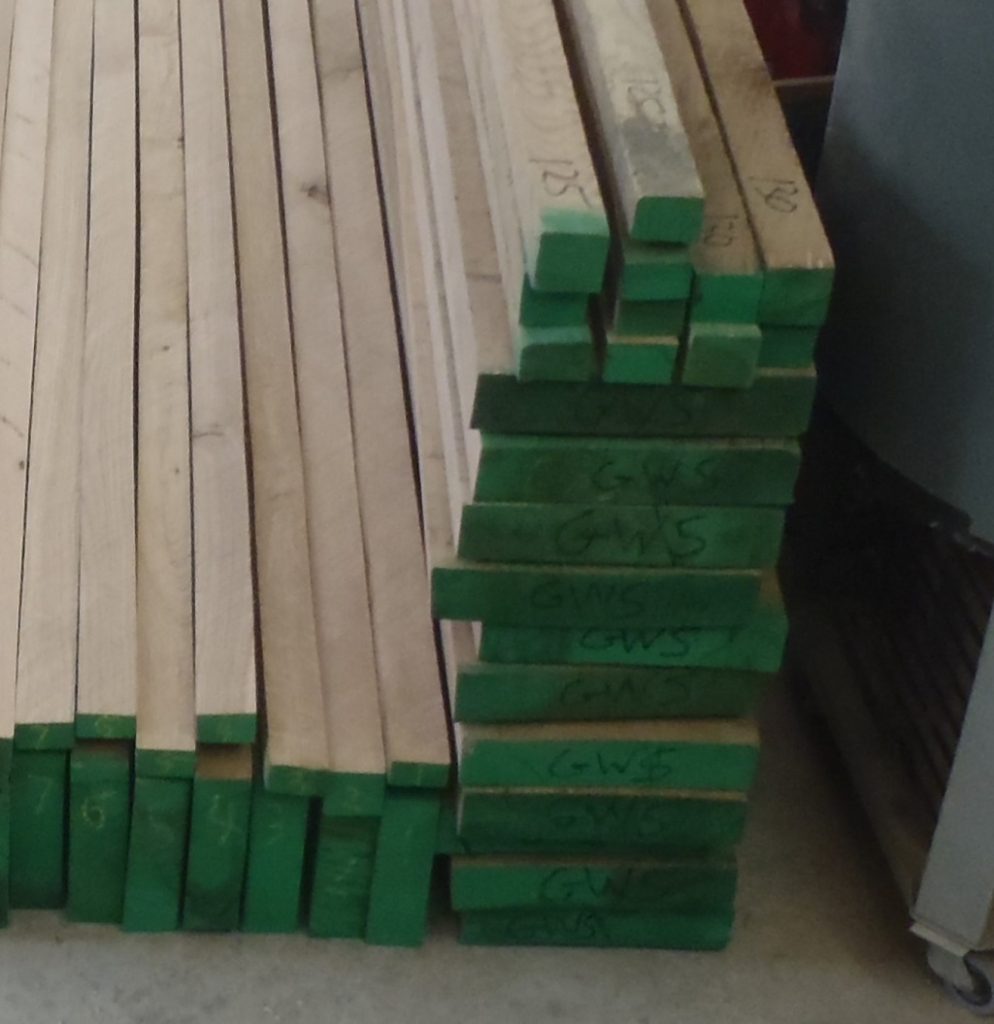
Oak-for-garage-window-sills-11pieces-@-180mm
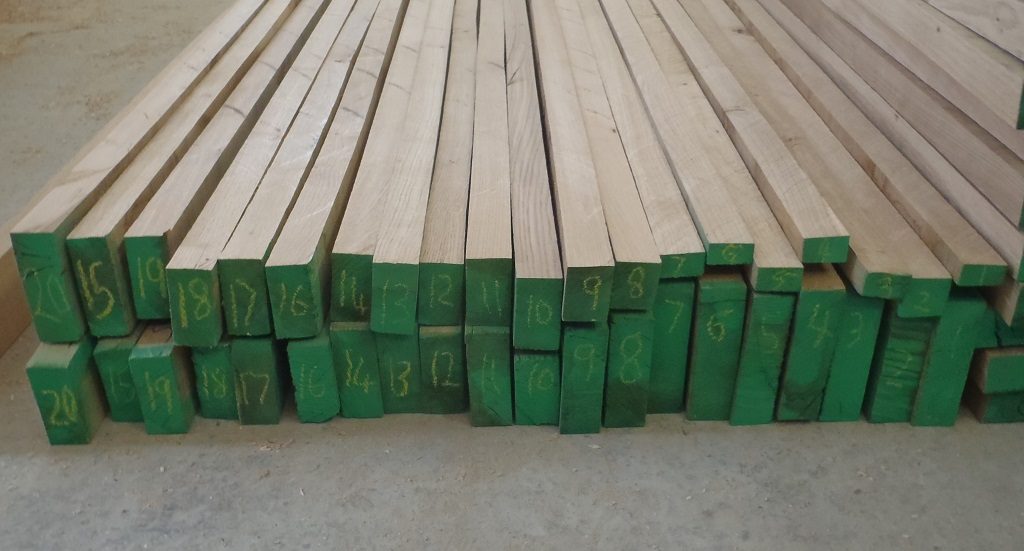
Oak-for-gluing-together-to-make-another-20-@-155mm
All of the pieces have now had one flat surface planed (60 pieces in total). Now we are planing the narrow edges to ensure that they are right angles to the processed face. On Monday, we will finish that task off and then start gluing and joining together strips.