The task continues today of processing each Oak timber piece to regularised them into flat and straight consistent planks of wood.
The smaller widths are now done.

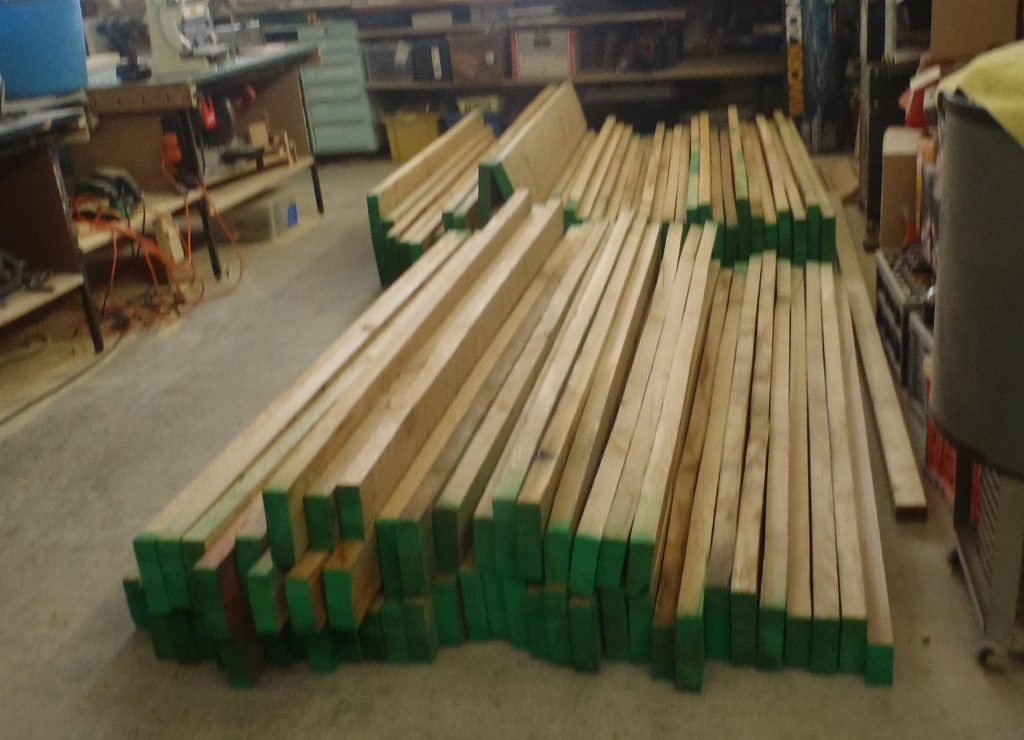
Stack-of-Edged-40mm-Oak
But the wider set is proving more difficult to handle as the weight of these 2metre long planks can be quite heavy (upto 20Kg!) and we discovered that this is causing a slight distortion within the planer machine itself (like the little castor wheels were bending, and the latest, the metal flat input and output tables are also being deflected slightly too). So we are finding solutions to handle these oak planks, including buying more rollers on legs and putting the machine on blocks of wood.

Trying-to-get-planer-to-work-on-larger-pieces
There are hundreds of Oak pieces we have bought for all sorts of jobs around the house, which we will need to plane and regularise so we are going to invest some time and thought to build a sturdy framework, possibly extending the input and output tables to help support the heavier Oak timber and create a factory like setup to consistently and accurately do this job properly.